
Jigsaw is an ideal tool for cutting complex shapes and sharp bends, but sometimes you need a perfect cut at right angles, so the author of this homemade developed a slide that he uses on his desktop jigsaw.
The slide not only guarantees a perfect cut at a 90-degree angle, it is a much safer way to cut very small pieces, which allows you to use clamps. Also, the slide allows you to use the locking block for uniform multiple cuts.
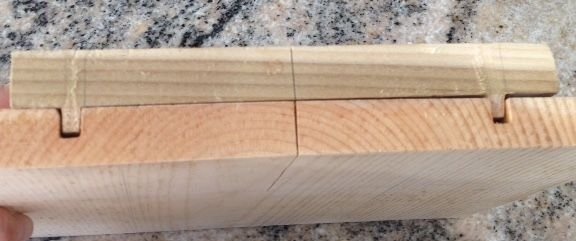
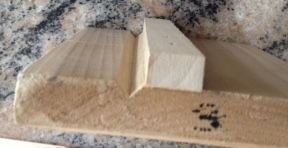
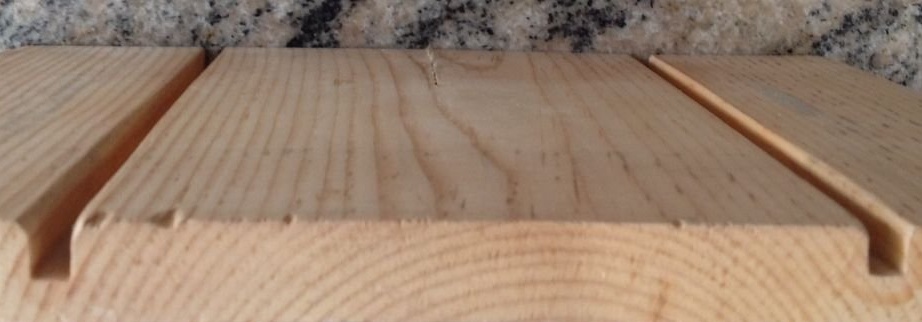
The addition of a V-shaped recess helps to hold round workpieces, such as cuttings and pipes, for clean and safe cuts.
The whole project can be made from wood waste. Finished skids are held on the saw table with simple clamps.
Step 1: Materials
- a few small pieces of wood;
- furniture staples or screws;
- optional: carpentry glue;
- optional: furniture stapler on nails or staples (air or electric);
- optional: table saw;
- optional: router;
- optional: square;
A table saw helps to correctly and accurately cut the necessary parts, but all this can be done with a hand tool. The router helps to cut out the channels along which the runners move, but this can be done with a hand bit if you are very accurate and have great patience.
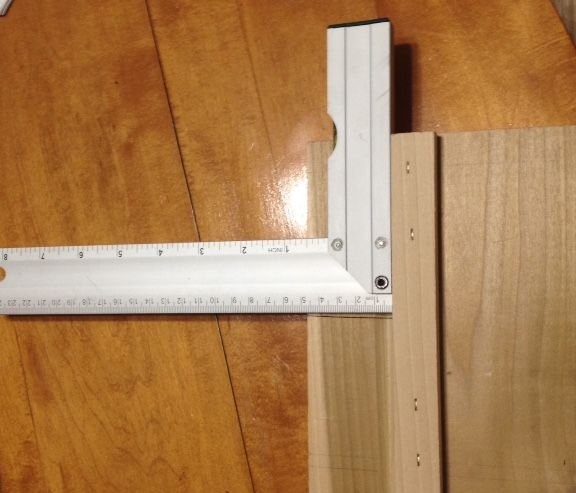
A perfectly rectangular piece of wood can be used to position the parts, but the square is definitely more accurate.
Step 2: Preparing Workpieces
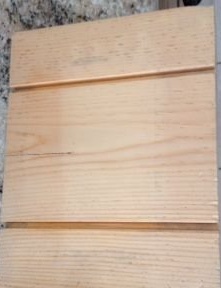
The slide consists of lower and upper parts with a narrow part (guard) on top. The lower part is sized to fit the size of your jigsaw so that it can be mounted on the saw table. The author's lower part is made of pine 20 mm thick., Size 22 x 28 cm.
The upper part is also a piece of pine 20 mm thick. and 14 x 19 cm in size. Dimensions are not that important, but wooden platforms should be cut to fit your desktop tool.
Along the entire width of the upper part there is an emphasis for the workpiece - a narrow piece of wood, opposite which the workpiece is laid during cutting. The emphasis of the author has a thickness of 12 mm., A width of 19 mm. and a length of 19 cm. It is recommended that the emphasis be square in profile with respect to the slide, for precise cuts.
For runners on the lower platform of the sled, a lot of material will be required. The author used a bar measuring 6 x 9 mm.and 28 cm long, which he cut in half.
The material of the guide runners should fit snugly against the channels that are cut out at the bottom. At this stage, it is better to make a mistake in a smaller size, since a too tight fit can be modified by polishing the platform channels. The fit of the guide runners should be tight, but easy to slide without hesitation in the slot of the guide channel.
Thus, the slide has two runners on the upper platform from below, which fit into the guide slots in the lower platform. The runners, as mentioned above, have dimensions of 6 x 9 mm. and 14 cm in length. They fit the slots in the lower platform, which are 6 mm in size. in width and 12 mm. in depth.
Step 3: Cutting out the grooves (channels)
Indent on the lower platform of 6 cm. On each short side. The dimensions of the grooves on the author’s product are as follows: length 22 cm., Width 6 mm. and depth 12 mm.
Using a router makes this a lot easier. A table with a router will make this work even easier and faster. Without a router, these channels can be cut using a hand chisel (tedious and not very accurate work). Make sure the marking lines are very accurate and the chisel sharp as a razor.
Step 4: Install the sliders (runners in the grooves)

Place the sliders in the grooves. They should fit snugly but are easy to glide. If the runners extend beyond the grooves at the top, they can be trimmed later.
Before installing the guide rails, place a few toothpicks in the grooves. This is required in order to make the guides protrude slightly above the surface of the lower platform. Leaving the runners in an elevated state, it is necessary to apply carpentry glue to the upper part of the runners.
Then carefully lay the top platform in place and let the glue dry. Wait at least two hours, but rather leave it to dry overnight. When laying the upper platform on skids with glue, do not forget about the right angle. This is best done using a square or piece of wood, which, as you know, is at an angle of 90 degrees at each corner.
Once the glue has dried, remove the toothpicks and place the upper platform on the lower one (the toothpicks will leave a gap between the guide and the bottom of the grooves to ensure the best glide.
Then the skids should be attached to the platform using self-tapping screws or a furniture stapler.
After complete drying, apply one or more layers of paste-like wax on the sides of the guide and on the entire lower part of the upper platform to further enhance sliding.
Step 5: Assembling the Carrier
When adding the top platform, make sure it has a right angle. The more accurate the angle, the better the movement of the platform.
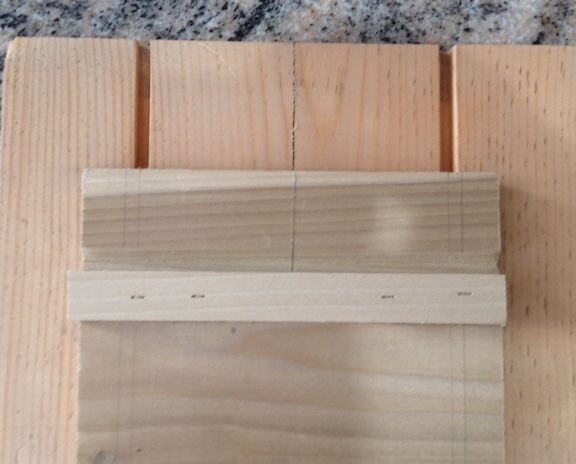
Finished skids consist of a lower platform with two grooves and an upper platform with two runners. The upper platform also has an additional recess and a guard (optional) extending across the entire width of the upper platform.
The fence is fixed last, to make sure that it and the saw are located strictly at an angle of 90 degrees.
Step 6: Installing the Guardrail
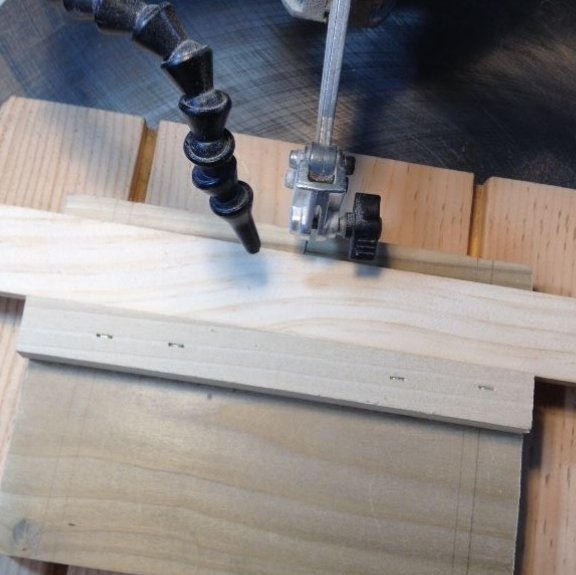
Once the rails are assembled, cut in the center of the bottom from the edge to the railing. This will show exactly where the cut will go so that it is possible to align the reference mark for the cut. This cut line allows you to align the railing on the slide.
To install the fence on top, align the fence along the v-shaped notch and secure only one end of the fence with a self-tapping screw or bracket. Using a square, place the fence at a 90-degree angle to the cut you made. Once it becomes perfectly rectangular, fasten the other end of the guard. Now drive a few more brackets or additional screws to securely secure the fence.
Step 7: Using the Sled
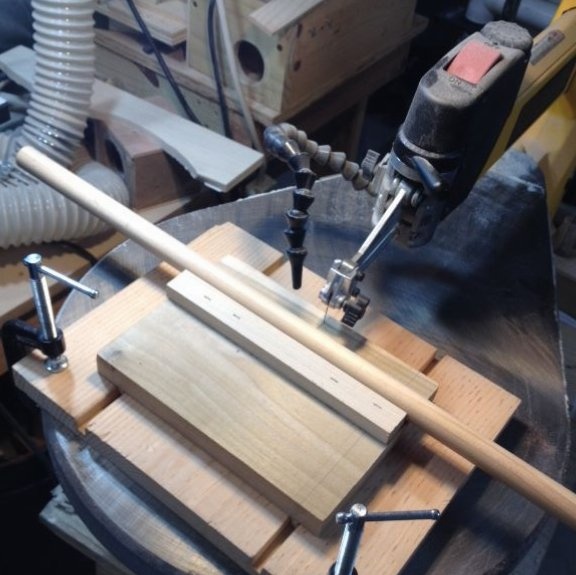
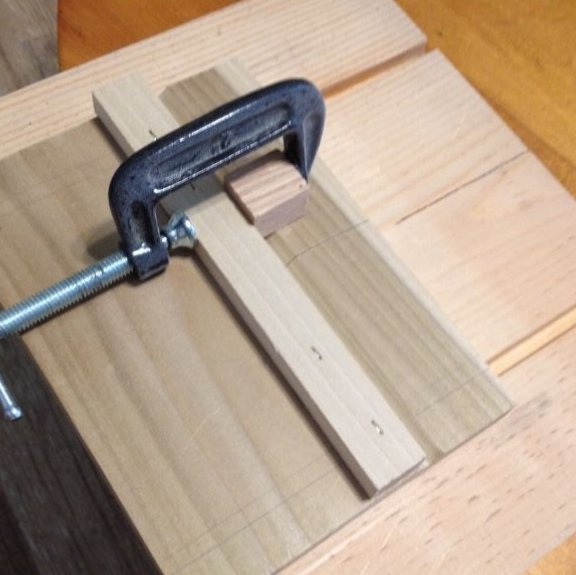
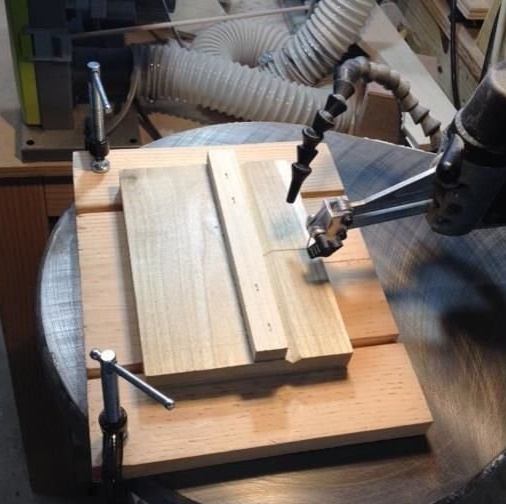
Attach the lower platform to the jigsaw table top with clamps, making sure that the clamps do not interfere with the movement of the slide or the movement of the material being processed. Small pieces of wood can help align the underside, as most jigsaw tables are not flat on the underside. Small wooden blocks often help prevent damage from tightening the clamps too much.
The sleigh will accommodate both round and flat material.
As an experiment, cutting a wooden handle into homogeneous discs that will be used for wheels for toys can be given.