Casket ... Silent keeper of various secrets, jewelry and valuables. They were born in ancient times, most likely as a small copy of chests. Since then, its concept has not changed, only manufacturing materials and shapes have changed. These products can often have a fabulous price, depending on what material it is made of, how long ago it was made, and many more other factors that directly affect the price.
In this article we will look at the example of the author of the YouTube channel Derek From Malden how to make a box yourself. Of course not expensive, but from this no less beautiful and necessary thing in the house.
For work, the following tools were used:
Circular saw, band saw, grinder, hand planer, screwdriver, chisel.
Step 1.
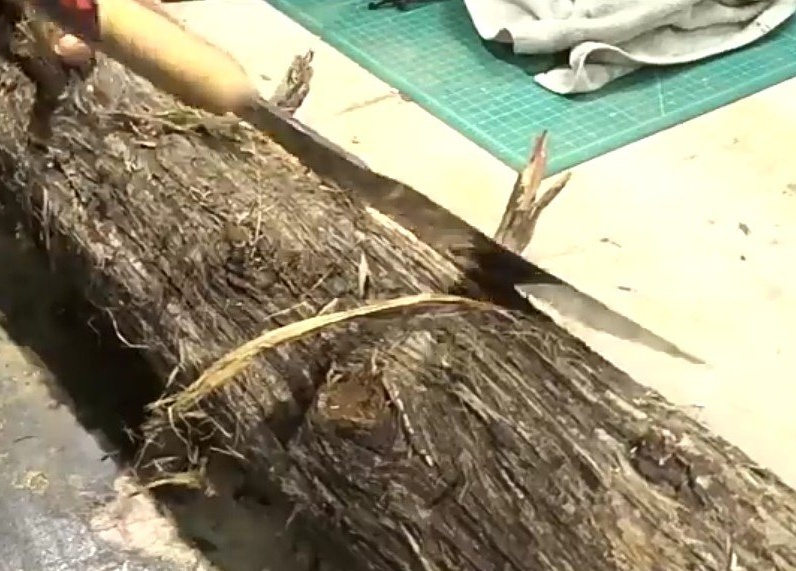
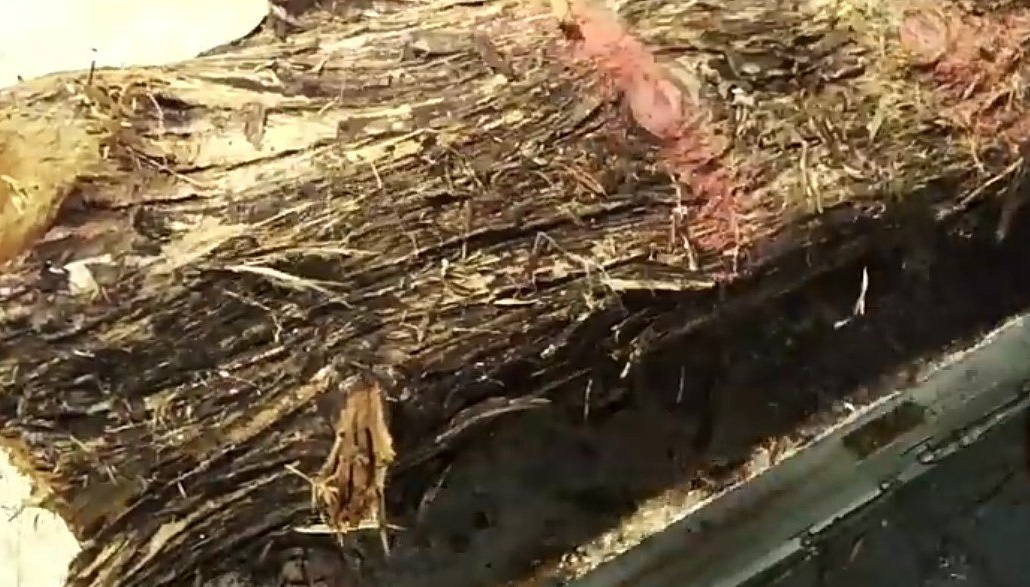
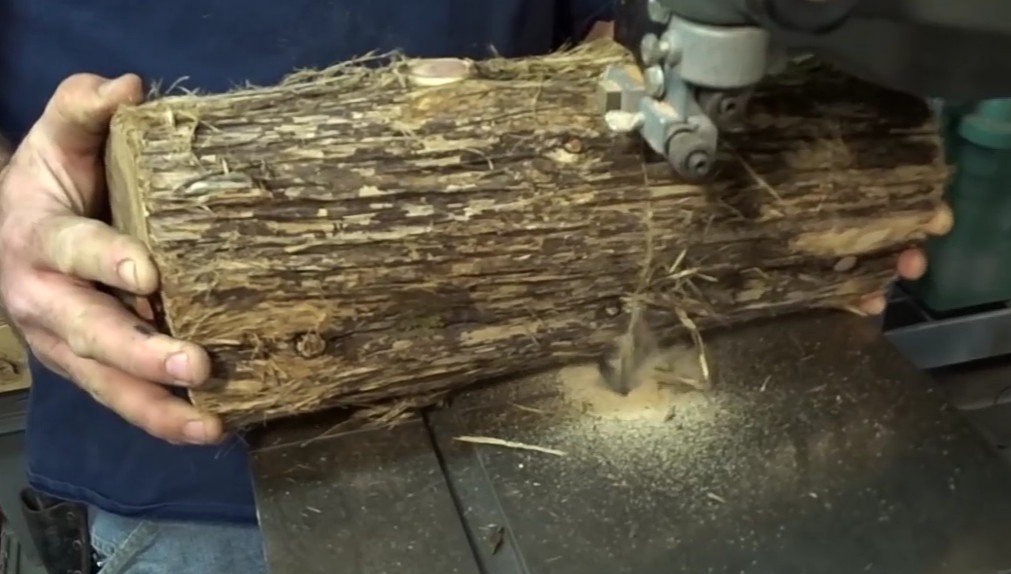
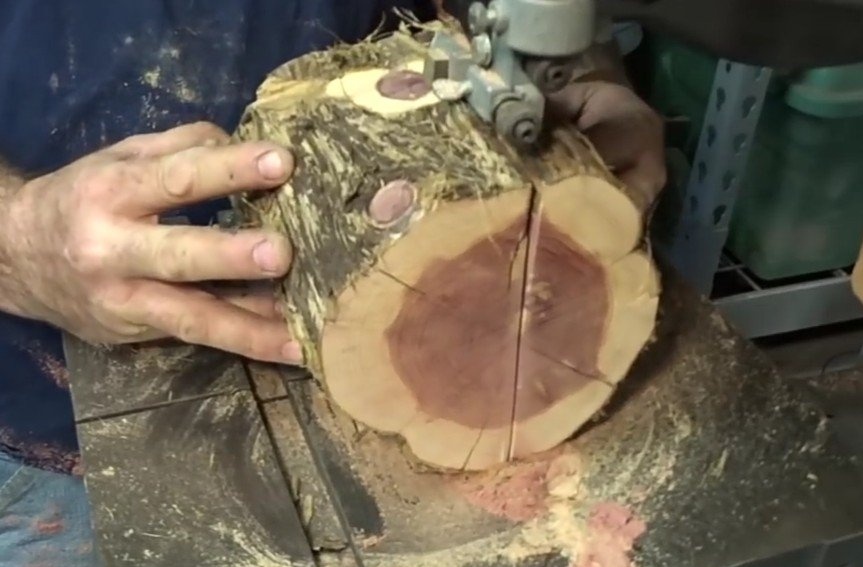
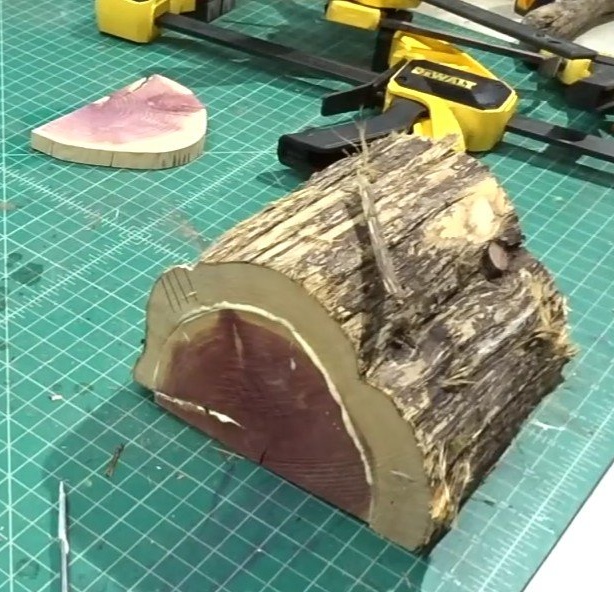
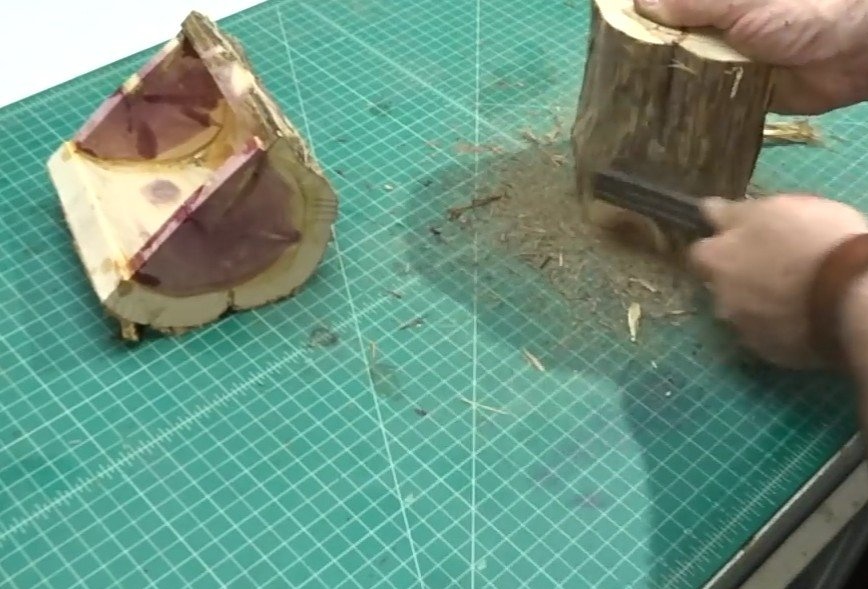
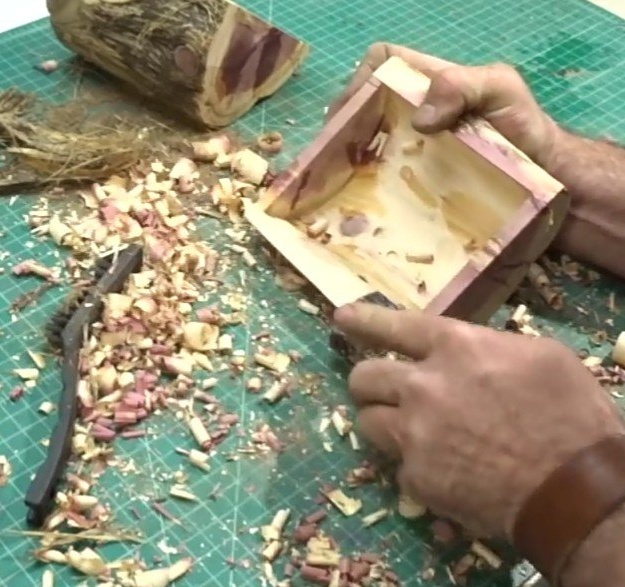
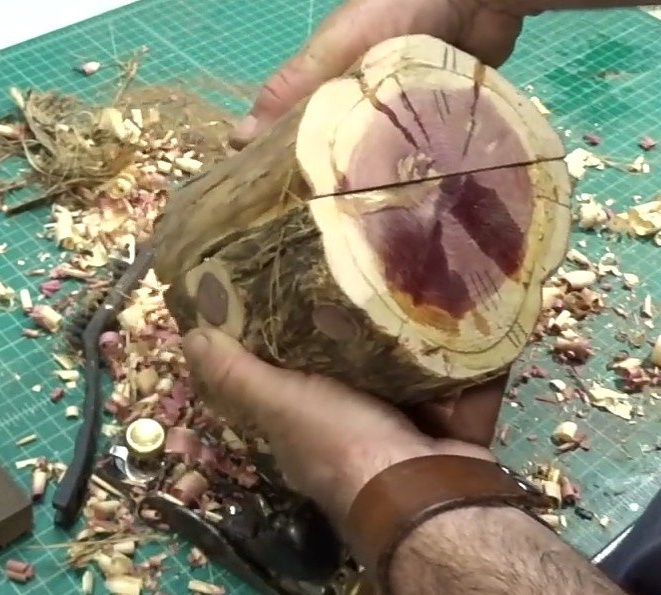
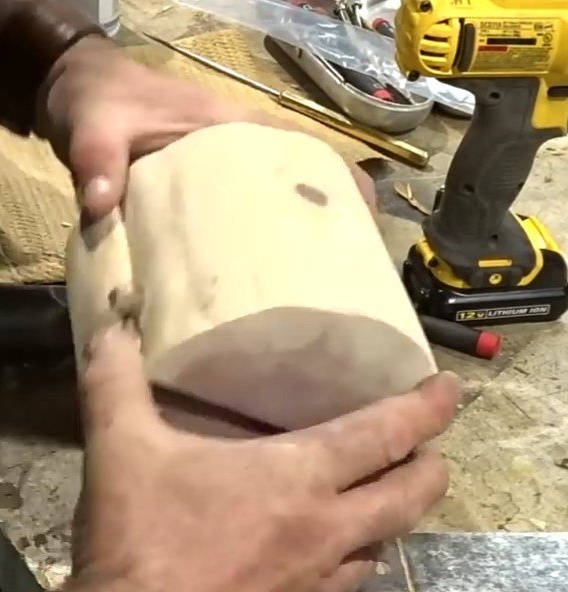
To make caskets, the author uses a tree trunk. So that in the process of manufacturing their products, with further work with this massive blank, nothing will interfere, the master gets rid of knots. With the help of a simple hand saw, he cuts off all the branches remaining on the trunk. Further, having decided on the size of the products, the author saws off the required size of the log blocks with a circular saw. Further, on a band saw, he dissolves these blanks along the trunk. It turns out two parts of one product. On these halves, a semicircle is noted at a small distance from the edge. Using the same ribbon, the middle of the block is cut out.
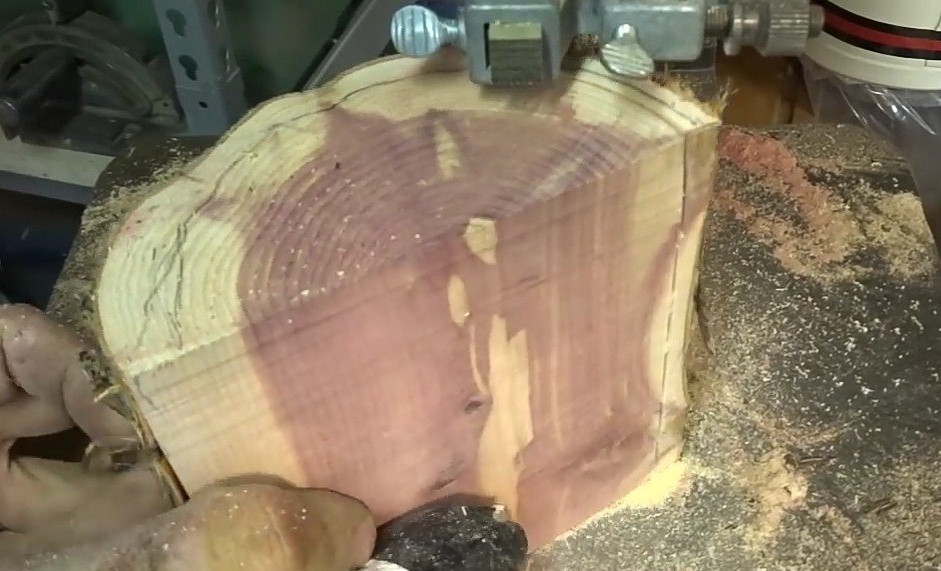
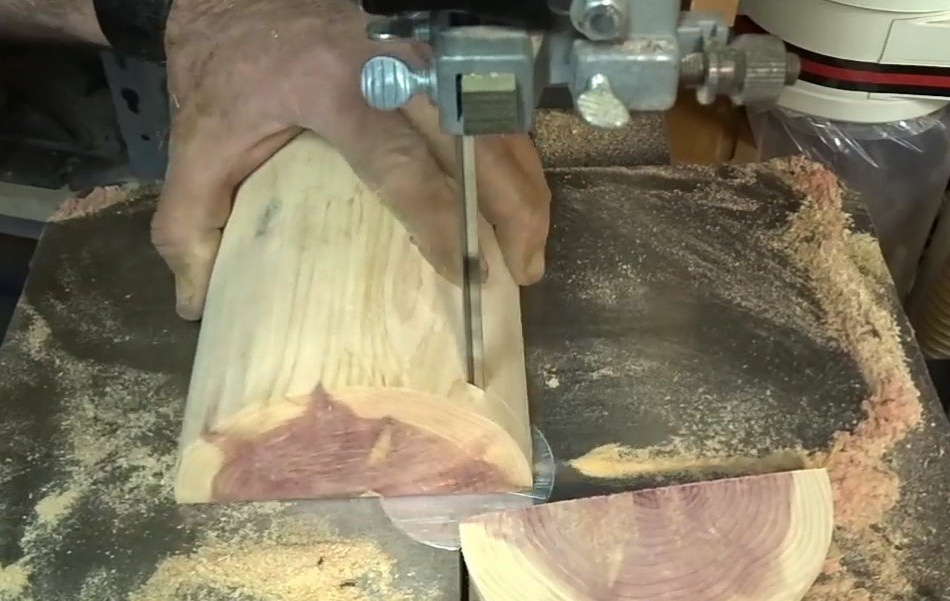
A part of a couple of centimeters wide is sawed from this middle, which will act as the side walls of the product. In this case, for yourself, you need to note which part of which core and from which base and from which cover. Otherwise, if you do all the stages of the work, there will be a need to check what suits what. But this is only if you will produce several of these products at once. Similar actions are carried out with all other blanks.
Step 2
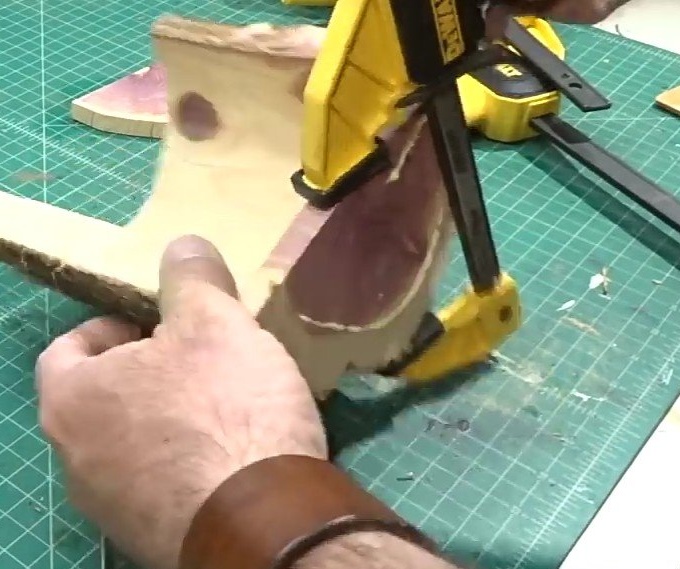
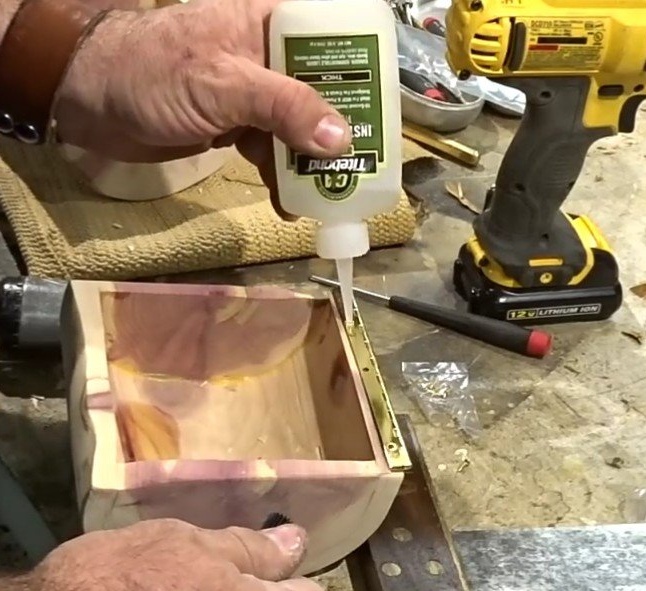
Details of the caskets, acting as sidewalls, now need to be fixed in half the blanks of the upper and lower parts of the future casket.For this, the author of the video used a special glue for gluing wooden surfaces. Having applied glue to the ends of the sidewalls, and to the bases themselves, all parts are tightly tightened together with clamps. Otherwise, the product will not hold well, or gaps will occur between the parts.
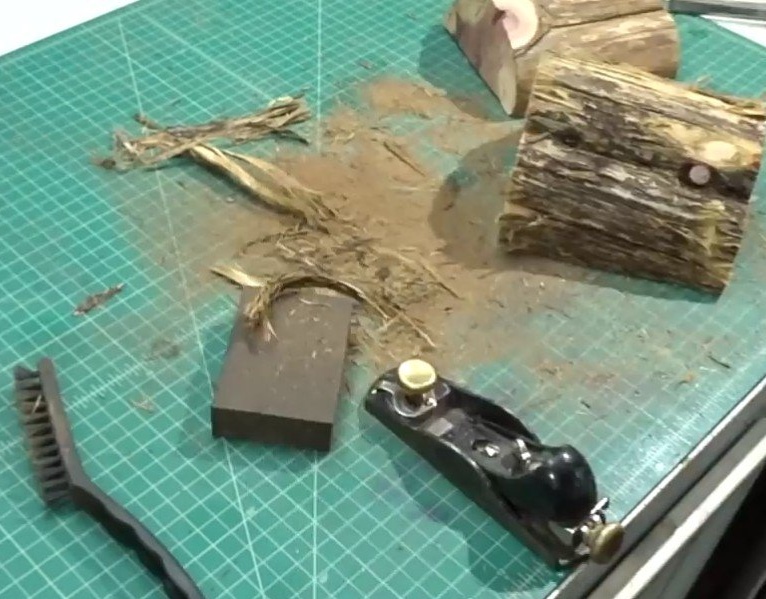
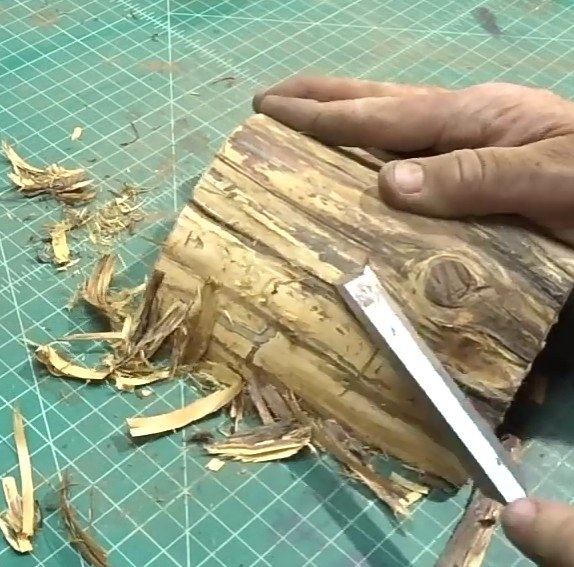
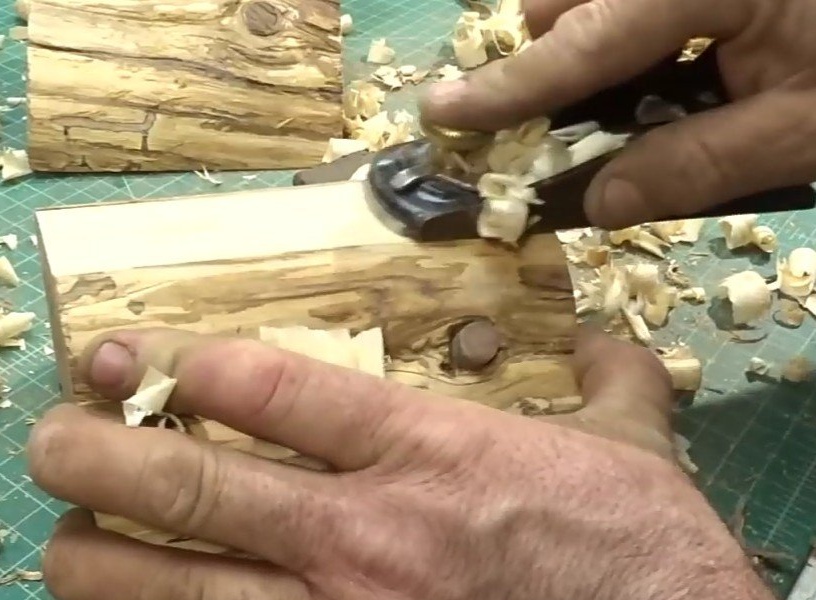
After the glue has dried, having securely fastened the parts together, the author proceeds to sanding the surfaces of the glued parts, using for this purpose alternately a knife, then a chisel and a brush with metal bristles. Next, with a small hand plane, aligns the edges of the workpieces, thereby achieving smooth edges in the parts. which will make it possible to tightly close the finished box. Also, the lower part of the wood is removed with a planer for those parts that will be the bottom of the caskets. This will make it possible to stand evenly on any surface. The final grinding is carried out on a belt grinder and an emery cloth of fine grain.

Step 3
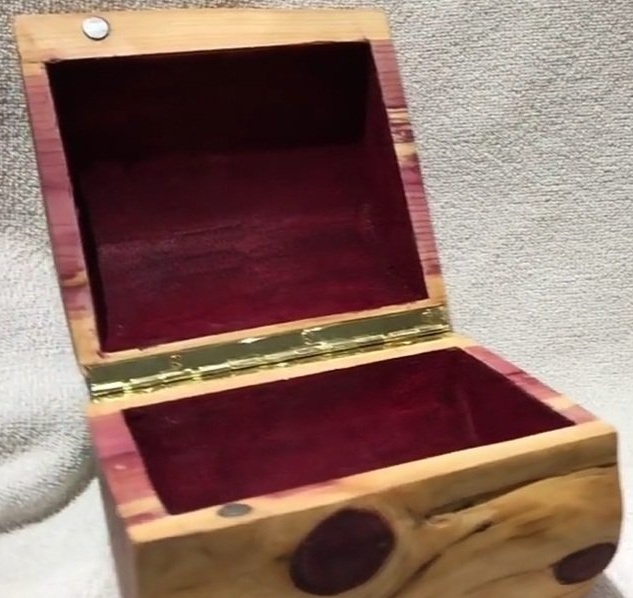
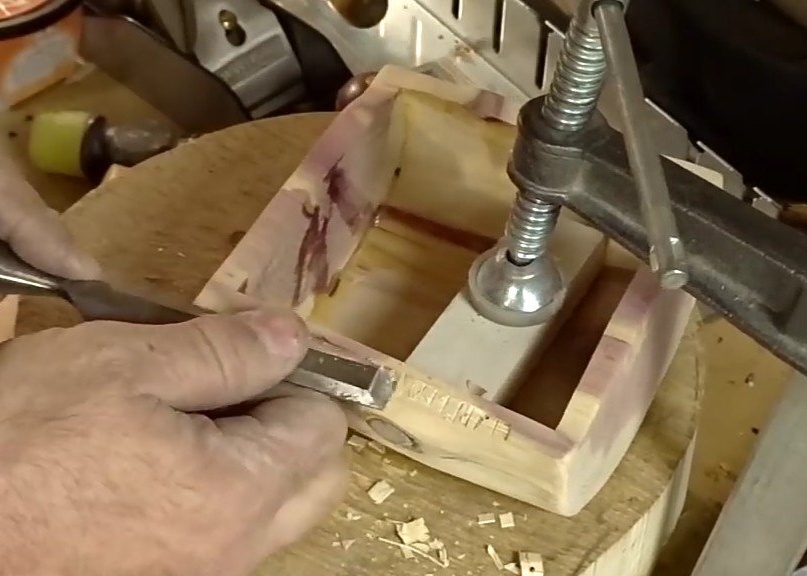
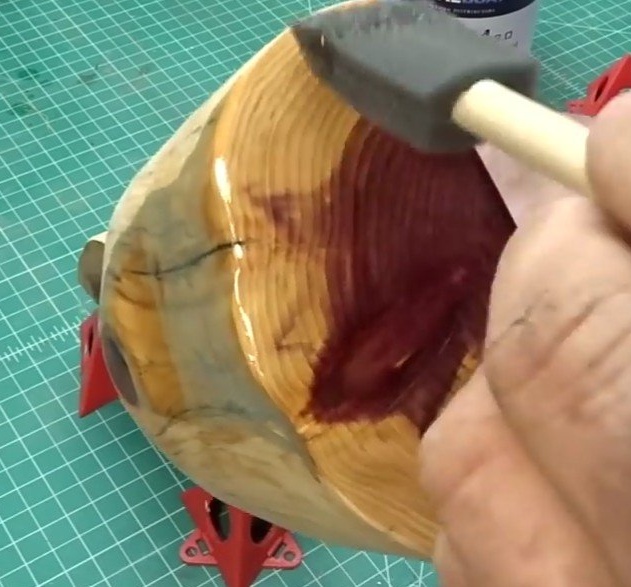
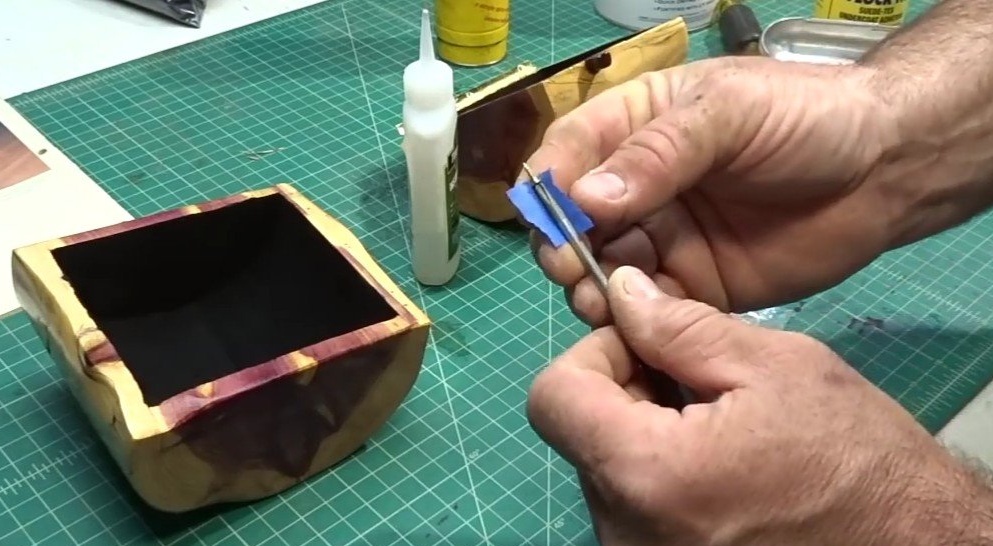
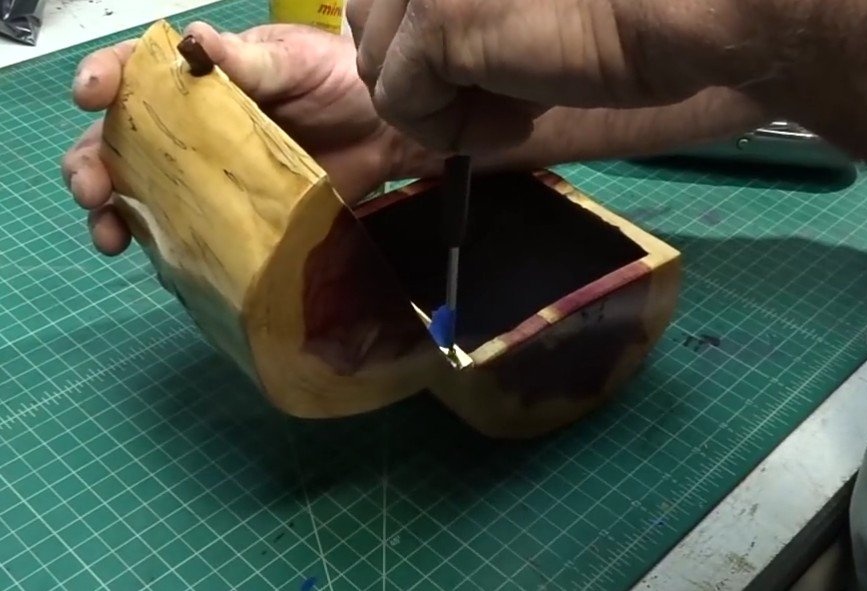
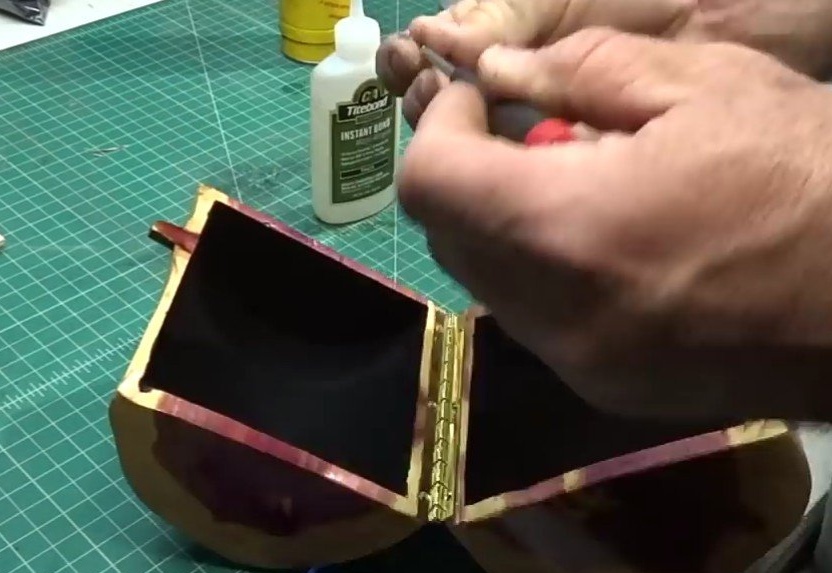
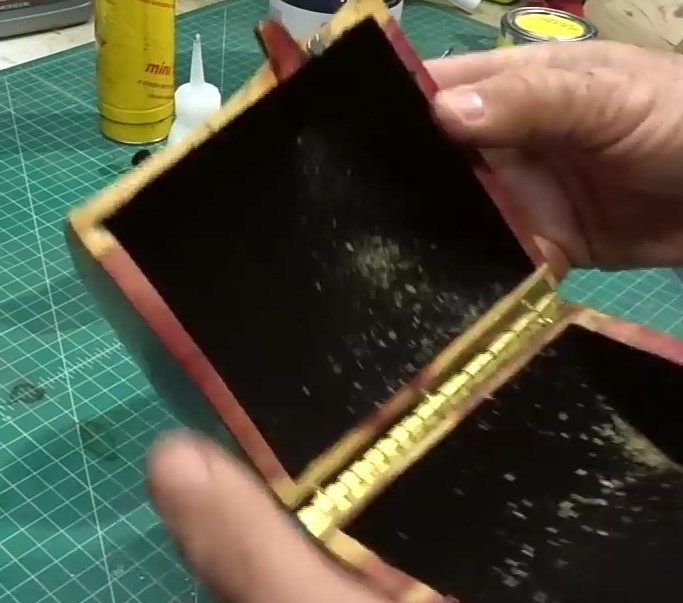
Now you need to install the hinges. For this purpose, in this particular case, piano loops are ideal. These loops are used in production. of furniture, as a hidden fastener. You can install them either immediately without prior preparation, or with a groove selection for a denser fit. That's exactly what the author does. Having outlined the location of the loop, the knife draws lines so that when sampling the groove with a chisel, it does not spoil the edges of the workpiece behind the line. Using glue, fixes a loop on the parts and outlines holes for screws. While this is only preliminary preparation, they will be finally fixed later. The external surfaces are rubbed with oil to give them shine and protection from adverse factors.
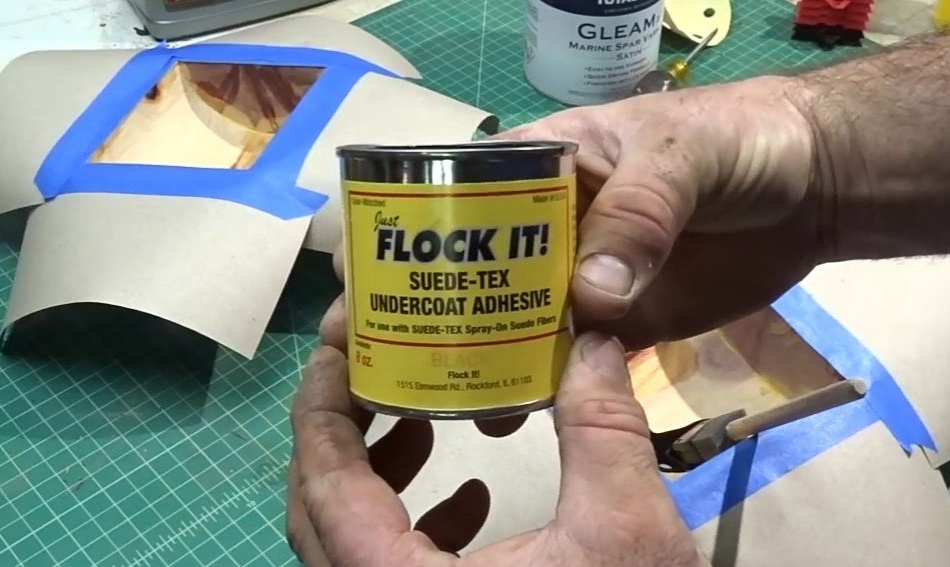
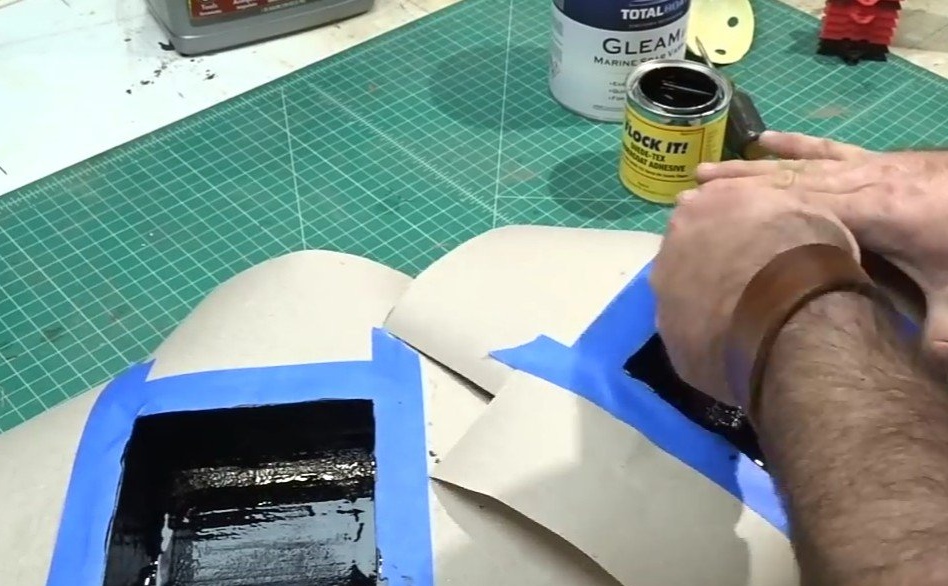
Starts painting the internal surfaces of the product. Masking tape secures the paper on all sides of the workpieces, so as not to stain the outer sides and ends. After drying, the paint makes the final installation of loops.
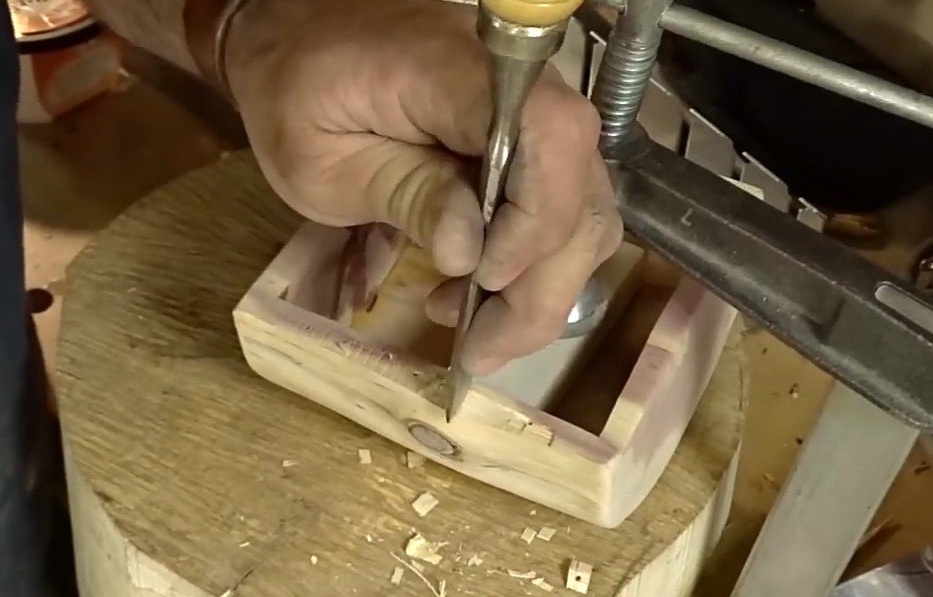

Step 4
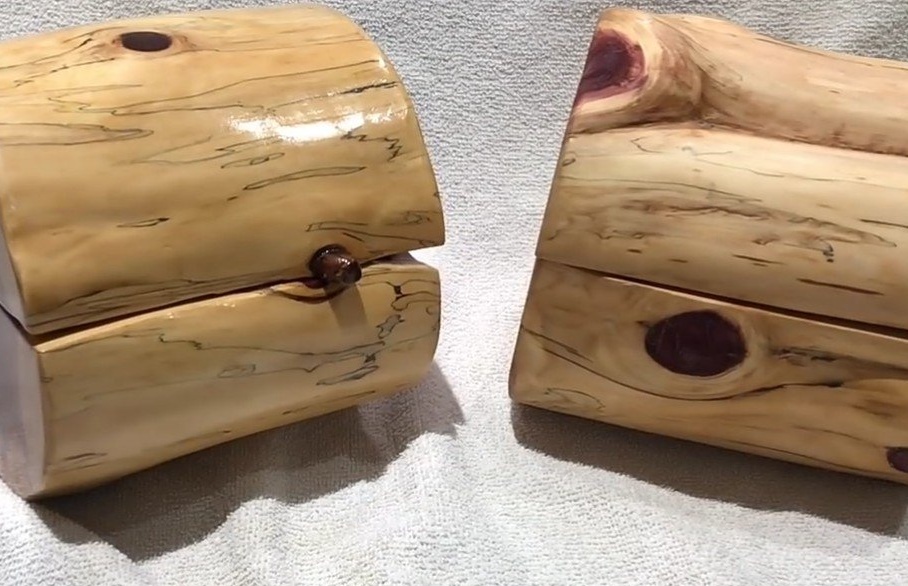
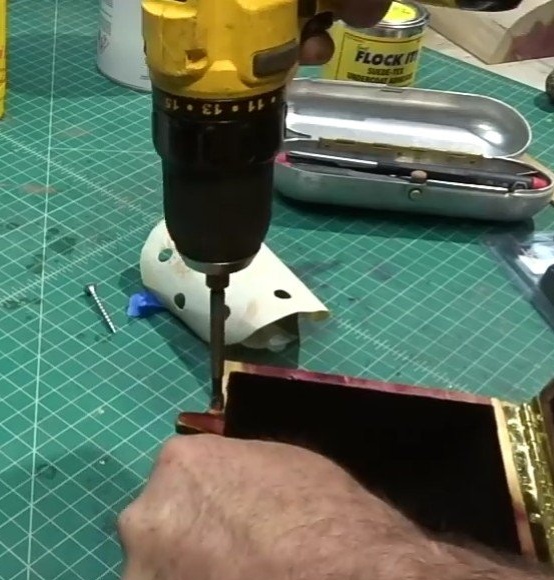
For a more tight fit of the lid to the base of the casket, the author uses small magnets, which are installed on both parts of the casket - the bottom and the lid. In the place chosen for installation, a hole is drilled to the size of these magnets. Places them on glue. After drying, a test drive is carried out. The box rests on the weight of the lid. As you can see, both parts are very close to each other

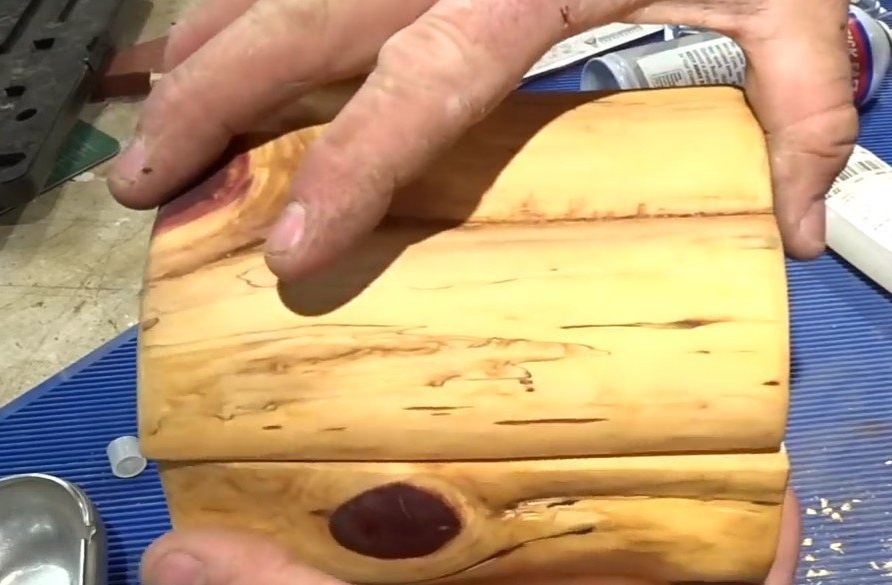
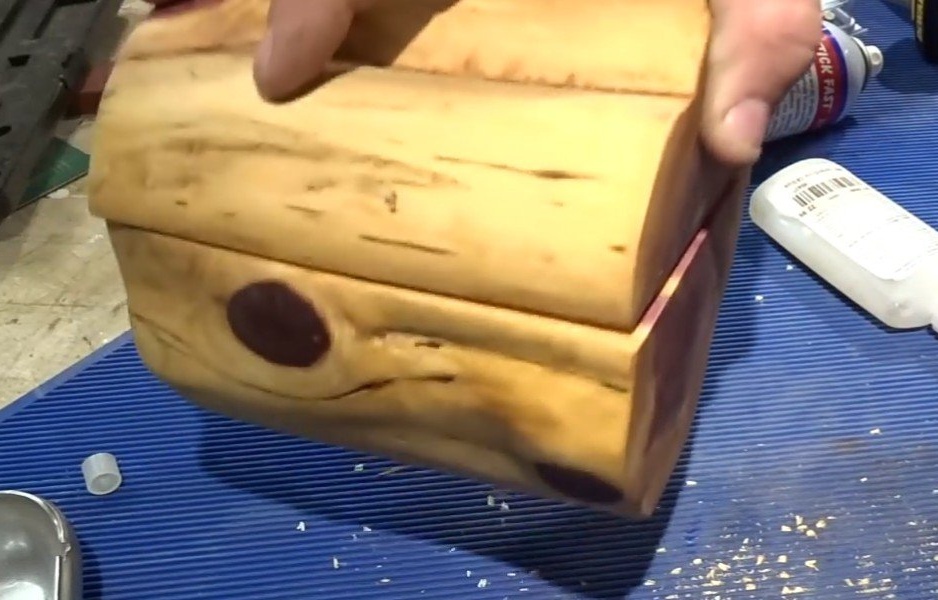
That's all. This is how ready-made samples of Derek From Malden's masterpiece look like. In my opinion, the caskets were interesting, and most importantly, unusual.