
Type in the search how to make the “Drilling Machine” yourself and you will find hundreds of home-made options for making a drill stand. All of them lack only one thing, this is a way to control the rotation speed of the drill revolutions. This article will cover a cheap, simple, and effective way to add control of drilling speed. This will protect the drill from overheating and increase process control.
Usually, friends in the manufacture of such racks simply add a two-position switch and that’s all. It is clear that no one wants and is not going to change the design of the drill.
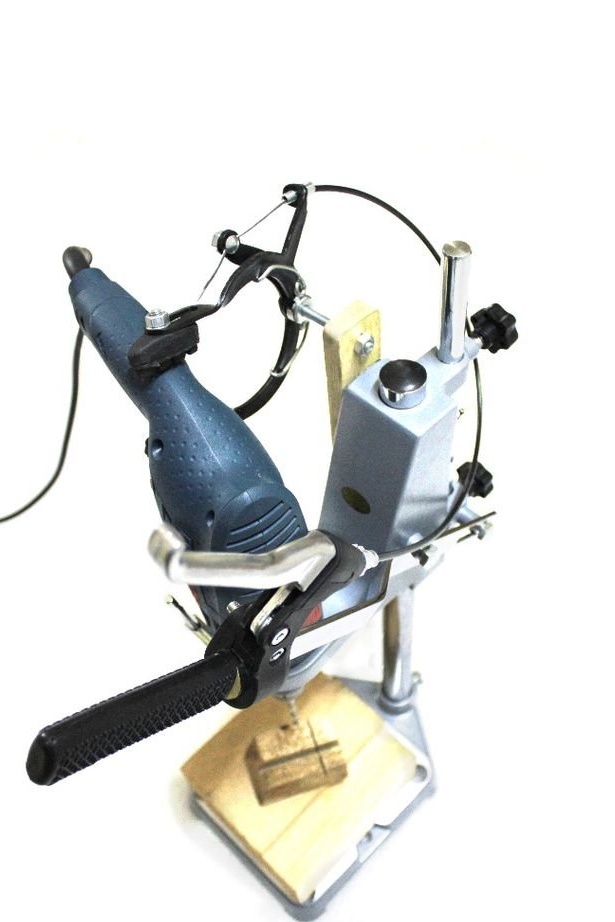
So, we will consider together with the author how to do this by modifying the Chinese manual stand for the el-cheapo drill with a simple bicycle caliper brake mechanism.
Step One: Materials and Tools Required

Here is what you need:
- A stand for a hand drill, preferably home-made (it is easier to make changes to the design);
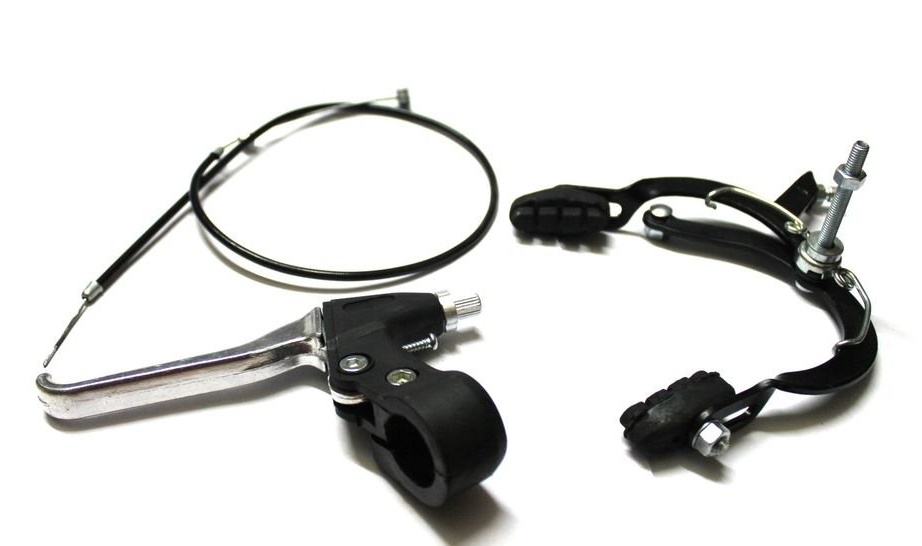
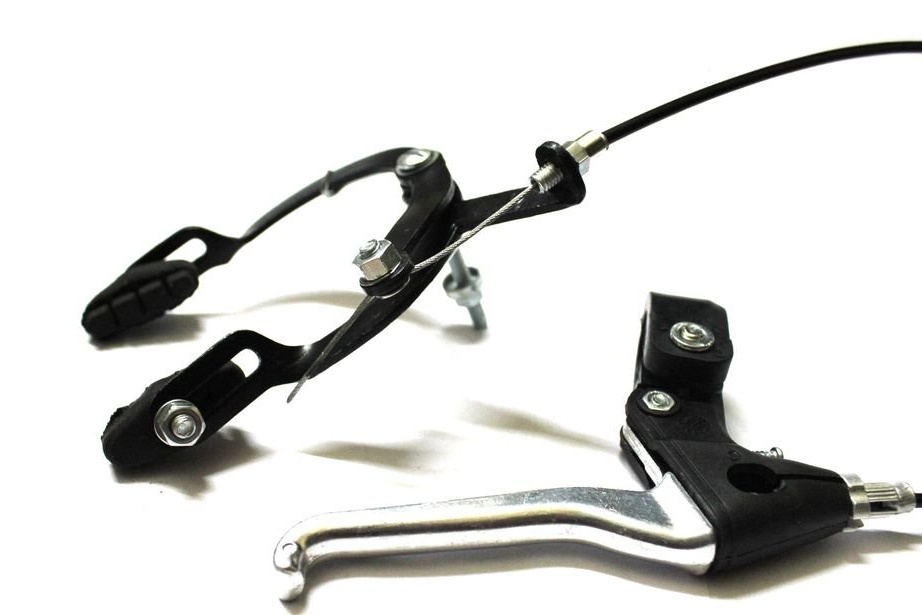
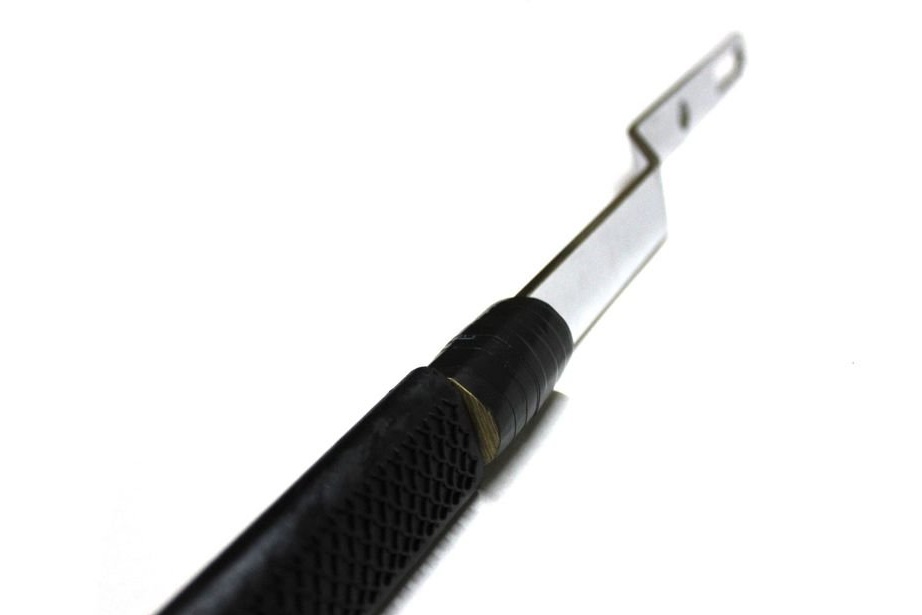
- Lever arm cycling brakes;
- a support from a bicycle brake;
- a bicycle brake cable with a coating, about 1 meter long.
The coating should have a corrugated metal crimp at both ends. In addition, the cable should end with a cap at one end;
- A strip of wood, acrylic, metal or any other material that you like to provide rotary support for caliper brakes;
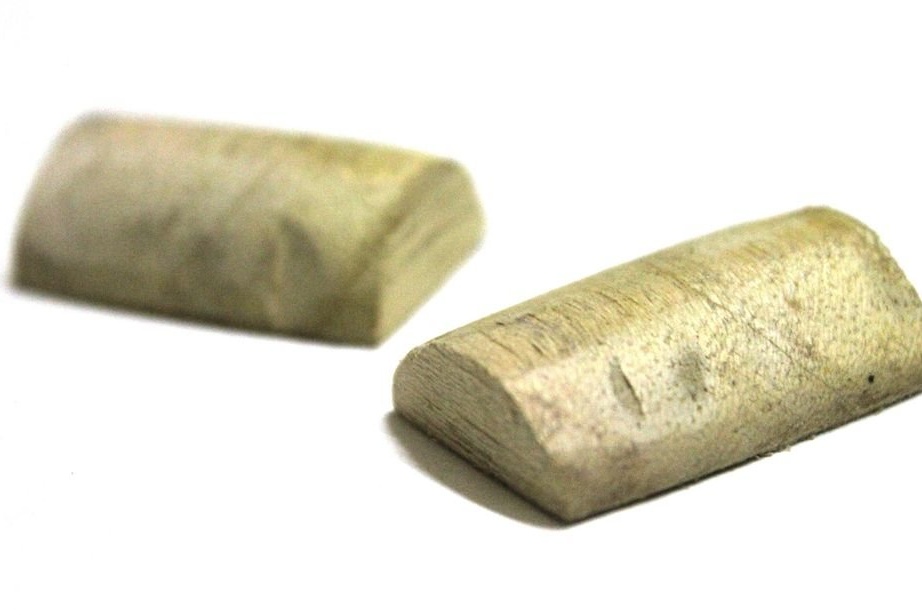
- A small wooden block or cork from a bottle of wine;
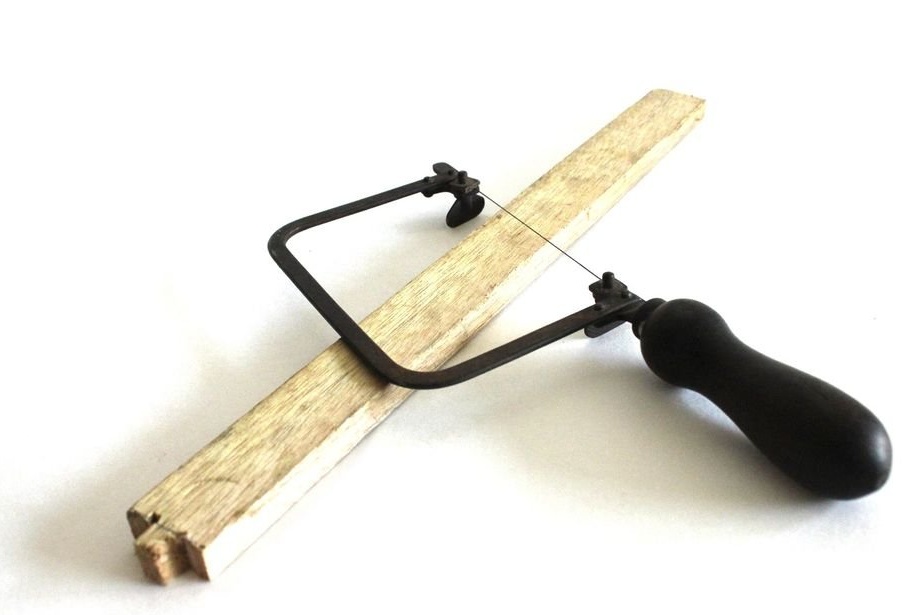
- Some tools: a hacksaw, a drill, double-sided tape, a screwdriver and other improvised tools;
Step Two: Connecting the Brakes
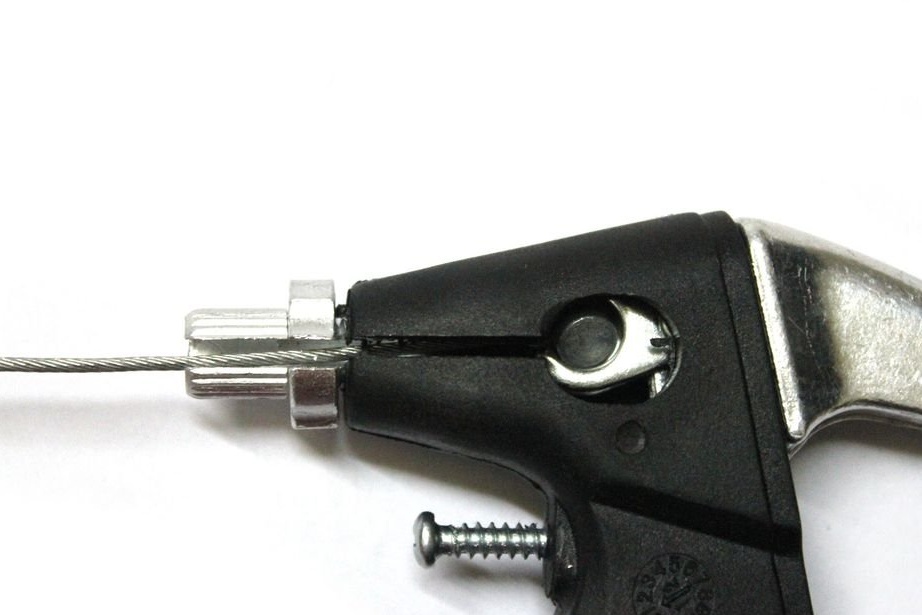
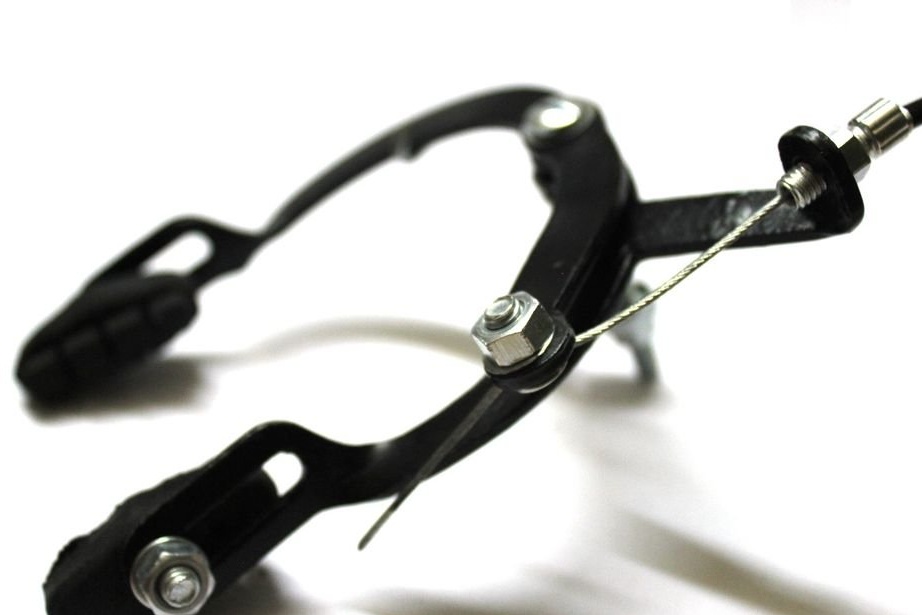
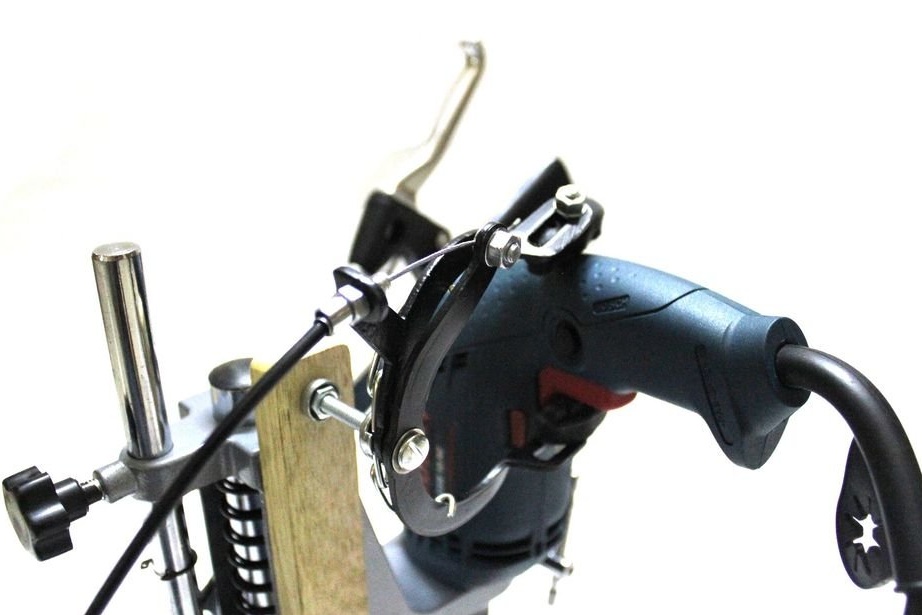
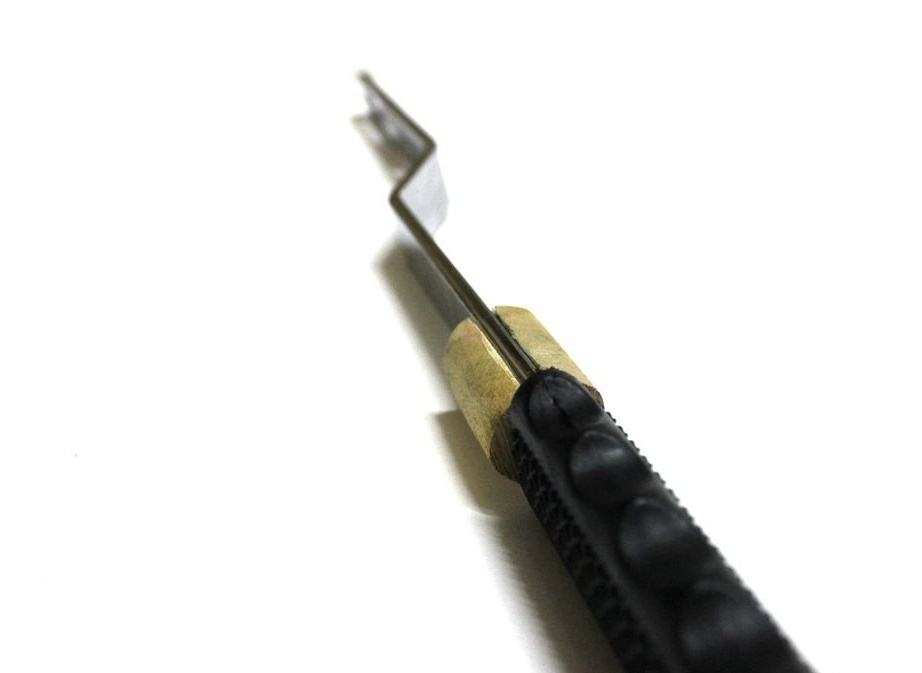
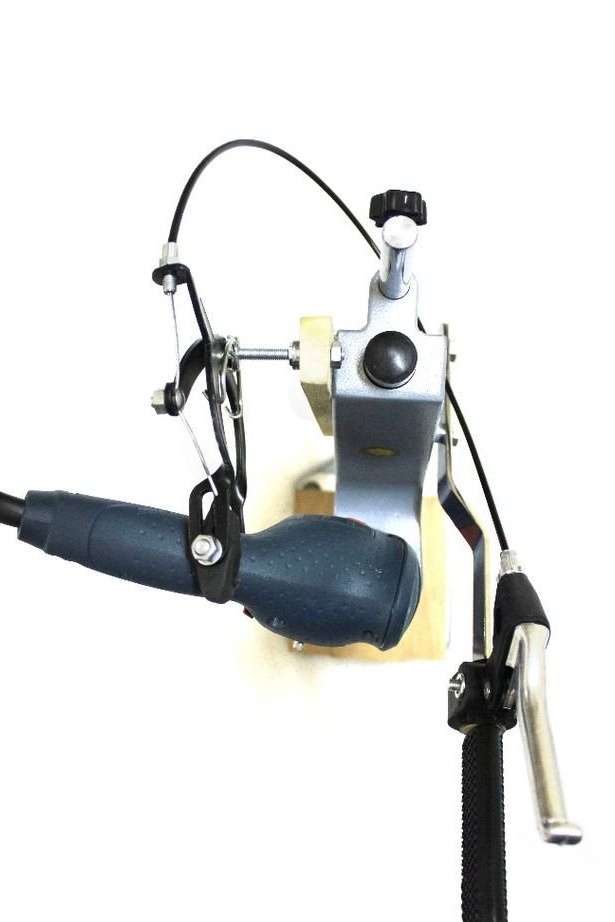
Take the brake lever and turn it over. On one side there will be a round hole with a slot to the adjusting screw. Turn the cable adjustment screw so that its cut coincides with the slot in the housing. Also adjust the cut of the nut so that it is in line. When all three parts are in place, you can easily insert the plug at the end of the brake cable into the holder, in the middle of the round hole. Then lay the brake cable through the slot through the hole of the cable adjustment screw, as shown in the second image. Then tighten the nut and screw. After alignment, the cable will not be able to slip out of its slot.
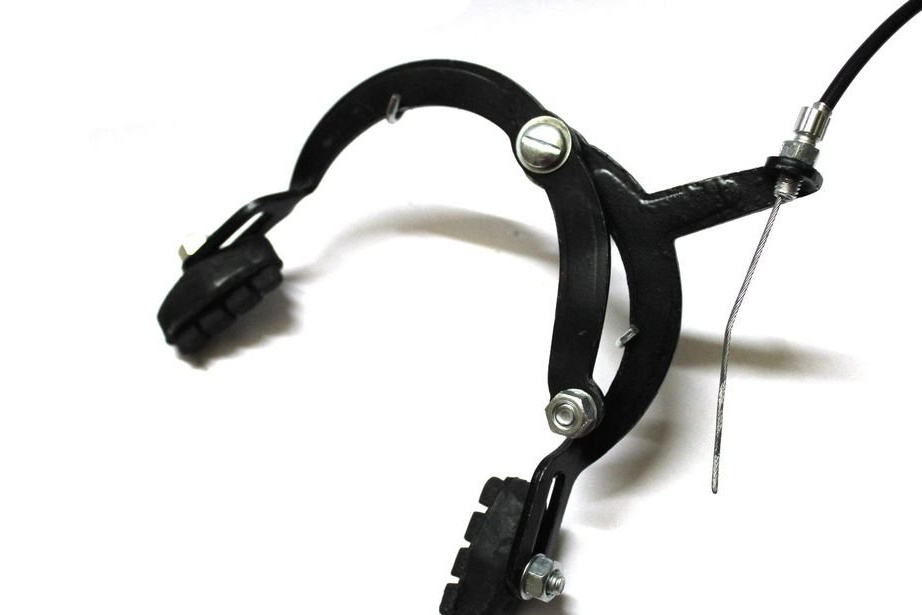
Place the sleeve over the cable.Take the other end of the cable and pass it through the adjustment cylinder, as shown in the third image. Unscrew the adjusting cylinder to the maximum. Pull the cable as far as possible and lightly press the brake pads to each other. The distance between the platforms should be approximately equal to the width of the handle of the drill, including the start button. Attach and tighten the free end of the brake cable to the anchor bolt. Relieve the pressure from the brakes and they must maintain their position. Depress the brake lever and the caliper brakes should simulate movement.
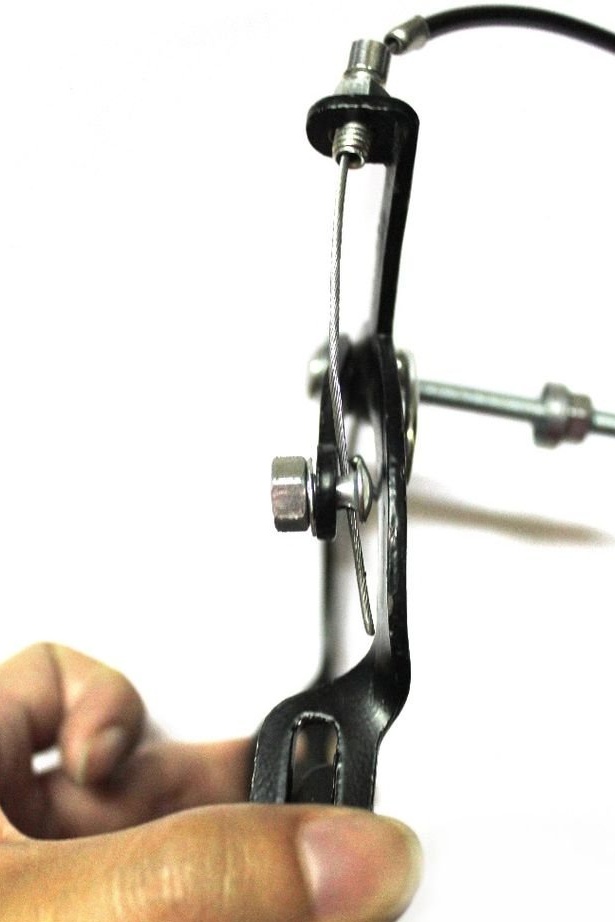
The reason why the author held the adjusting screw of the brake lever cable all the way, and the cylinder for adjusting the brake caliper mechanism looser, is a more accurate adjustment. In Bowden cables, lengthening the body tightens the cable, and shortening the body weakens the cable. Thus, if we want to reduce the clearance between the brakes, loosen the brake lever adjustment screw. If you want more clearance, turn the brake caliper adjustment cylinder in / down.
If you encounter any difficulties in performing this step, there are a lot of videos and information on how to connect bicycle brakes on the network.
Step Three: Attach the brake lever to the handle of the drill press

If you have a cylindrical handle, you are relieved of a headache. Just wrap the handle with electrical tape to the desired diameter. That is, until the handle body becomes thick enough to fit the brake lever. Put on the lever, tighten it, and you're done.
If you have a flat handle, like the author of this modification, then read on. At first he made two halves of the cylinder from wood, but then it turned out that you could just use a piece of cork, which greatly simplifies the task.
Take a bottle of wine, pull out the cork and cut it in half.
Be sure to drink the wine and be happy for yourself, for how smart you are!
If you do not have a cork from a wine bottle, then you are not a drinker, which is also very good. But then you have to work and make the necessary cylinder of wood. Read on to find out how the author did it.
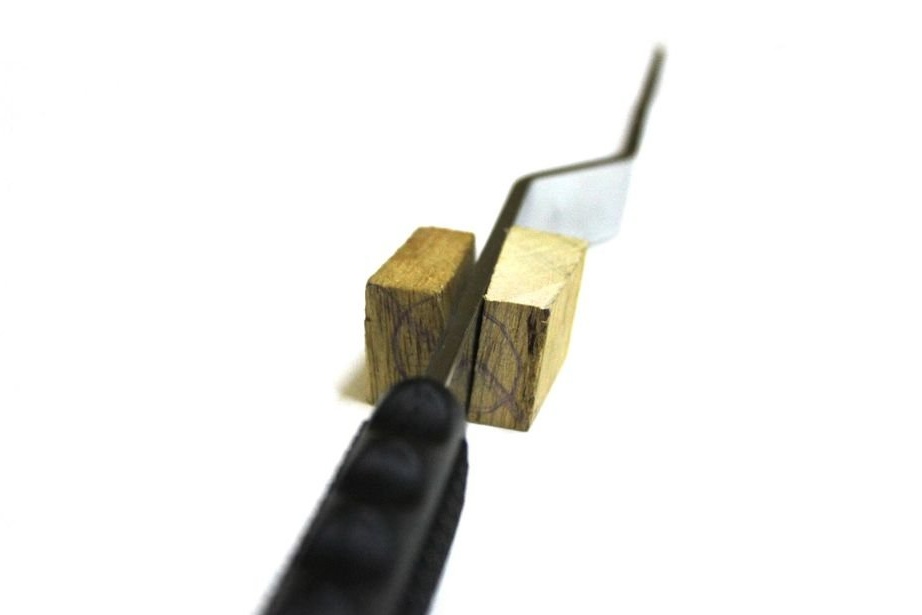
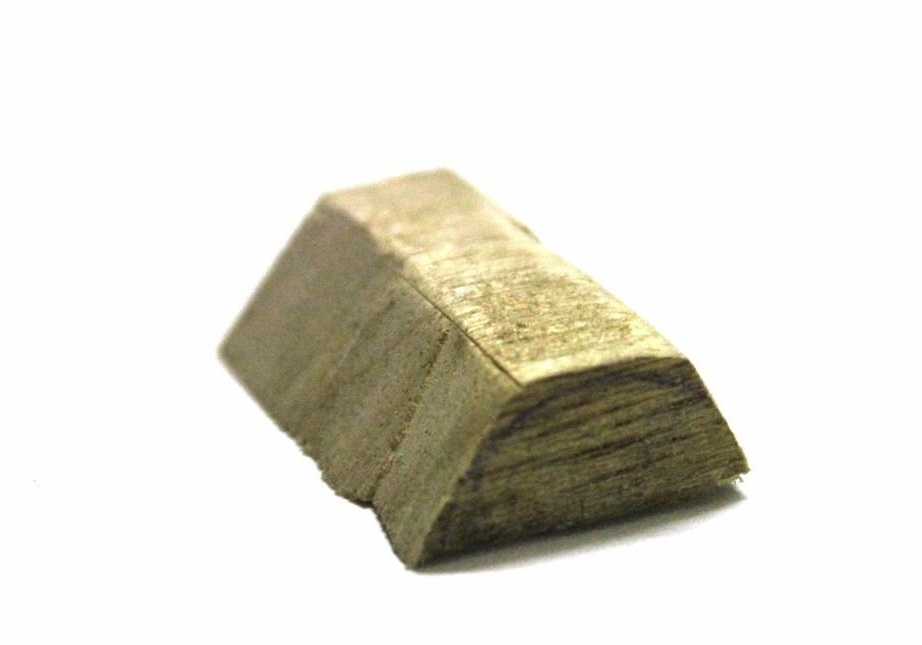
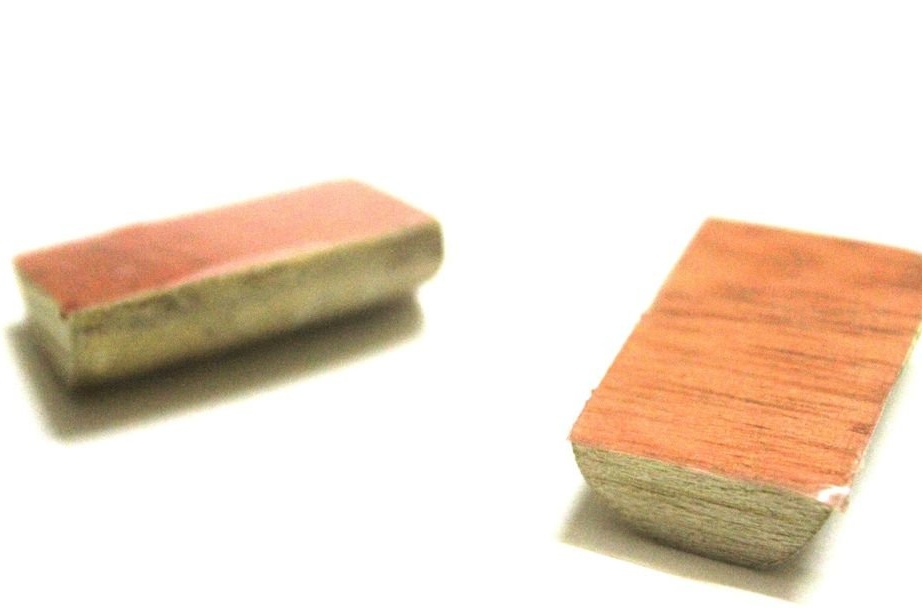
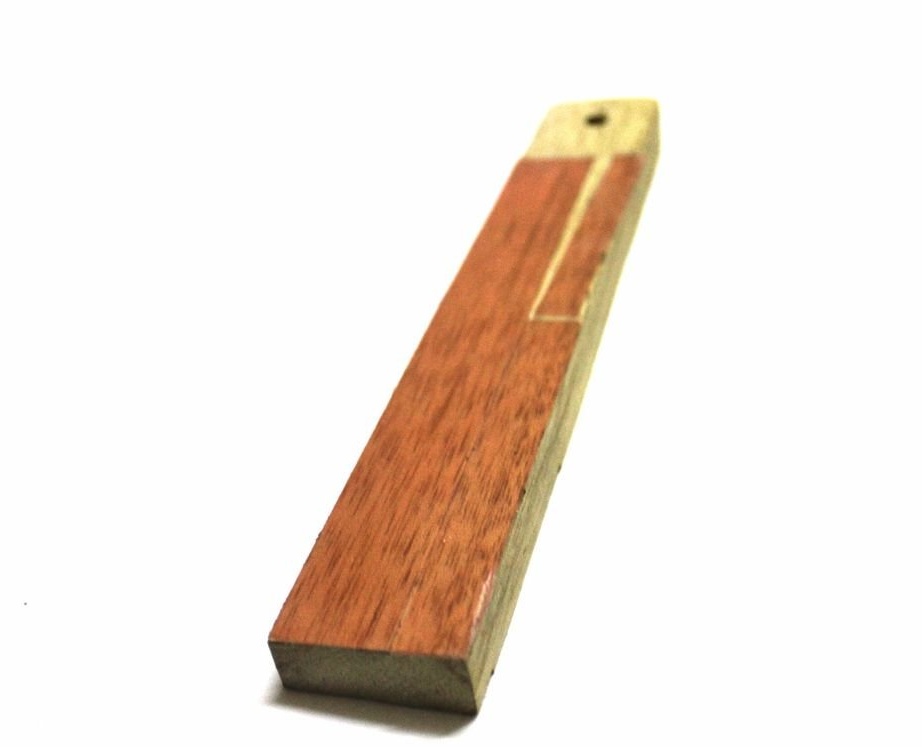
First you need to measure and cut off two pieces of wood, slightly wider than the handle. Then the inside diameter of the brake handle is measured. This size is transferred to the bars. Then, with a hacksaw, the bars are cut in the shape of a 3D trapezoid, as close as possible with the drawn semicircles. Using emery paper, this trapezoid must be turned into a smooth half-cylinder. Then, using double-sided tape, these cylinder halves must be glued to the handle. After these manipulations, the entire structure is also covered with electrical tape to the required diameter. Then the brake handle is put on the handle.
Fourth step: Attaching the support for the brake caliper bolt
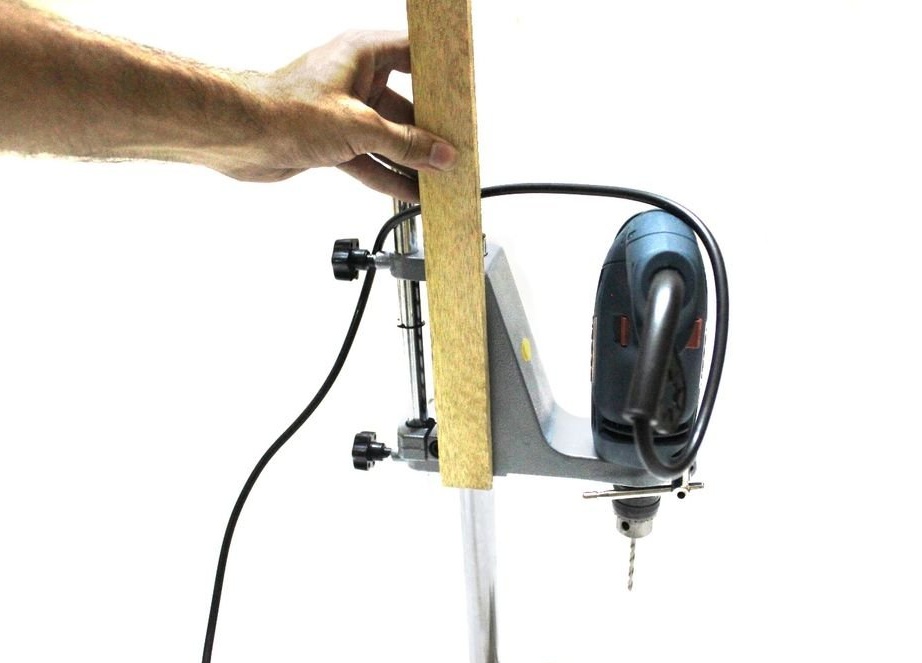
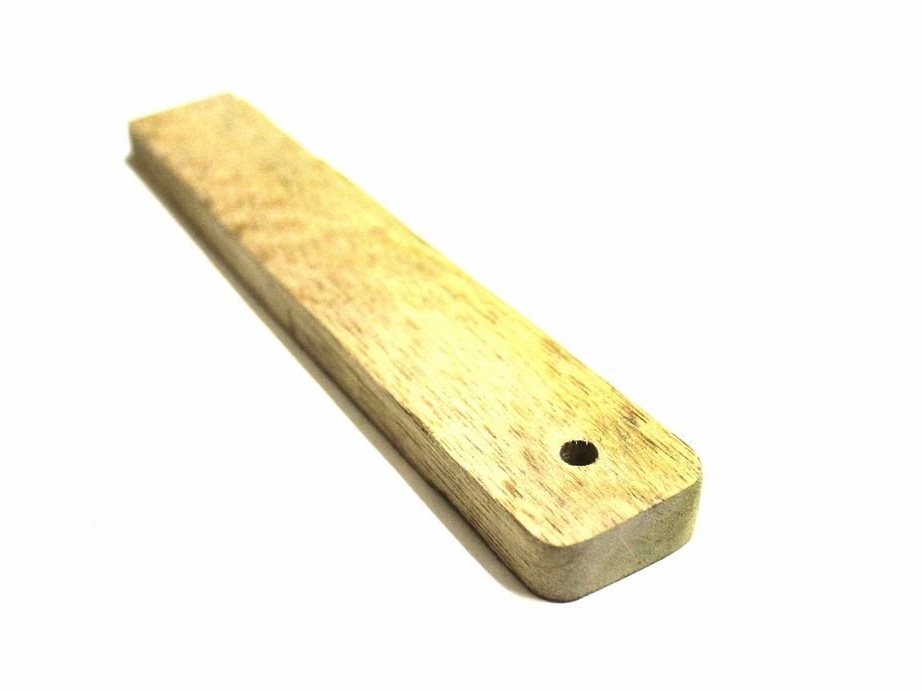

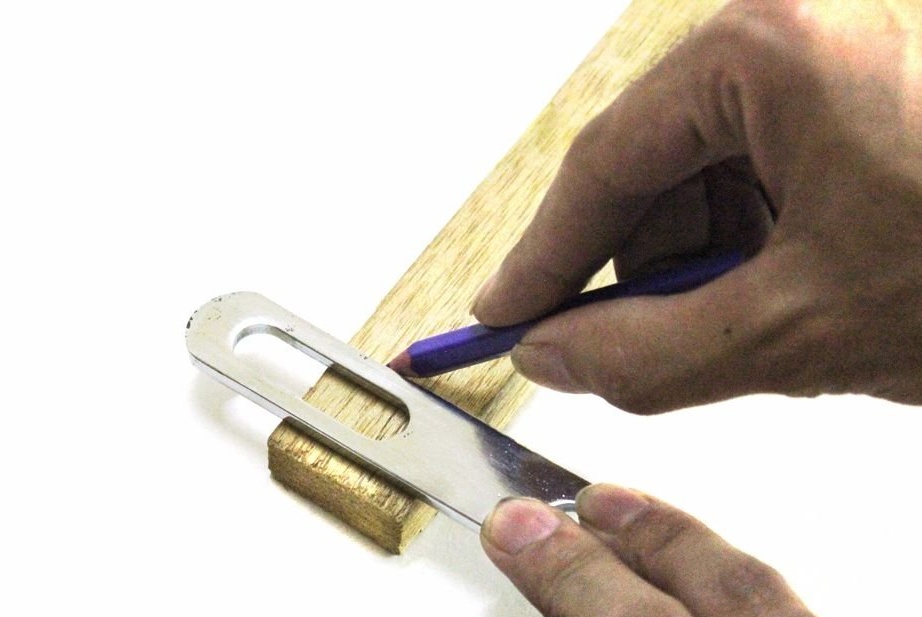
Take a strip of any durable material: wood, acrylic, metal, anything. Measure its estimated length and mark the point through which the swivel bolt will be attached.
Cut a strip of the required length and drill a hole corresponding to the bolt size at the point you marked.
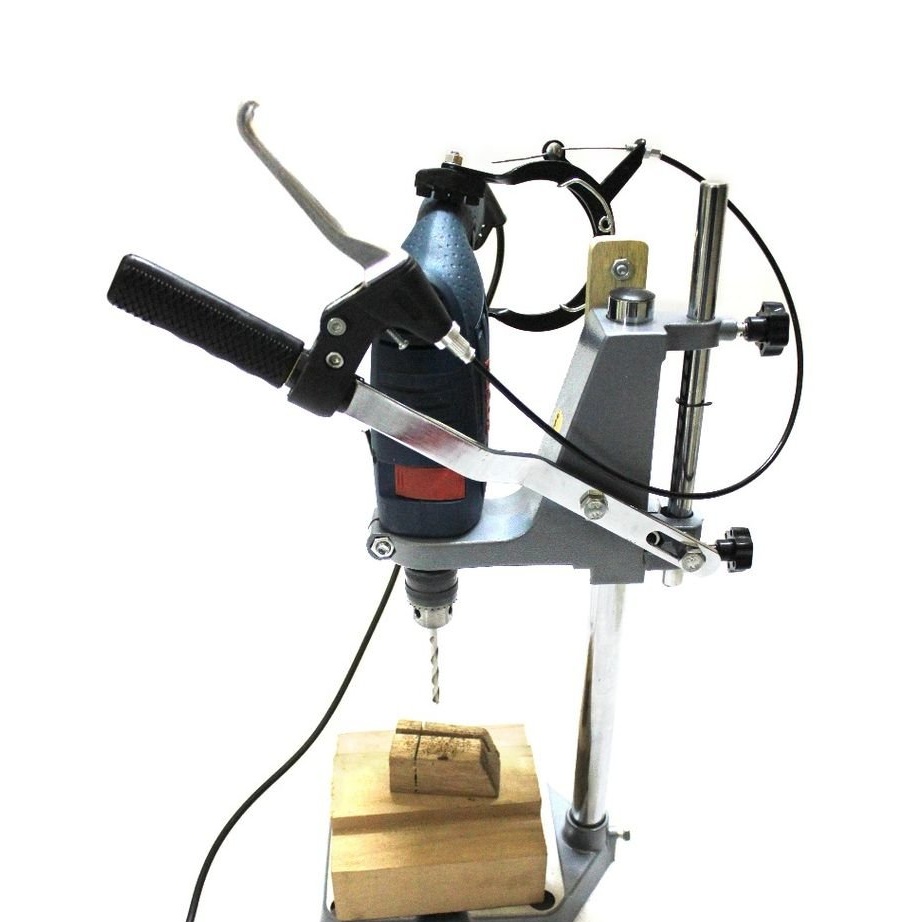
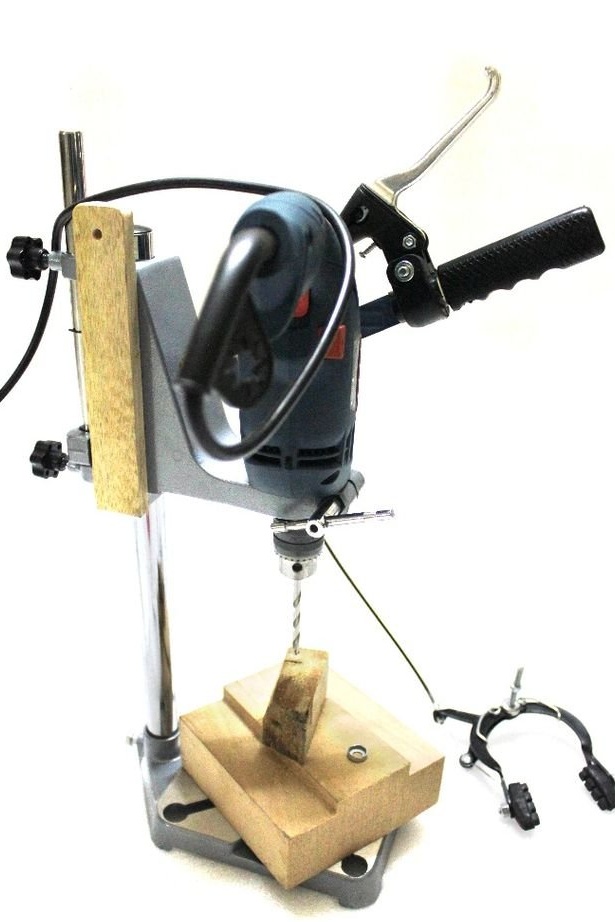
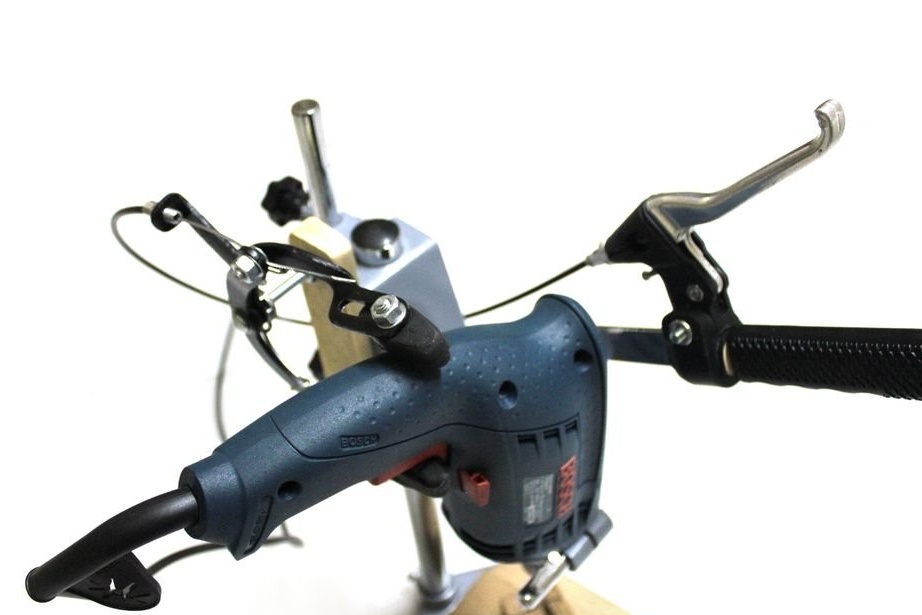
Find a way to stick this support to the body of the drill press. As an option, you can drill holes and use nuts and bolts, or use double-sided tape (there is hardly any effort on this support), or use superglue. Push the pivot bolt through the hole just drilled and tighten with nuts on both sides. Deploy the brakes and drill so that when the brake jaws close, the button is pressed. The last image shows how to place and configure it.
Step Five: It remains to set everything up and practice
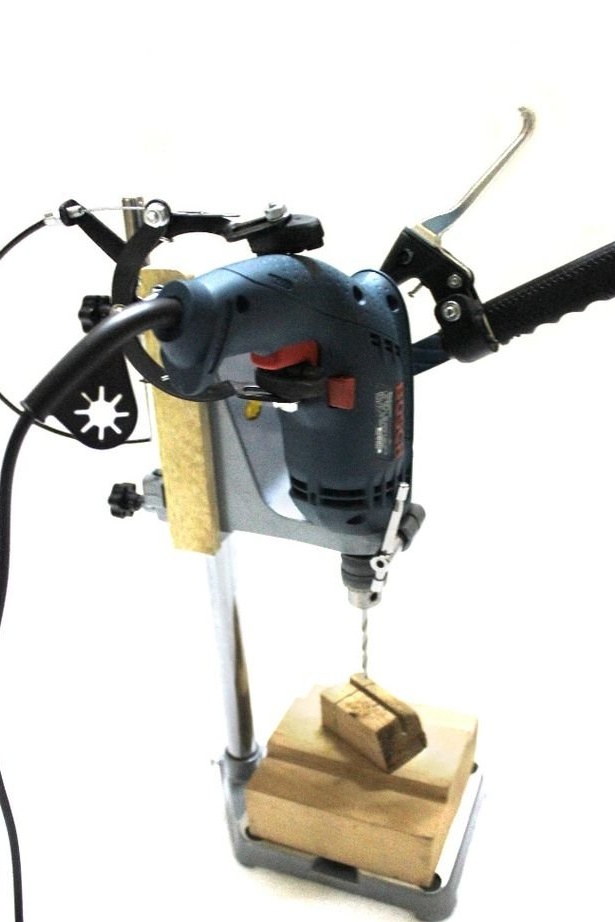
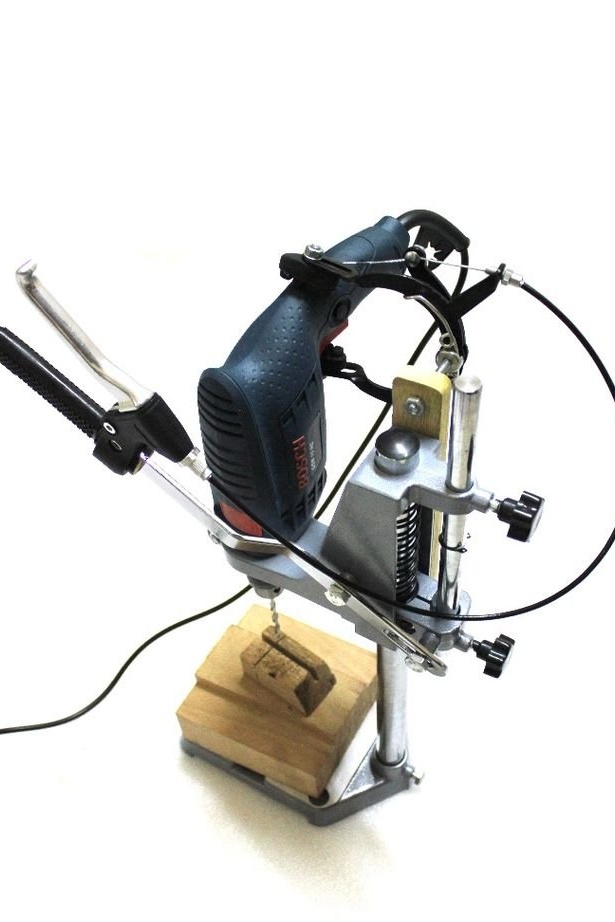
Despite everything that the author was so afraid of, this design turned out to be not at all flimsy and with its help the drilling speed is very well controlled. It turned out very good feedback. It seems that the drilling button is really pressed by hand.
The brake lever can also be installed in a different orientation. The author decided to install it on top of his pen, but you can also rotate it and place it under the handle or side. It all depends on personal preferences.