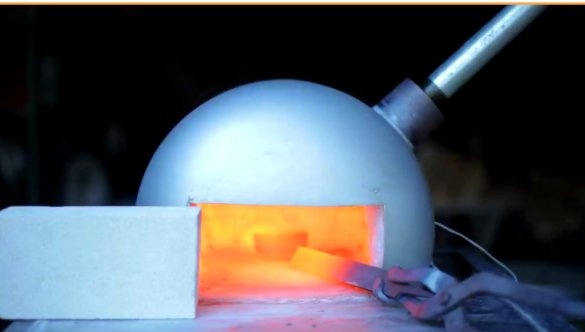
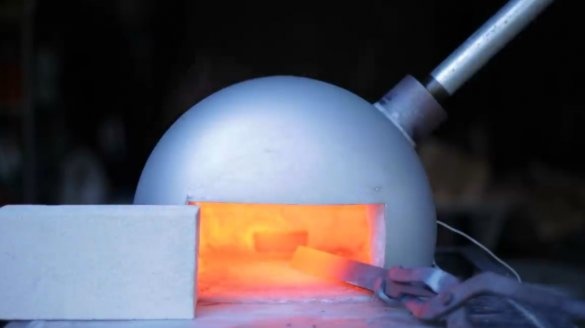
In this article, YouTube author Pask Makes shares the secret of making a small muffle furnace out of a gas bottle.
Materials
- gas bottle
- Refractory mineral wool
- Steel corner
- Refractory brick
- Hardener
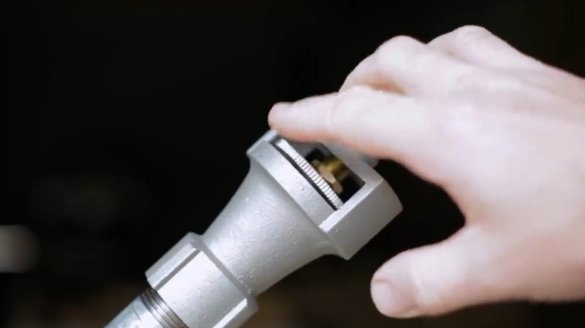
- Injection gas burner (about its manufacture article was written earlier)
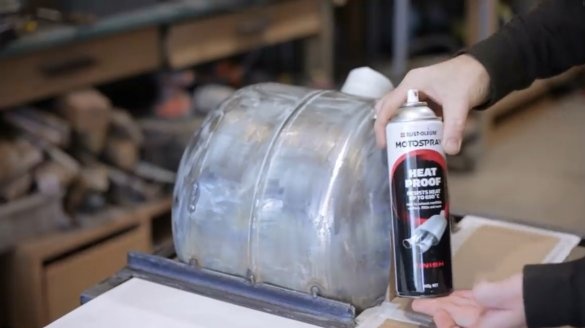
- Heat resistant spray paint.
Instruments, used by the author.
-
-
-
-
-
-
-
- Ruler, square, file, marker.
Manufacturing process.
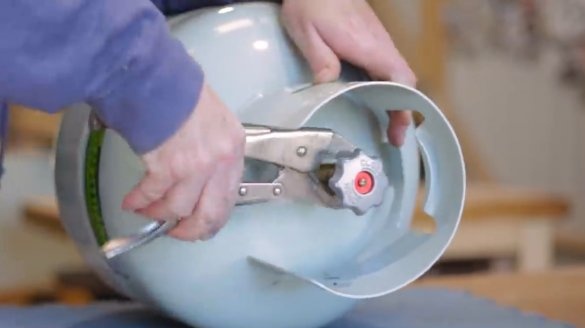
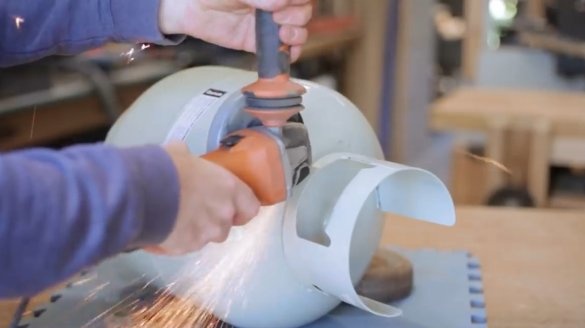
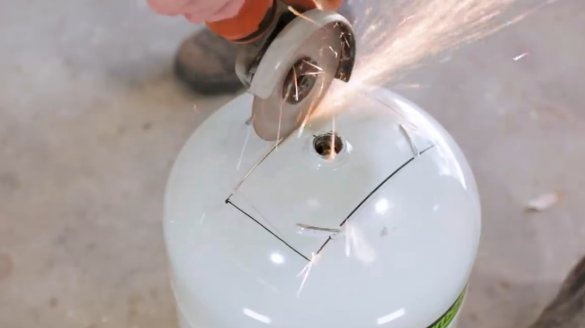
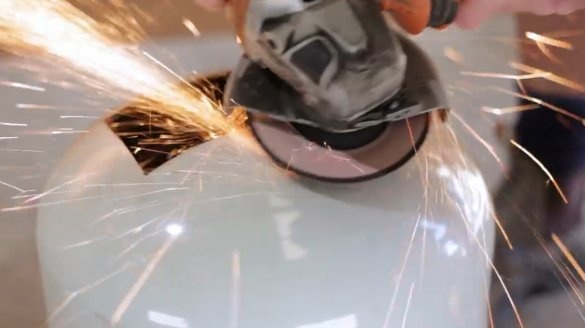
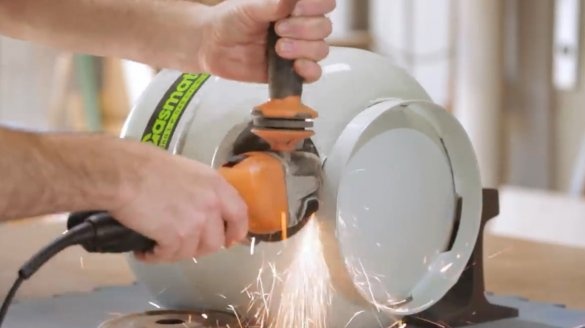
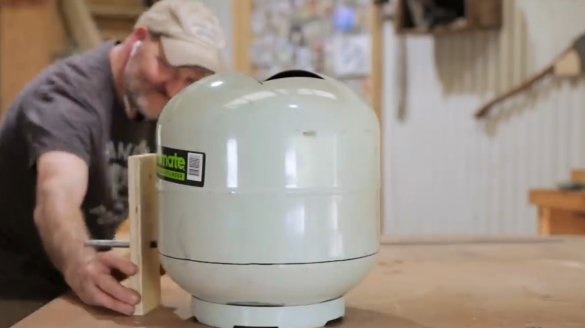
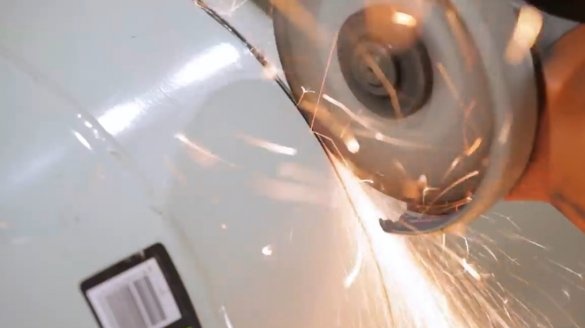
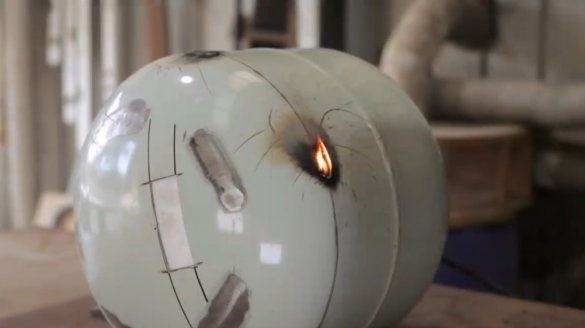
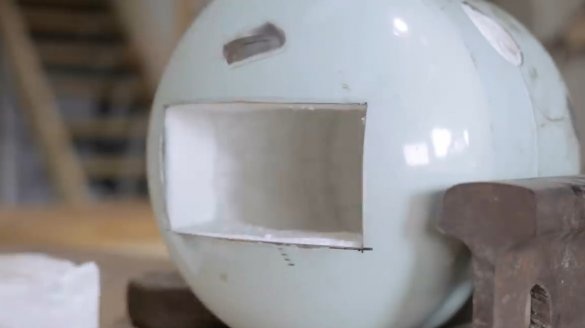
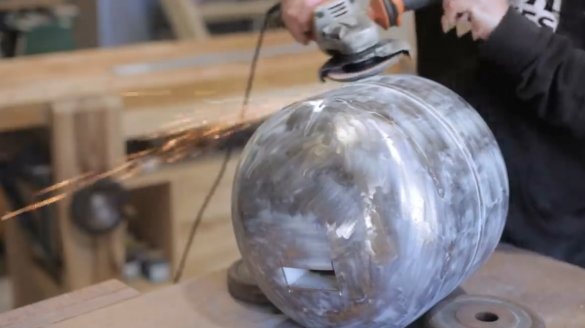
First, the author removes the valve, then the grinder cuts off the protective side.
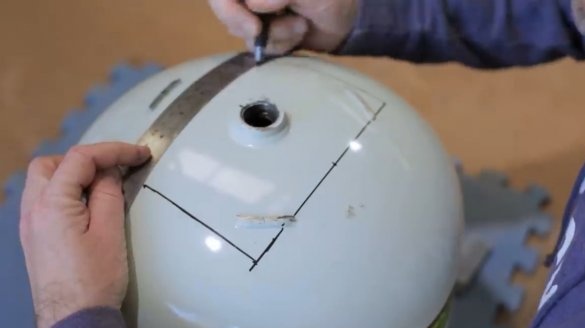
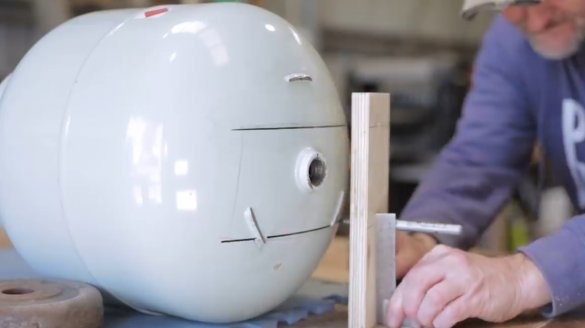
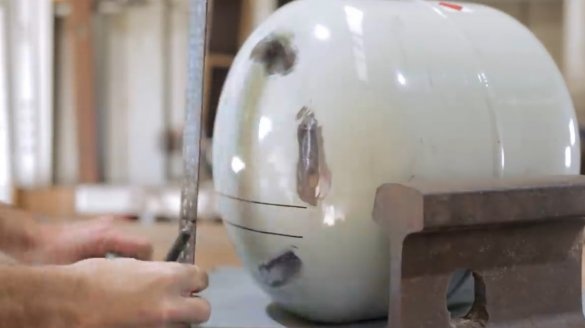
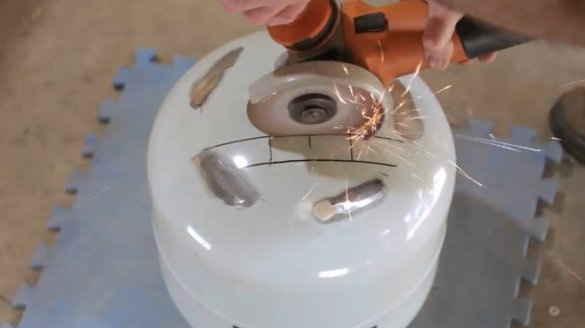
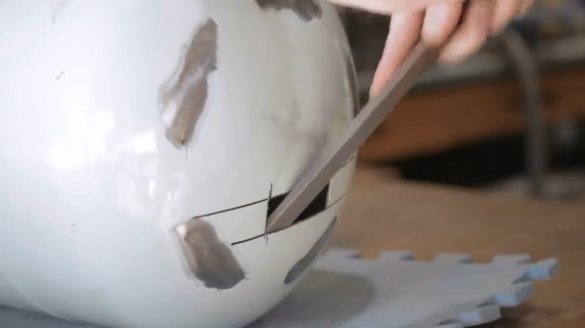
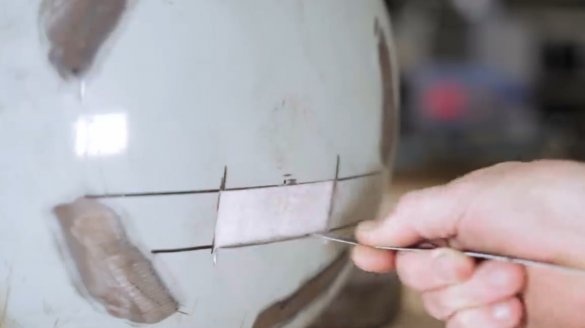
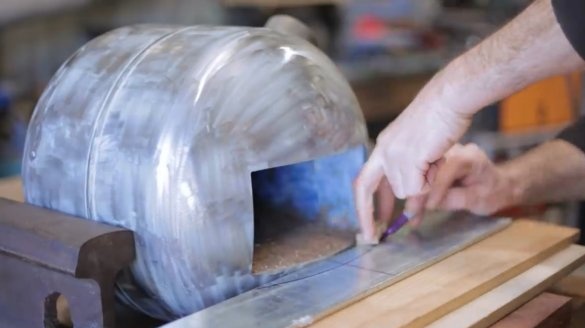
Using a measuring angle, he marks the hole for the door.
However, due to the spherical shape of the balloon, the lines were inaccurate. Therefore, the master comes up with another way - a board with a small hole for the marker, and certainly a corner at 90 degrees.
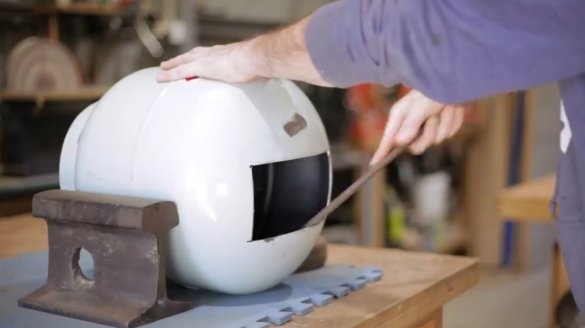
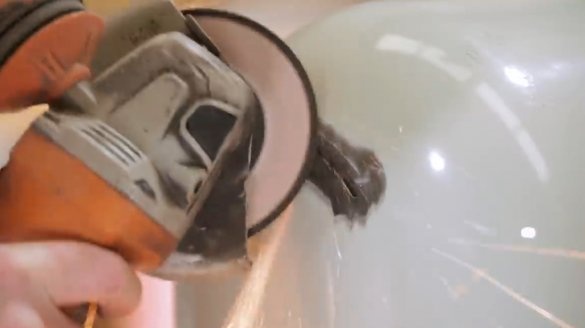
The author polishes the edges of the slot with a grinder and a file.
The stand on the back of the container is also removed, and the weld seams are smoothed out.
In a similar way, the master makes markings on the back of the container.
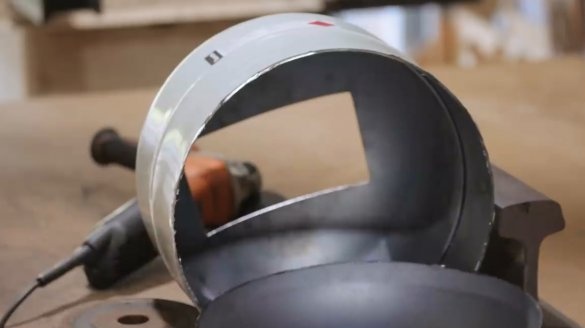
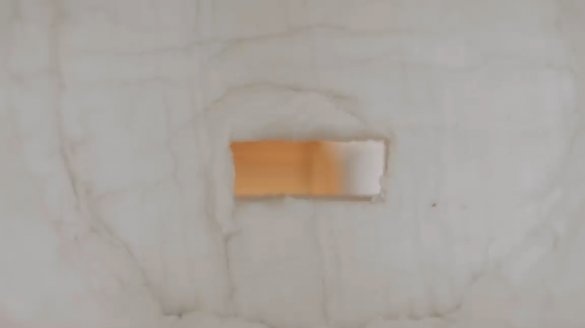
A rectangular hole of 75X25 mm is cut out, and also all edges are ground.
Then the master makes a cut around the circumference of the cylinder.
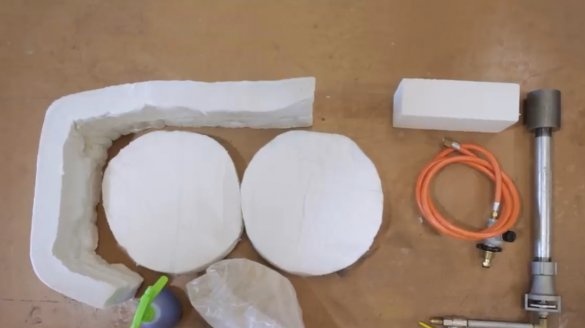
That's the whole set of parts and materials selected for this cylinder.
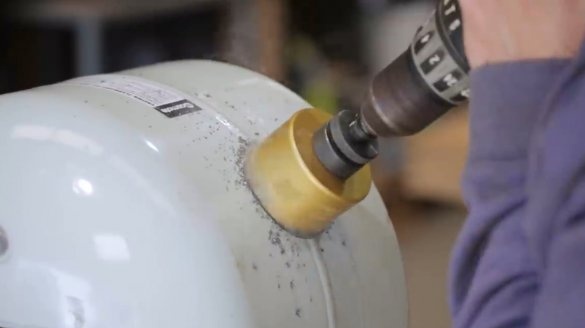
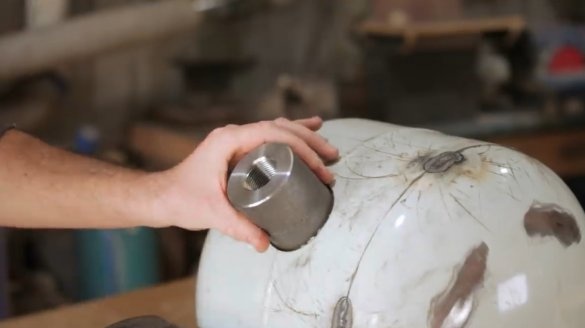
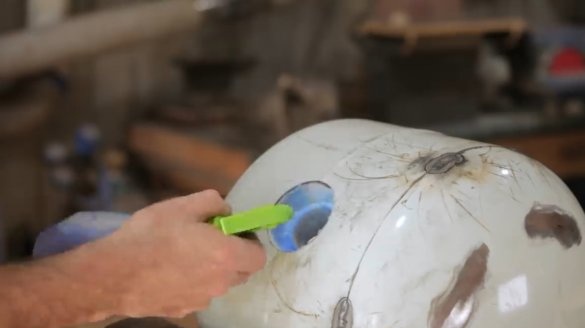
In the lateral part of the cylinder with a core drill, the author drills a hole for the burner.
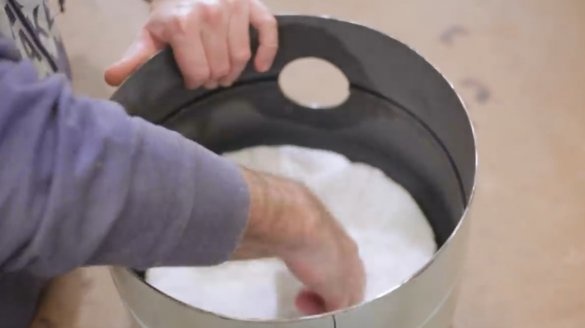
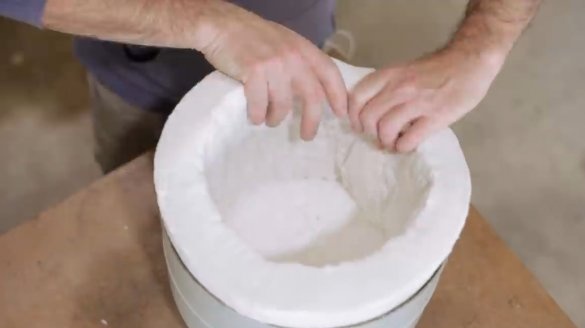
He covers the bottom and side walls of the container with refractory mineral wool, thus forming the lining of the furnace.
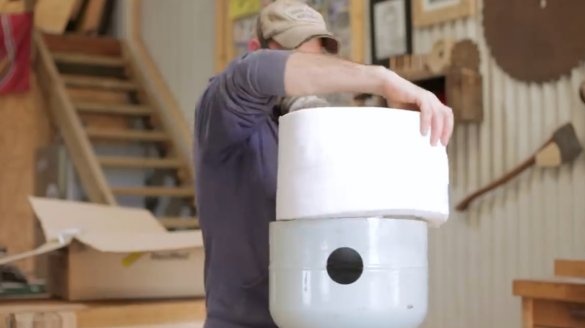
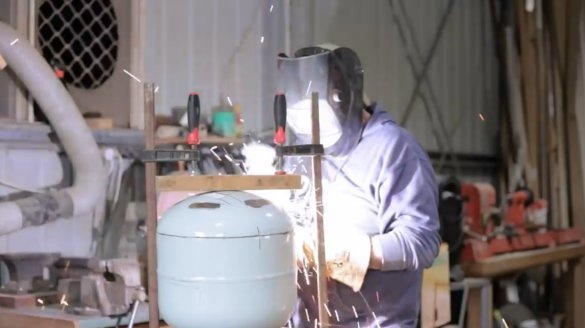
He closes the container with a "native" lid, presses it with clamps, and grabs it in several places.
From the front and back of the tank where the slots are located, the master removes mineral wool to gain access to the internal cavity.
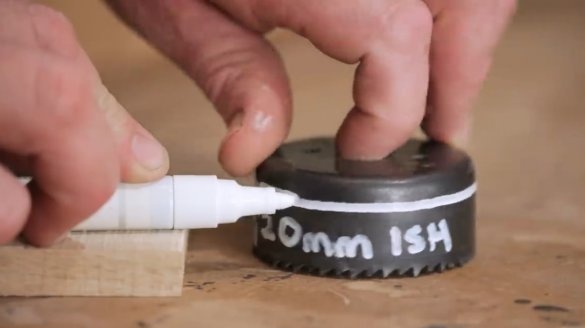
Then he selects the crown of the desired diameter, which coincides with the adapter, and marks on it a height of 20 mm, passing around the entire circumference of the crown with a white marker.
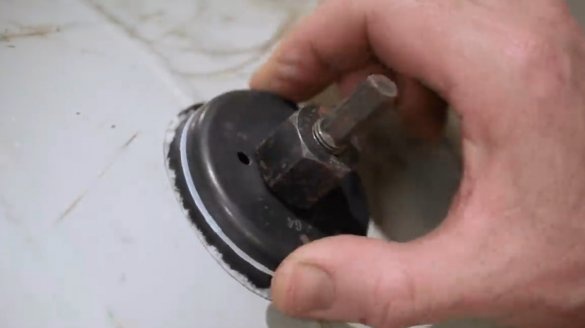
With rotational movements, it removes unnecessary mineral wool from the hole.
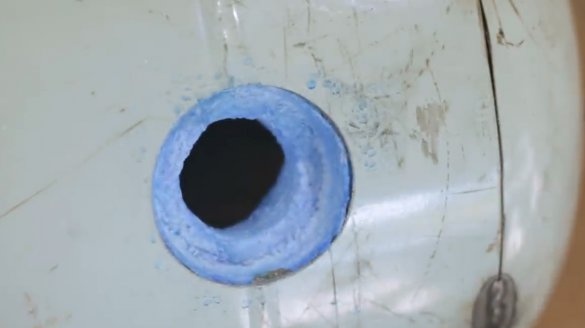
Then he picks up a smaller core drill according to the inner diameter of the tube, and cuts the lining in the same way and removes the excess.
As a result, he got a countersink hole, which should ensure a snug fit of the part.
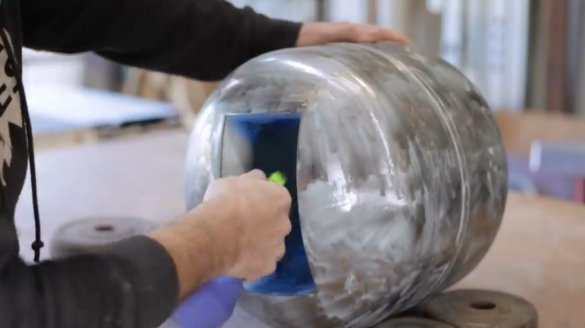
The master processes the surface of mineral wool with a hardener.
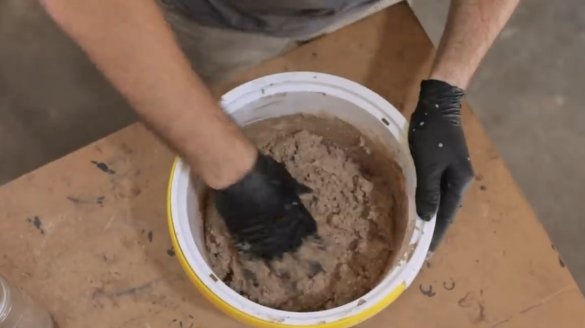
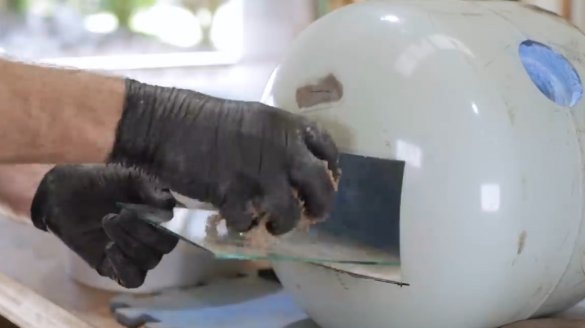
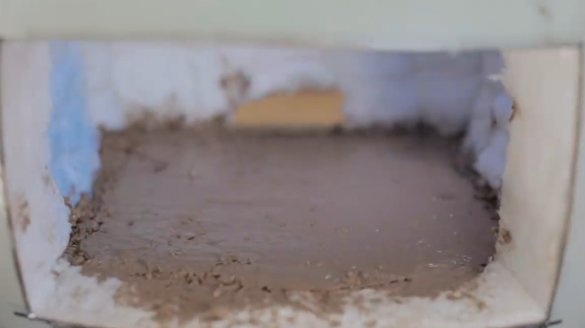
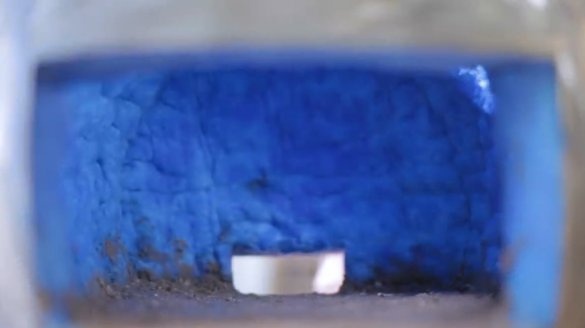
In a separate container, he kneads the refractory coating, and spreads the bottom of the tank with it.
Then it cleans the entire surface of the cylinder with a cleaning disk.
All surfaces of mineral wool are treated with a hardener, and now have a bluish tint.
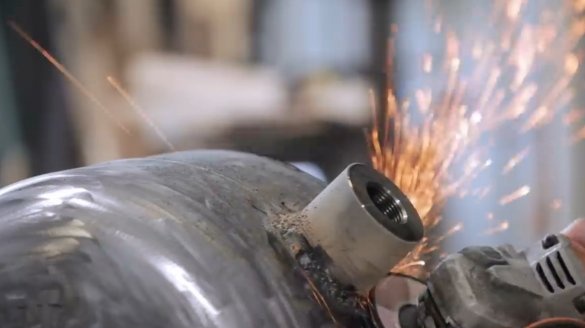
Next, the adapter is welded, and the weld is cleaned.
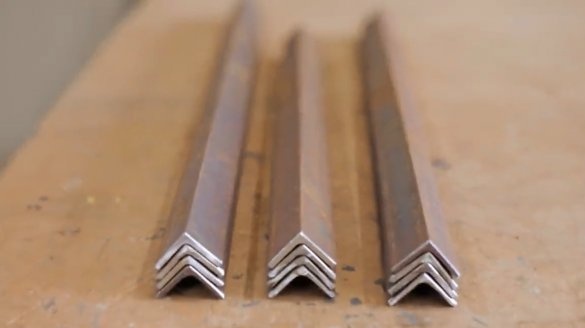
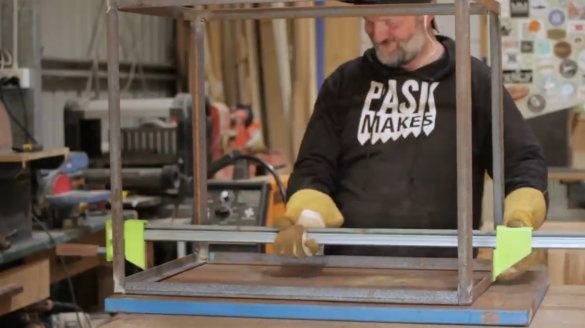
The oven needs a rack. The author cuts from a steel corner blanks for her.
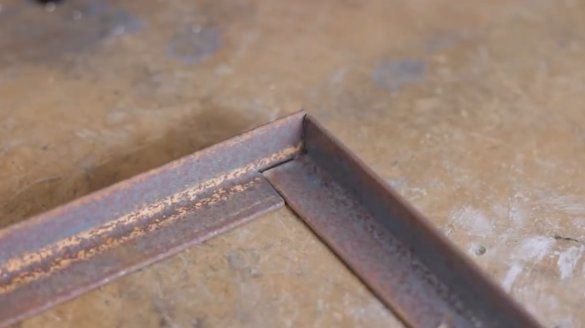
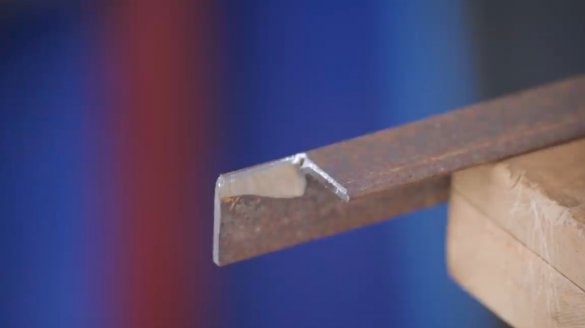
Now, at half of the workpieces, the corner is cut off on one side, so that in the end we get such a connection.
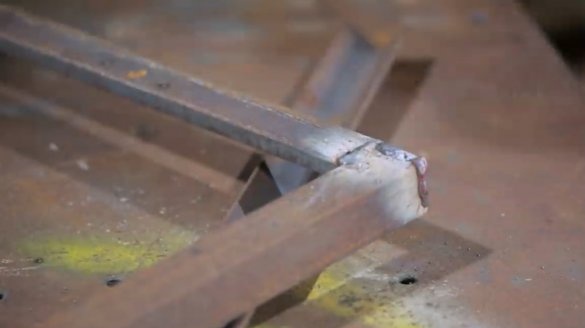
Next comes the edge trimming and welding.
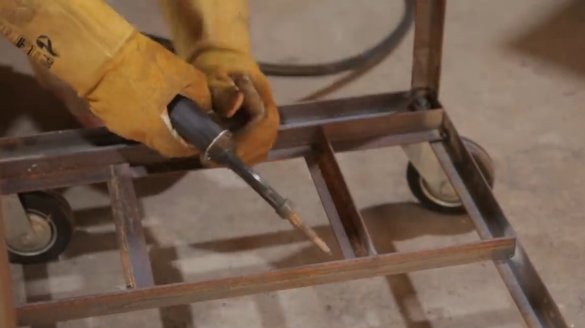
This is how the stand frame is assembled. All seams are treated with a stripping disc.
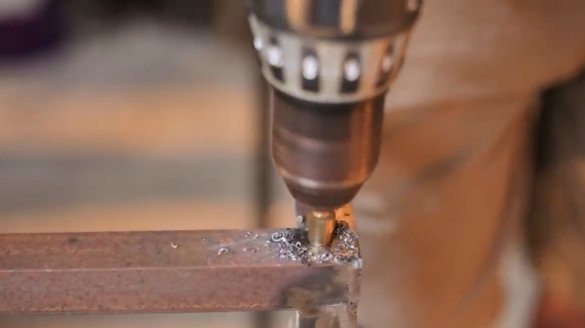
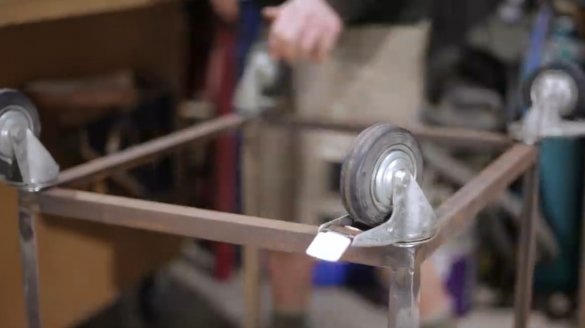
With a stepped drill, the author drills four holes in the corners of the construction under the wheels, and fixes them.
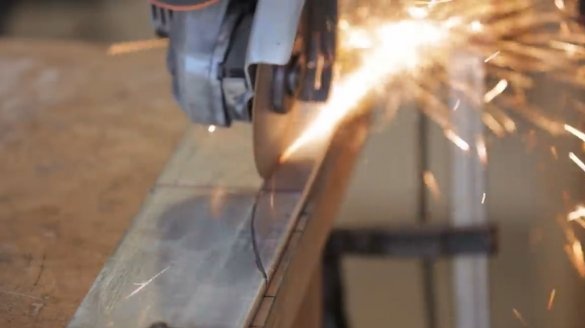
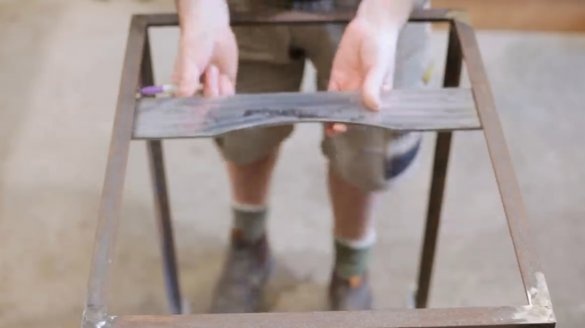
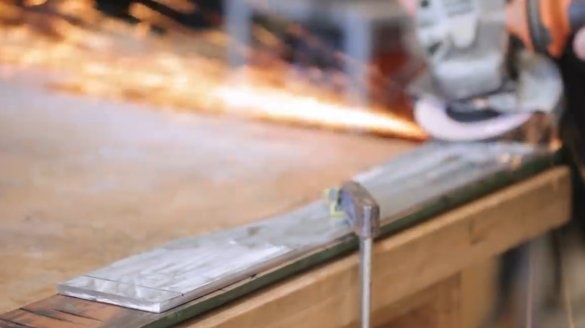
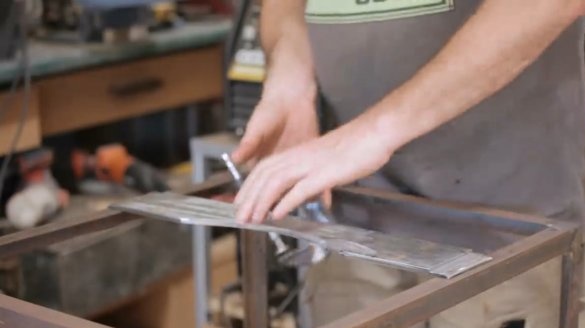
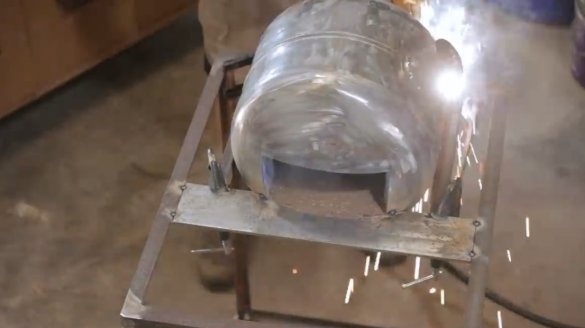
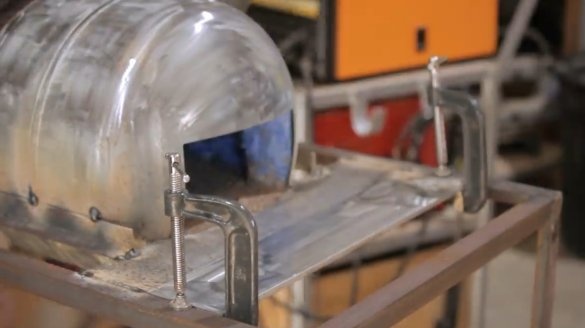
On a steel plate, he cuts a recess under the furnace body, and installs a support plate on the rack, welding it to the side rails. And in order for the plate to be flush with the corners, it pierces in it two grooves on the sides. Two more plate plates are welded in the same way.
Two more rails are welded transverse to the steel plate, which, together with the others, form a support for the furnace.
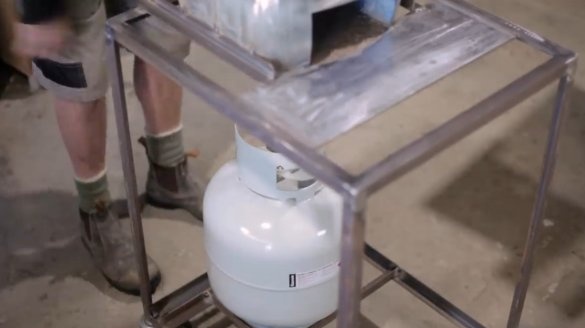
The bottom of the rack is enhanced by transverse rails. This will be the place to install the gas bottle.
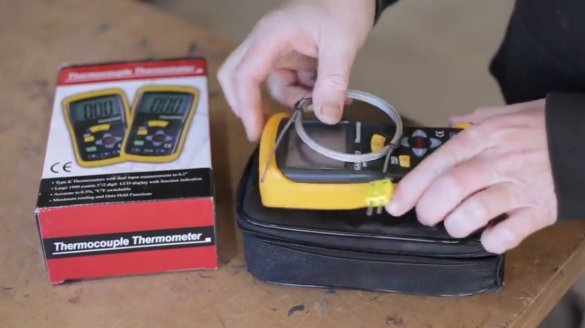
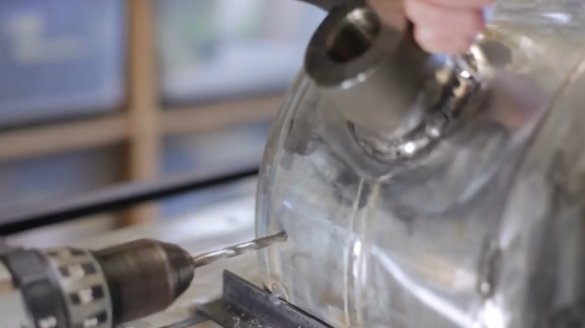
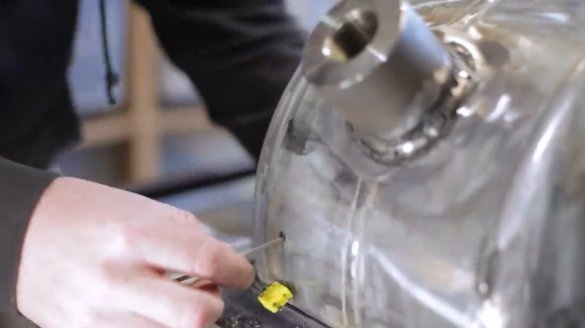
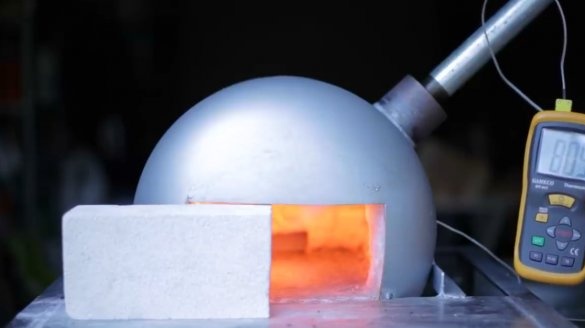
Using a thermocouple, the author will measure the temperature inside the furnace. Drills a hole for her, and installs a thermocouple.
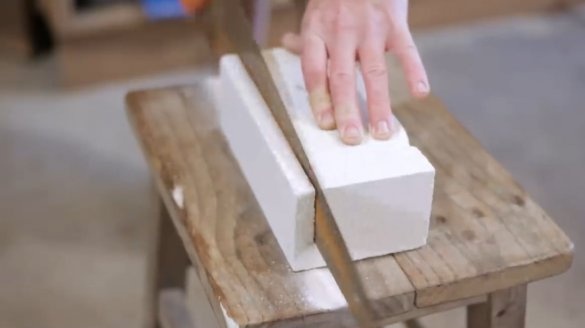
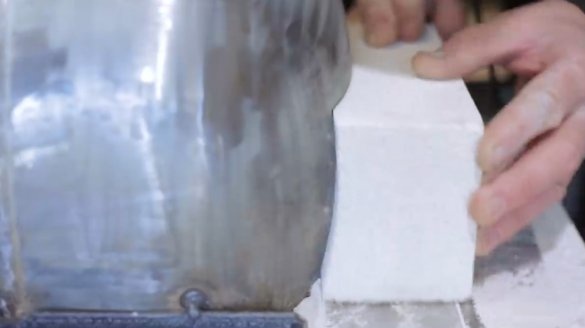
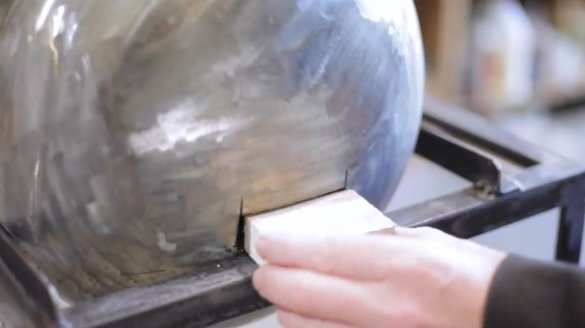
In the meantime, the author cuts and grinds aerated brick to the size of the opening of the furnace.
Closes with scraps and back, a small hole in the furnace.
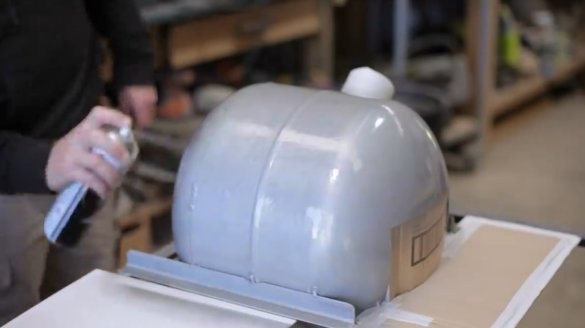
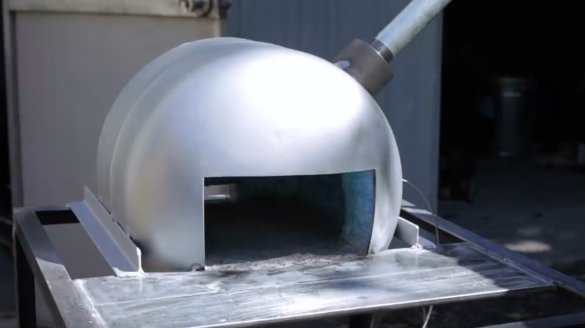
It covers the body of the stove with heat-resistant paint.
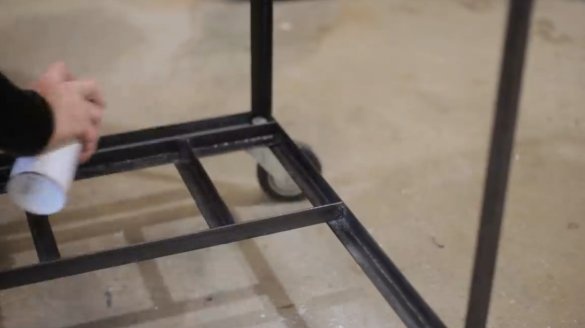
Steel racks and crossbars are coated with a primer layer.
For two days, the author prepared the furnace for high temperatures, heating it for short periods of time and cooling it again. And here he is the finale - 805 degrees!
Thanks to the author for the simple but useful device for the workshop!
All good mood, good luck, and interesting ideas!

