
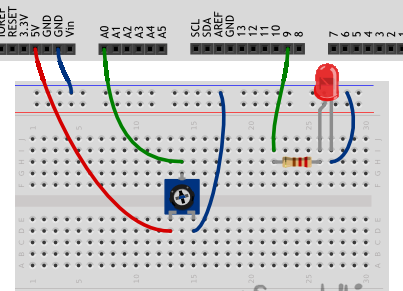
1.Arduino (in my case, Uno)
2.Breadboar or as it is also called solderless breadboard
3.LED of any color for a voltage of 3 volts
4.Cable for programming
5. Potentiometer
6. jumper wires
7. 220 ohm resistor
so let’s transgress, first you need to program the arduino
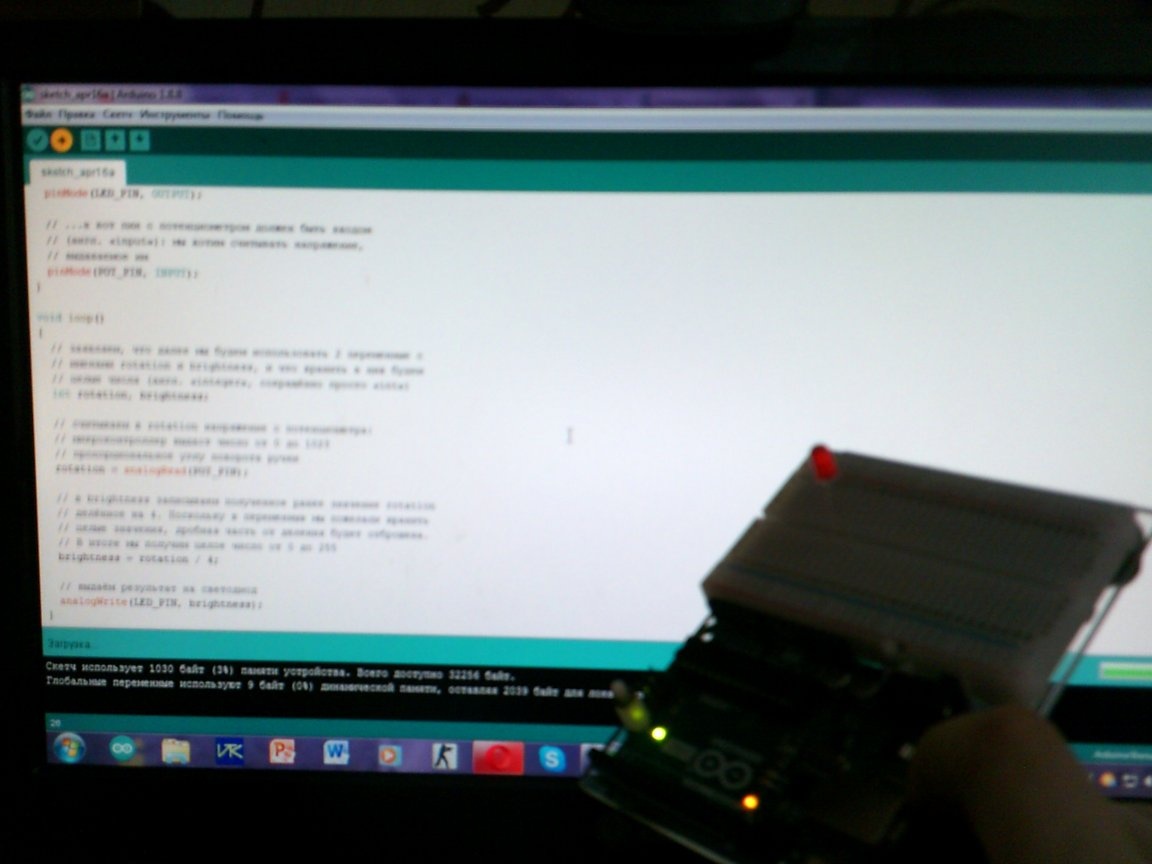
Here is a sketch:
// give reasonable names for pins with LED
// and potentiometer (English potentiometer or just “pot”)
#define LED_PIN 9
#define POT_PIN A0

void setup ()
{
  // pin with LED - output, as before ...
  pinMode (LED_PIN, OUTPUT);

  // ... but the pin with the potentiometer should be an input
  // (English "input"): we want to read the voltage,
  // issued by him
  pinMode (POT_PIN, INPUT);
}

void loop ()
{
  // declare that further we will use 2 variables with
  // names rotation and brightness, and what we will store in them
  // integers (English "integer", abbreviated simply as "int")
  int rotation, brightness;

  // read the rotation voltage from the potentiometer in rotation:
  // microcontroller will give a number from 0 to 1023
  // proportional to the angle of rotation of the handle
  rotation = analogRead (POT_PIN);

  // in brightness, write the rotation value obtained earlier
  // divided by 4. Since we wanted to store in variables
  // integer values, the fractional part of the division will be discarded.
  // As a result, we get an integer from 0 to 255
  brightness = rotation / 4;

  // output the result to the LED
  analogWrite (LED_PIN, brightness);
}
then you need to connect everything according to this scheme;
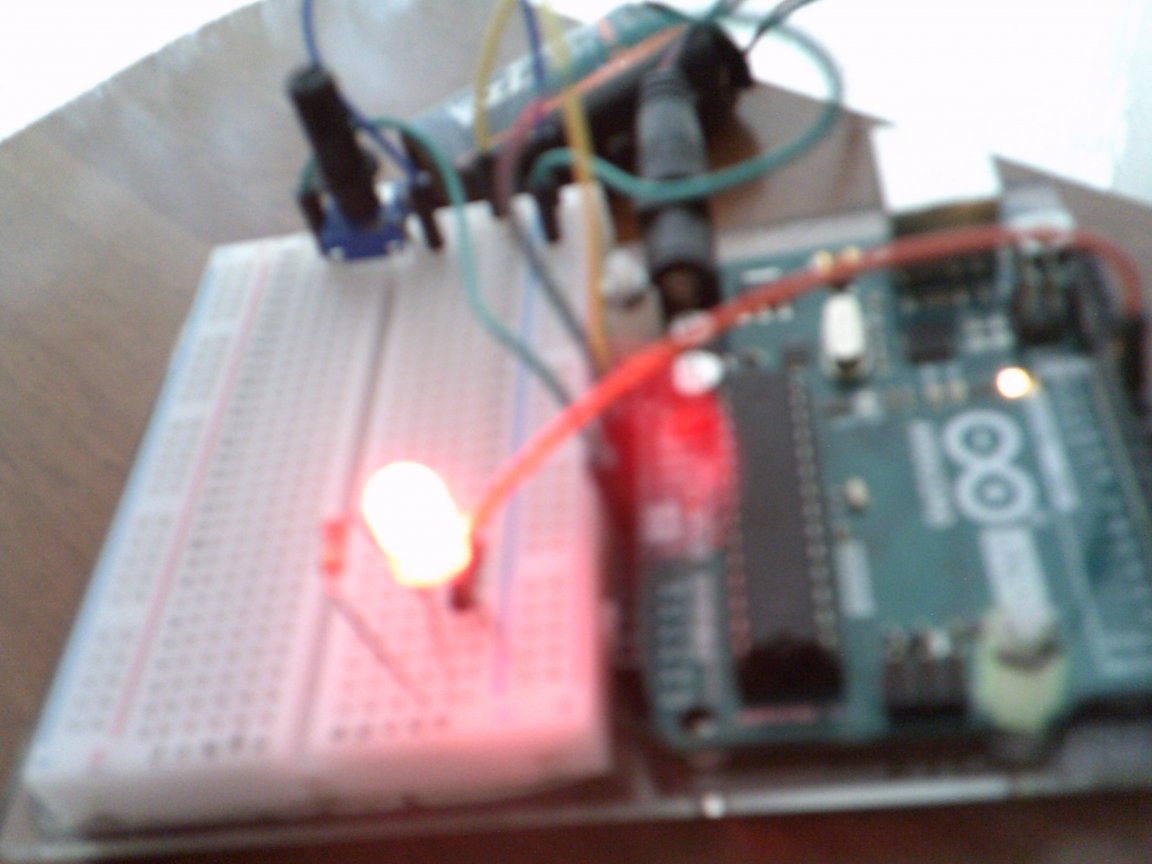
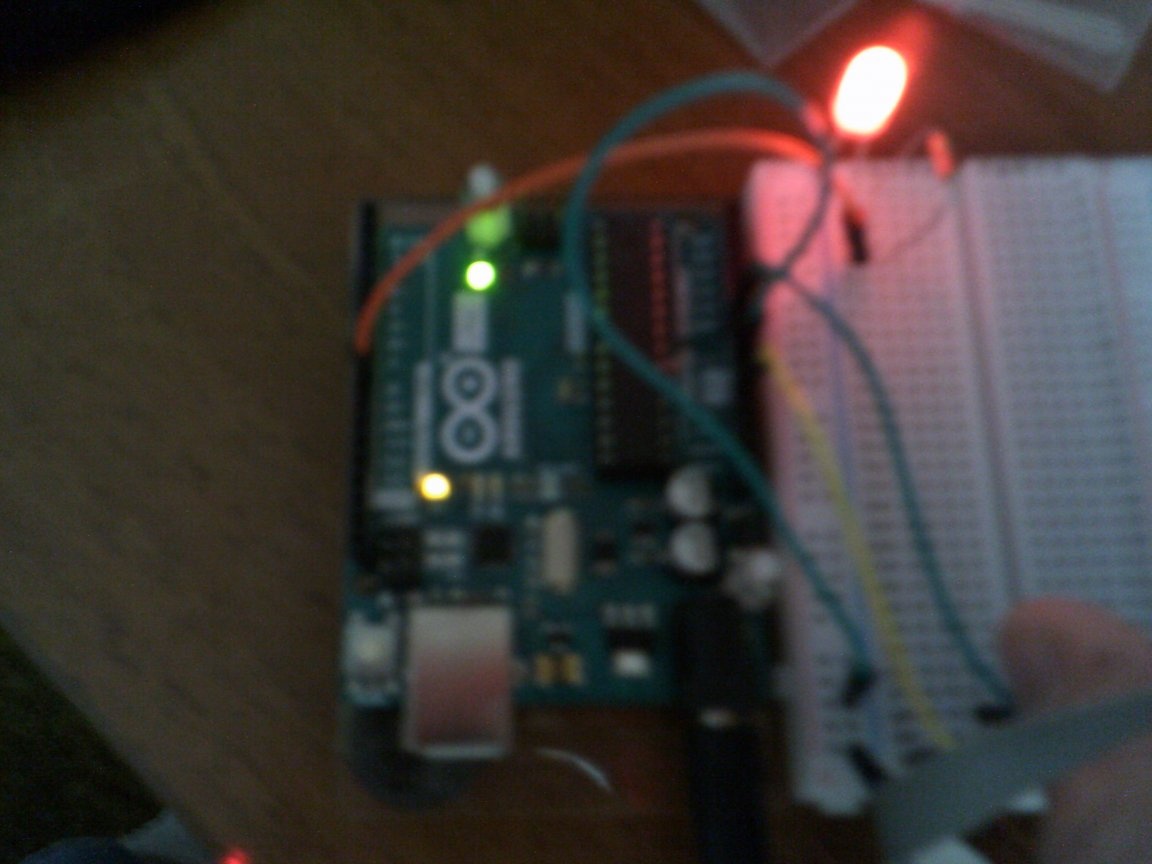
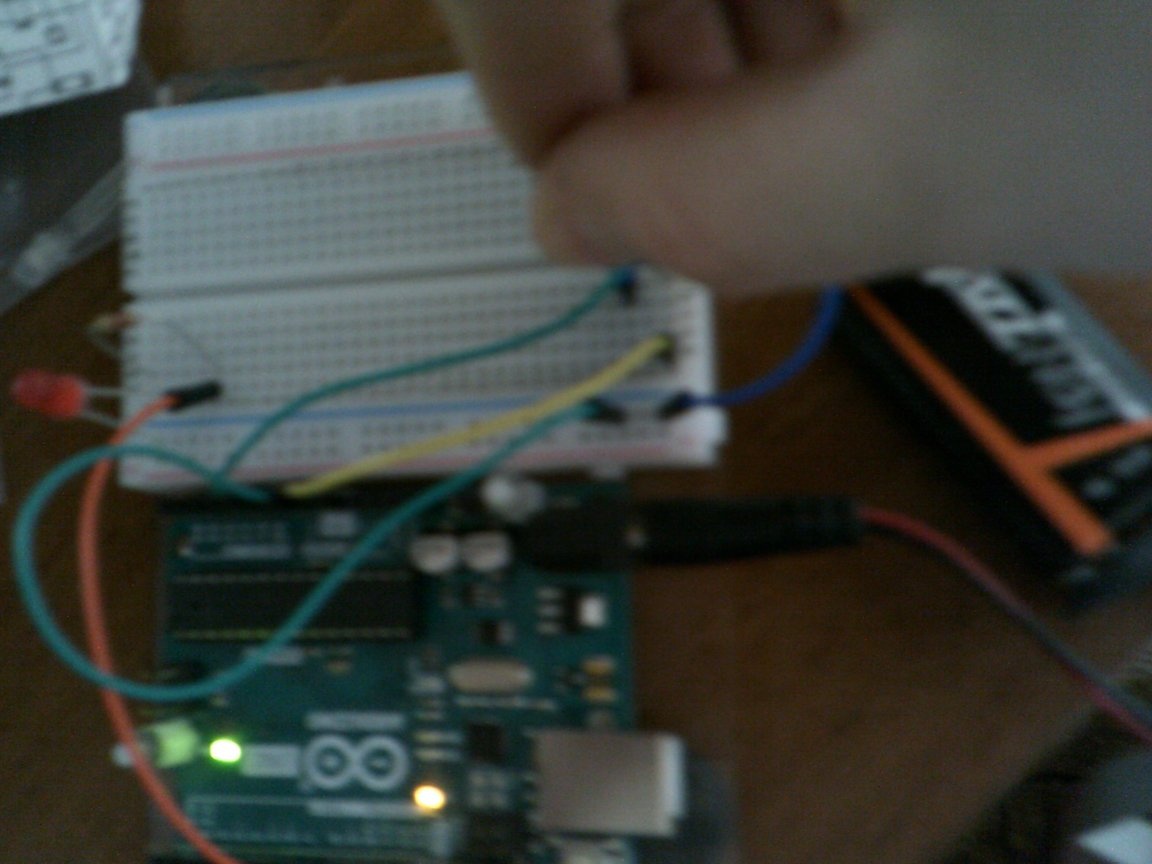
And roughly so I got
I think you liked this article and I suggest you participate in the survey below, but that's it for me
TILL
END