

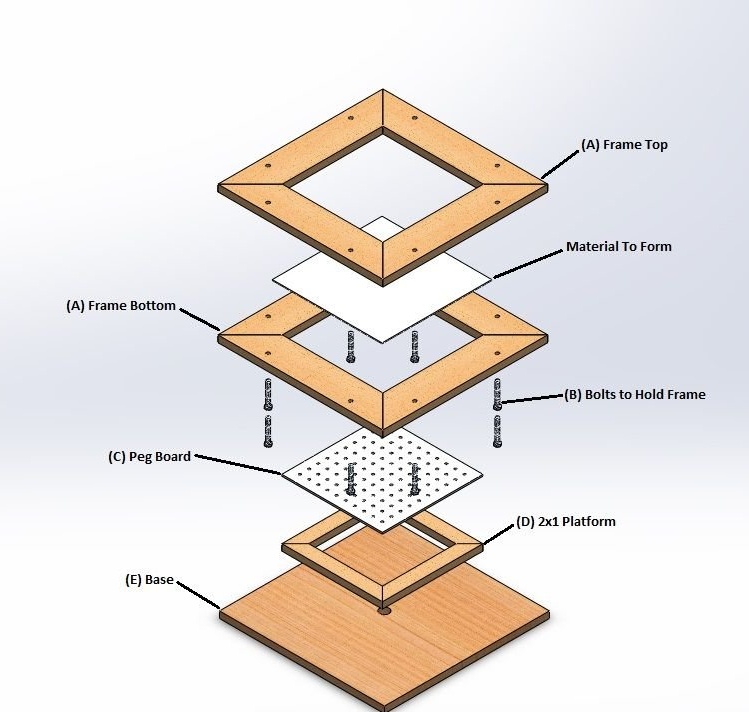
The design of this moulder is pretty standard. A wooden frame is available to hold the material to be formed in a vacuum and a wooden box with holes in the upper part, which is a vacuum forming bed. This is a cheap solution that works very well.
Step One: Design, Materials, and Tools
The author's goal was to create a simple and cheap vacuum molder. The sheets of material that will be formed have dimensions of 30x30 cm. Therefore, the vacuum shaper is designed around these sizes.
Design
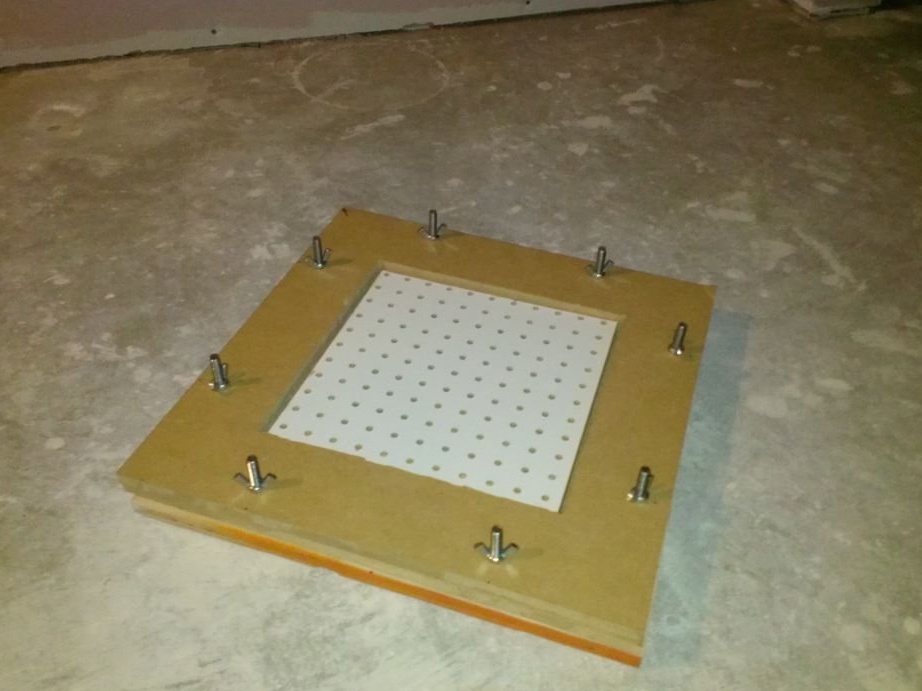
The base platform will have a hole for a household vacuum hose. A small frame will be built in the center of this size 28 x 28 cm. It will be glued to the base and then sealed with sealant. A square patch will be glued to the top of this structure and act like a bed for a vacuum shaper. Separately, two frames made of MDF place the material for vacuum molding, and they will be bolted together. The rubber tape will be glued around the perimeter of the frame, forming a vacuum seal. This frame, with the material in it, will be placed in the oven to heat the plastic, and then it will be moved to the bed to form the part.
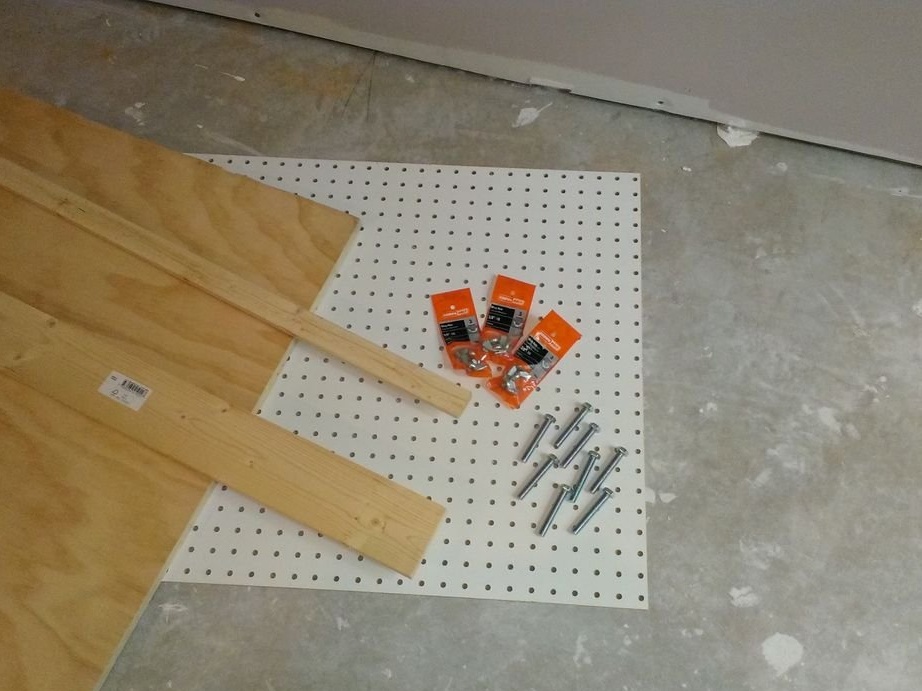
Materials:
- Wooden strip 60x240 cm - 1 pc. ;
- Panel with cells;
- nut - lamb 9 mm - 16 pcs .;
- Hexagon bolt, 9x60 mm - 8 pcs.;
- Foam tape / sealant;
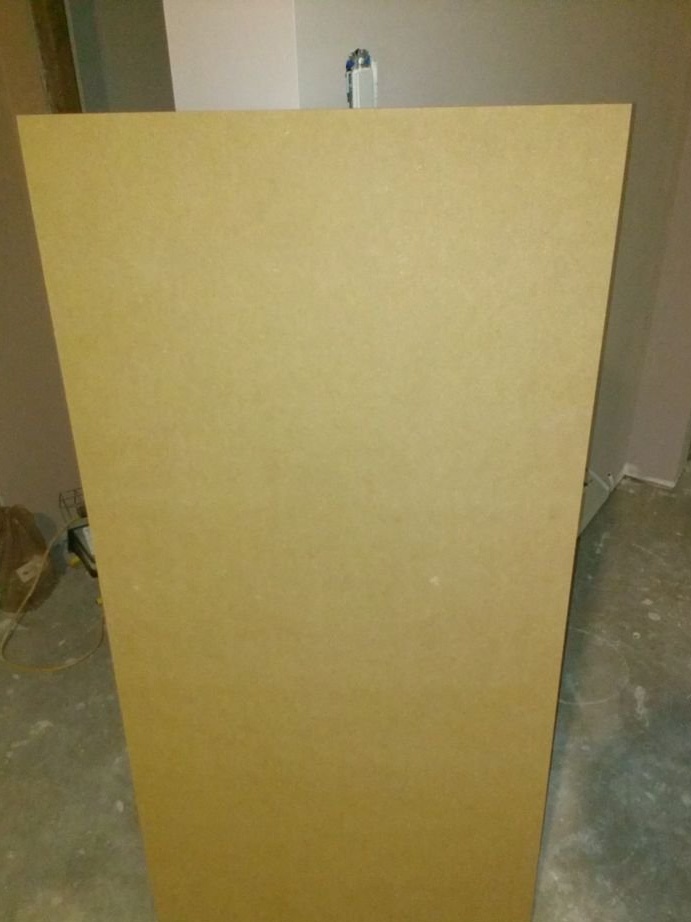
- MDF panel 12 mm in size 5x10 cm;
- Board 120x240 cm - 1 pc.;
- PVC pipe 3/4;
- 90 degree PVC corner - 1 pc.;
Instruments:
You will need basic tools for woodworking:
- Miter saw;
- a circular saw;
- drill;
- Glue for wood is a must;
- the sealant is optional, but recommended.
- The drill copes with the job of cutting the center in the frame, but any method that you prefer is also suitable.
- square;
Step Two: Preparing Workpieces


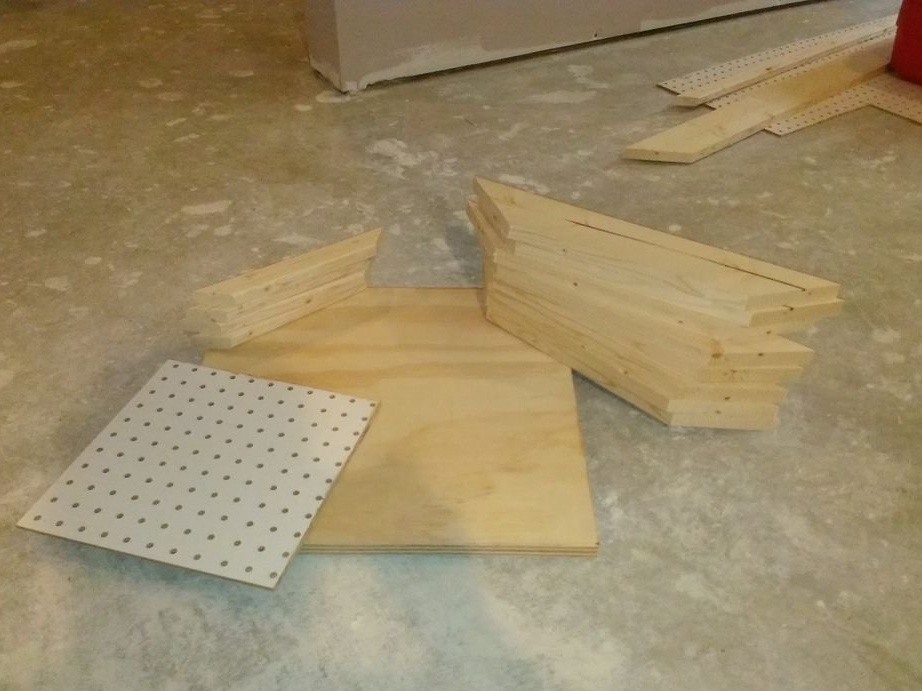
Material for blanks must be cut into the following sizes:
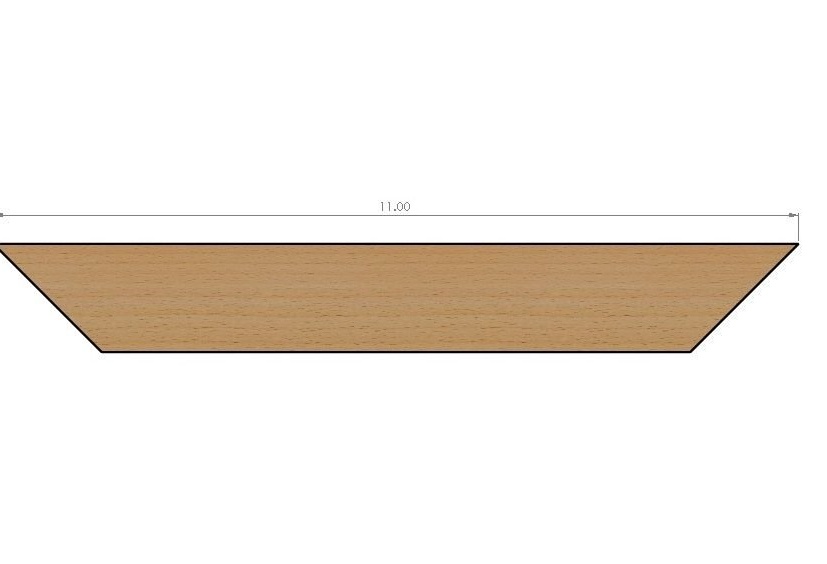
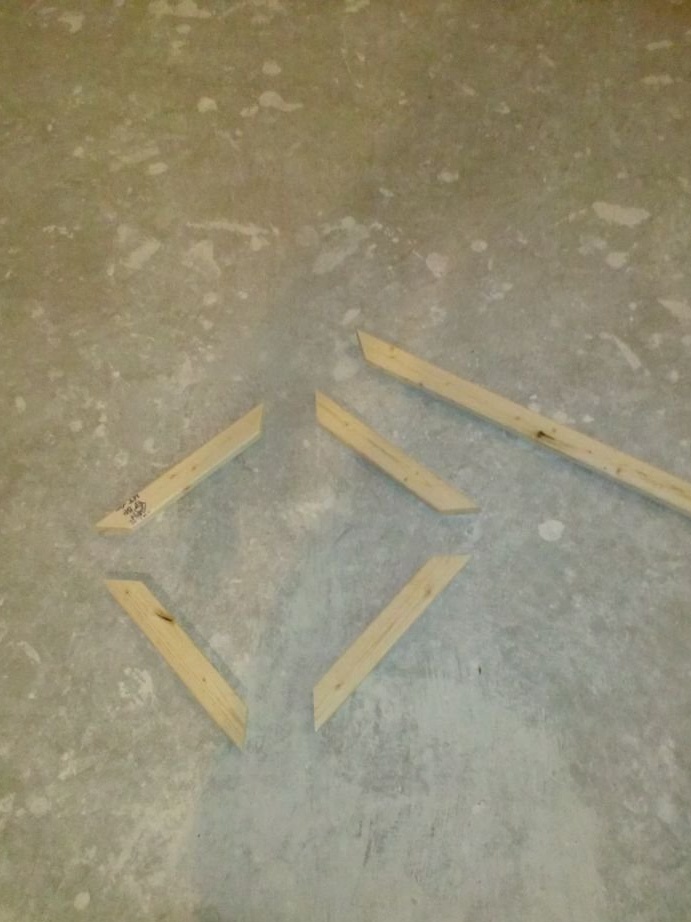
A strip of wood 60 cm wide is cut into 4 parts with a cut of 45 degrees on both sides, 27 cm along the longest side.
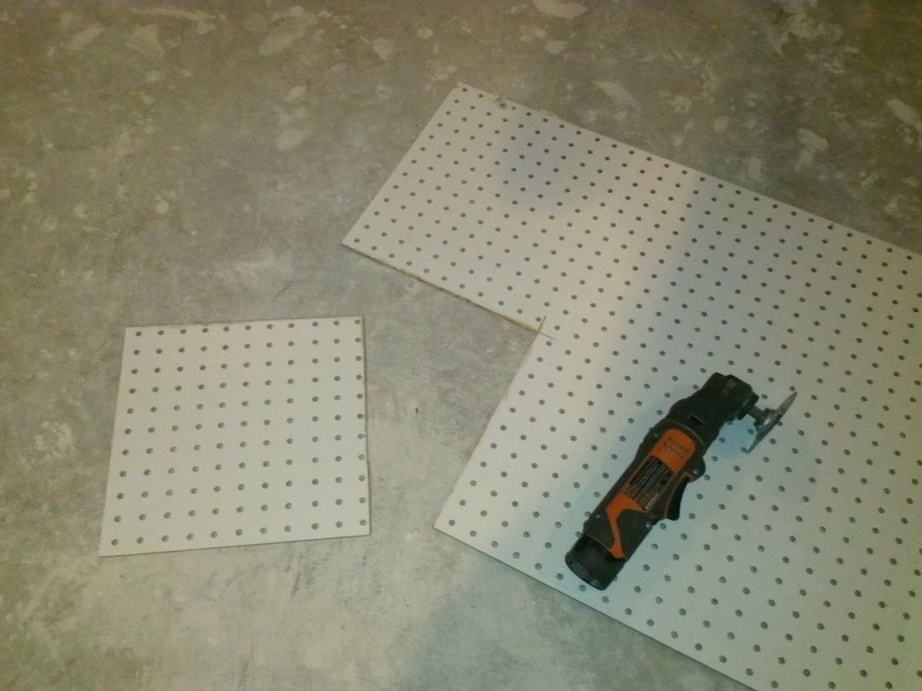
The mesh panel is cut into a size of 27x27 cm.
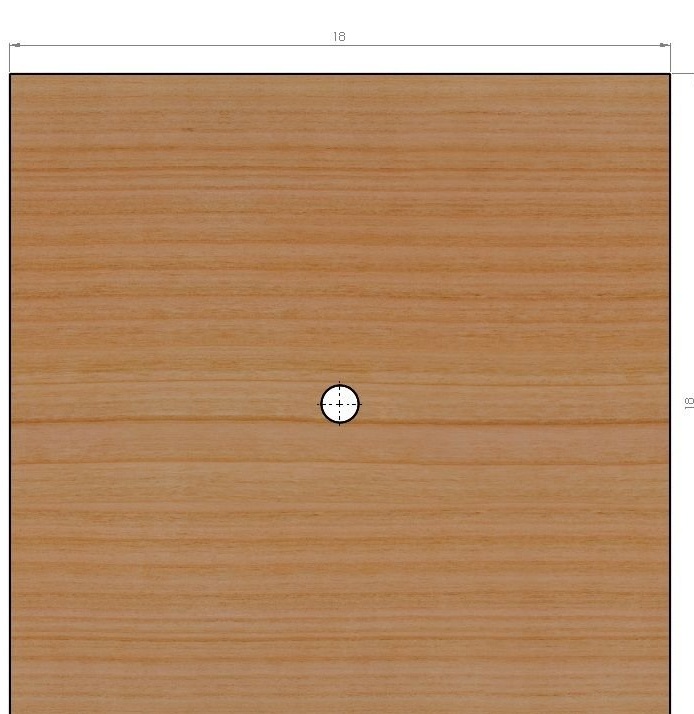
MDF is cut into 3 sheets 45x45 cm in size. One will be used for the base, the other two for frames.
Step Three: Base Base Assembly
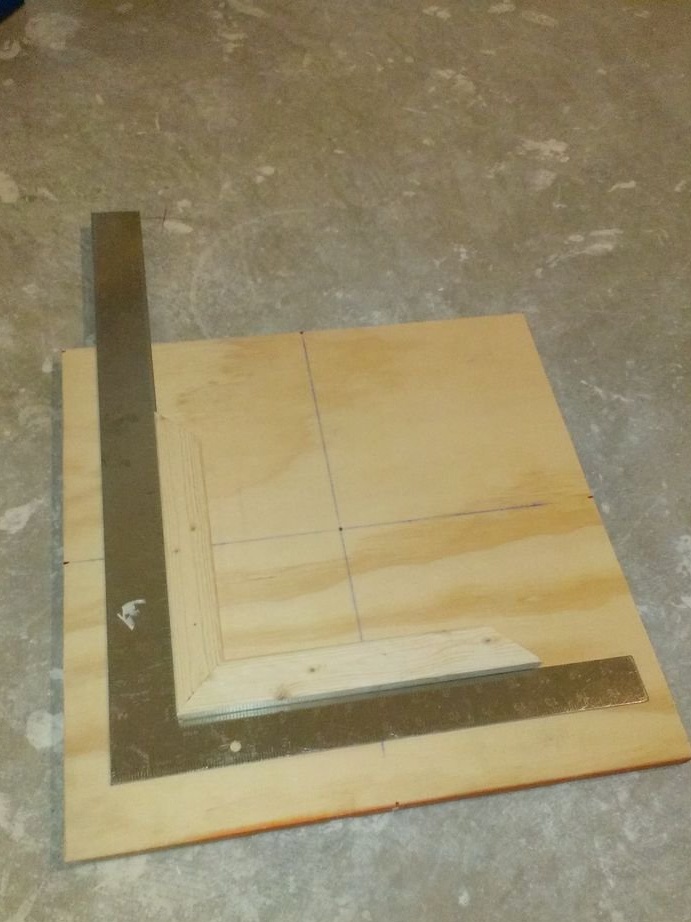
Building a foundation is simple. The hardest part is to center the frame on the base platform.It is recommended that you mark the center of the main platform with chalk or a marker to make it easier to center the frame and the hose hole.
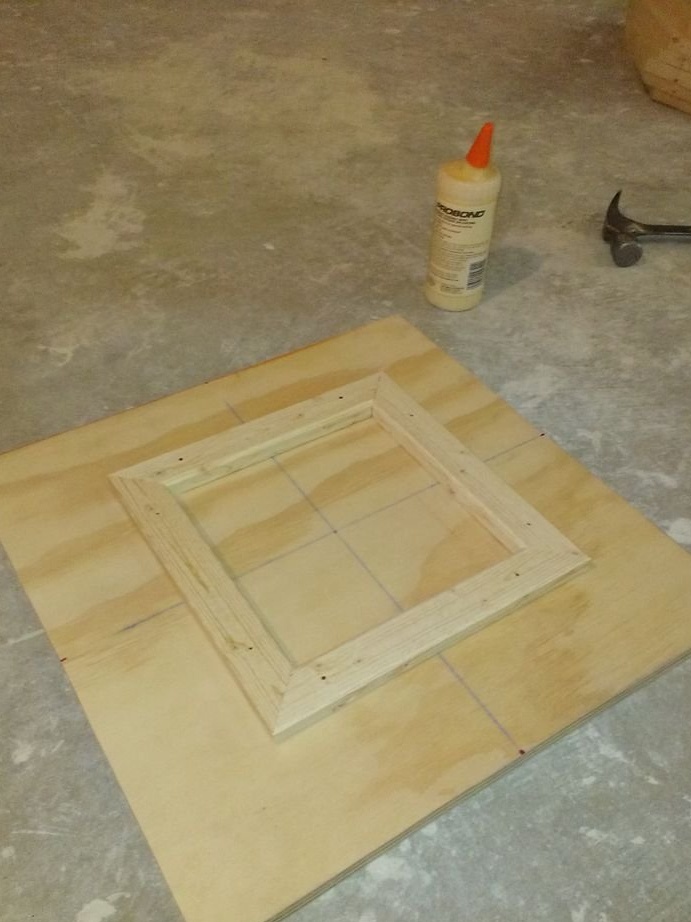
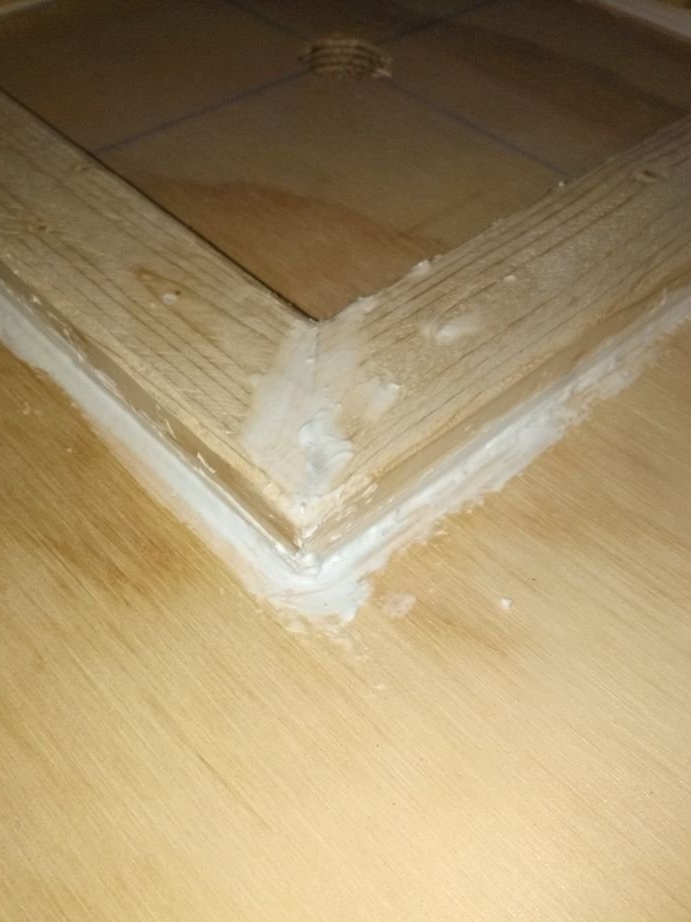
The author used a large square to center the frame and make sure it is square. Satisfied with the position, glue the parts of the frame in place and let the glue dry. During drying, you can drill a central hole. Since a PVC pipe is used, it is logical to use a hole saw of the right size to cut a hole. At this point, sealant should be used to seal and fill the gaps that may cause air leakage.
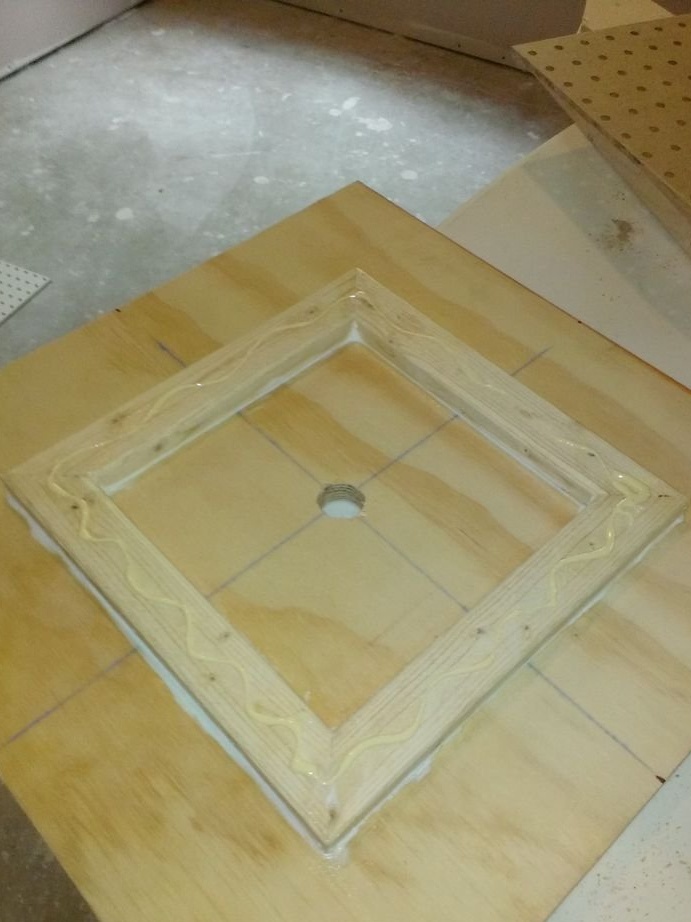
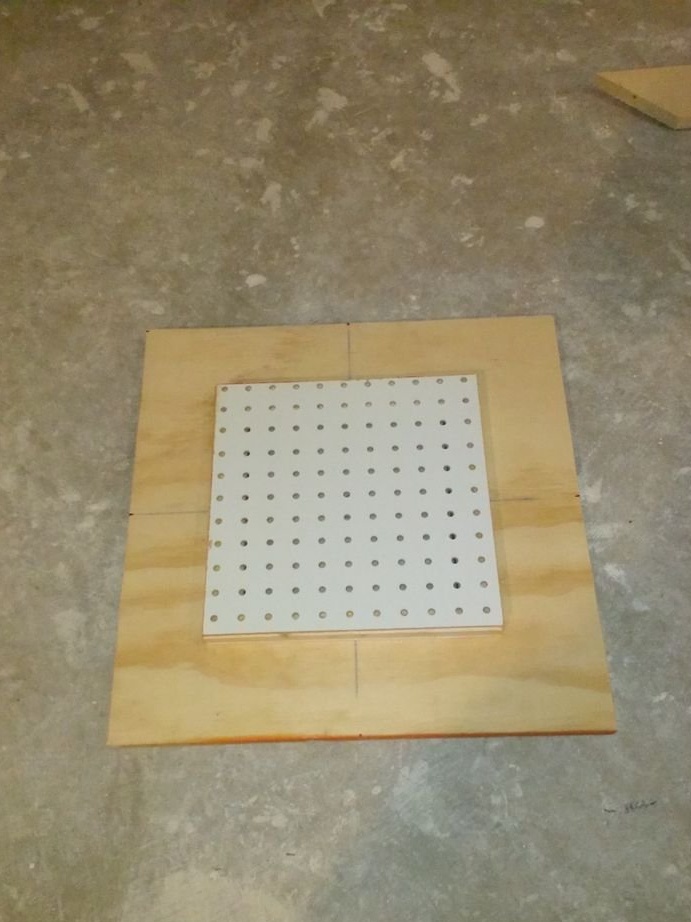
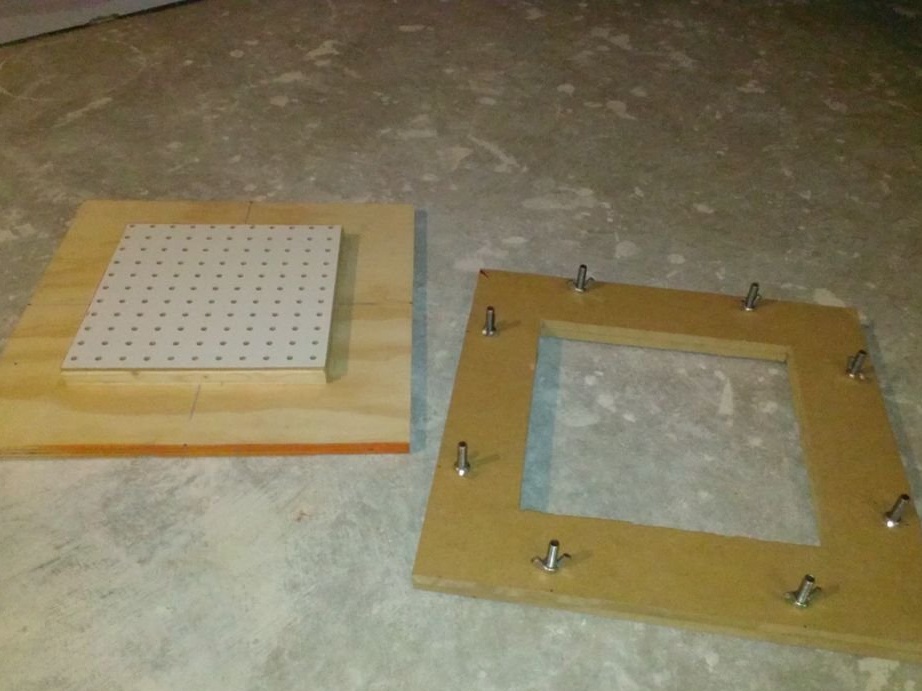
After the sealant has dried, glue the frame from the outside around the perimeter. A continuous line of glue will help prevent any unwanted air gaps, as sealing around the cellular material will be difficult. Finally, glue the cellular material onto the frame and let the glue dry.
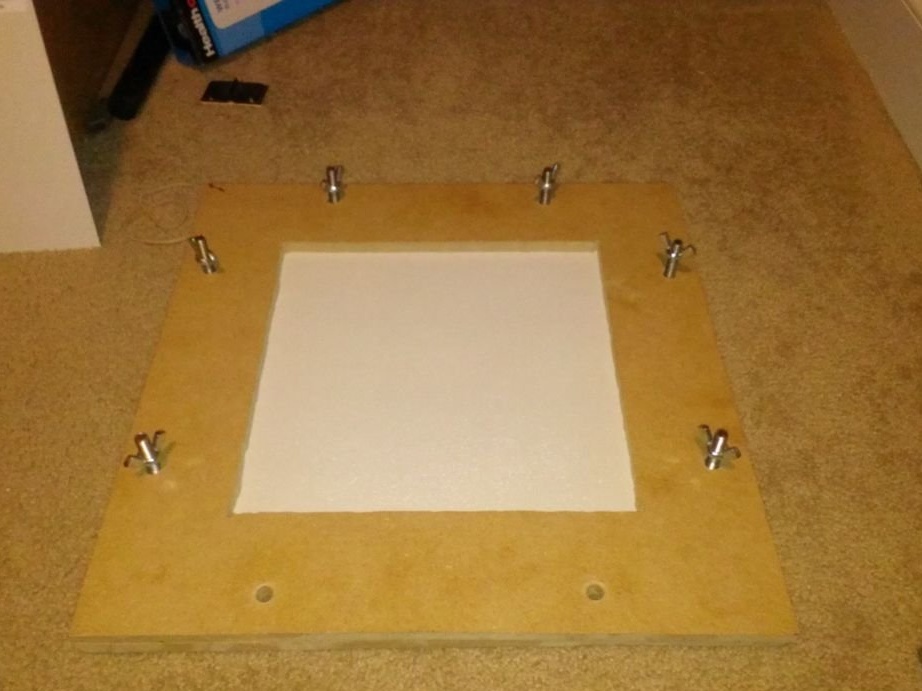
Step Four: Making MDF Frames
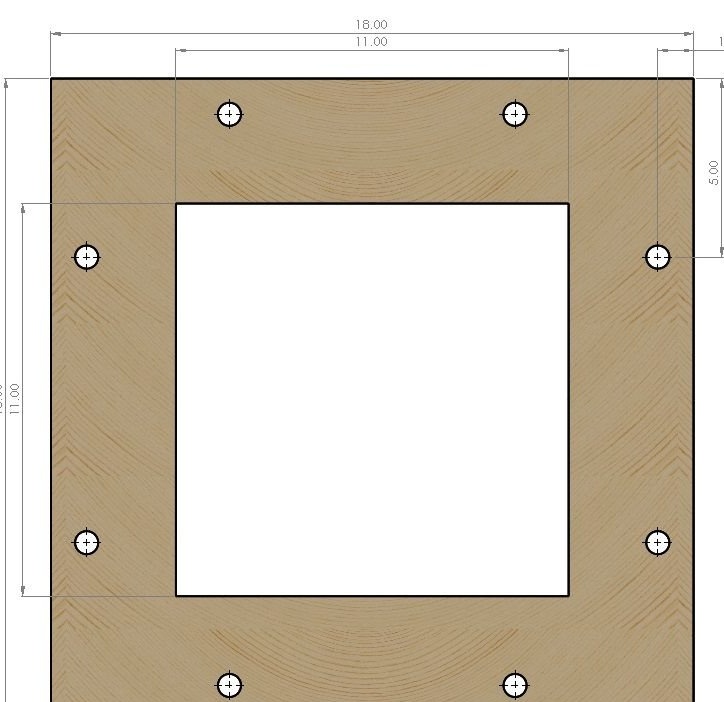
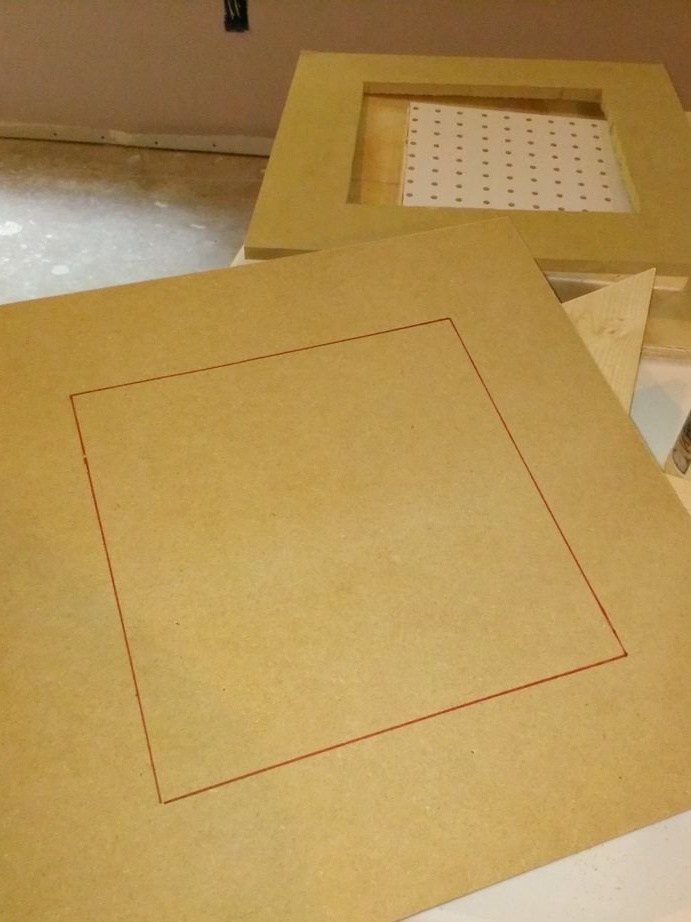
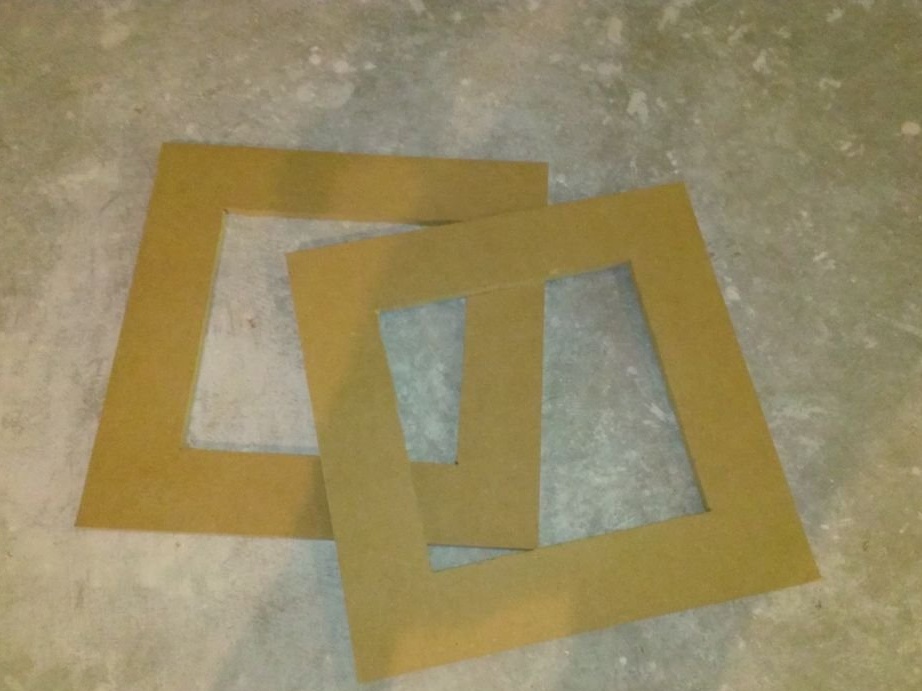
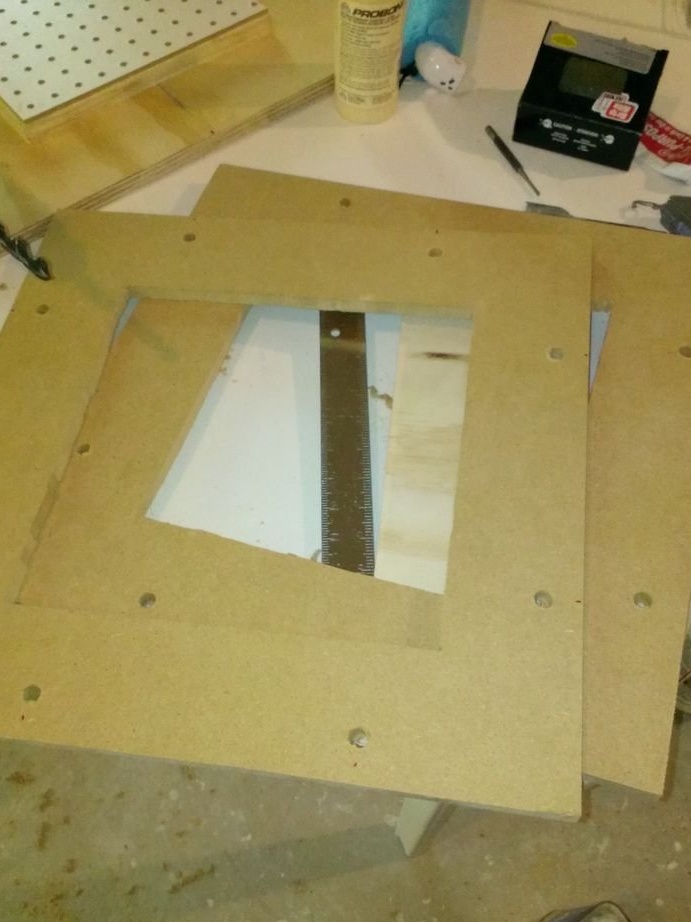
From previously cut MDF panels measuring 45x45 cm, a square is cut from the center. The square should be about 27x27 cm, but keep in mind that it may be slightly larger to fit around the frame at the base. The author used a drill for these purposes, but any method will do. After the central squares are cut out, both panels are stacked on top of each other and 8 holes are drilled around the perimeter. The holes are at a distance of about 25 mm. from the outer edge and 12 cm on each side.
Step Five: Final Work

Here are a few additional steps that the author took to make the device a little more convenient for use. They are optional and you can simply connect the hose of the vacuum cleaner directly to the base if you want.
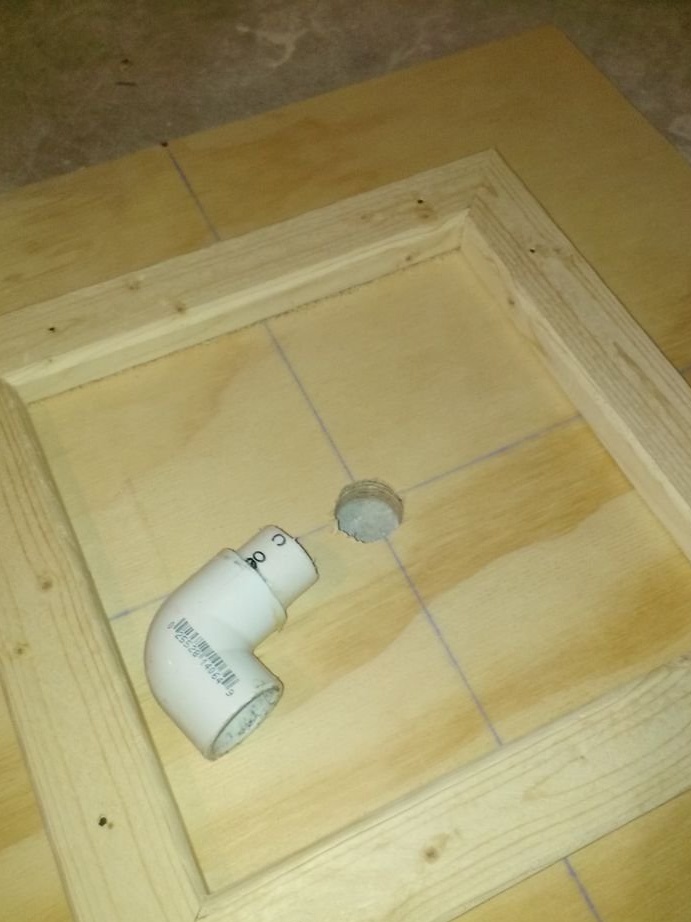
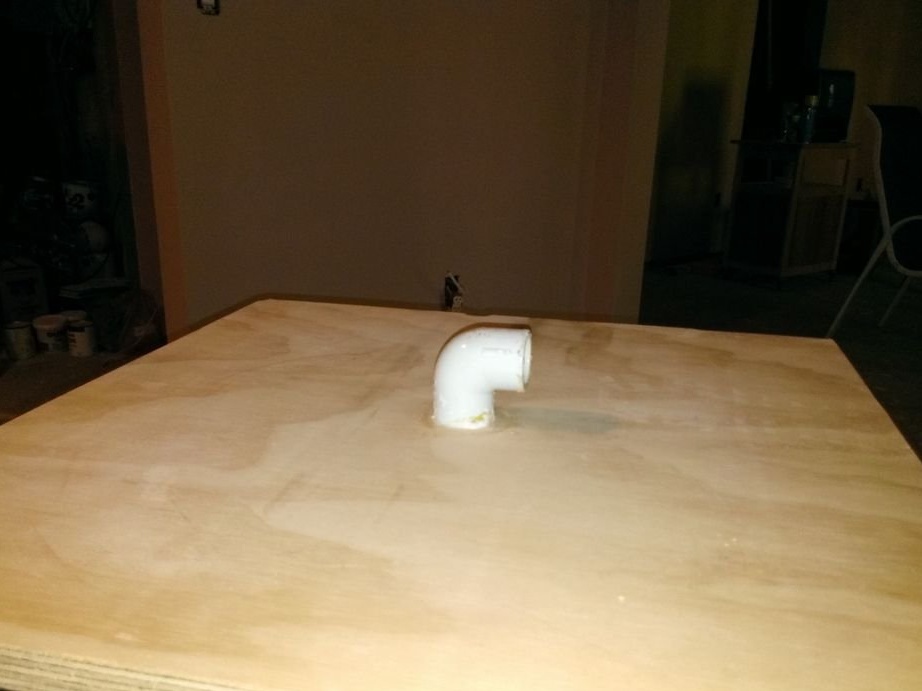
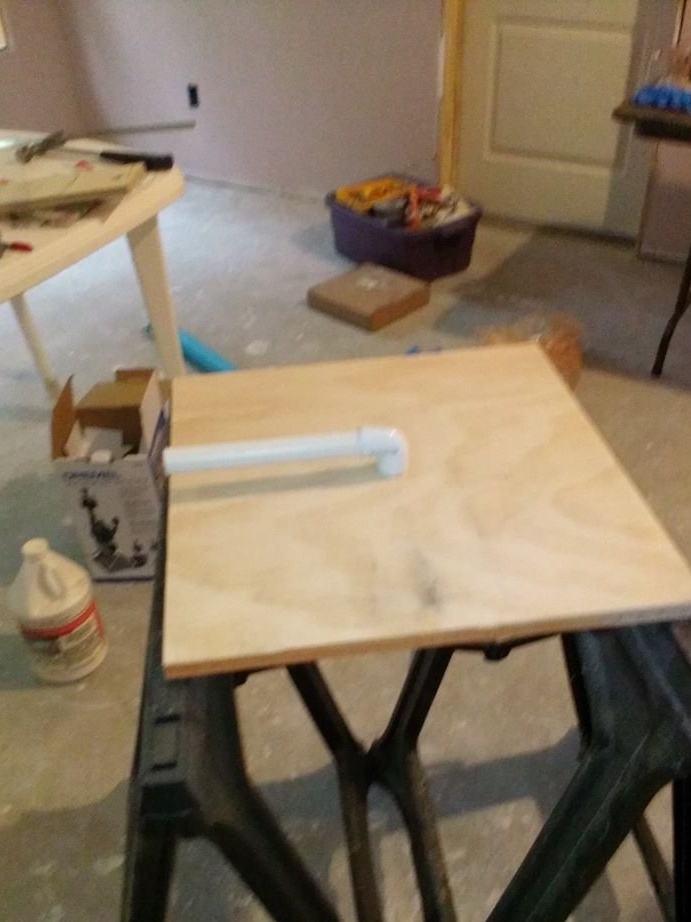
The first modification was to add plumbing elements. A 90 degree PVC corner is brazed with a short pipe that is coated with adhesive / sealant and placed in a hole in the bottom of the base. Then a piece of PVC pipe is soldered to the corner to make it easier to connect the vacuum.
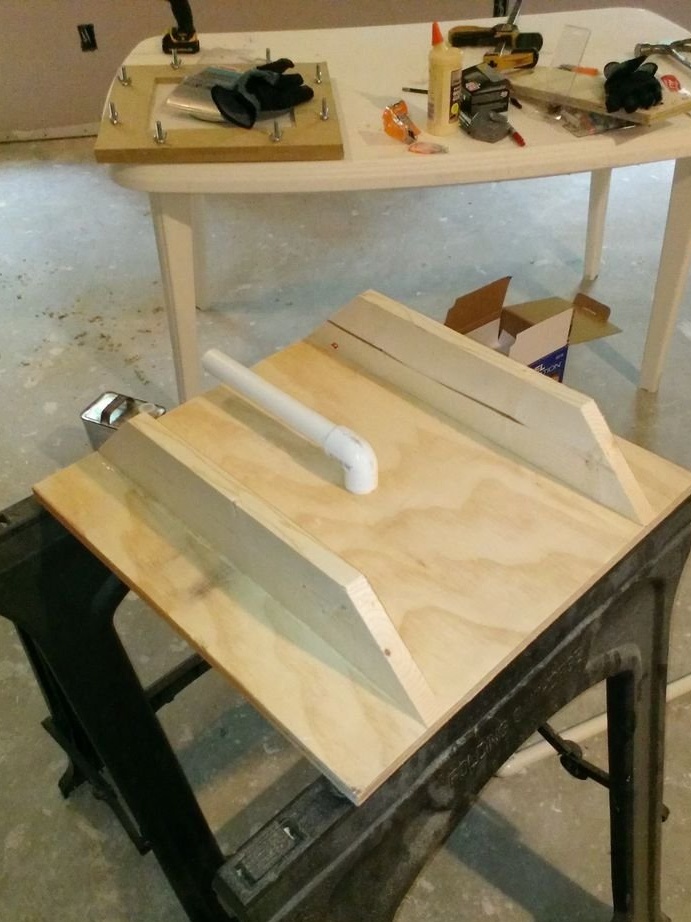
Then wooden legs were added to raise the platform a little. It is just a waste of wood that is glued to the base platform.
Finally, a rubber gasket was glued around the perimeter of the lower frame for additional sealing.
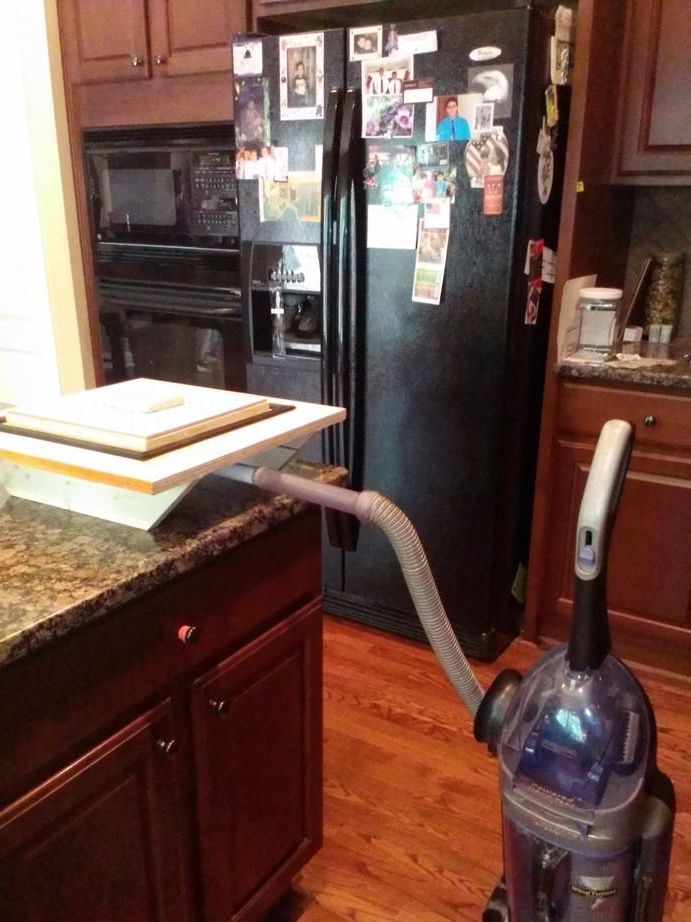
Step Six: Using a Vacuum Machine
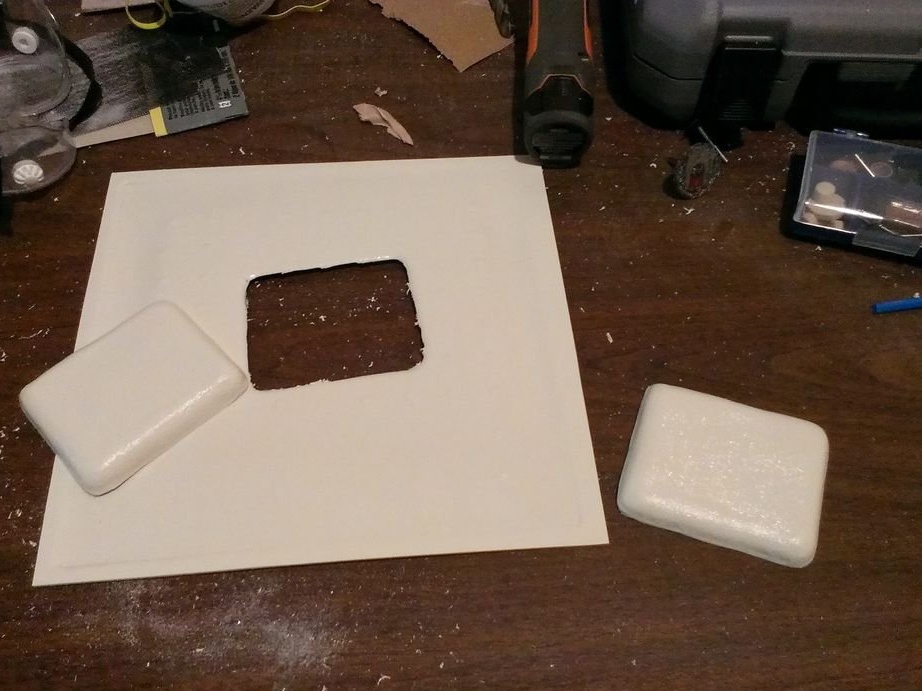
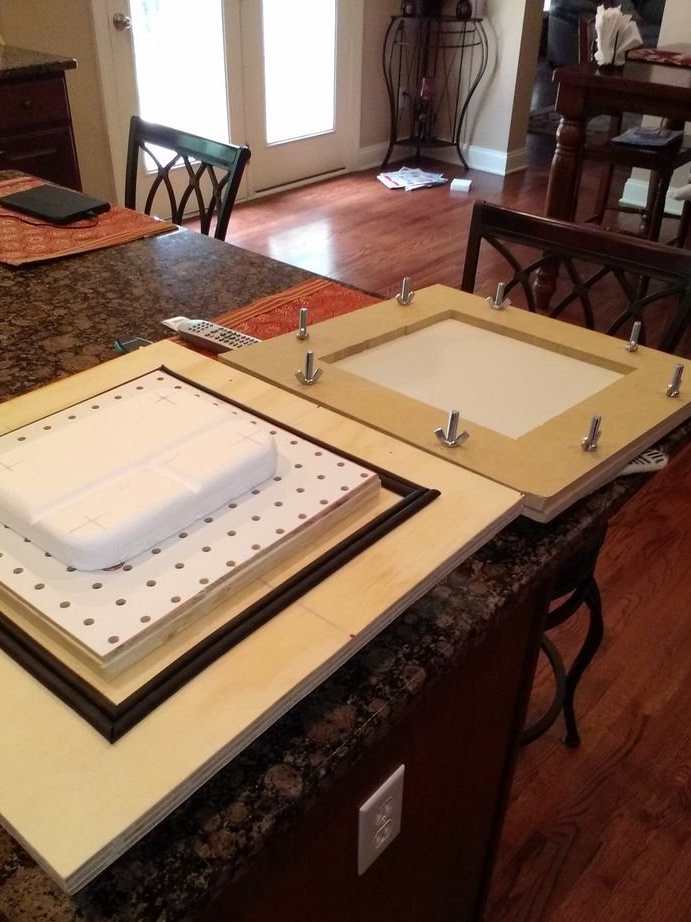
The author built this vacuum moulder to make a casing for another project. This is what is visible in the images.
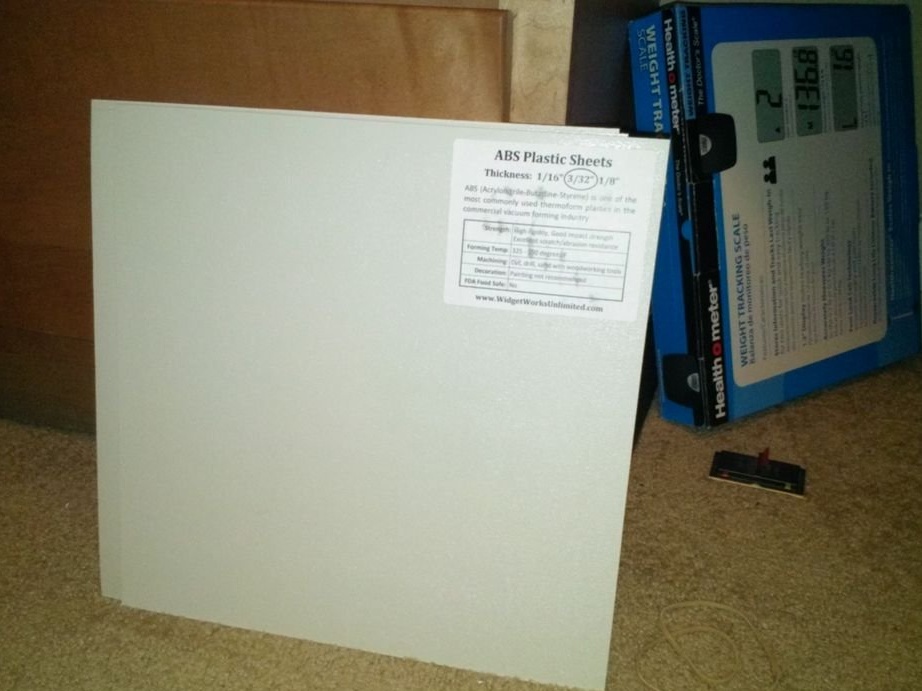
The body is supposed to be made of ABS plastic.
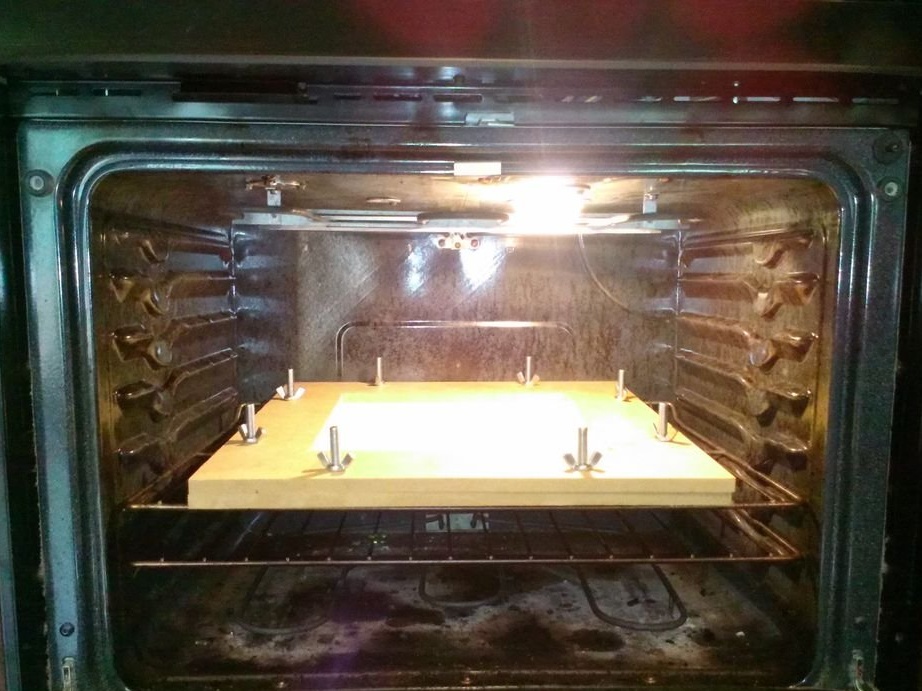
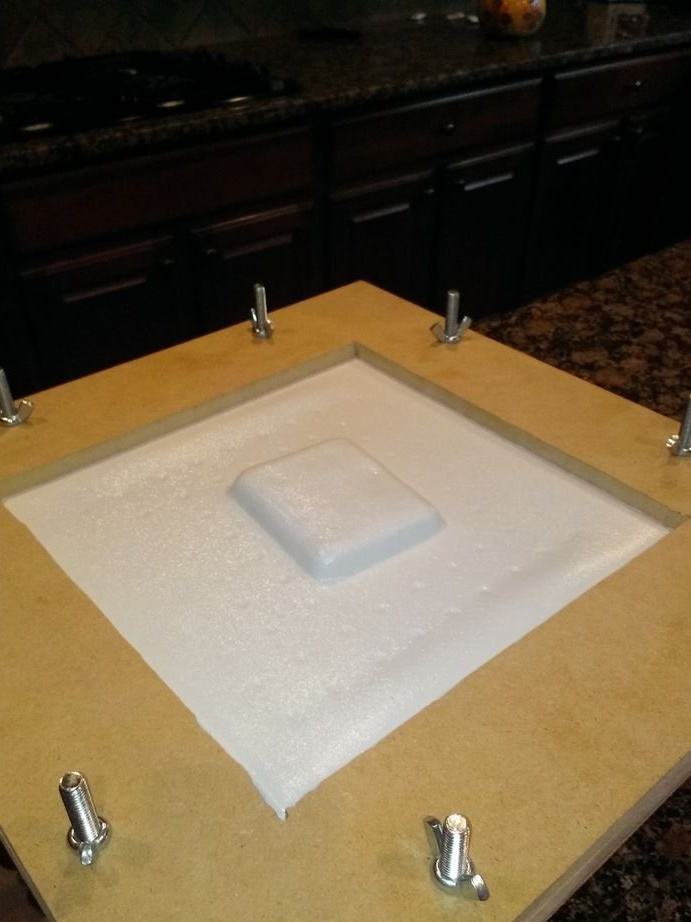
First place the material between the two MDF frames. The easiest way is to loosen all the nuts, but only unscrew the two bolts on one side and insert the material. Tighten all nuts. Place the base somewhere near the oven and plug in the vacuum cleaner. Any vacuum will do. Place the mold on top of the mesh. Preheat the oven, and then load the entire frame assembly into the oven.
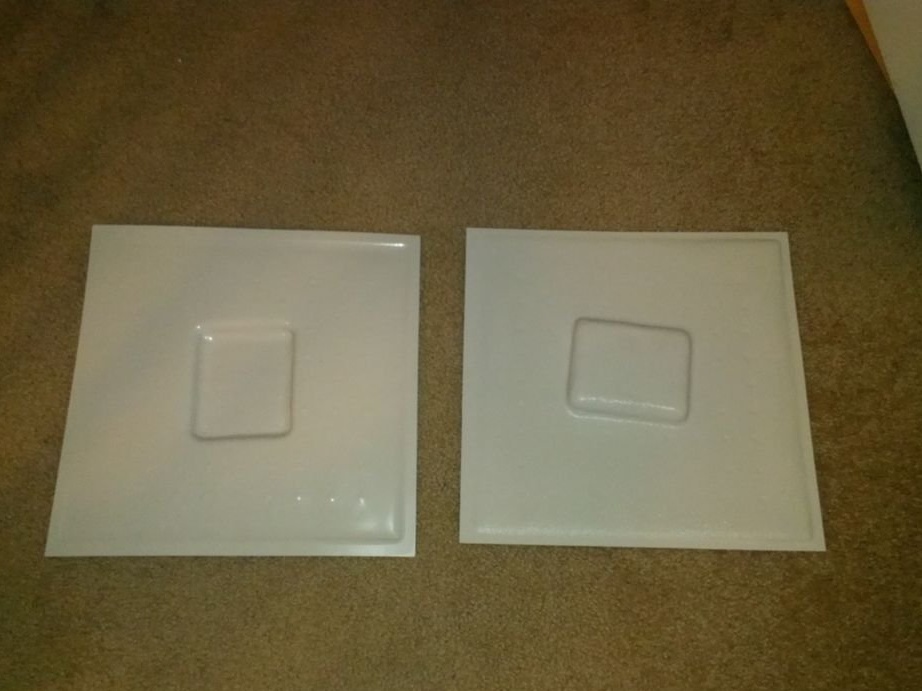
For ABS plastic, the molding temperature was 160-175 ° C. After a few minutes (depending on the thickness) you will see that the material begins to sag in the frame. This is how you learn that it is ready for formation. Turn on the vacuum cleaner and quickly move the frame assembly from the oven to the vacuum table and put it on the part. Be sure to use gloves, it will be hot! The vacuum should suck in material near the mold and cells. Wait about 30 seconds until your material hardens and then remove the vacuum.
If your part is not formed correctly, you may not have heated the material long enough, or your part may be too high and the material may have stretched. The author needed a couple of attempts to understand this.