
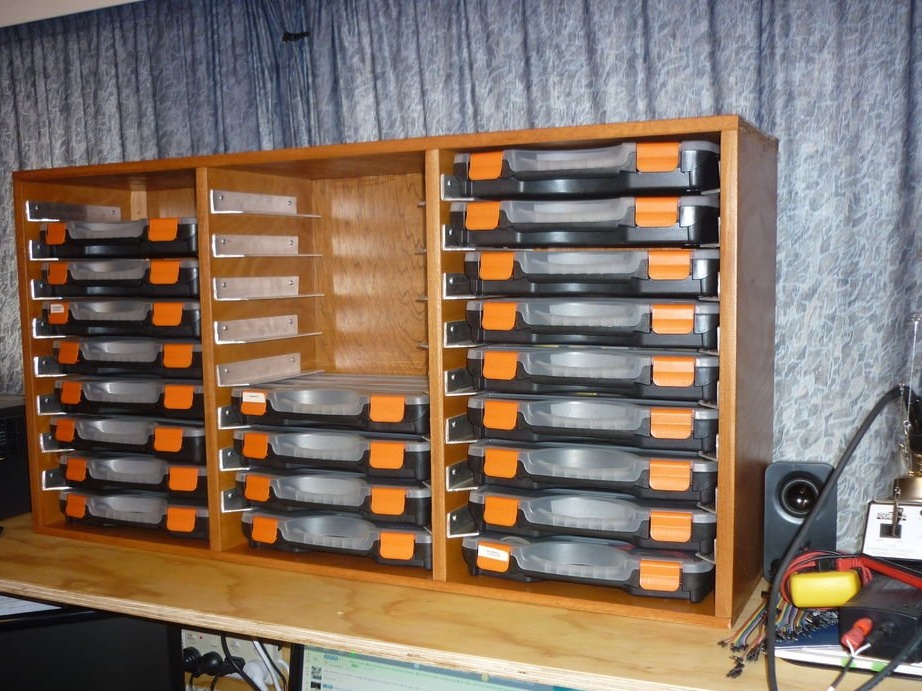
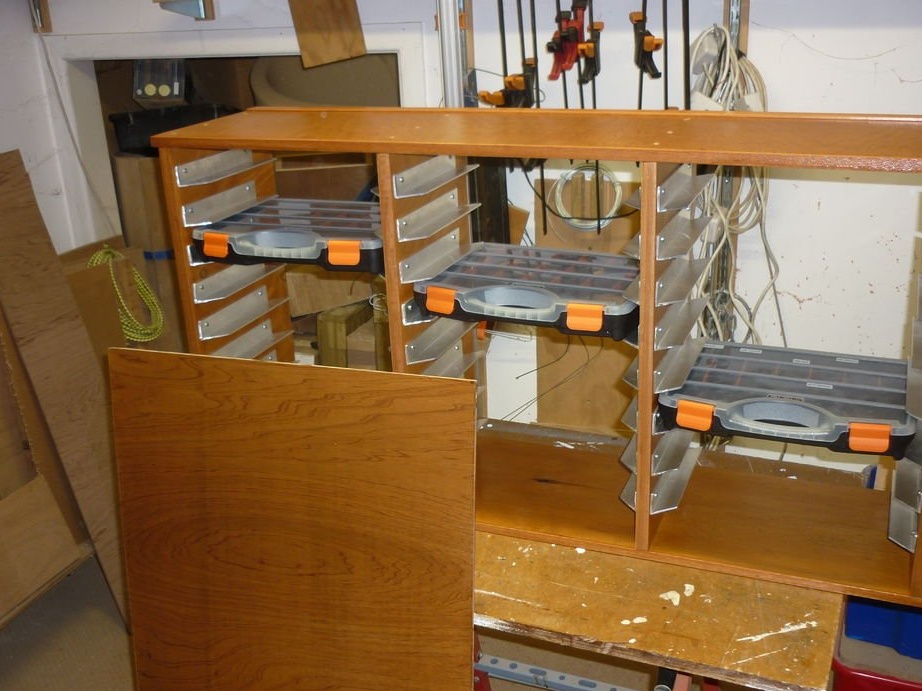
Electronics - This is a very exciting experience, but in the end you get many different types of components that need to be stored separately.
For storage, there are a whole series of small plastic split boxes, but the boxes themselves often get out of hand.
Good case design for boxes in J-Po, but in cases, the author of this homemadeThere were slightly curved edges, which meant that they would not be held firmly by the method that J-Po used.
Another Jesper75 campaign built a cabinet of the same style, but there is no way to reduce, paint and set the number of shelves that is needed.
The requirements for solving this problem were that between the boxes there should be as little space as possible, and the author also wanted to use wood that was already available.
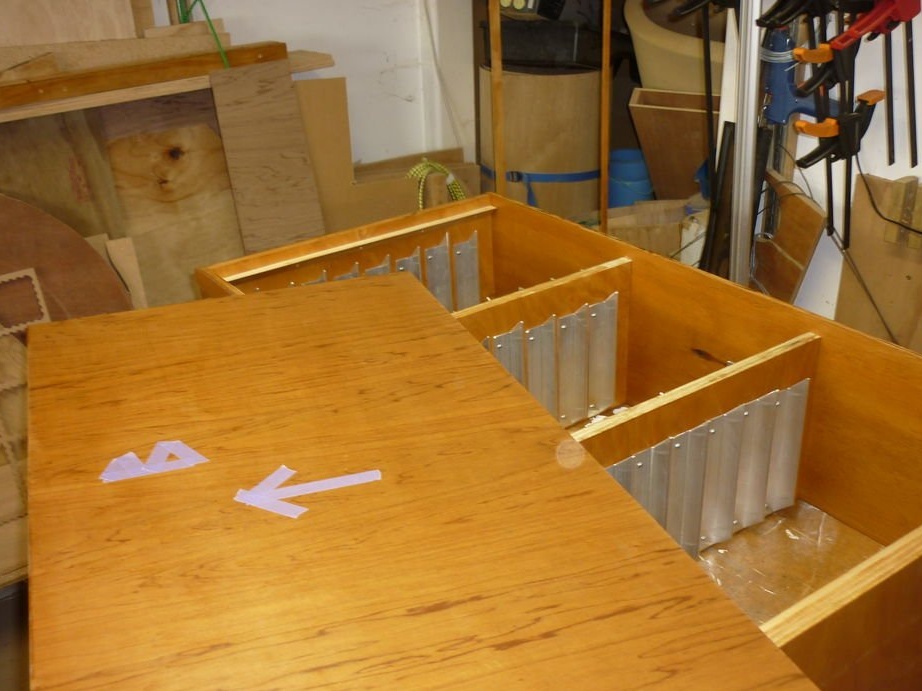
Therefore, it was decided to use an aluminum corner to make holders for cases. And since installing the guide holders after assembling the frame was not very convenient, it was decided to surface before assembly.
Step One: Racks
The height of the racks should have been high enough, since seven cases were required only to store one series of resistors, which was the largest range of components of the same type.
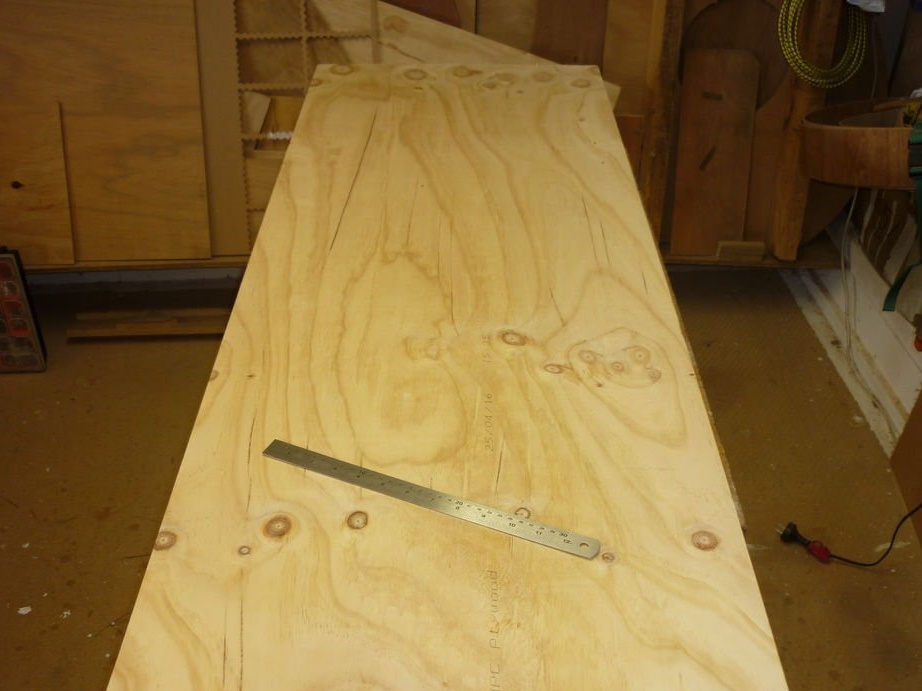
As the main material, plywood 18 mm thick was used.
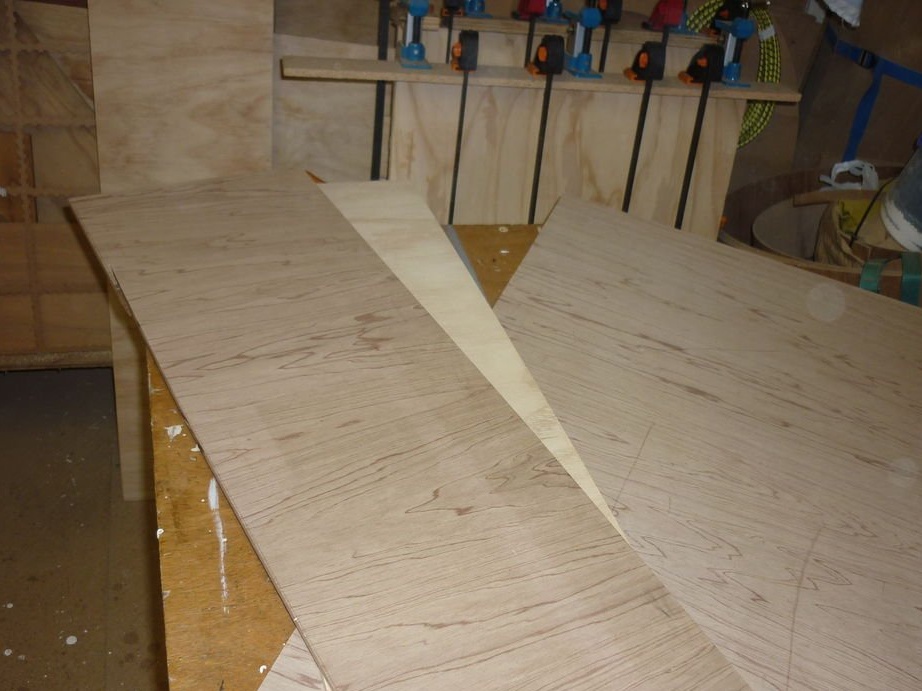
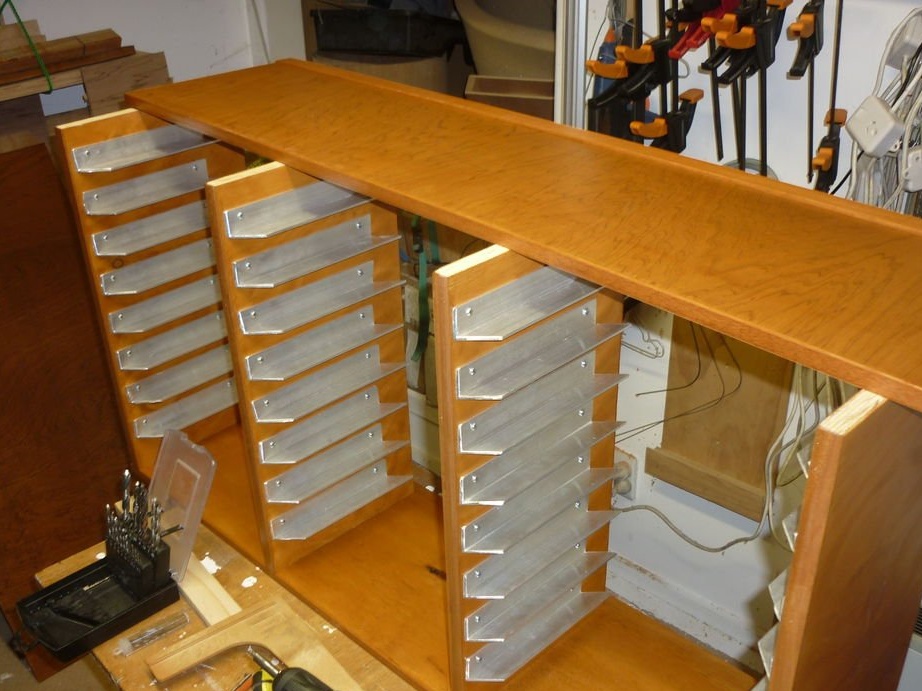
It was decided to make three sections for cases, which means four racks. External racks were trimmed by about 12 mm. deeper so that the back of the frame can be recessed.
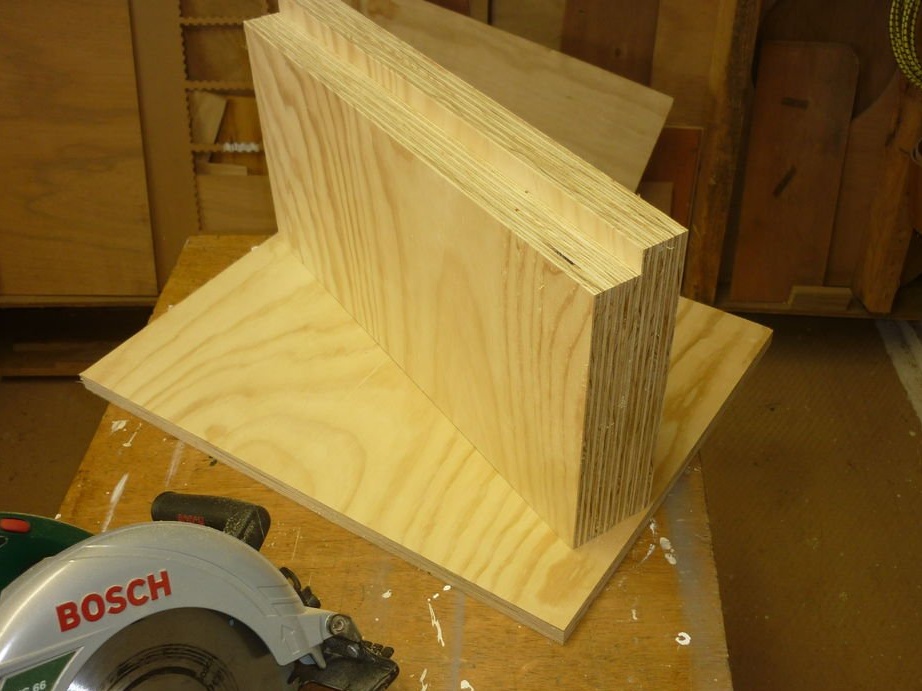
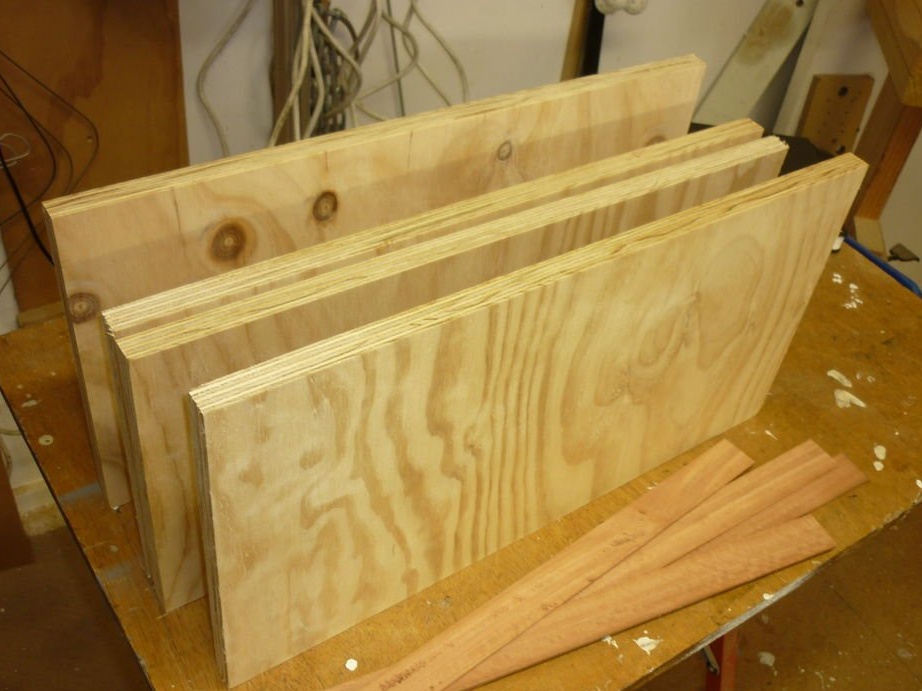
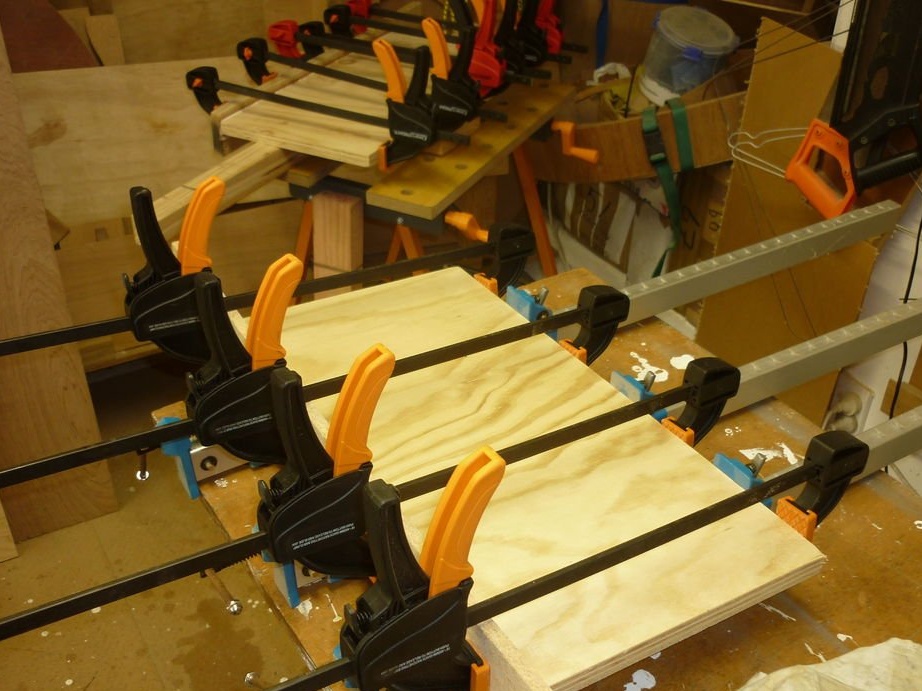
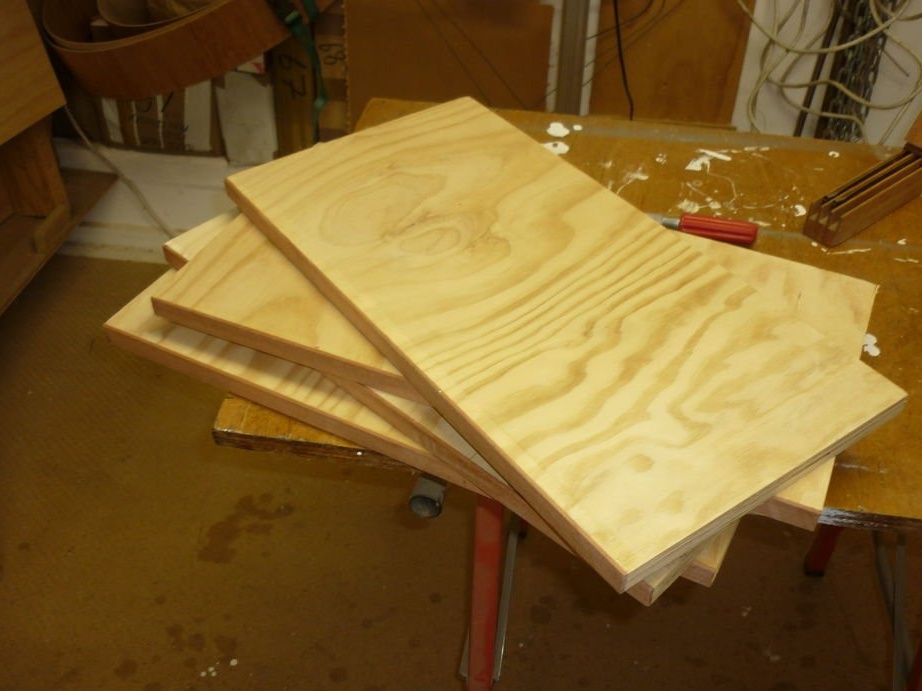
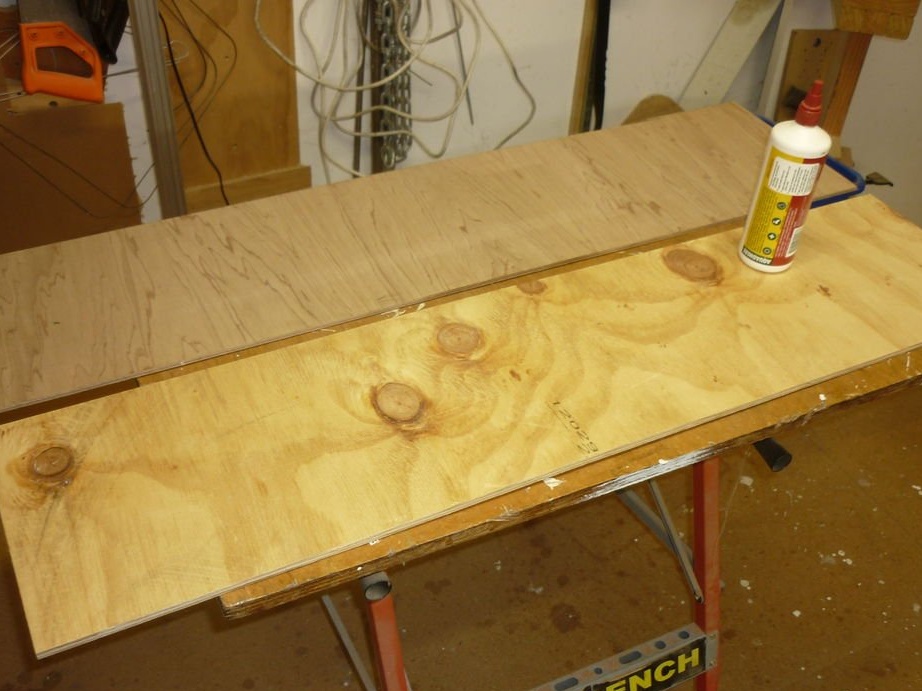
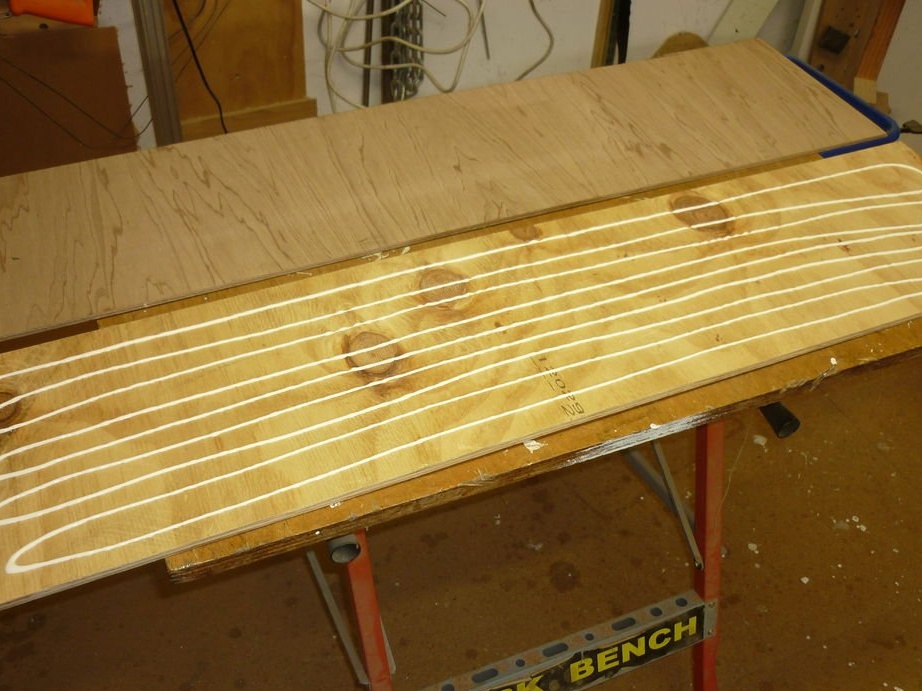
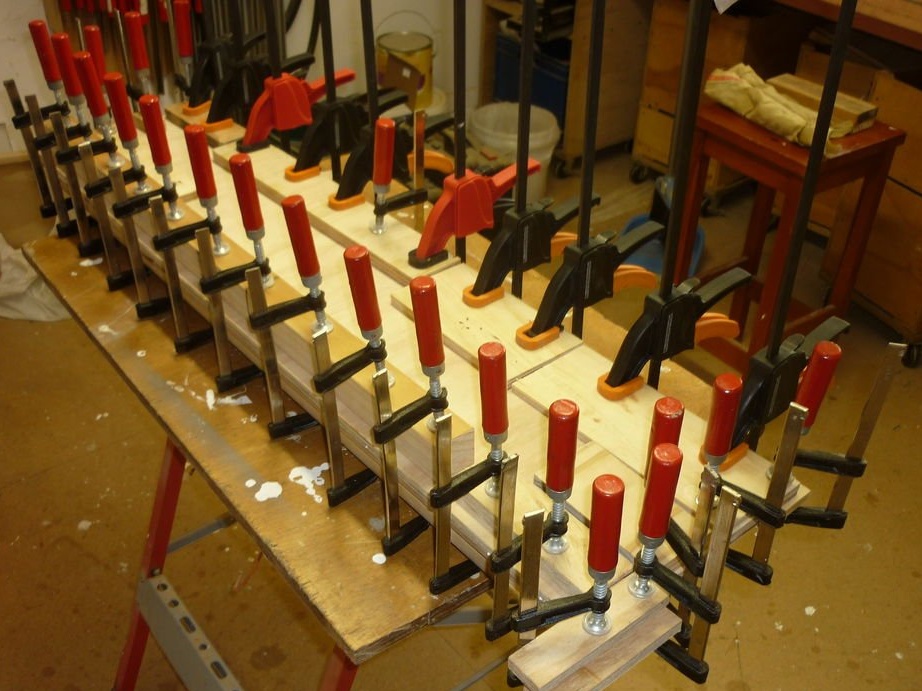
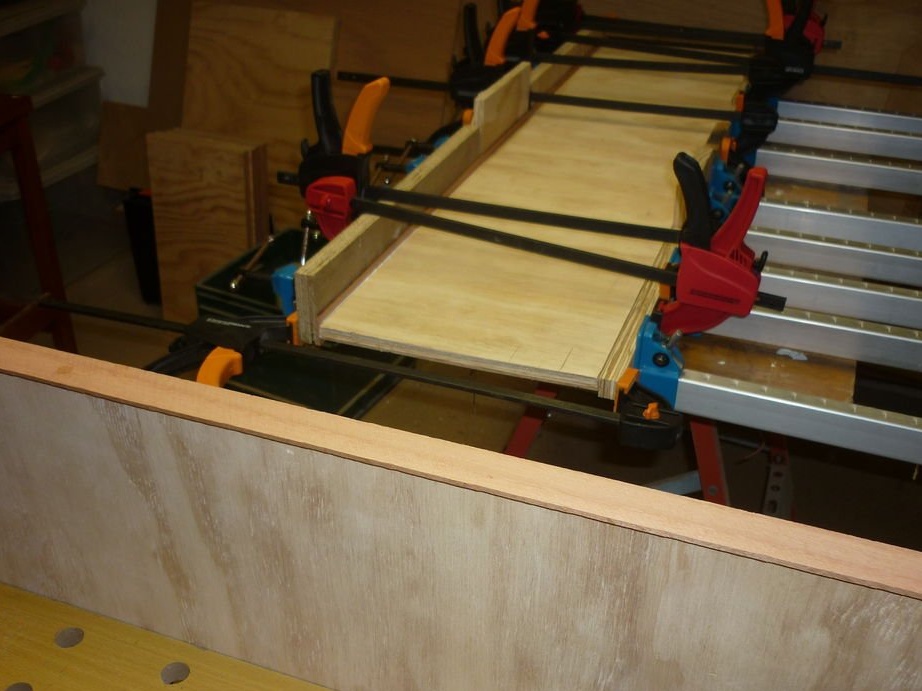
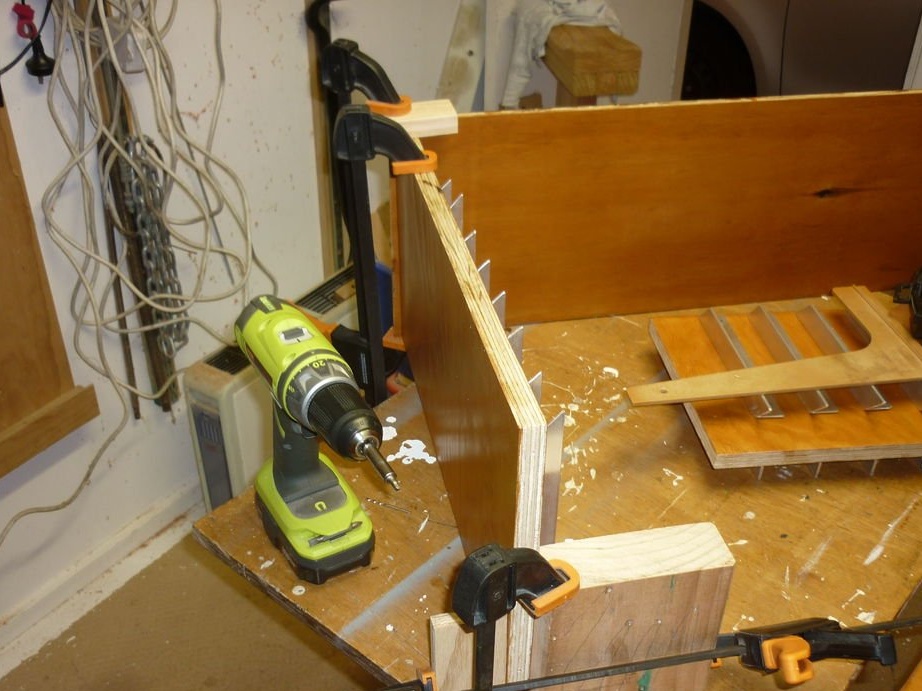
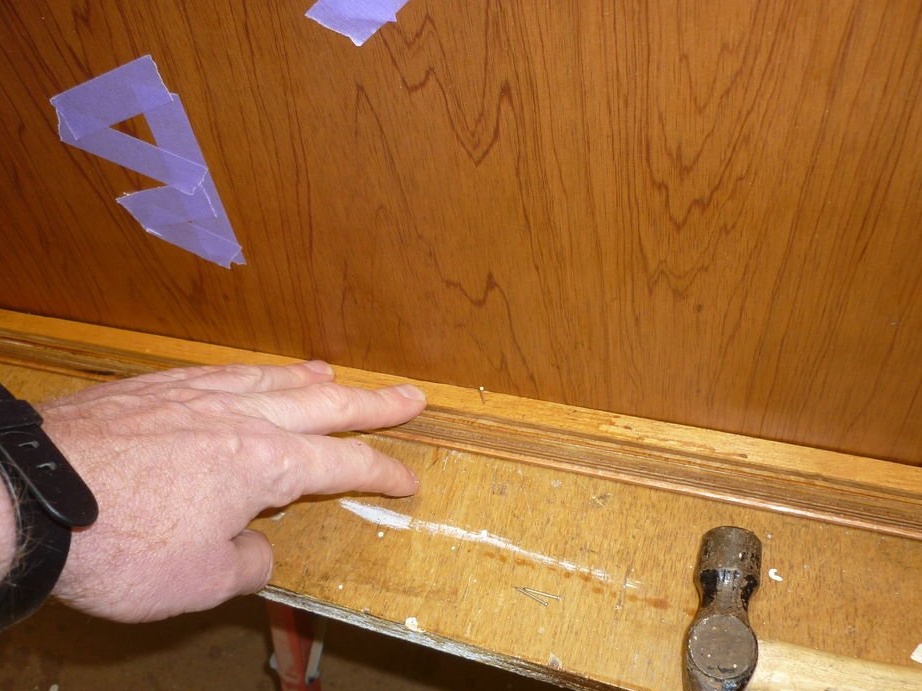
In the third picture, thin strips of hardwood are visible, this is saligna. The author glued them to the outer front edge of the plywood using ordinary PVA (Elmer glue) and (as you can see from the fourth figure) a lot of clamps.
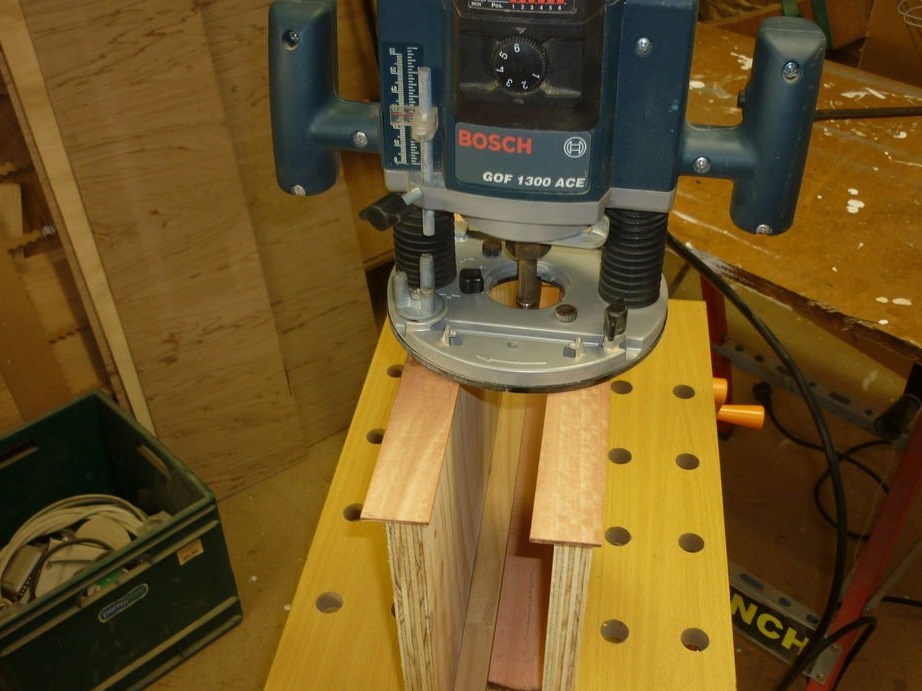
Excess face trim was performed using a router with a bit following the edge.
After the router removed most of the protrusion, it used a small bit to make the saline absolutely flat.
Step Two: Top and Bottom
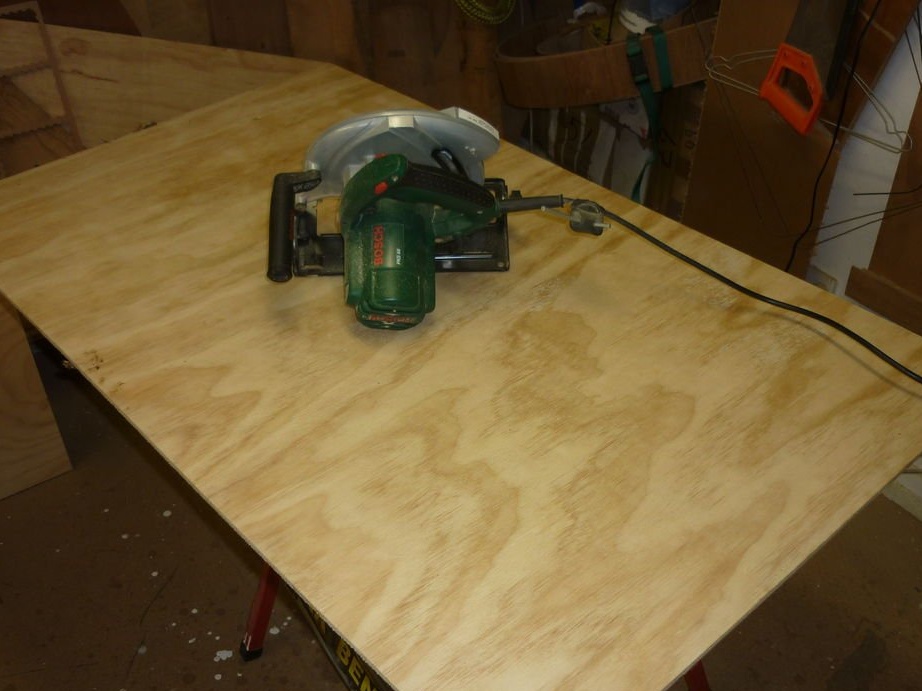
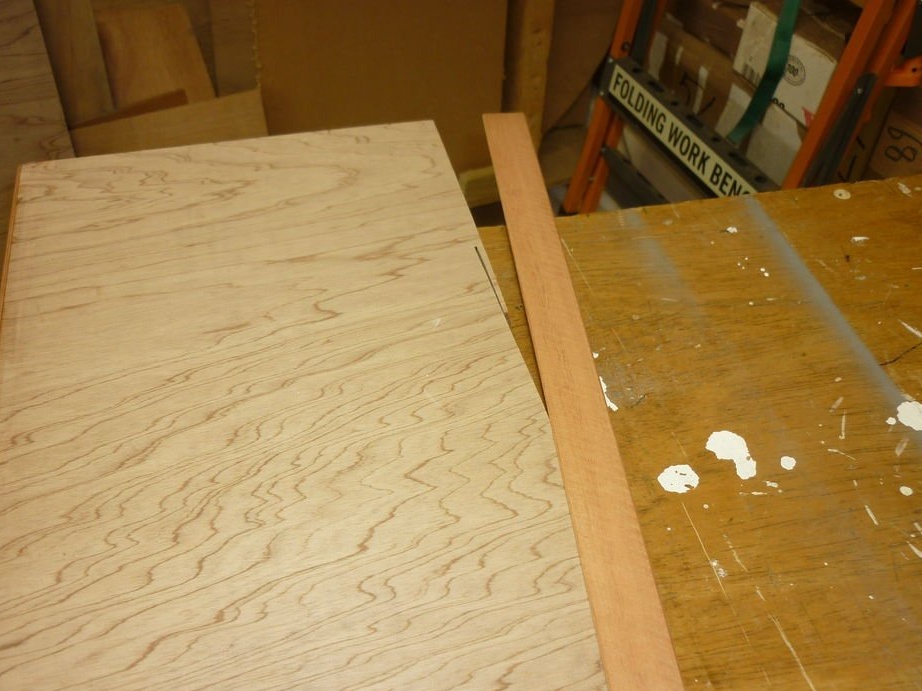
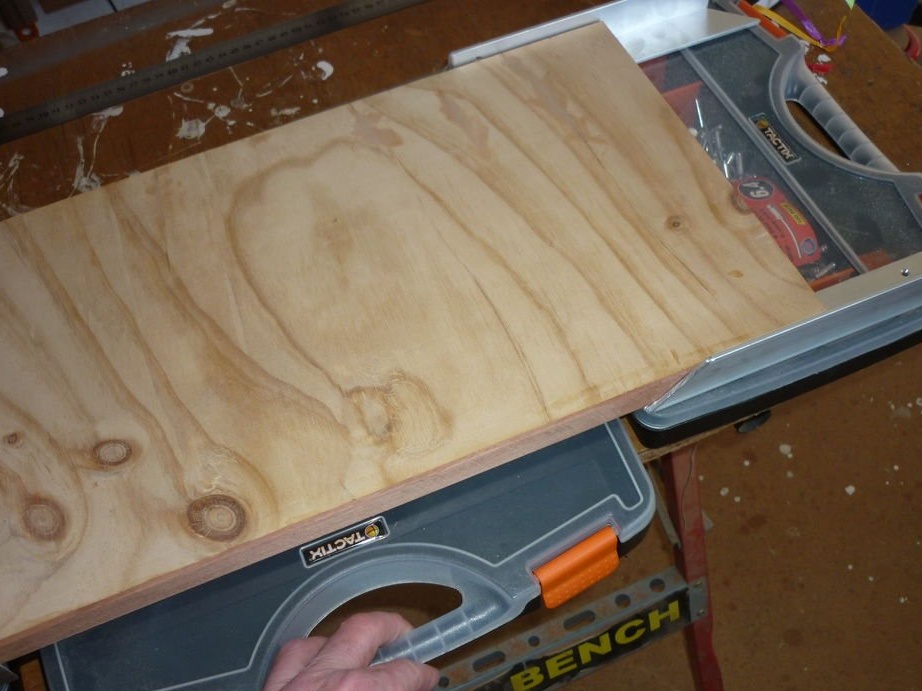
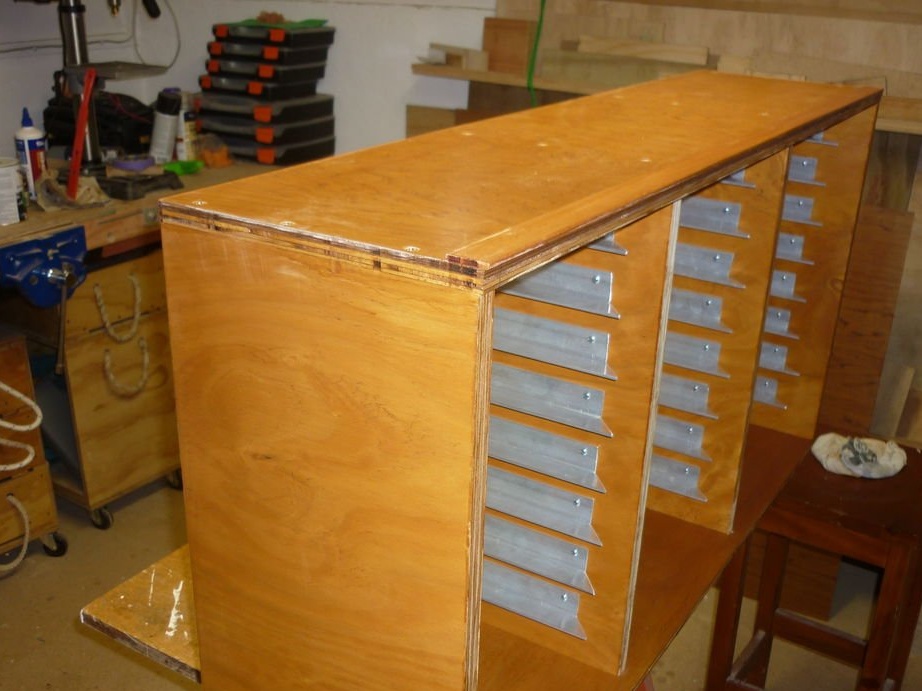
The author had only 7 mm structural plywood for the top and bottom rack covers. There were also two smaller, mismatched pieces of very thin plywood with different facing layers.
As you can see in the third photo from the left edge of the part, the author found it difficult to cut this material with a circular saw.
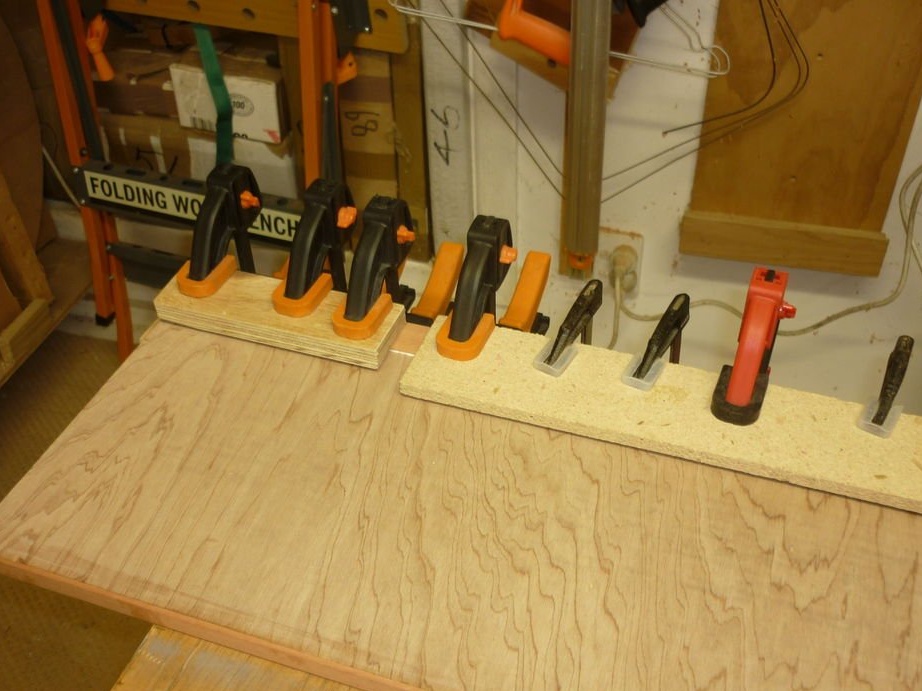
Lamination of this material required a lot of glue and a lot of clamps.
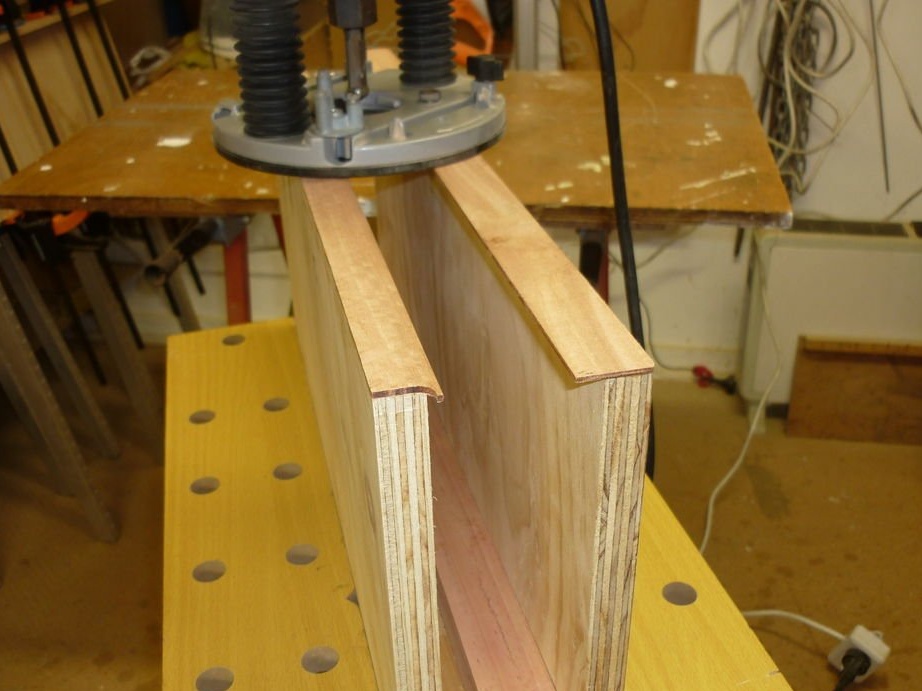
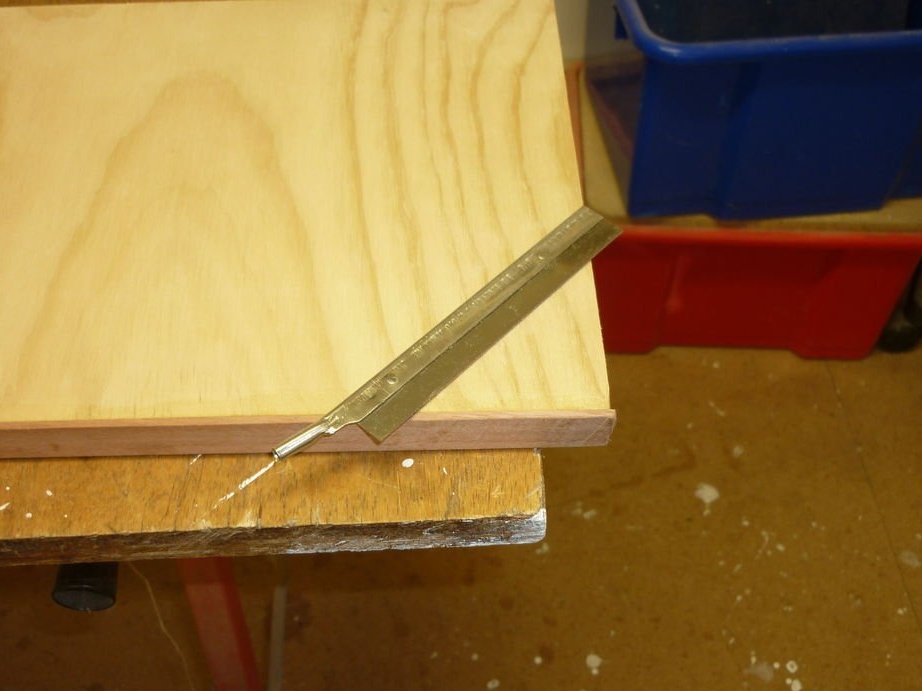
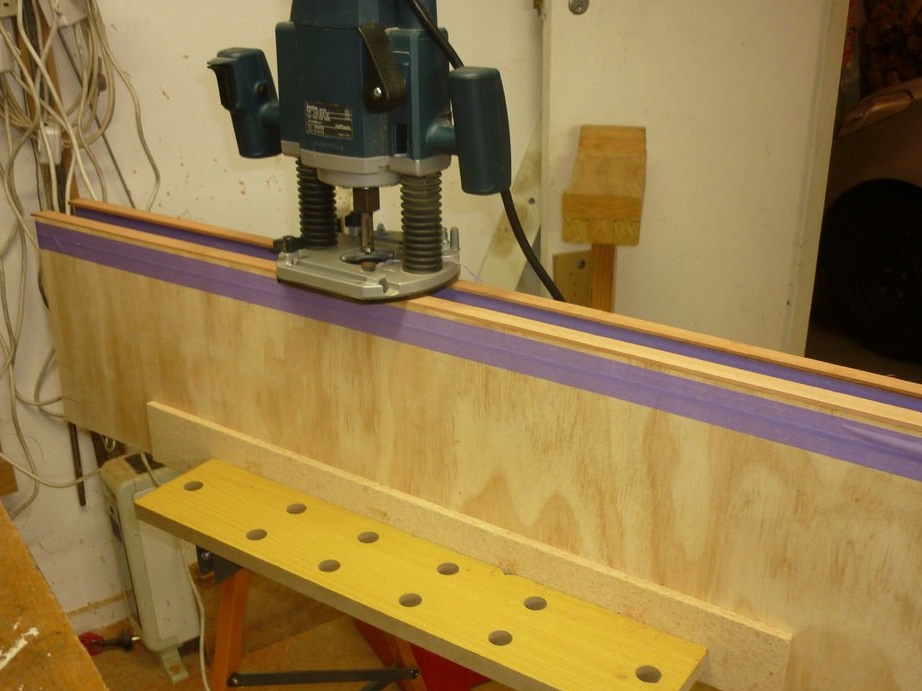
The previous time, when finishing the ends with a facing laminate from saligni, the author used a milling cutter to process the surfaces, with which the ends were aligned.
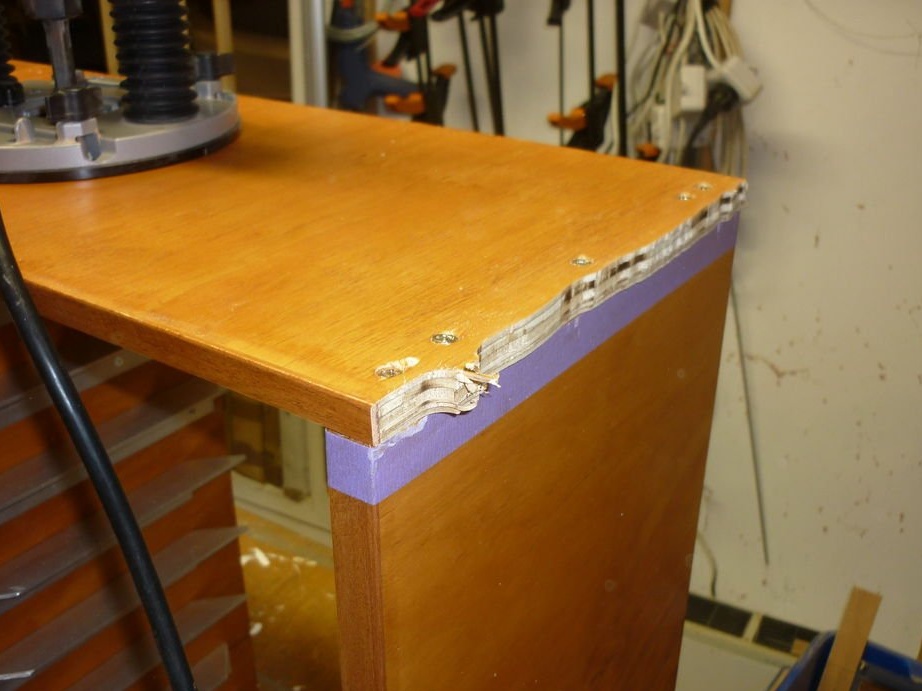
This time, the author used the same end face processing technique, but the surface of the wood was protected from a follow-up bearing on the milling head using masking tape.
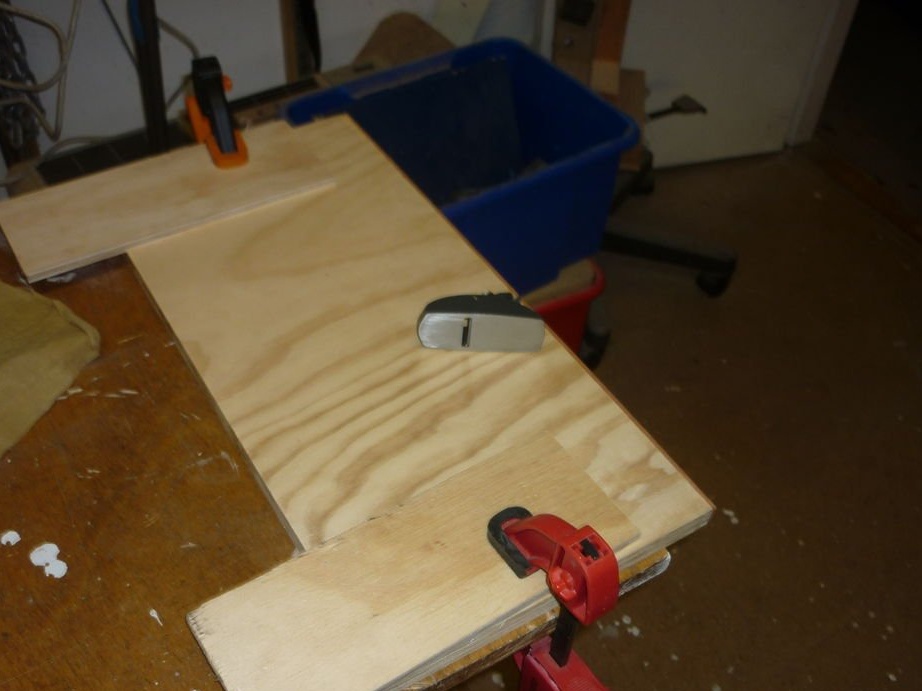
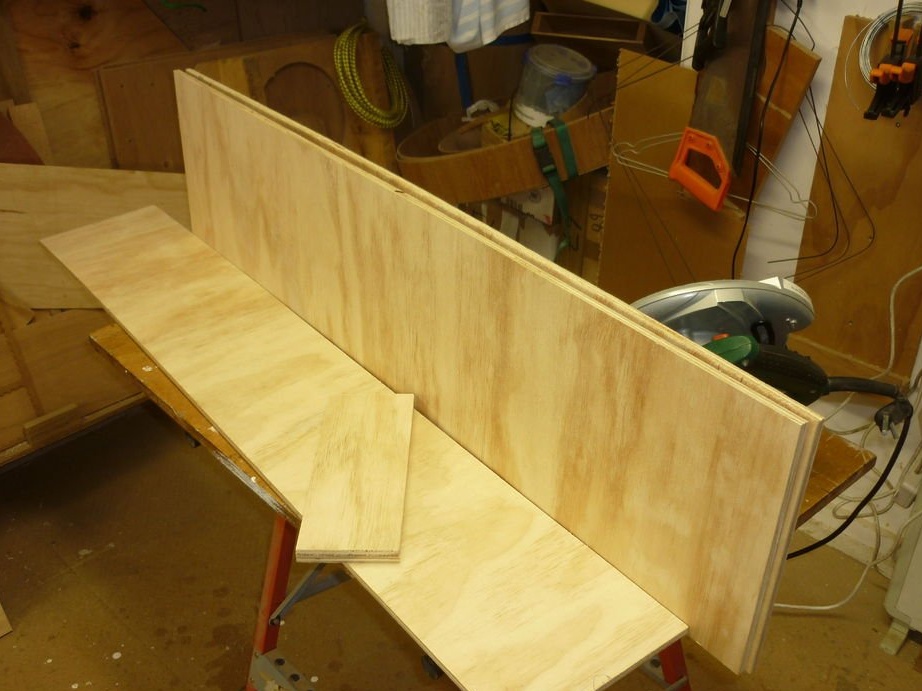
The last two photographs show how the author hides his “shoals”, which he managed to do with a circular saw. It covers the damaged posterior edge in the upper part of the plywood with another strip of saline. In the end, the workpiece looks good enough.
Step Three: Cutting aluminum supports from a corner

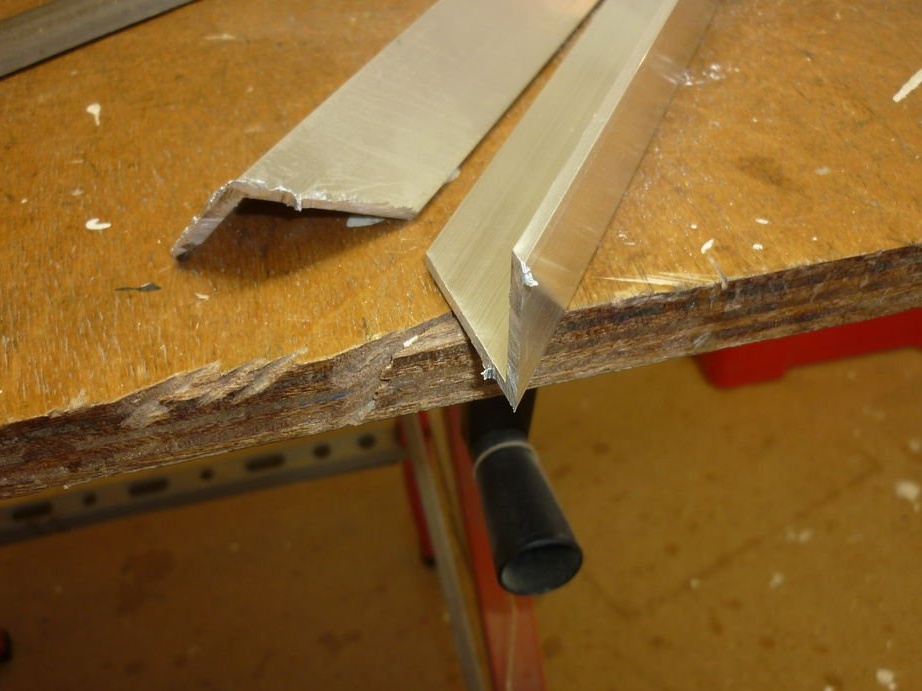
The cases are not very heavy, but the choice fell on an aluminum corner 3 mm thick, 30x30 mm in size. In the presence of ten meters, 4 corners of 2.5 m.
To cut the corner evenly and precisely, the author folded the four corners together and fastened the whole bundle with clamps, so that it remained to make four times fewer cuts.
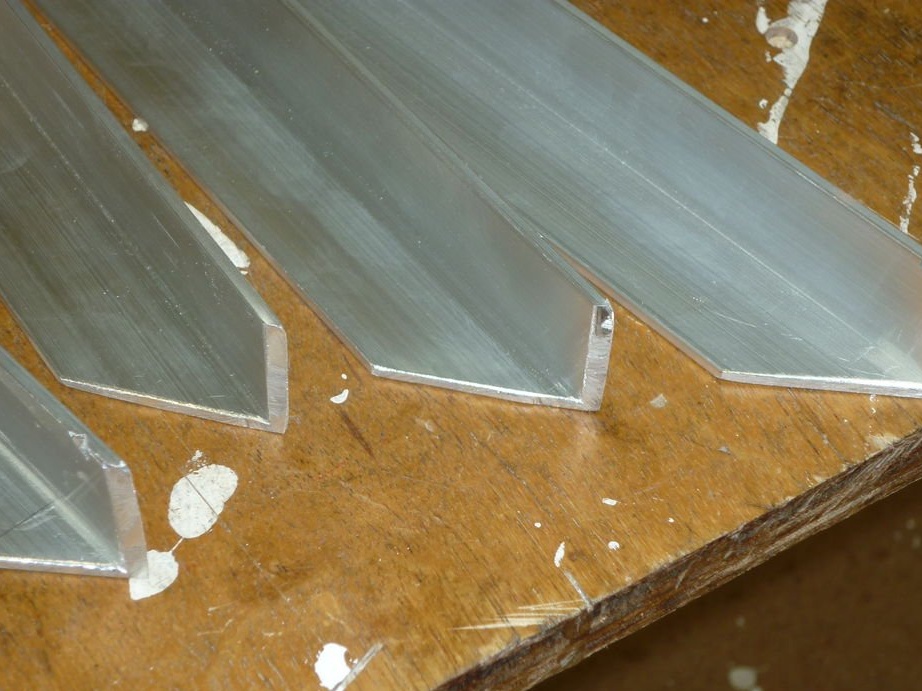
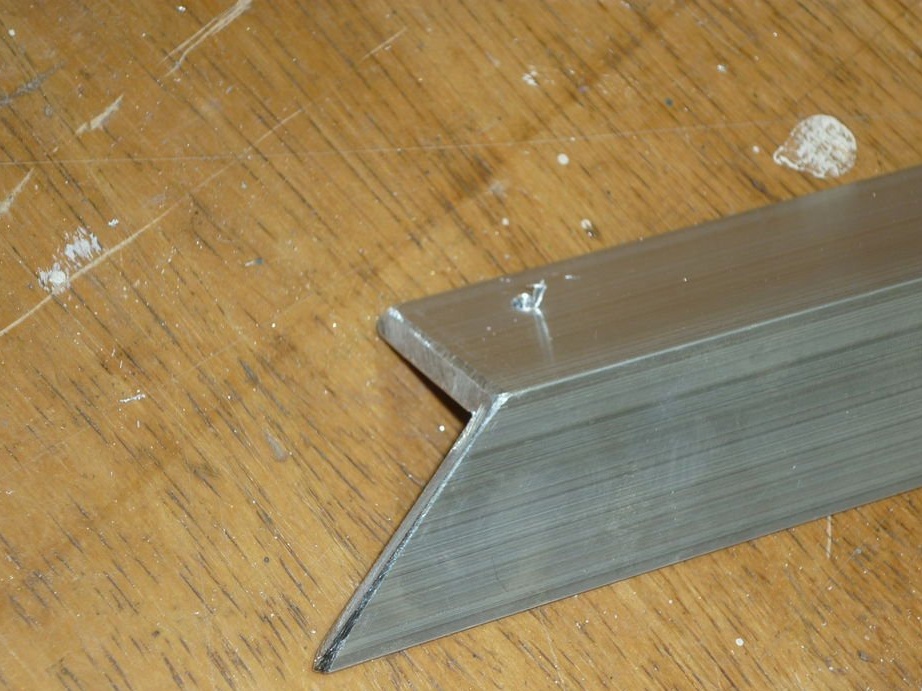
There was a desire to make a recessed edge in front to give a neat appearance, to support and facilitate the insertion and removal of cases. This meant that the right and left parts should be mirrored. The appearance of the rear end of the corner of the author did not bother. Whether it is straight, transverse or angular does not matter.
After cutting the aluminum corners, the burrs remained from the angle grinder, which were easily removed when processing them with a file.
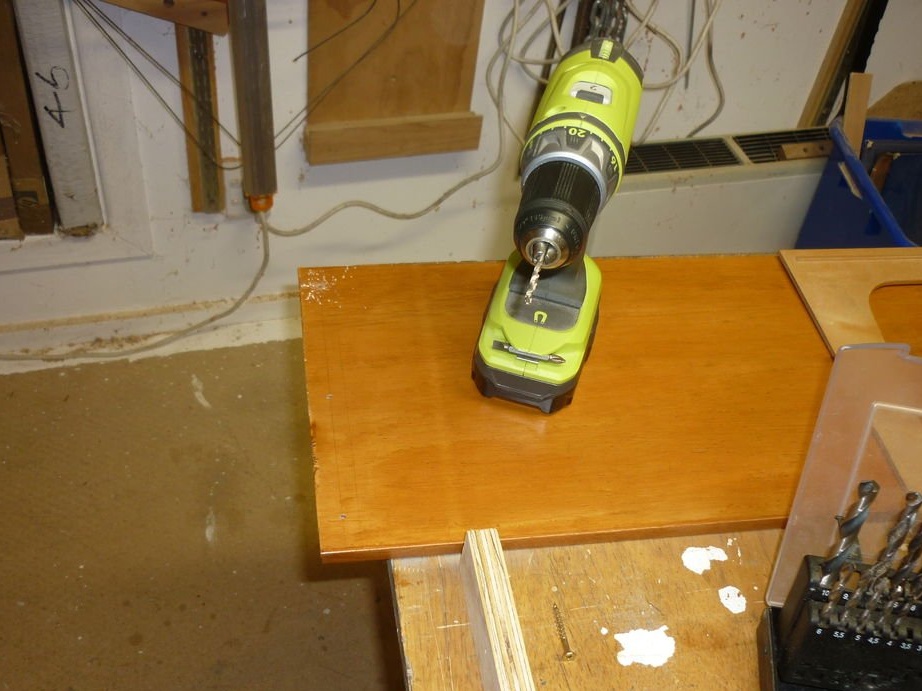
Fourth step: Drilling holes in the aluminum corner under the screw

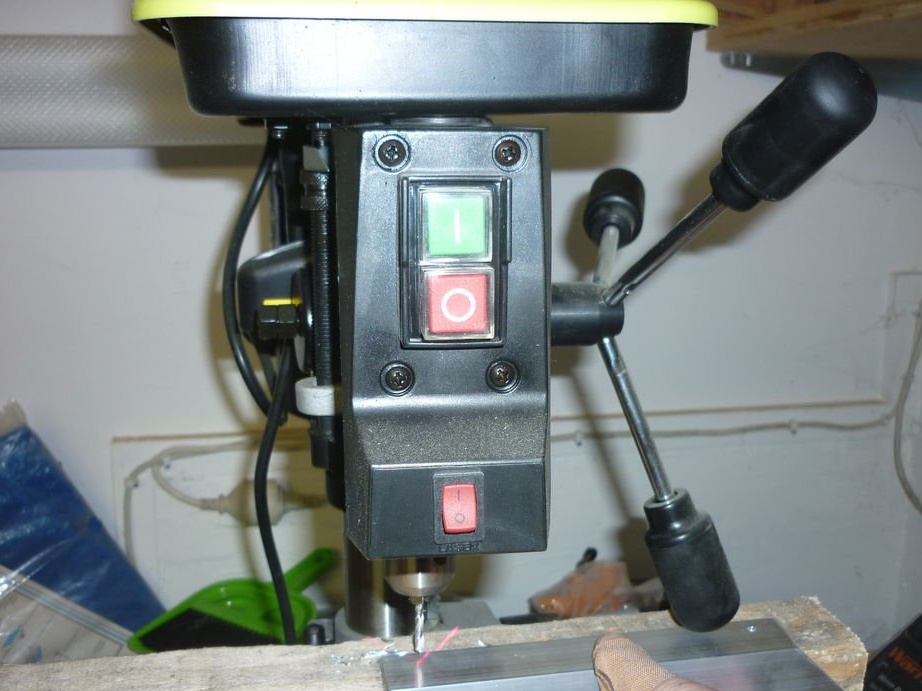
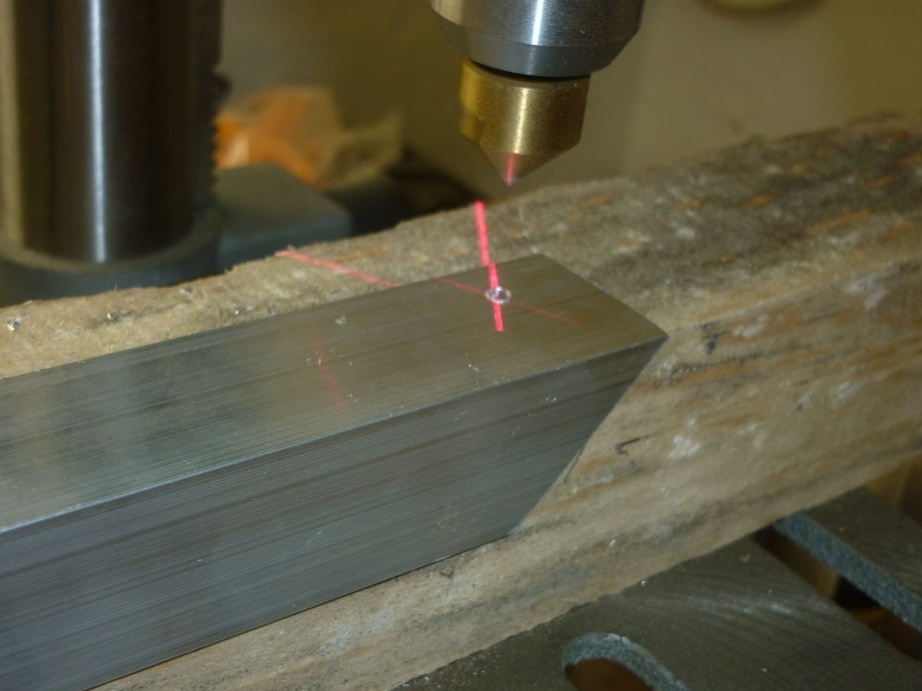
The author used a drilling machine and a 4 mm drill, which gave a good clearance for the M6 hex head screws, which were supposed to be used to fasten the guide angles to the uprights.
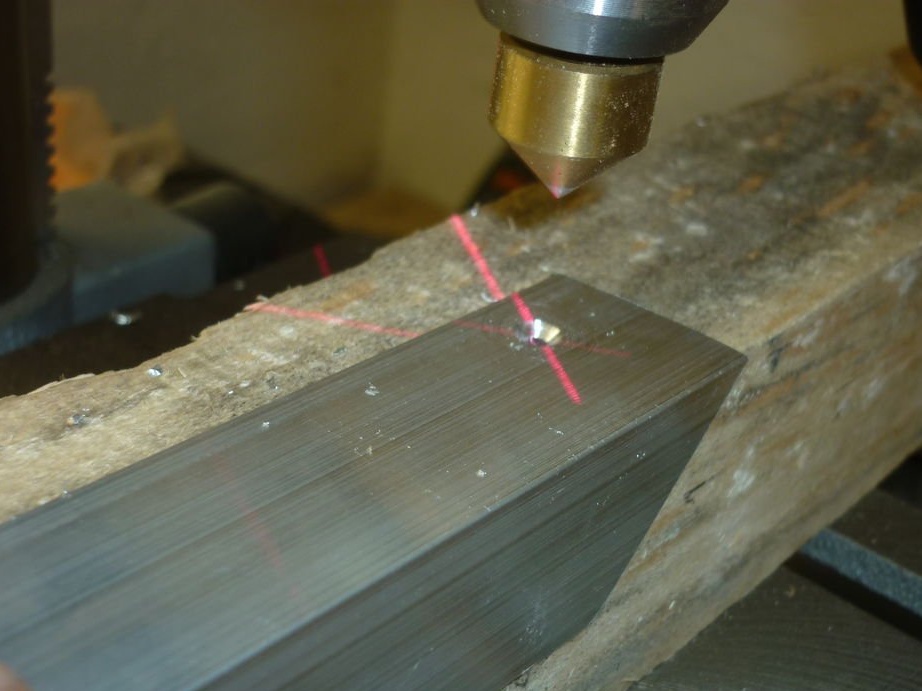
A wooden beam was fixed to the platform of the drilling machine in order to hold aluminum. Also, marks were made on it in the form of lines in order to have an approximate idea of where to hold the workpiece. Holding the part firmly for the left hole was quite difficult, as the drilling machine is designed for use with the right hand.
The holes were good, but again there were aluminum burrs. Therefore, the drill was replaced by a countersink and they neatly tidied the holes in the corners.
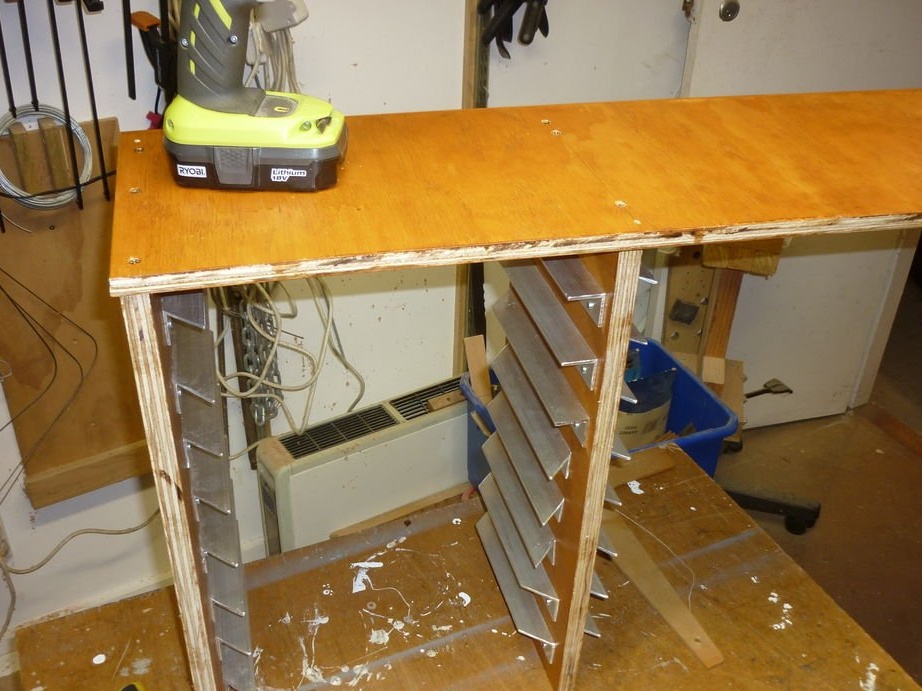
Step Five: Mounting the Guide Rails
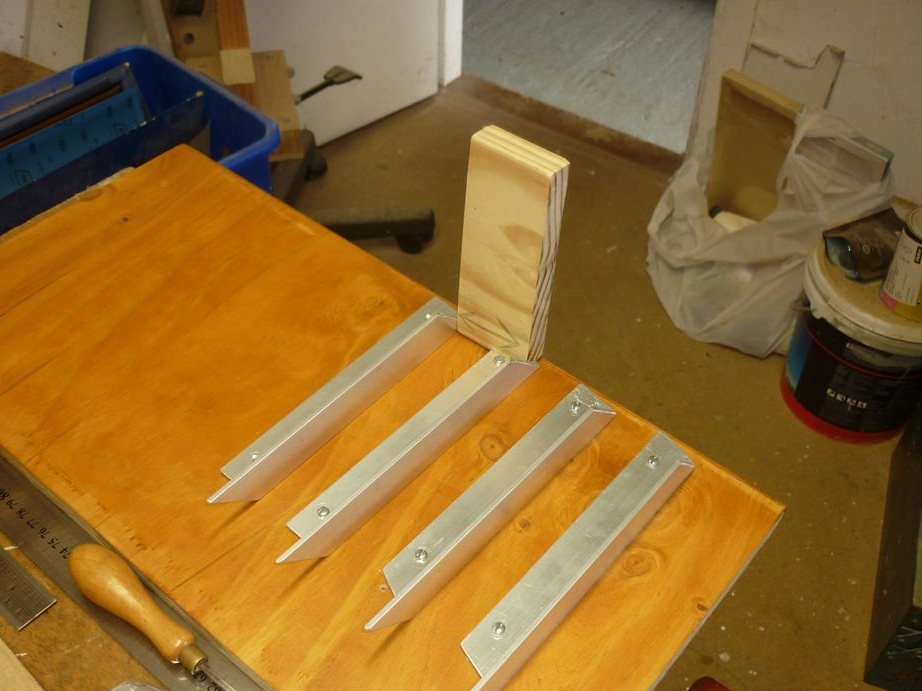
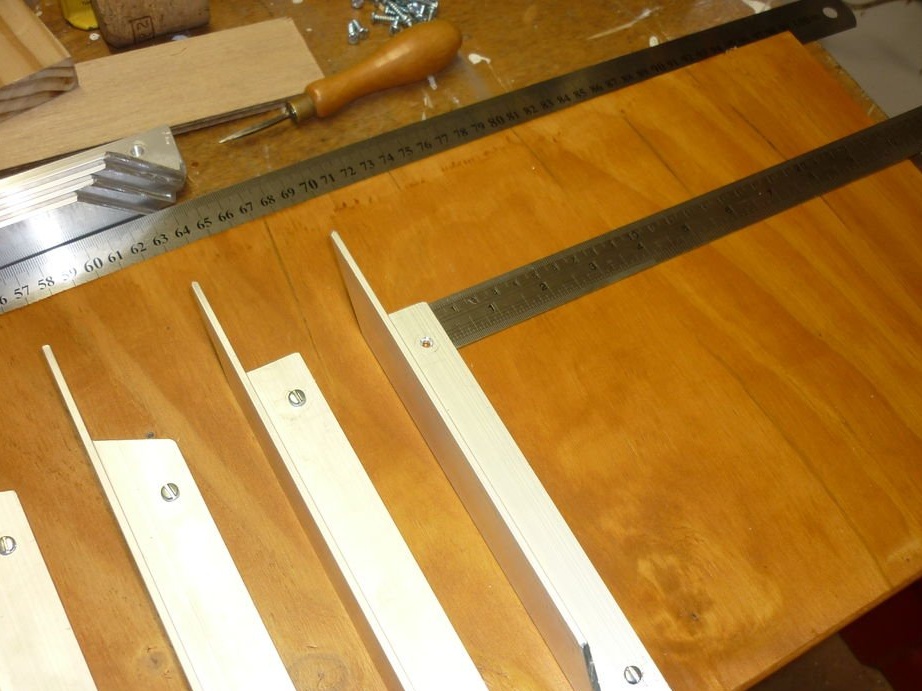
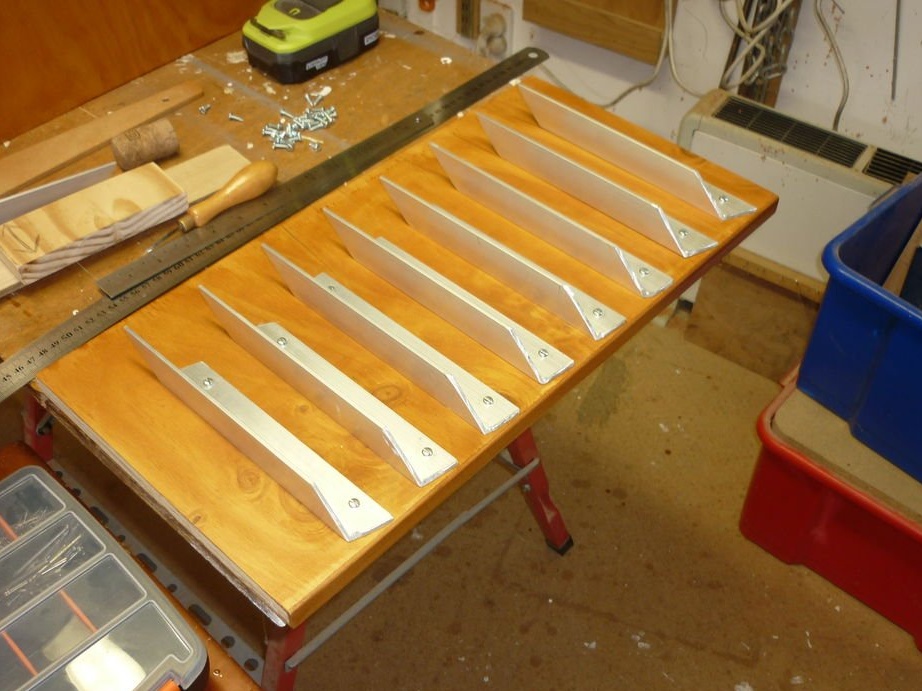
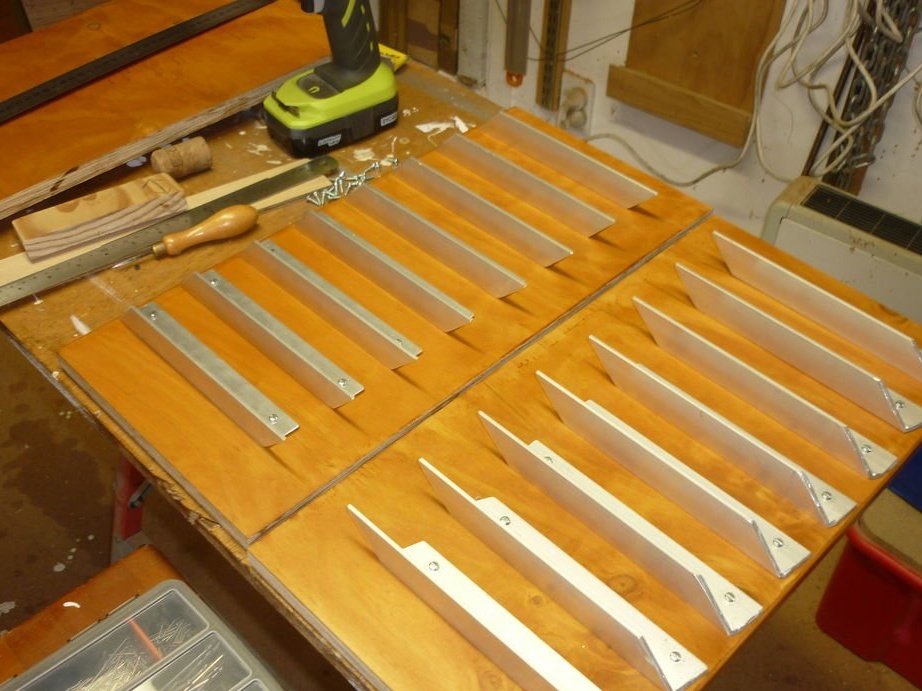
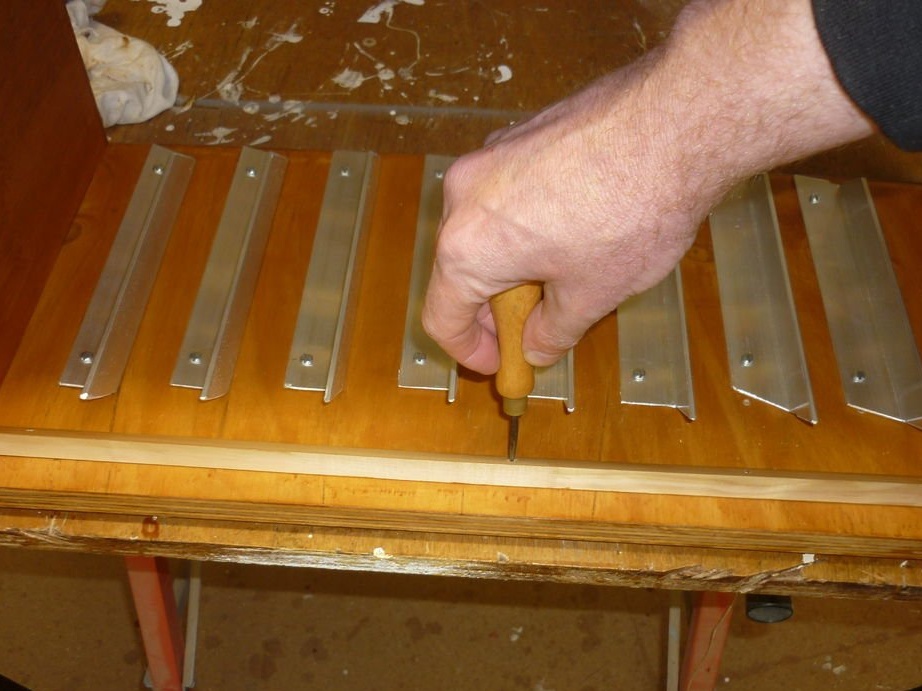
There was no certainty how much space the cases would need in order to be easily removed, so the thickness of the block was determined by trial and error. After which a template block of the required thickness was made. It was used to accommodate each rail.
Each guide was spaced the same distance from the one below. To avoid errors, a template was used to install the front of the rail, and then this distance was duplicated from the top of the rack at the back of the cabinet.
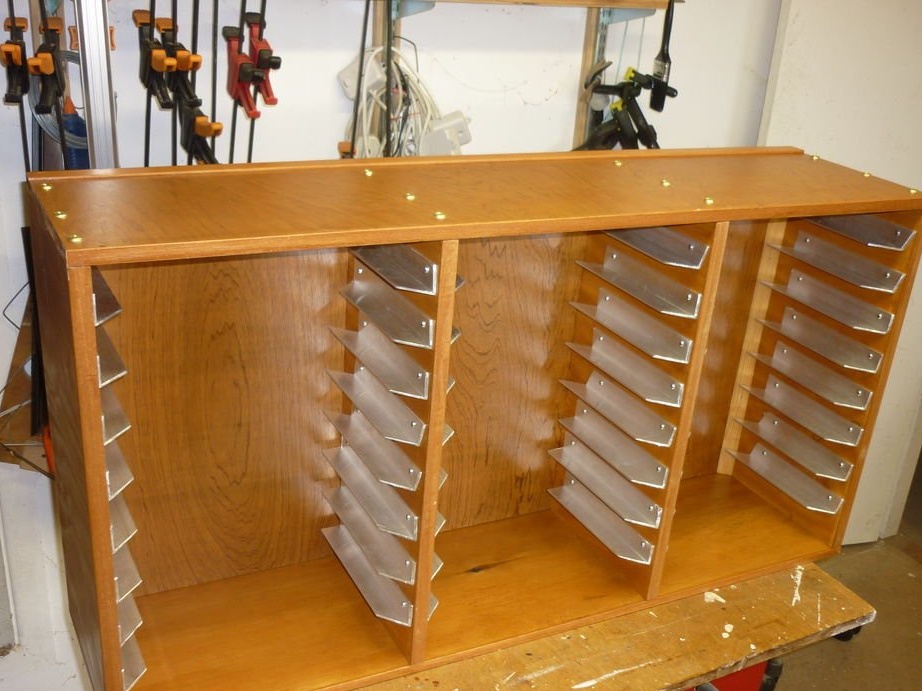
Step Six: Cabinet Assembly
The upper and lower parts of the cabinet were not rectangular, therefore, careful installation was required.
After everything was clamped with clamps at right angles and the first end element was attached, everything went well and quickly.
Seventh step: Tidying up and installing the backrest
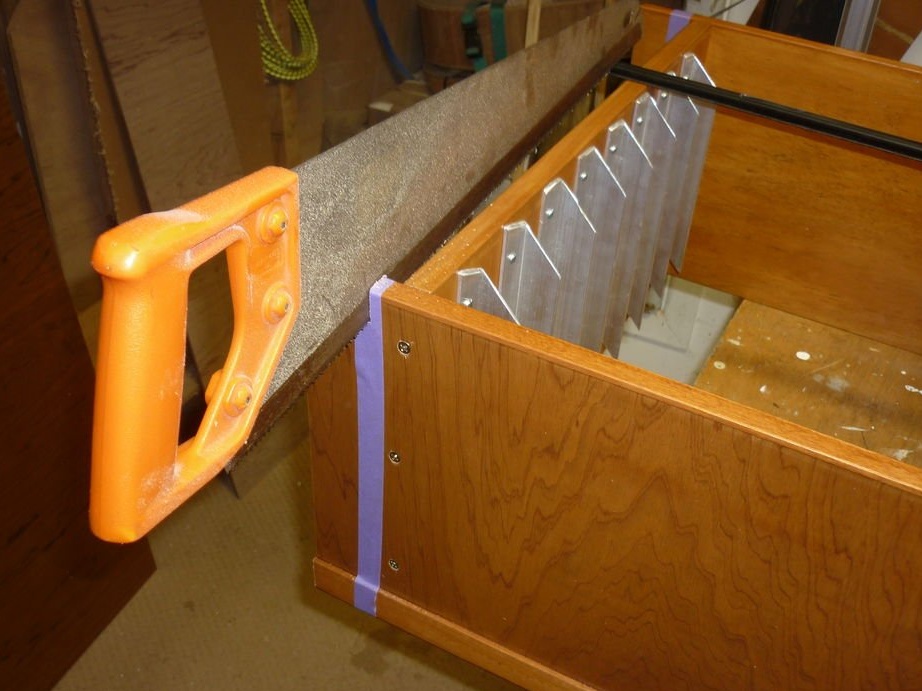


As soon as the sides and top were assembled together, the excess part of the plywood was cut with a hand saw. Then, using a router, the ragged edge was put in order. After completing these works, the cut edge was varnished in the same color as the rest of the cabinet.
The back wall of the cabinet was varnished in advance before it was installed in its place.
Then the back panel was nailed to the middle side of the two outer pillars, and after the panel was pressed with stripes on the outside of the back.
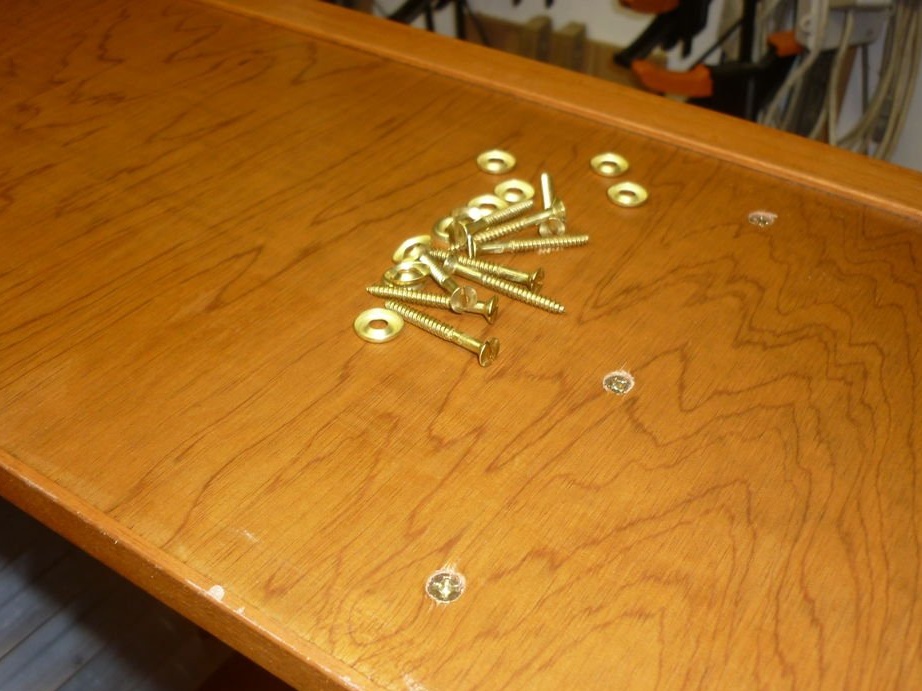
Finally, countersunk screws from the top were removed and replaced with beautiful brass screws with matching cup washers.