
In this article, Ben, Ben’s Worx’s YouTube author, will tell you how he turned a regular flea market ring into opal jewelry.
Materials
- Super glue (cyano-acrylate)
- Acetone, or another degreaser
- Little ring
-
- Sandpaper
- .
Instruments, used by the author.
- Lathe
- Chisel
-
- Pliers.
Manufacturing process.
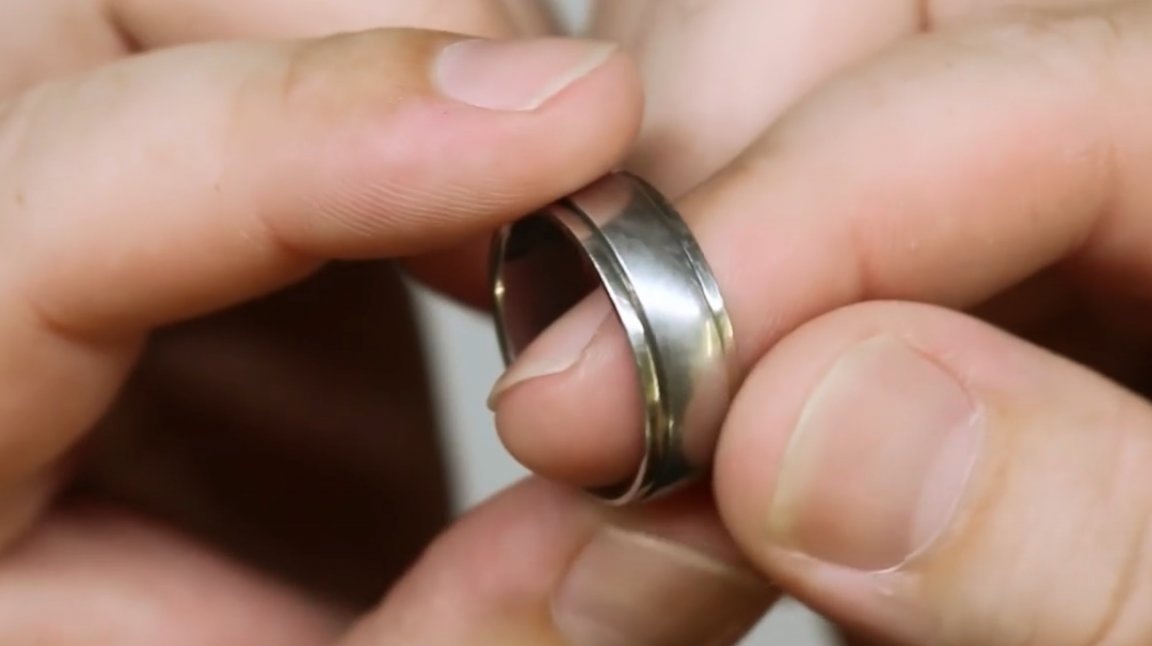
So, the author acquired a cheap little ring with a movable insert.
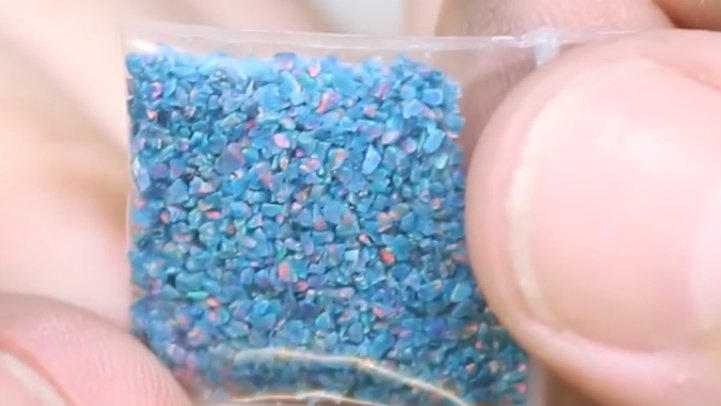
The first thing the master intends to do is to remove the outer part of the ring a bit in the middle and fill the cavity with inlay from opal. Five different types of opal are presented to your attention, of which the author has to make a choice: "Caribbean blue", "sleepy lavender", "black fire," "space titanium" and "pearl white".
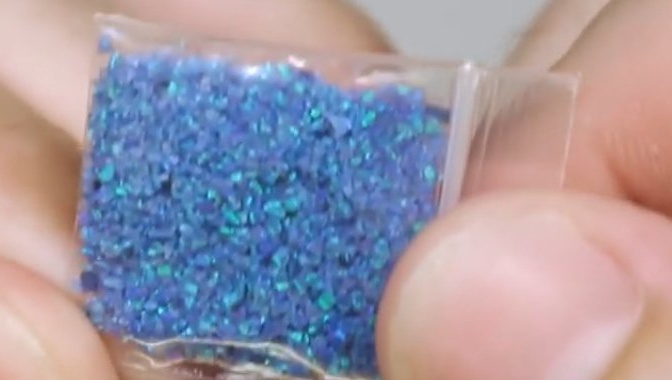
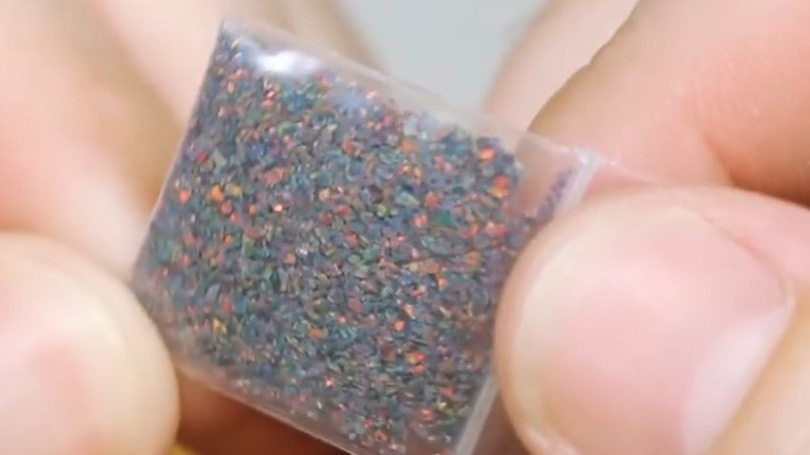

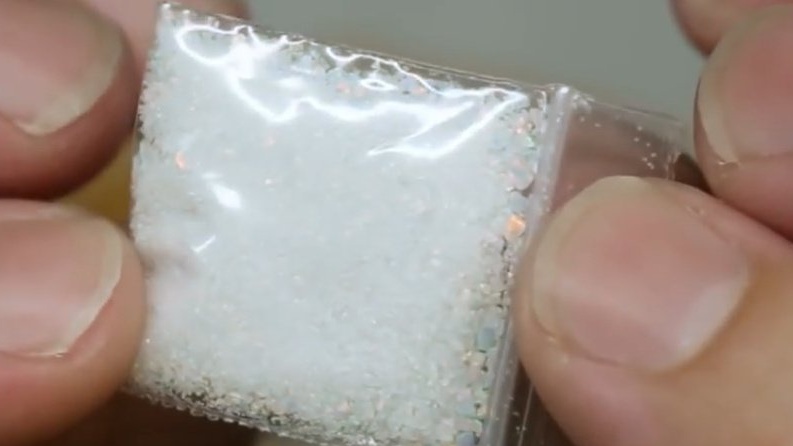
The author opts for "space titanium."
So, the master cuts the central ring (it was originally movable), and removes it.
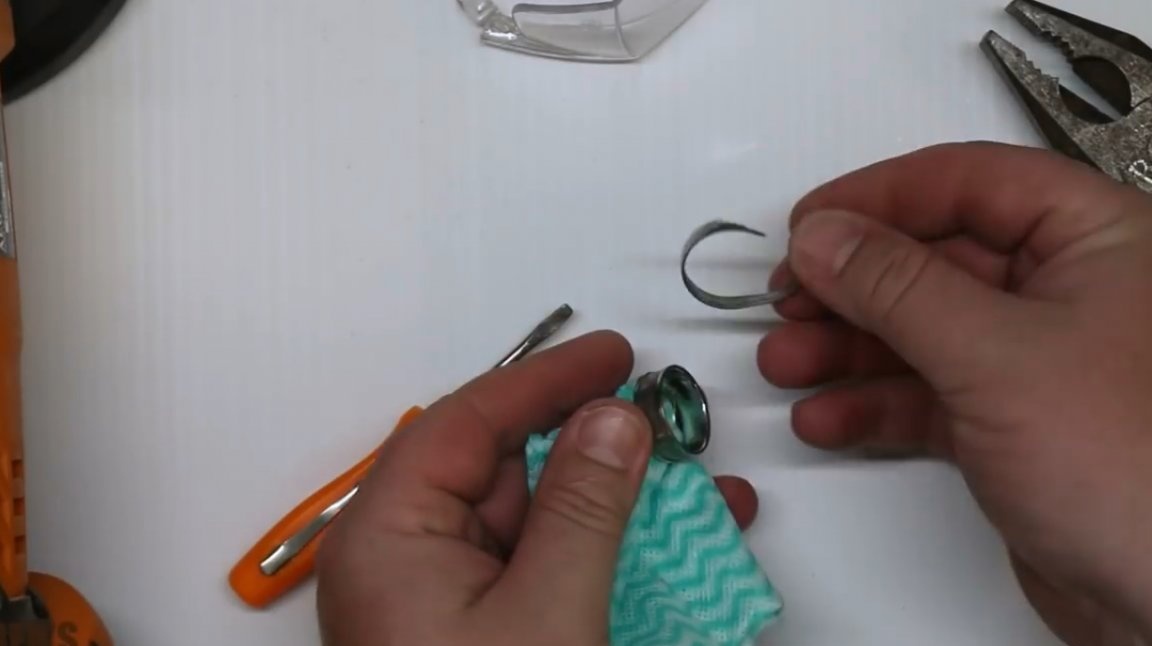
As a result, a shallow groove formed, which would need to be filled with opal.

After that, he polishes and degreases the inside of the groove.
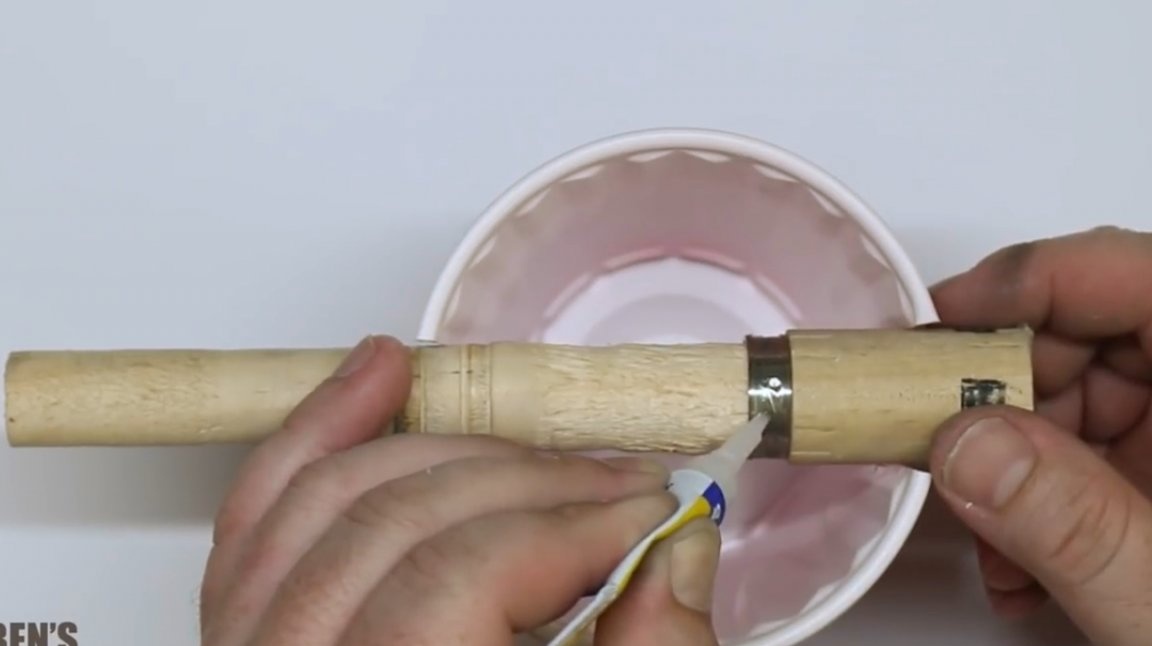
Now you can start encrusting. The author puts the ring on a wooden mandrel, which, in turn, places it above the earthenware bowl for convenience. In such a suspended position, the ring will not accept any excess material, but exactly as much opal as needed to close the bottom of the cut track. Little opal is quite expensive material, it should not be scattered.
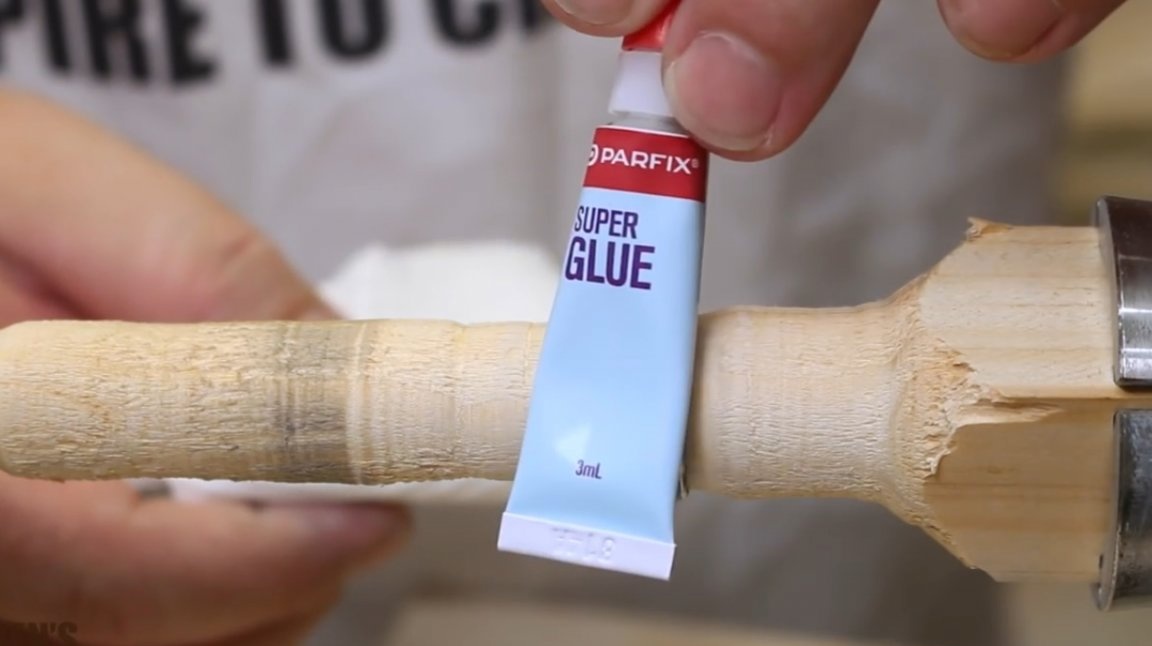
To fix the opal crumb on the product, the craftsman applies a thick layer of cyano-acrylate glue.
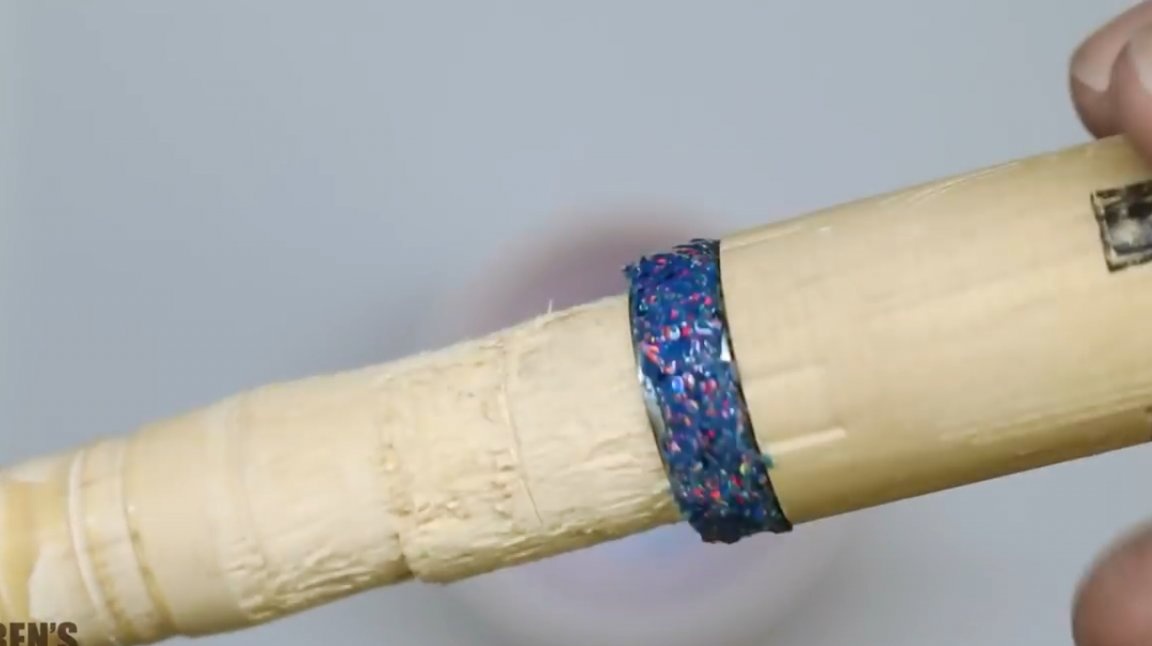
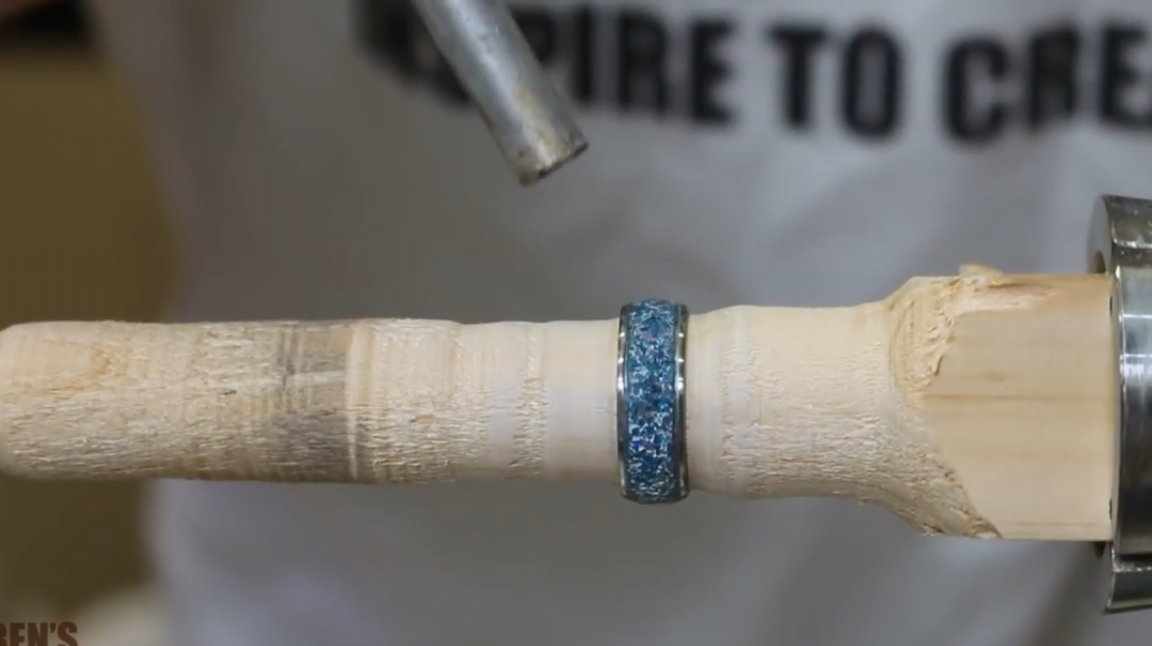
And then he crushes the opal chips on top of the ring. One small segment of the ring is being worked out at a time. Using a wooden stick, the author carefully adjusts the pebbles to each other, evens them out and slightly presses them down.
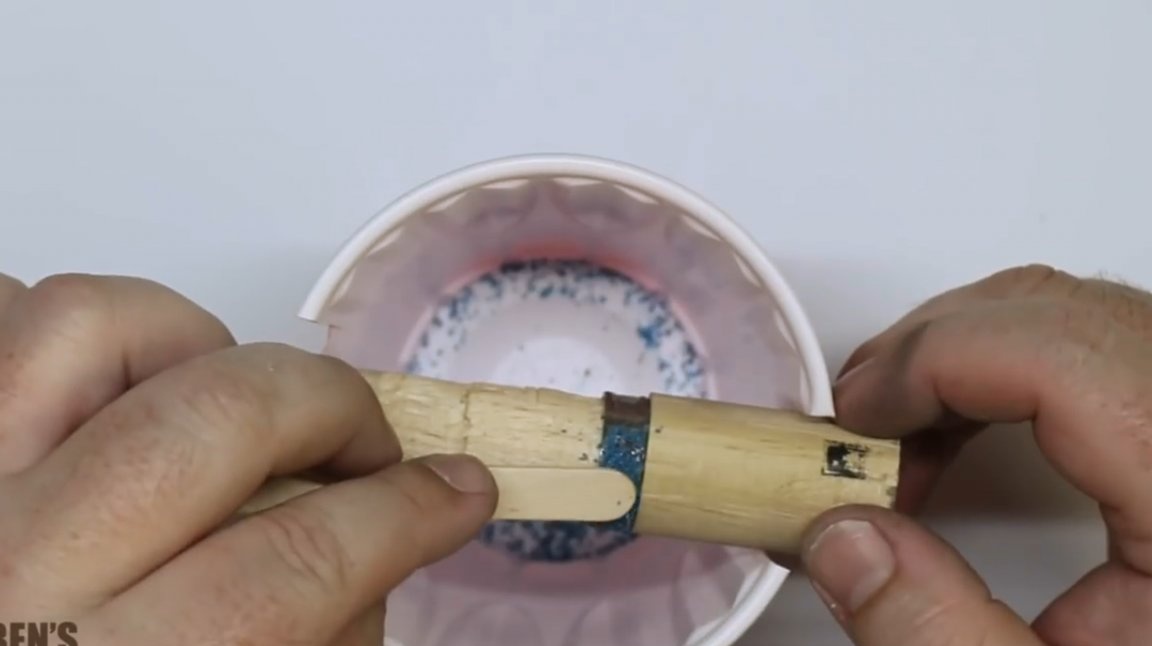
It turns out something like this.
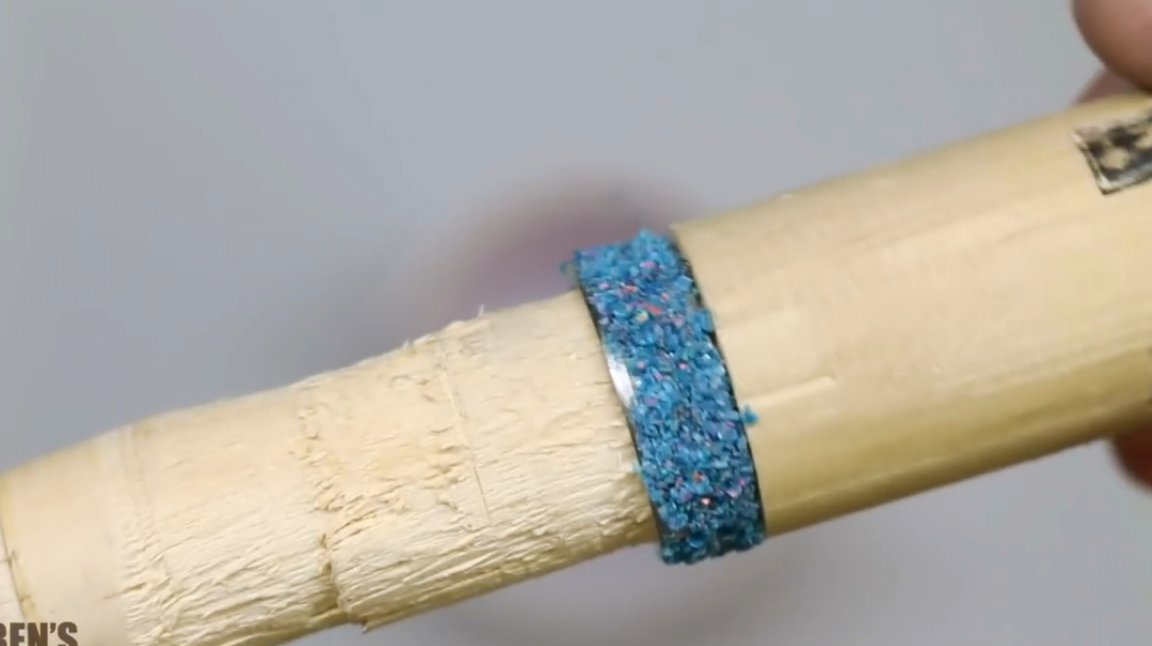
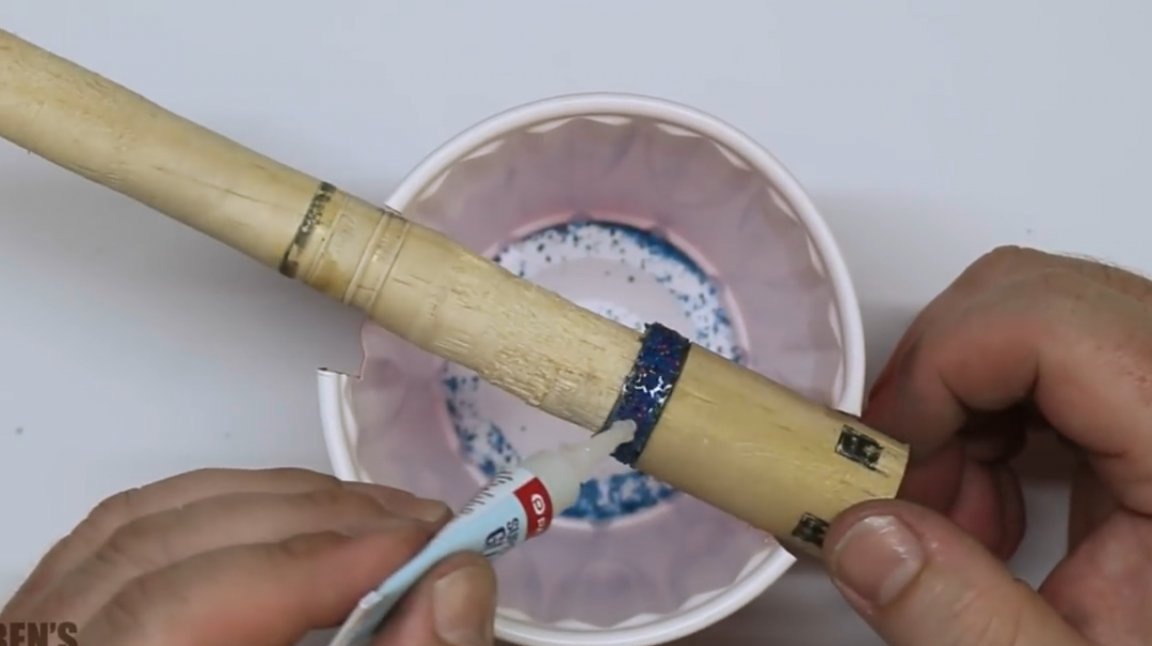
After that, on top of the pebbles, he imposes a thin layer of glue. Cyano-acrylate adhesive does not take much time to harden. But while it freezes, you need to constantly rotate the mandrel around its axis.
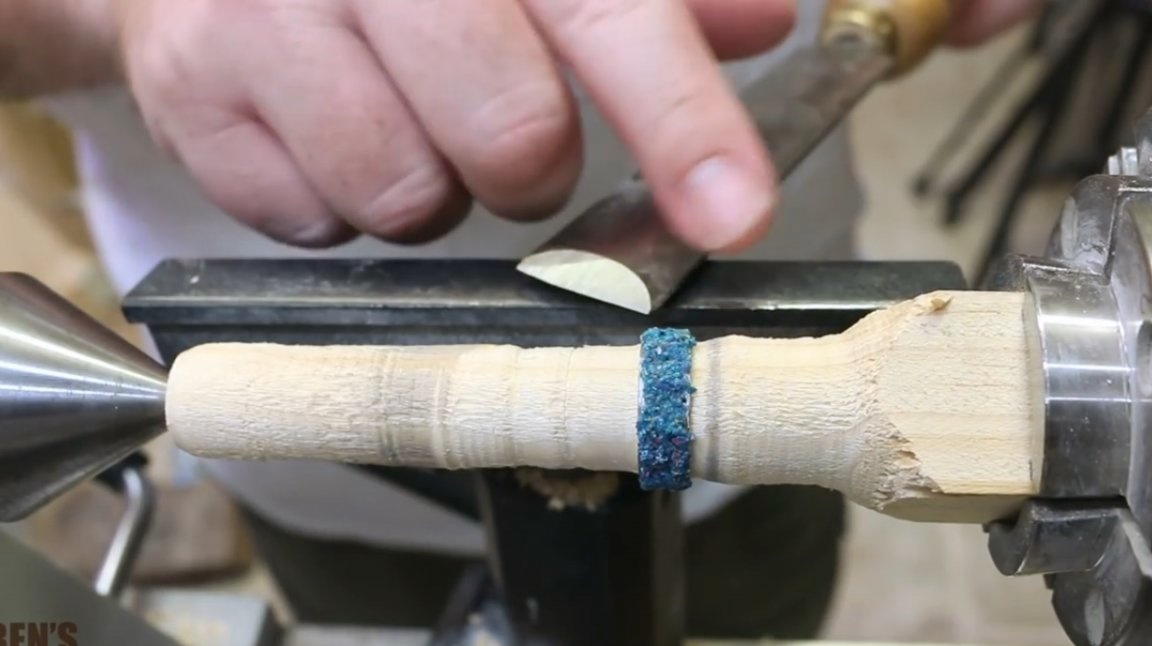
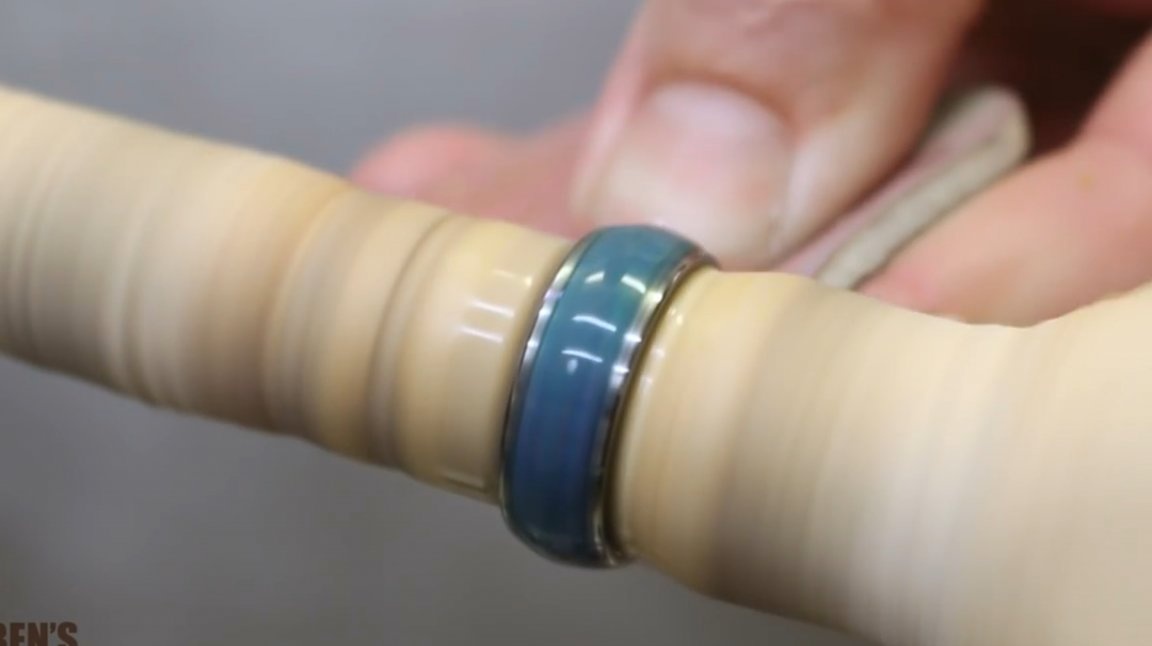
Now he fastens the ring on the lathe, and with the help of a chisel it gives shape to the product.
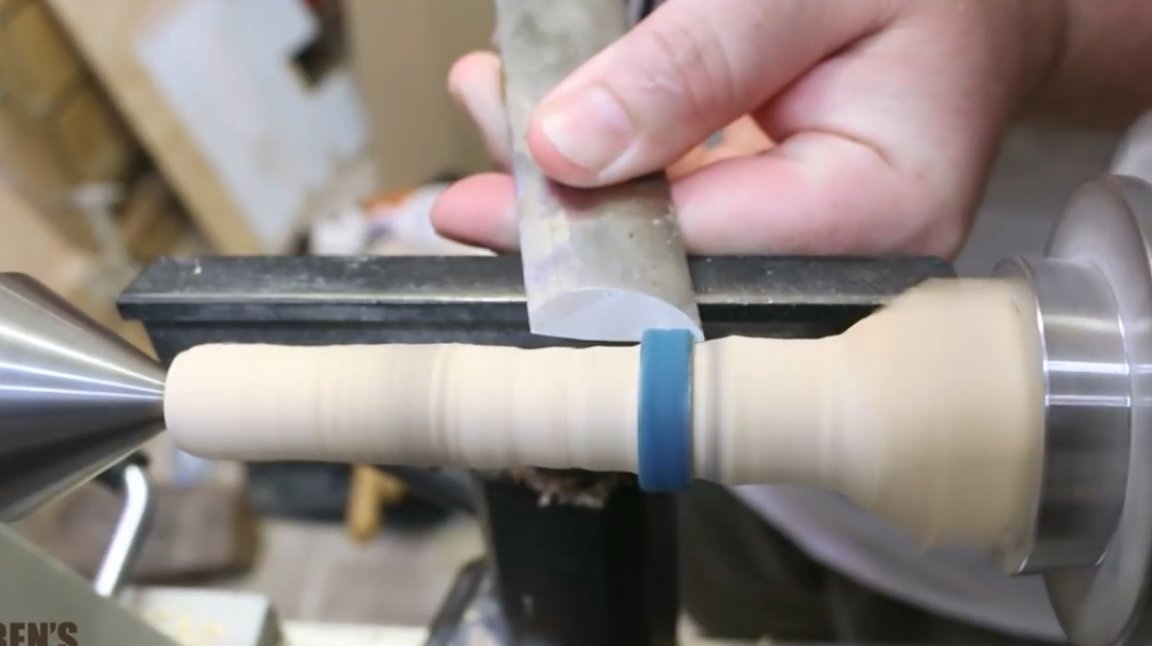
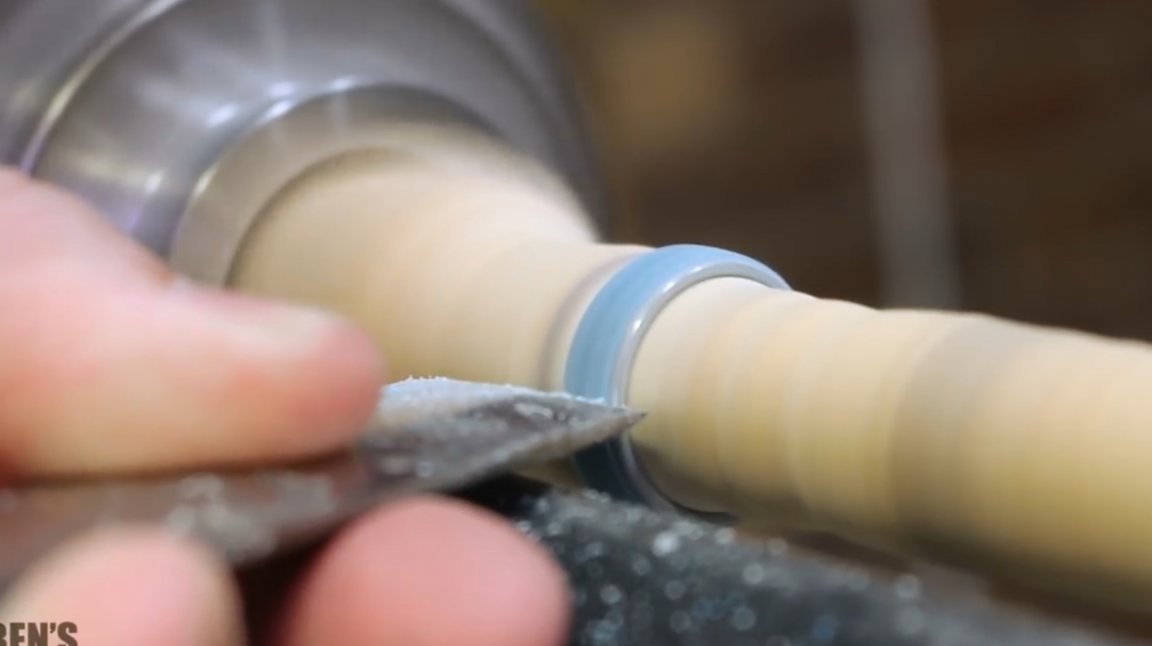
Further there is a finer sanding up to 400 grit. Then it blows off the dust with a pneumatic gun.
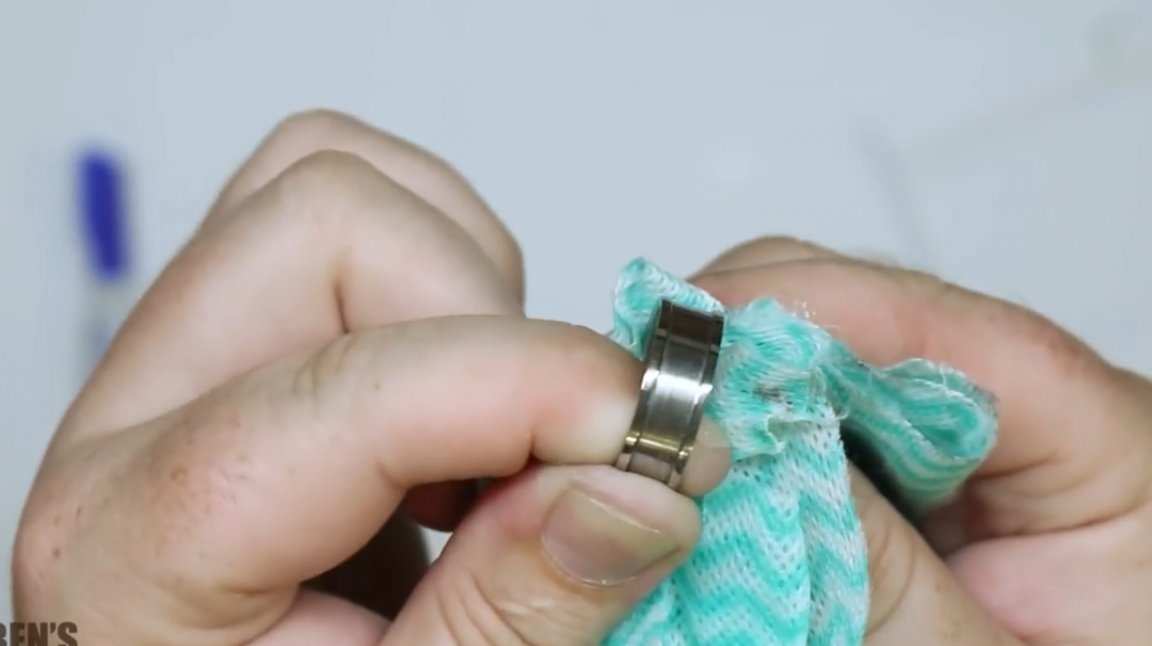
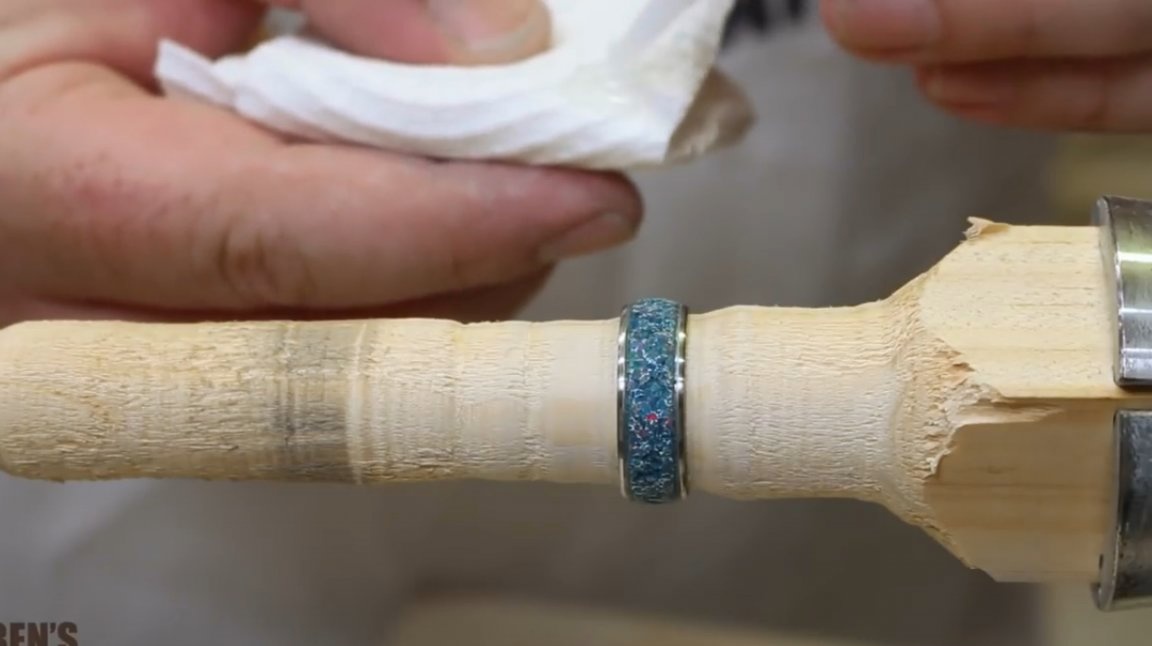
The author covers the inlay with four thin layers of CA glue. To evenly distribute the layer, he uses a napkin that he soaks with this glue. In addition, he imposes one layer of medium thickness.
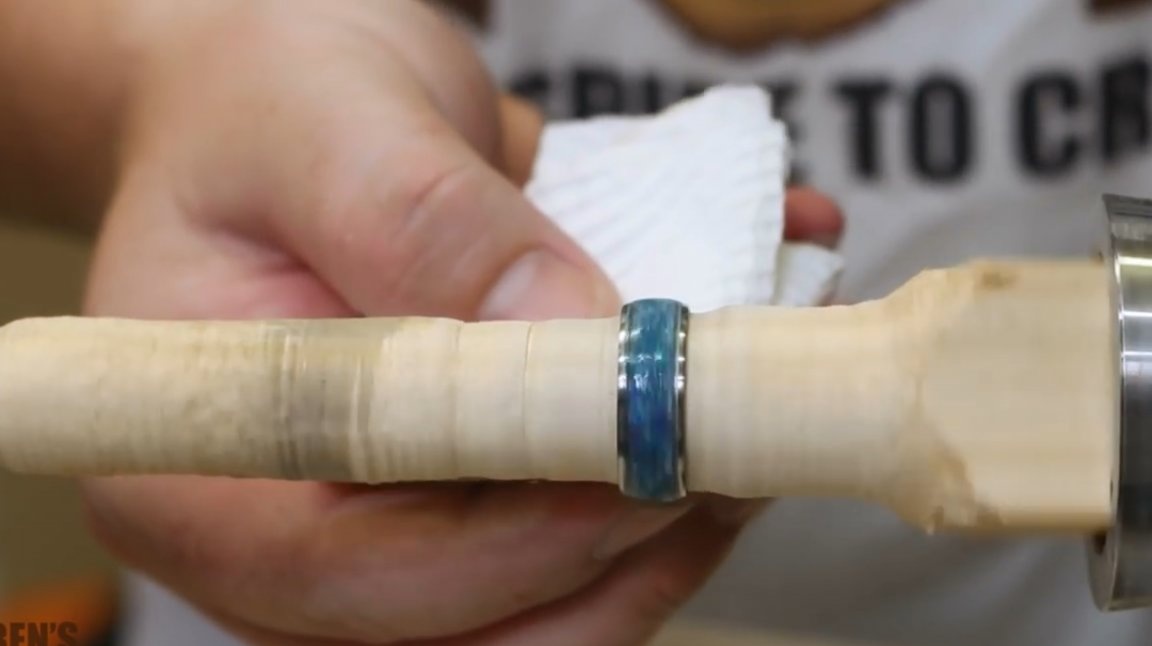
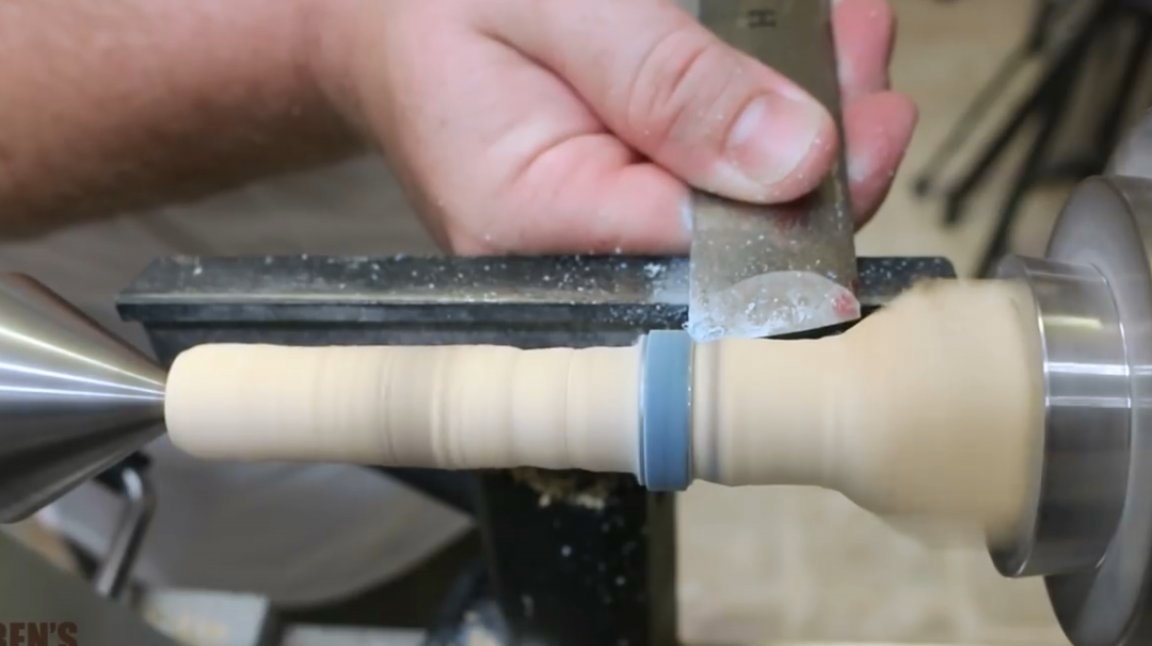
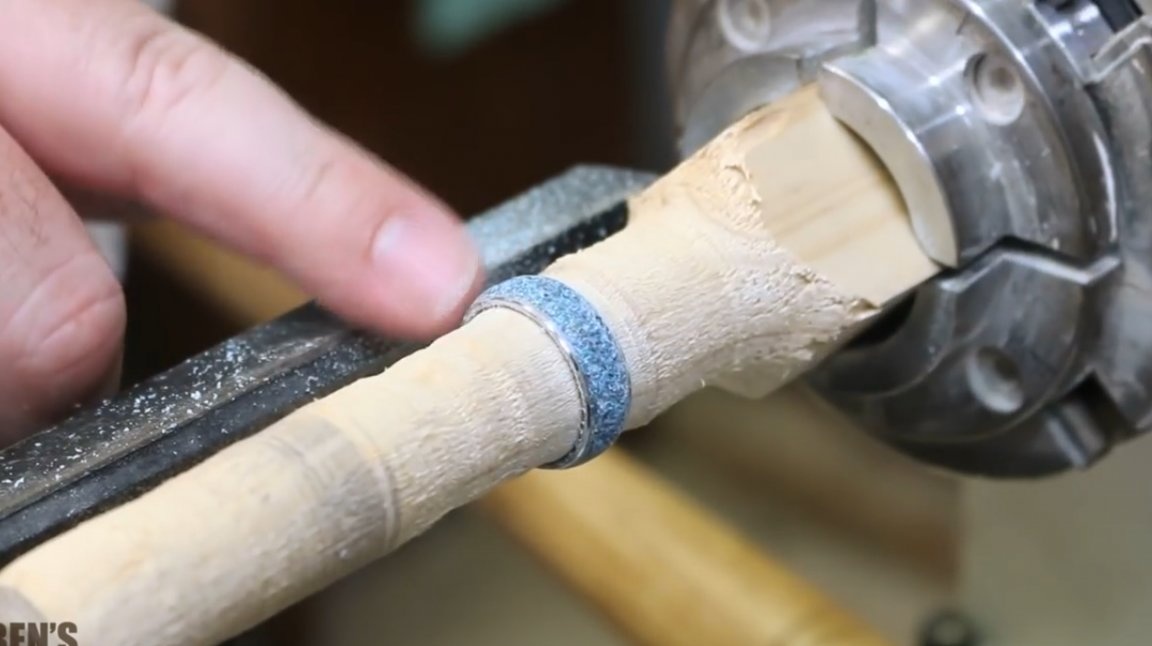
Now follows sanding with 1000 grit sandpaper, with the addition of water.
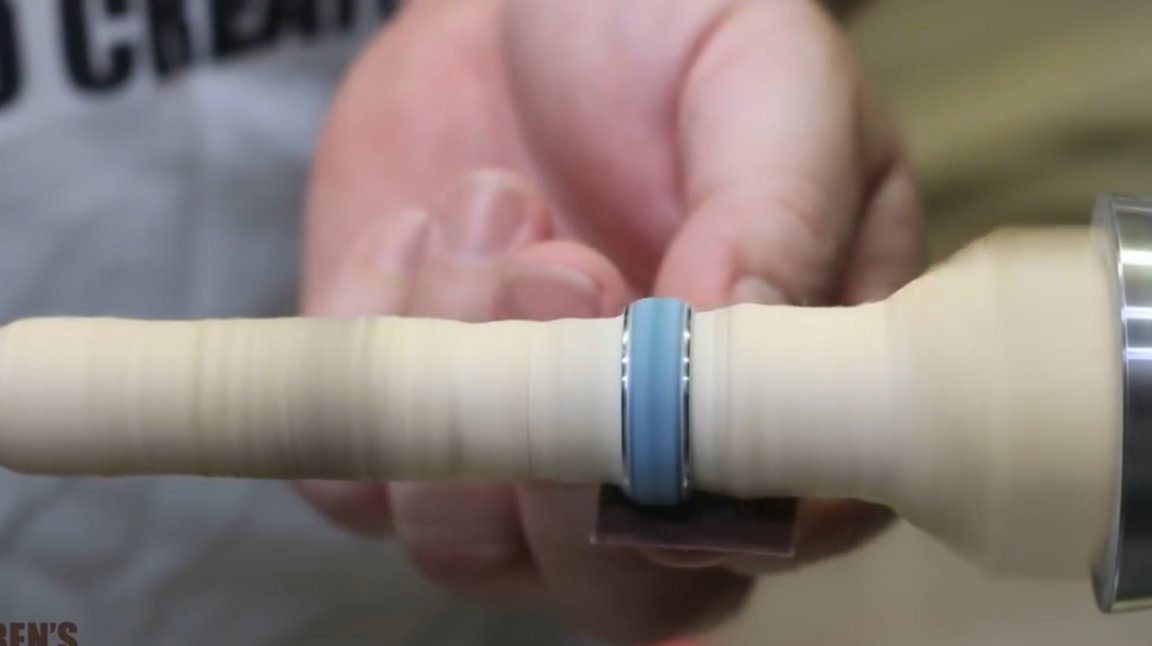
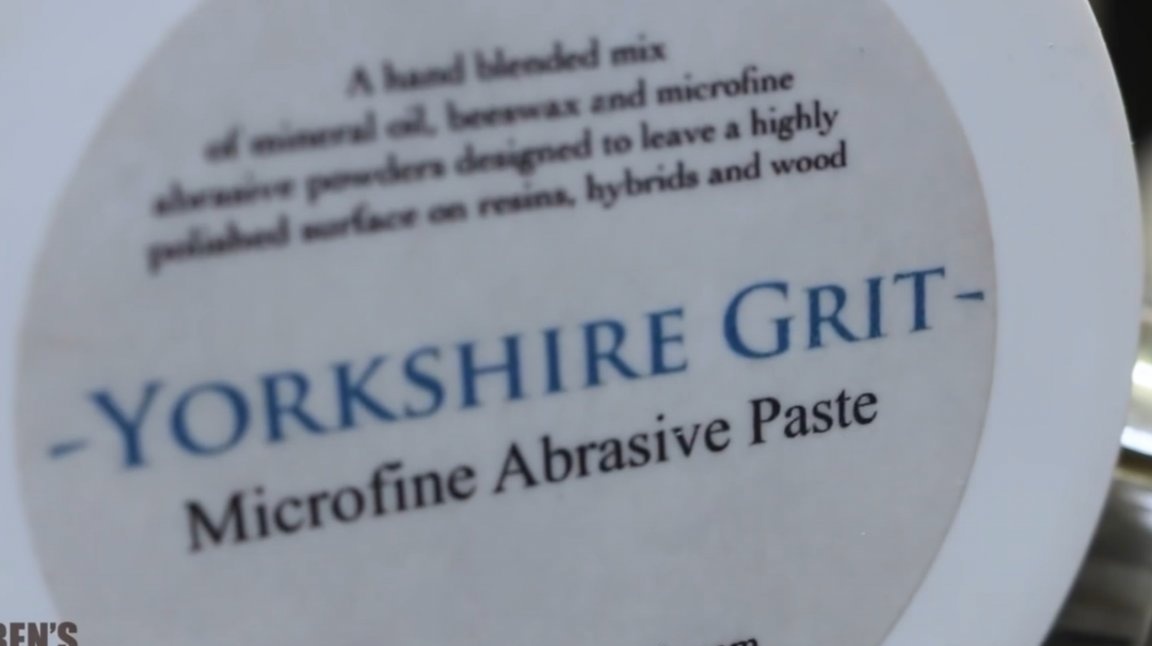
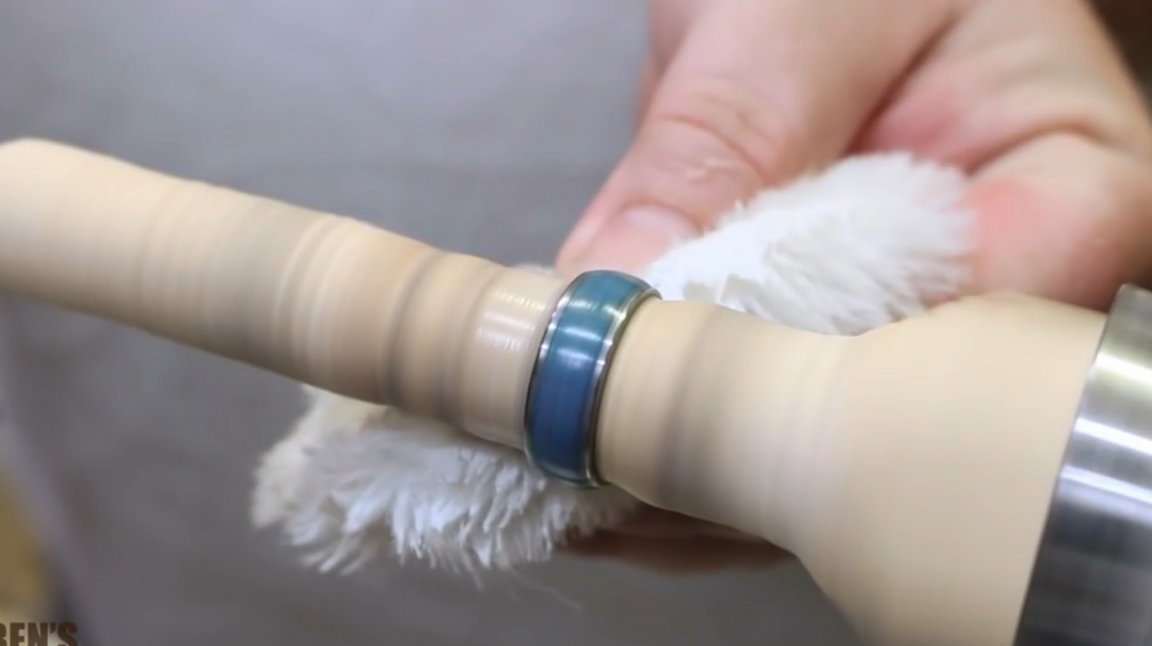
In the end, the author processes the product with microabrasive paste, polishes her ring. In the post-Soviet space, it is easier to find GOI paste.
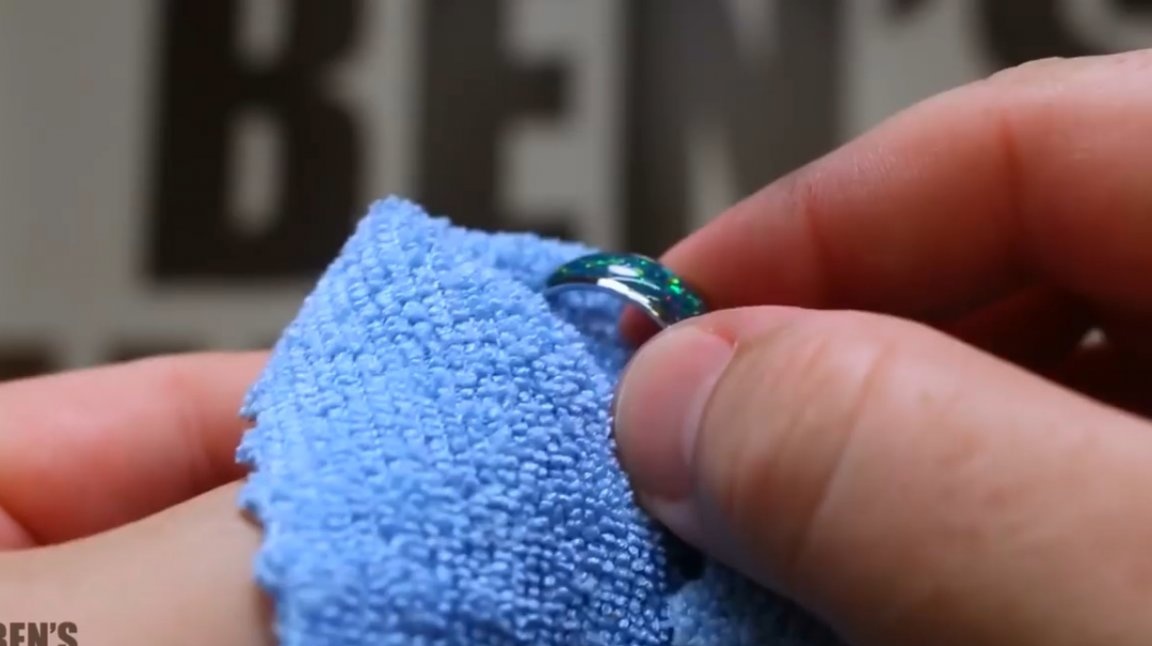
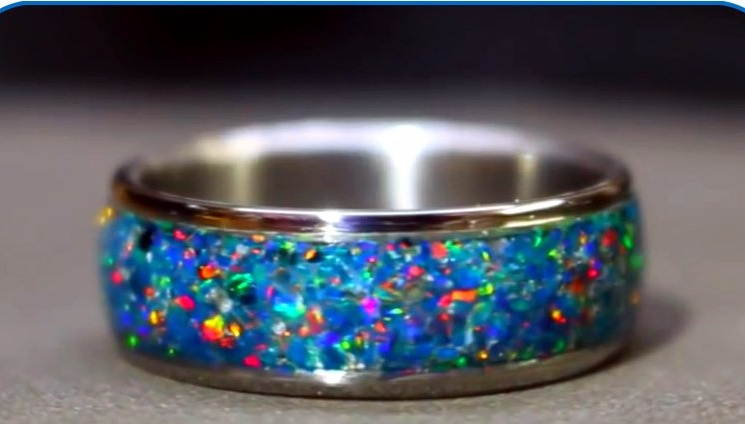
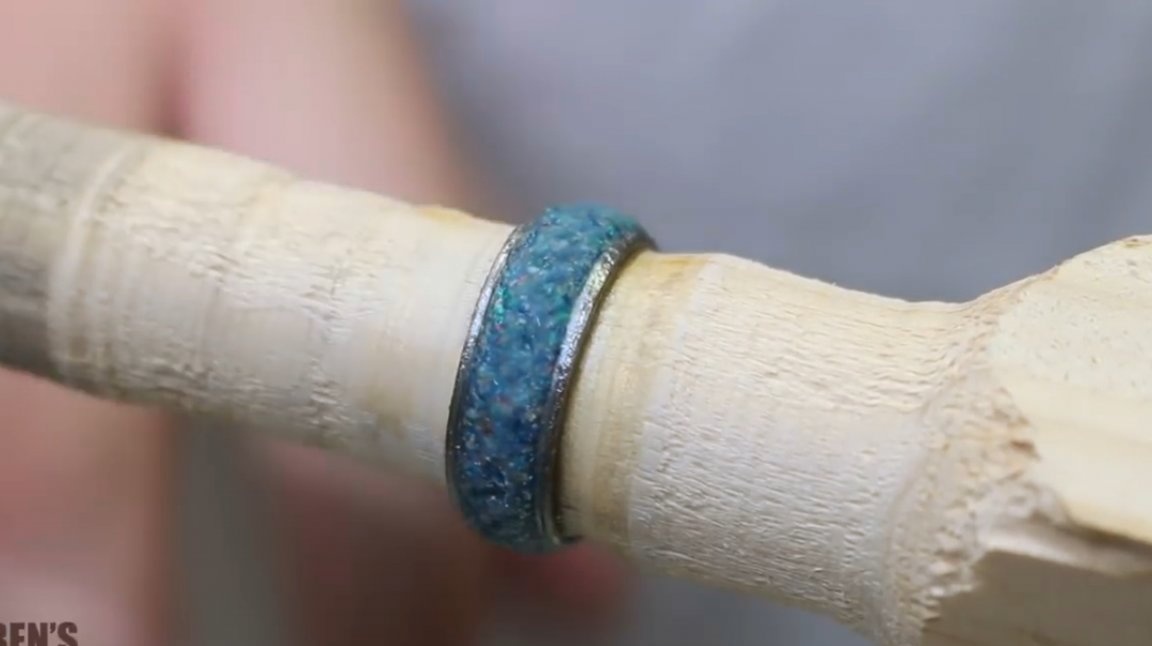
Here is the ringlet and done.
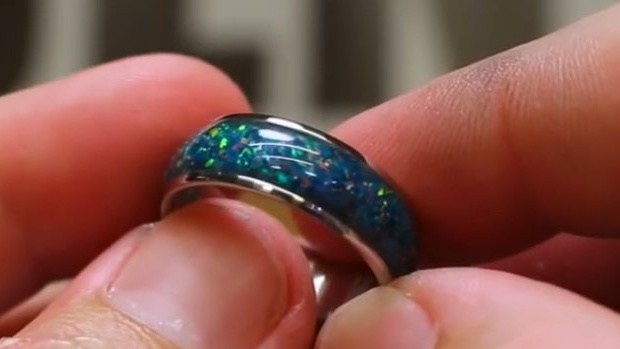
Thanks to the author for a simple and interesting inlay technology!
All good mood, good luck, and interesting ideas!