

I will continue the story, we will talk about the tropical soul.

1st step. A bit of history.
I really wanted a real shower, so to speak. That would not hold a watering can, but just stand under the stream of water. How many did not look in shops, nothing suitable was found.
Yes, and did not want such a standard with a bend at the top, and even with a basket for soap.
And, the prices for all this, there are simply no words .......
And somehow in the store, one might say by chance, drew attention to the box with a shower rack. The whole joke was that the top was not rounded, but straight. And most importantly, everything was sorted out. The idea ripened instantly, everything worked out, and the price was more than suitable.
2nd step. Execution of the conceived.
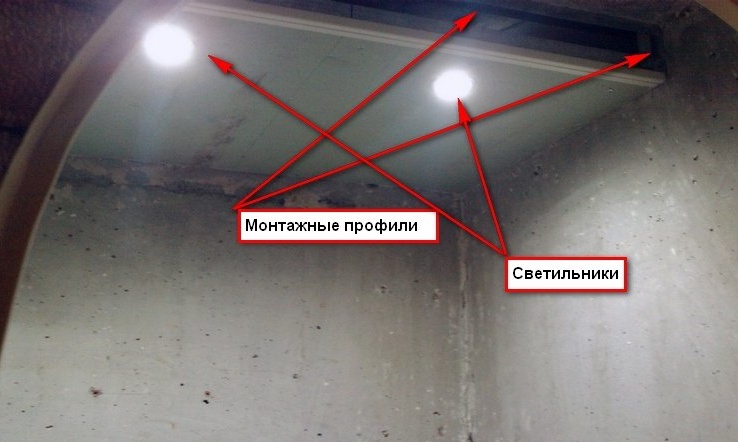
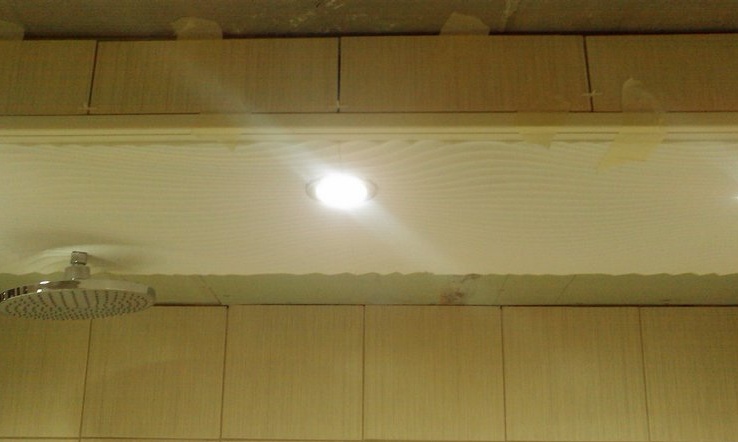
I did not make a slip when I said that everything worked out. By the fact that there was a question with the light. For example: lateral light (wall placement of the lamp), to put it mildly, did not suit me. I tried to put two lamps better, but still not the same. In this case, the placement of the fixtures was decided easily and simply. The ceiling in the bathroom did not fall over the entire area of the ceiling, but only above the bathroom itself. And fixtures (three pieces) were placed around the edge. In fact, they set the lowering height, since I decided to use lamps with standard E14 mini sockets, because for wiring a ½ ”pipe and placing two corners, you do not need much space.
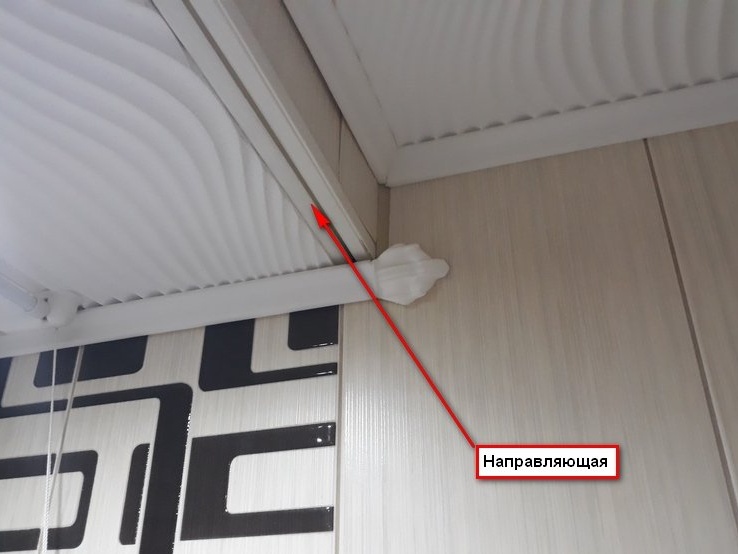
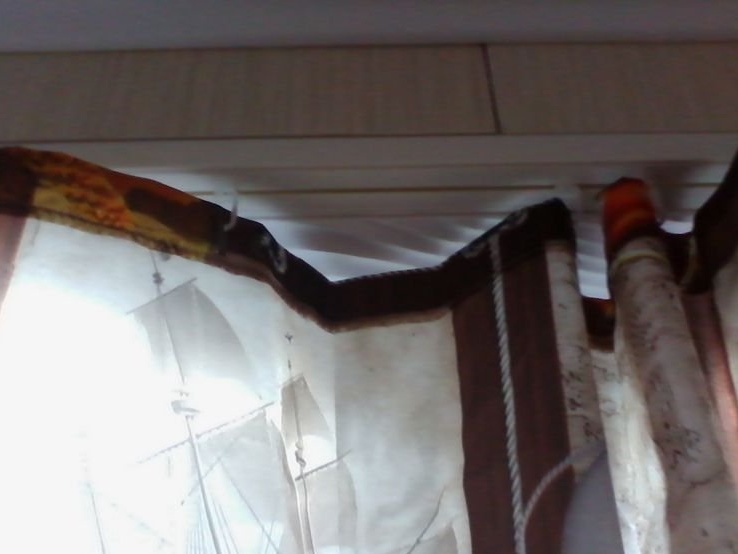
Immediately resolved the issue with a curtain for the shower. At the very edge, the plastic guide for her neatly found her place.
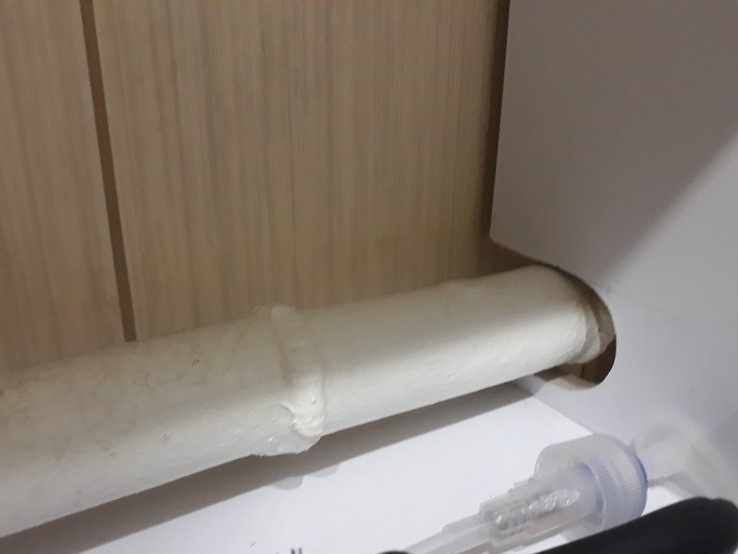
The lowered section of the ceiling was made of construction guides, and sheathed with moisture-proof plasterboard. But, the first ceiling panel, while simply baited, is not permanently fixed. Since the shower column has not yet been mounted.
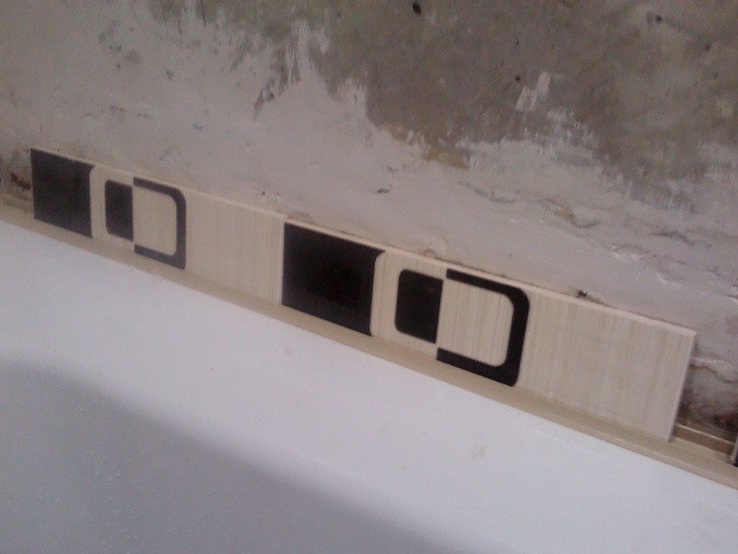
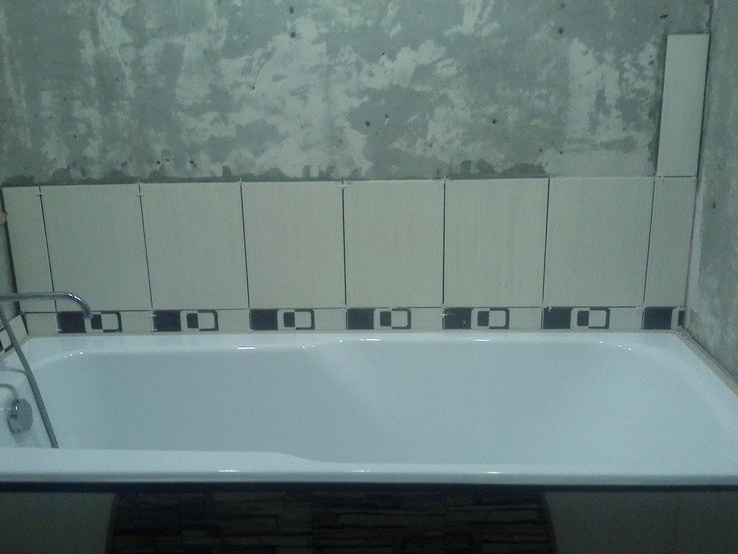
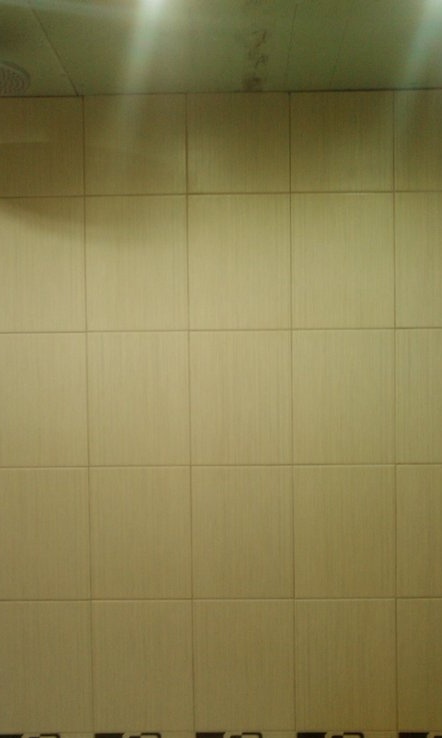
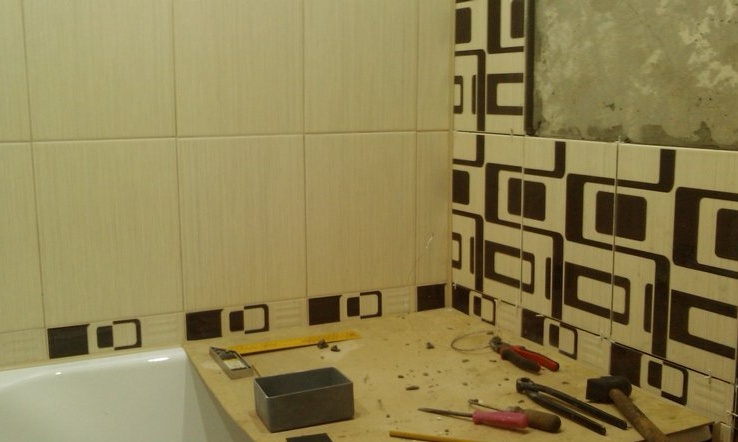
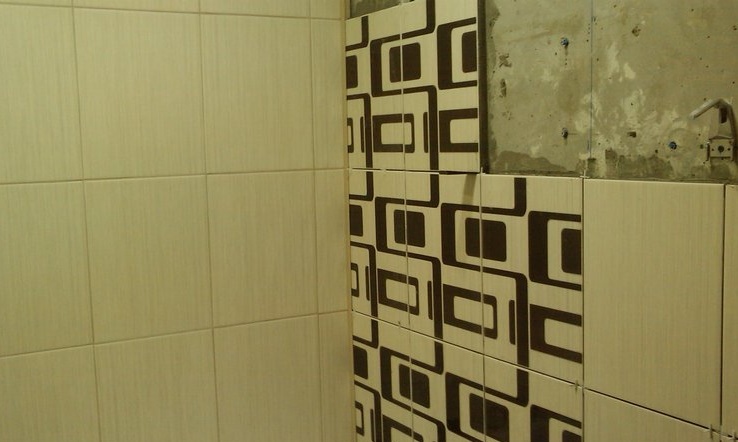
Now it was necessary to lay the walls with tiles. I laid the main wall with tiles from the center, so that at the edges there would be, as it were, symmetrical cuts. Since the whole amount of the tile was not included, thereby maintaining the visual perception (balance) of the wall. Initially, the bath was sealed against the wall, then everything was aligned and the curb was laid.

And then I went along the row.

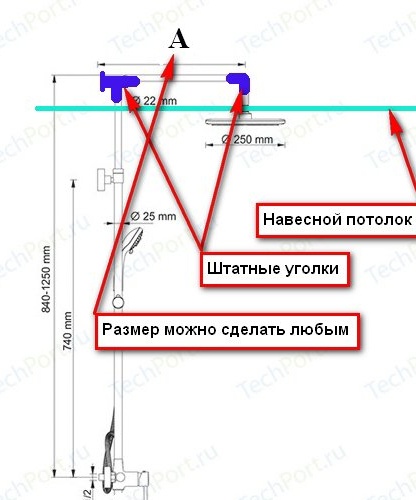
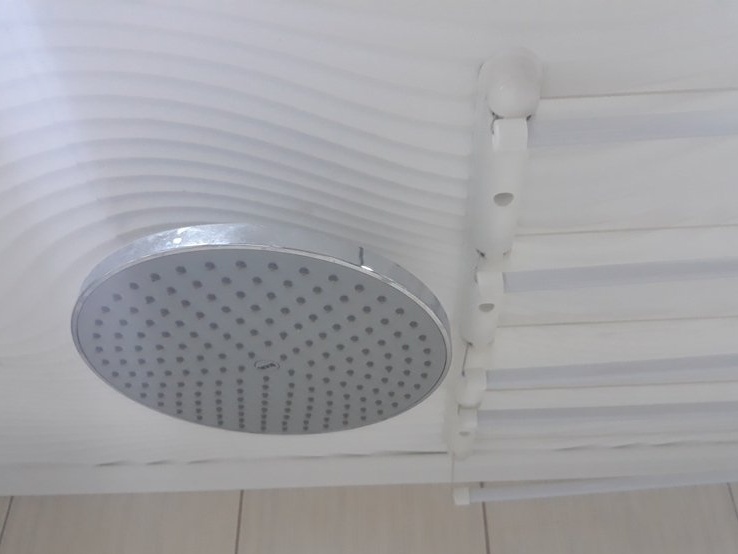
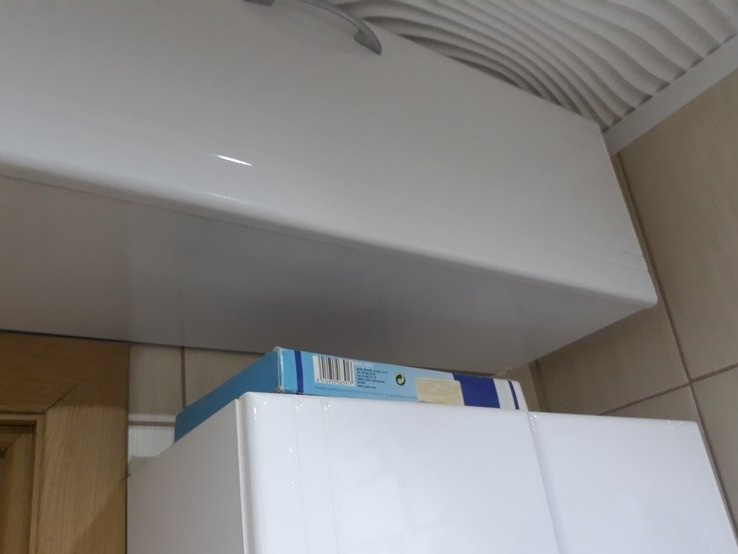
After the entire bathroom was tiled, I began installing a shower rack. The whole difficulty was in accurately calculating the inlet of the pipe into the lowered part of the ceiling, taking into account the tiles and the thickness of the solution on the left wall of the bathroom. In the upper corner of the mount and was the whole mystery of alteration.
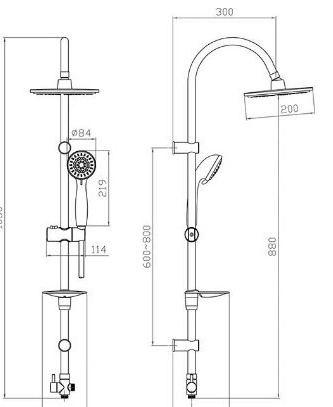
It had a wall mount, a vertical entrance from below and a horizontal exit, as it were from the wall. Take a closer look at the diagram above (at the beginning of the article). After the tile was laid out, along this wall, and the position of the lower fastening of the shower rack was determined.
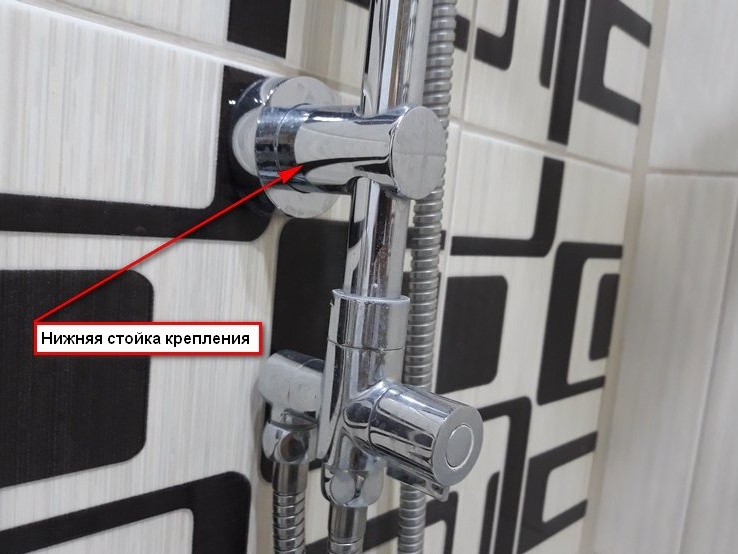
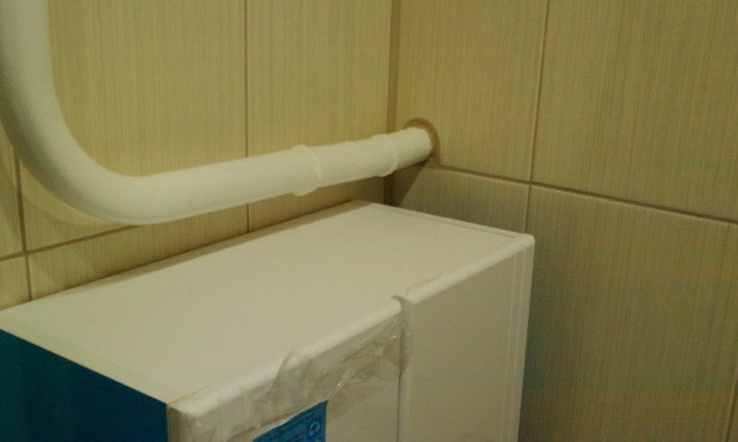
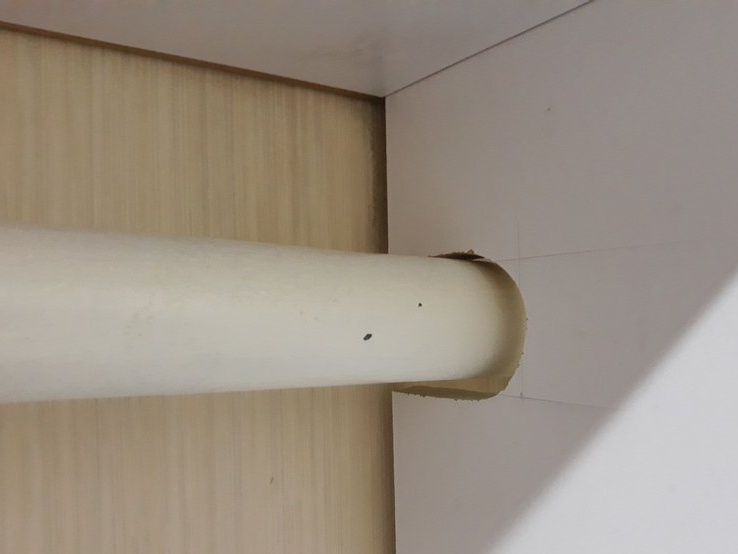
We determine the position of the upper corner, more precisely, the thickness of the lining plate under it. So that the shower stand itself would be parallel to the wall with tiles. Further, the upper corner is fixed on the mill together with the lining and the final installation of the upper part of the shower column is carried out, using silicone sealant. The horizontal pipe is also fixed to the ceiling at two points. A hole is made in the ceiling panel for the passage of the shower column. The ceiling panel is installed in place using self-tapping screws. Similarly, the holes are marked in the foam ceiling panel, under the rack, the outlet for the watering can and under the ceiling. Then the foam, ceiling panel is installed in place. This and other ceiling panels are attached to the plasterboard of the suspended ceiling, as well as the concrete ceiling of the bathroom cabin with glue.
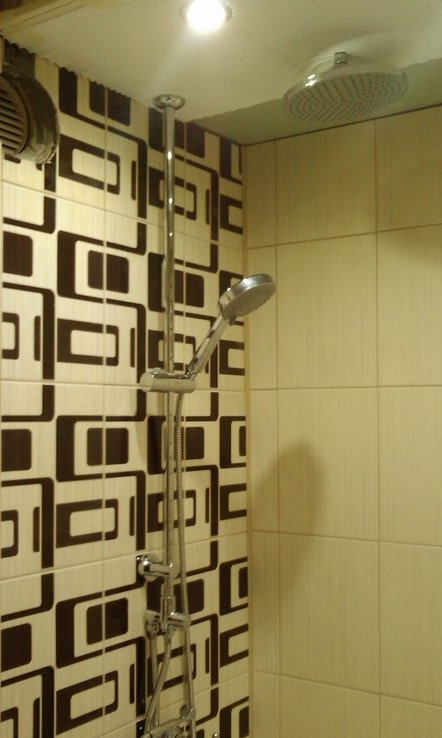
A shower column is mounted on the wall and connected to the mixer. To close the not very watchable hole at the top, I used a chrome hemisphere from the previous mixer.

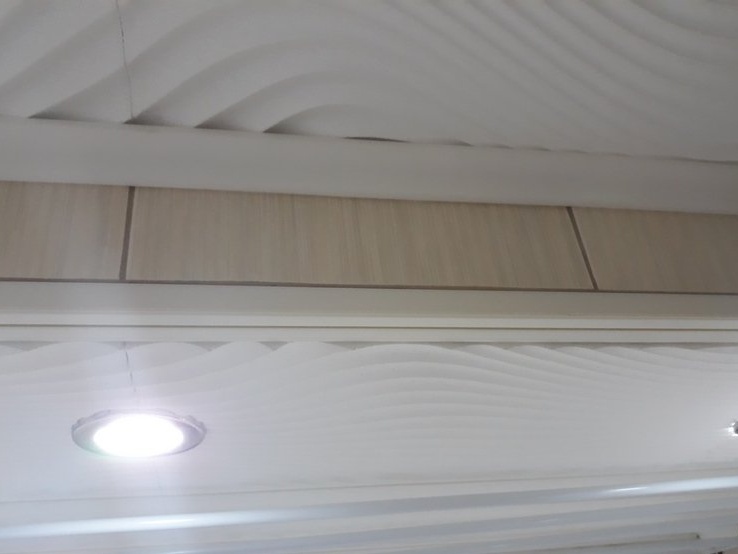
The end of the lowered part of the ceiling is not yet closed and allows you to check everything again - the presence or absence of water leaks, the proper installation of lighting wires. Then it is closed with drywall. And faced with tiles in accordance with the rows of a large wall (with the same centering).
Next, the laying of ceiling tiles ends, and ceiling moldings are installed, giving the finished look to the interior of the bathroom.
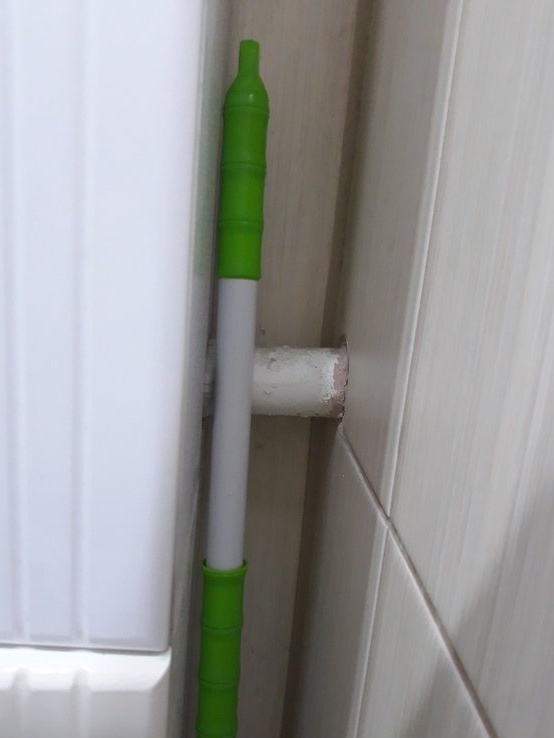
To the right of the shower head is marked and one of the guides for drying clothes is installed.
At the right side wall, a second guide for drying clothes is installed.
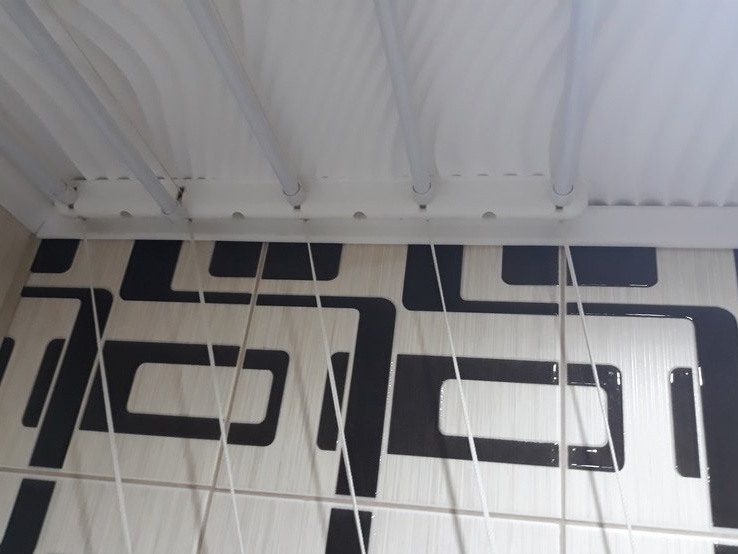
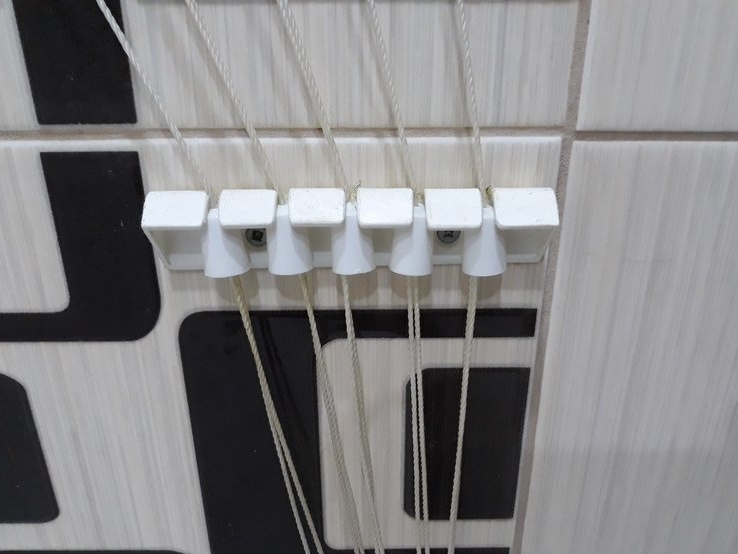
And, on the wall itself, a bracket is attached for attaching the dryer control threads.
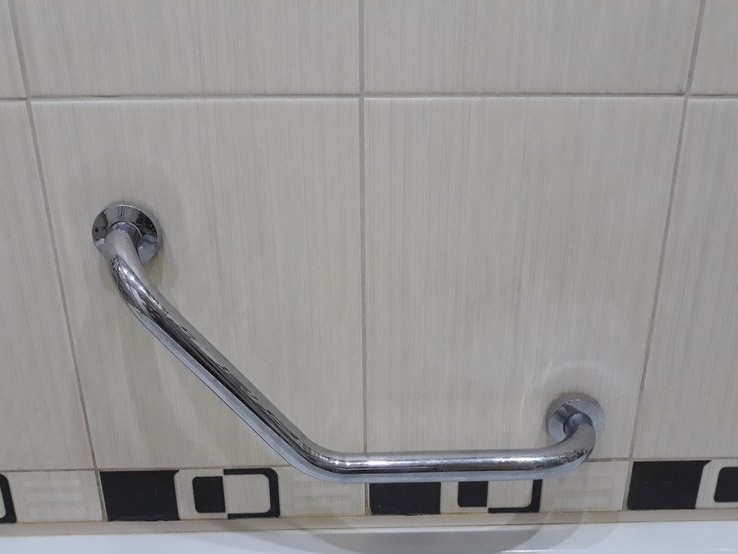
For the convenience of using the bathroom, a curved handle was installed on the wall. Then it seemed that she was not needed, and now oh how useful.
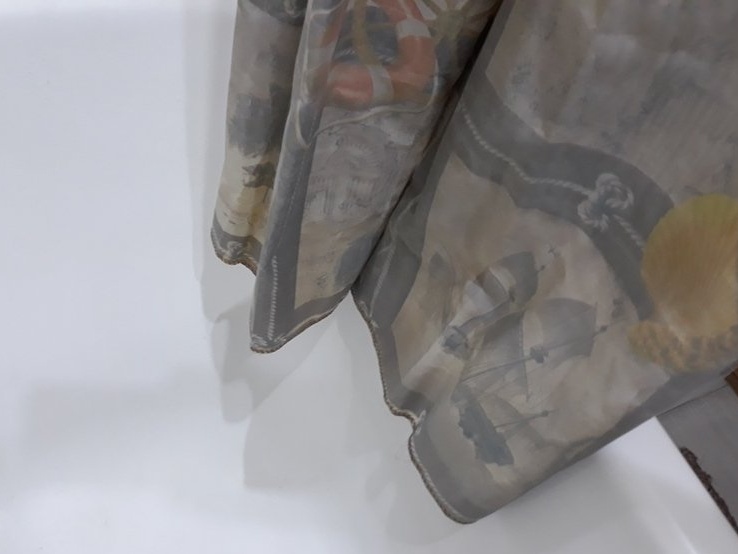
The washing machine was installed with a small gap to the bathroom, which allows you to clean the shower curtain to the side for storage after drying.
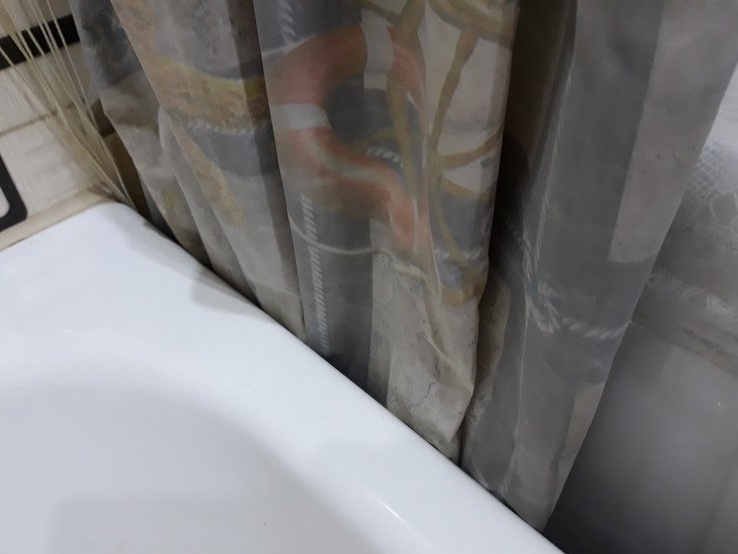
It is convenient to dry it, so to speak right there.
Above the washing machine are hooks for towels and bathrobes.
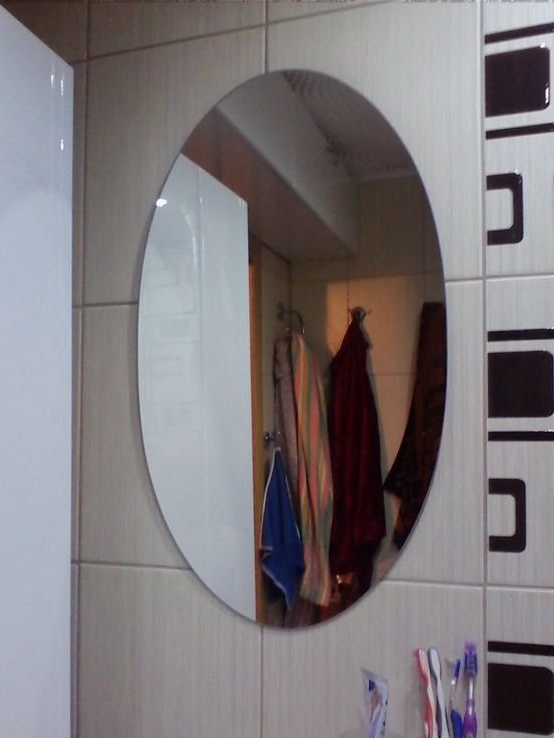
On the opposite wall, a mirror and toiletries took their place.
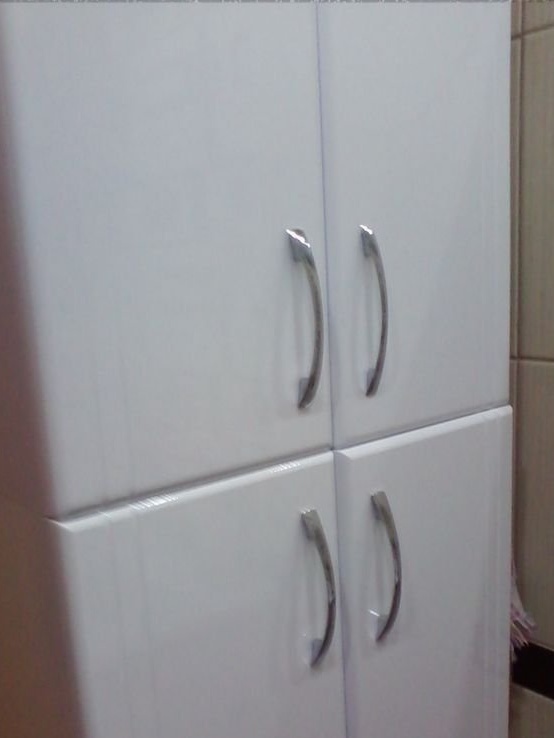
I also want to dwell on one aspect of the decoration of the bathroom. it furniture. Long picked up, measured out. Nothing fits. More precisely, he doesn’t get up, and if he gets up, then the washing machine with the bathroom itself should be in the corridor. I managed to solve this issue by purchasing separate hanging cabinets. Two two-door lockers and two two-door lockers were purchased. One door is placed above the front door.
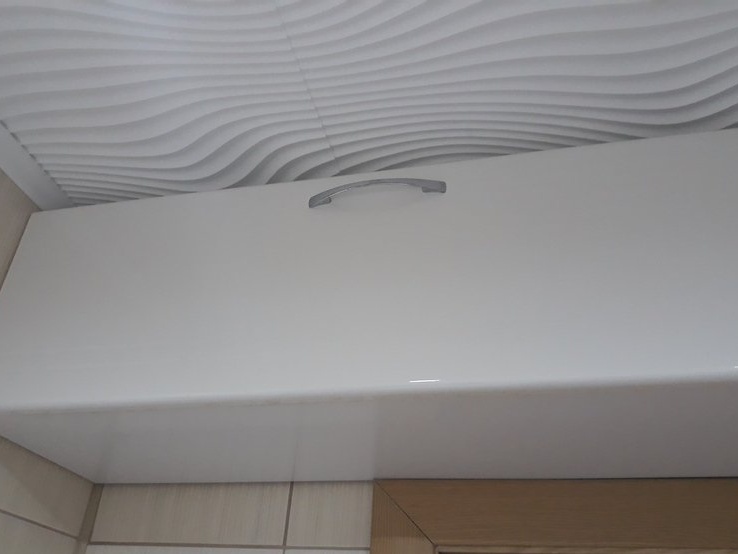
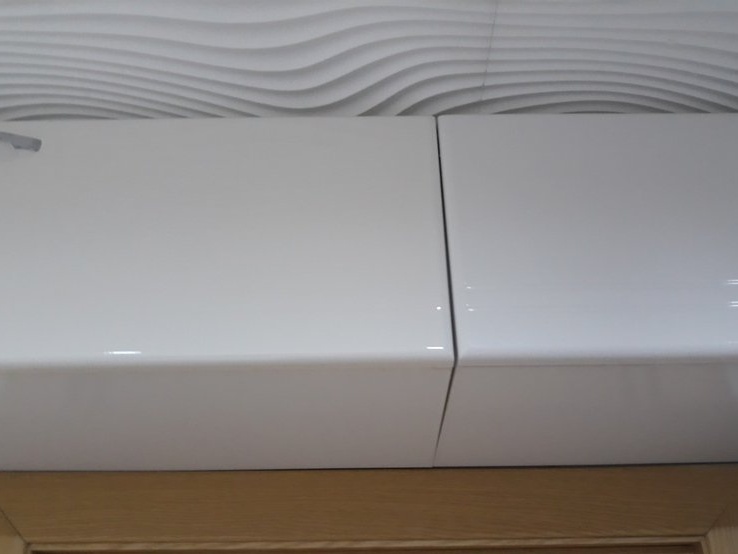
I installed two door lockers as you enter the bathroom to the left of the door. Put them one on one
A legitimate question arises - Where are the towel rail cases going? Ah, nowhere. They in the nutria of the upper two door locker perform their functions.
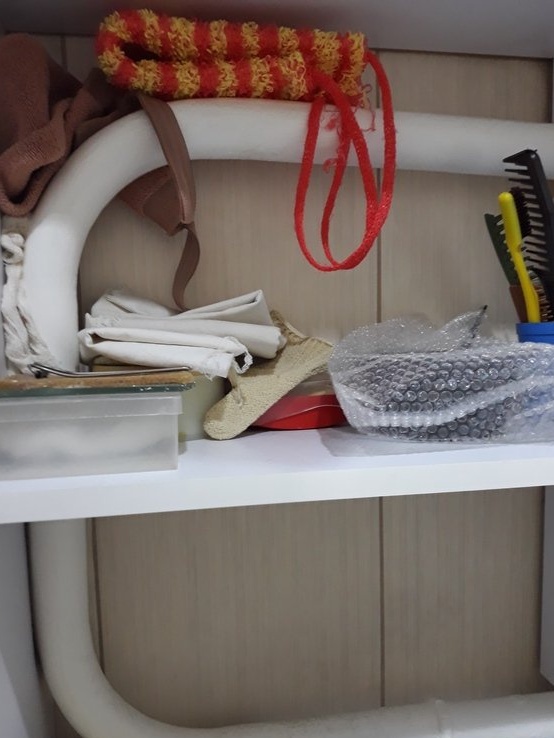

And, behind the lockers, there was a place for a lazy person.
That's it.
See, criticize, advise, ask.
Regards, Starp.