» Fixtures »" Third hand "for soldering do-it-yourself

"Third hand" for soldering do-it-yourself


Hello friends, radio amateurs and visitors to the site, sometimes when soldering boards and the like, it becomes necessary to hold the component to be soldered so that it does not move. And in order to facilitate soldering, I decided to show you how to make a "Third Hand" for soldering various boards and microcircuits. The clamps of this "Third Hand" are made of plastic, which makes them dielectric. The "third hand" will be fixed on the base of the fiberboard to which it will be possible to attach different fixtures for soldering, such as: a soldering iron holder, a coil with solder, a backlight, a magnifying glass, well, and many others that you want to attach. The advantages of this design of the "Third Hand" are: ease of manufacture; available materials; The clamps will be made of plastic, which is necessary when soldering circuits with voltage.

- Sheet steel with a thickness of 3 - 3.5 mm
- Bulgarian (UShM)
- Drill or drilling machine
- Hairpin M8 100 mm long
- M8 hairpin 60 mm long
- M8 nuts
- Welding machine
- M4 bolts
- M4 nuts
- Sheet steel 2 mm thick
- Small plastic clips (purchased at the nearest store)
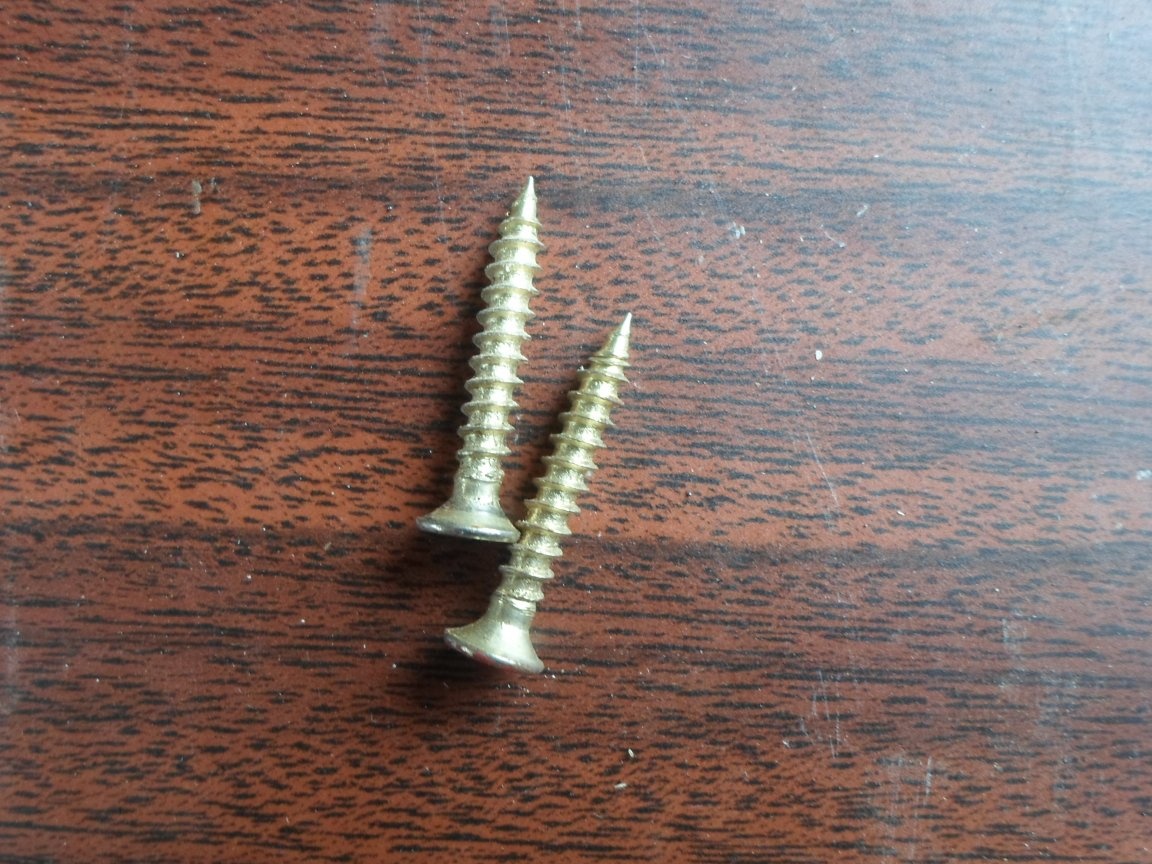
- 25 mm screws
- Drill

Well, let's get started, take these M8 studs, the length of the first 100 mm, the second 60 mm and the nuts to them.


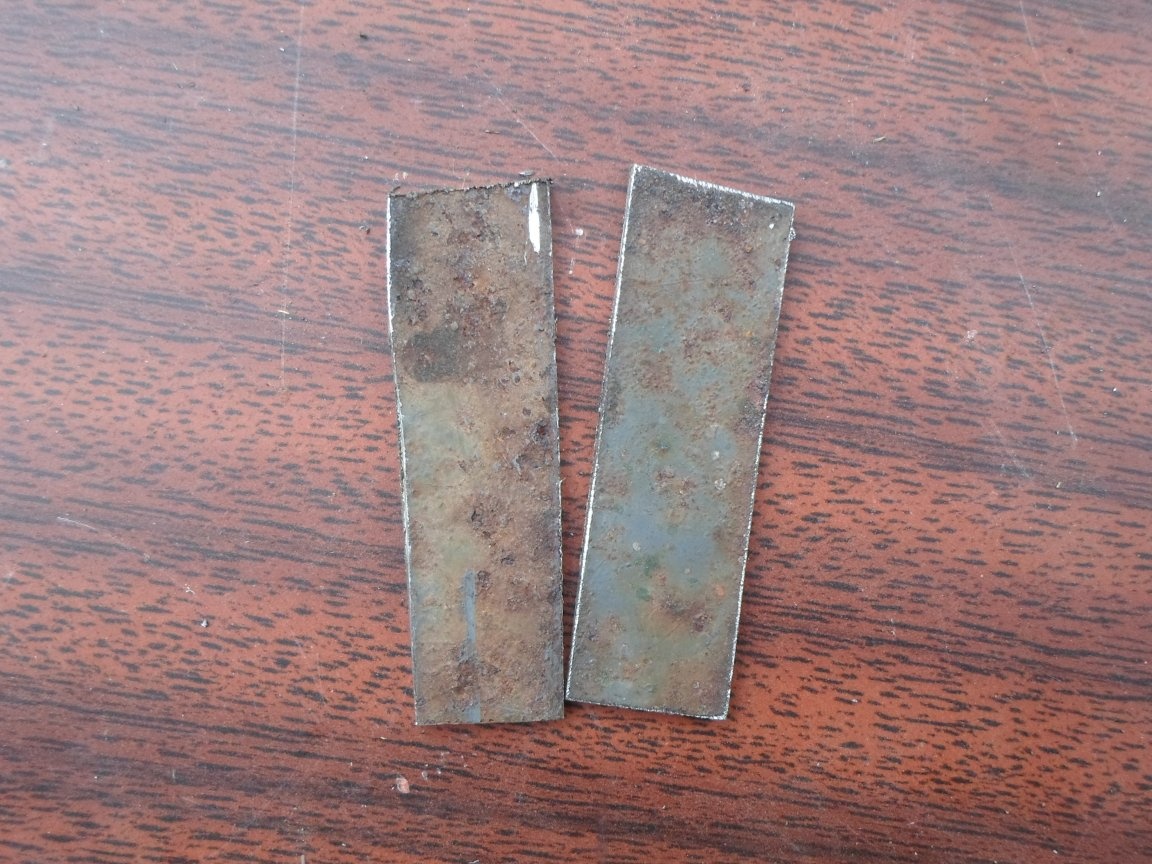
Next, we take from sheet steel with a thickness of about 3 - 3.5 mm using a grinder we cut out such workpieces with the dimensions: Two of them 17 * 20 mm, and the third 17 * 23 mm.


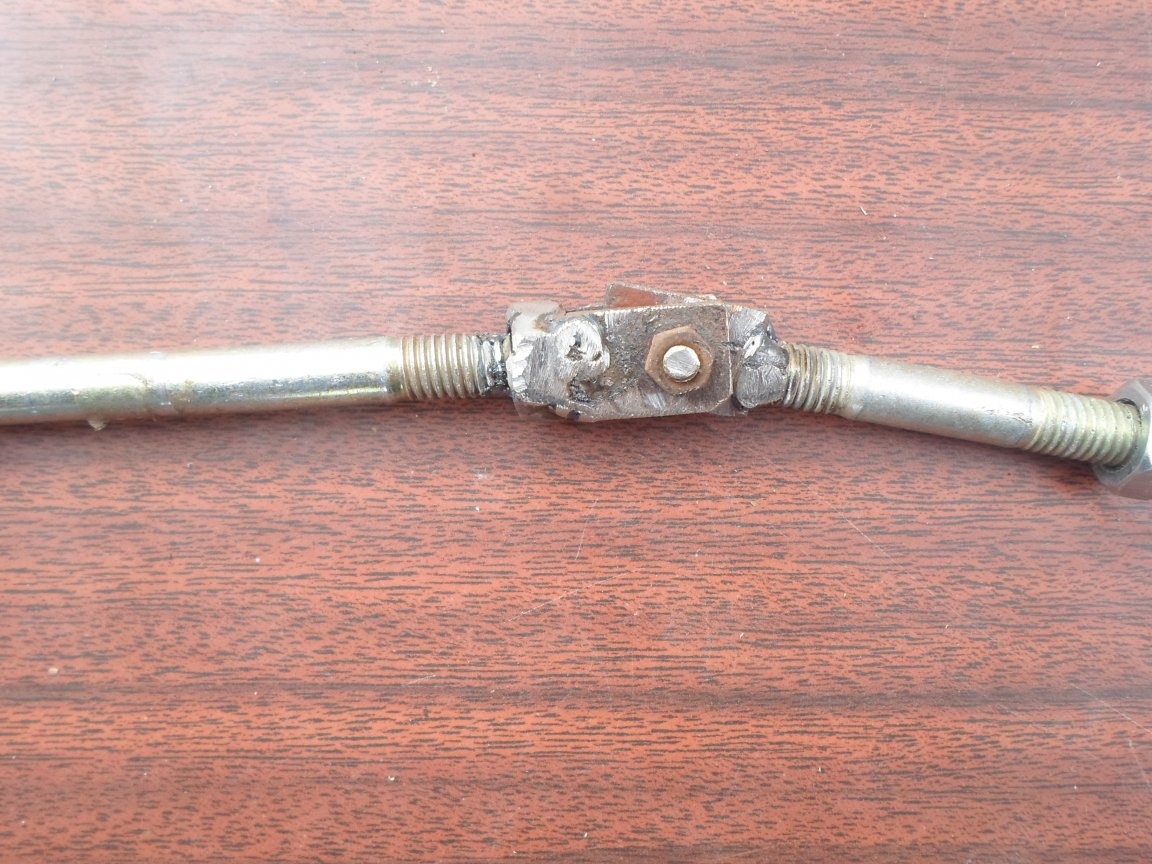
As the next step, we take a nut on a hairpin 100 mm long and weld the workpieces along the edges whose dimensions are 17 * 20 mm, squeezing the third workpiece between them (it does not need to be welded!)


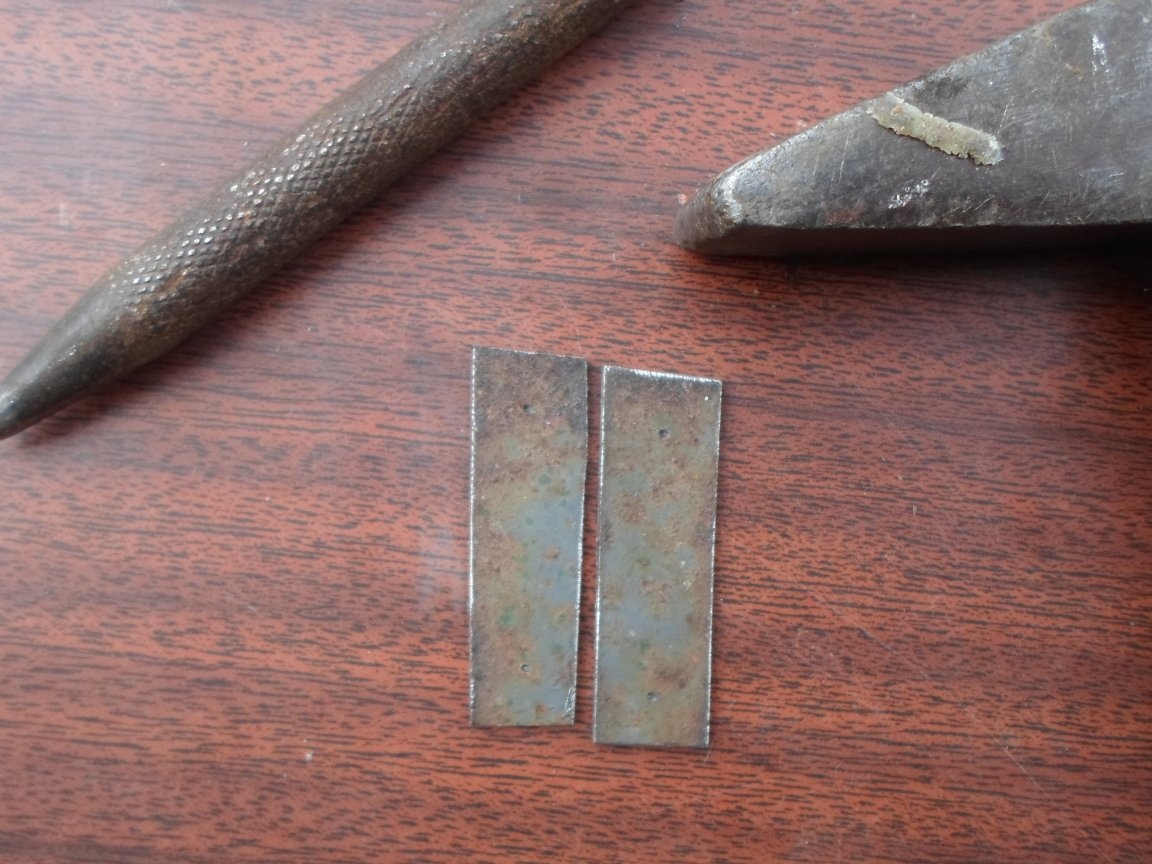
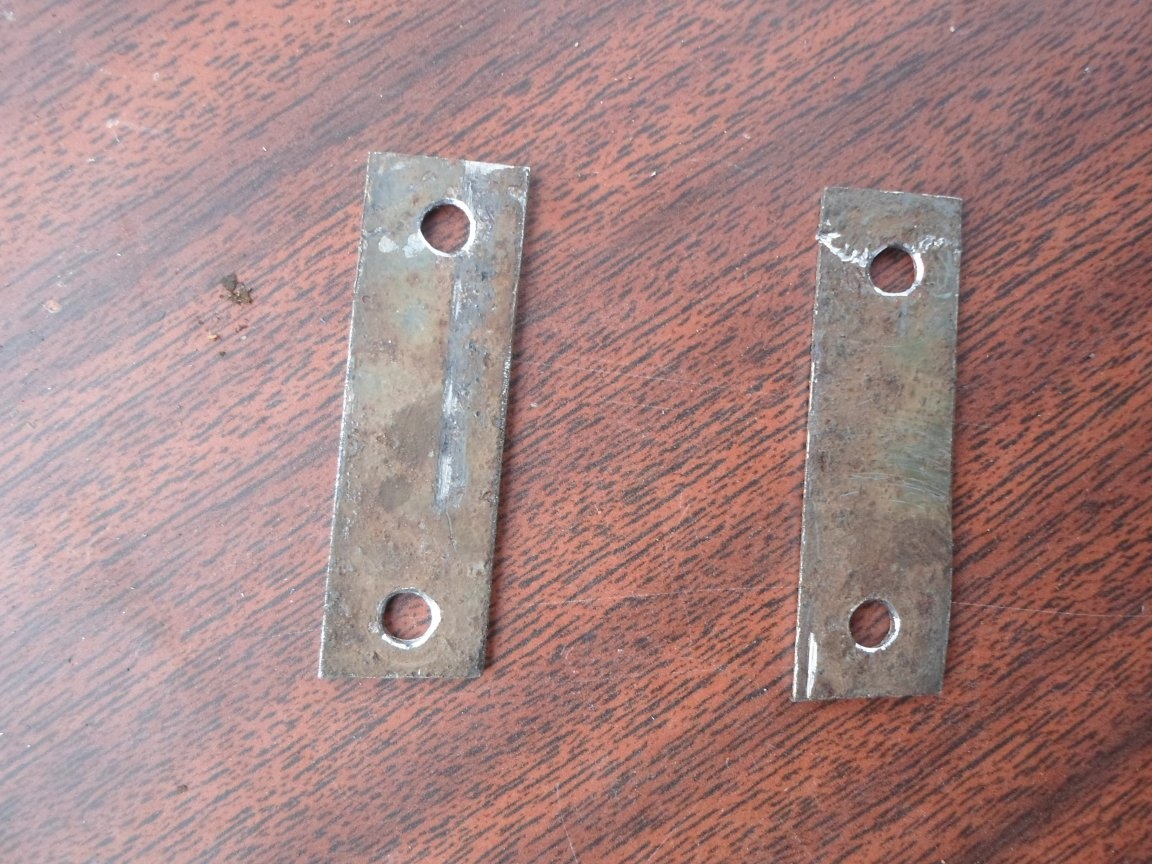
After we welded the workpieces, we check them so that they are welded evenly. Next, take a 4 mm drill and drill all three workpieces in the center.


After the hole has been drilled, we take it to the plate, which more accurately welds the short hairpin. You need to weld evenly.


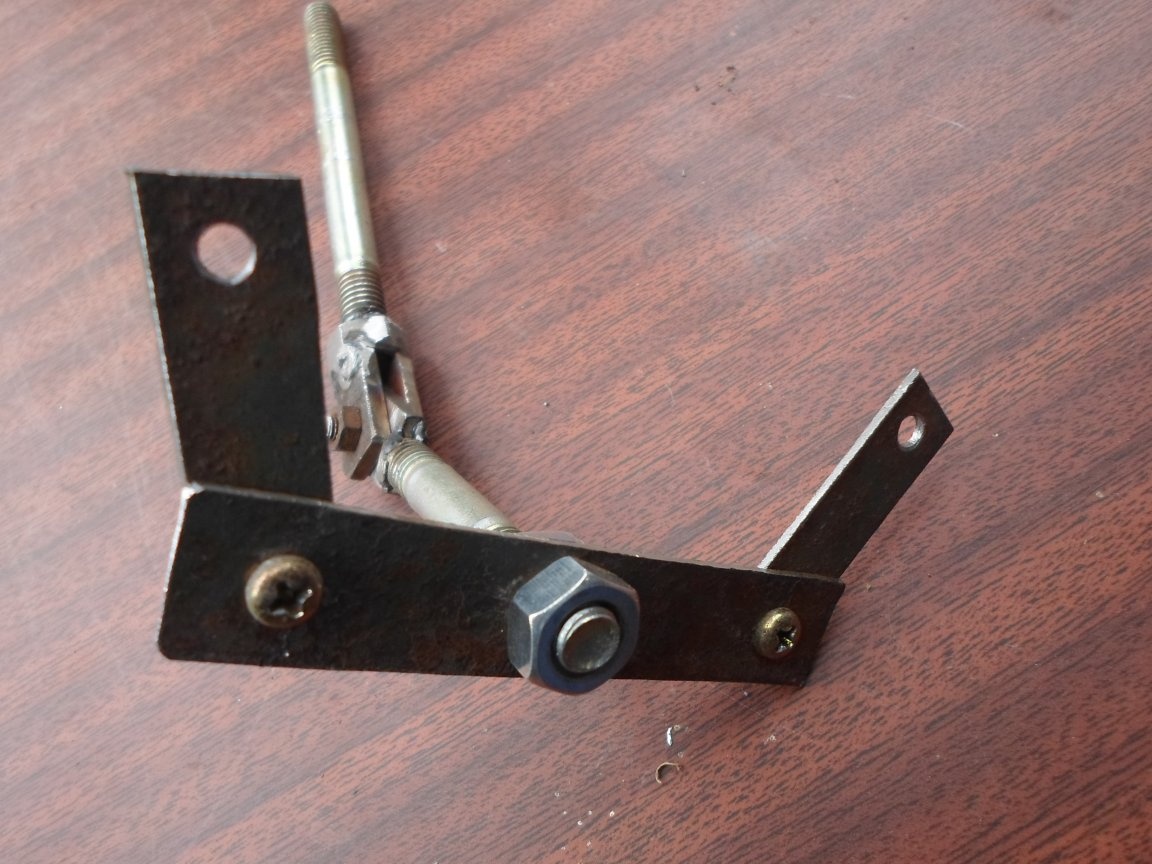
After we have welded everything, we take the resulting workpieces and connect them with an M4 bolt. We check that the workpieces can freely move relative to another workpiece, if everything moves, then we move on, if not, then we grind the corners of the workpiece with a short hairpin.


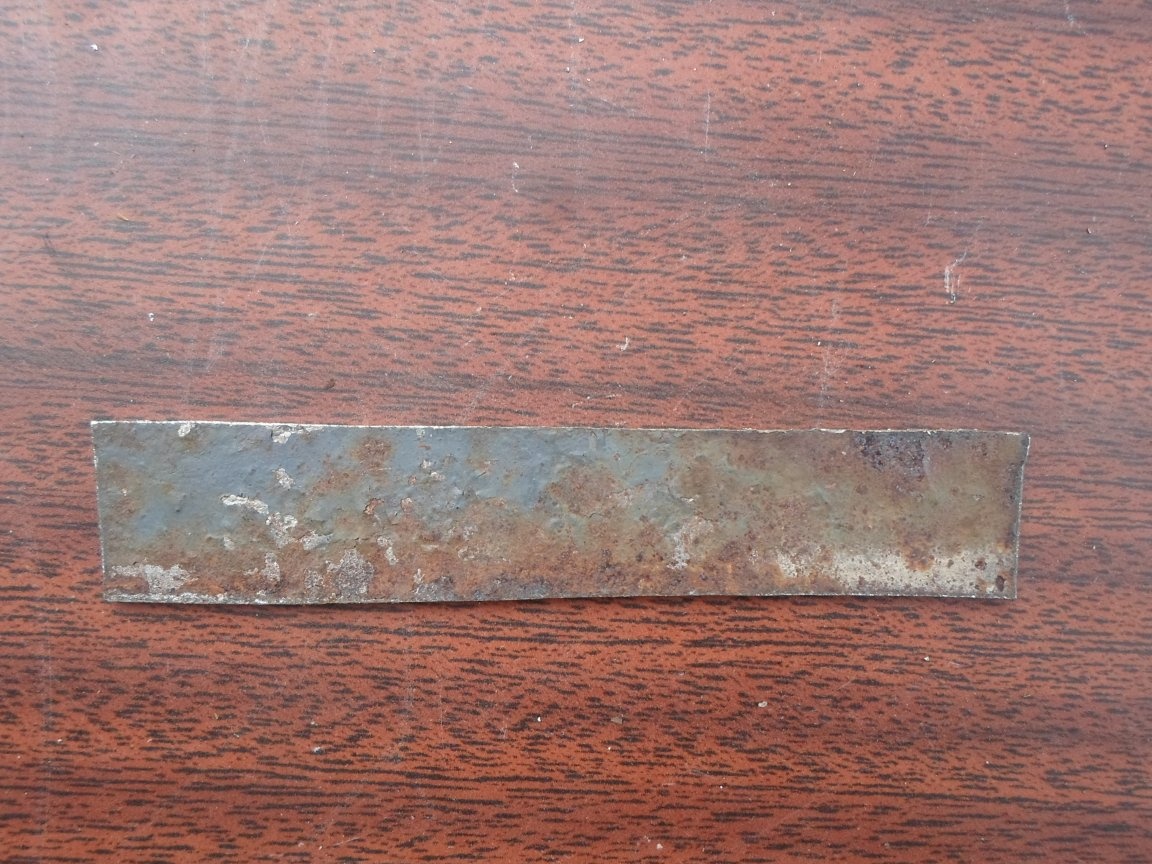
We take sheet steel approximately 2 mm thick and cut a strip 20 mm wide, the length of this strip can vary, depending on how long you will clamp the piece to be soldered.


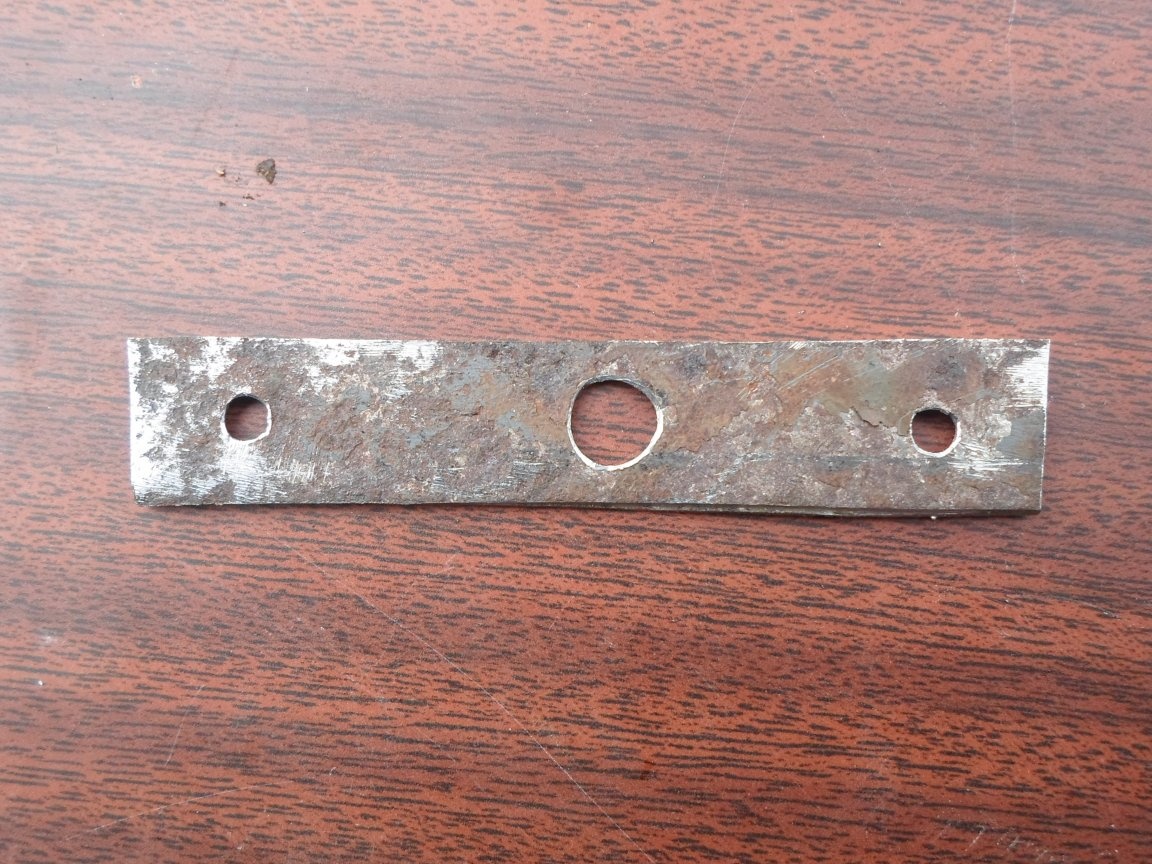
We drill holes, in the center it is necessary to drill a hole by 8 mm, and along the edges 4 mm.


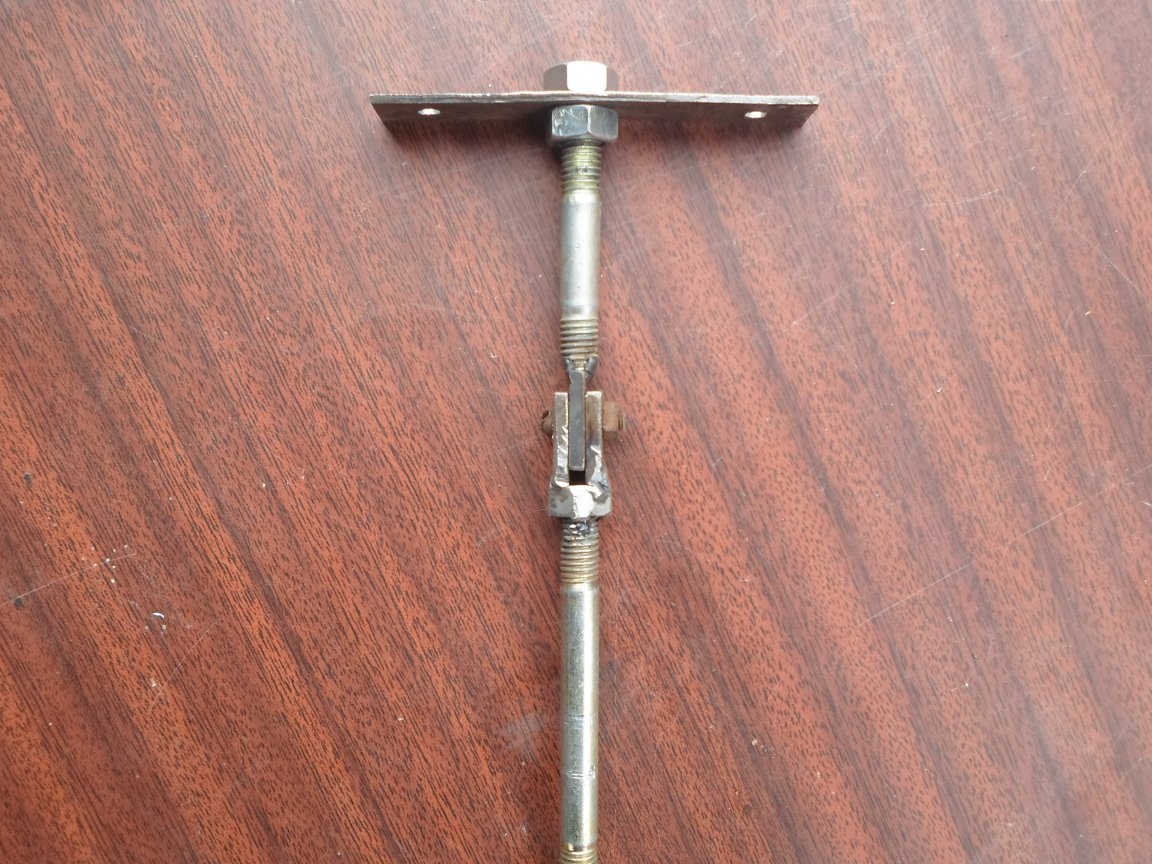
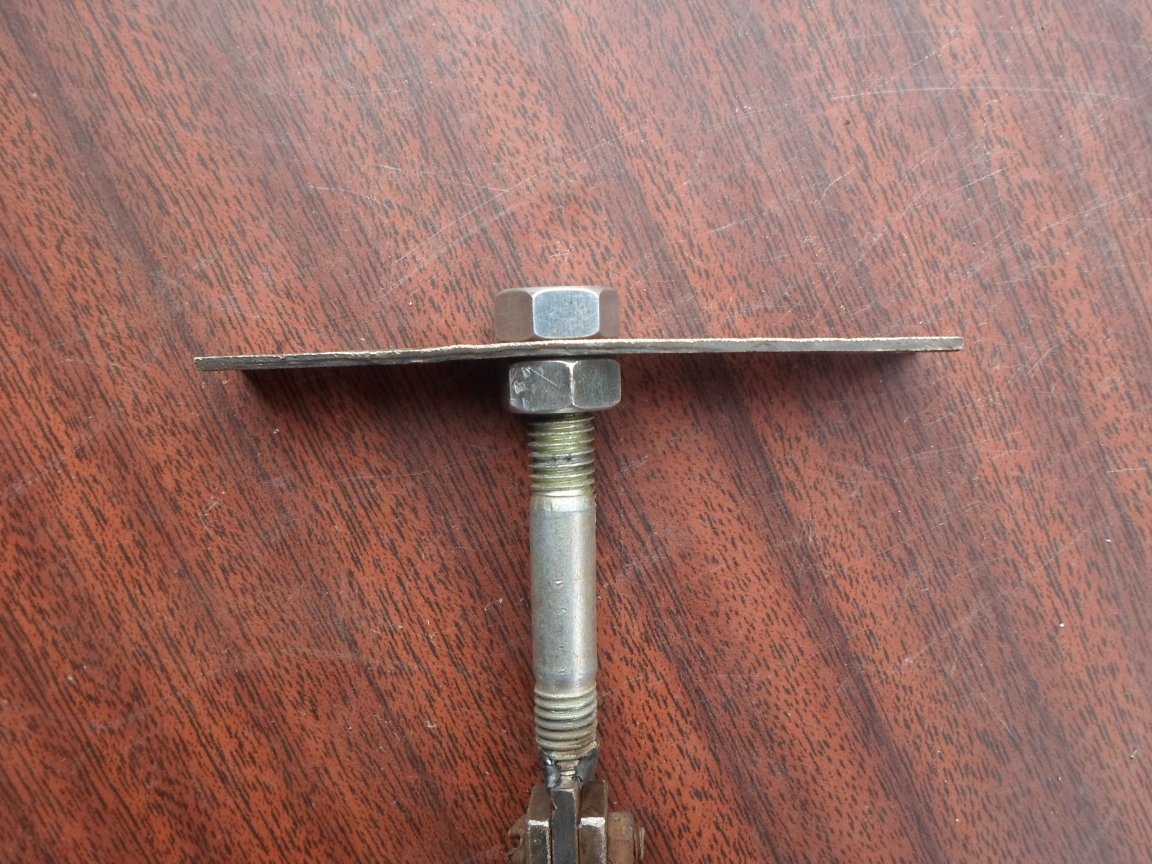
The next step, clamp the workpiece between the nuts on a short hairpin. The lower nut will need to grab a little welding machine, this is necessary for the convenience of tightening.


Next, from the same steel with a thickness of 2 mm, we cut out two such workpieces, the dimensions of which are 20 * 45 mm, we tilt and drill holes 4 mm


We fasten the resulting workpieces to the main part with M4 bolts


After that I went to the store and bought two of these plastic crocodiles with two metal eyelets


The loops had to be squeezed a little with pliers


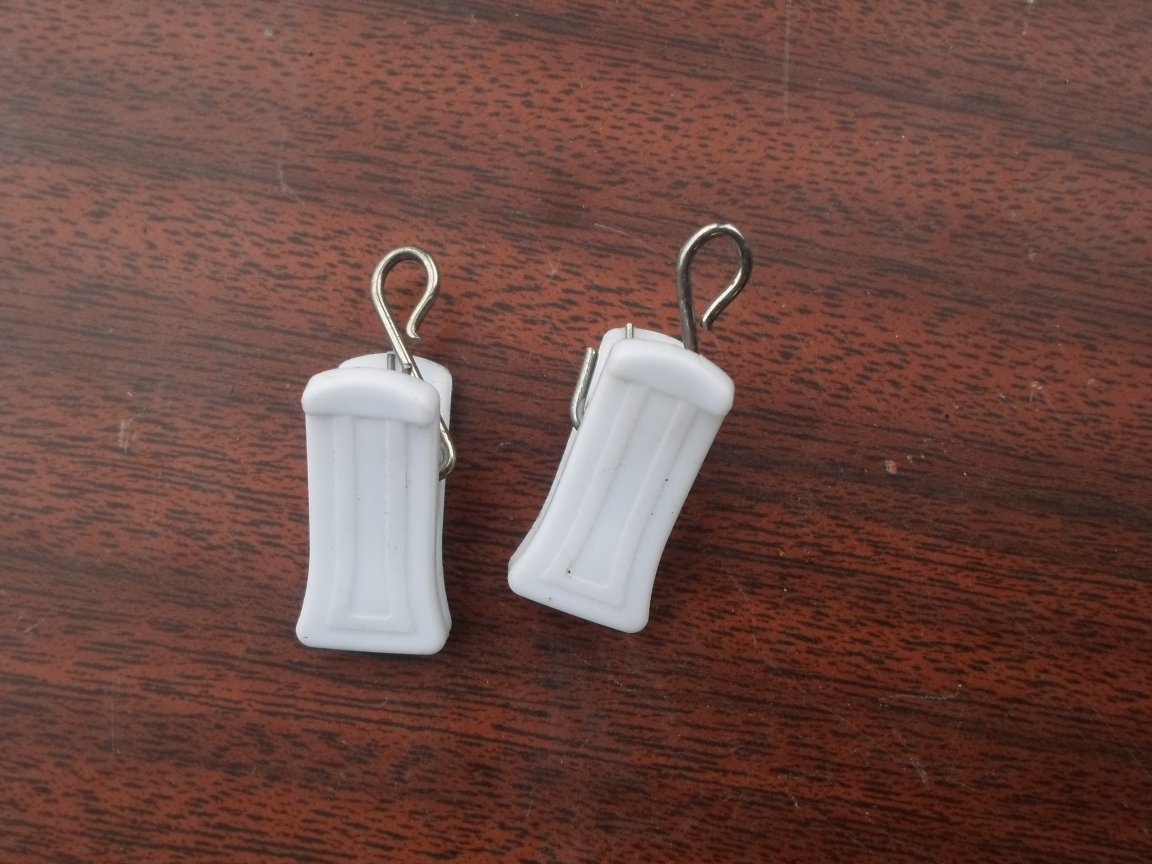
We fix the crocodiles to the main part with M4 bolts


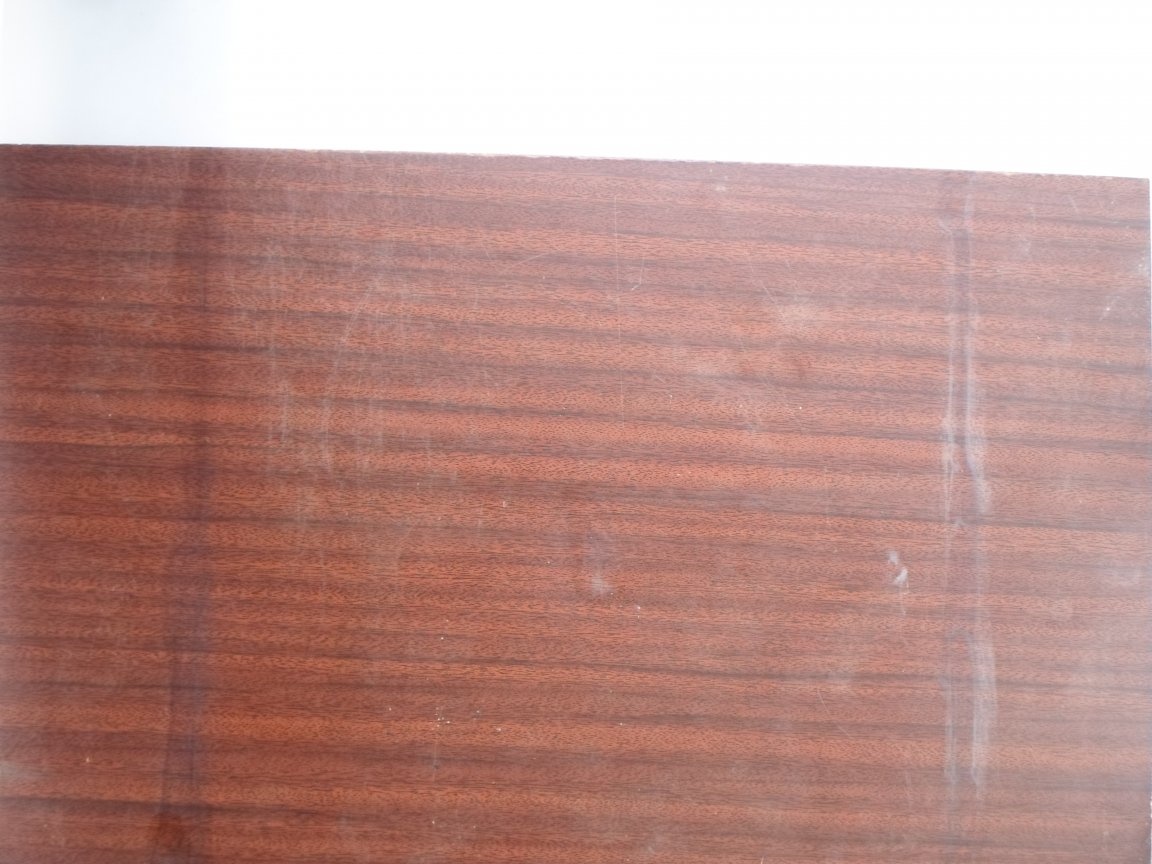
The third hand is almost ready, it remains just to secure it. For the convenience of work, I decided to take a larger site. For the manufacture of the site, a fiberboard sheet with dimensions 50 * 40 cm and a thickness of 2 cm was used.


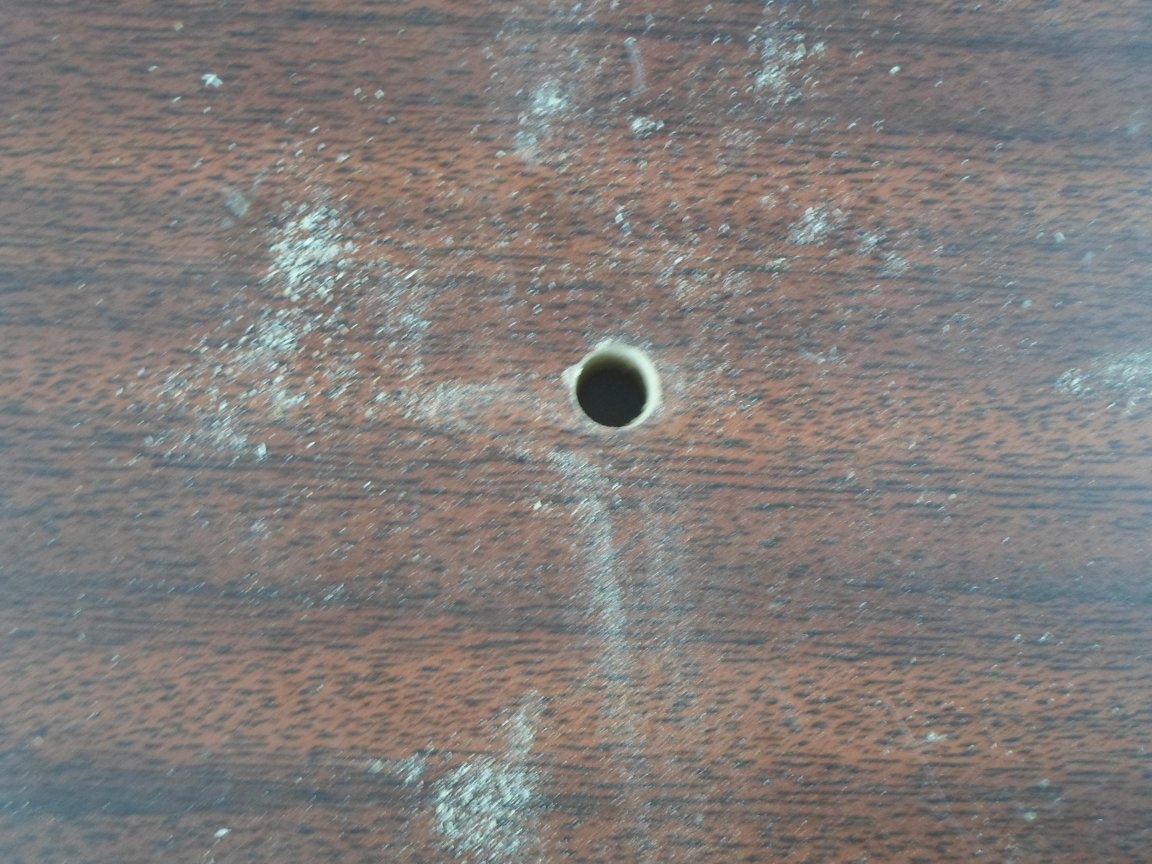
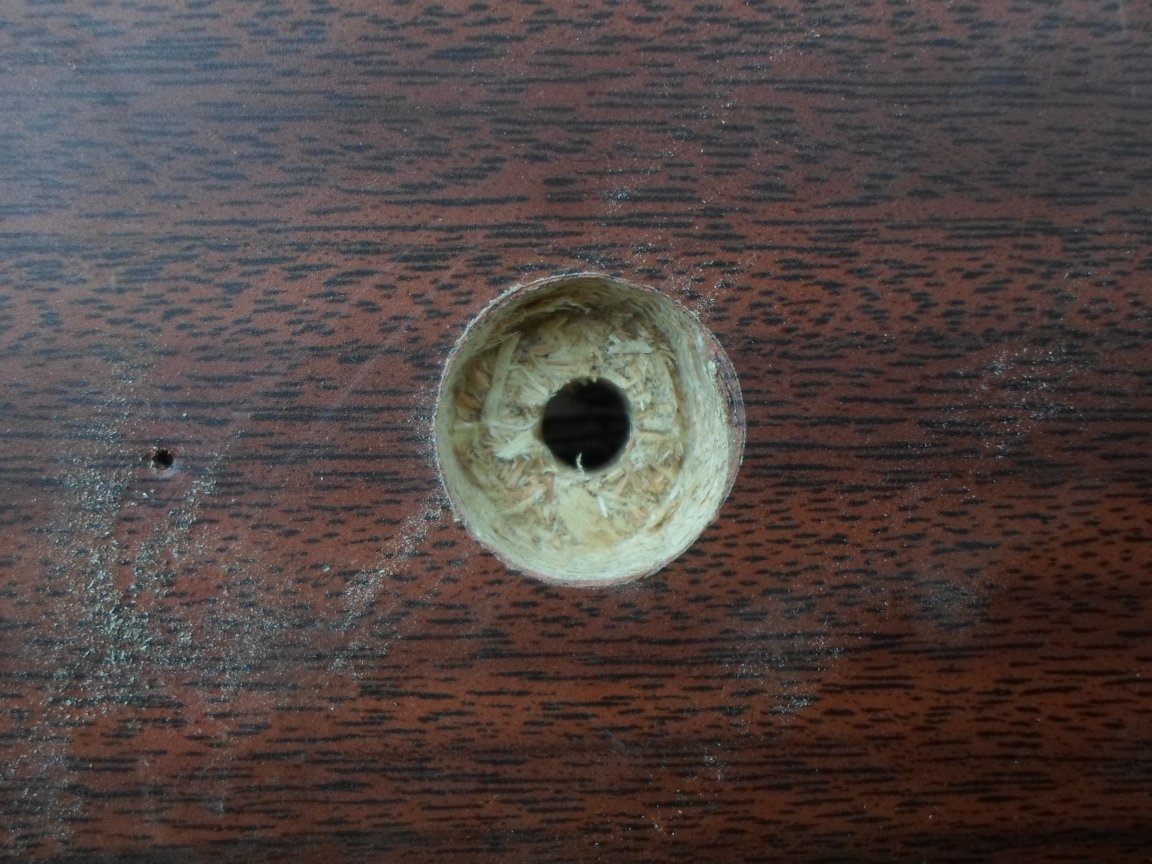
To fix the third hand, we take a step back from the edge of 7 - 8 cm and drill a hole of 8 mm, on the other hand we expand the hole to 20 mm, this is necessary so that the nut enters the tree


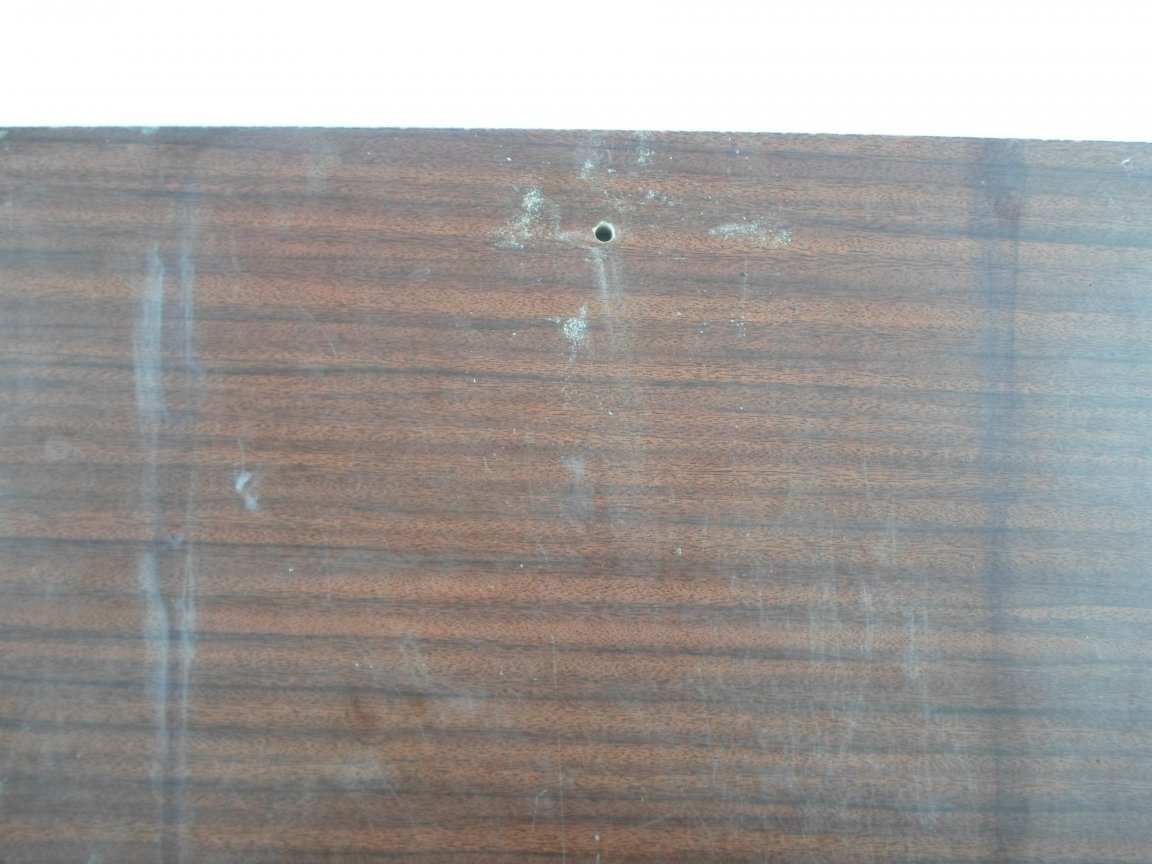
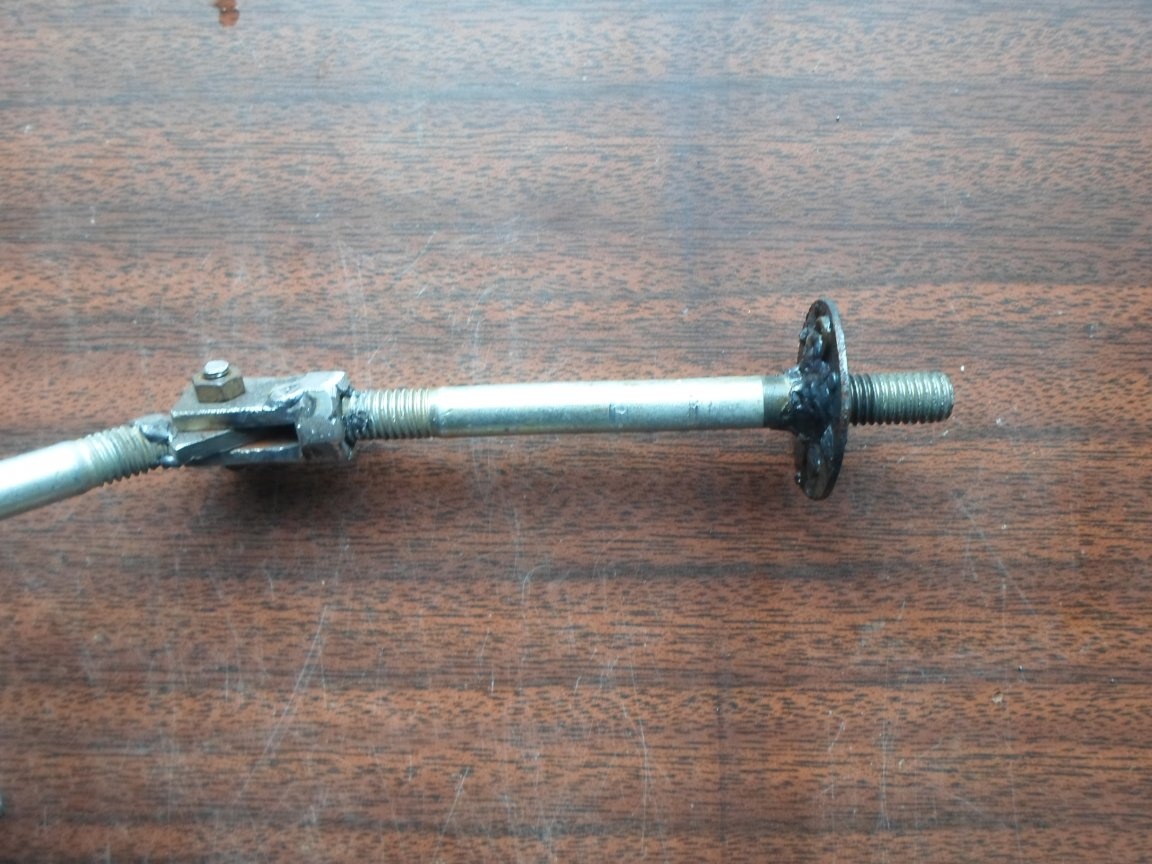
So that the third hand does not fall into the fiberboard sheet to its base, stepping back about 2 cm, weld the washer.


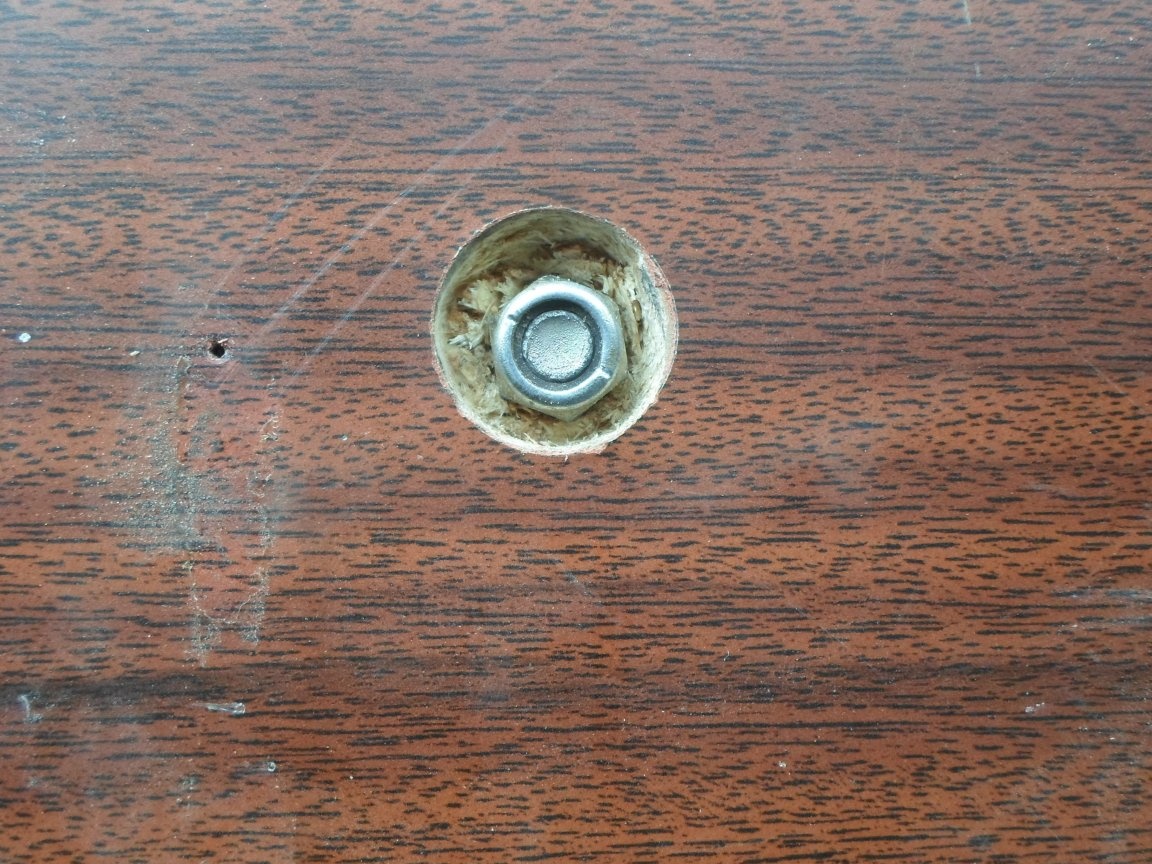
We fasten the third hand to the base.


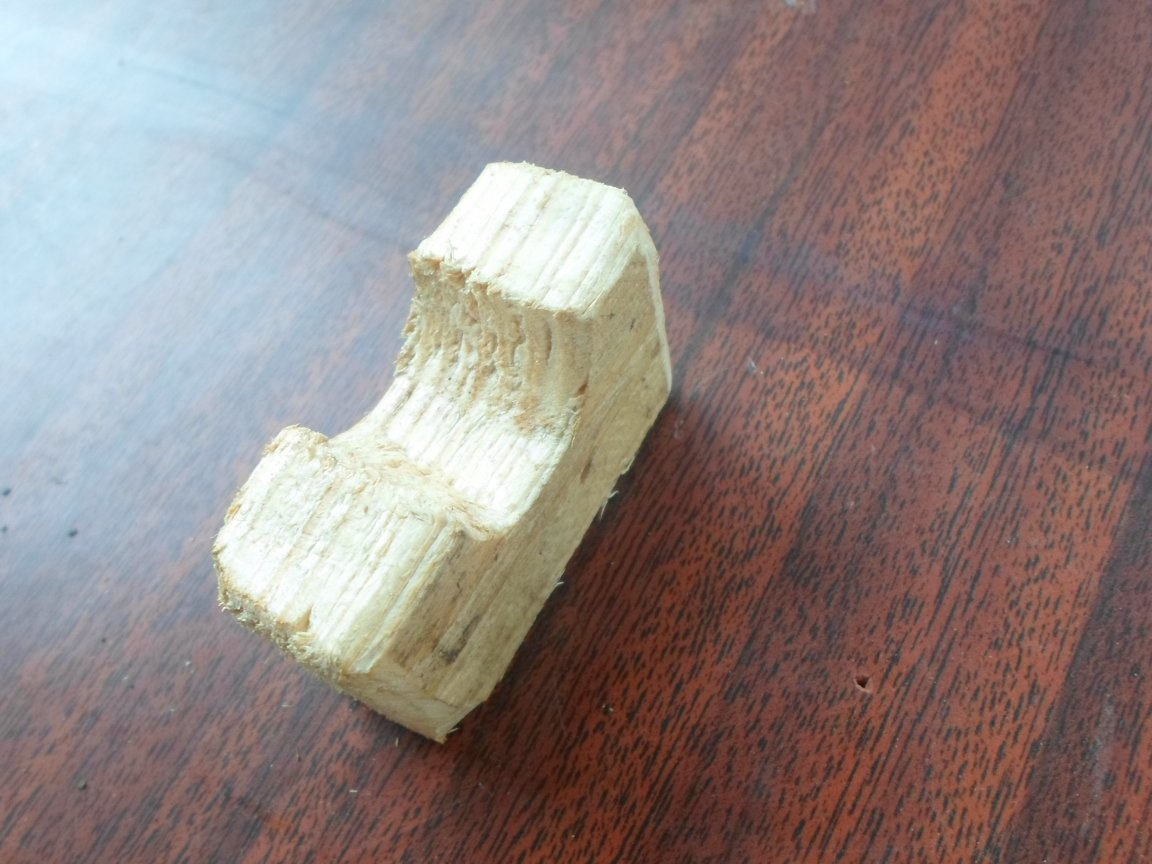
I decided to make a stand for a soldering iron. And just cut it out of wood with a jigsaw.


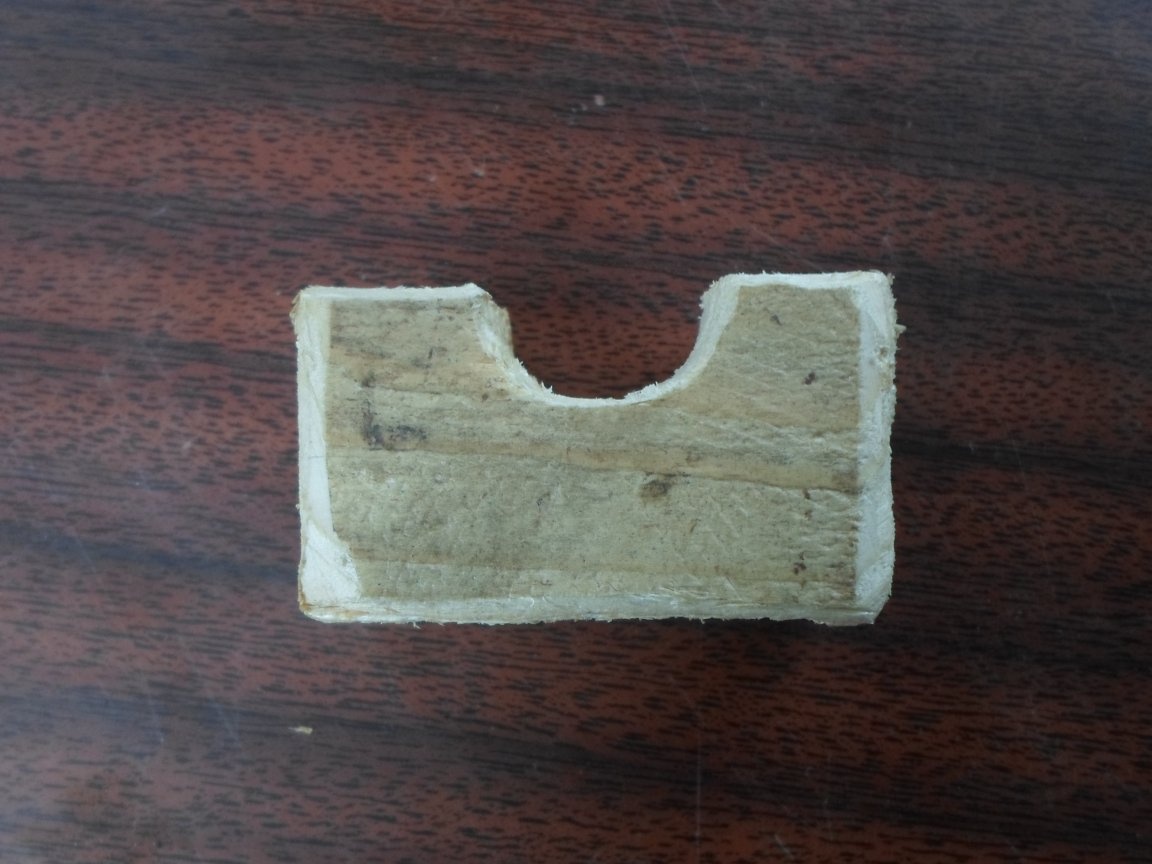
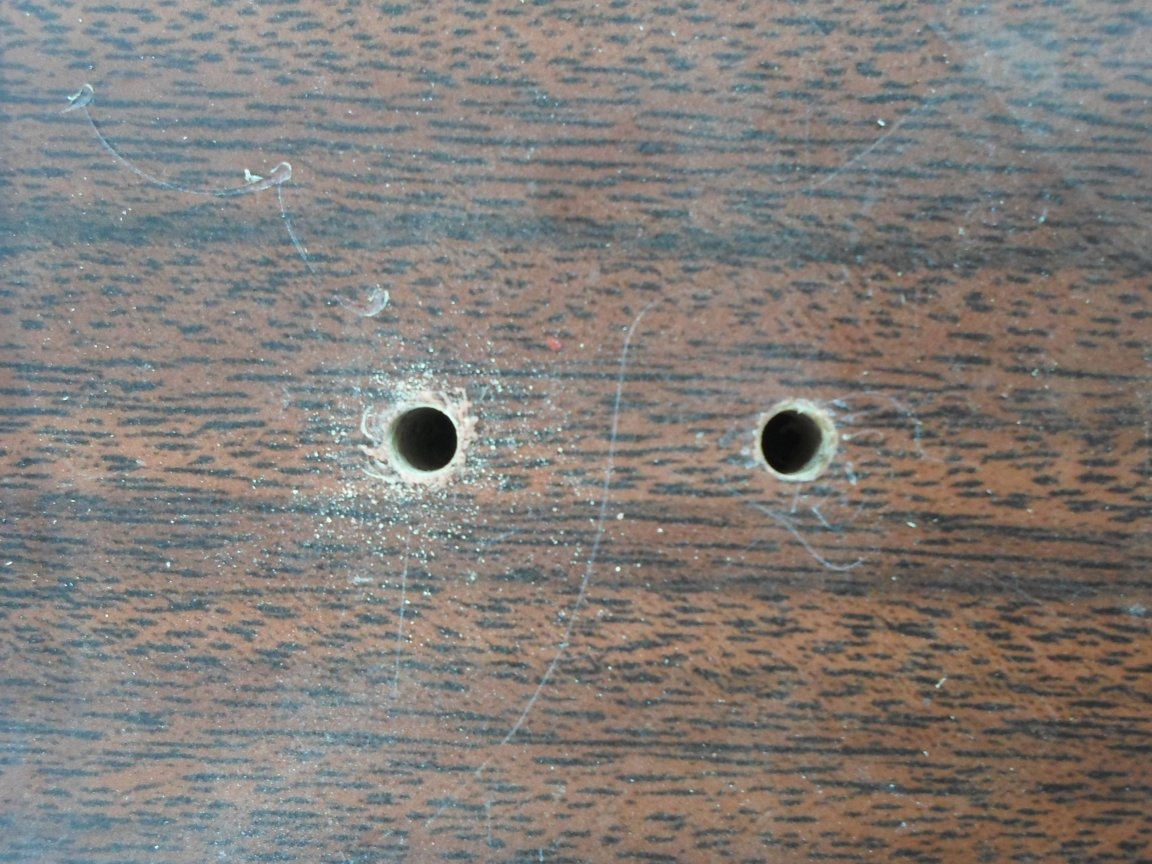
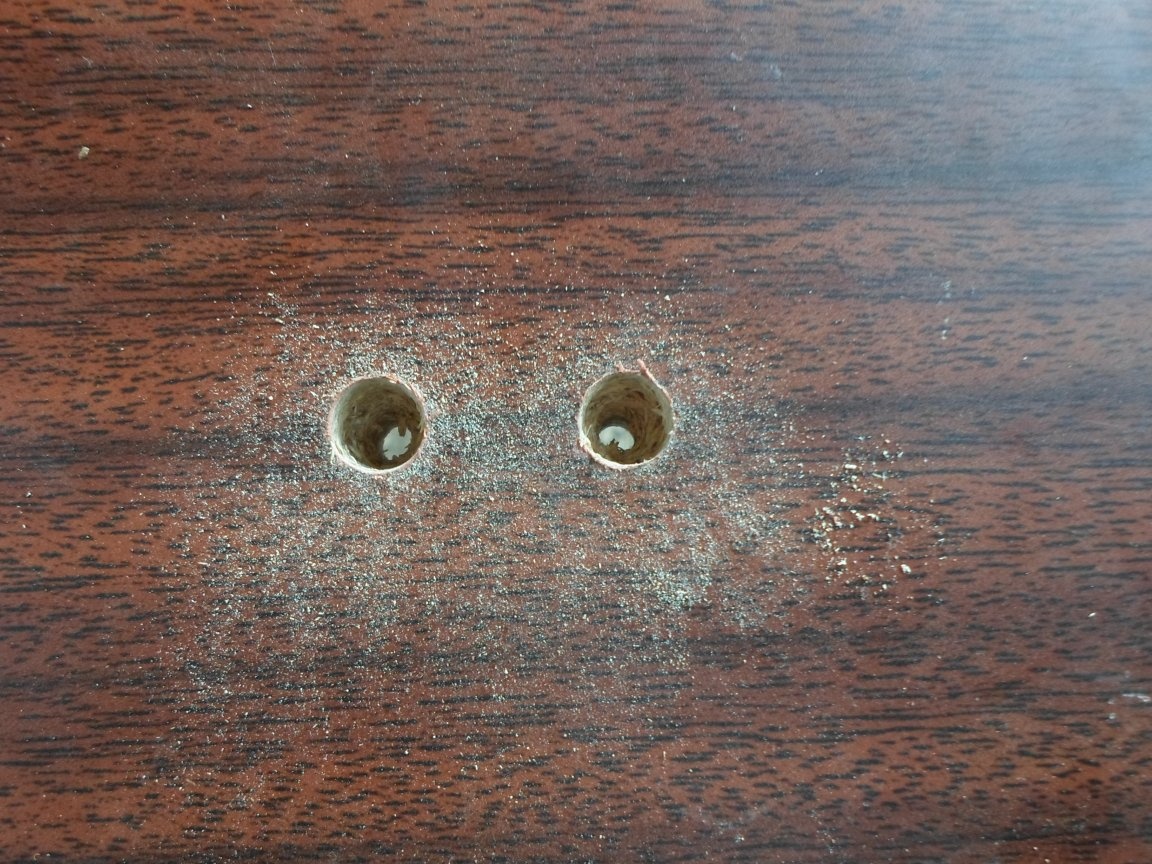
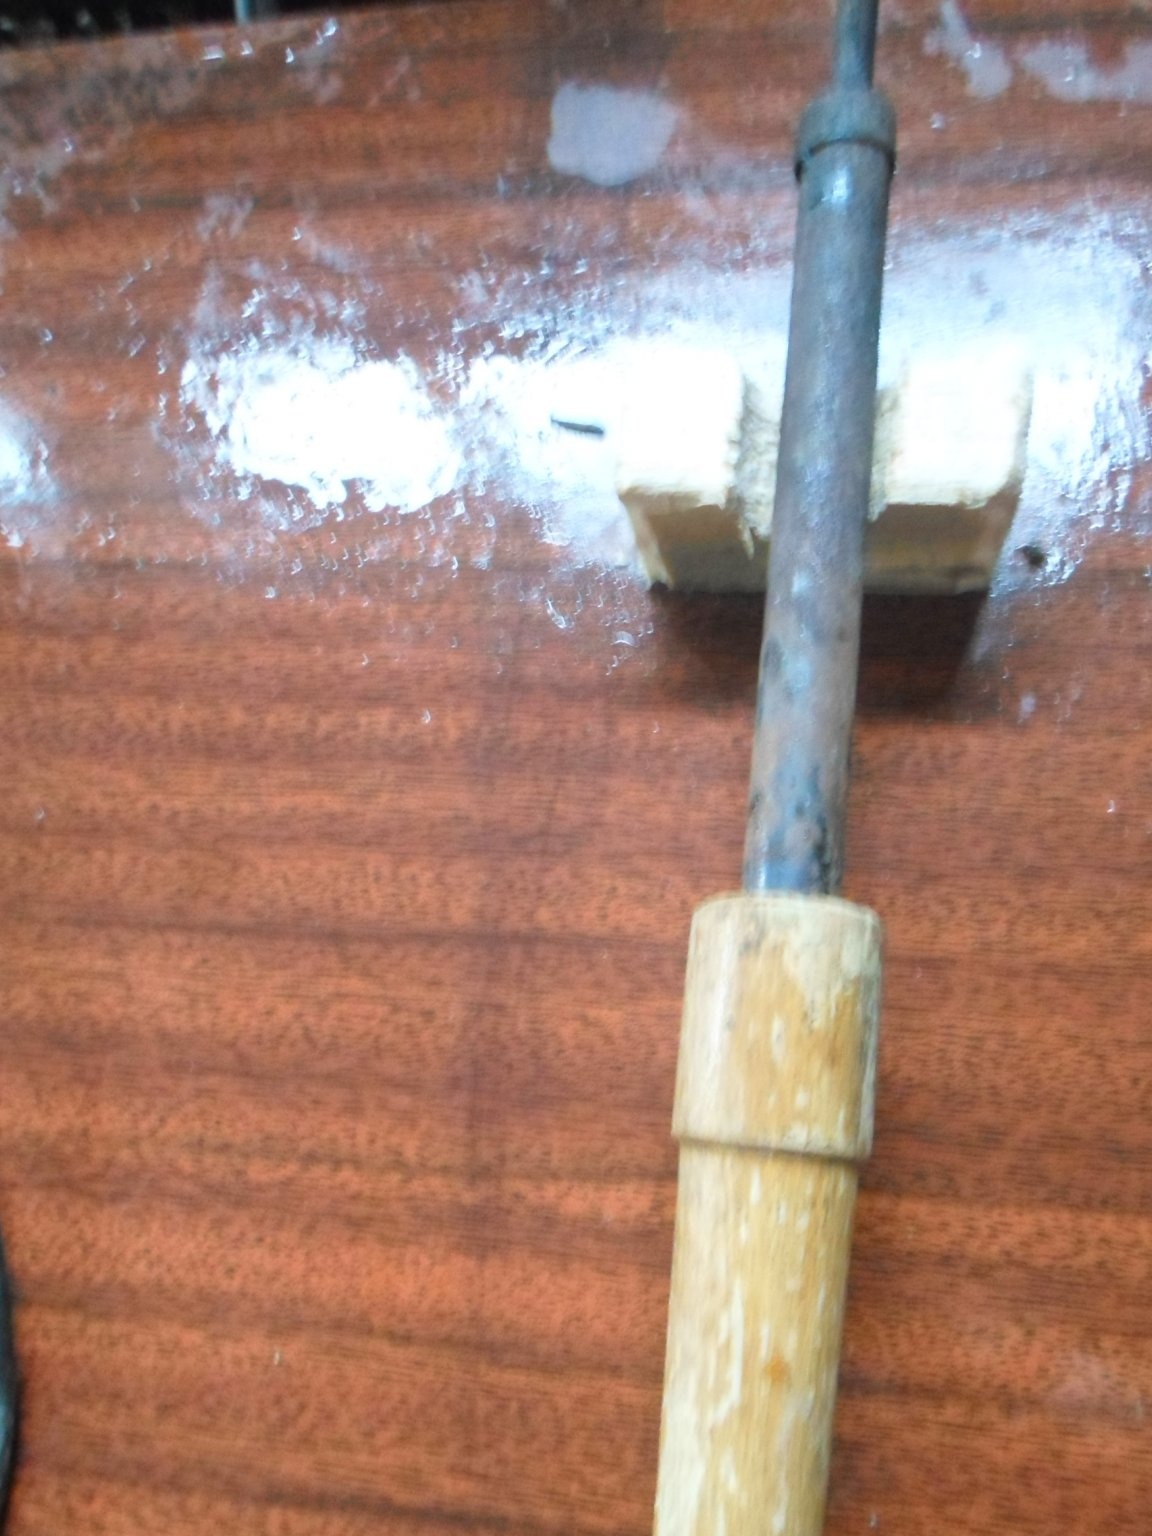
We fix the stand with screws, as you can see the soldering iron is not bad.


Well, all our "Third Hand" is ready!


You can improve the design as you wish.
5.3
6.3
4.7

Add a comment

    • smilesmilesxaxaokdontknowyahoonea
      bossscratchfoolyesyes-yesaggressivesecret
      sorrydancedance2dance3pardonhelpdrinks
      stopfriendsgoodgoodgoodwhistleswoontongue
      smokeclappingcraydeclarederisivedon-t_mentiondownload
      heatirefullaugh1mdameetingmoskingnegative
      not_ipopcornpunishreadscarescaressearch
      tauntthank_youthisto_clueumnikacuteagree
      badbeeeblack_eyeblum3blushboastboredom
      censoredpleasantrysecret2threatenvictoryyusun_bespectacled
      shokrespektlolprevedwelcomekrutoyya_za
      ya_dobryihelperne_huliganne_othodifludbanclose
25 comments
Guest Vita
I’ll say it easier, take the wire, bend it with the letter “P”, insert it into the thick plywood, on the other hand with the letter “X”, bend the ends, insert the “two” crocodiles - that's done, if there are two soldering iron stands.
Author
Good !!! smile ok
Add a photo when you finish it, in the comments you can upload a photo, I think people will be interested, especially against the background of this hype.
Do you need it?


I don’t know what, but I don’t need) You are so agitated as if this is my article) You are all evil today. Or I’m just very happy, I came from the election, poured a glass, I wait for this bastard to lose smile
Author
Of course, I hurried, did not finish it as it should !!!
Author
Thank you very much for your advice ya_za !!!
As the pilots say: "The water is soft until you hit it." Why rely on something that most likely will not happen if you can guaranteed to protect yourself by applying your proposed wire or any metal strip. Note that in the event of a fire, a soldering iron lying on the table is recognized as the result of a fire, even if the cause was not in it. Do you need it?
I also have a plywood in the “feeder” under the soldering iron, it’s convenient to take solder from it, but the soldering iron is there for some seconds.
And what will happen to the wooden stand if you forget the soldering iron on it for a day? Do you have a guarantee that everything will be in order? Why do it somehow, if it is easy and cheap to do it right.
From the point of view of TB, it is true, but in practice, nothing will actually happen. The soldering iron has a temperature at the level of cellulose destruction, that is, it will be charred, but will not light up. Many grandfathers saw this and, surprisingly, even in circles. Try putting a soldering iron on a piece of paper. It will turn dark brown at the point of contact and next to it, maybe even a hole will burn out, but the paper will not light up.Although there will be a stink of smoke, yes) But I agree, if there isn’t 150 rubles for a stand, it’s normal, then you can do as many times in any Soviet magazine they described a board, 2 holes and a thick wire bent in the shape of the letter M. Although, as for me, the most convenient stand is a cup of tea)) Even after I bought the factory one, for a long time automatically put the soldering iron on the cup, it was too convenient) Quickly grabbed it, quickly put it
not going to solder thick wires


Today you are not going to, but tomorrow you will need it. I wrote for a reason that this is a passed stage. I was not going to either. Your main mistake is the wrong presentation. It was necessary to indicate that this is just an example of how to do it if urgently needed, but not. So, for once. For example, I also recently laid out the one-time idea of ​​a magnetic balancer for screws, but at the same time I focused on what it is for the time being, until I buy it. That is how to get out of the situation. You gave it as instructions for the manufacture of a full-fledged device, from here there is so much negativity in the comments.
However, these clothespins from cornices are extremely useful when it comes to modeling or minor repairs. They (at least those that I have) are quite rigid, and they are convenient to use when you need to fix any parts or when gluing, when you need to evenly press any thin planes. They often remain from the sets, with a sharp knife you only need to cut off the teeth, and bite off unnecessary fasteners with pliers, usually a hook or rollers on them. If there is an equipped workplace, you can fasten the fiberboard strip to the edge of the table in a convenient place, then it will be convenient to remove them and return them to their place. I don’t have such a place, I just keep trimming the ceilings.


This is for you such a "life hack", almost like on YouTube, only useful))
Author
Your plastic clips will fly into the trash immediately.

Yes, you are right about this, but I was not going to solder thick wires.
Yes, the product is not universal. True, there is an "excuse": the author wrote that it
for soldering various boards and microcircuits.
It's just not clear where he was going to solder the microcircuit, if not on the board. )) In order to solder the mounted circuits of the Krenok type, mounted on radiators, a third hand is not needed.
I, as a person regularly soldering something, I will say only one thing. You will need to solder a thick wire, tin up some metal part, in general, any relatively voluminous heat-consuming object - your plastic clips will fly into the trash immediately. Do not go to a fortuneteller, a long-passed stage.
Well, where are your homemade products?
If you do not see something, then this does not exist?
Or are you afraid
I’m seventy and I'm not afraid of anything! smile
fiberboard sheet ... 2 cm thick
That is unlikely. ;)
soldering iron stand. And just cut it out of wood with a jigsaw
So-so little idea. ((Fire hazard.
How many of these 10 minutes went into operational photography?
Author
You not only did not bother to paint, even burrs and rust were not brought down everywhere!

I did it so sloppy, because I was in a hurry (I did it in 10 minutes) and there was no time left for cleaning and painting.
Author
g * extrapolding sculpt!

Show us how to do it right! Or are you afraid of being bombarded with comments?
Author
For me, the process of making homemade products is creativity

Well, where are your homemade products?
not everyone has an old lamp and a children's designer
Yes, I’m talking about a lamp, the first thing that came to mind, there can be many options. But the nuts - the lamb is also a problem? For me, the process of making home-made products is creativity, from idea, design, and to completion, you need to enjoy it! You not only did not bother to paint, even burrs and rust were not brought down everywhere! Previously, it was called g * extrapolding sculpt! nea
Author
And you buy everything for your homemade products?

No, but you must admit that not everyone has an old lamp and a children's designer.
Guest Vita
Today there was an article on another site, when the author in a joking manner smoothly switched from hand-made hand-made craftsmanship to a product printed on a printer, very instructive. So, let's not blaspheme
author of this product. Maybe this is an occasion (idea) for further creativity.
I showed how you can do
You showed how not to do it!
Well, buy a lamp and a children's designer
And you buy everything for your homemade products? In the case of "in the trash" do not put off anything, throw it all away? scratch
Author
I showed how you can make a "third hand" from materials that almost everyone has. Well, buying a lamp and a children's designer will be more expensive than buying a "third hand" in an ordinary store!
Well, honestly, I would be ashamed to keep this on my desktop! Yes, take at least a desk lamp with a flexible "neck" and planks from the children's designer! Well, at least some aesthetics should be! nea

We advise you to read:

Hand it for the smartphone ...