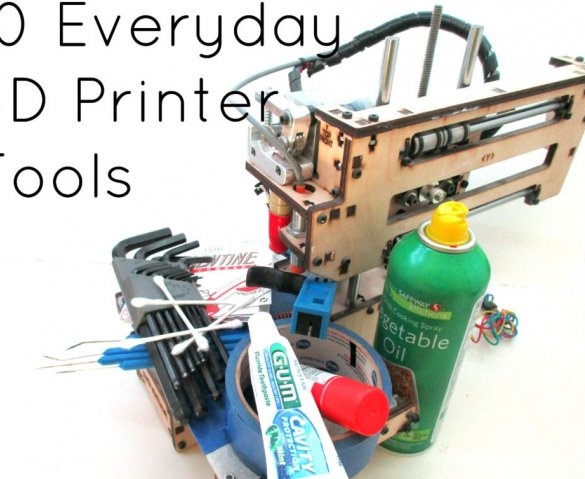
Since these desktop 3D printers are exclusively open source, there are no special tools or proprietary components (remember those screws that require special screwdrivers to be removed). The author of this article has been using 3D printers for several years, and during this time he has accumulated a set of tools and materials that turned out to be useful when working with 3D printers. Many of these are common everyday items, most of which are present in every home!
We will stop at this and begin to consider 10 daily tools for a 3D printer in more detail ...
Step One: Cotton buds
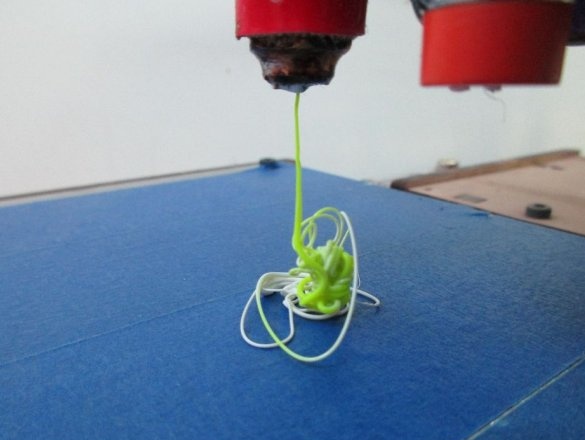
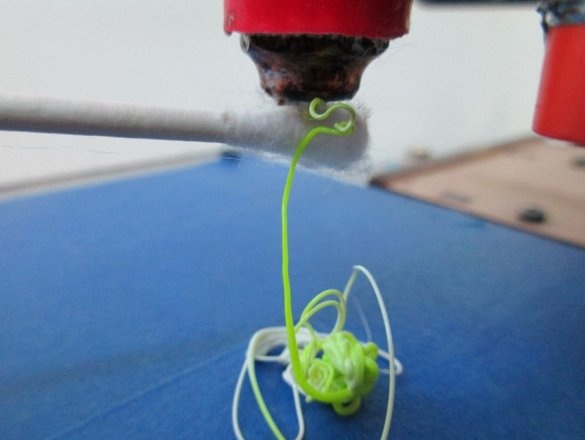
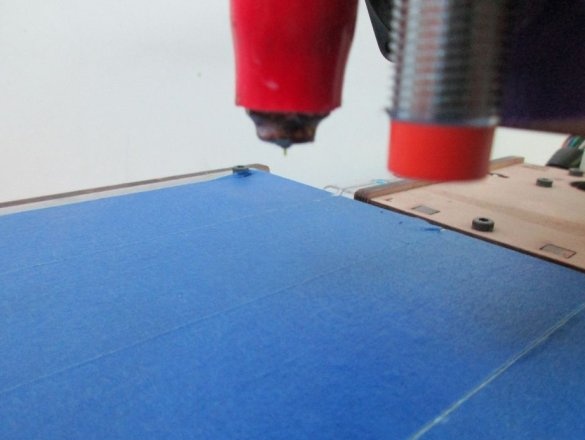
If the temperature on the 3D printer is not quite suitable, molten plastic will leak from the hot end of the nozzle. Before printing, the plastic must be cleaned, otherwise it can lead to catastrophic mess that can ruin your print. It is also important to keep the print nozzle clean so that the plastic flows freely and unhindered.
Four hundred degrees is not very comfortable to touch, so you need to wipe the nozzle with something else. In this case, cotton buds work exceptionally well. The cotton tip cleans the plastic and helps restore the shine to the nozzle. The tip of the cotton buds is softer than the nozzle, so you don’t need to worry about scratching the metal.
Step Two: Hooks and Awl
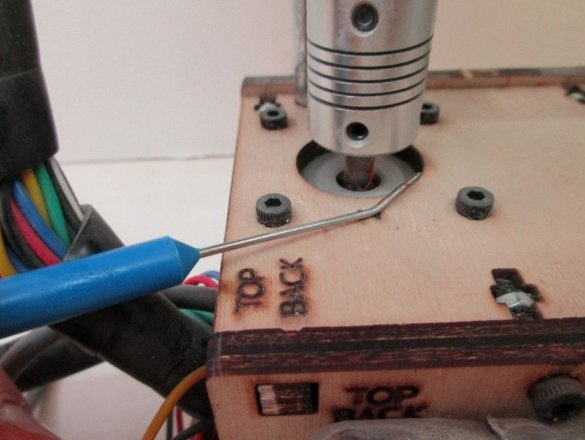
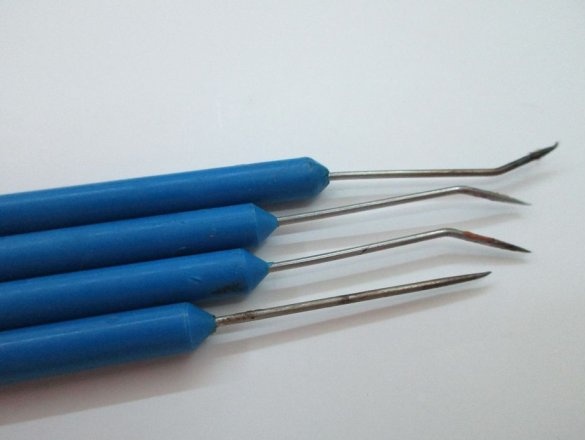
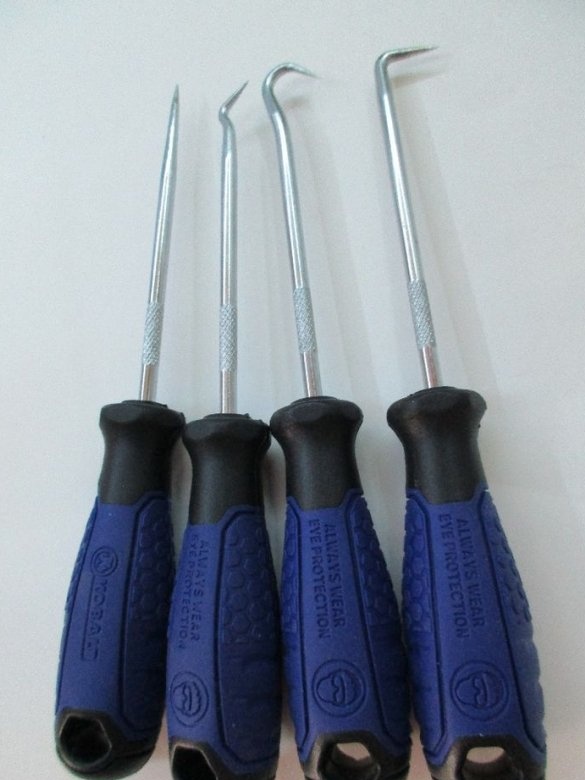
Sometimes you just need to get into the nozzle area and dig deeper. For those hard-to-reach spots on a 3D printer, metal hooks seem to do the trick. They have different angles, which are very convenient for 3D printers. Regardless of whether you need to adjust the wire, rearrange the jammed nut or press the reset button, the hooks will certainly become an integral part of your tool box.
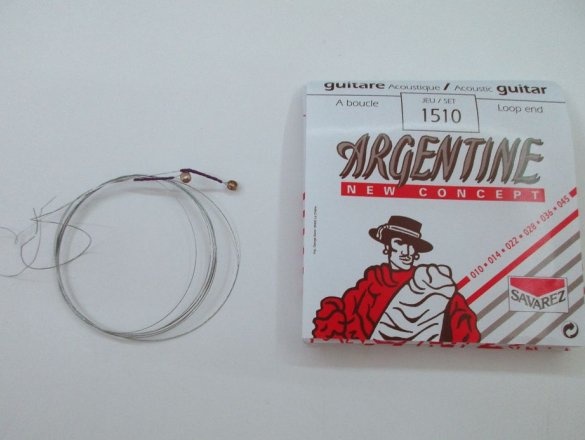
Step Three: Guitar String or Thin Wire
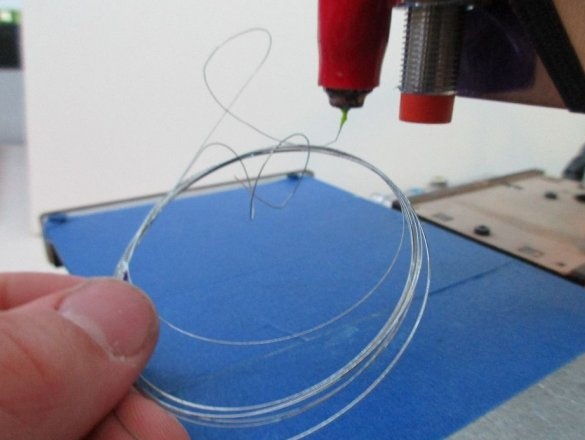
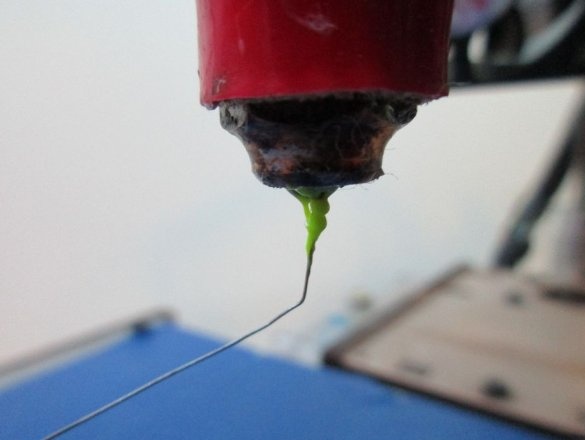
If you do not use the printer on for a long time, then in the end the hot nozzle will clog quickly. Tiny impurities in the filament and even the dust present in the room can ultimately clog the nozzle of your 3D printer. Clogging can range from minor blockage to a completely inoperative hot nozzle. You can find out for sure how clogged the nozzle is by squeezing the thread. If the thread twists or comes out at an angle, you have a blockage.
In this case, the old, used guitar string works very well. Strings come in very small diameters, but they are stiff enough. To use, insert the guitar string or hard wire into the bottom of the nozzle while the nozzle is warm and in the on state. Move the string back and forth to try to destroy the impurities. Now try squeezing the thread out of the hot nozzle.
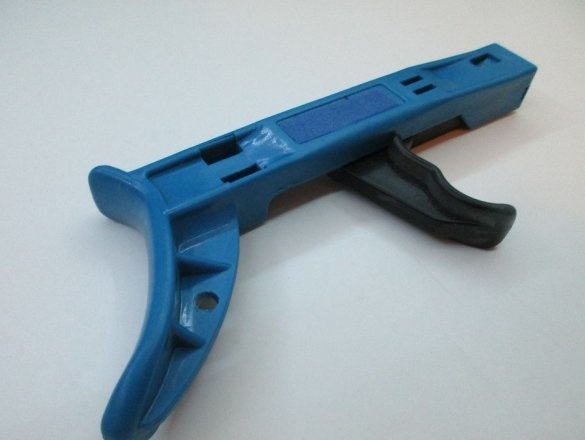
Step Four: Tension Gun for Plastic Clamps
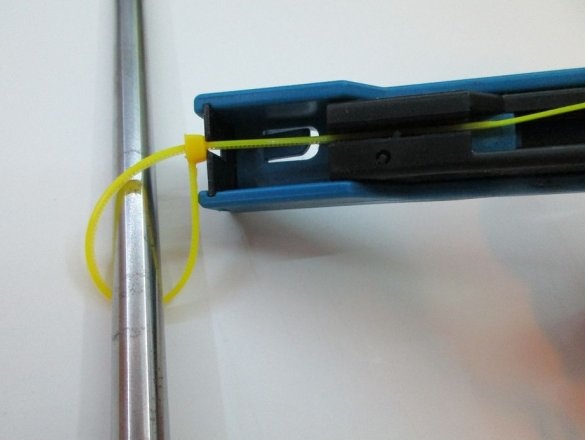
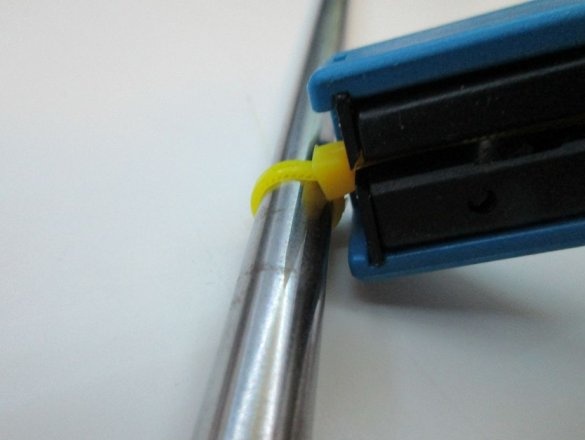
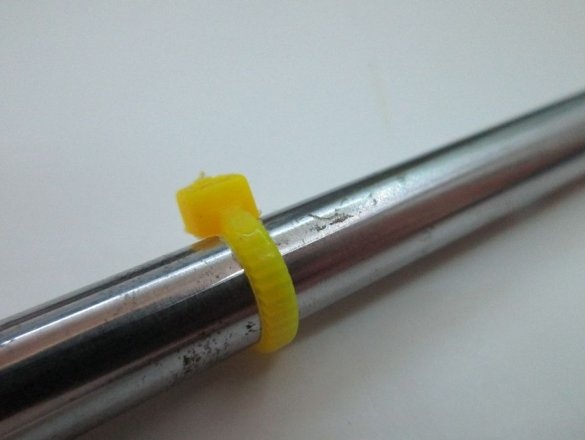
The tension gun for plastic clamps is a little-known but extremely useful tool. Many compact 3D printers use clamps to hold print elements. As practice shows, the denser the screeds, the more accurate the prints will be. The tension gun for clamps works like a ratchet tool. By pulling the trigger, the tool will constantly pull the clamp. A sharp turn of the tension gun can remove the long tail of the clamp.
Step Five: Prepare a Lubricating Spray
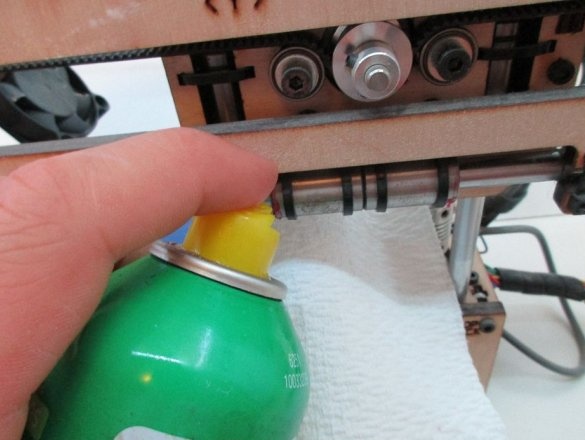
Why spend money idle, because they are never redundant? It’s not necessary to buy special grease for the 3D printer when you can find it in your kitchen cabinet. The author uses the cooking spray to lubricate his 3D printers since he acquired them. The spray is cheap and easy to apply to hard to reach places. To prevent oil from spreading everywhere, it is advisable to keep a paper towel behind the spray area.
You can also use a cooking spray to lubricate your prints. Just spray a little oil in the place where your printed part will be located.
Step Six: Allen's Allen Keys
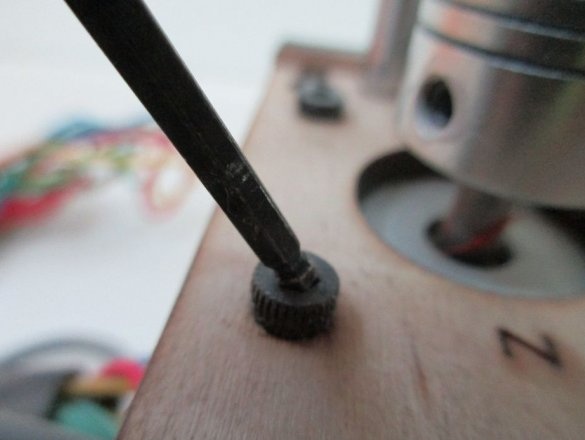
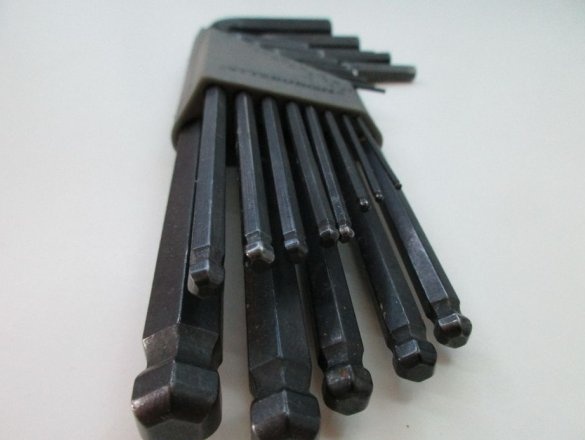
These keys are capable of loosening the hex head screw at an angle. This is a real salvation when creating or maintaining a 3D printer. One day, at one point or another, you will find that you need access to the screw at an angle. A regular hex wrench just won't crank it. Allen Allen Keys allow you to access the screws at an angle of up to 20 degrees. Much easier than taking apart half of your 3D printer to gain access to the stubborn screw!
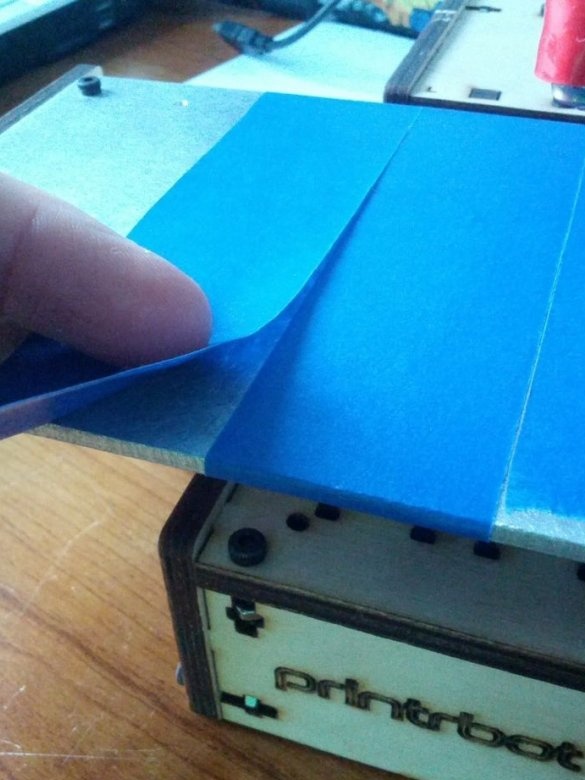
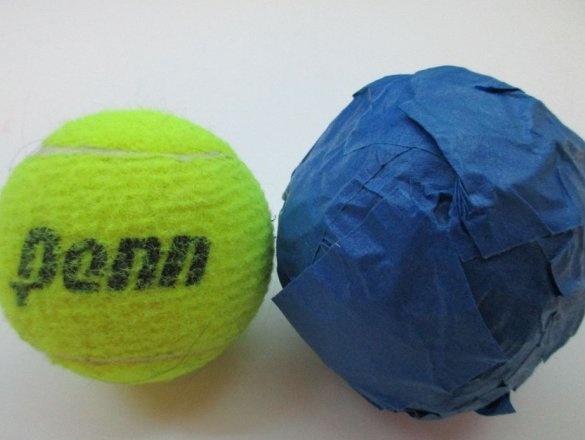
Step Seven: Blue Masking Tape
It has been proven that blue masking tape (a.k.a- blue masking tape) provides superior adhesion to the printed material for PLA plastic (polylactide) compared to any other material. The tape is easy and cheap to replace and can be found at your local hardware store.
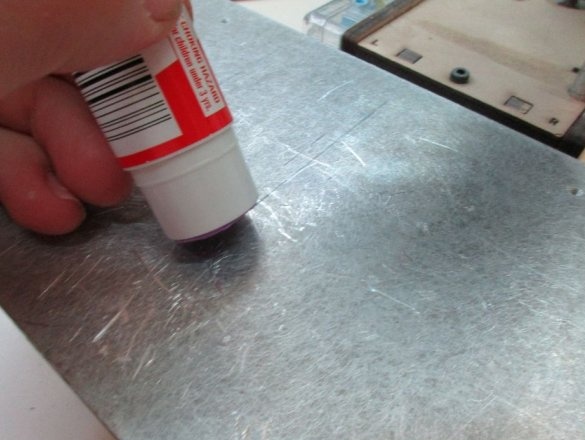
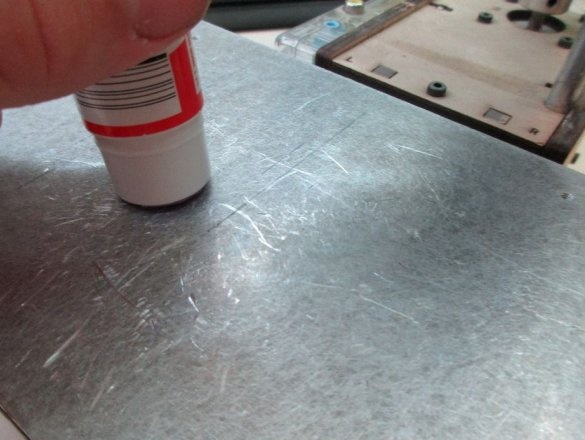
Step Eight: Glue Stick
If you are unlucky to stick masking tape, try using glue - a pencil. You can apply this classic school accessory directly to your printed bed. Allow 30 minutes to dry before printing. Some people are also advised to heat it with a hairdryer during drying to improve adhesion.
Step Nine: Old Computer Radiator
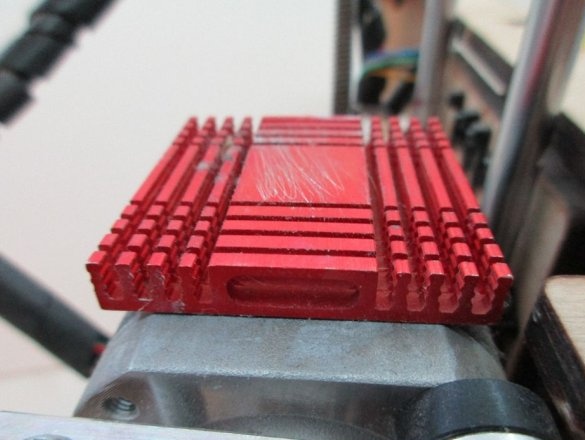
Old computers are rich in radiators - this is a corrugated metal component, usually aluminum, less often copper, which dissipates heat from electronics.
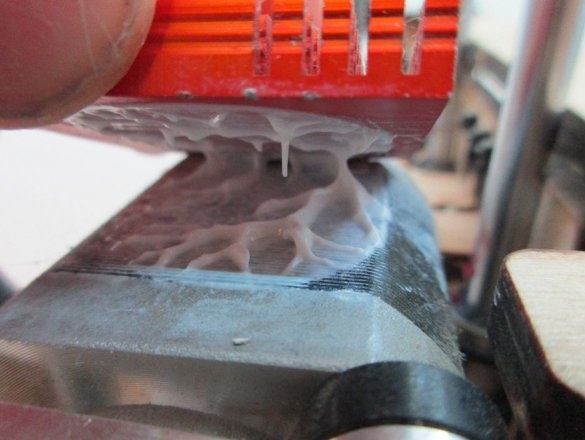
After a long operation of the 3D printer, you may find that it is heating up. Components such as motors, driver circuits, and the tip of the nozzle can become very hot. To prevent damage, it is often advisable to attach a heat sink to these problem areas.Use a radiator or refer to the next step to install a radiator.
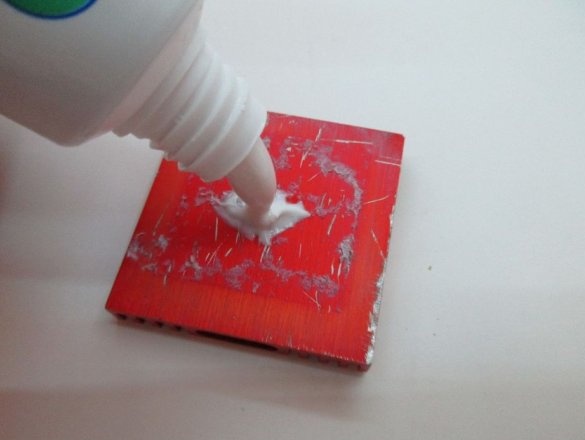
Step Ten: Toothpaste
If you read the previous step, you know the importance of using a radiator. It may be difficult to install a radiator if you do not have the right compound or thermal compound. It turns out toothpaste works the same as everything else. Just rub your heatsink lightly with toothpaste and press it against the hot component. You will be amazed at this cheap heat dissipation and minty aroma that conceals the fumes of ABS.

