With the advent of our lives available electronic games, good old board games are a little outdated. But sometimes the game is very exciting!
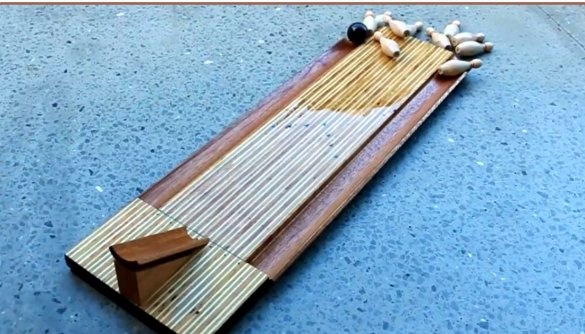
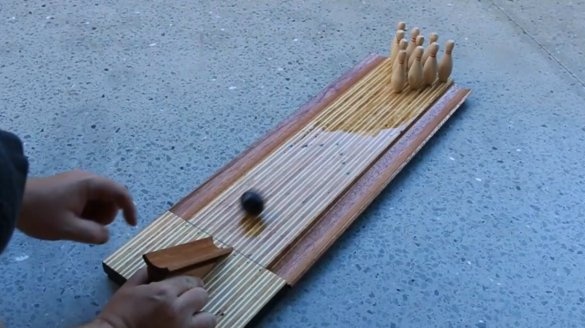
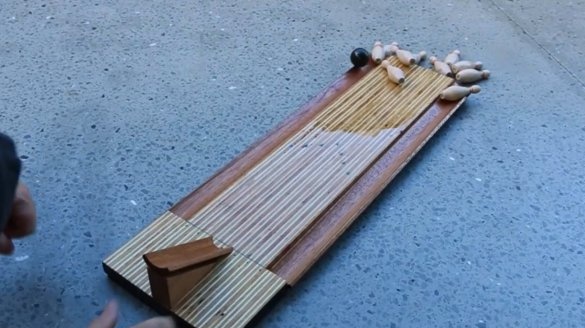
In this article, Ben, the author of YouTube channel "Ben's Worx", will tell you how he made a mini bowling. This game will captivate your children! In addition, the design of this toy is quickly disassembled, and takes up very little space.
The principle of this game is somewhat similar to the Soviet "naval battle". They also used a turret and small metal balls.
Materials
- sheet plywood
- Two-component epoxy resin
- Aerosol varnish
- Acrylic paints
- PVA glue
- Fiberboard sheet
- Wooden baseboard
- A wooden round log.
Instruments, used by the author.
- Lathe
- Chisels
-
-
-
-
-
-
- Corner, tape measure, marker, pencil, brushes, spatula.
Manufacturing process.
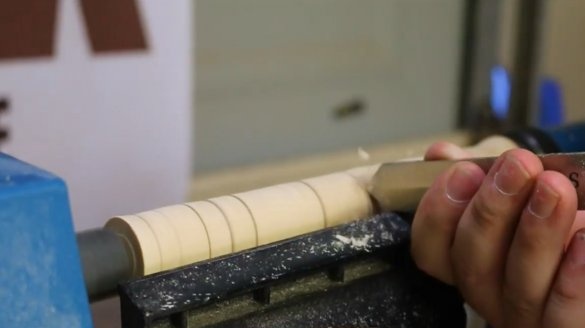
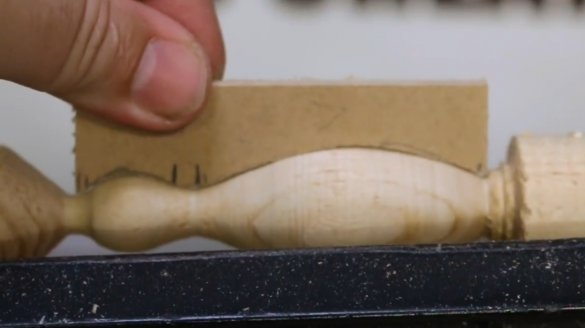
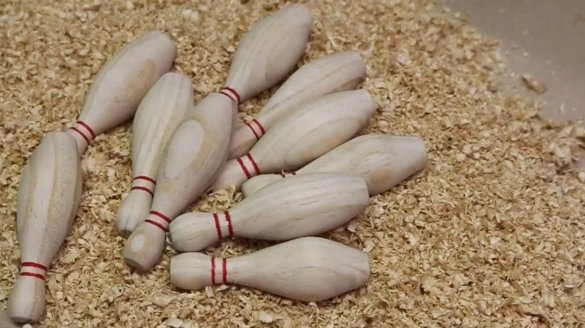
First of all, the author makes pins blanks from a wooden round timber. A shovel handle is good.
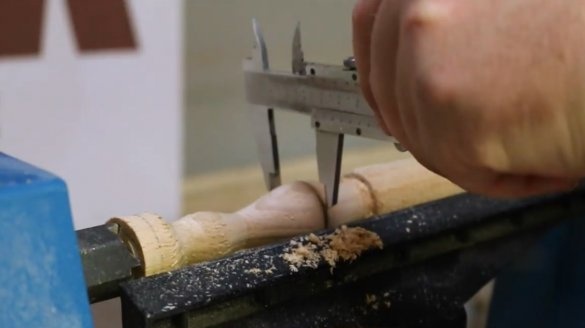
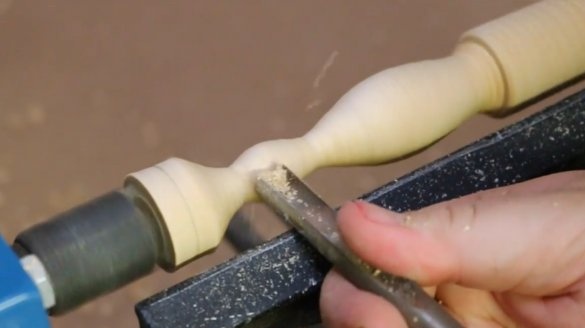
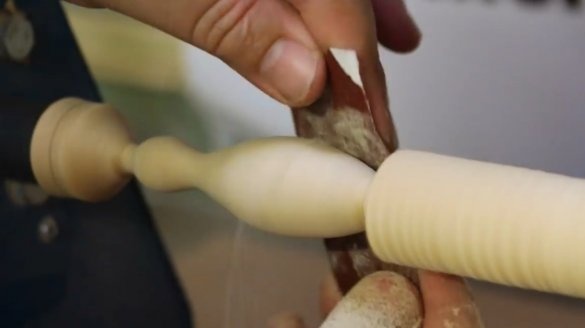
Having checked the skittles profile with the template, the master polishes it with sandpaper.
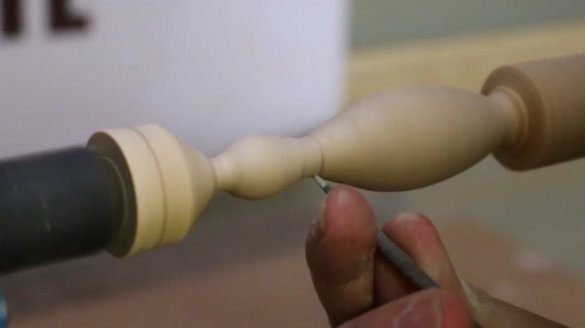
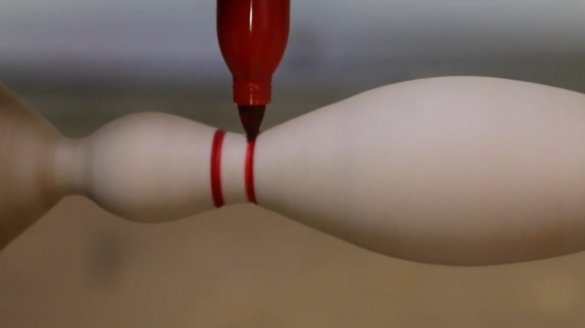
On the neck, the pins make two shallow grooves and stain them with a marker. As you remember, 10 pieces are needed.
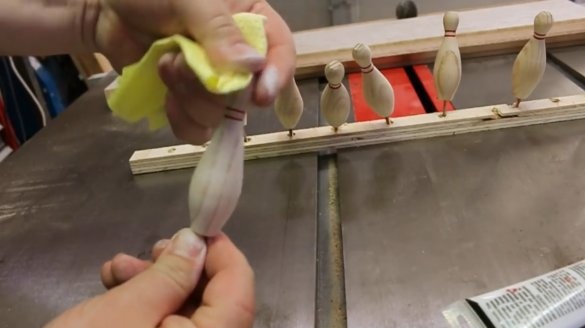
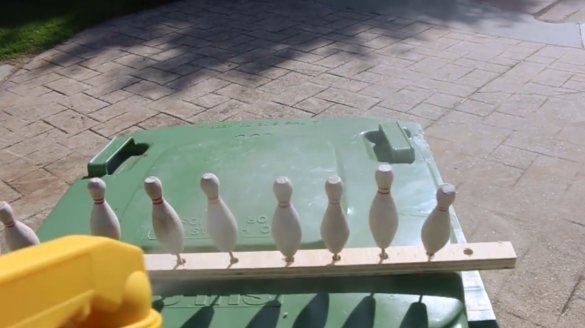
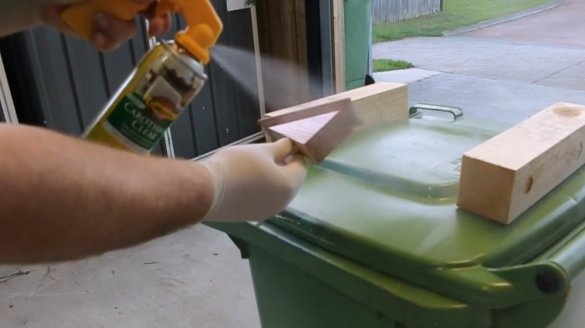
Then he rubs acrylic whitewash into the surface of the figure, and covers it with aerosol varnish in two layers.
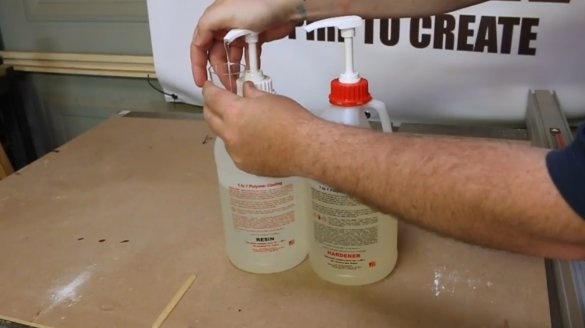
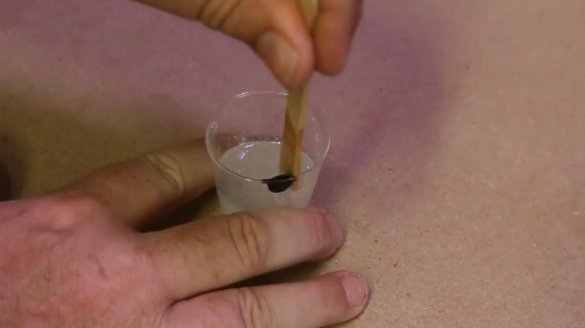
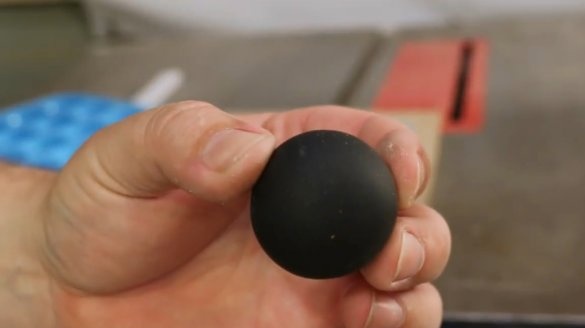
Mixes components of epoxy resin, adds black dye.
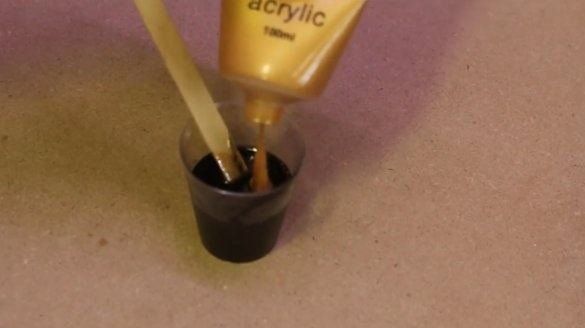
To add shine, you can add a little acrylic golden paint.
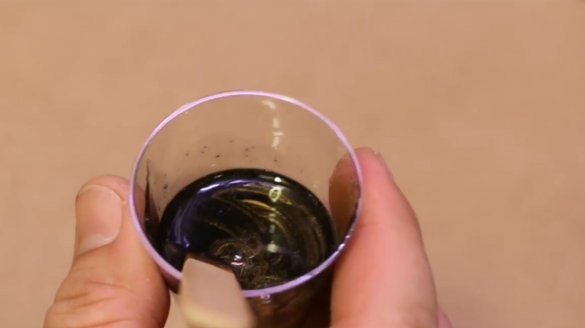
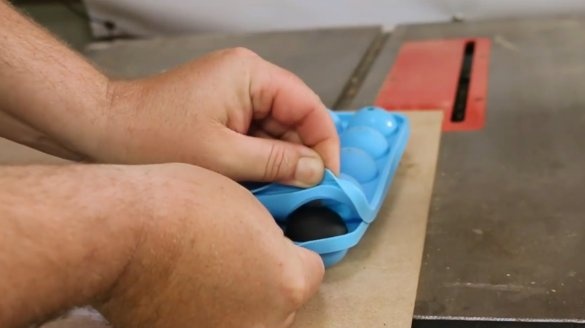
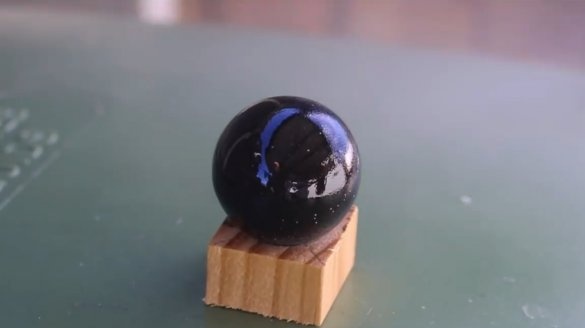
Once again thoroughly mixing the components, the resin is poured into a silicone mold for chocolate balls. It turns out quite high-quality balls for bowling.
Now you can cover with a couple of layers of varnish.
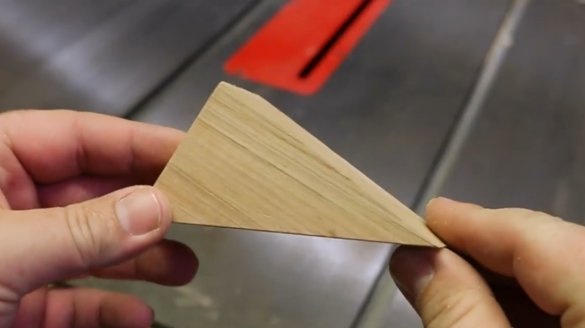
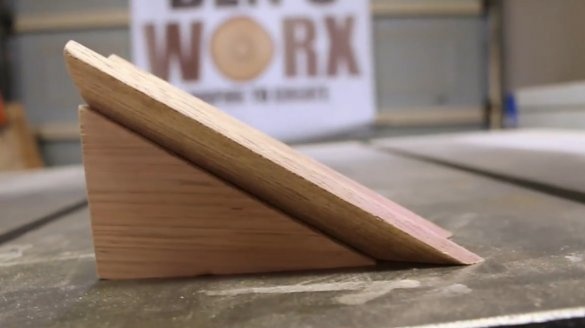
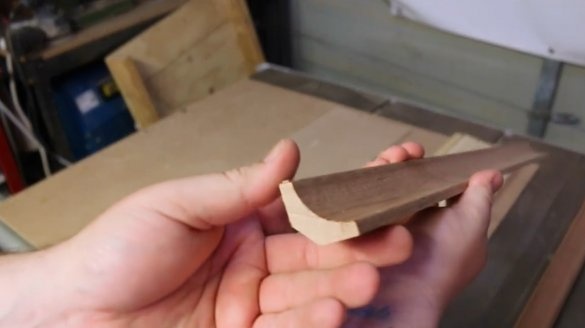
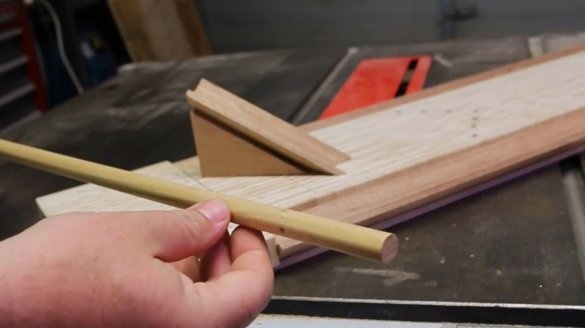
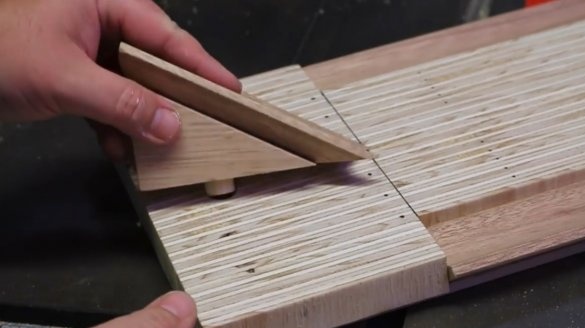
From the trim board and baseboard, the master will do the “launcher”. She will be turning.
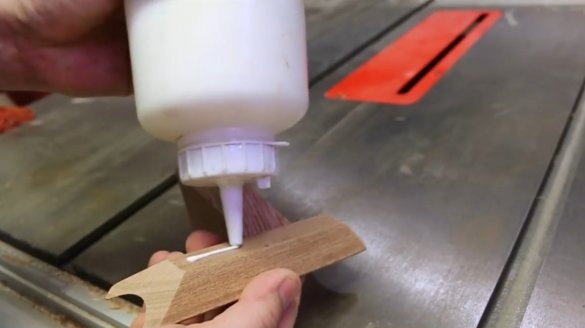
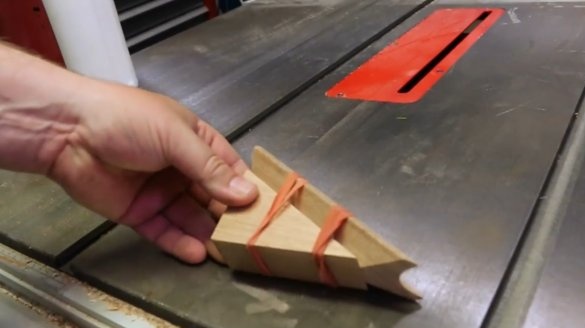
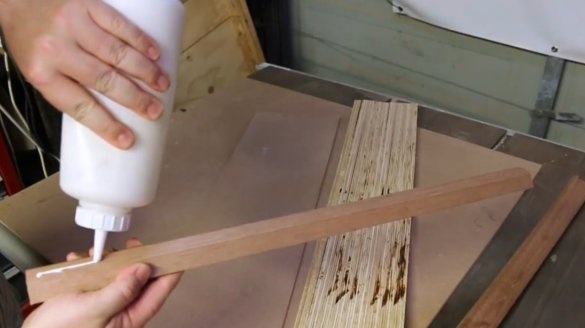
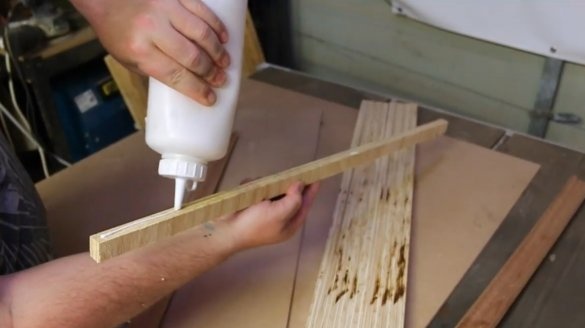
He glues the baseboard to the base, and pulls it together with elastic bands, trying to maintain alignment.
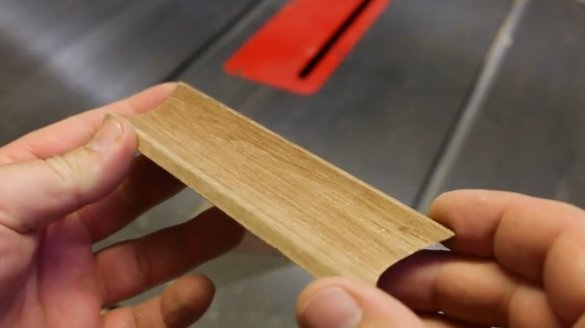
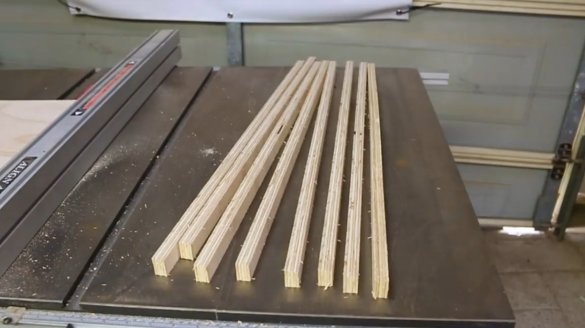
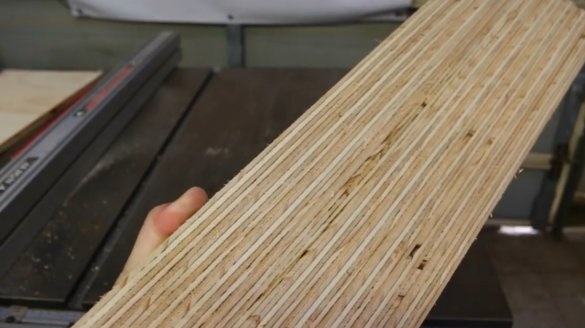
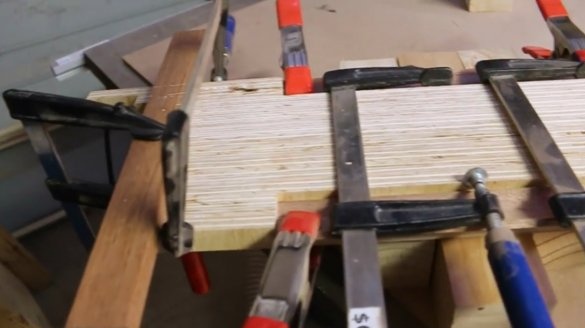
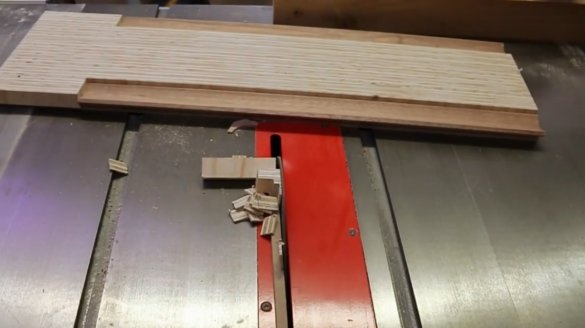
The next step is to make the track itself. To do this, the author cut several strips of thick plywood sheet.
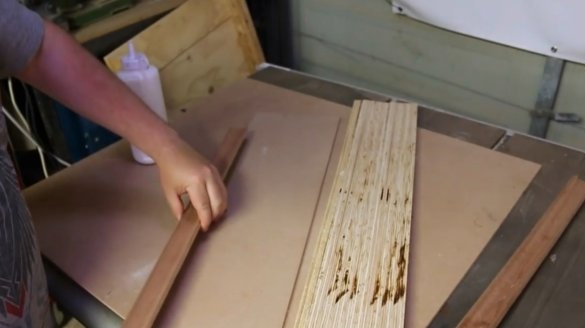
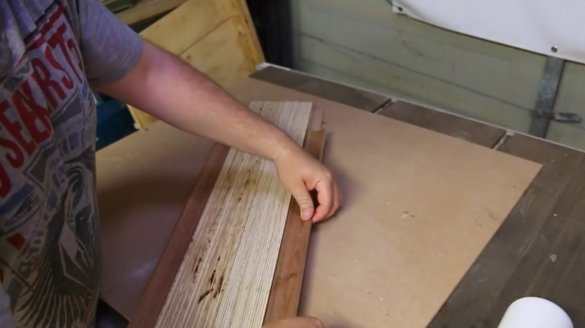
The base will be a piece of fiberboard. The first thing to do is stick the skirting block.
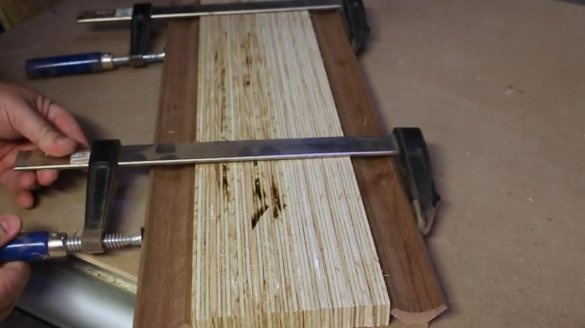
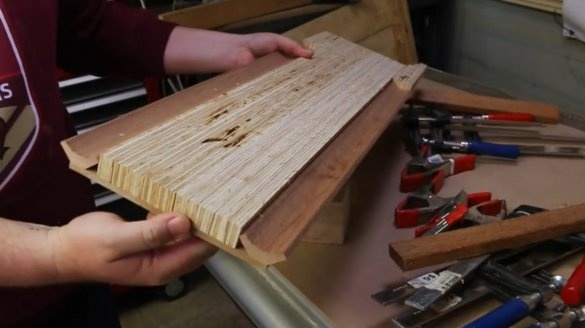
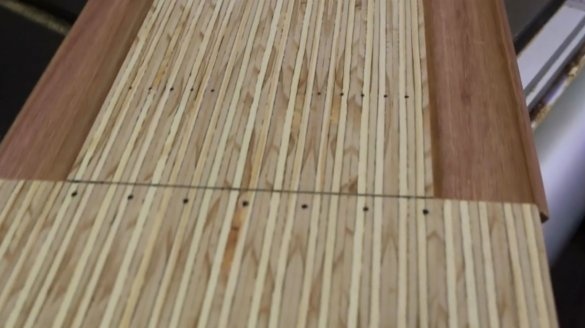
Then the strip assembly is glued together, and the second chipper. Due to this arrangement of plywood strips, the track will look very realistic, like in a real bowling alley. All elements are pulled together by clamps.
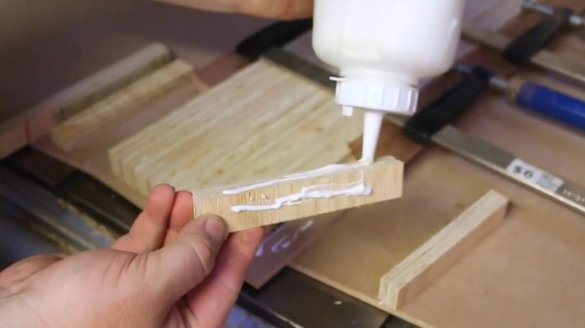
From small scraps of strips of plywood, the author forms a launch pad, the width of the chippers.
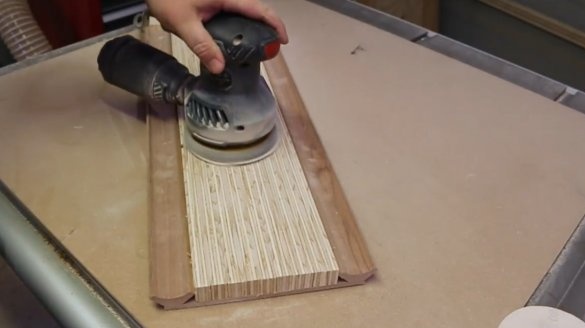
So, the glue has dried, now you need to grind the surface with an orbital machine, be sure to level it.
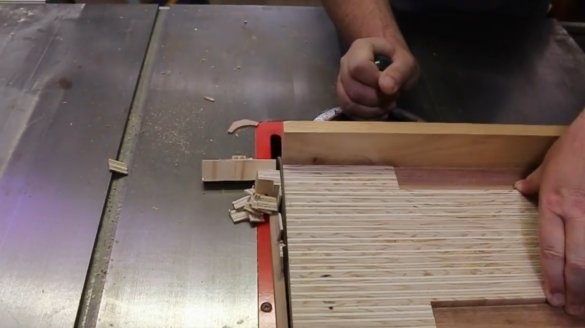
Now, on a circular saw, the author cuts the ends of the board.
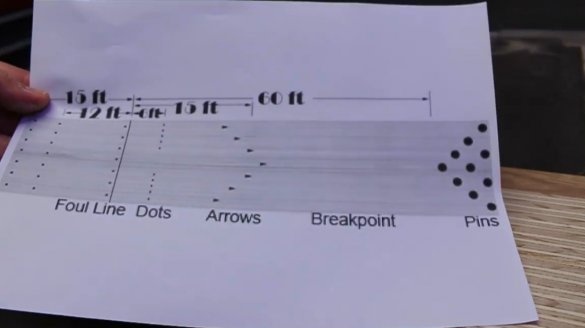
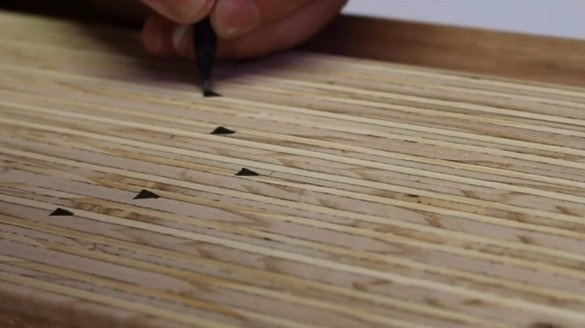
According to the standard marking of the track, it applies the same to the board, observing the scale.
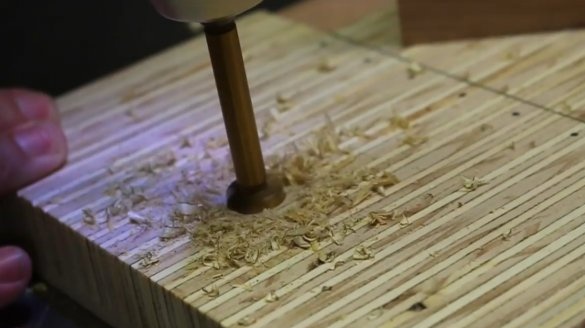
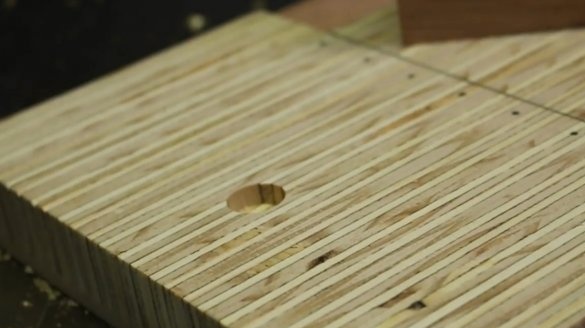
In order to make the launcher rotary, the author will use a wooden round timber. Drills a hole in the board with a Forstner drill.
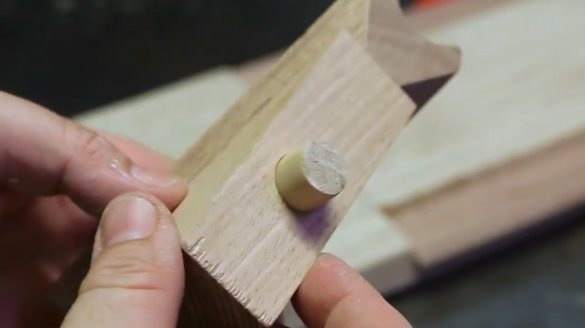
In the same way, makes a hole in the center of the square, and glues a piece of round timber there. Now it can be put in place.
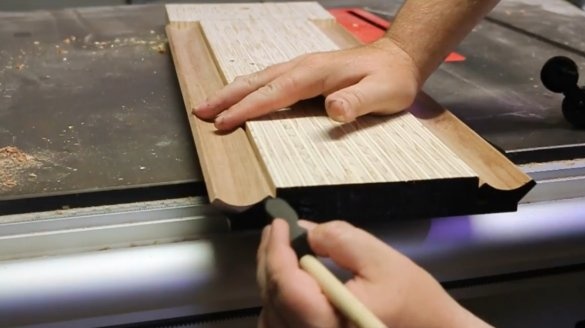
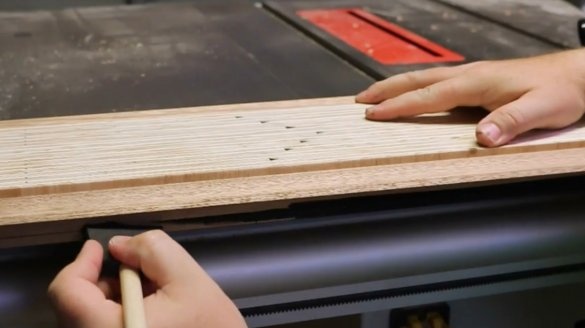
The ends of the game board are covered with black acrylic paint.
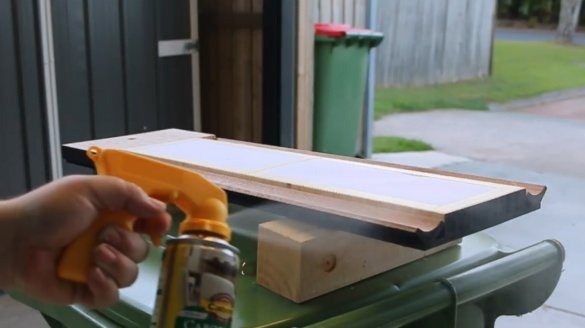
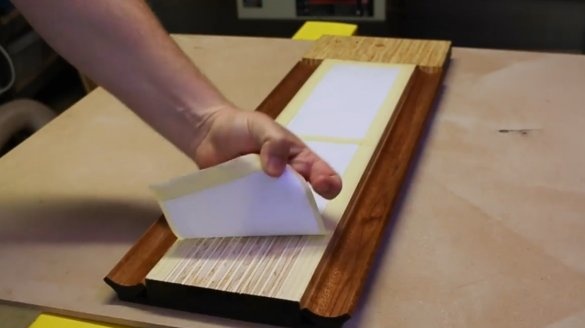
Covers the path with paper and masking tape, and covers all other elements with two layers of varnish.
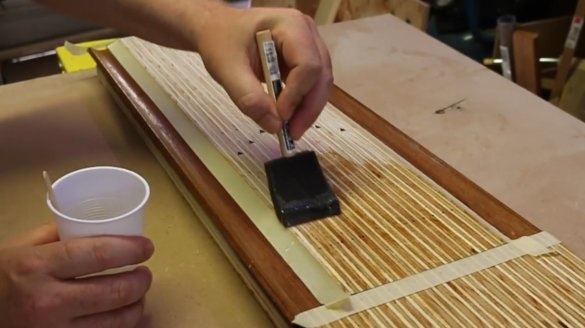
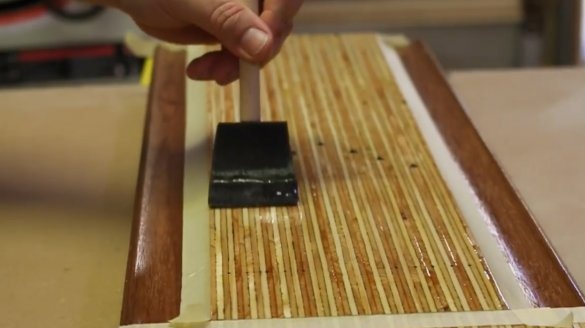
Now he glues the varnished parts of the board with masking tape, and puts a layer of epoxy on the track.
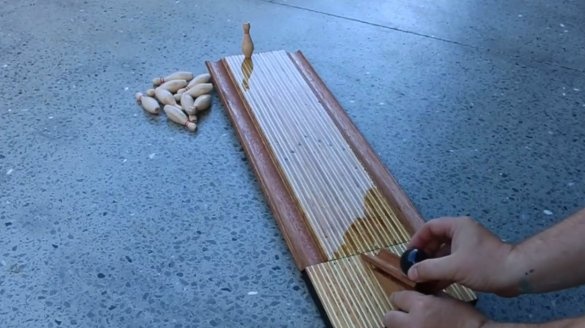
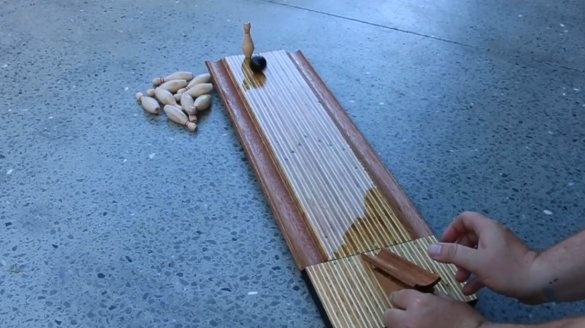
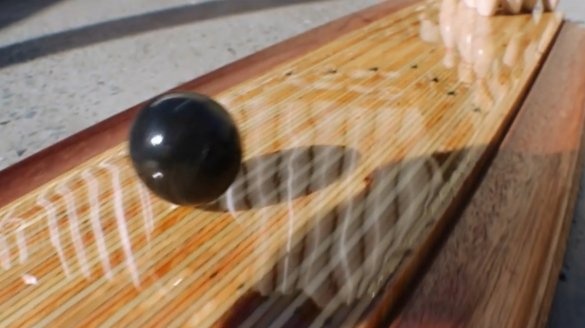
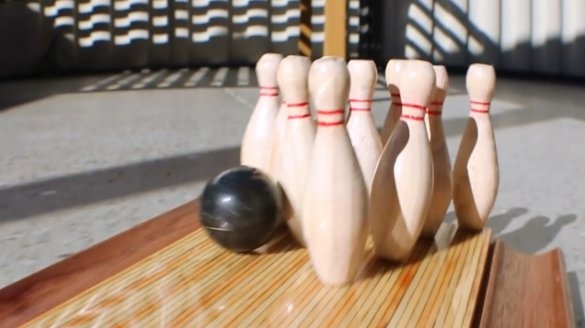
That's all, the game is ready, and the track itself shines like a real one! Now you need to turn the launcher to bring down all the pins. By the usual rules, you have only two attempts.
Thanks to Ben for the interesting board game for the kids! If desired, the track can be made longer, and the balls taken smaller.
All good mood, good luck, and interesting ideas!

