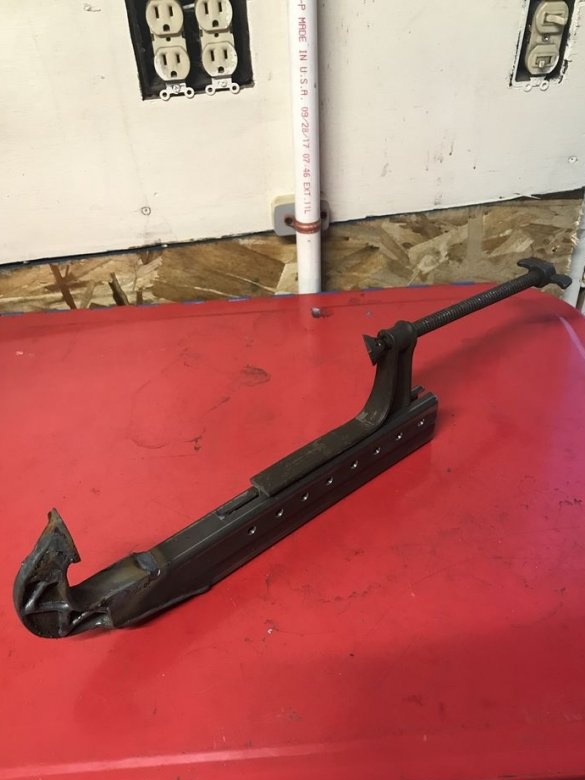
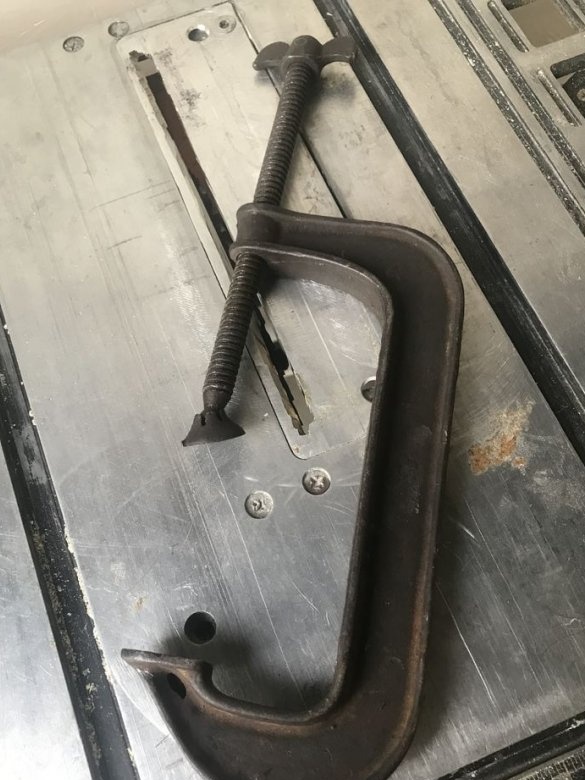
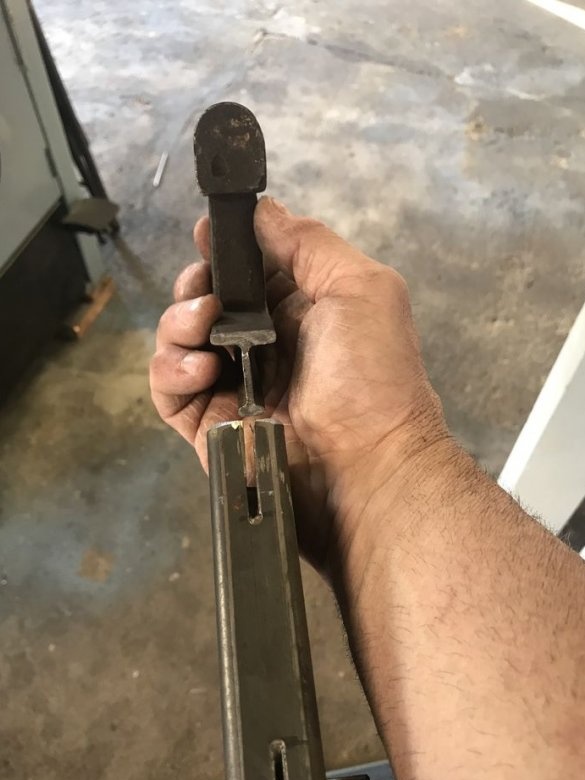
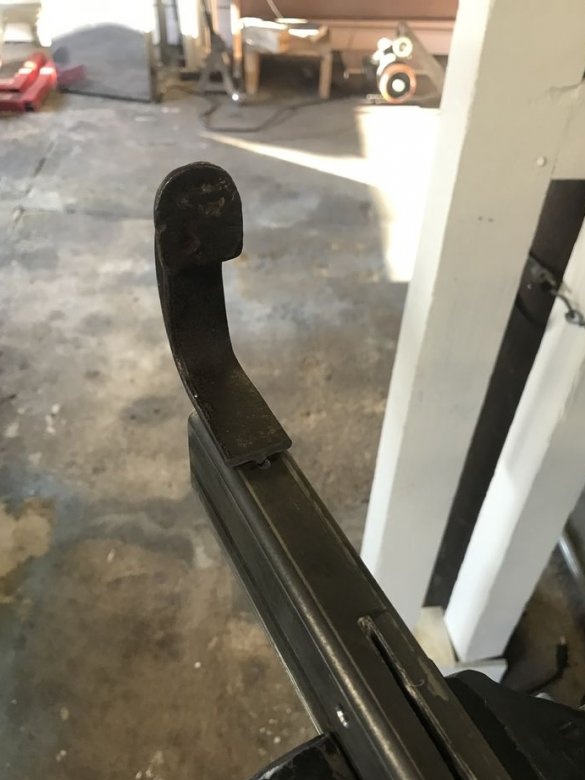
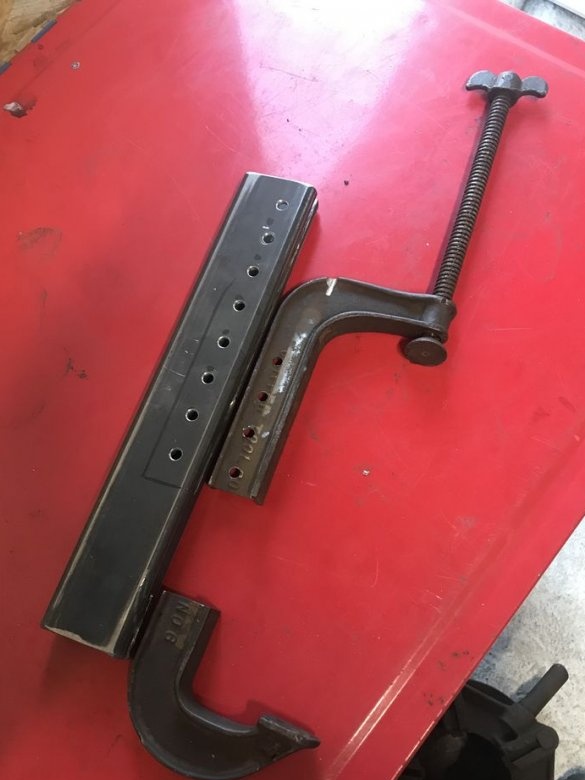
The master found this clamp in a pile of scrap metal. The clamp was malfunctioning, bent and the master decided to remake it.
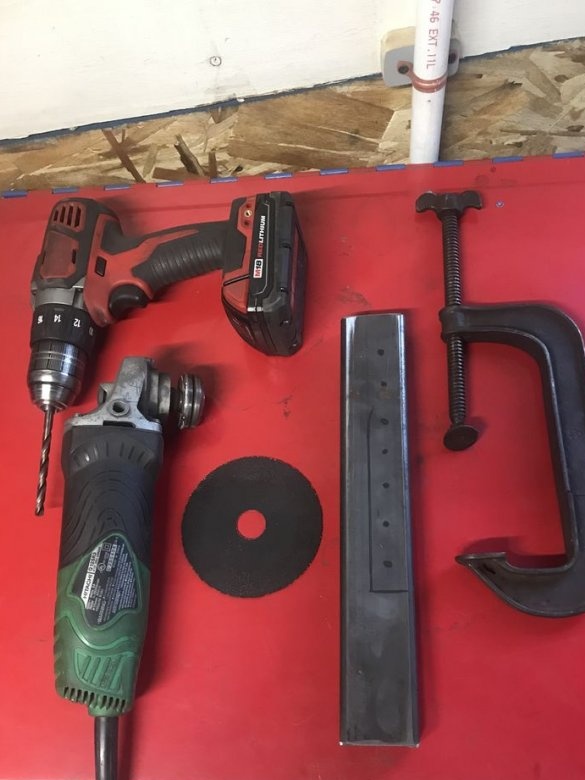
Tools and materials:
-Clamp;
-Profile;
-Bolts with nuts;
-Drill;
-Drill;
-USHM;
-Welding machine (optional);
-Drilling machine;
Step One: Cutting
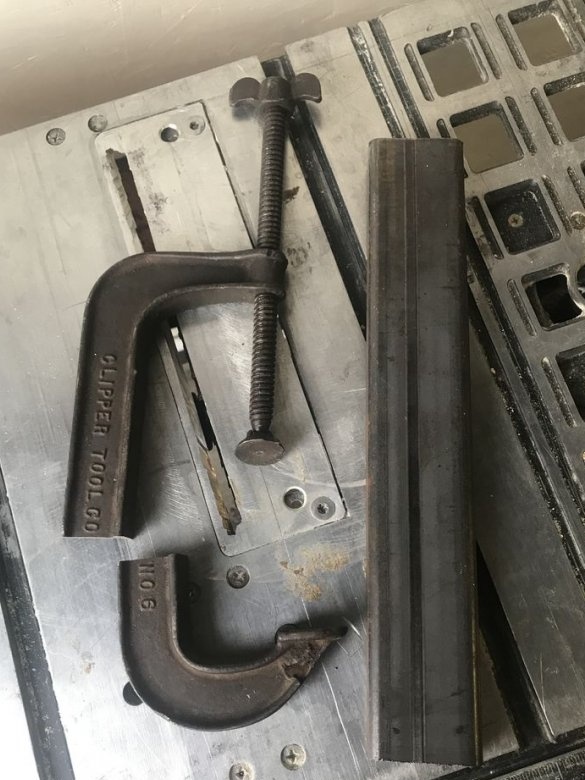
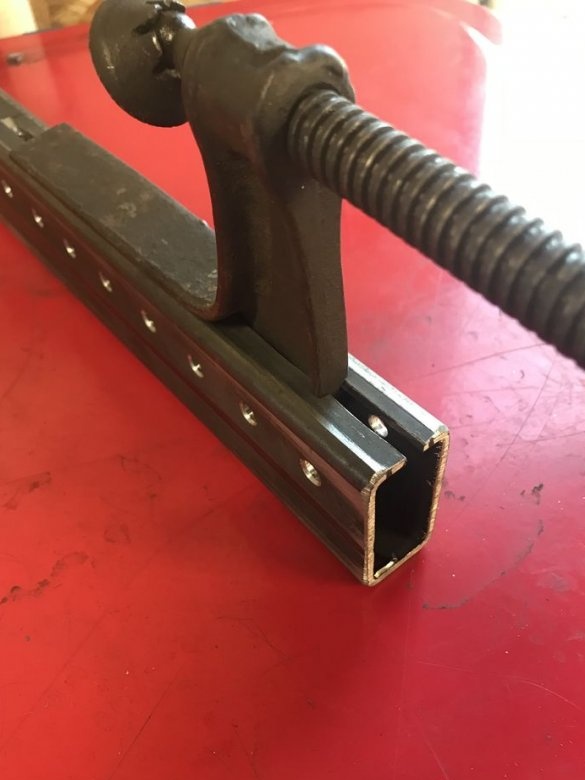
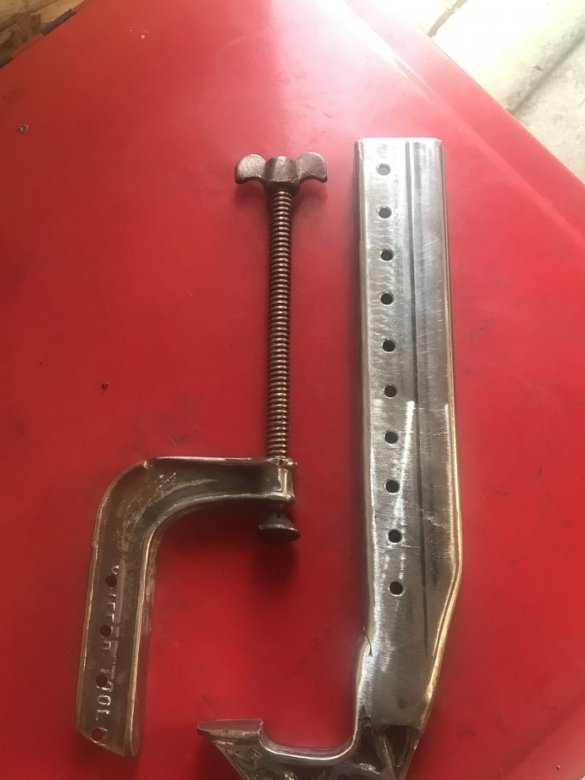
The first step is to cut the clamp into two parts. Then cut the profile pipe. The length of the clamp depends on the length of the pipe. The pipe is rectangular thick-walled. The cut part of the clamp should pass into the pipe target.
Step Two: Longitudinal Cut
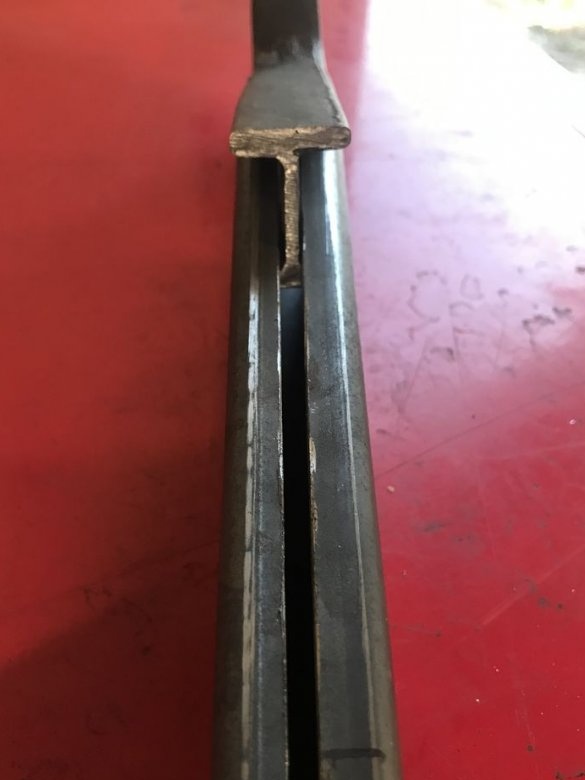
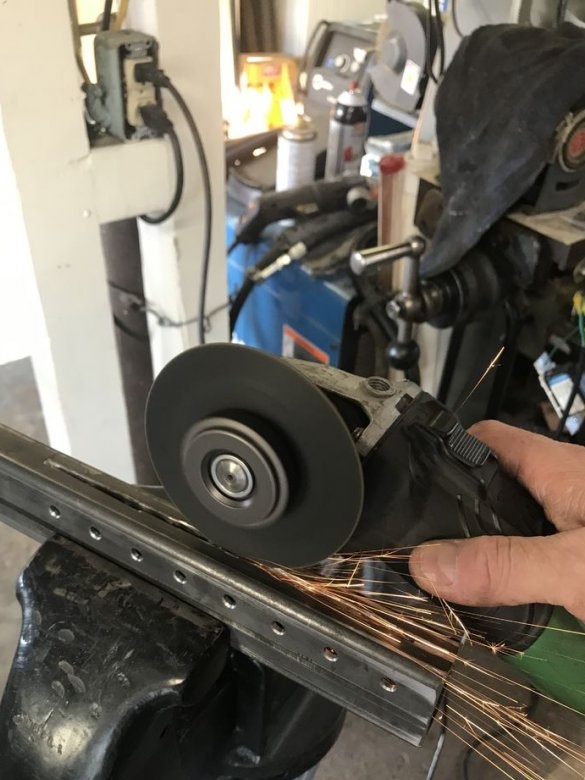
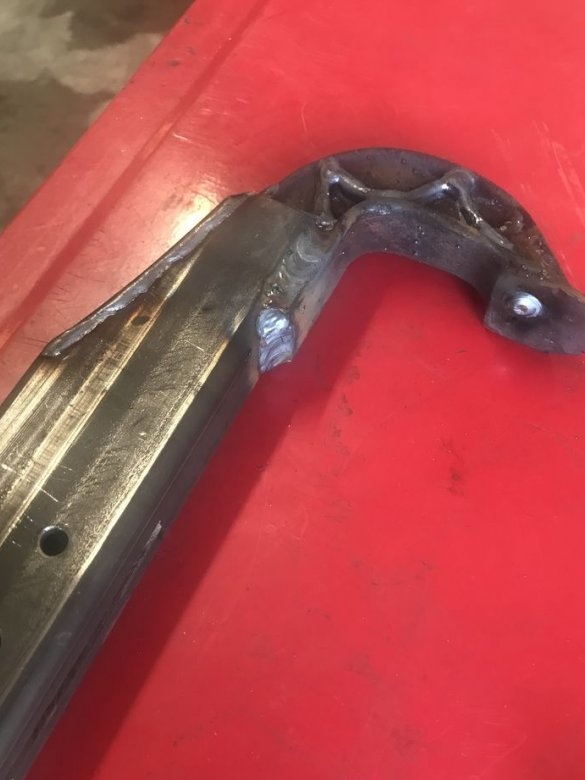
Now you need to make two slots along the center line of one pipe shelf. One cut is short, the fixed part of the clamp will be installed and fixed in it. A second cut from the other end of the pipe and approximately 2/3 of the length. Installs parts of the clamp in the slot. The moving part should move freely in the slot.
Part Three: Drilling
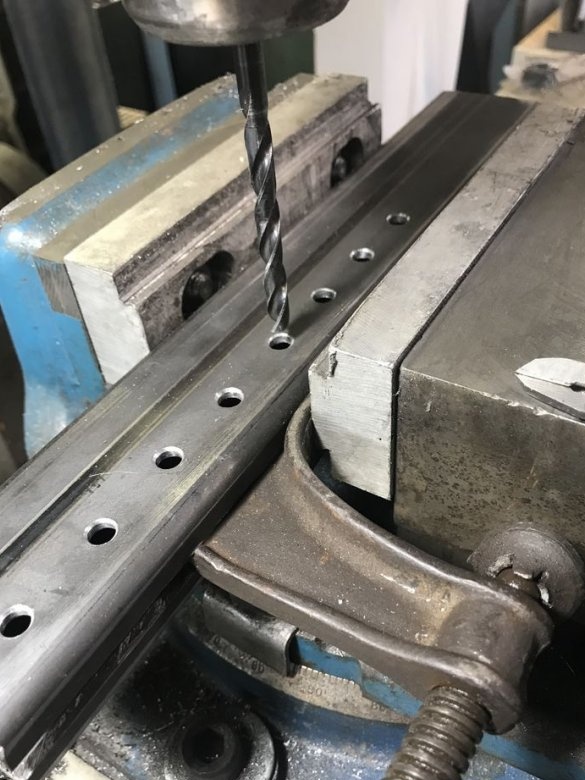
Now you need to drill holes in the pipe and the movable part of the clamp. A bolt will be installed in the hole to fix the moving part.
Step Four: The Fixed Part
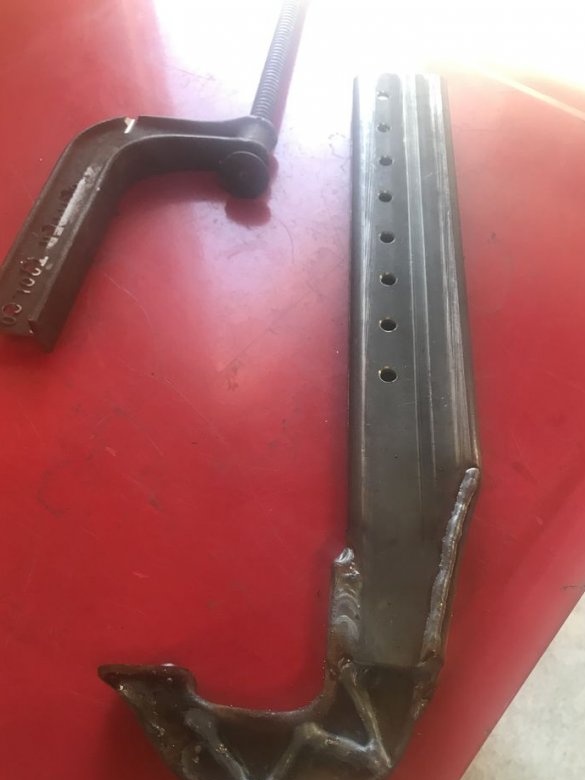
The fixed part can be fixed in two ways, using bolts, and using welding.
Step Five: Painting
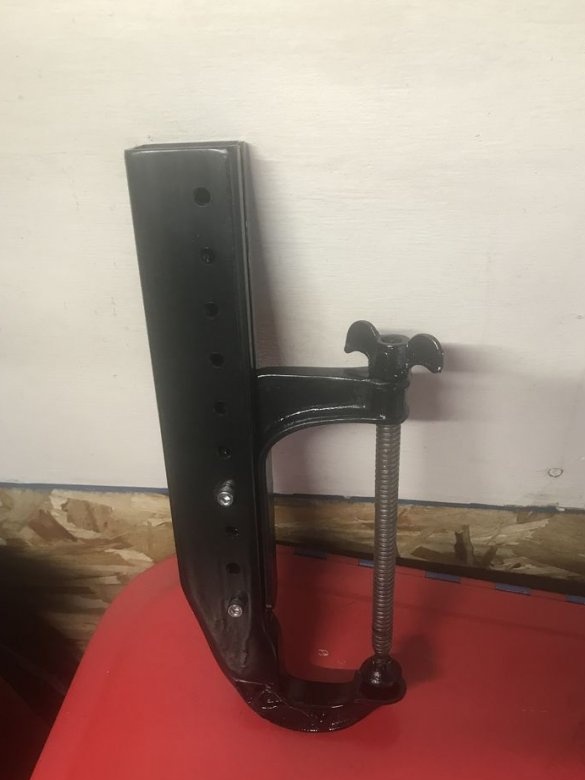
Grinds parts of the clamp. It colors.
The clamp is ready. Clamp working range from 0 to 37 cm.

