
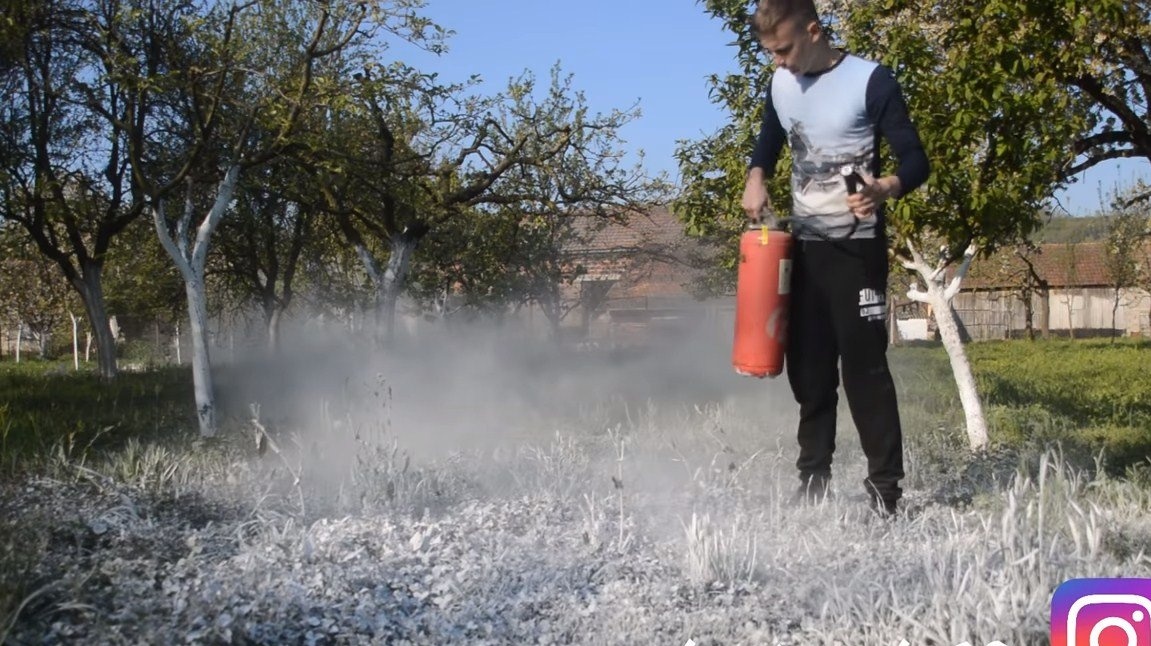
Hello fans to craft, in this instruction we will look at how to make a budget aluminum melting furnace. With such a furnace, various aluminum products can be cast, including parts for homemade. As for the source material, it can be free, for such purposes, you can melt the cans from under the drinks, at the same time cleaning the environment.
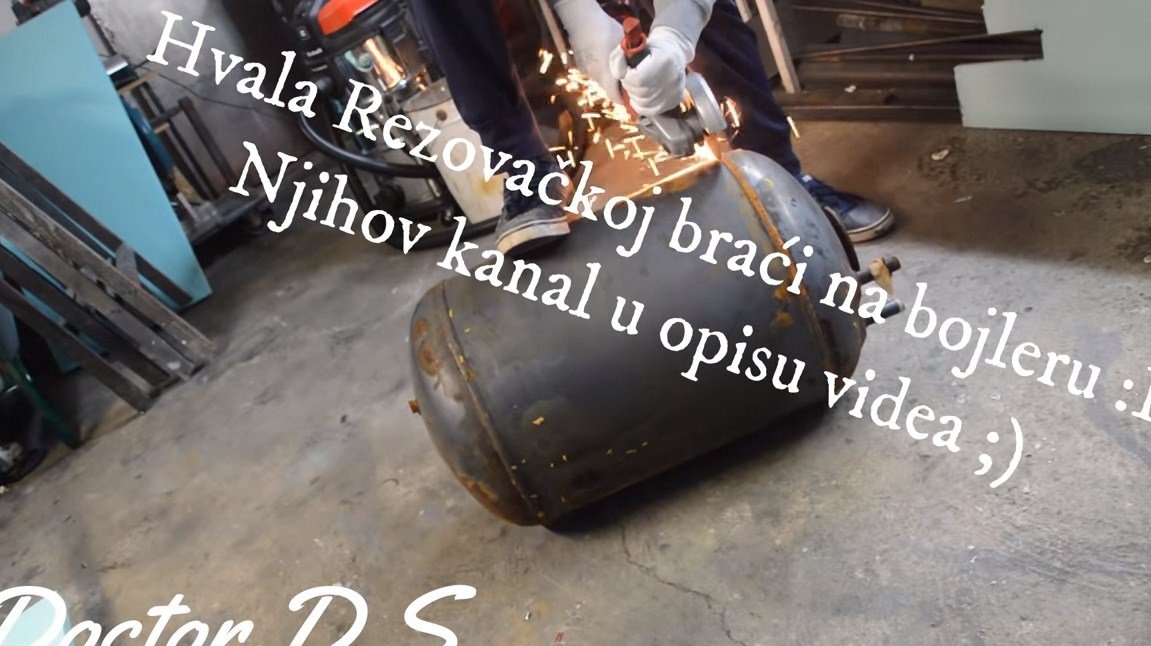
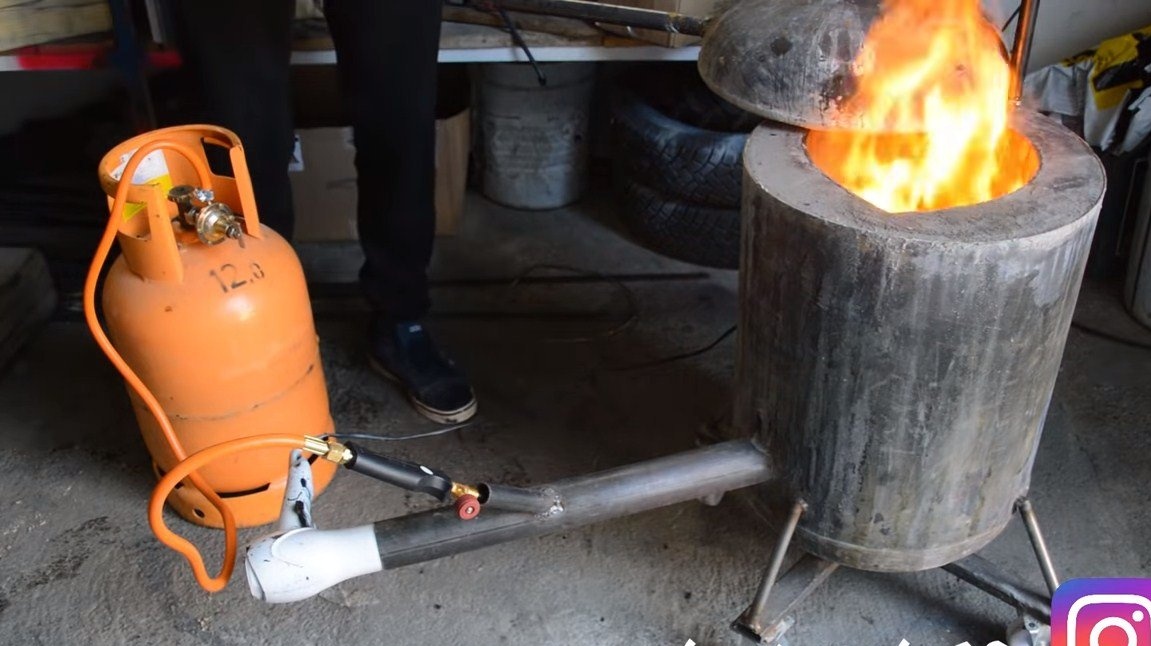
The furnace is assembled on the basis of the body from a fire extinguisher, a gas cylinder is also suitable, but you need to work with it carefully. The furnace is heated by a gas burner, and a household hair dryer is used to obtain the desired temperature. If you are interested in homemade work, I propose to study the project in more detail!
Materials and tools used by the author:
Material List:
- housing from a fire extinguisher or gas bottle;
- a small fire extinguisher (for a crucible);
- bolts and nuts;
- profile pipes;
- castors for trolleys;
- round pipes;
- heat resistant paint;
- refractory cement (or other insulator);
- sheet stainless steel;
- household hair dryer;
- gas cylinder and gas burner;
- roundabout.
Tool List:
- ;
- with crowns;
- ;
- Miter saw;
- tape measure, marker.
Furnace manufacturing process:
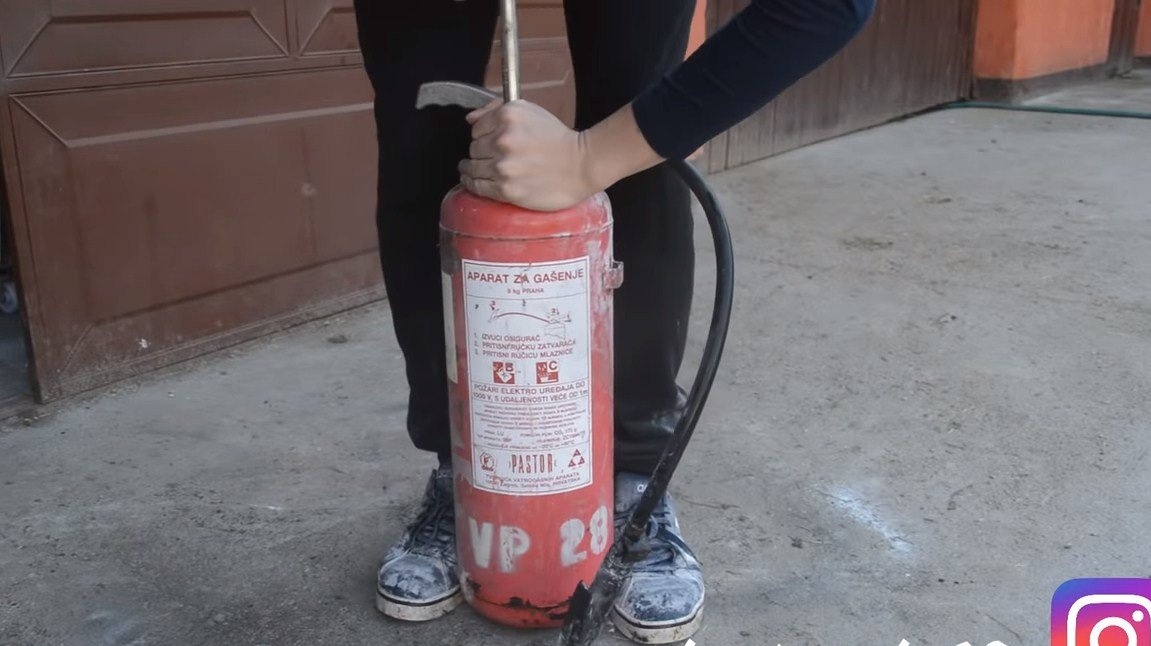
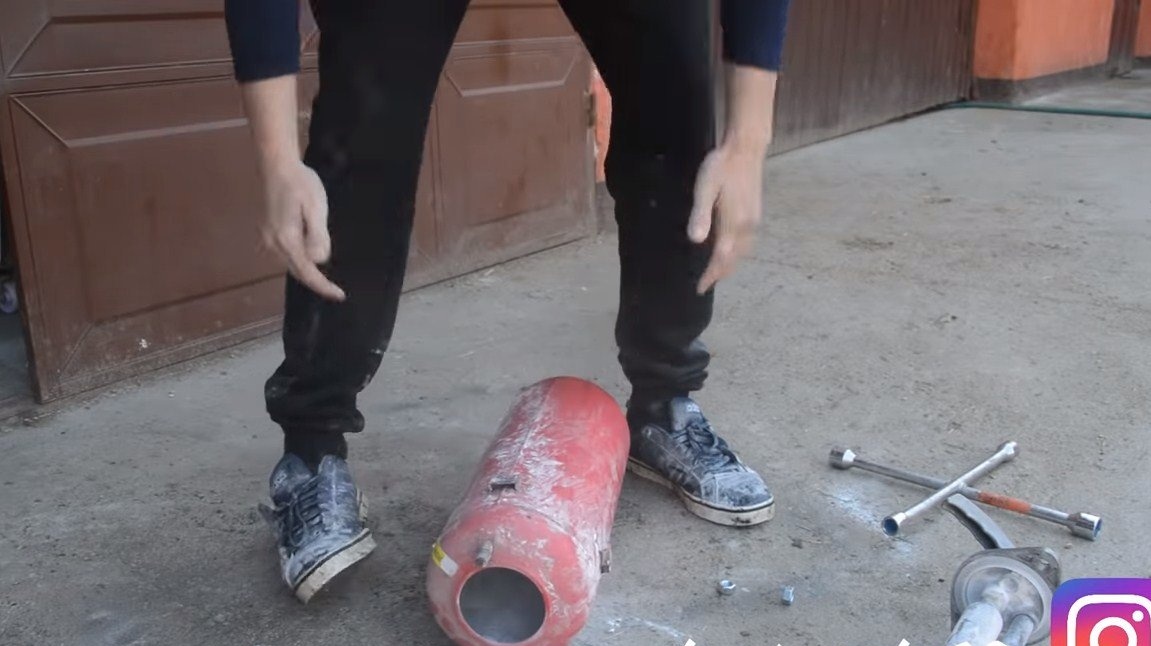
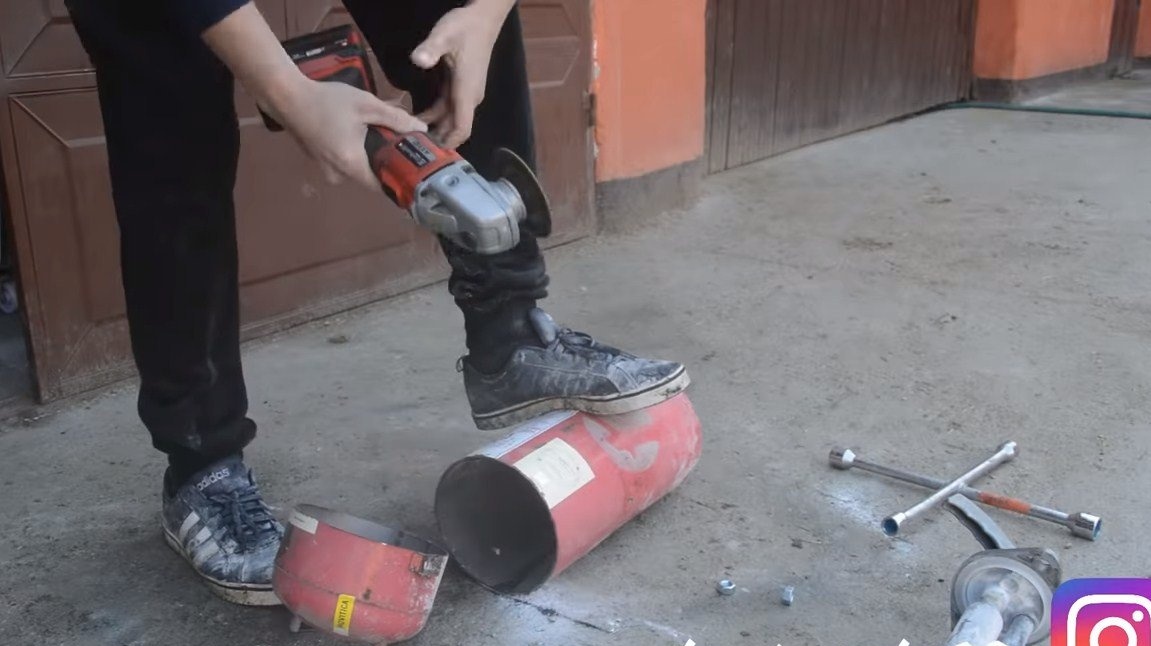
Step one. Base assembly
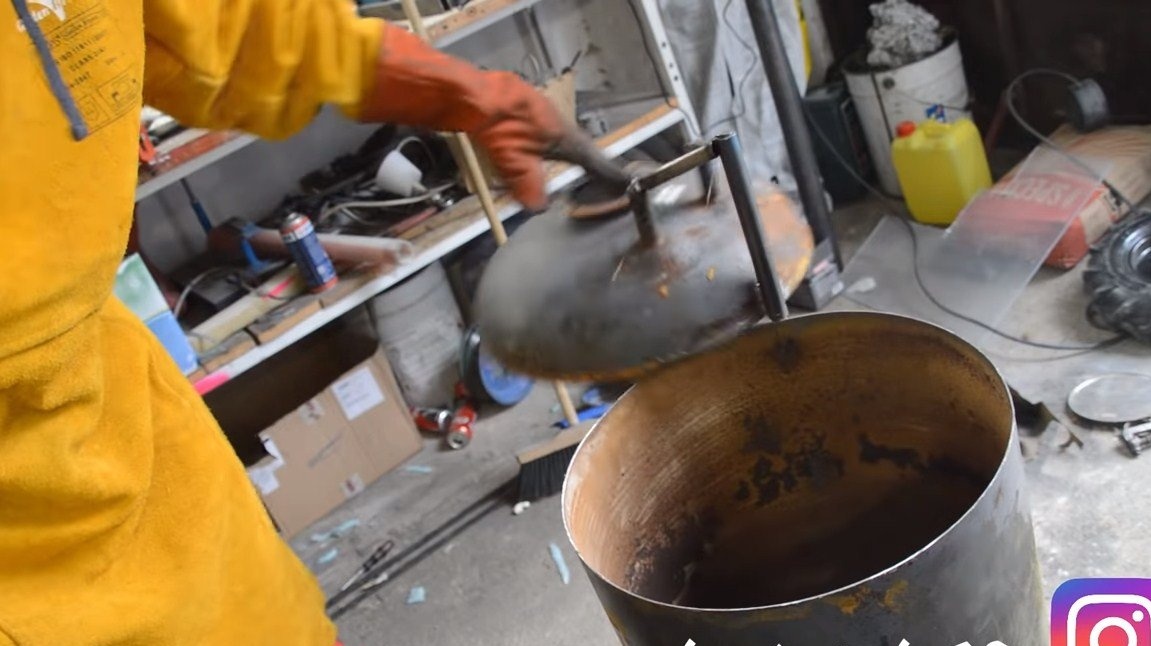
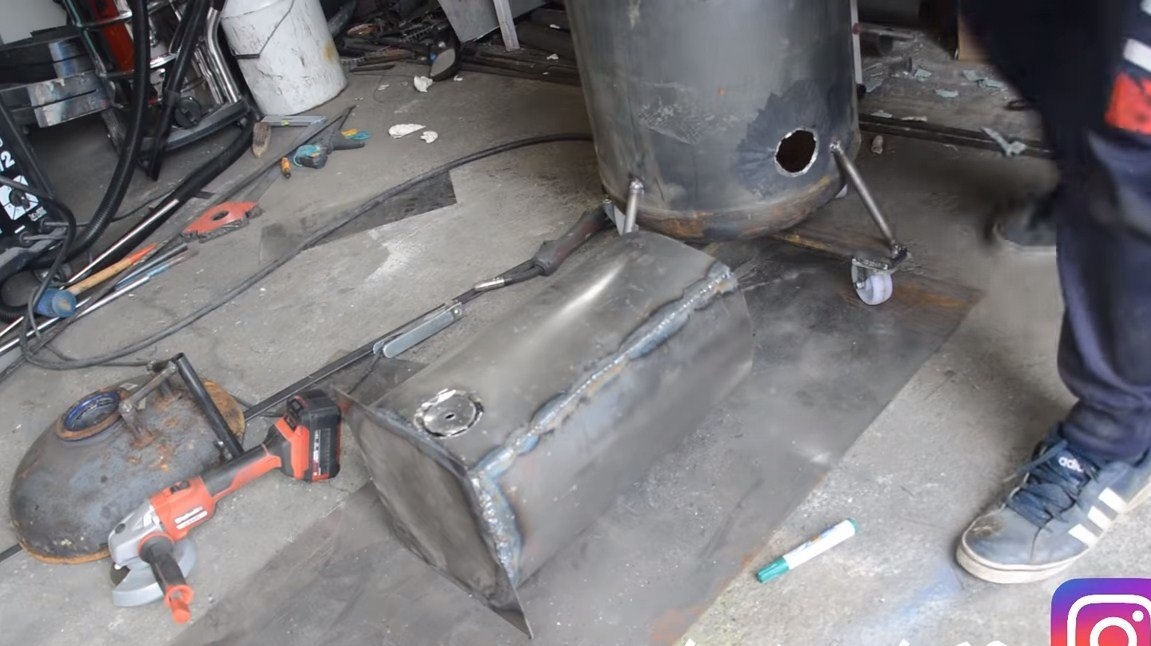
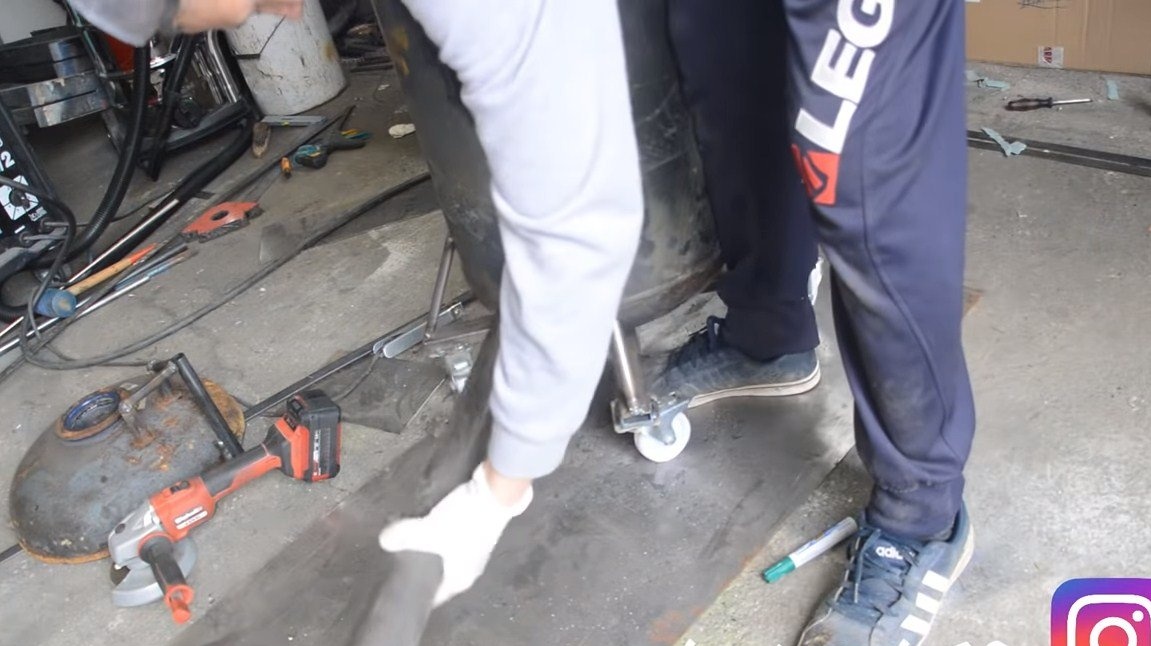
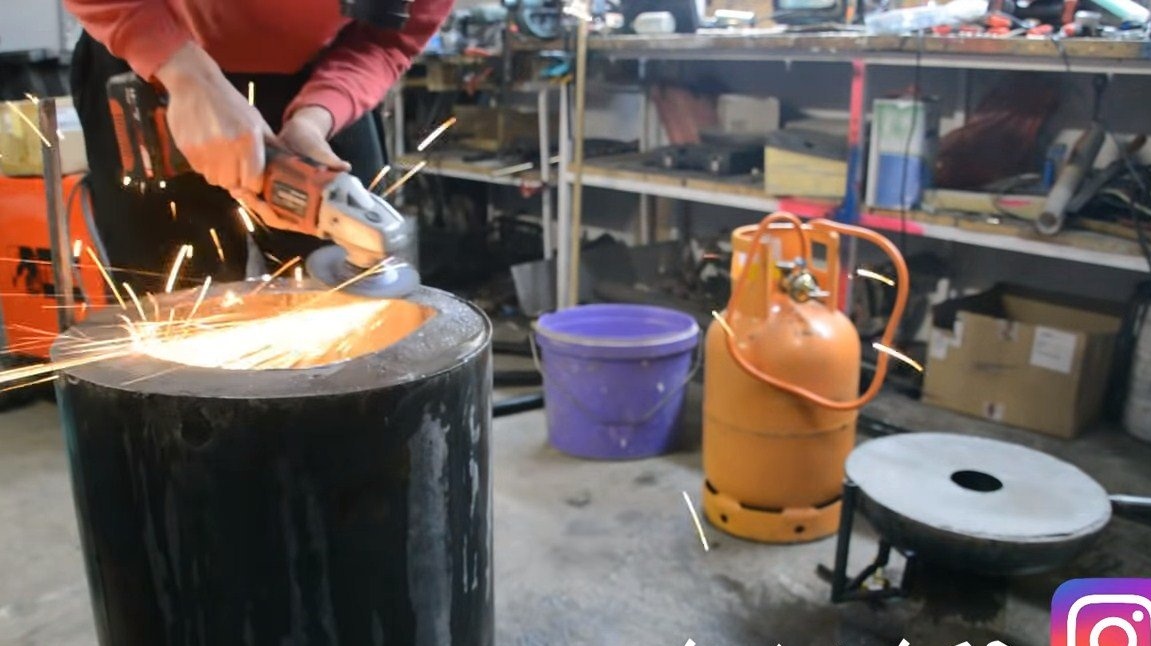
We assemble the basis for the furnace, for the body we need a fire extinguisher or a similar tank. If you will use a gas cylinder, do not forget to wash it inside or take other measures to make cutting safe. We cut off the neck of the fire extinguisher, this part will then be the lid for our stove.


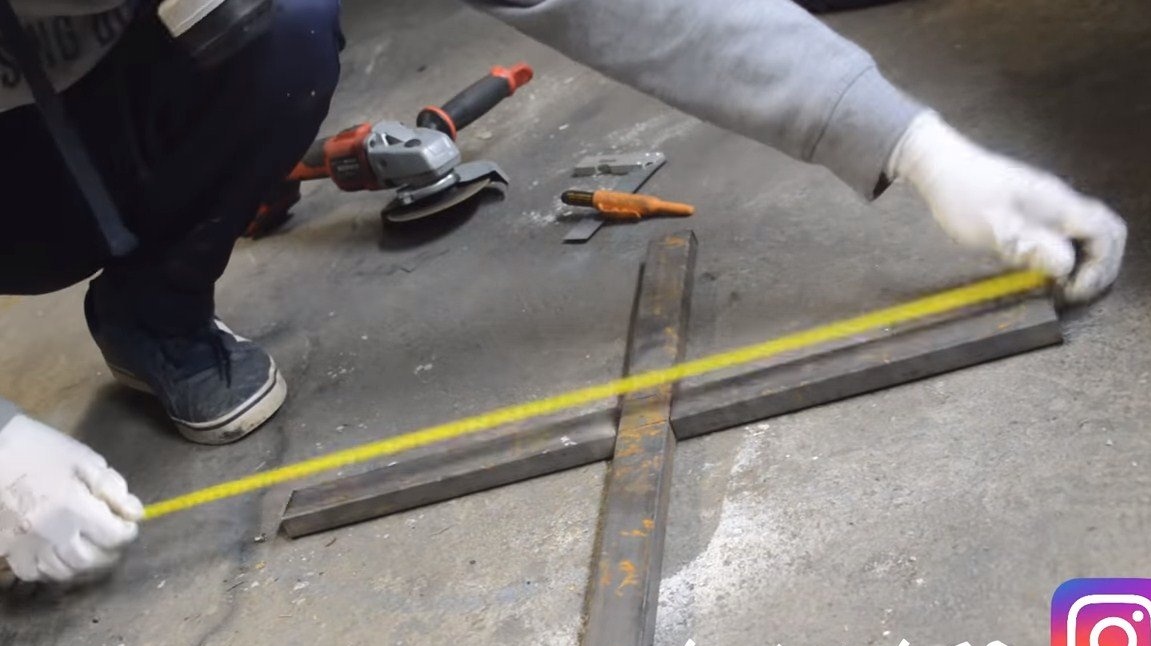
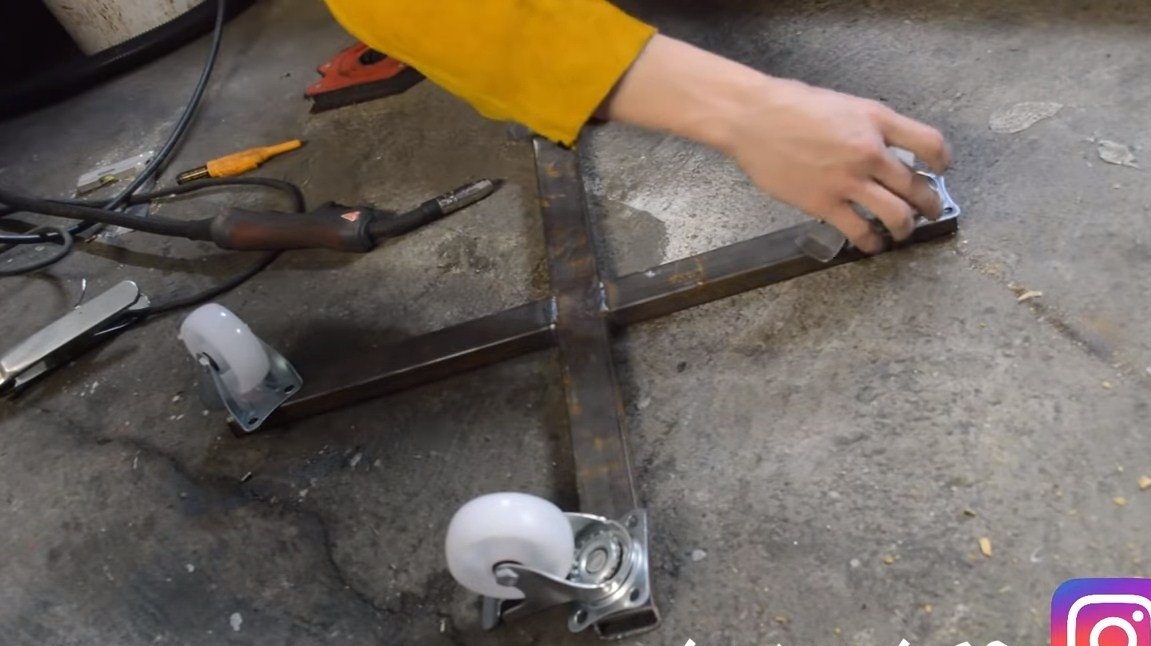
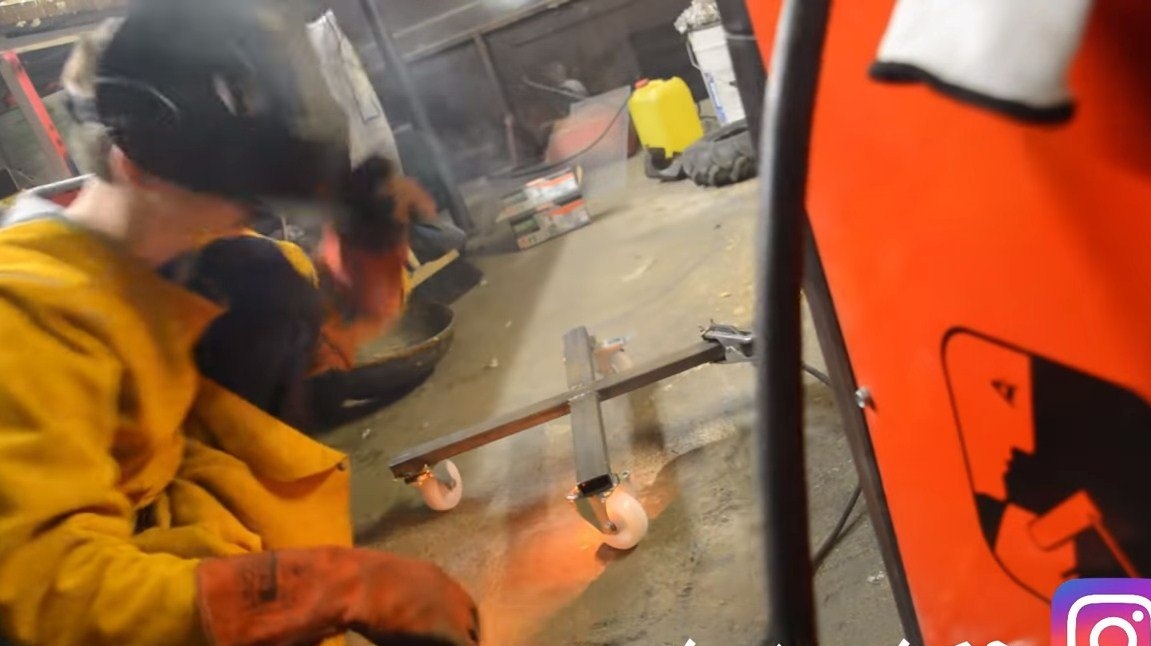


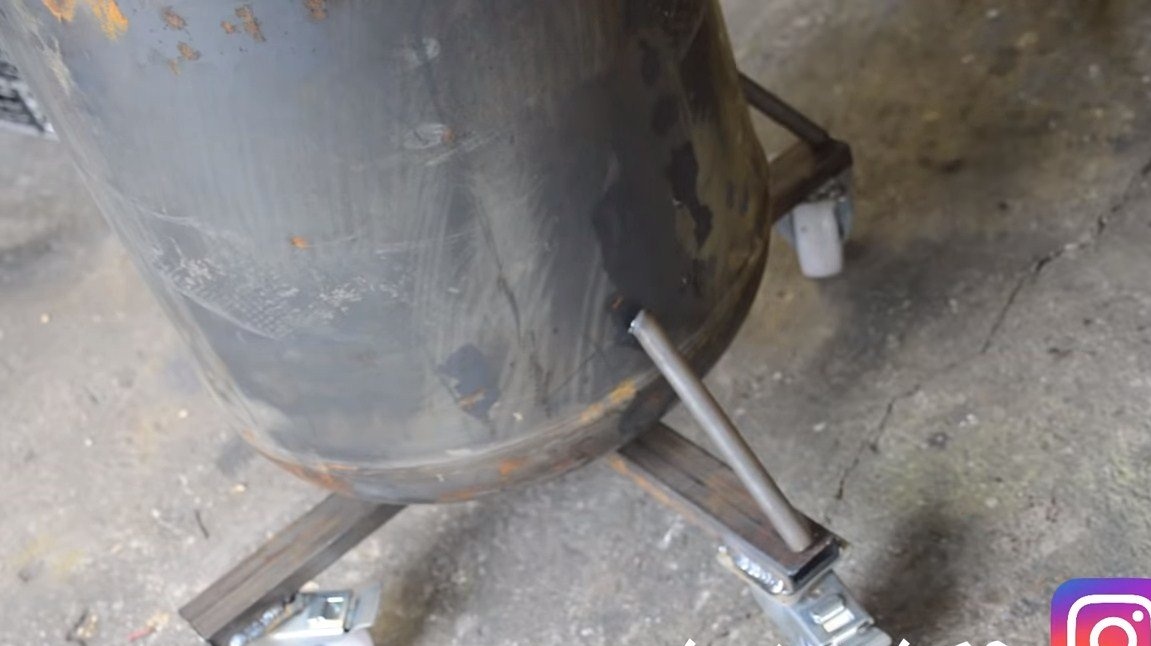
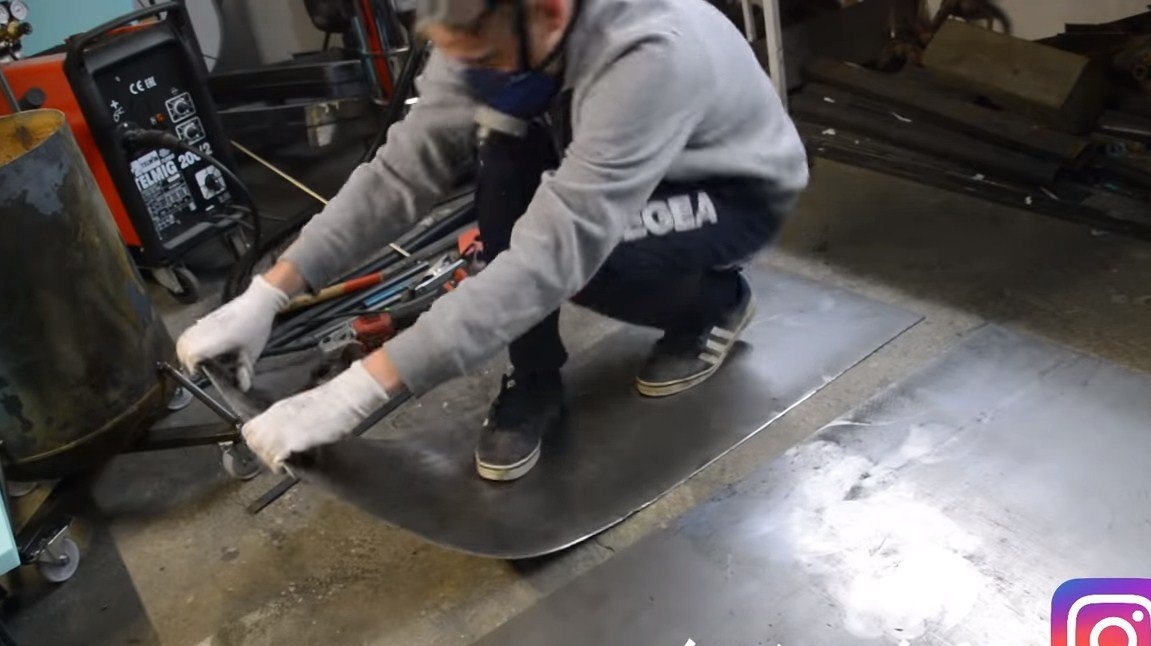
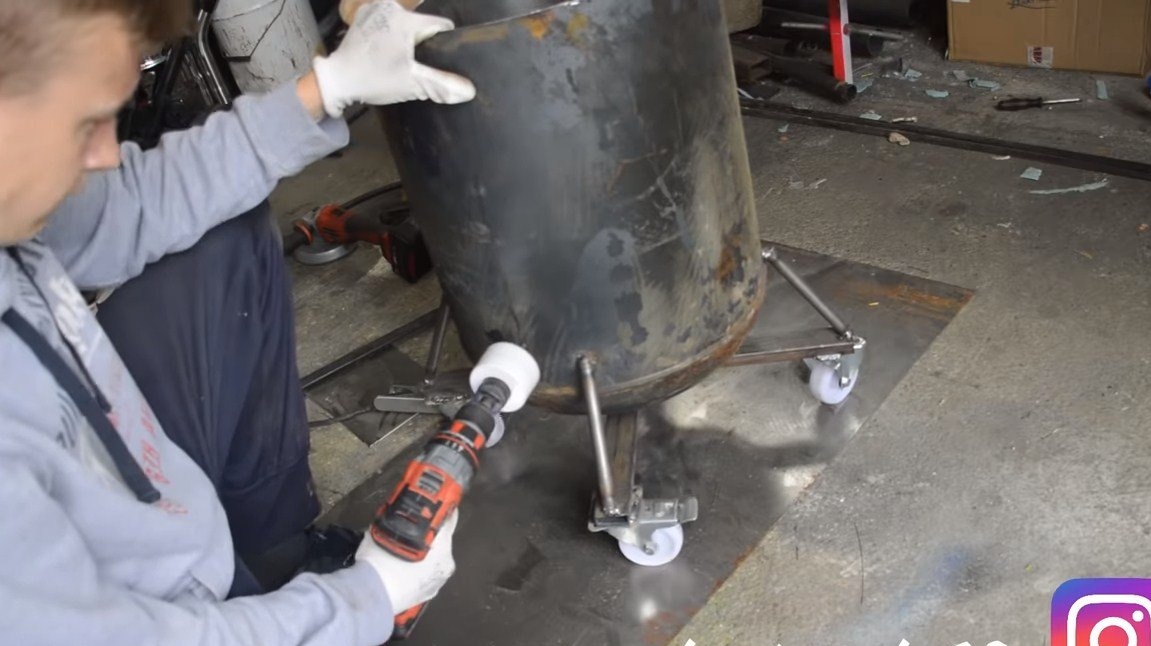
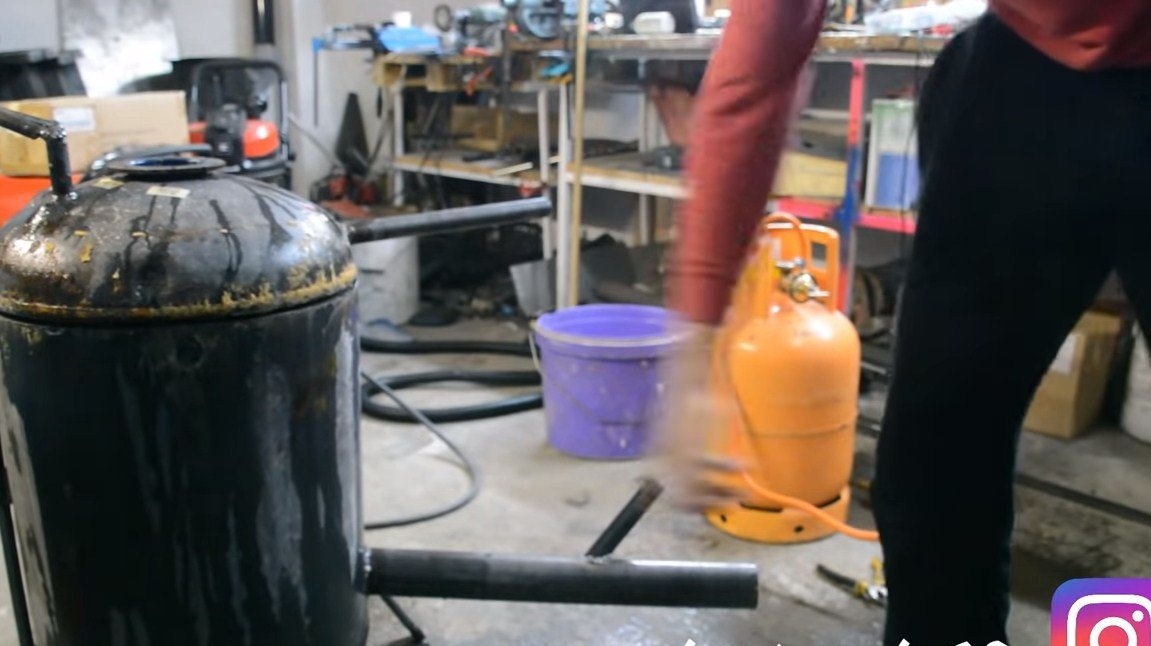
Next, for the body, we will make the basis on which the furnace will stand. We weld a cross from profile pipes, and for convenient movement of a heavy furnace, the author installed wheels from a cart on a cross. We weld the cross to the furnace body and additionally strengthen the structure with round posts.
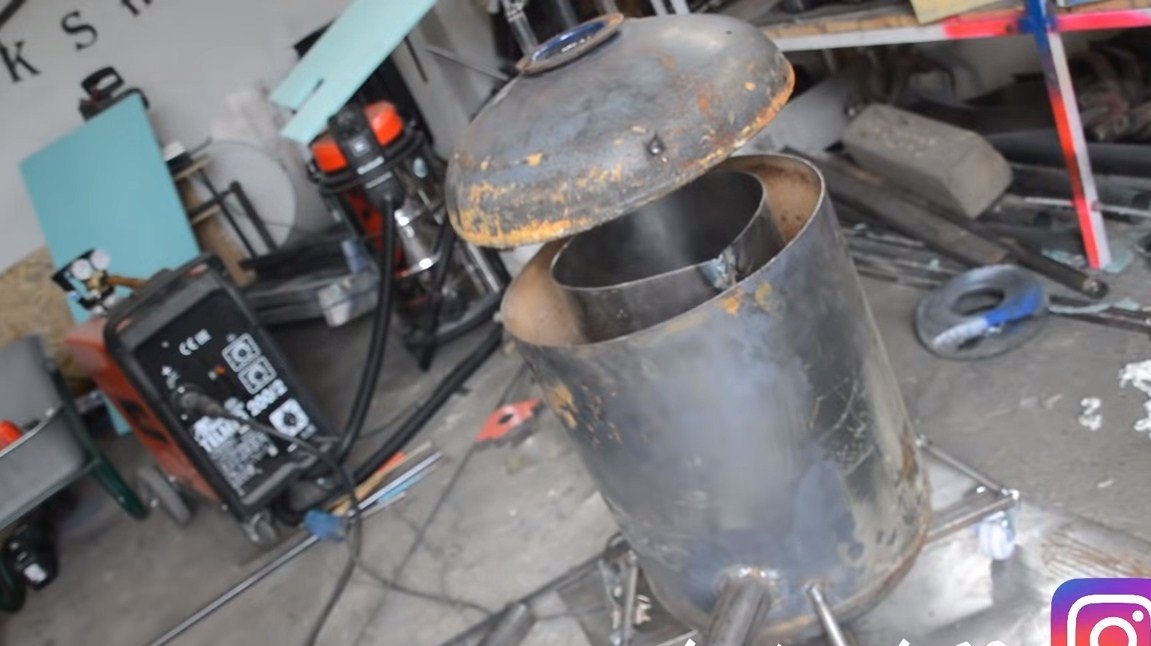
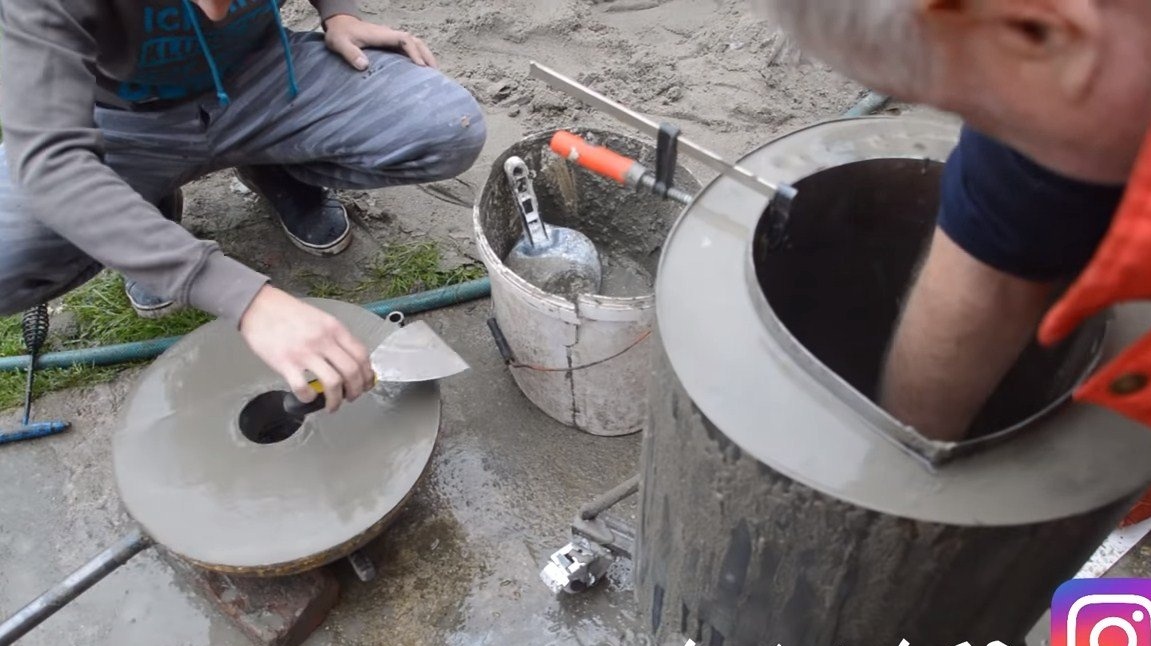
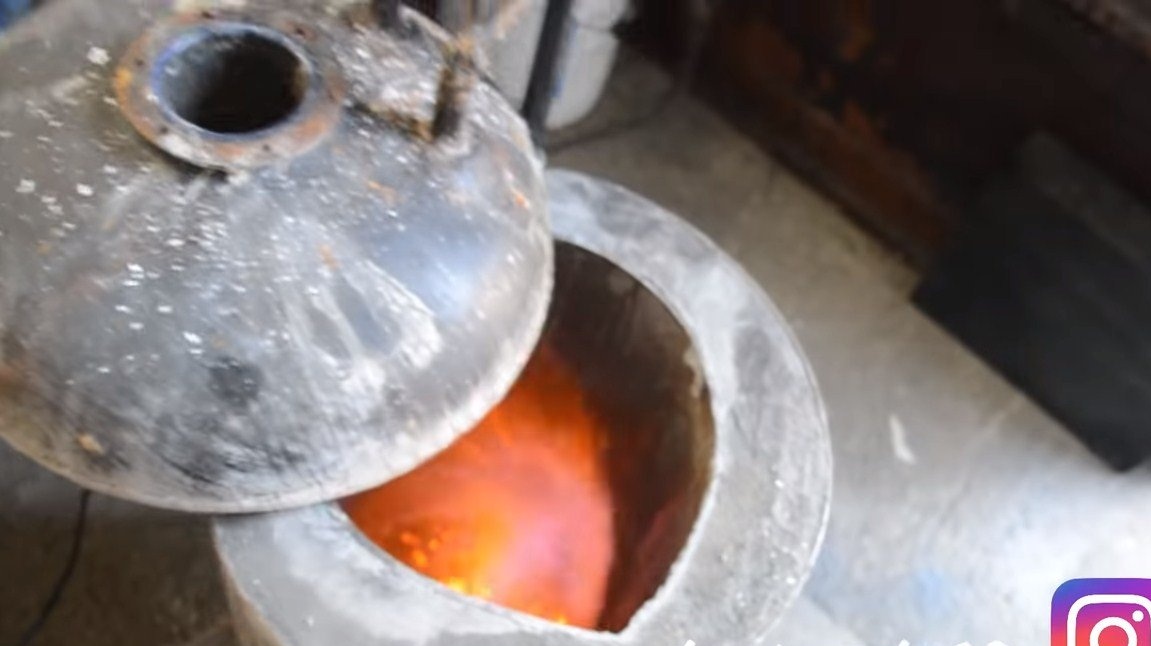
Step Two Cap
We make a cover for the furnace, the neck from the fire extinguisher acts as it. Cement will be poured into the lid, so that it will be quite heavy and needs a reliable hinge.The author vertically welded a round timber to the furnace, which acts as an axis, and a piece of pipe is welded to the lid. As a result, the lid with a flick of the wrist opens to one side.
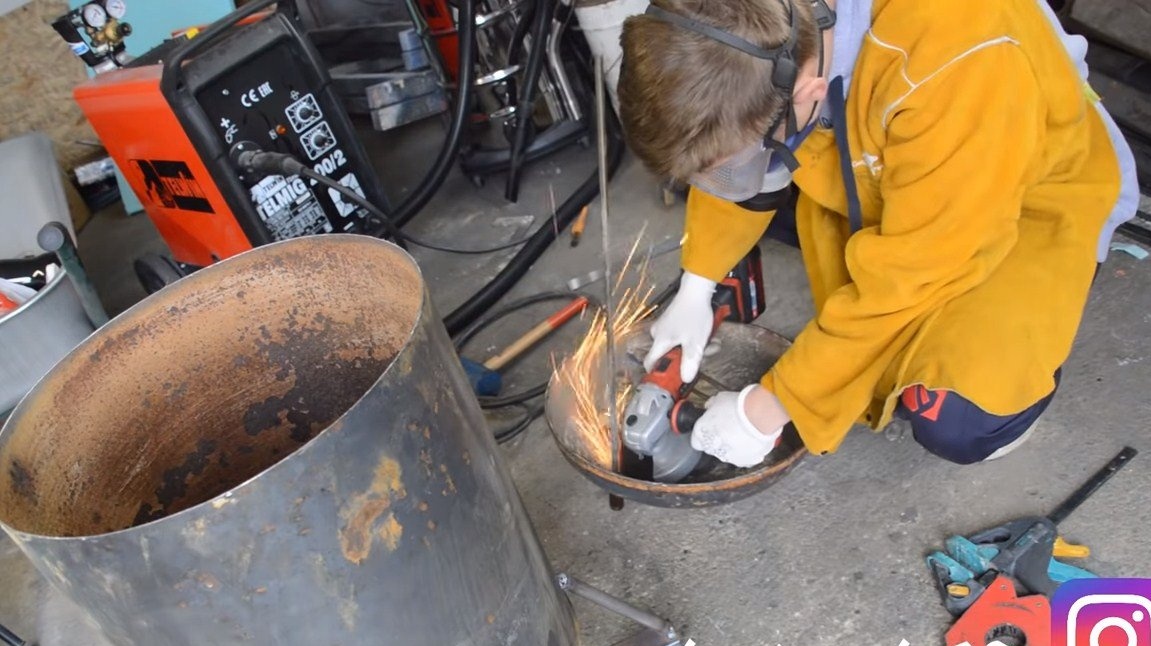
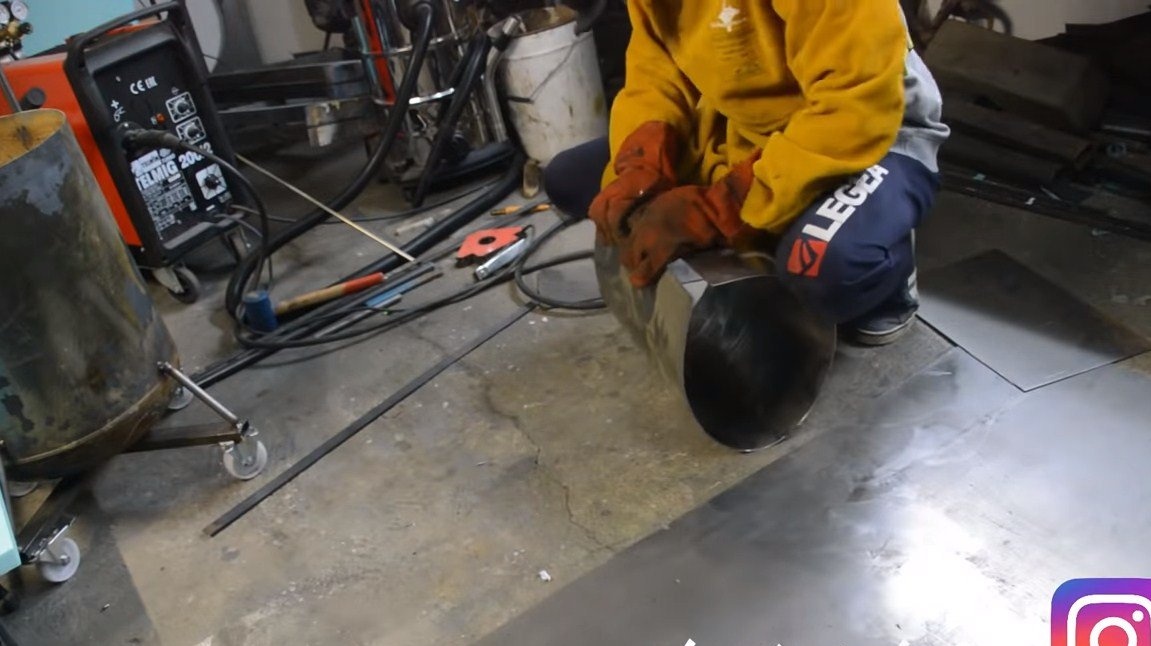
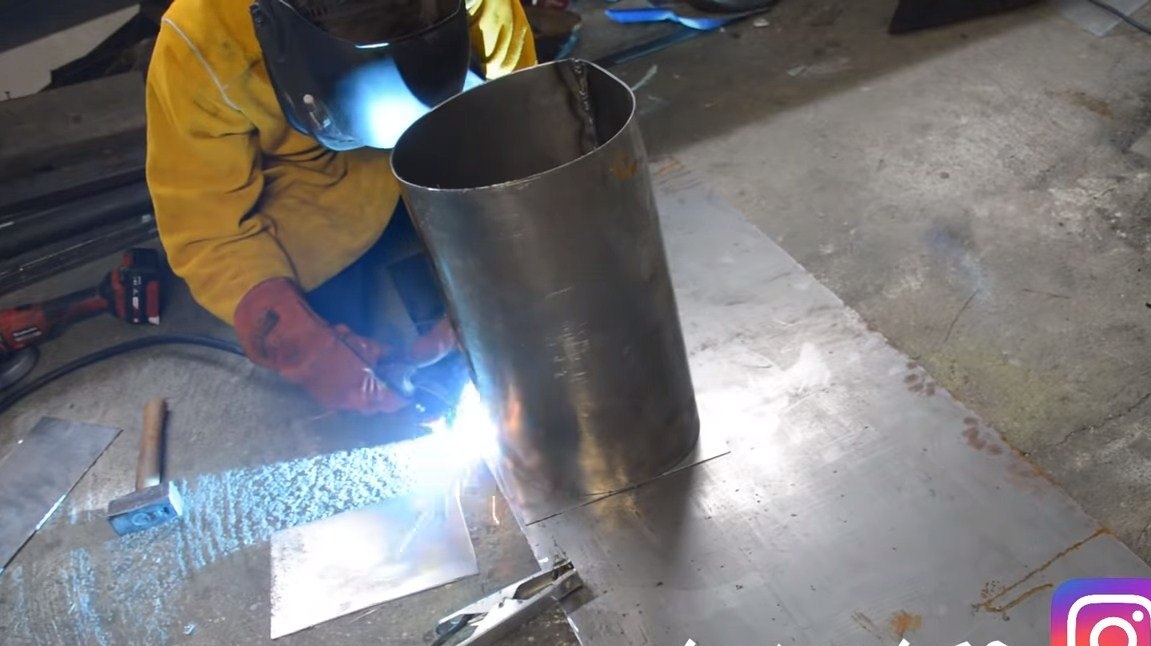
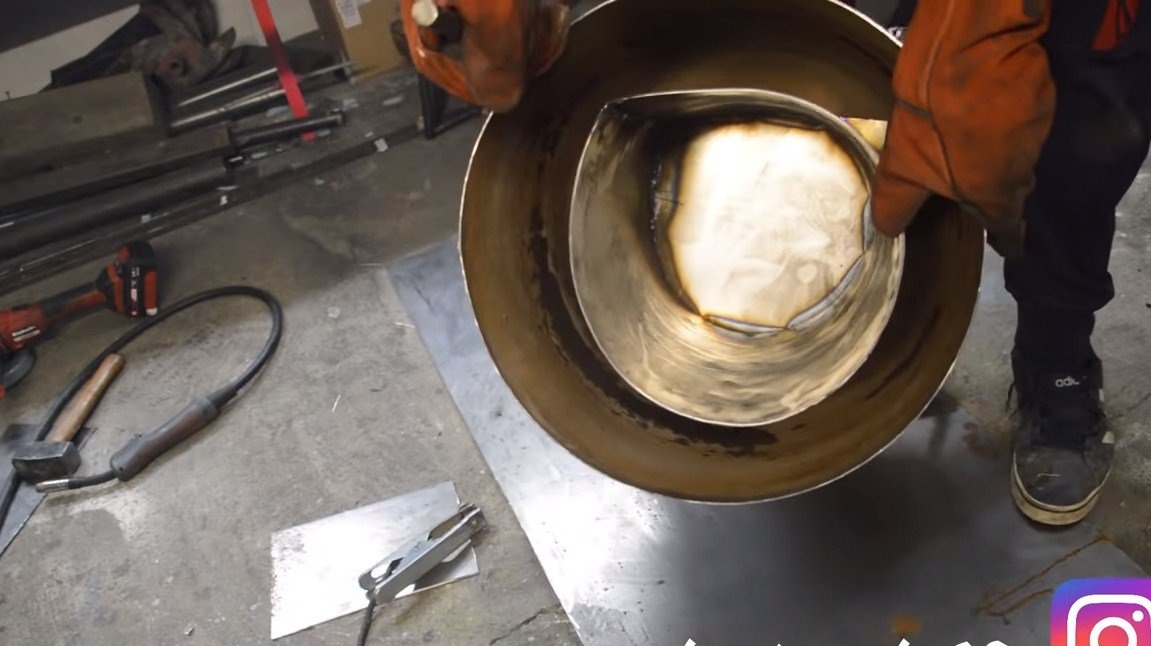
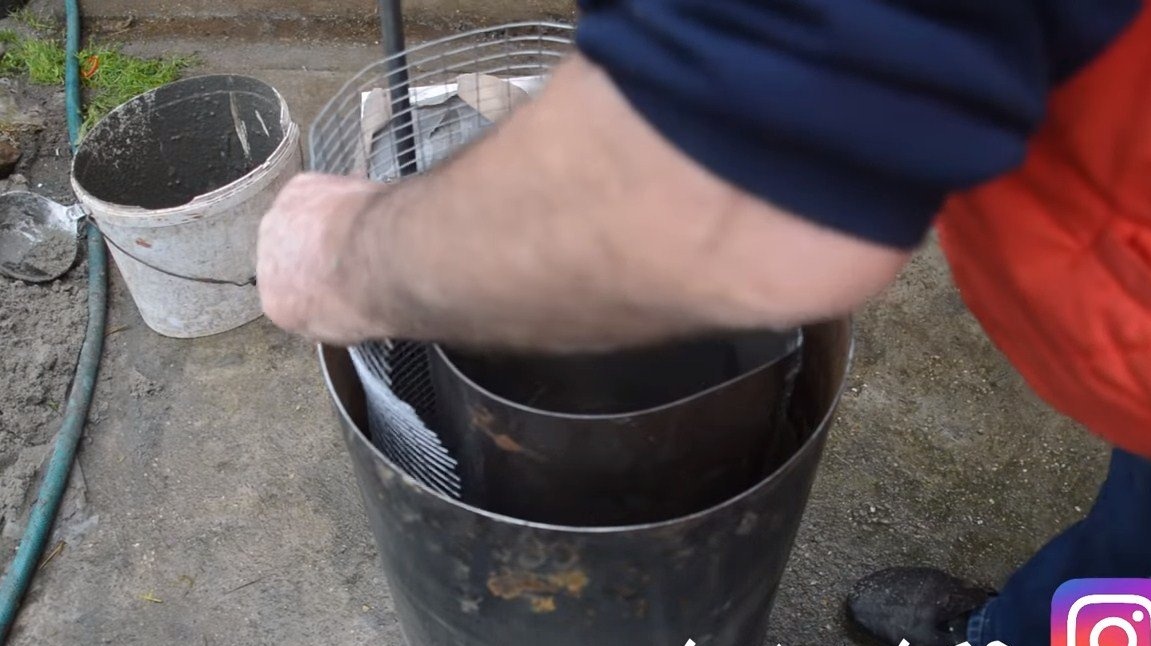
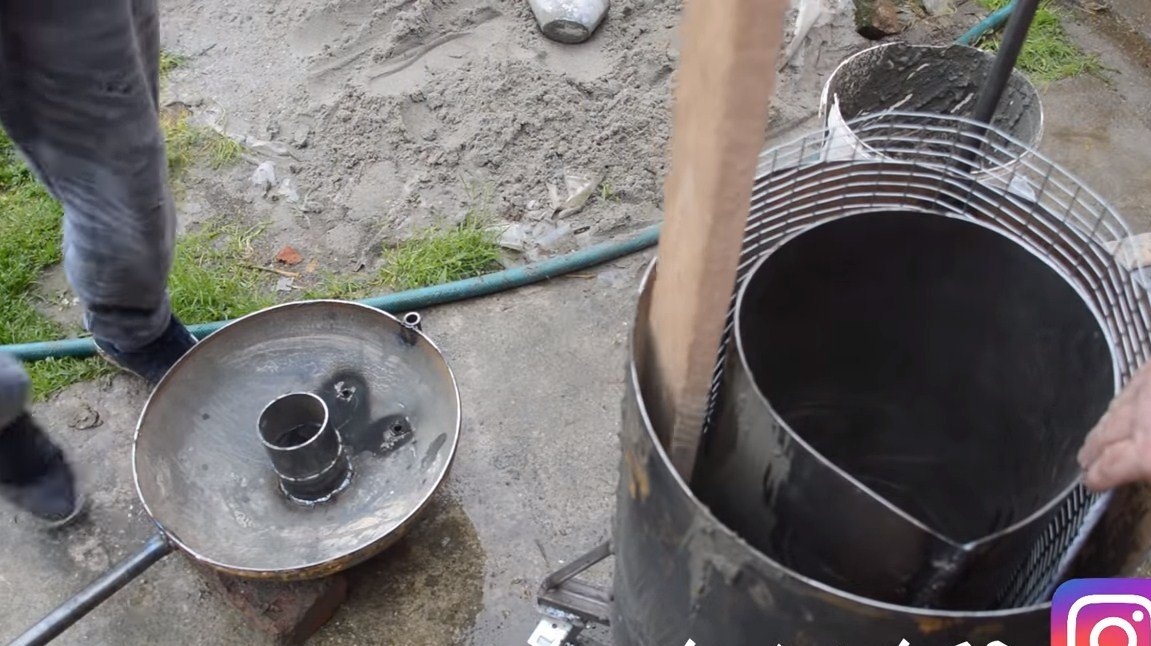
Step Three Inner insert
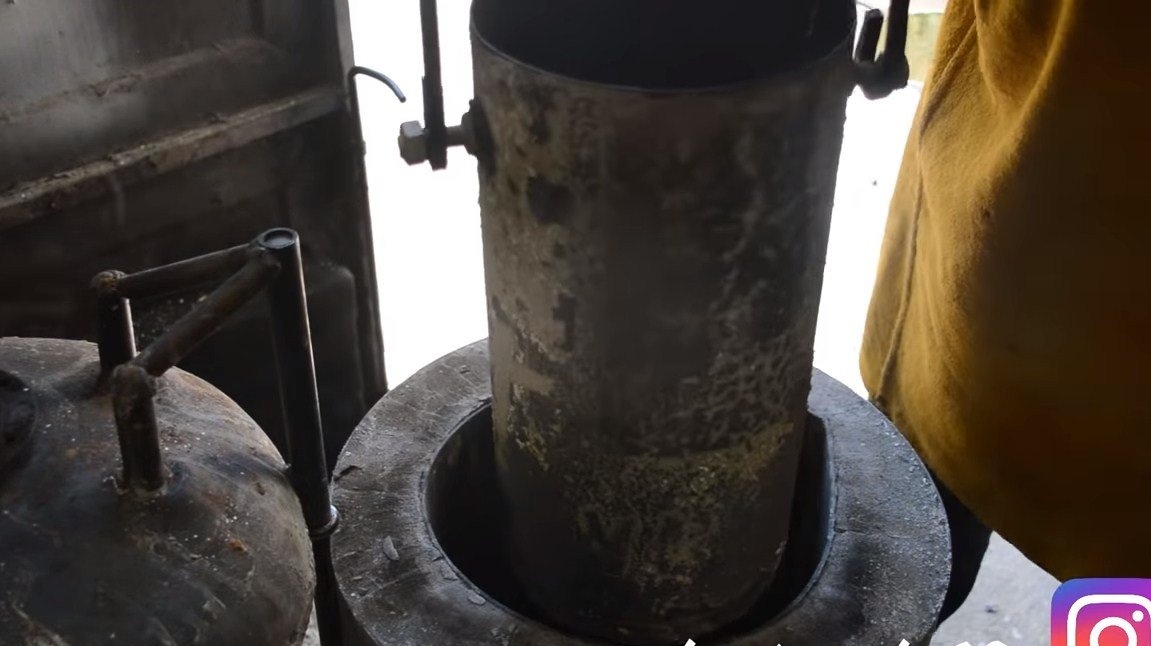
We need to make an internal insert, this will be that part of the furnace in which a very high temperature will be reached. The insert is made of stainless steel and it is better to choose a thicker metal. Cut the desired piece and bend it into a pipe, weld the joint. Also weld the bottom from a piece of stainless steel.

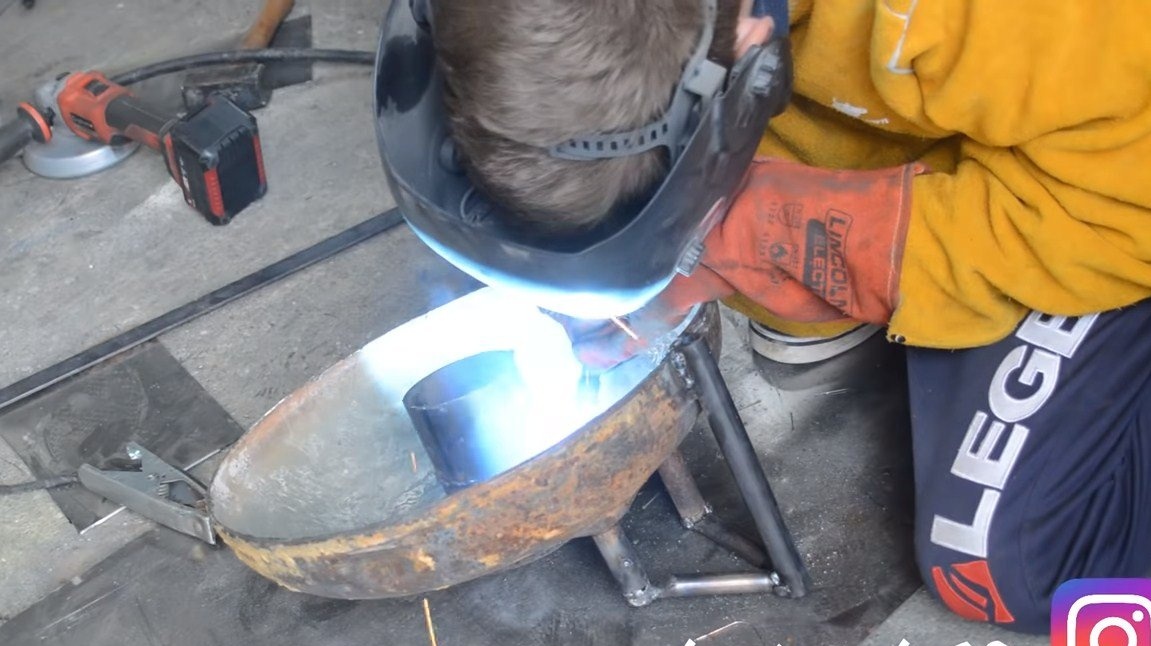
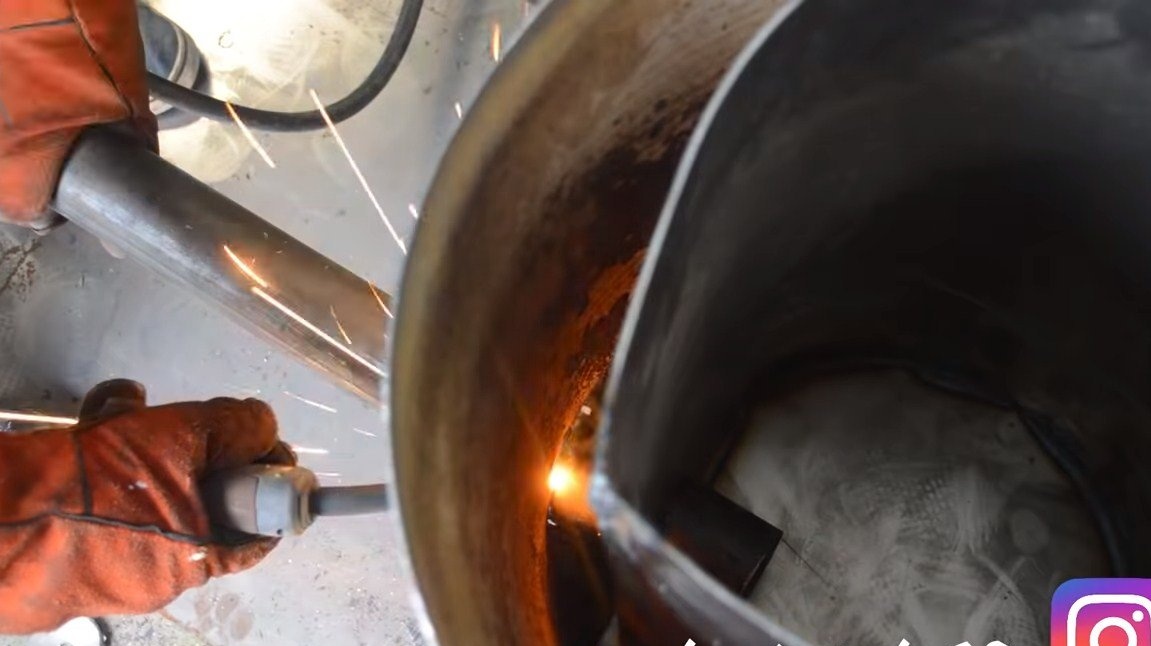
Step Four Finishing touches with the body
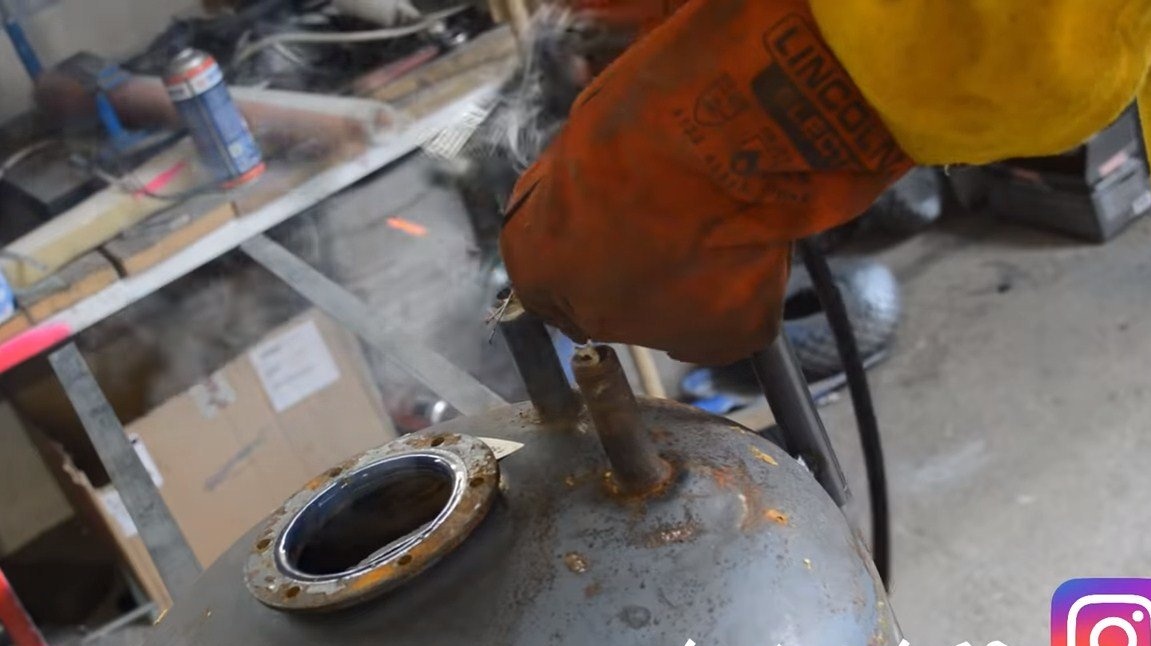
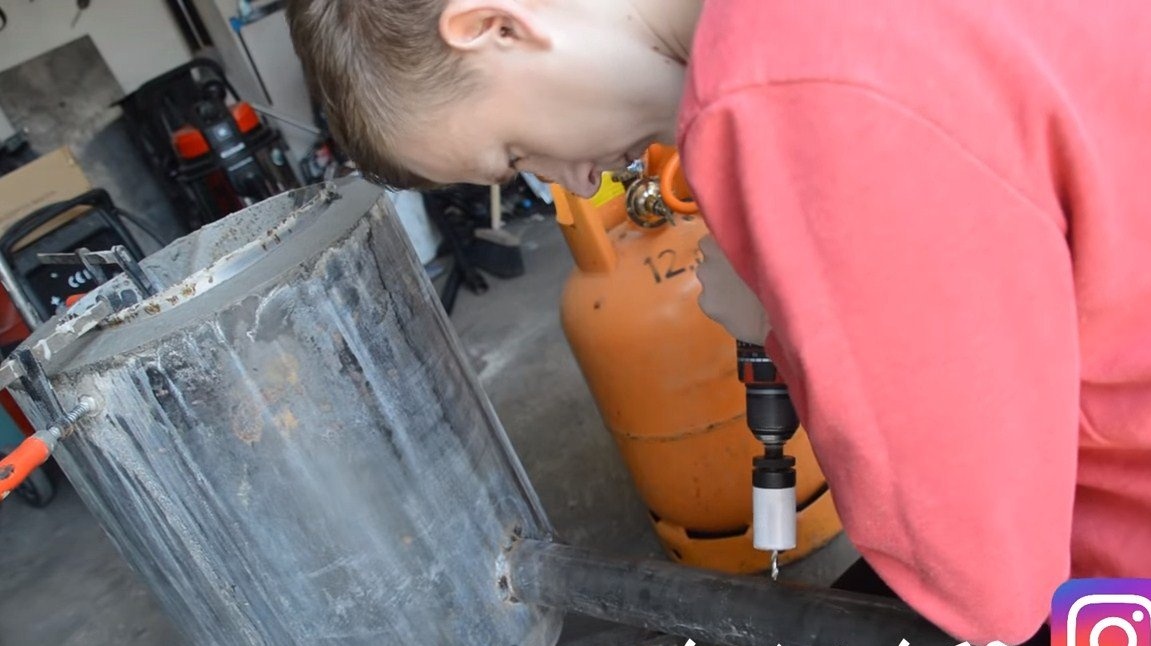
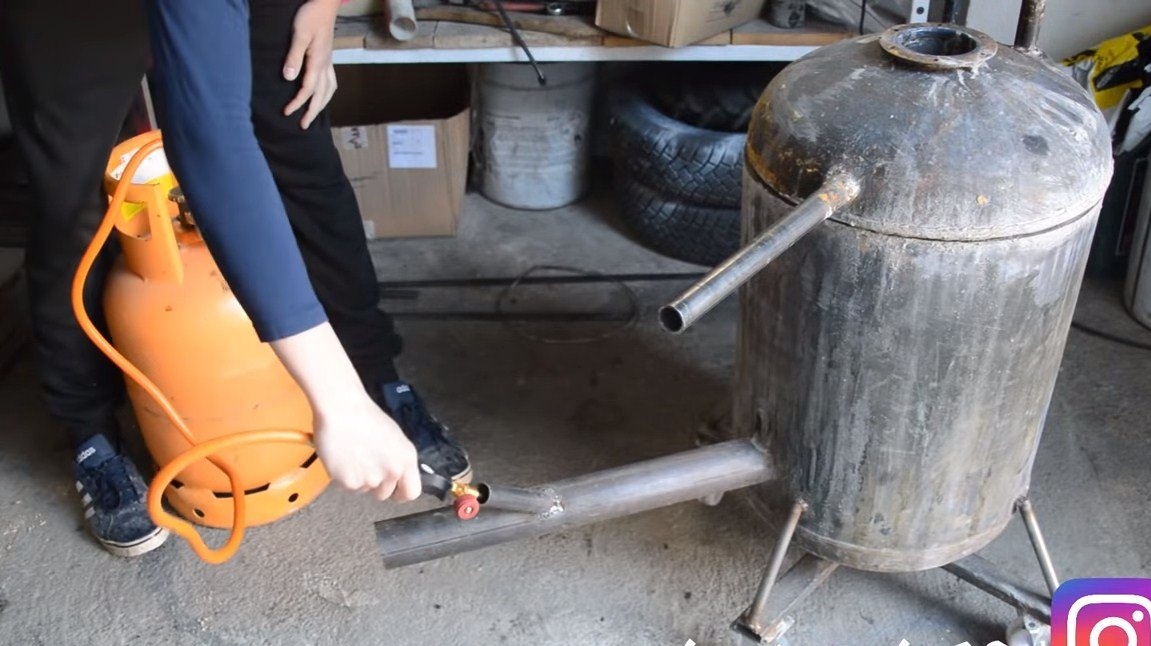
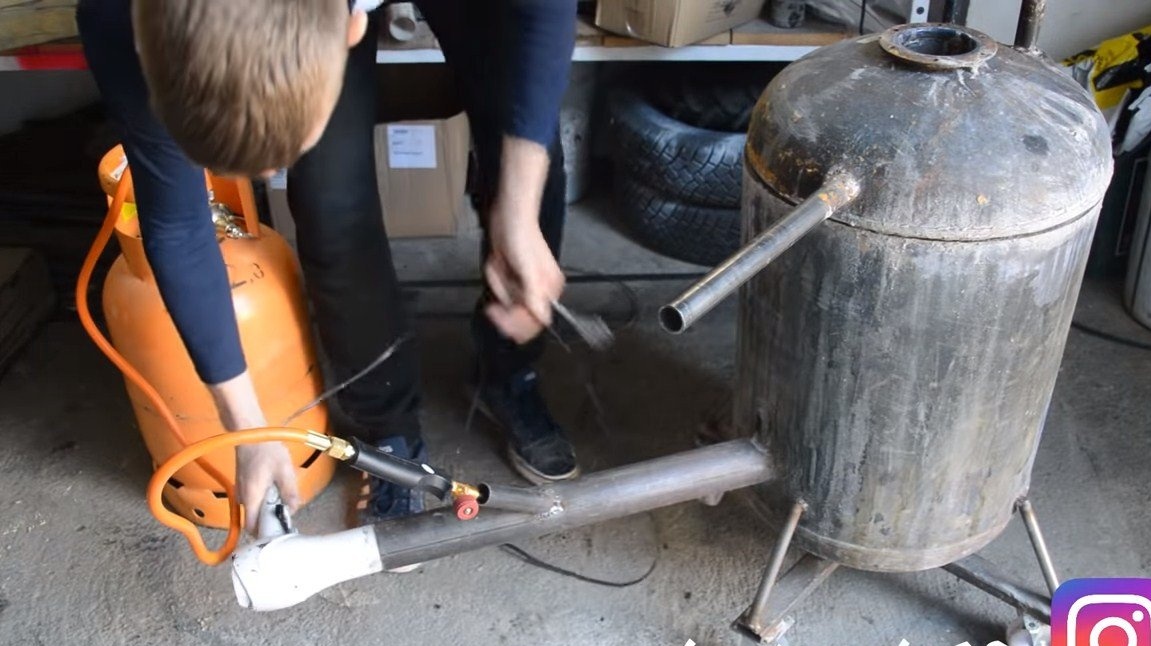
In the furnace body, as well as in the insert, we drill a hole with a crown, and then we insert a pipe through which hot gases will enter the furnace. Well weld the pipe to the body and to the insert.
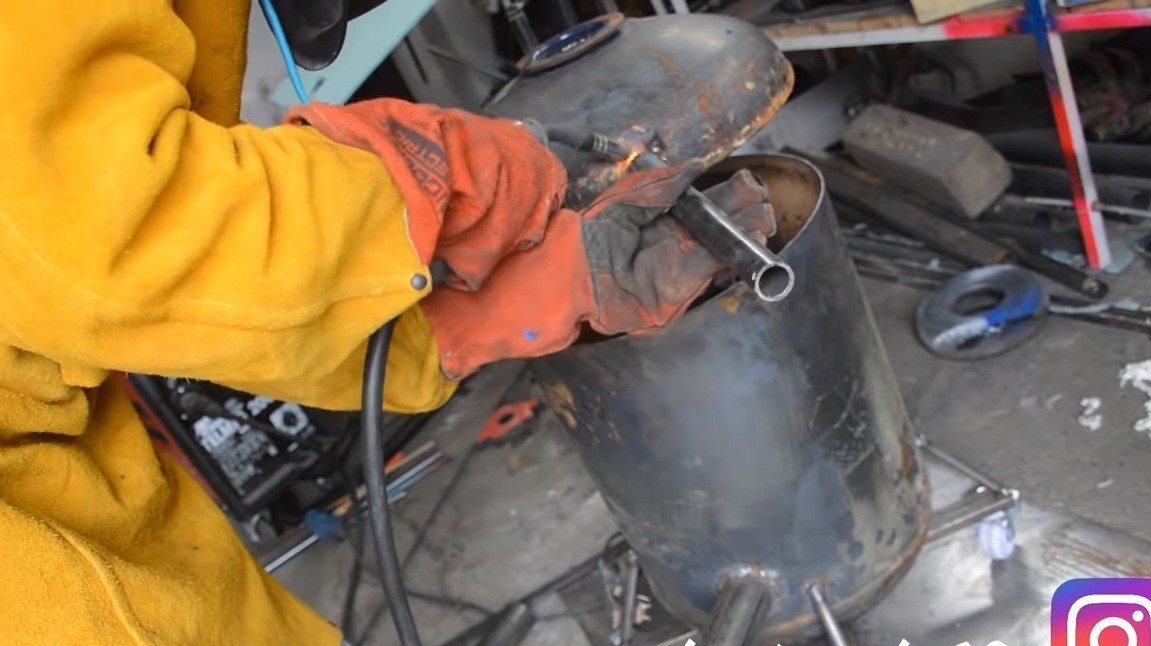
As for the lid, it will be necessary to weld a piece of iron pipe from the inside, which is needed in order to fill the insulator in the lid. We also weld a long handle in the form of a piece of an iron pipe to the lid.
In order to securely fix the solution in the lid, it is recommended to weld iron plates, bolts, etc. from the inside.

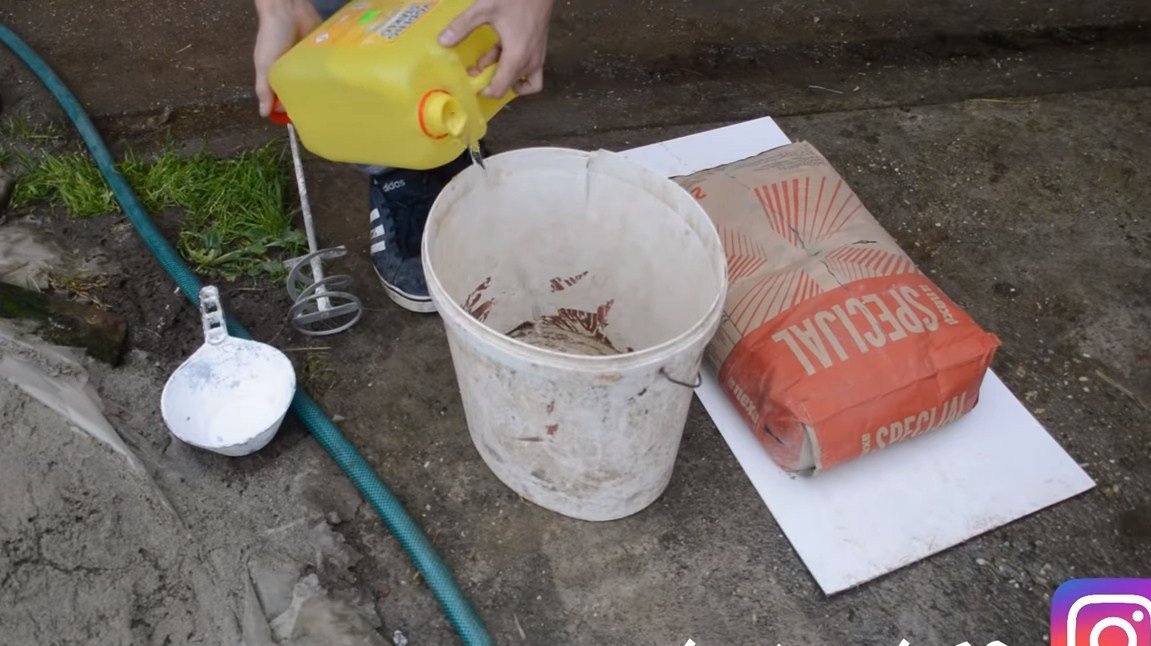
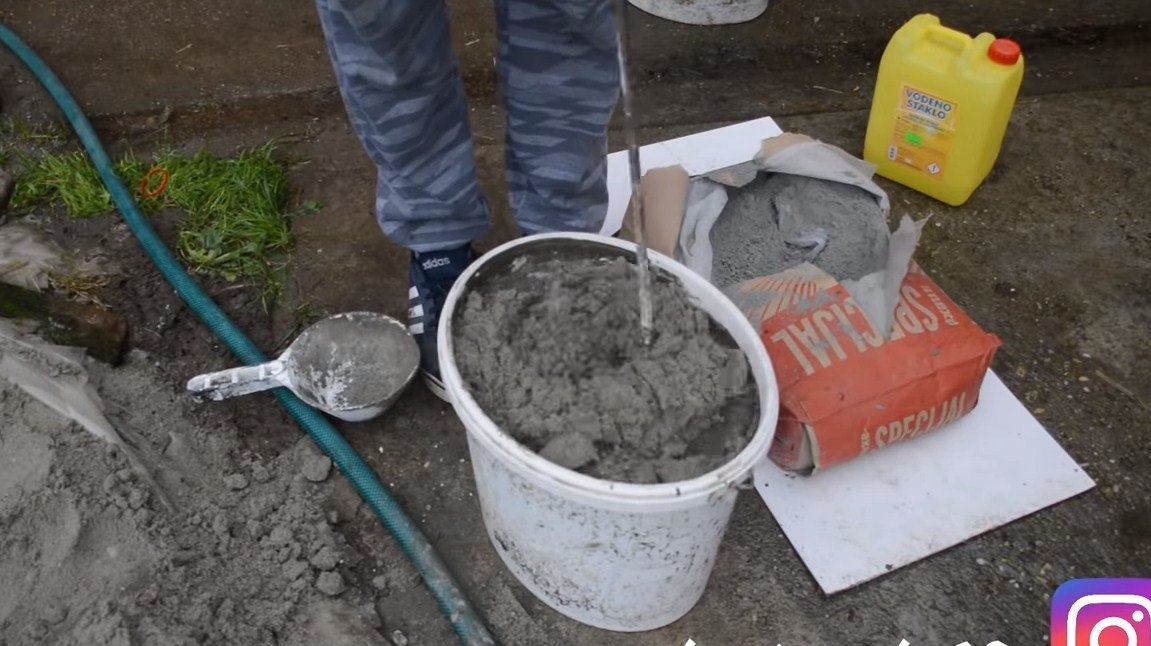
Step Five Insulator filling
The housing is ready, fill the insulator inside the furnace. For such purposes, it is recommended to use heat-resistant solutions for furnaces. Ordinary cement crack quickly. If there is nothing suitable, you can use clay with sand. To increase the strength, the author decided to reinforce the solution with an iron mesh. Evenly distribute the solution inside and let it dry for two days or more.
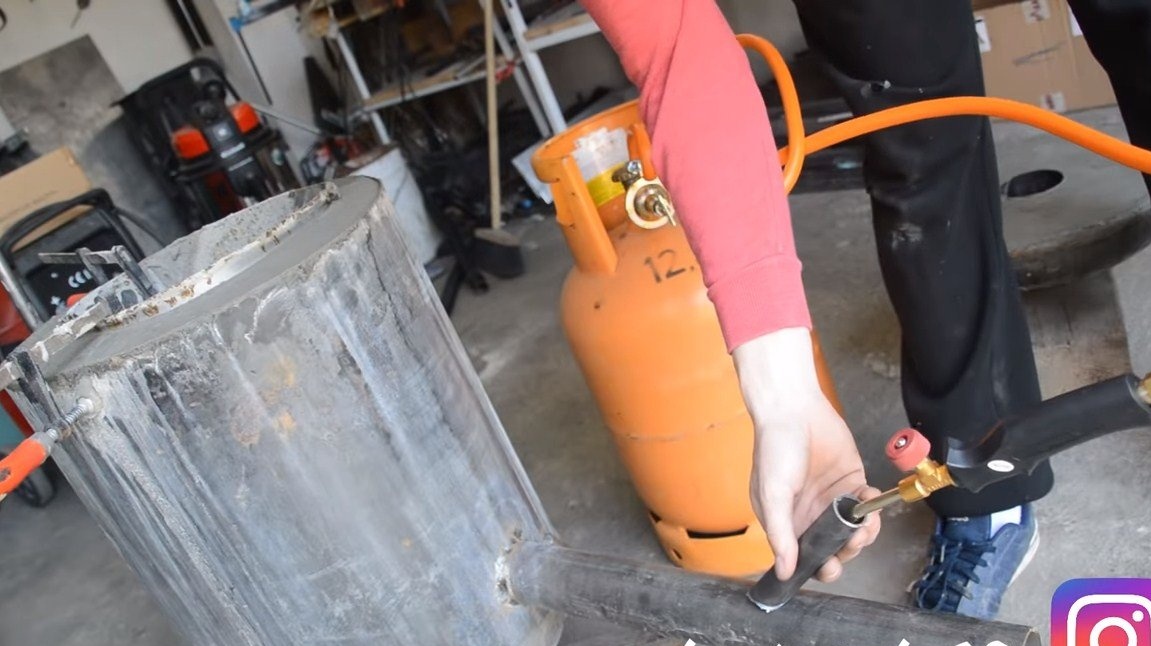
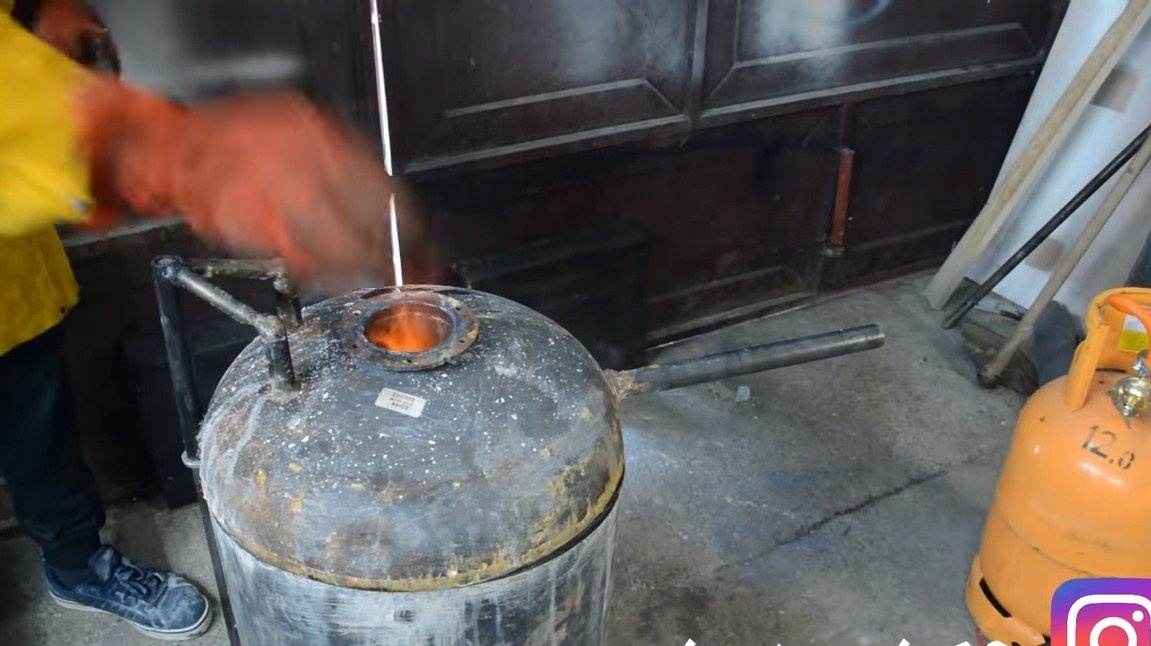
Step Six Final touches
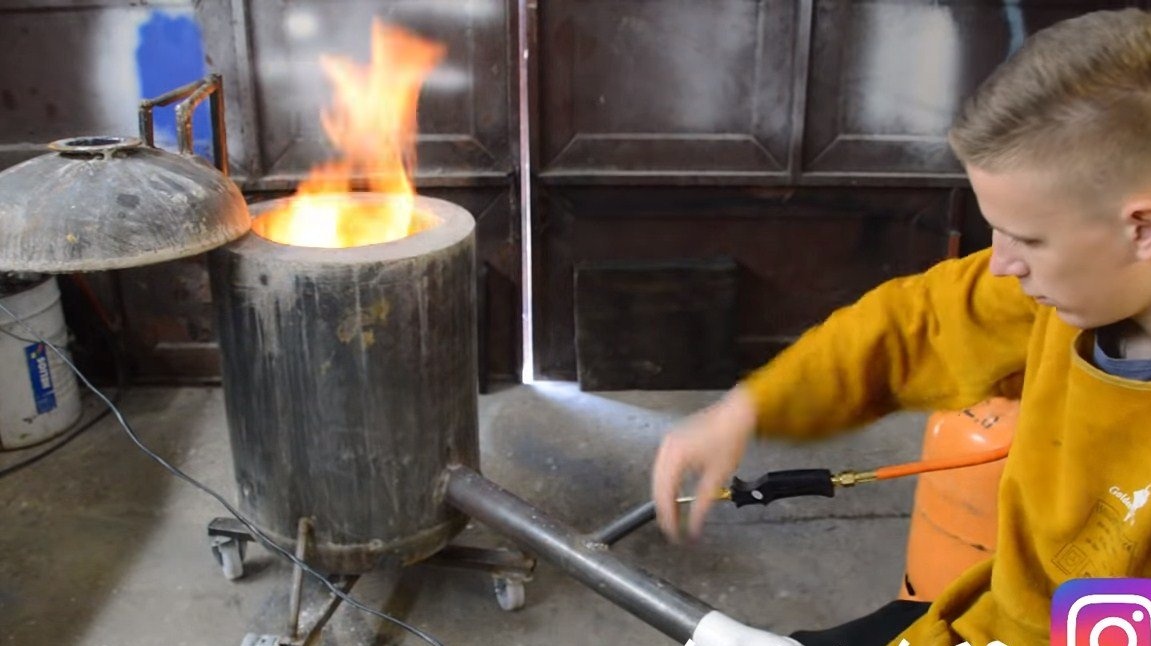
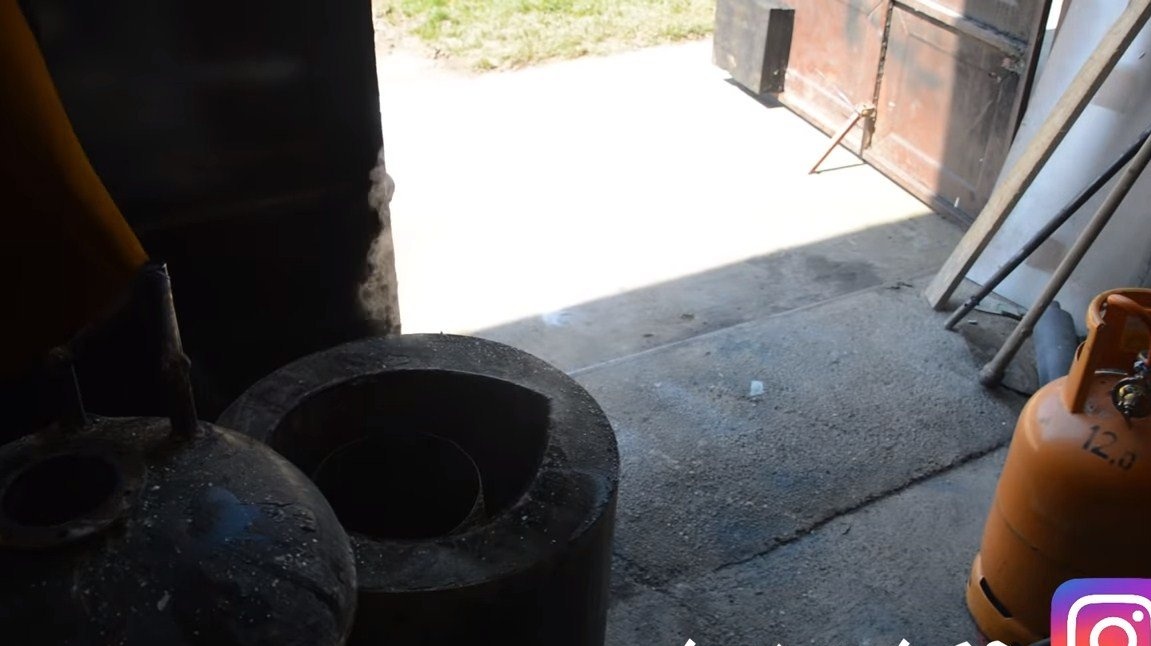
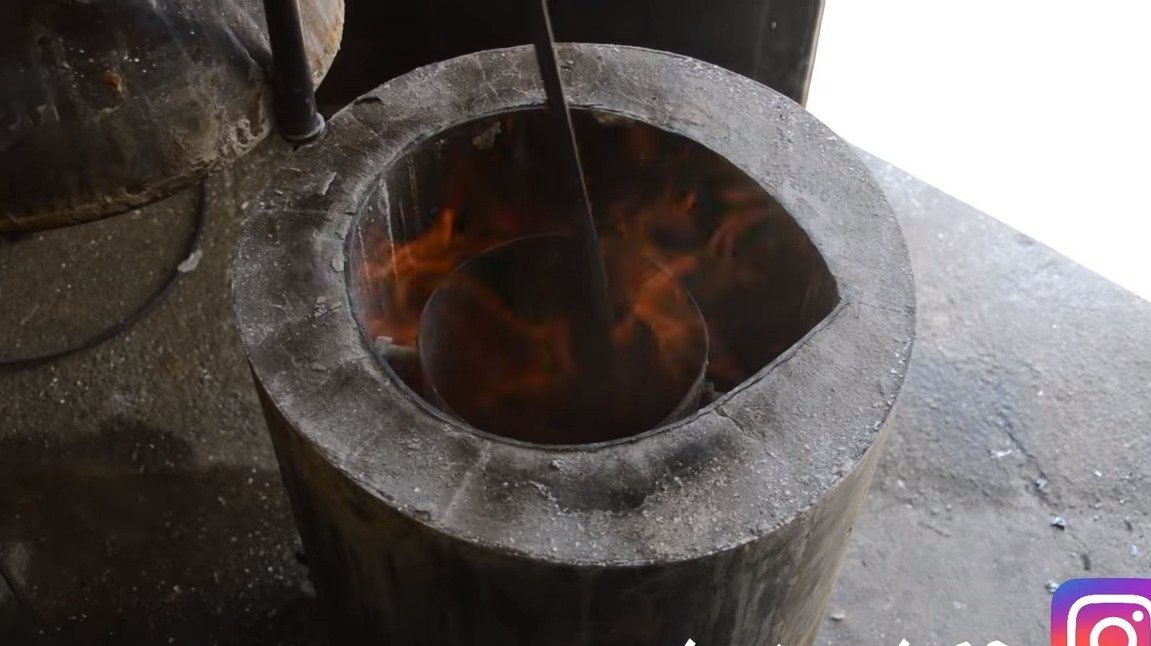
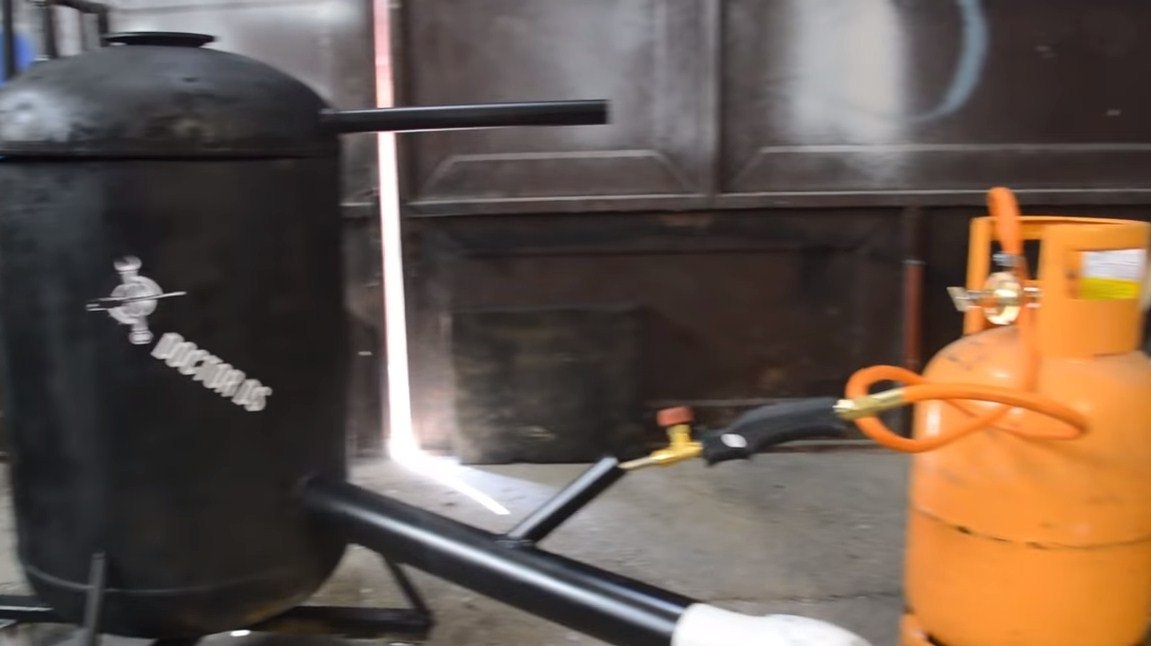
In conclusion, we need to weld the pipe to the pipe to install a gas burner, after which the furnace can be started. We light the burner, and to obtain a large amount of heat, we blow air with a household hairdryer.
Flames are boiling in the furnace, it should burn in the first start, and moisture will also come out of the insulator.

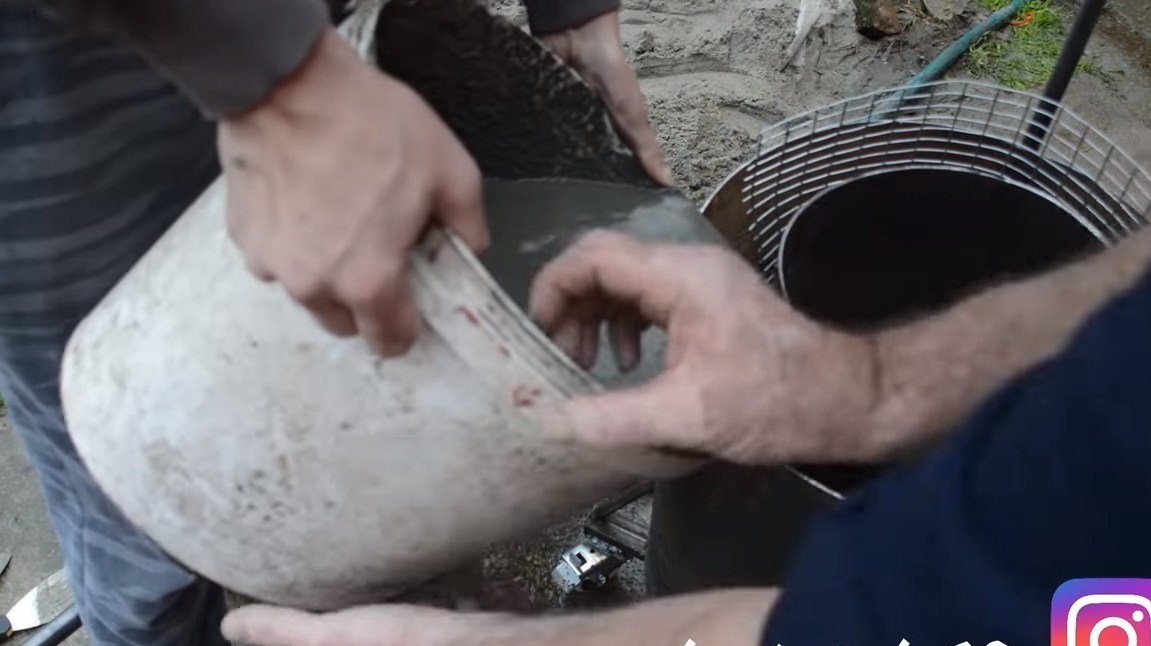
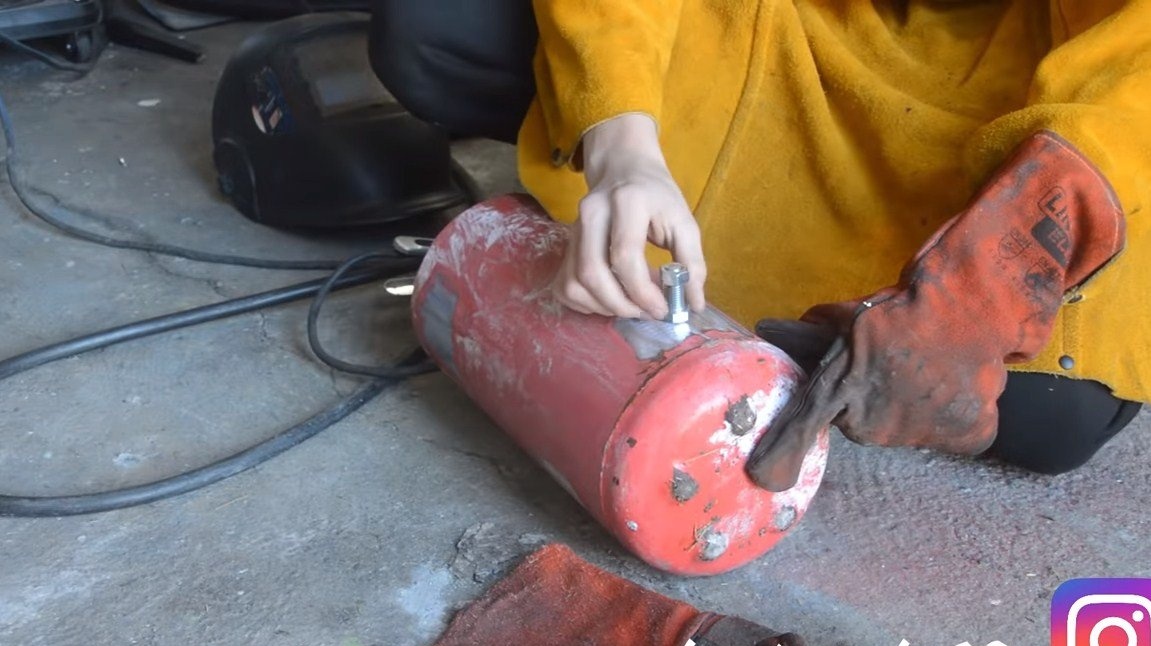
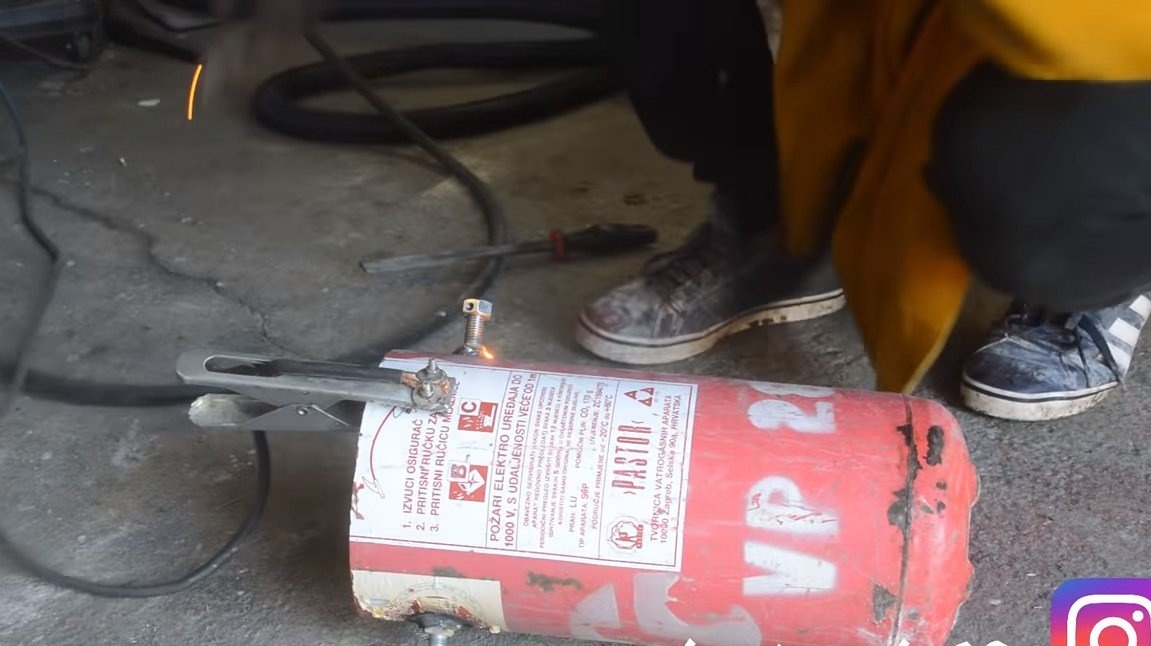
Seventh step. Crucible
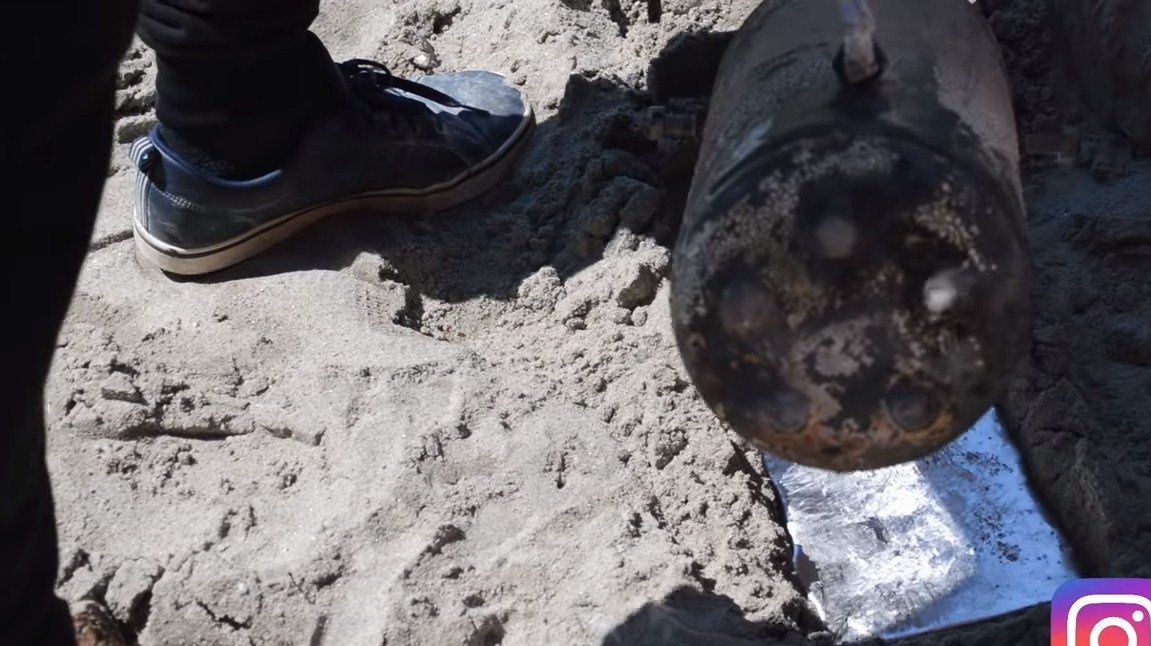
We make a crucible for melting aluminum, here the author used a small fire extinguisher, release the contents and cut off the neck. Next, we need to weld bolts with nuts to the body, for them we will take the crucible with a handle. As for the handle, we bend it out of the round timber. Everything must be reliable, otherwise liquid metal spilled on you can be fatal.

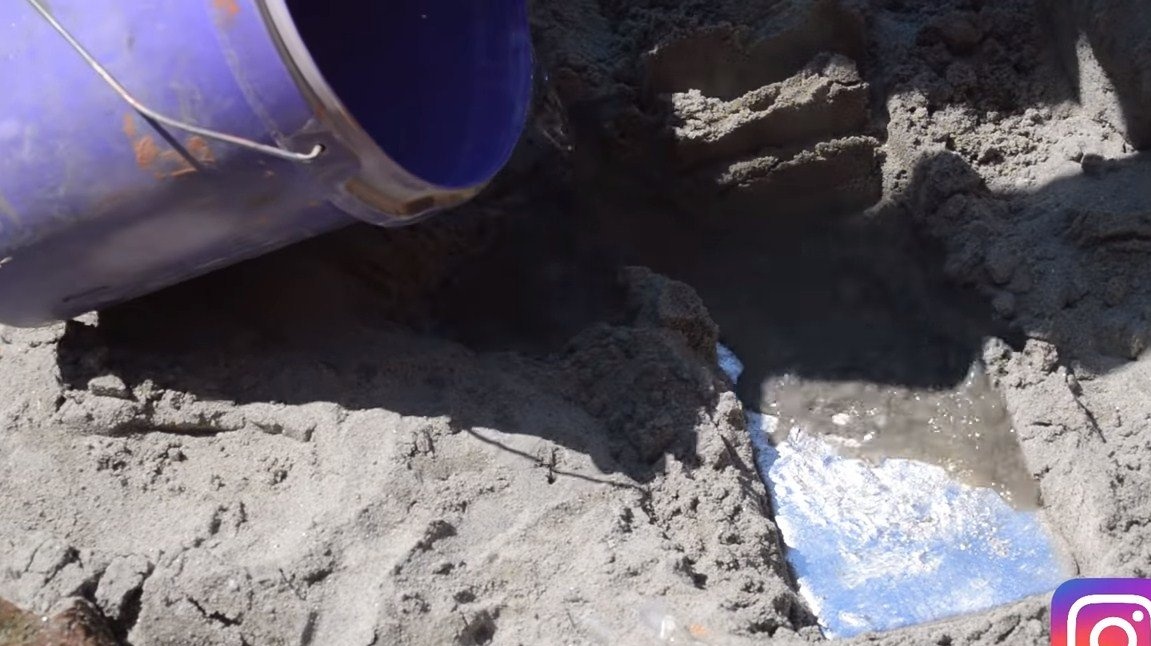
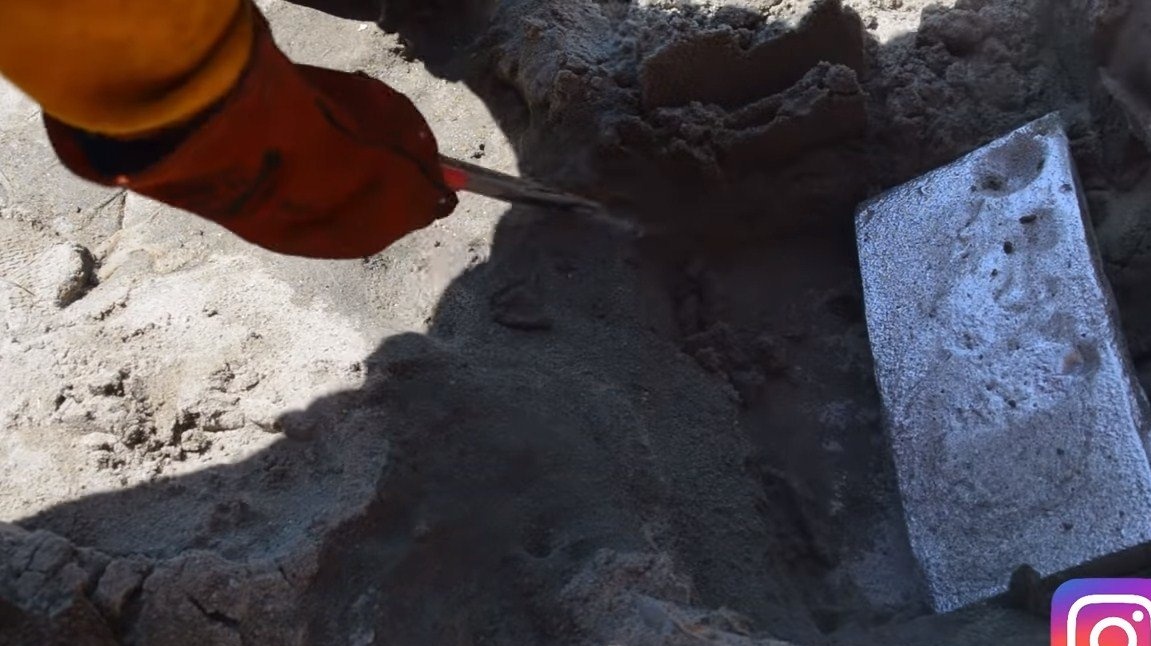
That's all, now you can get to work, load aluminum, install the crucible in the furnace and start it. As aluminum is melted, it must be added to the crucible and stirred. Slag will form above, it is desirable to remove it. As a result, the author cast a massive plate of aluminum, pouring the contents of the crucible into the sand.
On this project can be considered completed, I hope that homemade was useful to you, and you found interesting thoughts. Good luck and creative inspiration, if you decide to repeat this. Do not forget to share your ideas and homemade things with us!