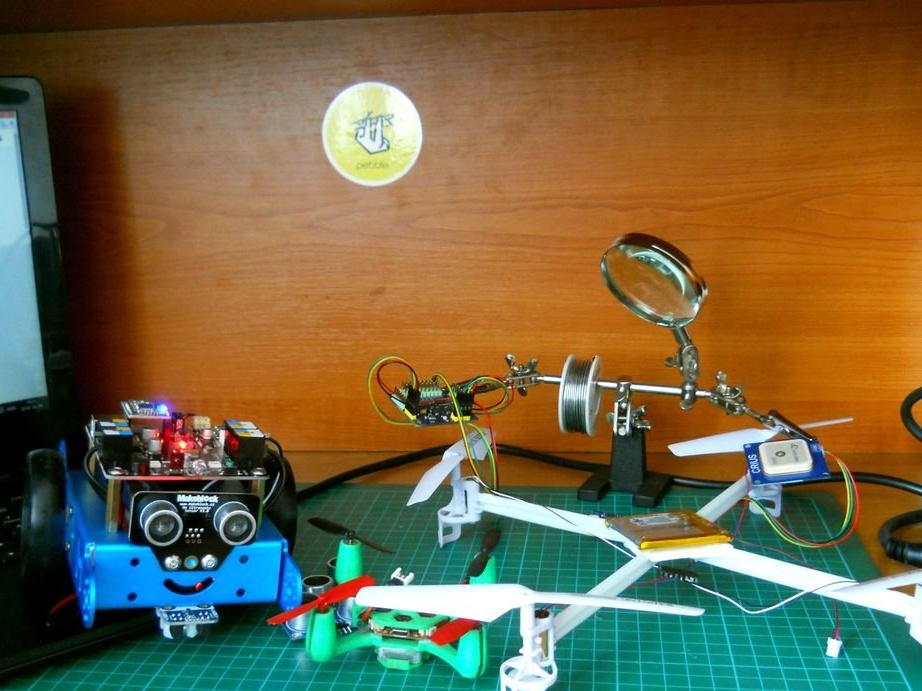
Nowadays, drones are very popular toys. In the market you can find professional flying drones and drones for amateurs. The master, the author of this article, has four drones (quadrocopters and hexcopters), because he loves everything that flies, but the 200th flight is not so interesting and becomes boring, so he decided to create his own drone with some additional features. The master likes to program on Arduino and designing schemes and gadgets, so he began to build it. IN homemade The MultiWii flight controller based on the ATMega328 chip, which is also used in Arduino UNO, is also used, so programming is quite simple. This drone can be connected to an Android smartphone, which sends its GPS data to the drone, which compares this data with its own GPS signal, and then starts following the phone. Therefore, if you move along the street, the drone will follow you. Of course, there are many shortcomings, but the drone monitors the phone, shoots video, and also has an ultrasonic distance sensor to avoid obstacles in the air. These are the features of a homemade drone.
Step 1: Key Features
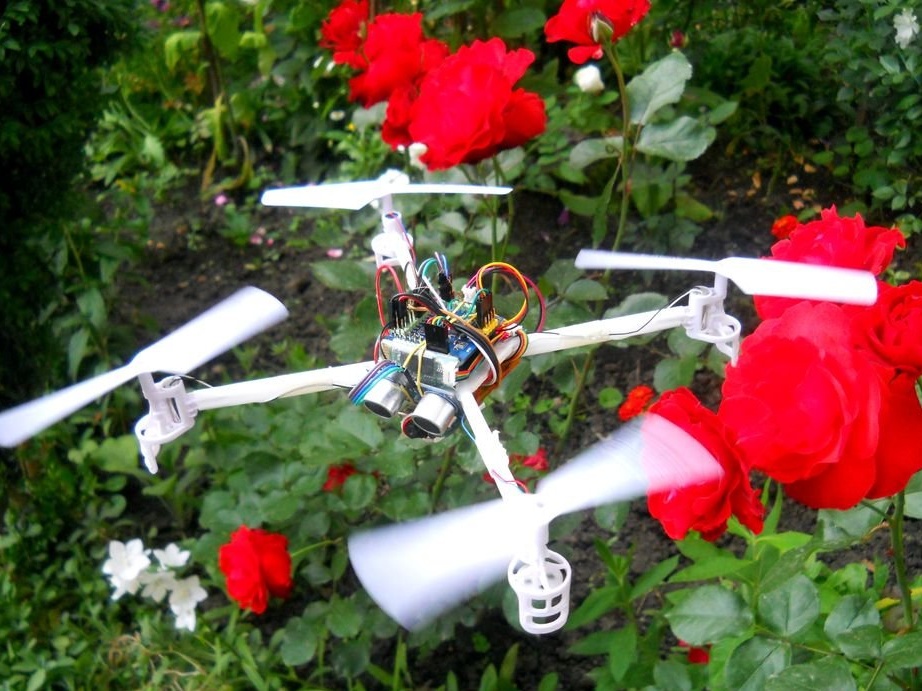
The drone works almost completely automatically, you do not need to control it, because it follows your phone, which is usually always with you, the ultrasonic sensor helps to bypass trees, buildings and other obstacles, and GPS gives very accurate location data, but let's see what we have as a result:
- Battery 1000 mAh, enough for 16-18 minutes of continuous flight;
- an ultrasonic sensor to avoid obstacles in the air;
- Bluetooth module for receiving data from the phone;
- Microcontroller based on Arduino;
- built-in gyroscope;
- adjustable maximum height (5 m);
- when the battery is low, the drone automatically drops on the phone; (preferably hold the phone in your hands)
- the cost of building a drone is about $ 100;
- can be programmed for anything;
- Using GPS, you can send a drone at any coordinates;
- design in the style of a quadrocopter;
- equipped with a 2 megapixel 720p HQ video camera;
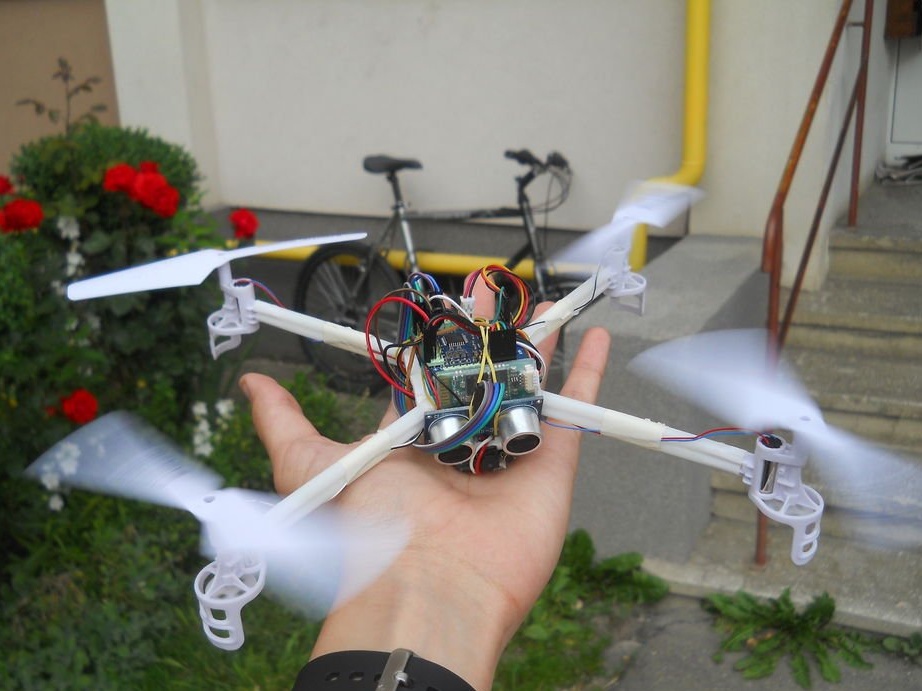
- weighs 109 g;
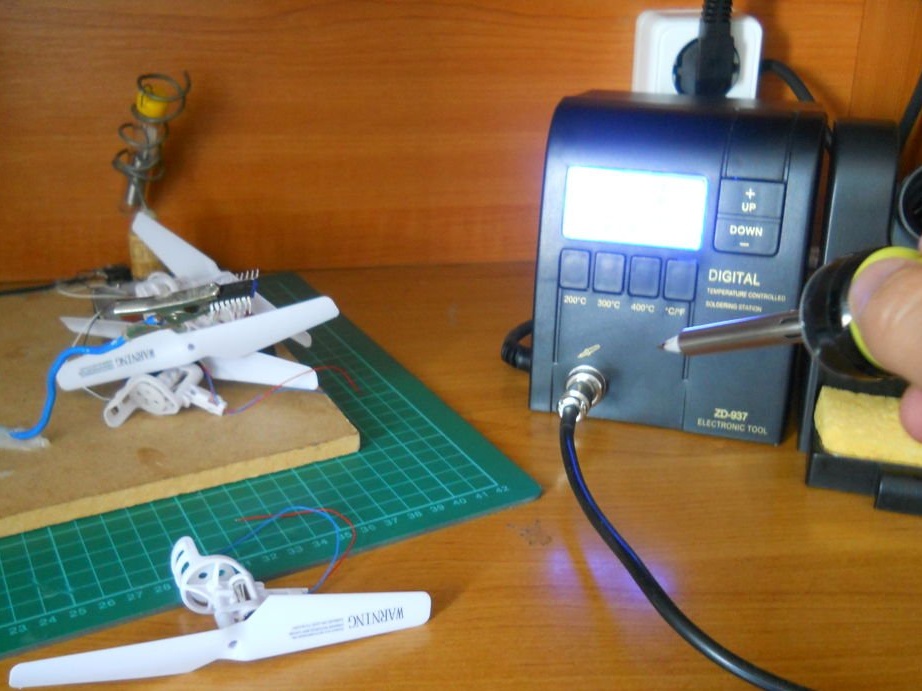
Step 2: Selection of parts and tools
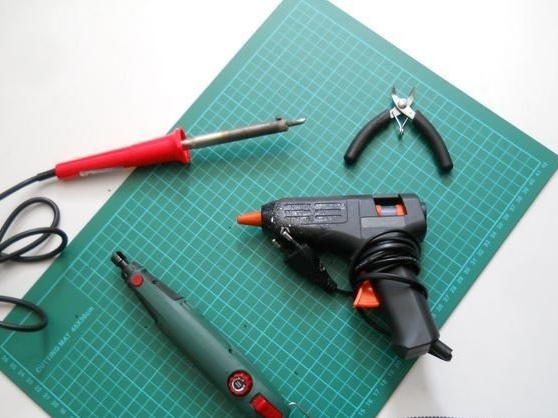
Instruments:
- Soldering iron;
- Glue gun;
- cutter;
- Nippers;
- Super glue;
- Double-sided adhesive tape;
- Gum;
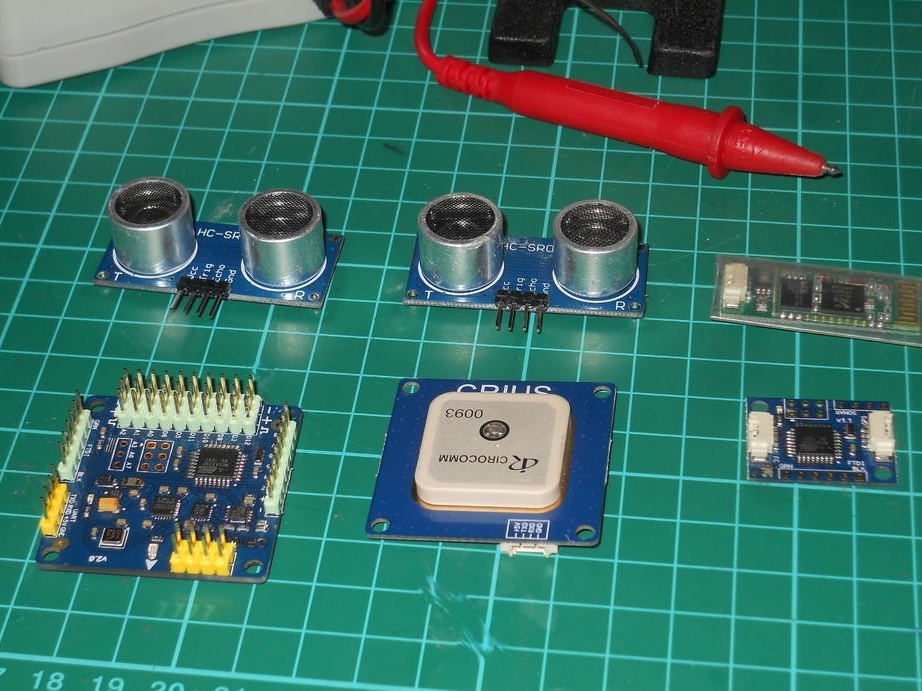
Electronic Components:
- MultiWii 32kB Flight Conroller;
- Serial GPS module;
- Serial I2C converter;
- Bluetooth module;
- Ultrasonic sensor;
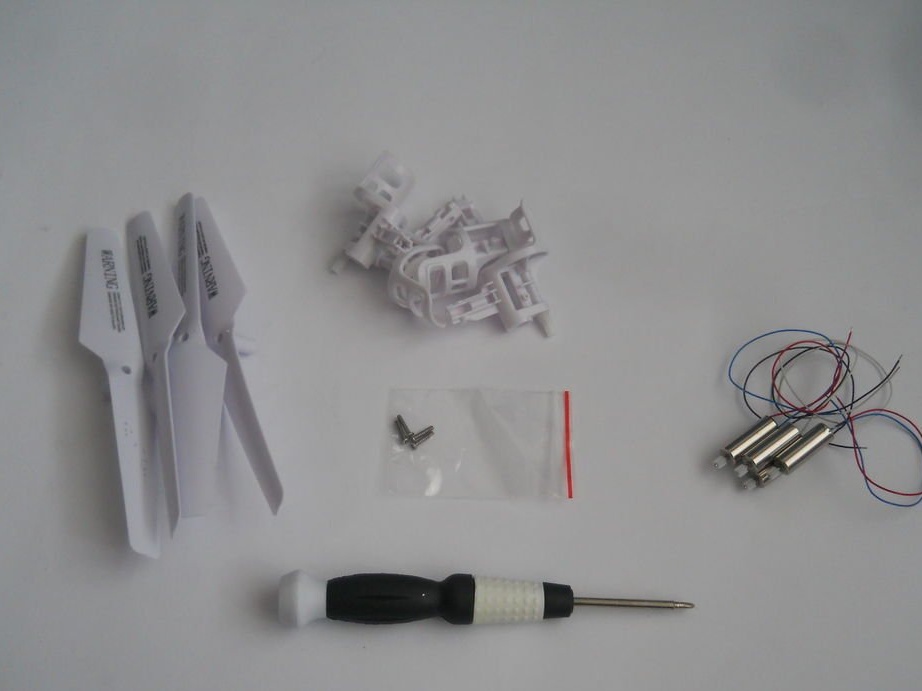
- A piece of hard plastic;
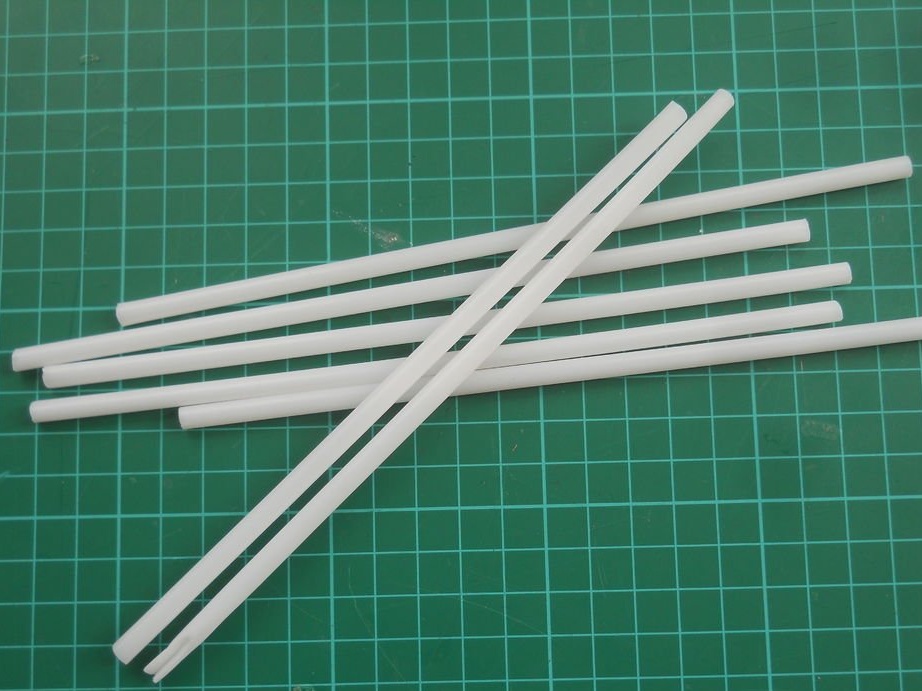
- Straws from the cafe;
- gear;
- Engines;
- propellers;
- screws;
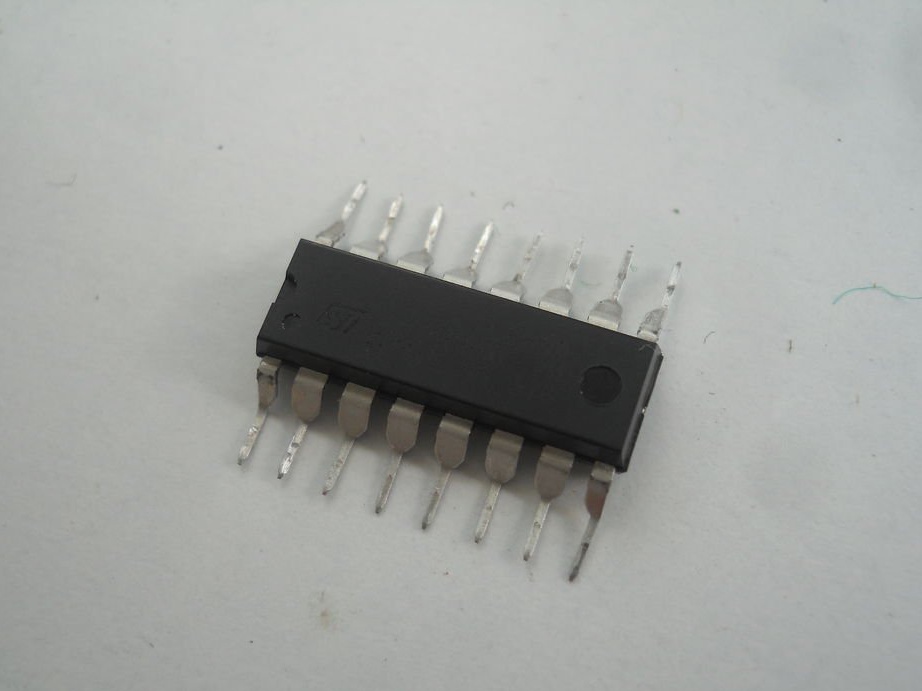
- L293D Motor Driver (this was an unsuccessful driver choice, will be fixed in the second version);
- 1000 mAh lithium-ion battery;
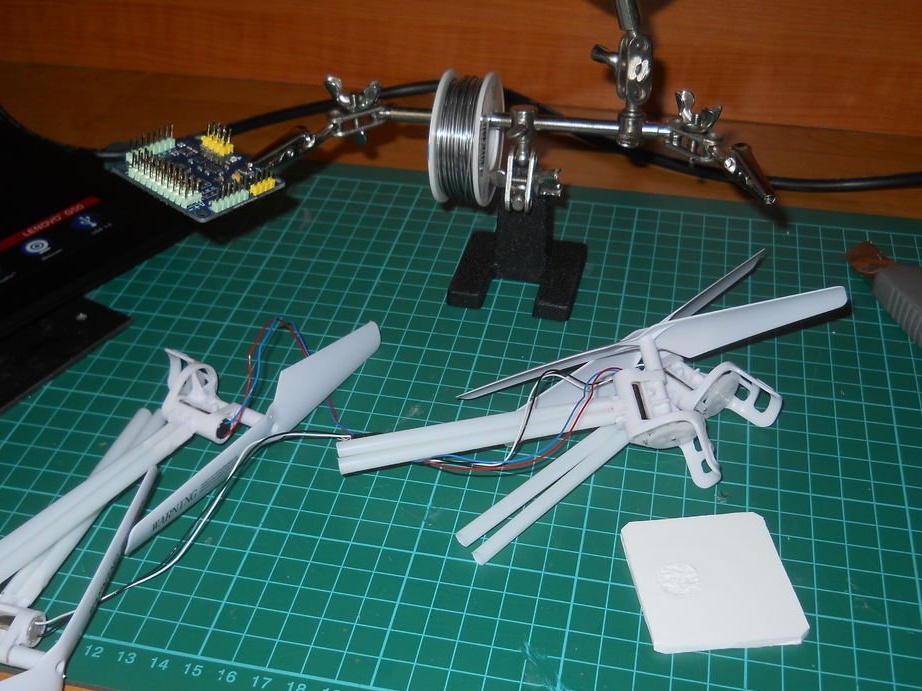
Step 3: Assembling the Propellers
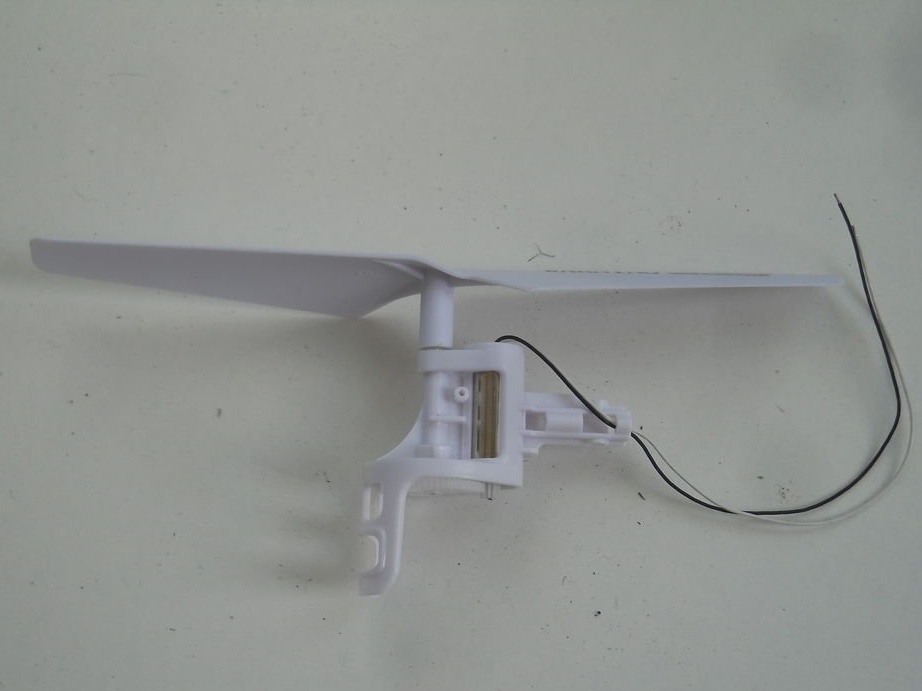
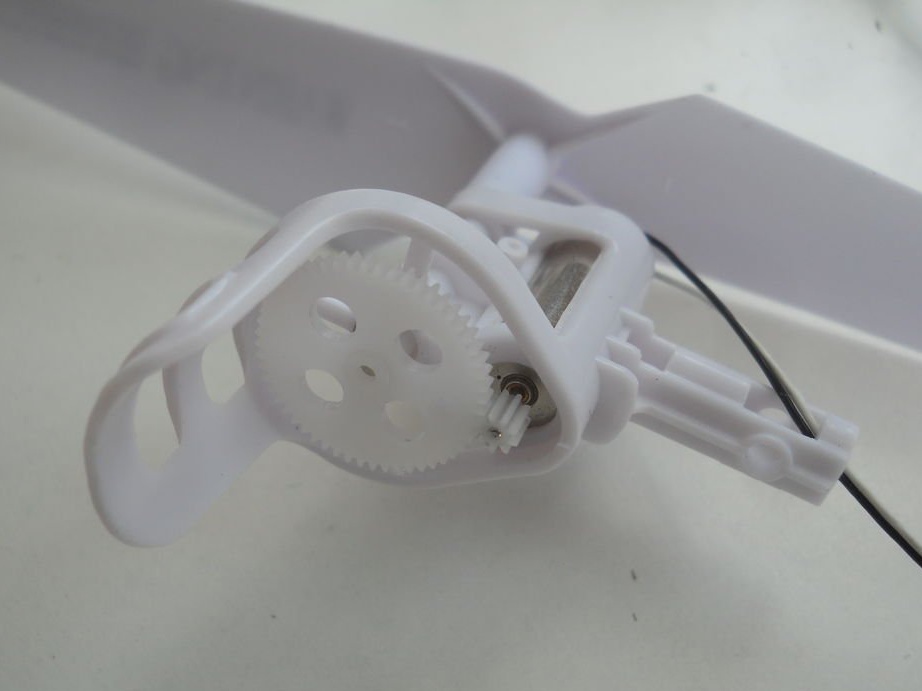
The master bought these propellers with motors on Aliexpress, they are spare parts for the Syma S5X drone, but they turned out to be useful for this homemade product.
Step 4: Schematic
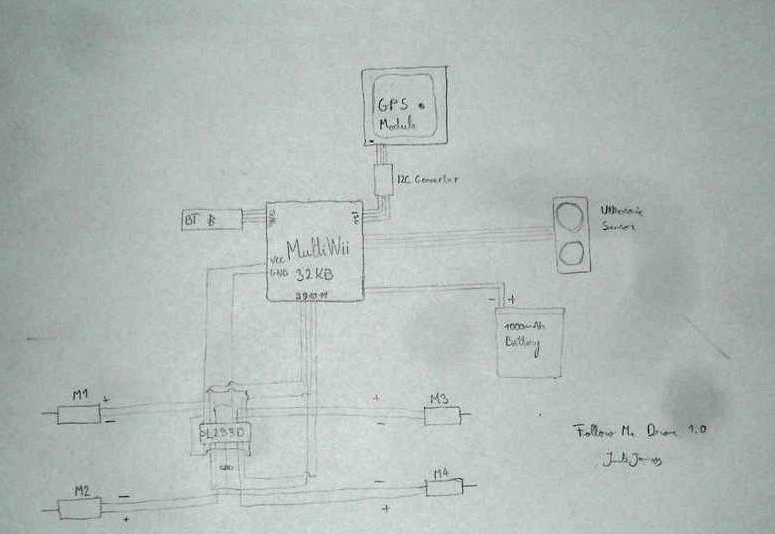
Always look at the diagram during operation and be careful with communications.
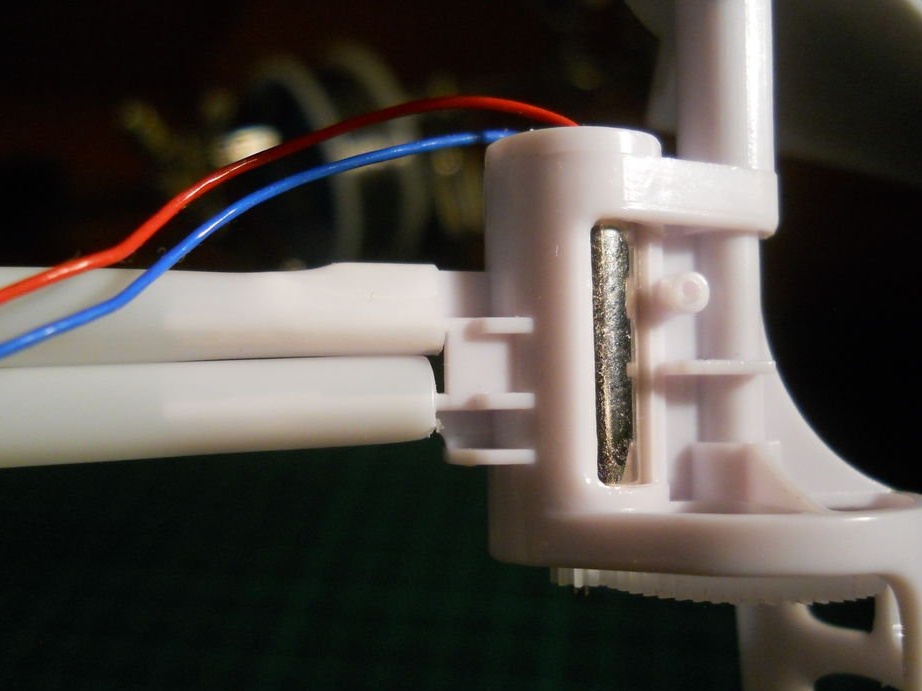
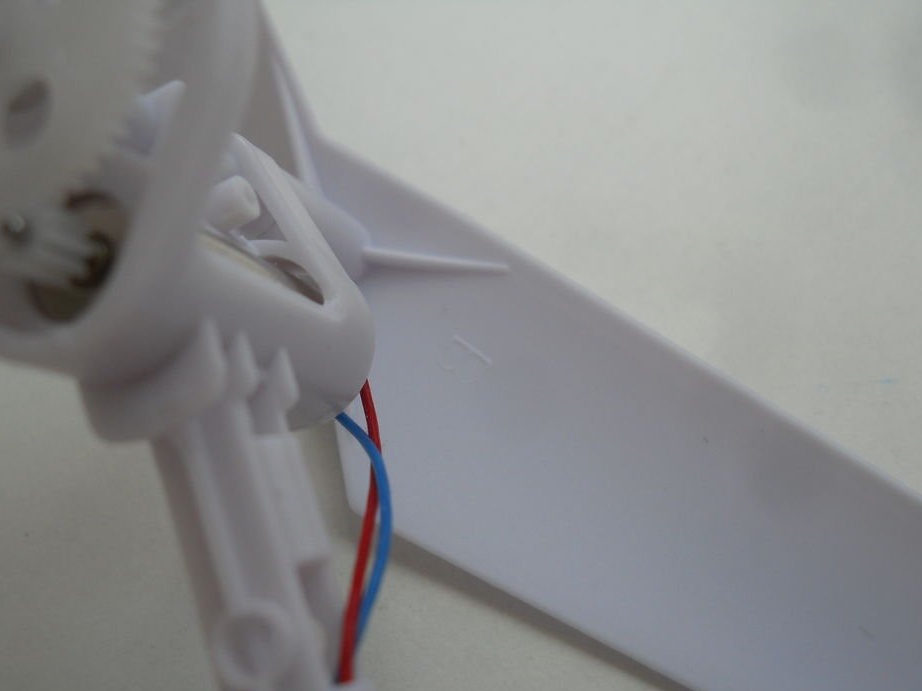
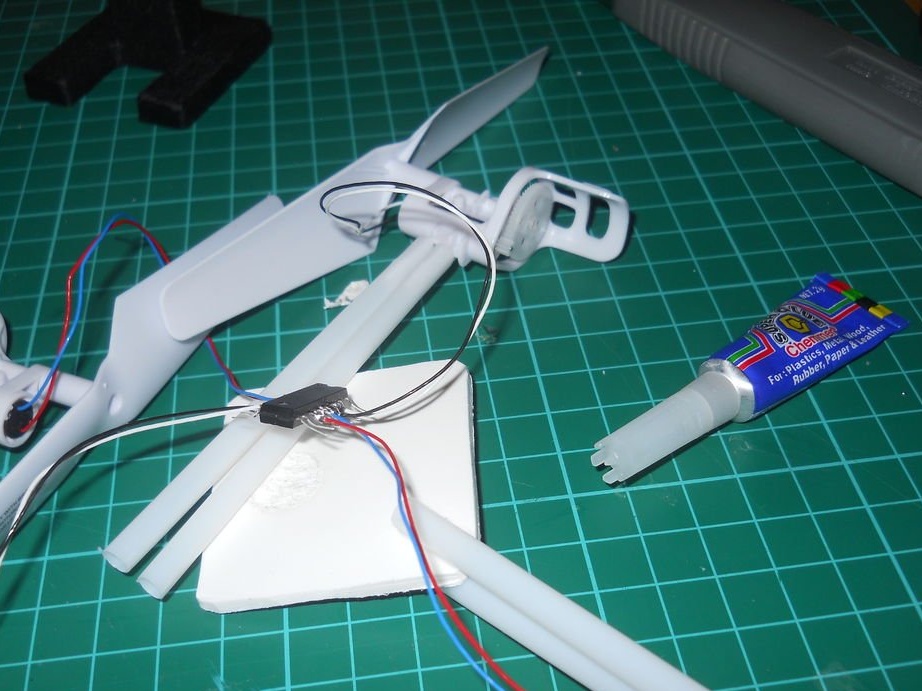
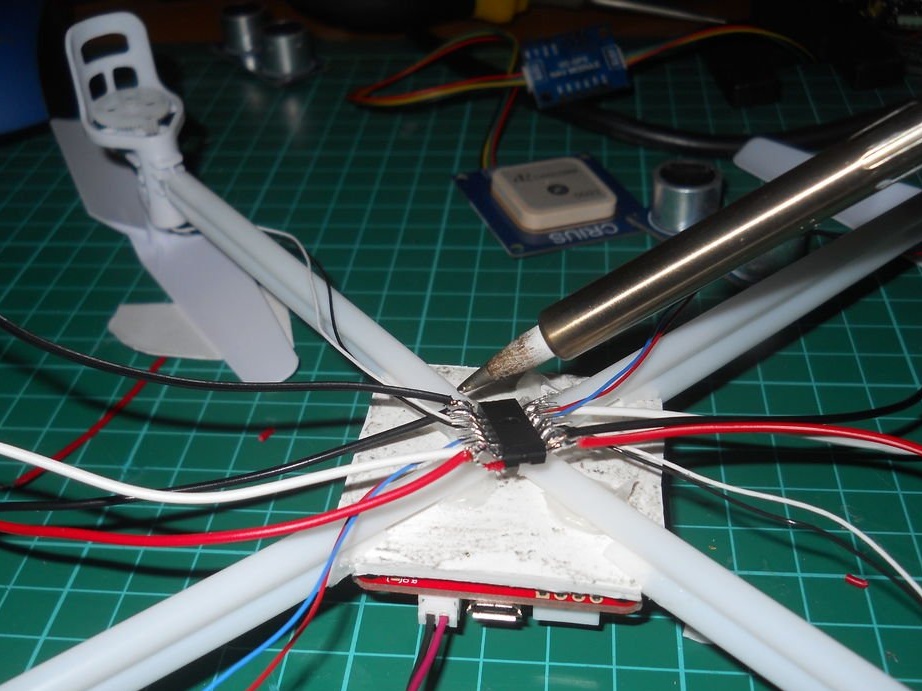
Step 5: Soldering the engines to the control driver
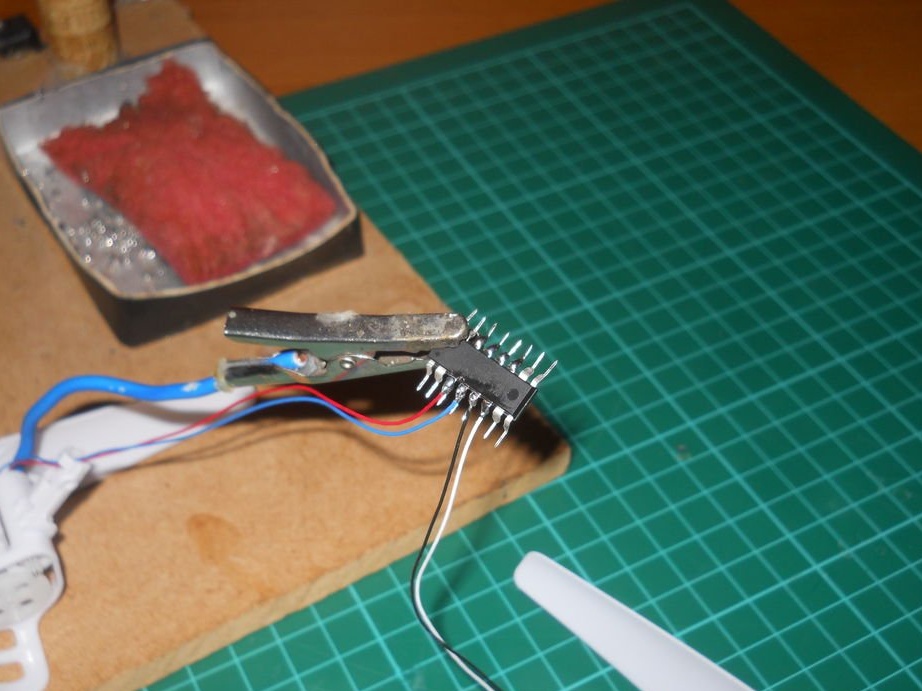
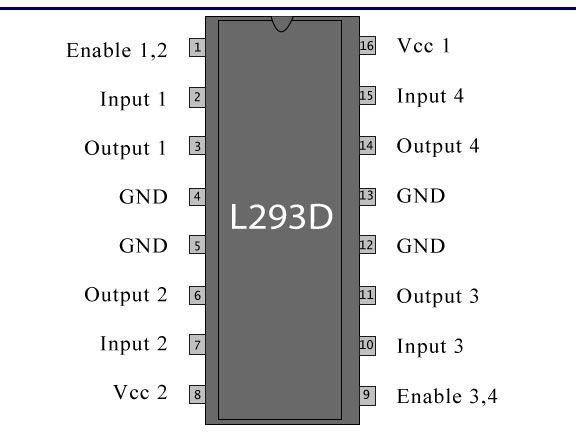
Now you need to solder all the cables from the motors to the L293D motor driver ICs. Look at the pictures, they say a lot more. You must connect the black and blue wires to ground and the positive wires to outputs 1-4. The L293D can control these motors, but the master recommends using power transistors, because this chip cannot work with all four motors at high power (more than 2 A).
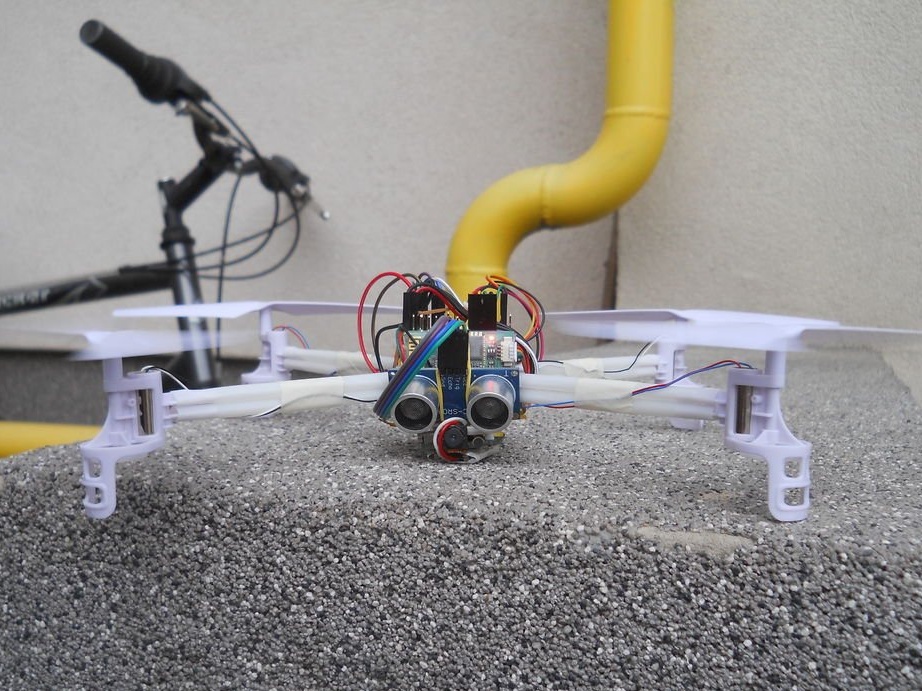
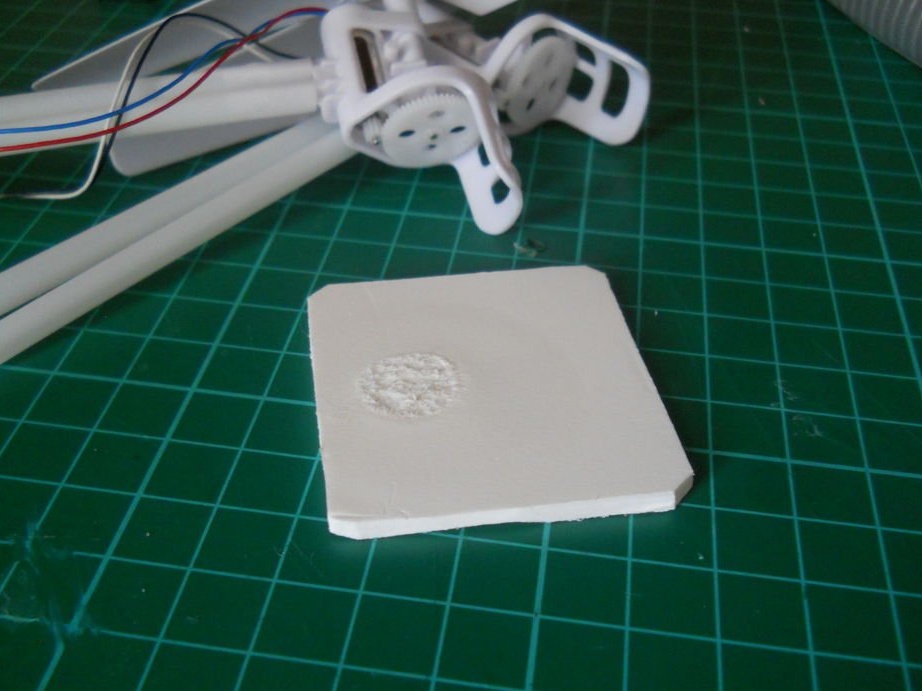
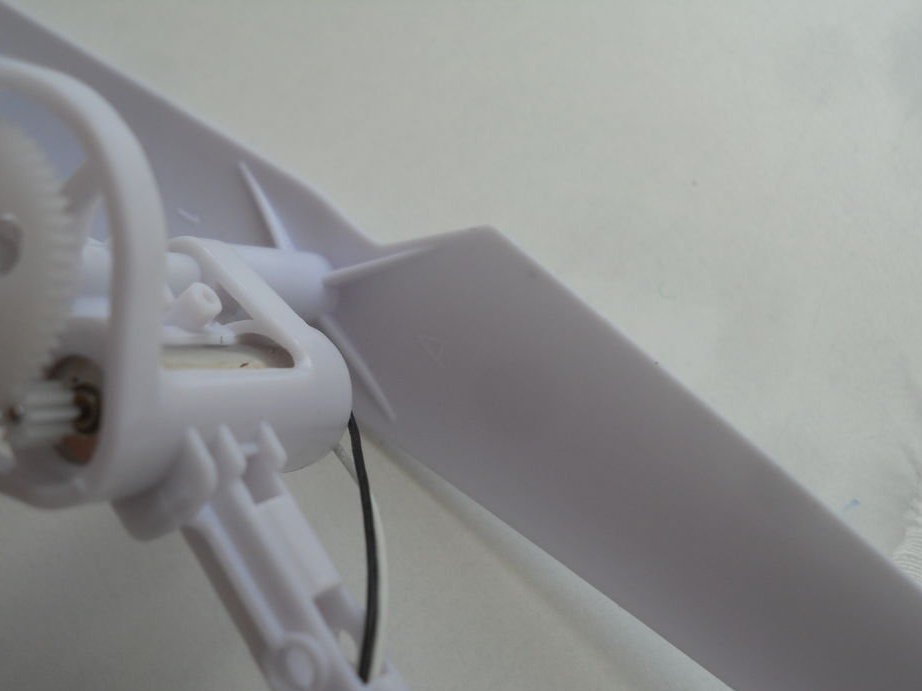
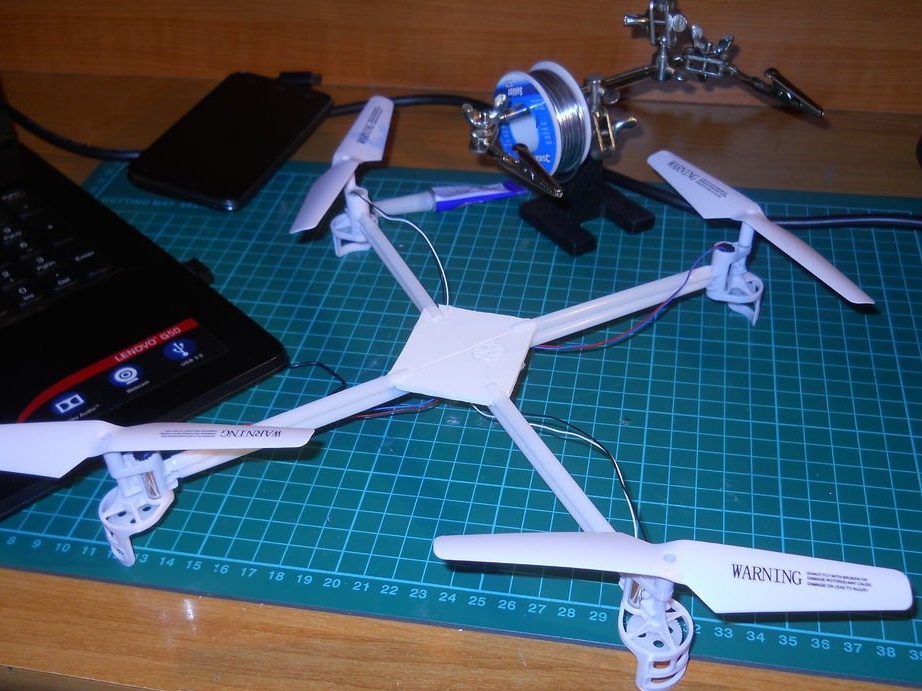
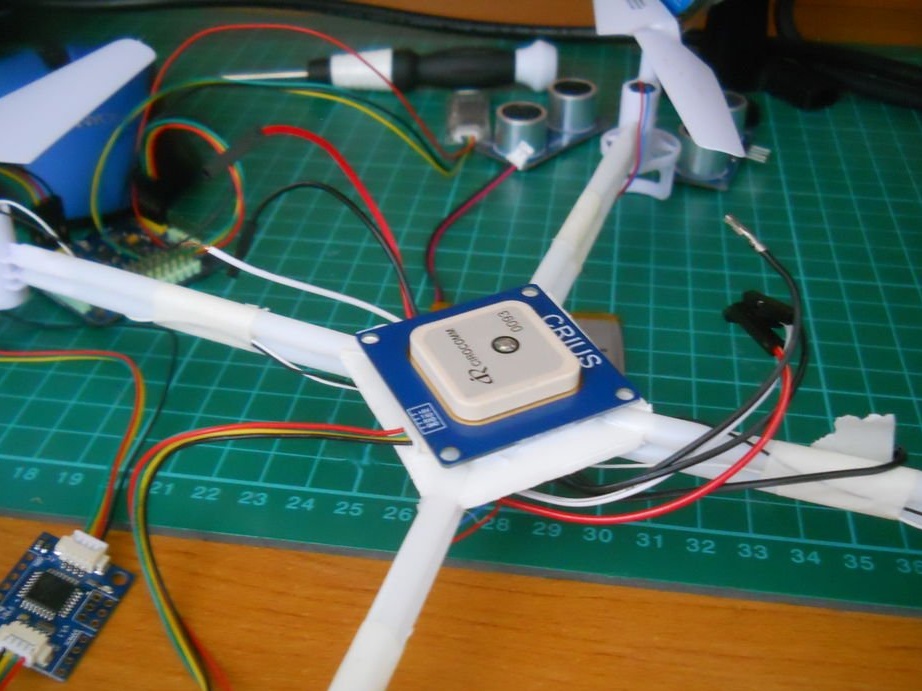
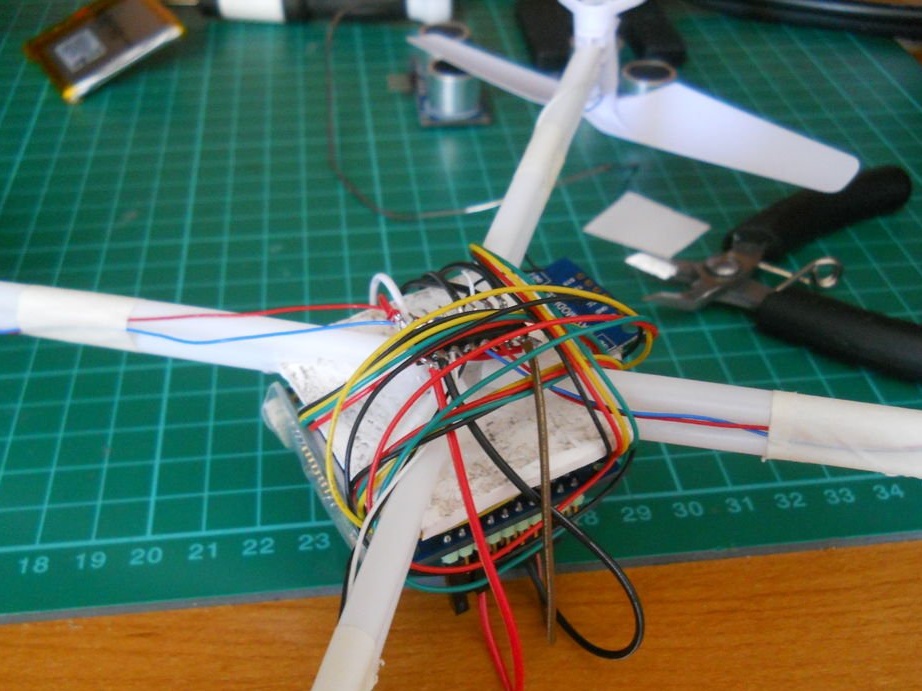
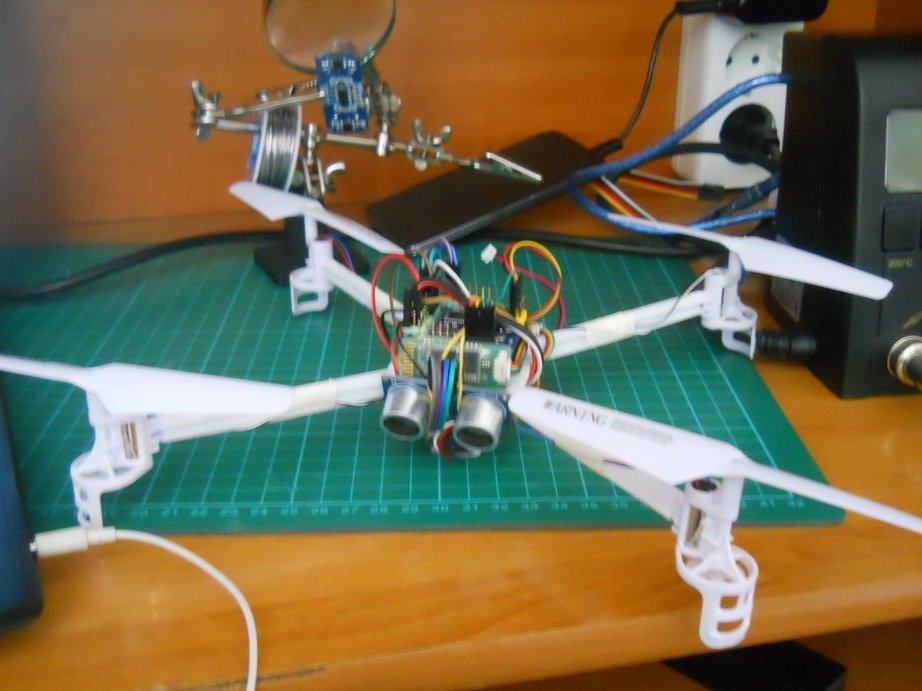
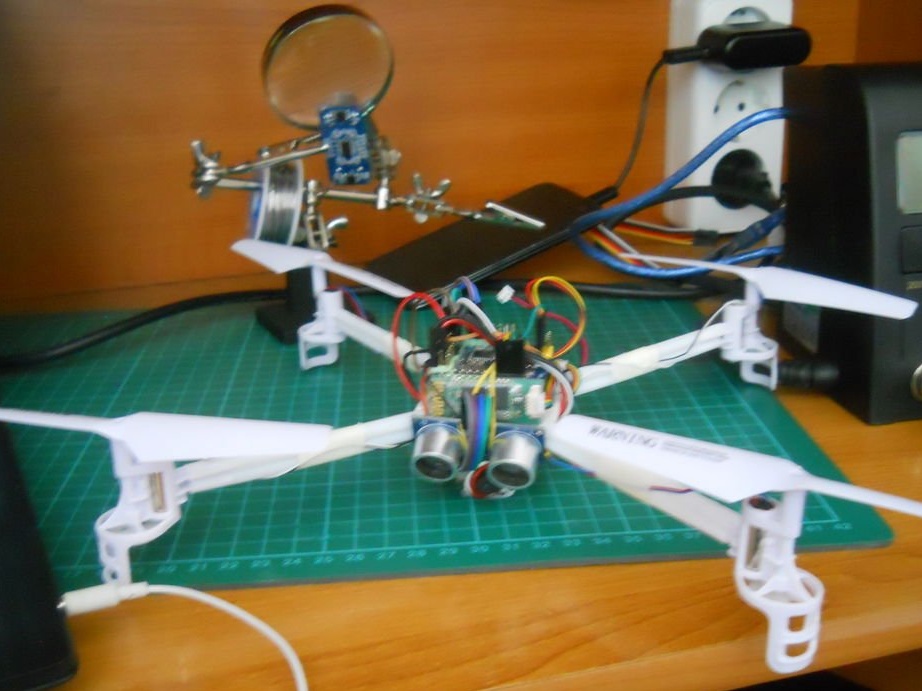
Step 6: Frame Assembly
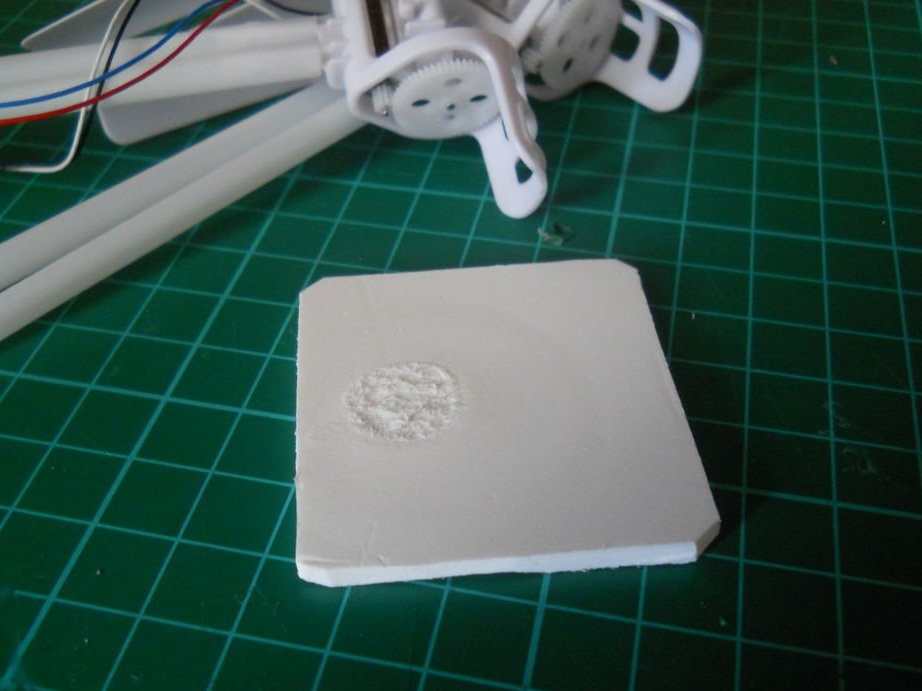

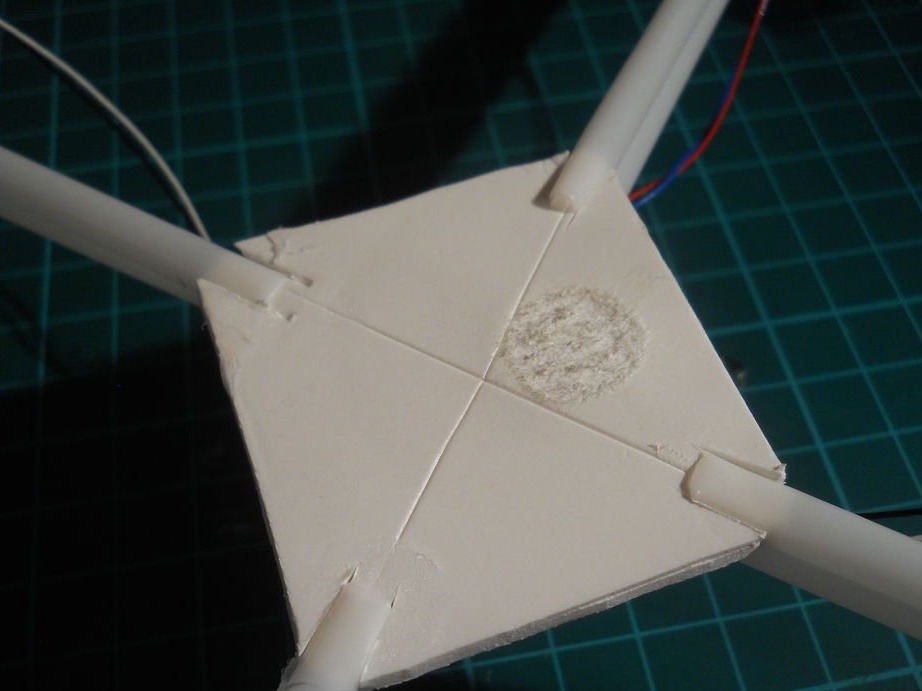
Please pay attention to the second picture, which shows how to equip propellers. Use sturdy straw straws from a cafe and a piece of plastic to assemble the frame. Use some hot glue and super glue for all four screws, then check the connections. It is very important that the propellers are at the same distance from each other.
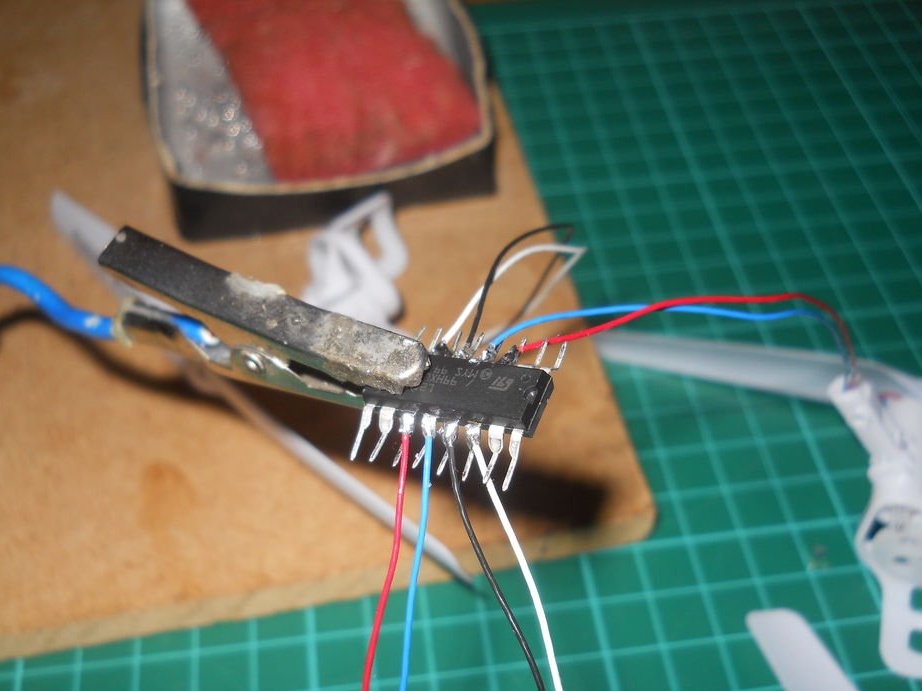
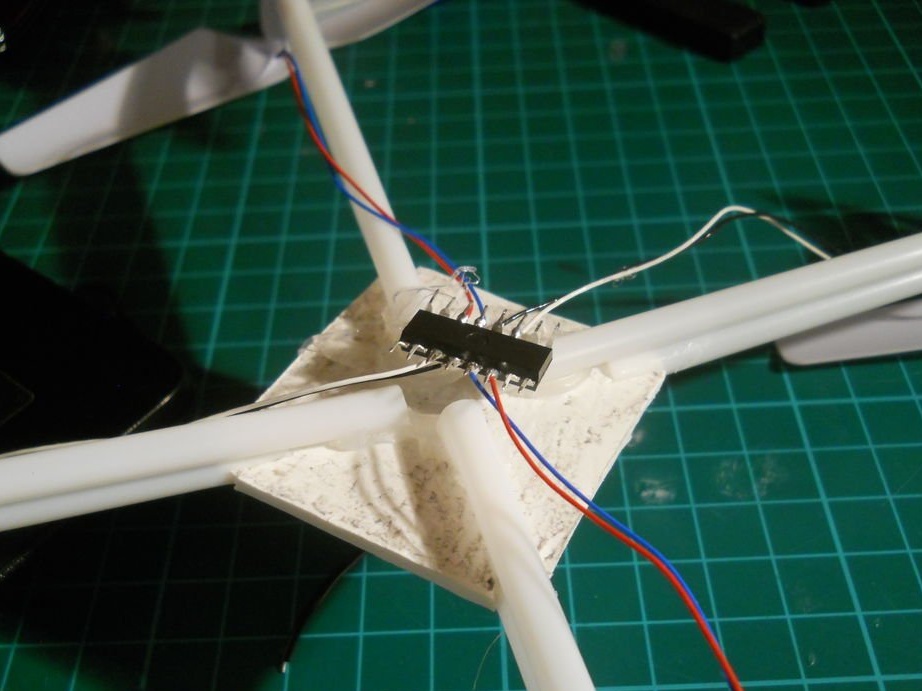
Step 7: Adding Wires to the L293D Driver


Solder the wires to the remaining contacts of the chip. This will help connect Arduino pins to the I / O. Now it's time to build the circuit.
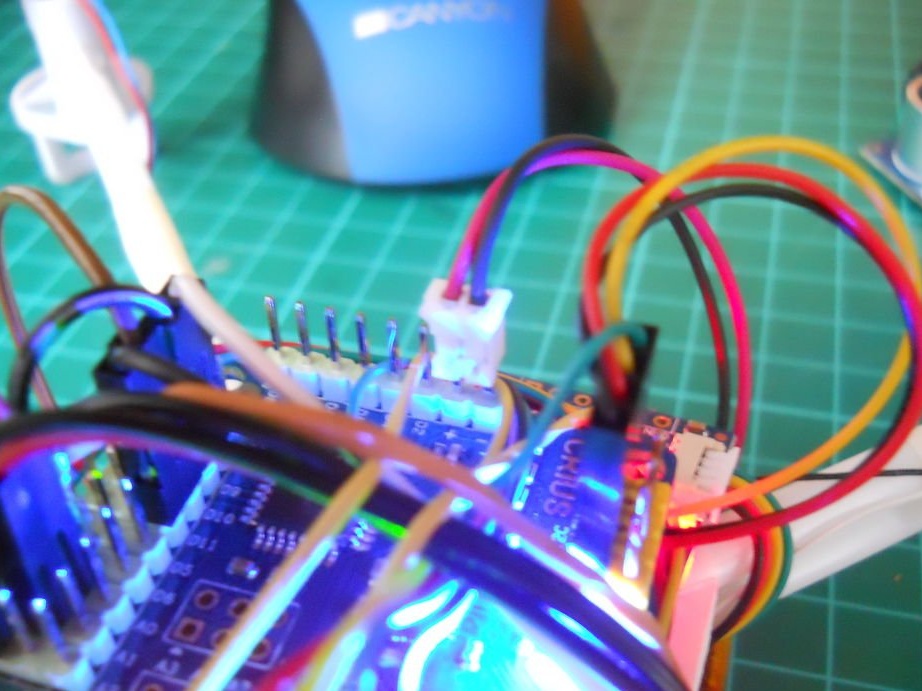
Step 8: Scheme
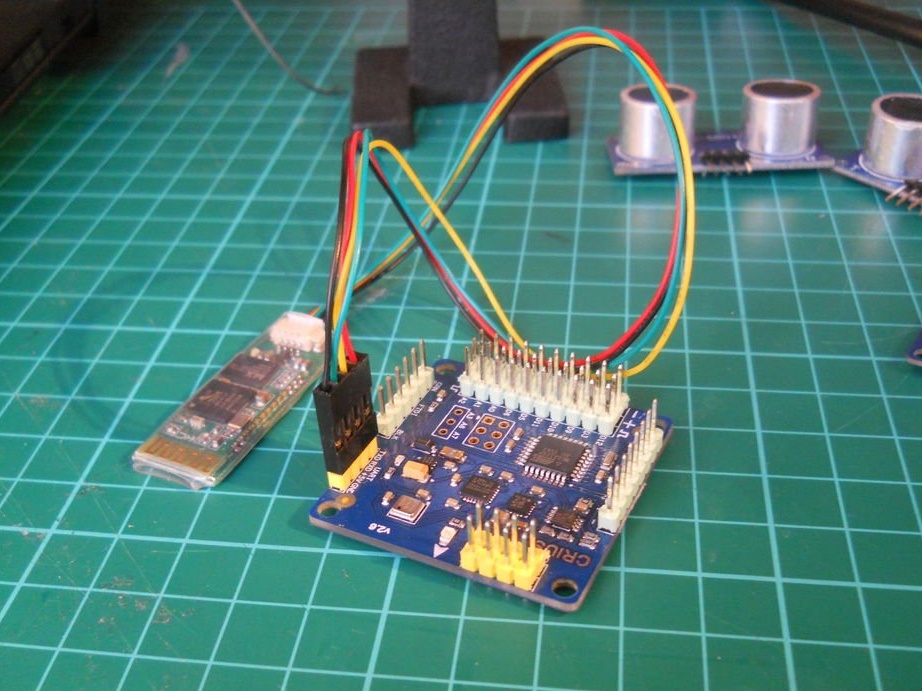
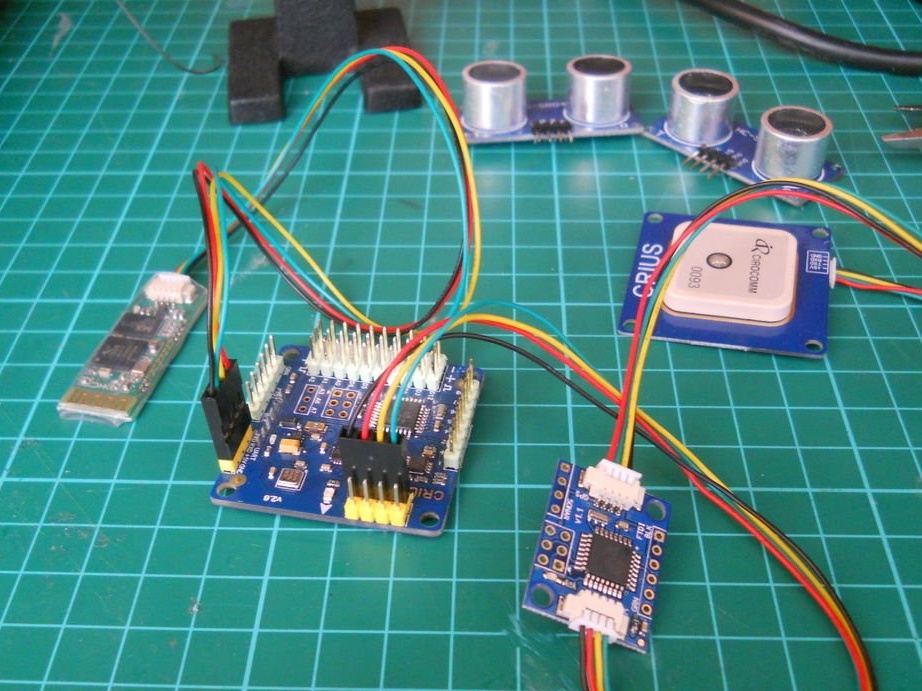
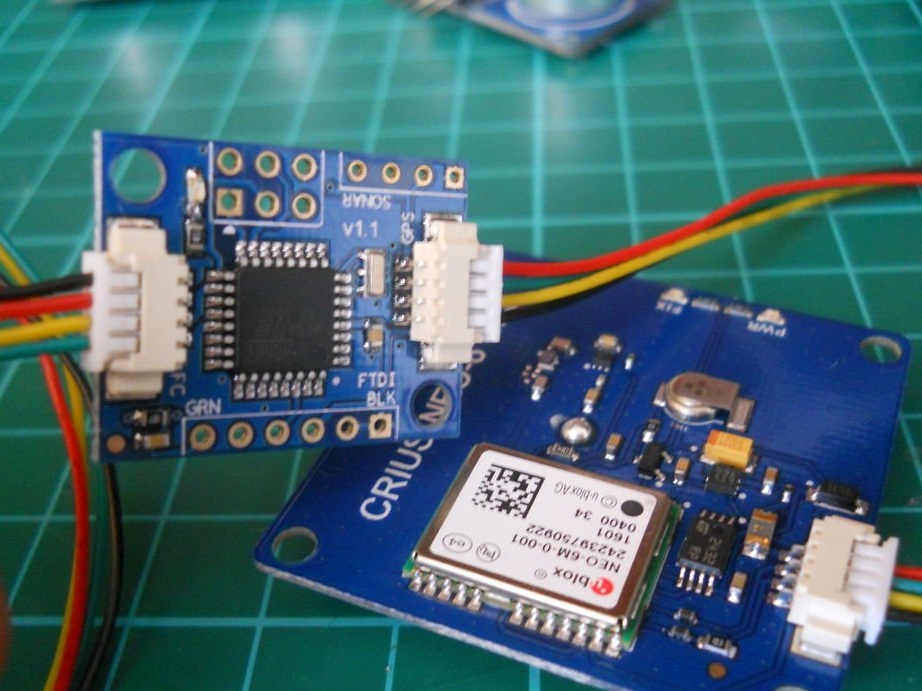
All modules are included in the flight controller kit, which the master ordered in advance, so you just need to connect them together. Bluetooth goes to the serial port, first GPS in the I2C converter, then in the I2C port. Now this scheme can be installed on your drone.
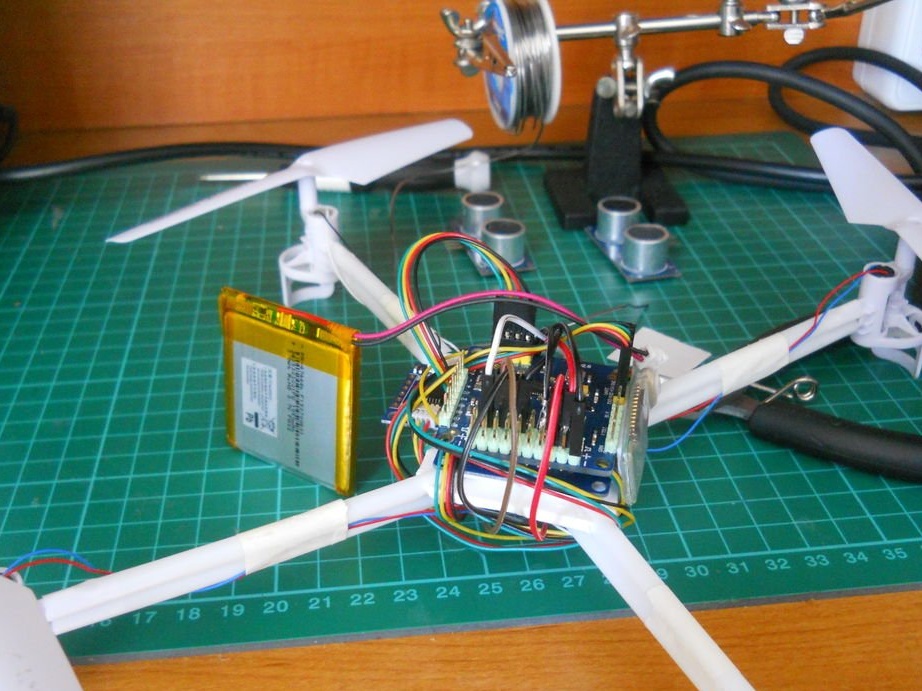
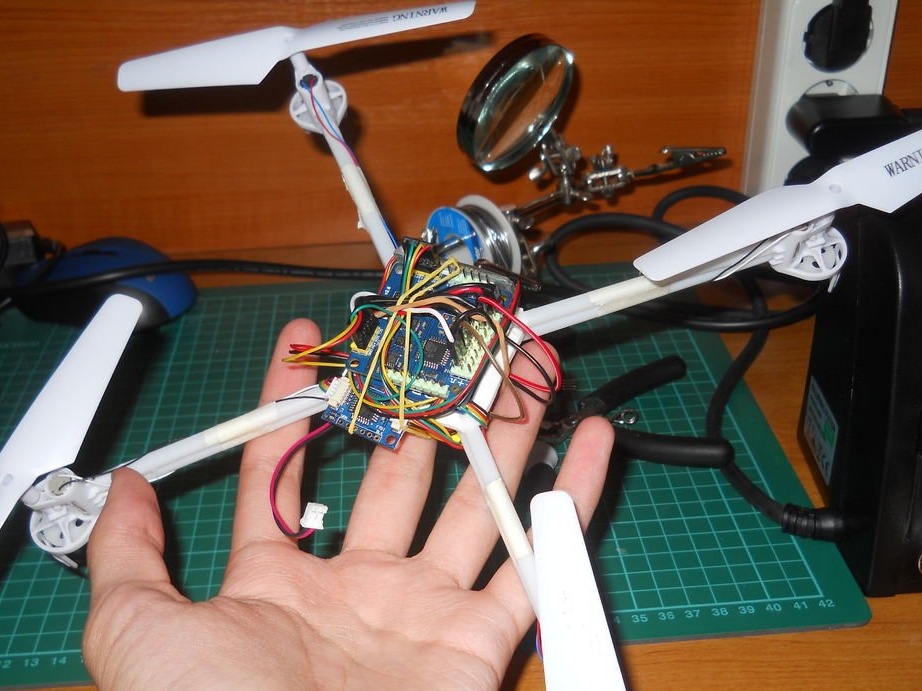
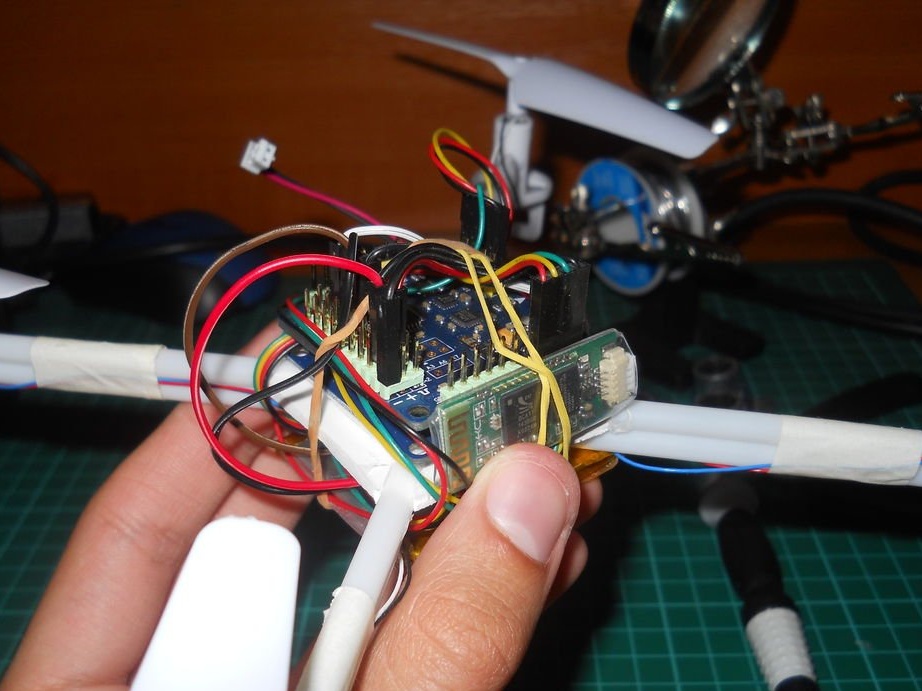
Step 9: Attaching the electrical circuit to the frame
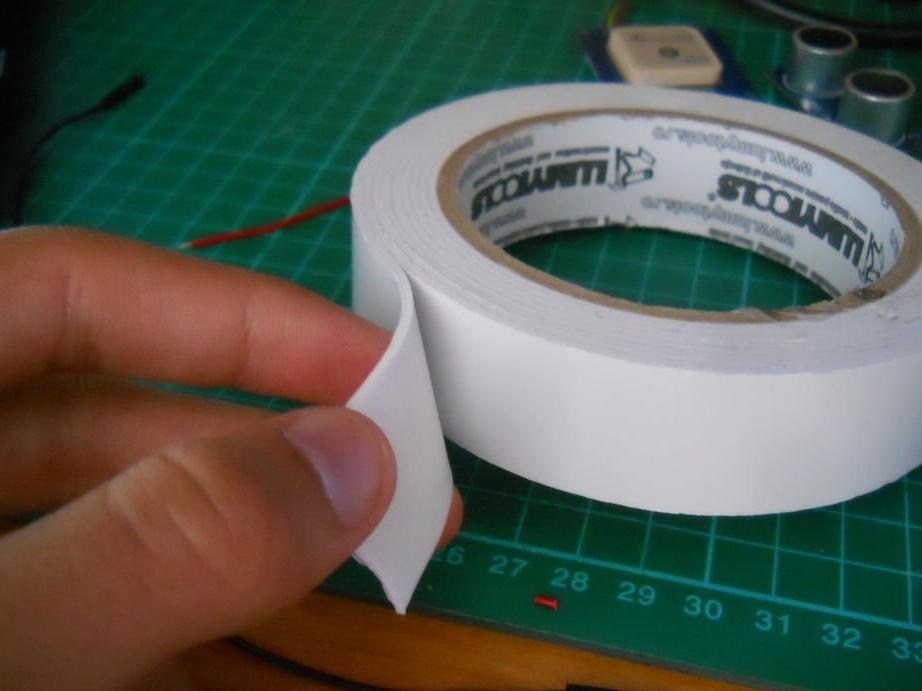
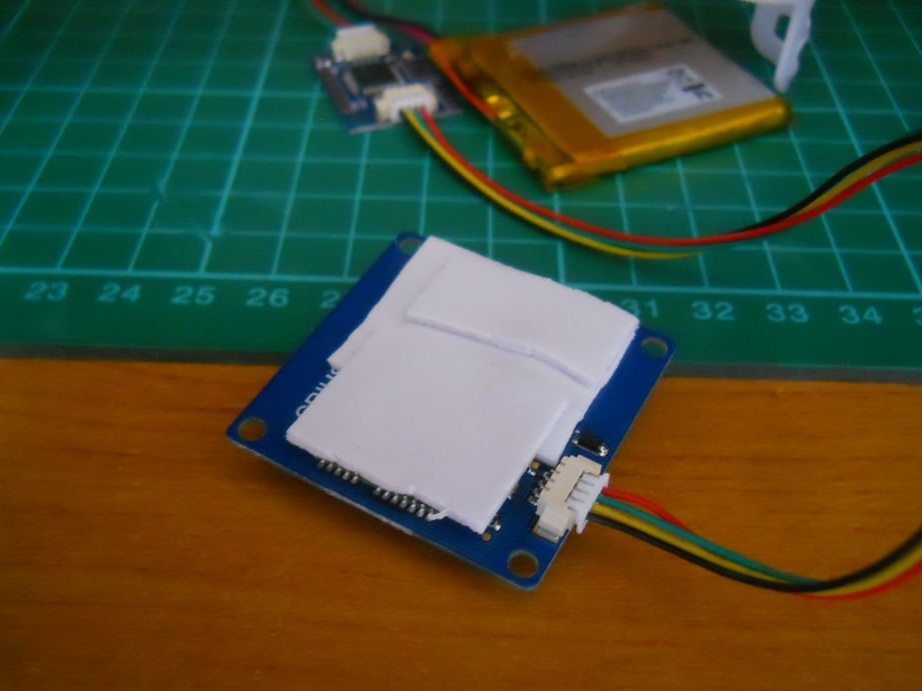
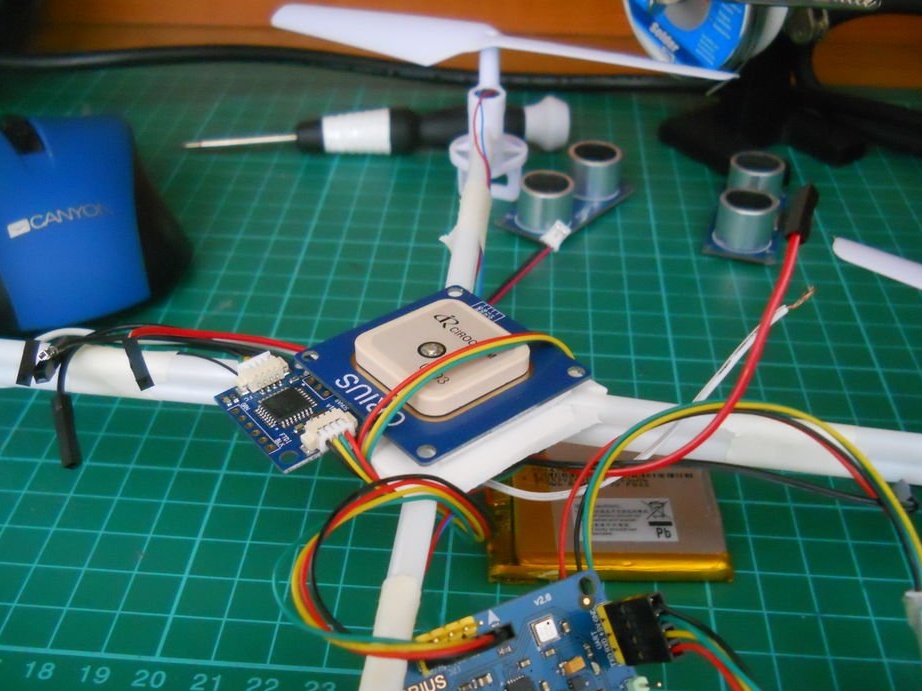
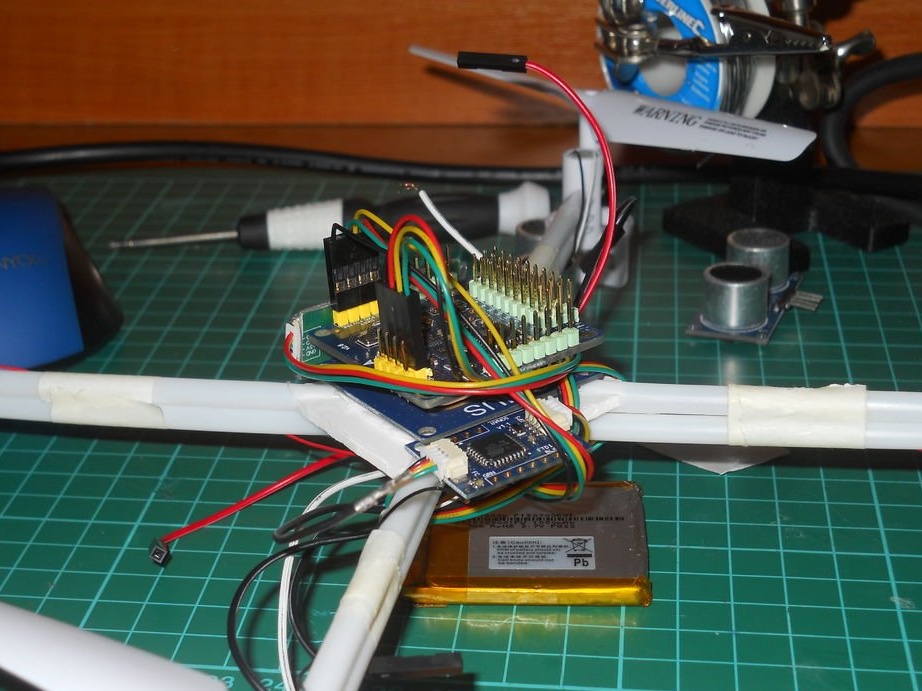
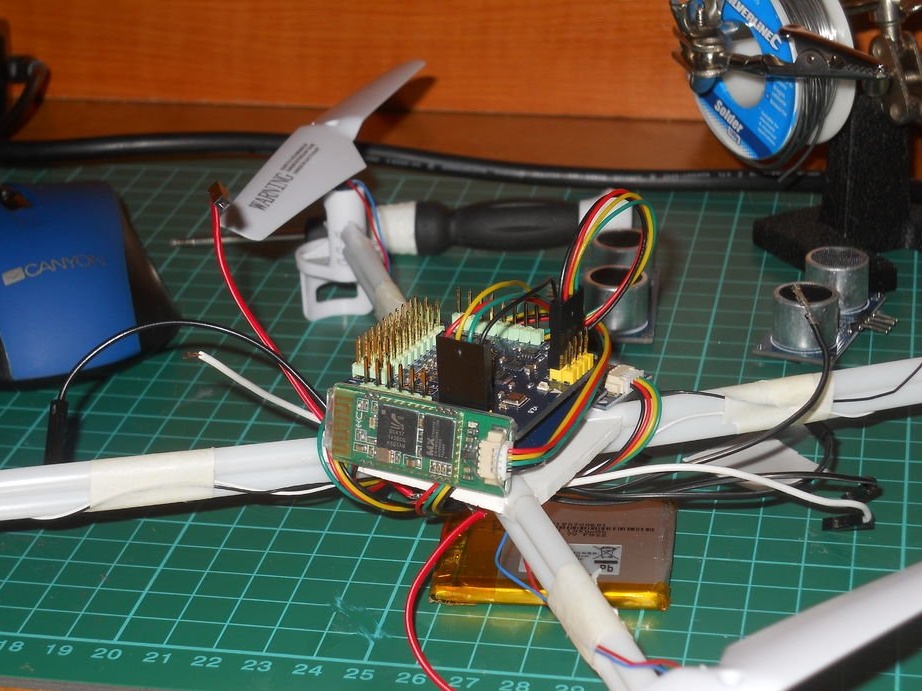
Use double-sided tape and add GPS first. This sponge tape holds everything in place, so glue each module one by one onto the plastic part. At the end, connect the motor drive contacts to the MultiWii.
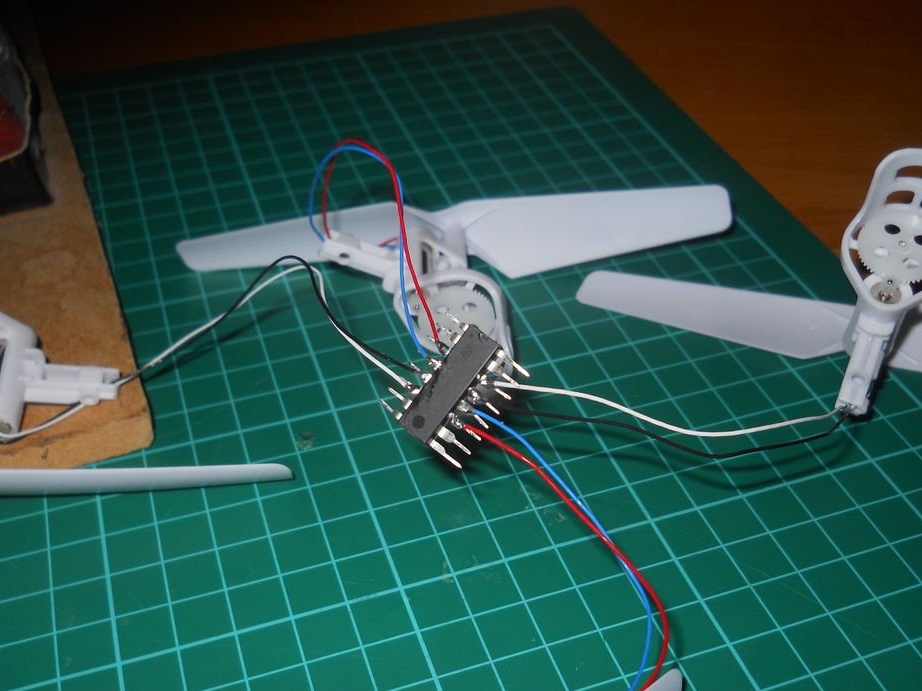
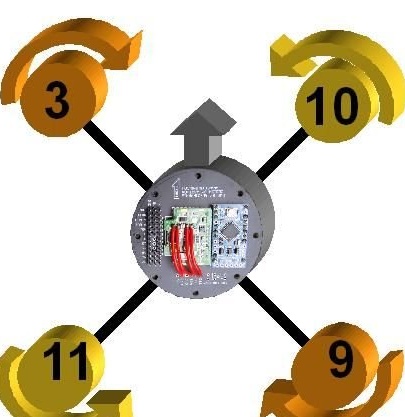
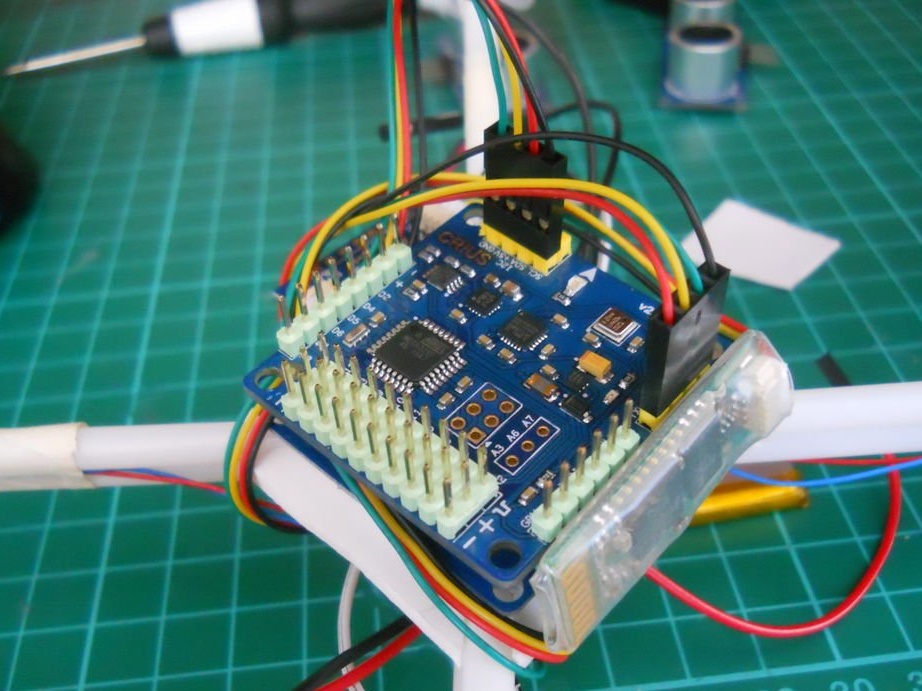
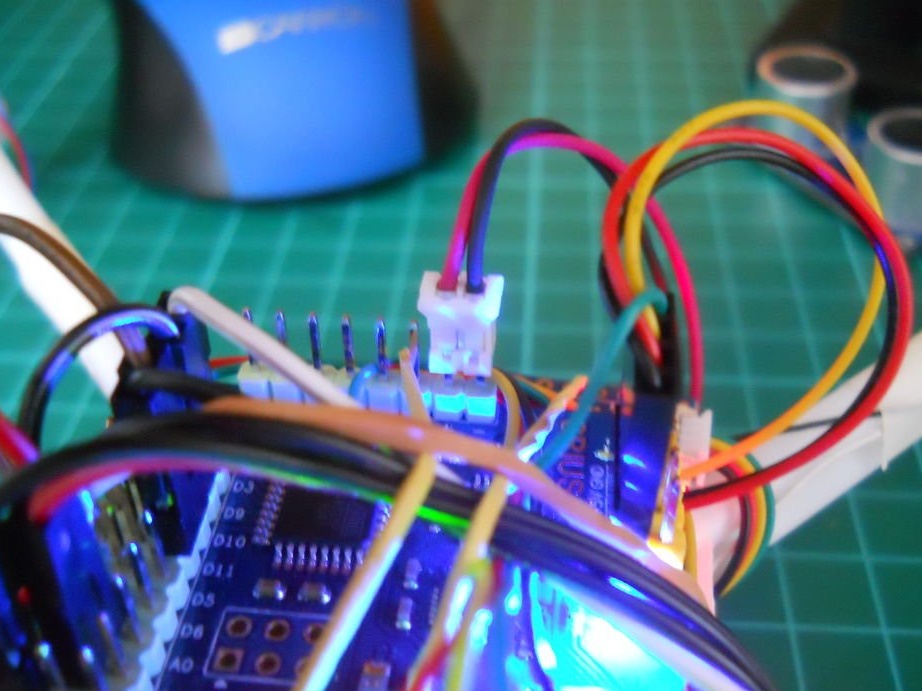
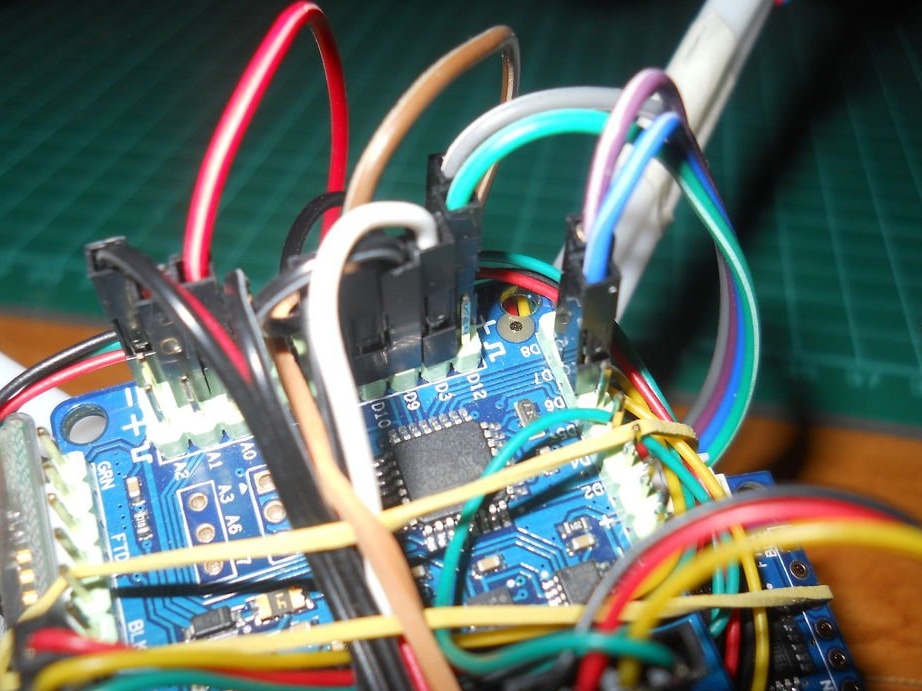
Step 10: Connect the Two Circuits
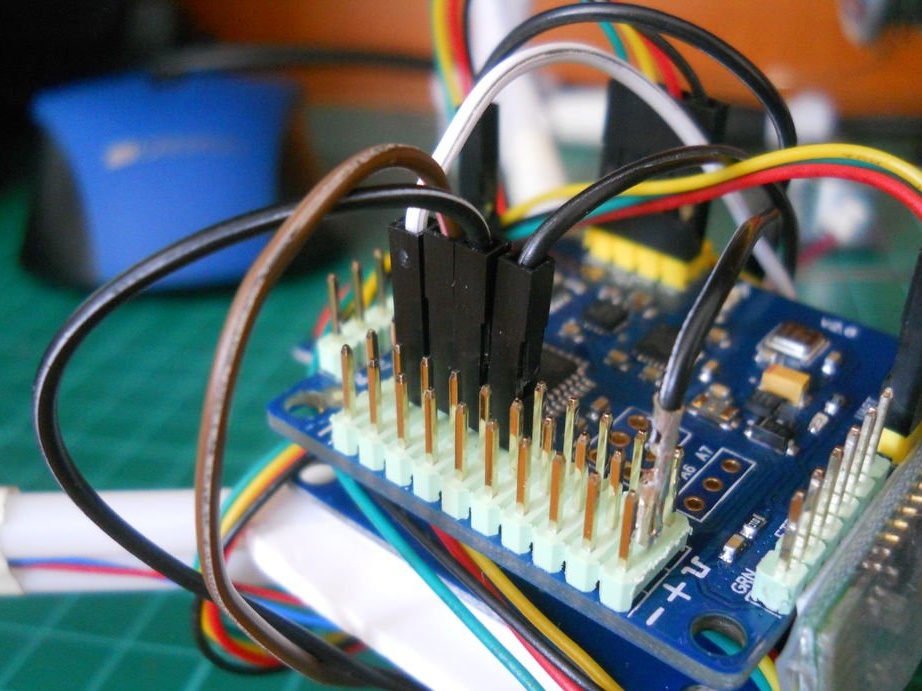

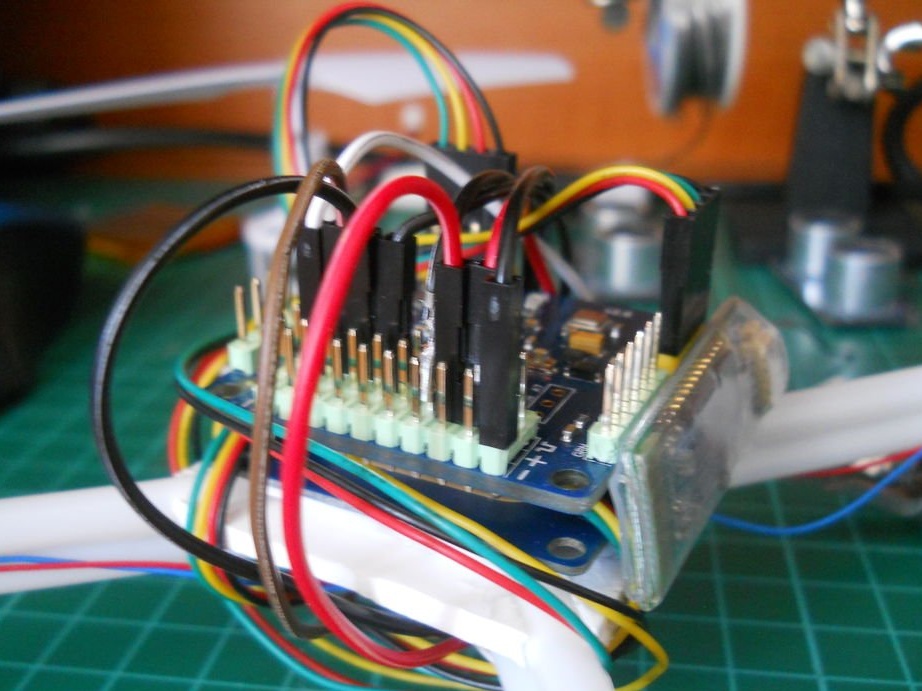
The input pins go to D3, D9, D10, D11, the rest must be connected to the VCC + and GND pins.
Step 11: Battery ...
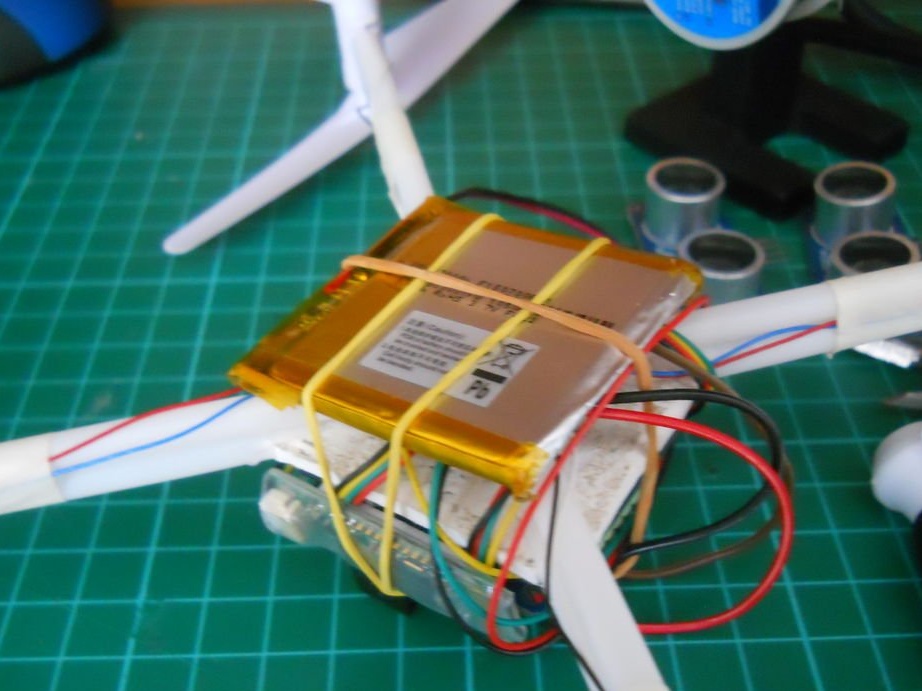
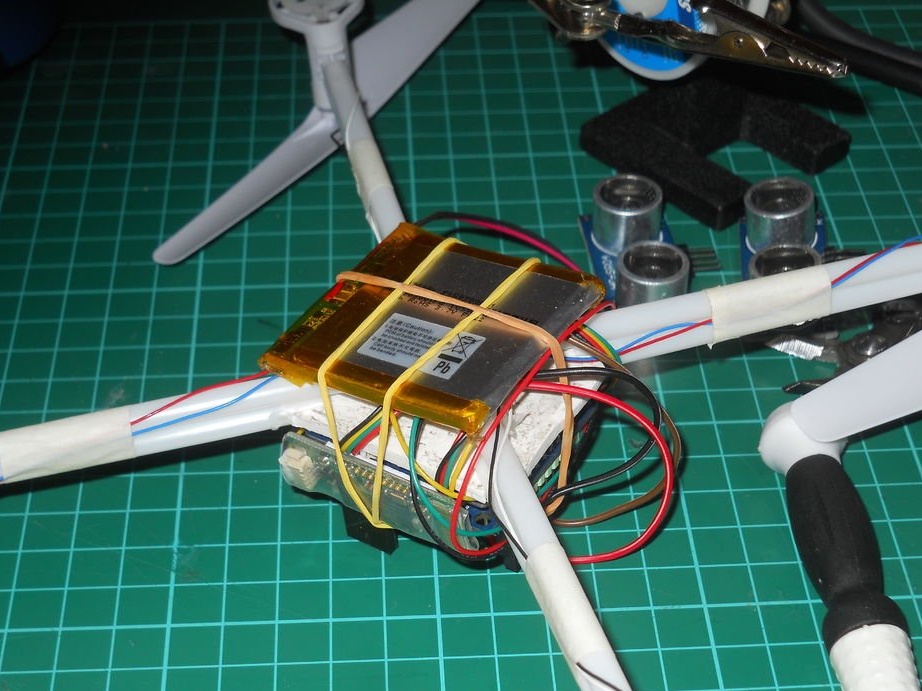
The master used several rubber bands to attach the battery to the drone. Holds pretty tight.
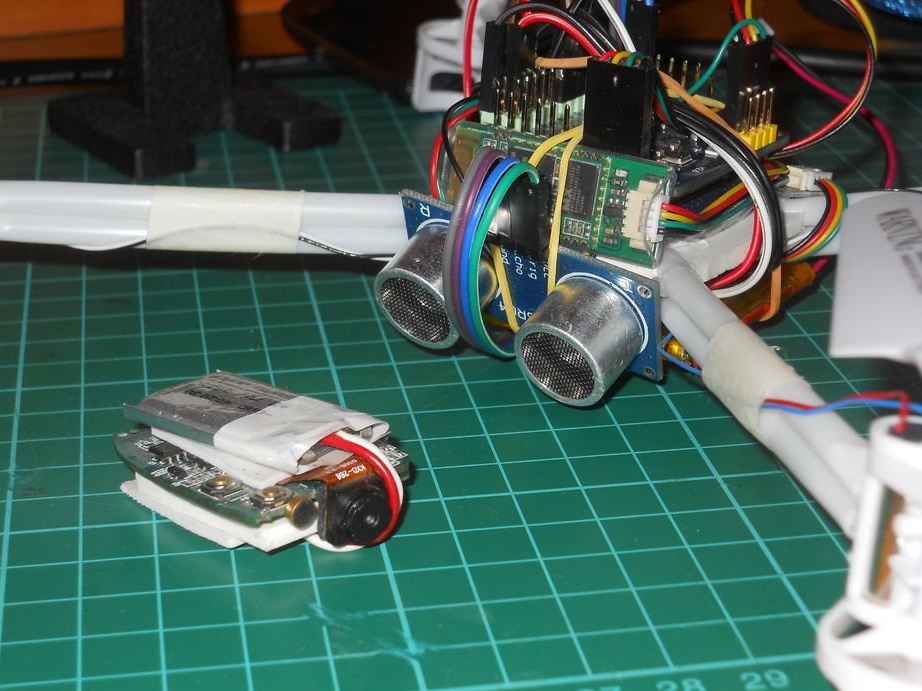
Step 12: Ultrasonic Sensor

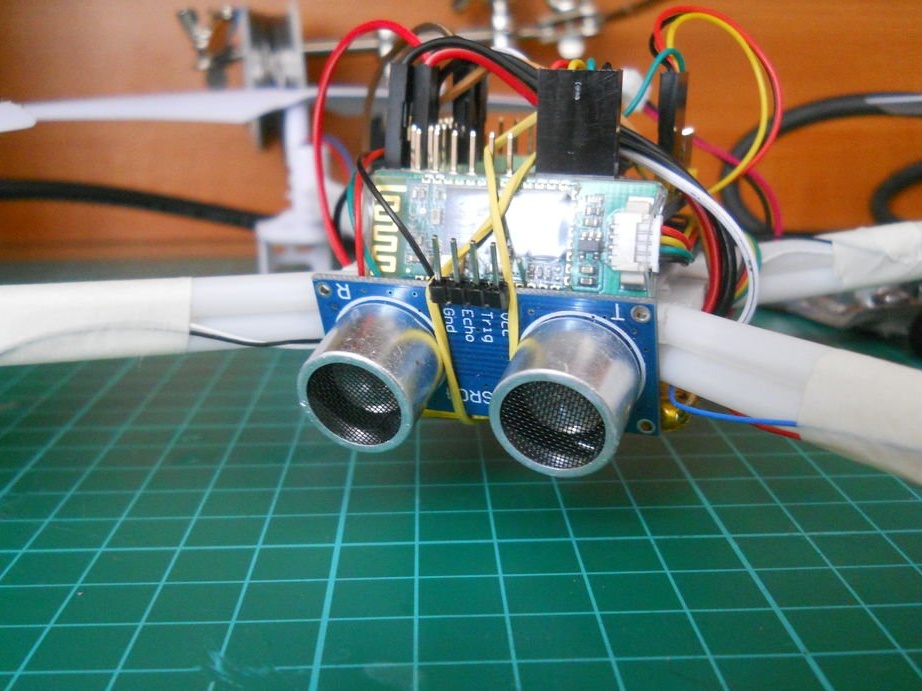
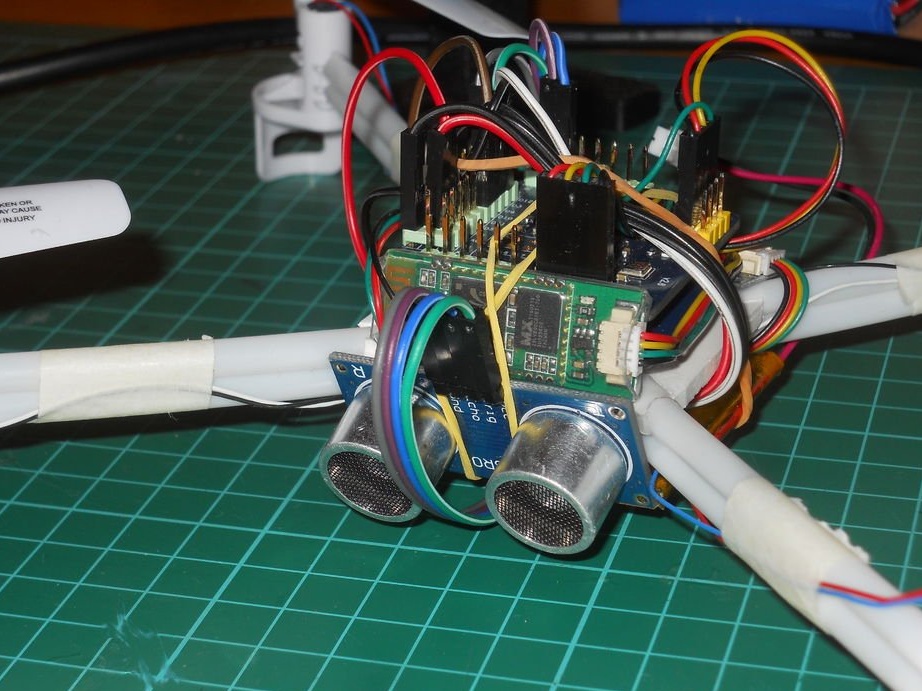
The sonar sensor is mounted on the drone with a rubber band and connected to pins D7 and D6 of the MultiWii controller.
Step 13: Chip Programming
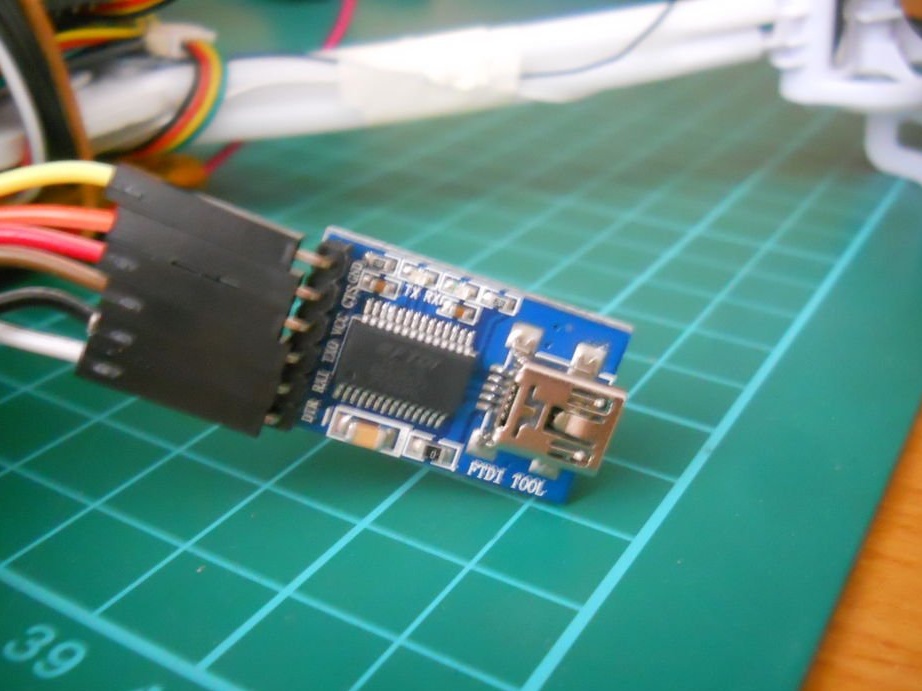
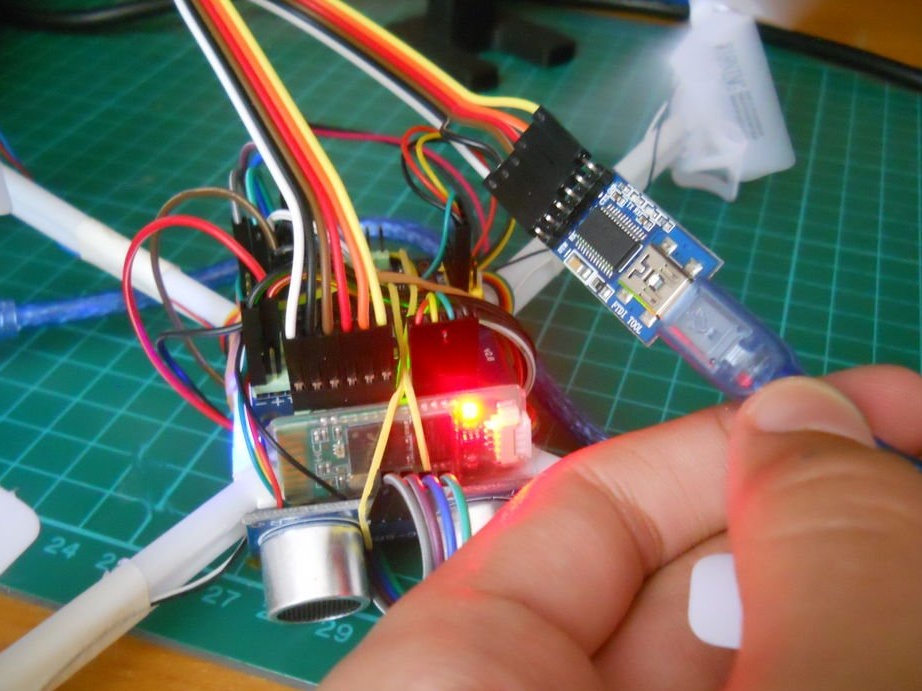
You must use the Serial FTDI module to program the chip. The chip set includes a programmer module.
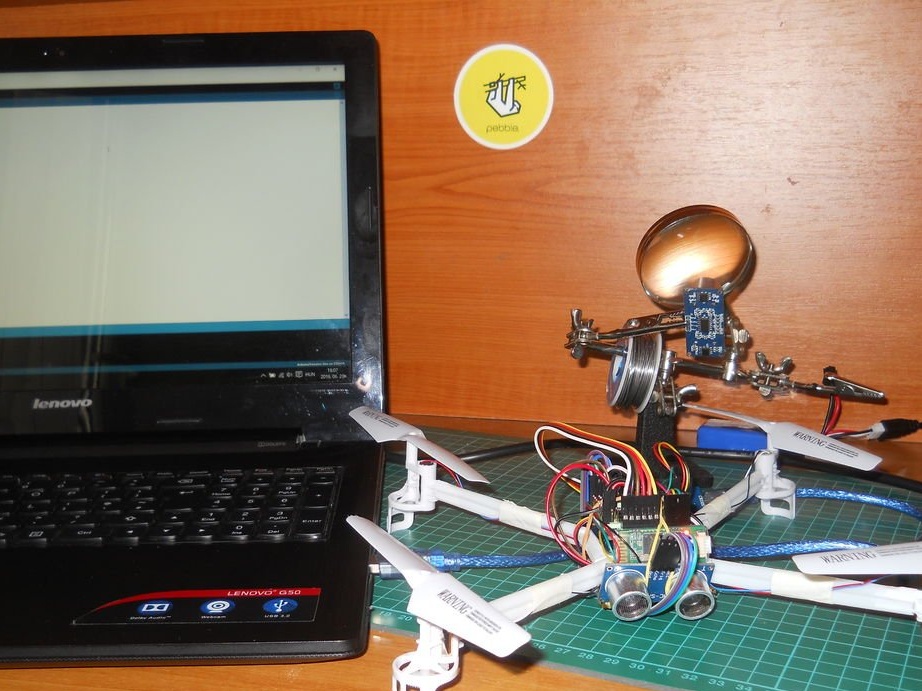
Step 14: Software
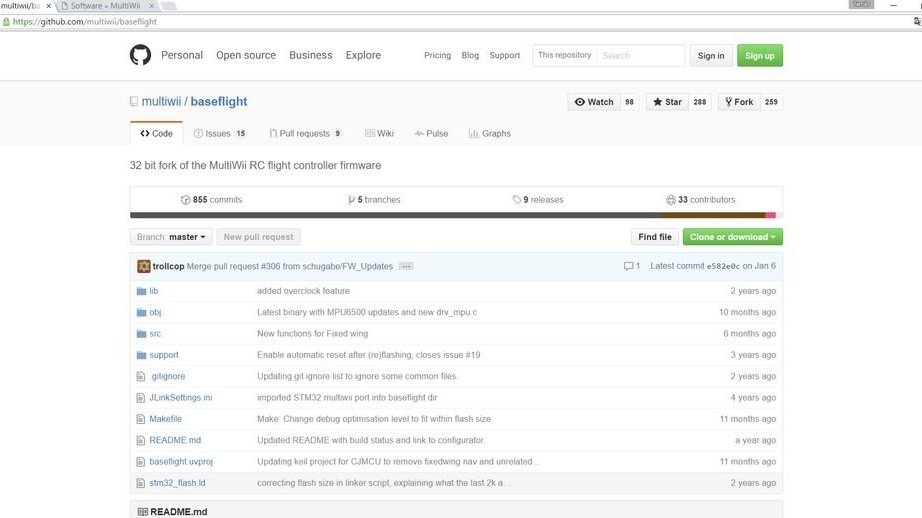
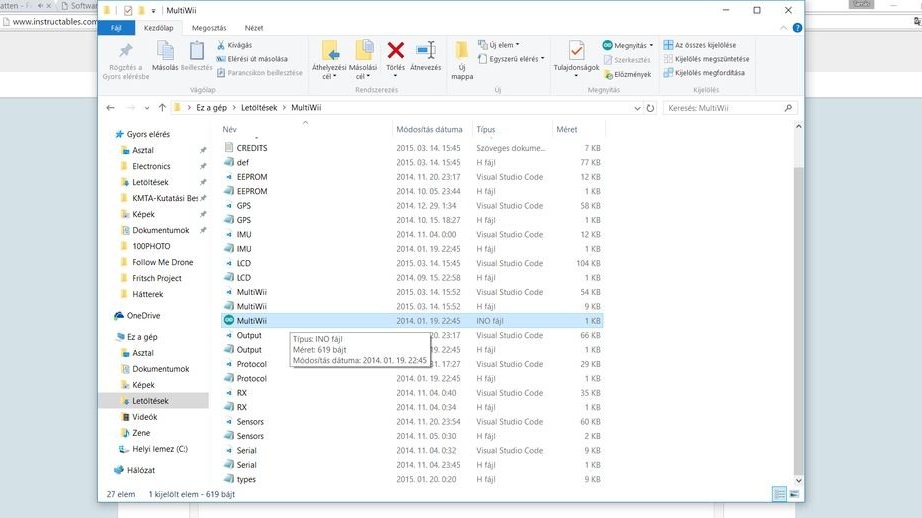
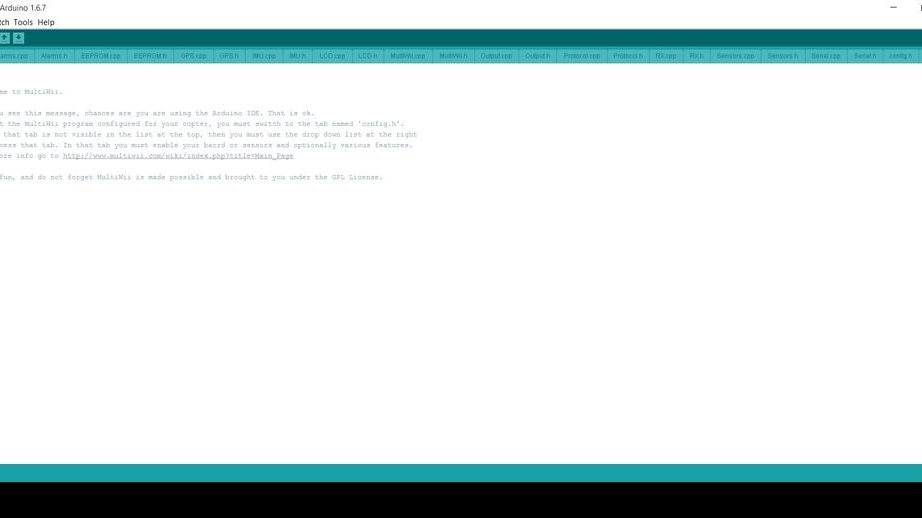
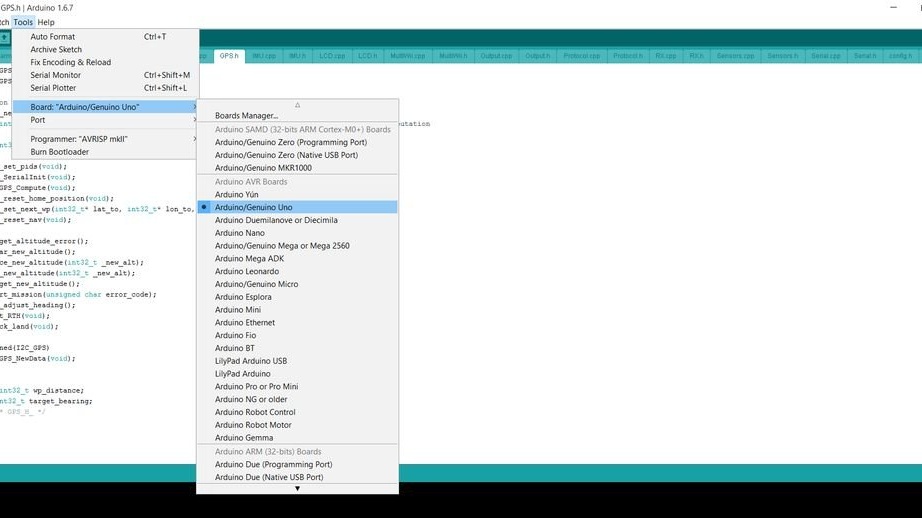
The wizard does not know whether the software is loaded onto the chip or not, but here he explains what to do. First download the official MultiWii library to your computer. Extract the .zip file, then open the MultiWii.ino file. Select “Arduino / Genuino UNO” and download it to your chip. Now your microcontroller has all the predefined functions. Gyroscope, light, Bluetooth and even a small LCD (which is not used in this project) works with the downloaded code. But this code can only be used to verify the functionality of the modules. Try to tilt the drone and you will see that the motors will rotate due to the gyrosensor. We should change the controller code so that the drone follows the phone.
If you can program the Arduino or follow the instructions of the wizard, you can create your own drone that will follow you everywhere.
Github - link to software
Step 15: Change the Code
The master had to change the sensor and controller code, which gave hints for ATMega328, but now the Bluetooth module gives out three GPS coordinates, and depending on them the drone moves.
Attachments
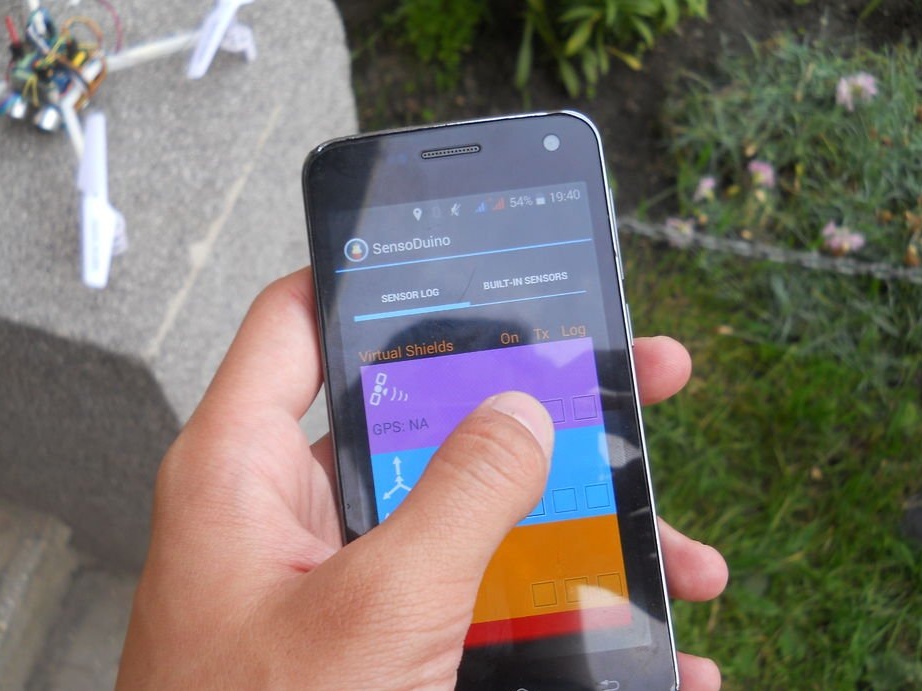
Step 16: Phone App
The wizard used the SensoDuino application, which can be downloaded from the Google Play Market. Connect to the drone via Bluetooth and enable GPS TX and data logging. After that, the phone application is ready.
Step 17: Camera

As a camera used cheap Chinese camera. This camera was used in many projects of the master and always showed excellent results. It weighs only 15 g and can shoot a good video.
Step 18: Testing ...
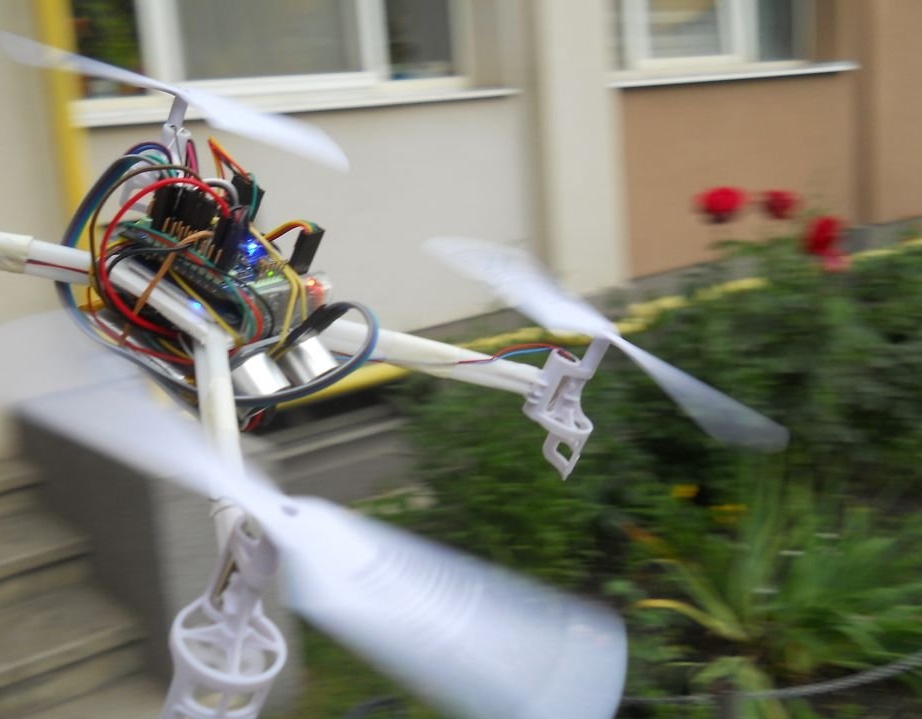
The connection distance was about 8 m, which is more than enough for a drone like this.