
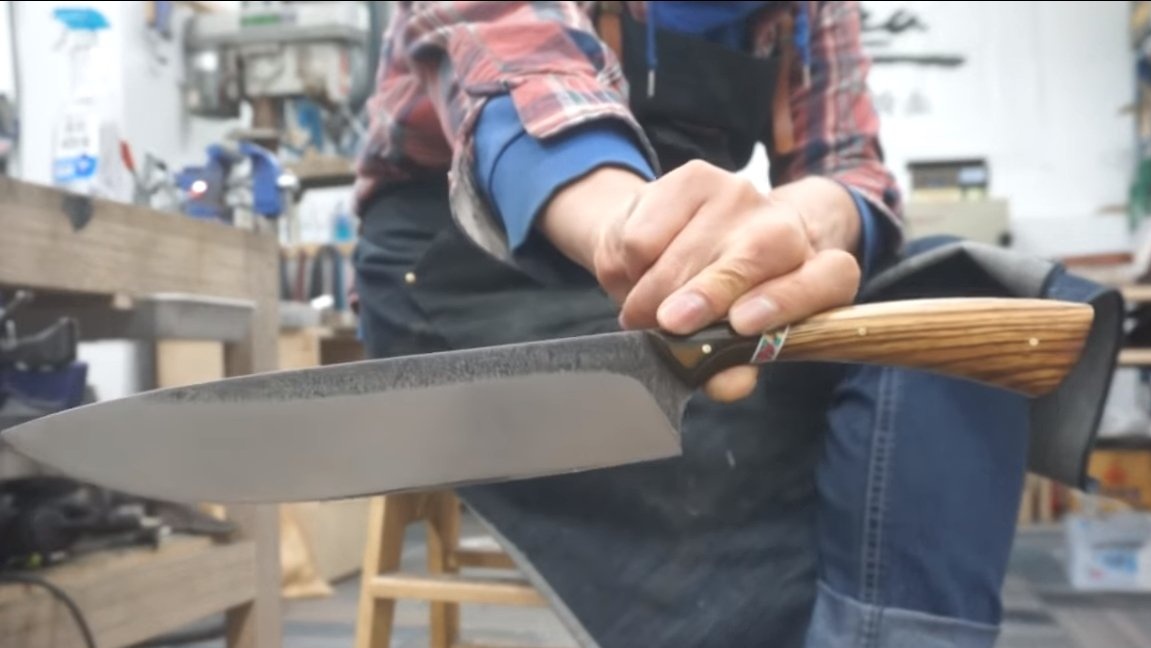
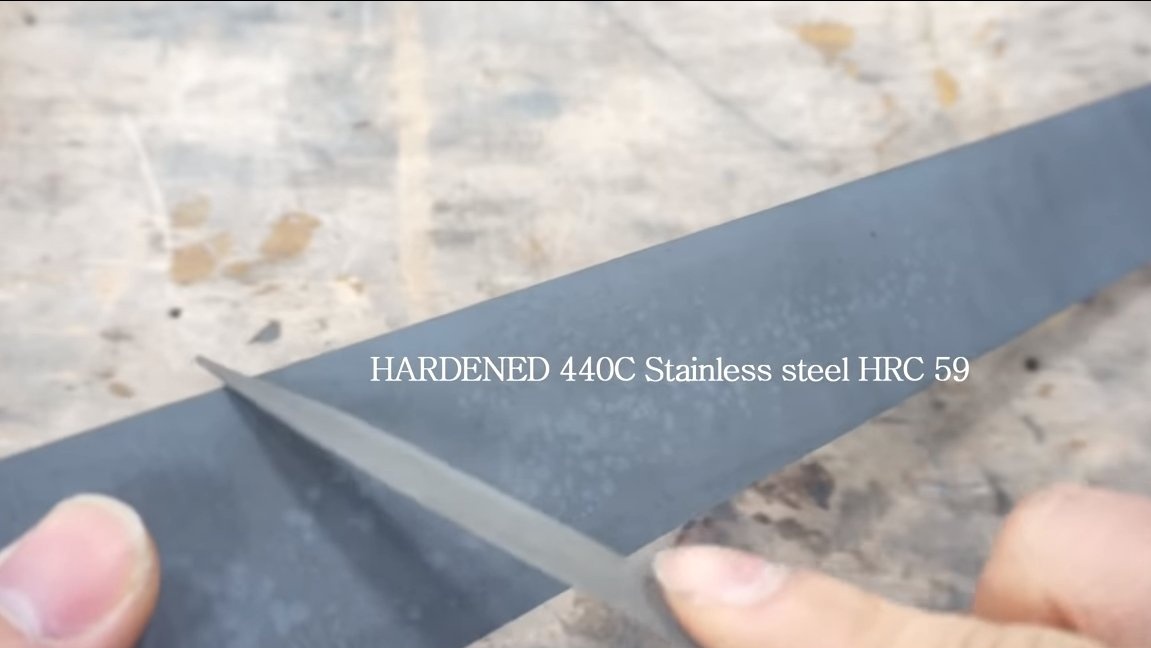
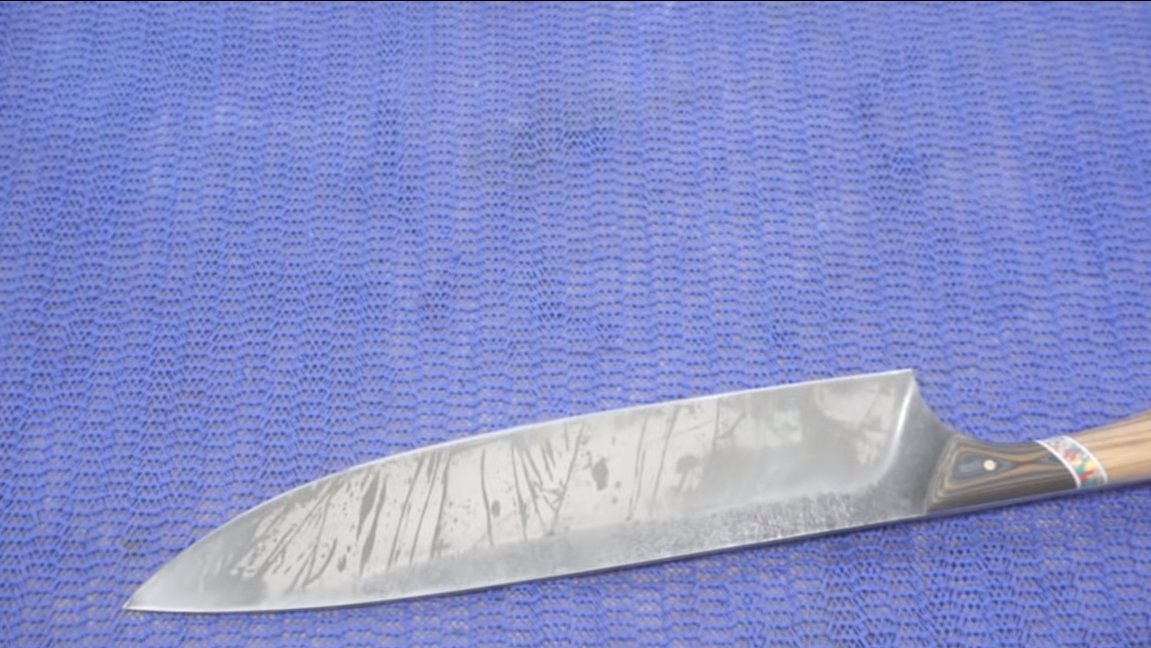
I welcome fans to work with steel. I present for consideration a kitchen knife, which any cook will be happy with. The knife is made of 440C hardened steel, which has a hardness of 59 HRC. Such a knife will remain sharp for a long time, even if it cuts something solid, it will be able to cut even nails. It is not difficult to make a knife, but work with already hardened steel includes some of the nuances of manufacturing. The handle is made of combined materials and looks pretty interesting. Of course, such a knife is a fairly professional tool and you can’t throw it into the sink, like cheap stainless steel knives, but working with it is a pleasure. If you are interested in the project, I suggest that you familiarize yourself with it in more detail!
Materials and tools used by the author:
Material List:
-;
- wood for the handle;
- or another (for inserts);
- epoxy adhesive;
- brass rods for pins;
- oil, wax (or other impregnation for the handle).
Tool List:
- files;
- tape cutting machine;
- sandpaper;
- belt sander;
- drill or drilling machine;
- ;
- clamps;
- Bulgarian.
The process of making a knife:
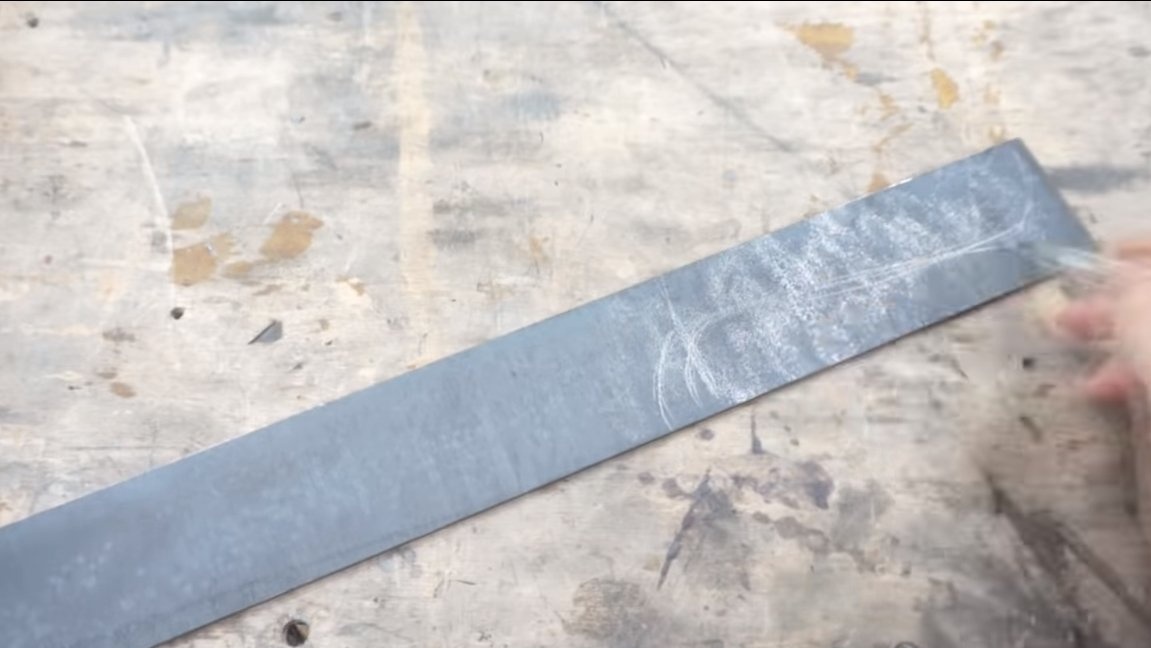
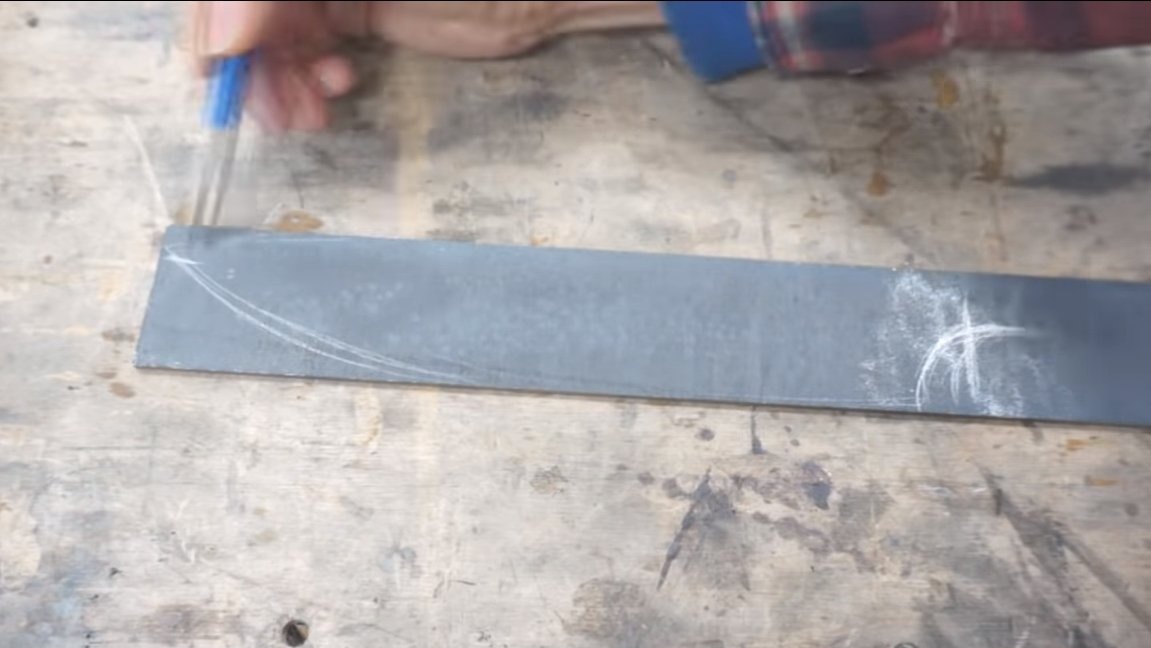
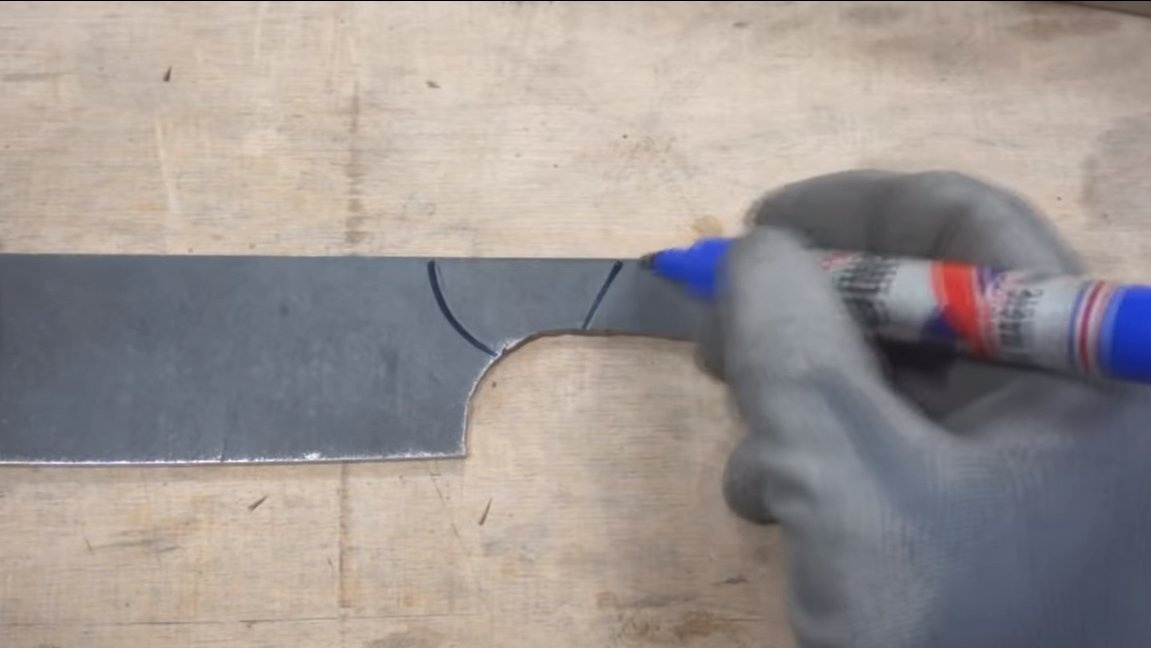
Step one. Cut profile
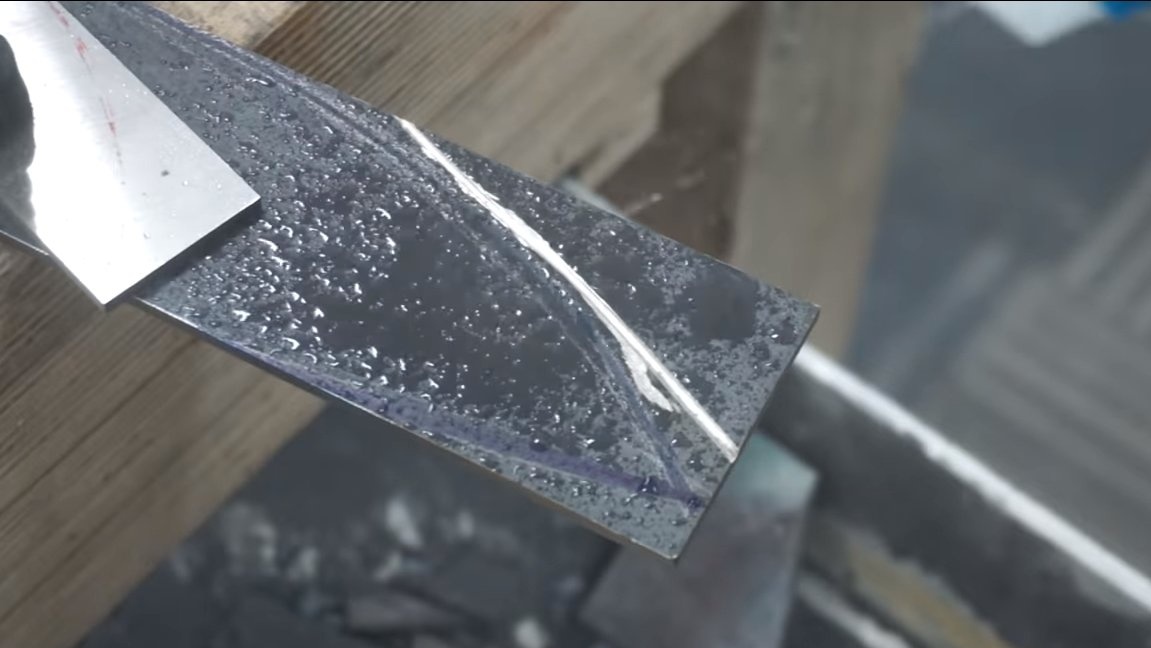
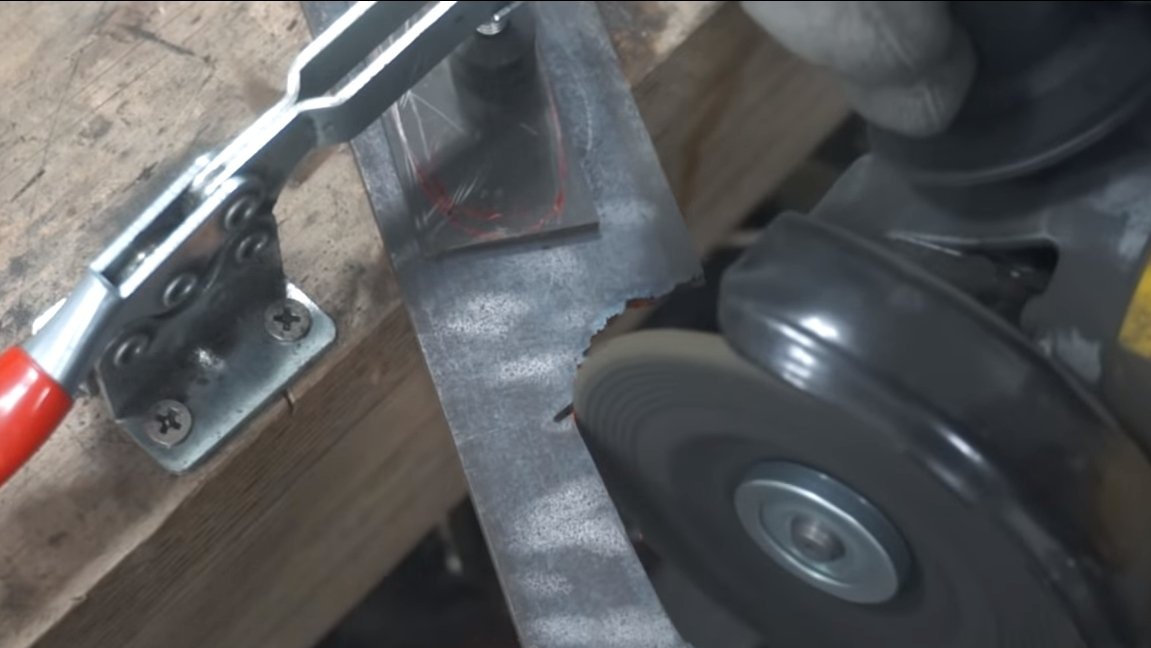
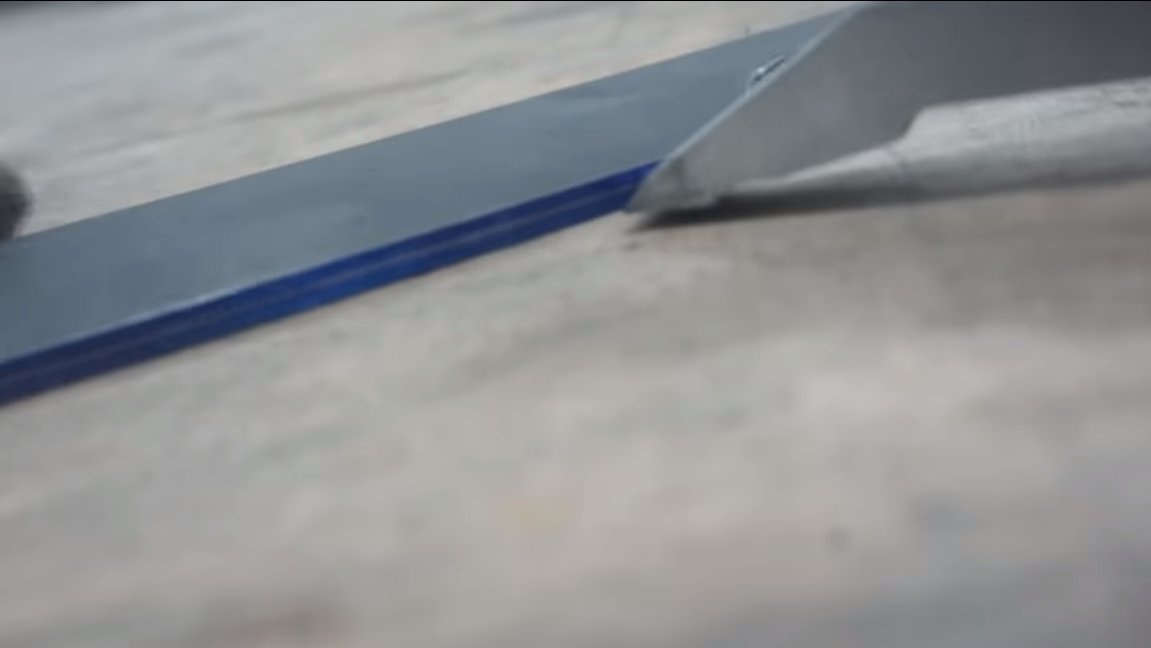
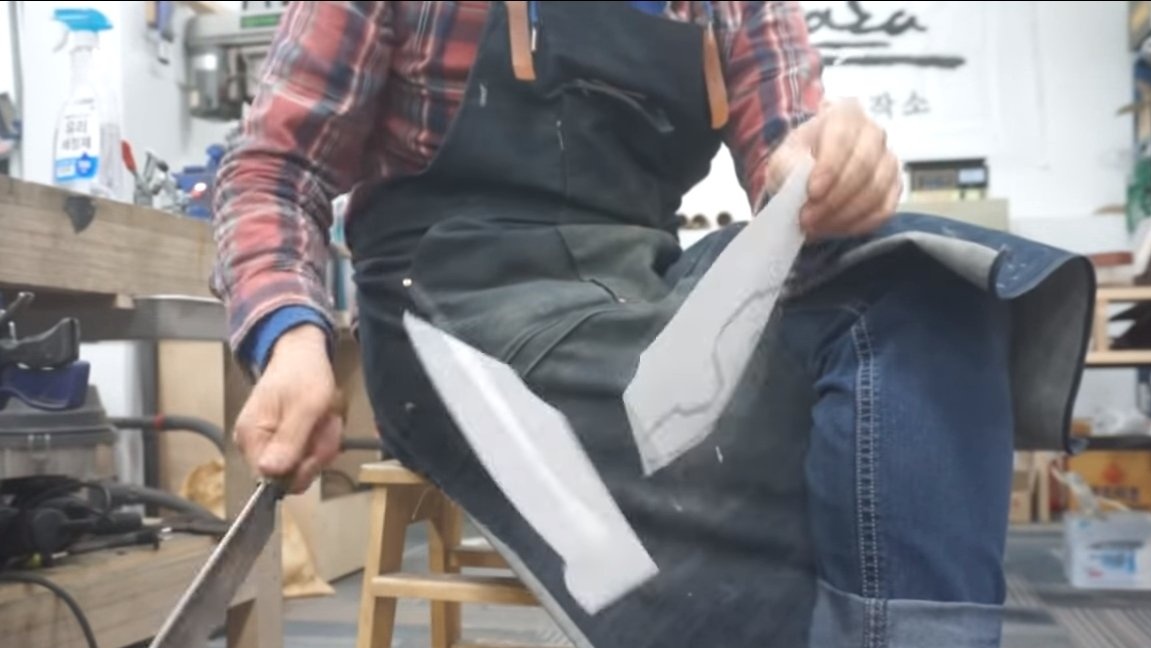
We determine the size and shape of the knife, draw a profile on the workpiece. The author's knife turned out to be quite massive. Well, then we proceed to cutting, the author carries out the work with a grinder. When cutting, the most important thing is not to overheat the workpiece, otherwise the steel will become soft and it will need to be tempered. The workpiece is constantly watered with water, if the water immediately boils, it means that the steel is overheated. We cut it slowly, without pressure, cut the problem areas into pieces.
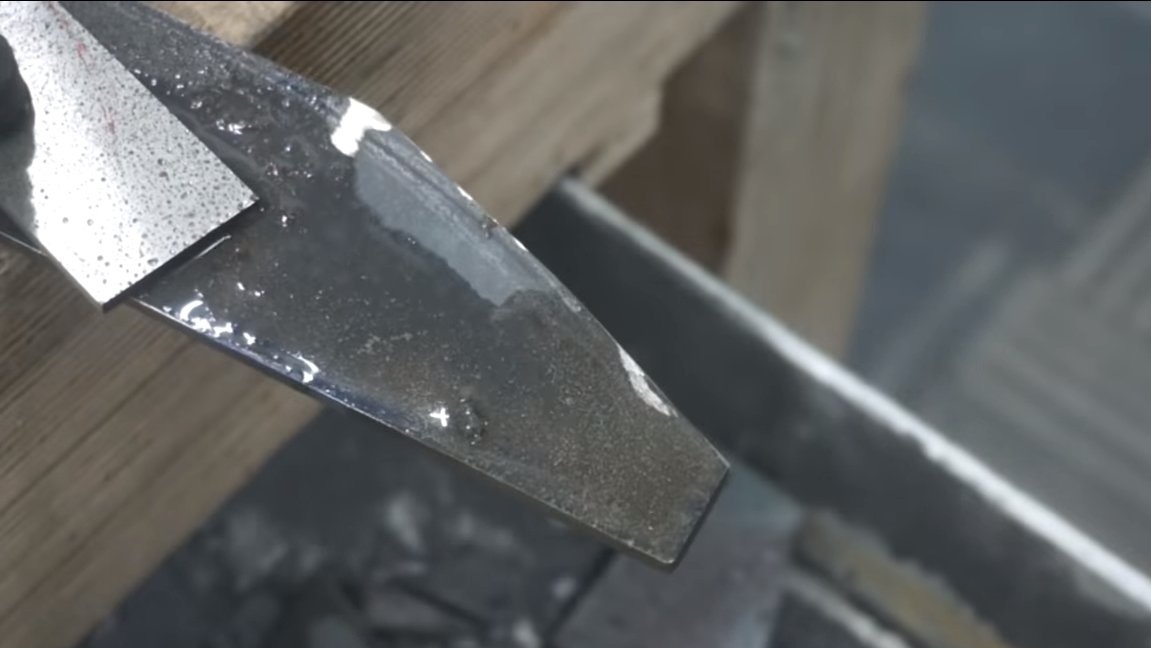
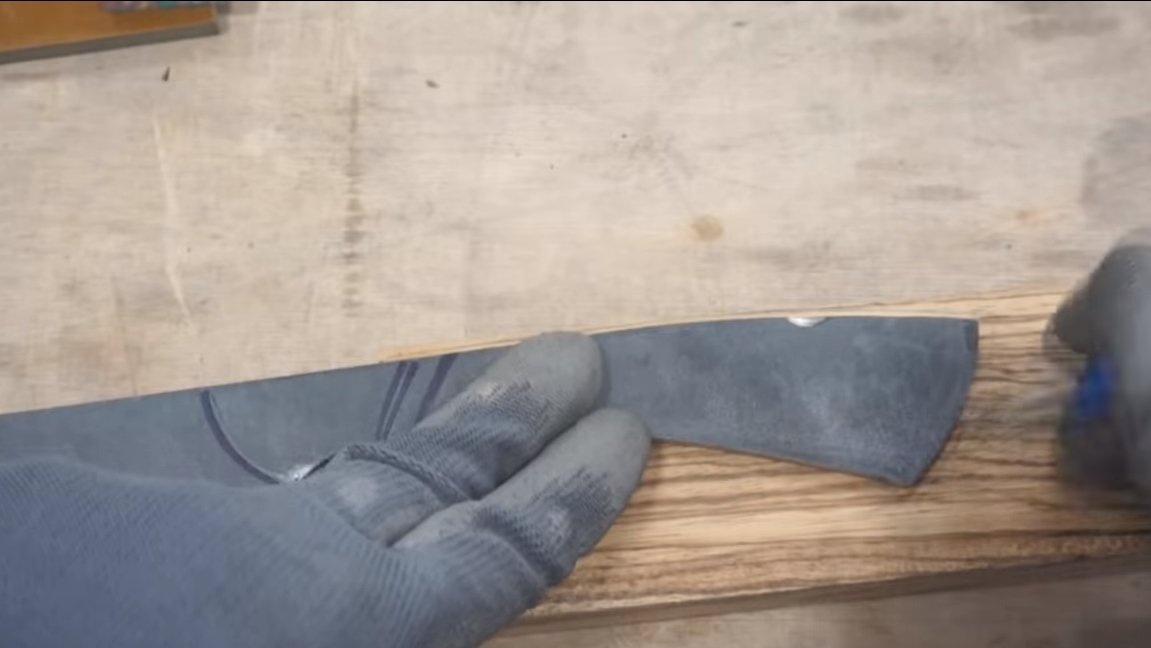
Next, the author walks along the contour with a grinder, installing a thick grinding disc.
At the end, we refine the profile on a belt sander, and you don’t need to hurry at the same time, since the workpiece can also become very hot during grinding. If the hands can no longer withstand the temperature of the workpiece, it must be lowered into water for cooling.
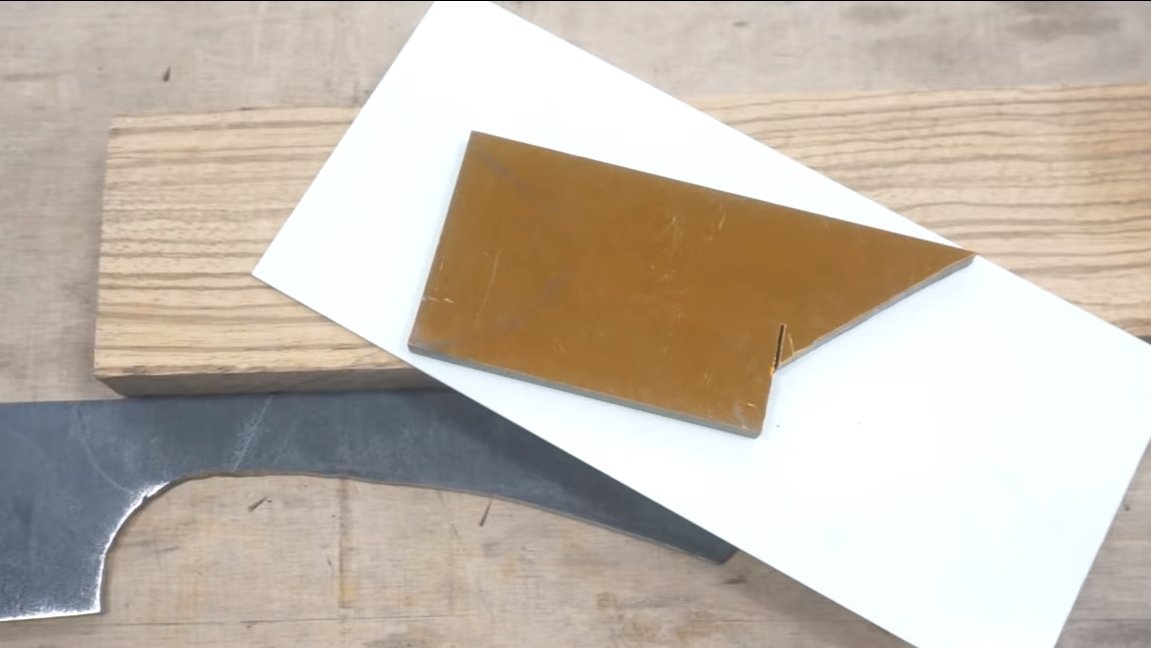
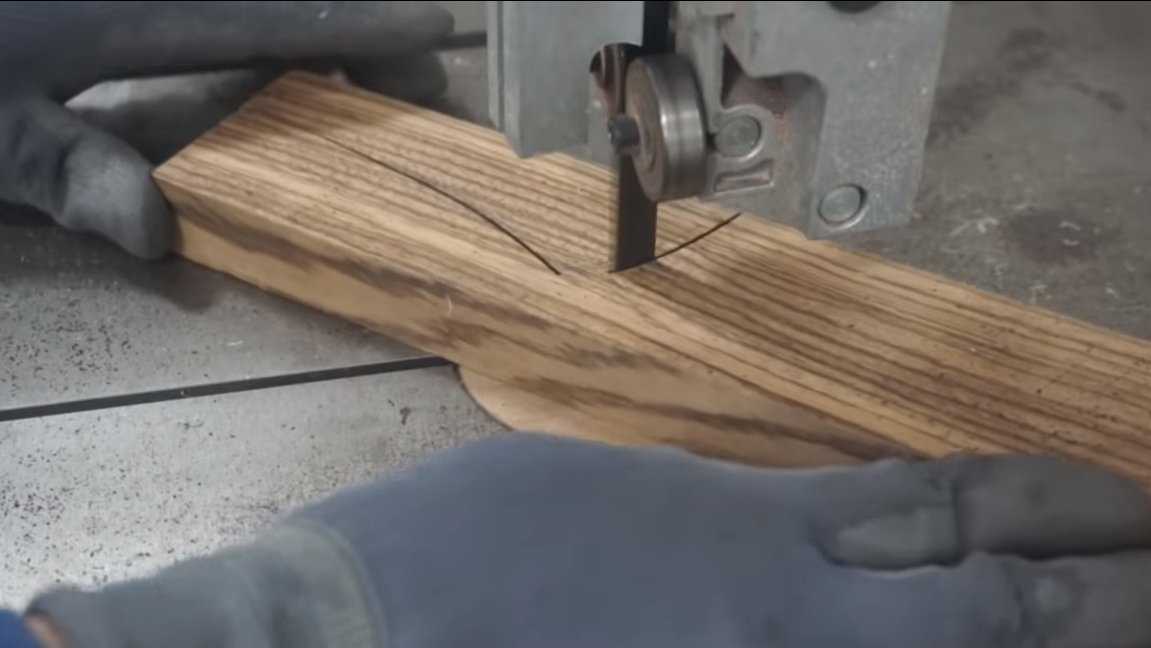
Step Two Handle blanks
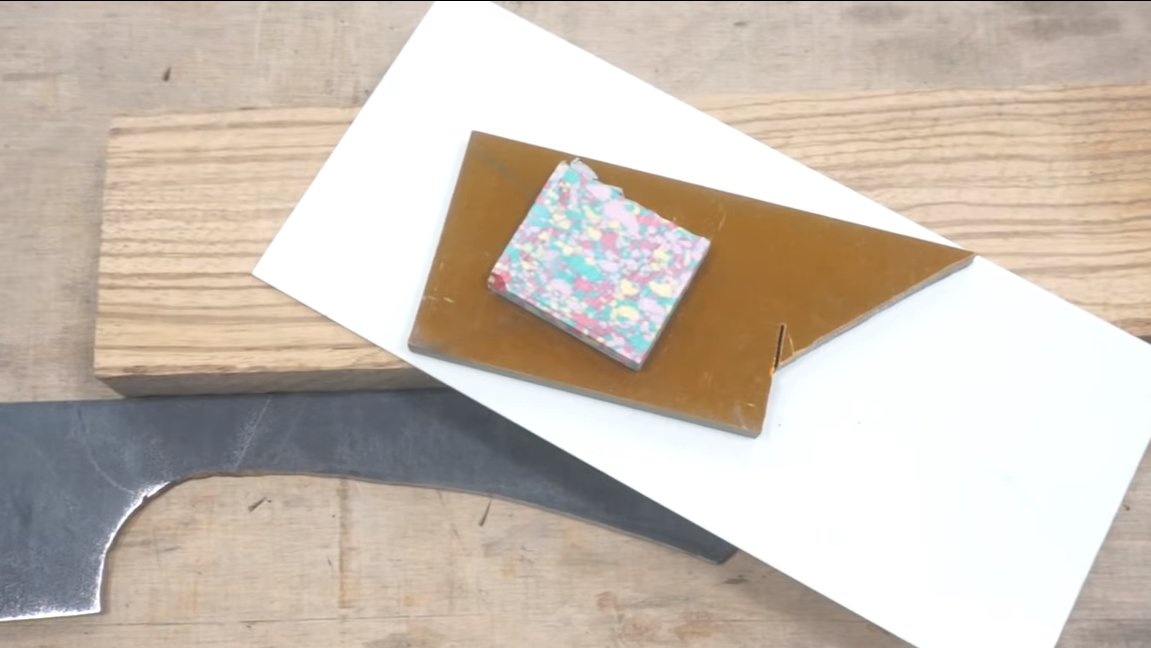
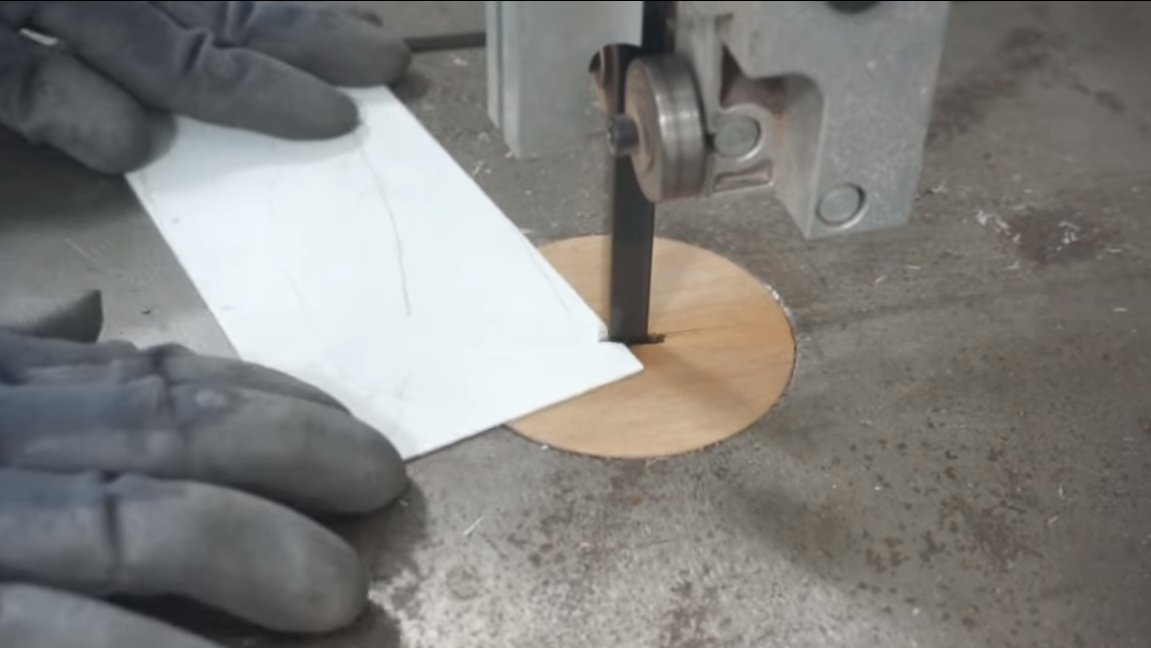
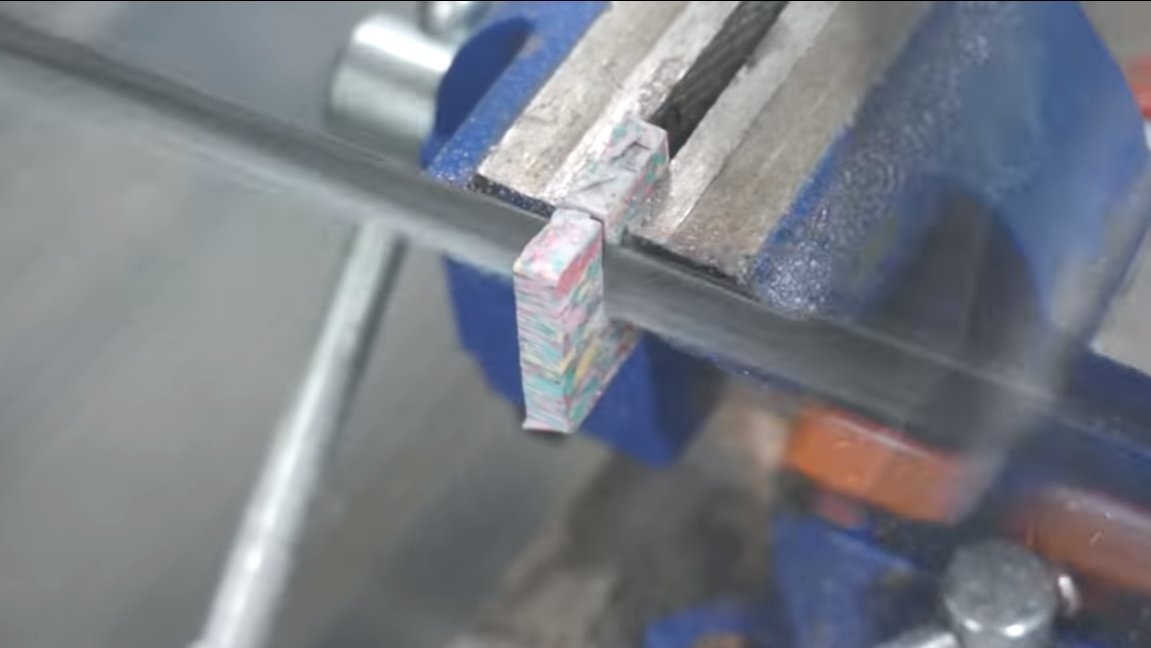
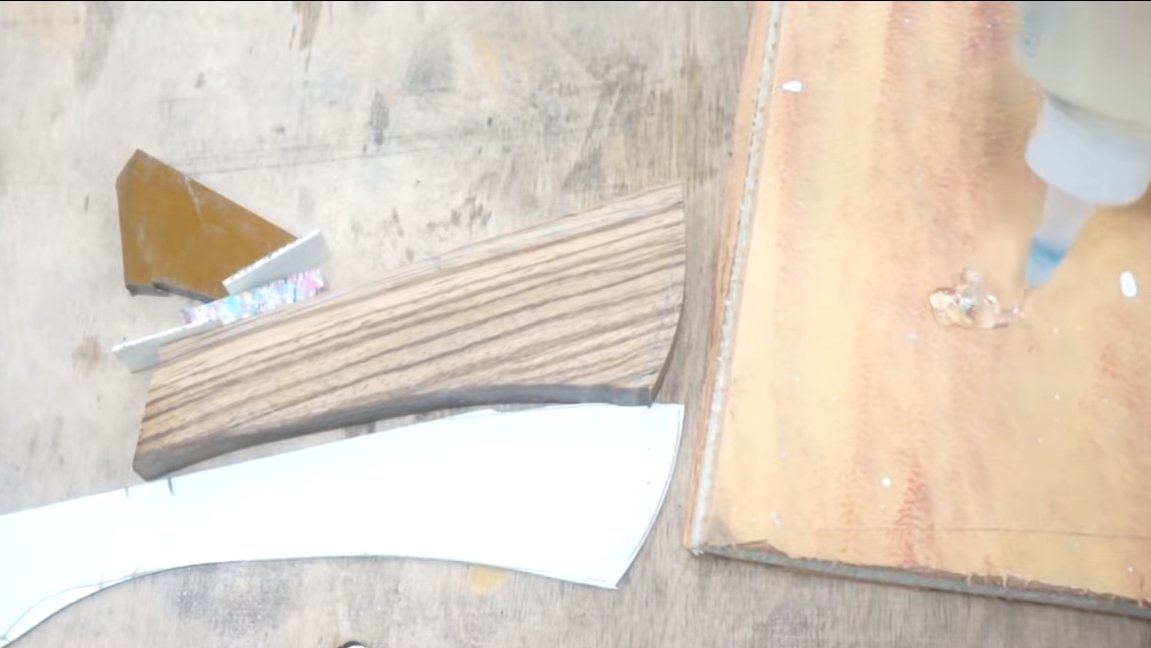
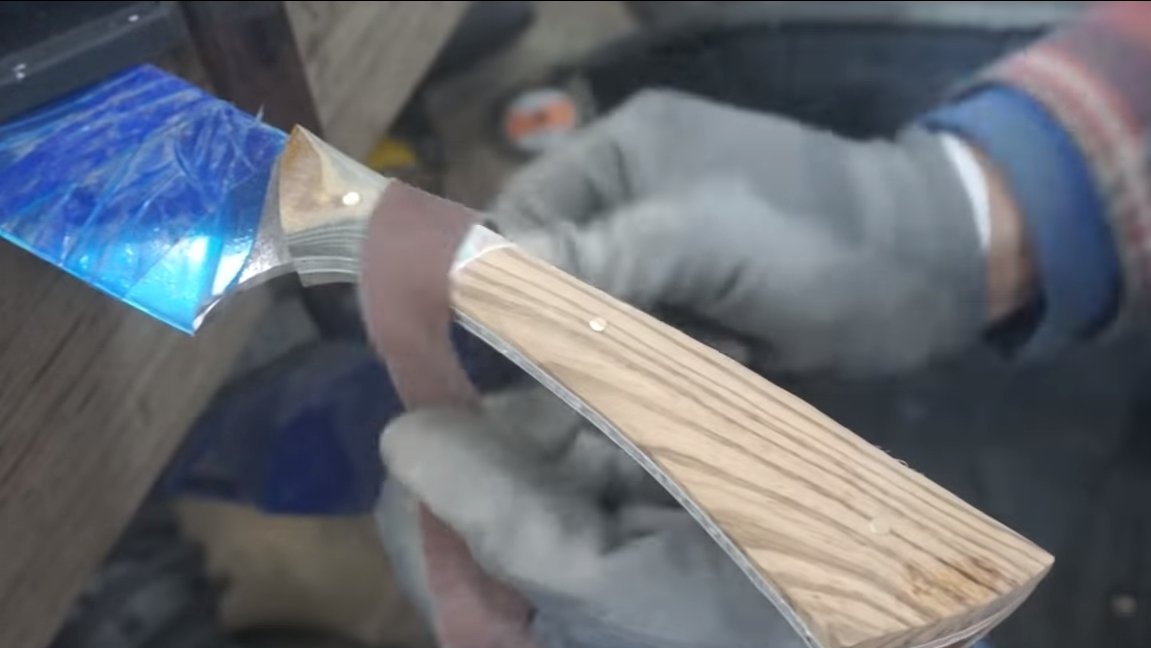
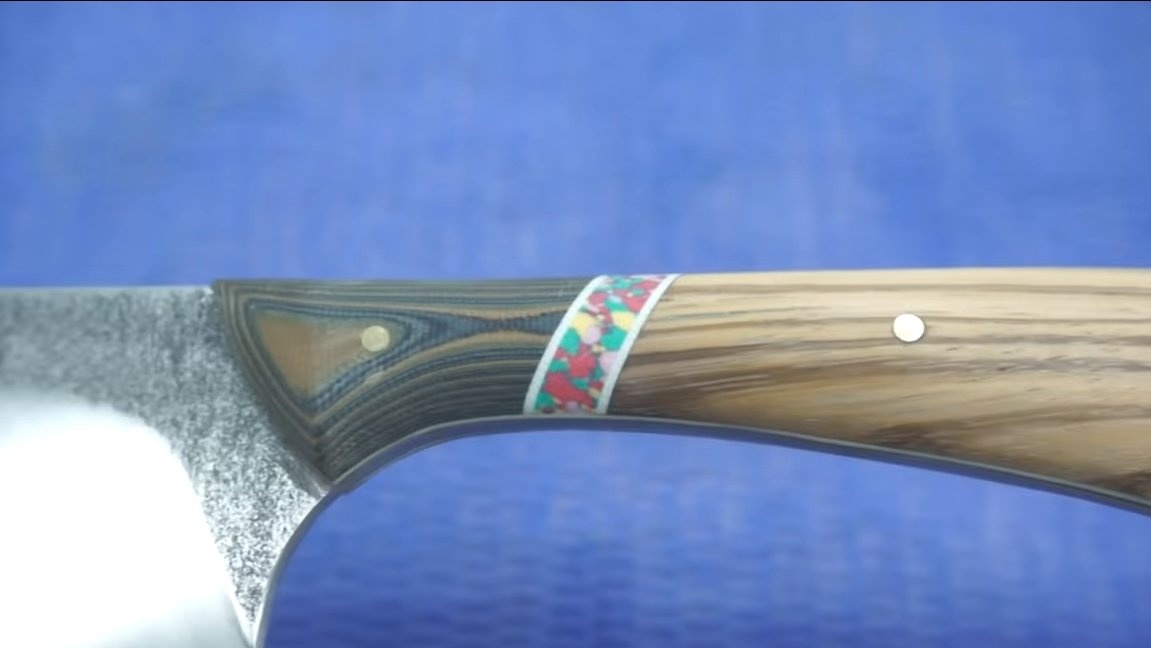
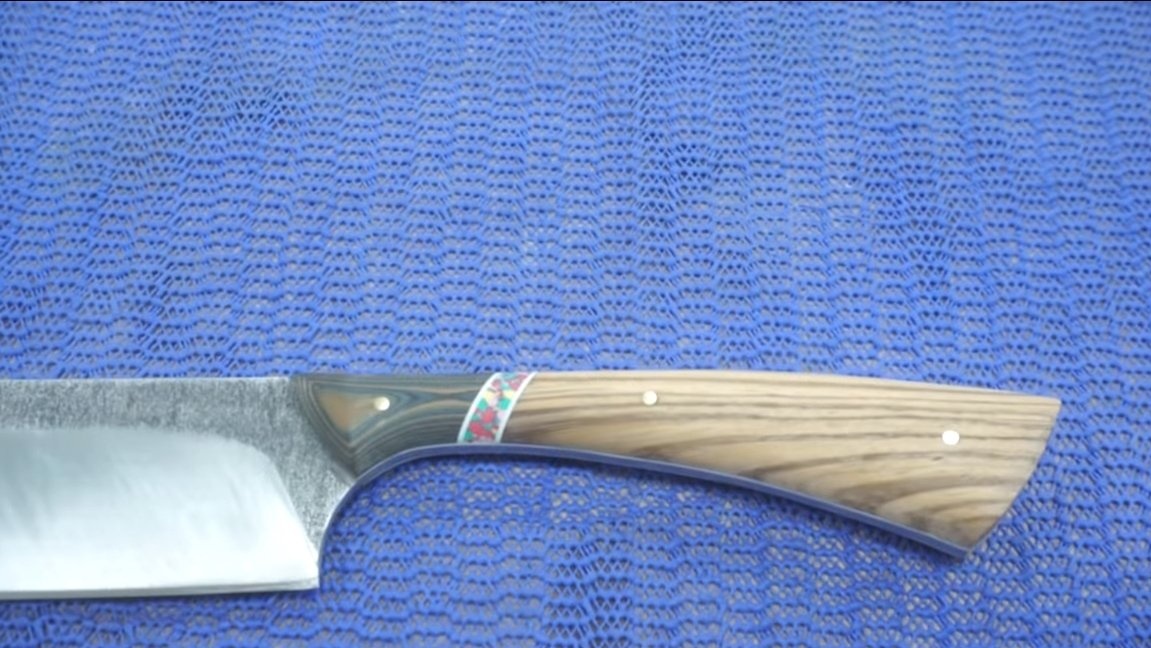
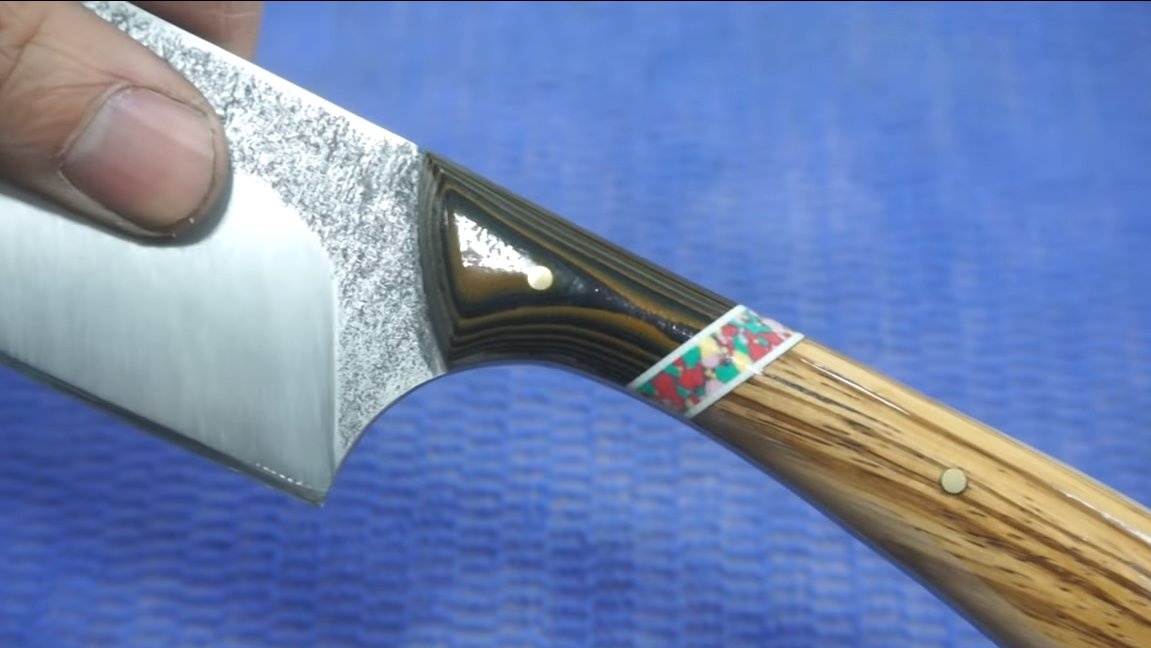
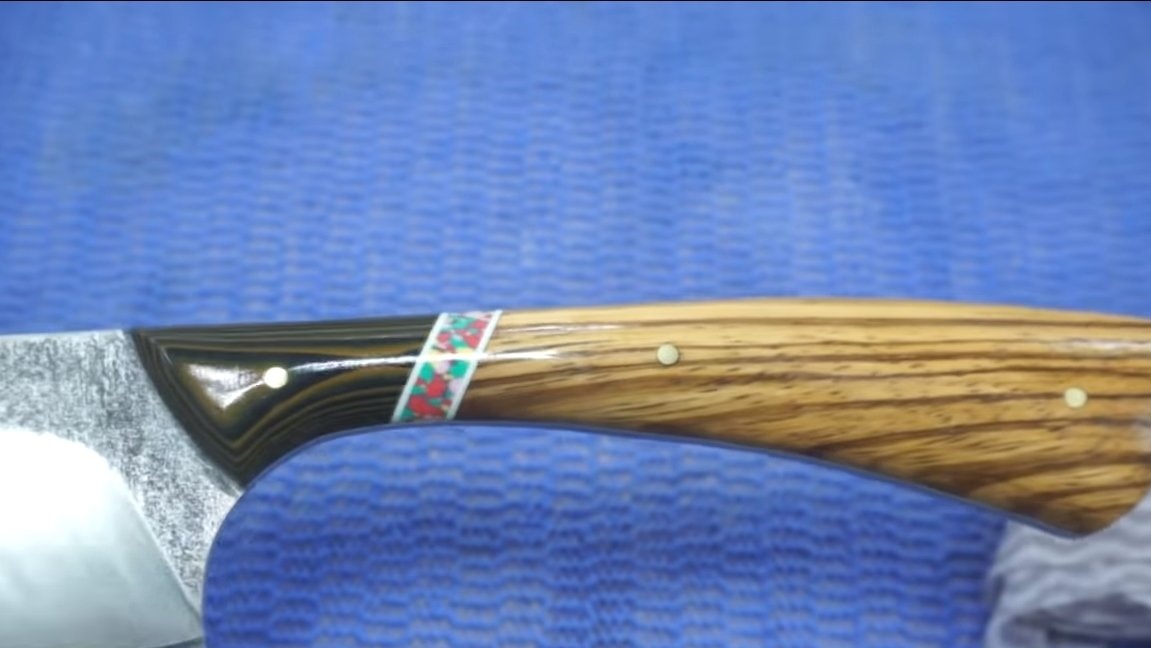
The handle is two overlays made of combined materials. The main material for the pen is a tree with an interesting striped pattern. Also in the front of the handle there are inserts of material G10, you can use textolite or the like as desired. In general, for a kitchen knife, it would be nice to make linings from G10 or other material that is not afraid of water, like a tree.
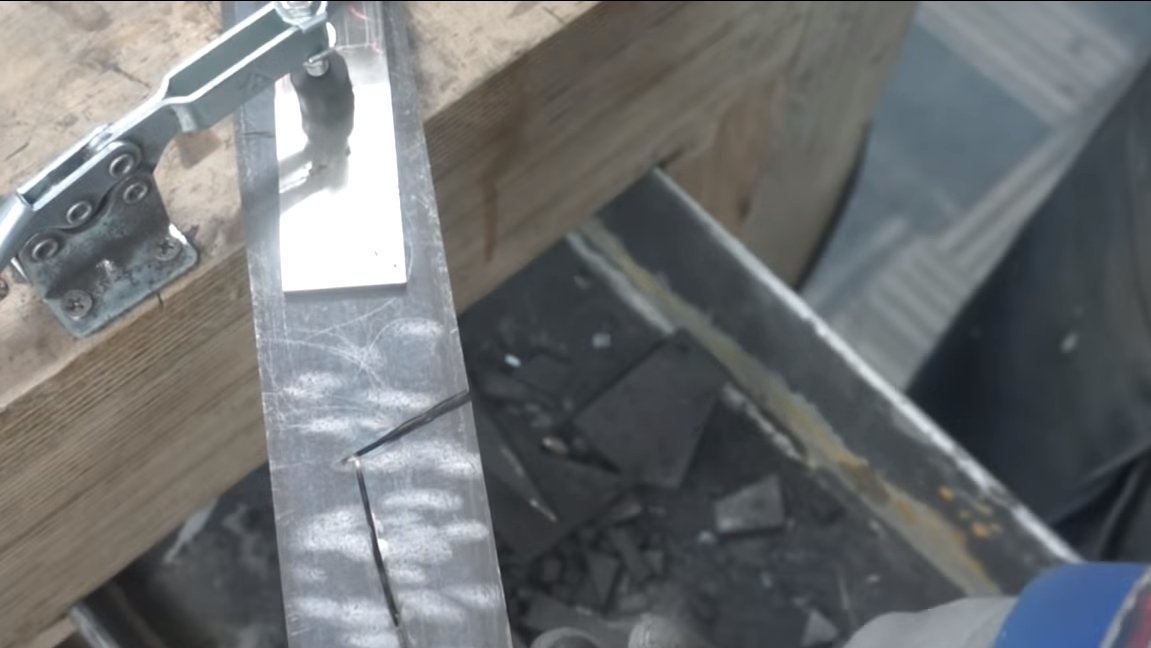
We cut the workpieces, a tape cutting machine helped this author, and you can also use a jigsaw. Next, the pads are glued, and leave them to dry, for bonding we use epoxy glue.
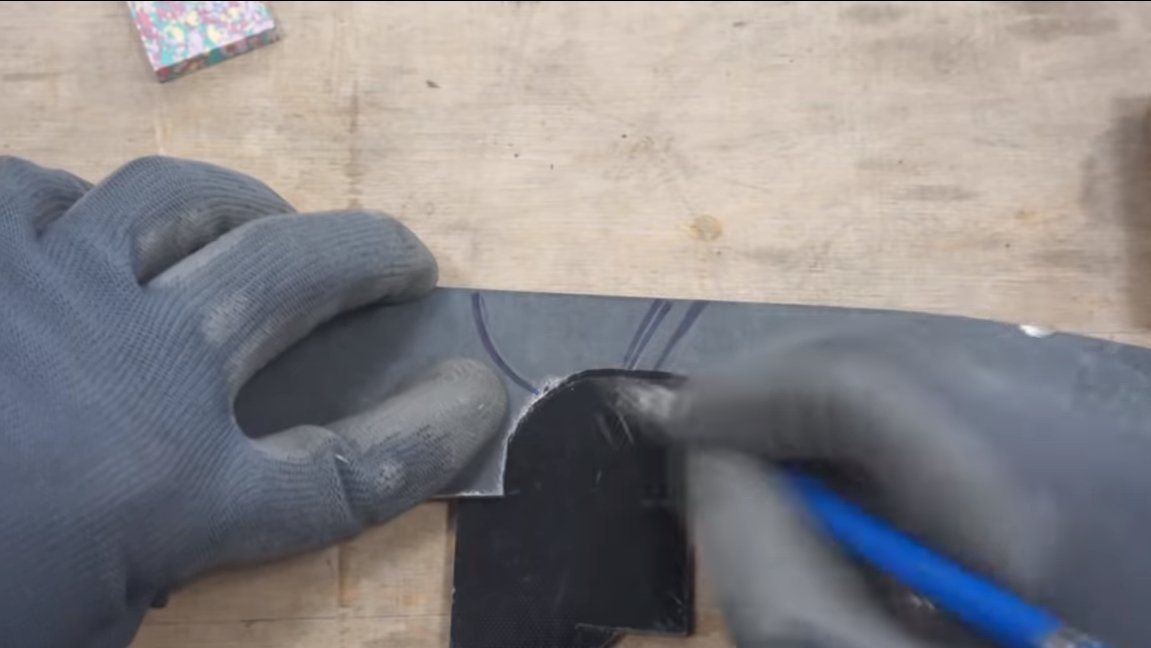
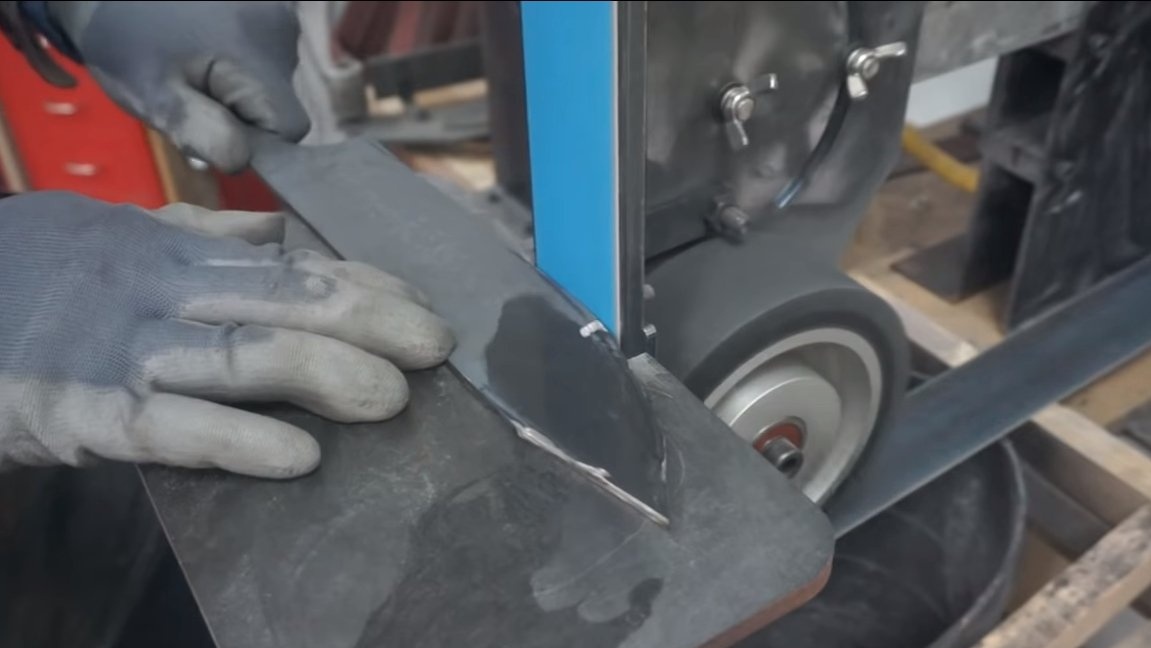
Step Three Bevels
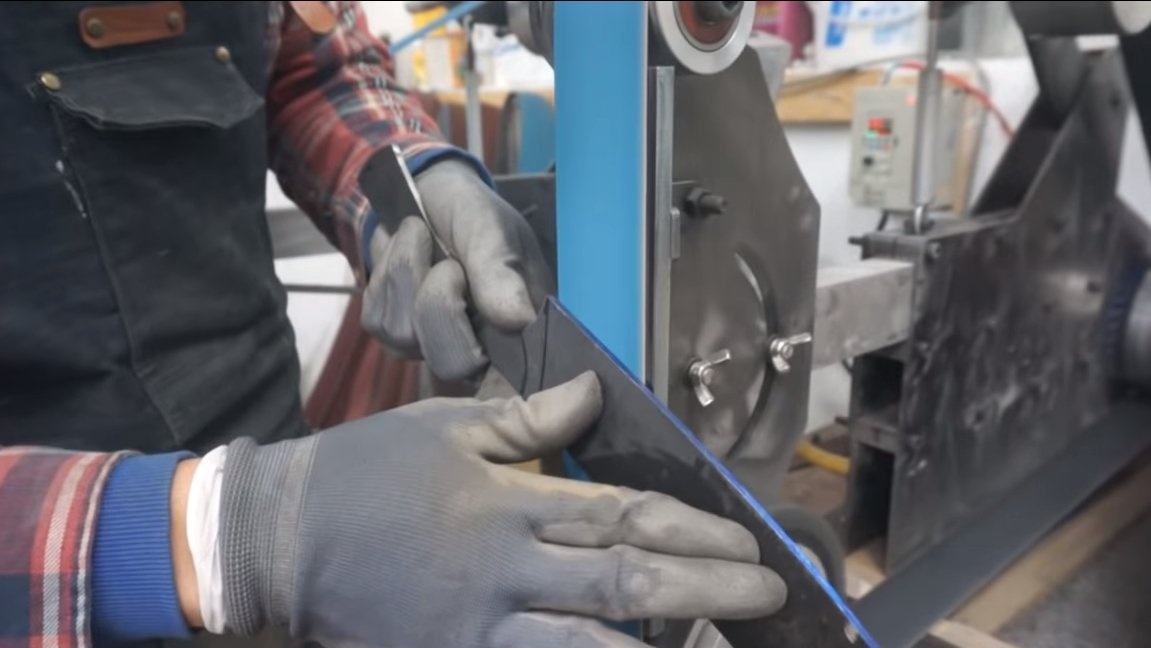
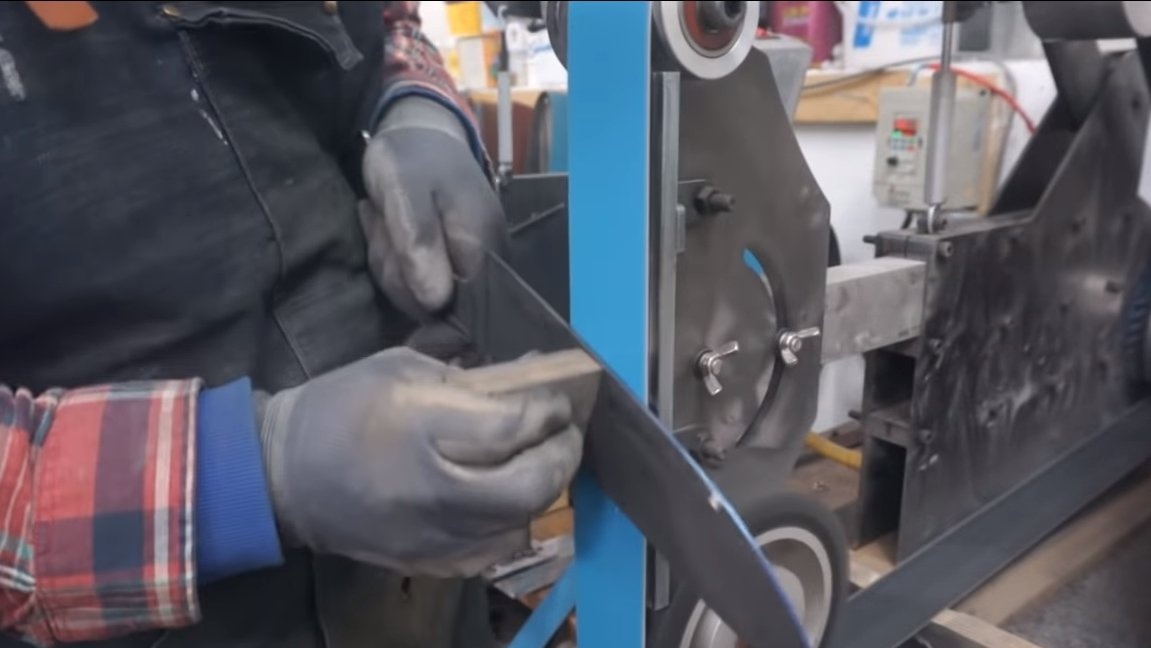
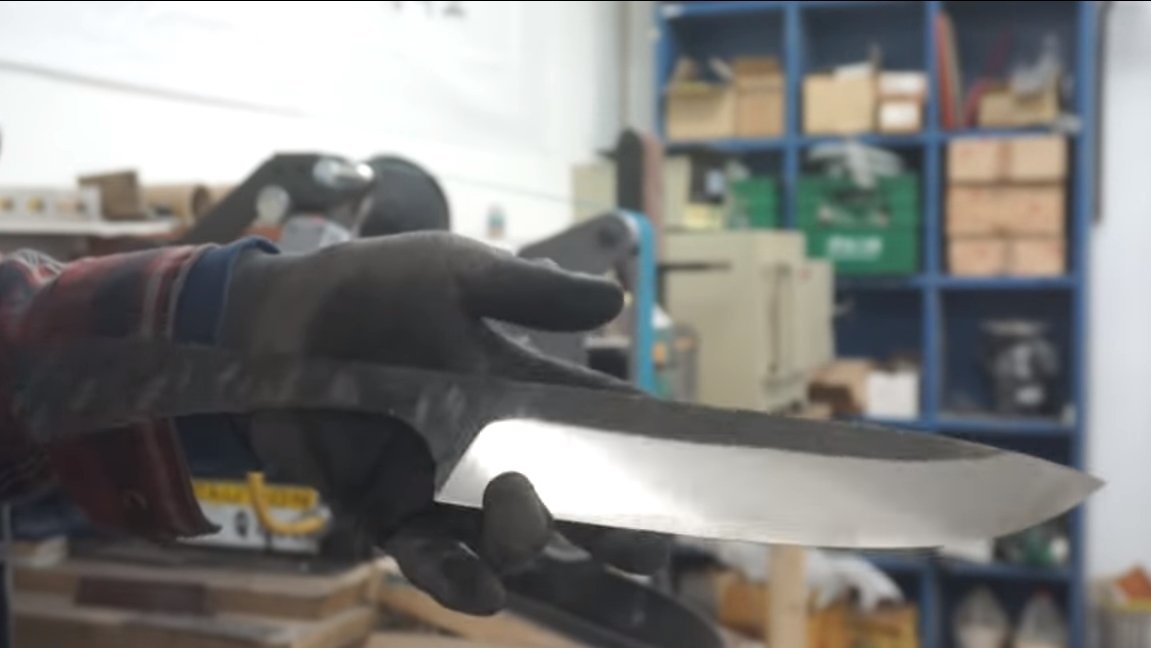
We proceed to the formation of bevels on the blade, this is a very important point, since the cutting data of the knife will depend on it. The bevels need to be done as smoothly and as wide as possible, as a result, the blade will turn out to be thin, and the knife will cut very well. Our blade is quite long, so you need to work slowly to make the bevels symmetrical. Immediately divide the future blade into two parts, draw a line, it will remove the same amount of metal from all sides.
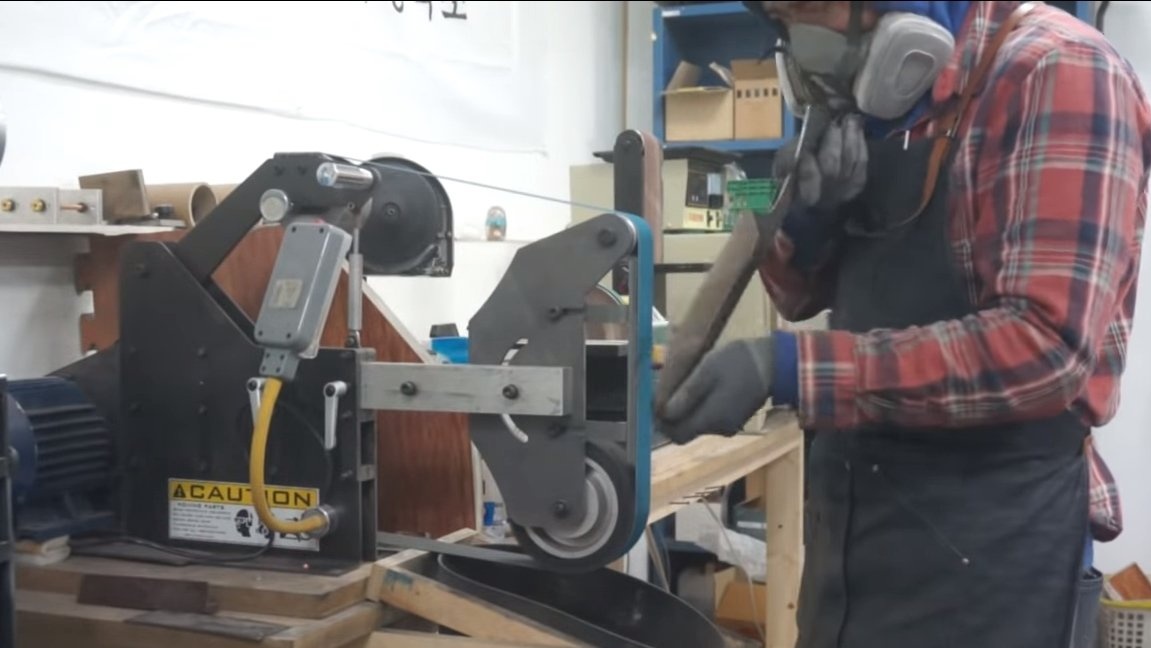
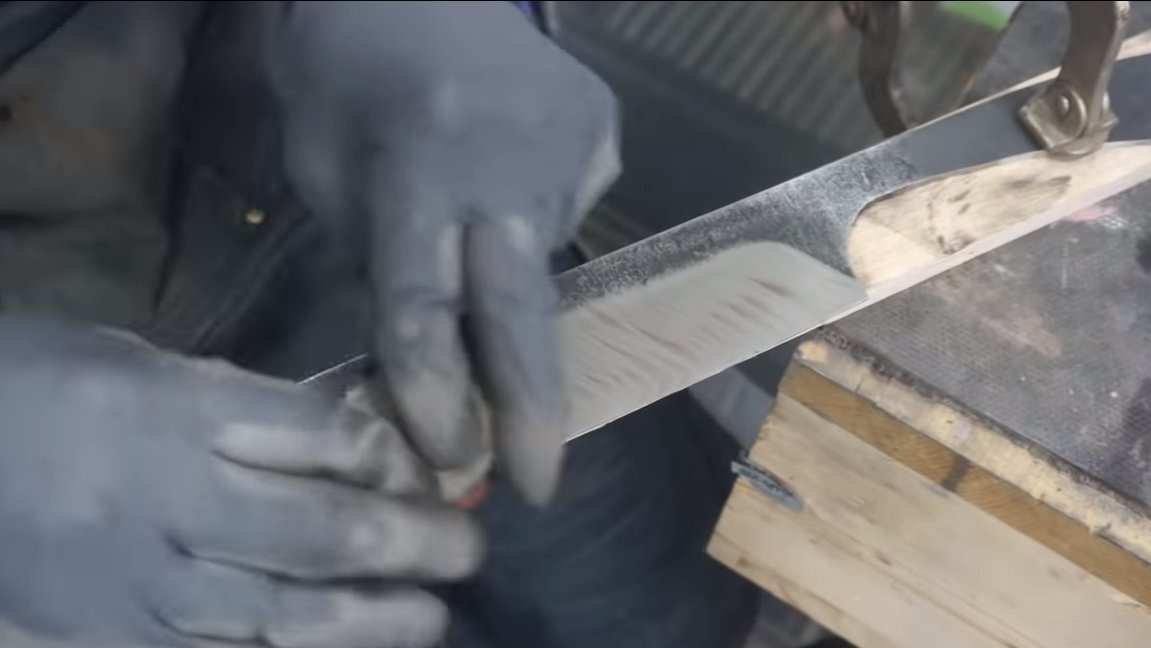
You can start grinding, we carry out the work on a belt grinder. Do not forget that we can not overheat the blade. The author, as he polishes, inspects the blade for the symmetry of the bevels.
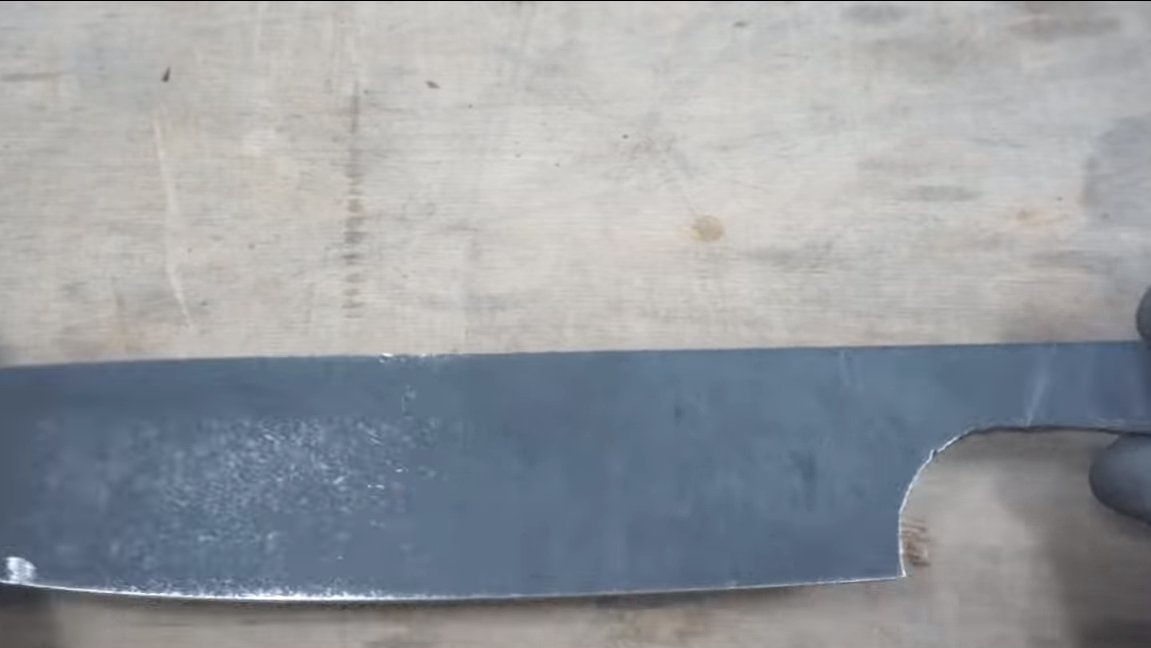
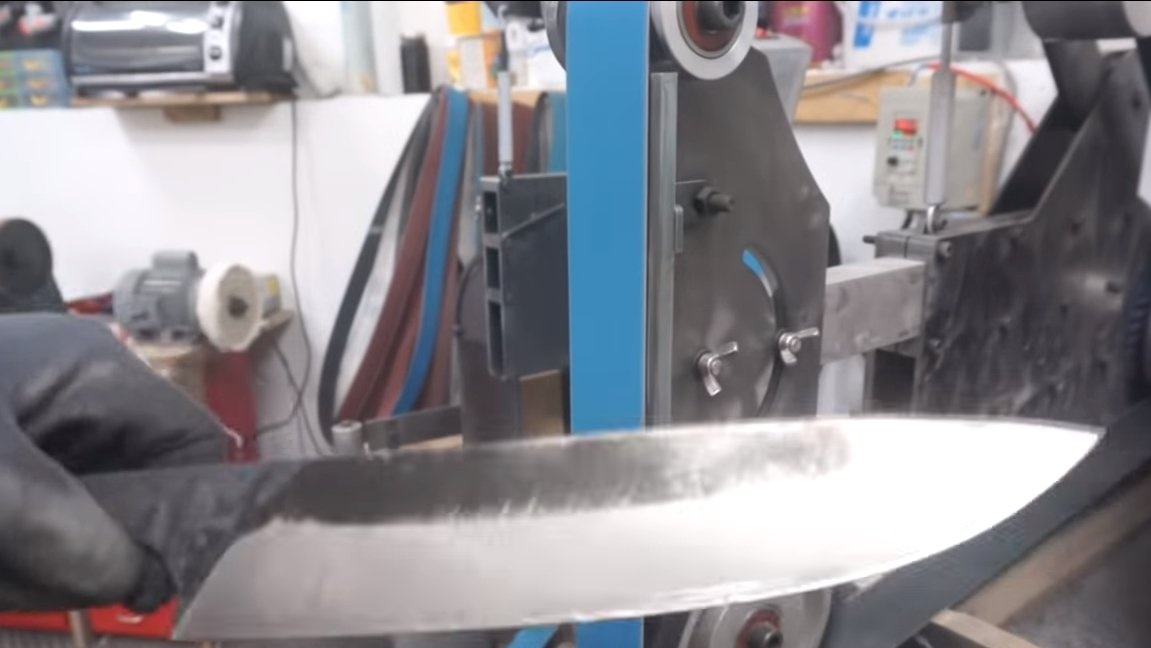
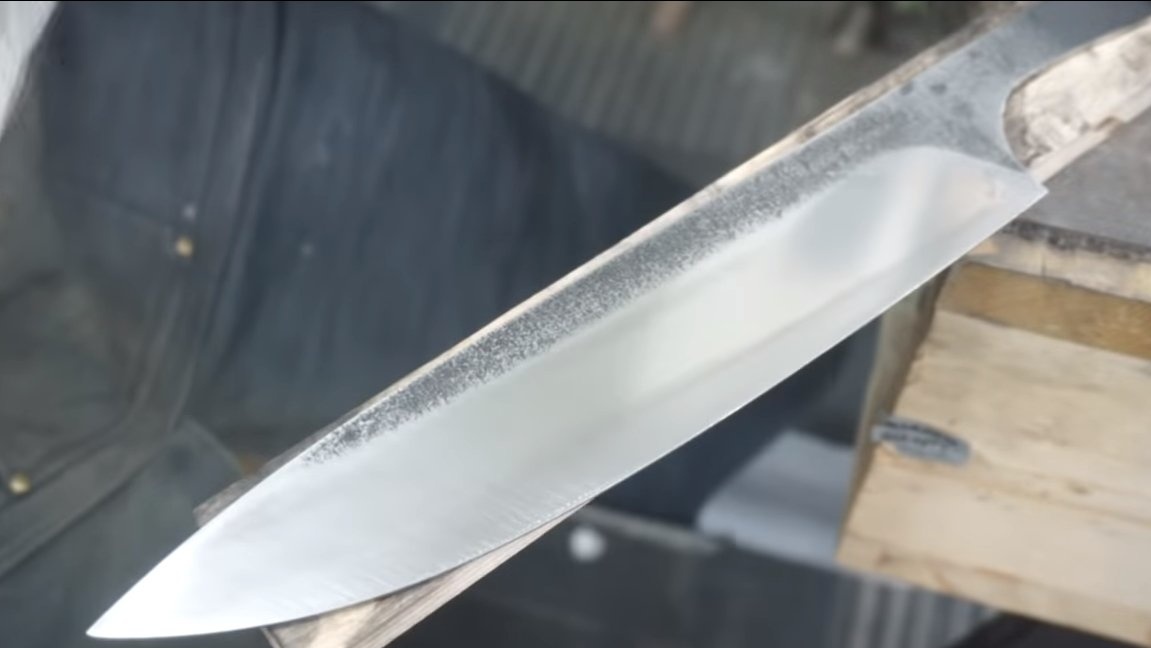
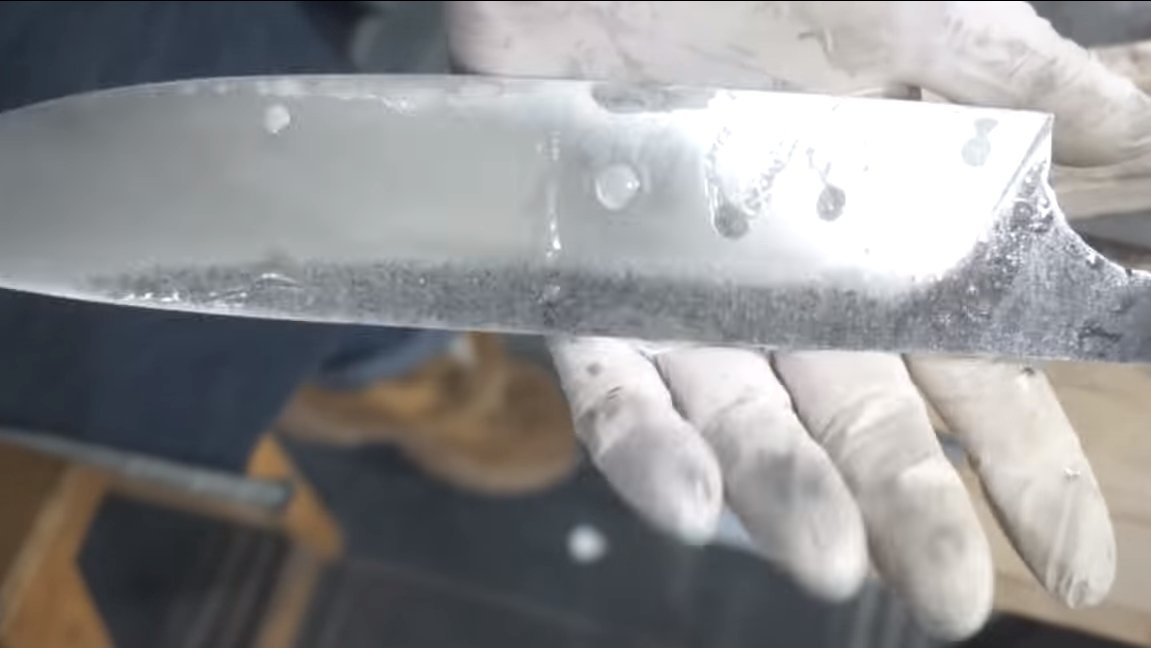
When the bevels are ready, we perform manual grinding of the blade, the author brings the metal to a mirror shine. Here we need small sandpaper, and to make it work well, we wet it in water. Sometimes fat interferes with this process, so that detergent can be added to the water.
Step Four Installation of overlays
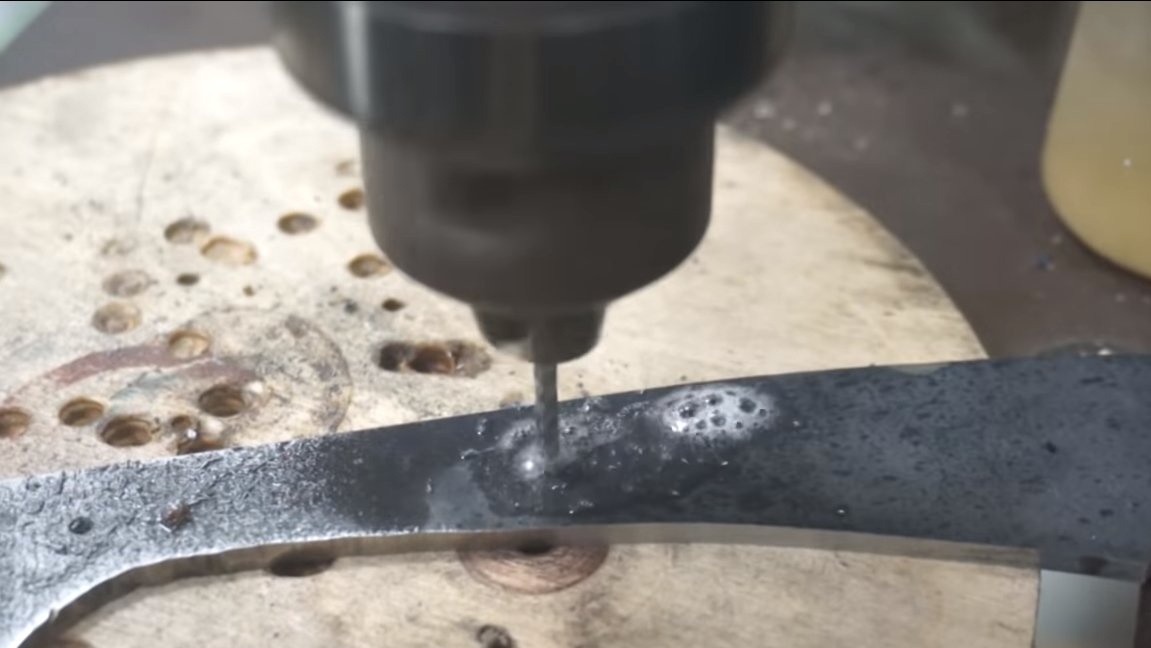
In the handle you need to drill holes for the pins, and it will not be so easy to do this, since we work with hardened steel. To solve the problem you will need a carbide-tipped drill. Be sure to drill with grease, otherwise the drill will burn immediately.
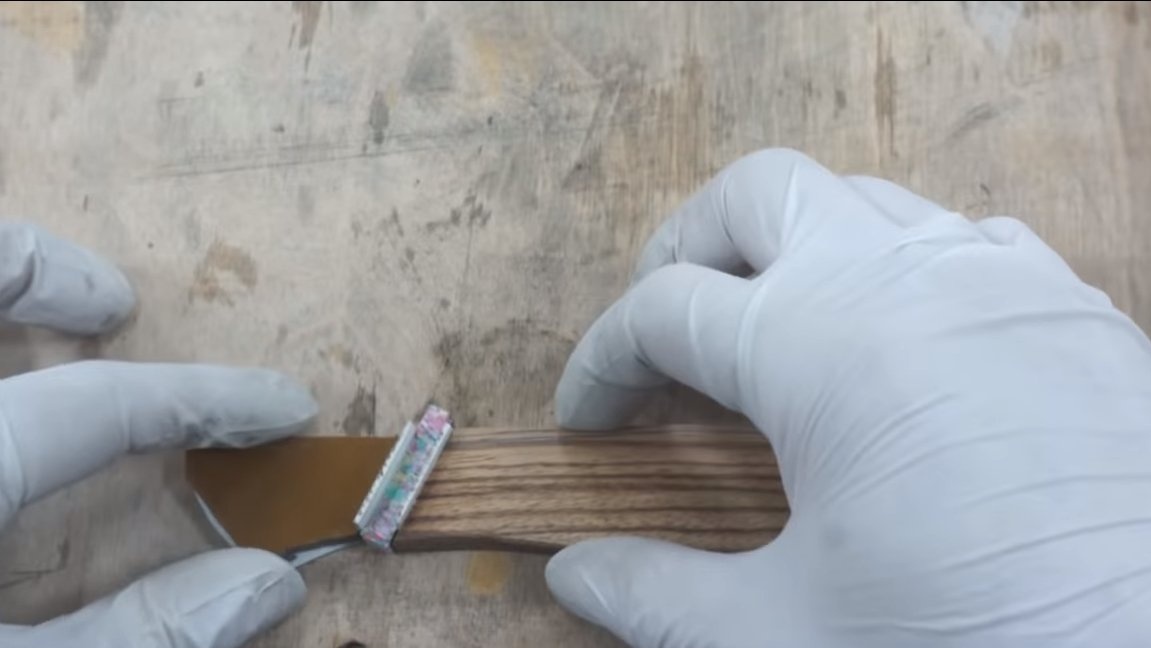
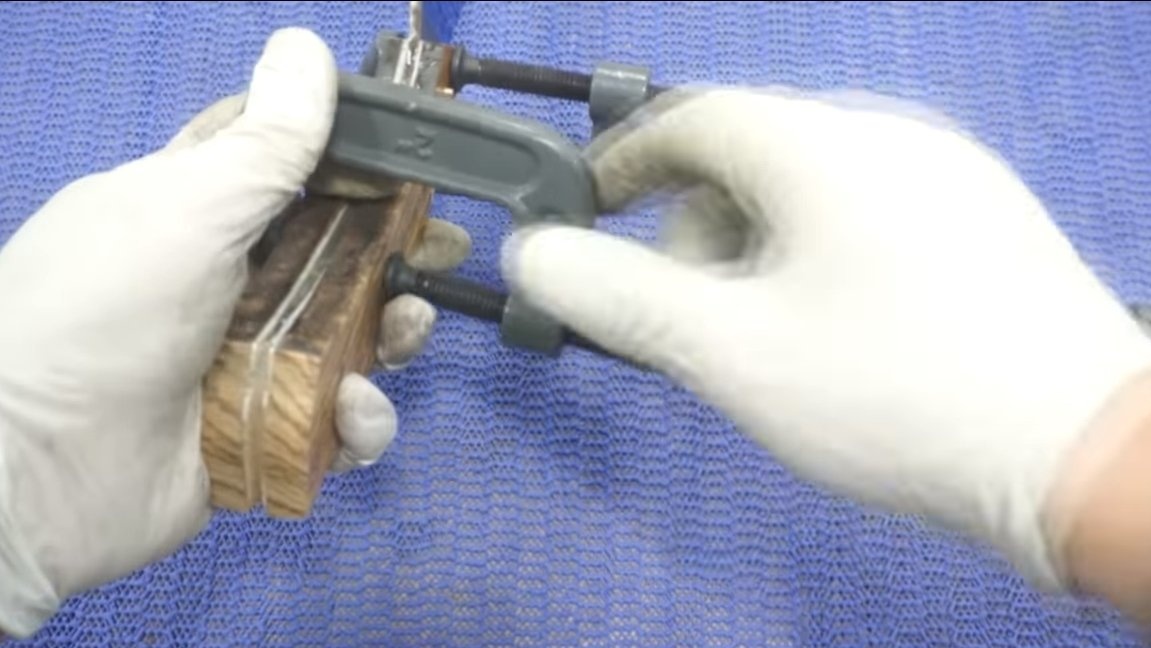
Well, then you can begin to install the linings, the surfaces to be bonded are well grinded so that the glue sticks securely. We prepare the pins, knead the epoxy glue and glue the handle. We clamp the pads with clamps so that they stick together securely.

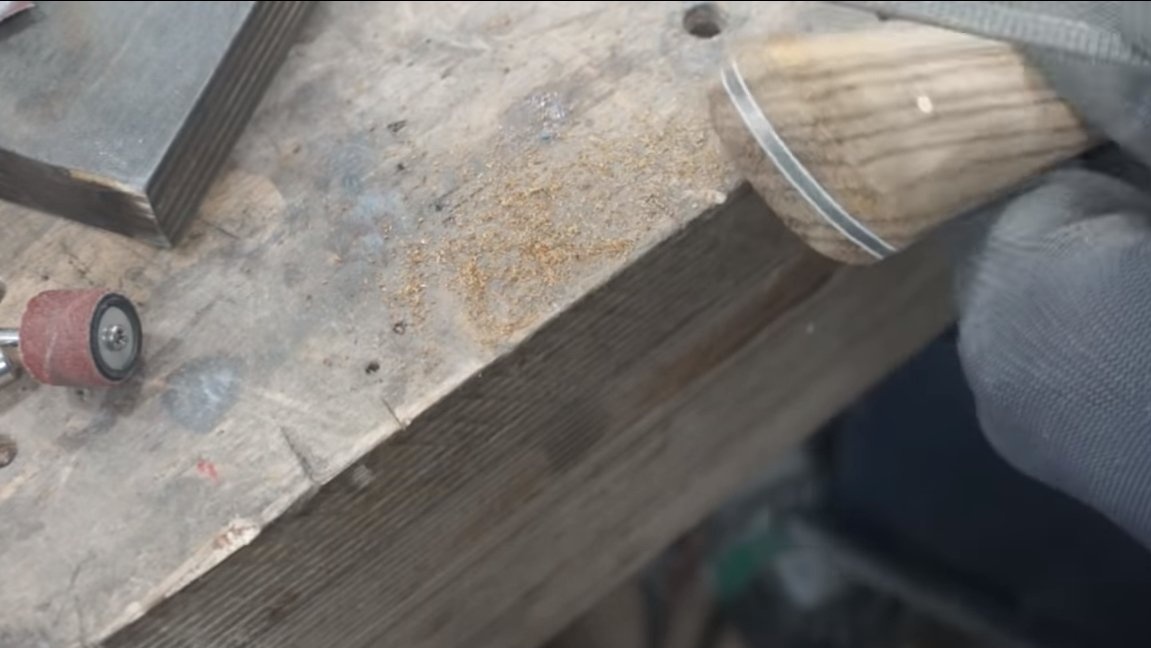
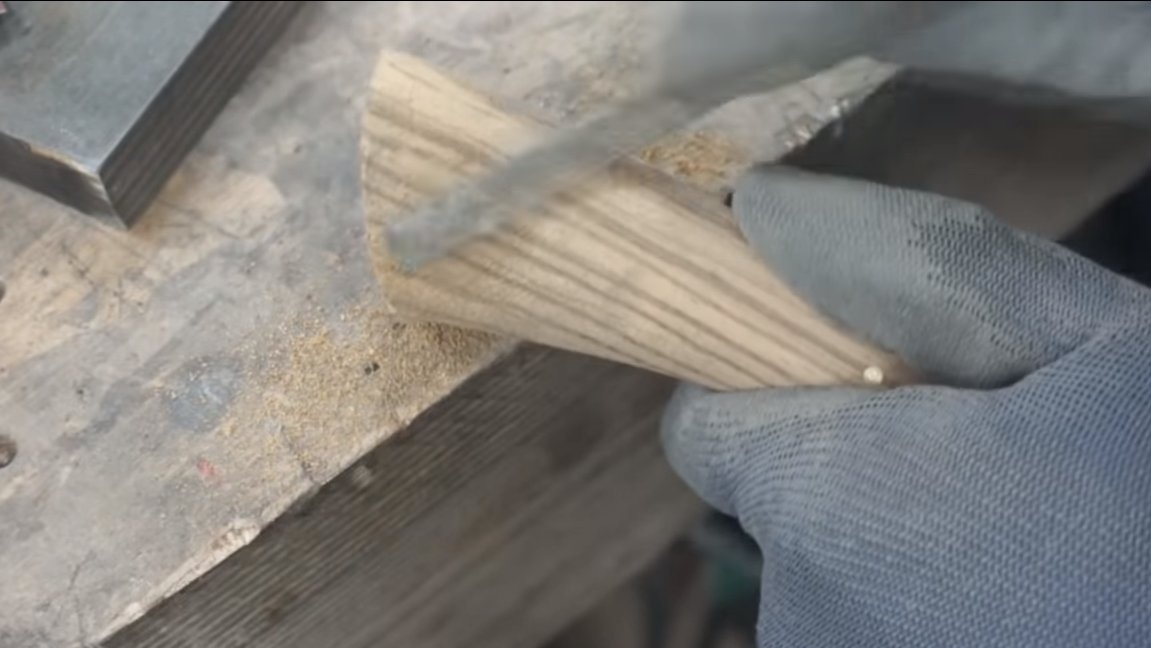
Step Five Final touches
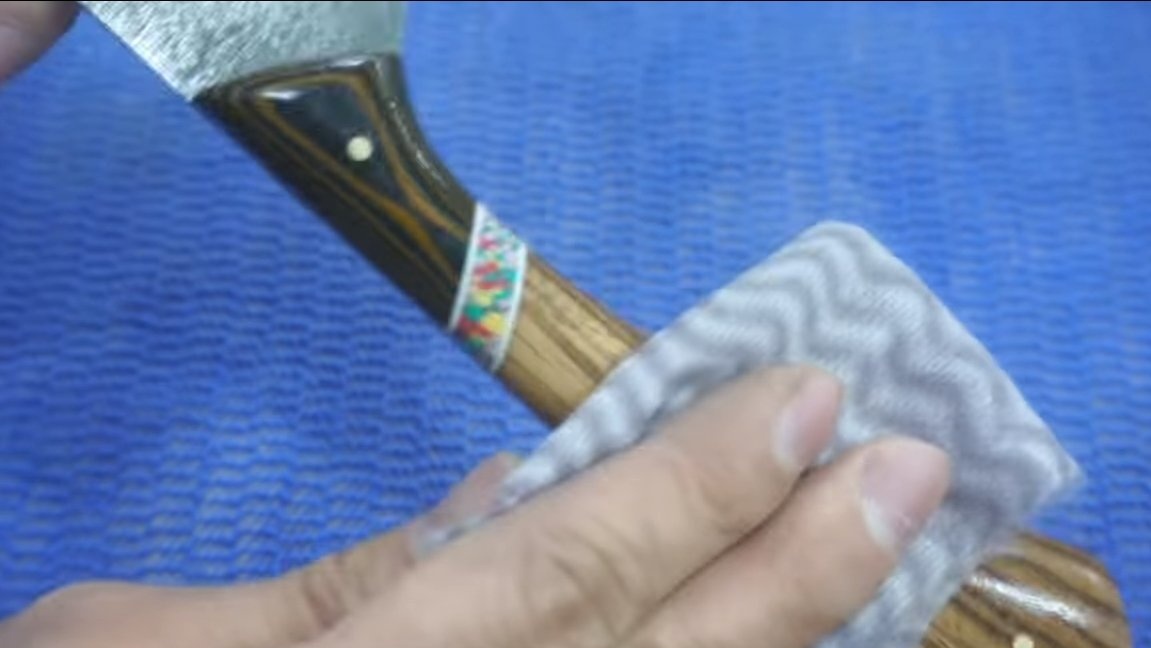
In conclusion, we need to refine the profile of the pen, the author carries out such work manually using a file, so there is less chance of mistakes and waste too much. After the file, sandpaper comes into play. We grind the handle well to a perfectly smooth state. The better the pen is polished, the more beautiful it will look.
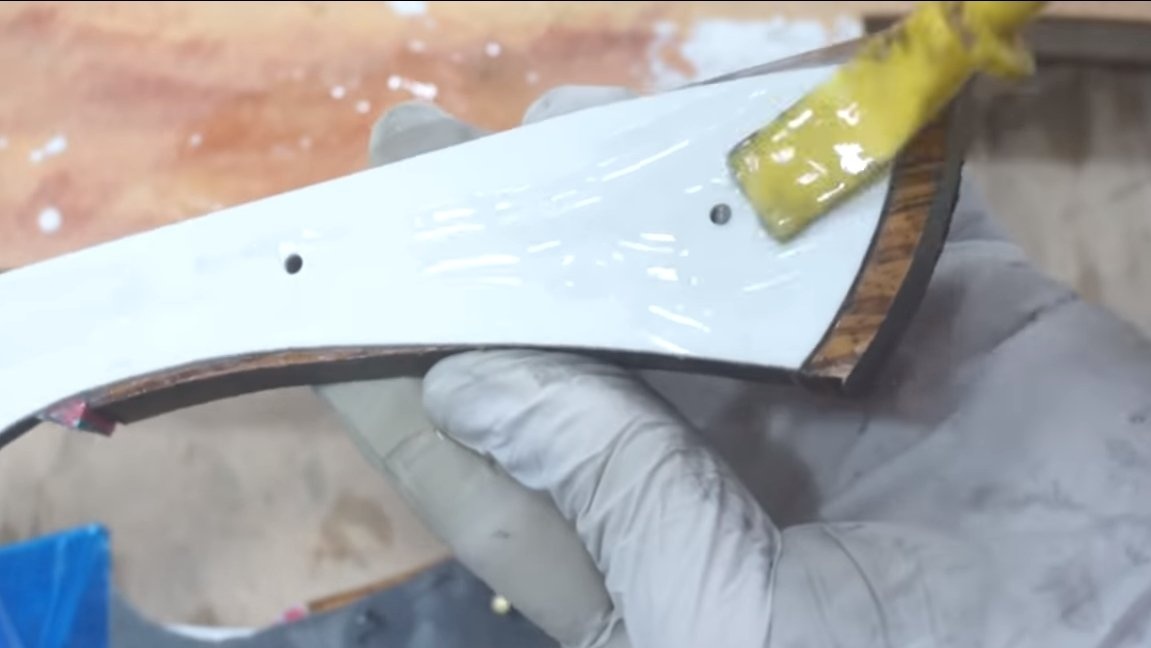
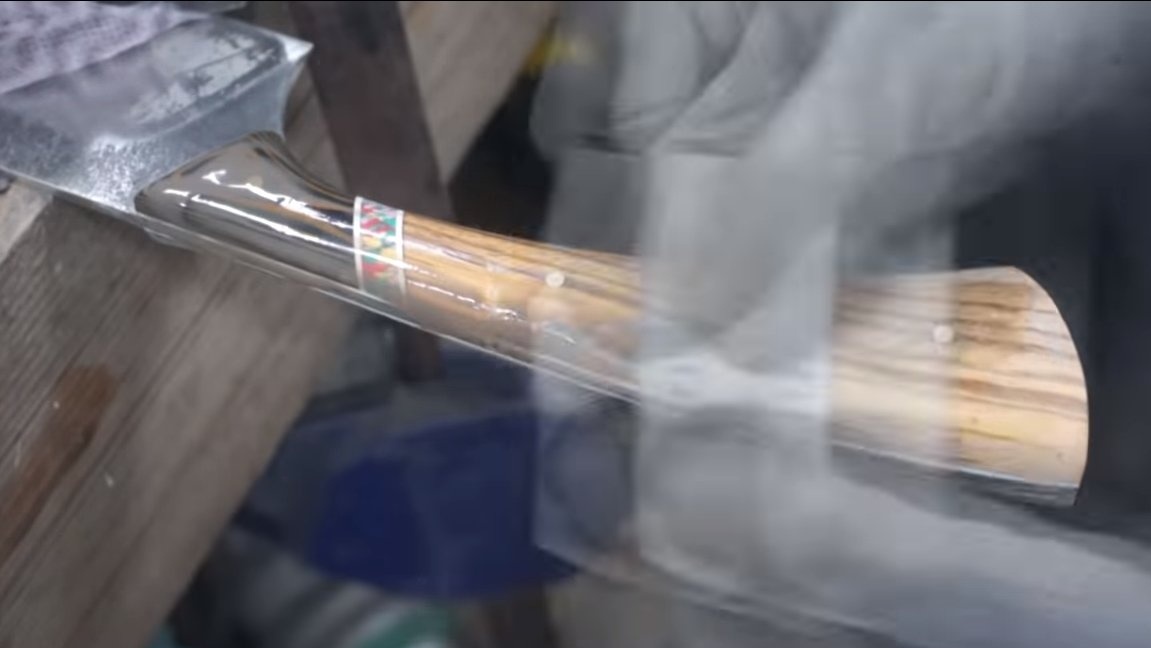
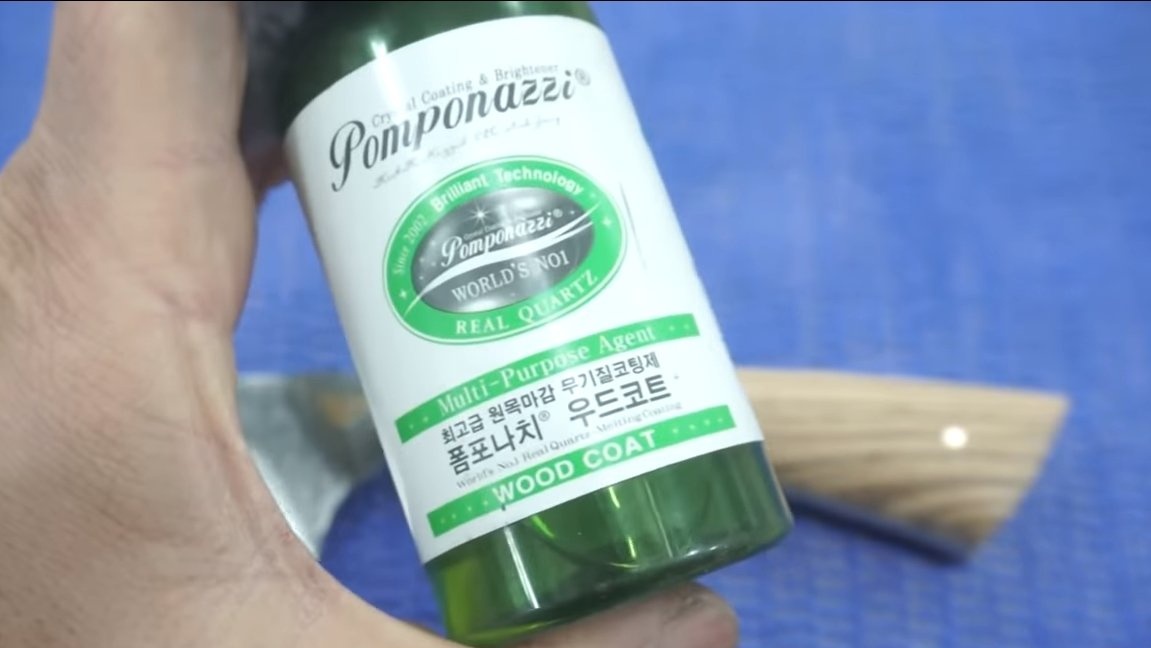
Be sure to cover the handle as a result with oil, wax or other impregnation so that it does not absorb water. As for the blade, it is also useful to cover the blade with oil during prolonged storage.
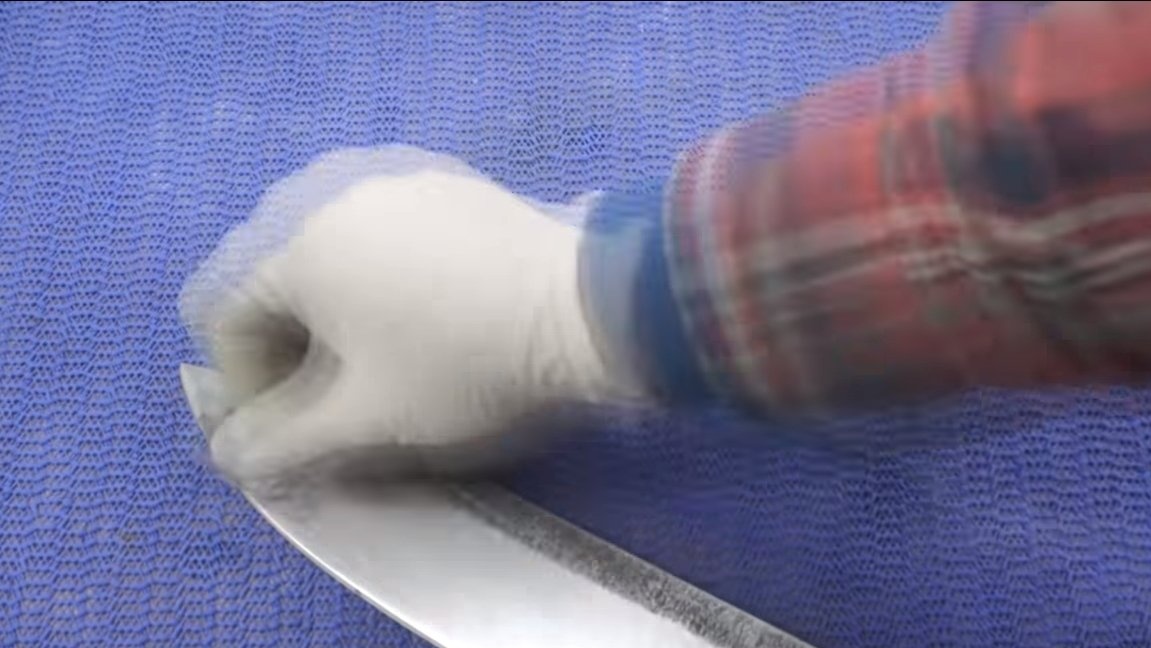
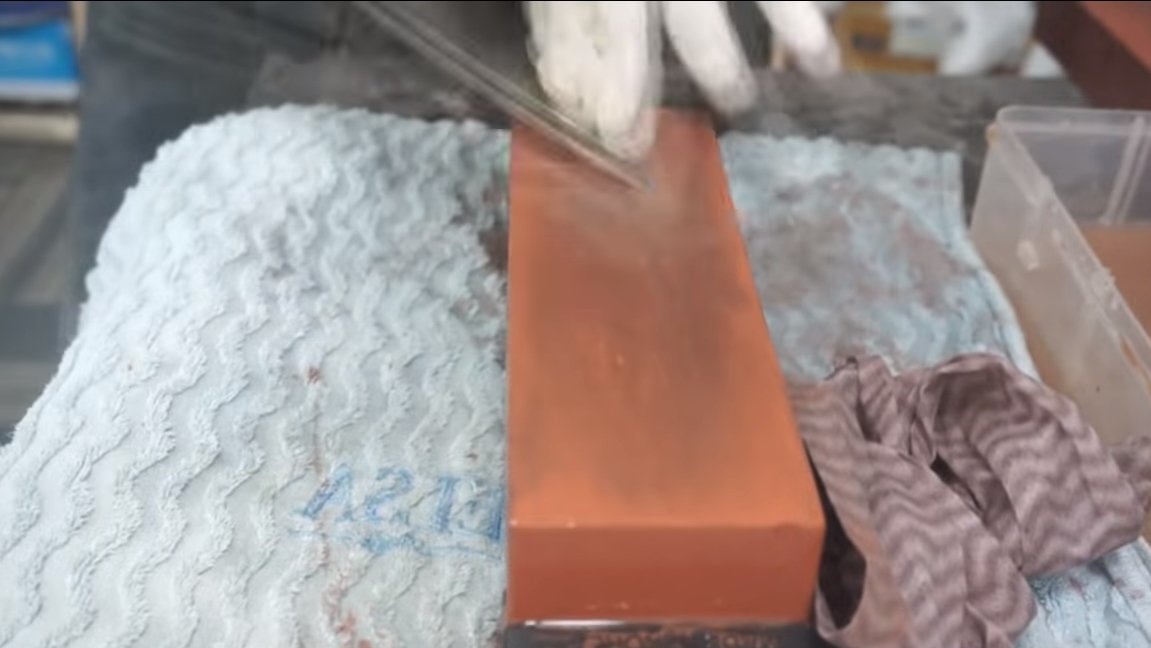
That's all, the knife is ready, it remains to sharpen the blade, here we need a grinding stone, many masters also use hand tools with grinding stones. We grind a grinding stone with water for cleaning and we sharpen a knife. As a result, quality steel can be sharpened to a razor condition. The author got a sharp knife, he easily cuts paper with it. The knife looks great, any cook will be happy with it. On this project can be considered successfully completed, I hope you homemade I liked it. Good luck and creative inspiration, if you decide to repeat this. Do not forget to share your ideas and homemade things with us!