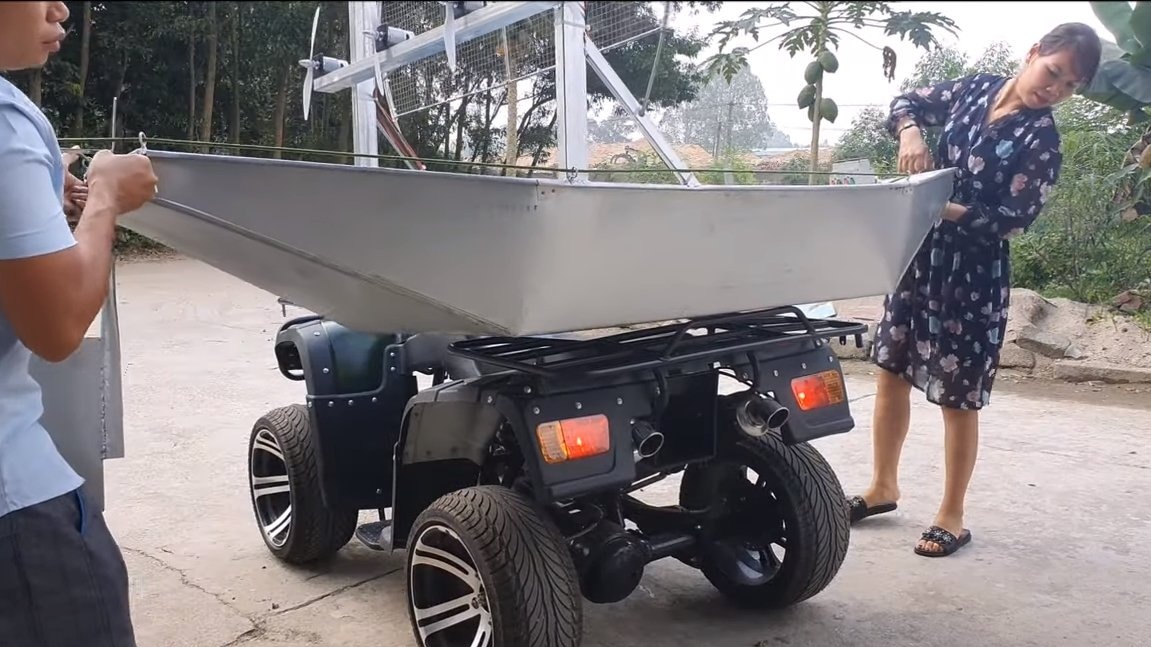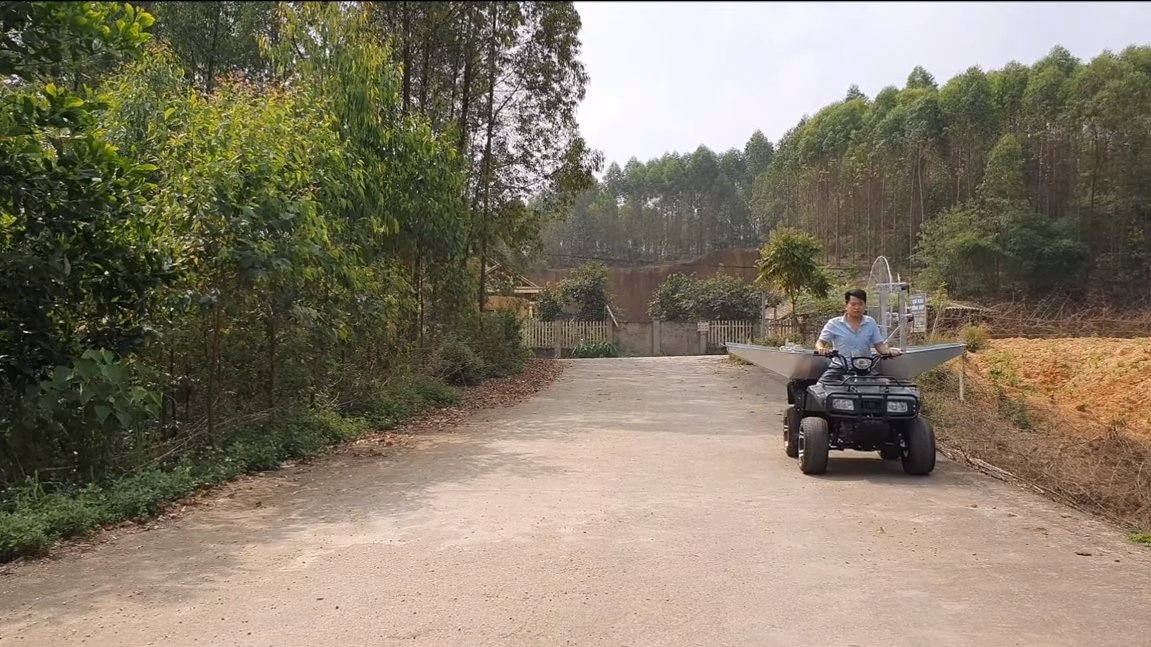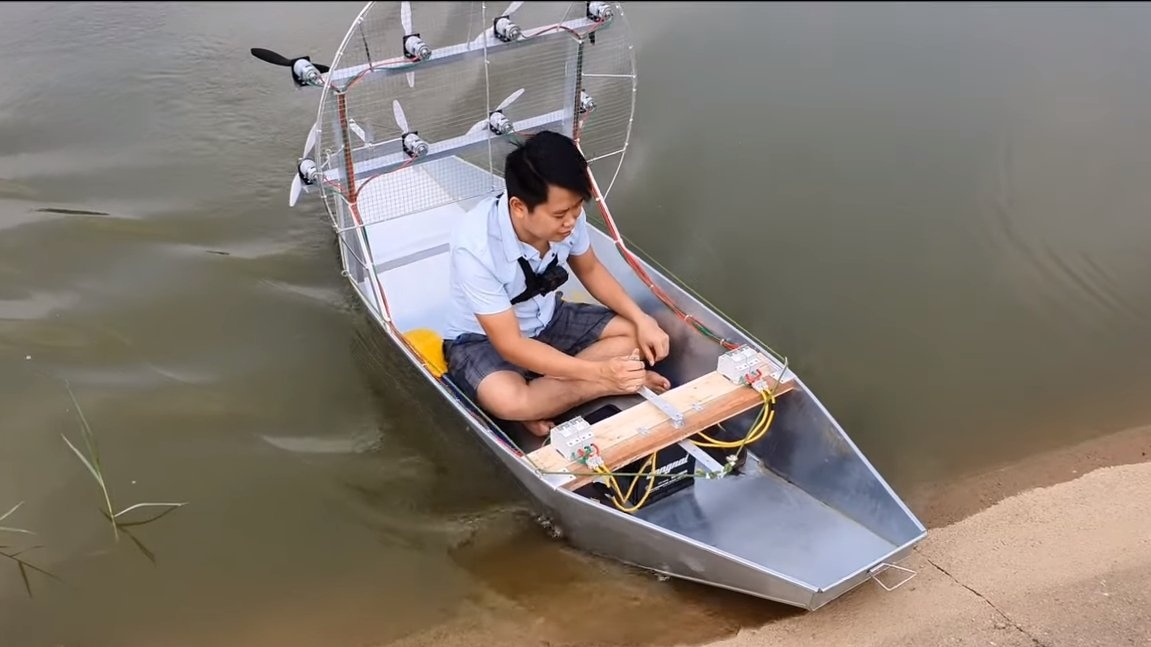
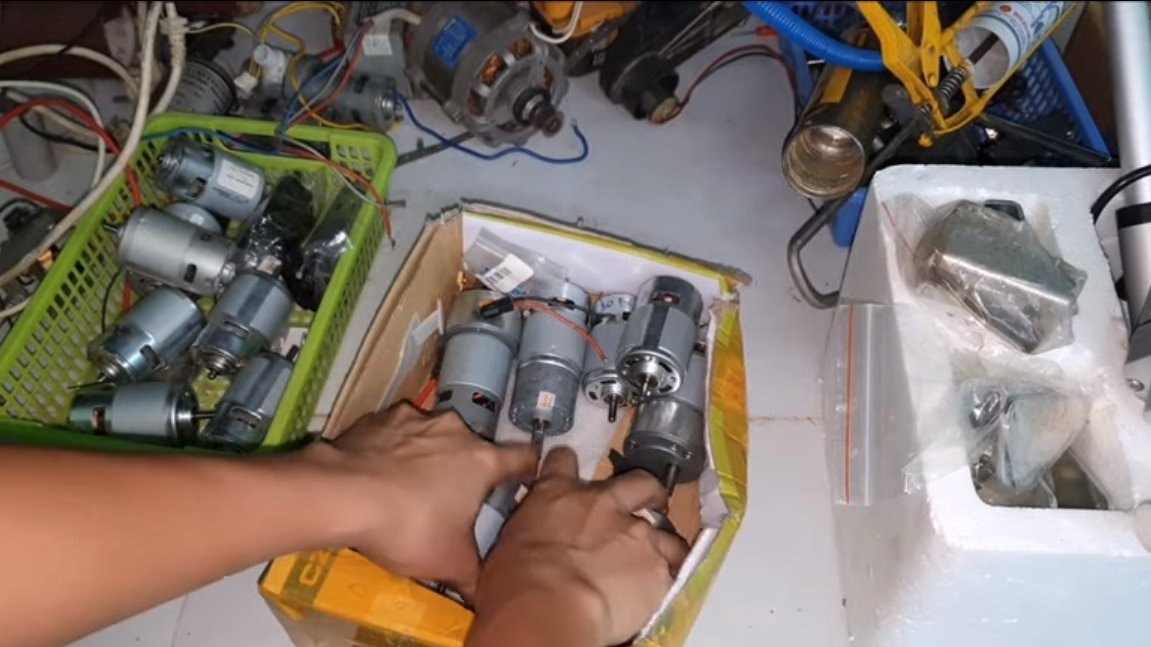
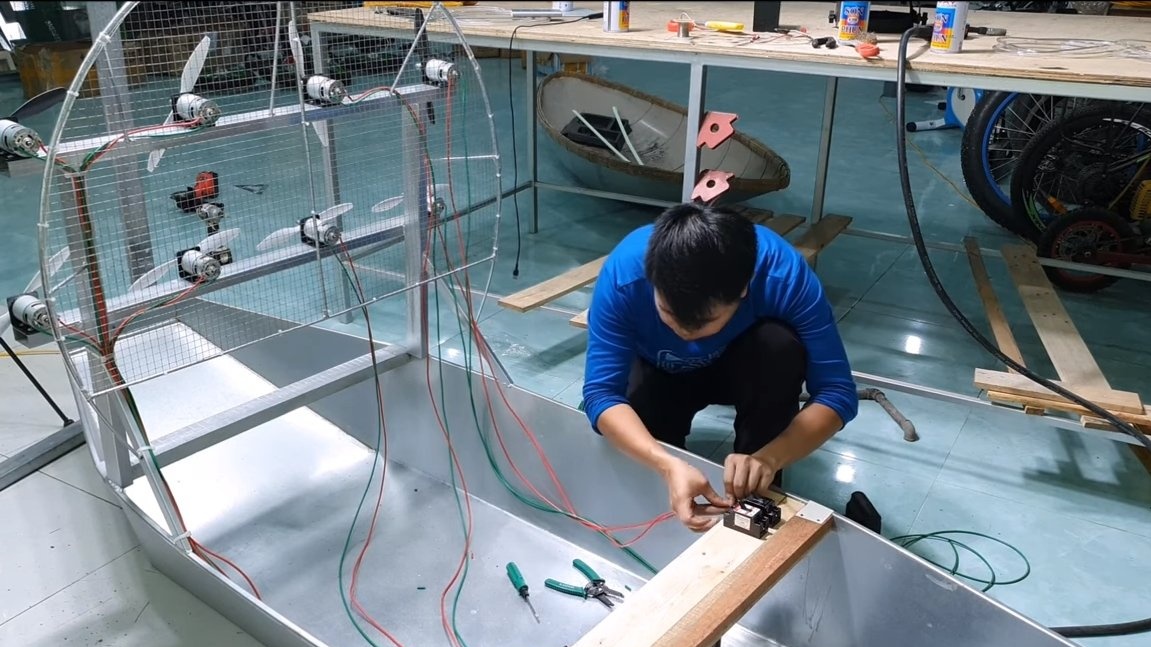
Hello fans to craft, today we will look at how to make a small boat on the air. As a power unit, the author used 8 775 engines, each of which has a capacity of 150 watts. The whole thing is powered by a lead battery, the boat goes pretty fast. The main advantage of the design is that the boat is not afraid of algae, on it you can swim in the overgrown sections of the reservoir and fish, as an example. The author has already used the boat to install all this equipment. If you show a little ingenuity, then a similar design can be installed on a rubber boat. If the project interests you, I propose to familiarize yourself with it in more detail!
Materials and tools used by the author:
Material List:
- experimental boat;
- ;
- adapters for propellers;
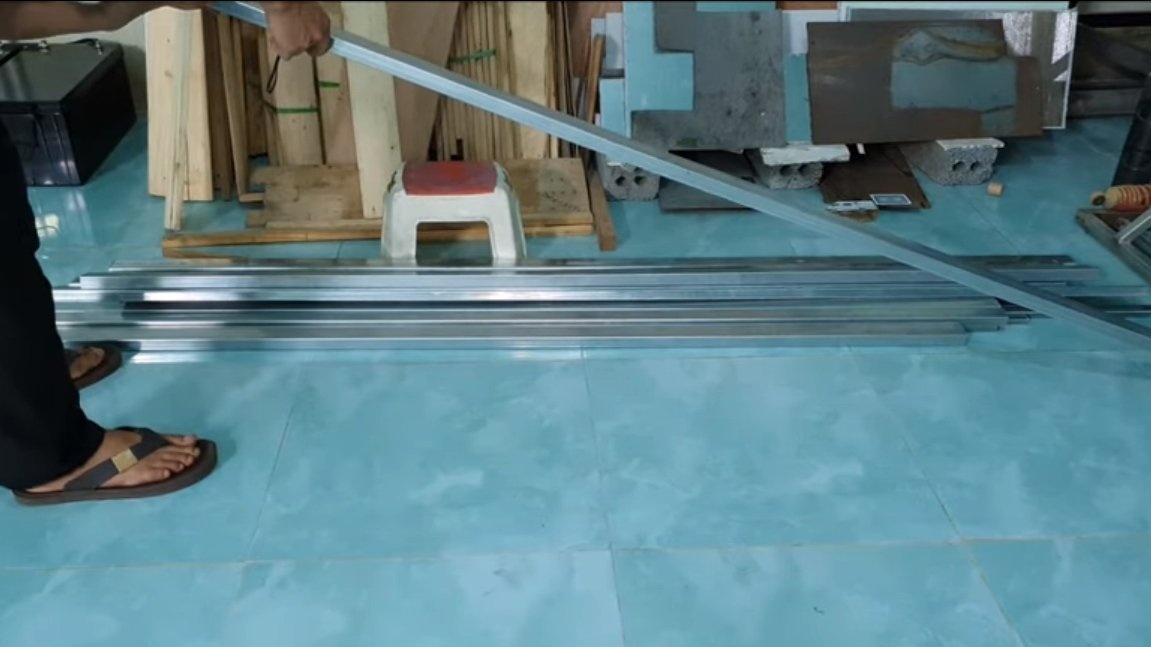
- profile pipes;
- 8 ;
- ;
- 12V battery;
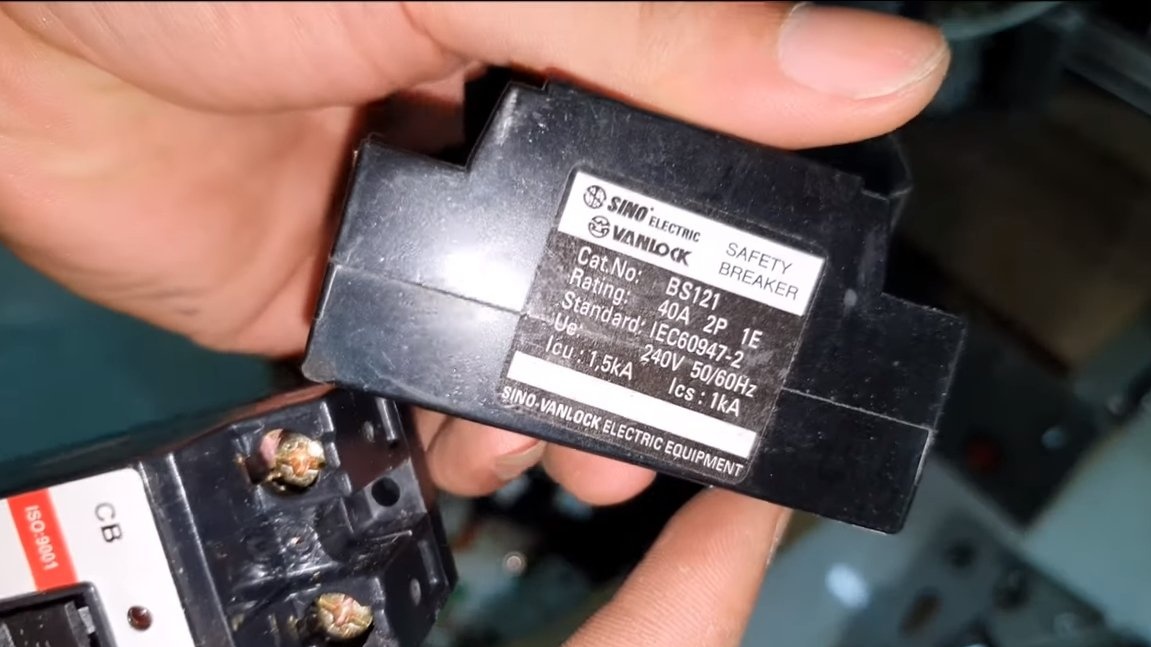
- 4 circuit breakers (at least 40A each);
- wires;
- round pipes;
- round timber;
- boards;
- an iron grid from a hardware store;
- synthetic cable;
- plastic ties;
- Battery charger.
Tool List:
- soldering iron;
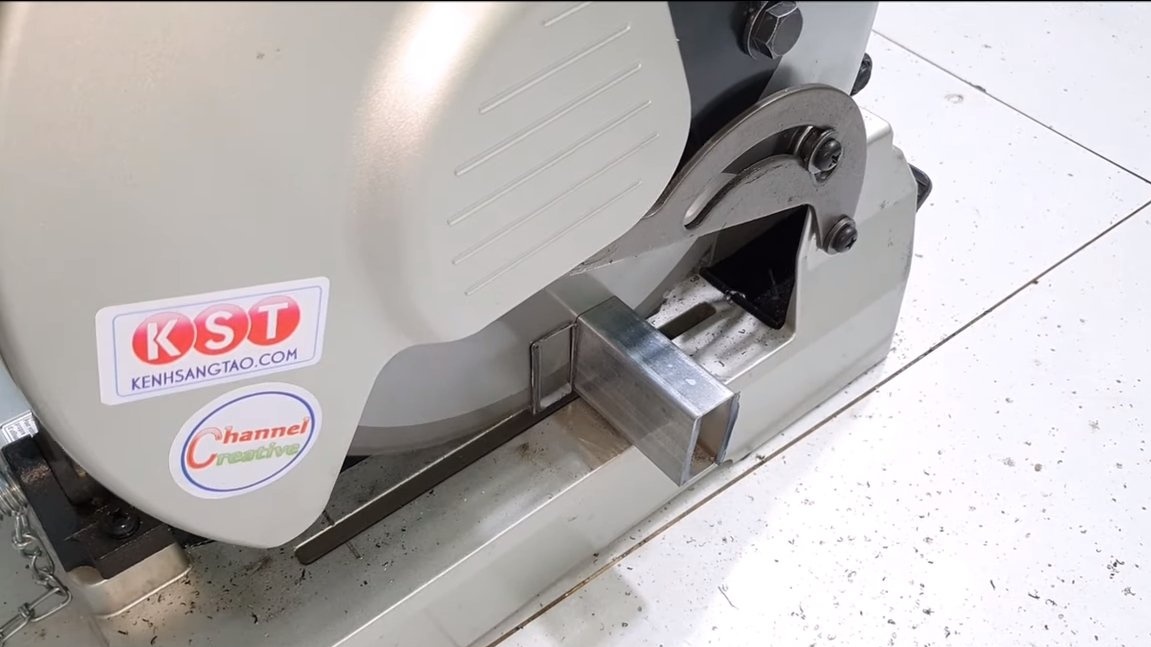
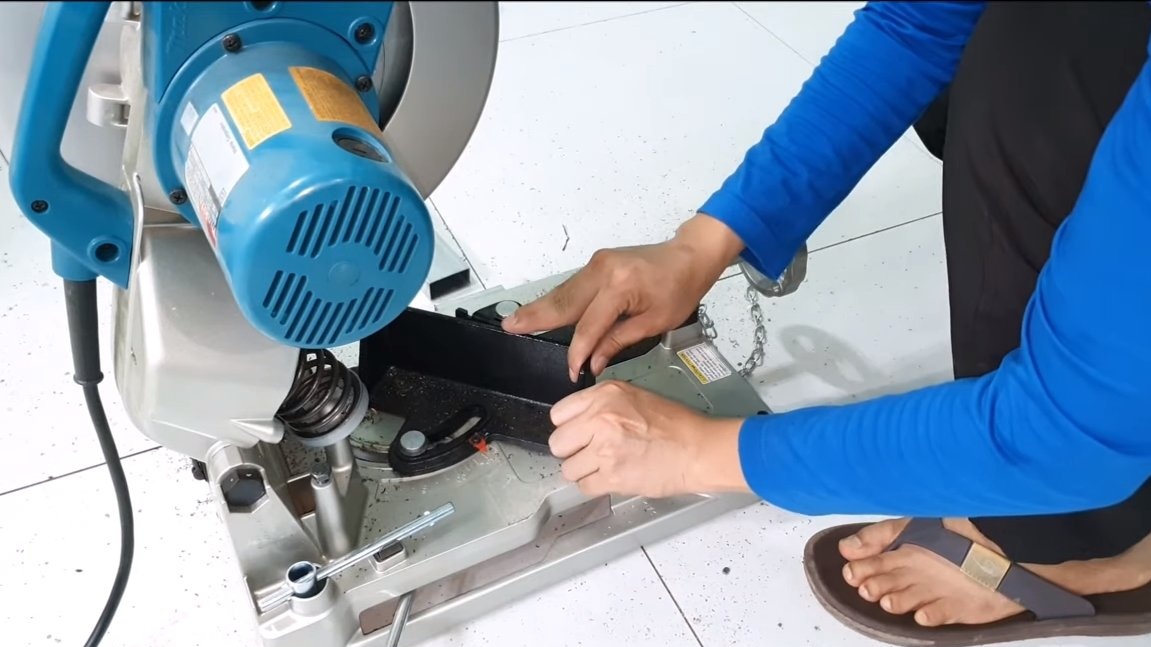
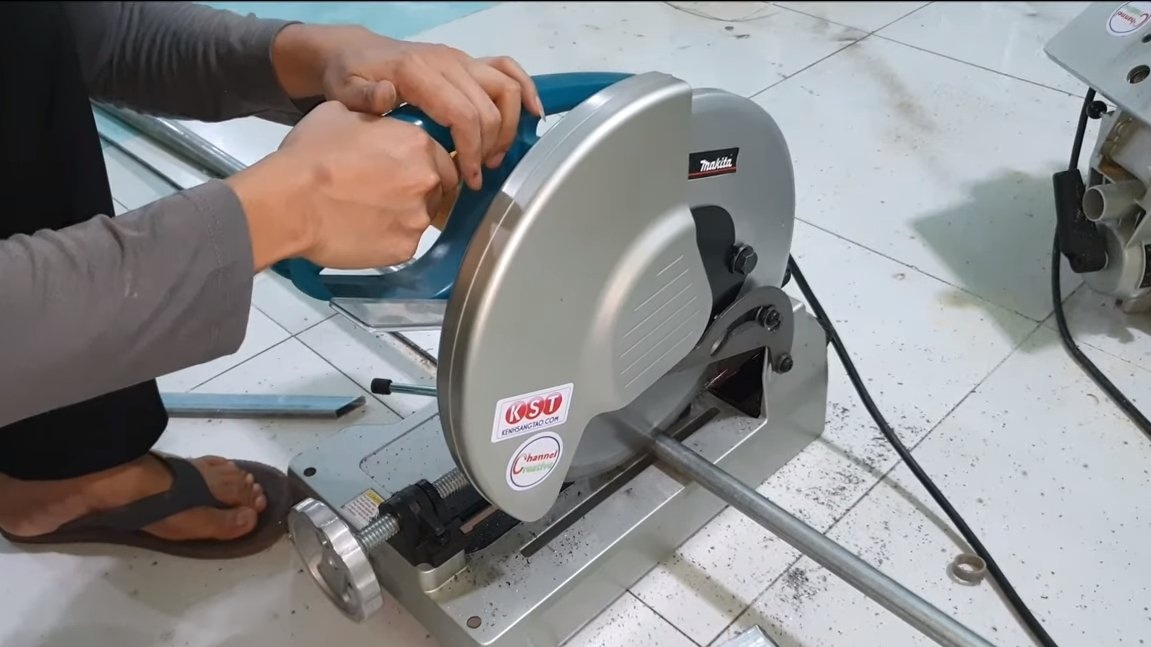
- Miter saw;
- ;
- nippers;
- screwdriver;
- .
Manufacturing process homemade:
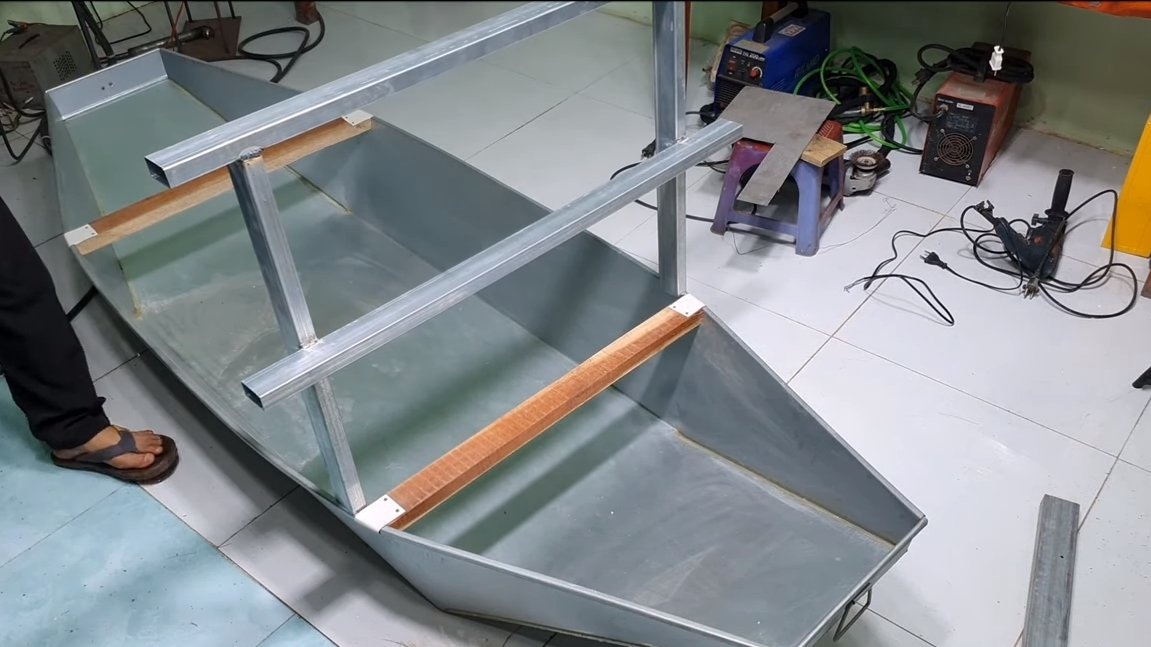
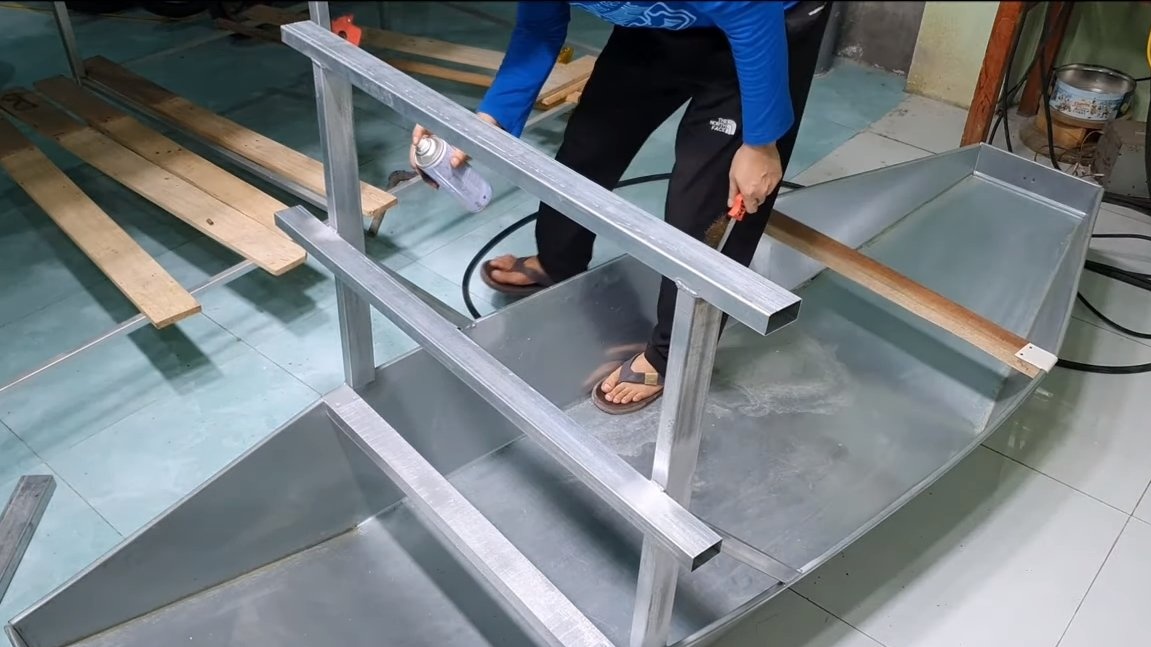
Step one. Production of a frame for engines
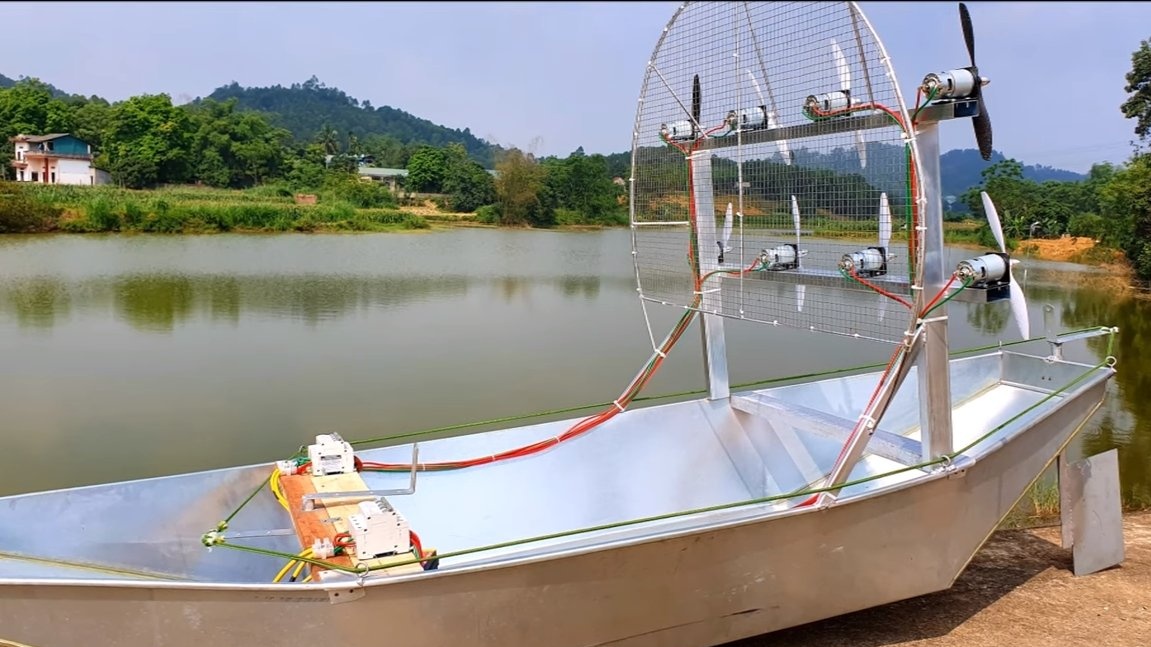
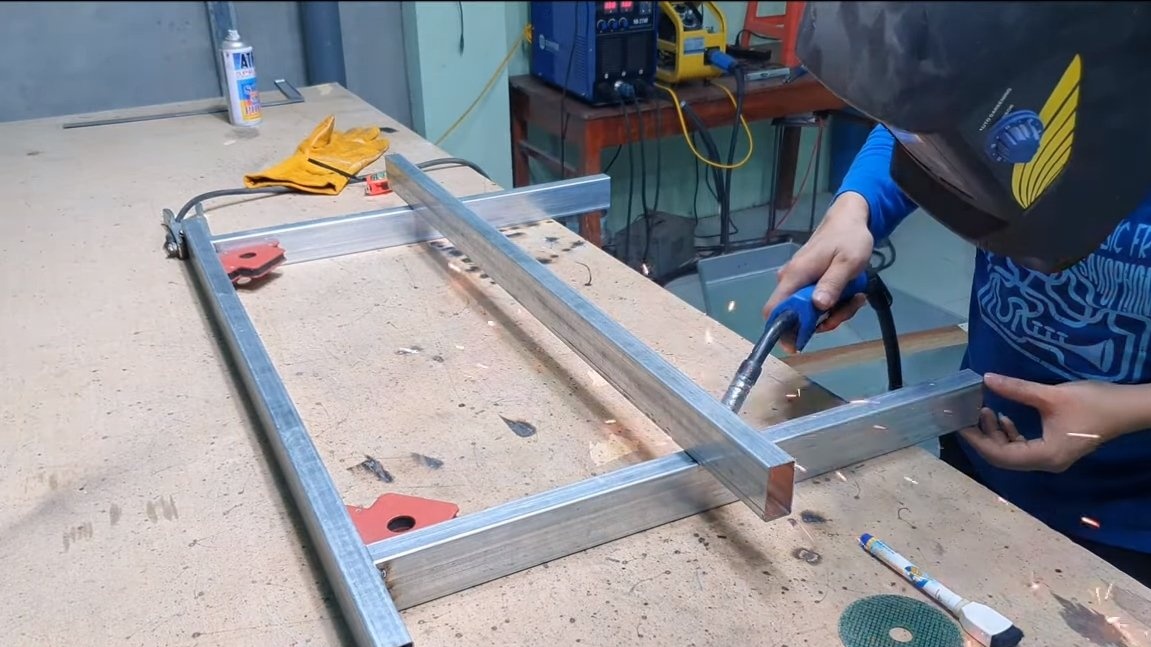
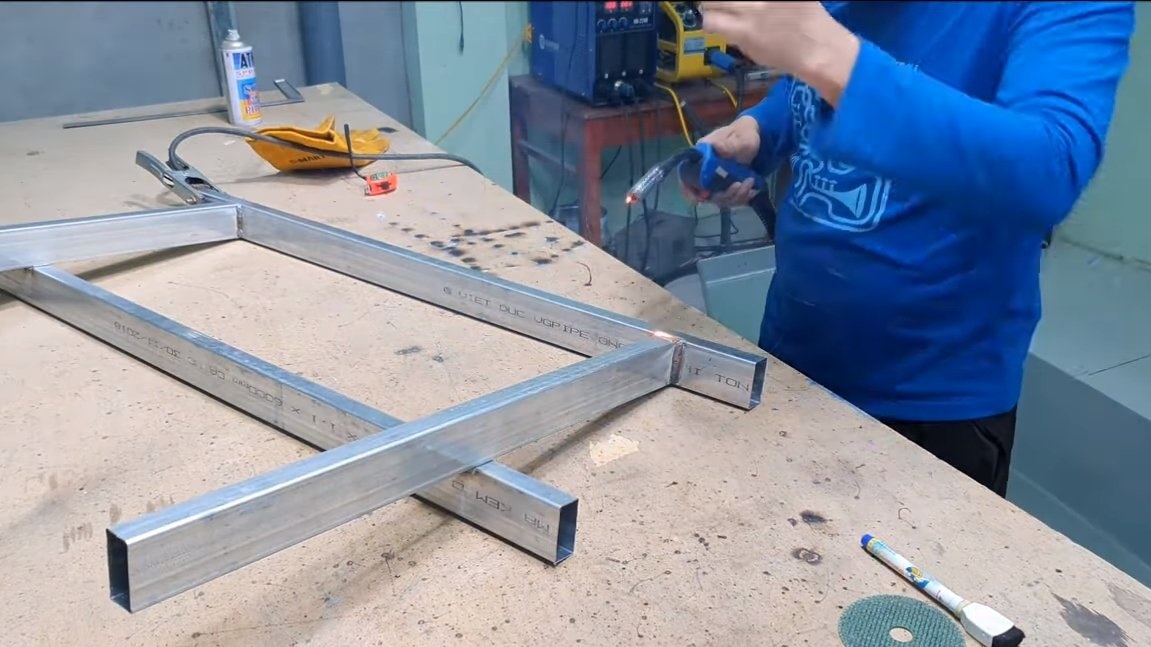
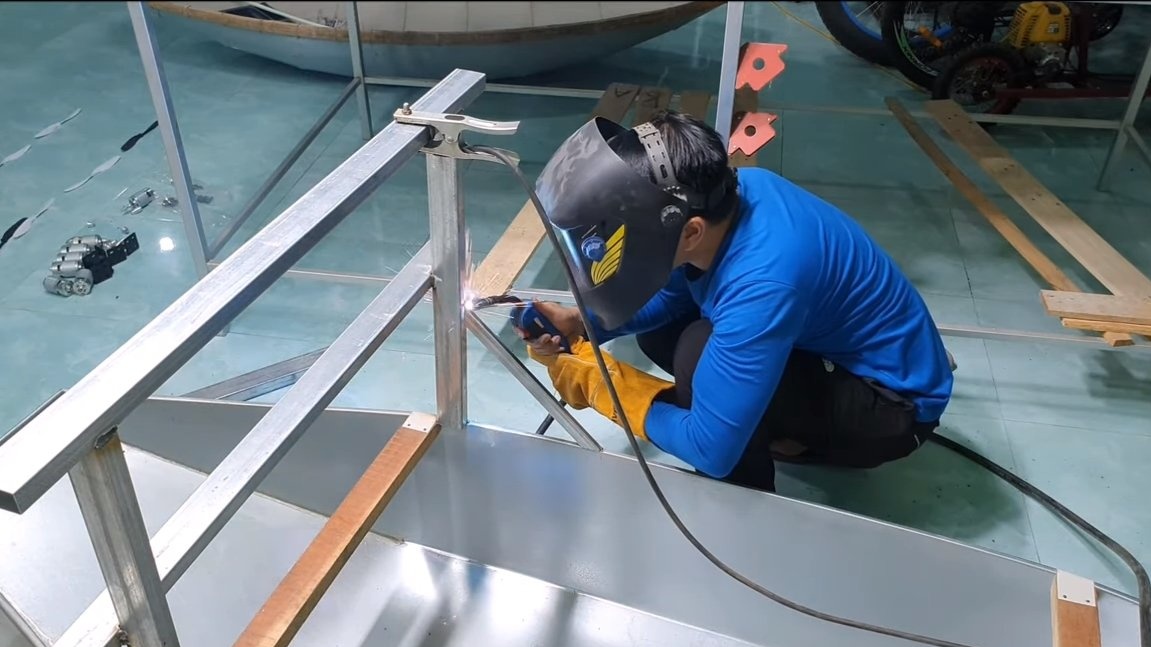
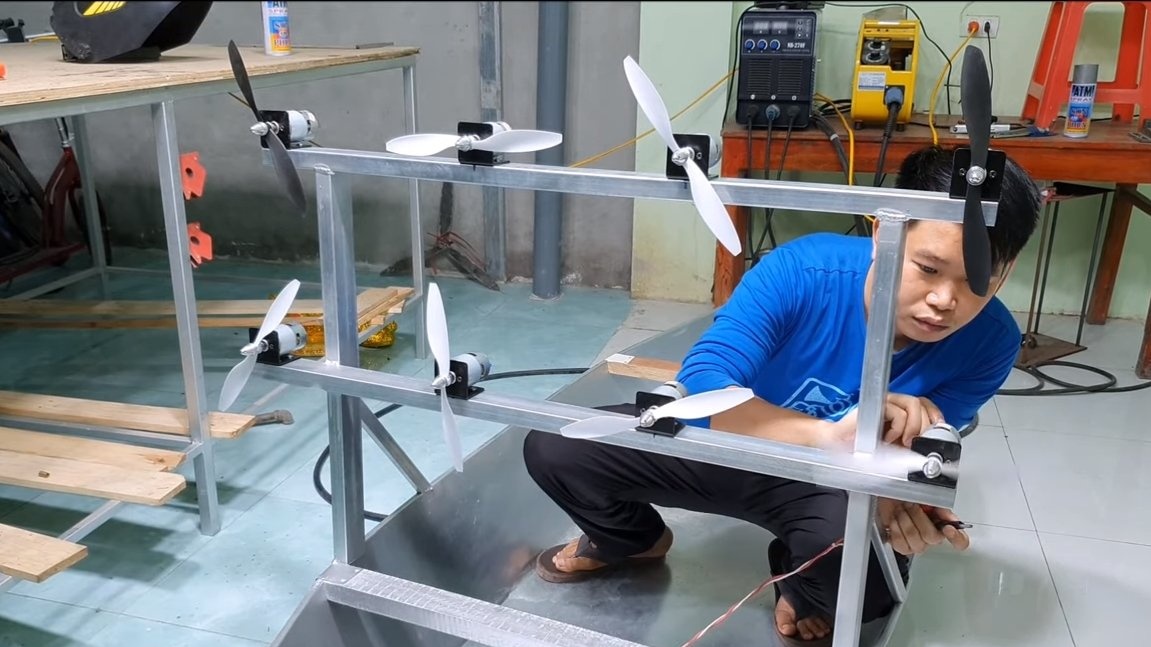
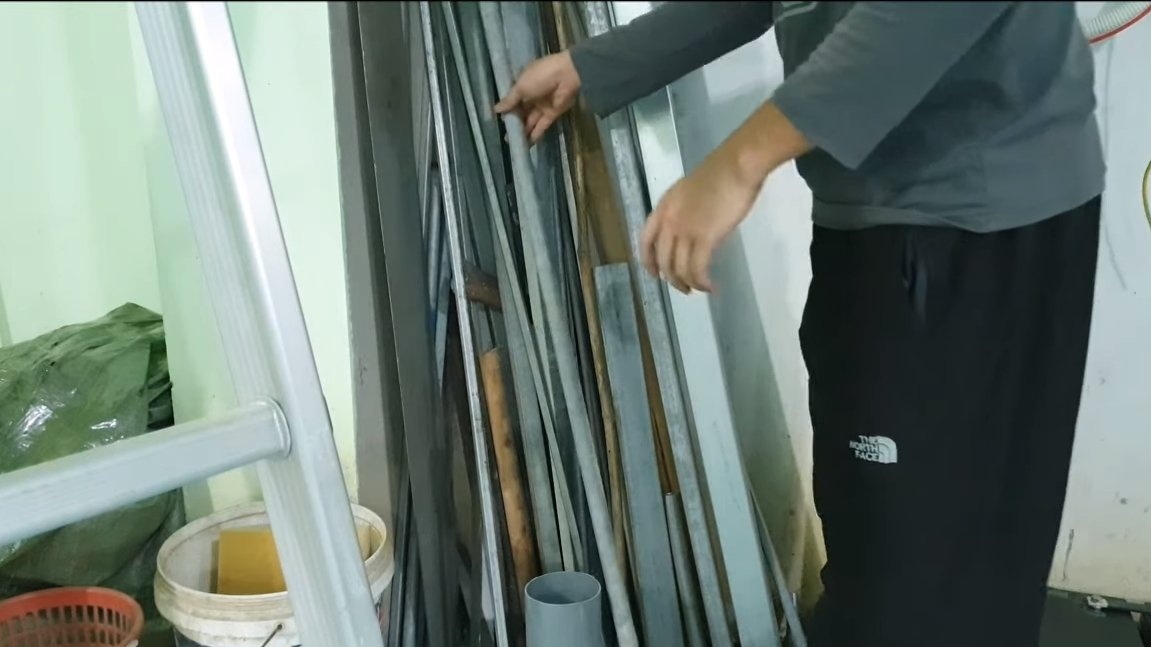
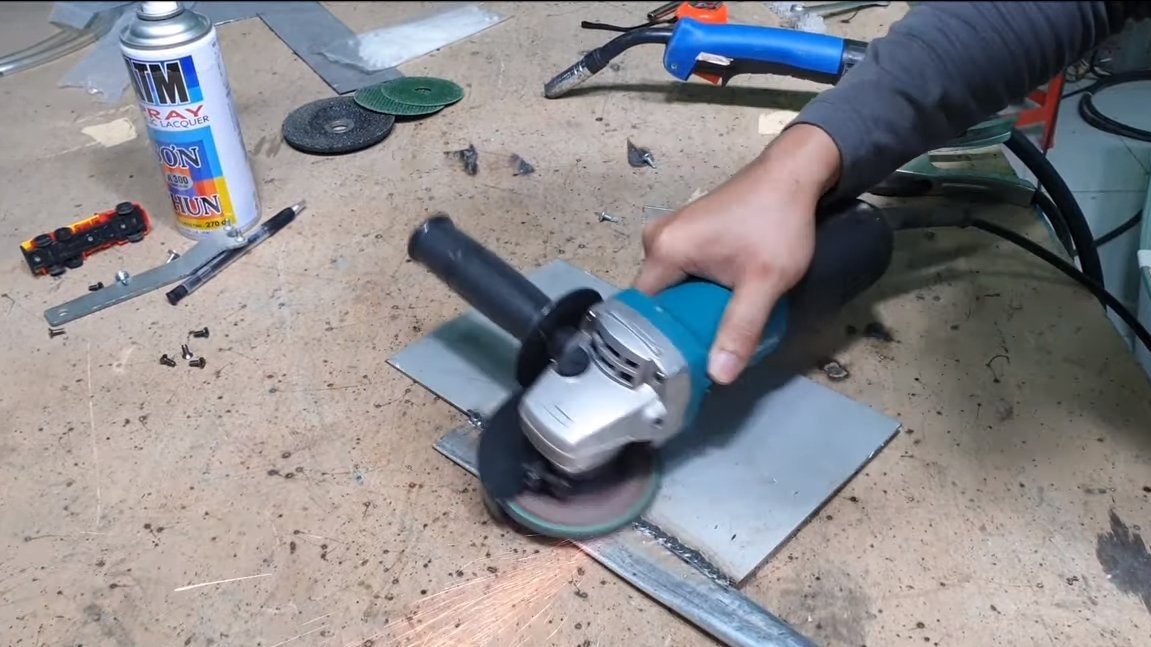
First of all, we need to assemble a frame on which we will install the motors. For its manufacture, profile pipes will be needed, we weld from them a frame of the right size for the location of 8 motors with propellers. We weld the frame to the boat, the author has it iron.
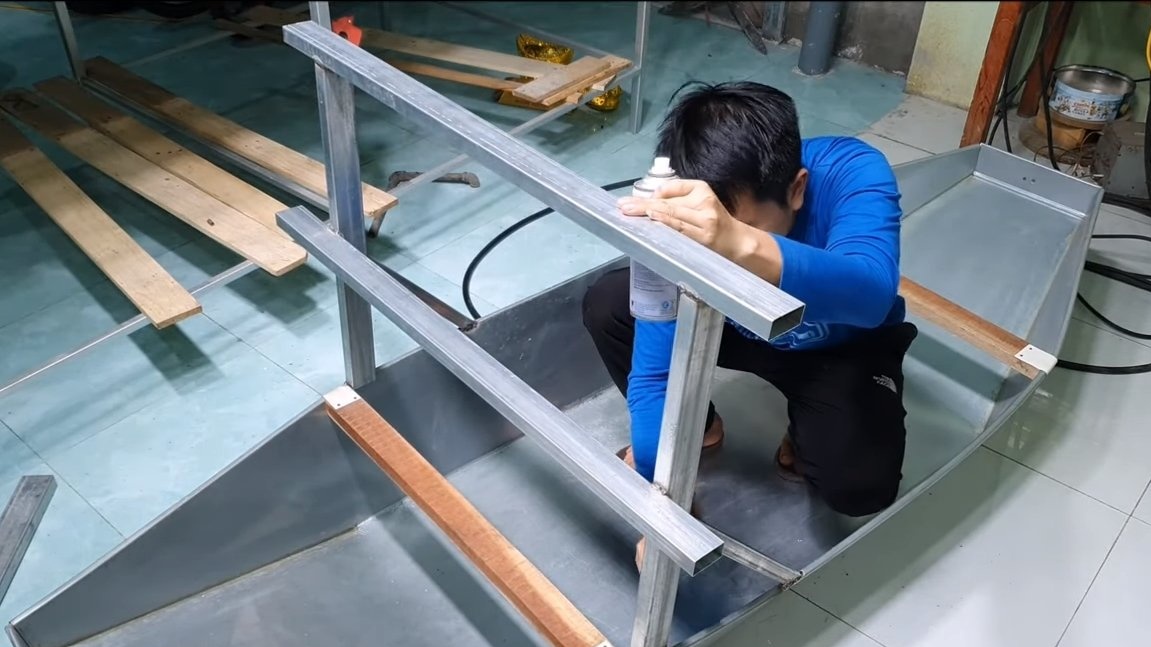
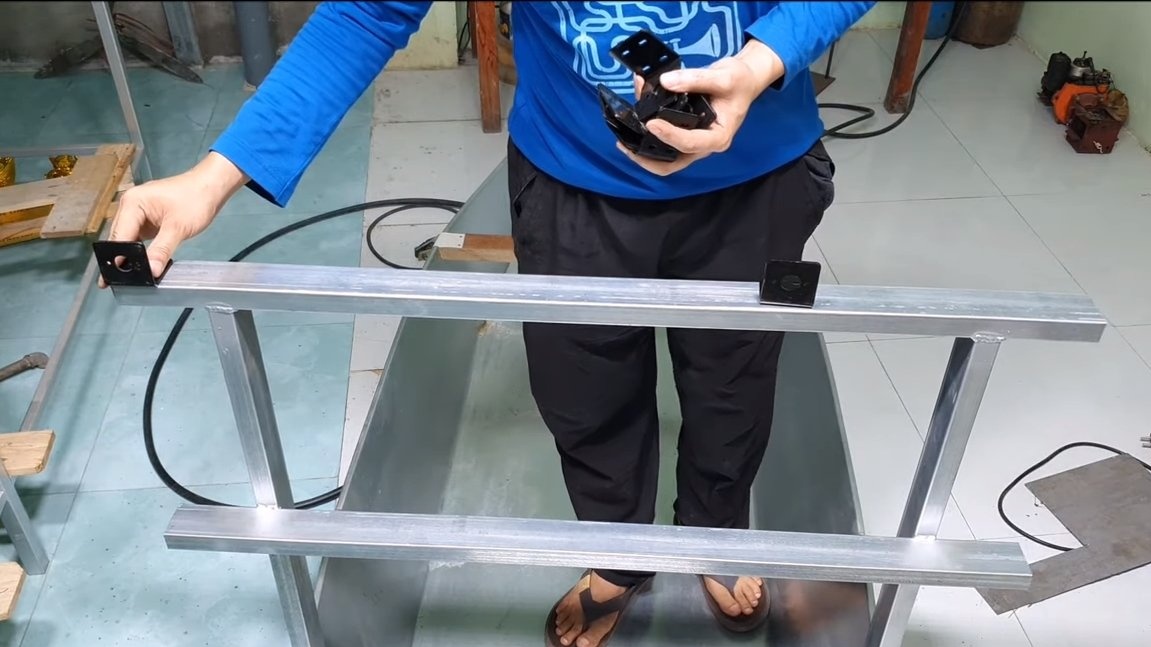
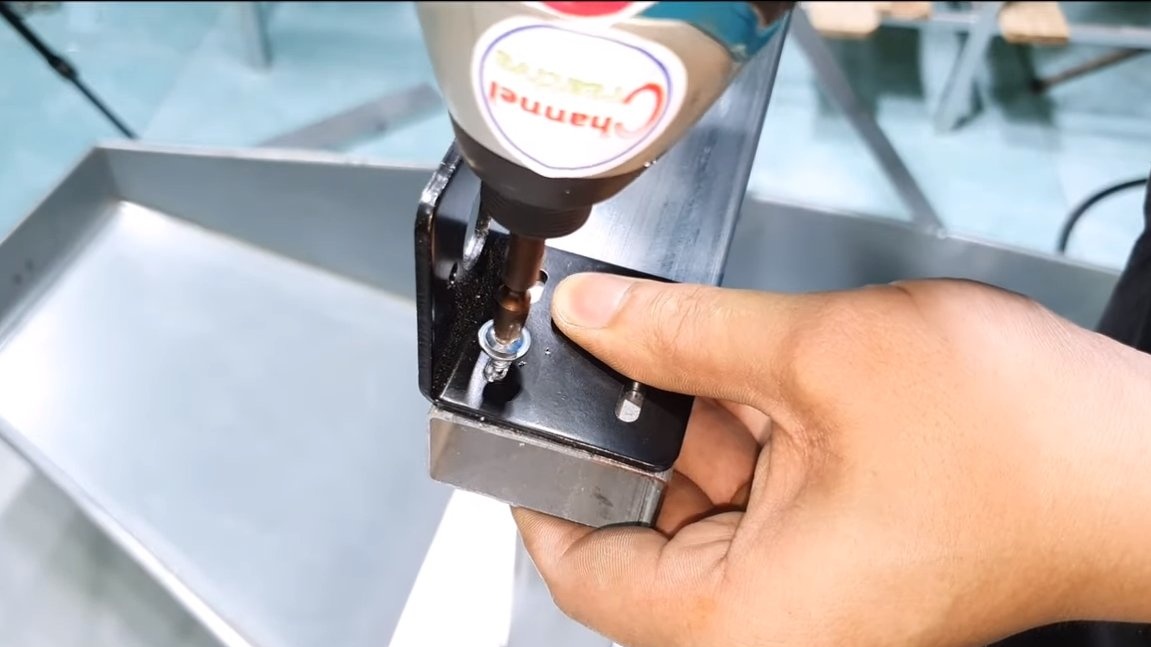
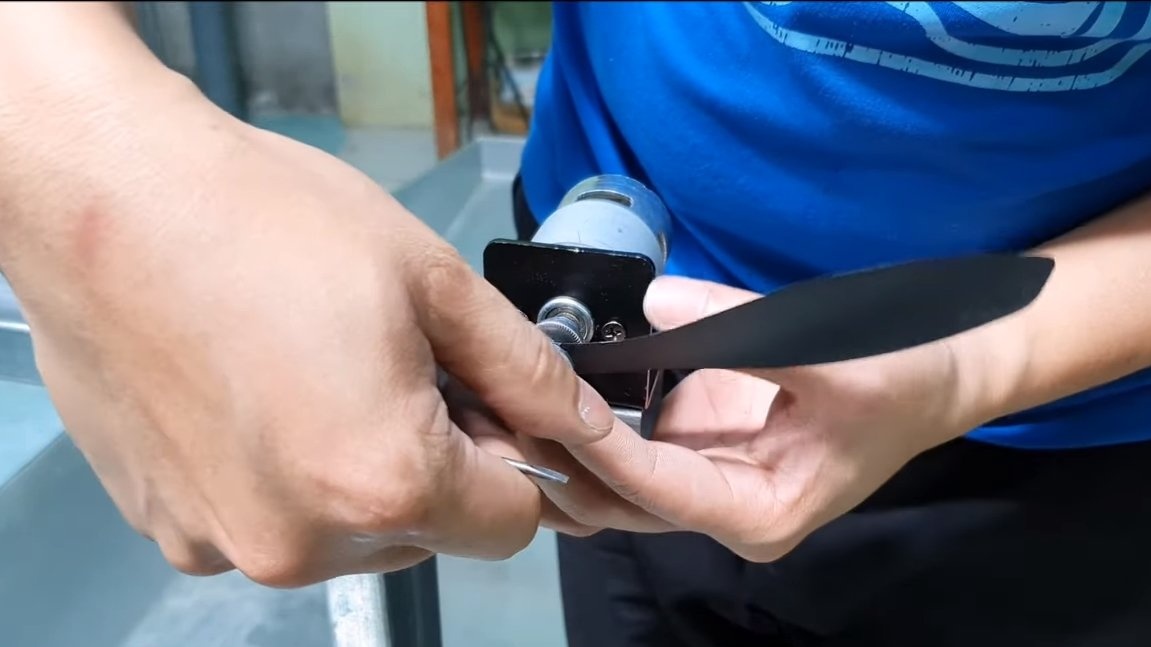
That's all, now you can fix the engines on the frame, the brackets for the 775 engines will help us with this. We fasten them to the frame using self-tapping screws, but we fasten the engines to the brackets with screws. After that, you can install the propellers. We paint all places of welding work, as well as the frame, so that the iron does not rust from contact with water.


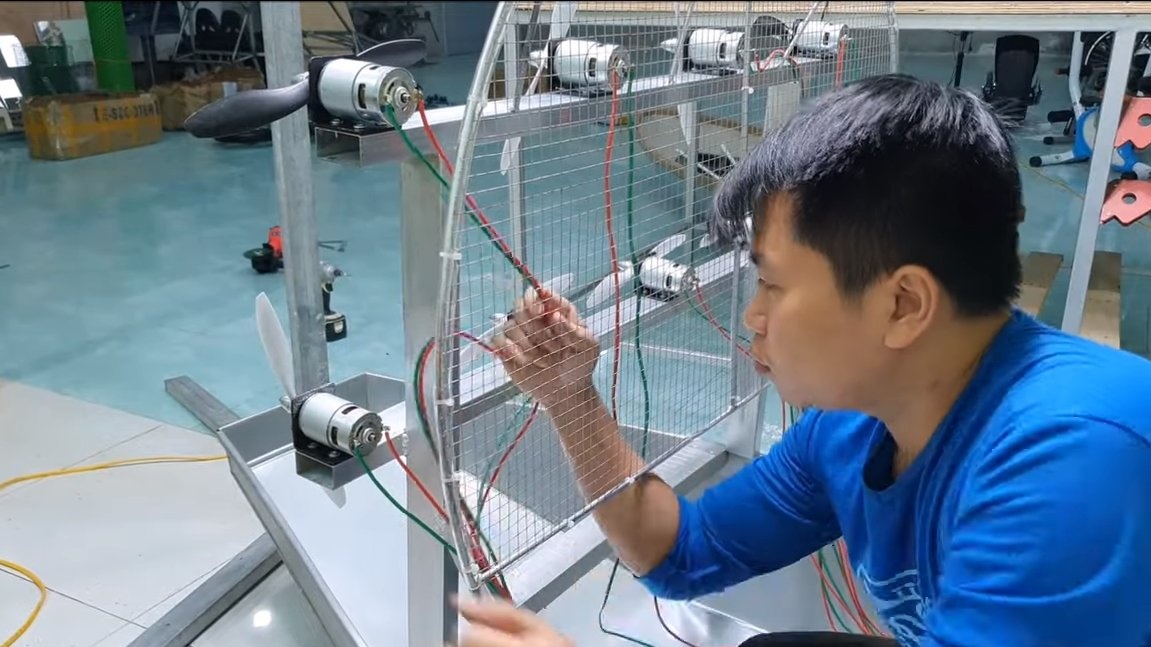
Step Two Protective grill
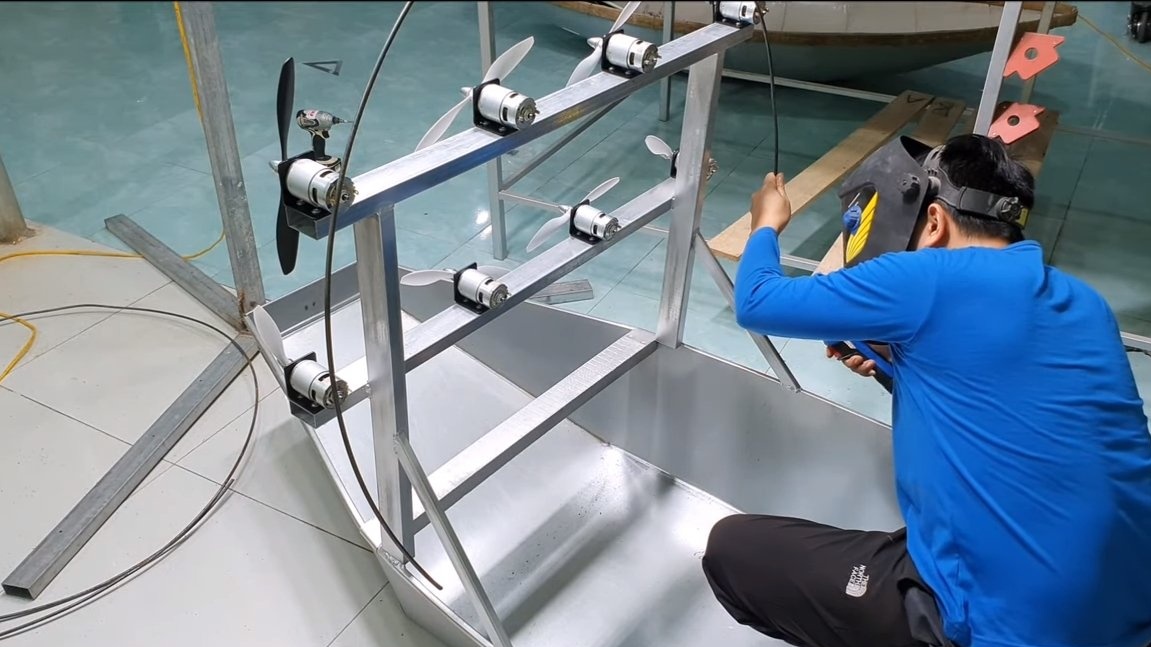
So that nothing flies away or flies from the propellers, we install a protective grill. To begin with, we assemble the frame for installing the grill, here we need a round timber. We bend it in an arc and weld to the frame through spacers.
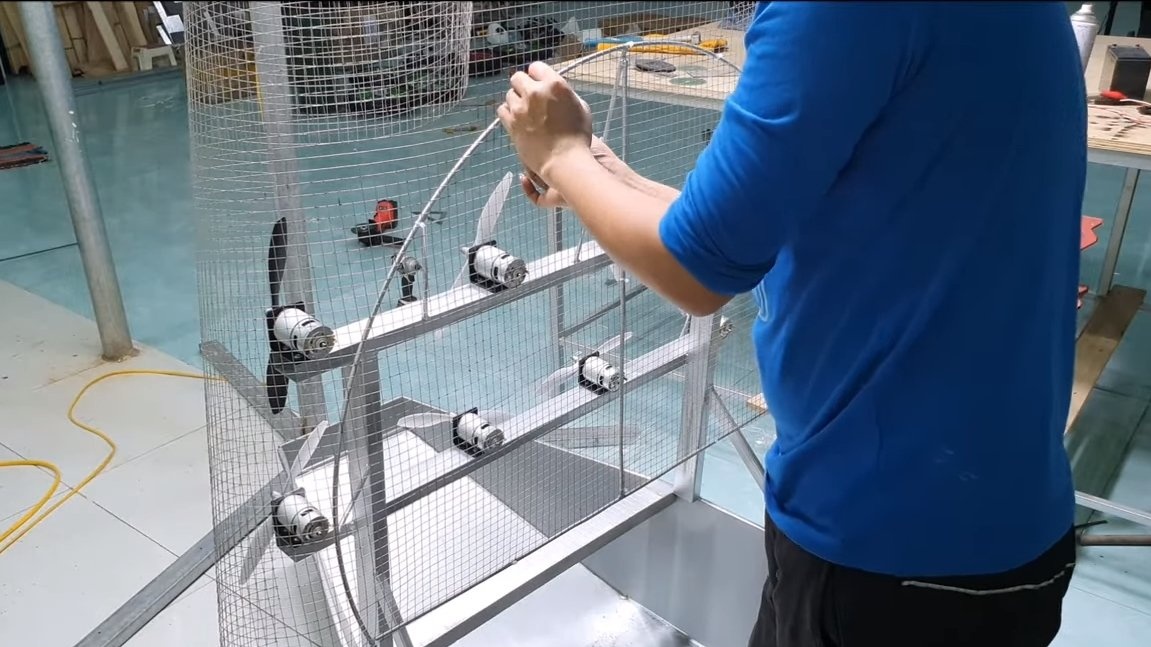
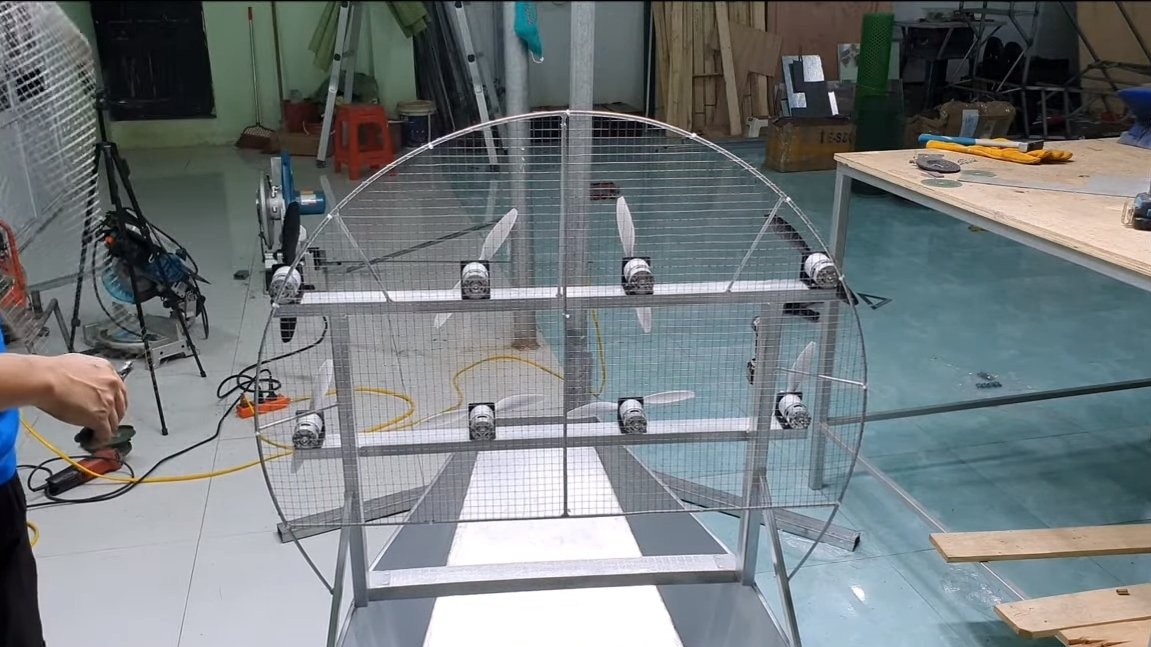
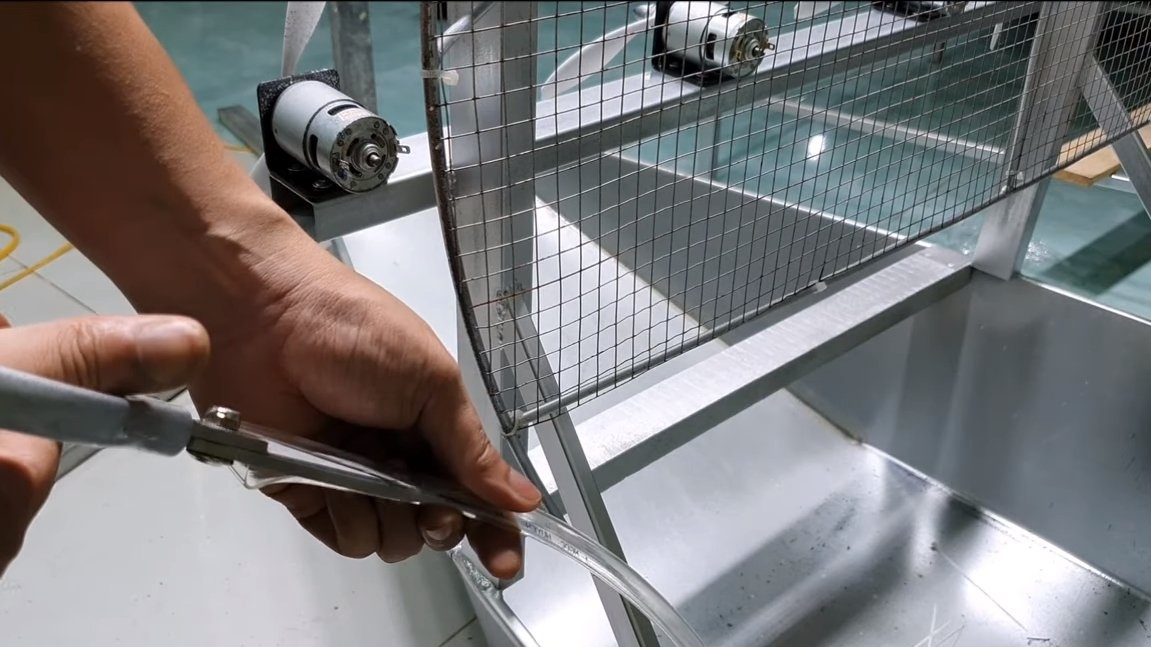
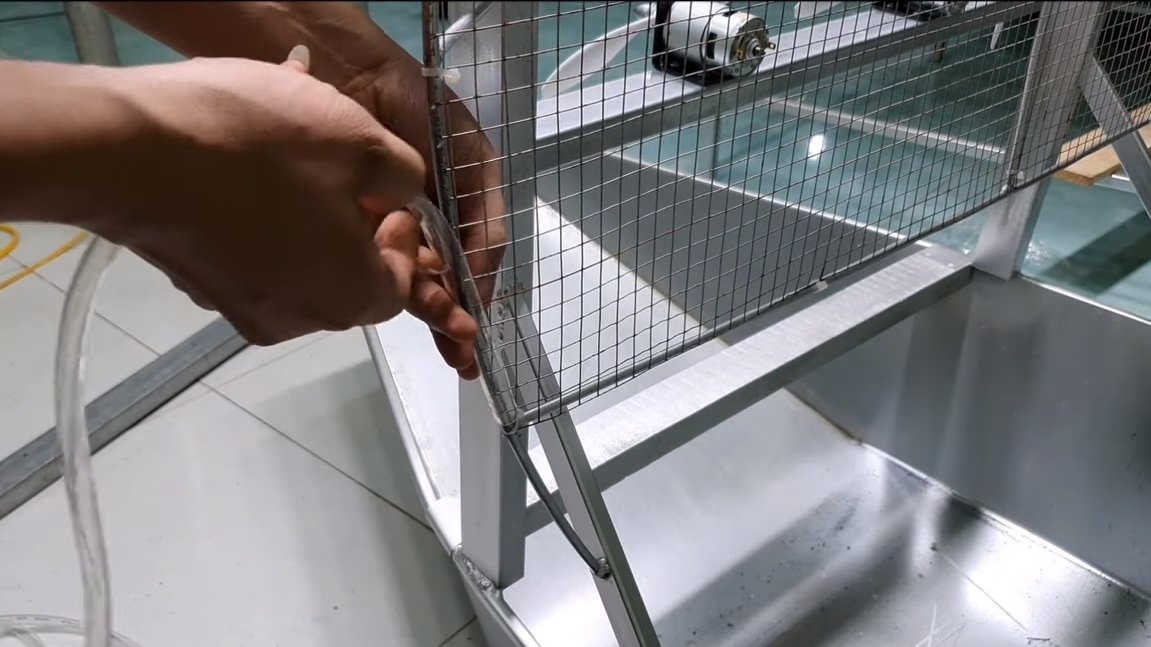

Well, then we attach the grill to the frame, for fixing you can use plastic ties. The excess part of the lattice is cut with nippers. The grill will fit the one that is sold in a hardware store.
In order not to cut ourselves on the sharp edges of our defense, we tighten it with a rubber hose, cutting it lengthwise.
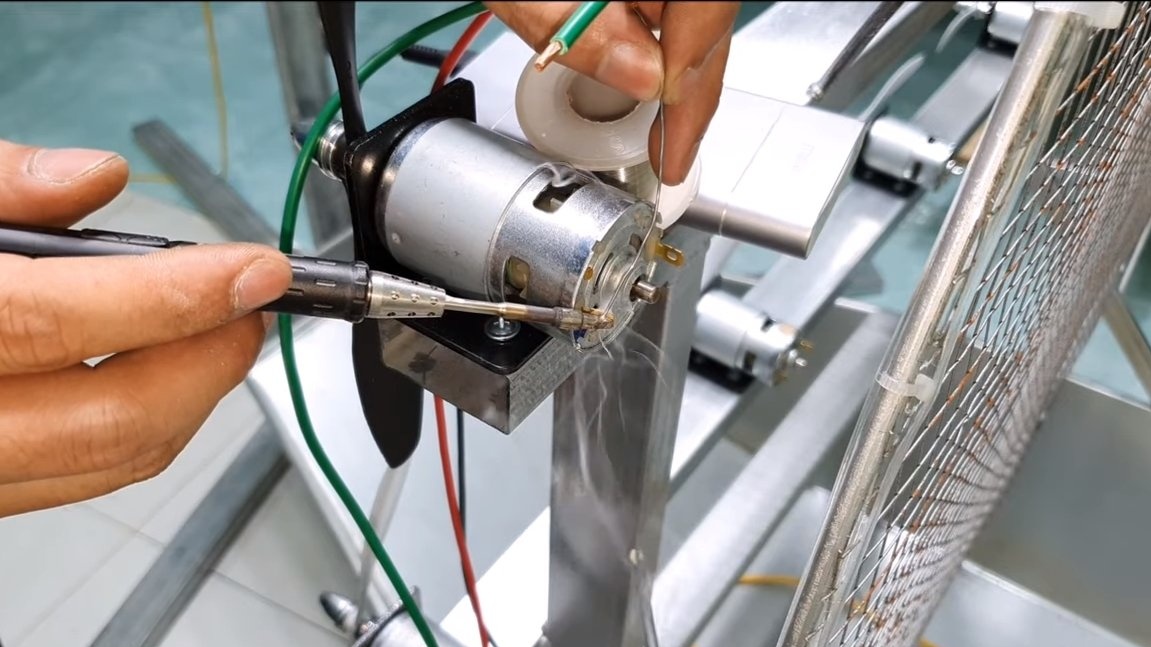
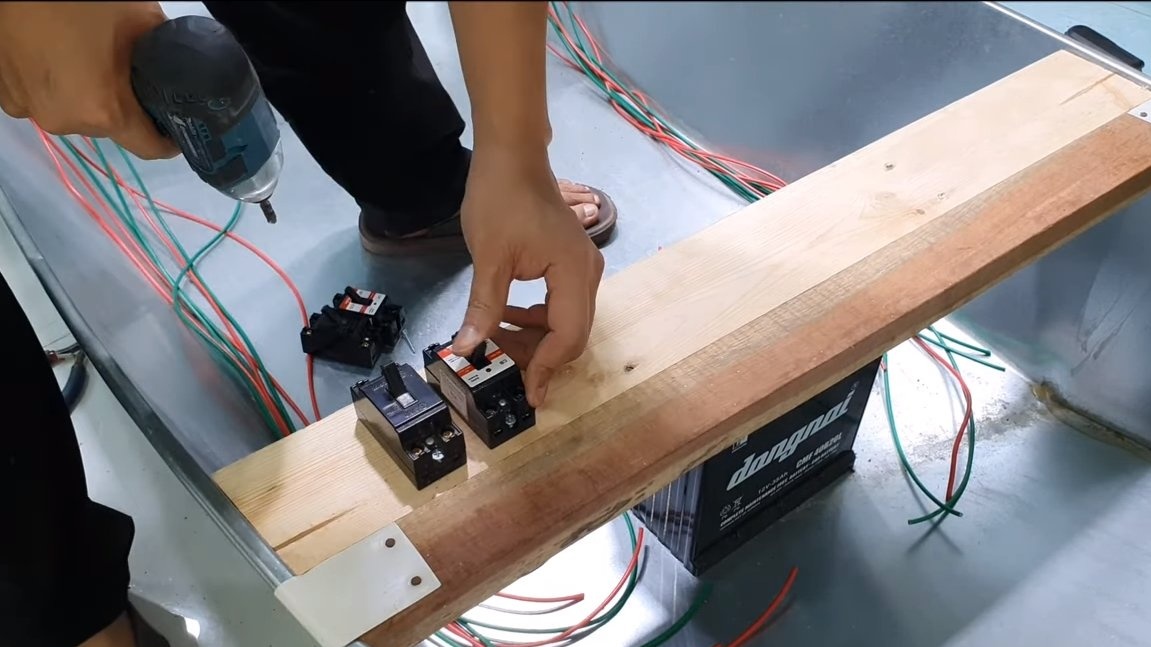
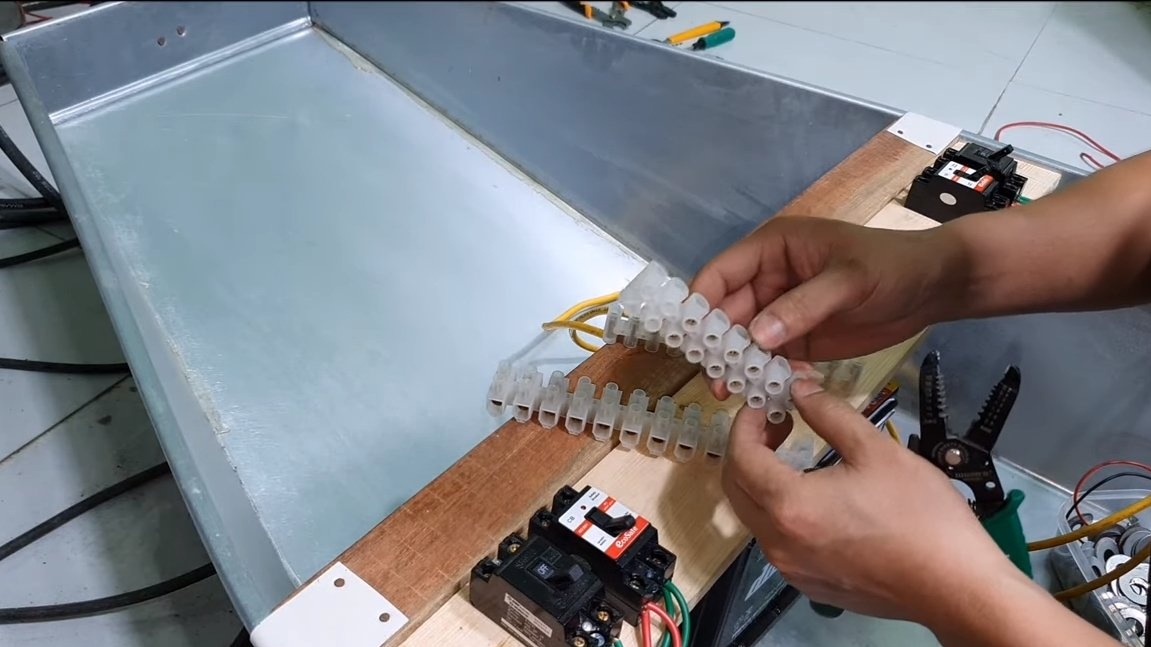
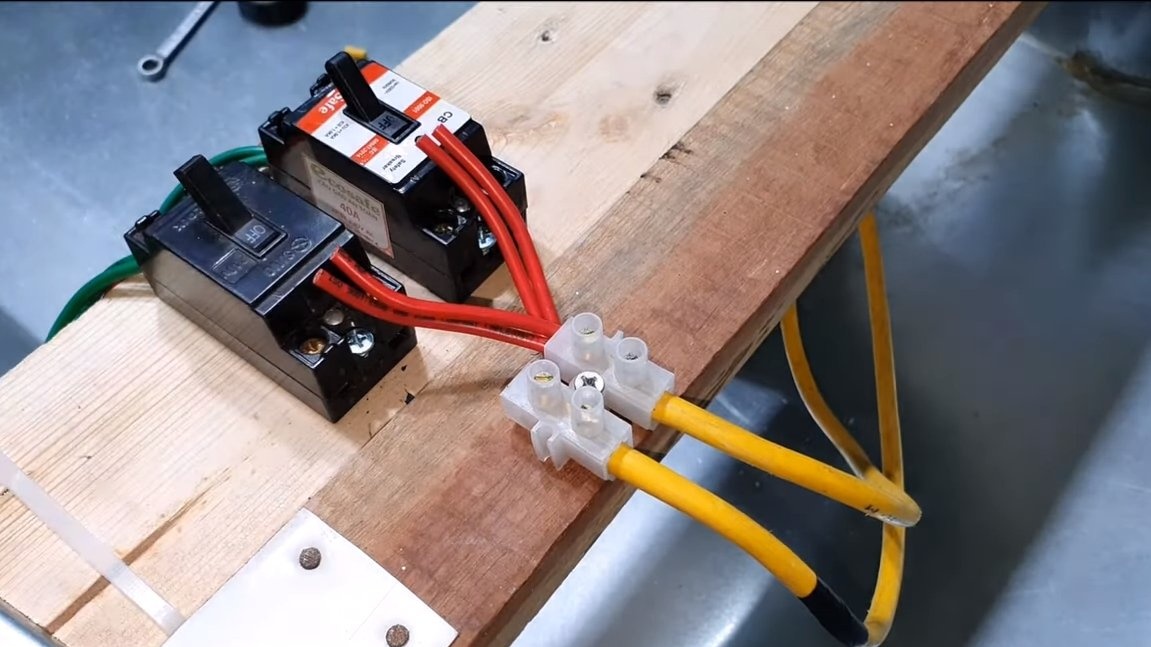
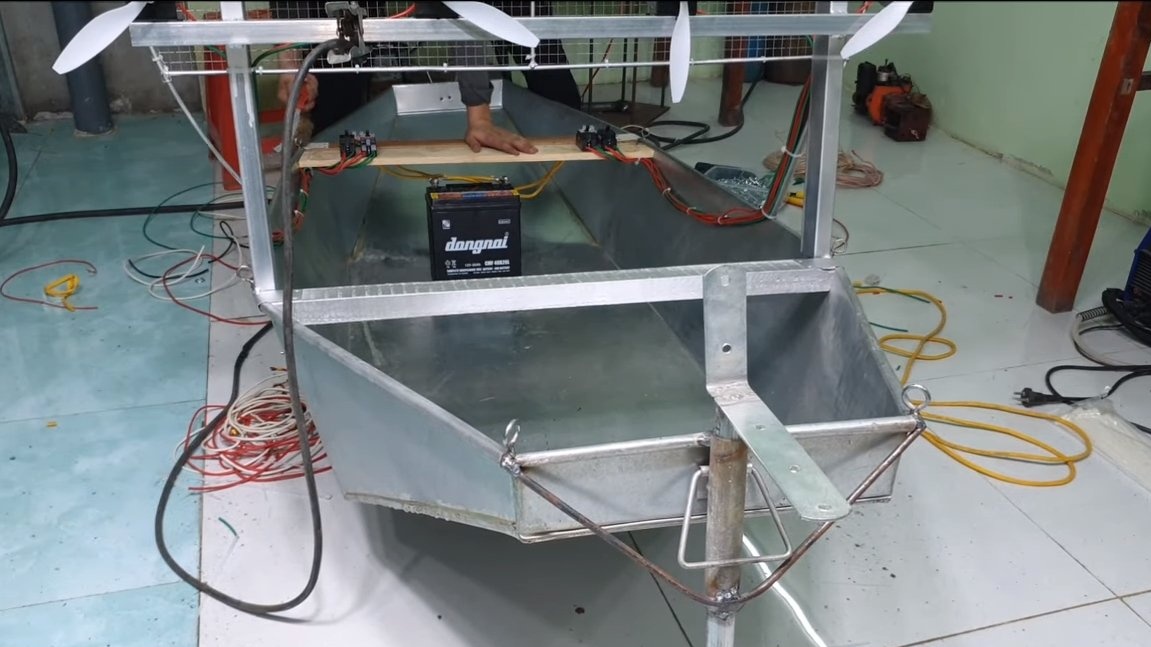
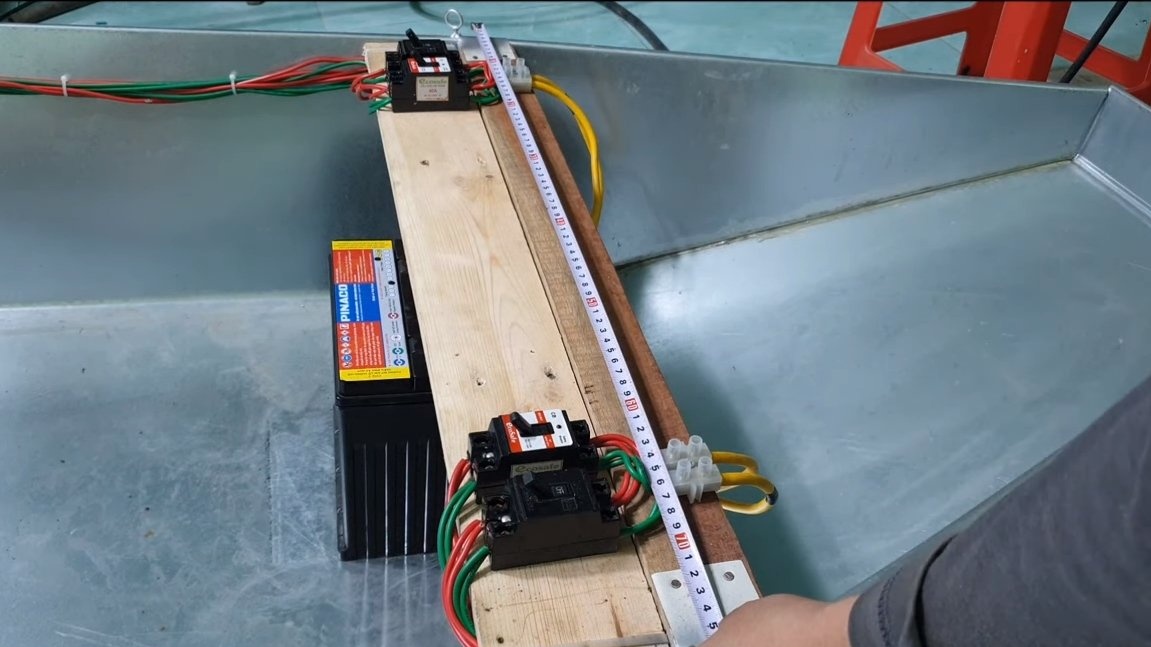
Step Three Electrician
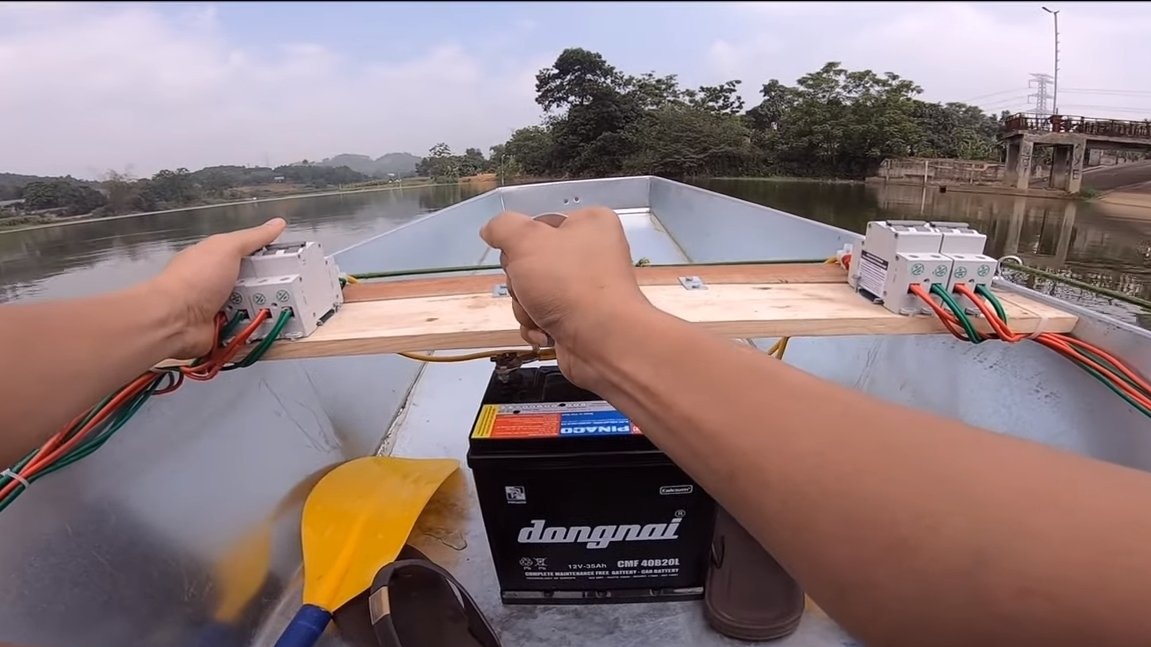
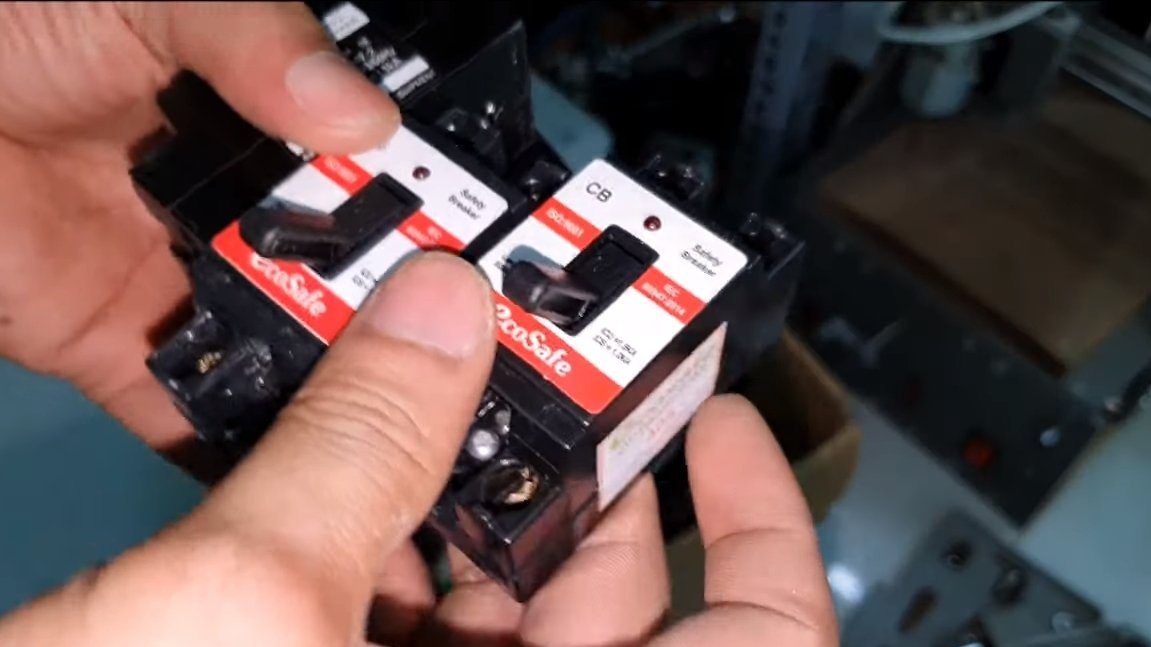
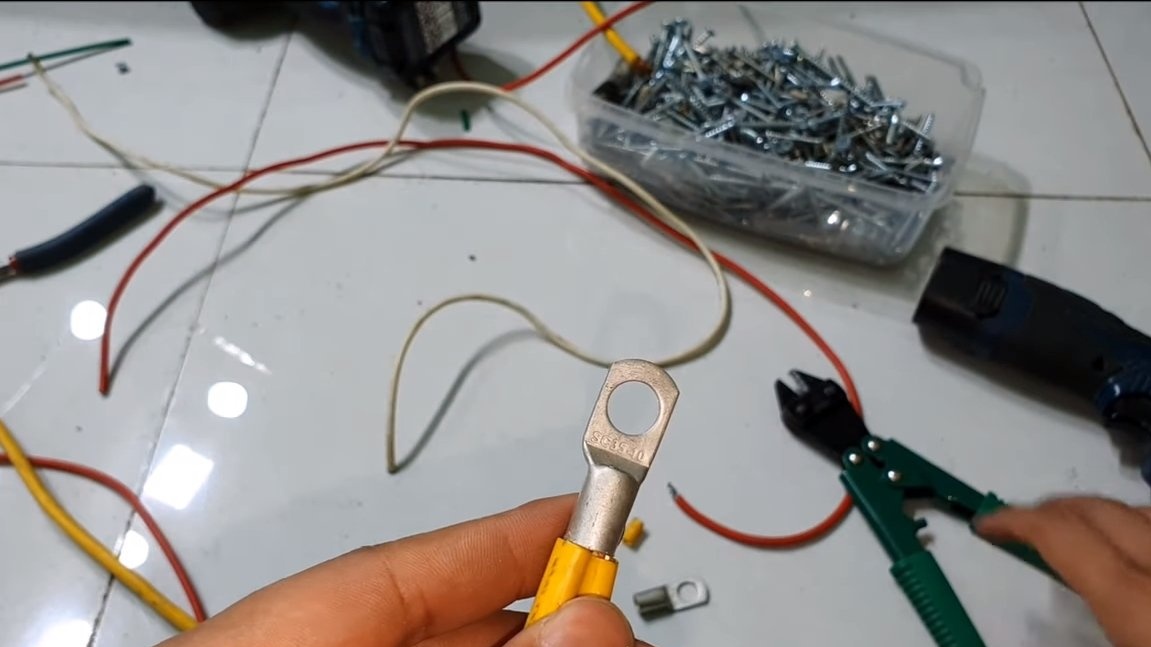
We solder wires to the contacts of the motors and carry them along the boat to the switches. The author uses 40A breakers each, two motors are connected to one such breaker, and there are 4 in total. The wiring must be reliable to withstand high currents.
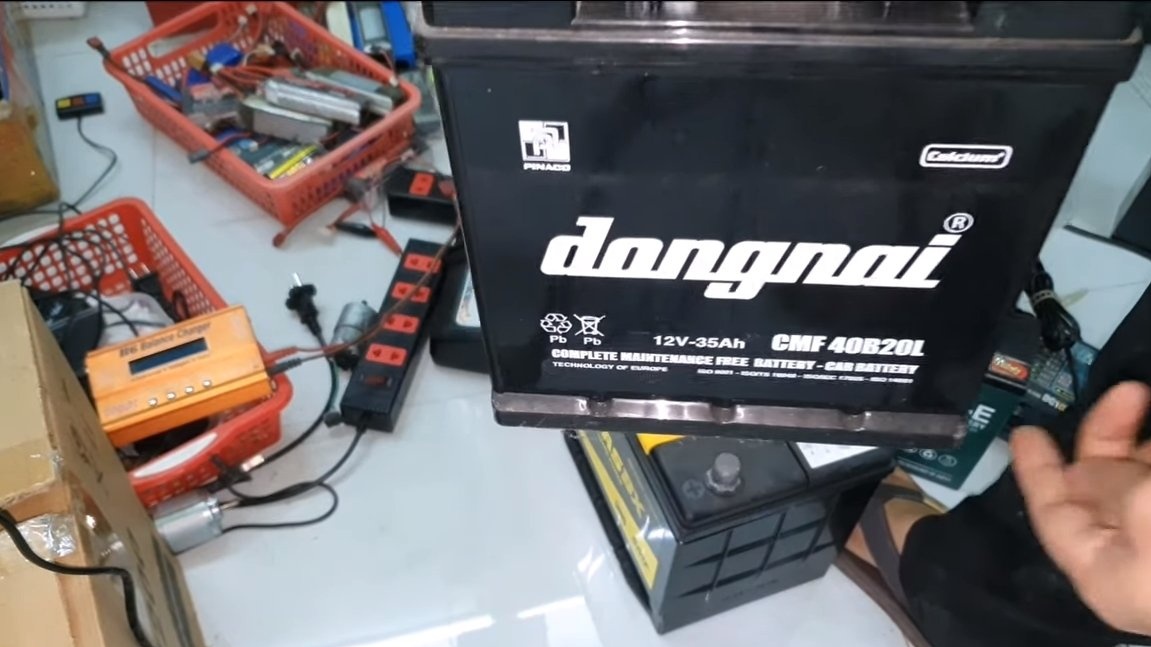
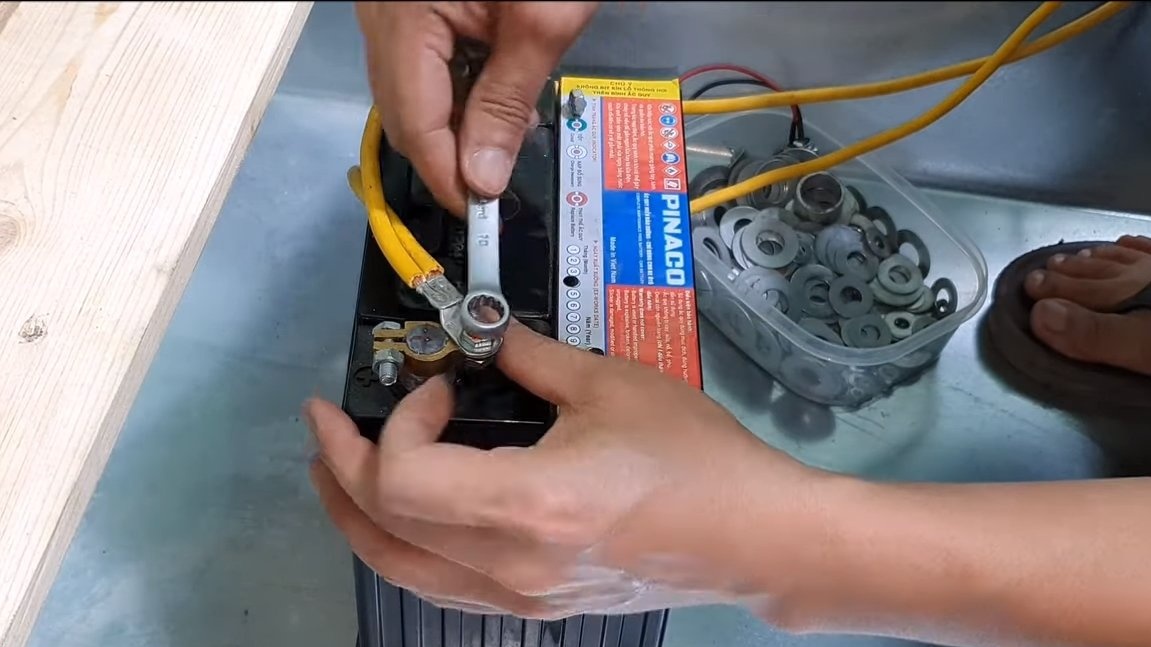
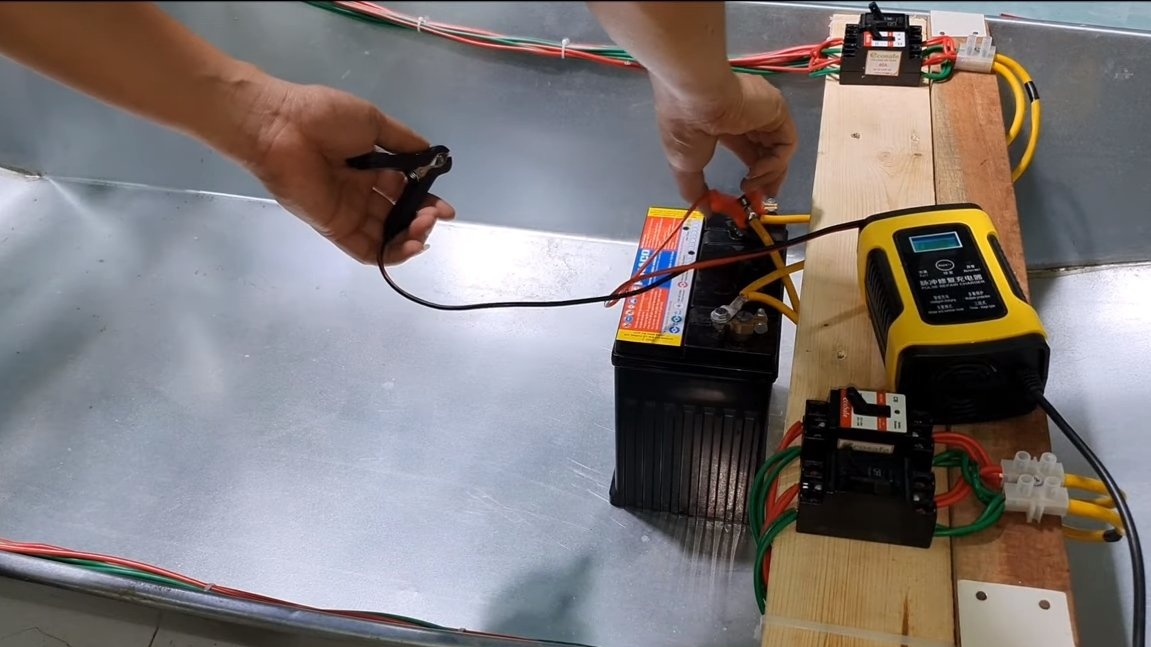
We install the battery, the author has a lead 12V, with a capacity of 35Ah. Terminals and other connections must be reliable.
When the electrical part is assembled, put the battery while charging.
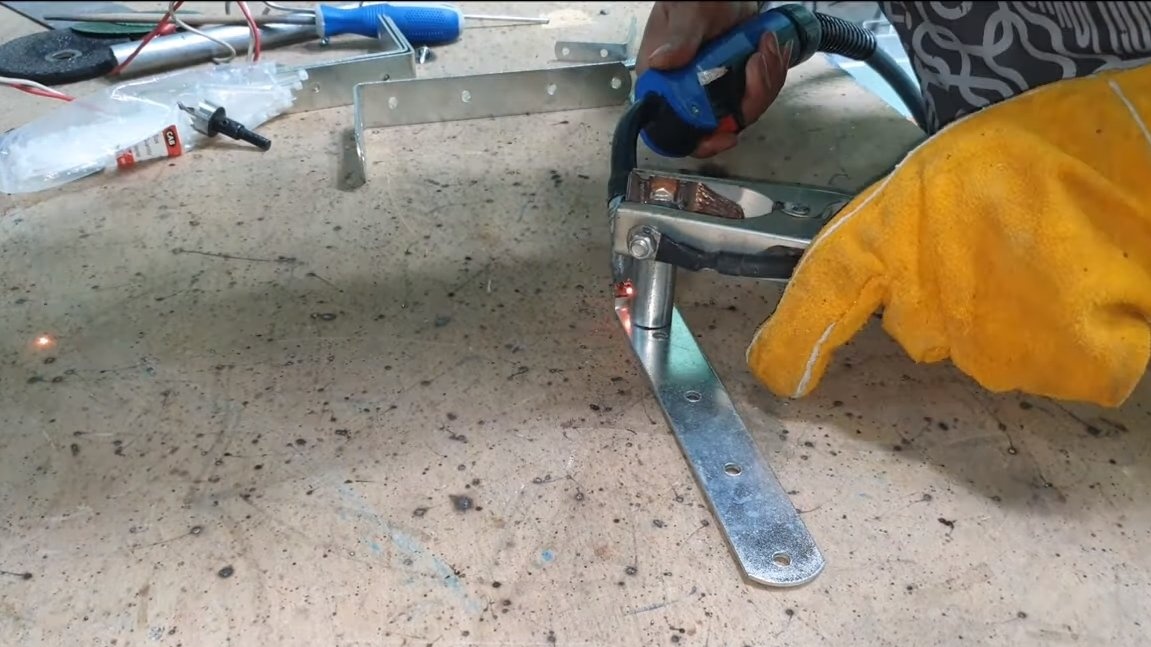
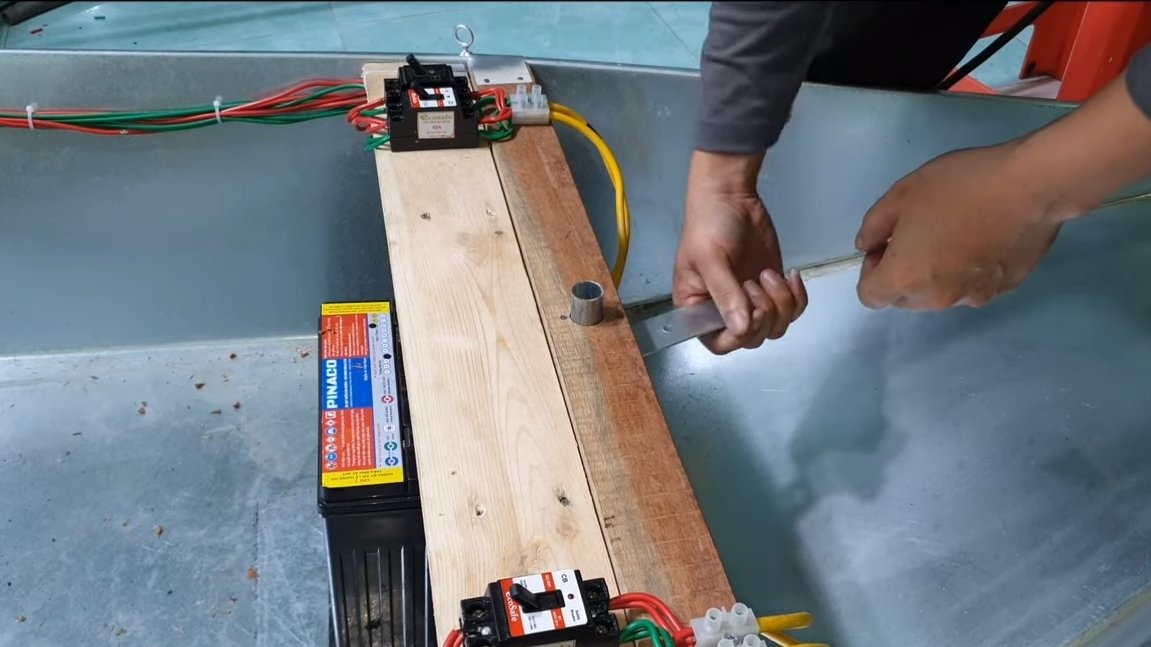
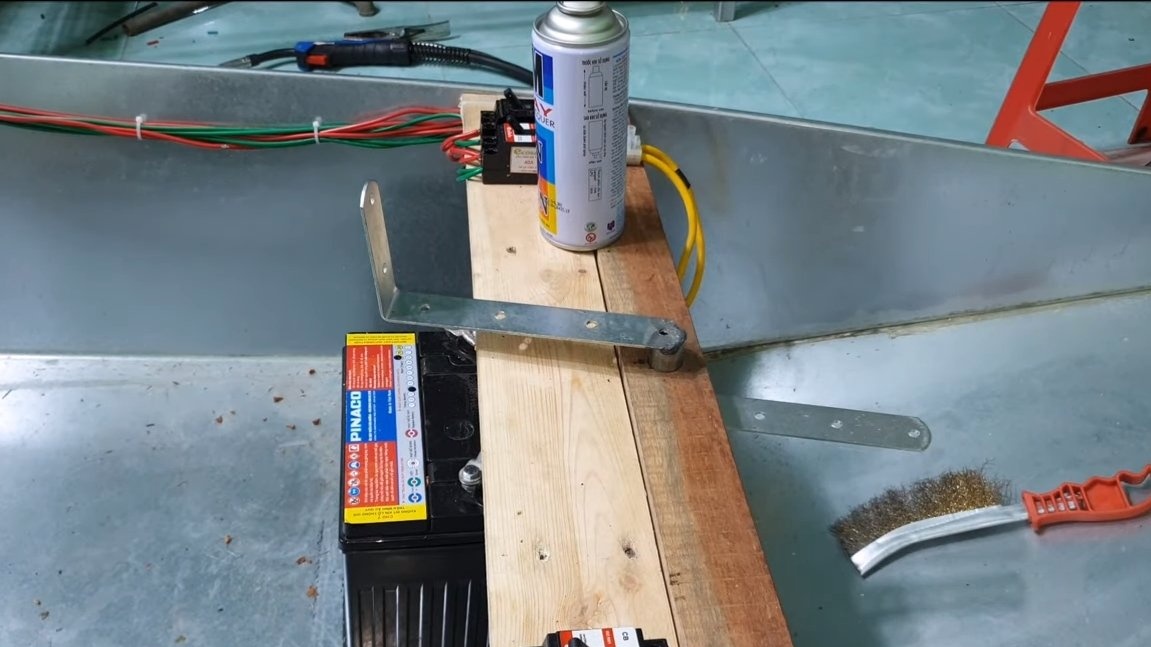
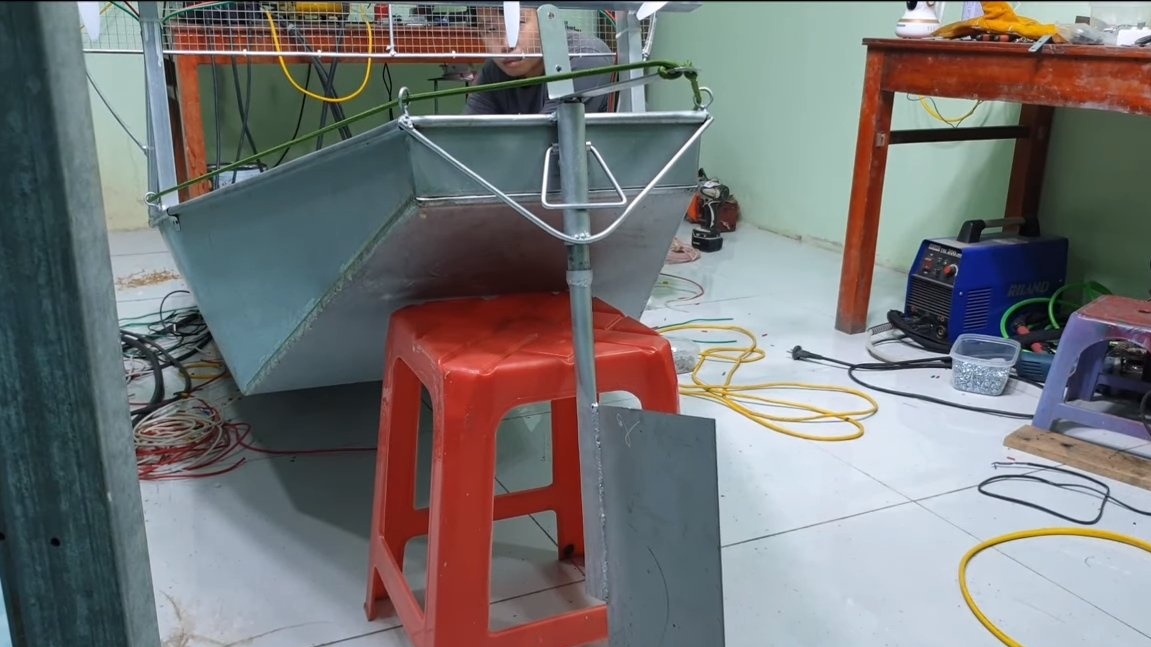
Step Four Steering wheel
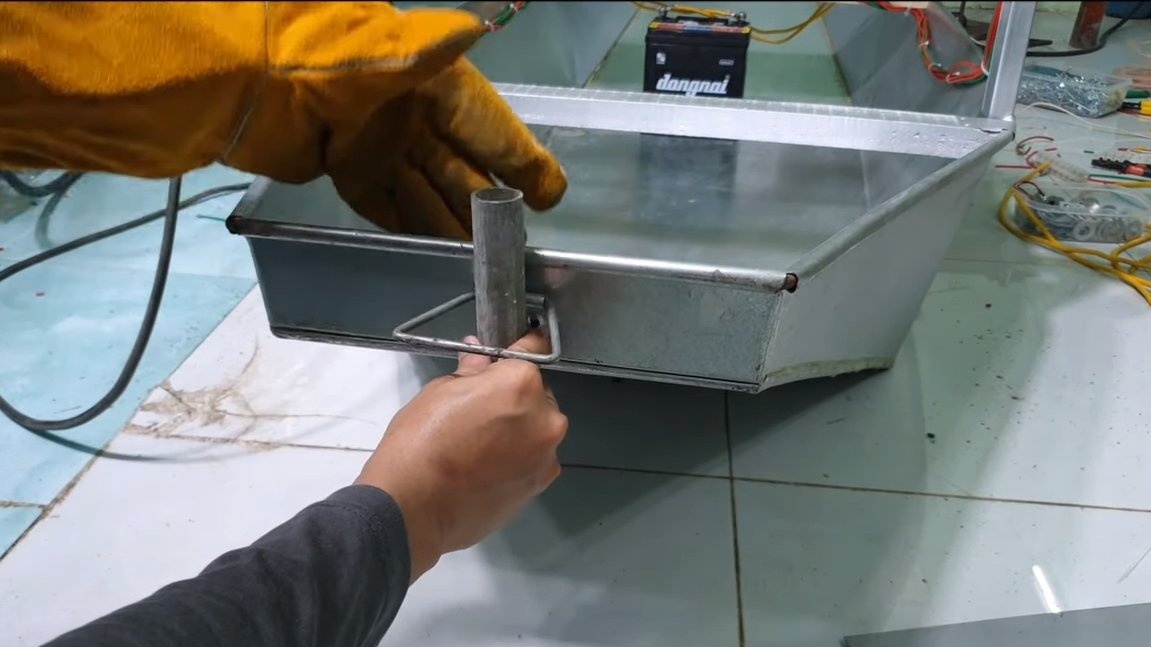
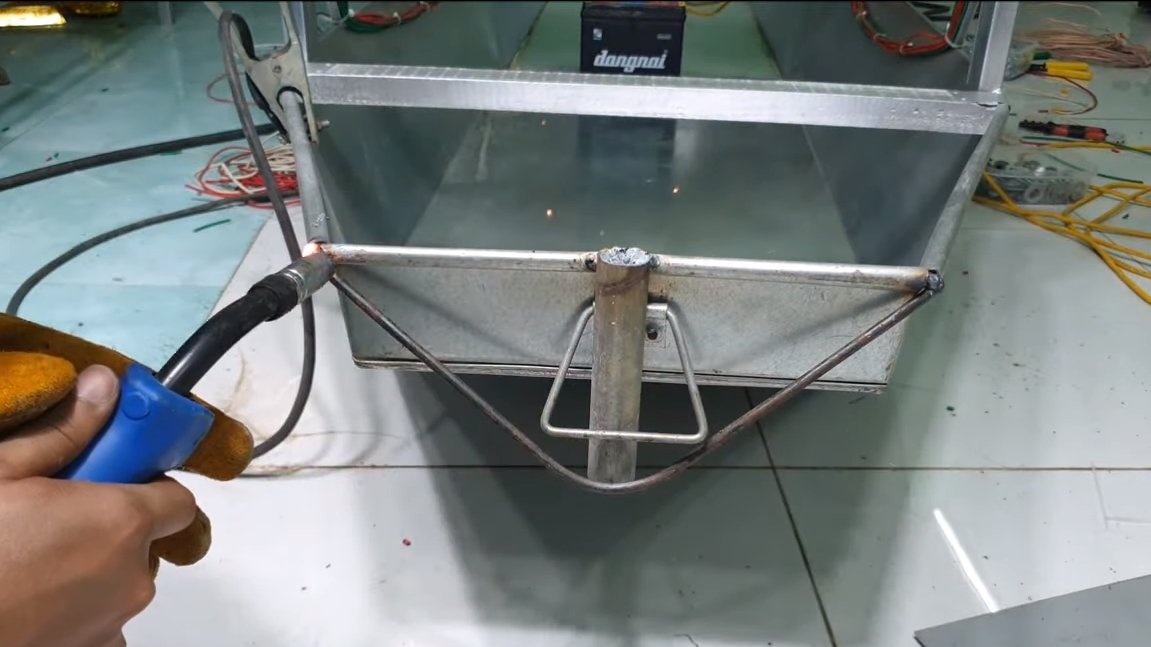
Let's make a wheel, it will be in the back. We take a piece of a round pipe and weld an iron plate to it, after painting the parts the steering wheel is ready. You need to install the steering wheel articulated, for this we weld another piece of pipe to the boat of a slightly larger diameter and install the steering wheel. Do not forget to weld the necessary stops for the steering wheel.
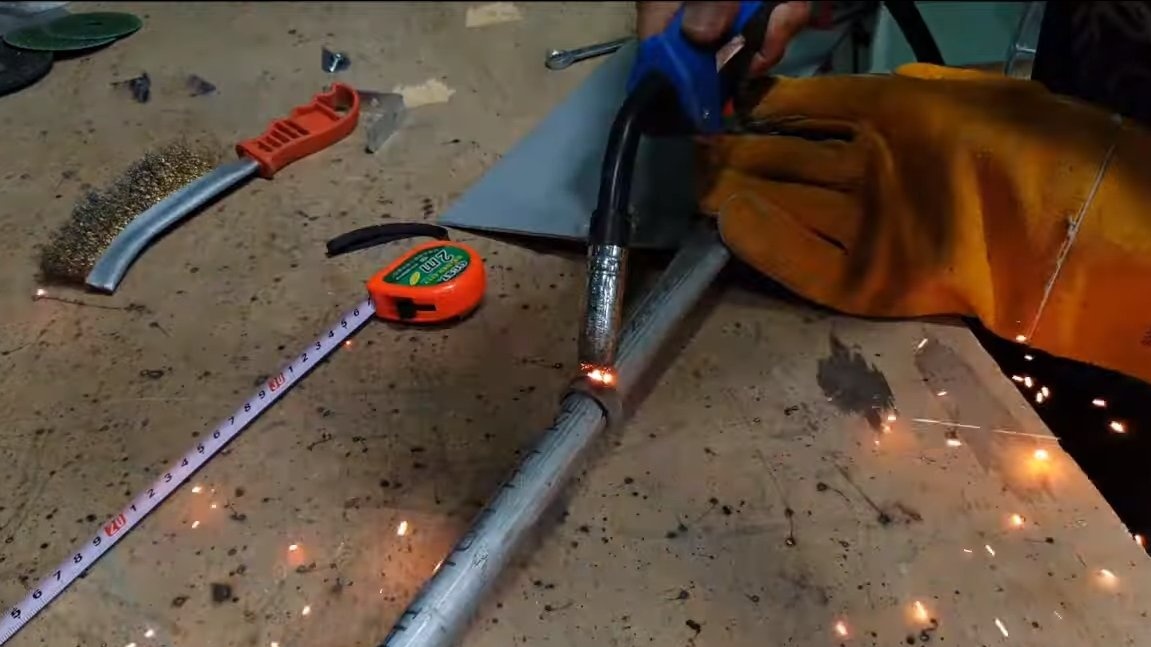

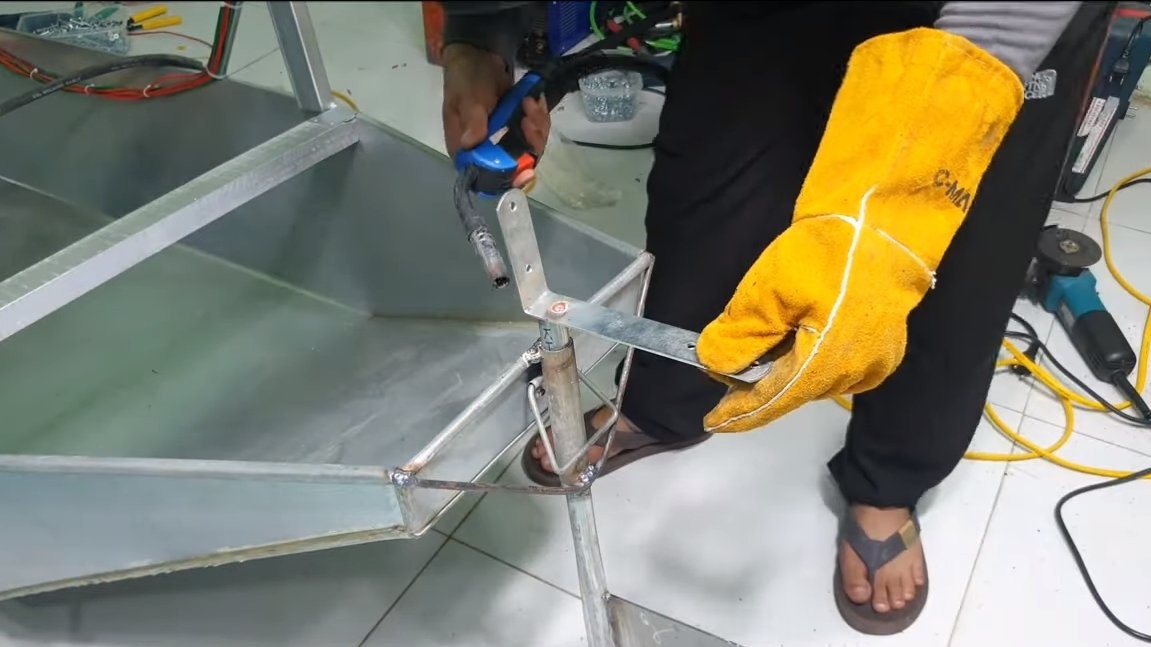
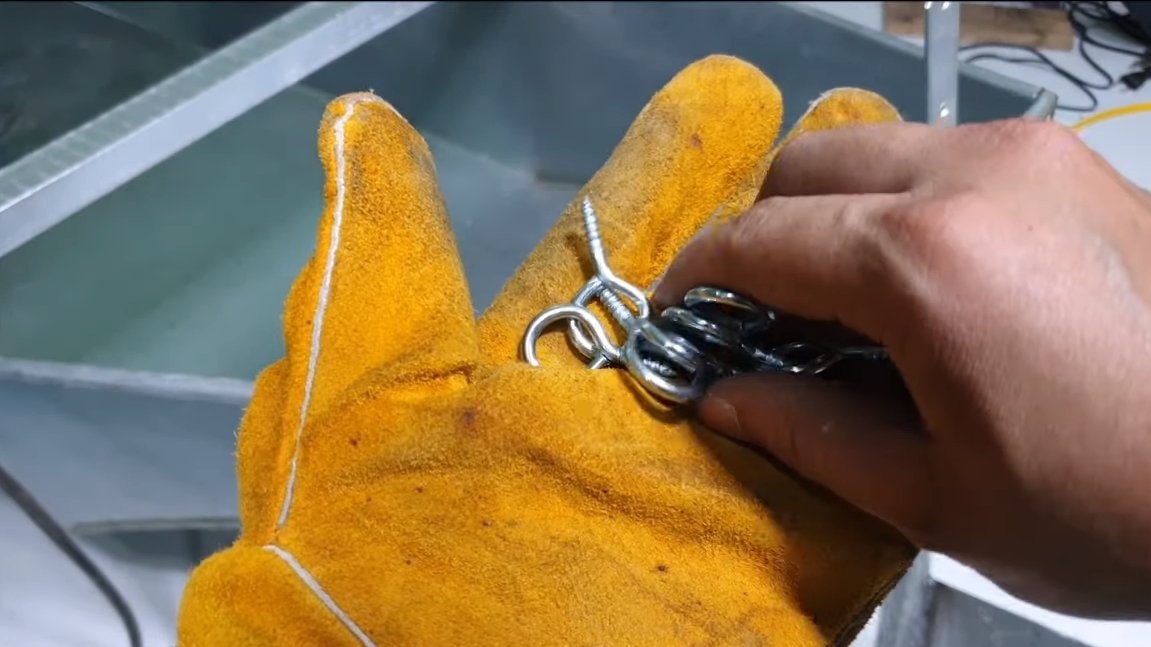
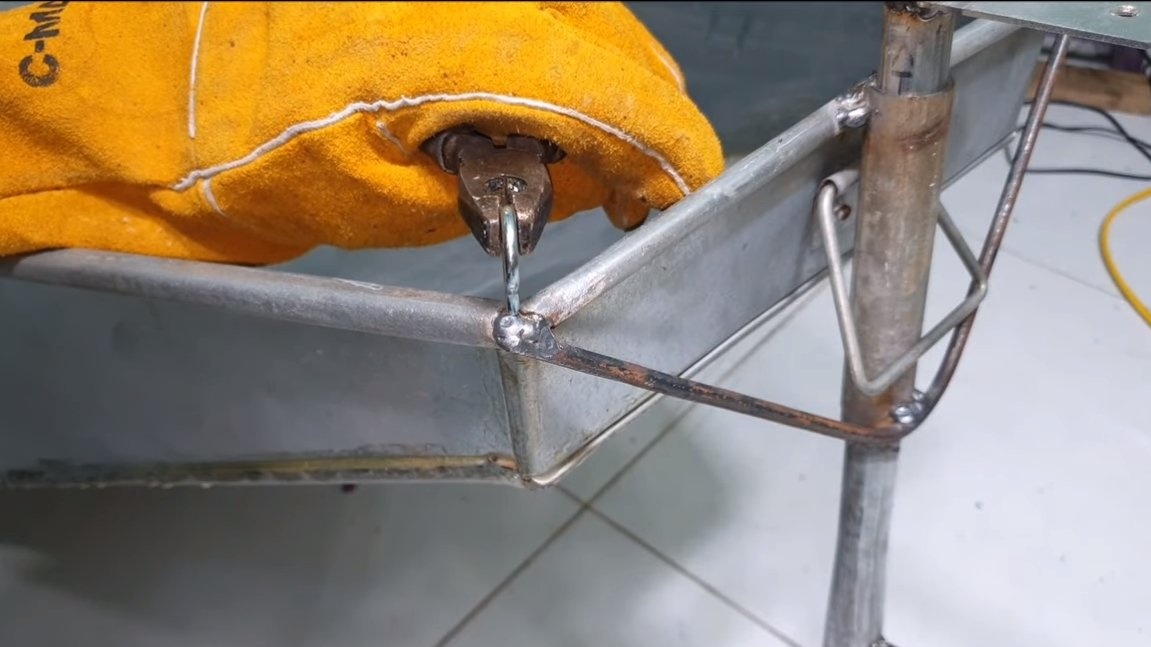
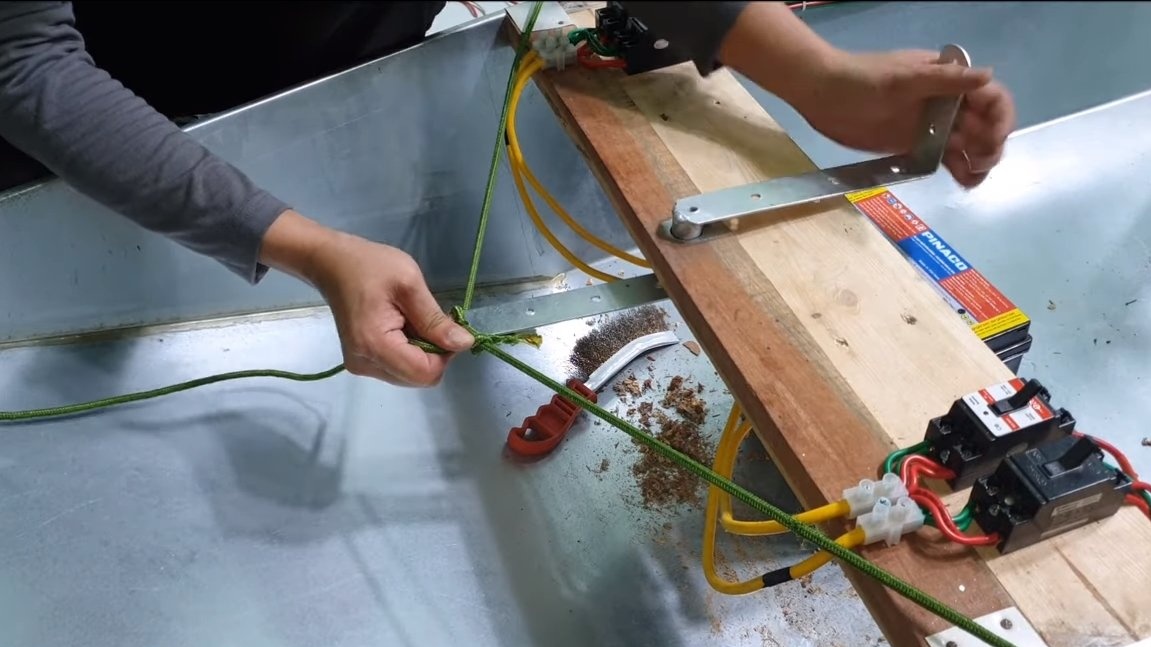
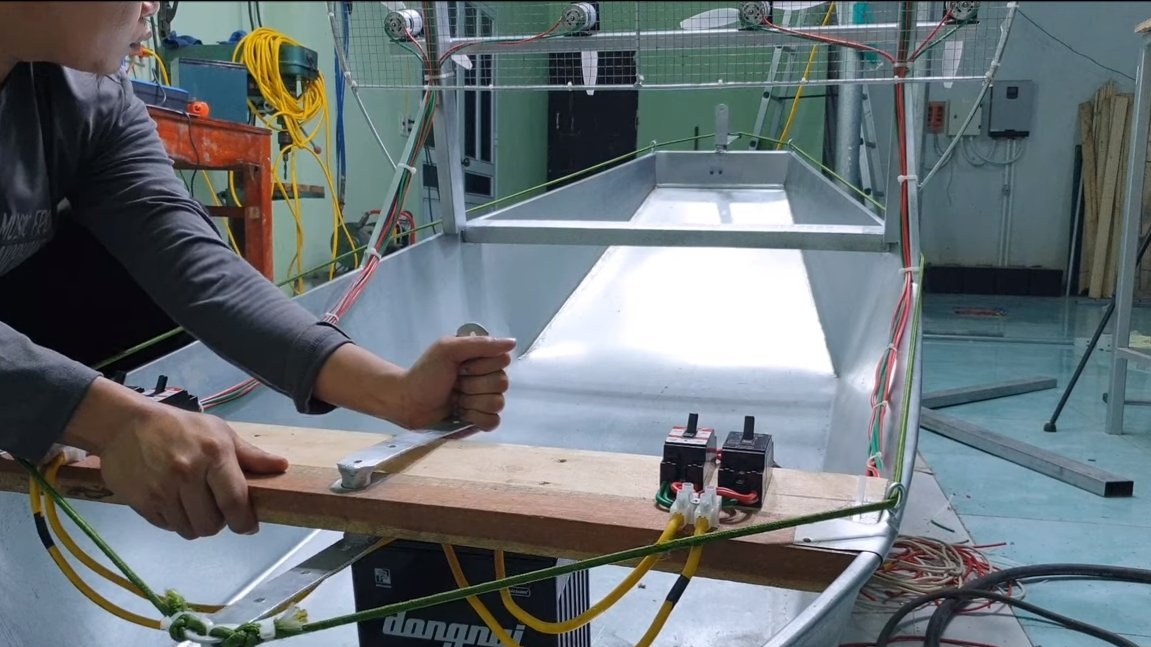

We will control the steering wheel through synthetic ropes, which we lay on the boat on both sides, weld iron rings for the rope. Directly the control (helm) is located in front of us, we assemble it from iron plates and a piece of a round pipe. We connect the steering ropes to the helm, and now the boat is ready.
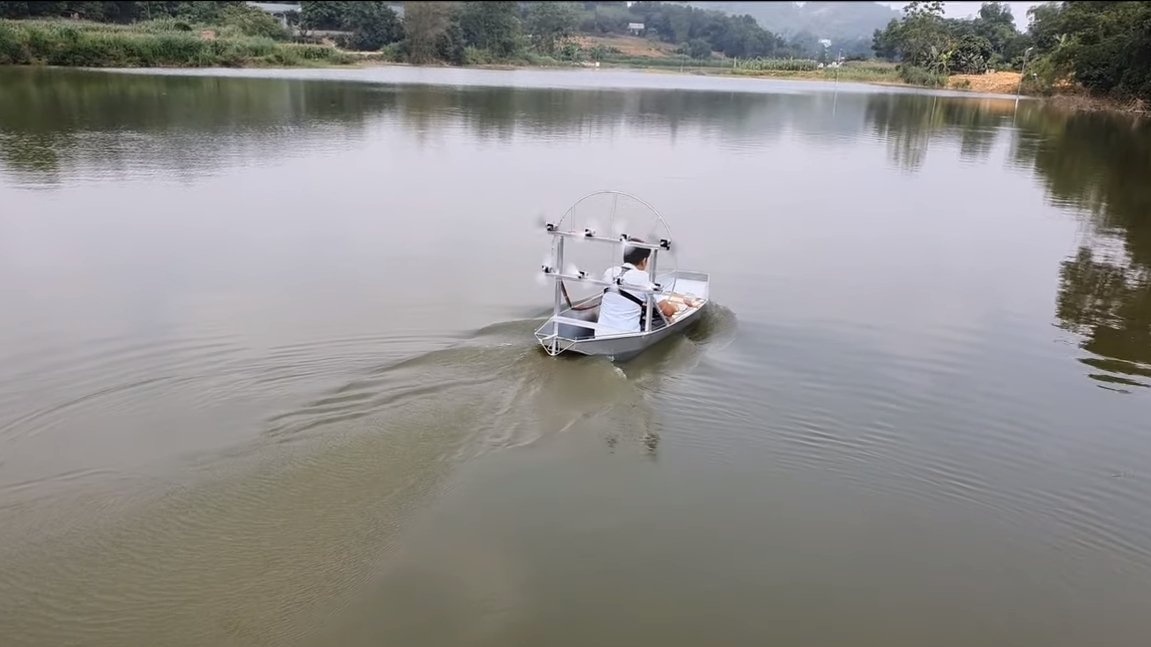
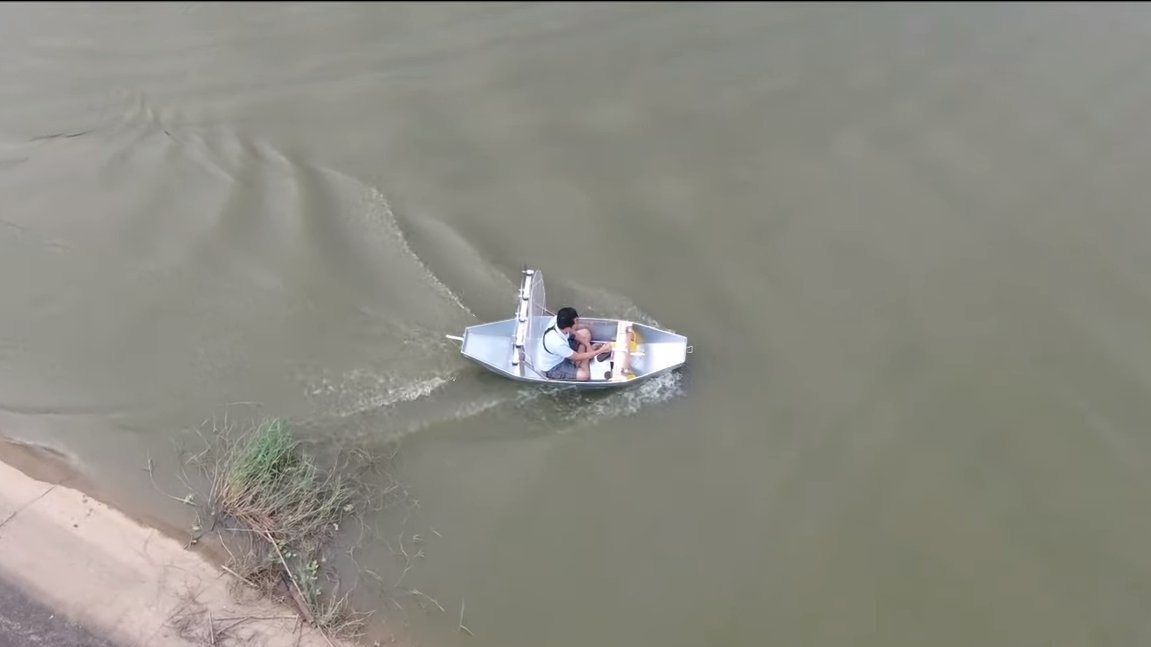
We set off to test the ship, the author starts off quite easily, and the ship moves quite quickly. If desired, you can include a certain group of engines so that the ship does not move very fast. The only thing that remains unclear is how the author plans to slow down. It would be nice to equip the system with a reverse, then it will be possible not only to slow down, but also to take it back.
This is the end of the project, and it can be considered successfully completed. I hope that homemade work was useful to you, and you found interesting ideas. Good luck and creative inspiration, if you decide to repeat this. Do not forget to share your ideas and homemade things with us!