

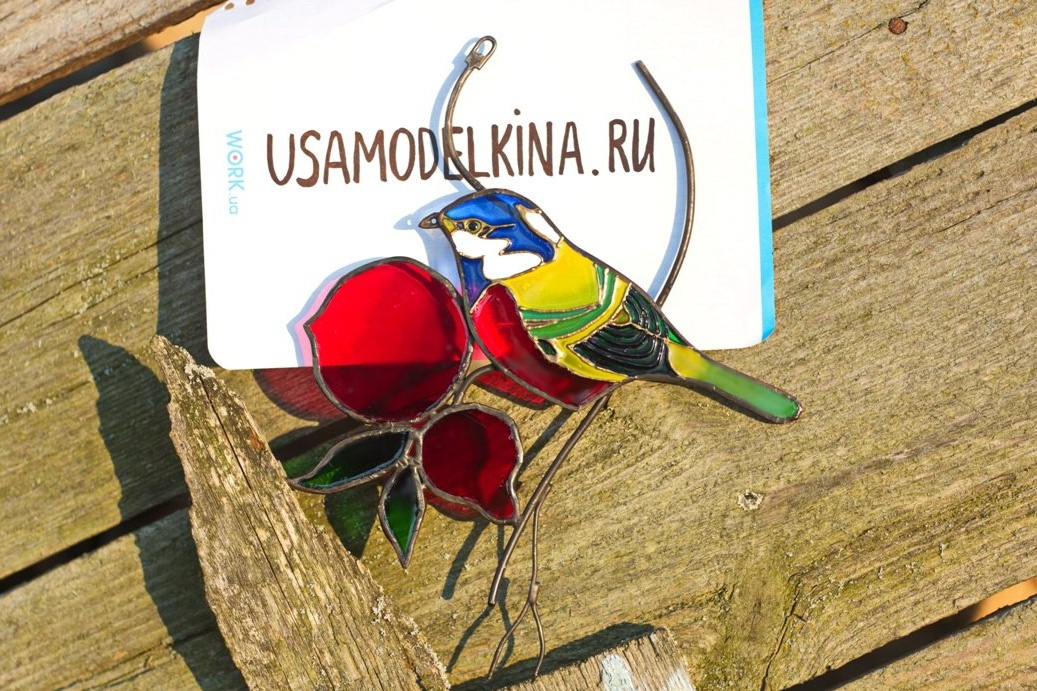
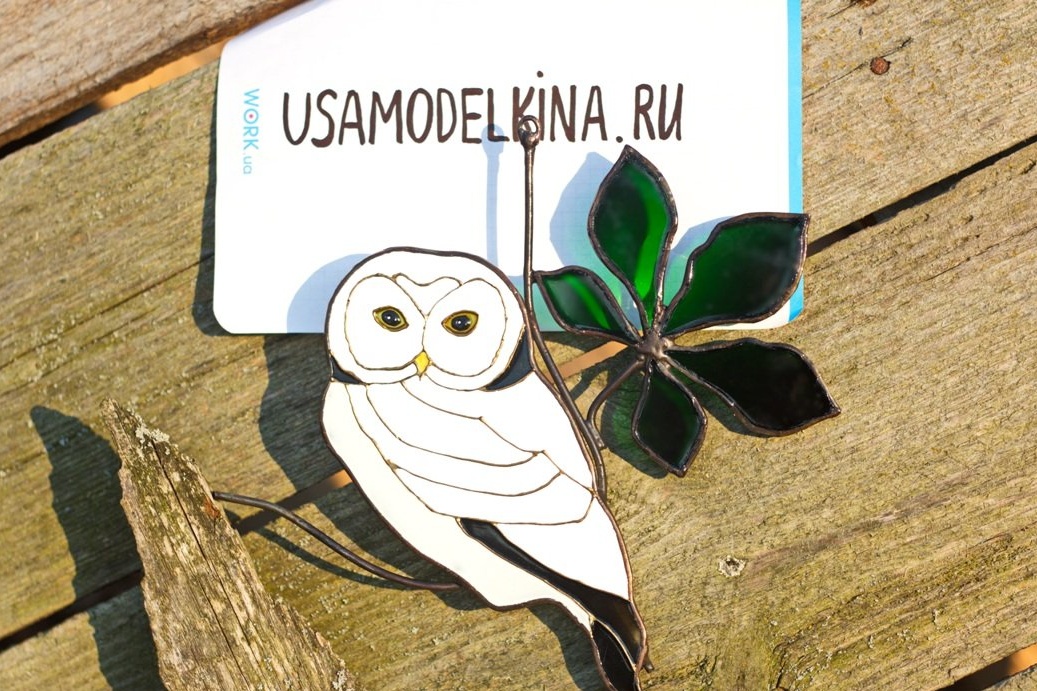

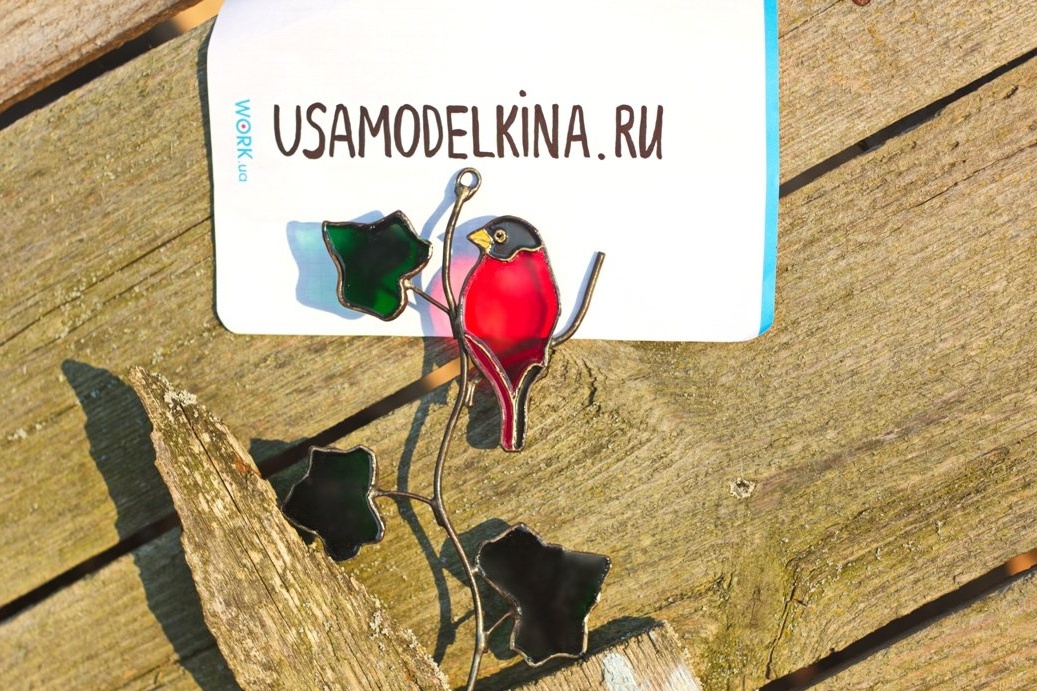
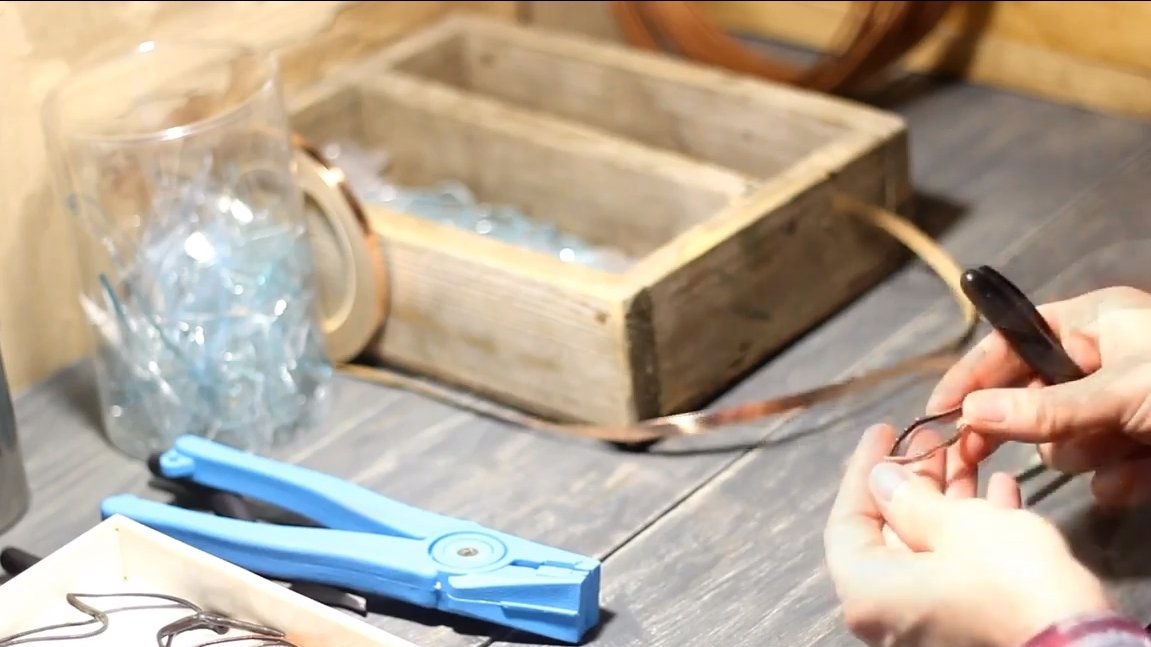
Greetings to stained glass lovers, such homemade create a special atmosphere in the house, in the garden and not only. So I decided to try myself in this matter. My wife and I collected our first paintings, she paints and patinates, and I puddle, solder, grind and so on. We started with simple figures of birds, and then we'll see, maybe we will start making lamps, lampshades, and so on. The manufacturing process is not complicated, but even fascinating. From the heap of wire and glass something “living” is born. If you are interested in the topic, I propose to study the project in more detail! I will only describe the classic manufacturing process with my thoughts on this.
Materials and tools:
Material List:
- thick and thin copper wire (for branches);
- ;
- glass (2-3 mm the most comfortable for work);
- patina (for your taste, we have black);
- ;
- flux and deactivator of flux.
Tool List:
- nippers;
- manual belt sander;
- pliers;
- ;
- glass cutter (special, with a small head, we have Japanese);
- glass breakers;
- stained glass paints and contour;
- alcohol.
The process of manufacturing a stained glass window:
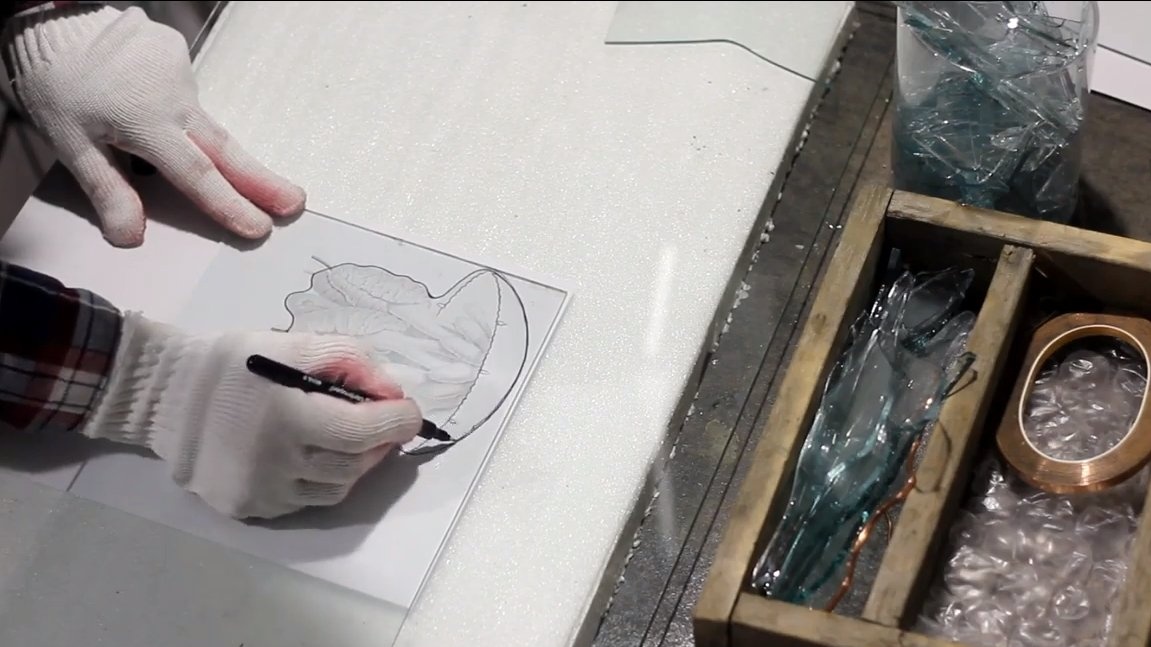
Step one. Glass work
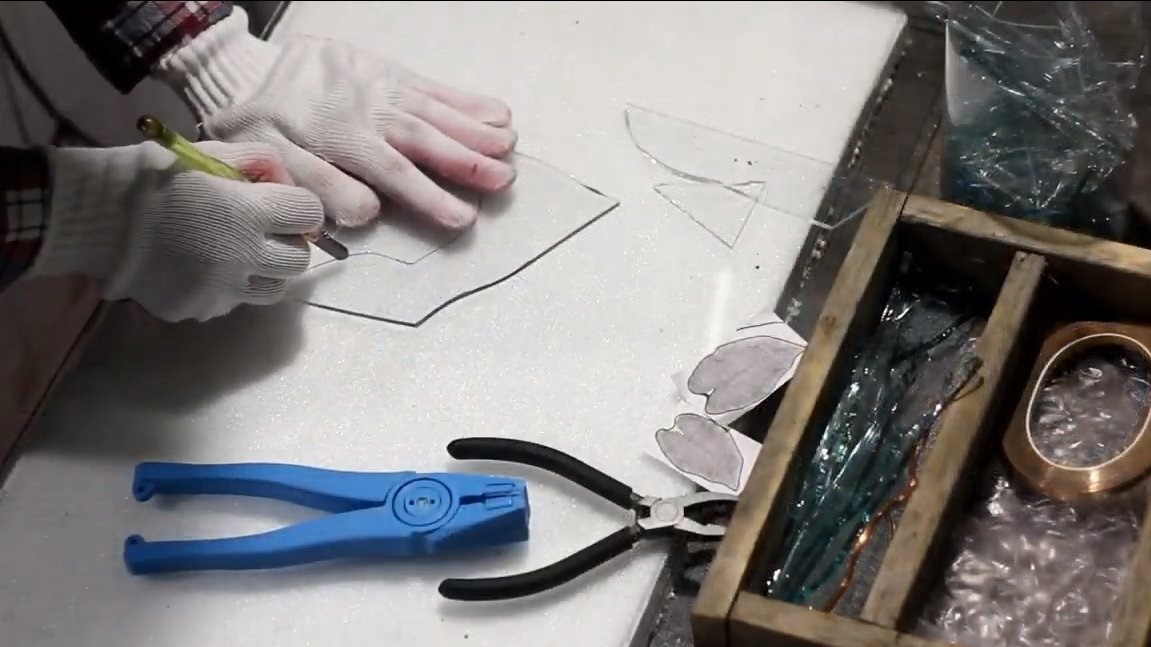
First of all, we cut out glass figures, at first we worked with a soldering iron, but this is a long process, although it can be cut out quite accurately. The disadvantage is that the product can crack unpredictably and will be damaged.
Then they switched to a glass cutter, it cuts quickly, there is less marriage, but more work is done on grinding.
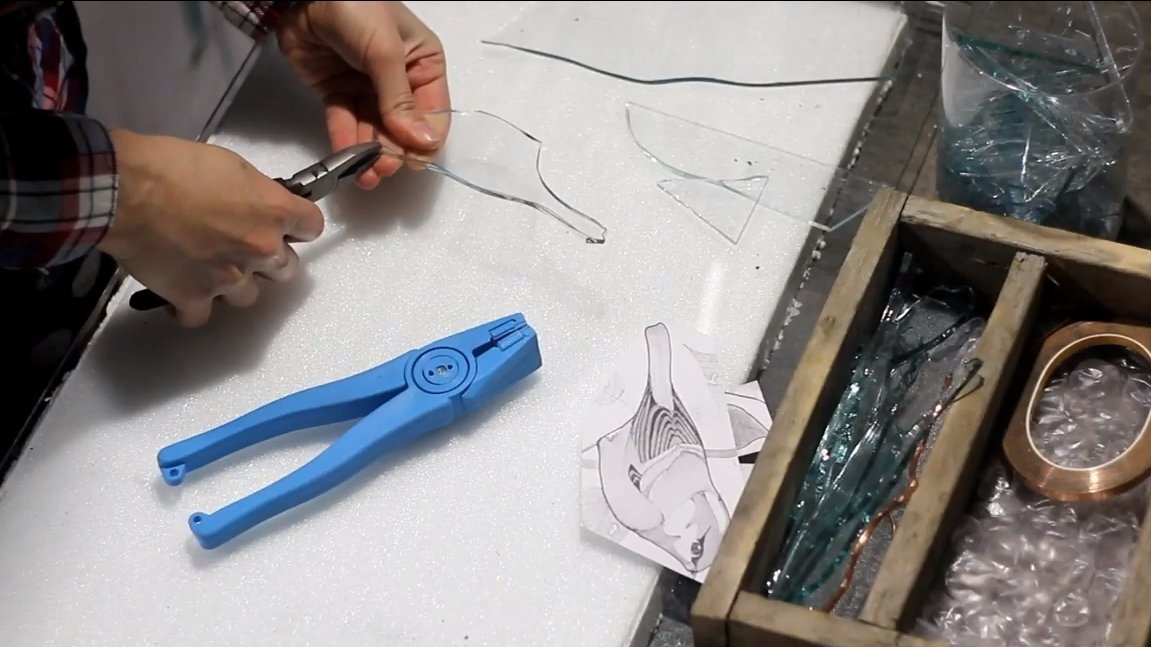
After cutting, in any case, grinding of the glass along the contour is required, so we refine the contour, and also make the sharp edges safe, you will not cut yourself with polished glass. In general, there are special machines for grinding glass, all this is done with the participation of water. We do not have such a machine yet, but so far, I am grinding on a belt grinder, the tape is used on 220.
It grinds without problems, but the tape is quickly erased, and it beats with a seam, which is not very pleasant. It is good to use a metal tape, it is usually gray in color, such a tape is made of harder chips and lasts a long time. I tried to grind with both a drill and a grinder, but the beats do not allow me to do the work, the product is destroyed. And not a single workpiece is spoiled on the grinder.
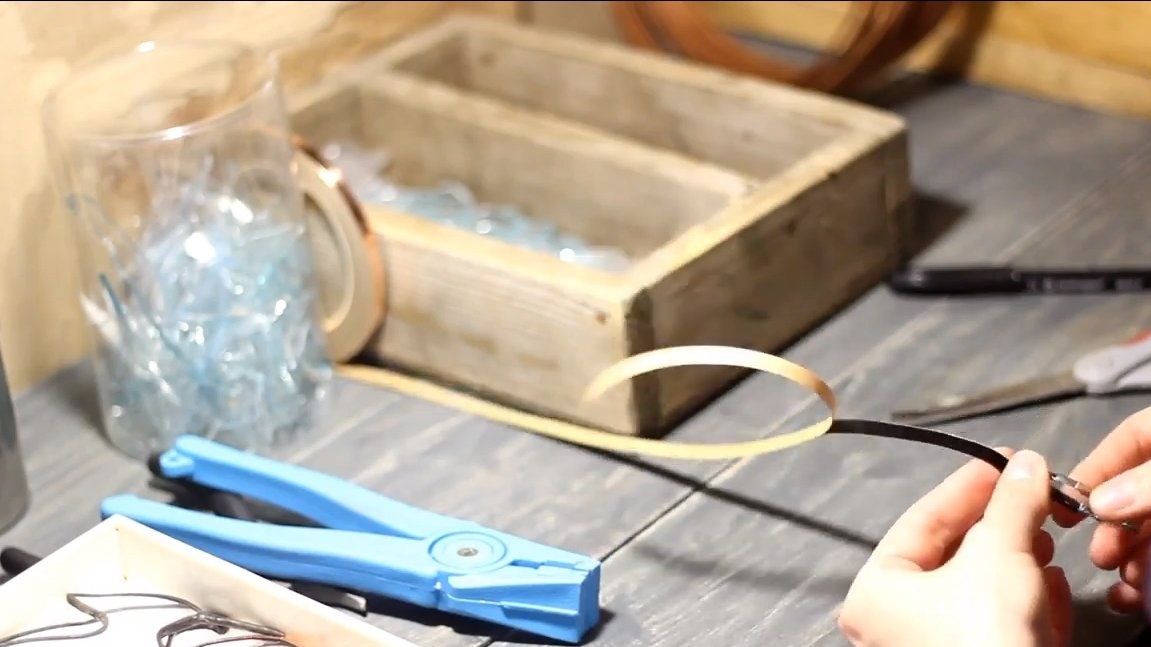
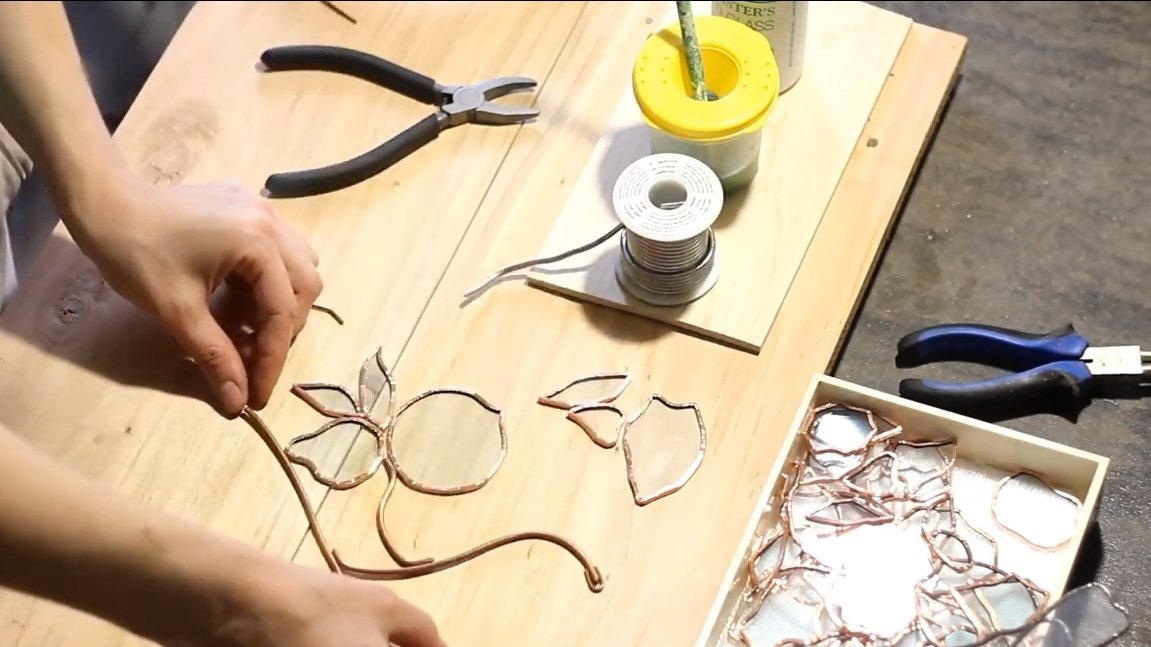
Step Two Foil
Next, glue the glass parts along the contour with foil. It is important to choose the right width of the tape, given the thickness of the glass. We glue the product with tape, and then roll the foil with a marker or other similar object.
Step Three Soldering
All details must be tin in advance, before soldering. The foil is tearing without problems, not a single product has cracked yet. It is better to lay a layer of solder thicker, then we get a strong frame, but how this is done is easier to show than to tell. It is especially necessary to strengthen those areas where the product is attached to a branch.
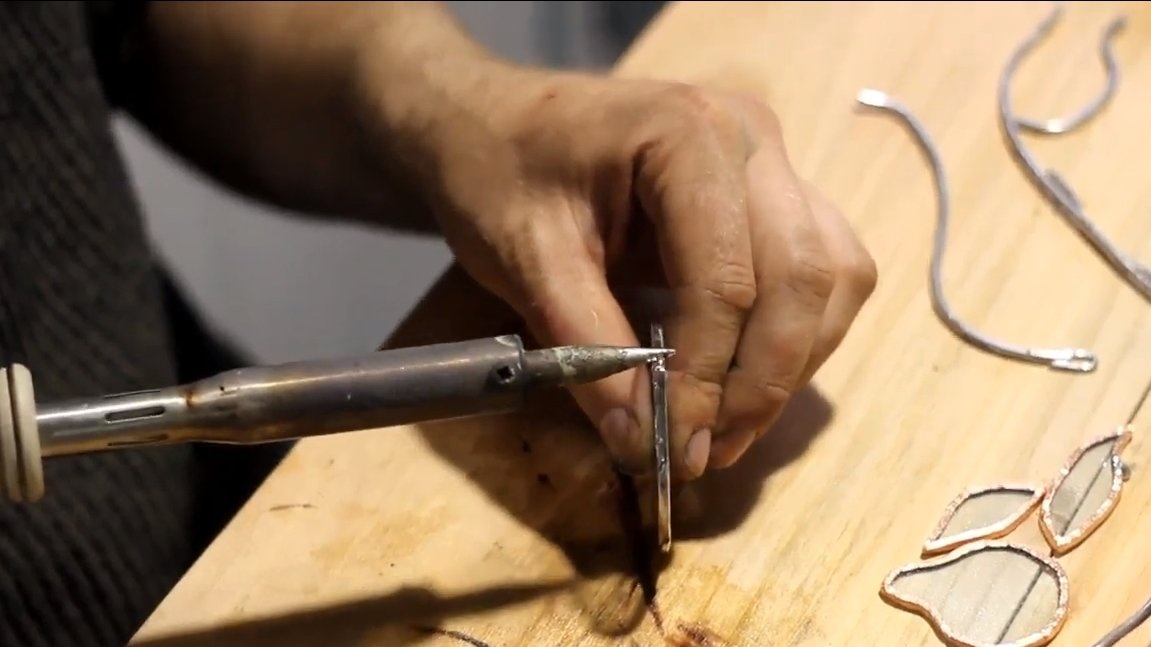
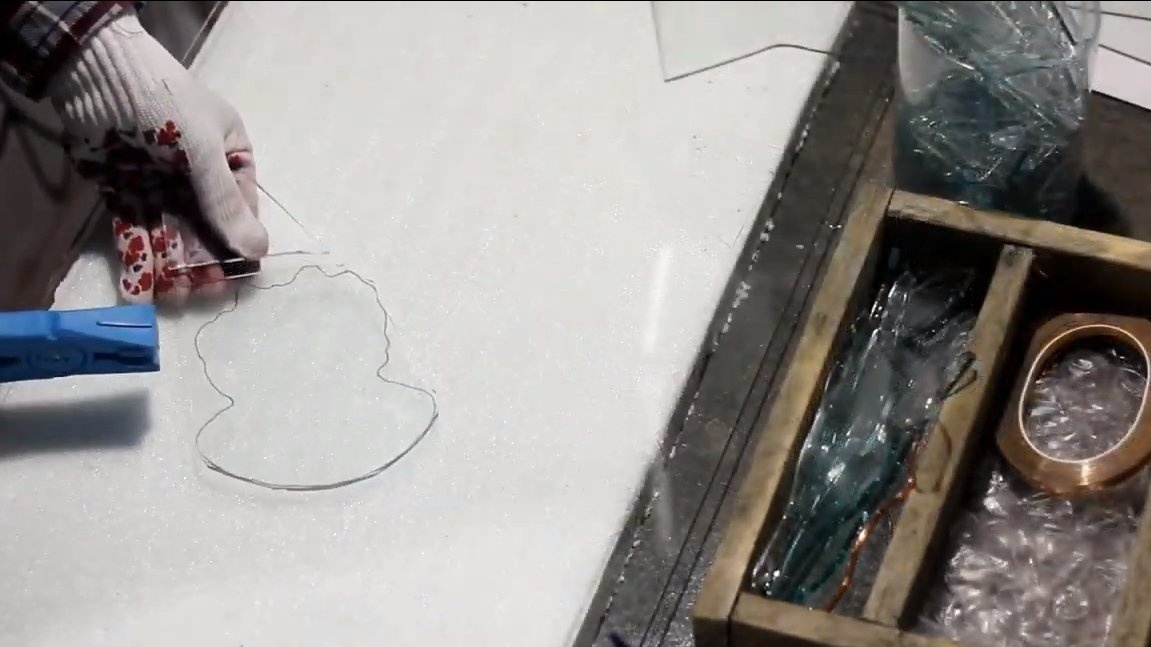
As for the branches, we cut copper wire for this, however, you can use iron wire, we still tin it. The wire is badly blown, the whole thing is flux, it’s liquid from me and flows off the wire, I’ll have to buy a gel. I really liked the 60/40 solder, it melts easily, spreads very well and does not form slag.
I use a fingertip for 100W, inexpensive, the protective spraying from the tip somehow immediately got off, now I clean it with sandpaper and do not worry. If the soldering iron does not overheat, the solder does not burn out at the tip, a dimmer is needed in the future, but for now I just turn off the soldering iron so that it does not overheat (switch on the handle).
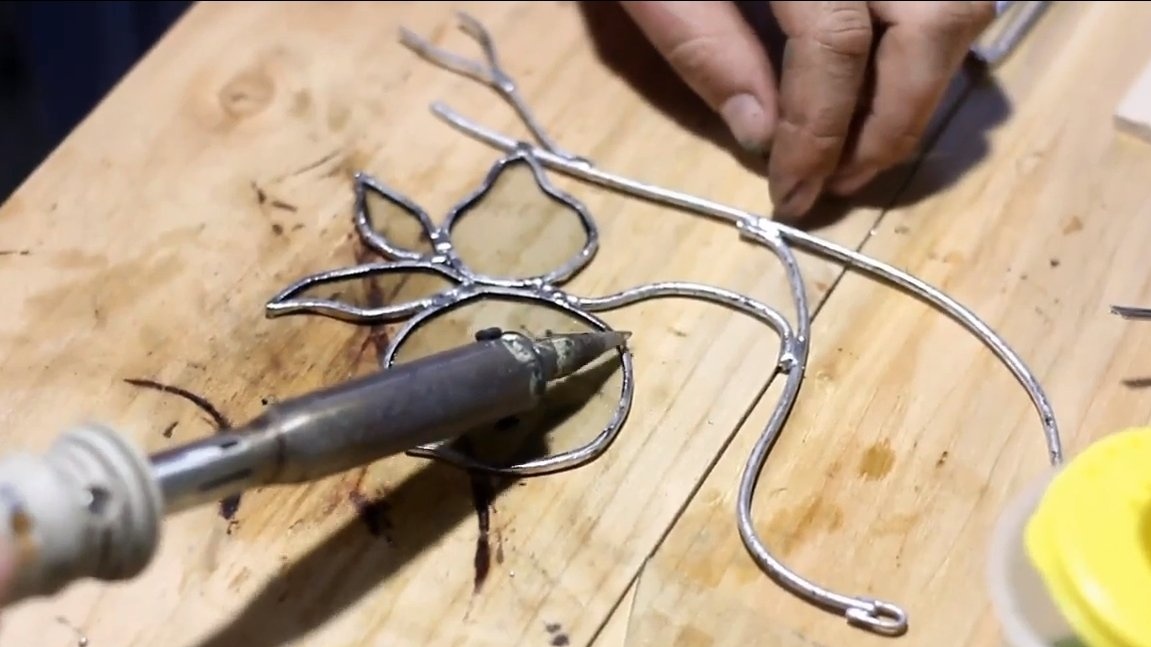
After soldering the product everything turns out quite firmly, such a kind of frame from solder is formed. If a leaf or product hangs, it is better to strengthen it with an additional piece of wire. Yes, and attachment points need to strive to do more.
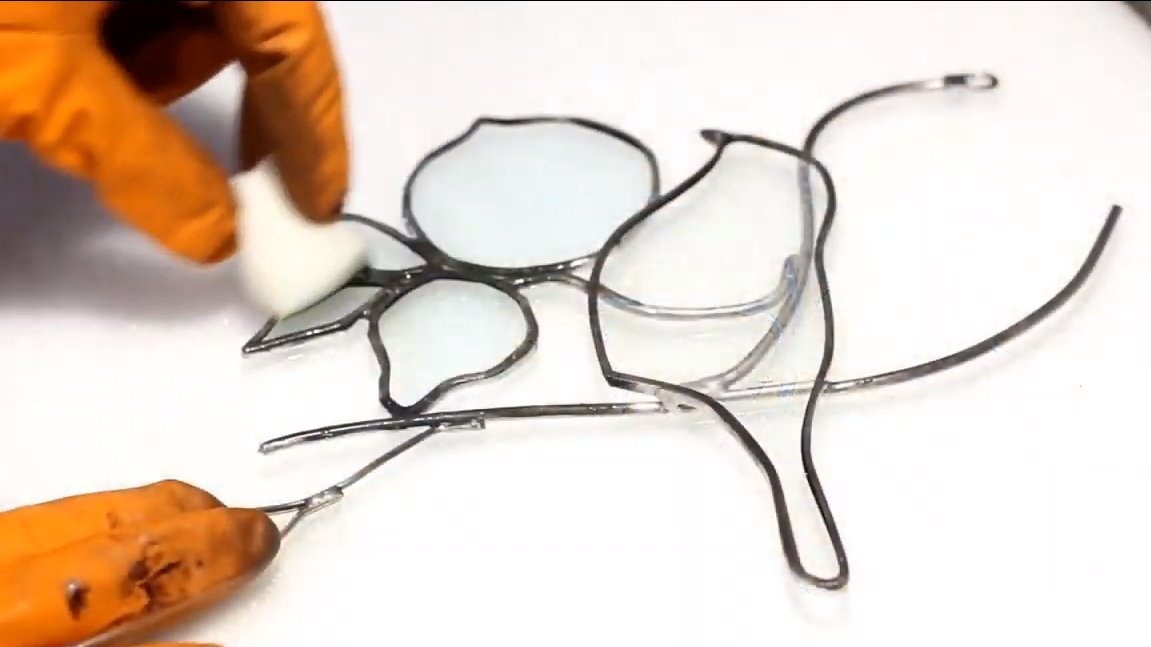
Step Four Patina
Immediately after soldering, the product must strive to cover with a patina, otherwise the solder will oxidize and the patina will not work well. The product is treated with a flux deactivator, cleaned with a washcloth to a shine, and only then cover it with a patina. After 15 minutes, the patina is washed off and the product is again coated with a patina deactivator. In the end, it is recommended to wash everything well under running water.
Step Five Painting
The stained-glass window is almost ready, it remains to decorate everything, my wife is responsible for this, since I’m not so in this business, the animals turn out to be “stubborn”. Before painting, be sure to wipe the glass with alcohol to degrease.
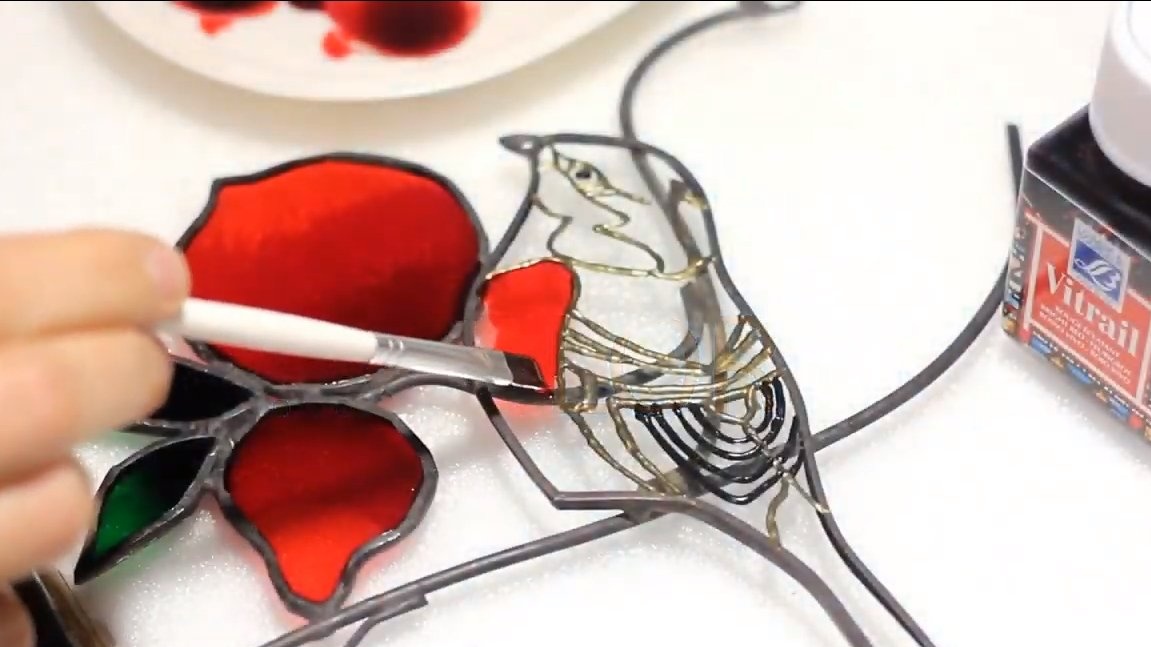
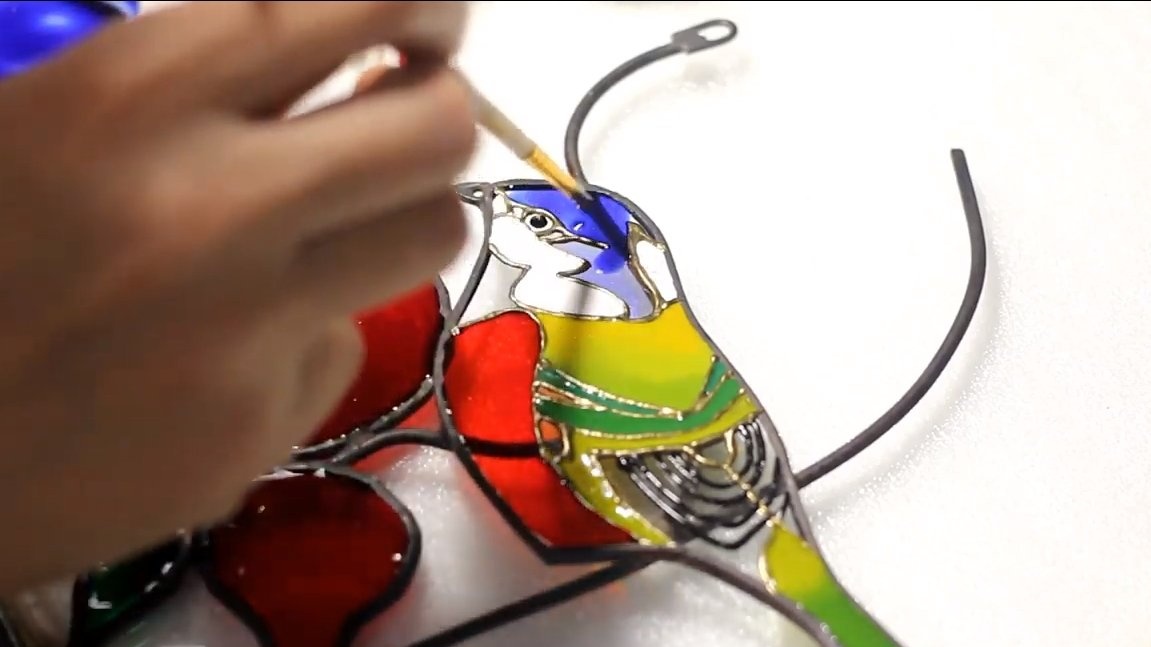
First, a contour is applied, and then the necessary areas are painted with paints. Stained glass paint has the property of spreading, which is what we need to paint all open areas to the contour. Also, such a paint is very resistant, it is not afraid of many chemicals, it is very difficult to clean it mechanically, and it looks great.
Painting must be carried out in perfect cleanliness, otherwise the dust can cause the product to become unusable.
That's all, I wrote down the main points, which is unclear, ask. I hope the project was useful to you, and you found useful thoughts for yourself. Good luck and creative inspiration, if you decide to repeat this. Do not forget to share your ideas and homemade things with us!