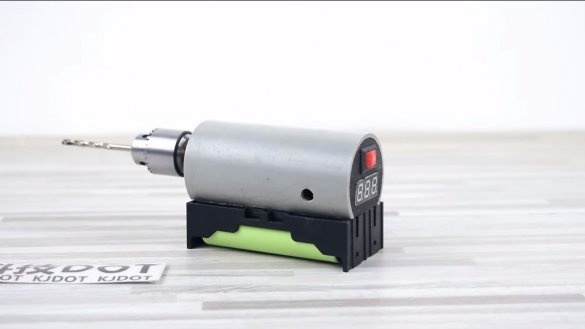
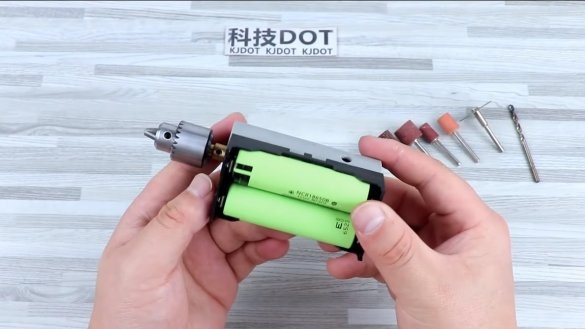
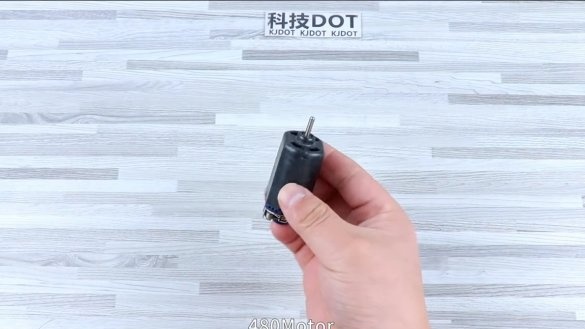
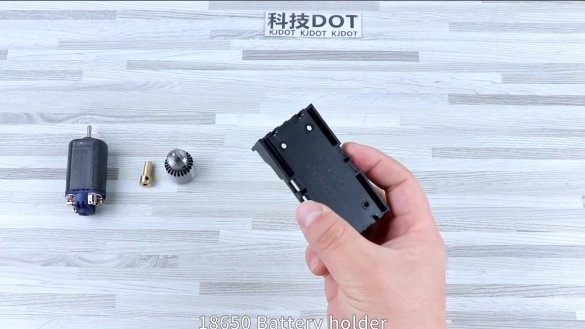
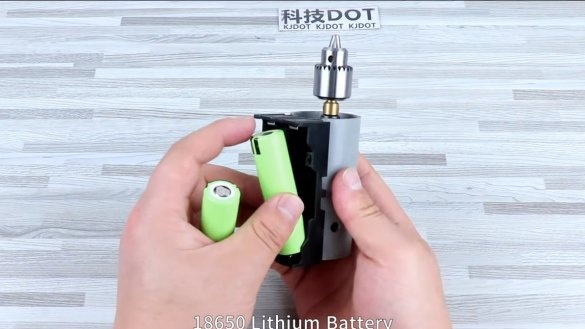
Hello everyone, today we will look at how to make such a useful tool as a drill. Homemade It works on batteries, here two 18650 cells are used, all this makes the device mobile and easy to use. Homemade is based on the engine 480, the drive carries out directly to the motor shaft.
Such a motor operates on a voltage of 7-11V, with a power supply of 11V, the engine is capable of producing 45,000 rpm. Of course, under load, these revolutions will be less.
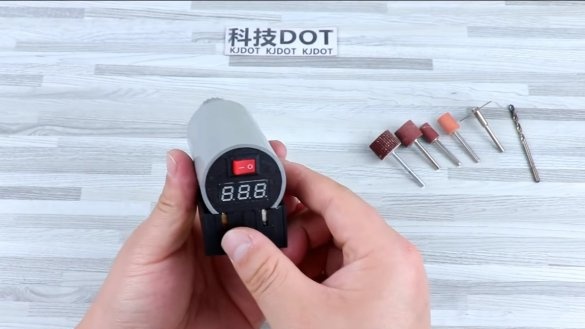
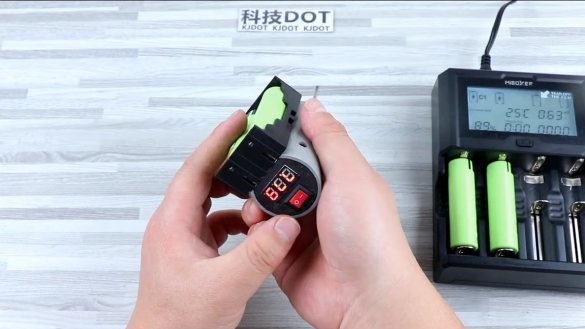
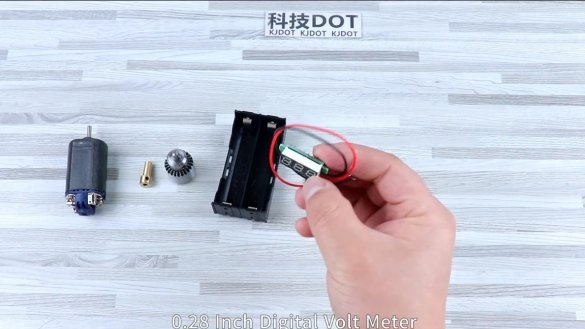
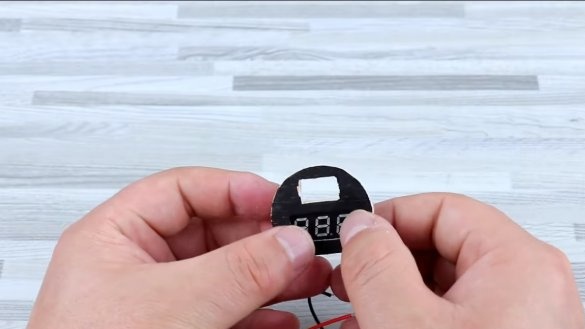
The author also equipped the drill with a digital voltmeter so that you can monitor the battery charge level. If the project interests you, I propose to study it in more detail!
Materials and tools used by the author:
Material List:
- ;
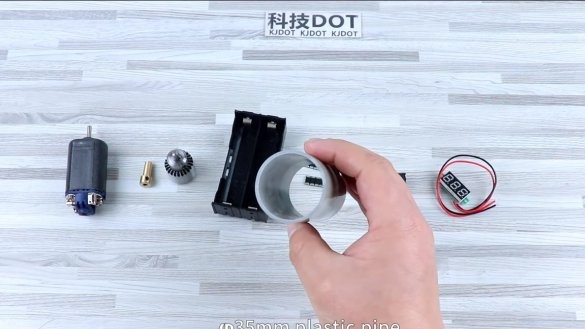
- a piece of plastic pipe for the body;
- a piece of fiberboard, plywood or boards;
- ;
- ;
- ;
- ;
- ;
- switch.
Tool List:
- soldering iron;
- glue gun;
- Super glue;
- epoxy adhesive;
- drill;
- marker;
- sandpaper.
Homemade manufacturing process:
Step one. Housing
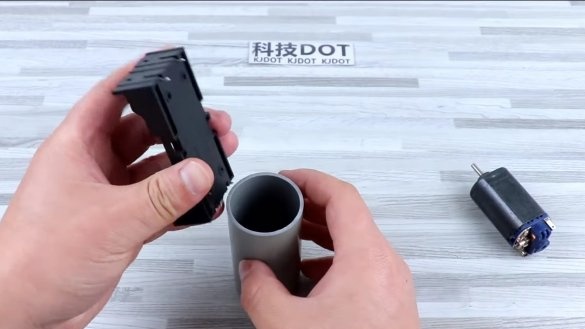
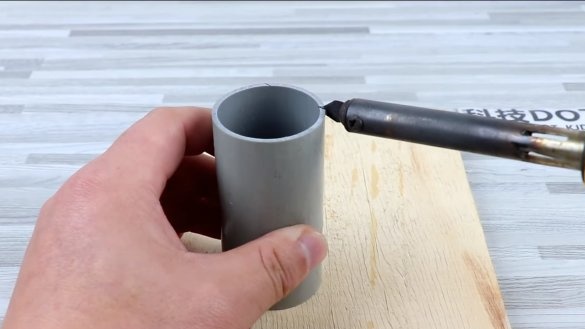
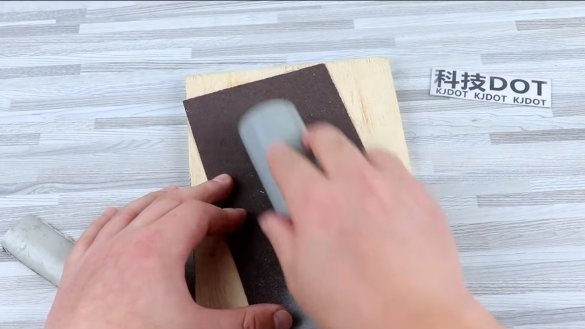
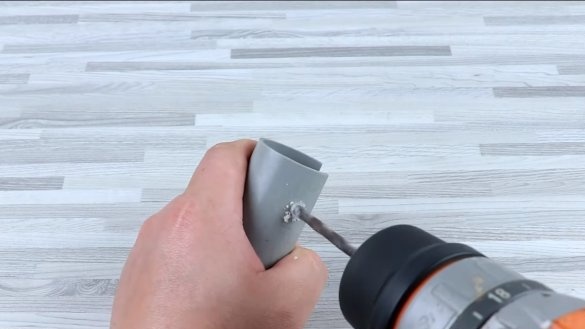
First of all, we’ll make a case, here we need a piece of a plumbing pipe. From it along we need to cut a piece, here we need a soldering iron with a special cutting tip. The place of cutting will be sloppy, sand it with sandpaper, now everything looks great.
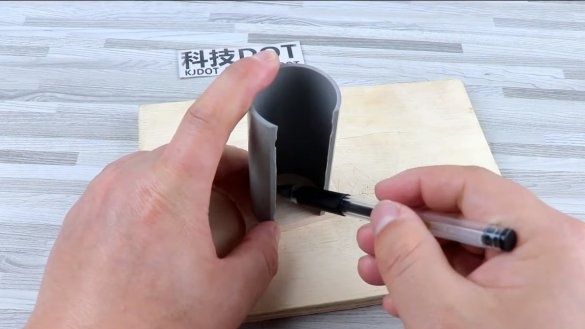
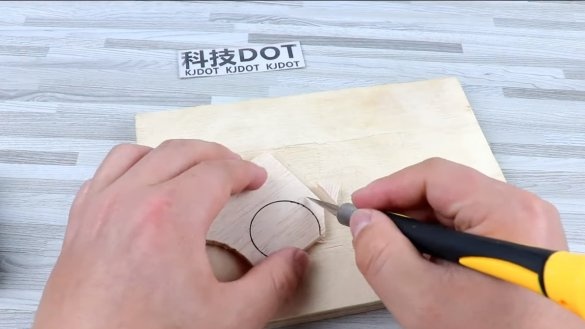
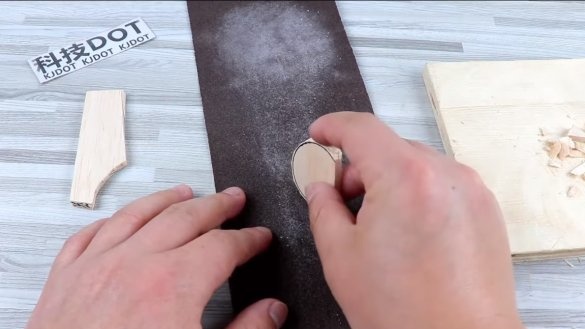
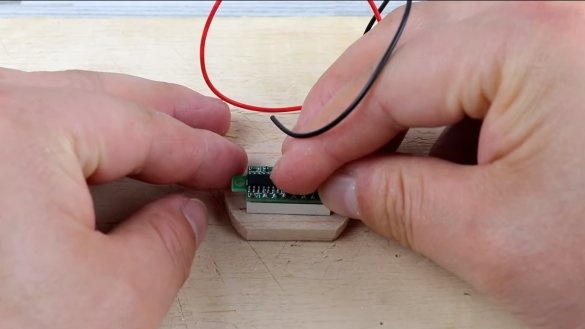
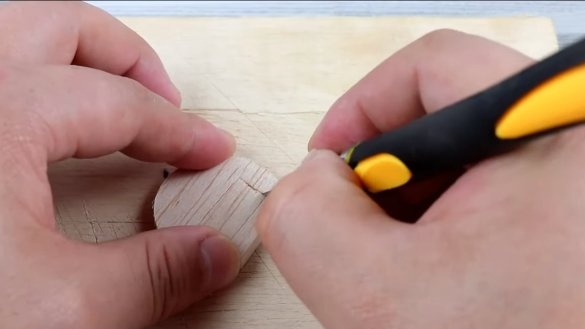
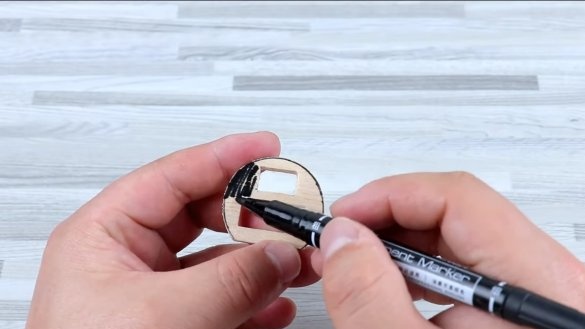
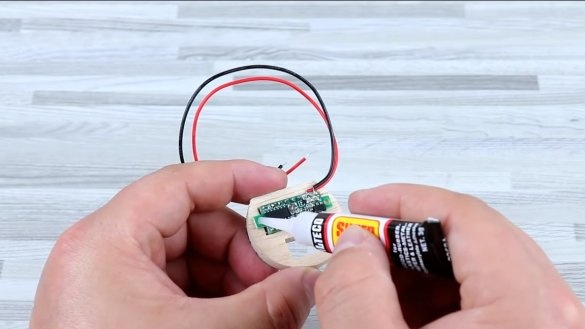
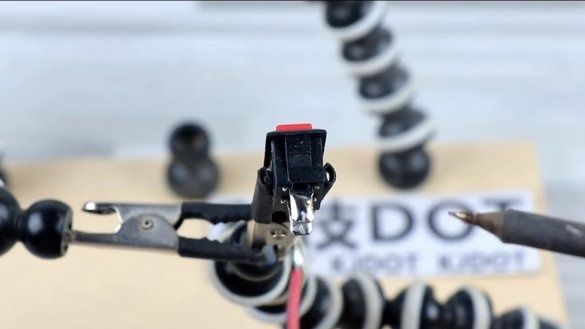
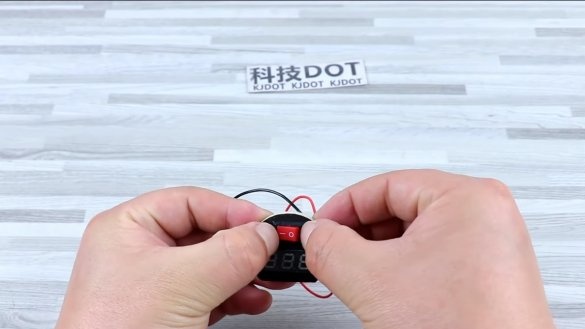
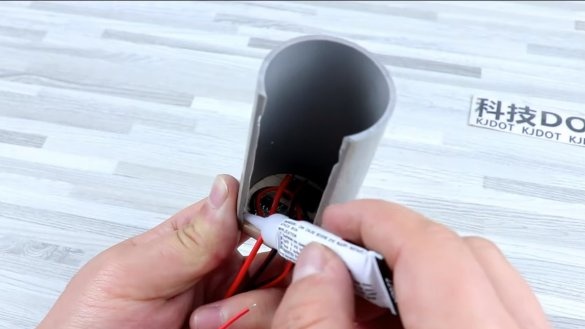
Next, you need to make the back wall, there will be a voltmeter, as well as a switch. For such purposes, you will need fiberboard or a thin board. We cut out the windows for the voltmeter and the switch. The voltmeter can be glued, and the switch is already securely fixed.
Step Two Engine installation
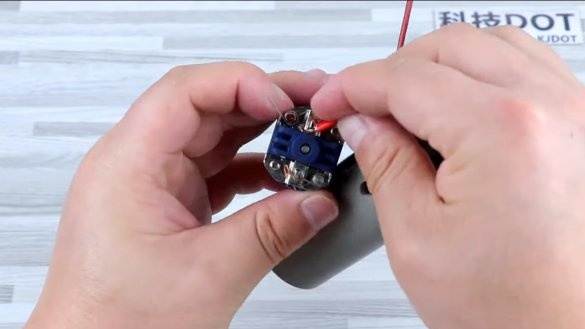
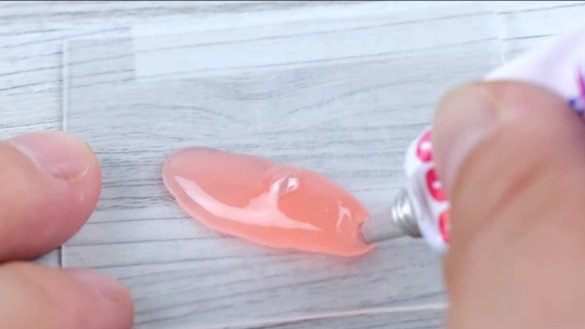
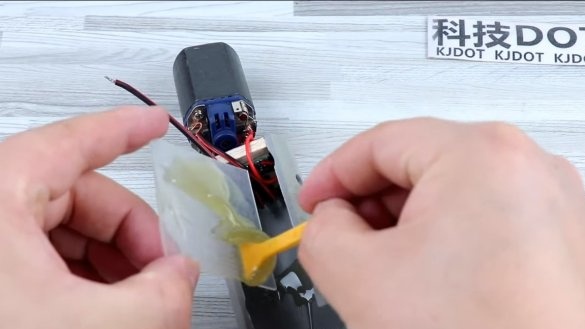
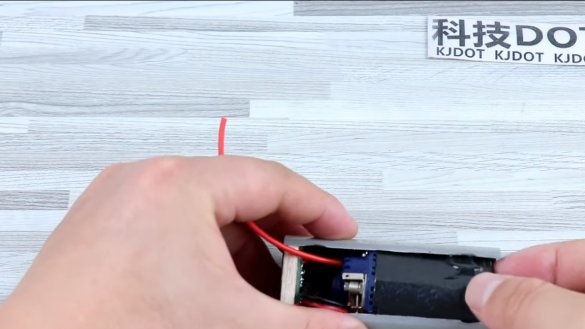
You can install the engine in the case, solder the wires and knead the epoxy, this is the glue we glue the engine. Here you need to be very careful not to smear the motor shaft and so that the glue does not enter the engine itself through the holes in the housing.
Step Three Battery pack
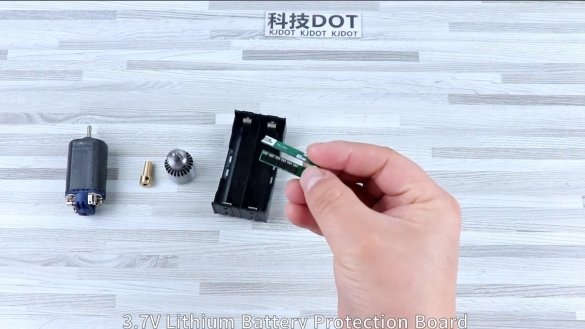
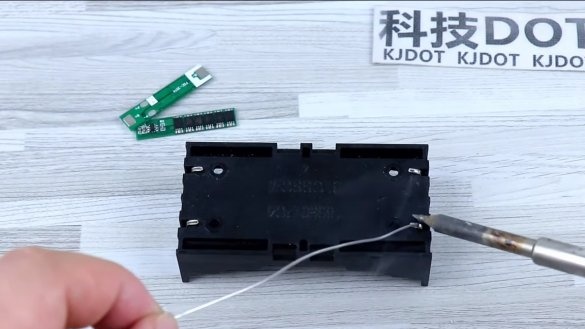
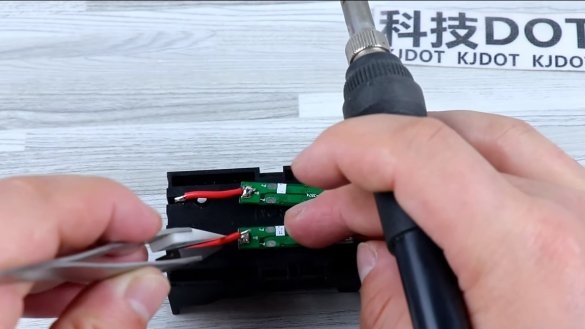
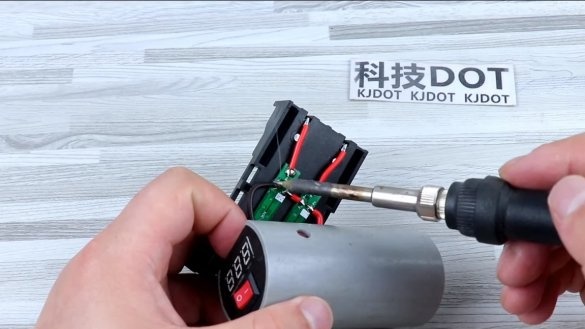
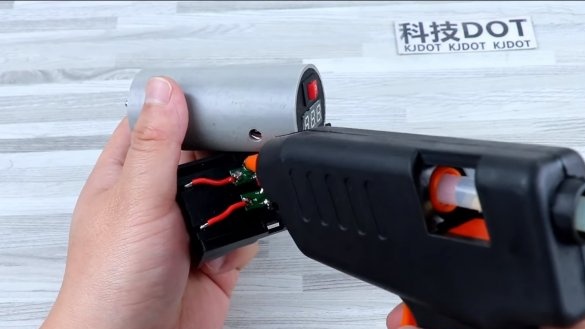
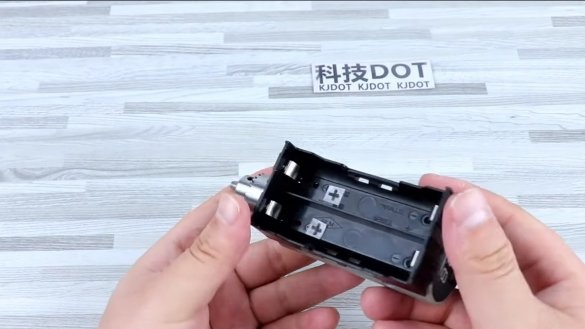
18650 batteries must be used together with BMS controllers, in this case they are needed in order to prevent a deep discharge, which the batteries are so afraid of.The controller will simply turn off the batteries if the voltage drops below the threshold. For each battery you need your own controller, solder them to the contacts, and then glue the battery pack to the case and now our homemade product is almost ready.
Step Four Final touches and tests
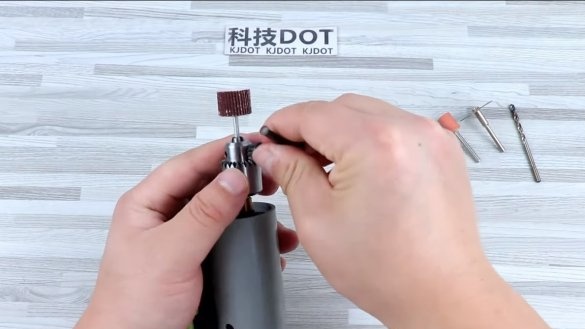
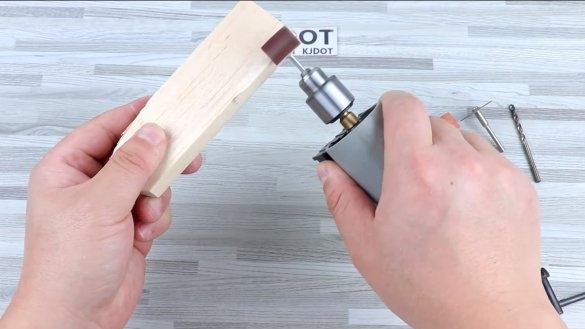
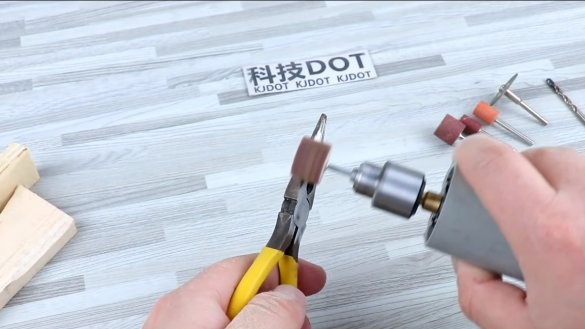
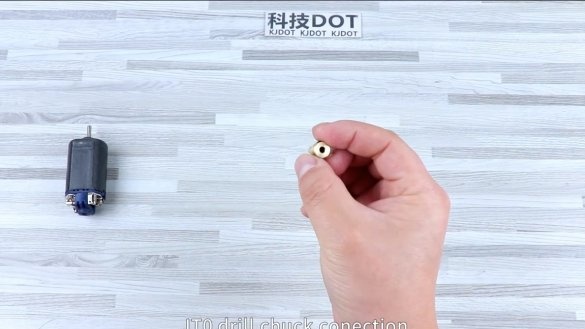
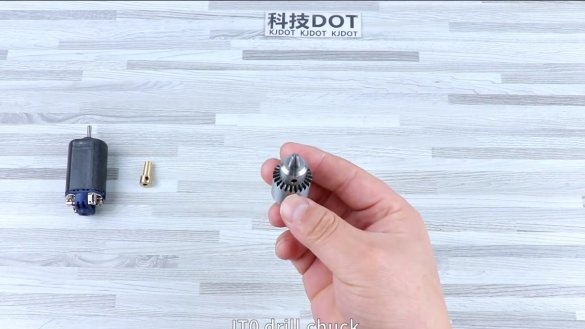
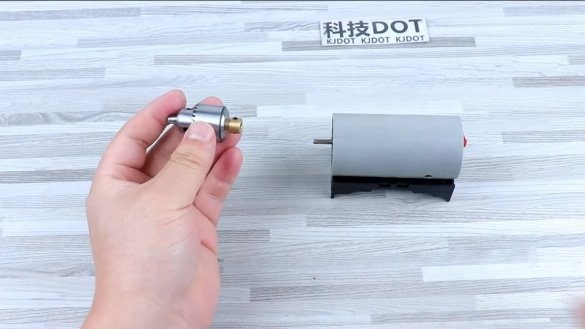
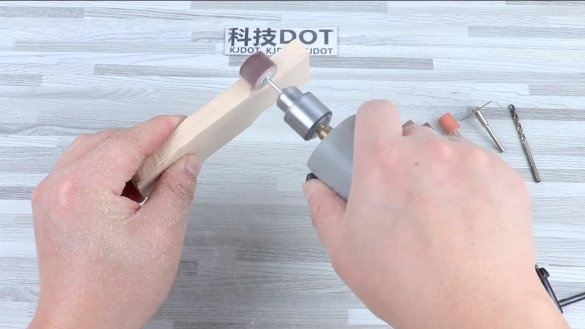
Finally, we install a drill chuck on the motor shaft through the adapter. Now the homemade product is ready for testing. As an experiment, the author easily polishes a tree, but any machine can cope with such a task.
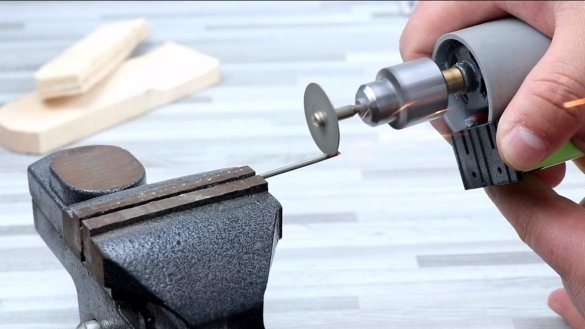
A more difficult task is the processing of steel, since here the required high revolutions. The made homemade product is easy to grind and cut iron, thick sparks fly, which indicates the appropriate speed of the machine.
On this project can be considered successfully completed, I hope you liked the homemade work, and you found useful thoughts for yourself. Good luck and creative inspiration, if you decide to repeat this. Do not forget to share your ideas and homemade things with us!

