

I will continue my publications - homemade products from the past. Today, the topic is the ceiling in a small corridor.
1st step. Background.
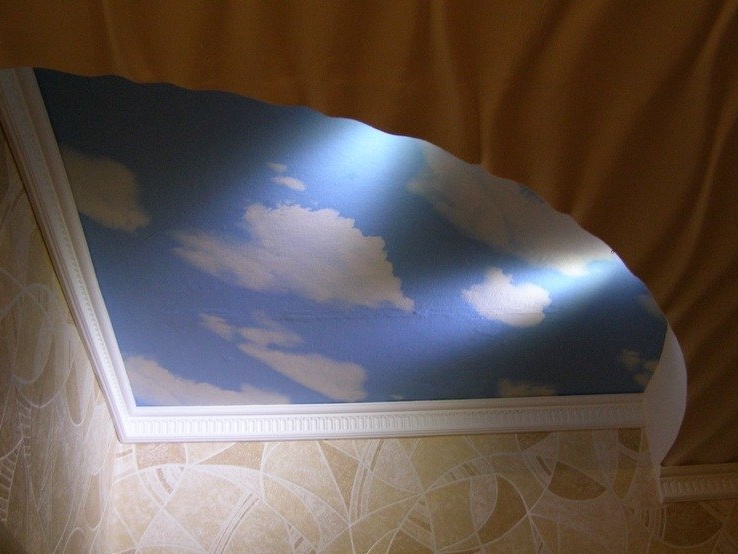
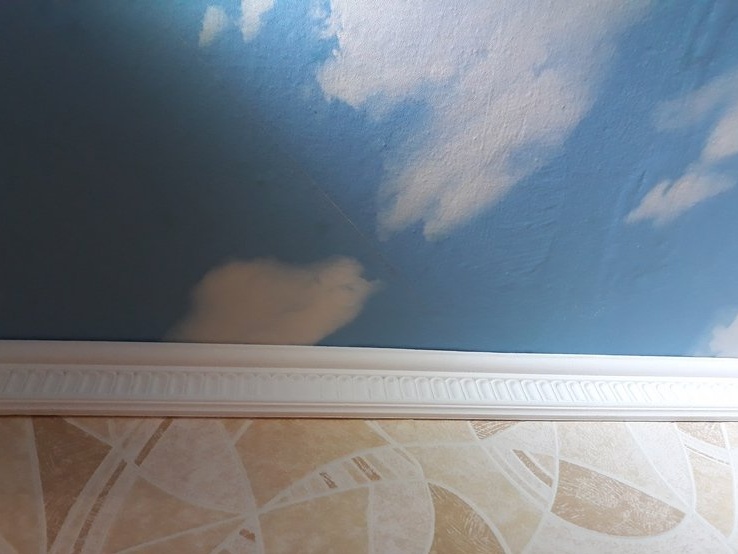
Until the last repair in the small corridor, mezzanines were made on the walls under the ceiling. And, let’s say, the free space on the ceiling was taken - photo wallpaper with a surprise. These are clouds against a blue sky - in the afternoon, or under the light of a llama. And, after turning off the light in the corridor, stars lit up in the sky.

At the next repair, it was decided to remove the mezzanine. And then the question arose - What to do with “our miracle”? My wife and I were so used to him that we decided to leave him. Although a smaller size, but leave. How to do this? The ceiling area increased, and the magic wallpaper was left just a little. And I decided, I have this question in two ways - to remove the available wallpaper, slightly lower the ceiling (make it hinged), at the same time hide the wires to the washing machine in the bathroom, as well as antenna cables and Internet cables.
2nd step. What is needed to do the job.
First of all, of course, the materials:
- building profiles,
- drywall,
- ceiling panels
- cable channels for laying wires,
- dowels,
- self-tapping screws for drywall and fastening profiles,
- adhesive for ceiling tiles,
- 2 pieces of ammunition, I used the same ammo as the E14 bathroom,
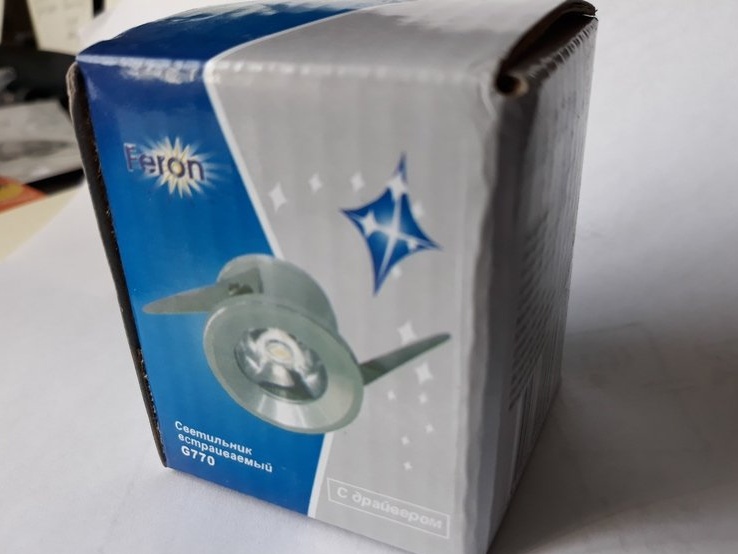
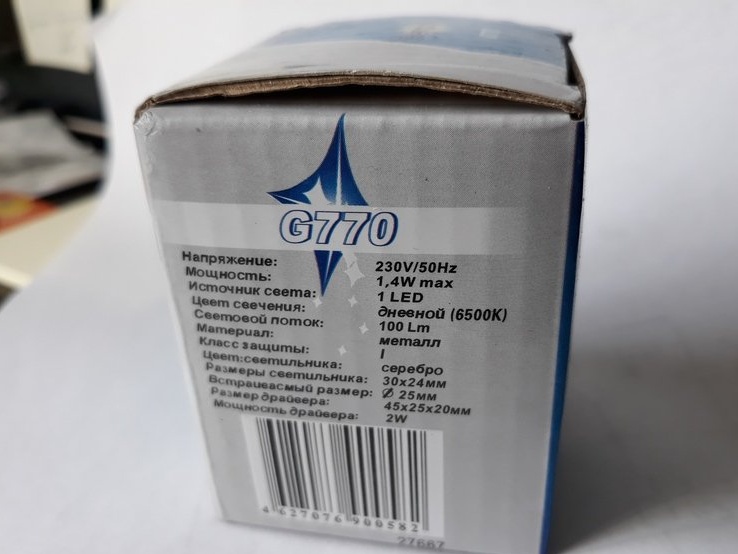
- recessed lamp G770 with driver.
From the tool:
- punch,
- a grinder or scissors for metal,
- screwdriver,
- a device for determining hidden wiring.
3rd step. Execution of the conceived.
The first step, of course, was to remove everything superfluous, to prepare, so to speak, the front of work.
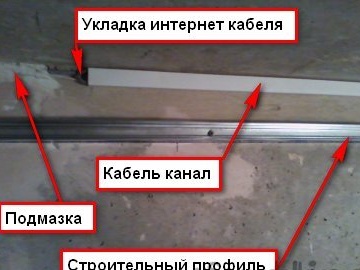
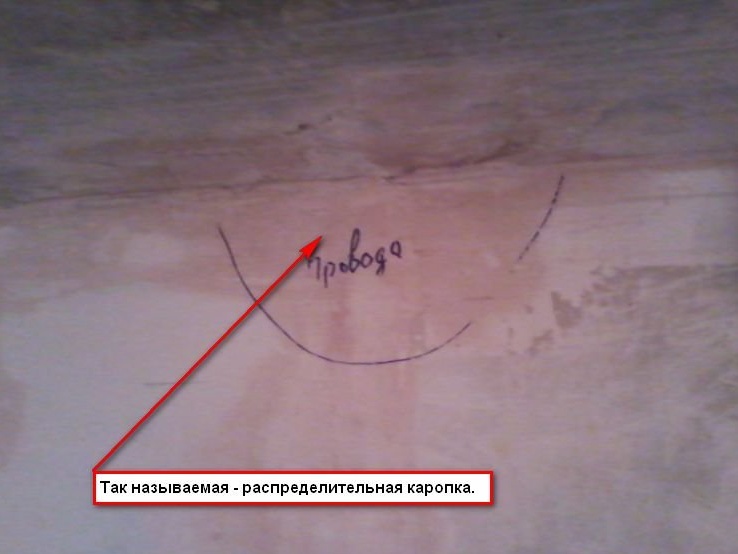
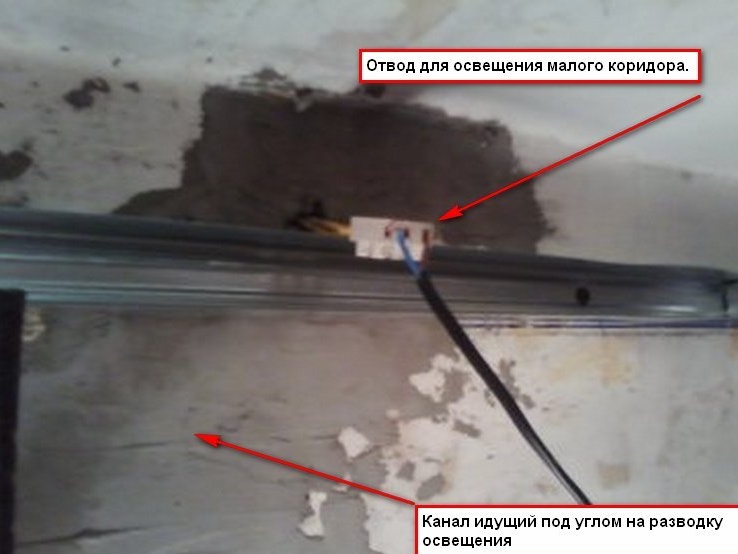
I putty where the walls are. And got busy with the wires. In panel houses, as such, there are no junction boxes. Their role is played by niches in the walls covered with plastic plugs. But, I didn’t have any in the corridor, the wires were put into these niches and smeared with mortar, in the bathroom, in the rooms. I applied a similar method. Where it was possible, I just smeared the wires into the corner of the wall and ceiling. Well, where was a few meters left (Internet cable, so the “specialists” did), so that the wire would not hang, put it in a cable channel. Since this and other points will be under the wallpaper, for myself I marked them with a marker. For the future.
To identify the position of the wiring in the panels, I used a simple device in the form of a screwdriver.
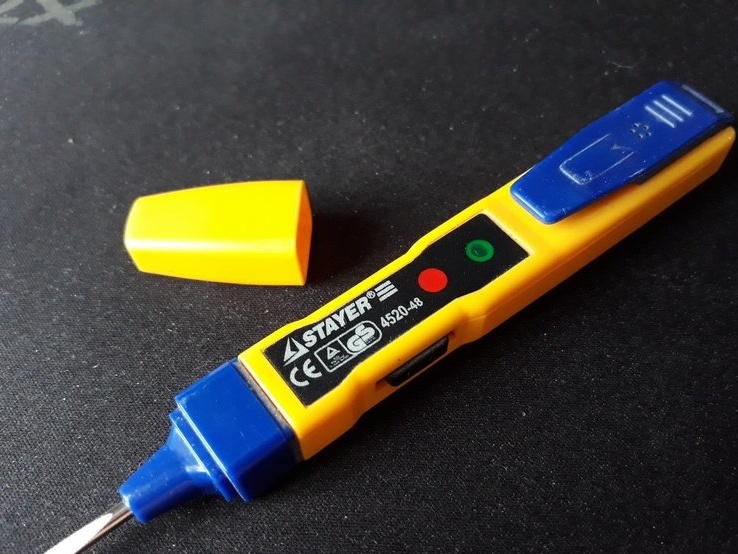
With it, I determined the location of the oblique channel for wires going to the lighting of the bathroom, toilet and small corridor.
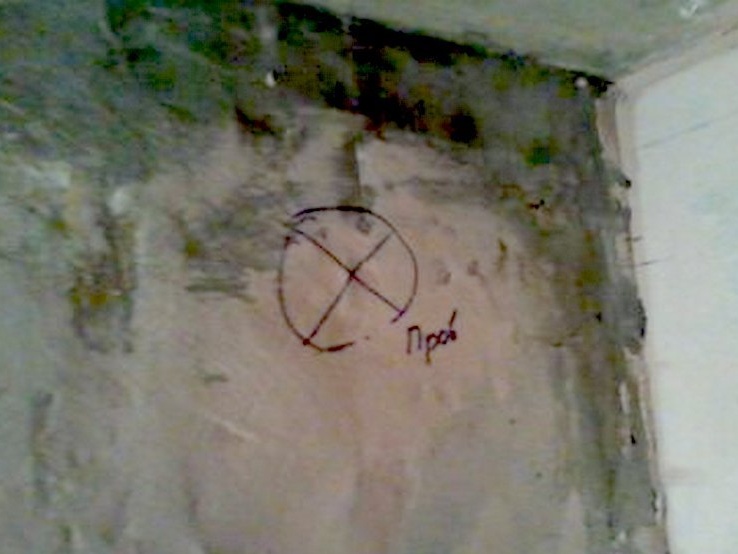
Well, for one, examined the walls of the corridor. And not in vain. Oddly enough, the device showed another place with wires. Wherever I ever thought. Just at the place where the profile will take place. Took note and made a notation
Then he made a marking of the location of the profiles on the walls and ceiling and began their installation.
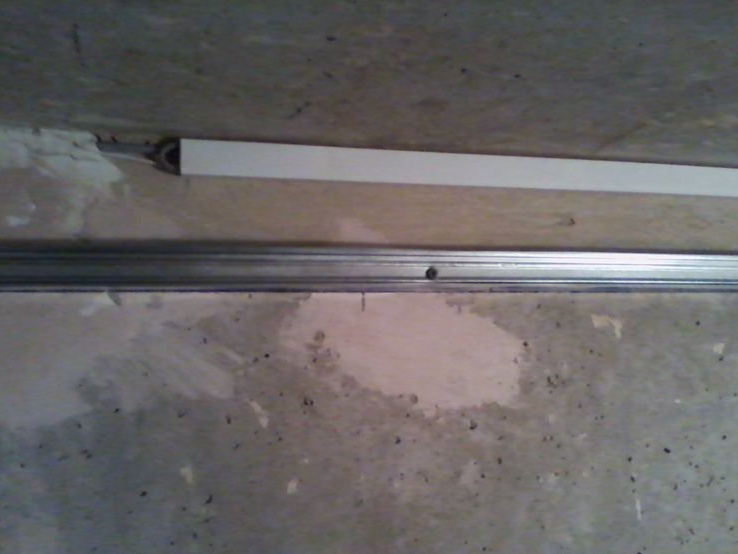
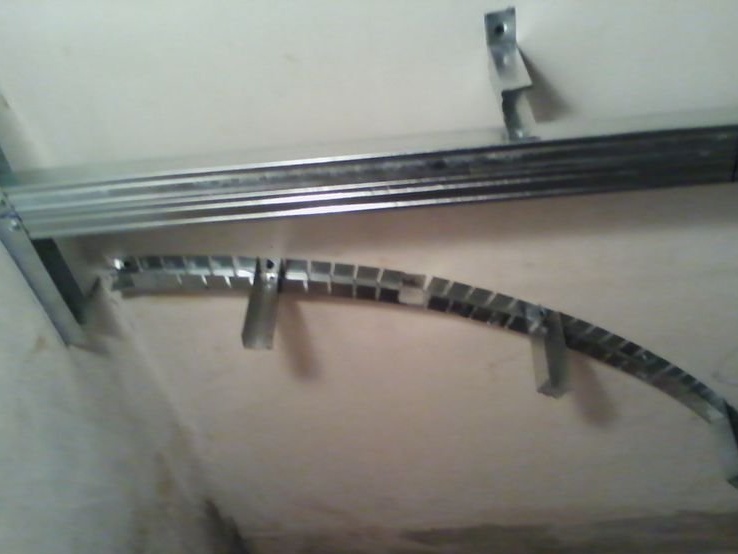
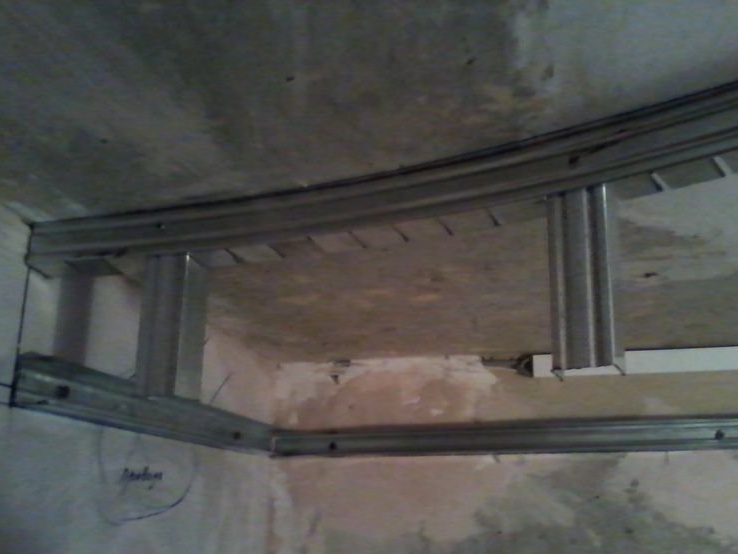
I marked the radius of the bend of the profile on the ceiling, cut from the profile a workpiece in size from the ceiling, made notches on the cut profile to be able to bend it. On the bend immediately installed support for the lower strips of the construction profile. All this set in place, above the bedroom door.
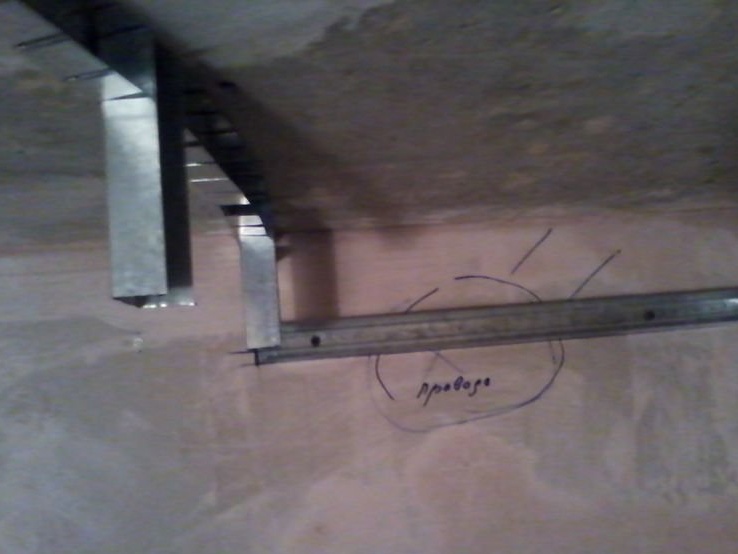
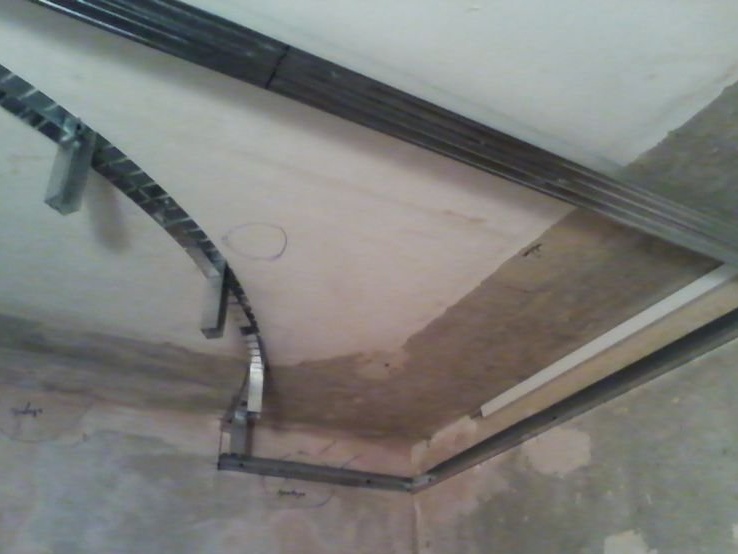
Next, I installed support for the lower profile throughout the ceiling.
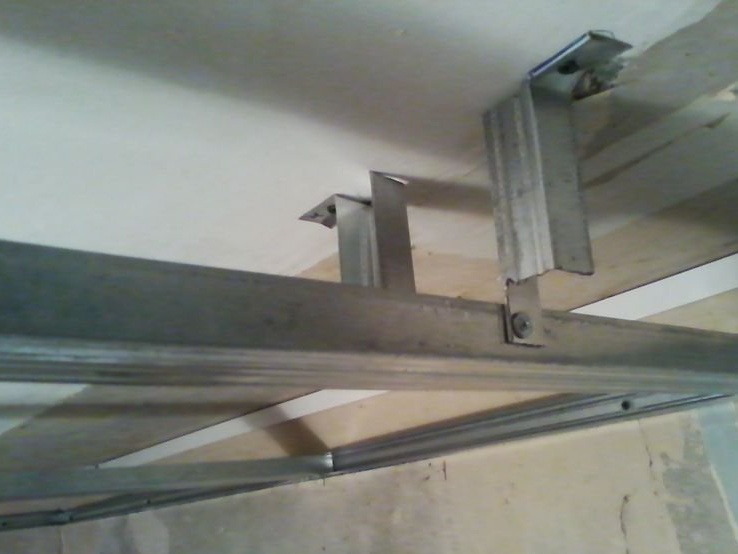
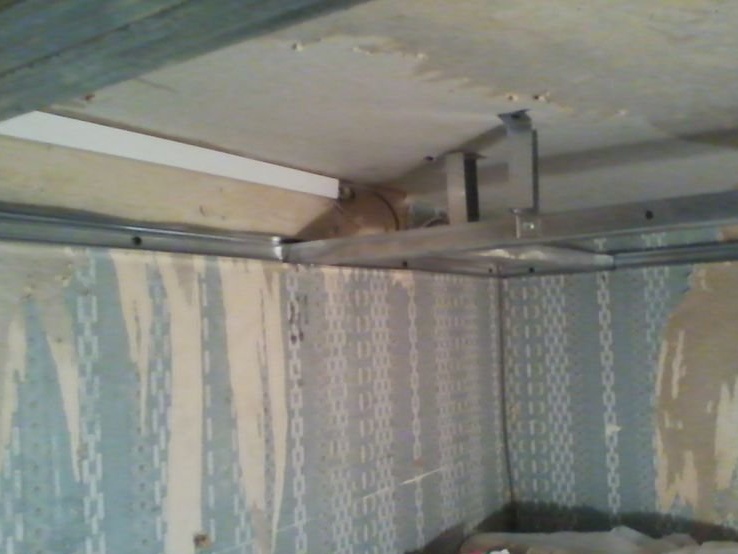
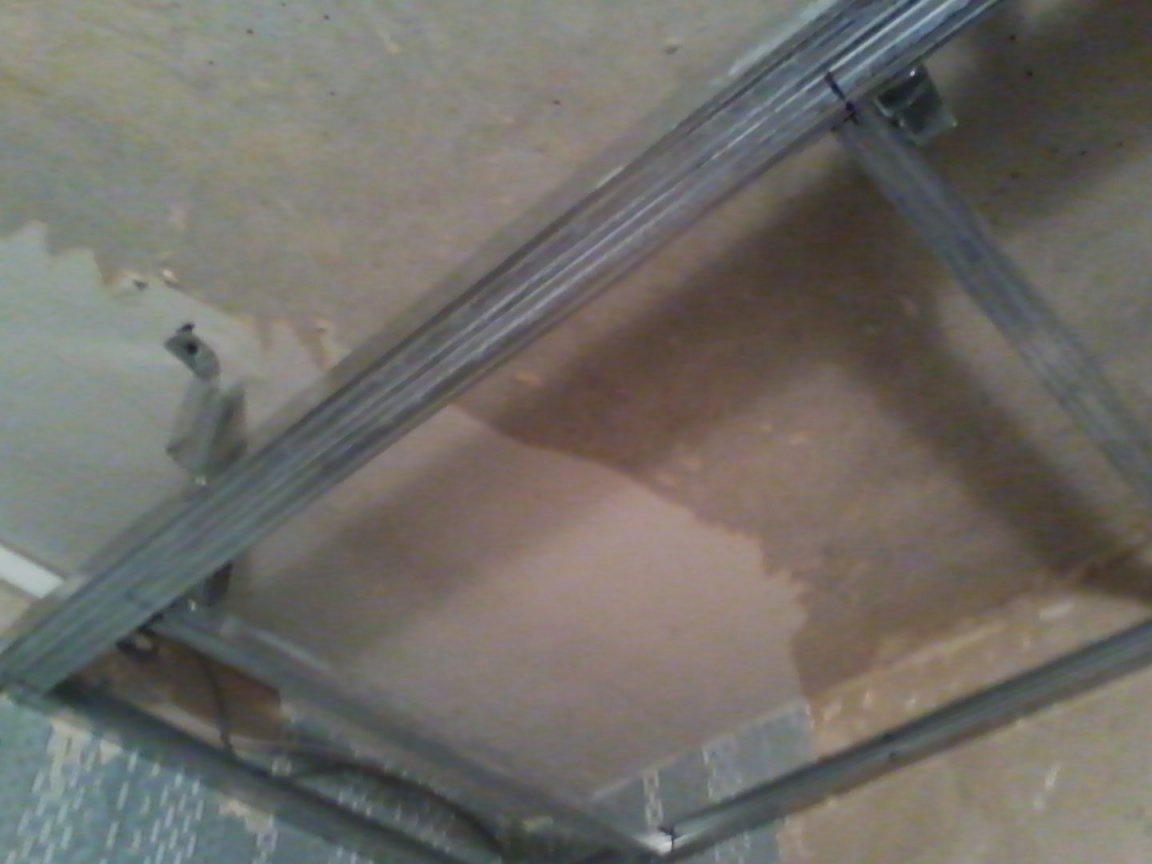
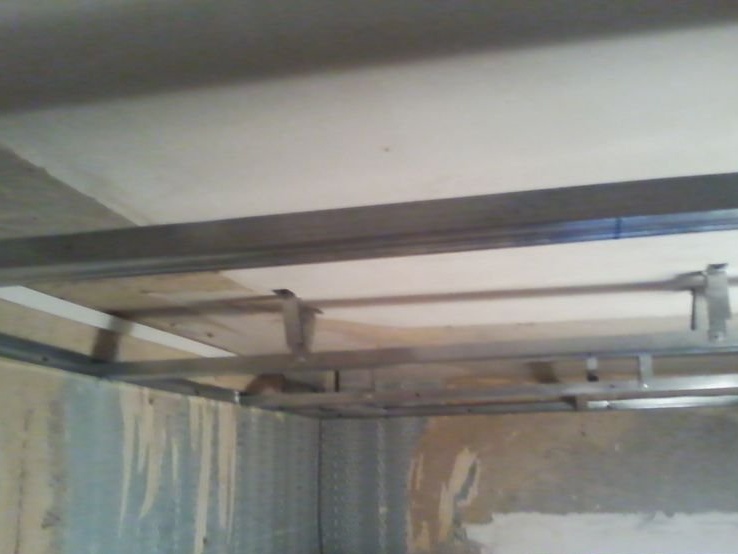
It should be noted here that the placement of the lower profiles is determined by the size of the existing drywall strips. And, also the ability to dock them on the profile. He made a wiring to the locations of the LEDs and socles of the corridor lighting lamas. Pictures of the installation of drywall unfortunately did not survive. Yes, there is nothing special and no. I will describe in two sentences
After cutting out the drywall panels, the holes for installing the fixtures of the lighting lamps, installed them. Pre-made holes in the radius casing for two powerful LEDs.

The ceiling panels in the form of waves were installed on glue. In some places I putty joints.
I glued wallpaper to the walls. On the ceiling, within the radius of the partition, the removed wallpapers were pasted and matched with a foam molding from below.
Powerful LEDs are installed in the bend radius.

Along the perimeter of the corridor at the junction with the ceiling, also installed foam molding.
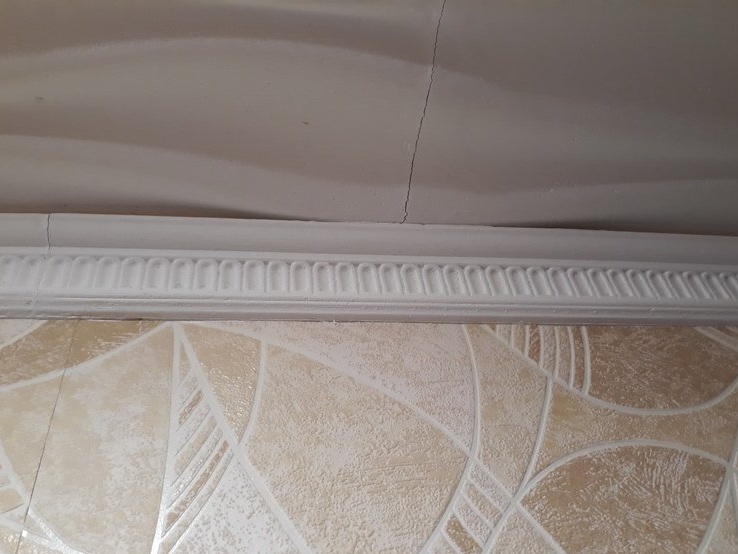
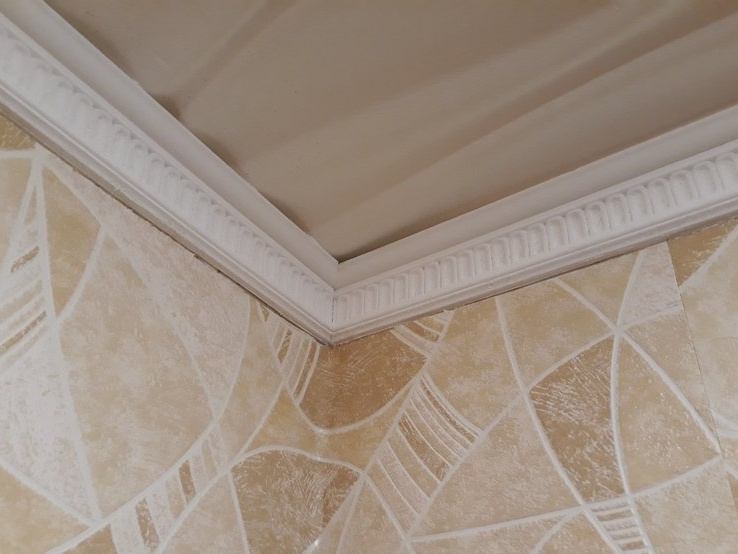
The transition to the radius beat as follows.
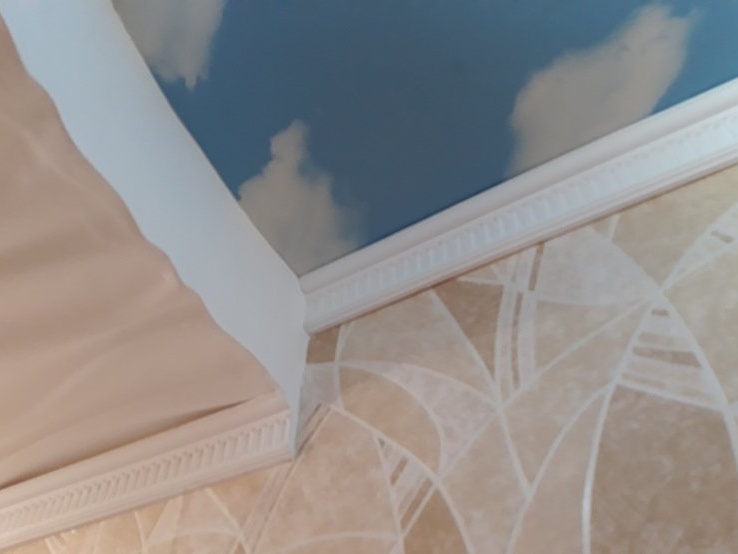
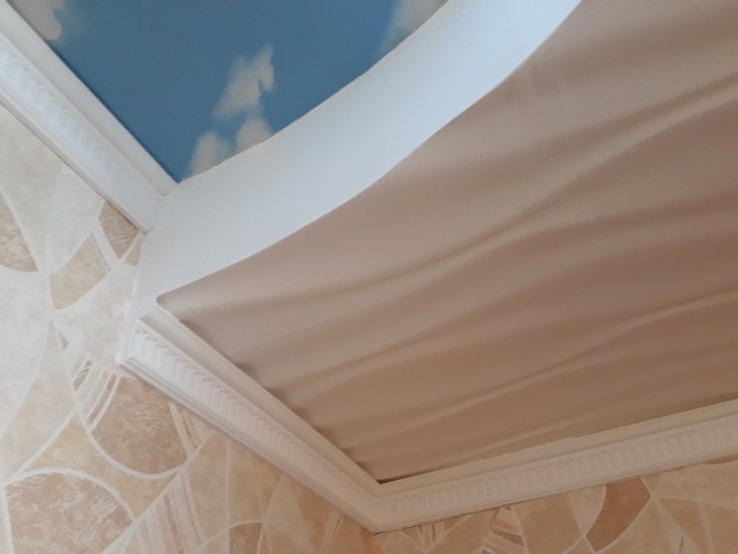
In the opposite direction from the radius bend, the ceiling looks like this.

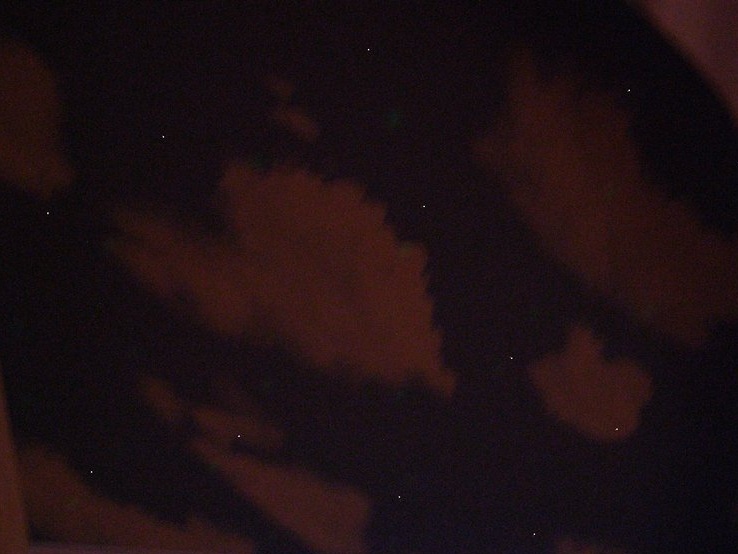
In the evening and especially in winter, after turning off the light in the corridor, the sky looks like this on the ceiling of the radius of the partition.
That's it.
See, criticize, advise, ask.
Regards, Starp.