
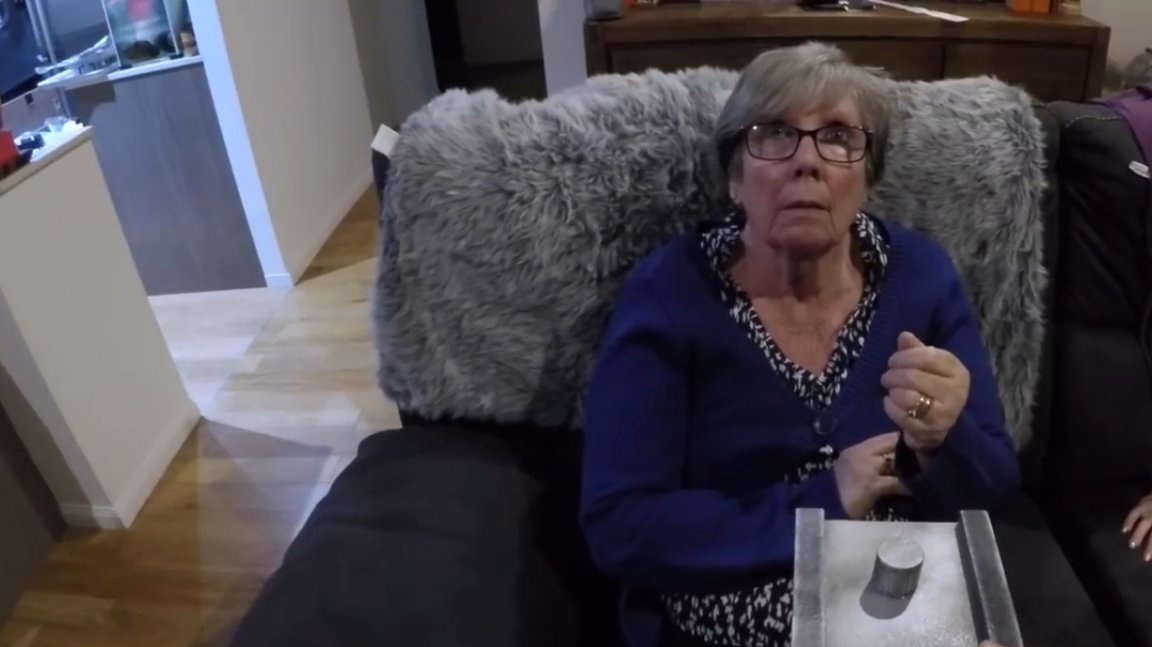
Did you like to play pranks and make fun of children and adults in childhood? What was it - a runaway purse enclosed by you, stretched banners or a bucket of water suspended above a door? This is remembered for a long time. Have you ever tried a surprise box? Not?! - Then try it!
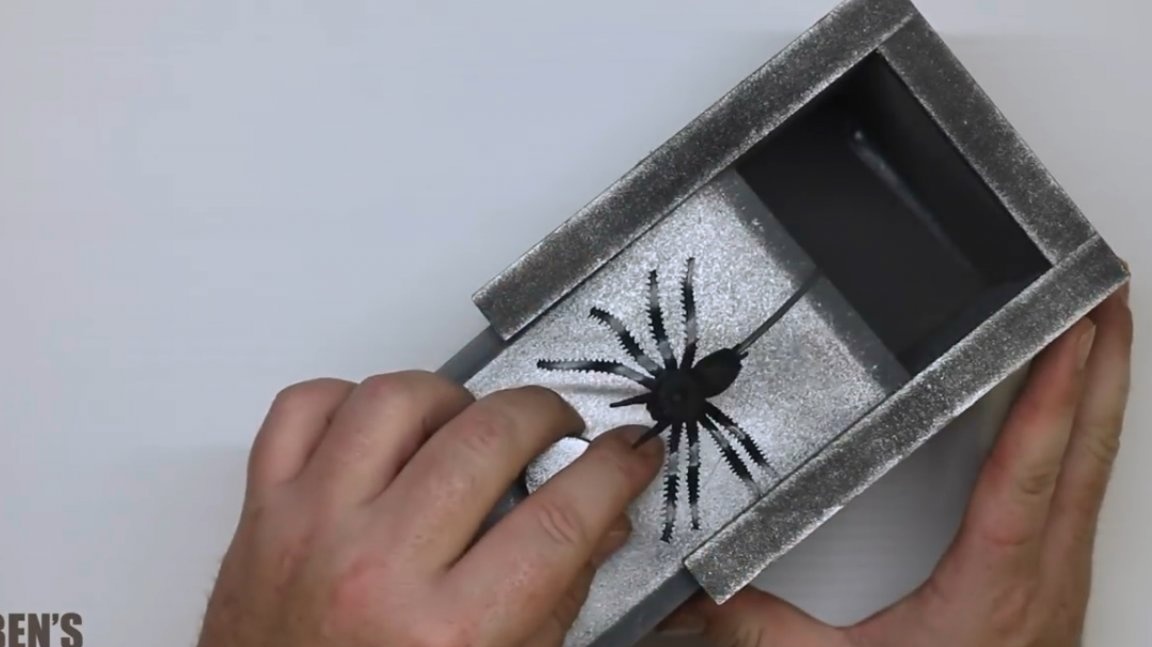
In this article, Ben, the author of the YouTube channel "Ben's Worx", offers you to make an exclusive thing: you open the lid of the box, and a spider pops out of it, not real, of course. But even the plastic effect is no less.
Materials
- Plywood, or chipboard
- Wooden round timber
- nail
- steel wire
- PVA glue
- Second glue
- Twine
- toy spider
- duct tape
- Spray paint.
Instruments, used by the author.
-
- or drill, wood drill
- Nippers
-
-, or a hacksaw for wood.
Manufacturing process.
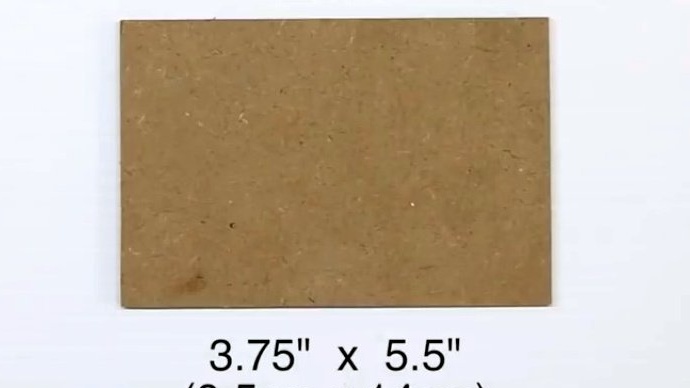
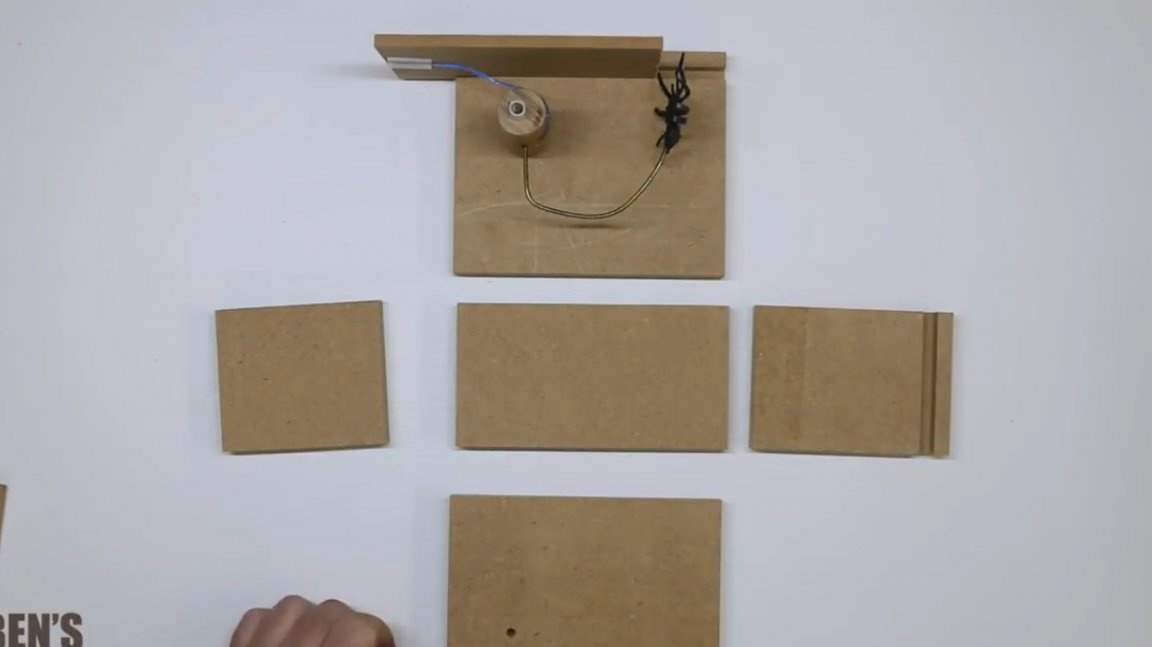
First, the author cut the wood material (in this case, MDF) according to the size of the product:
The sides are 13X15 cm.
The bottom of the box is 8X15 cm.
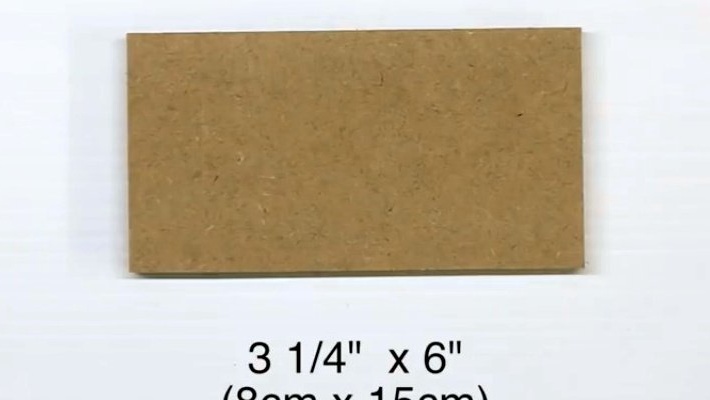
The front part is 8X9.5 cm.
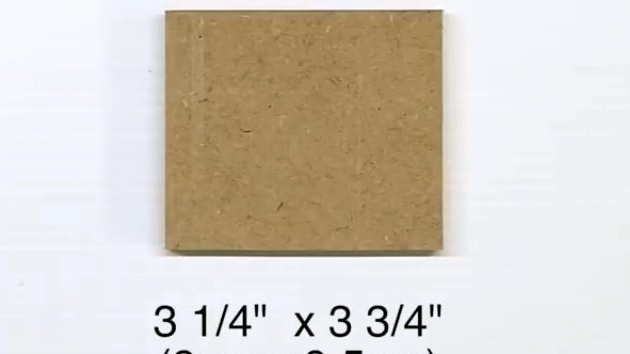
The back wall - 11.4X8 cm
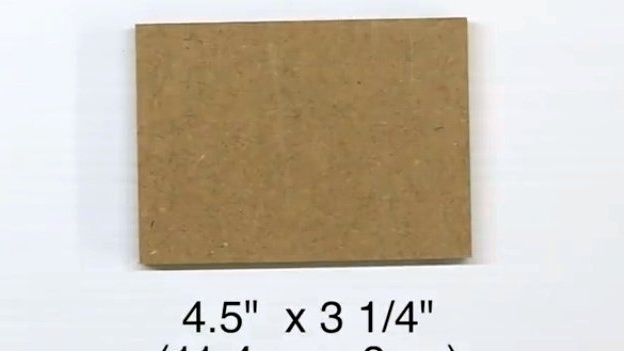
And the lid is 9.5x14 cm.
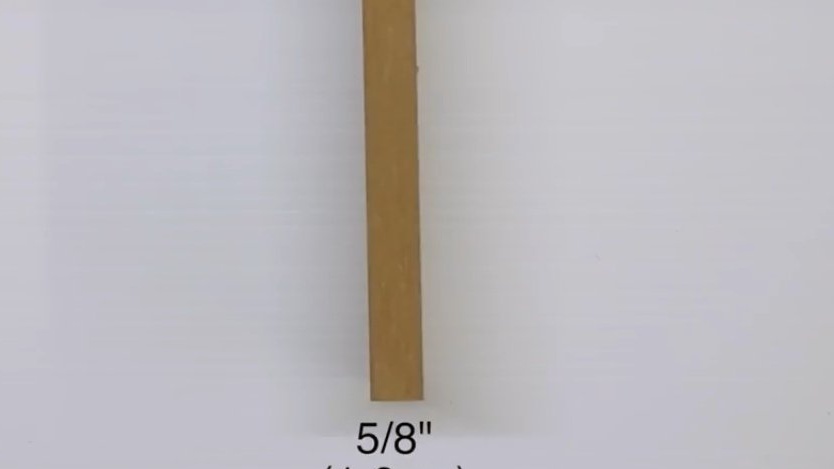
Lid thickness - 0.8 cm.
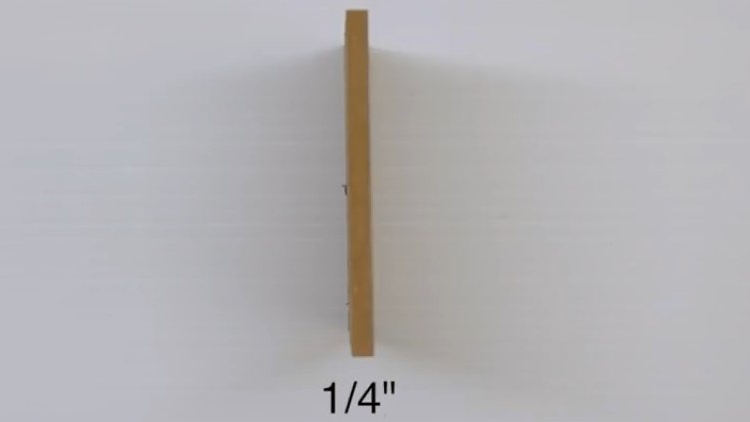
The wall thickness of the box is 1.6 cm.
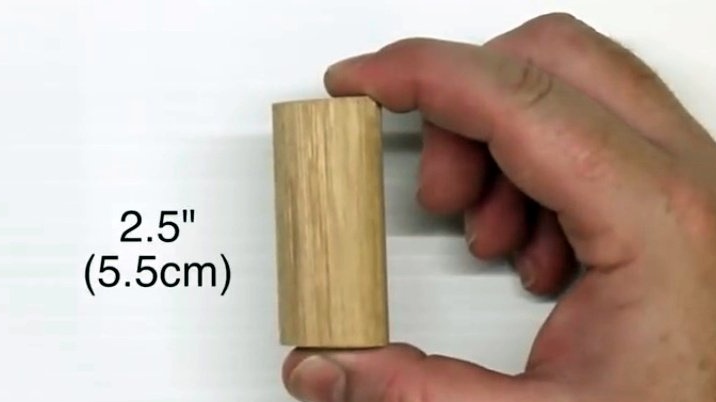
He also cuts a piece of round timber 5.5 cm long.
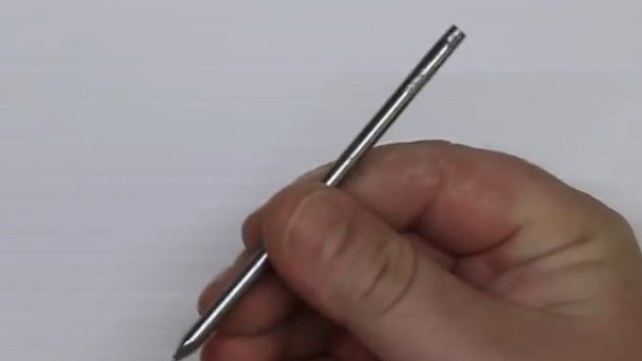
The author cuts off the hat from the nail, leaving it 10 cm long.
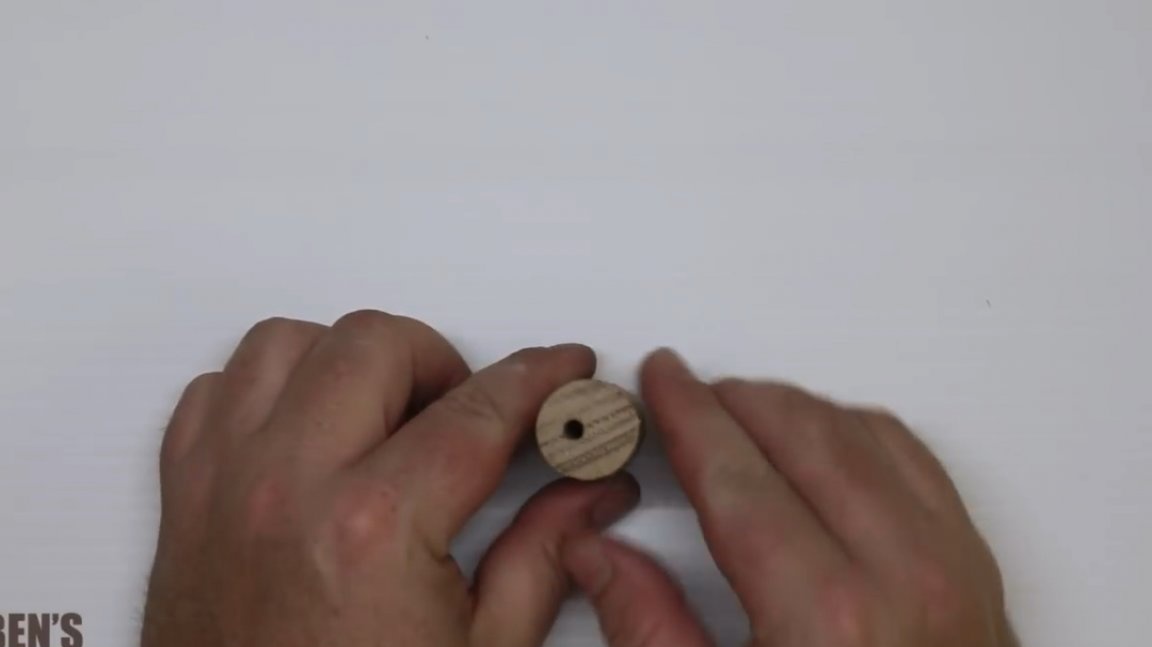
Then he drills a hole in the round timber. As you can see, the hole is slightly offset from the center. You need to be sure that the hole is wide enough so that the nail can easily pass through it.

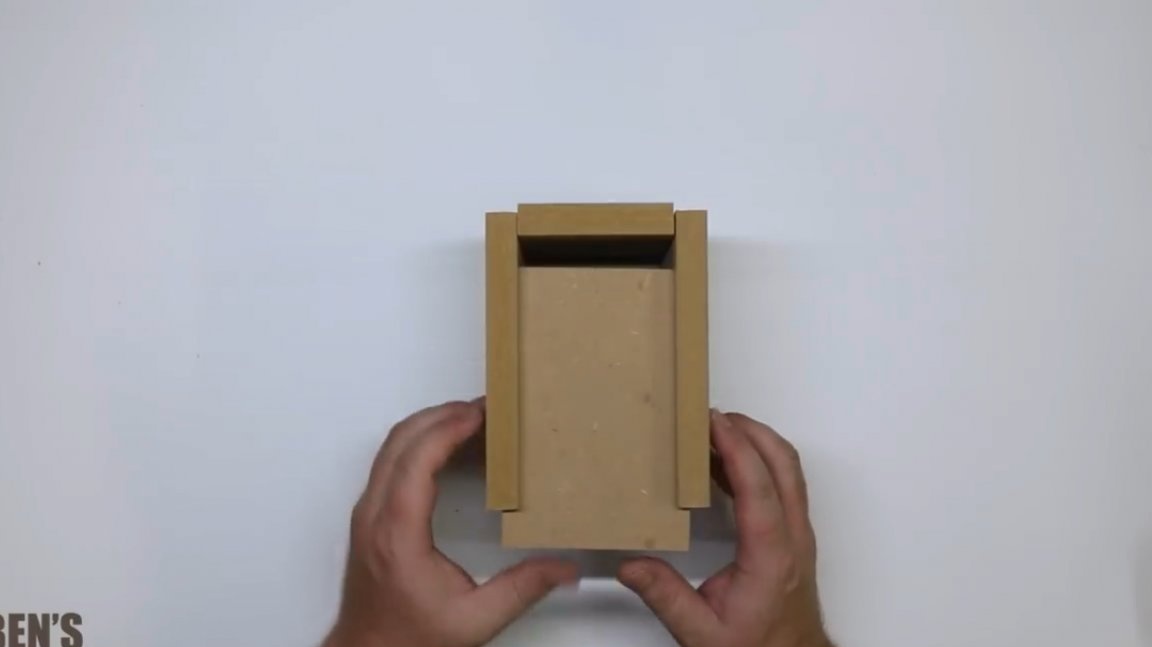
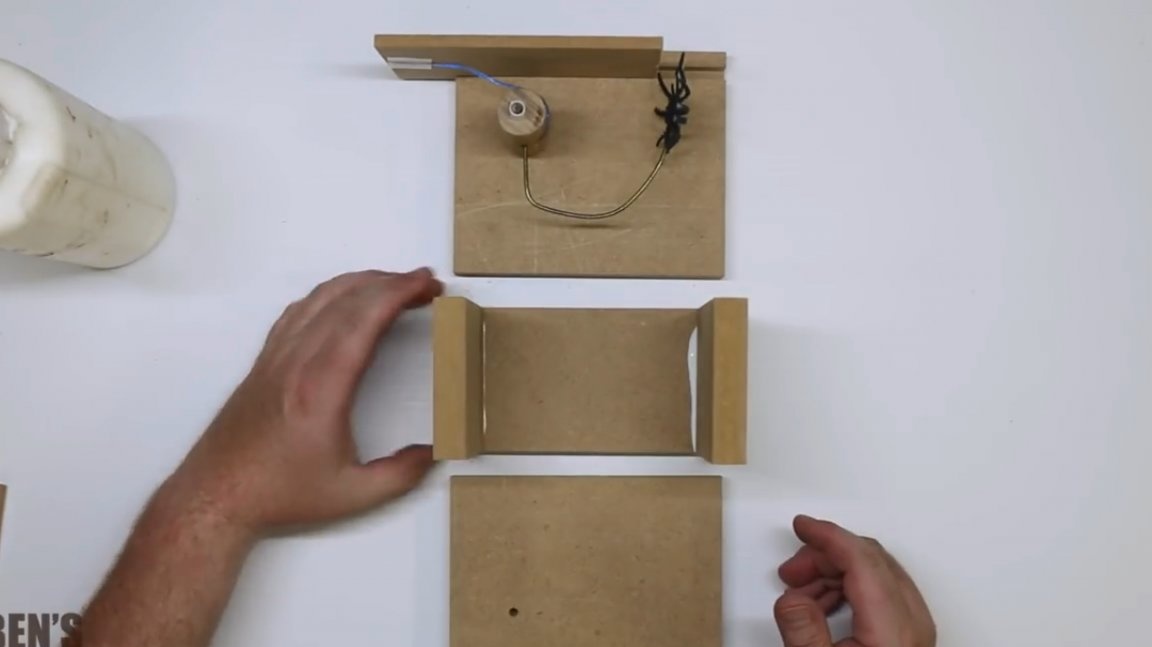
Now the author takes the side panels and the back wall, mills the groove in them at a distance of about 1 cm from the edge along the entire length. In this case, the slot should be wide enough, a little more than 8 mm, so that the box lid can move freely in it.
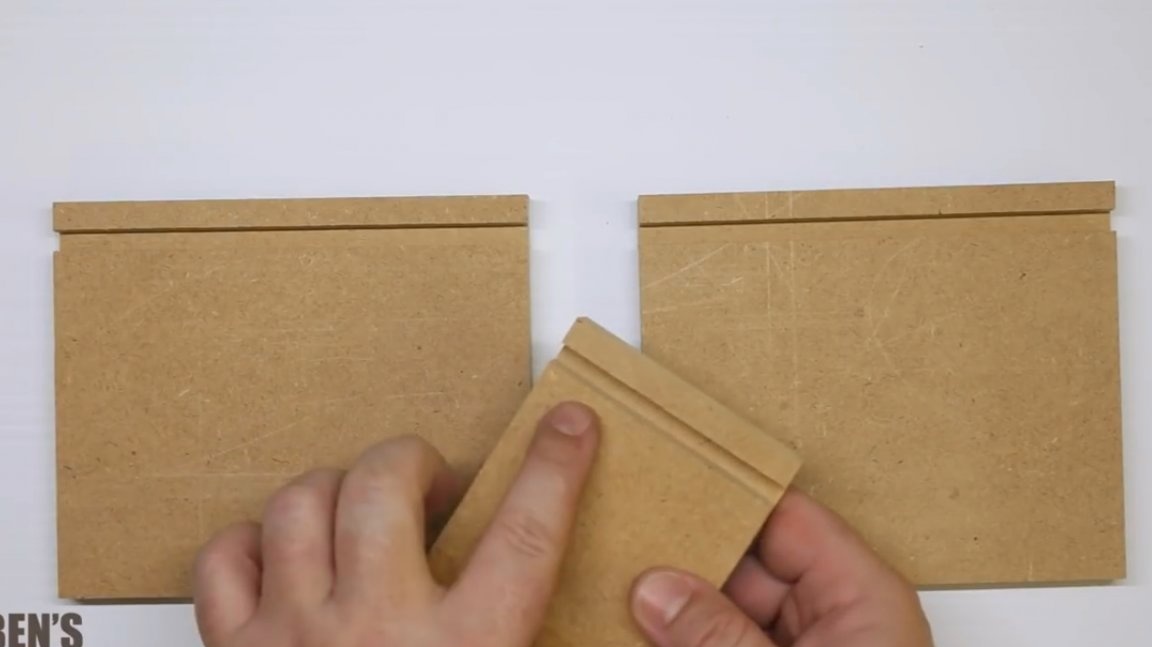
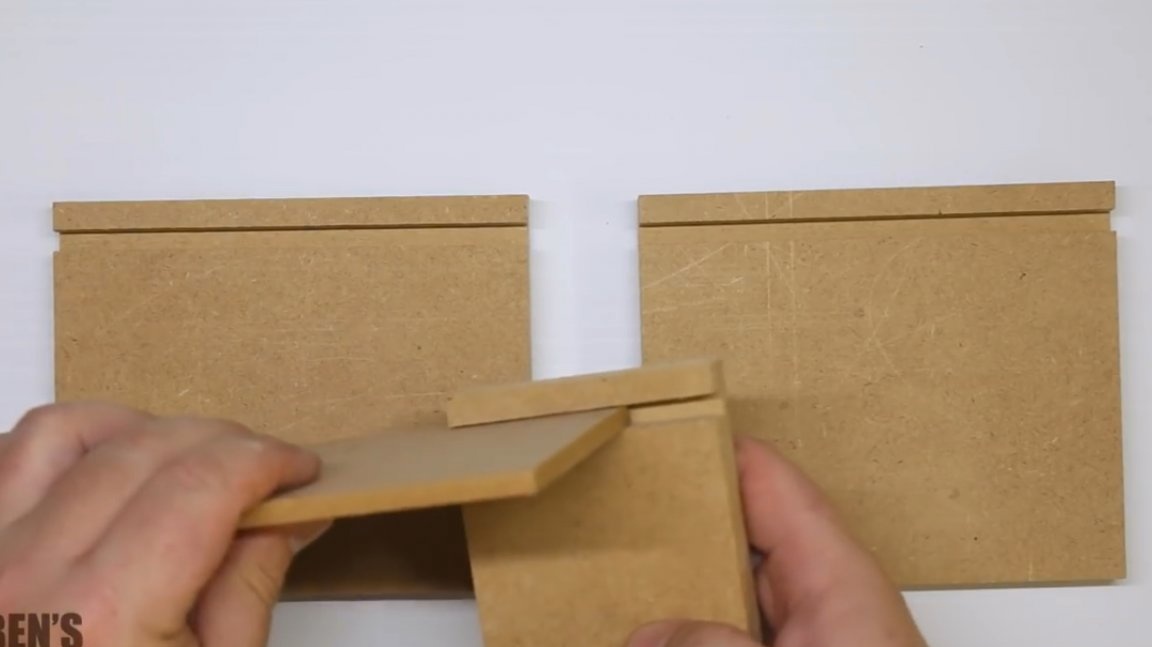
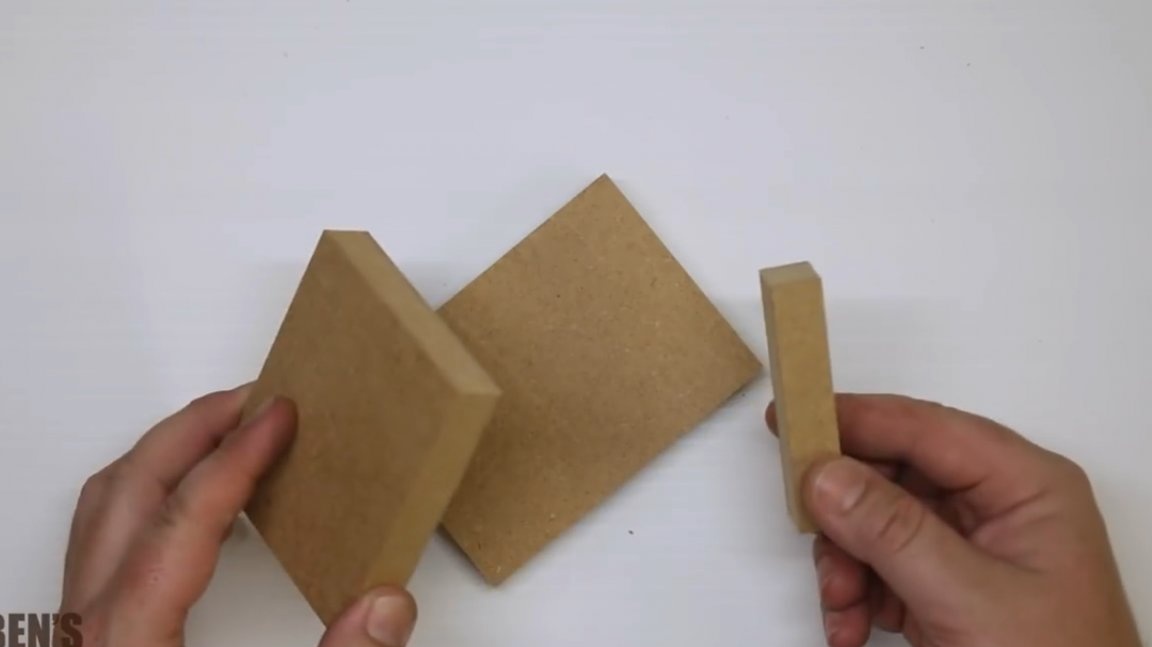
If you do not have a router, and it is not possible to make such a slot, you can use two wooden blocks and stick them on plywood in this way, the size of the slit under the cover can be adjusted here.
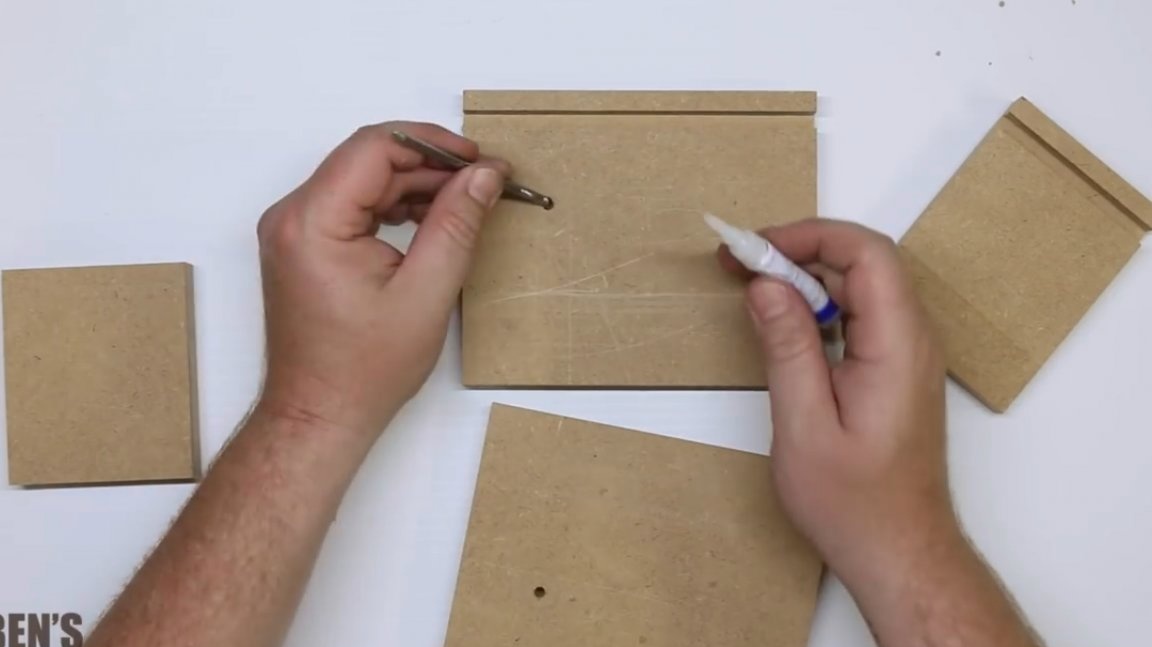
Then the author marks on the side walls the points where there will be blind holes for the nail. It recedes on top of 5 cm, and on top of 3.8 cm. It is important that both side panels are deployed to each other with inner sides. Drilling holes, the master tries to make them not too big. The nail should fit snugly into the hole, rather than dangling in it.

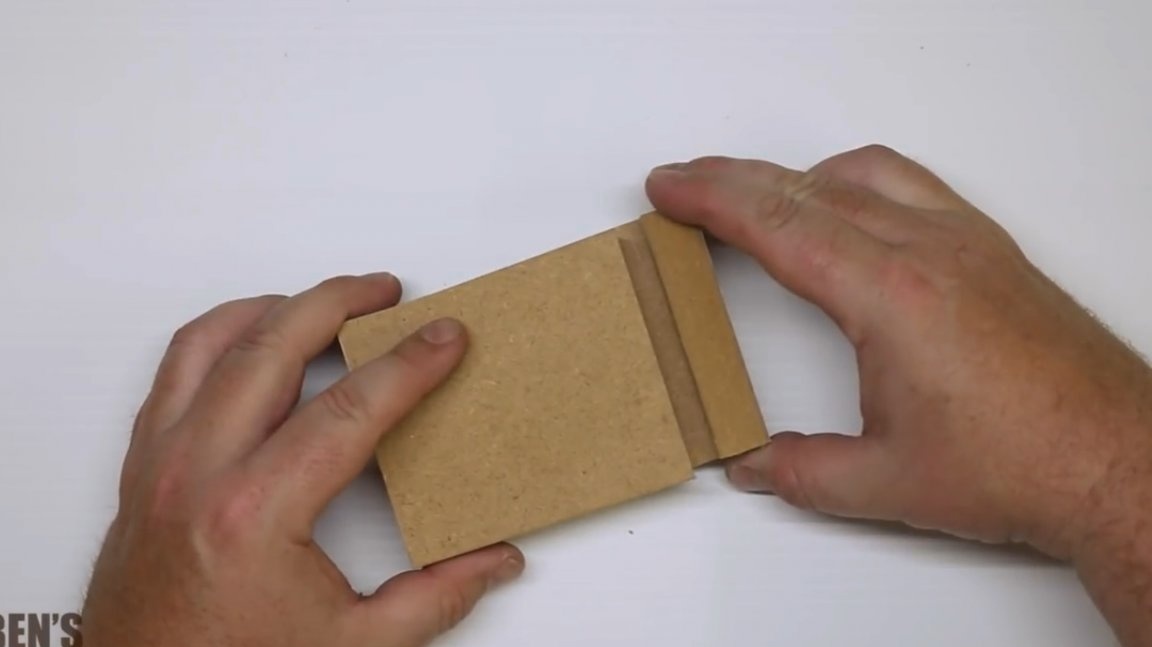
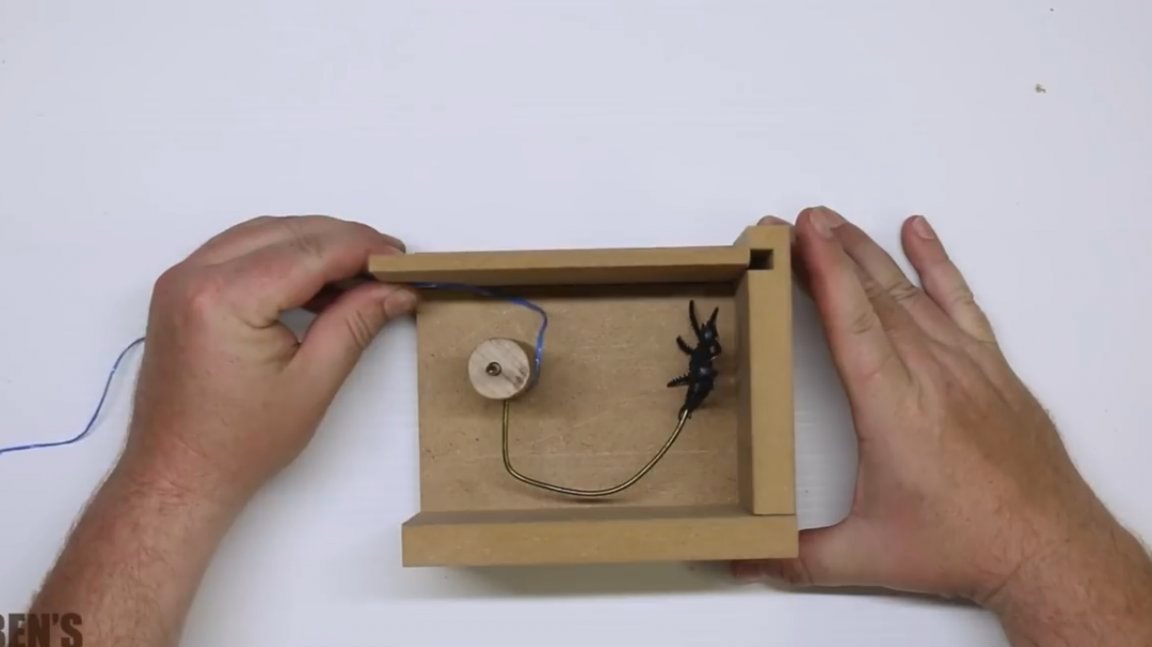
Before gluing all the details of the box, the author assembles the entire structure and checks to see if all the elements fit together, and the lid in the slots glides well.
Now he cuts off a section of wire from the hanger and bends the wire so that it can pass over the lid of the box. This is perhaps the most difficult stage.
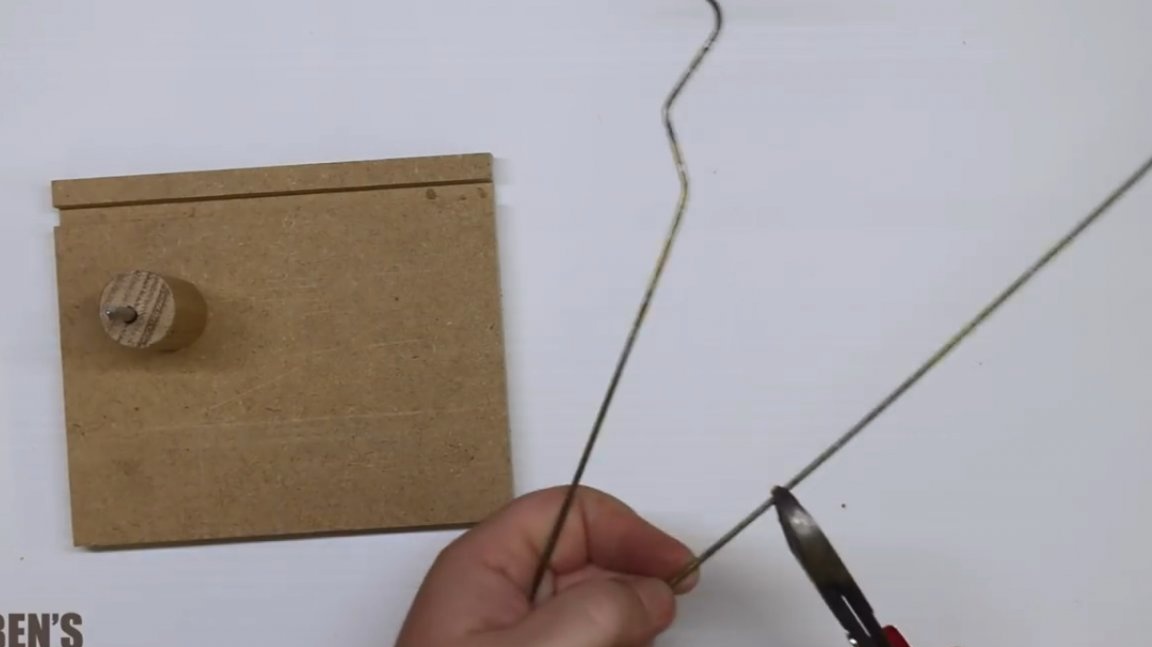
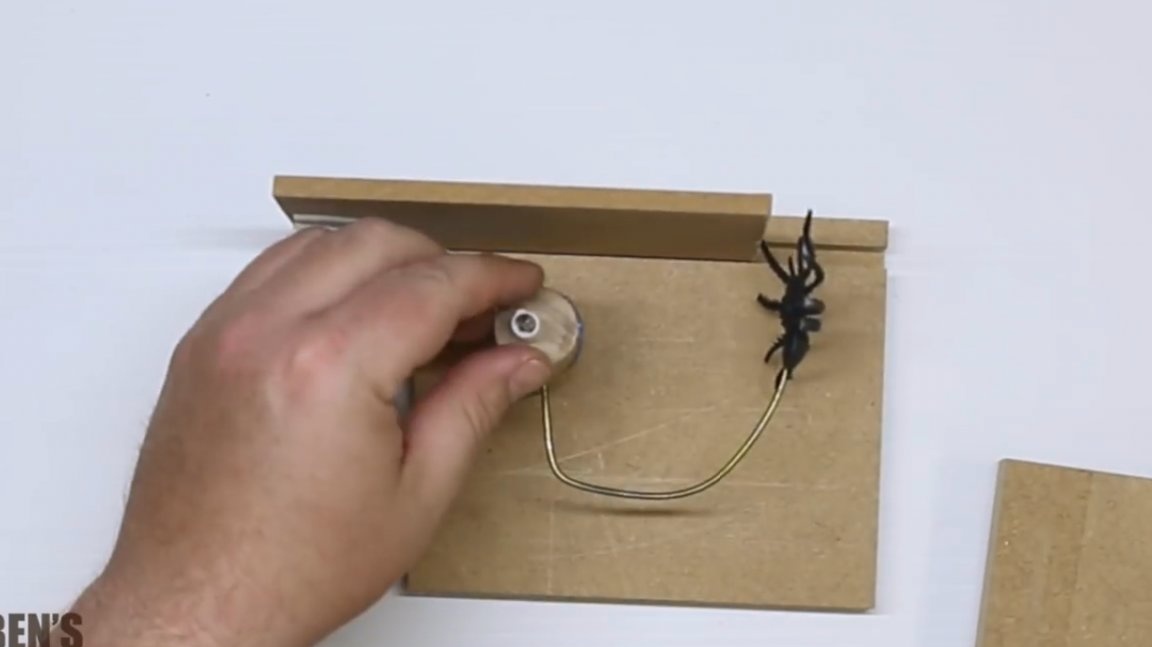
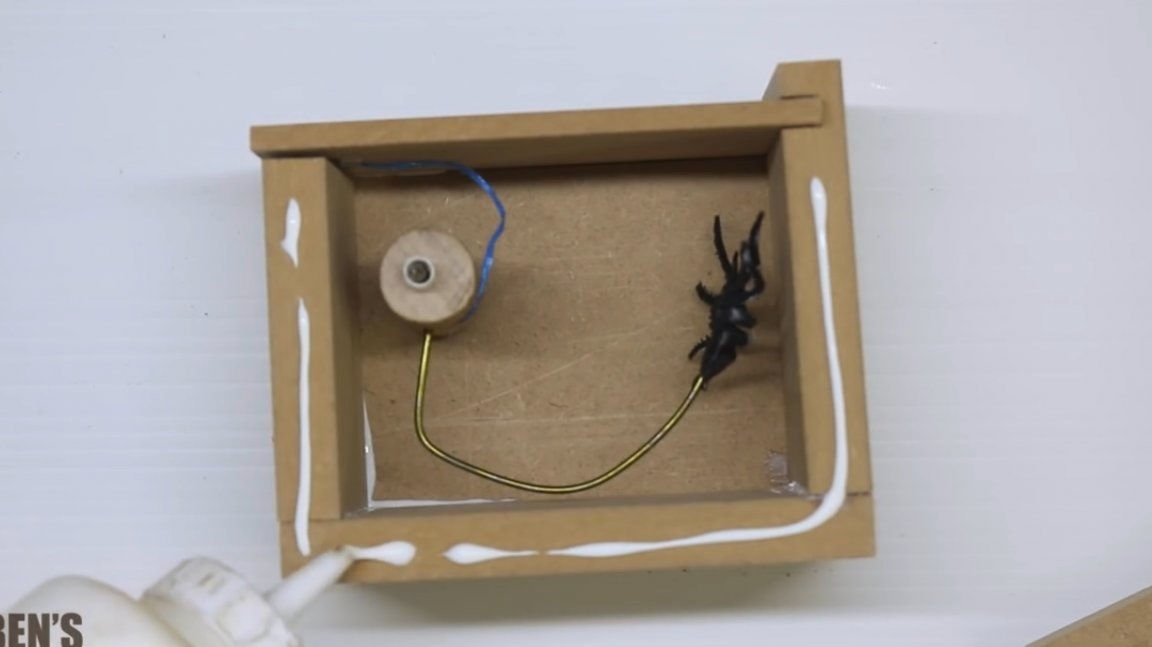
After that, he drills a hole in the round timber, on the side and secures the wire in it. It should also fit snugly into the hole.

The author chooses a rubber spider worse.

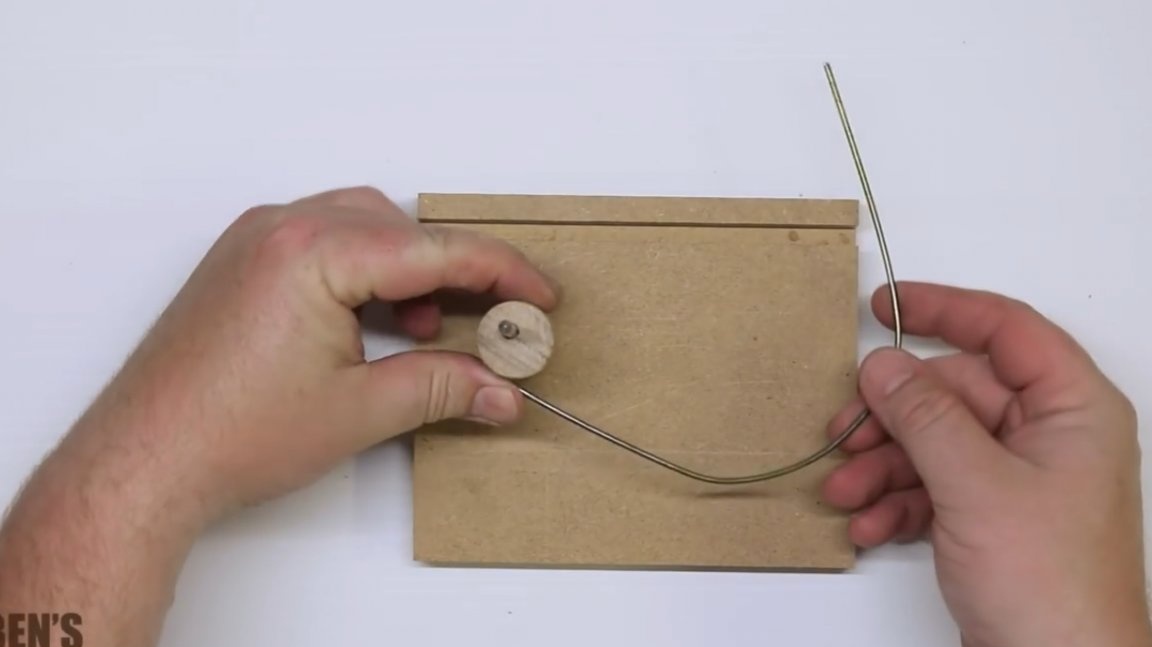
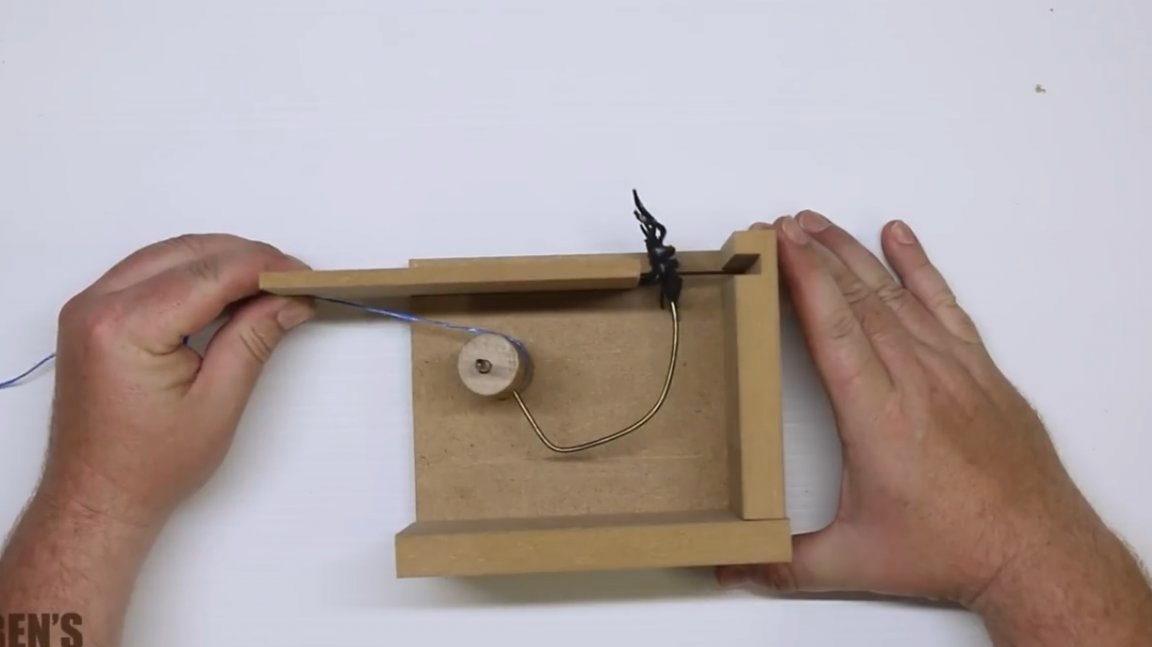
Time to fix the string. It is also attached to a wooden round timber. The author made a small groove near the hole with a hand saw to make the thread more densely covered the round and it was easier to glue it.
Then glues the twine with second glue.
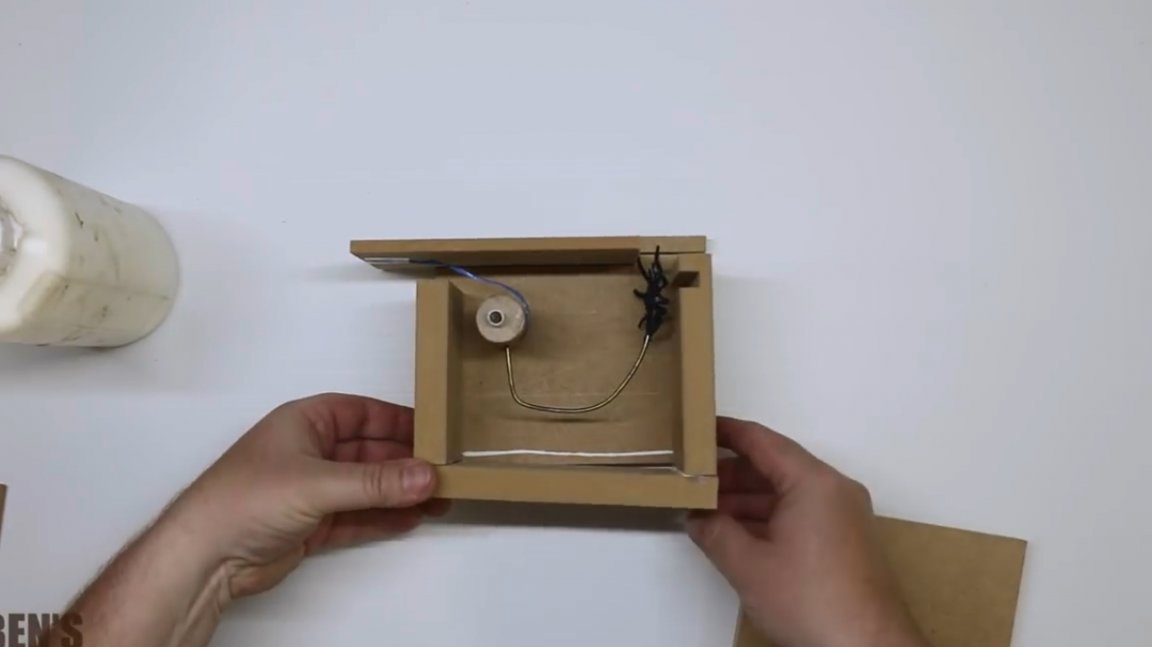
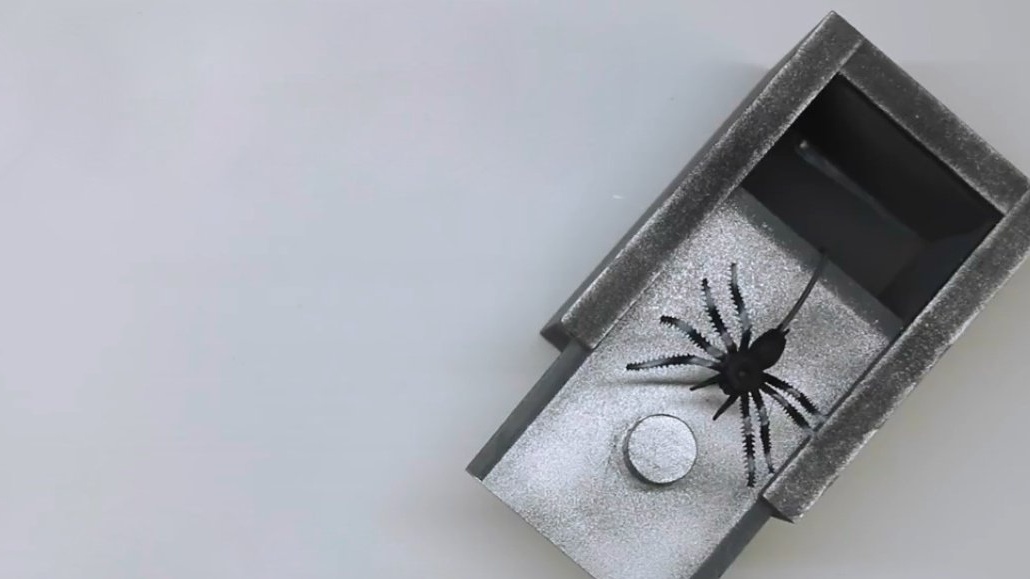
It's time to test. Side view. The lid moves back and ... now you can see how long the string should be.
Here is the desired length of thread, thanks to which the spider can easily appear and disappear again inside the casket. The thread, as the reader noted, should be in a tight position. So, by trial and error, the author measures the desired length of twine and the nature of the rounding of the wire until the desired trajectory of the spider.
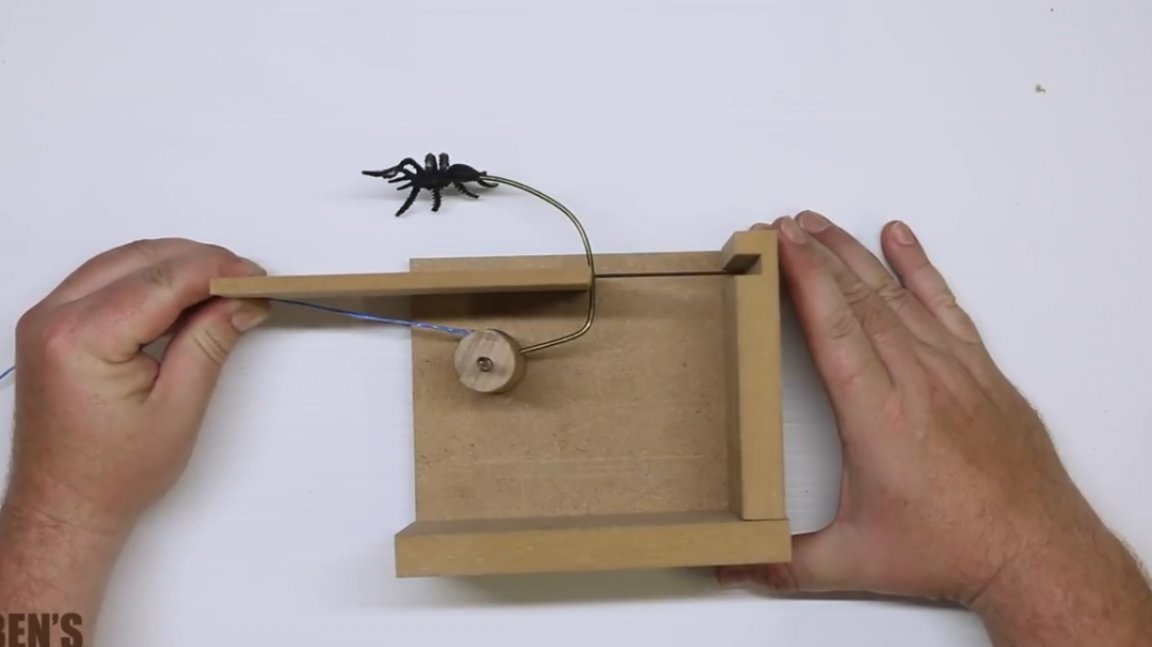
Now the thread can be safely cut and secured with tape. Gluing it to the lid is not worth it, because especially frightened people can pull the lid too sharply, and the mechanism will break.
Before gluing the casket, the author conducts several more tests in an already fully assembled form. Everything works great!
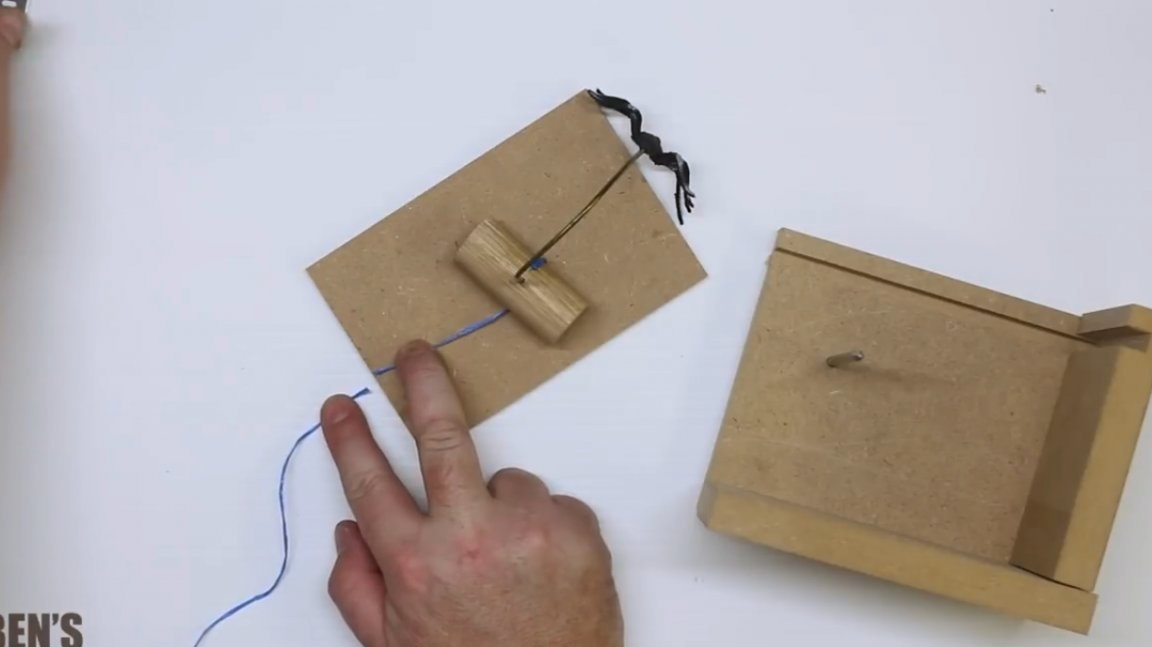
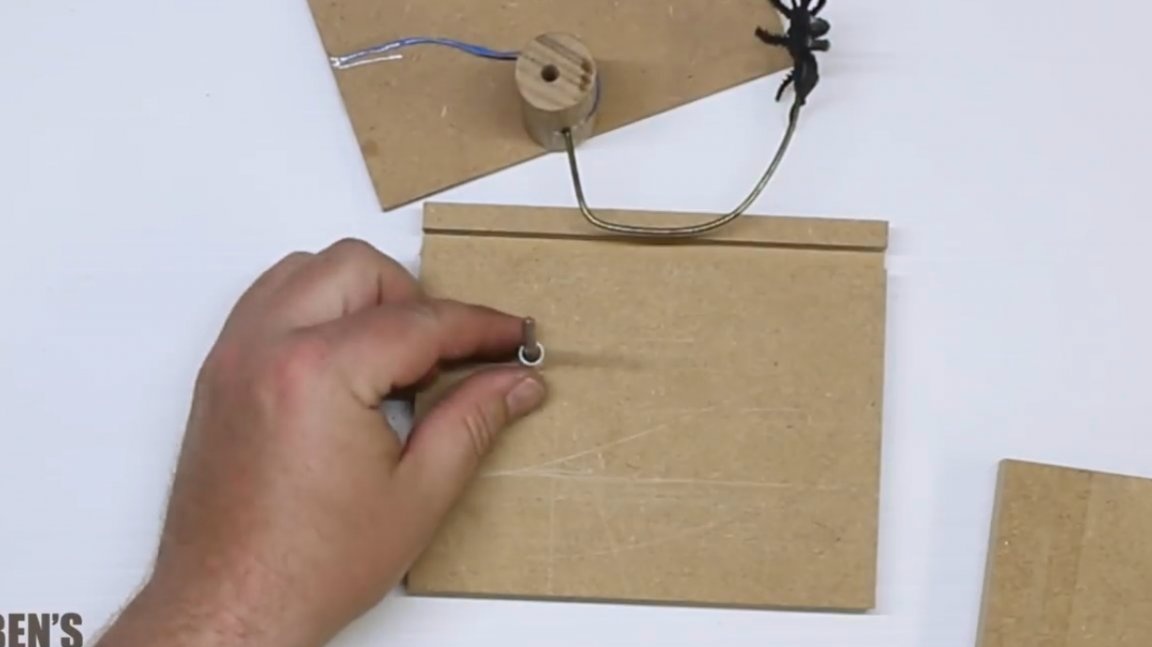
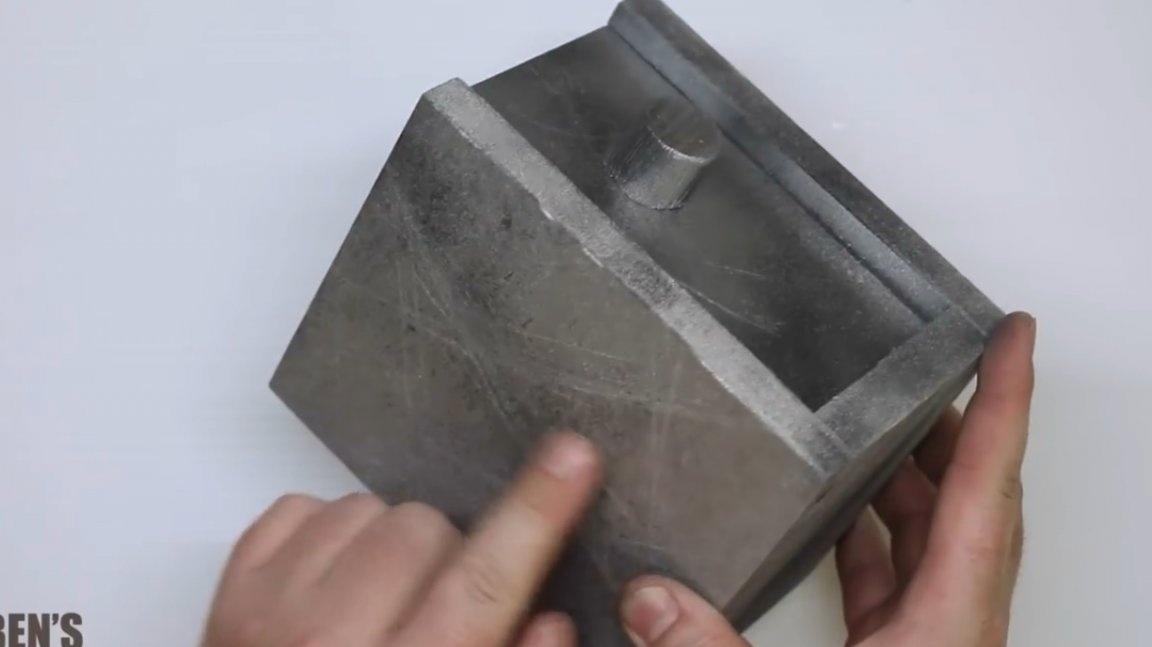
At this stage, you can proceed to gluing all the elements. First, a nail is glued. Superglue is needed here - the nail should not turn the hole.
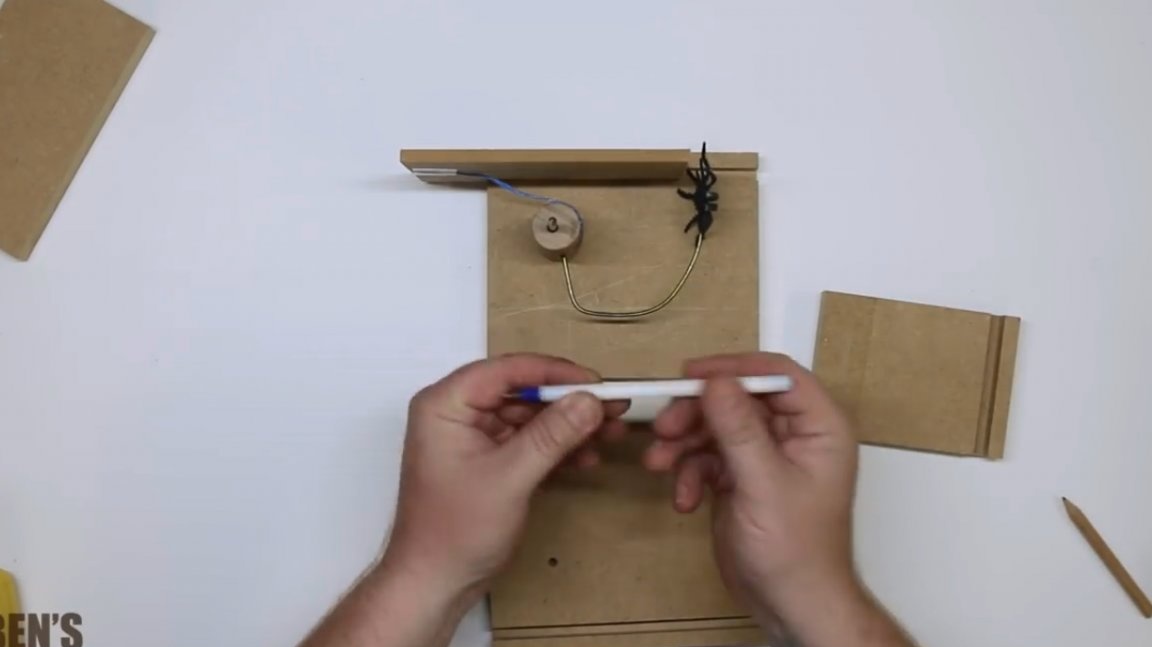
In addition, the author cuts two blanks from the body from a ballpoint pen, and masters a kind of bushings on a nail. Lays them on both sides. So the round timber will be in the center of the nail, and not hang out.
So, all the parts of the box are ready.
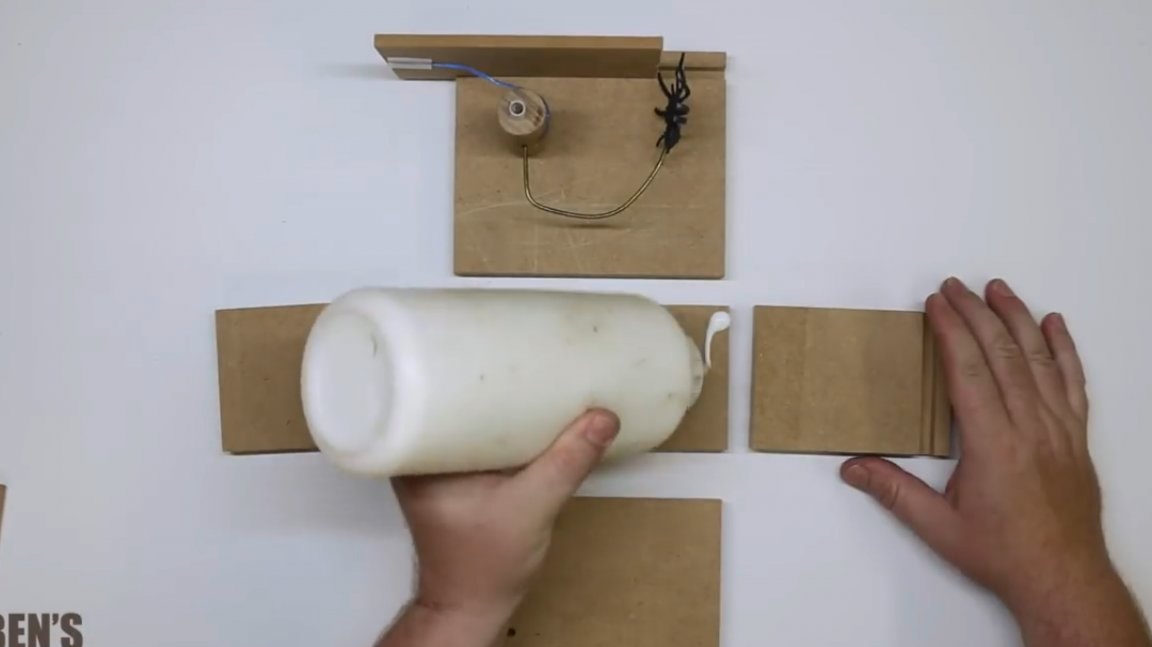
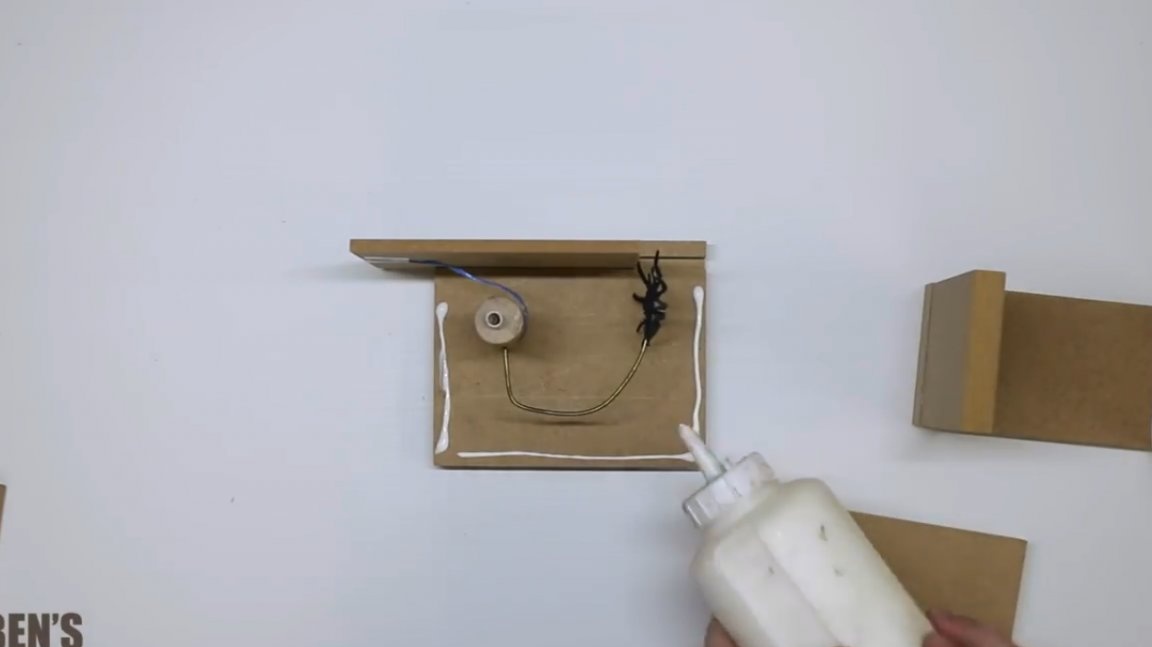
Final chord - all elements are glued together with ordinary PVA glue. The first master glues the bottom with the front and rear walls.
Then glues them to the side wall.
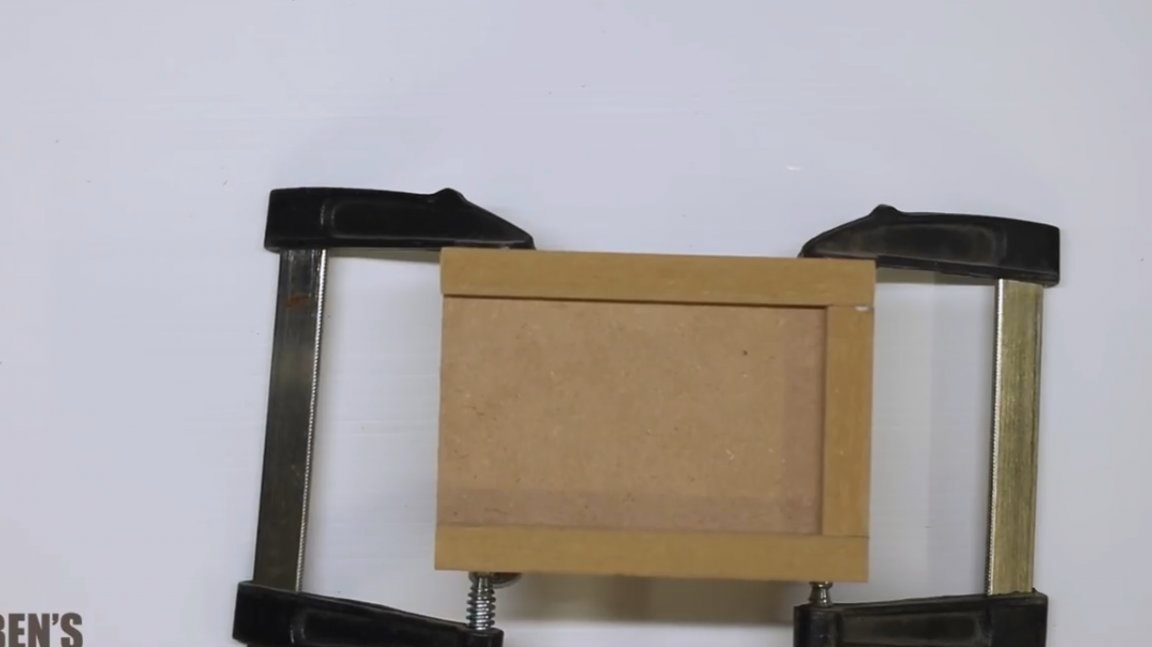
Glues the last wall, the box is fixed with clamps, and dries all night.
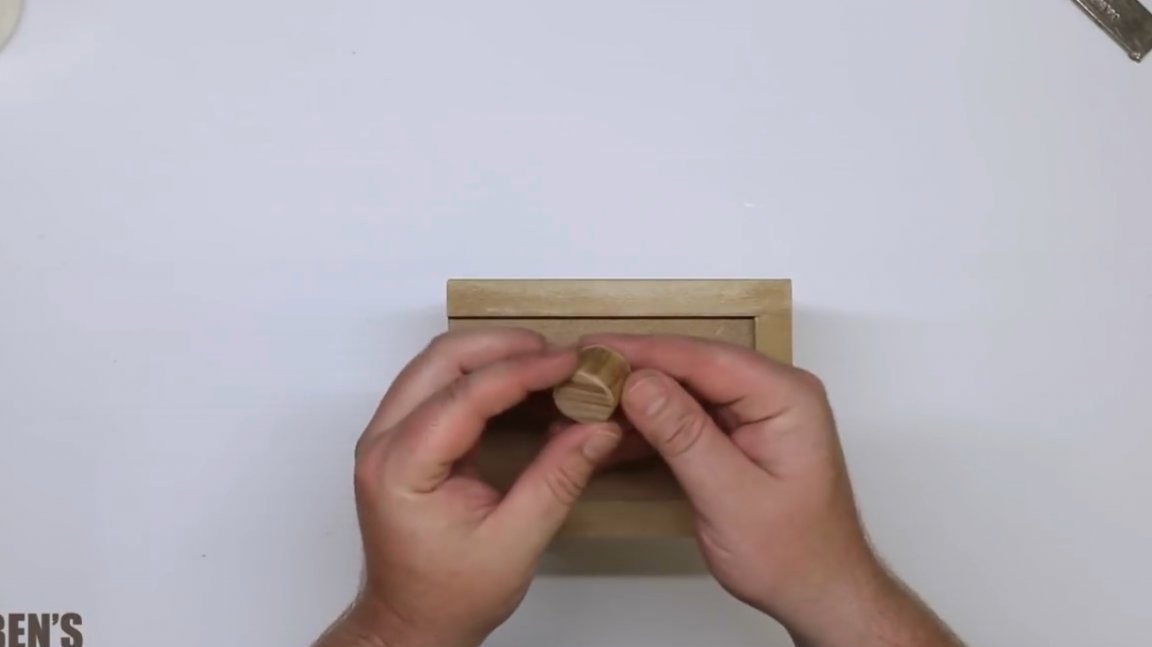
After drying, the master makes a pen from a piece of the same round timber, and smoothes it to the lid at such a distance from its edge that the spider jumping out of the casket can touch the fingers of the victim.
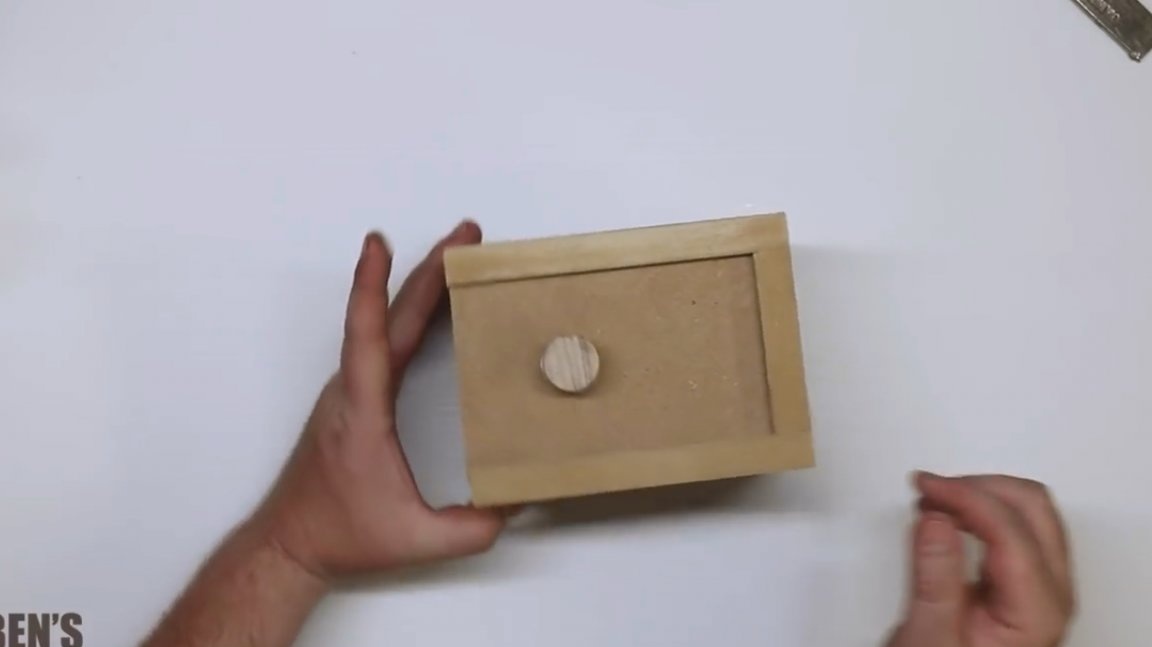
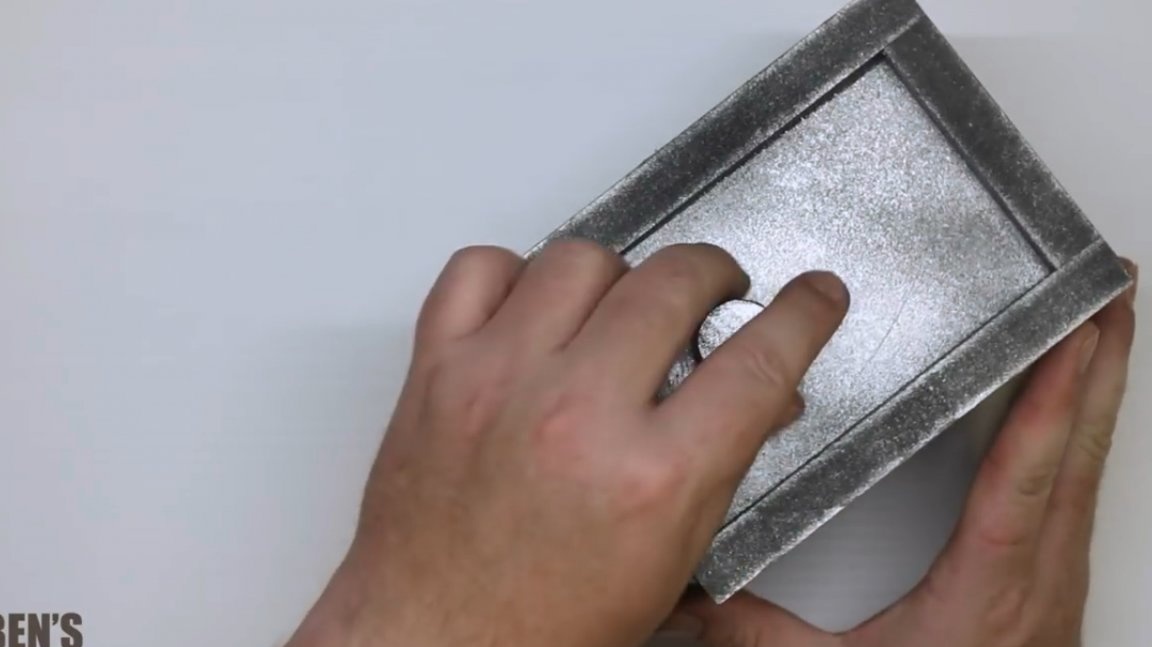
The author covers the case of the box with a layer of paint so that in the end it takes on a slightly worn, worn-out appearance, which in general corresponds to its insidious content. Before use, it checks for the last time.
It is advisable not to scare people of the older generation, because not everyone can get scared without consequences!
Thanks to the author for a simple but very fun toy - a scarecrow!
All good mood, good luck, and interesting ideas!