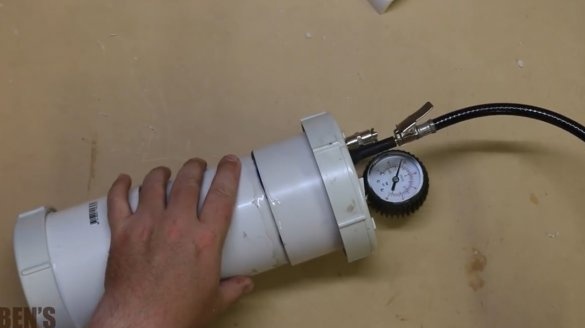
In this article, Ben, author of Ben's Worx YouTube Channel, tells you how he made the pressure tank.
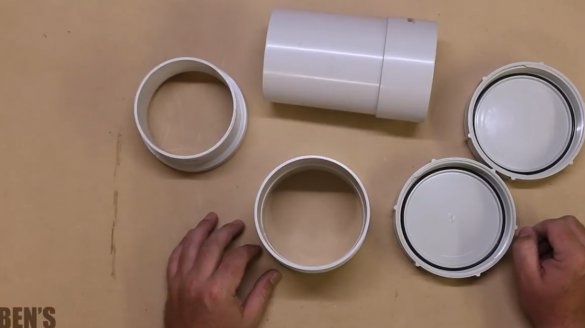
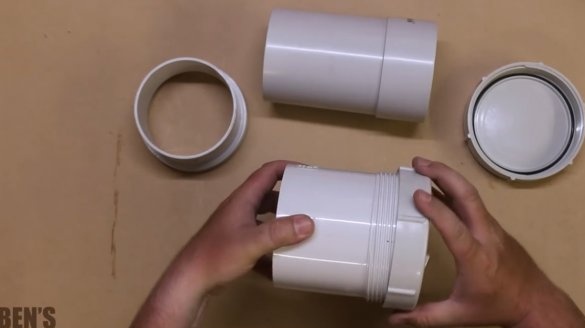
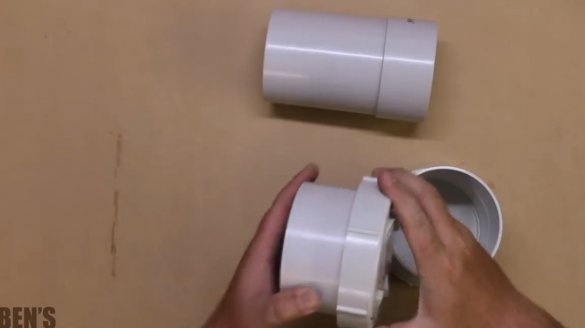
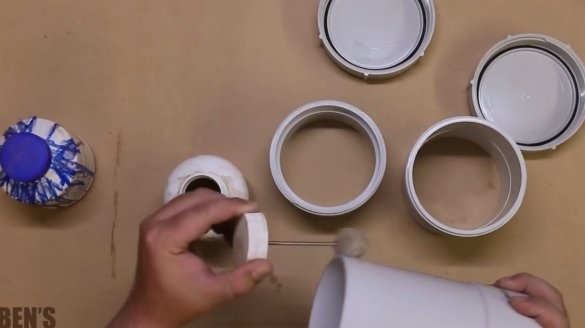
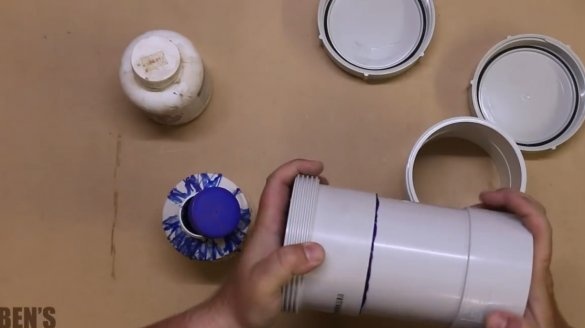
To make the tank body itself, you first need to acquire a few plumbing parts. You will need two threaded couplings, two plugs with insulating gaskets and a pipe section that lengthens the structure itself.
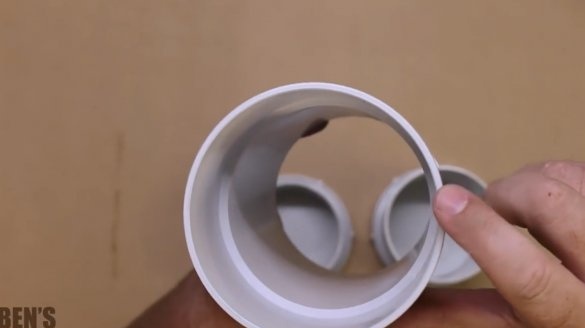
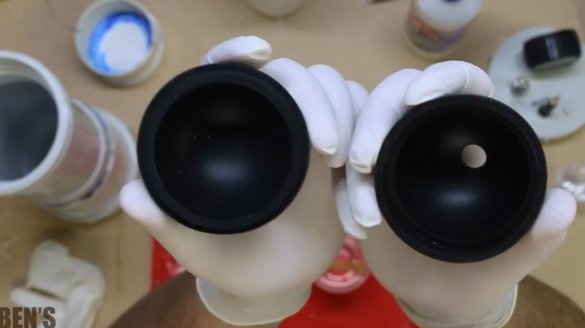
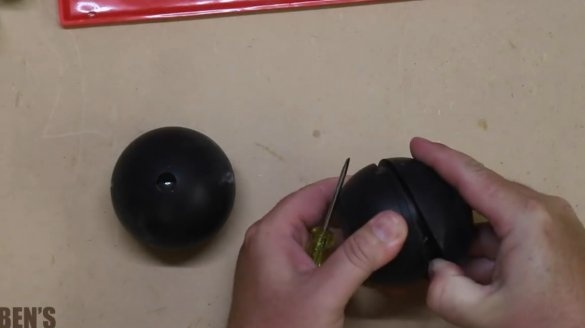
The photo shows that the plastic wall is really very thick. Even if the pressure inside the container is small, it is better that the walls of the chamber are thick.
Materials
- Two threaded adapters
- Two threaded covers
- Connector
- Two-component epoxy resin
- PVC cleaning fluid
-
-
-
- Nipple for tubeless tires.
Instruments, used by the author.
- , drill
- or a pump.
Manufacturing process.
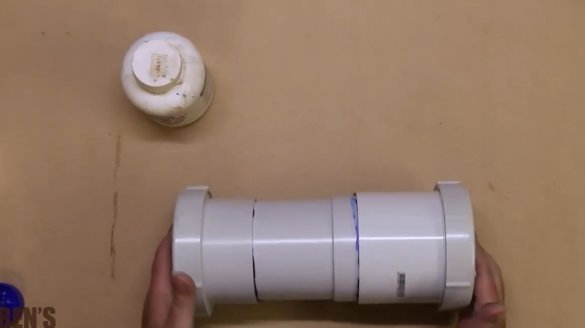
So, the author connects the adapters and covers.
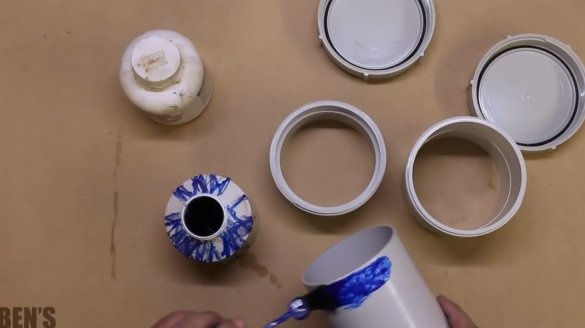
Then degreases the plastic surface with a special cleaner.
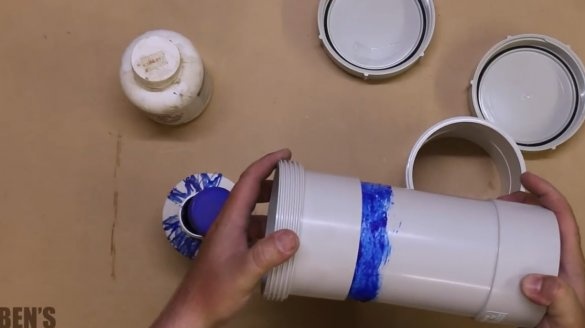
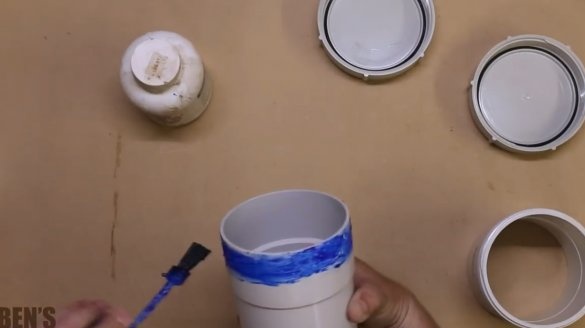
Further, the author glues all the components together with glue for PVC.
It is important the first time to correctly fit and insert all the elements, because as soon as they touch each other, they immediately form a permanent rigid connection, and it will be impossible to disassemble them.
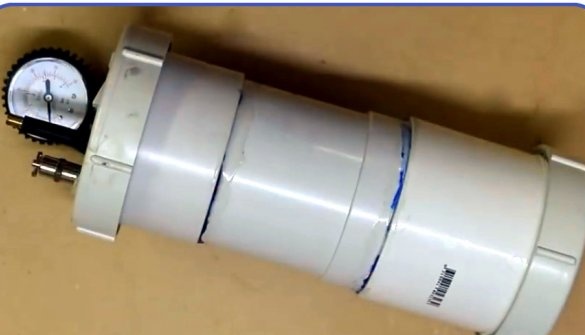
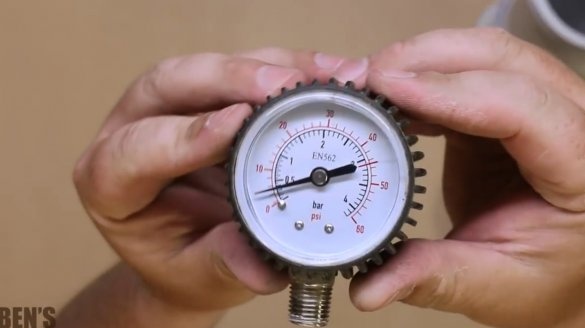
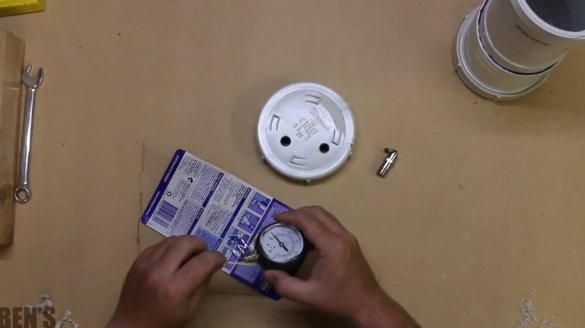
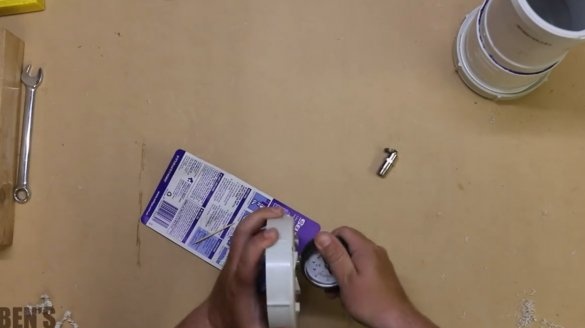
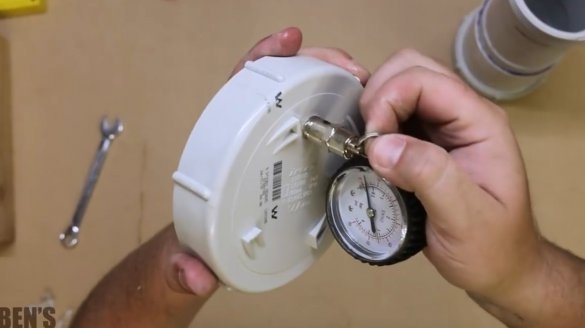
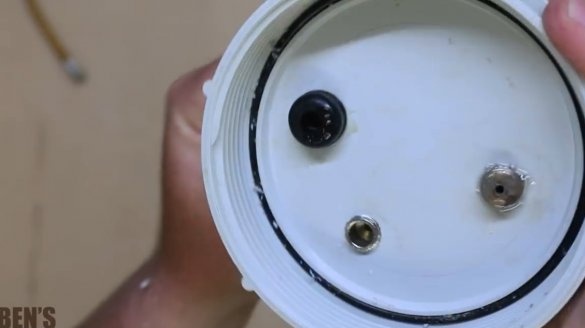
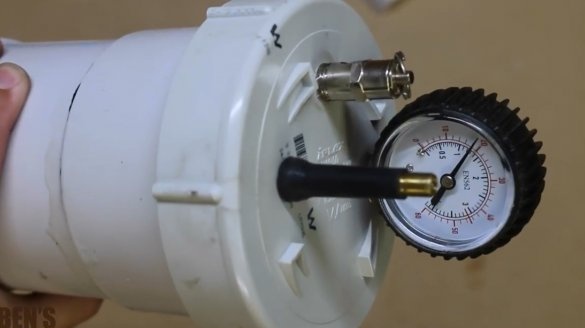
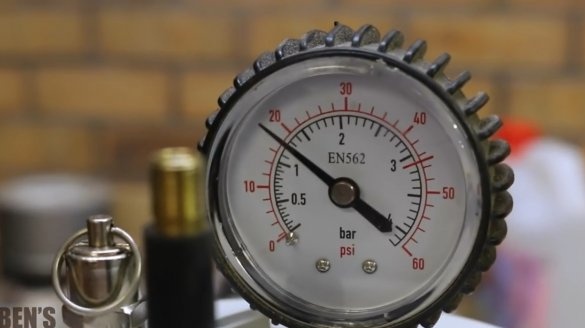
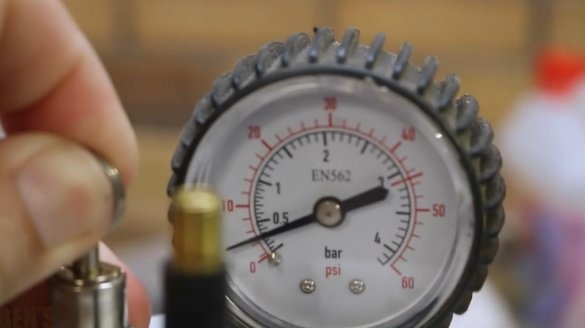
Then, a pressure gauge should be installed in the top cover.
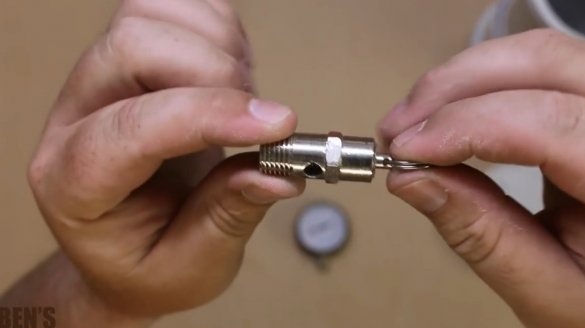
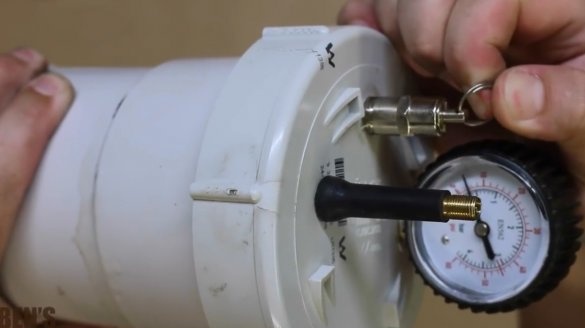
Here, the author will place a pressure relief valve.
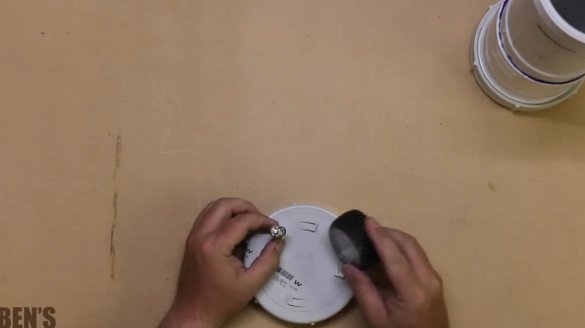
The author calculates where the pressure gauge and valve should be located. It is advisable to keep them away from the gasket.
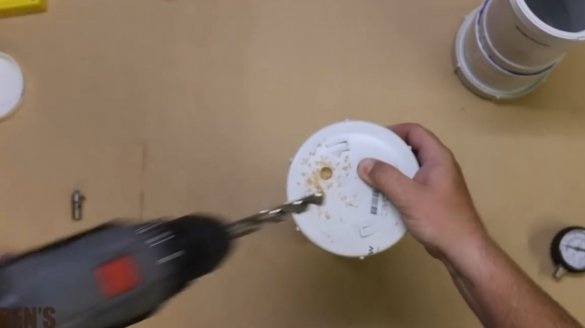
Then the holes are drilled. It’s better to first test the drill on some unnecessary piece of plastic to make sure that the hole is the right diameter.
Before screwing in the instrument and valve, the master applies a small amount of epoxy to the threads for tightness.
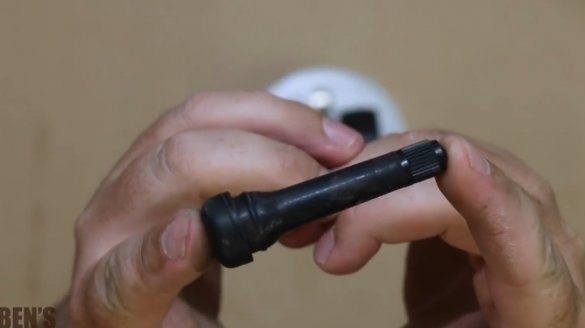
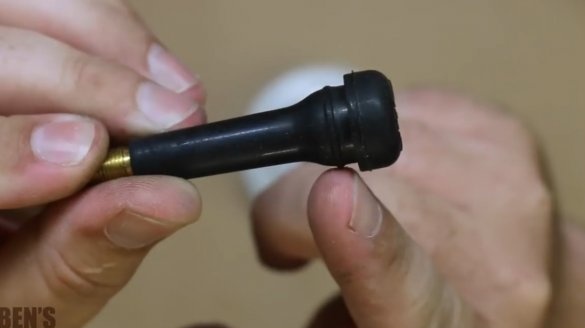
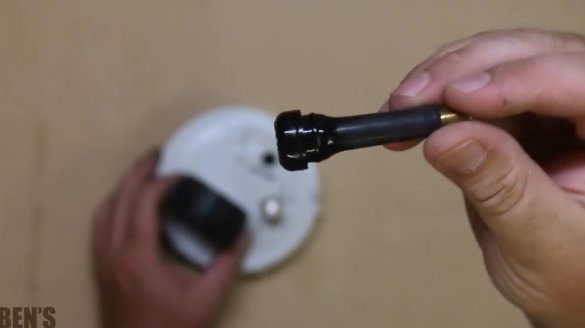
The last detail for this pressure chamber is a filling valve, it is such a nipple that is installed on tubeless automobile rims.
It is important that the hole to be drilled is not too large. The photo shows a rubber neck, focusing on which it becomes clear to what diameter the hole should be brought.
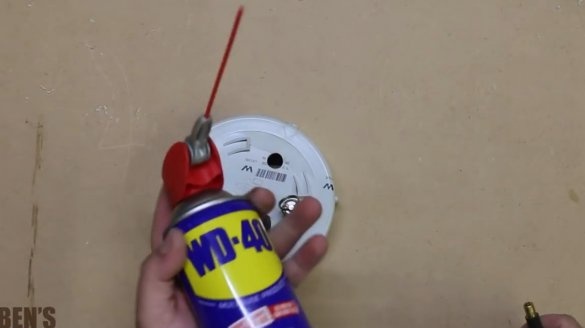
In order for the nipple to easily enter the hole, the master sprinkles it with popular grease.
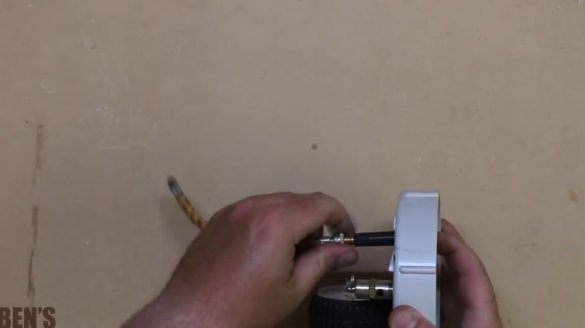
With rotational movements, he introduces the valve to the desired depth.
So, the top cover is ready, everything is tight.
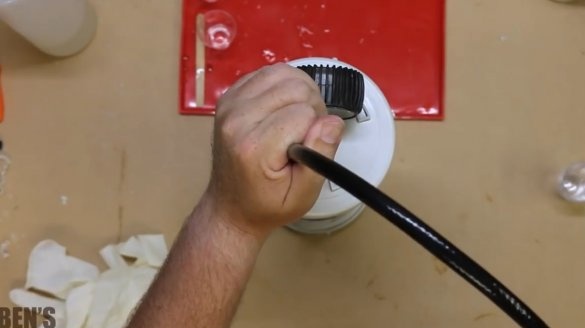
It's time to test. The author will use an automobile compressor. If readers do not have one, it is quite possible to use a bicycle pump.
The discharge chamber works perfectly, holds pressure for several hours. At the same time, the author checks and regulates the safety valve to release pressure above 1.5 atmospheres. For manual pressure relief, just pull the ring.
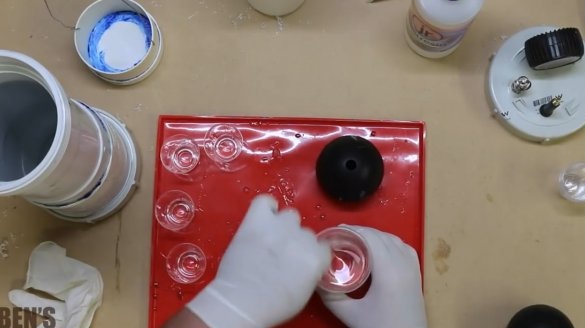
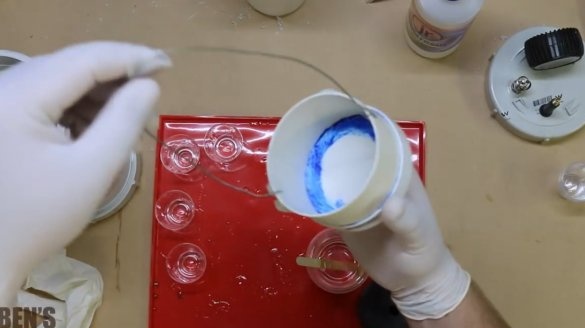
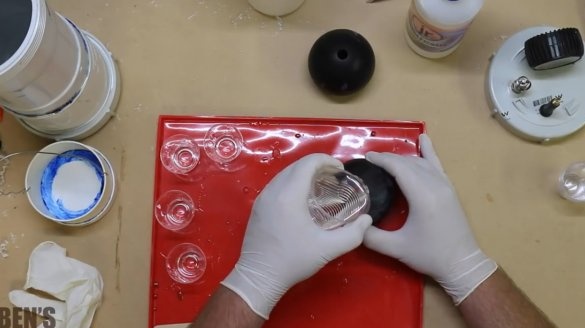
The time has come for the most important epoxy experiment. Thoroughly mixes the ingredients. For pouring, the master decided to use silicone molds for ice.
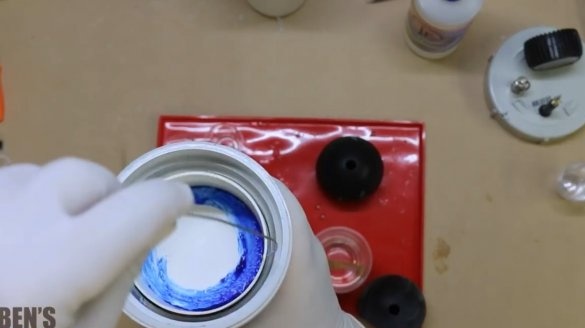
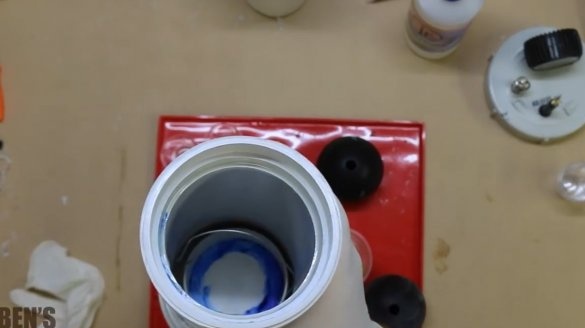
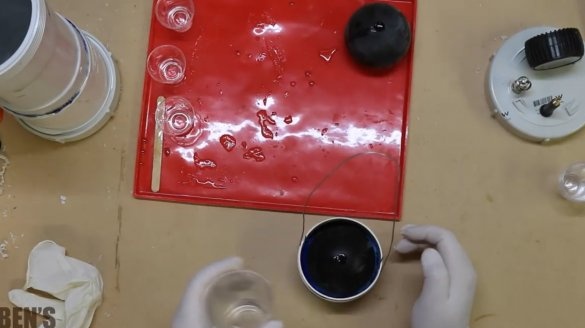
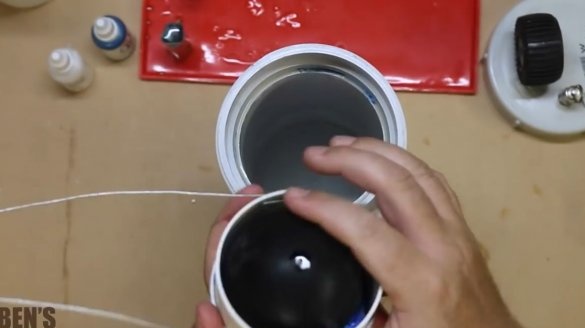
Then he makes a special container, something like a small bucket for immersing the molds in the pressure chamber housing.
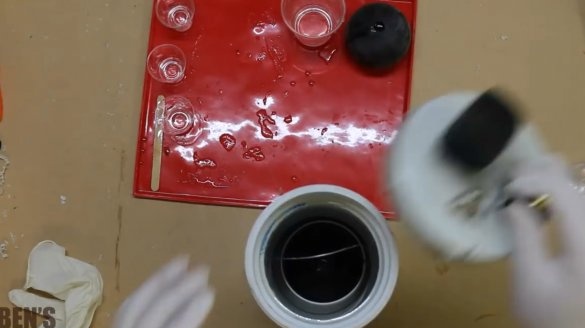
Fills molds with epoxy. He leaves one mold to harden on the table, and the other is placed in the discharge chamber.
For this experiment, the author first injects 1.3 atmospheres. He wants to see what will happen to the resin with a little pressure. The material is kept in the chamber all night.
The next morning, the author checks the results. The pressure has not changed, the pressure chamber does not poison. Opens valve, relieves pressure.
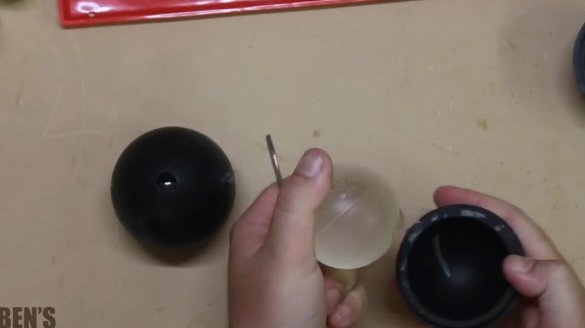
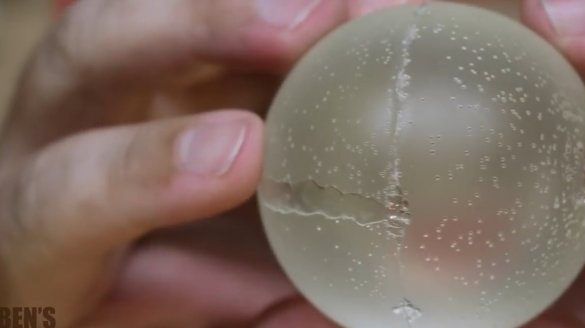
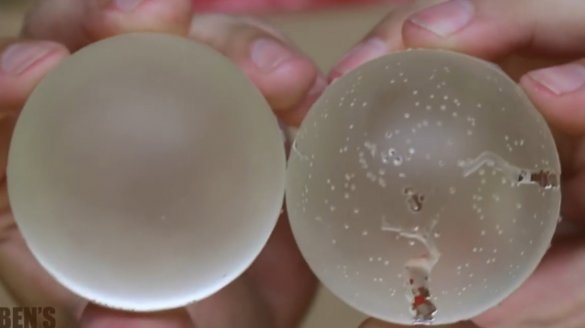
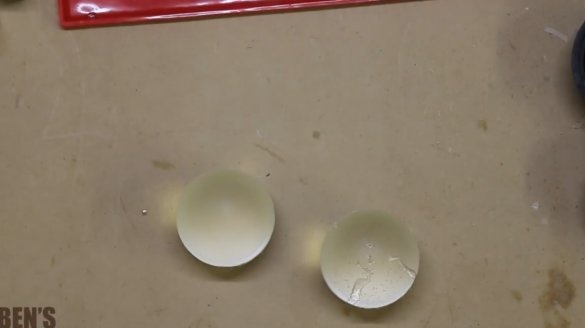
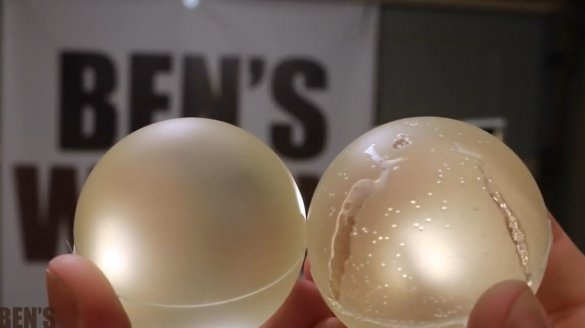
First of all, he opens the mold left to lie on the table. It can be seen that there are a lot of bubbles and defects in the hardened resin.
Now it extracts the second form, and the difference is amazing! The resin has a uniform consistency, and no bubbles. The pressure chamber has done its thing!
Unless the surface has become dull from the silicone mold, you should choose a shape with a glossy surface.
Of course, this pressure chamber can also be used in vacuum mode, but for this you will have to install a vacuum gauge, valve and pump. This is useful for other tasks.
Thanks to the author for the simple but useful device for the workshop!
All good mood, good luck, and interesting ideas!

