
Surely many of you have encountered the problem of poor contact of closed loop cables.
In this article, the author of the YouTube channel "macmyapples" will tell you how to re-solder the cable again.
Materials
- Flux, solder
- Double-sided tape
- Glossy paper.
Instruments, used by the author.
- with a sharp sting, or
- scalpel
- Ruler
- Tweezers, needle, toothpick
- or a powerful lens.
Manufacturing process.
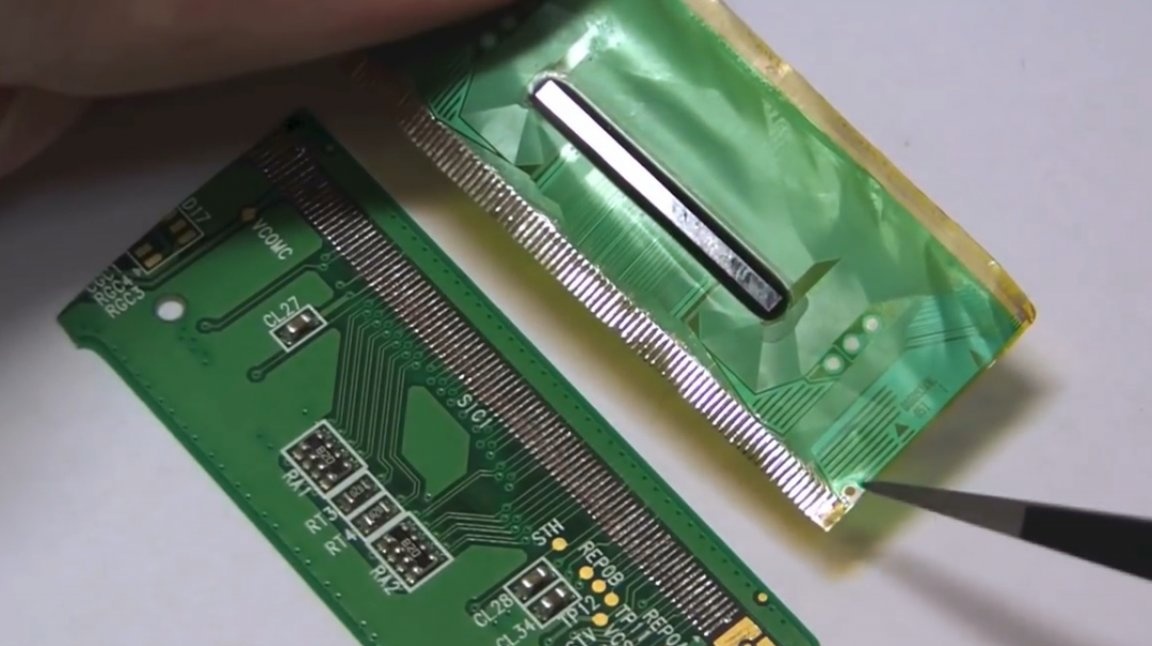
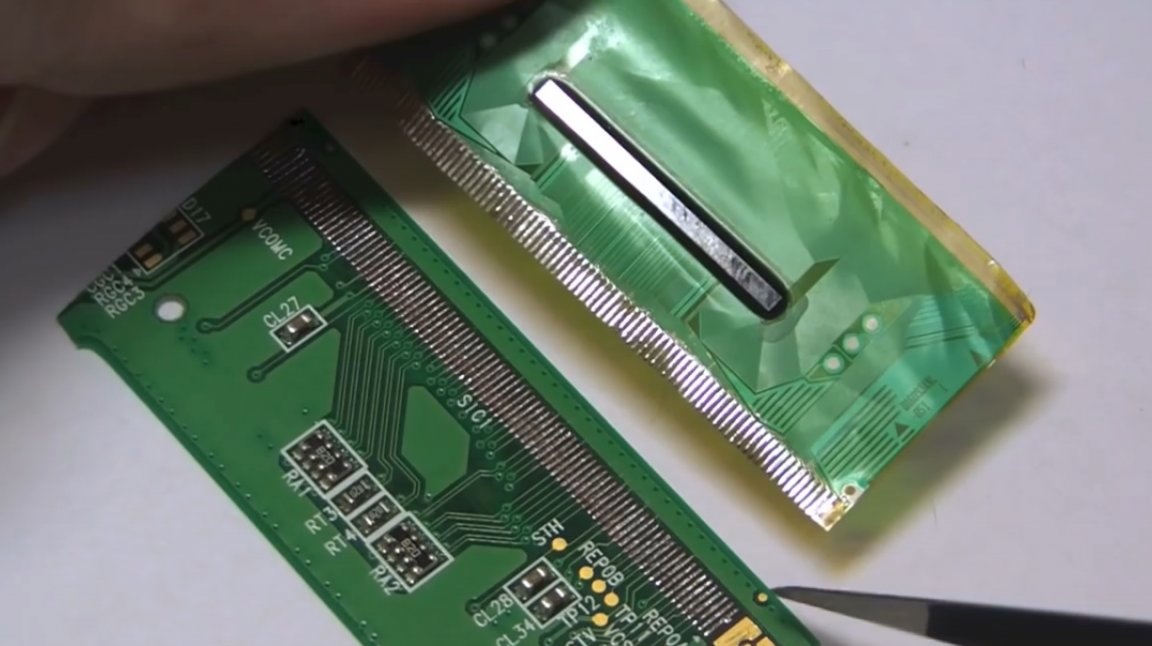
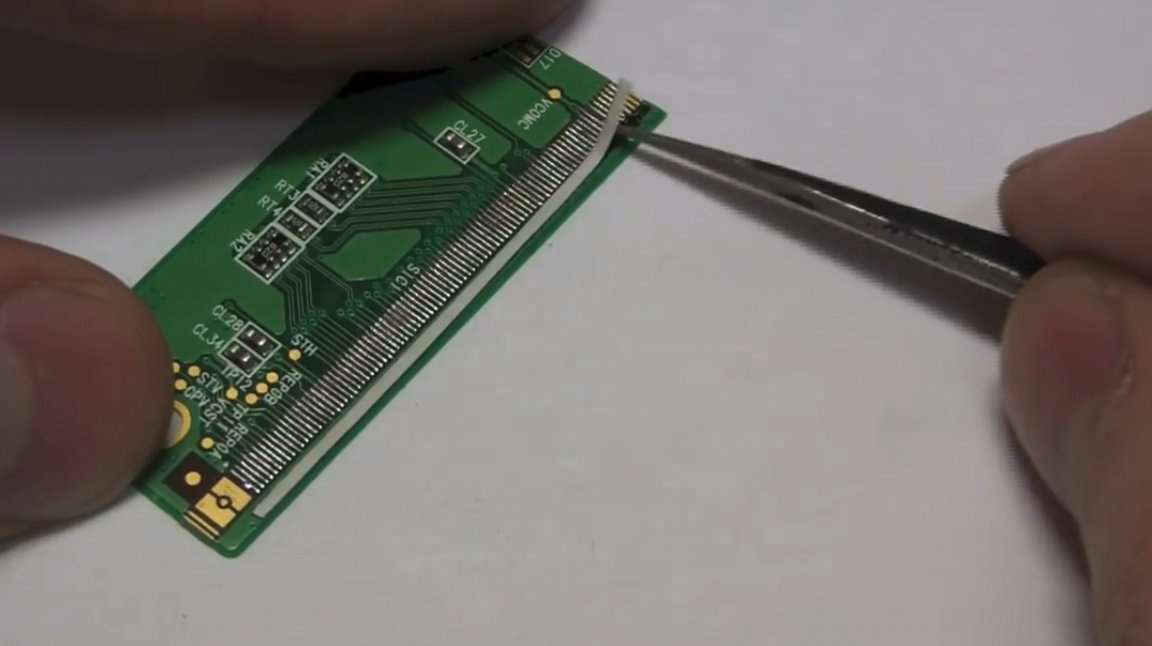
As an example, the author will solder here such a loop. Over time, several of his contacts moved away from the board, and the device does not work.
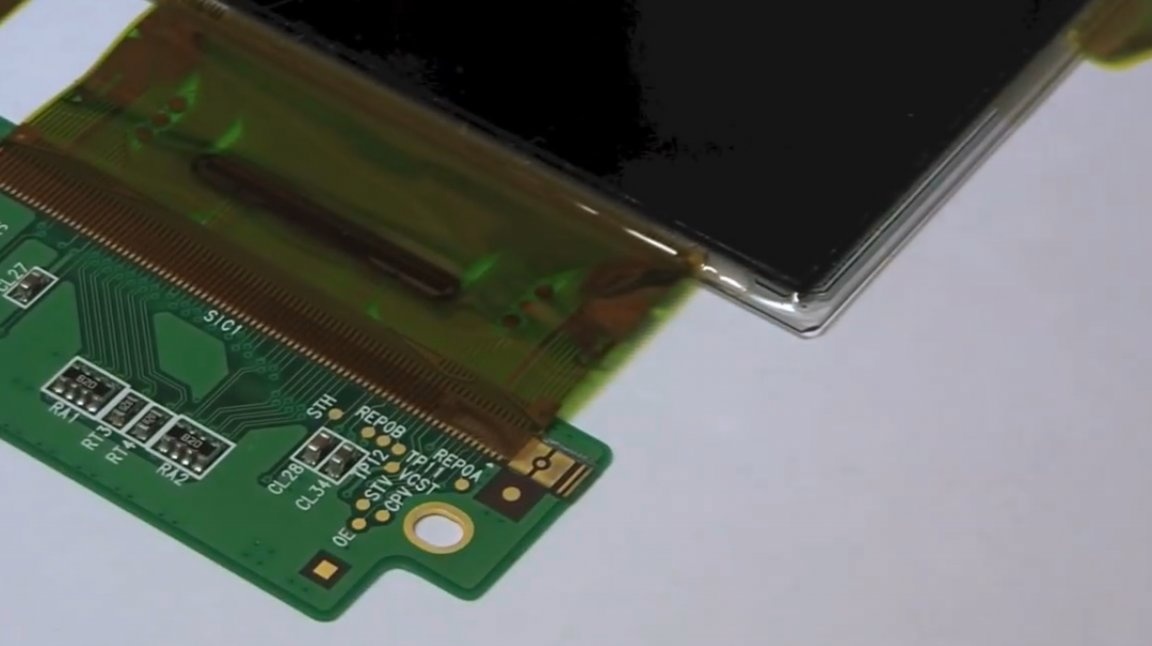
Slightly warming up the junction of the cable with the board with an ordinary household hairdryer (this will soften the glue a little, and
simplifies the separation procedure), separates it from the board.
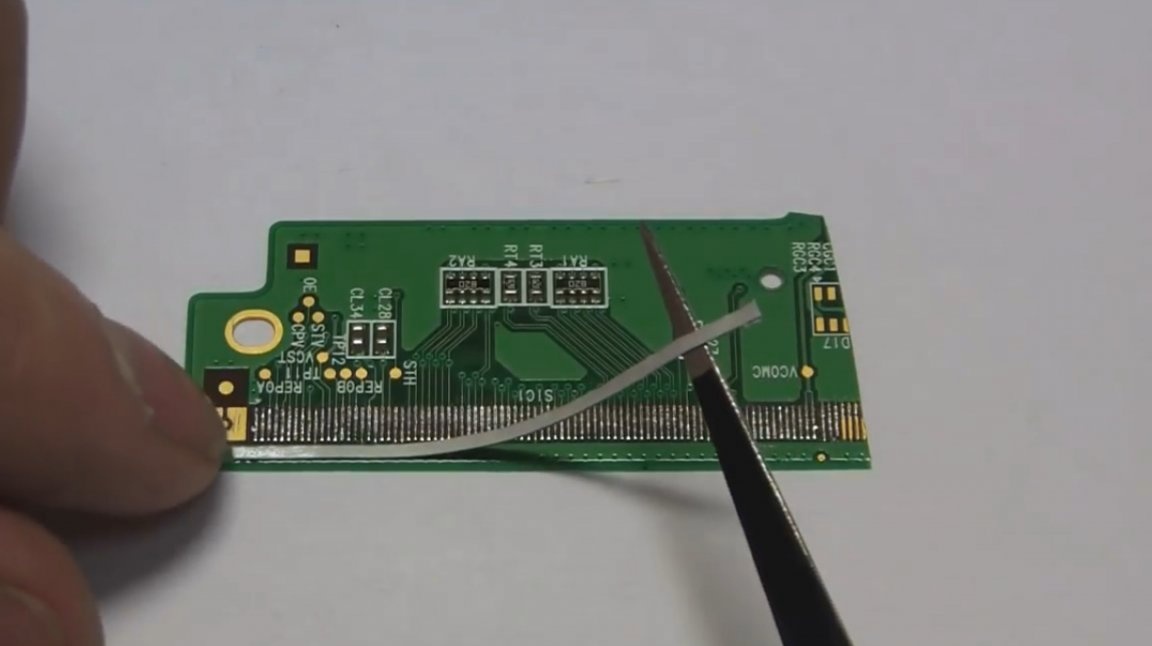
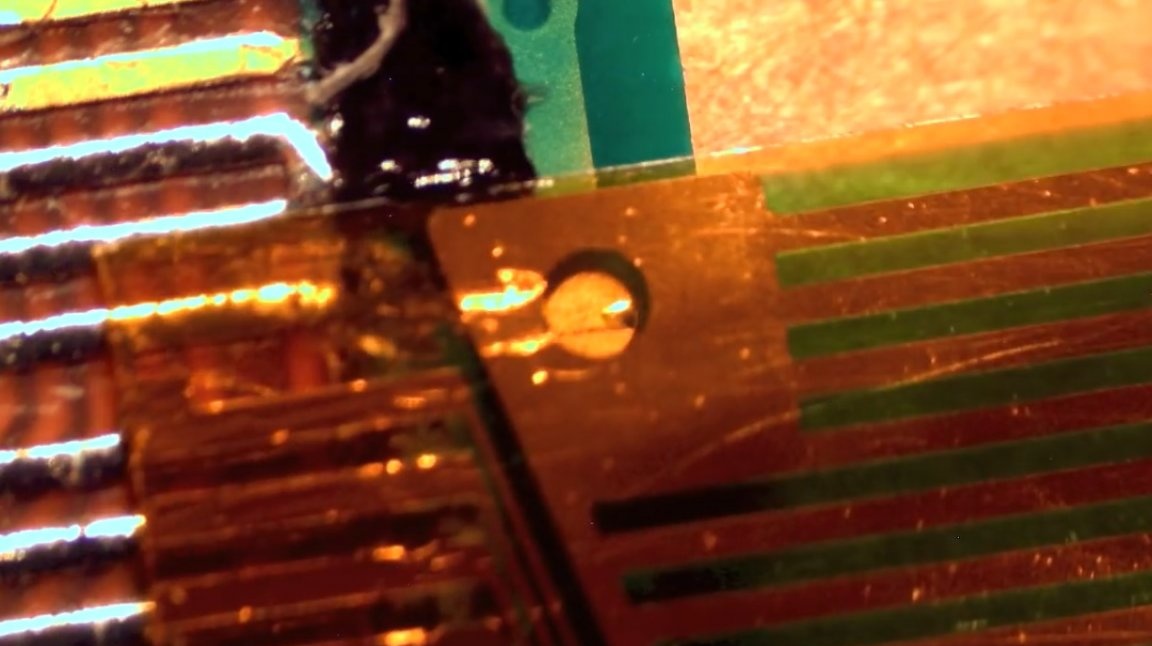
First of all, you need to clean all the glue from the board itself. For this, sharp tweezers, or a thin, not very sharp needle, are suitable. You need to act very carefully so as not to damage the contacts and tracks. This is a rather long and laborious job.
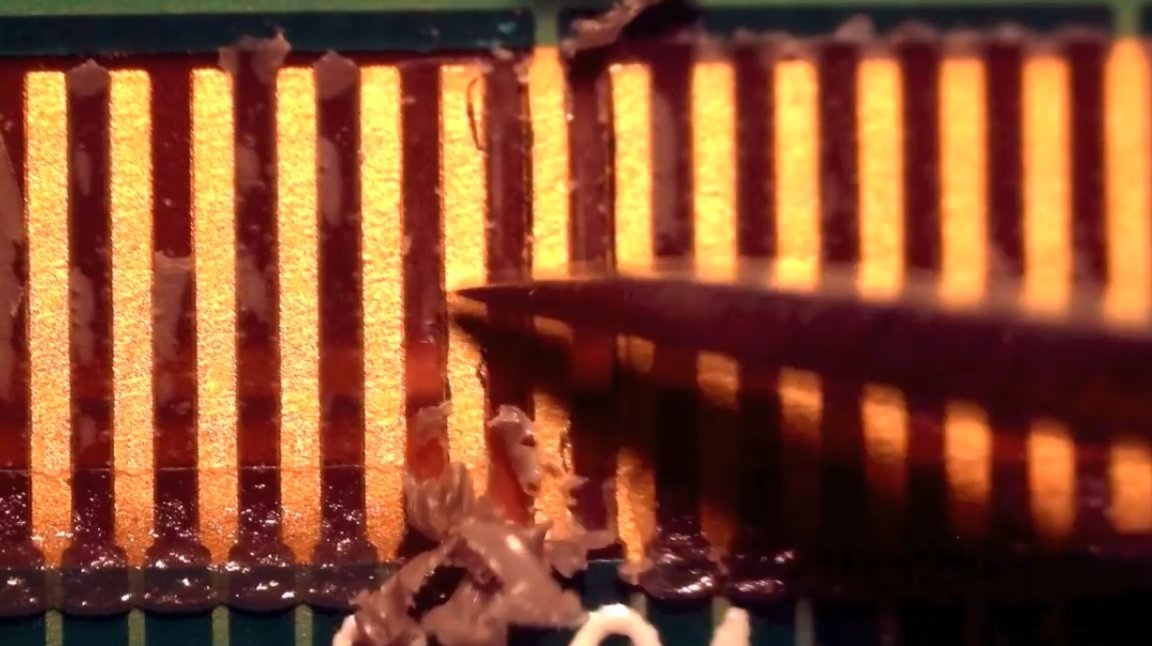
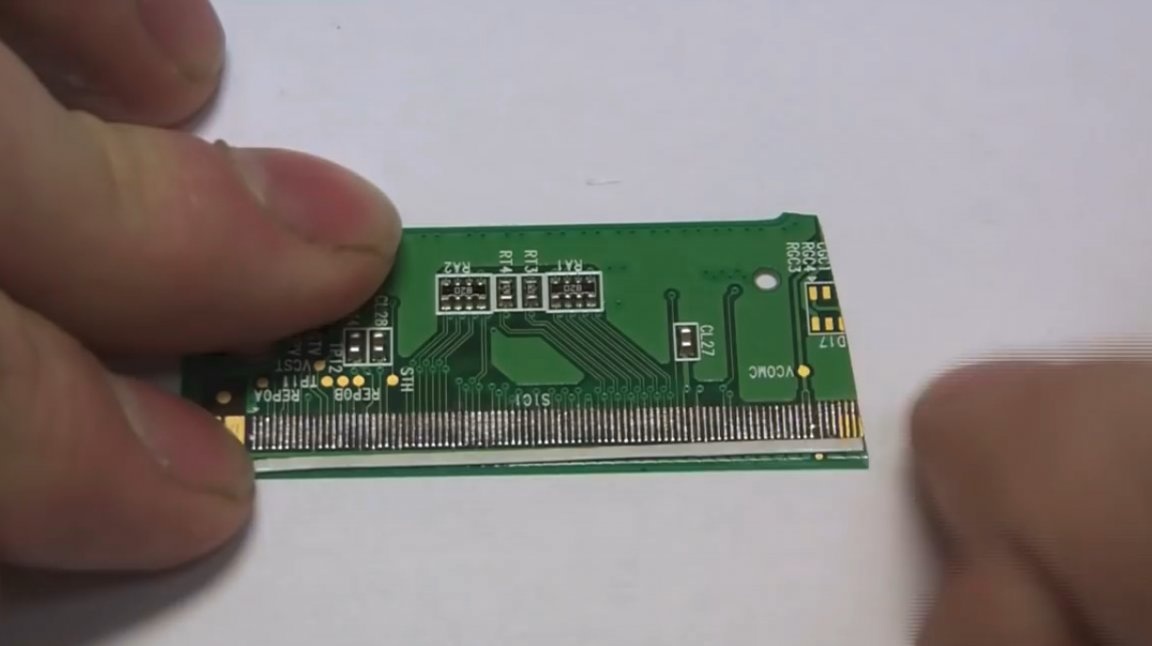
And here it looks like a surface cleaned from glue. It can be further degreased with alcohol.

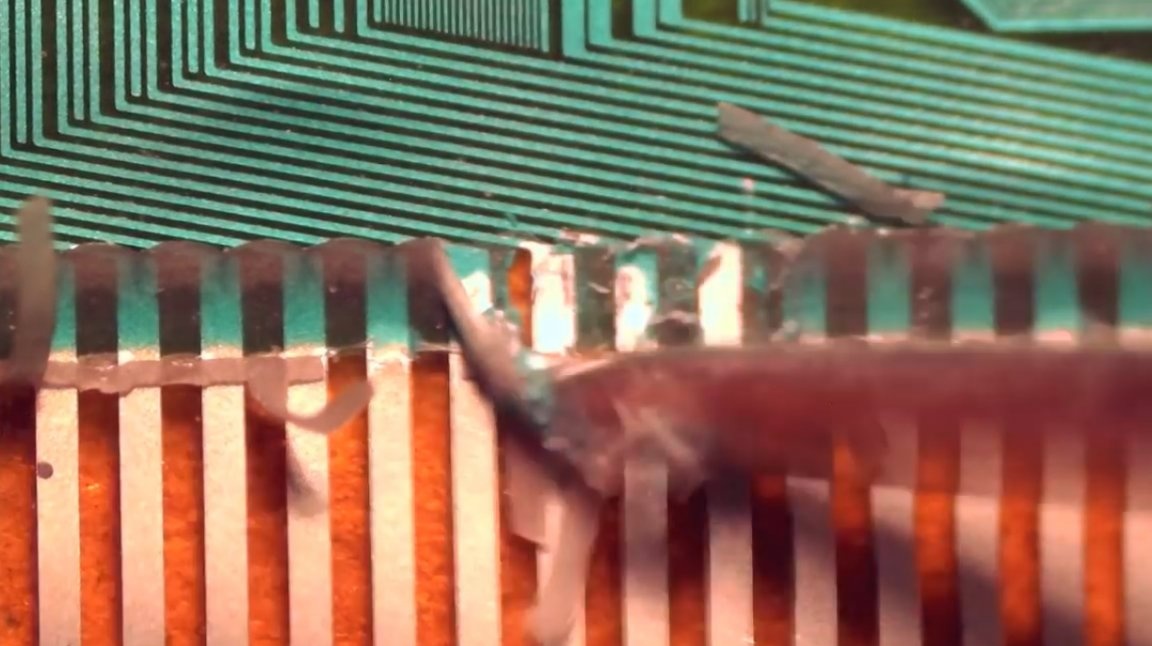
In the same way, you need to clean the loop from the glue. Here, the actions are even more accurate, because the contacts themselves are spraying. If it is damaged, the loop can be thrown away.
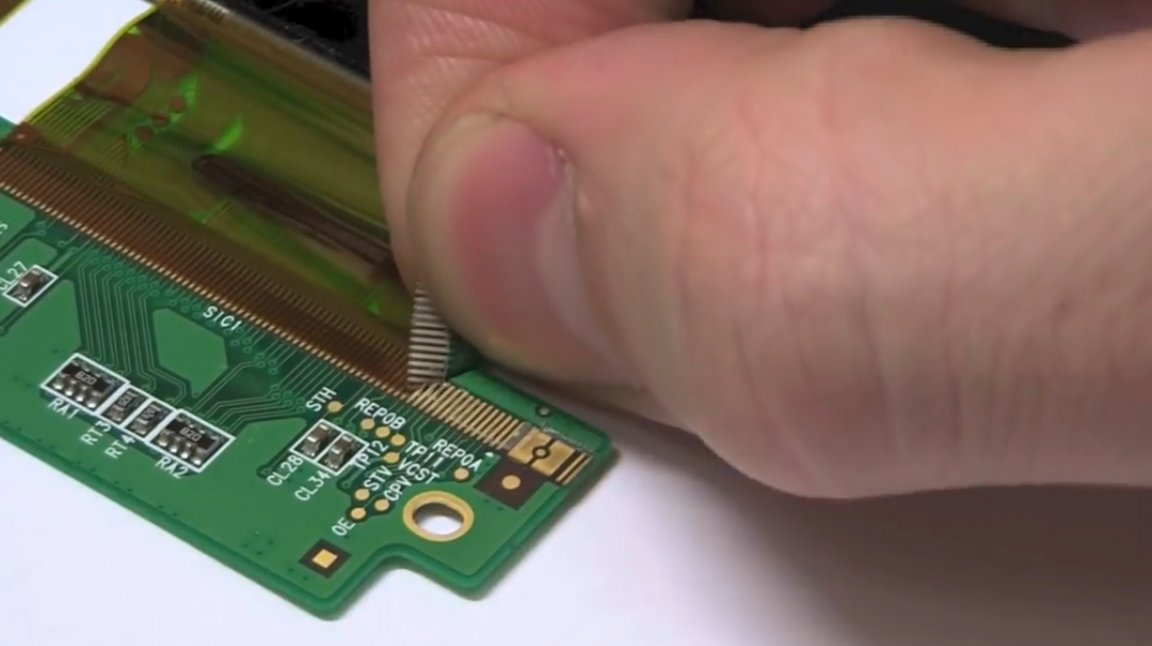
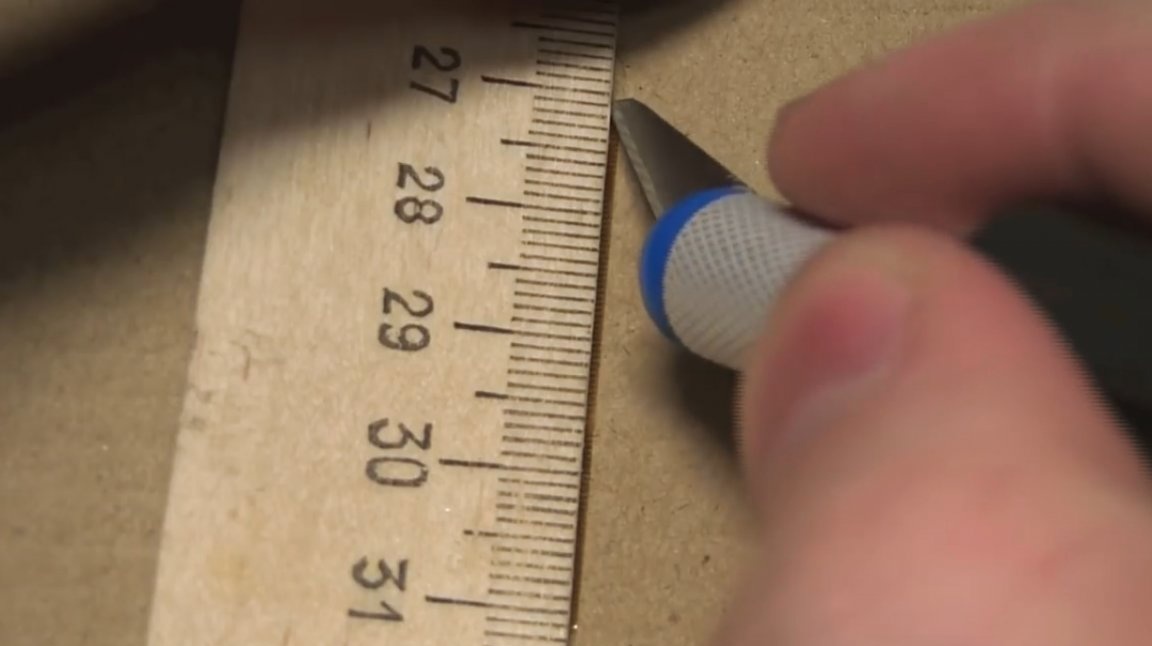
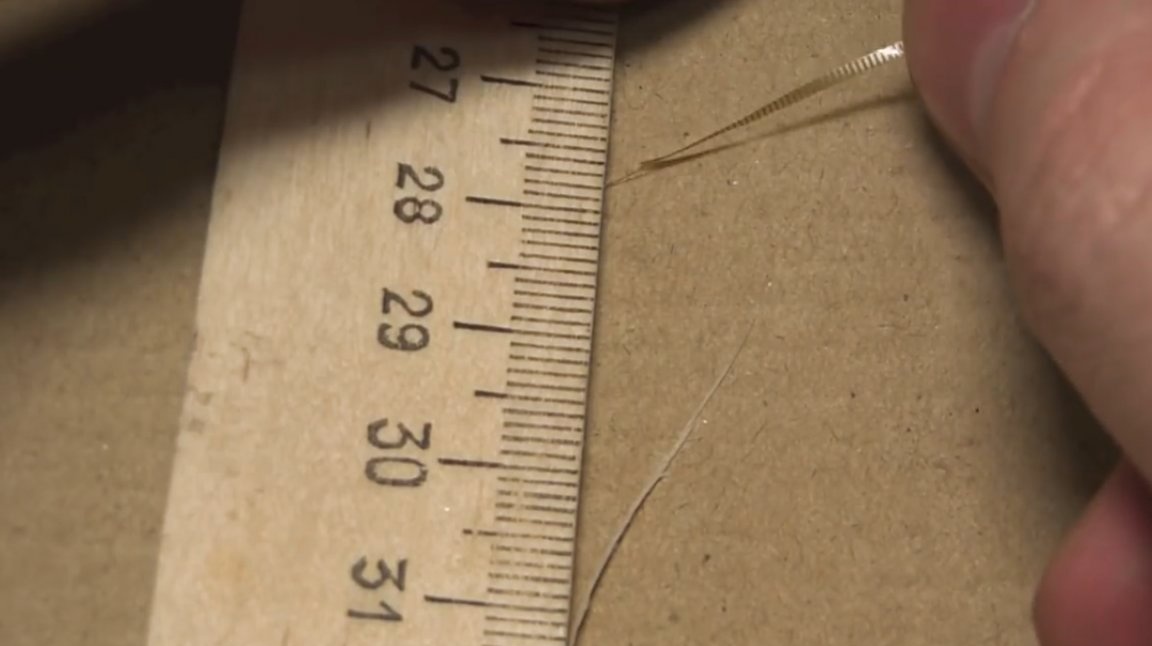
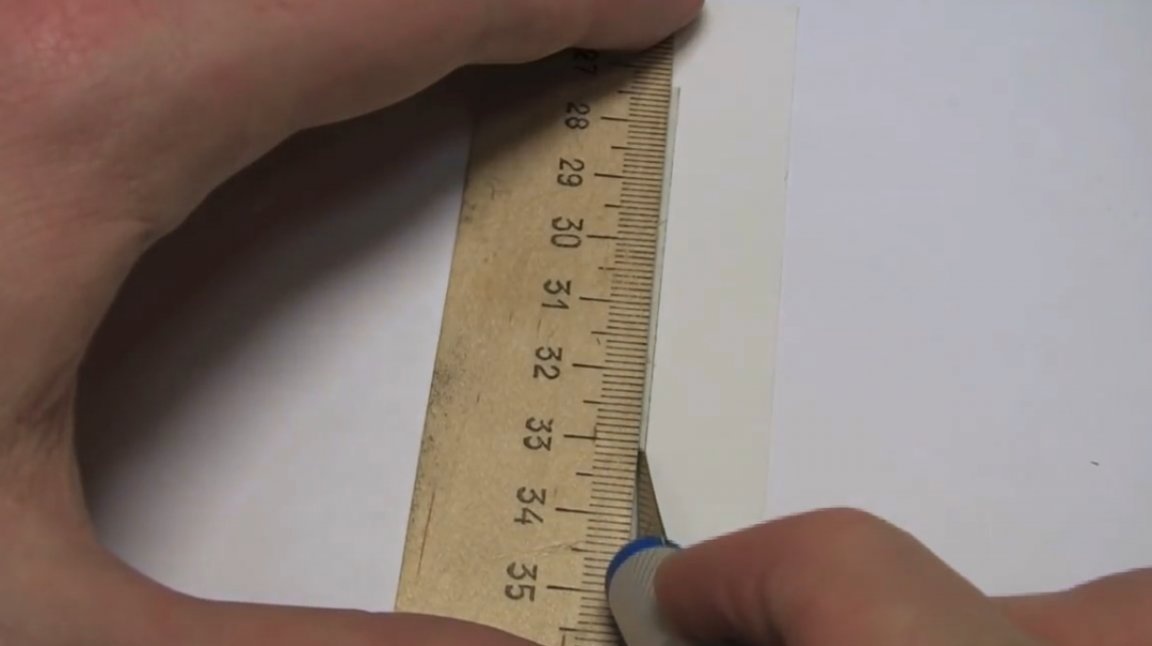
Now you need to cut about 1 mm loop. Why the author will do this will become clear further. The train is cut off with a sharp scalpel under the ruler.

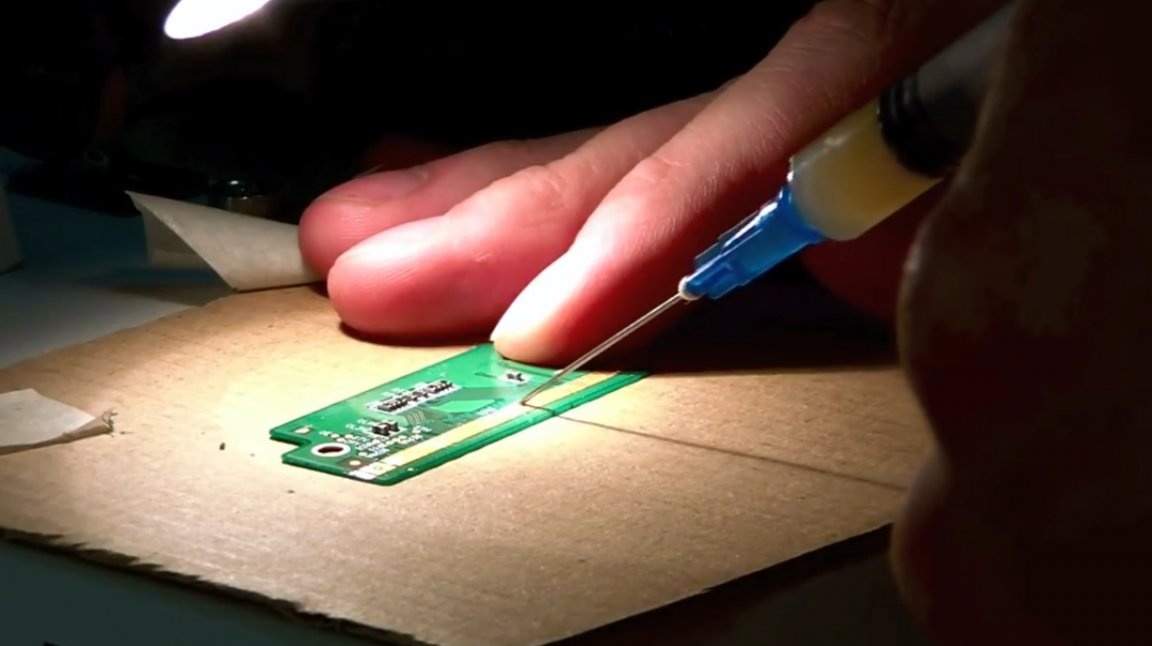
The following is a fairly simple step. It is necessary to tin all the contacts on the loop. Before tinning, apply a liquid flux.
Further, the tinning of the contacts on the board itself with liquid flux.
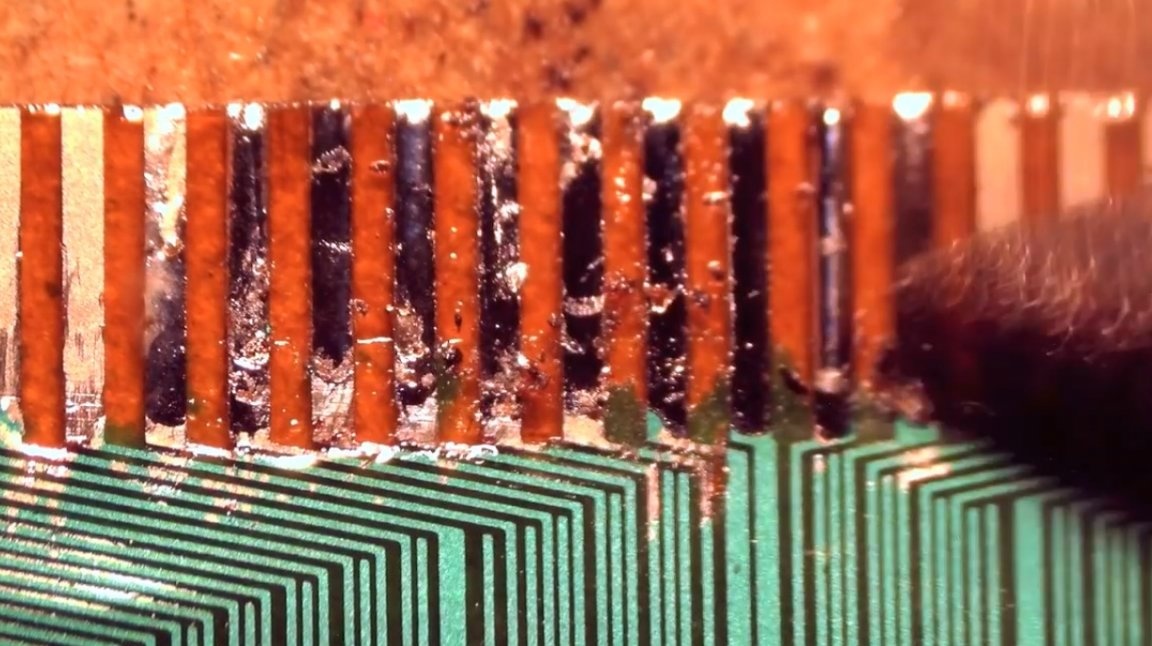
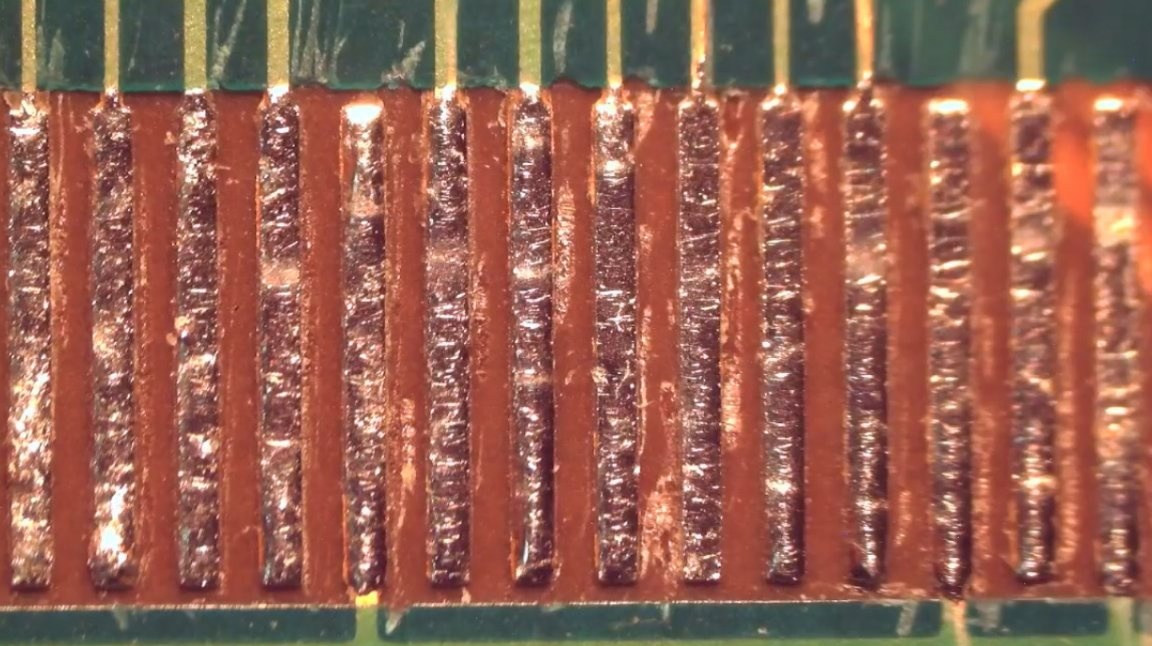
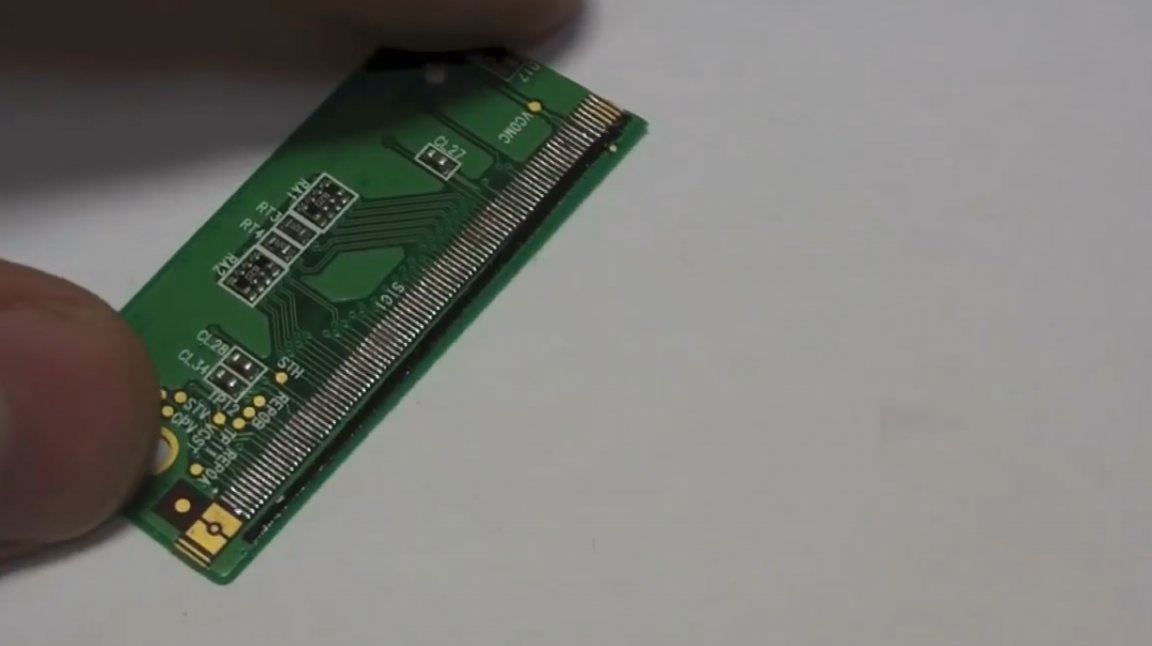
This is what the finished board looks like. After tinning, you should very carefully, visually, check the board and the loop for short circuits between the contacts.
At the next stage, you need to fix the loop on the board. To do this, there are labels on the board and on the cable.
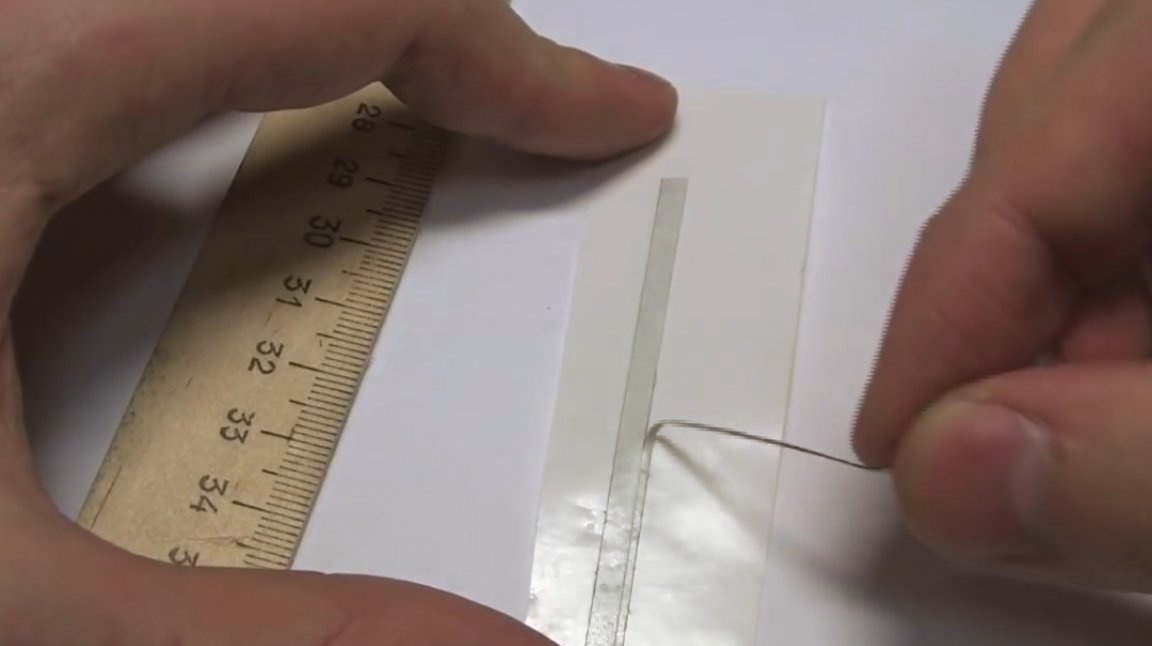
For fixing, the author will use double-sided tape 0.1 mm thick. Glues a strip of adhesive tape on glossy paper, and cuts from it a strip of 1 mm wide.
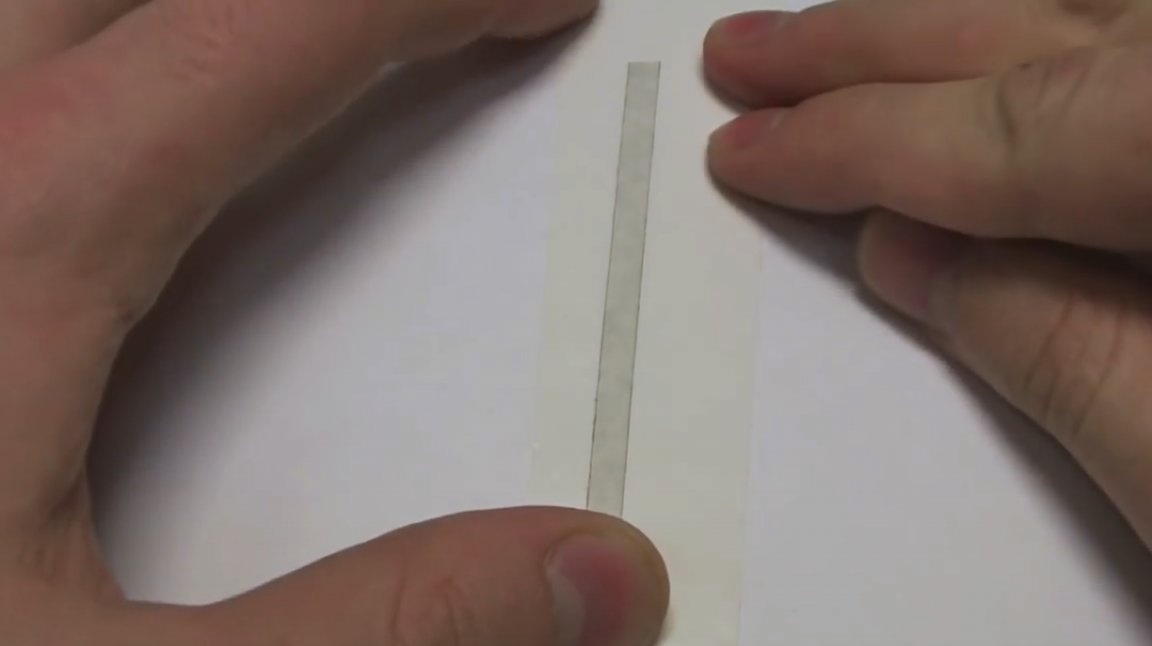
Now this strip needs to be glued to the edge of the board, free from contacts.
Then carefully remove the protective layer of tape.
Now, combining the marks on the board and the loop, the author presses one edge and aligns all the contacts so that there is no skew. Fully stick the cable to the board starting in the middle, so it is less likely that the cable will go "wave".

at the junction of the loop and the board, a flux is applied so that it slightly flows between the loop and the board.
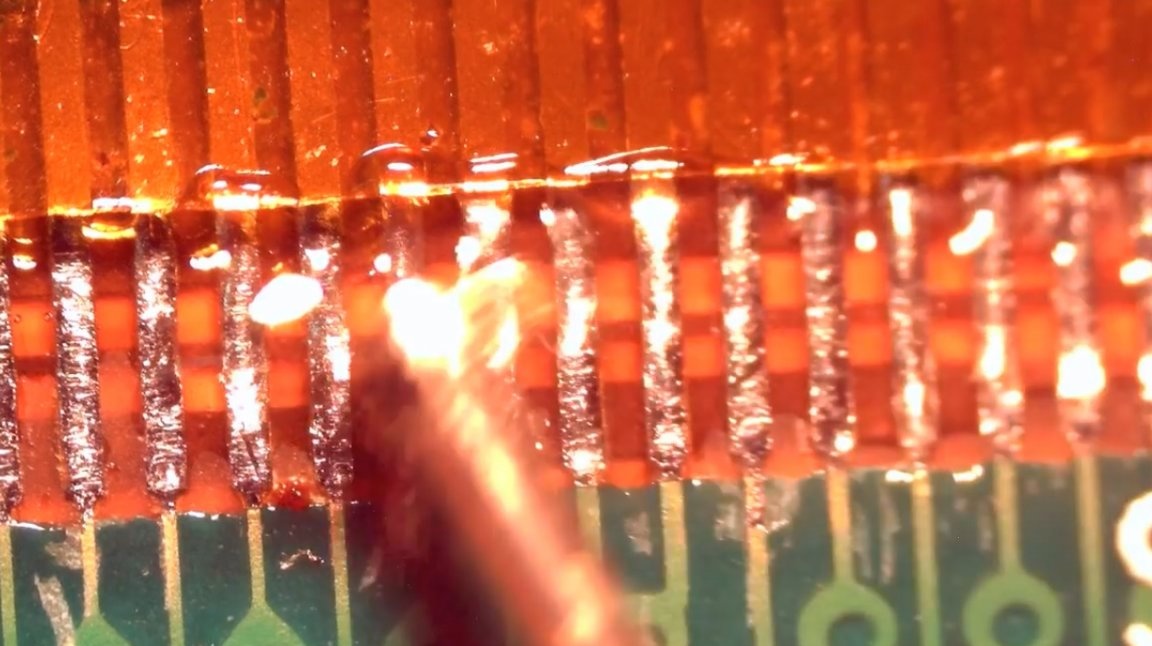
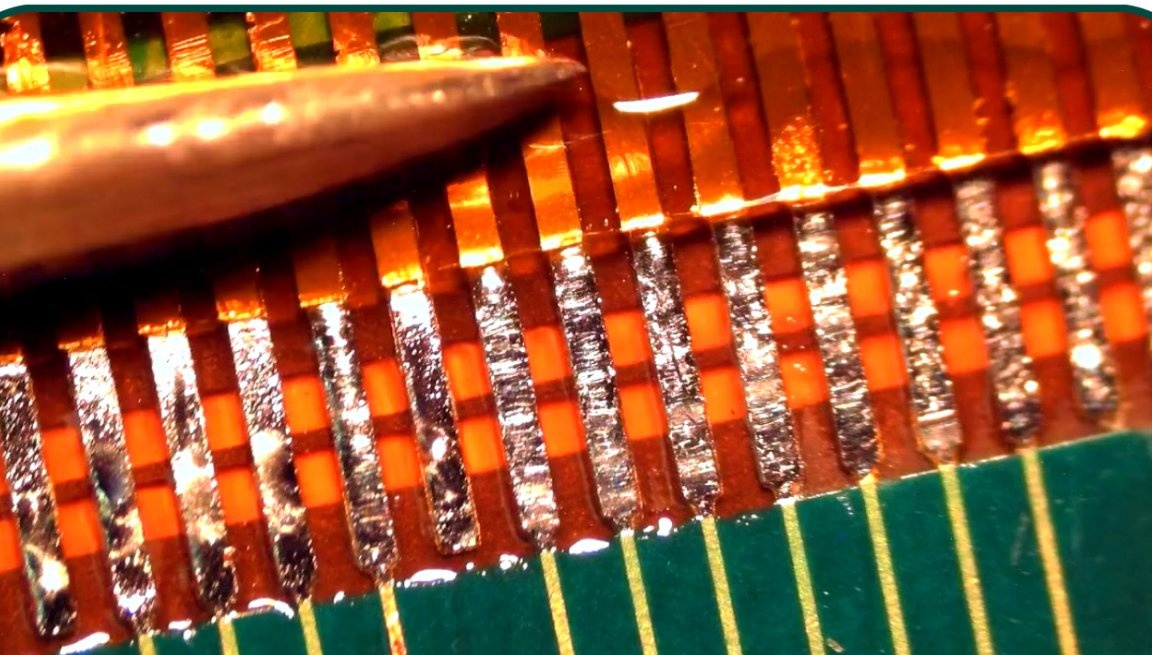
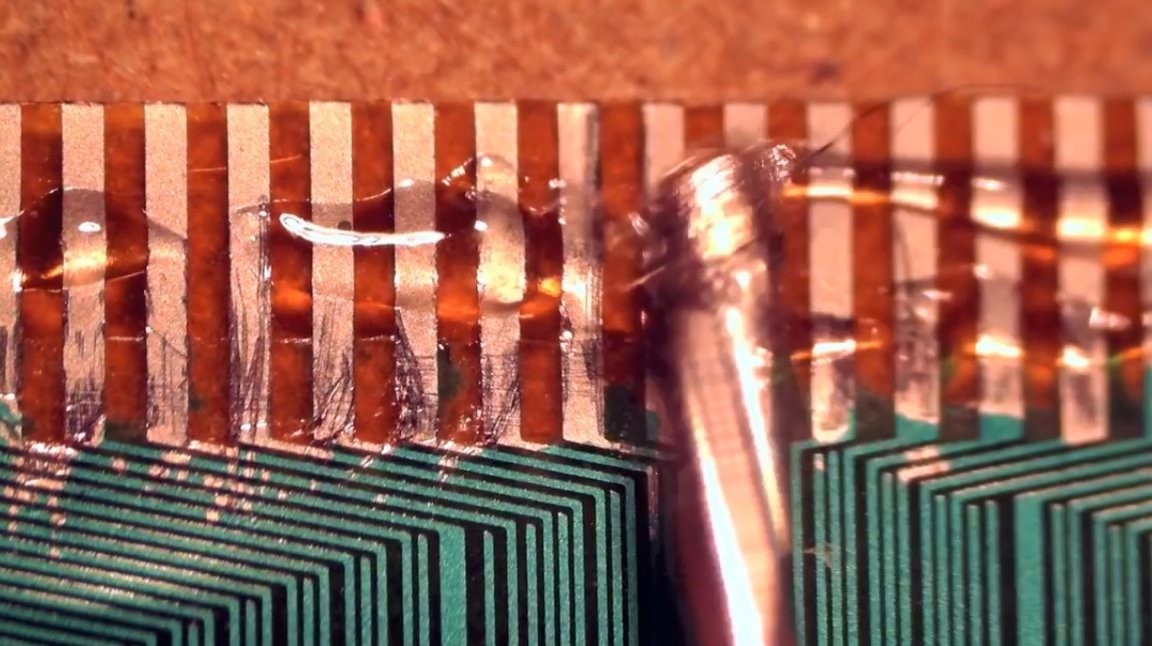
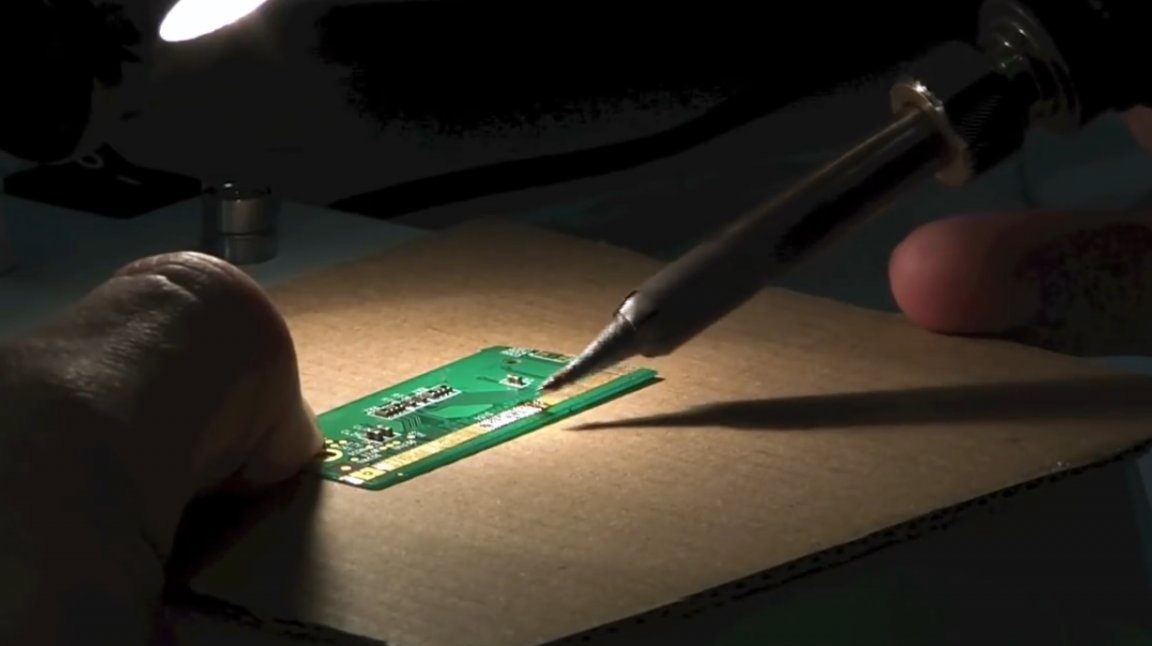
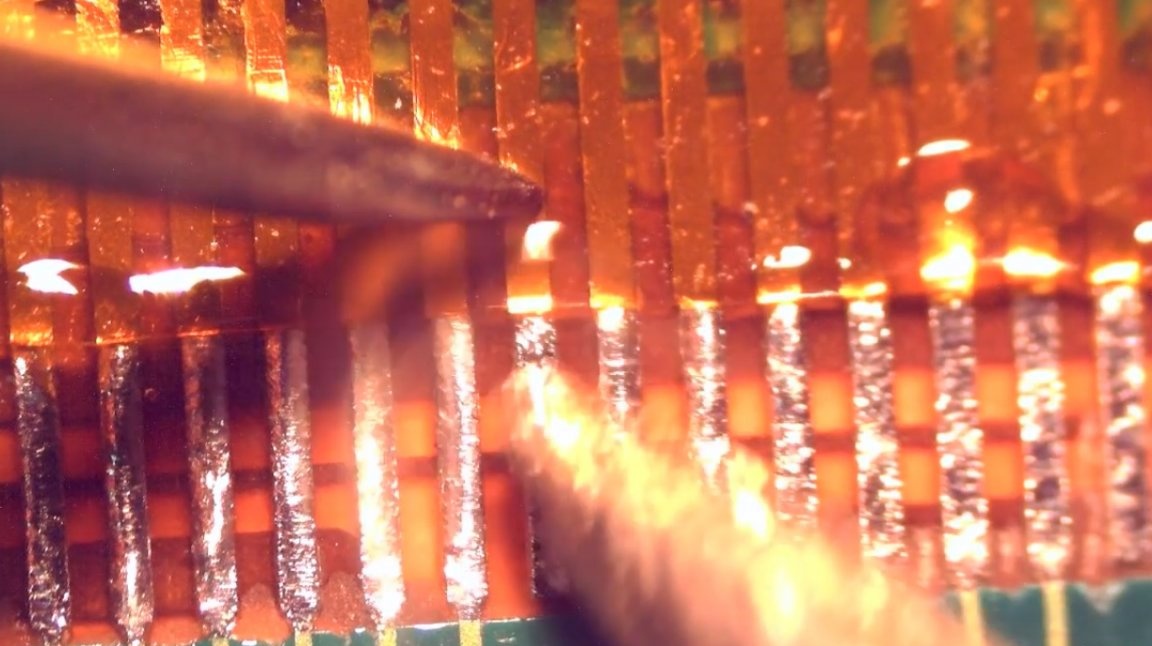
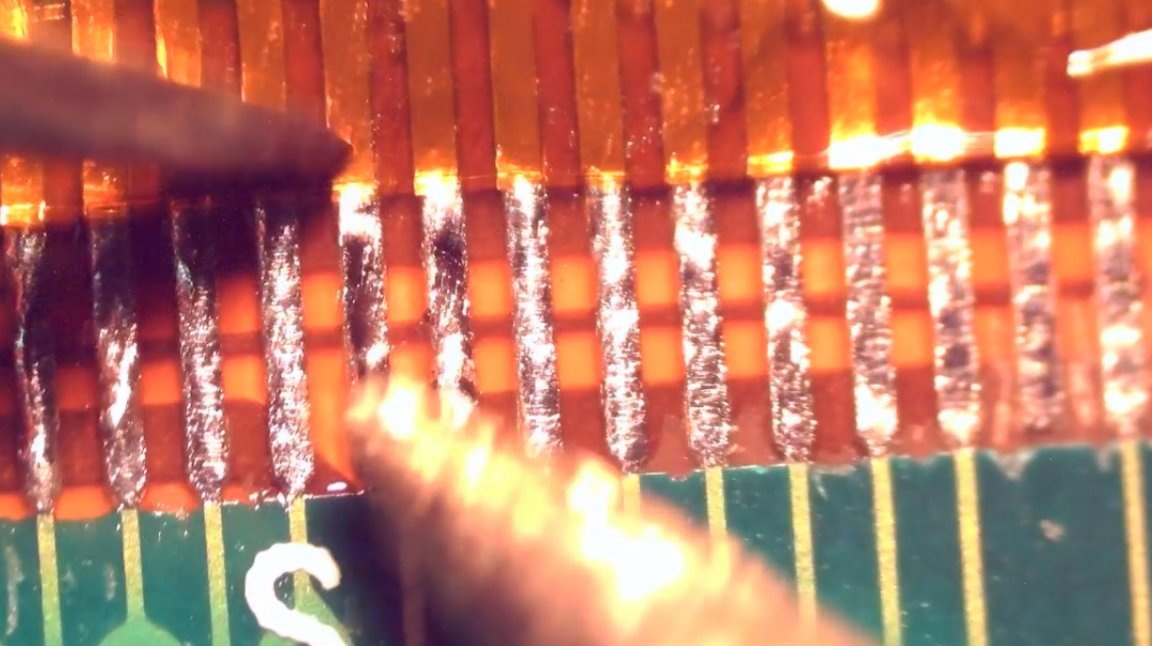
The last, important stage remains. Soldering. Now it becomes clear why the cable was slightly shortened. This gives access to the soldering iron tip contacts.
The loop itself must be pressed to the board above the contact itself. This should be done with a toothpick to avoid damage to it. First you need to solder the central contacts, again, so that the “wave” does not work out and the contacts do not shift. The tip of the soldering iron needs to heat the contact on the board. Recommended temperature is about 300 degrees Celsius.
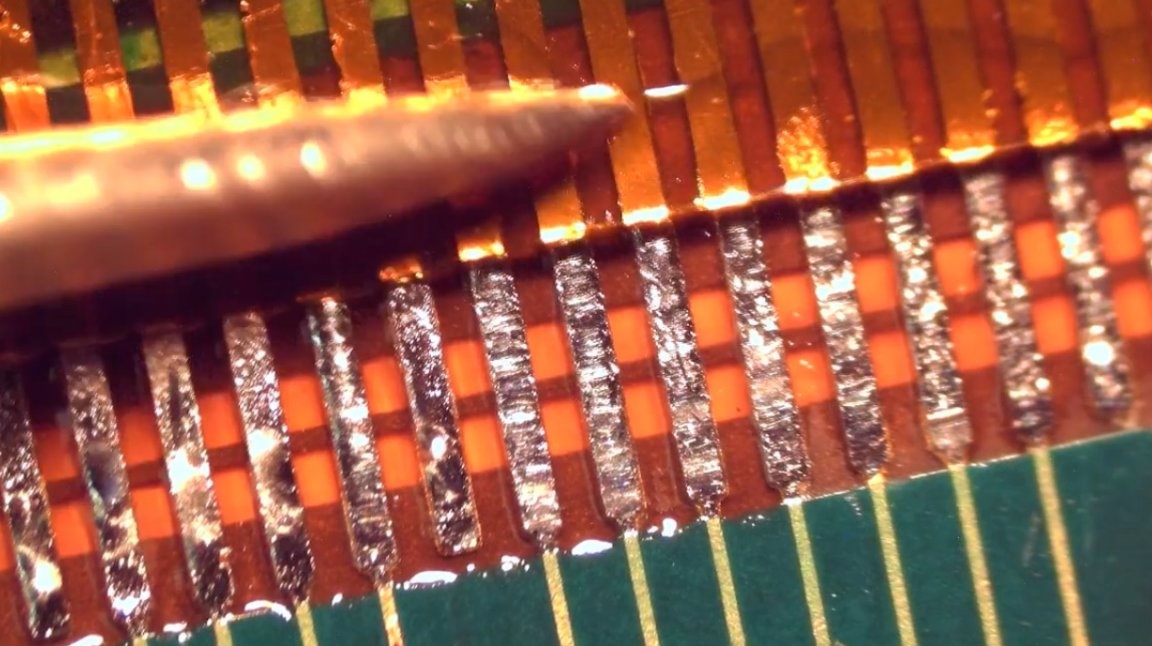
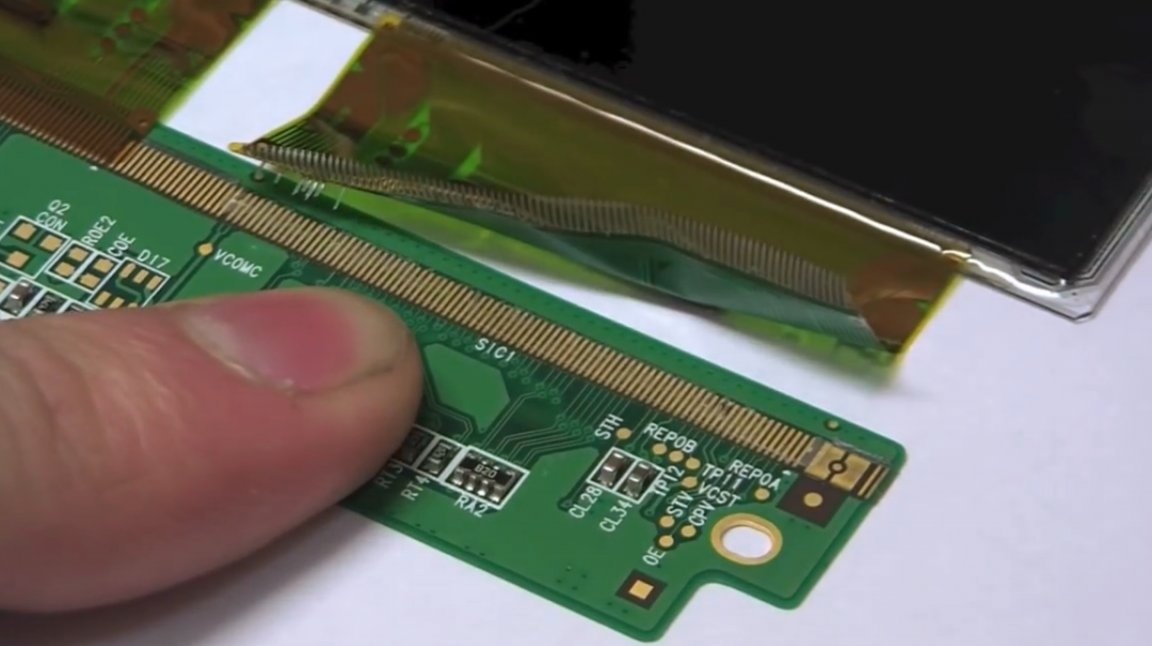
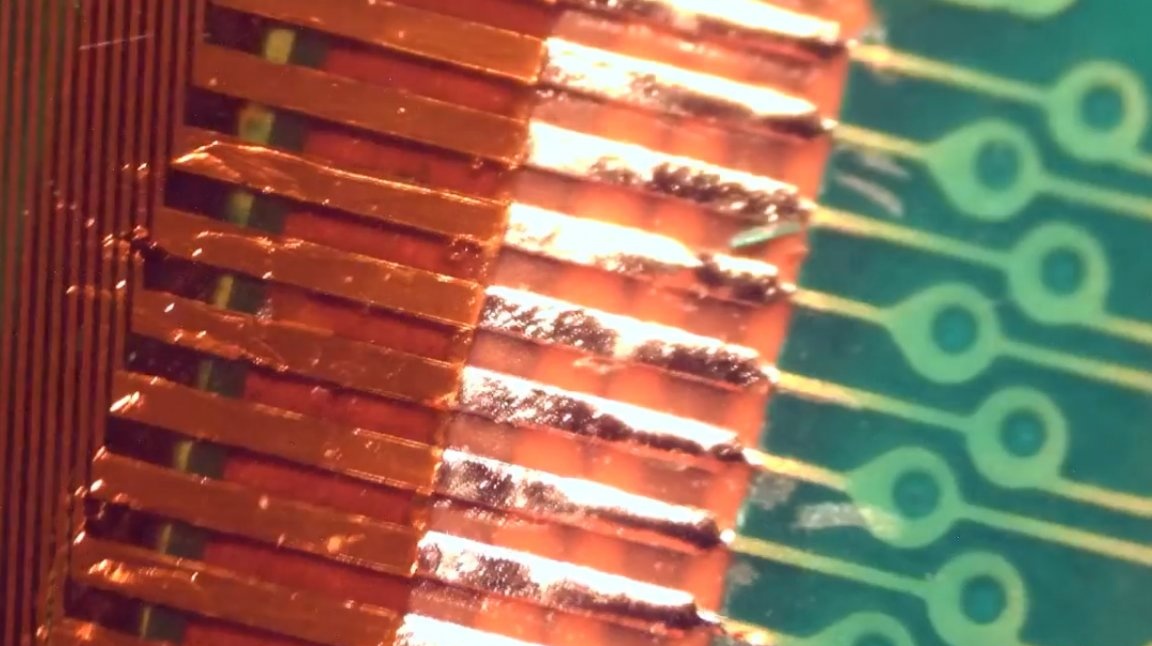
That's all. This is how the recovered train looks like.
Thanks to the author for a simple but useful master class on recovering departed loops. Unfortunately, loop recovery technologies with punctures, gusts, or other track damage are much more complex. And it’s much cheaper to replace the cable. So, if you are not confident in your abilities - it is better to entrust this work to professionals.
All good mood, good luck, and interesting ideas!