Smoked products have been known since time immemorial. There are two types of smoking, hot and cold. In turn, there are many models of smokehouses. In hot smoked there is nothing complicated at all, it would be a desire, you can adapt an ordinary pan as a smokehouse. Cold is a bit more complicated due to the time taken. With cold smoking, certain types of products need to be smoked for several days. Accordingly, it is necessary to ensure that smoke enters the smoking chamber, to maintain constant burning or decay of the wood material. For cold smoking, they mainly make a stationary smokehouse from a board, a metal pipe, or even a brick.
The master offers his model a smoking chamber that does not require, practically, nor any costs, and which operates using.
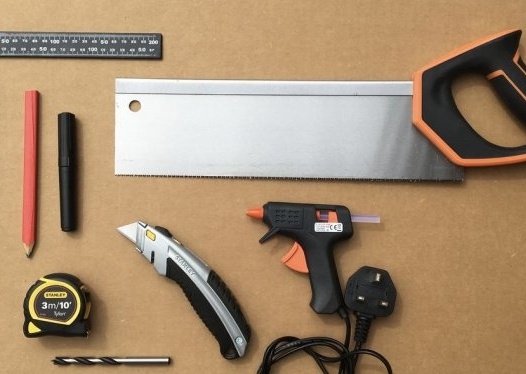
Tools and materials:
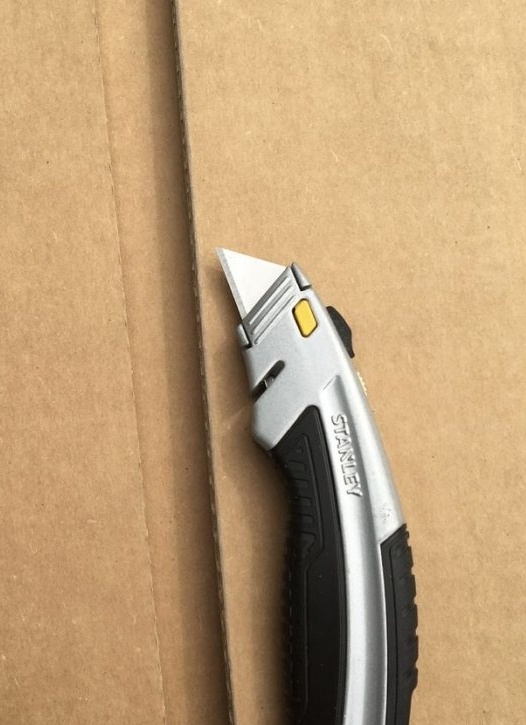
-Knife;
-Gon;
-Drill;
-Pencil;
-Glue gun;
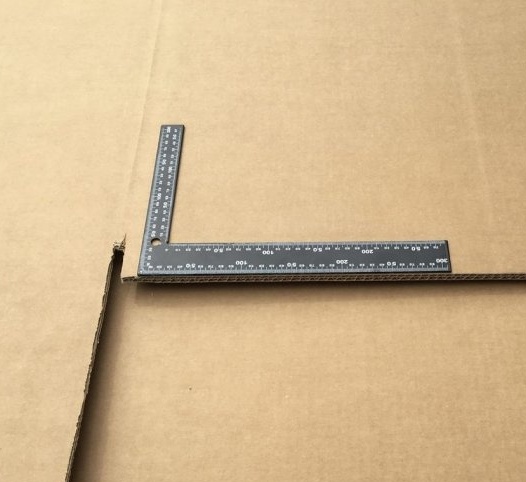
-Roulette;
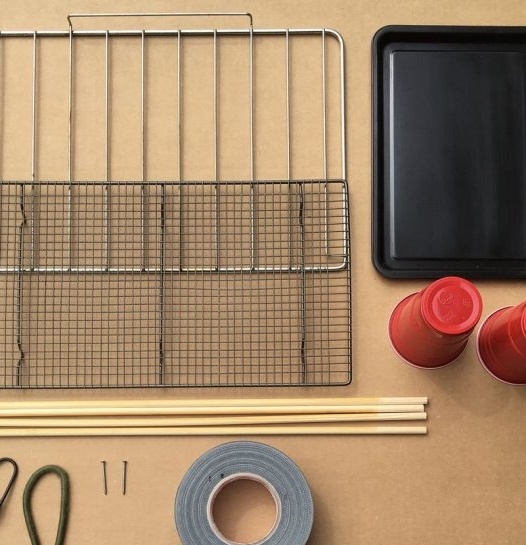
-2 small nails;
- Adhesive tape (width not less than 50 mm);
-Wooden skewers;
-Metal rods;
-Baking racks;
-Small metal tray;
-2 x plastic cups;
-Rubber mounting;
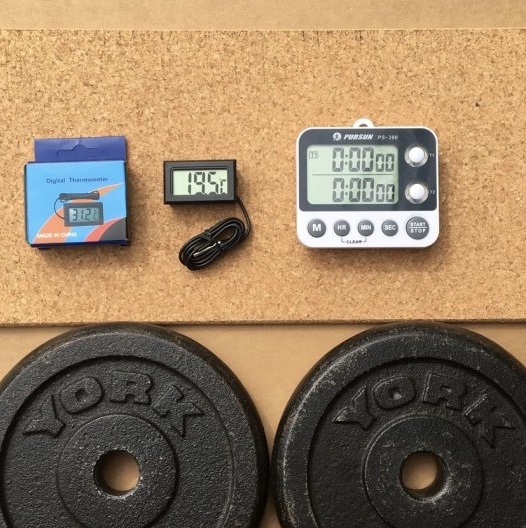
-Digital thermometer;
- Weights, cargo (for stability);
-Cork mat;
-Cardboard;
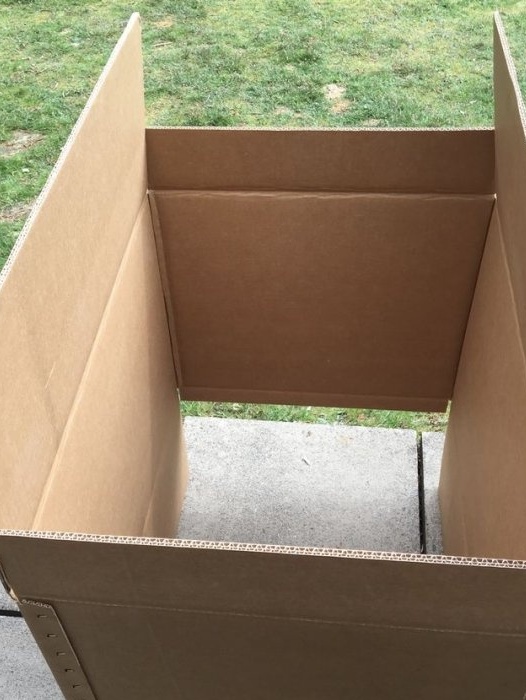
Step one: box assembly
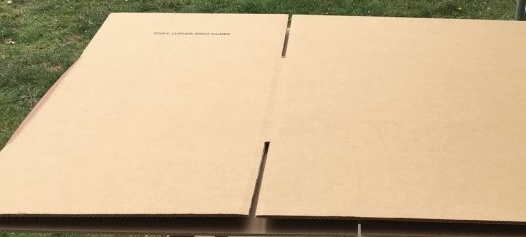
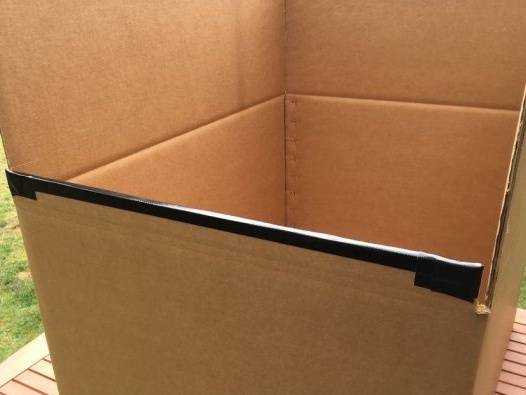
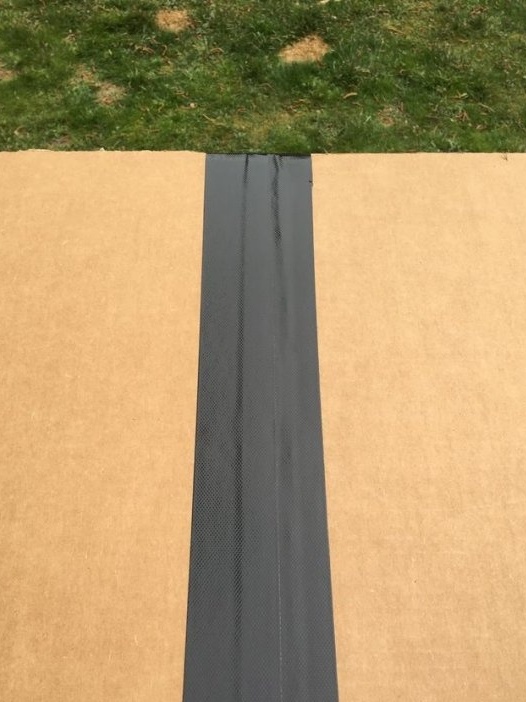
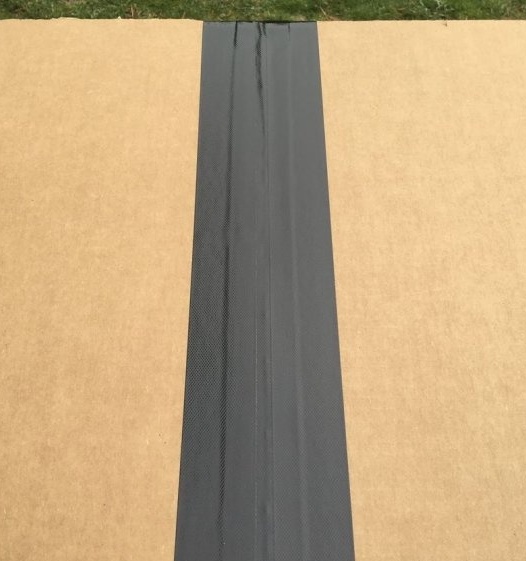
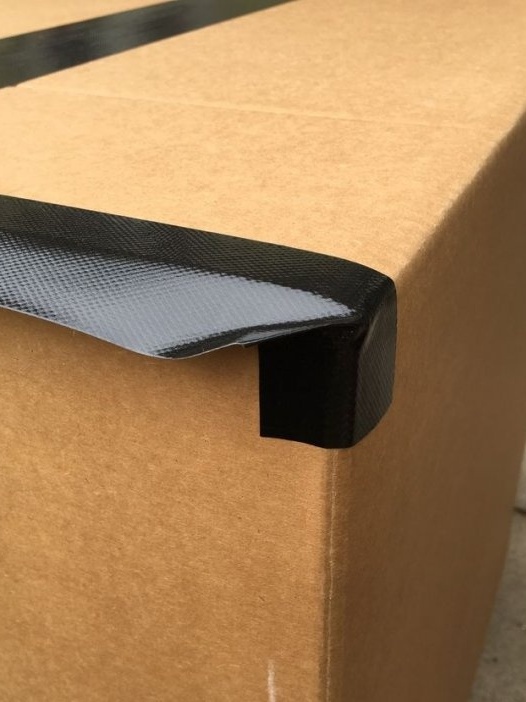
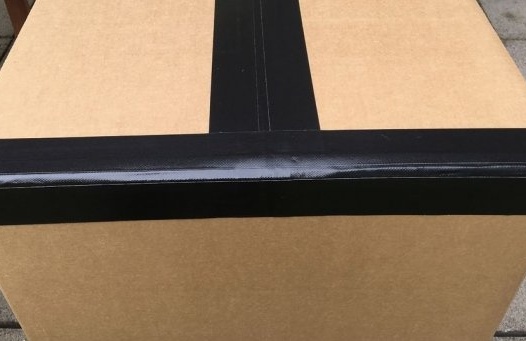
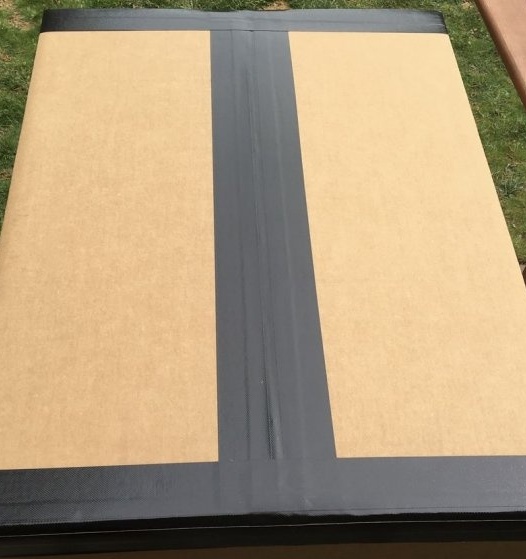
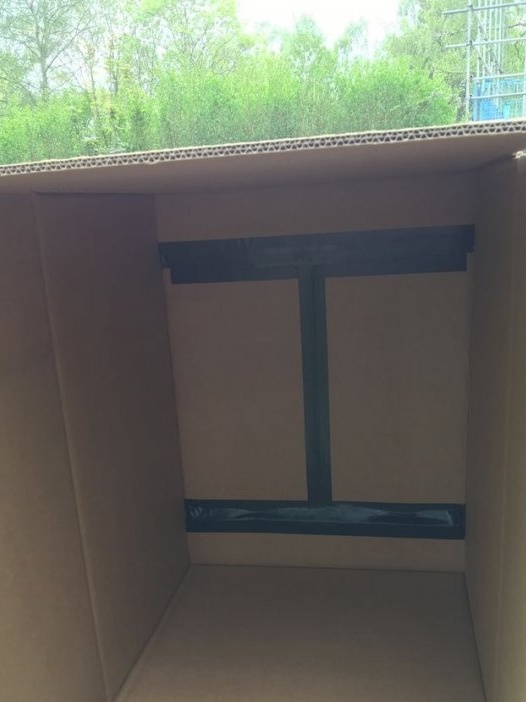
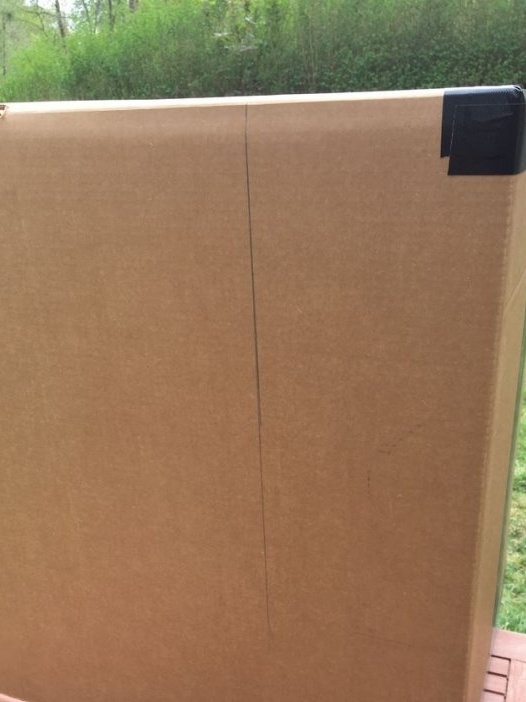
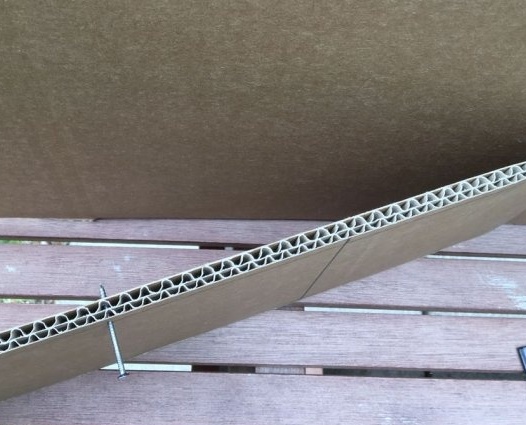
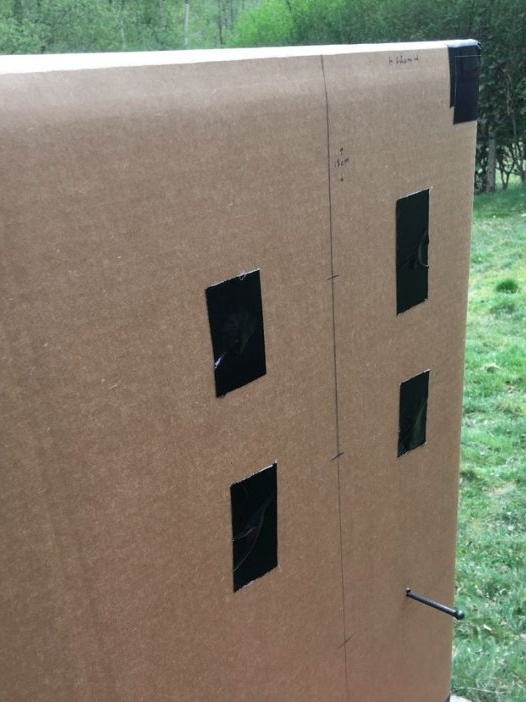
Cardboard can be taken from an unnecessary box. Cardboard should be clean, dry and free from odors. So, first you need to assemble the box. Then all seams and joints (except the front valve) are sealed with tape, smoke should not pass through the holes in the box.
Step Two: Skewers
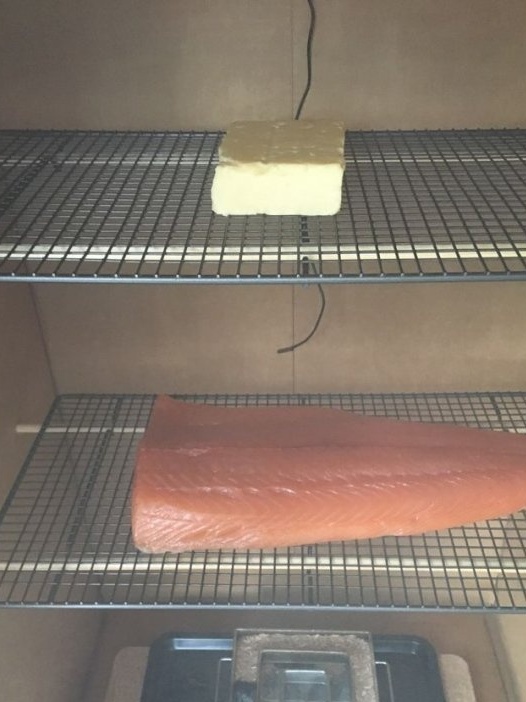
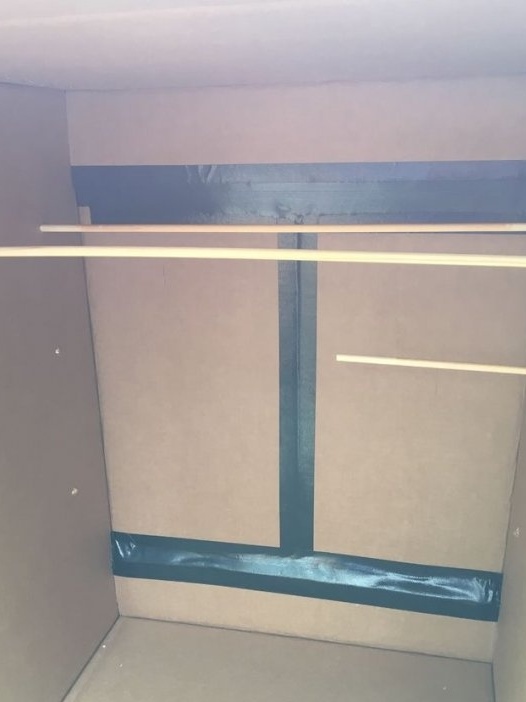
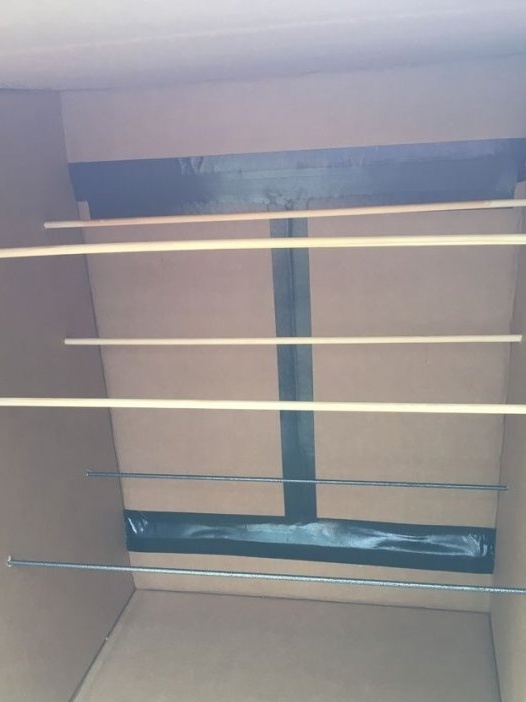
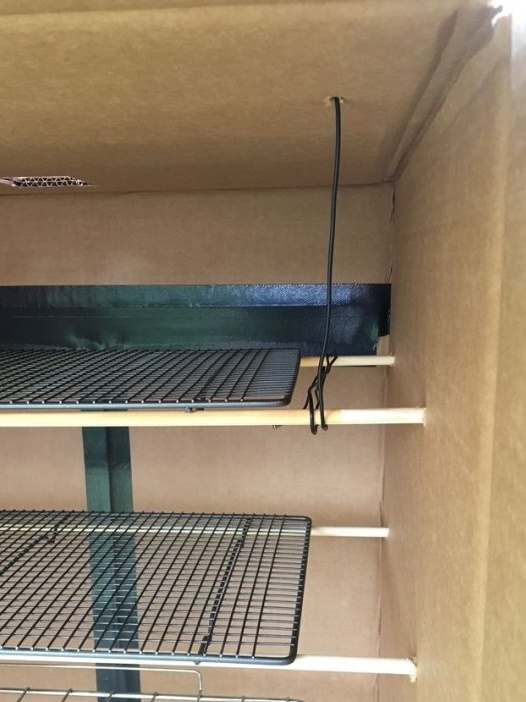
Inside the box you need to install several wooden skewers. Then they will be installed grilles and laid out products.
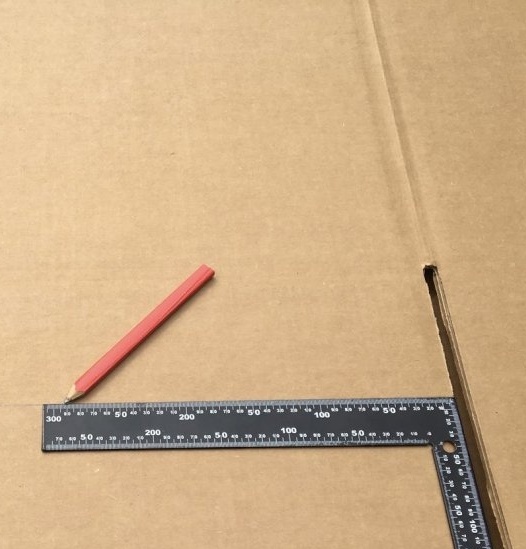
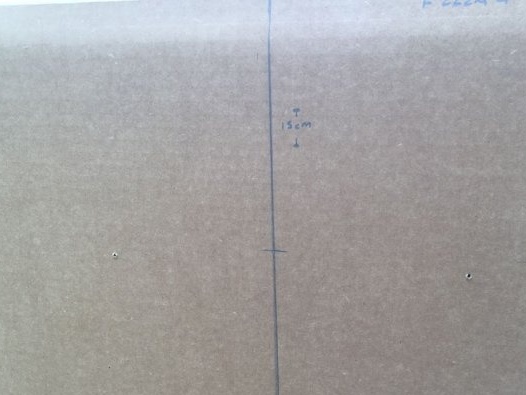
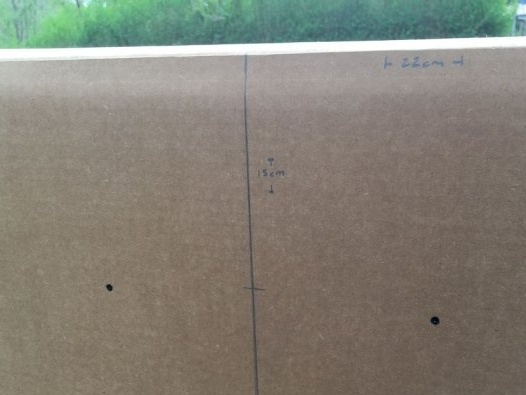
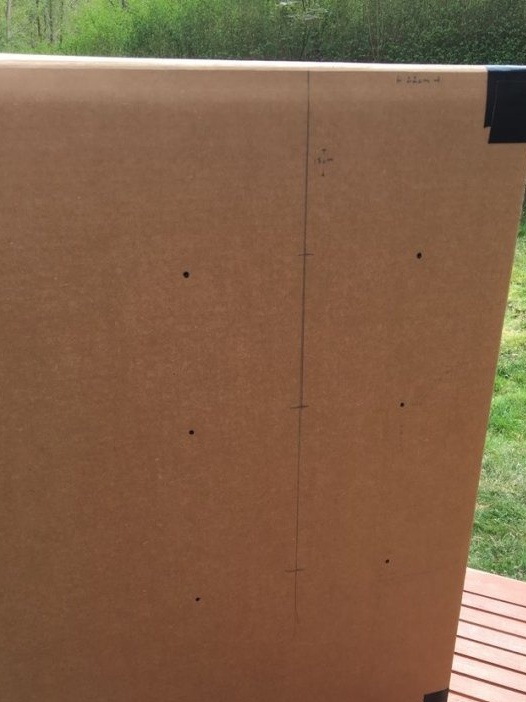
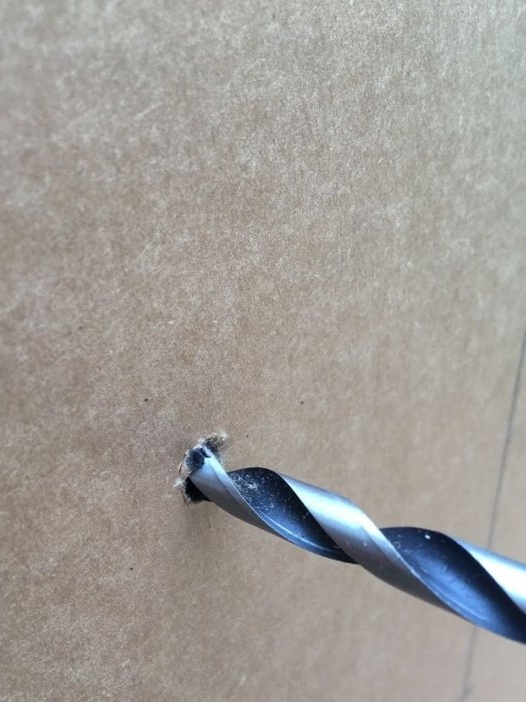
Wooden skewers must be installed so that the products placed on them do not touch the walls of the box. The master, with a drill, makes holes in the side walls. Sets the skewers. Cuts off the protruding part, and seals the holes with tape. Below the master installed two metal rods, he just did not have more skewers.
Step Three: Chimney
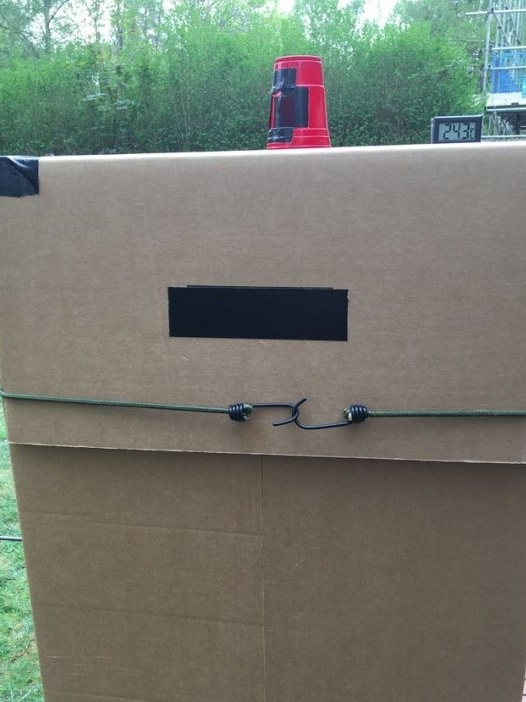
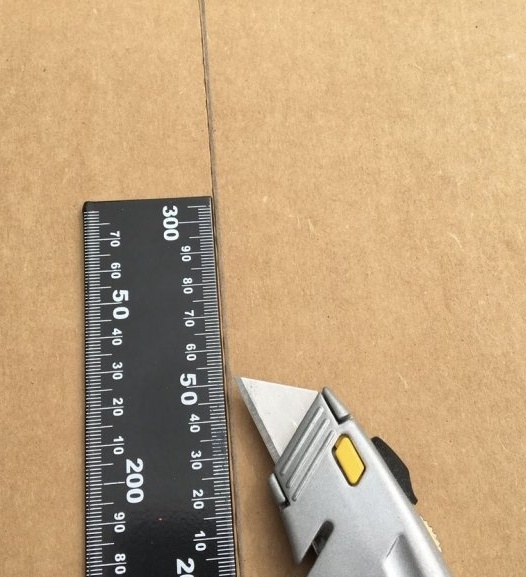
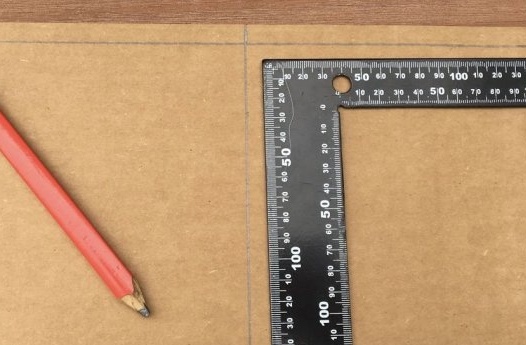
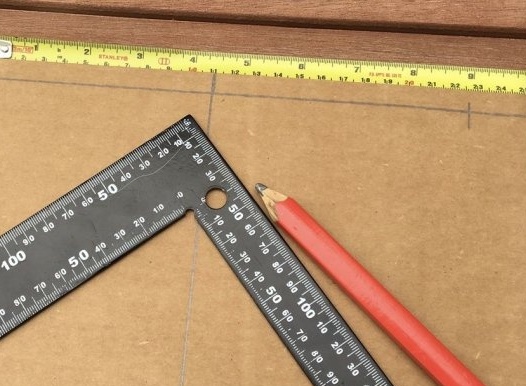
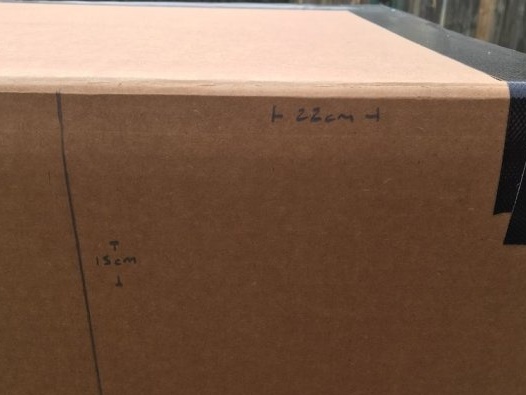
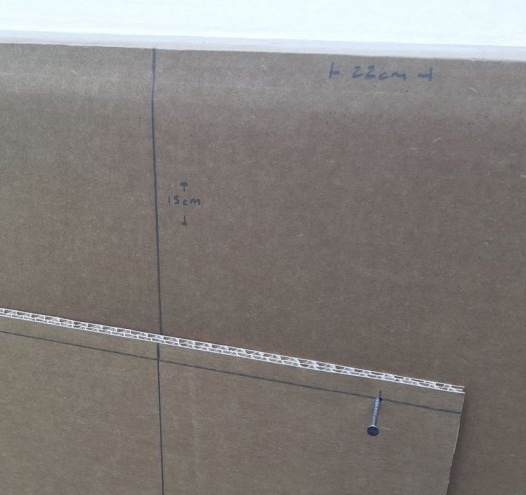
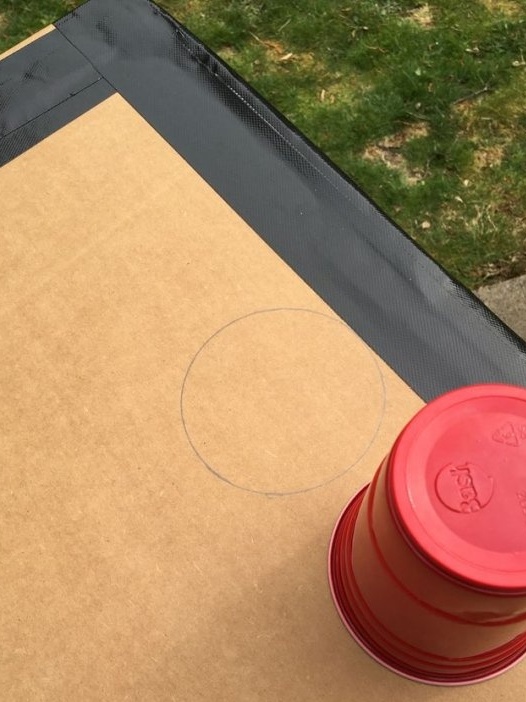
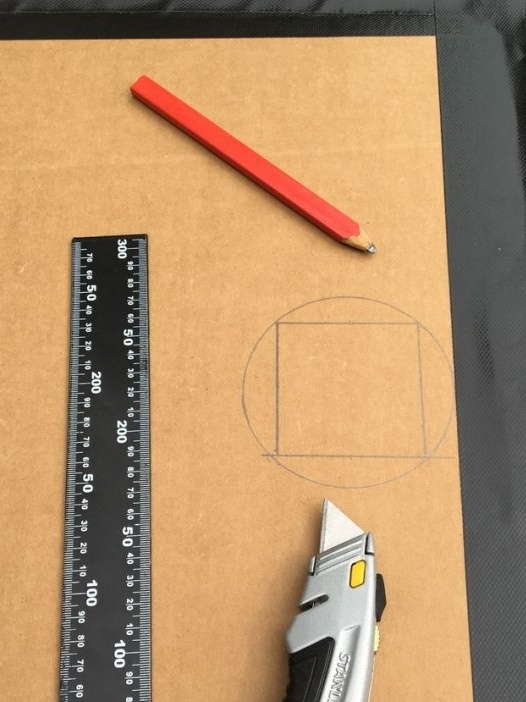
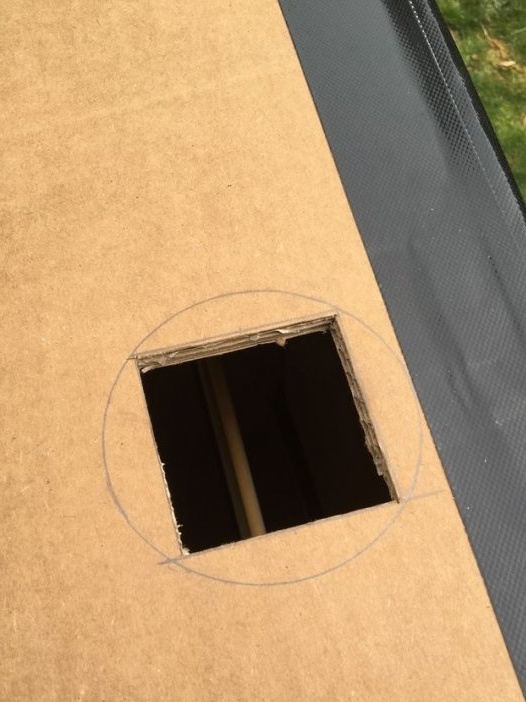
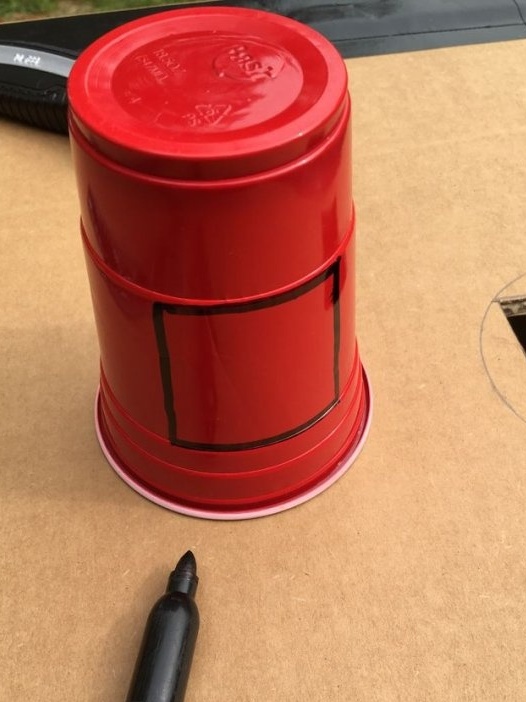
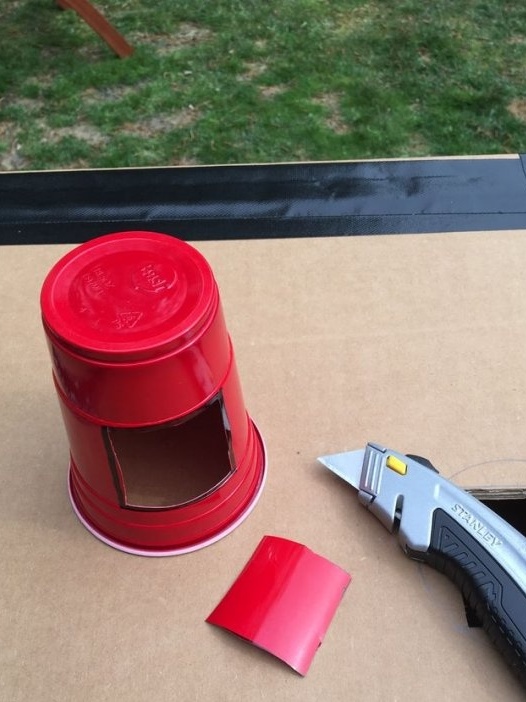
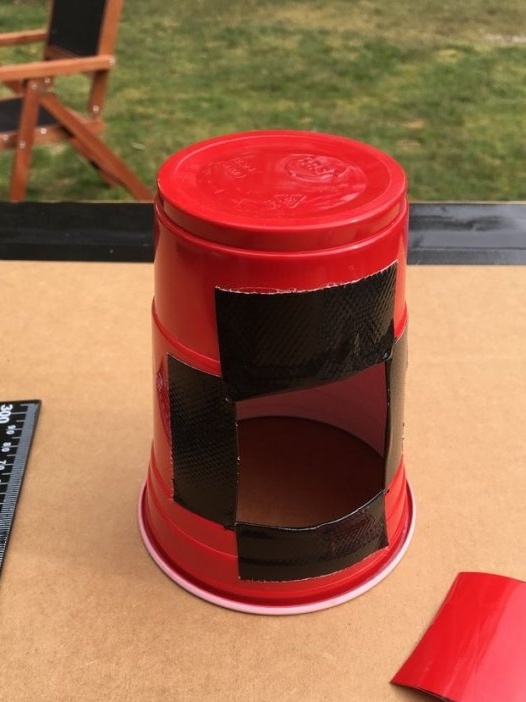
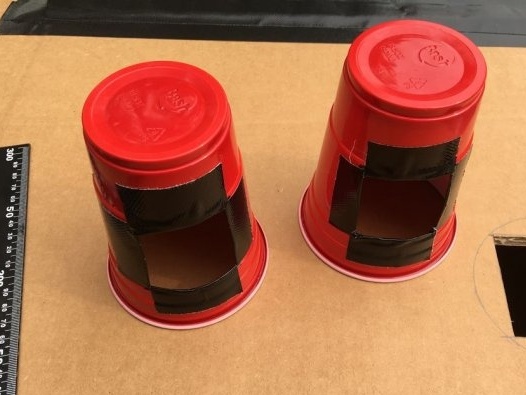
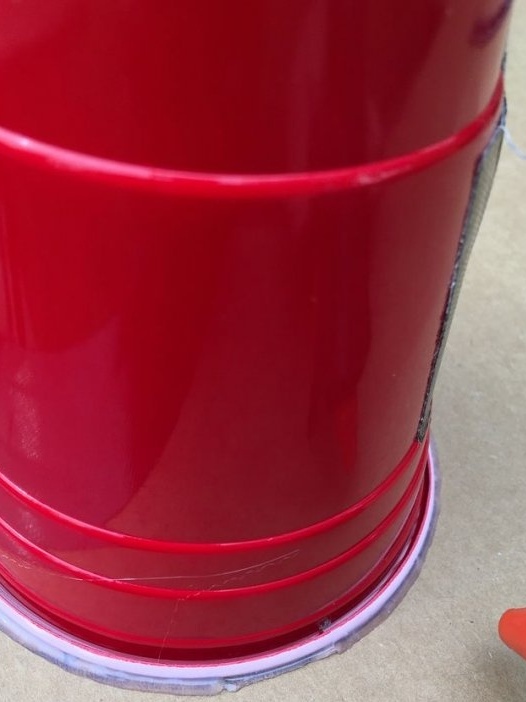
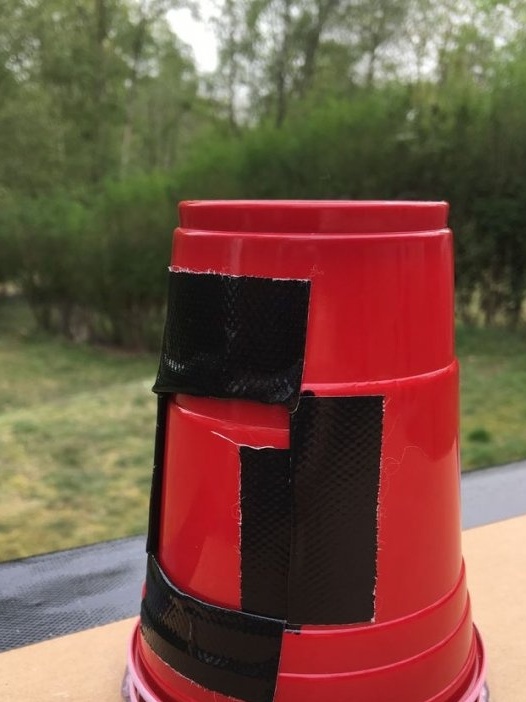
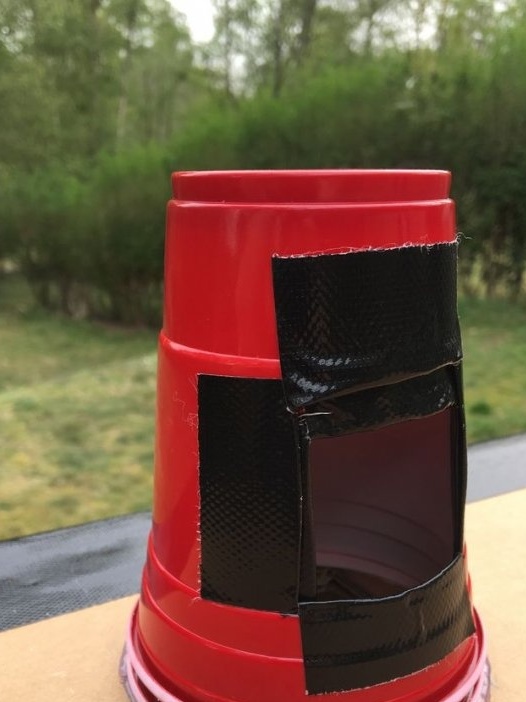
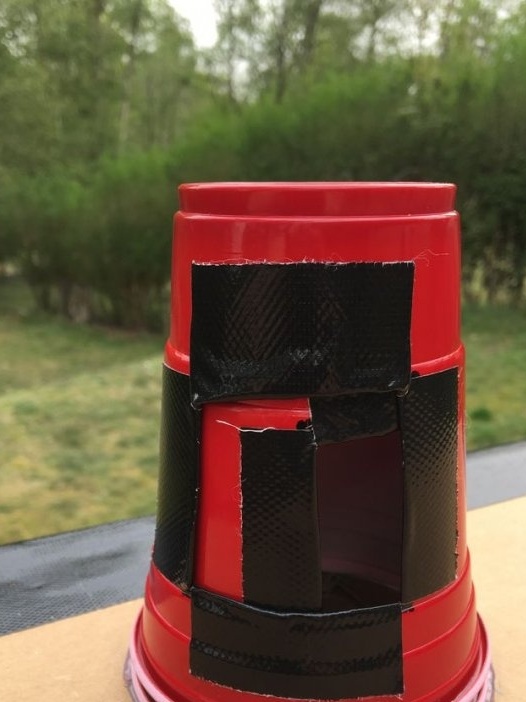
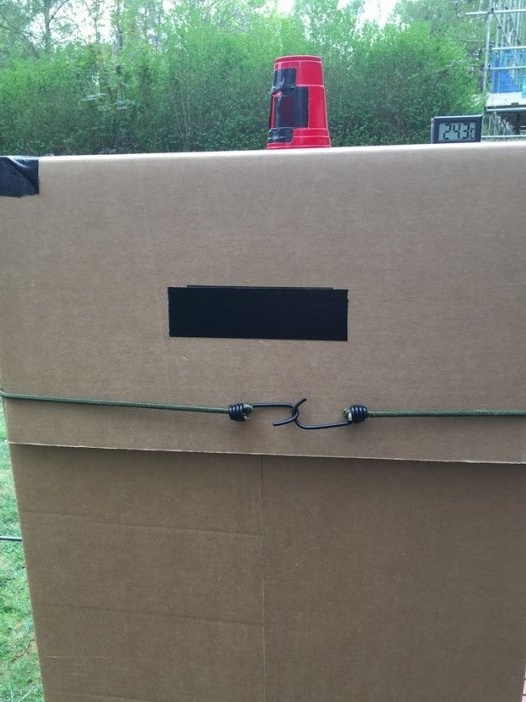
The chimney is made of two plastic glasses. cuts a hole in the top of the box along the diameter of the glass. Then, in two glasses cuts symmetrical holes. The edges of the holes are sealed with tape. Glues one of the glasses into the hole with hot melt adhesive. Now, by installing another on top of the glued glass, you can adjust the degree of closure of the chimney.
Step Four: Small Additions
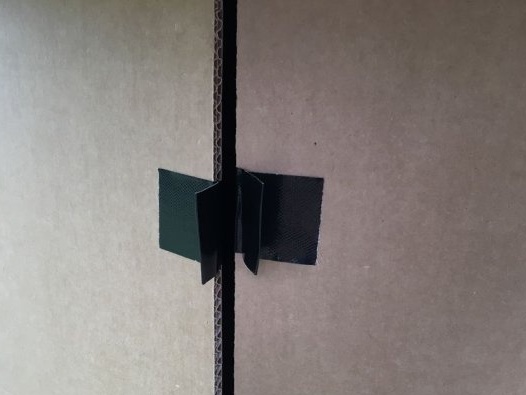
The smoking chamber closes very simply. It is necessary to close the valve box and fix them with an elastic band. Handles made of cardboard glued with tape will help open the valve if necessary.
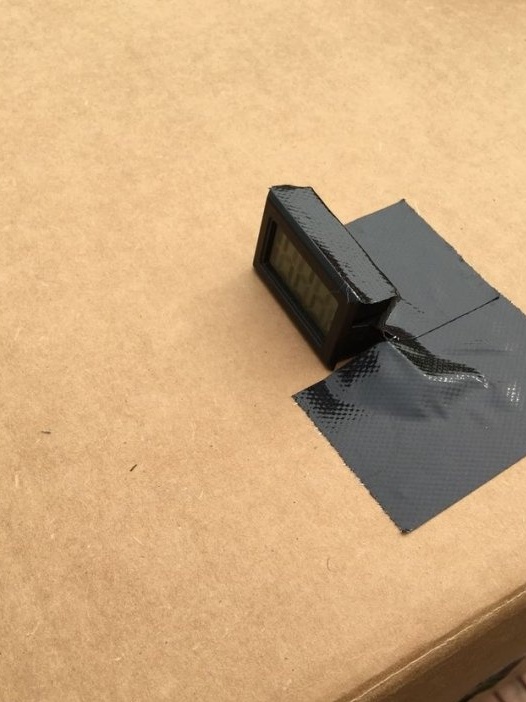
Inside the box, the master secured the digital thermometer sensor. Now you can always find out the temperature inside the chamber and adjust it using a chimney.
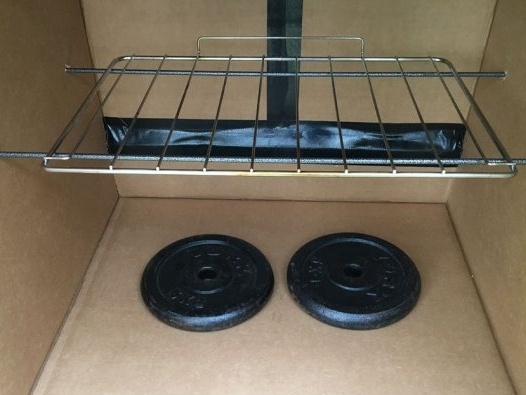
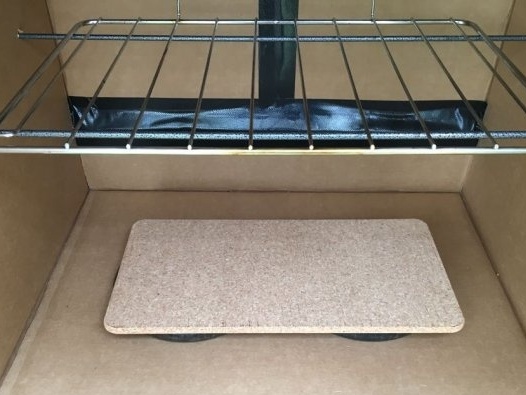
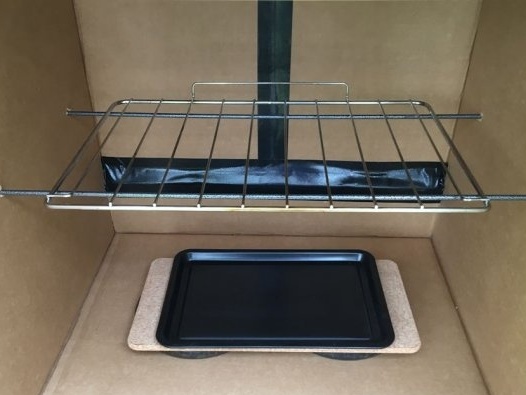
The master stacks the load on the bottom of the box, this will add stability to the box. A cork rod is placed on top of the load. And on top of the rod is a tray on which a smoke generator will be installed.
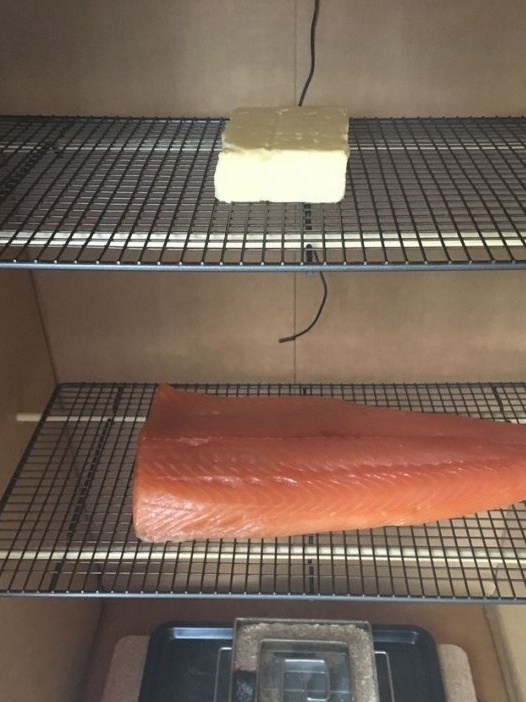
Now it remains to install the grilles, place food blanks on them and light the smoke generator.
Read about the smoke generator and its operation in the next article.

