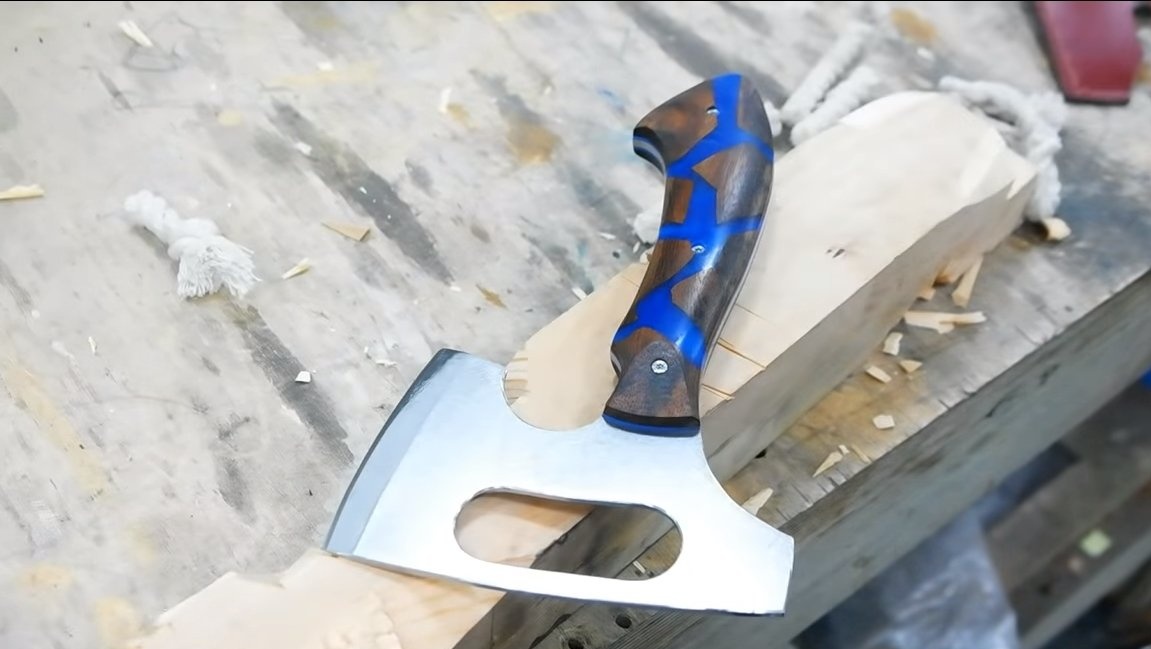
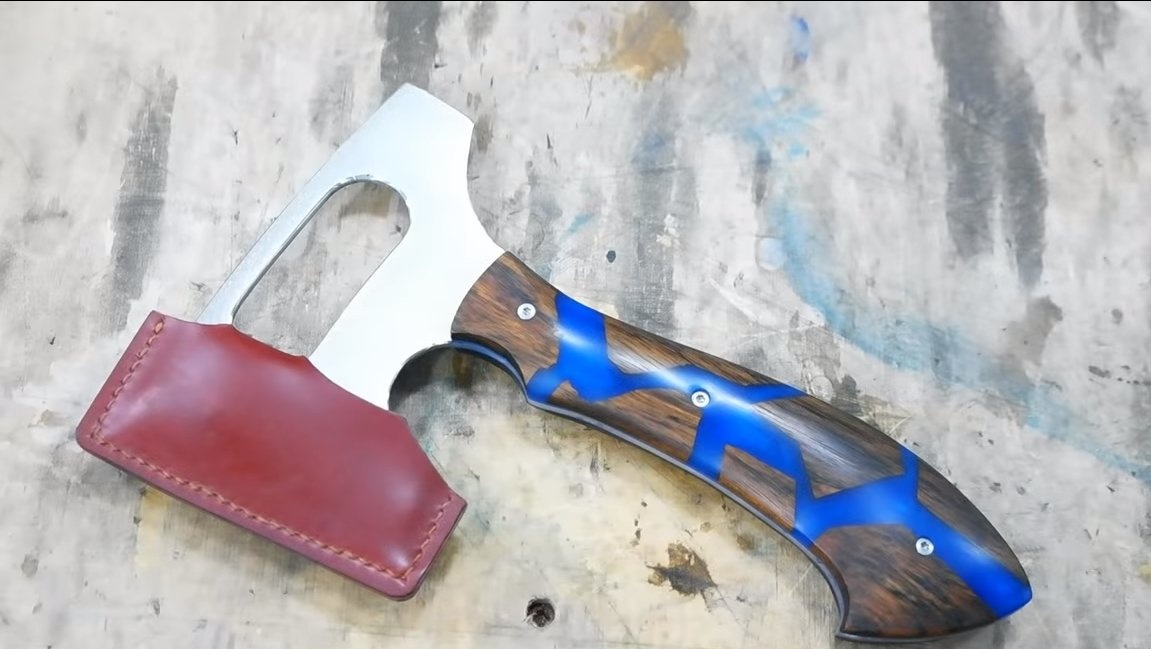
Hello fans to craft, today we will look at how to make a small handy hatchet from a saw blade. Such an ax can be taken with you to nature, hunting, fishing, camping and so on. A distinctive feature of the ax is the handle, it is combined, made of wood and epoxy, it looks quite interesting. The handle pads are held in place by screws so that they can be easily replaced if something happens. The ax has been hardened, it is sharpened to the state of a razor, the author cuts paper with it. If homemade Interested in you, I propose to study the project in more detail!
Materials and tools used by the author:
Material List:
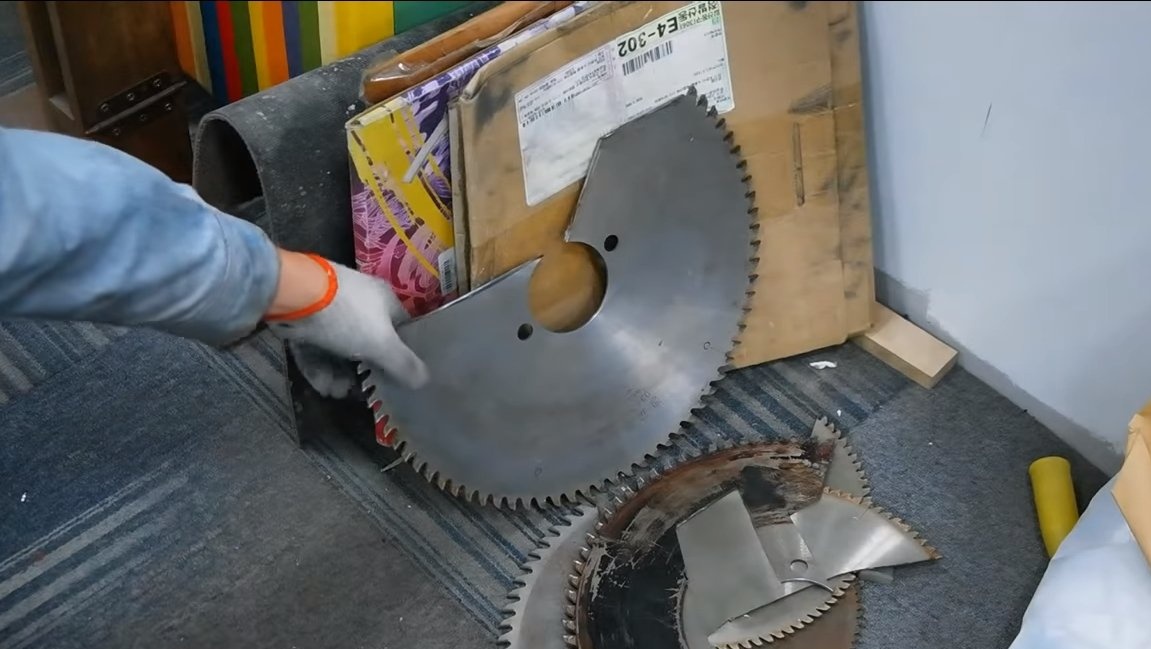
- a saw blade or other source of carbon steel;
- a tree for overlays;
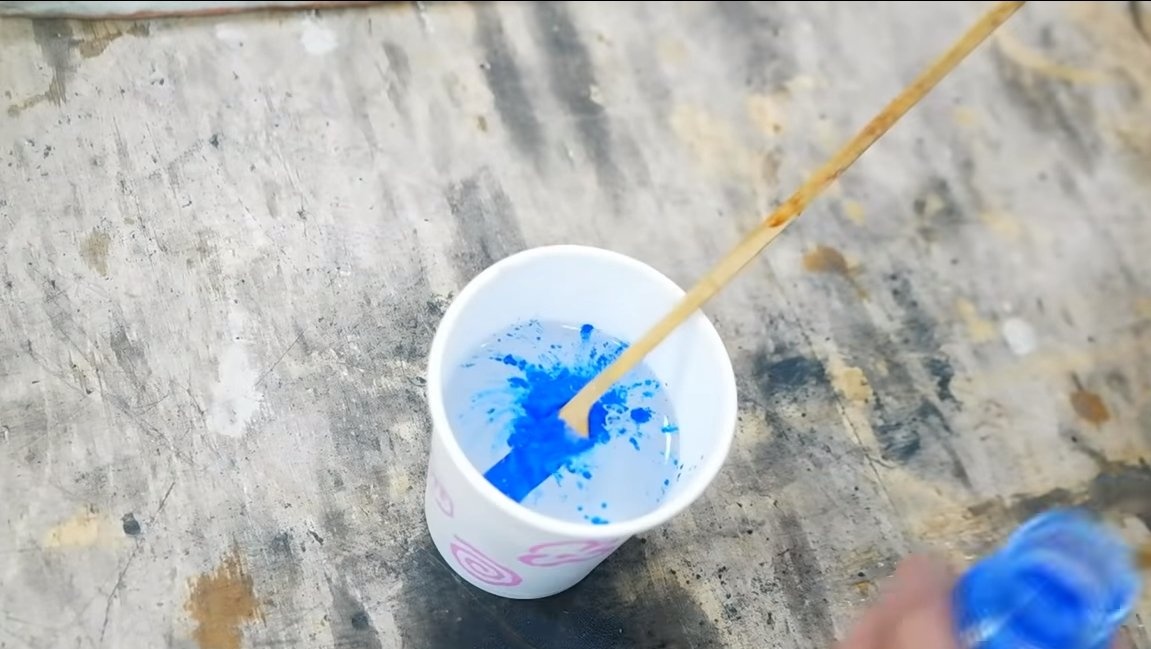
- epoxy resin and blue dye;
- or other similar material;
- ;
- polishing paste;
- leather for cover;
- oil for wood.
Tool List:
- tape cutting machine or jigsaw machine;
- drilling machine and crowns;
- ;
- files;
- sandpaper;
-;
- marker;
- vernier caliper;
- orbital sander;
- oil, oven, oven (for heat treatment);
- threads, glue, etc.
Hatchet manufacturing process:
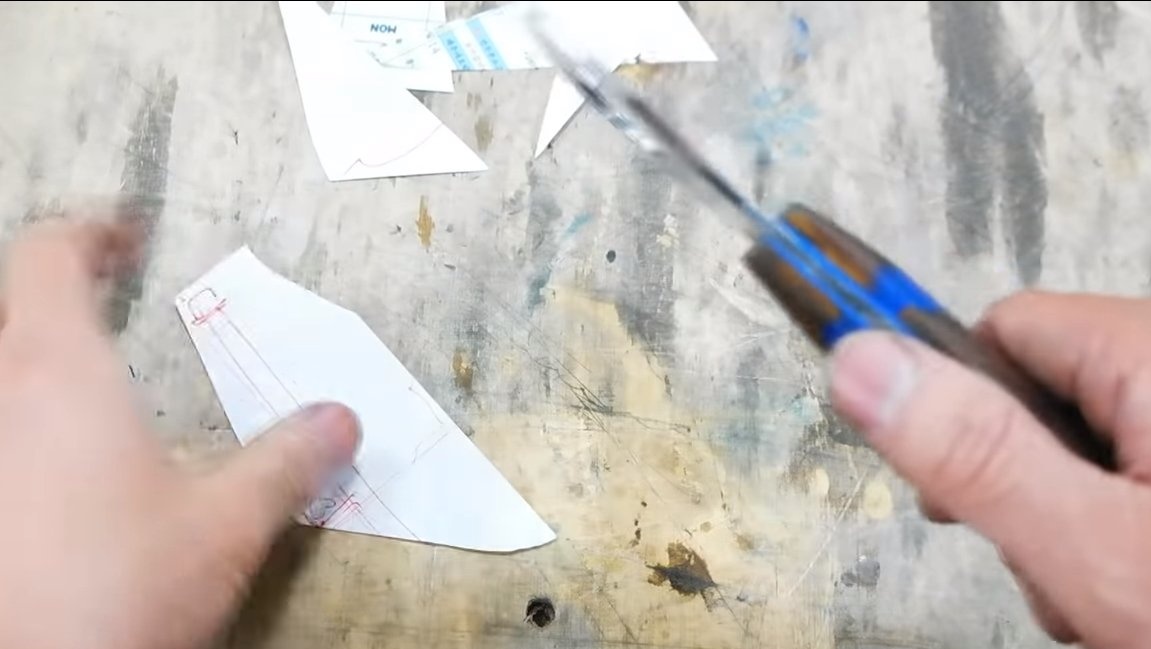
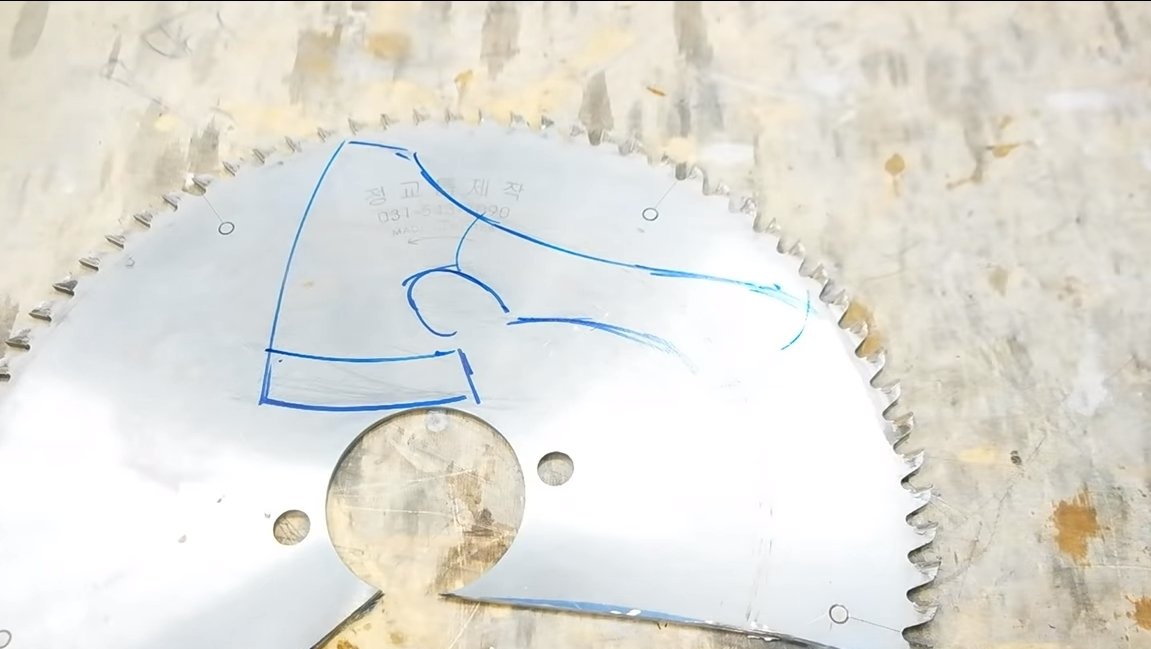
Step one. The main profile hatchet
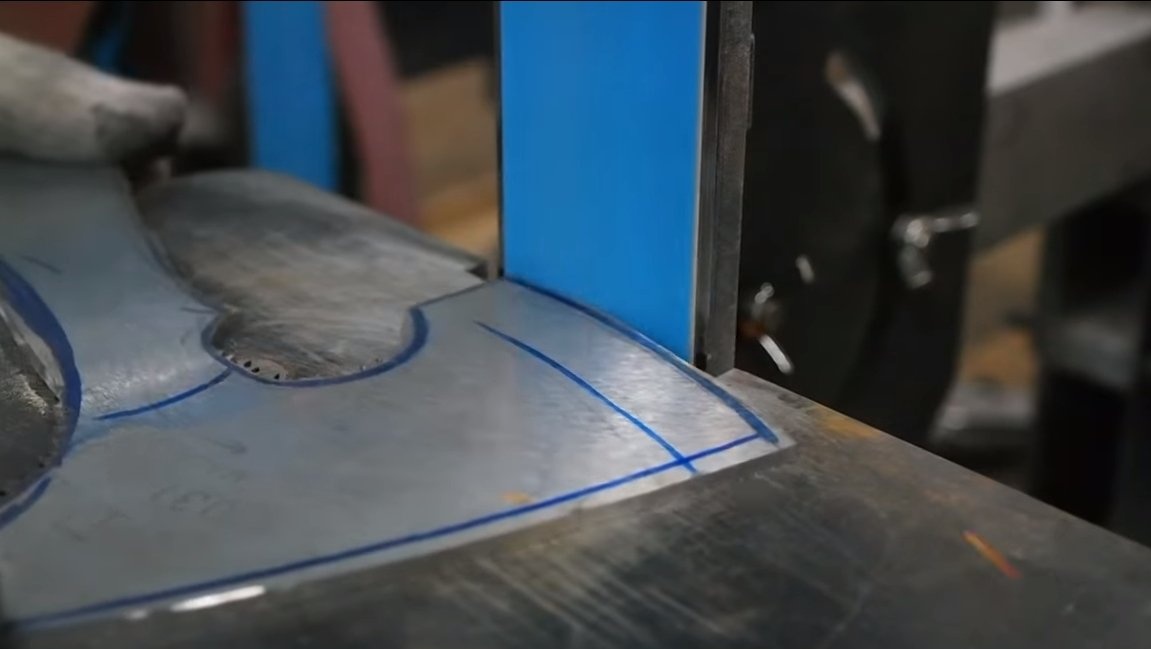
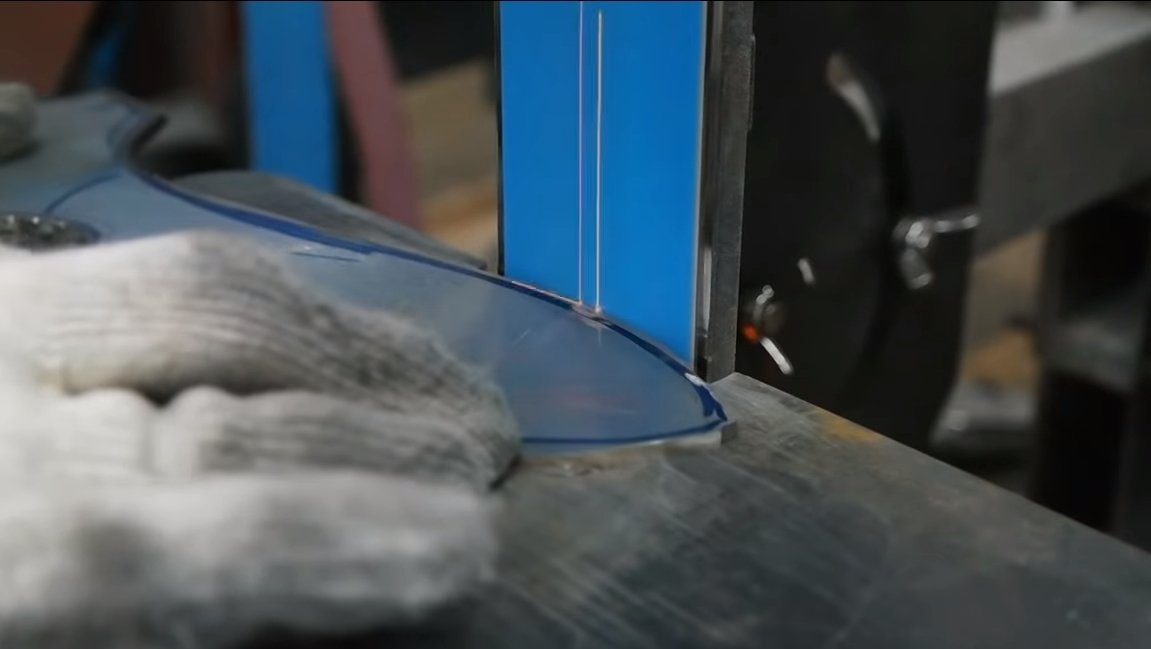
We draw the main profile of the hatchet on the saw blade with a marker. It’s better to use the old one, metal can be bad in modern drives. If you want to make a quality ax, it is better to try to cut a piece of metal from the disk and try to harden it.
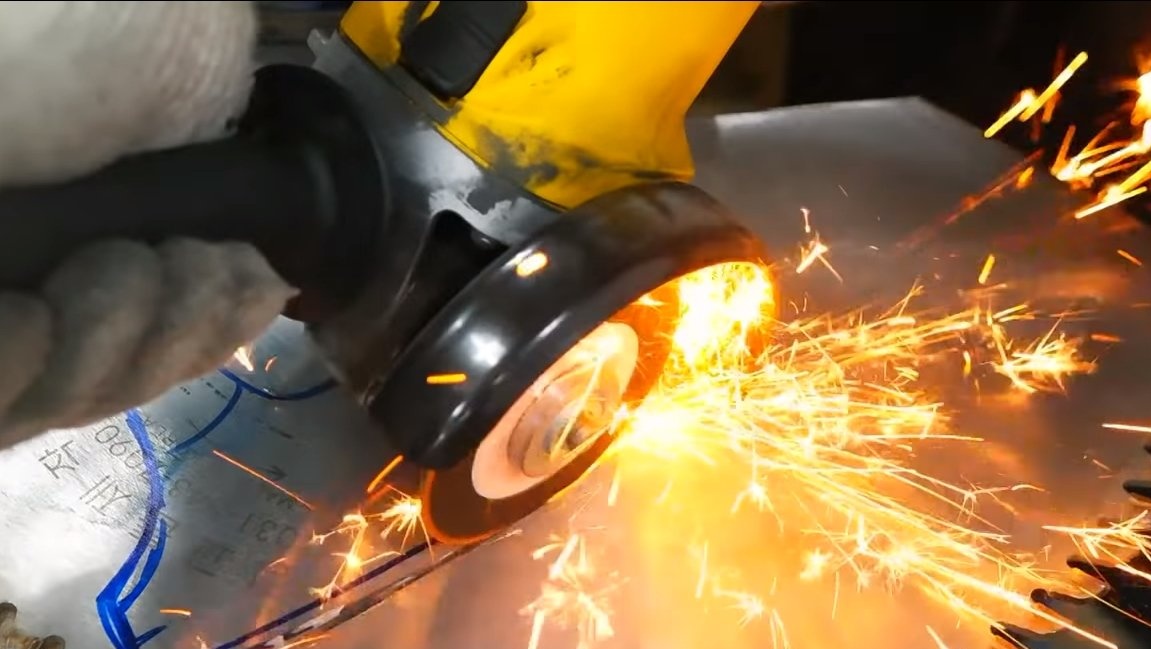
Now the profile can be cut, armed with a grinder and get to work. Bends and other problem areas are cut out with grinder pieces.
Step Two We are modifying the profile
After cutting the grinder there are many defects that need to be removed. Work can be carried out with a thick grinding disc for a grinder, or you can use a belt grinder. Those places that cannot be processed with a power tool, processed manually using a file, a drill will help in this matter.

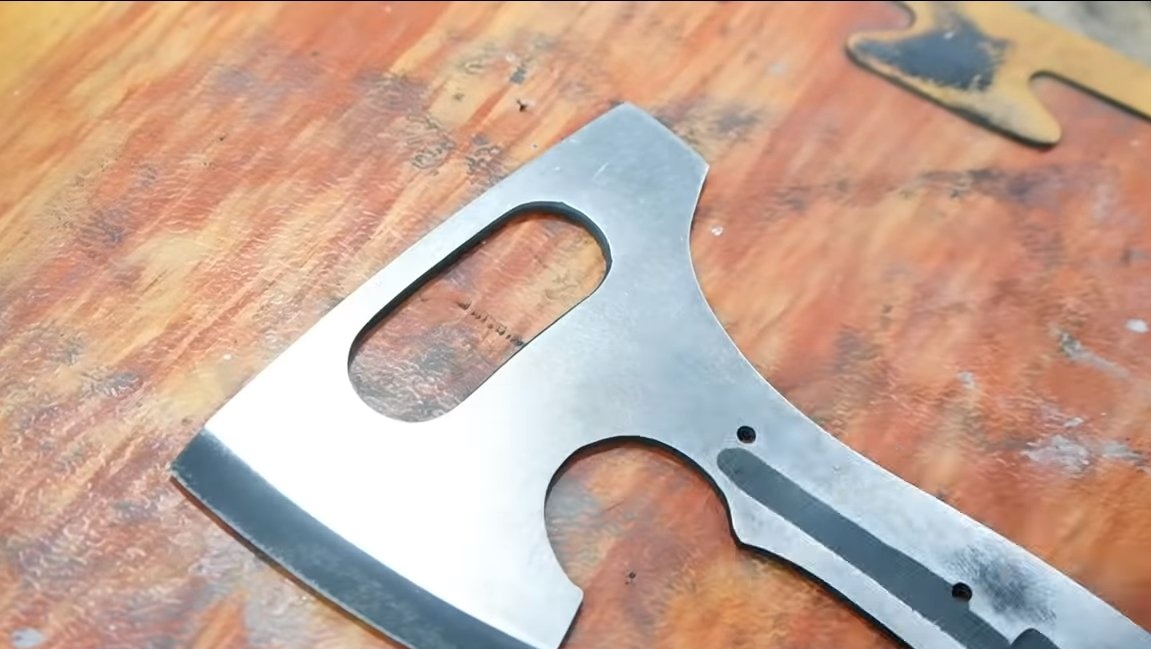
Step ThreeHole
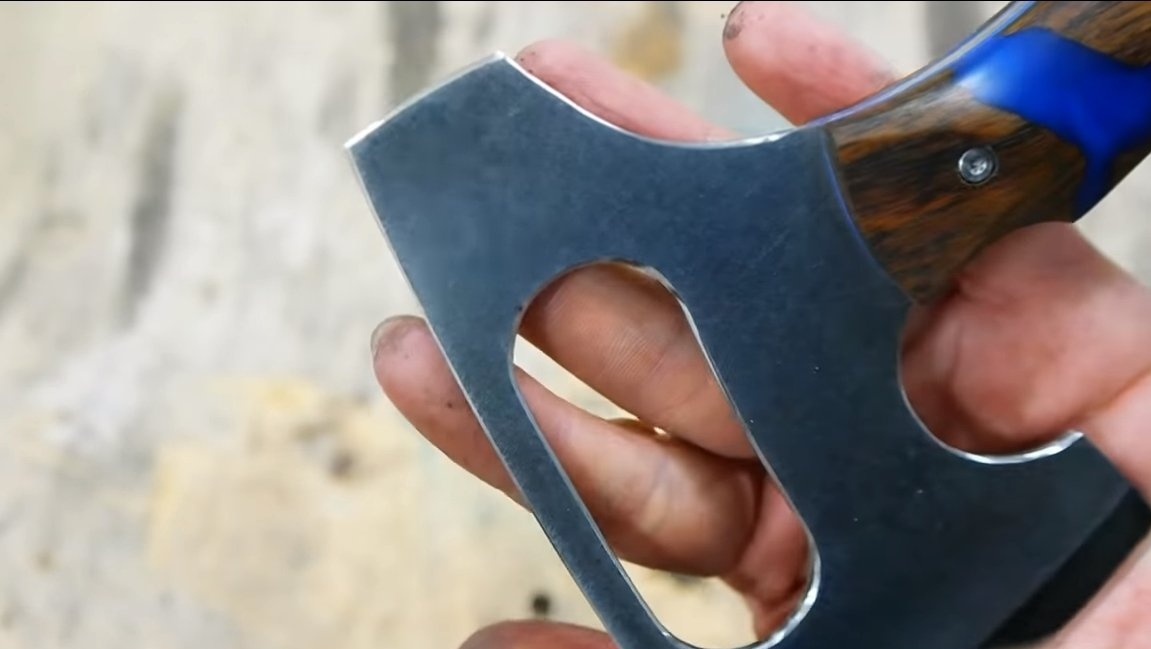
There is an oblong hole in the ax, it serves as a decor, thanks to it you can also open beer and other drinks. The hatchet can be hung from the same hole.
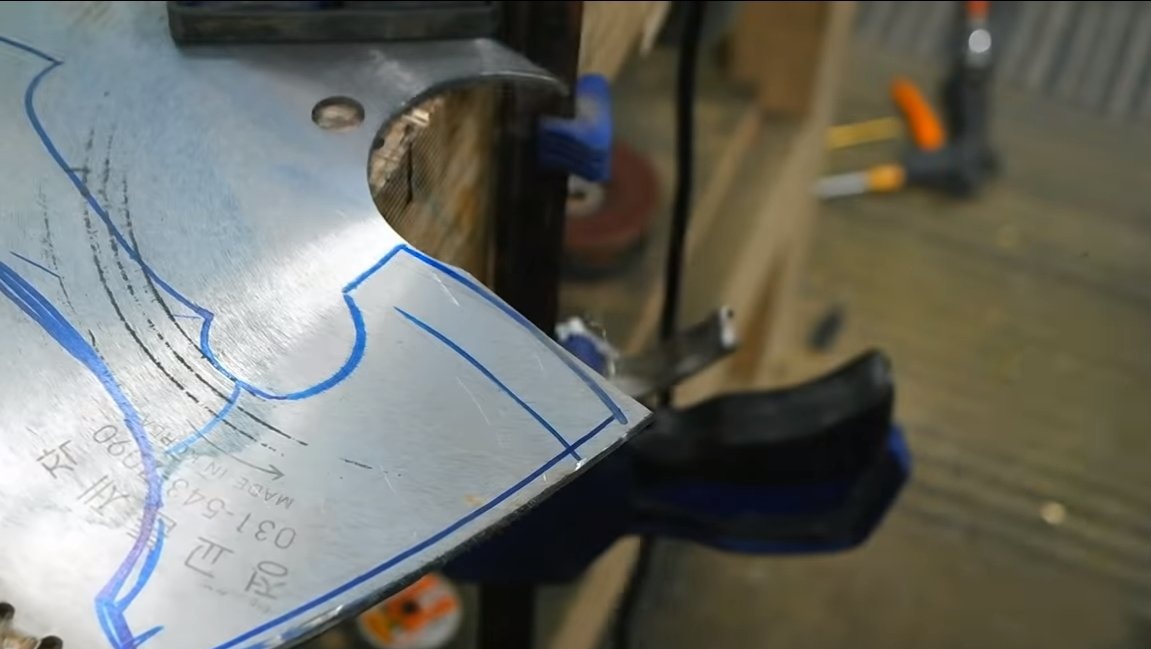
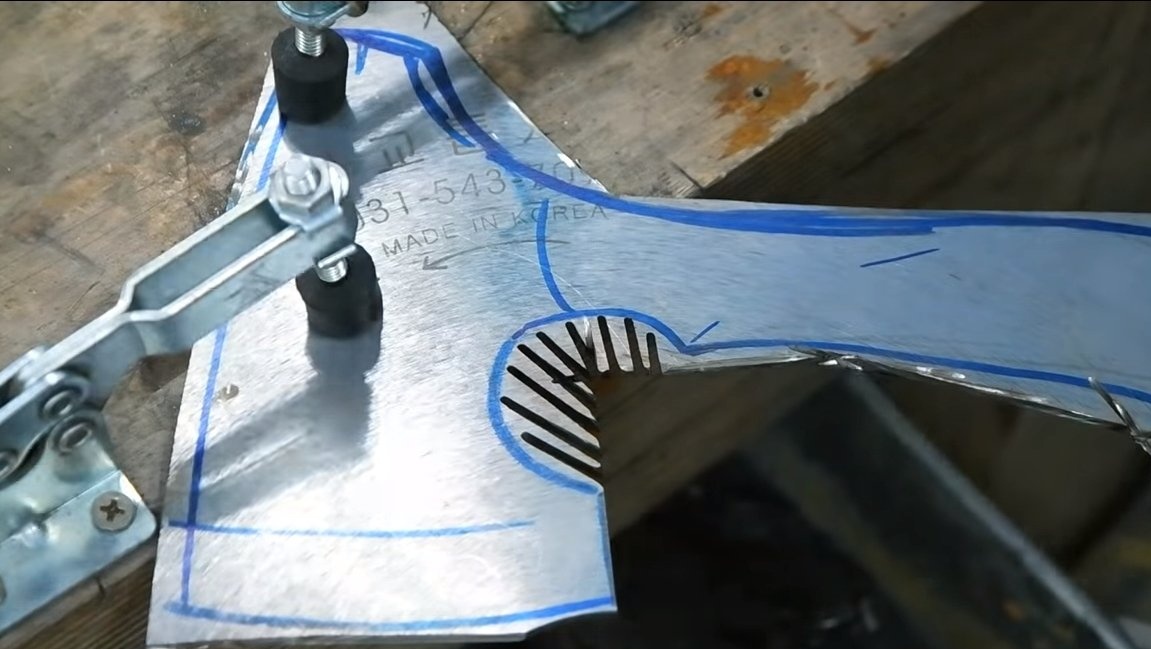
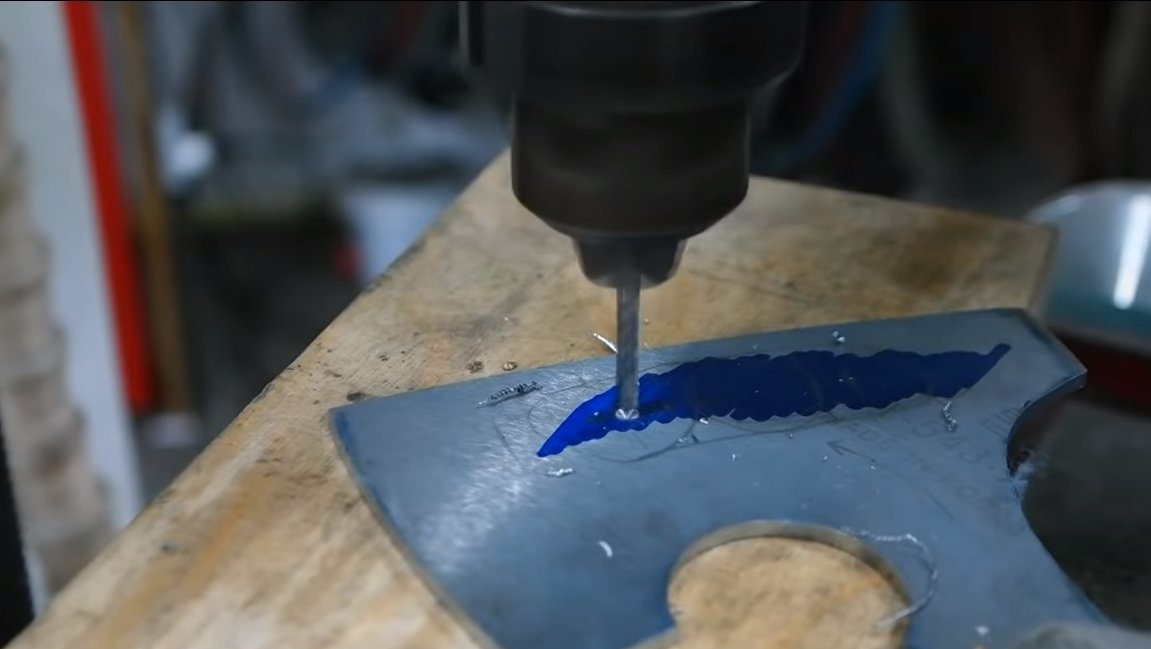
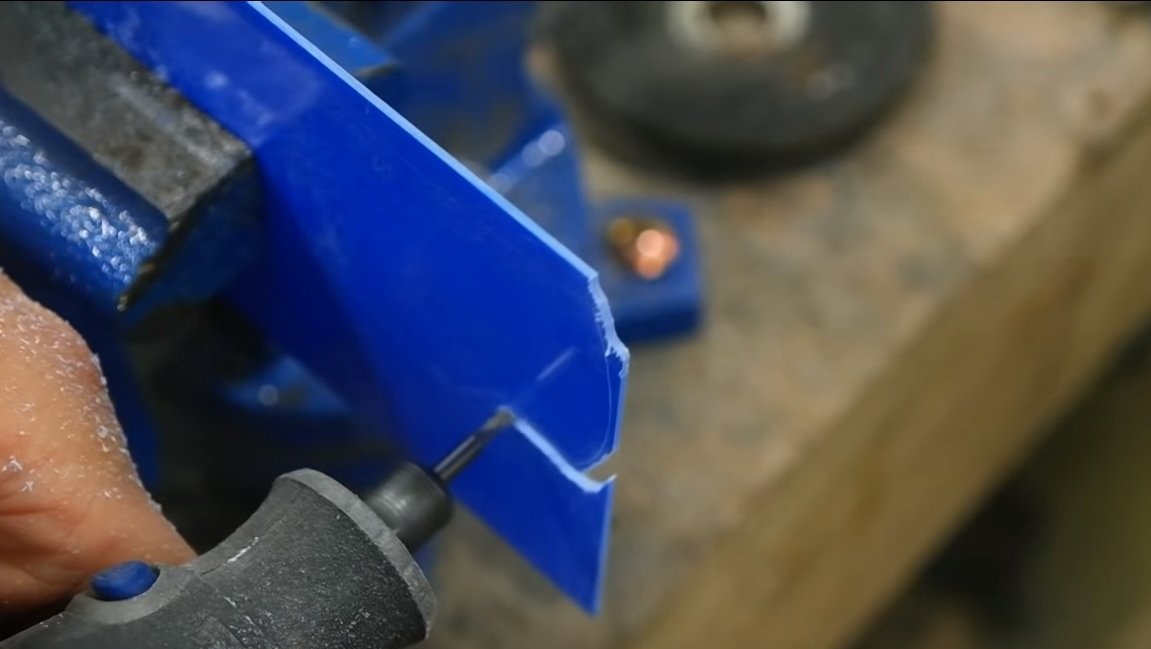
The hole is oblong and has a rather large diameter. To solve this problem, we need a drilling machine with crowns. Crowns will be needed with carbide tips, since steel cannot be drilled with a conventional drill. We mark everything and drill holes along the edges of the future window.
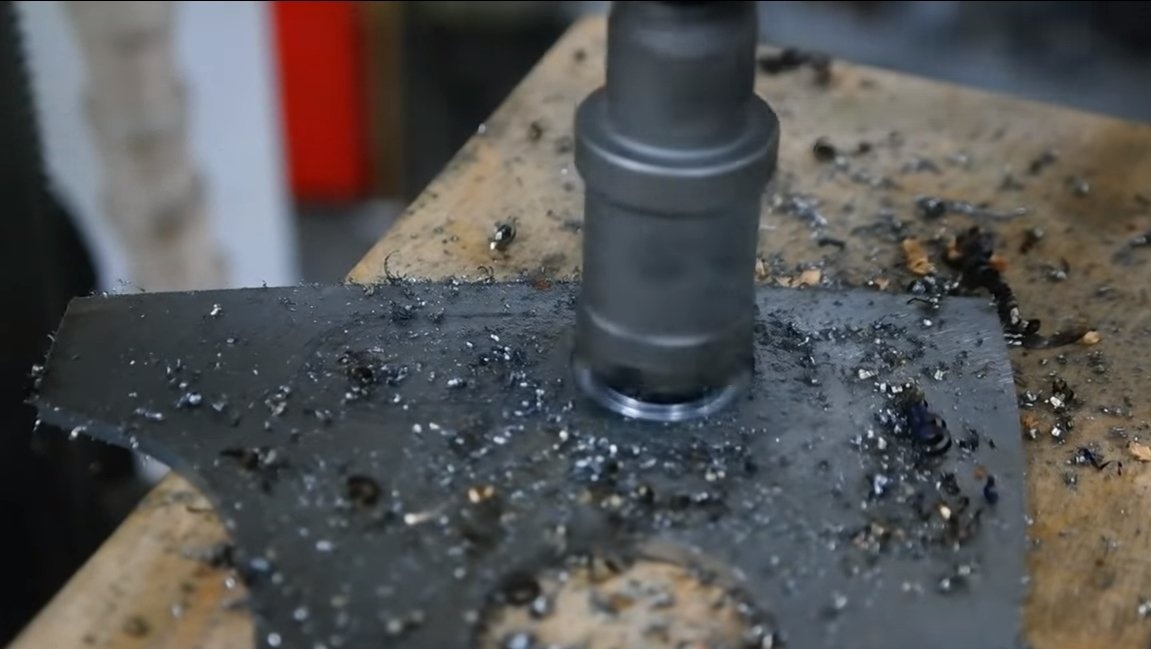
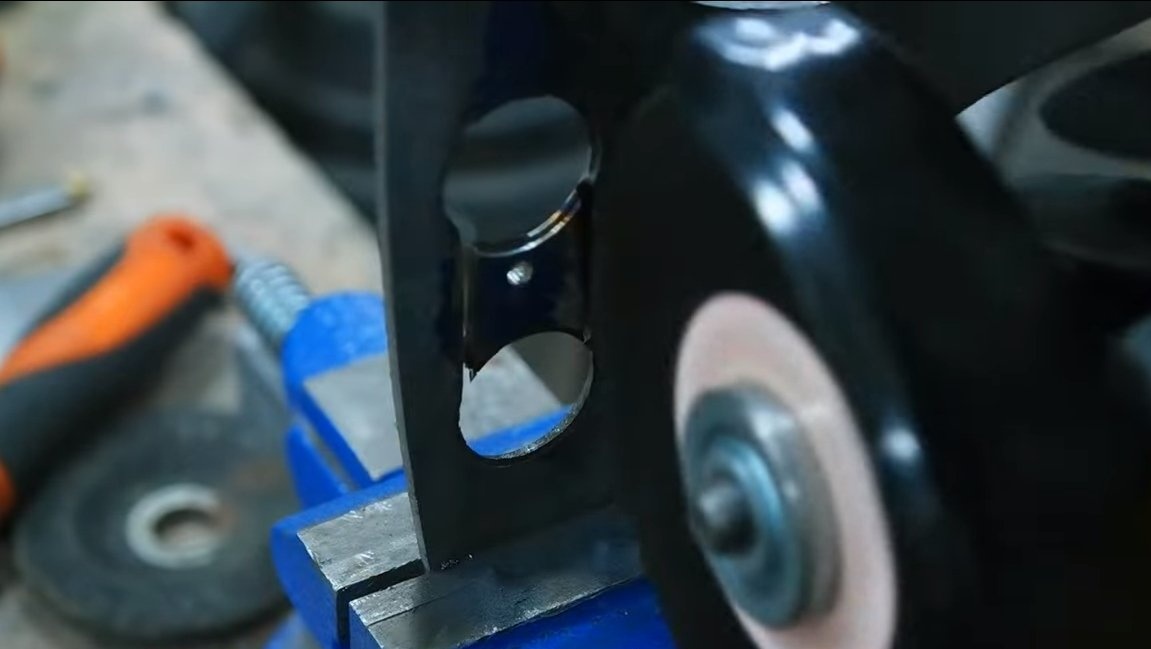
Next, combine these holes, cutting a piece of metal with a grinder. That's all, now you need to modify the hole with a metal file. Do not forget to drill holes in the handle for pins before hardening.
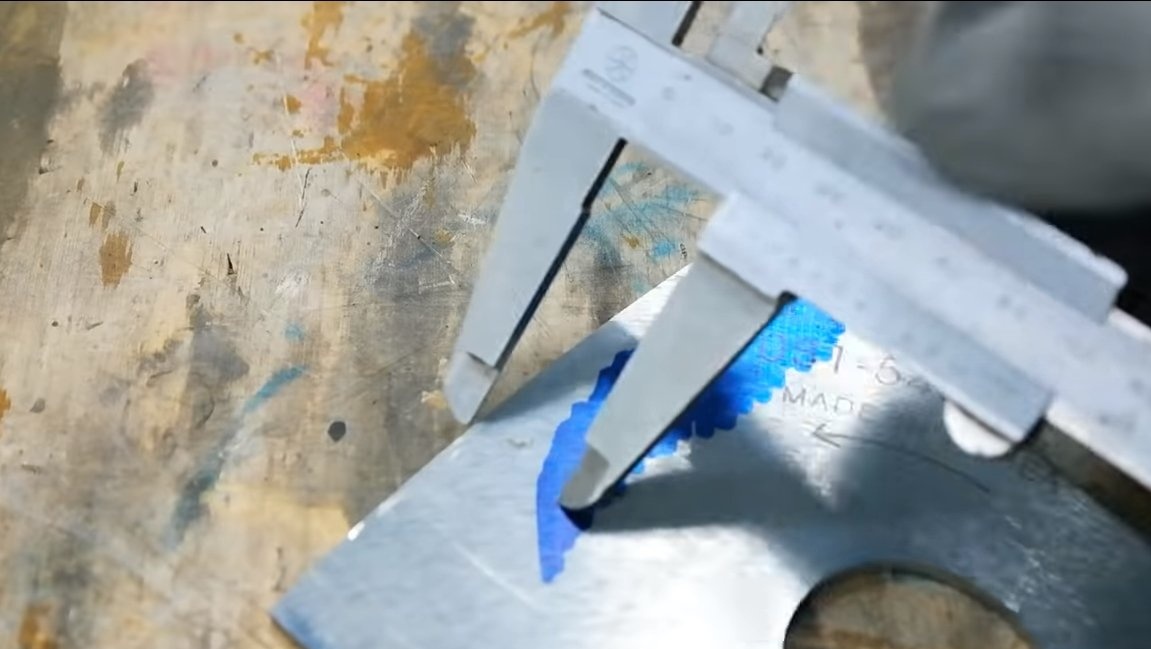
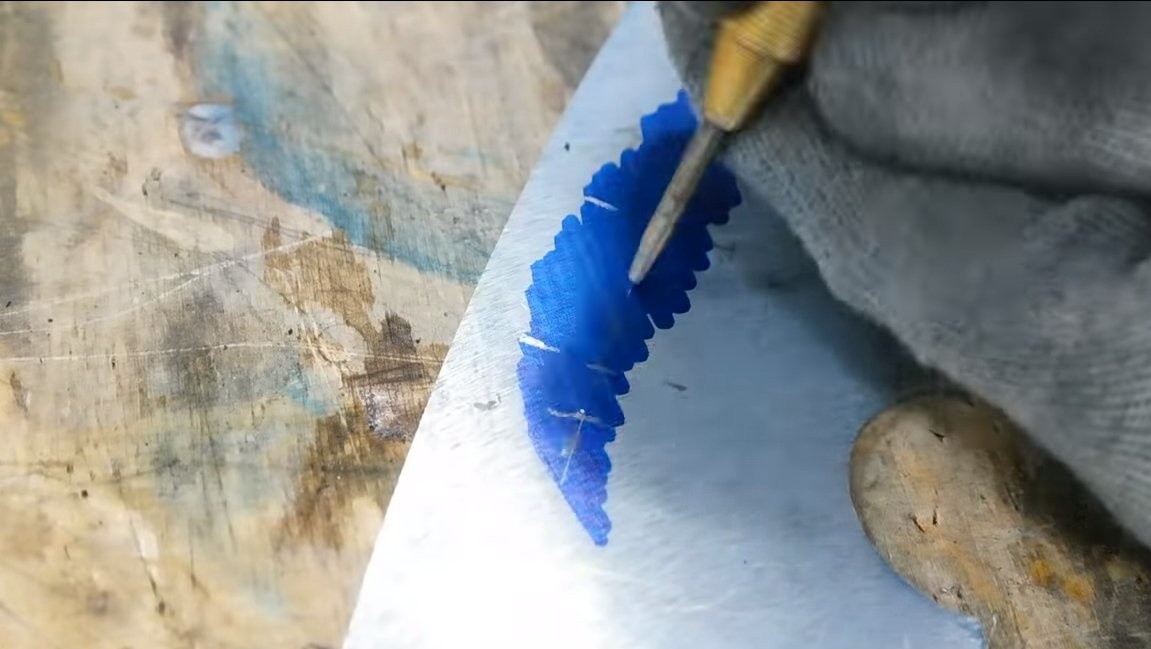
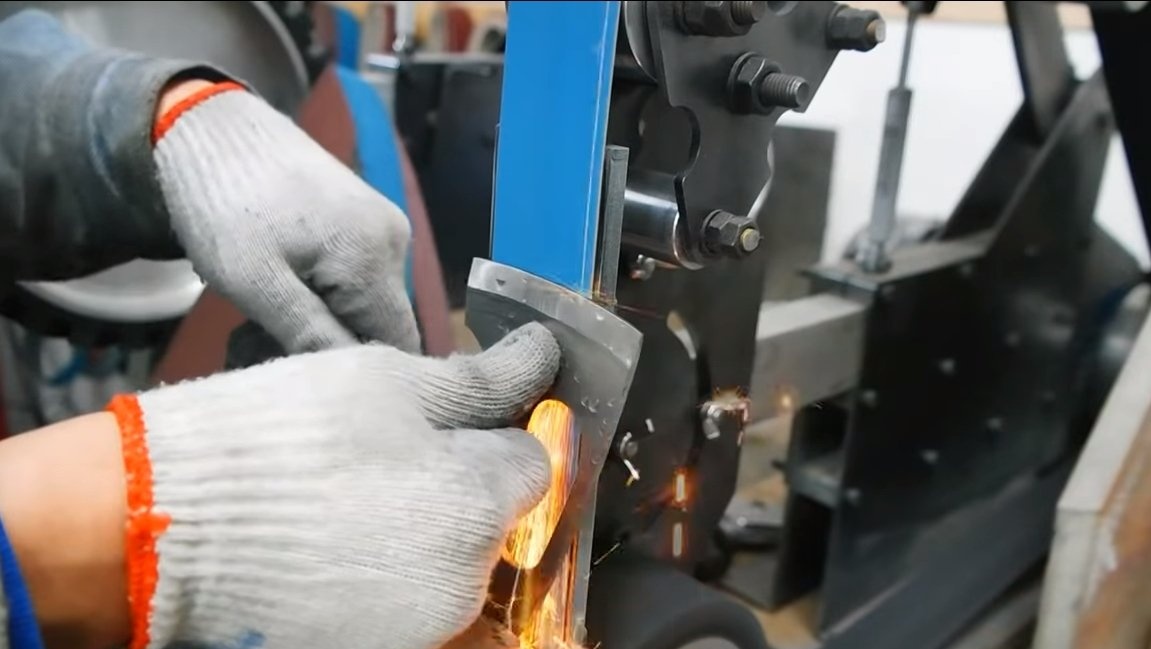
Step Four Bevels
We make bevels on a hatchet, they can also be made by eye, since our blade is small. We carry out the work on a belt sander, it is necessary to ensure that the bevels are symmetrical.
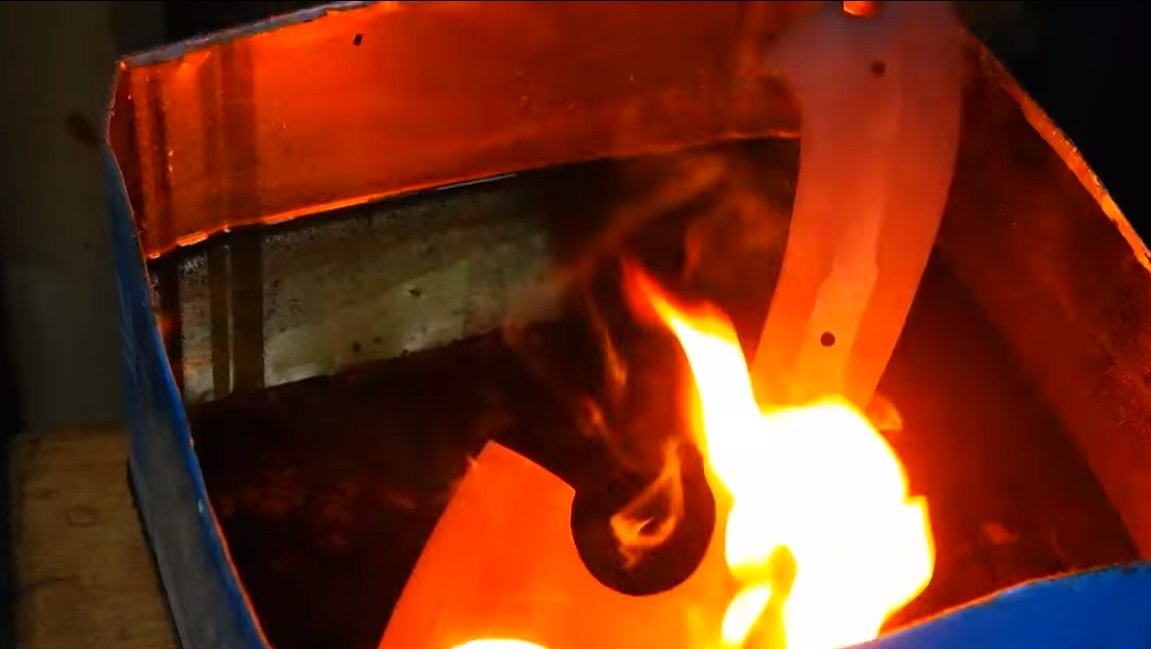
Step Five Quenching
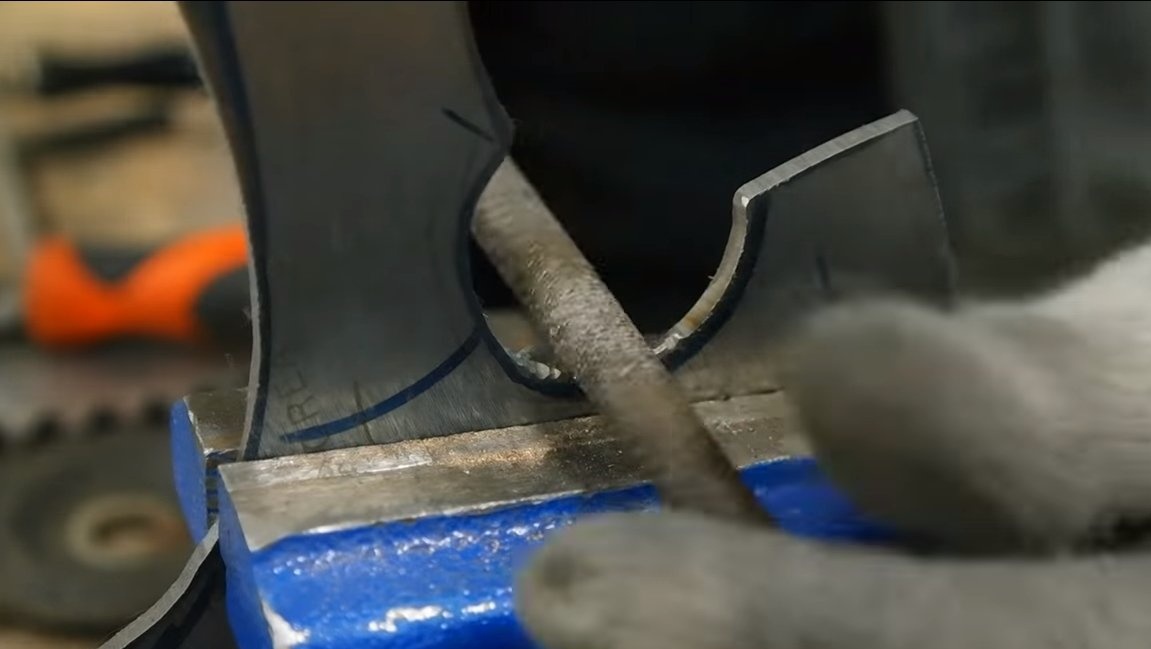
If the saw blade is made of steel rather than iron, it can be hardened. We heat the hatchet to a red glow, at the right temperature, the magnet should stop responding to steel. Next, immerse the ax in the oil and check whether it turned out to harden the steel. The metal should start to ring, and it should not be taken with a file.
After hardening, it is necessary to release the steel, otherwise it will be brittle. This is usually done in the oven, the temperature should be about 200 degrees Celsius. We warm the ax for about an hour or two, the metal should become a straw color. If everything is done correctly, the handle of the ax should begin to spring, if you clamp the ax in a vice and pull the handle to the side.

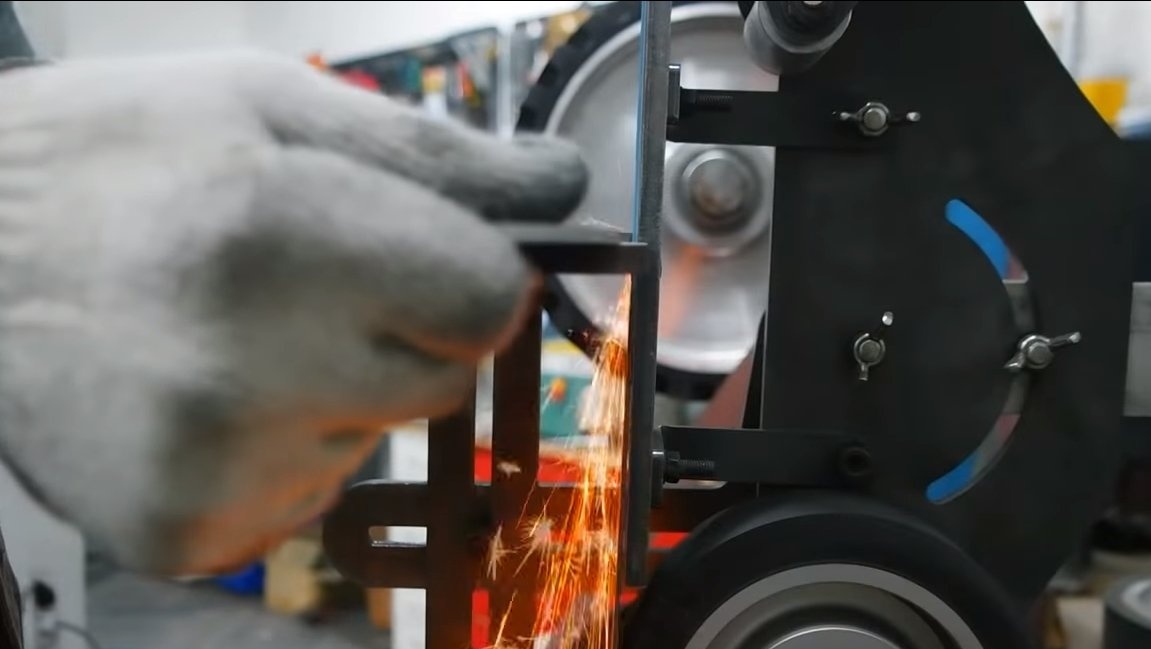
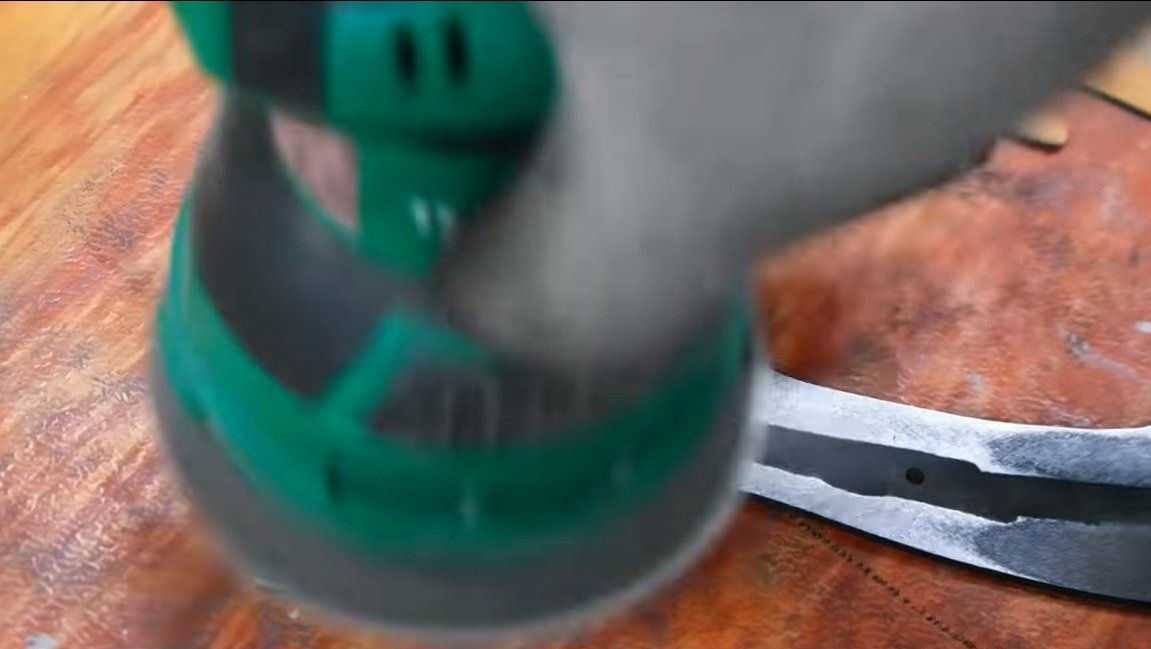
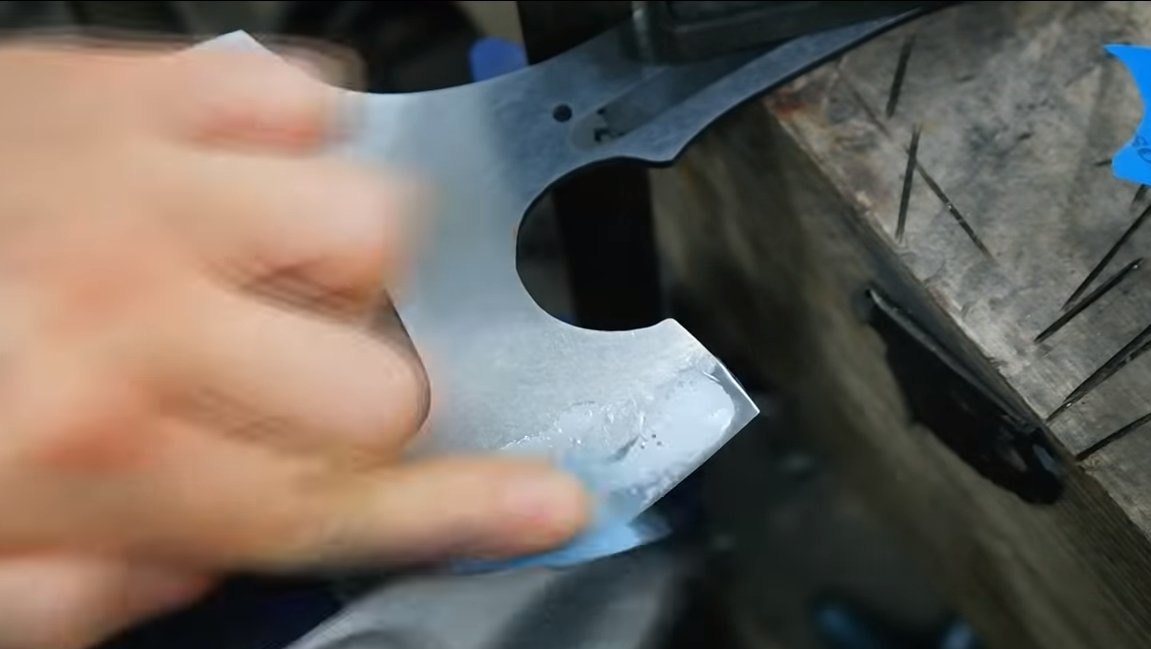
Step Six Grinding
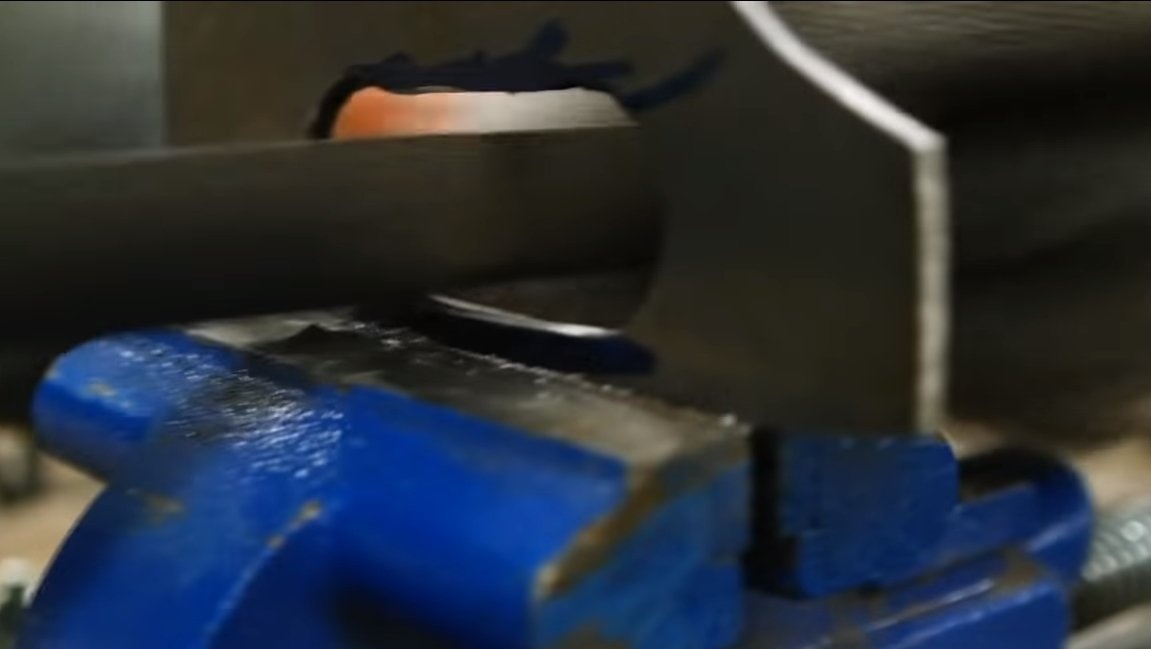
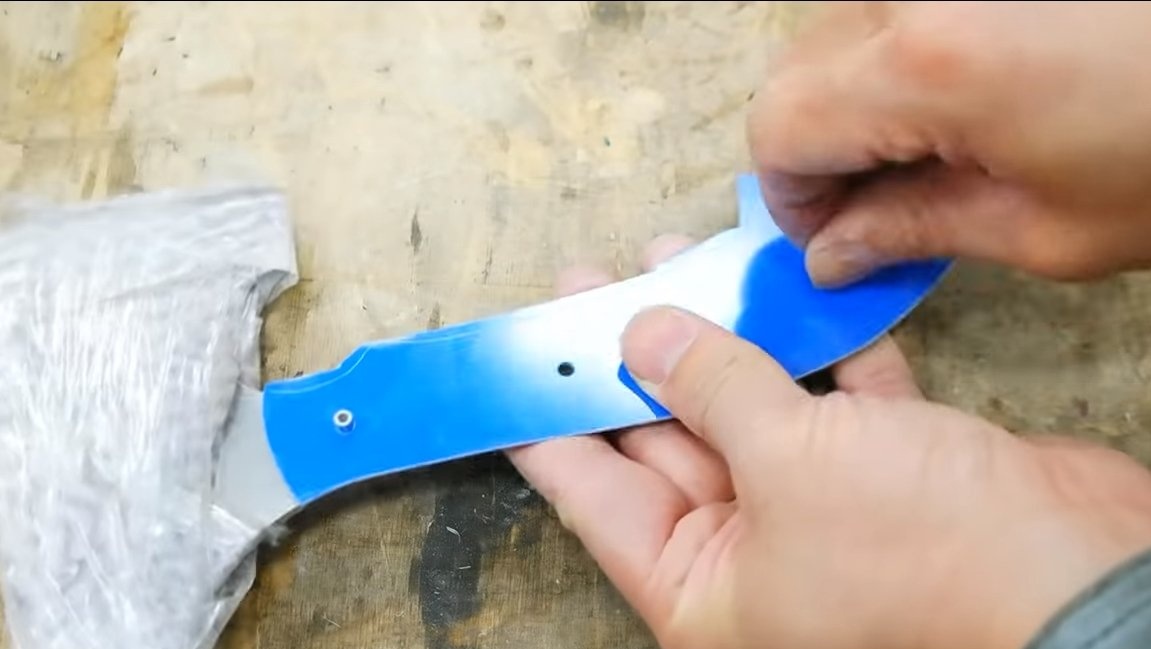
After hardening, the hatchet must be carefully sanded, rough work can be carried out using an orbital or other grinding machine. The author decided to polish the hatchet blade, here we need small sandpaper, we need to work with water, so grinding is much more effective.
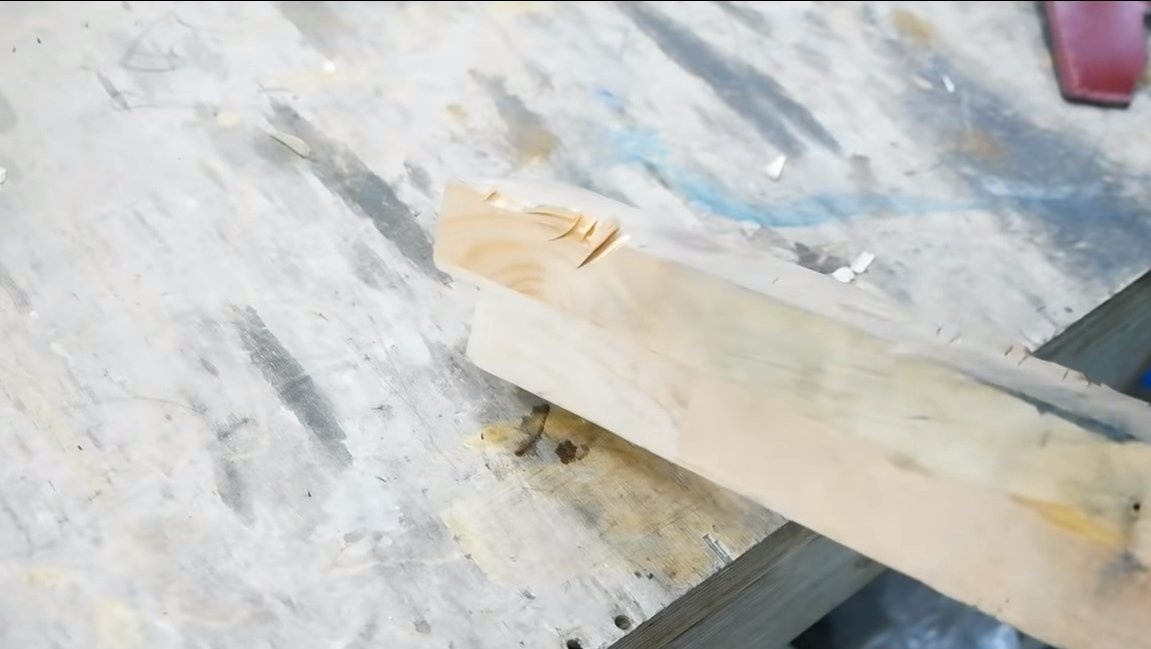
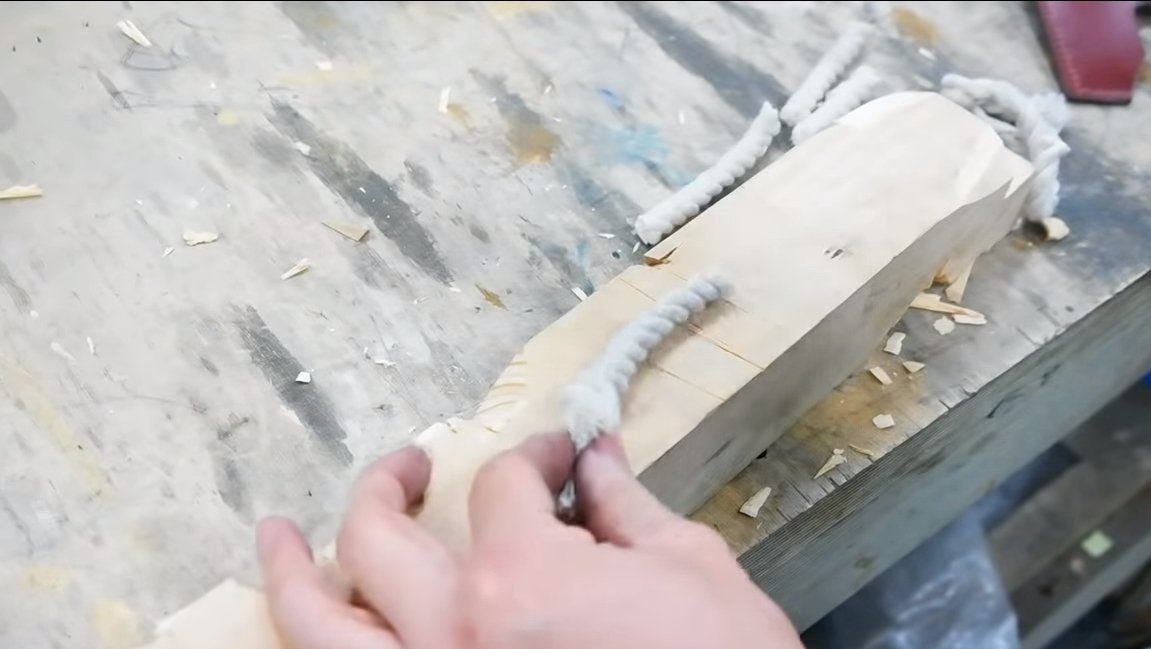
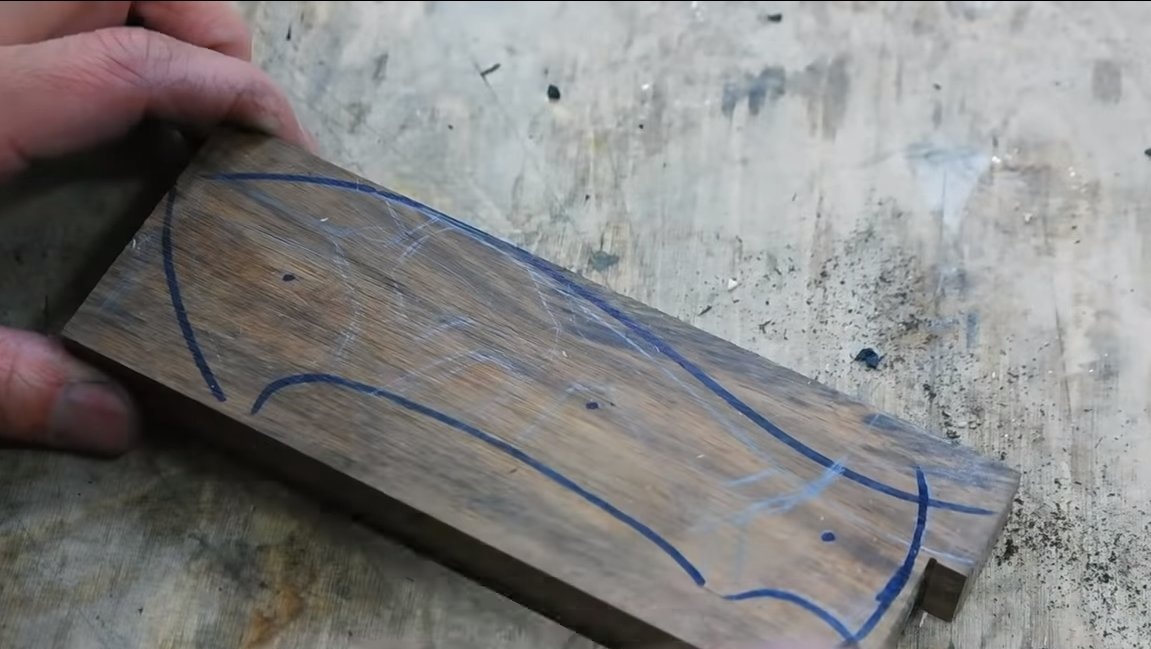
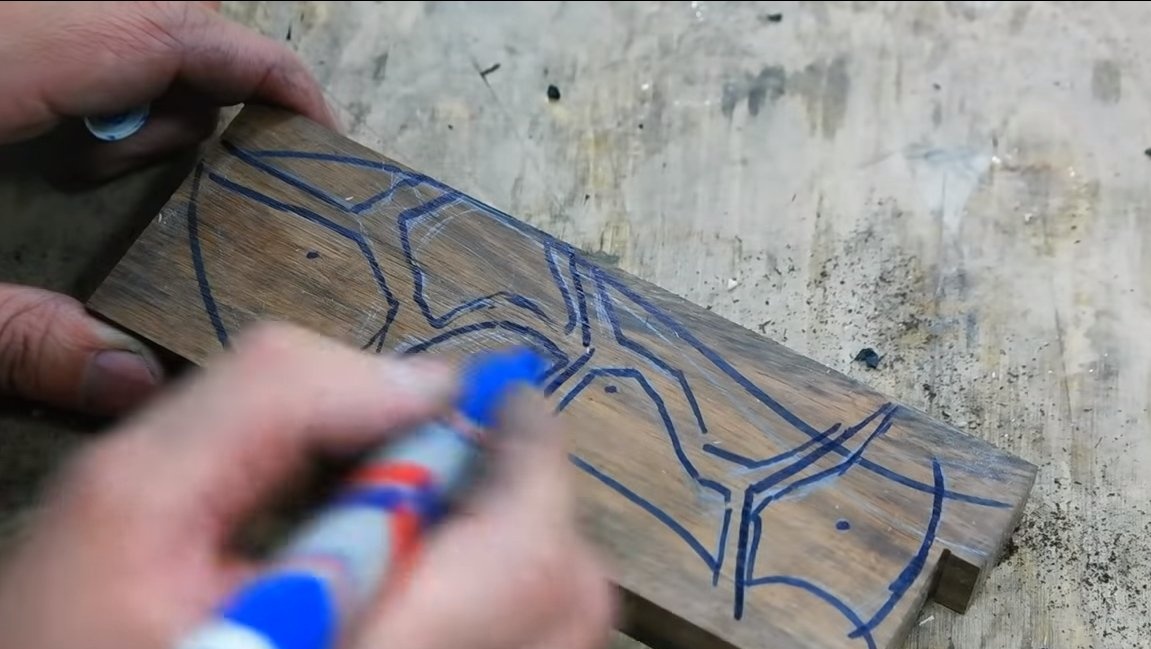
Seventh step. A pen
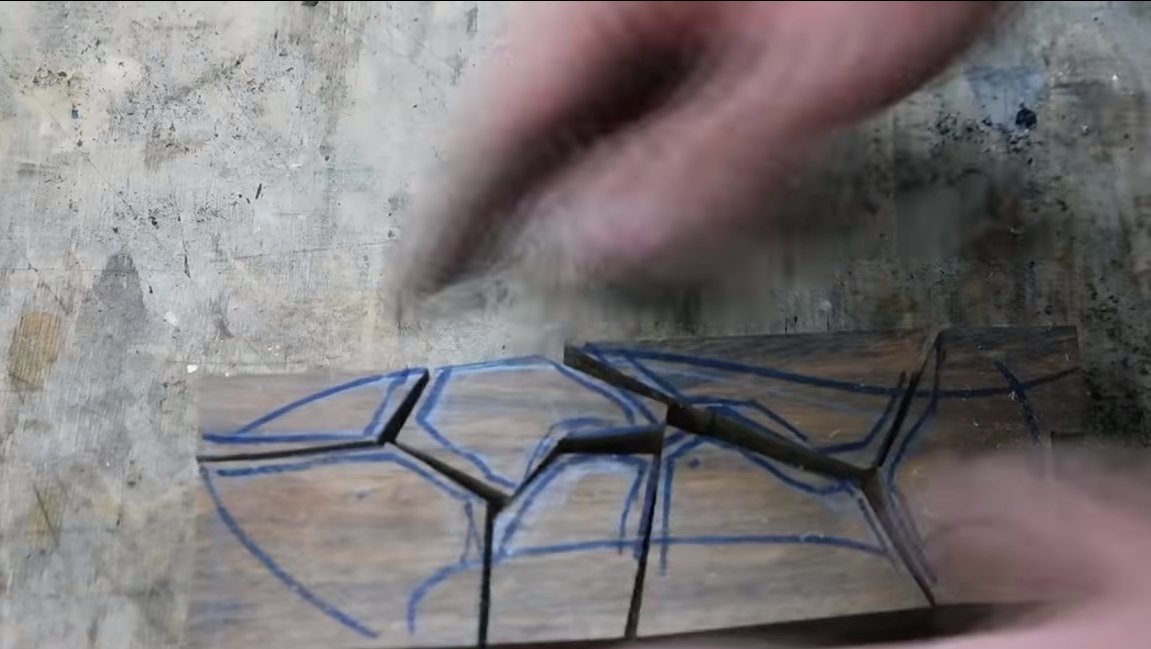
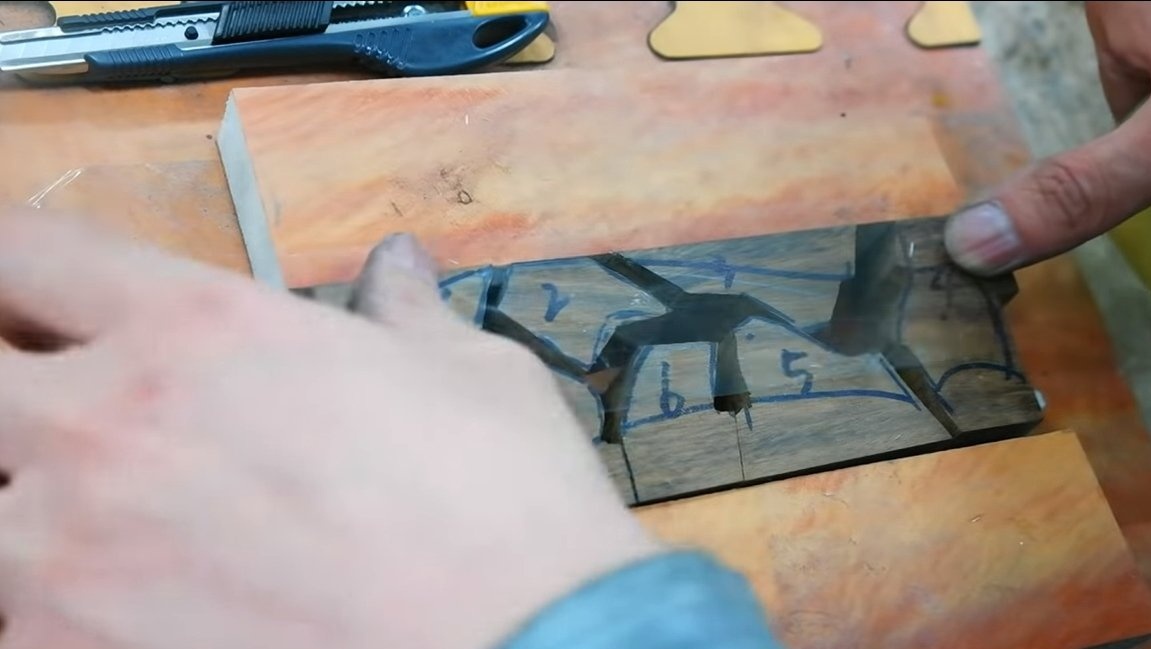
We make pads for the handle, we have them combined, made of wood and epoxy. We outline the handle on the tree and cut out the future handle. The thickness of the workpiece should be such that it can then be cut lengthwise into two halves and get two workpieces.
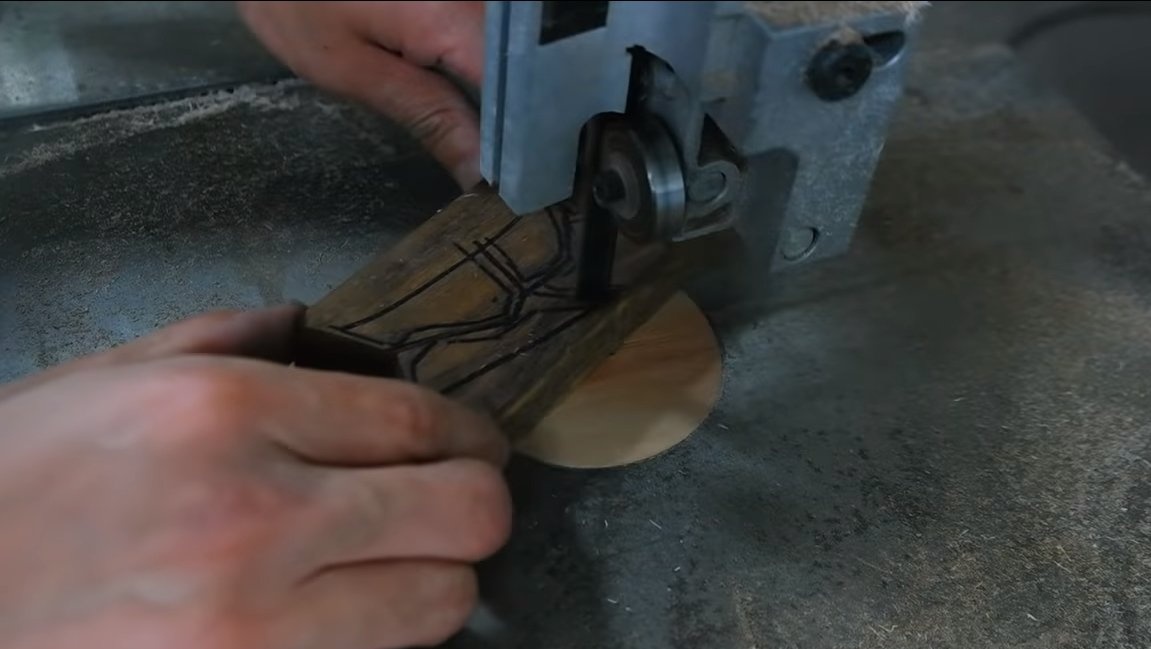
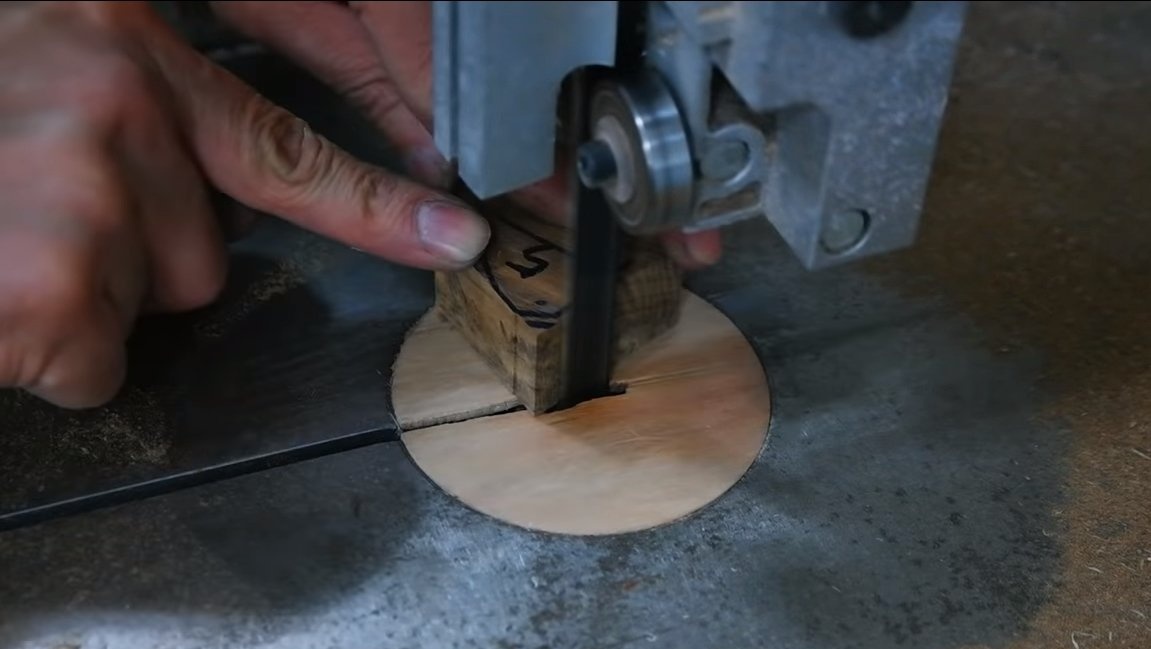
We cut the workpiece on a tape cutting machine, this task can be handled by any other specialized tool, including a manual jigsaw.
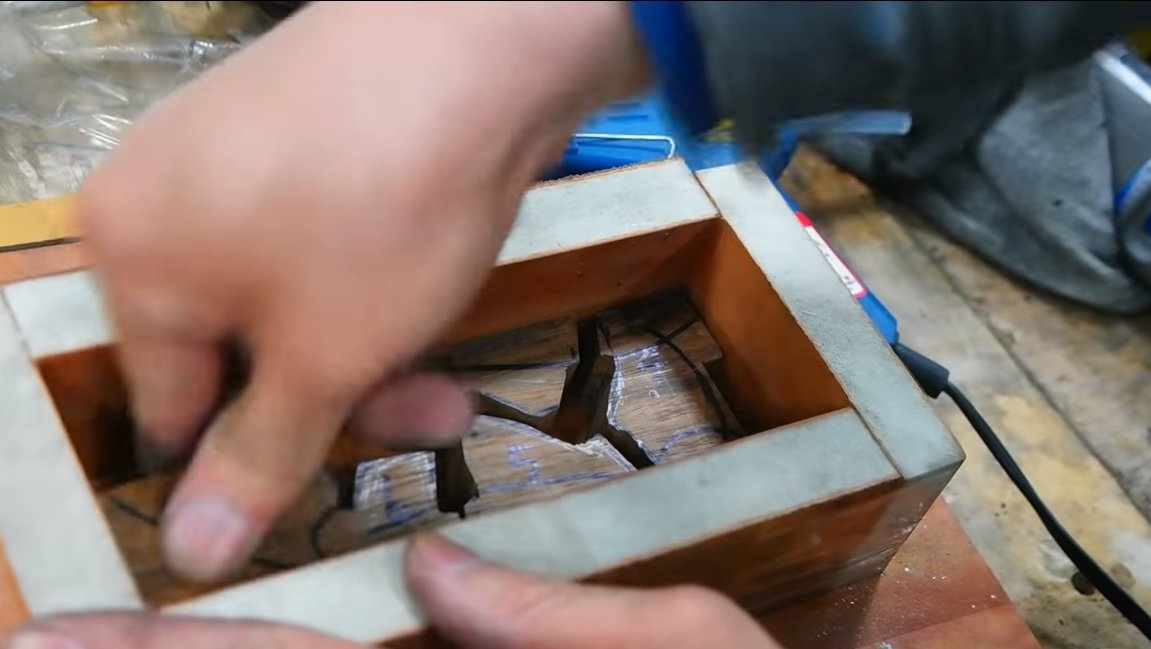
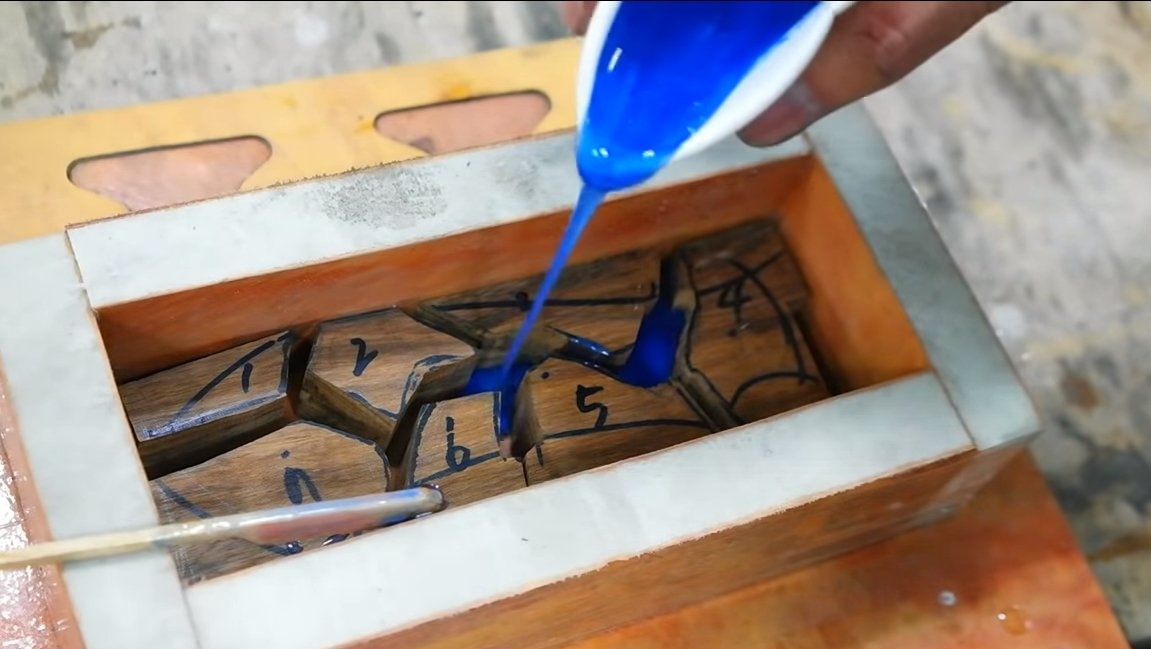
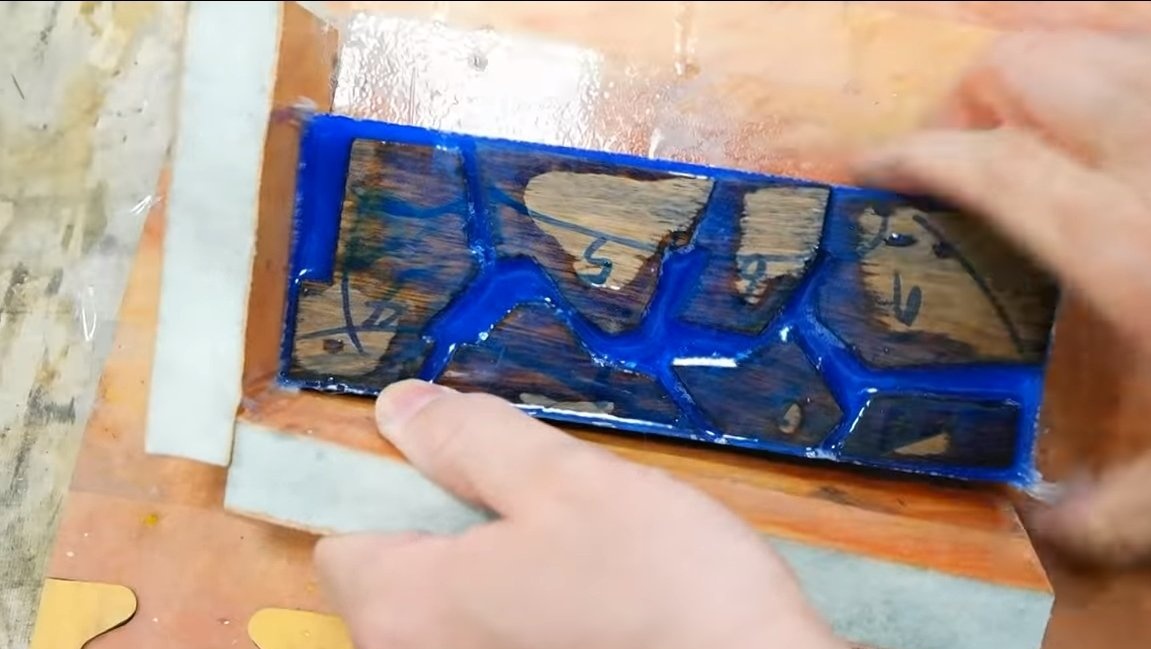
In the workpiece, you need to cut out channels for pouring epoxy. Glue the received parts of the handle with adhesive tape and put into the formwork for pouring. Acrylic, plywood and other materials are suitable as formwork. Make sure that the resin does not leak anywhere, it is much more fluid than water. Knead the resin, add the blue dye and fill it, waiting for complete solidification.
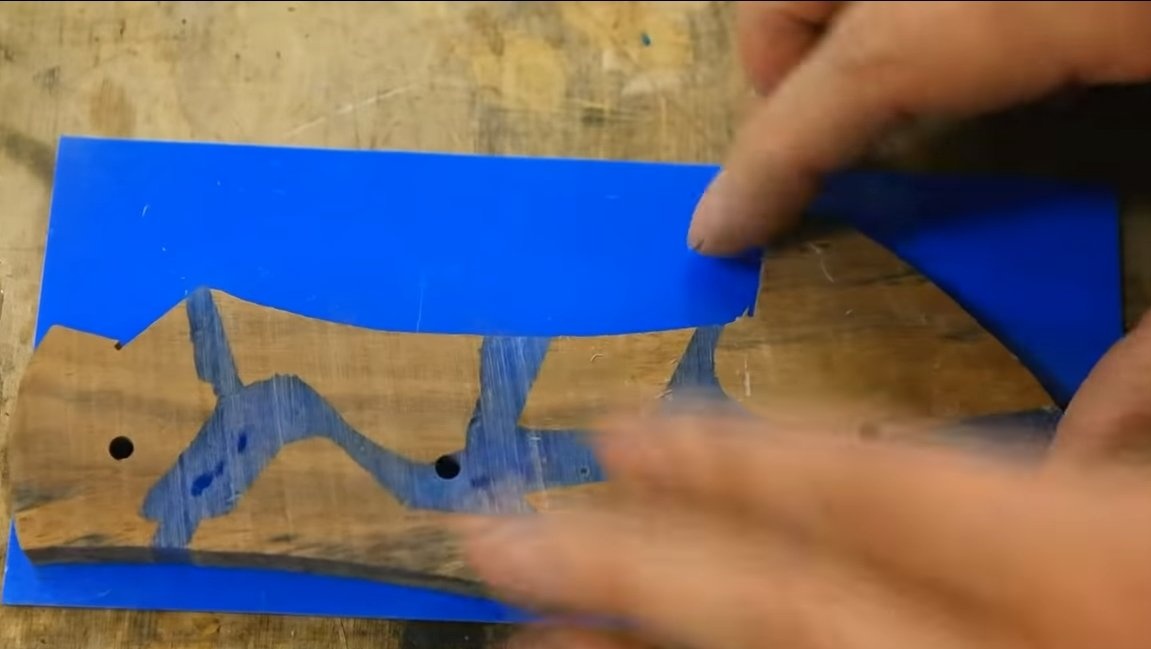
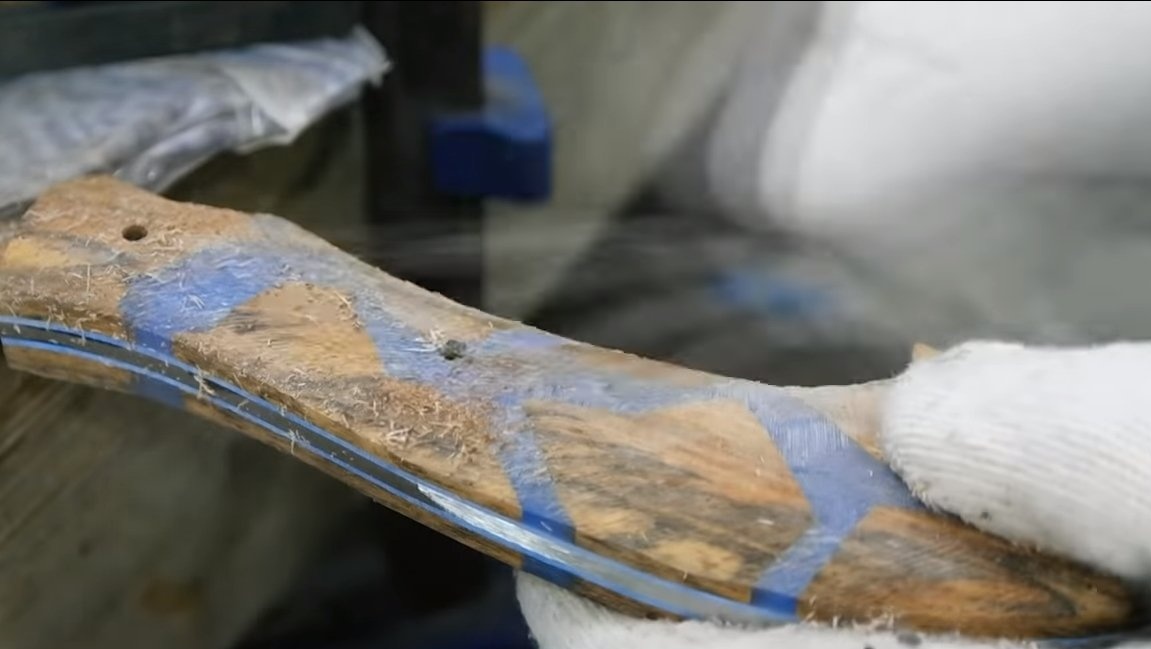
Next, we disassemble the formwork and cut the workpiece, we also need to cut the handle lengthwise into two halves. Between the plates and the metal part of the handle there are also inserts from G10, we cut out the necessary details.
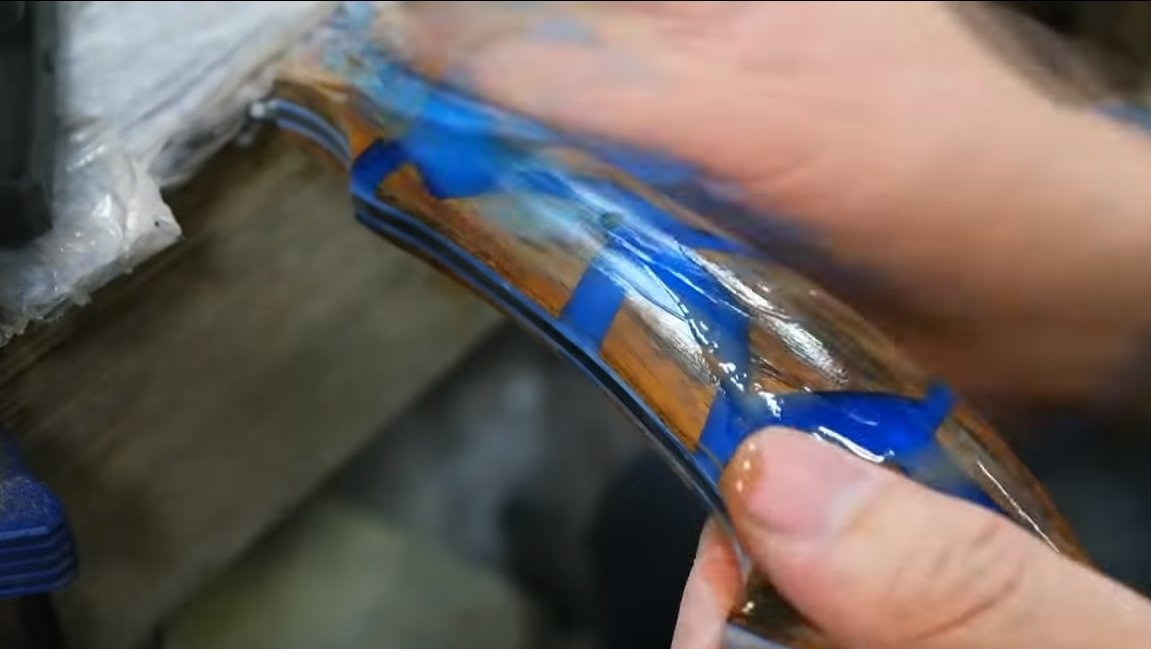
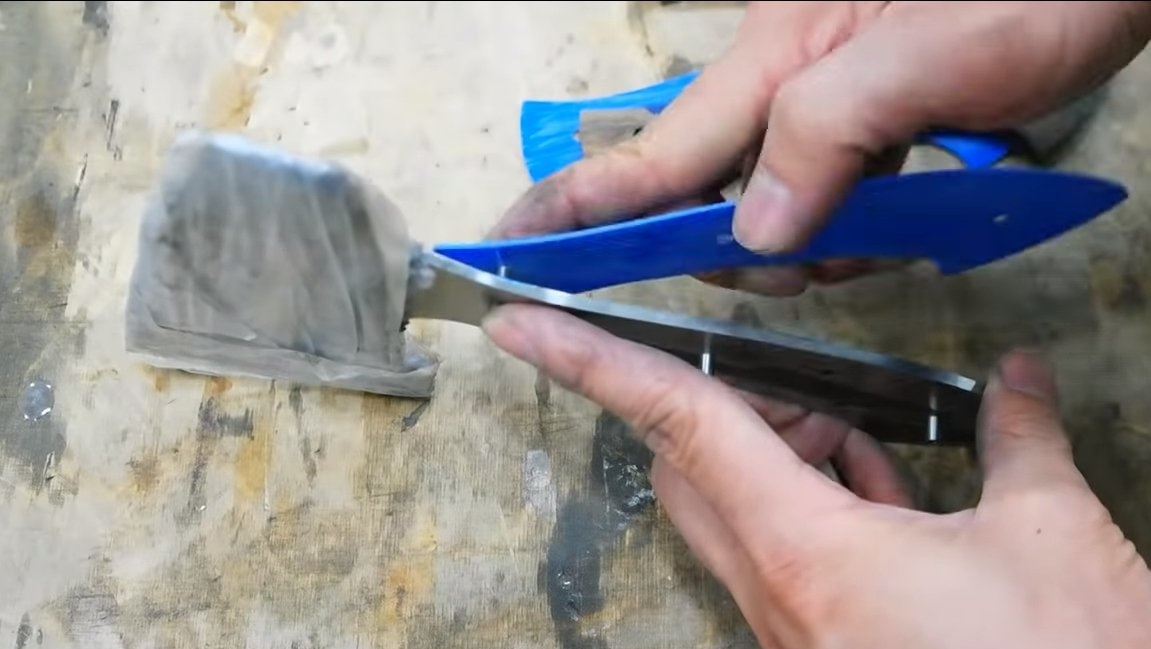
Then we install the blanks on the knife and form the desired profile with files and sandpaper. And to make the resin transparent, you need to polish the handle with a polishing paste.

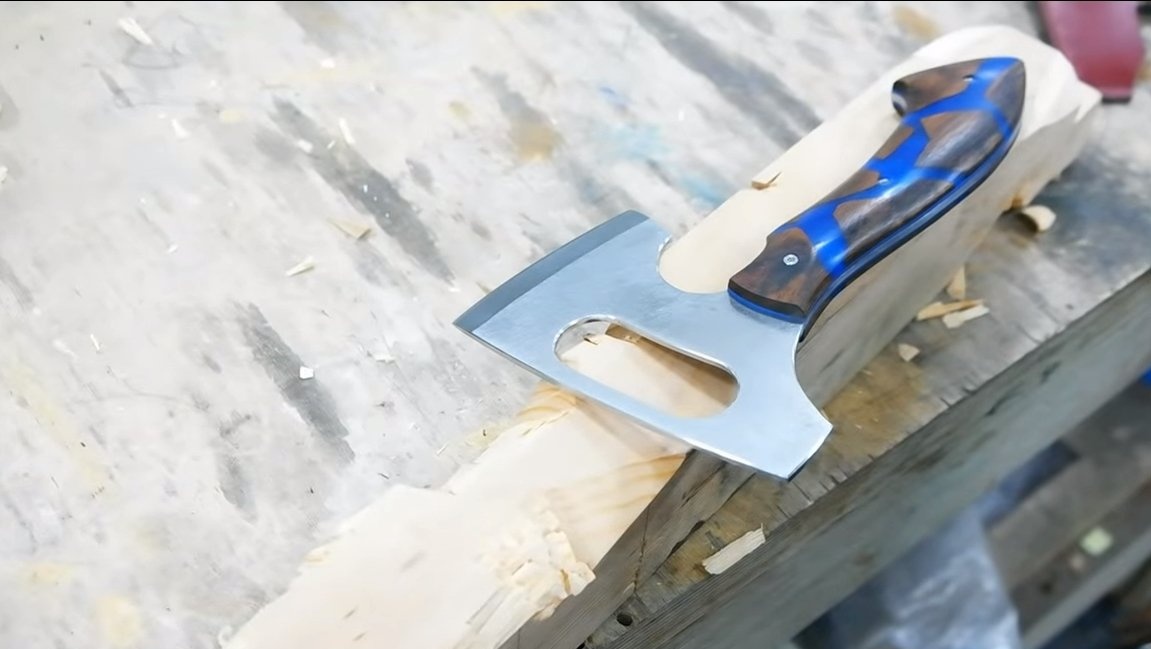
Step Eight. Ax assembly
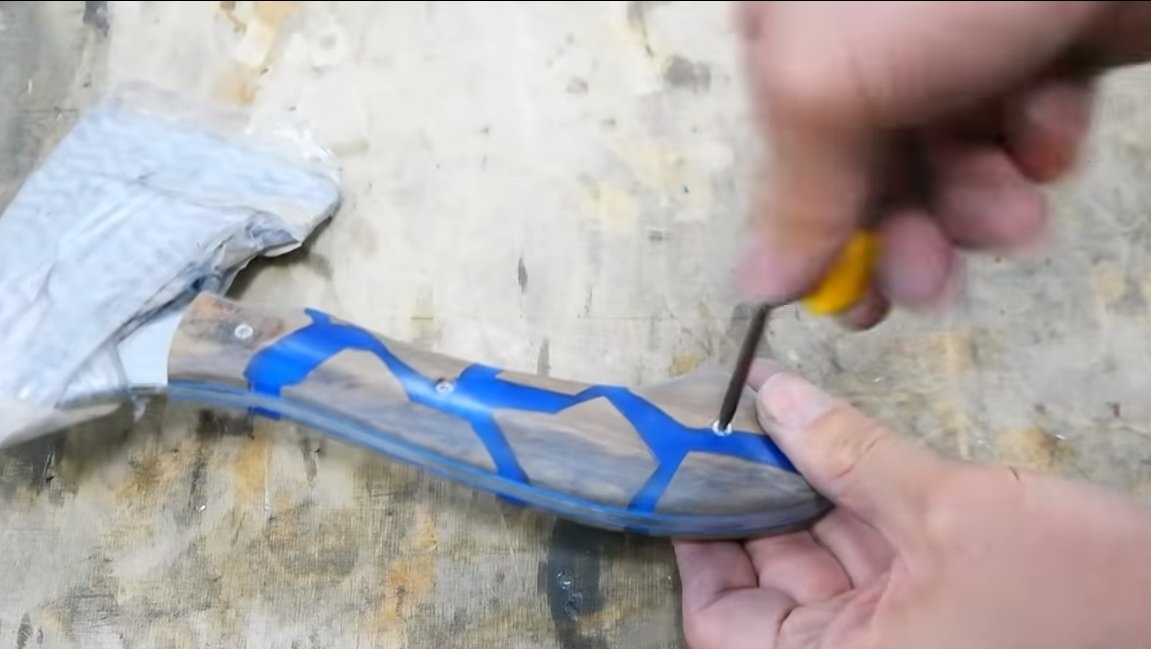
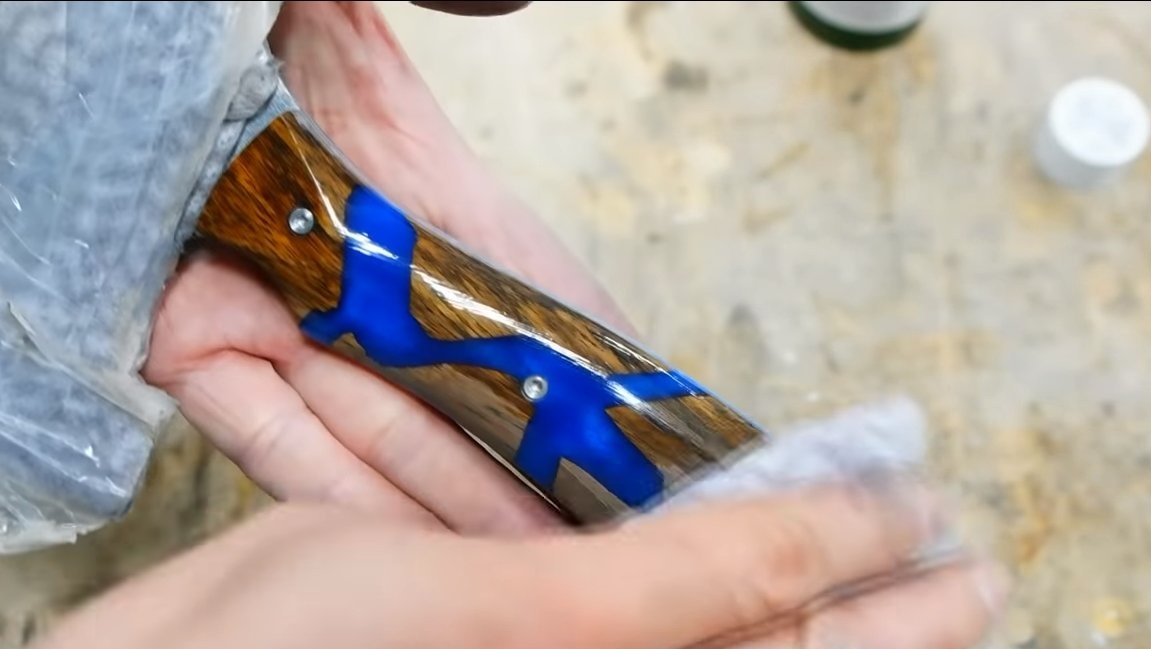
Everything is ready, we assemble the knife, fasten the plates with decorative screws, so they will hold tight, and it will be easy to replace them. We cover the handle with oil or varnish to protect the wood, and the handle under such a coating looks masterpiece.
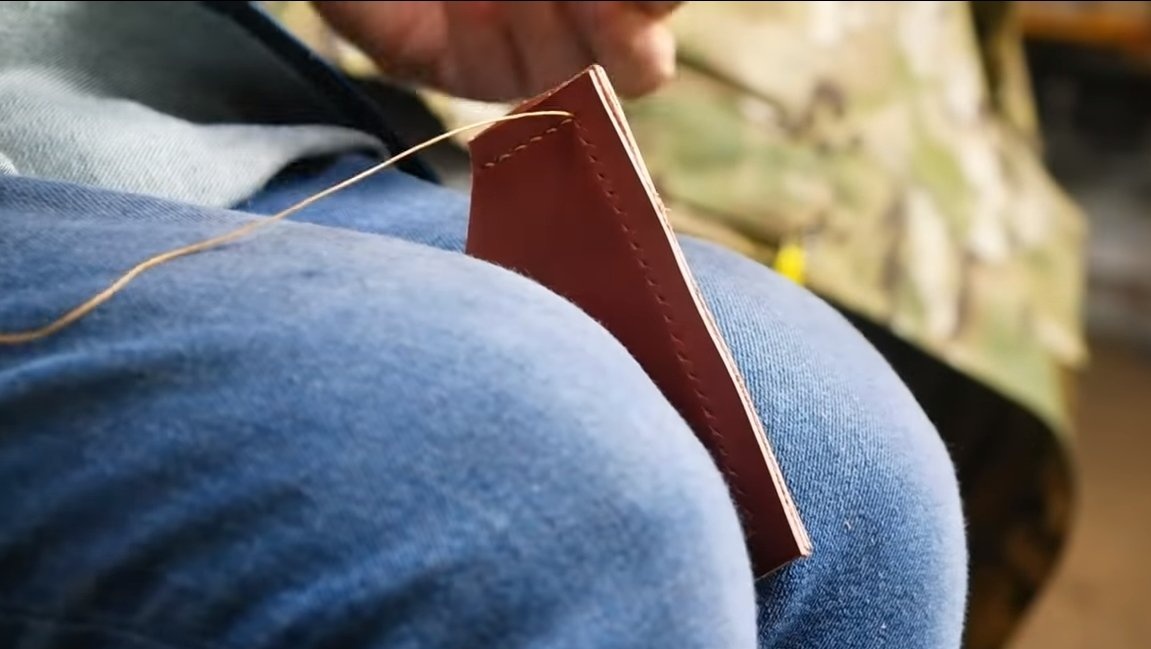
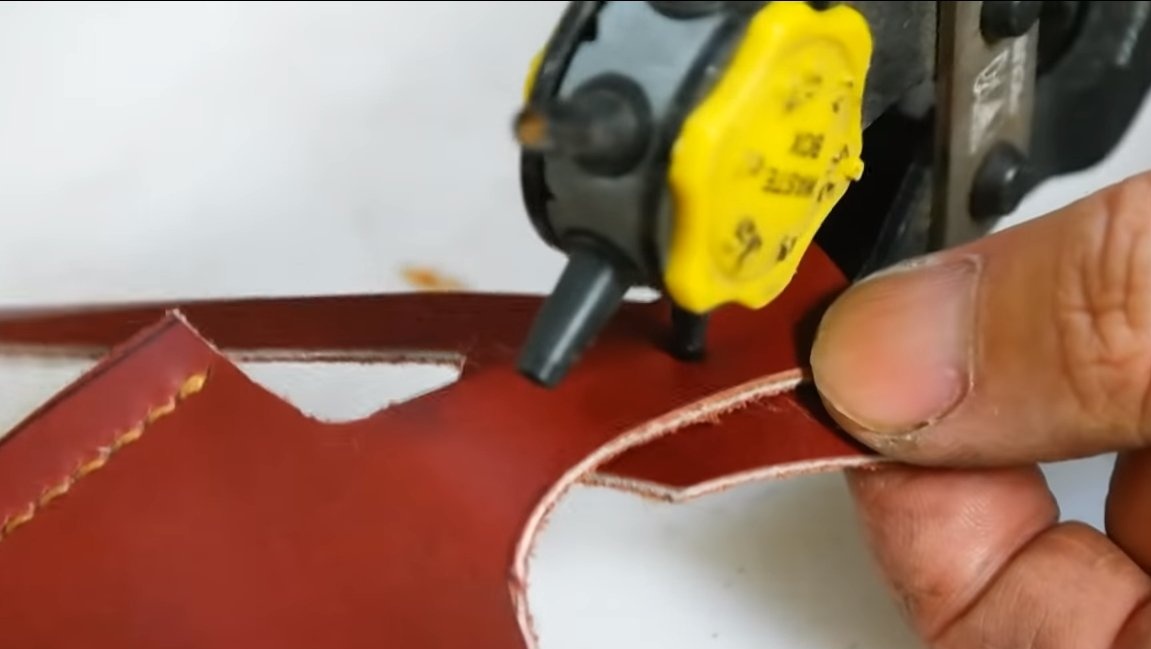
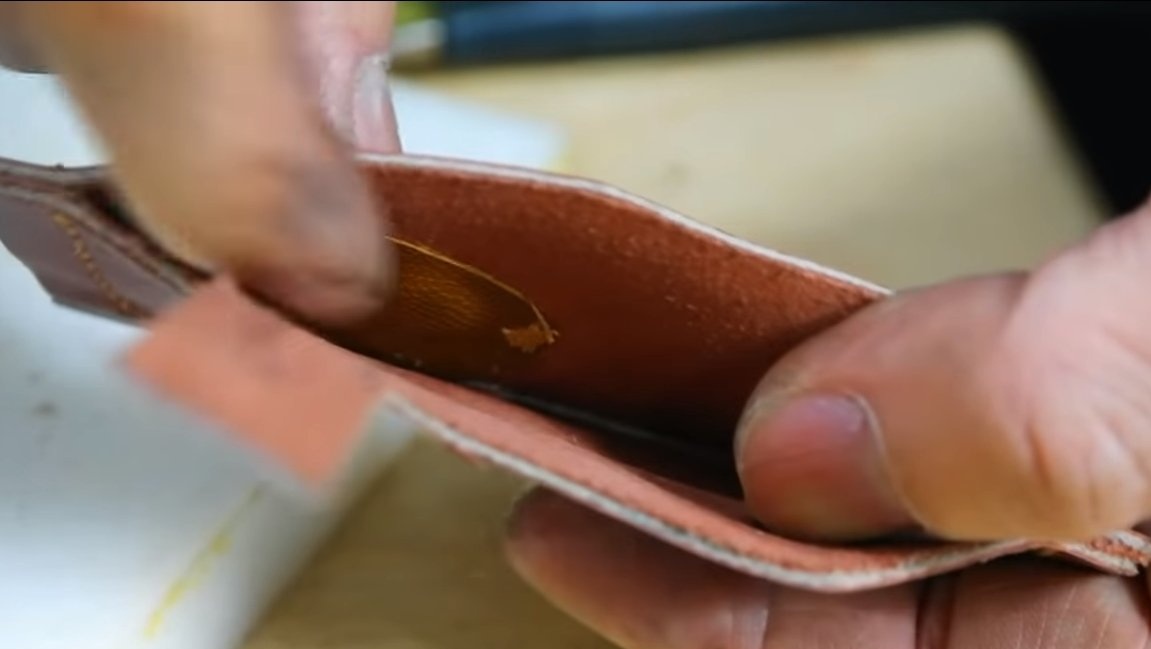
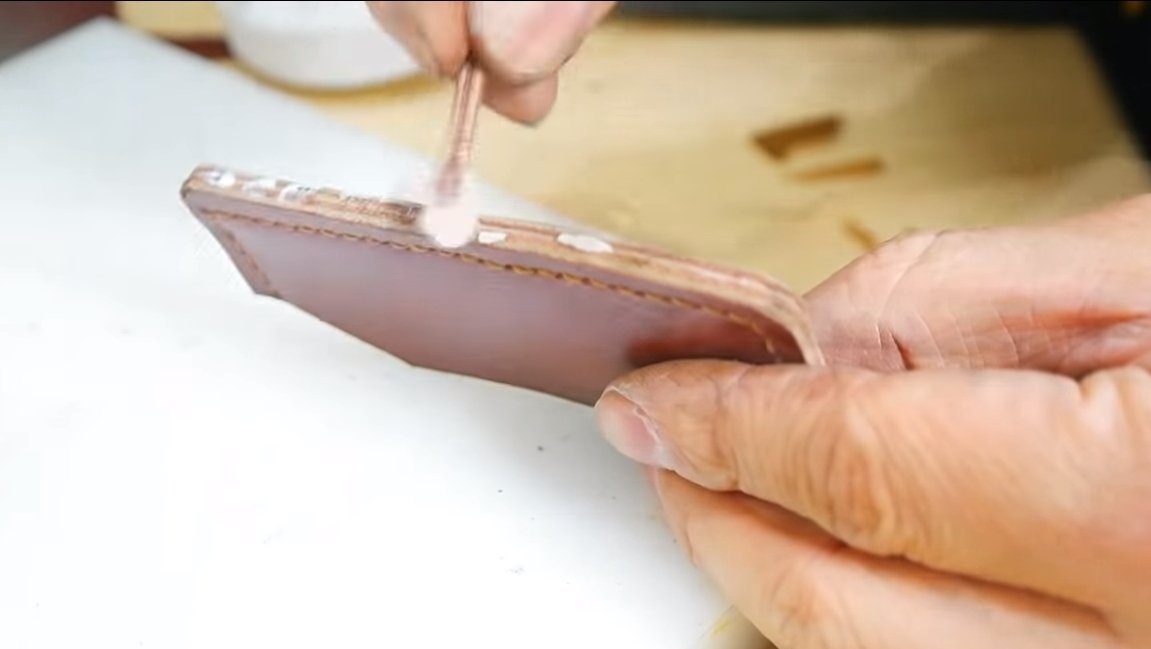
Step Nine. Case and test
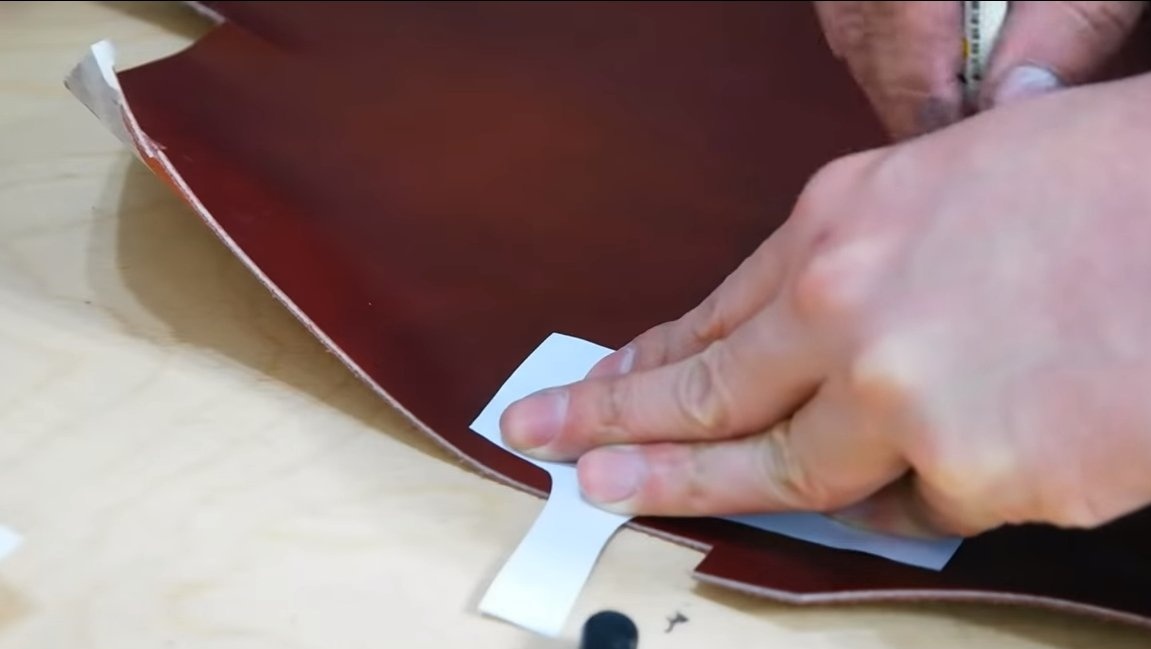
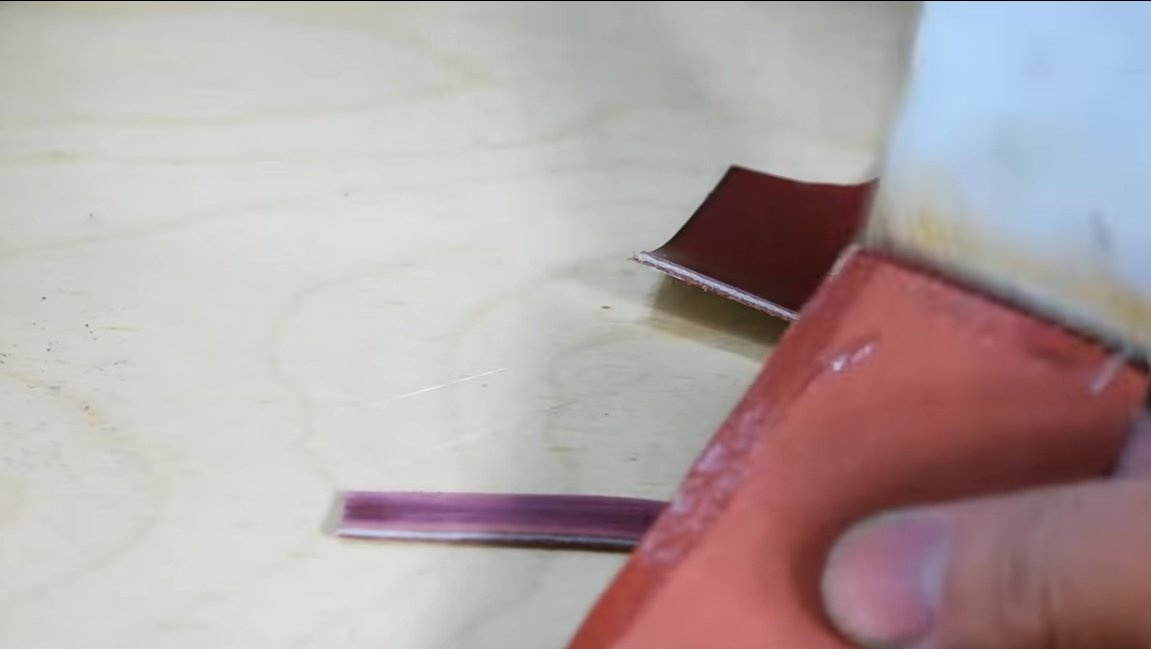
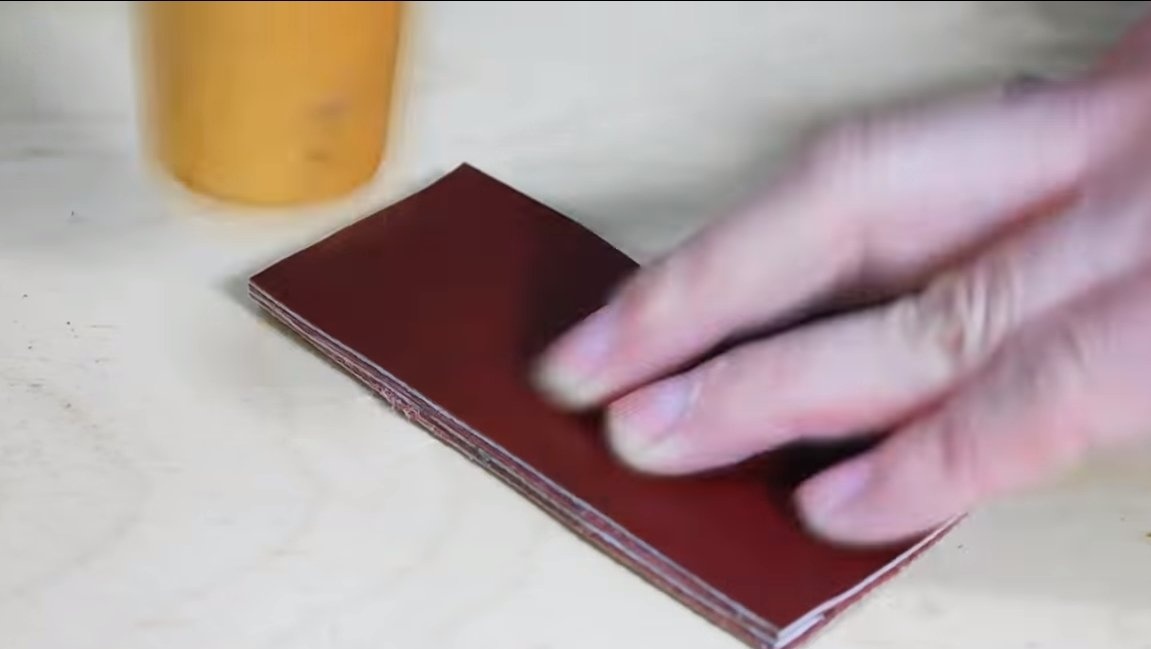
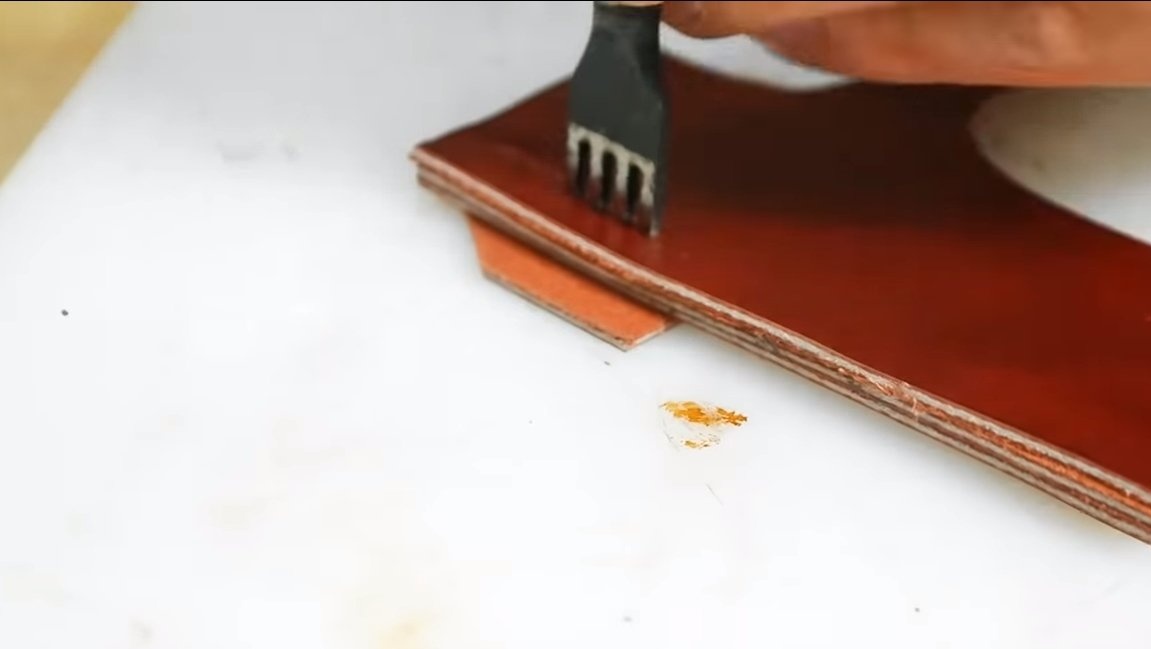
We are assembling a case for an ax, it will be convenient to carry an ax with it, and it will look better. We sew the case from the skin, it closes with a button.
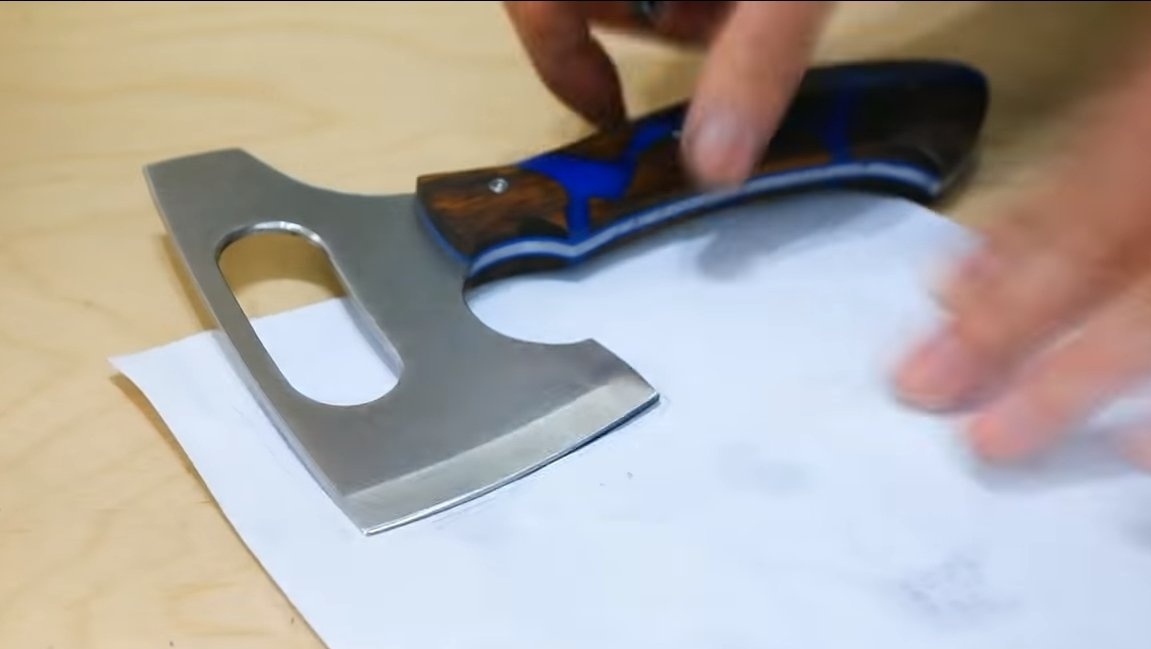


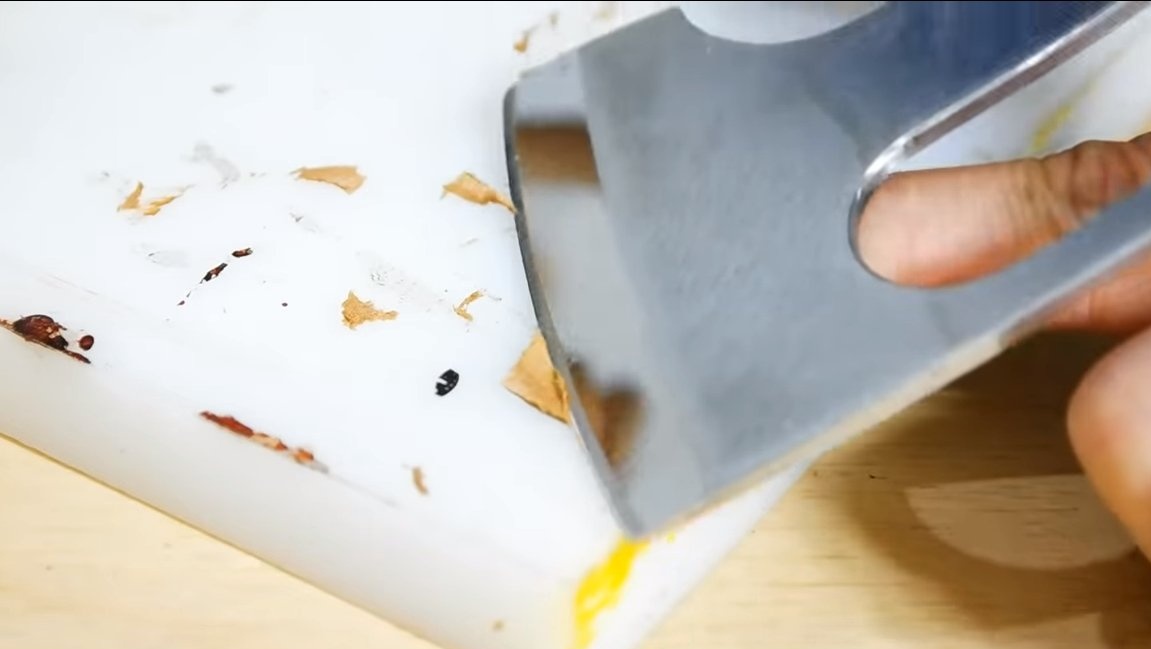
After sharpening the hatchet, it can be tested, the author easily cuts paper with an ax, cuts wood, cuts a rope, and so on. The ax looks great, and it’s convenient to work with it.On this homemade product can be considered finished, I hope you liked the project. Good luck and creative inspiration, if you decide to repeat this. Do not forget to share your ideas and homemade things with us!