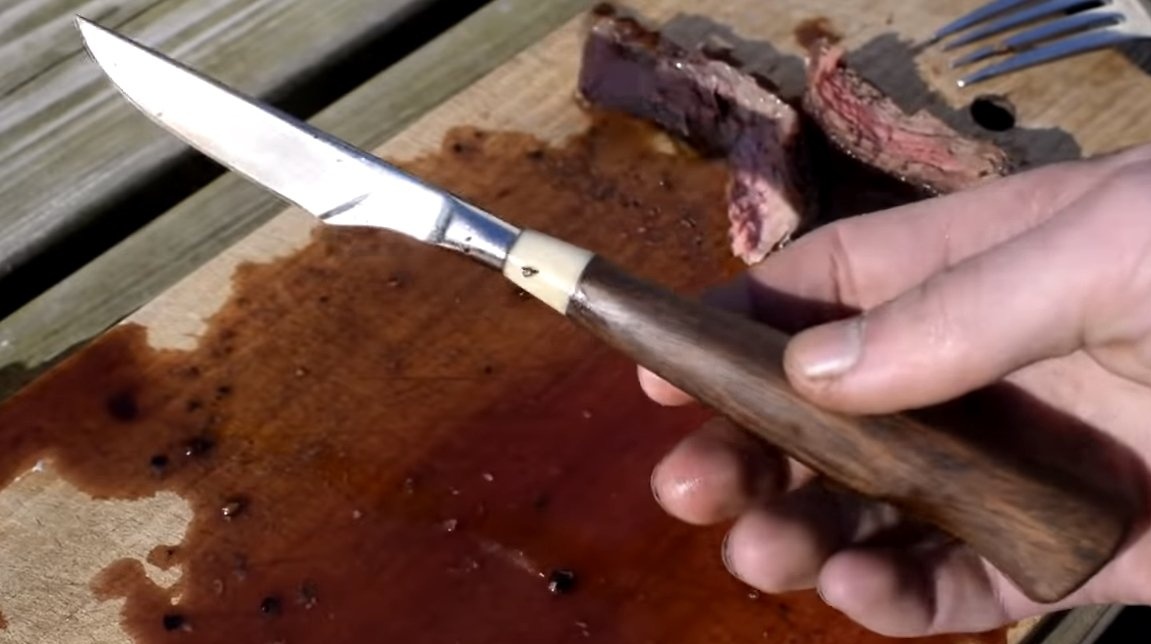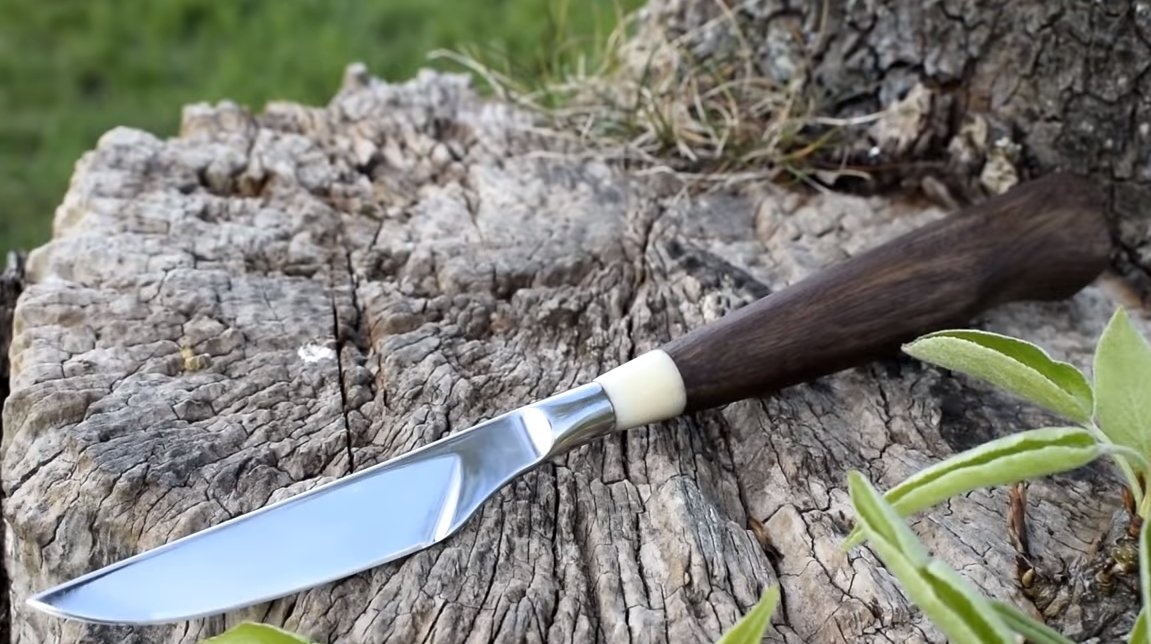
I welcome fans to work with metal, today we will manufacture such a useful thing as a steak knife, of course, such a knife can also be used for a wide variety of purposes in the kitchen. The peculiarity of the knife is that it is made of titanium. This metal is good in that it has a high oxidation stability, which is why medical instruments are often made from titanium.
As for the strength of the blade, with proper heat treatment, titanium has a hardness of about 47 HRC, but in general, blades made of such strong alloys are not needed for kitchen purposes. The blade sharpens perfectly, it is also perfectly polished to a mirror shine. If you are interested homemade, I propose to study the project in more detail!
Materials and tools used by the author:
Material List:
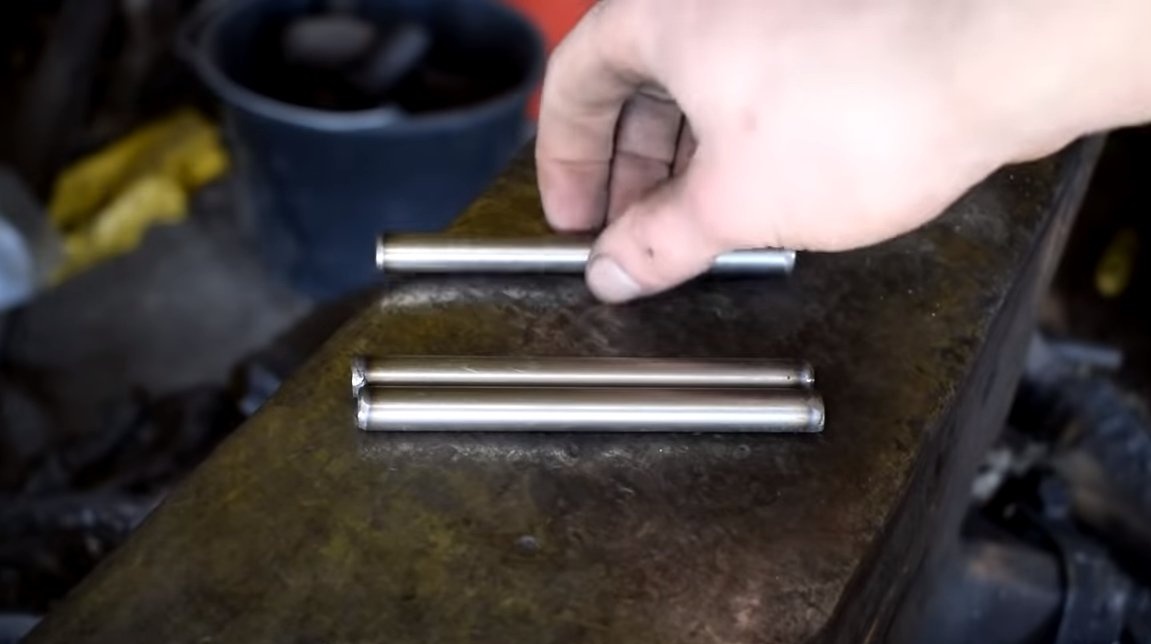
- rod made of titanium;
- a piece of horn (for a bolster);
- a tree for the handle;
- oil for wood impregnation;
- epoxy adhesive.
Tool List:
- ;
- blacksmith tool;
- a hacksaw;
- vise;
- files and files;
- polishing machine;
- ;
- ax;
- brace;
- grindstone;
- fine sandpaper.
The process of making a knife from titanium:
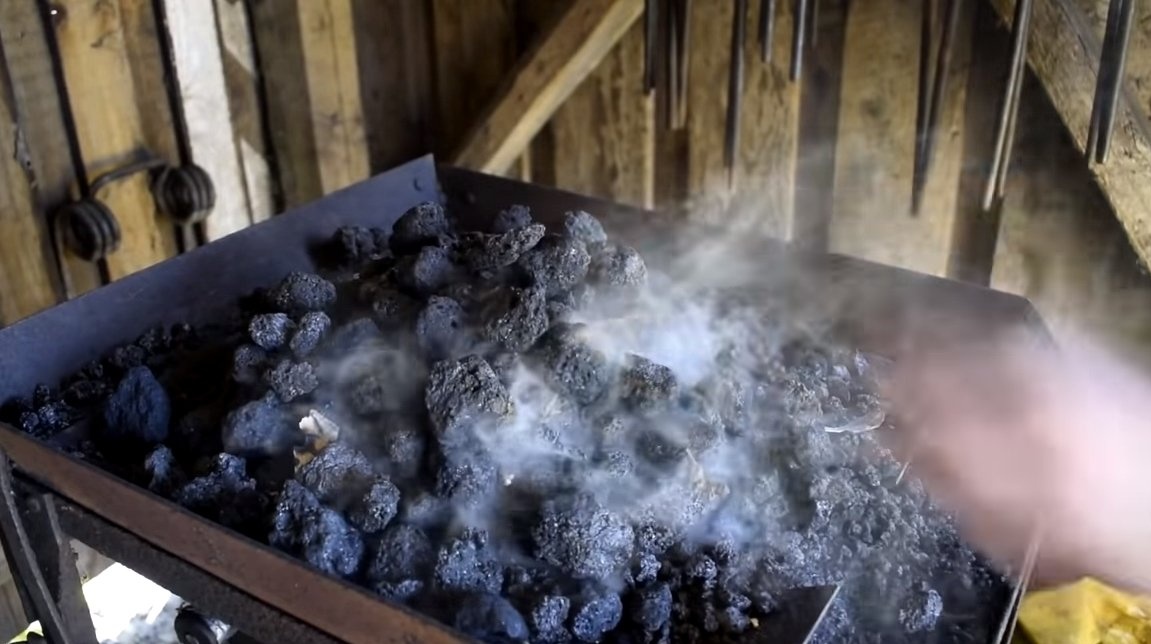
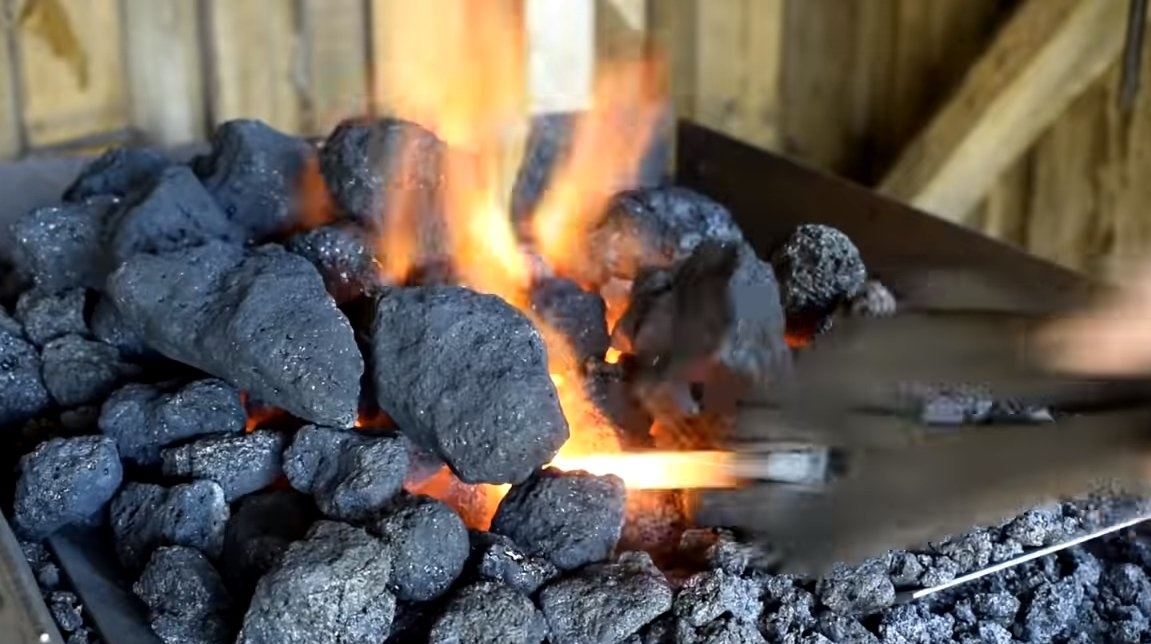
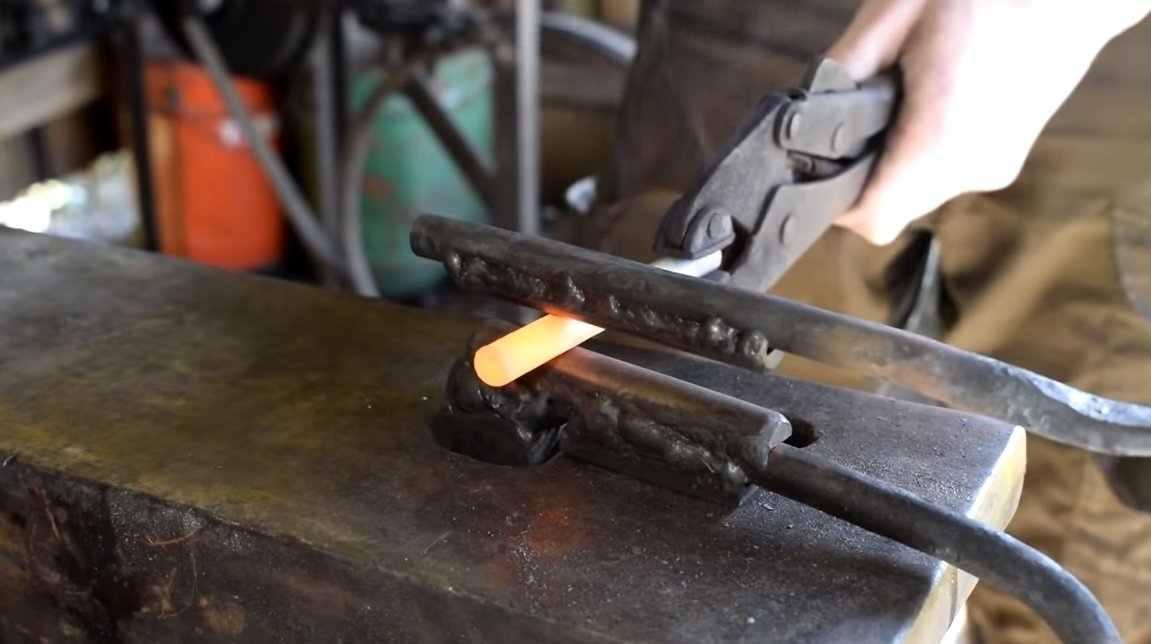
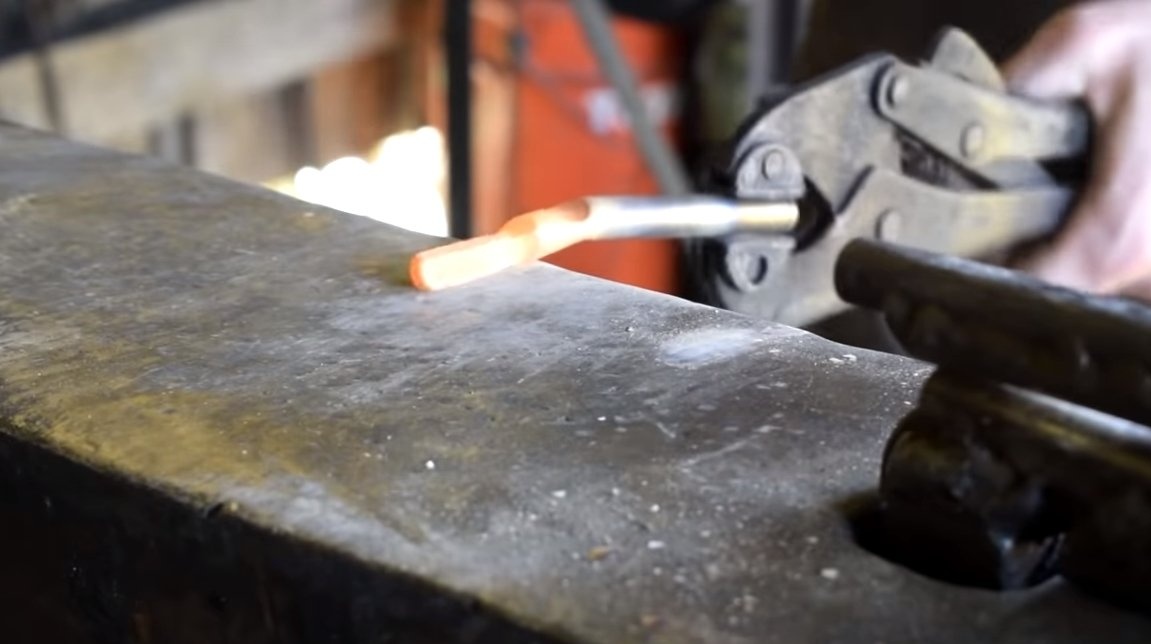
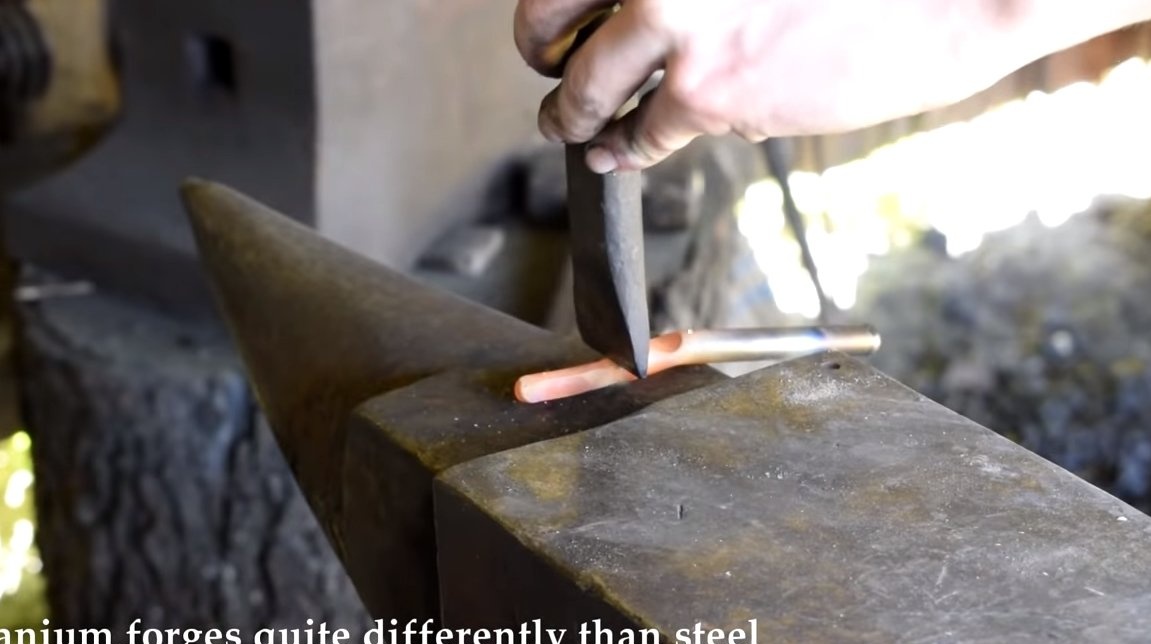
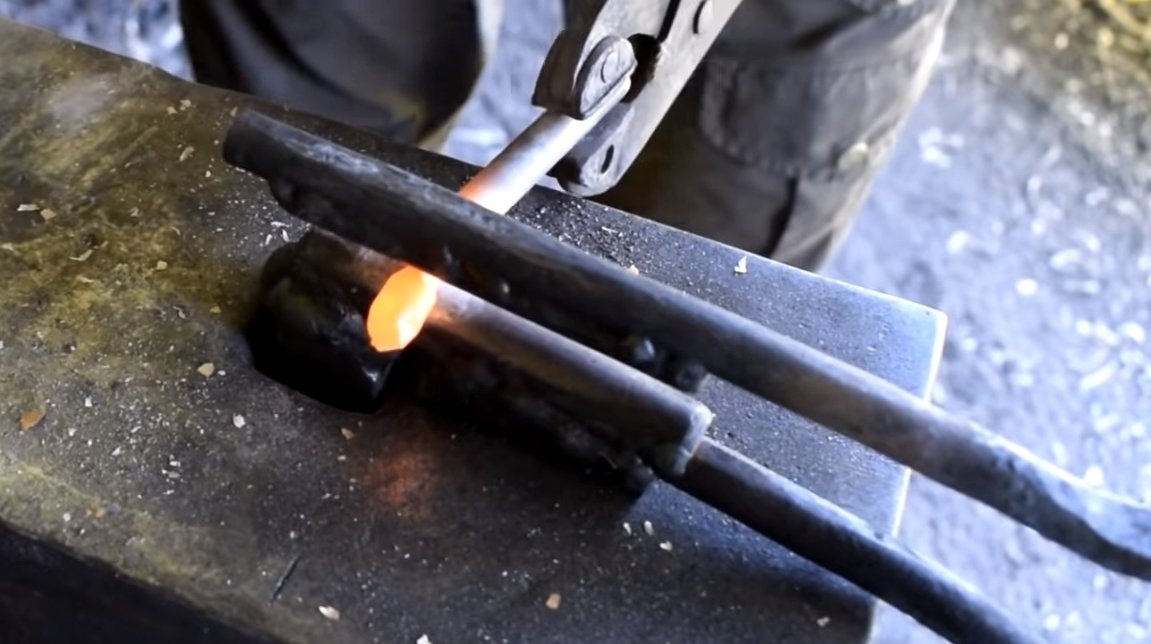
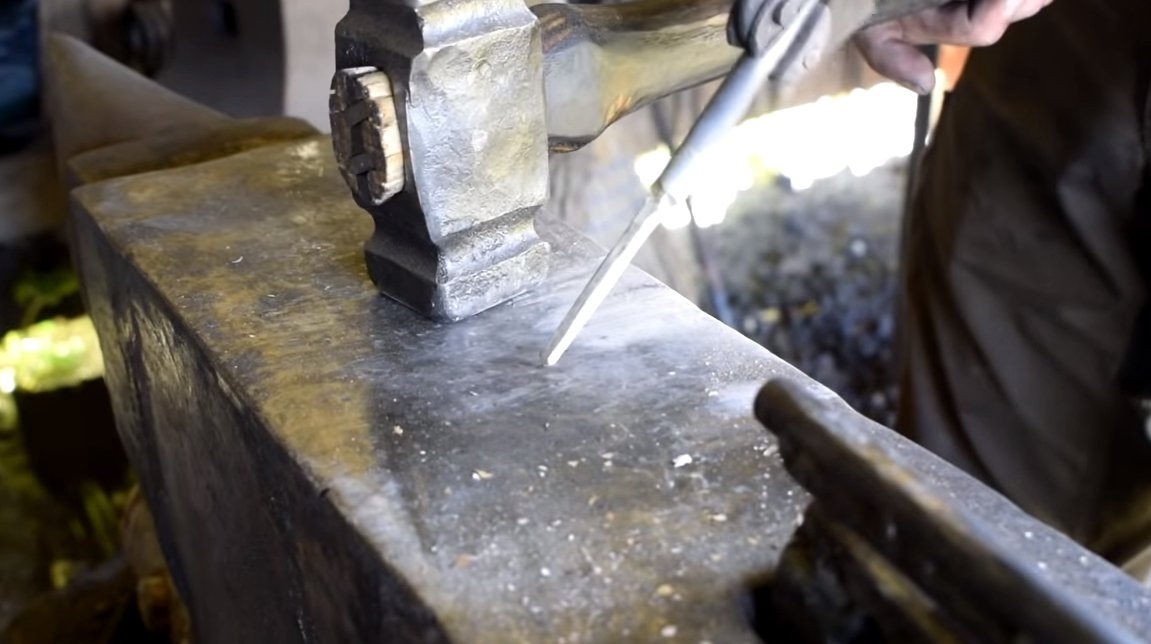
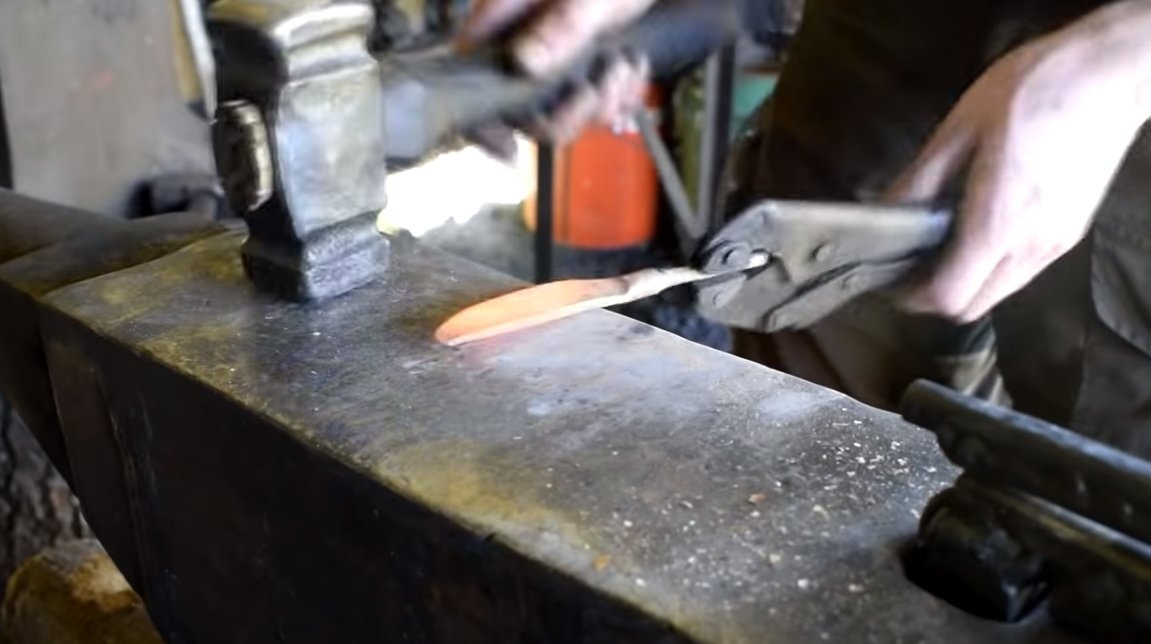
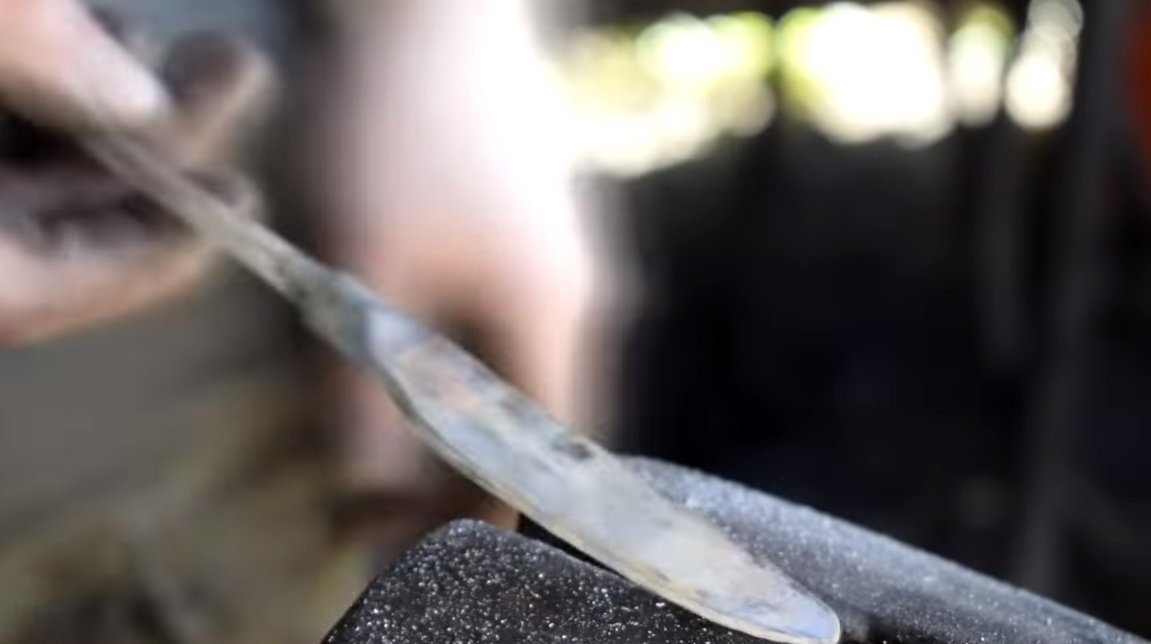
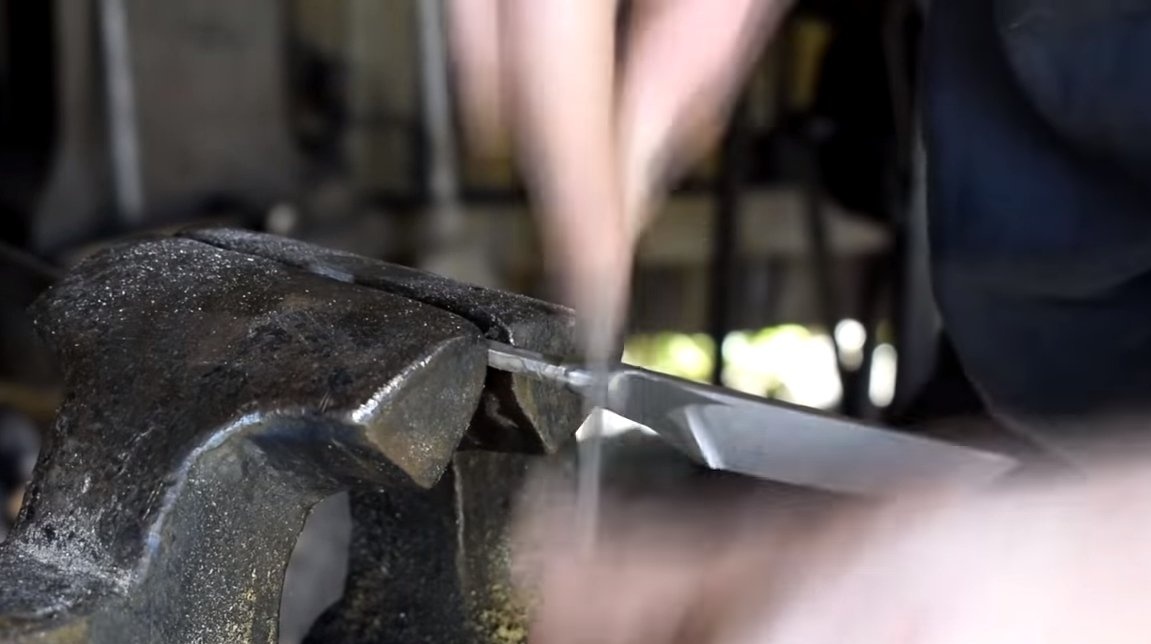
Step one. Forging
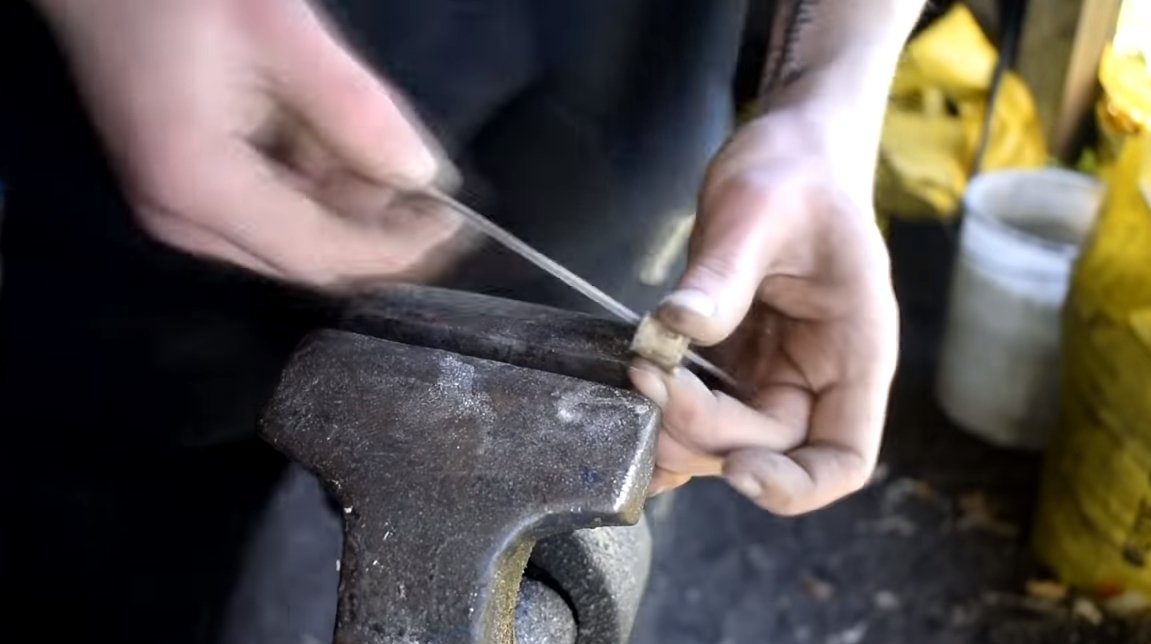
The manufacture of the knife begins with forging, since the workpiece here represents the core. We heat up the workpiece and proceed to forging. The procedure for working with titanium is the same as when working with steel or iron. Slowly delay the shank and proceed to the formation of the blade. A little effort and now we get an almost ready blade profile.

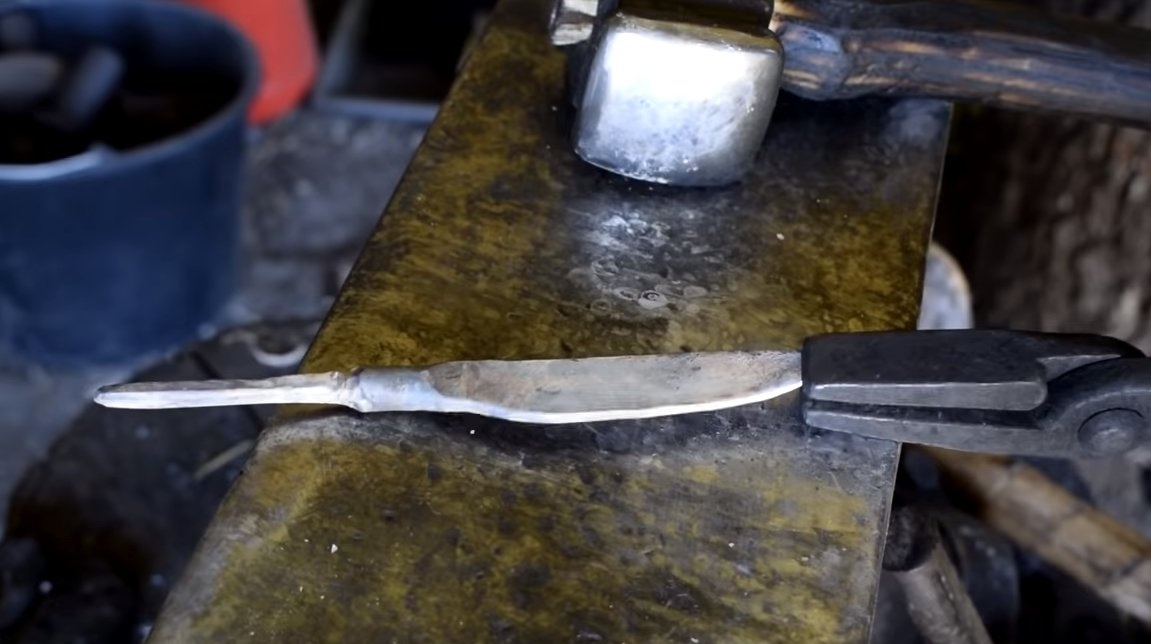
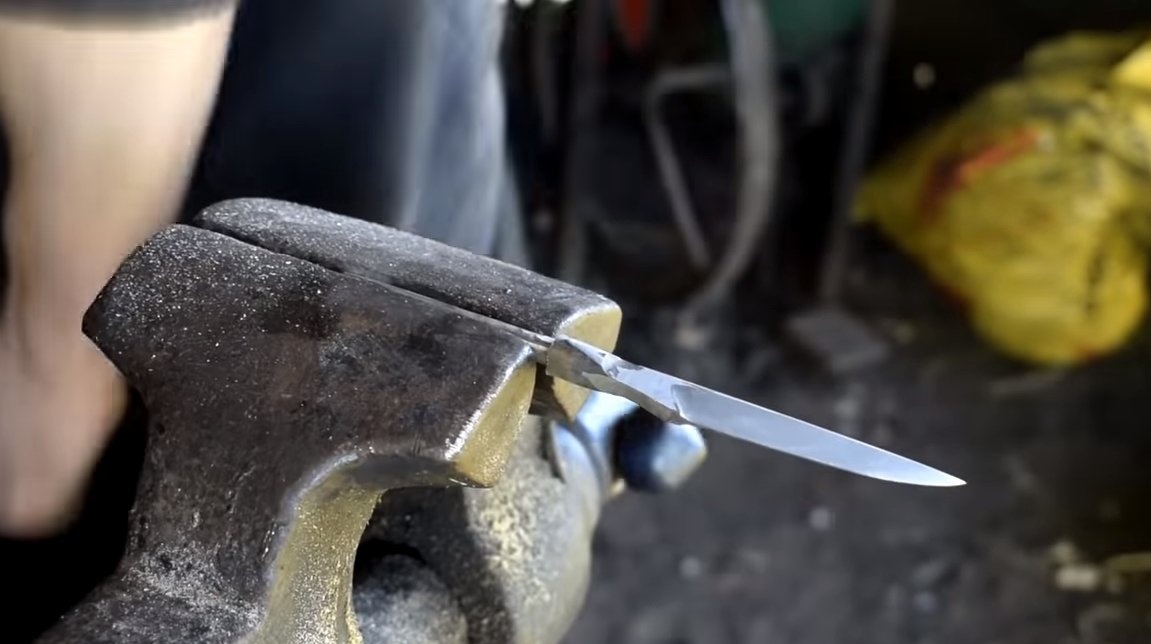
Step Two Completion
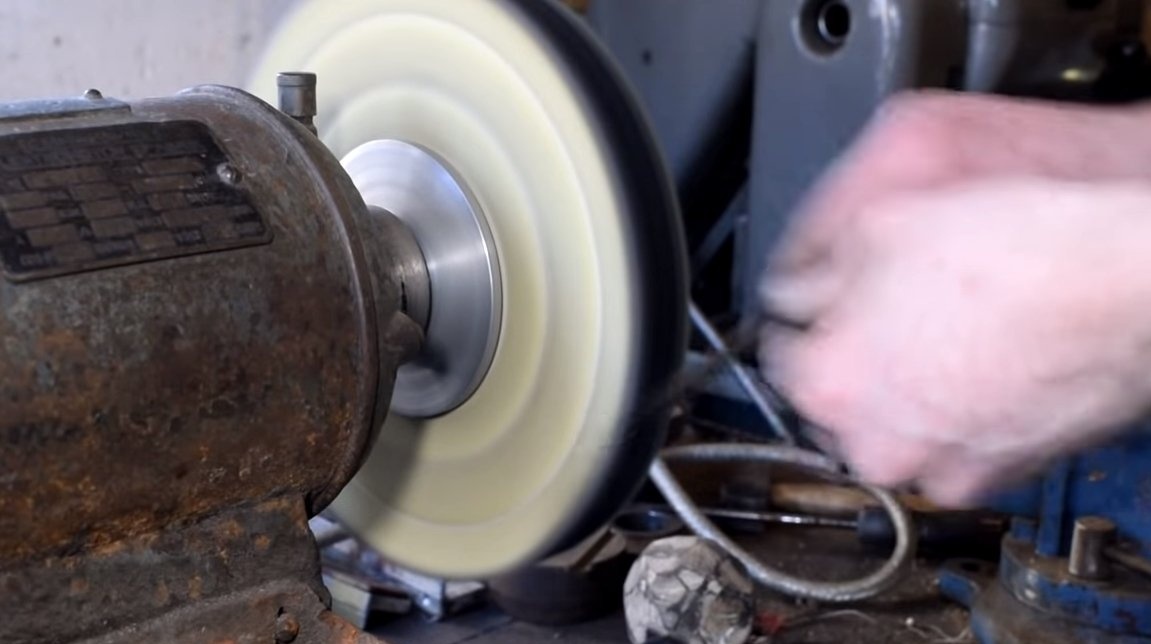
After forging, we proceed to grinding, which will allow us to finalize the profile of the blade. It will be necessary to work with different tools, for a start we go through a file, and then we proceed to work behind a belt sander. We grind the plane and form the bevels on the click. The author makes bevels by eye, our blade is quite small, so there should be no problem with this.
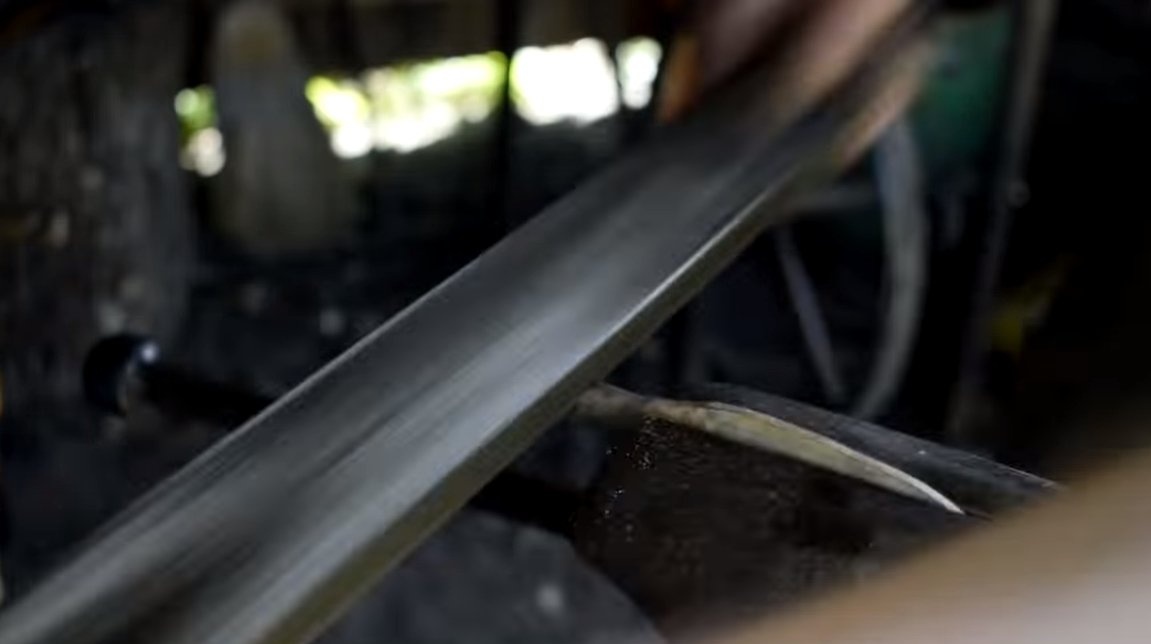
In the end, the author corrects the blade with files and proceeds to polishing; as a result, you can get a mirror shine of the blade. It remains unclear whether the author hardened the blade, because without hardening the metal will be quite soft.

Step Three A pen
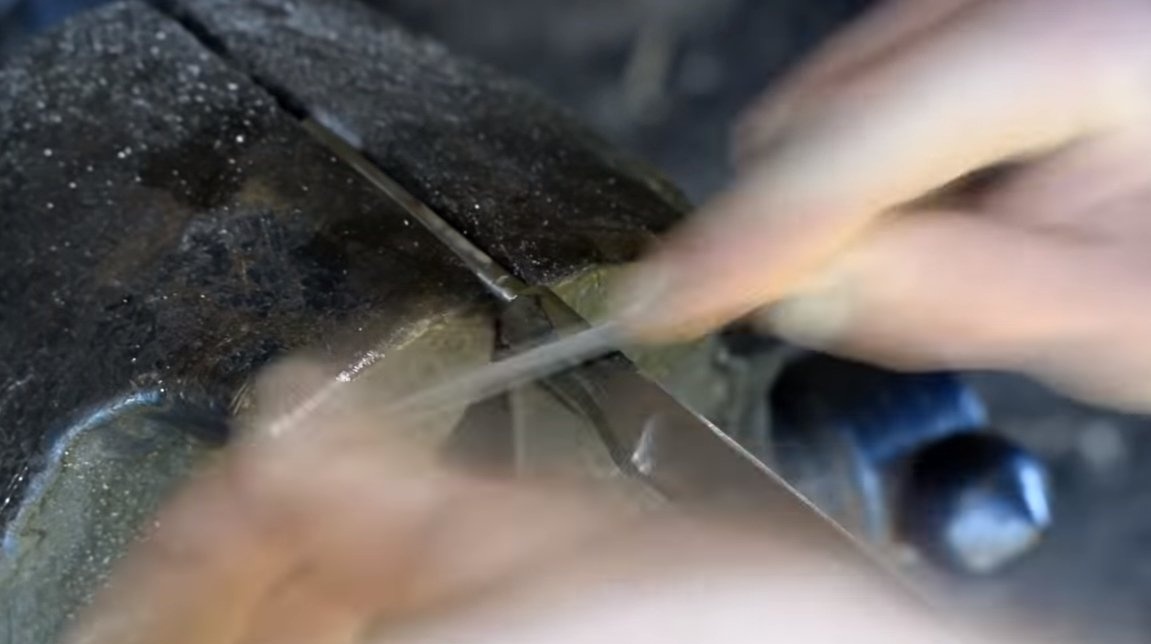
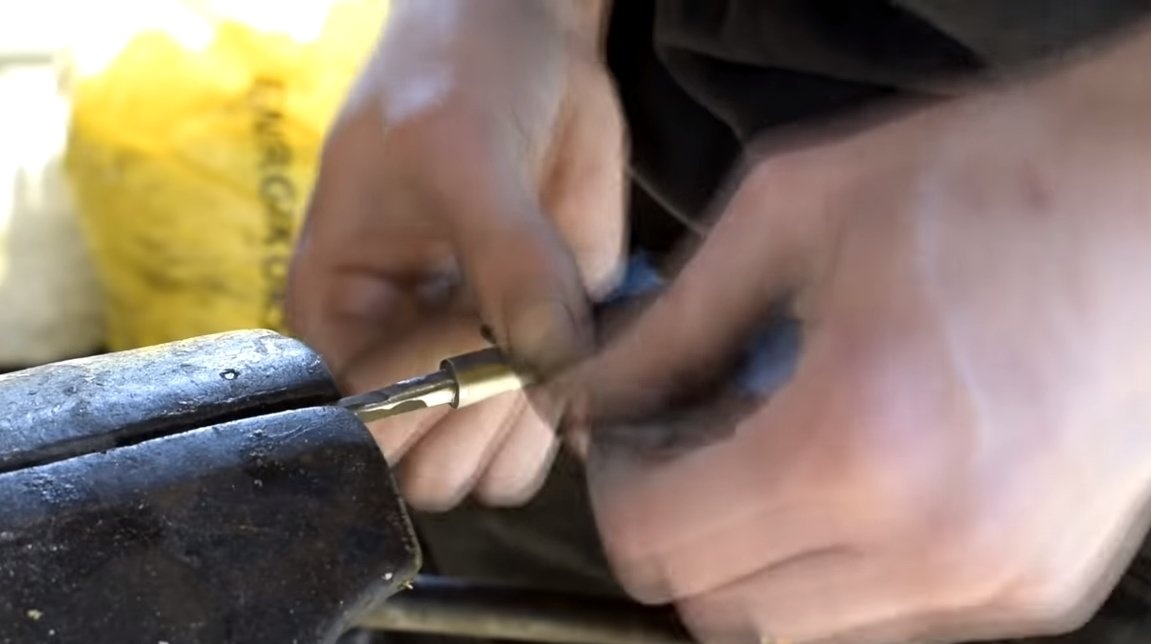
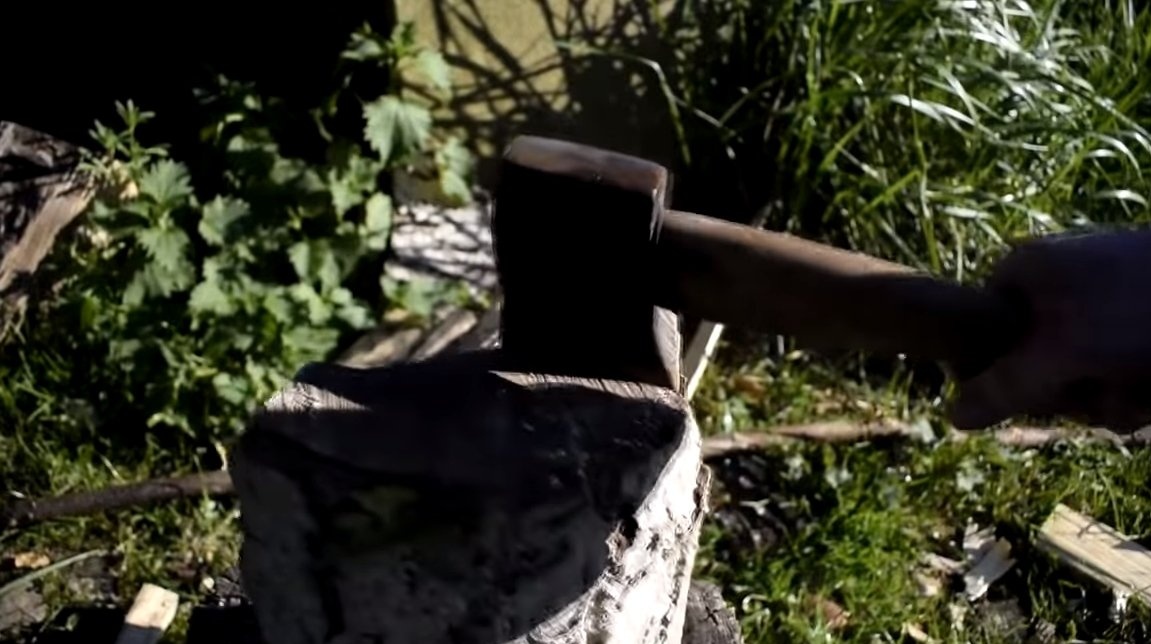
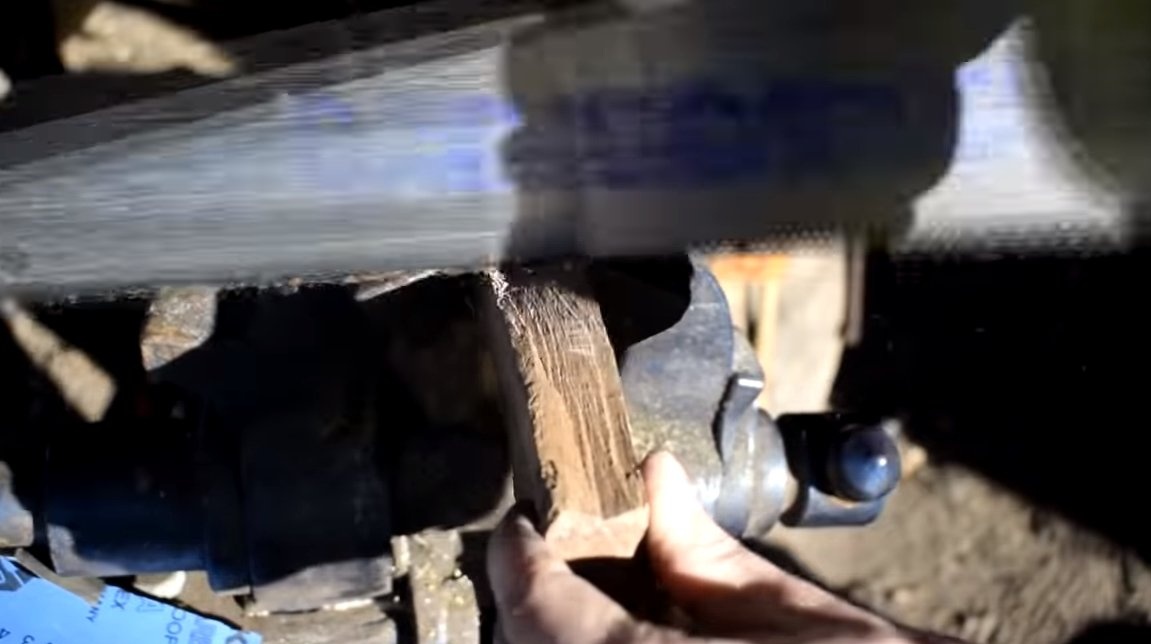
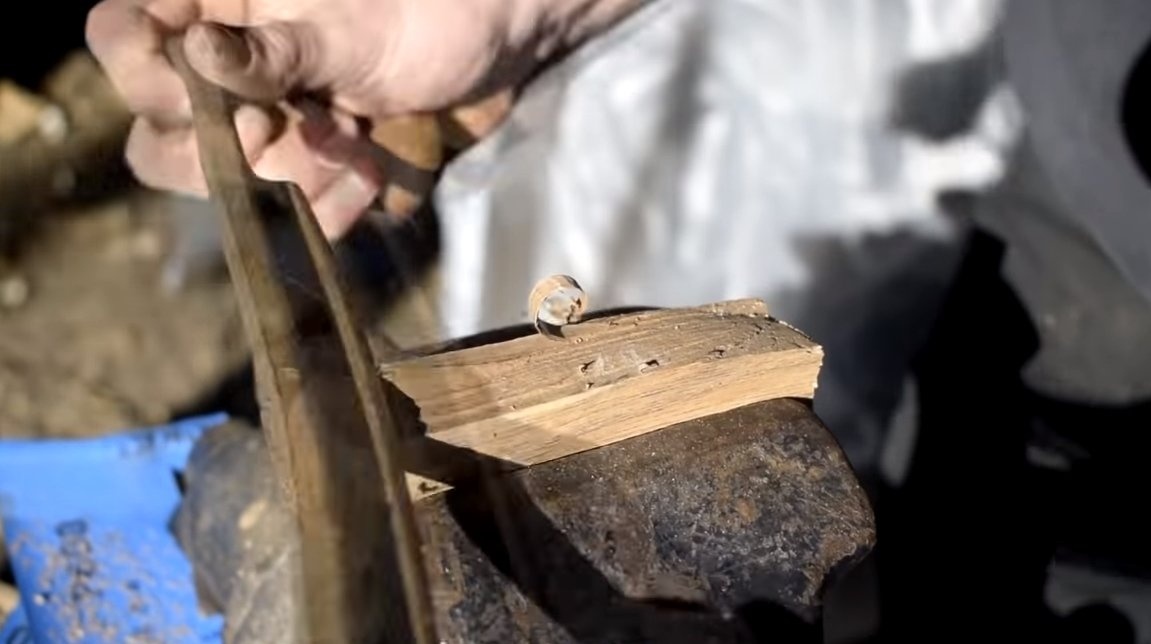
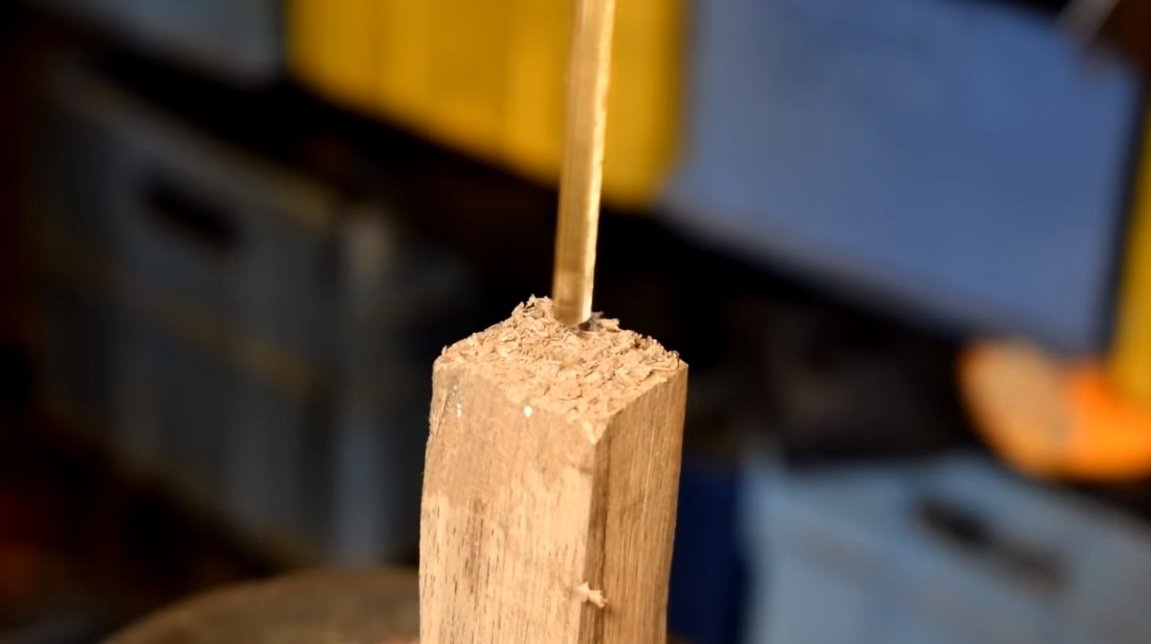
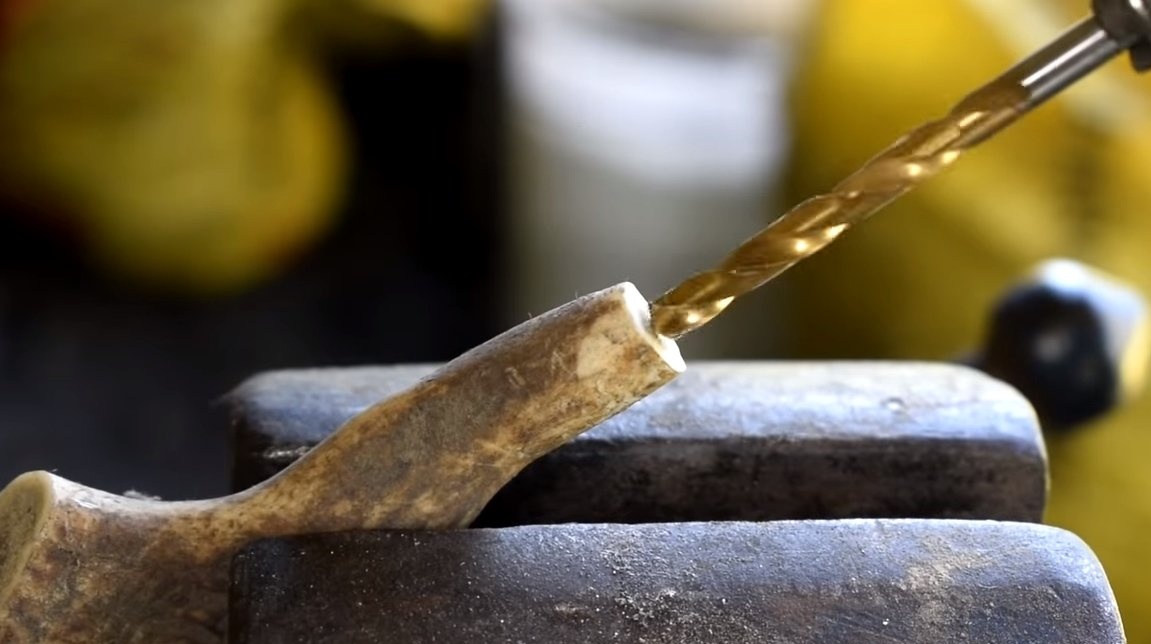
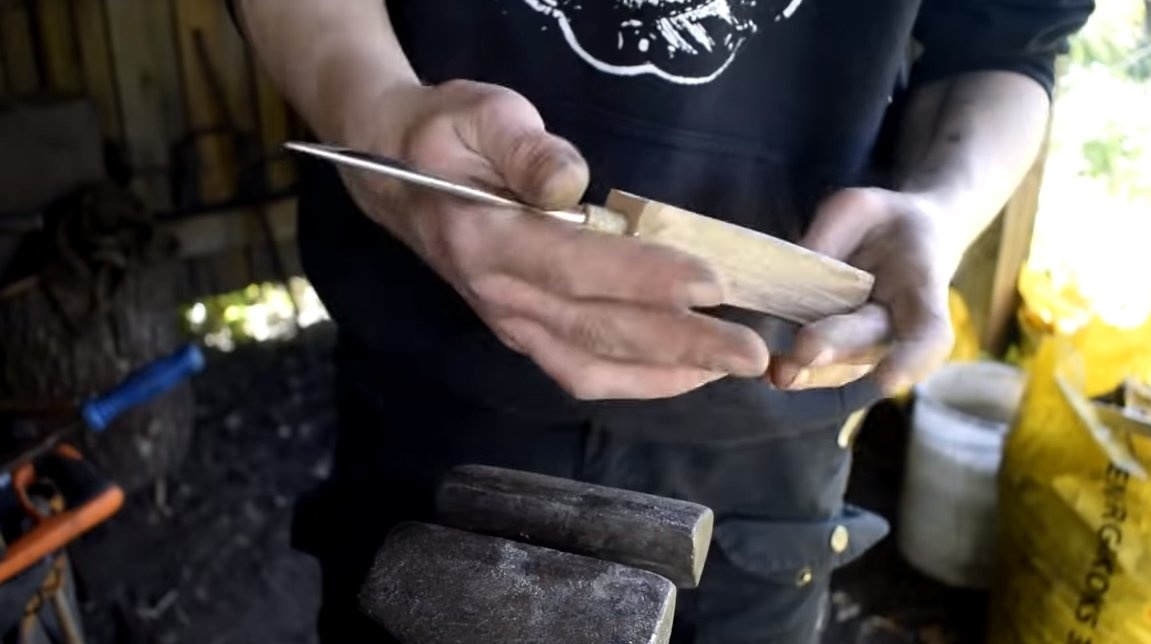
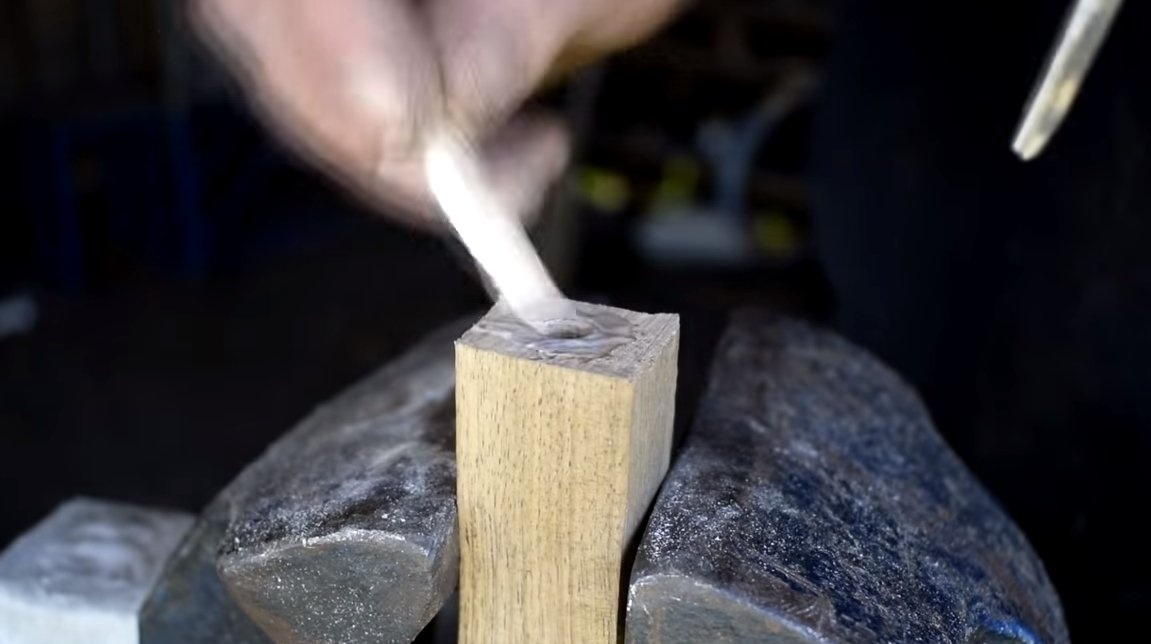
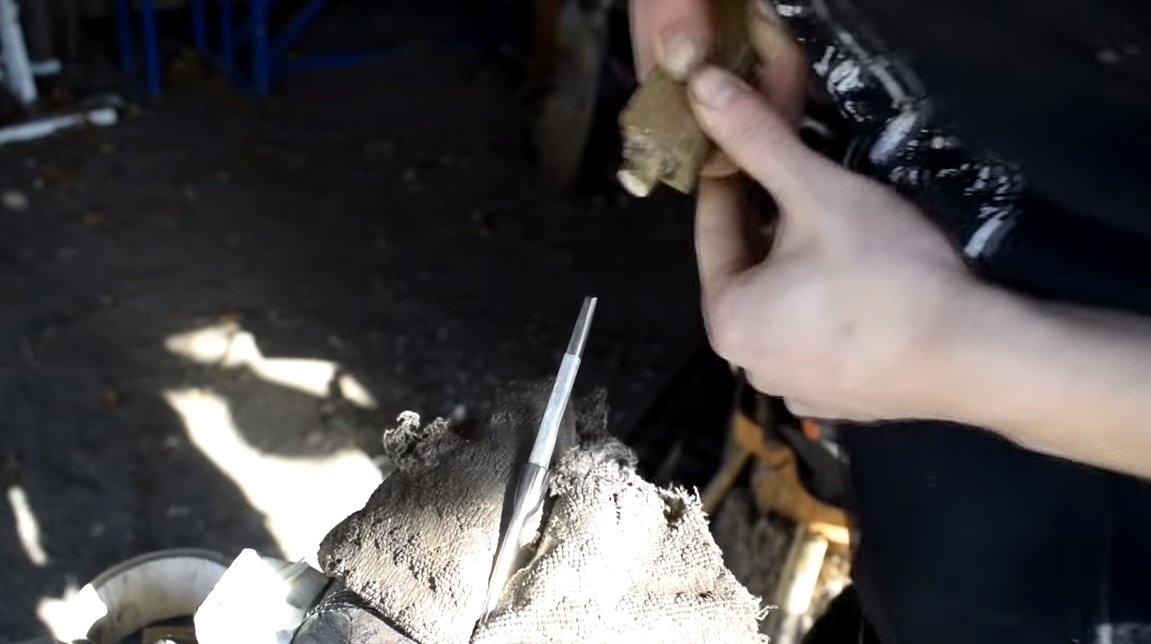
Getting to the manufacture of pens, we will have it whole. As a workpiece, we chop off a piece of wood from the chocks with an ax, cut off the excess and go through the scraper to make a bar. In the workpiece, we drill a hole for the shank, we finish the hole with a drill of a smaller diameter or a drill.
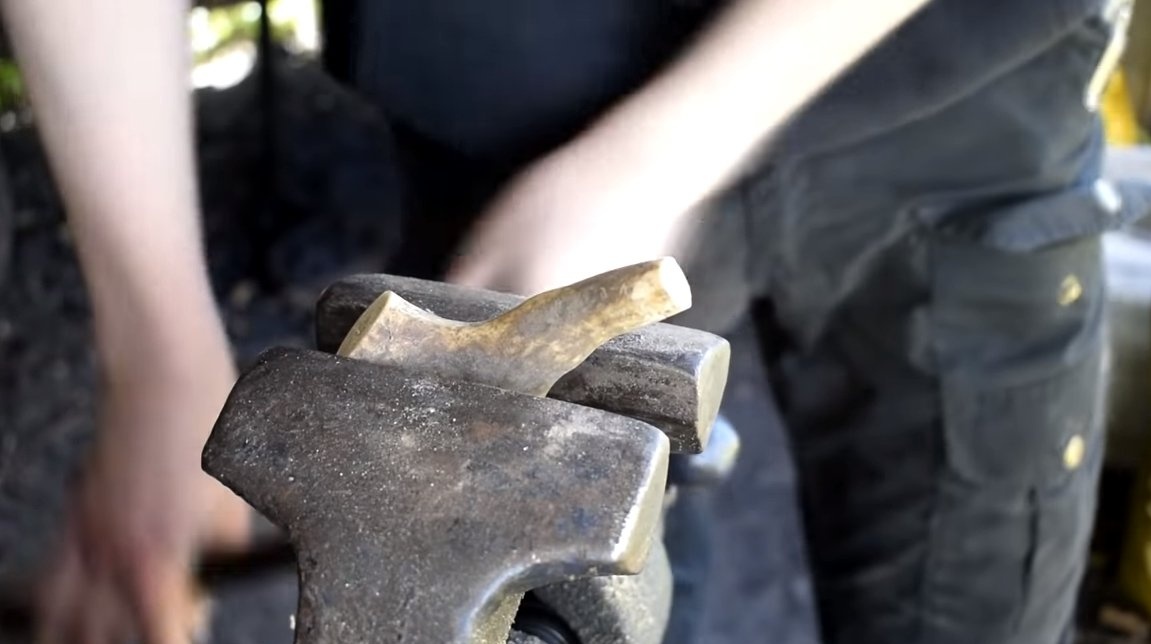
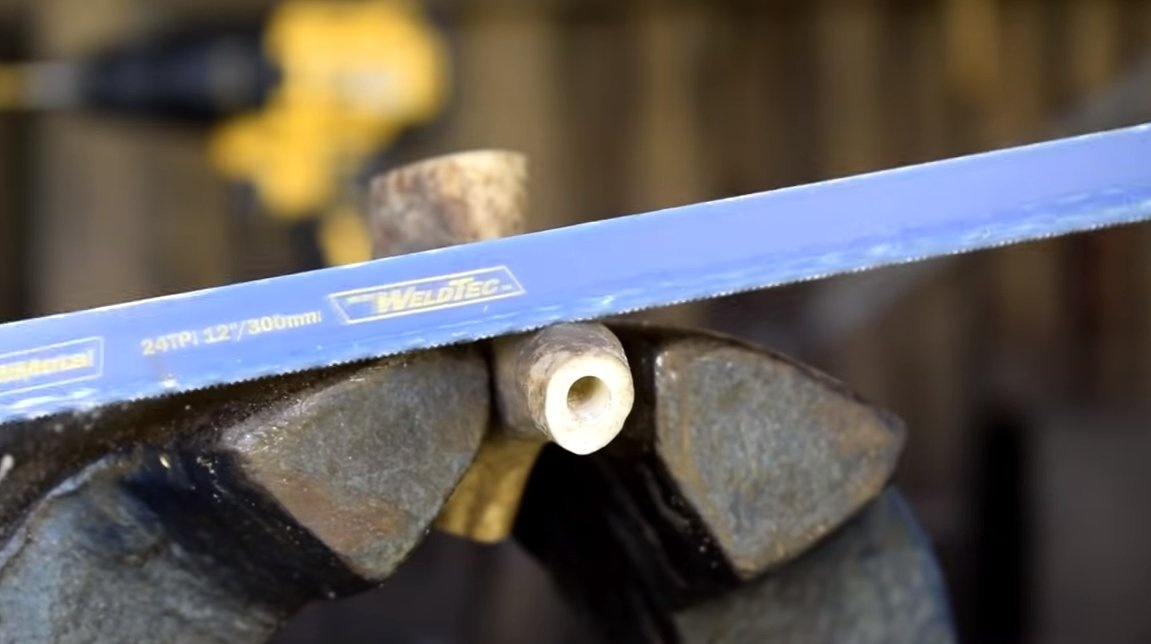
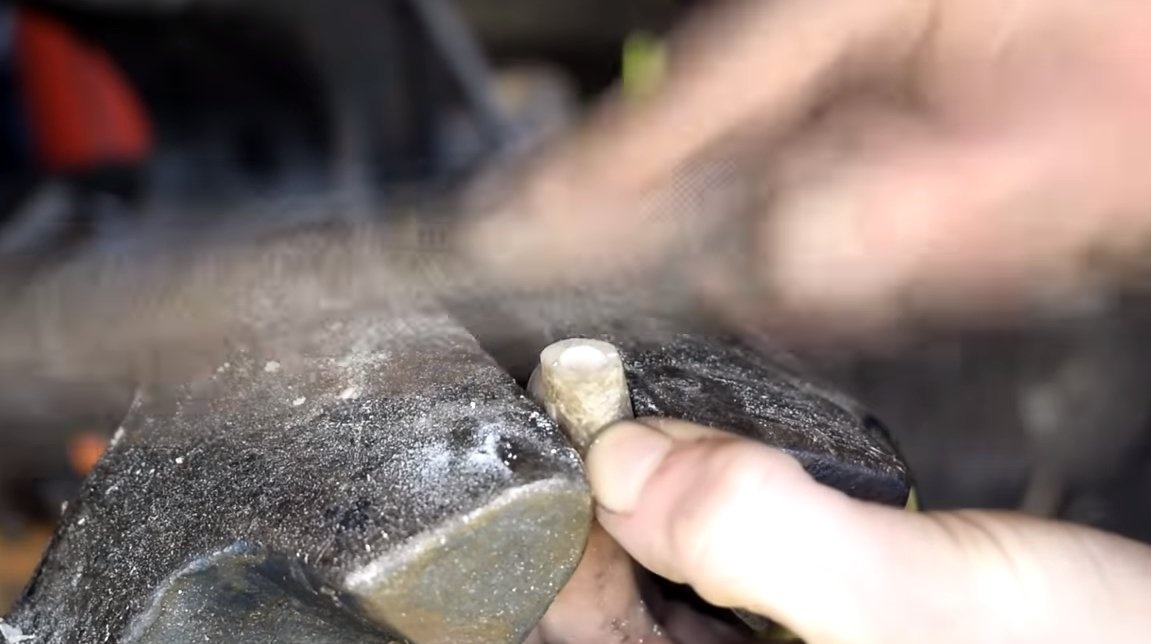
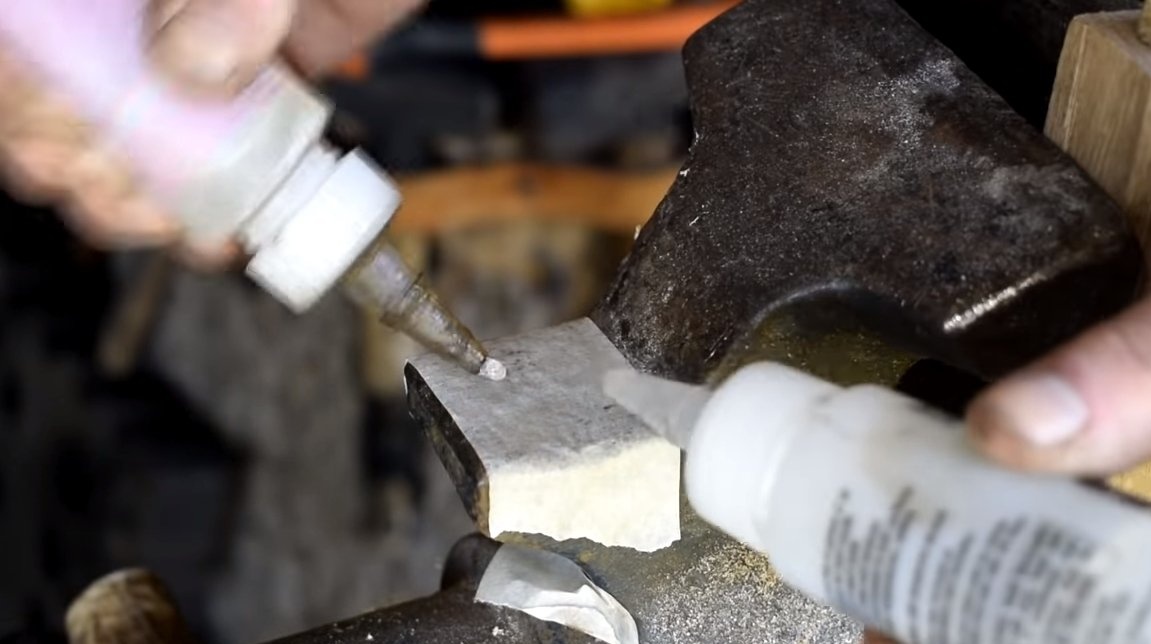
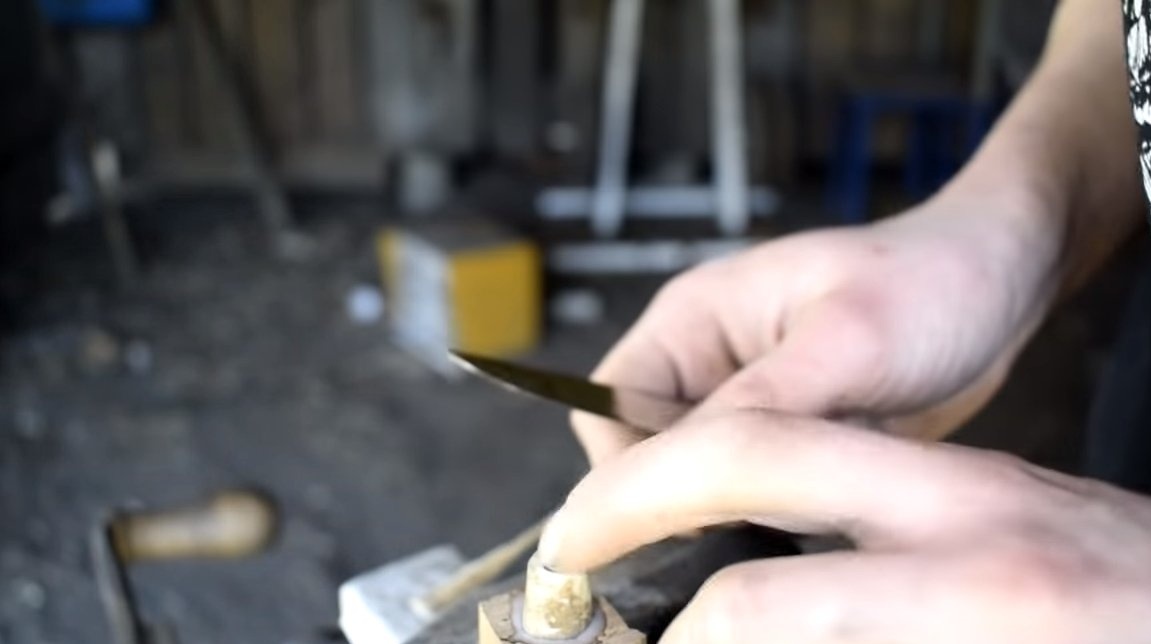
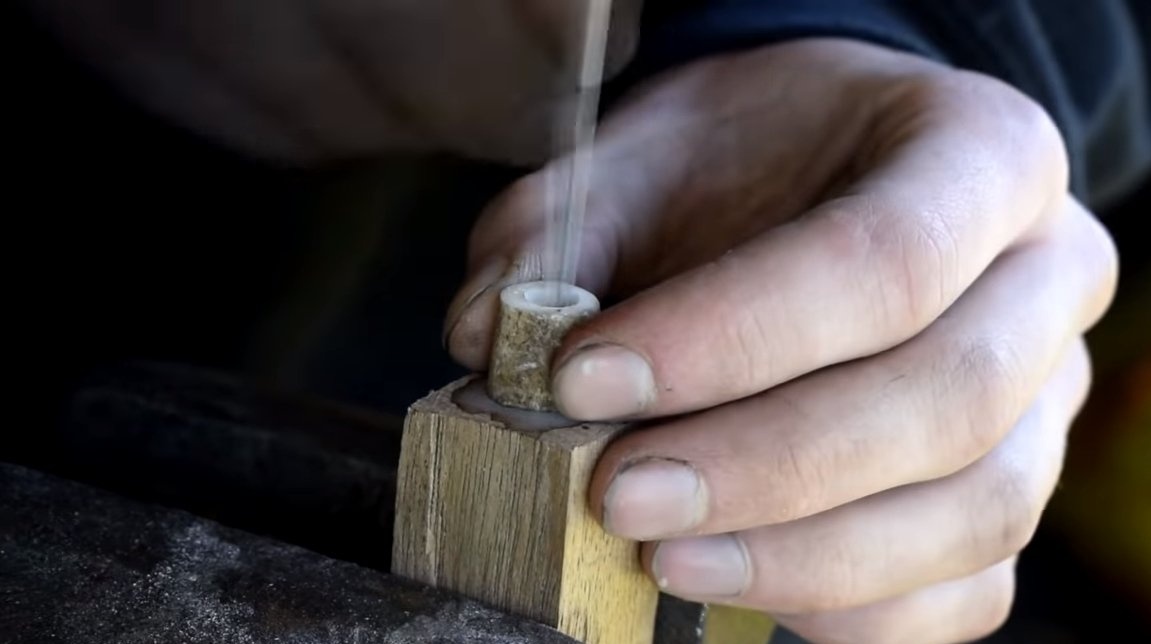
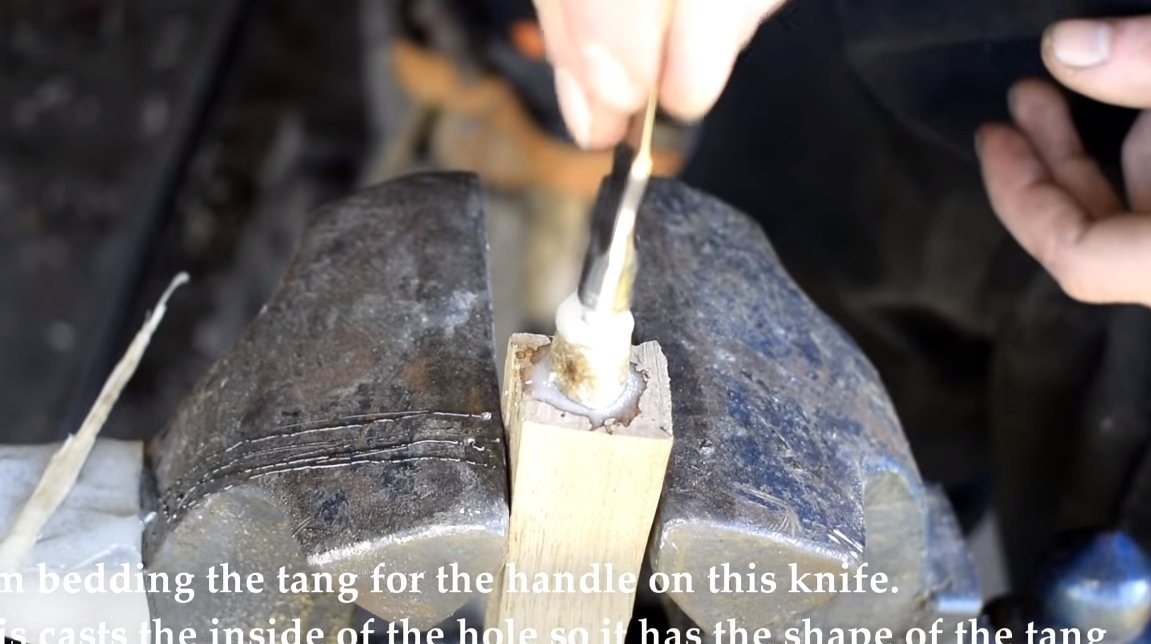
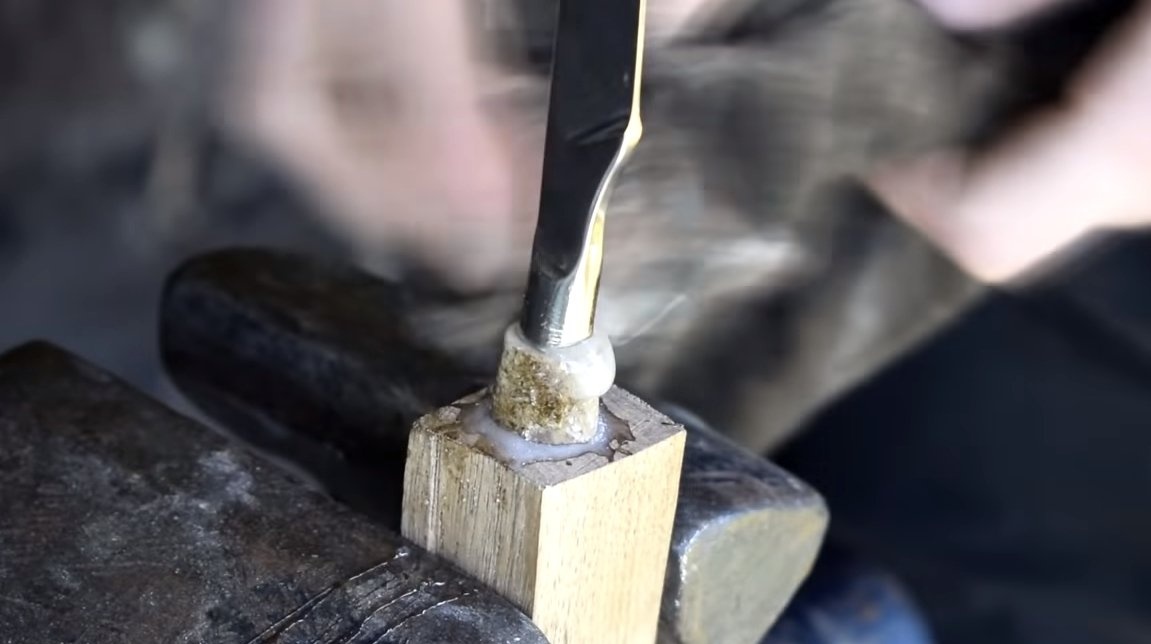
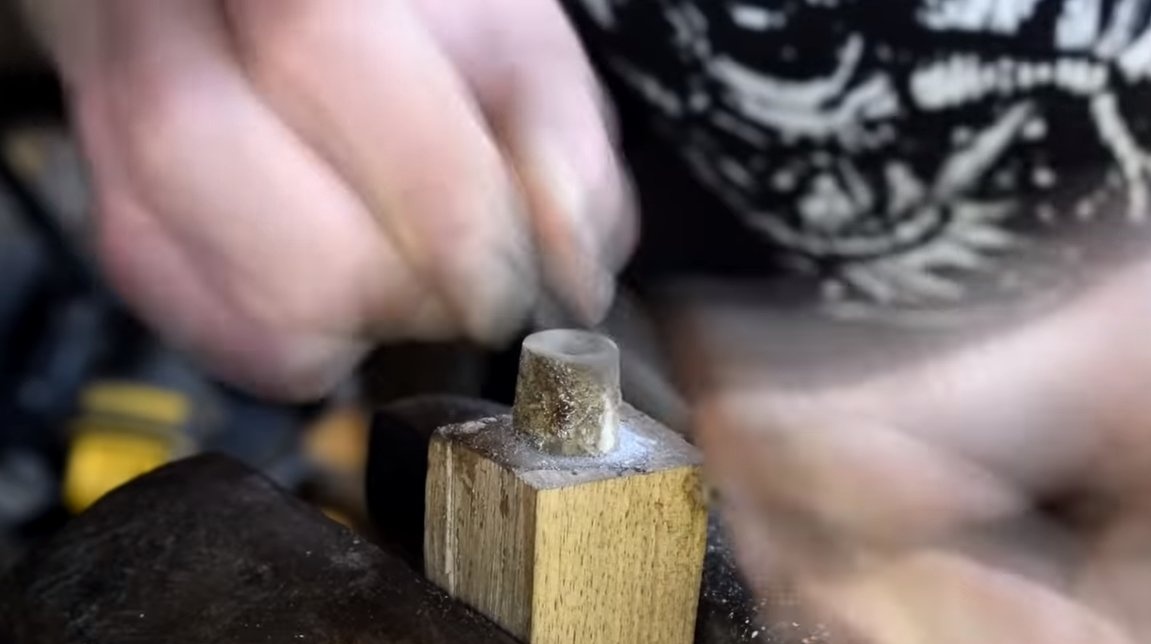
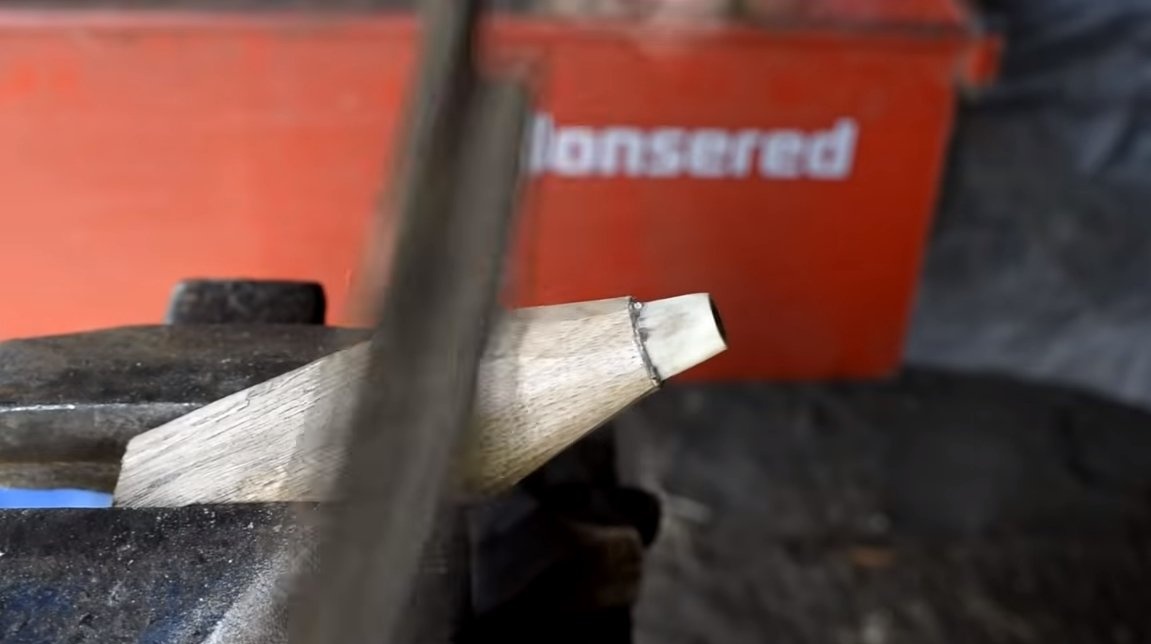
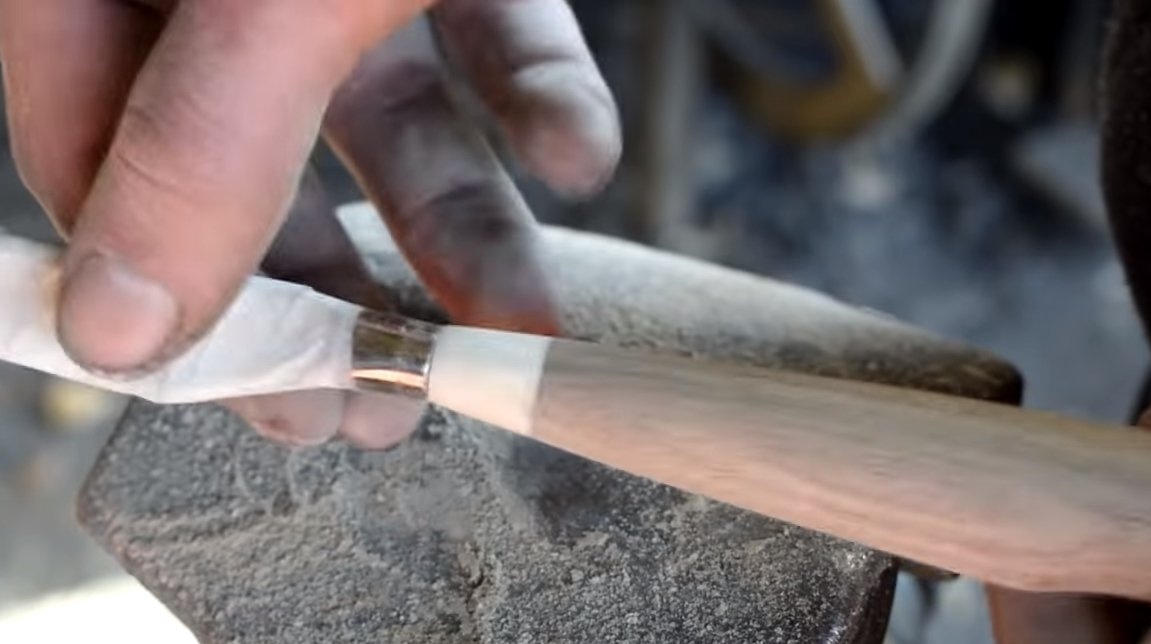
We also make bolster for a knife, here we need a piece of the animal’s horn. We drill a hole in it and cut off the desired piece. When the two blanks are ready, they need to be glued together, for such purposes we will need epoxy glue. First, just glue the halves together, coating them with glue. Further, when the glue sets, you need to glue the entire handle thoroughly. To do this, wrap the shank of the knife with masking tape and coat it with wax so that glue does not stick to it. Pour epoxy glue into the handle, insert the shank and wait for solidification. When the resin sets, we remove the shank, in the end we get the perfect seat under the shank.
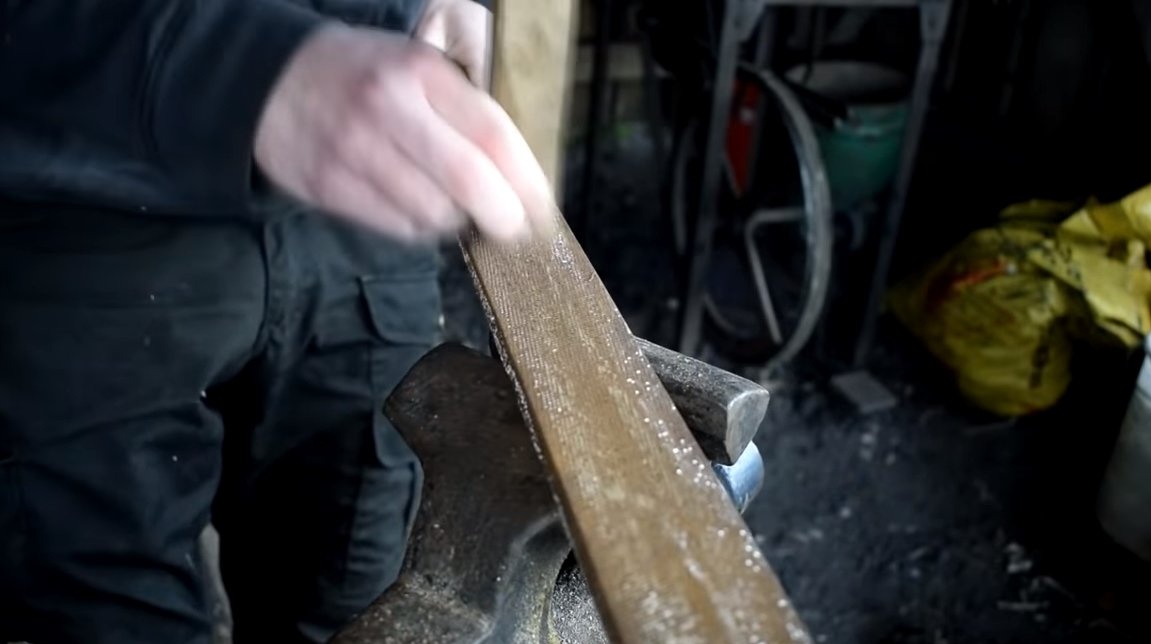
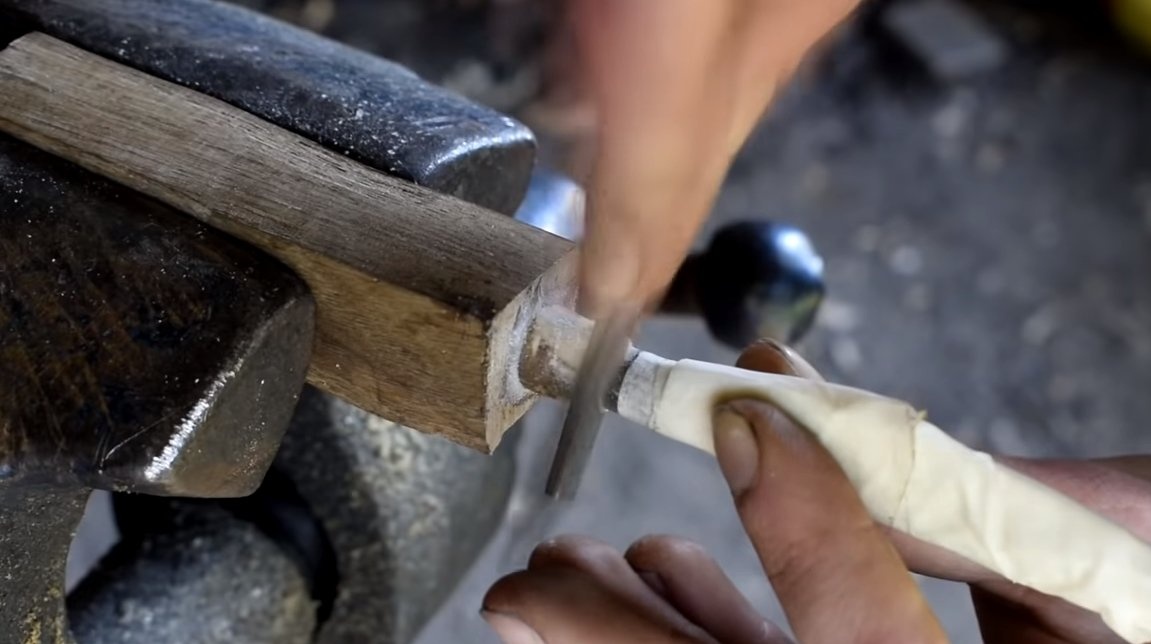
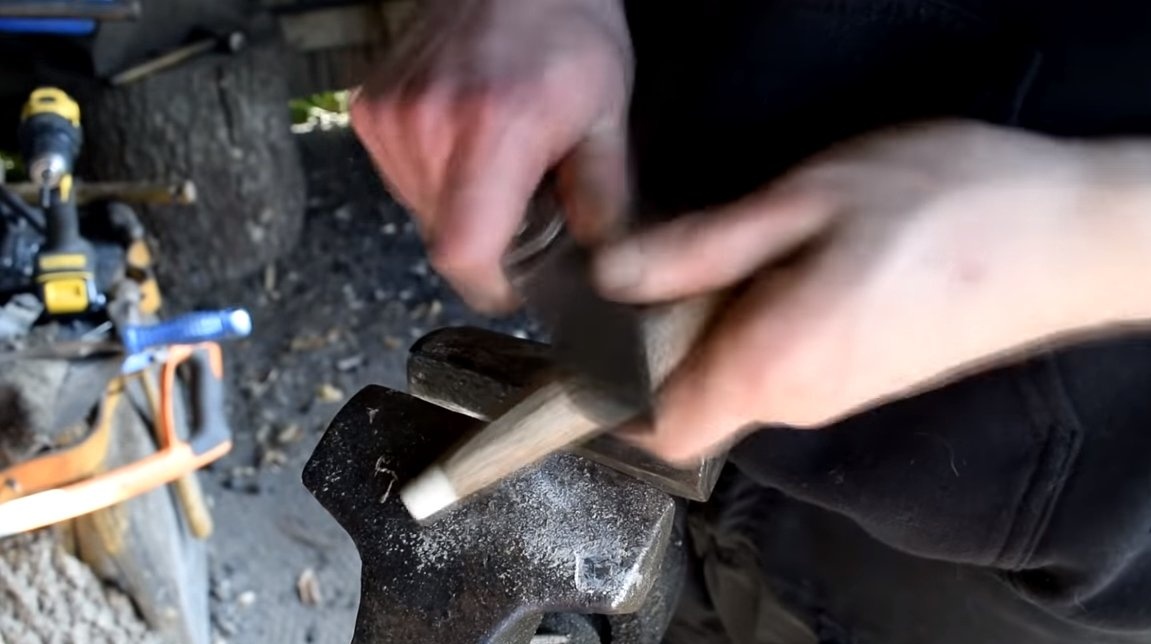
Now the pen can be processed, we need to form the profile we need. For rough work, we work with a staple, then we switch to files and sandpaper. As a result, the tree should become perfectly smooth.


Step Four Knife assembly
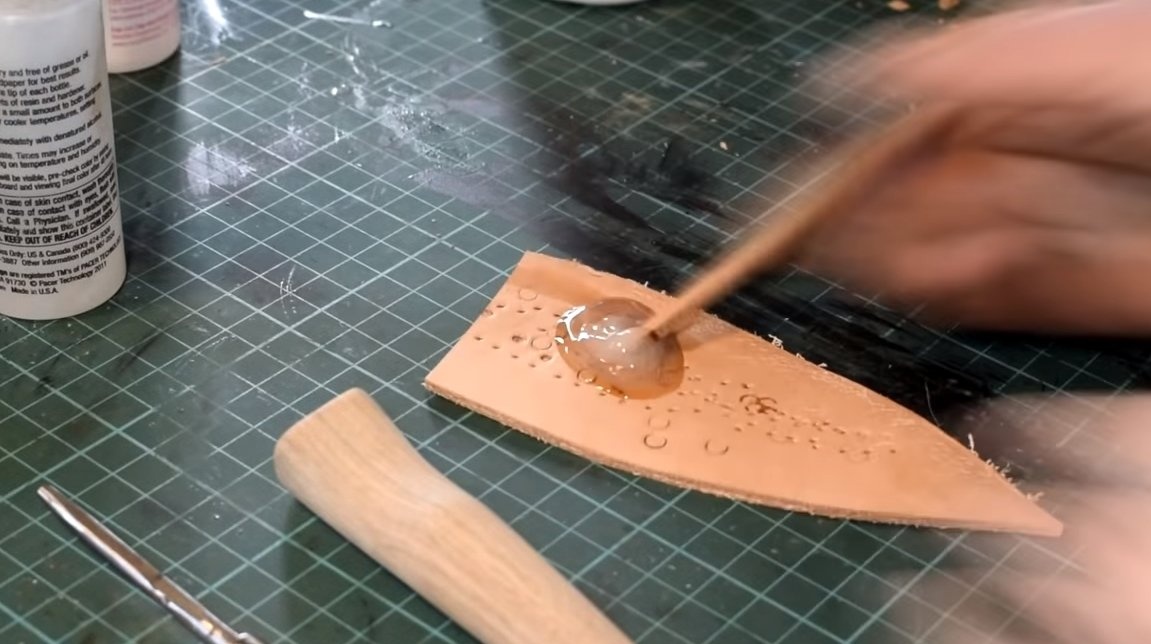
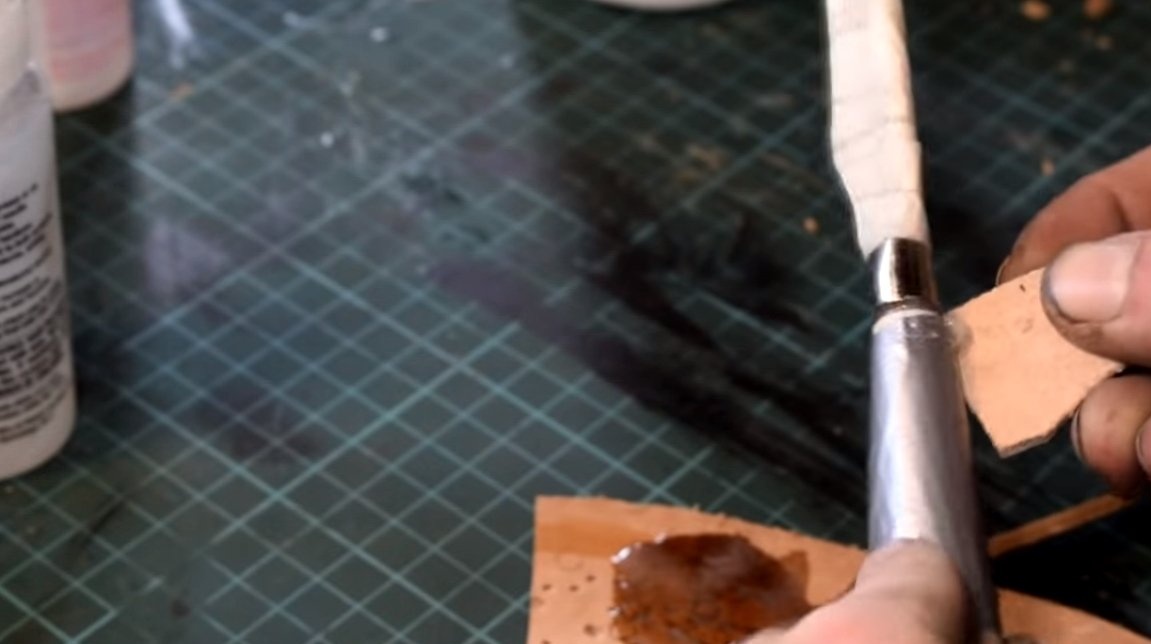
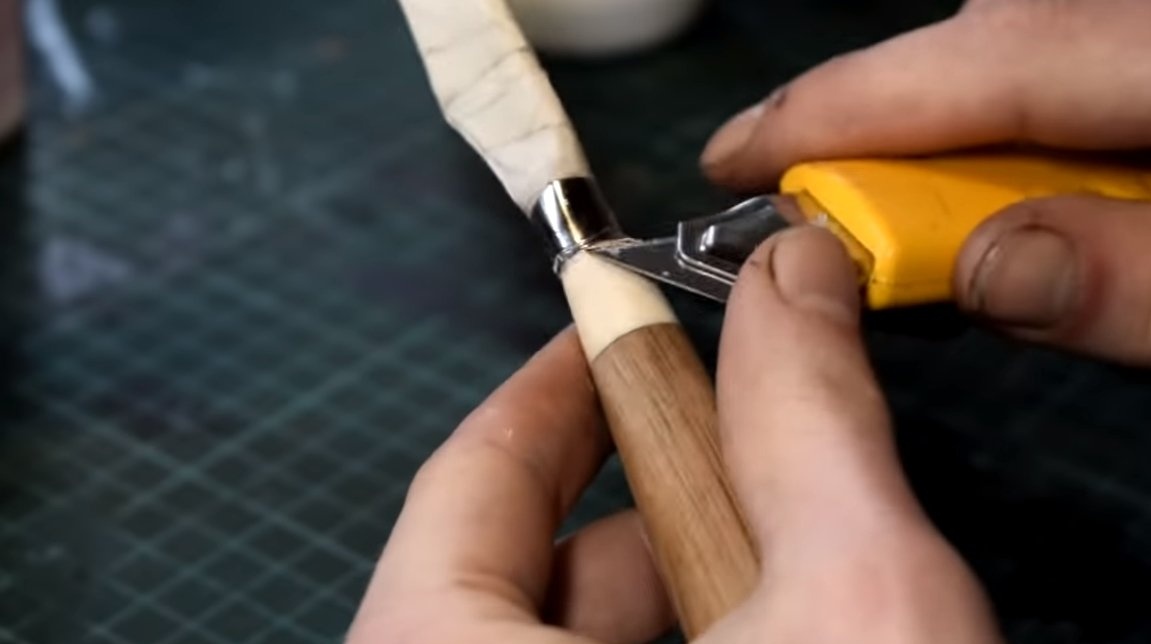
Putting a knife, we need to glue the shank on epoxy glue. In order not to smear the handle, wrap it with tape or masking tape. We glue the knife and wait for the resin to set, in the end it will remain to cut the glue that has come out with a clerical knife and wait for the epoxy to solidify completely.

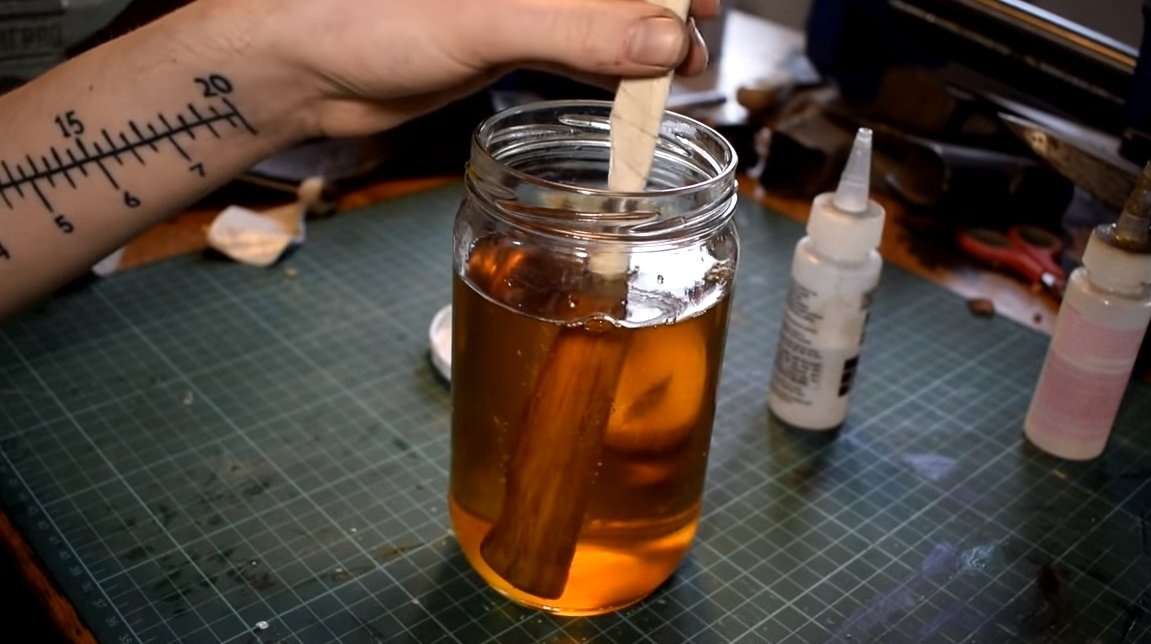
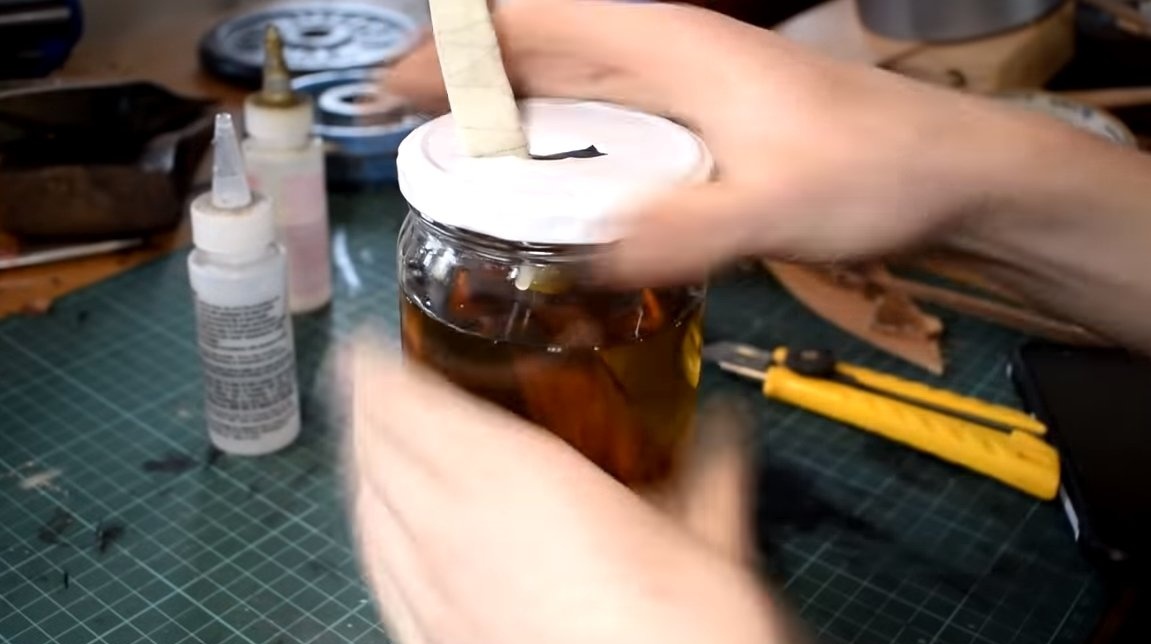
Step Five Impregnation
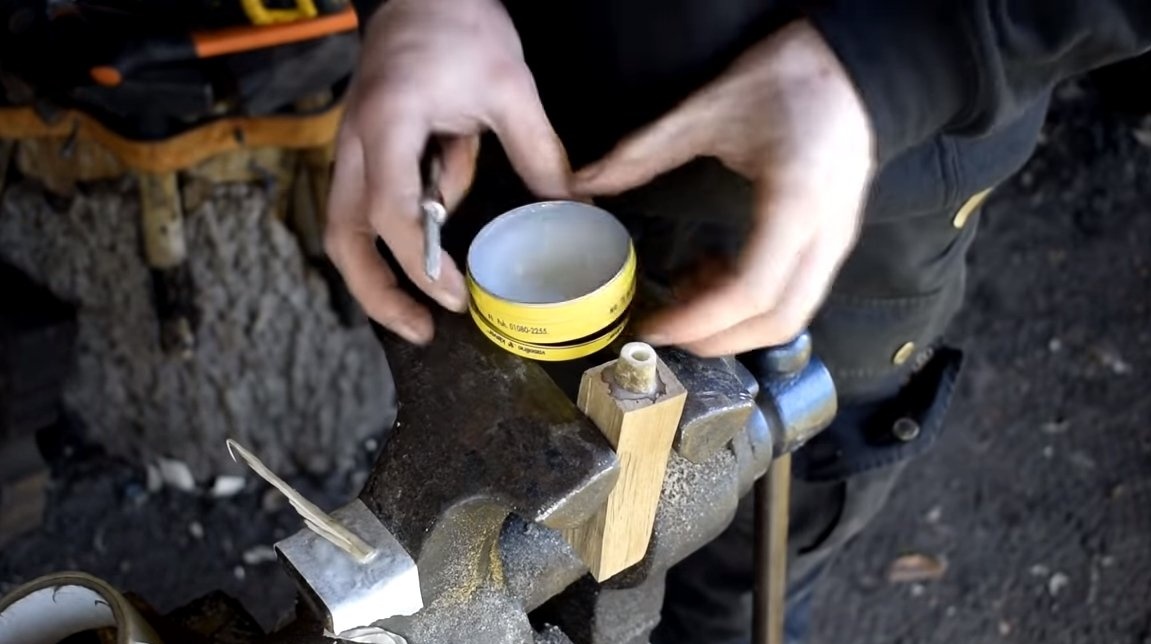
The tree the handle is made of must be soaked with oil to protect it from moisture. You can also use varnish or epoxy glue as an impregnation, but the oil reveals the natural beauty of wood. The author lowers the handle of the knife into a jar of oil and leaves it for a while so that the oil is absorbed. Well, then remove the handle from the oil and wipe the excess with a napkin.
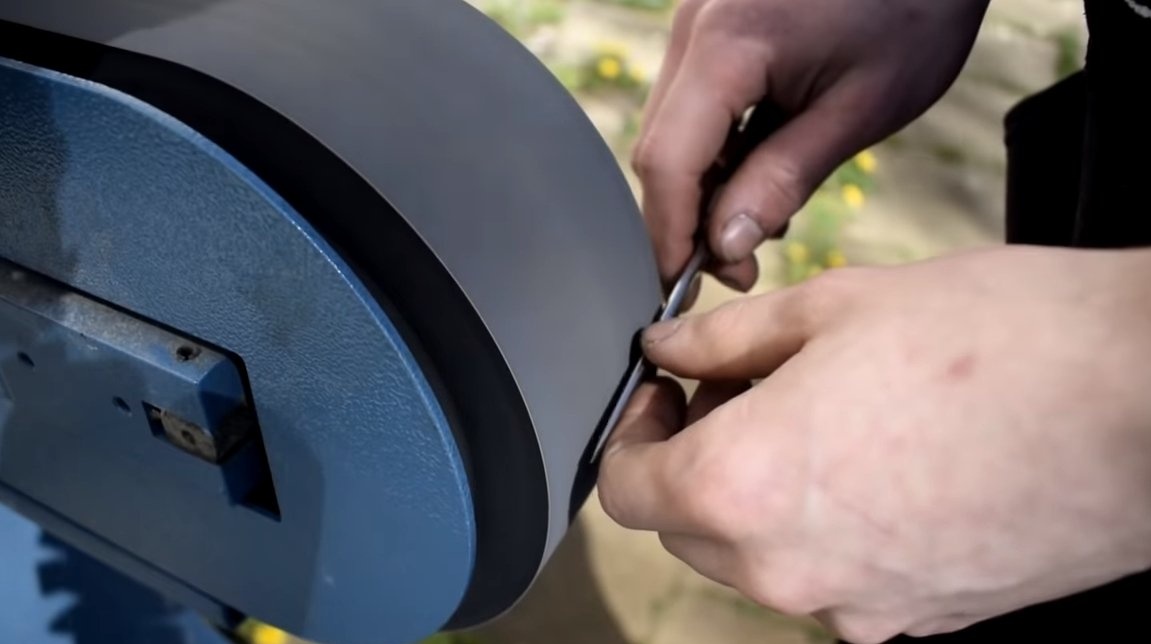
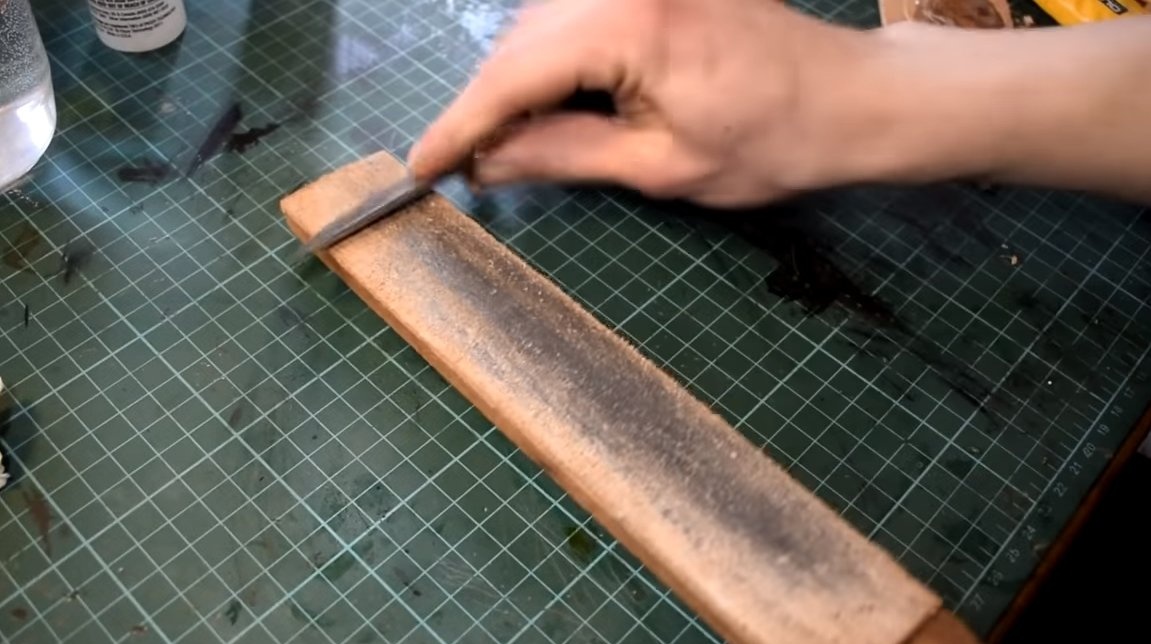
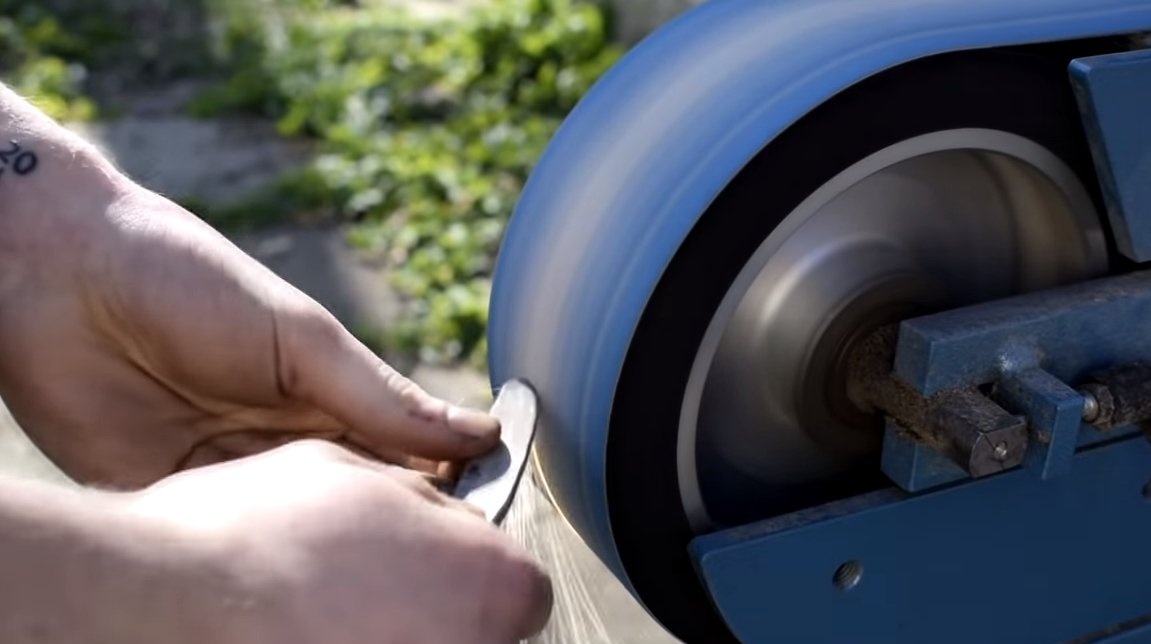
Step Six Sharpening
The knife is ready, it remains to sharpen it, the primary sharpening is carried out on a belt grinder using a belt with the smallest grain. Well, then we sharpen grinding stones and other tools that are available. The author sharpened the knife to a razor state; he easily shaves the hair on his hand.
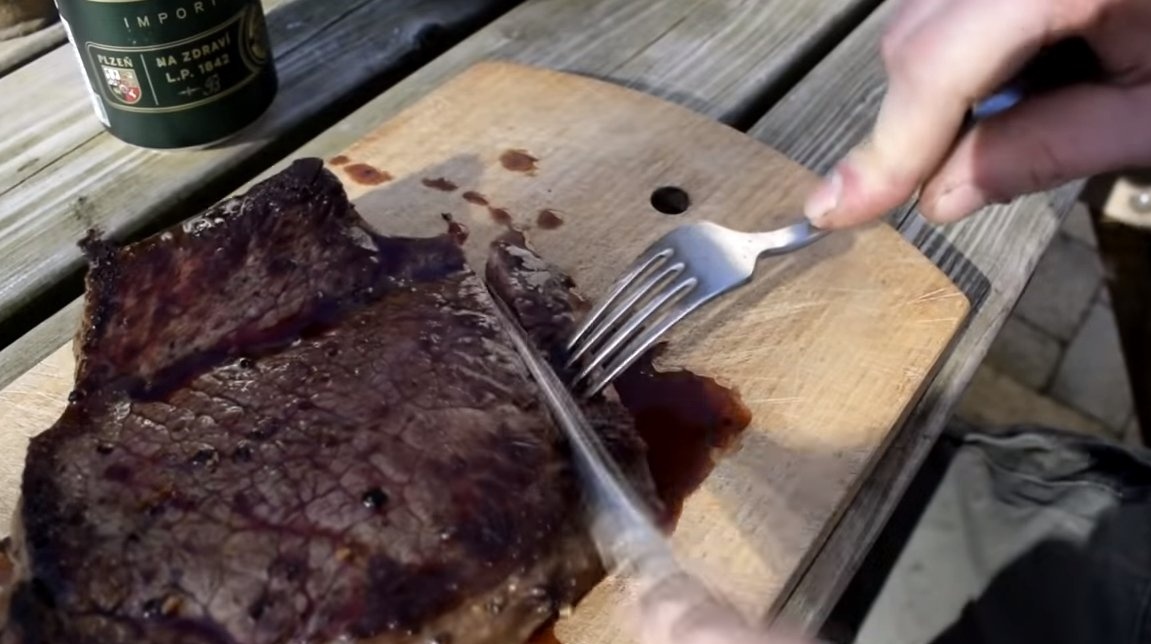
That's all, now the knife is ready, proceed to the tests, the meat is cut very simply. On this project can be considered successfully completed. I hope you liked the homemade product and you found interesting thoughts for yourself. Good luck and creative inspiration, if you decide to repeat this. Do not forget to share your ideas and homemade things with us!