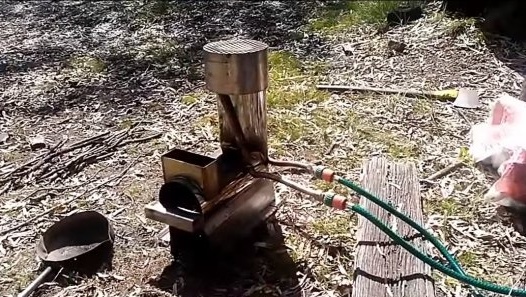
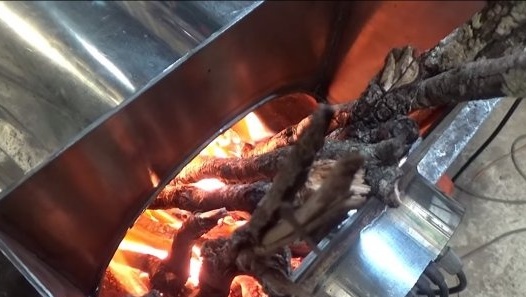
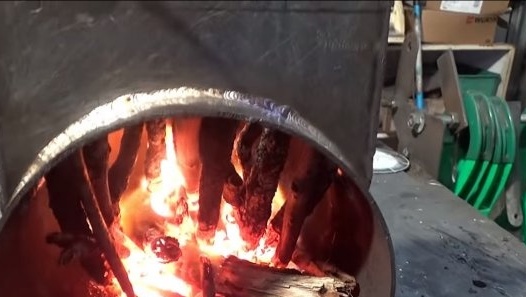
I welcome fans to craft, in this instruction we will look at how to make a small stove designed to heat water. Such homemade It will be useful in the country, for example, it will be possible to easily and freely heat water to bathe or wash the dishes. As an experiment, the author heated cold water from a tap in a volume of 200 liters in 1.5 hours to a temperature of 67 degrees Celsius. The stove consumes little fuel, there is a function of vertical loading of firewood, which makes the combustion process semi-automatic. For example, you can insert sticks into a vertical window, and they will sink into the firebox as they burn. If you are interested in the project, I propose to study it in more detail!
Materials and tools used by the author:
Material List:
- a copper tube with a diameter of 20 mm and a length of 5 m;
- an iron pipe (or rather a stainless steel) for the furnace body;
- sheet metal or stainless steel;
- copper corners for pipes;
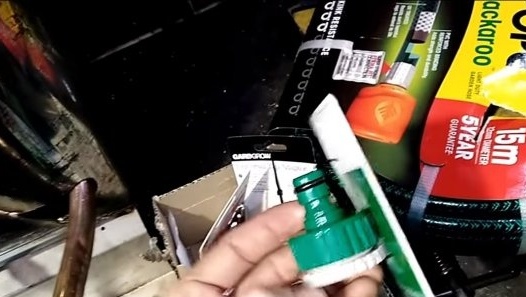
- hose (capable of withstanding temperatures up to 100 ° C);
- fittings for connecting to the barrel;
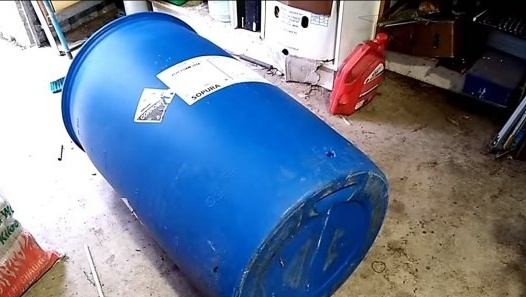
- a barrel for water;
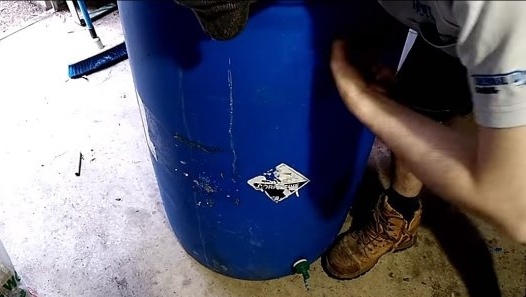
- The crane for installation on a barrel.
Tool List:
- ;
- ;
- bending machine;
- ;
- marker, tape measure.
Homemade manufacturing process:
Step one. Furnace body assembly and testing
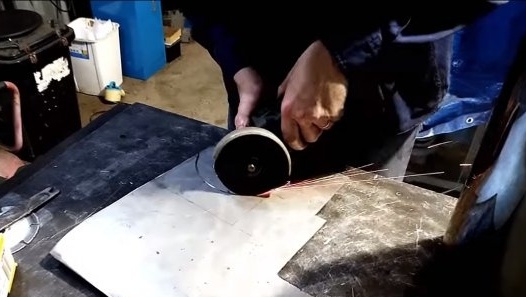
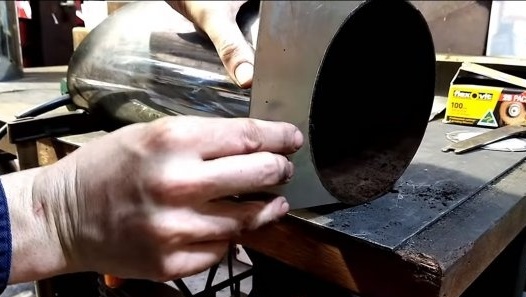
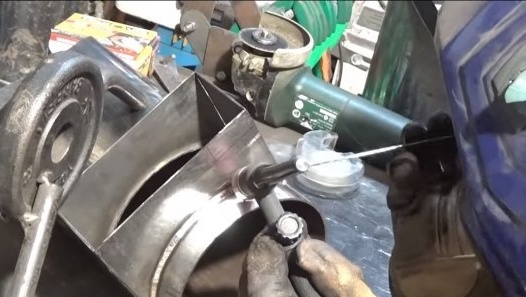
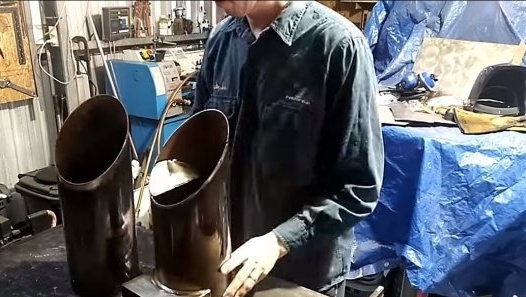
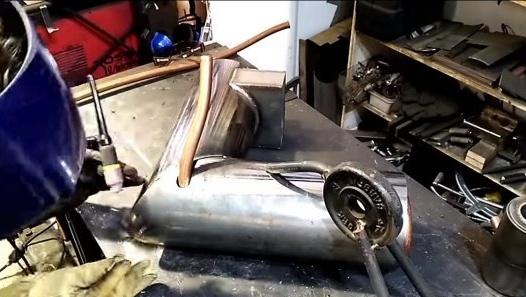
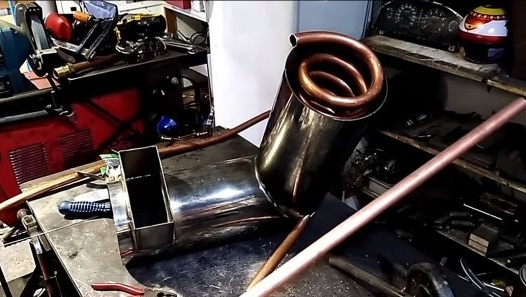
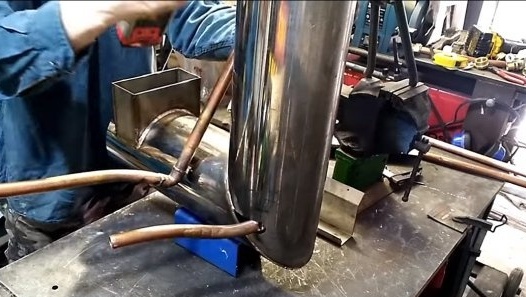
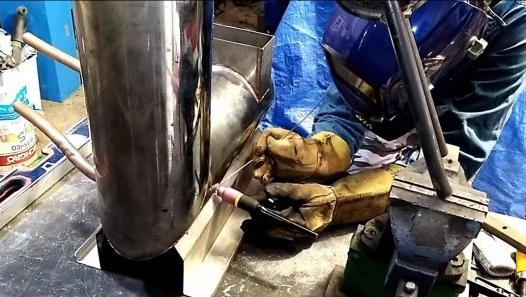
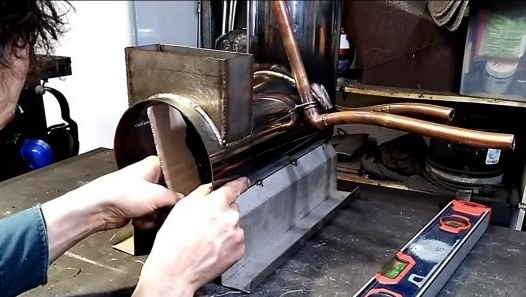
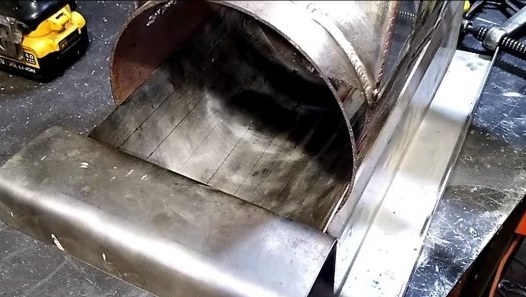
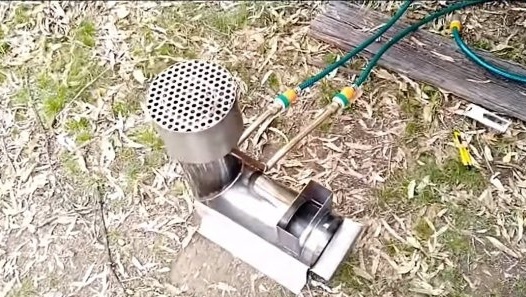
Let's assemble the furnace body, for this we need a piece of pipe of suitable diameter, the author has a stainless steel pipe. The advantage of stainless steel is that it does not rust and is able to withstand high temperatures. We cut the pipe and weld at an angle of 90 degrees, in the end we get such a kind of elbow, this is the finished furnace body. Final welding is not necessary yet, you can only grab it by welding for the dough.
We also need to equip a vertical firebox, cut out the necessary window in the furnace and weld the sleeve on top. In front of the chimney, the author welded a flap to increase the efficiency of the furnace. The main body of the furnace is ready, you can conduct the first experiments, everything is on and the draft is normal.
Step Two Coil Making
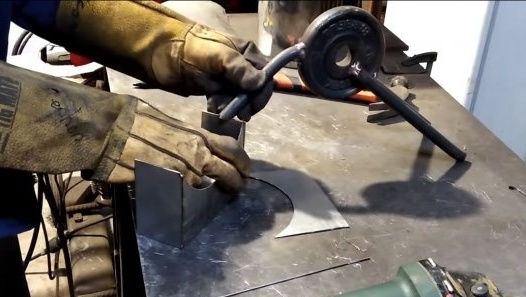
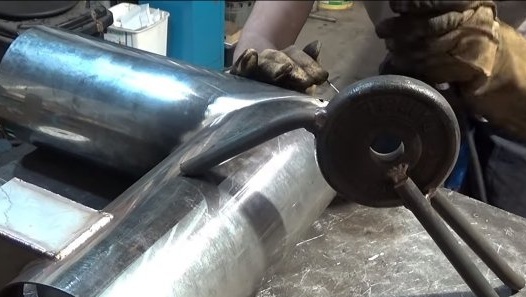
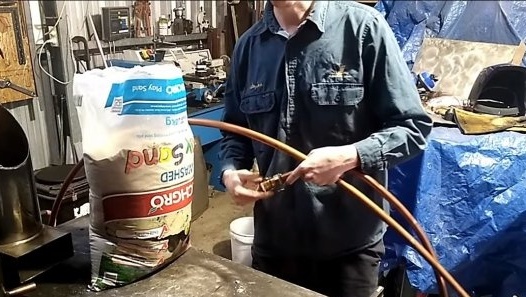
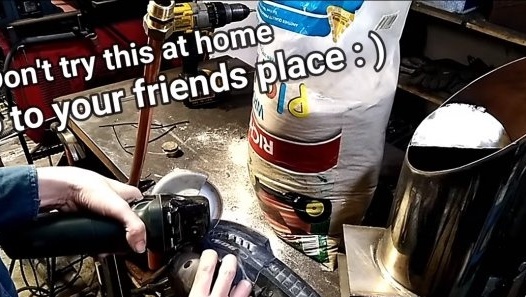
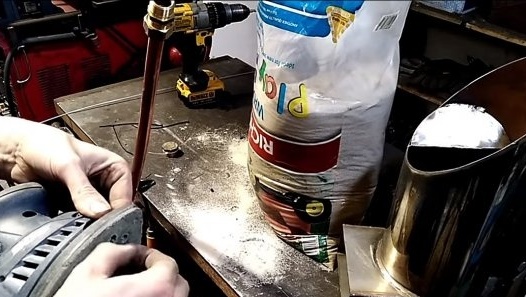
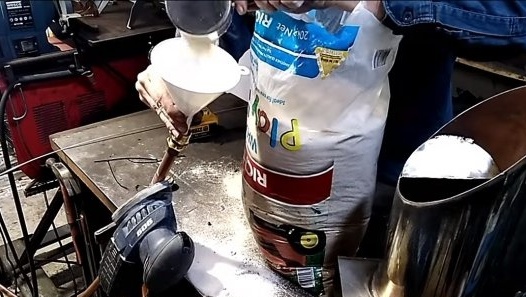
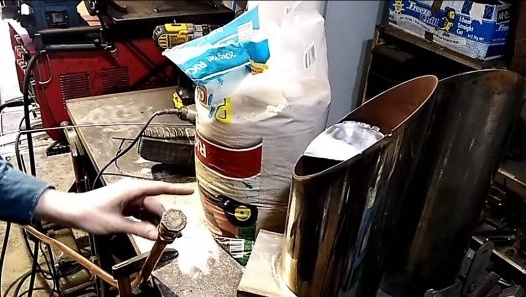
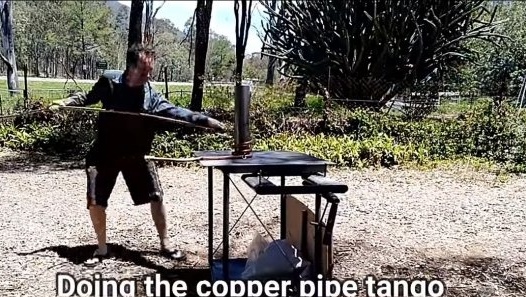
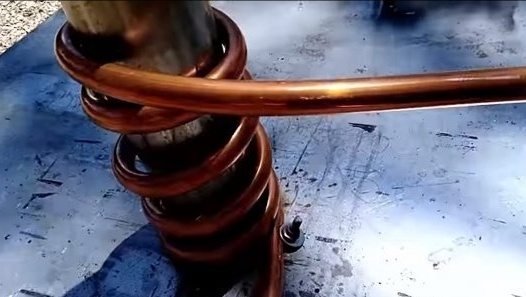
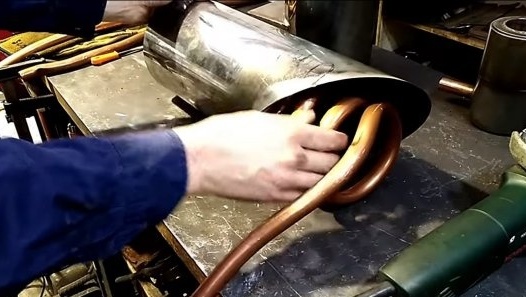
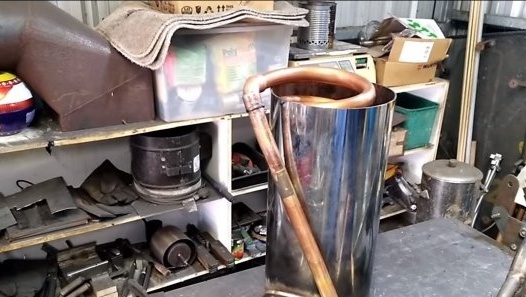
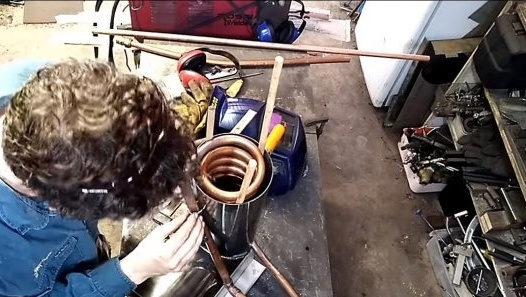
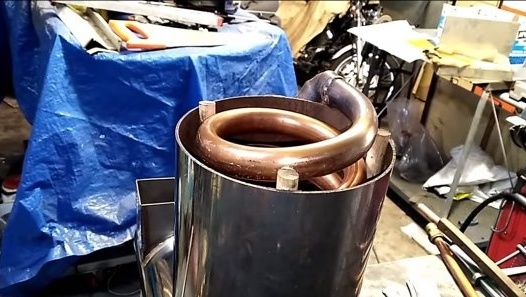
Next, you need to make a coil from a copper tube, the total length of the tube is 5 m, and the pipe diameter is as much as 20 mm, and you can use a thinner one. To twist the coil from a copper tube, we need to fill it with sand, and quite densely. To fill the sand in the tube, you need to create vibrations. To solve the problem, the author attached a vibration sander to the pipe. Having fallen asleep sand, we close the ends and now the pipe can be bent.
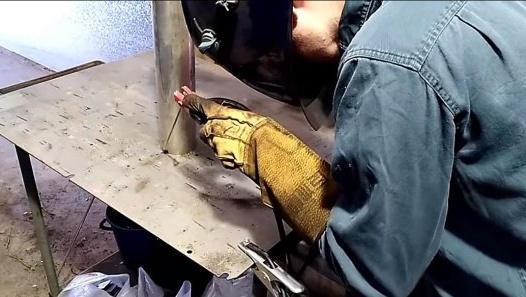
The author welded an iron pipe to the table and twisted a coil around it. To fix the end of the pipe, use a bolt with a nut and washer. When everything is ready, pour sand and wash the coil with pressurized water from the hose. Now the coil can be installed in the furnace body.
Step Three Outgoing tube
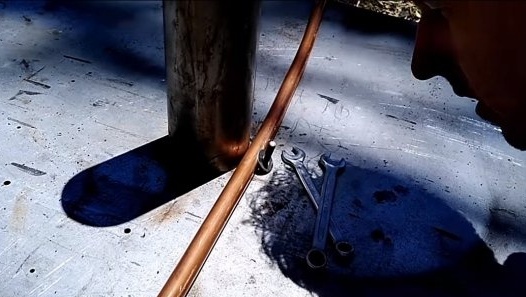
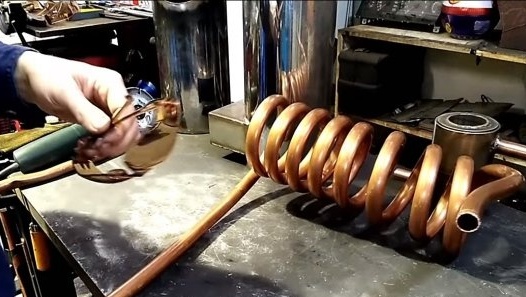
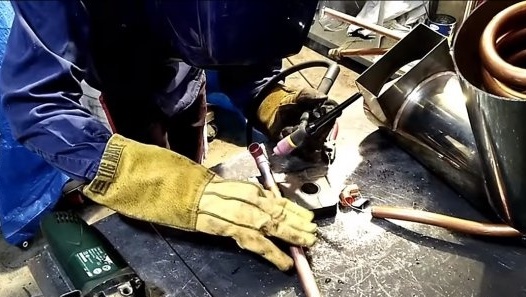
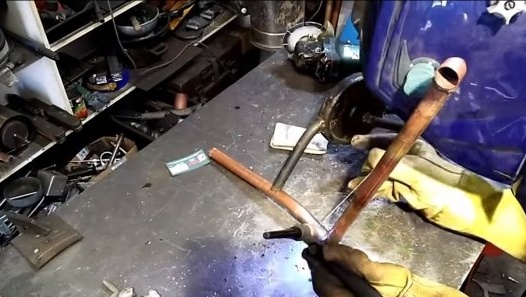
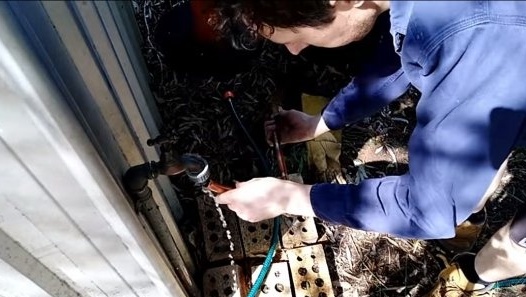
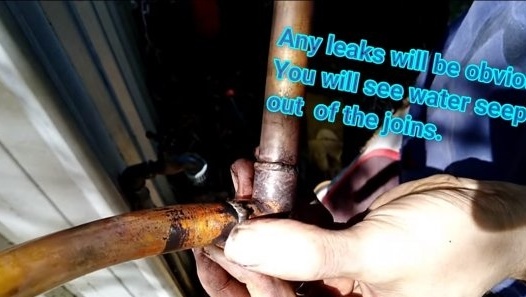
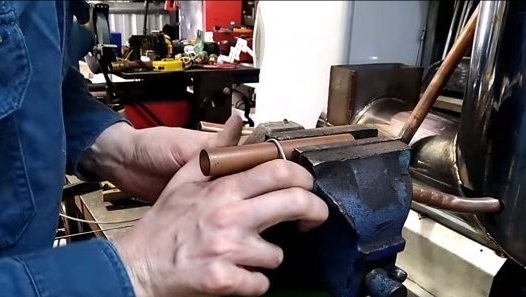
If desired, for ease of use, you can make a tube that will allow you to place next to the receiving and outgoing pipe of the coil. To do this, we need connecting corners, copper can be welded or simply soldered, the heating temperature will not be so high as to melt the solder. Having welded the tube, we test it under pressure on the subject of the furnace and connect it to the coil.
Step Four We fix the coil
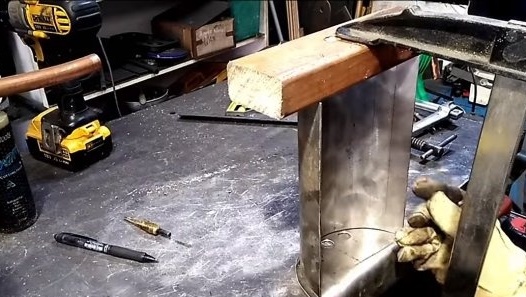
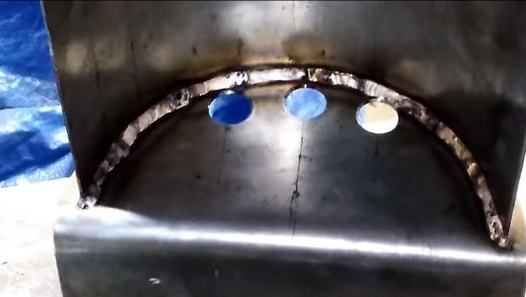
The coil will hang in the furnace body, so we have to fix it. To begin, we make loops of wire and weld them to the body, fixing the coil. Inside the case, the author welded a round, so that the coil had something to rest on, as a result, everything holds rather reliably.
Step Five Protective grill
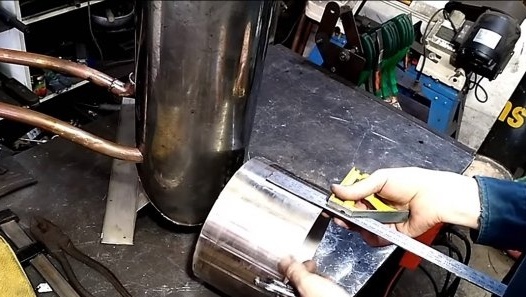
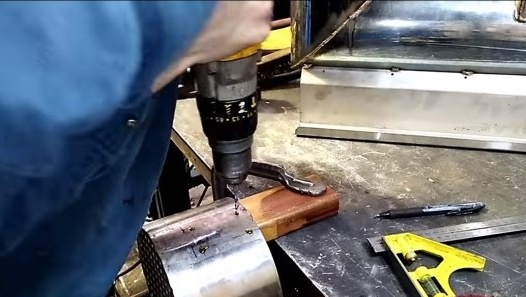
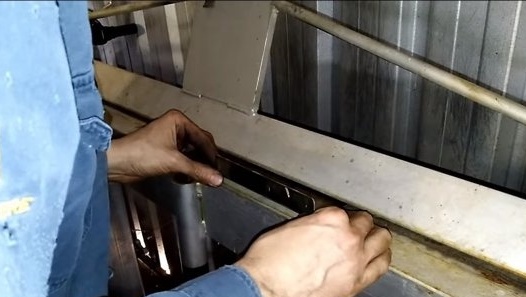
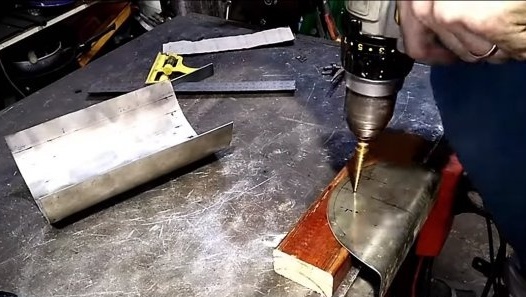
In the upper part above the coil is a protective grill. This design also allows you to retain heat in the furnace, so that the coil warms up better. We cut the stainless steel, weld the lid, drill holes. We fasten the part with screws or screws so that you can remove it in case of emergency.
Step Six Grids and legs
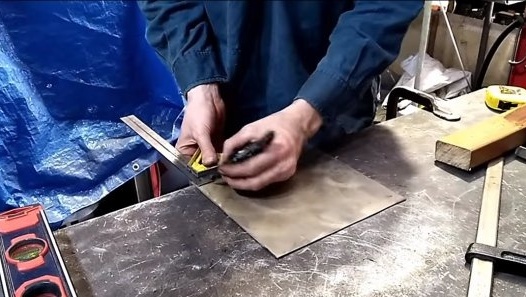
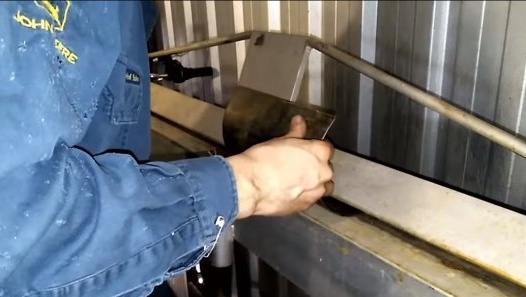
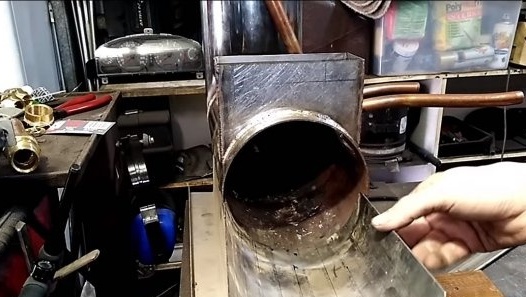
For the stove, grates are needed so that ash can be easily and quickly thrown away, as well as to supply air to the lower part, under the firewood. We make the basis of grates from a sheet of stainless steel, we bend the foxes in a semicircle so that the part enters the furnace. And also we make a handle for grate from a sheet of stainless steel, in it the author drills holes that will work as a blower. If desired, it will be possible to pull out all the hot coals along with the grates, and the stove will instantly stop working.
Seventh step. Connection and testing
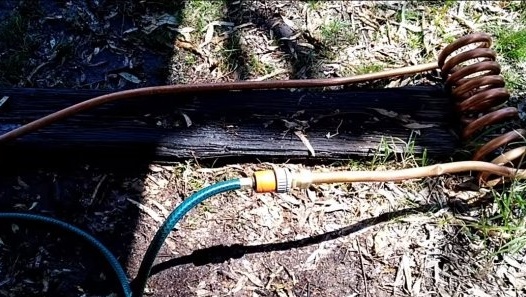
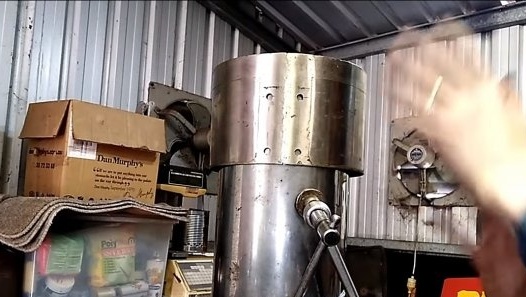
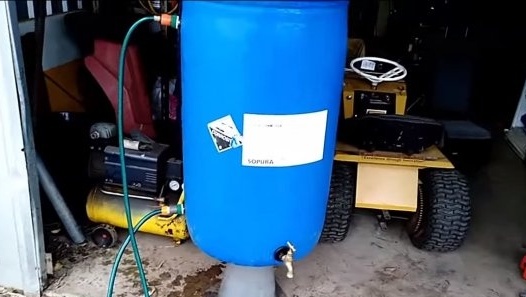
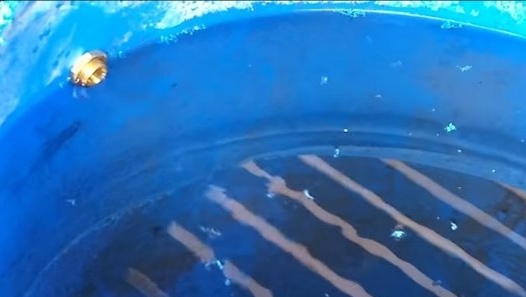
For the experiment you will need a barrel, in our case it is 200 liters. We install a fitting in the lower part, through it cold water will go to the furnace, and cut the upper fitting into a barrel for the receiving pipe, through which already hot water will flow.
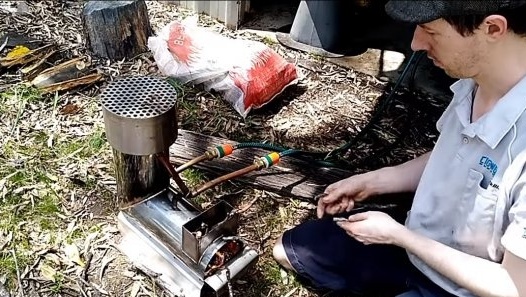
We connect the hose and kindle the furnace. During the experiment, the furnace worked for 1.5 hours, during which time the temperature of the water in the barrel reached 67 ° C. What water temperature was before this is not known, but overall the result is very good.
On this project can be considered successfully completed, I hope you liked the homemade work, and you found useful ideas for yourself. Good luck and creative inspiration, if you decide to repeat this. Do not forget to share your ideas and homemade things with us!

