


First, the master made a small robot-eater working on Arduino and from parts printed on a 3D printer. You can see it in the last photo, and a video with the process of its production will be at the end of the article. The next robot-eater was decided by the master, using parts from a special kit for assembling Robotis robots and a trash can.
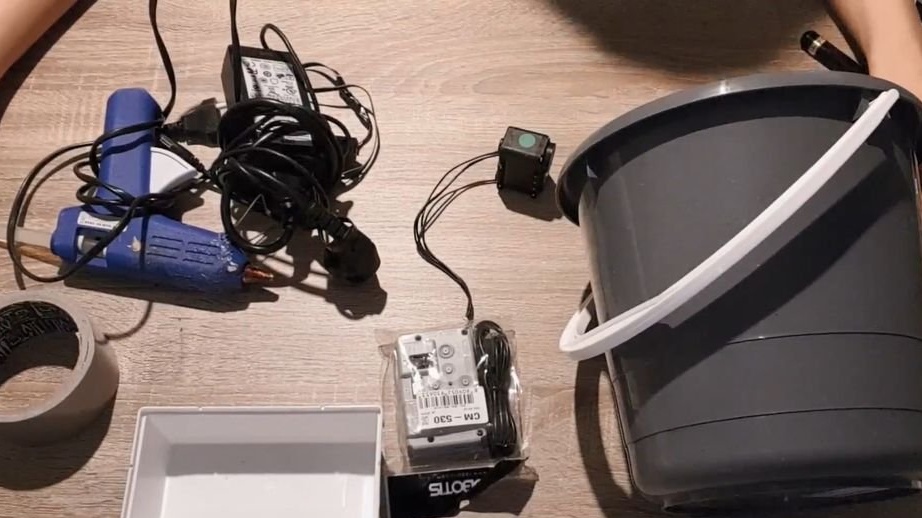
Tools and materials:
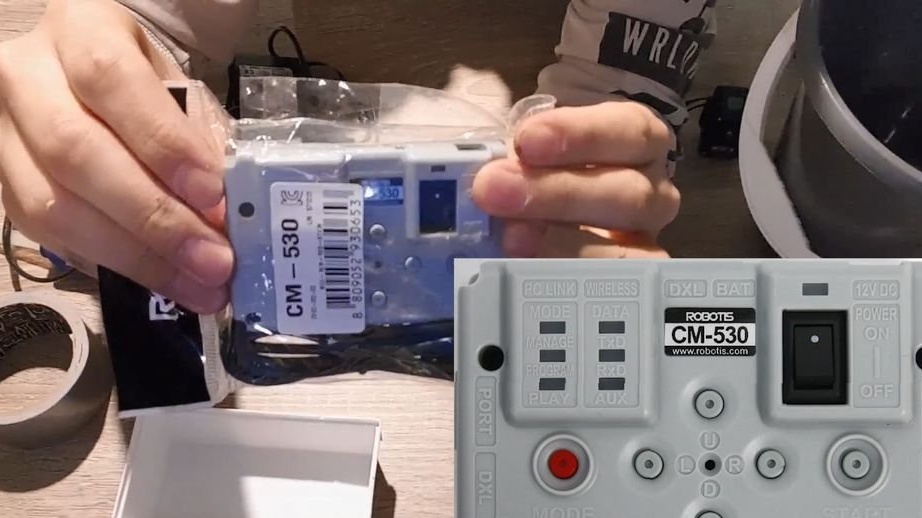
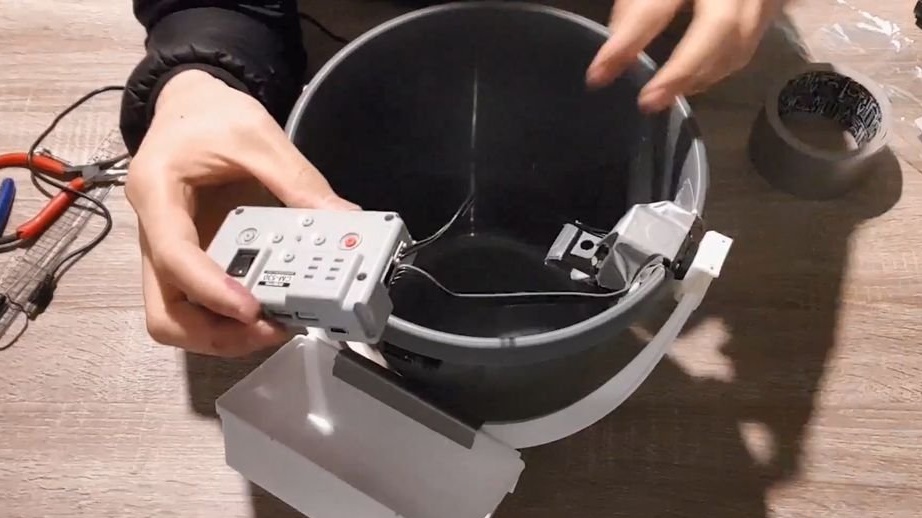
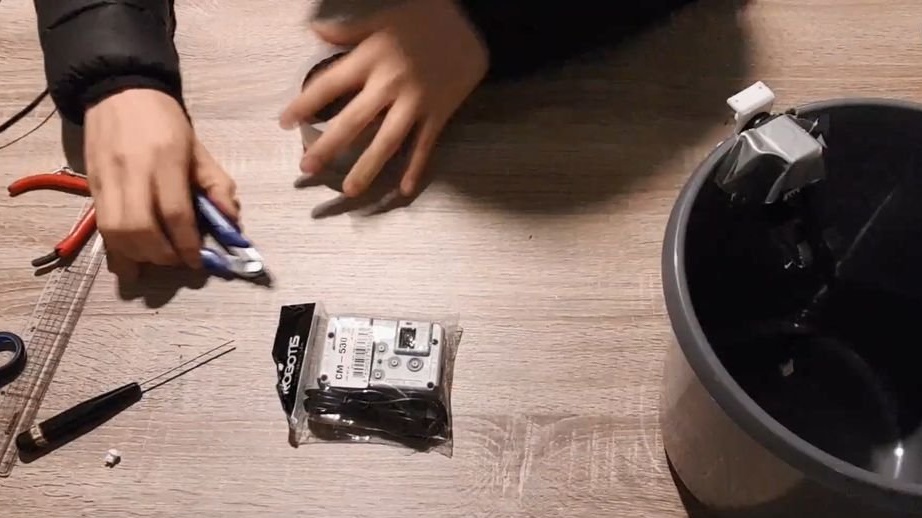
-Controller ROBOTIS CM530;
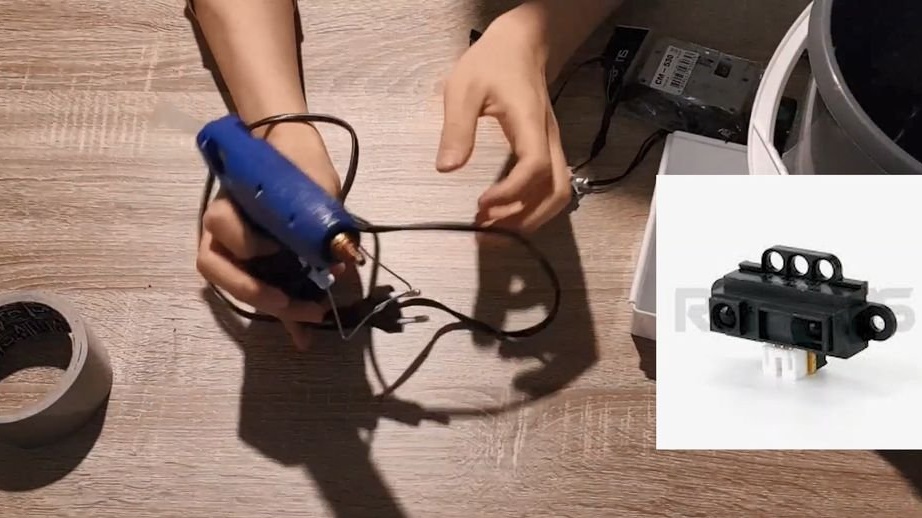
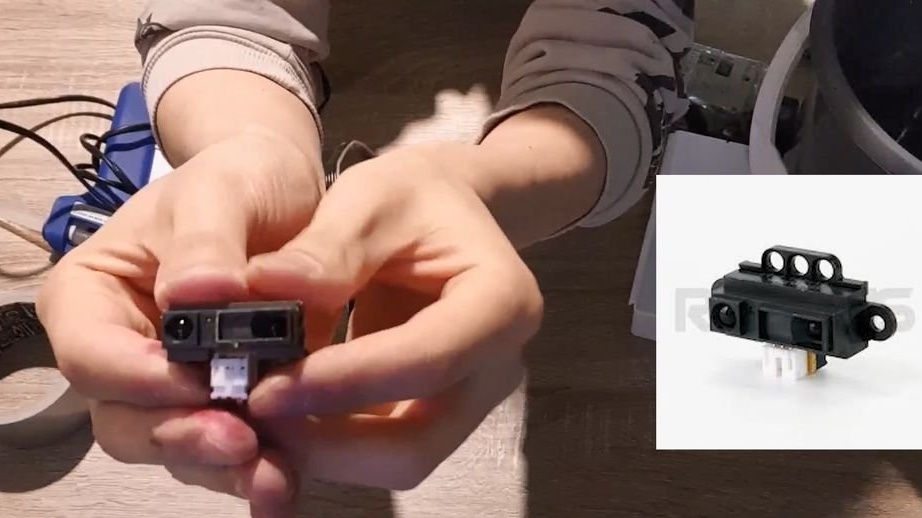
- Laser distance sensor ROBOTIS 360 LDS-01;
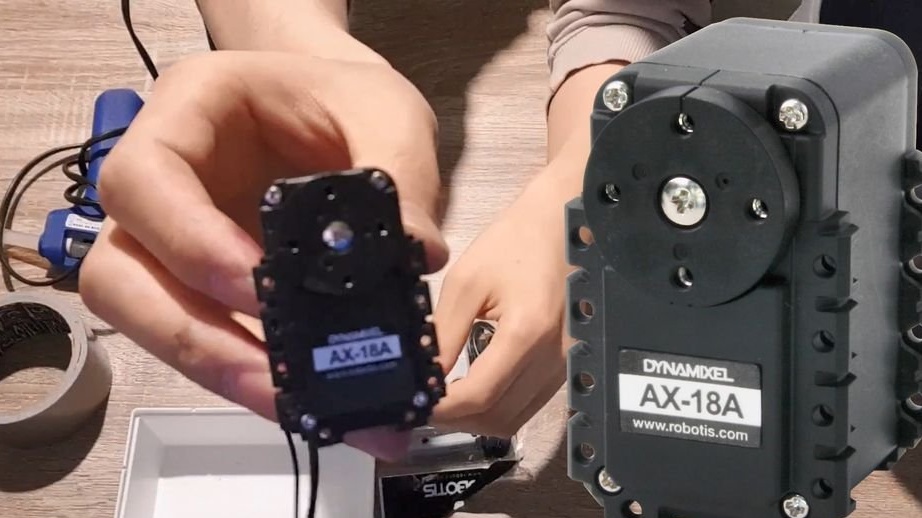
- Servomotor Robotis AX-18A;
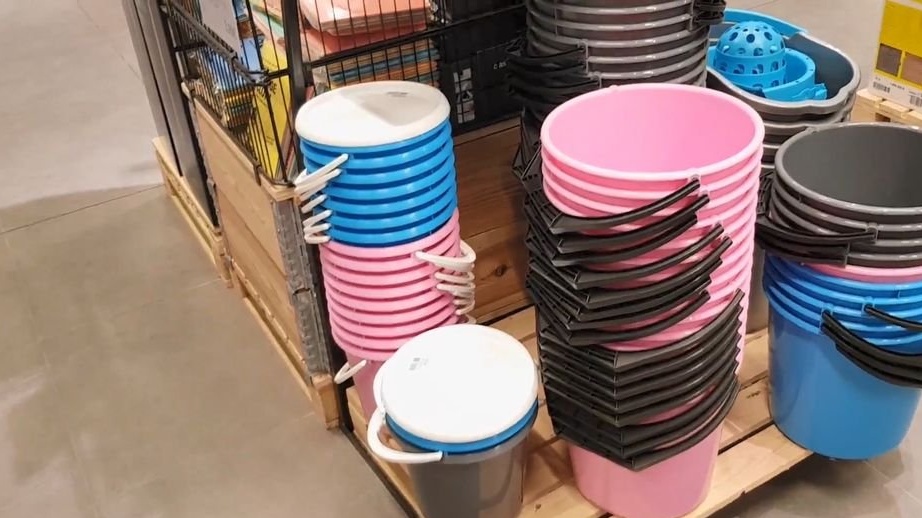
-Plastic bucket with a handle;
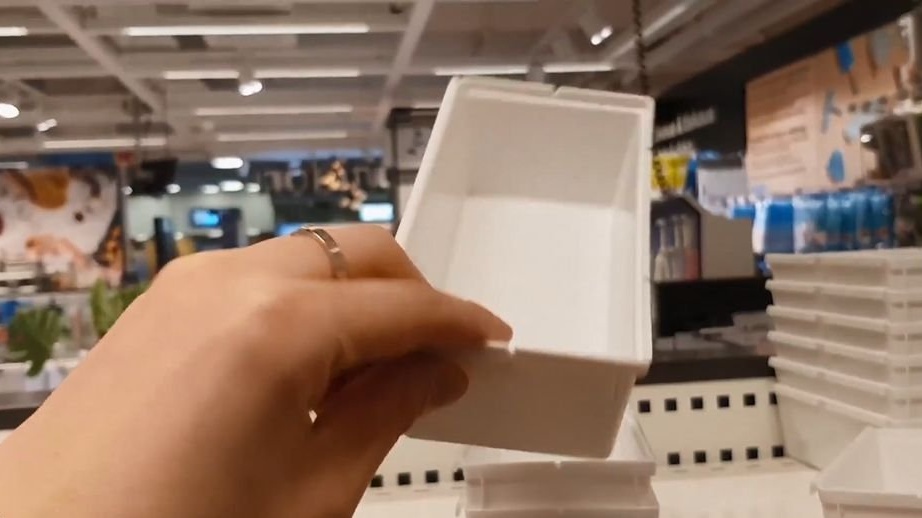
-Plastic container;
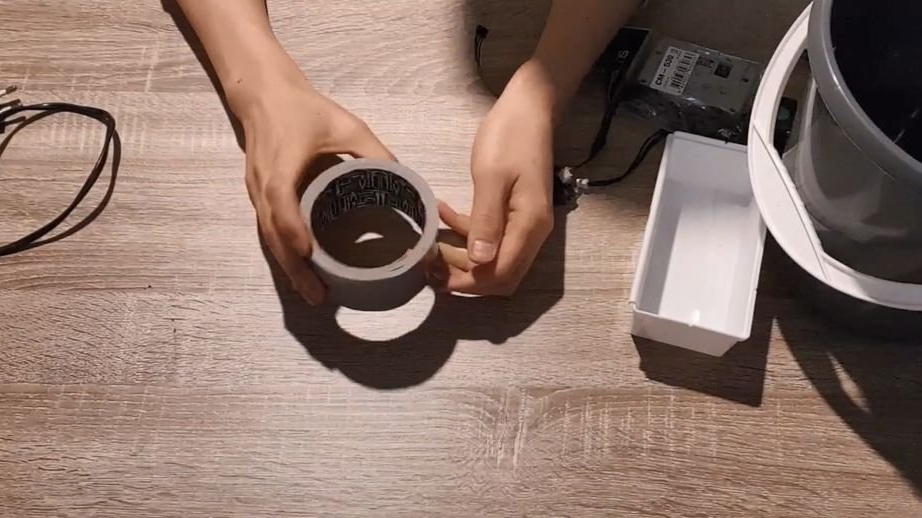
-Scotch;
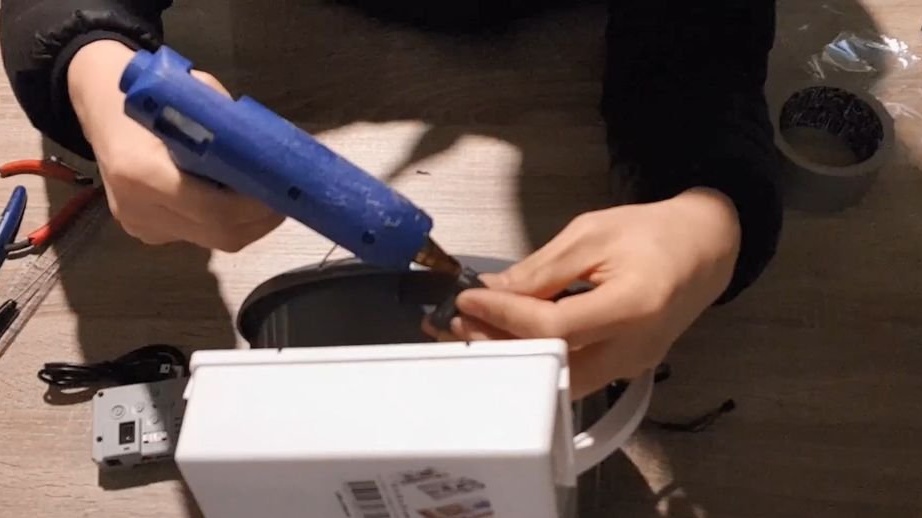
-Glue gun;
-Marker;
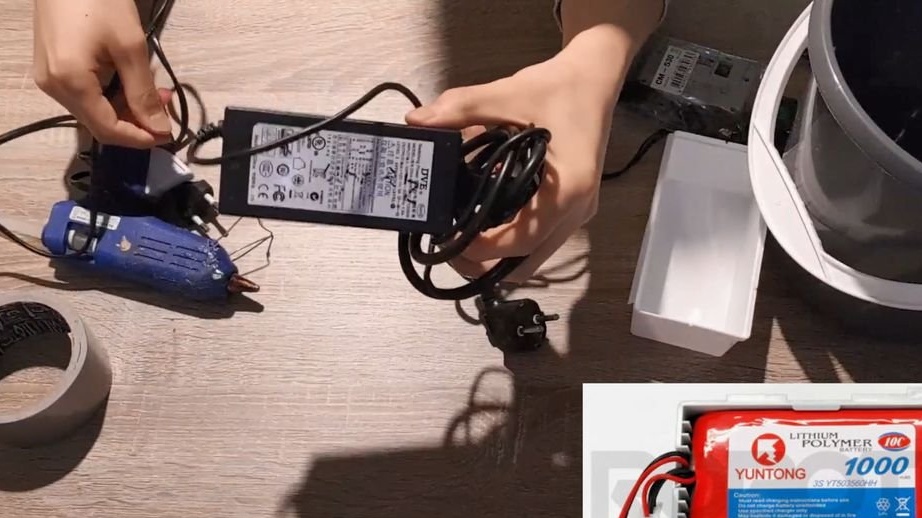
-Power Supply;

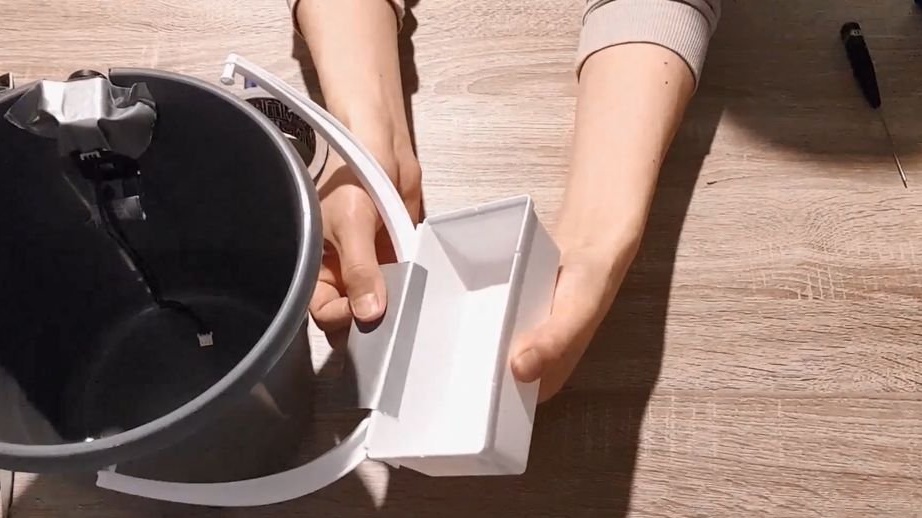
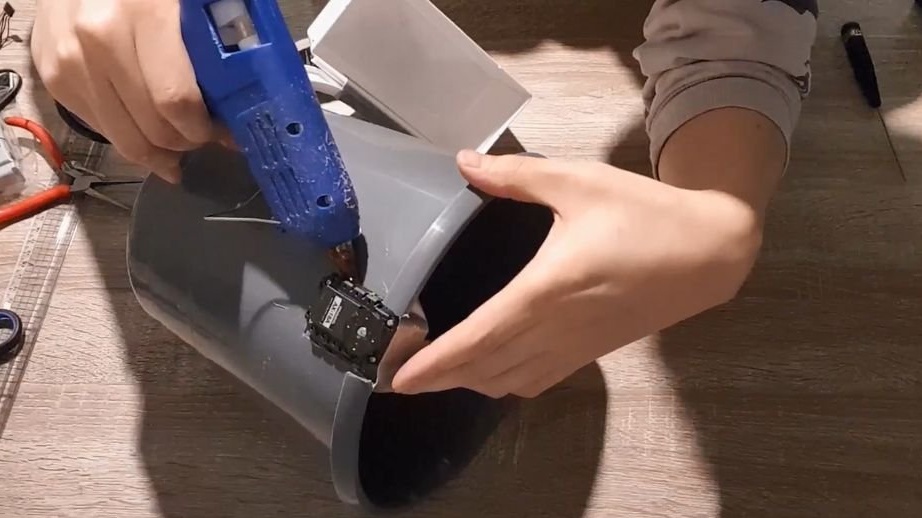
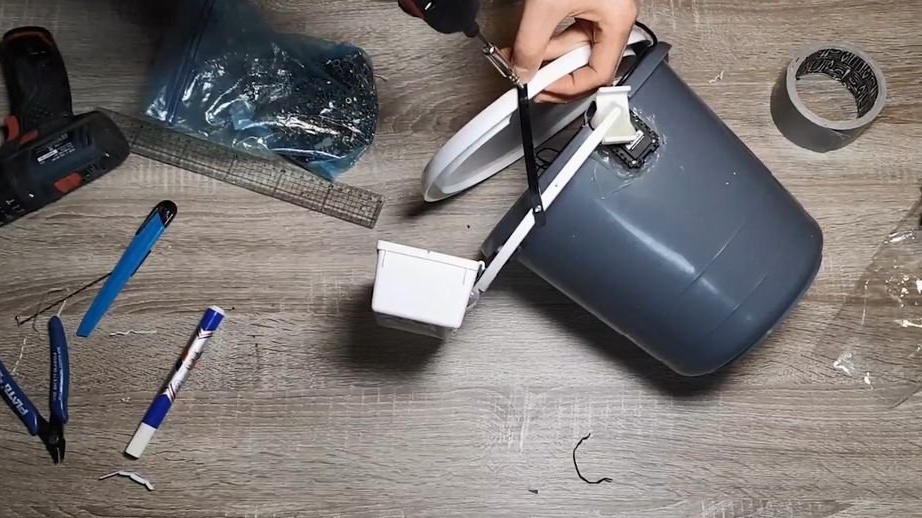
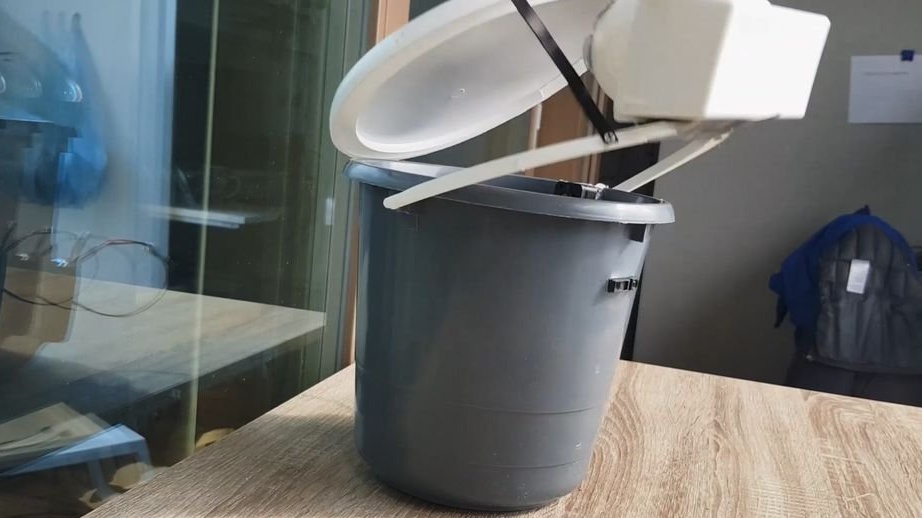
Step One: Install Tray and Servo Motor
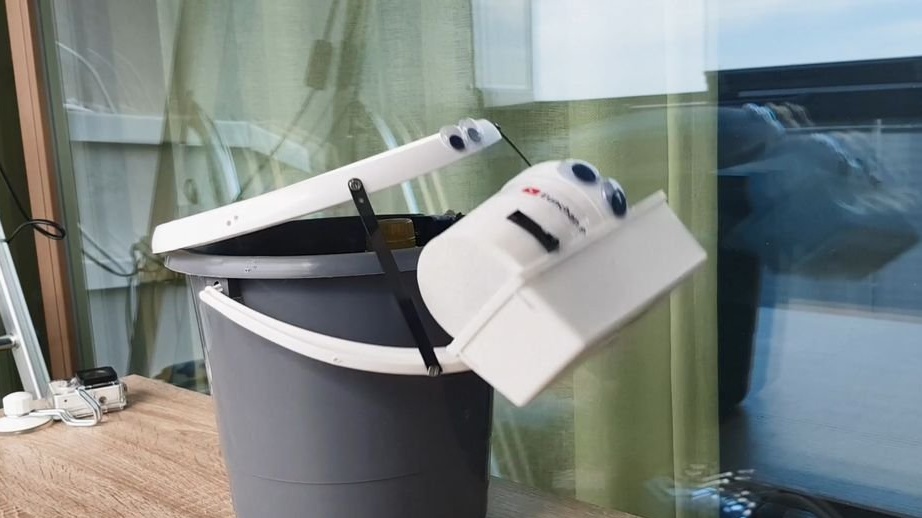
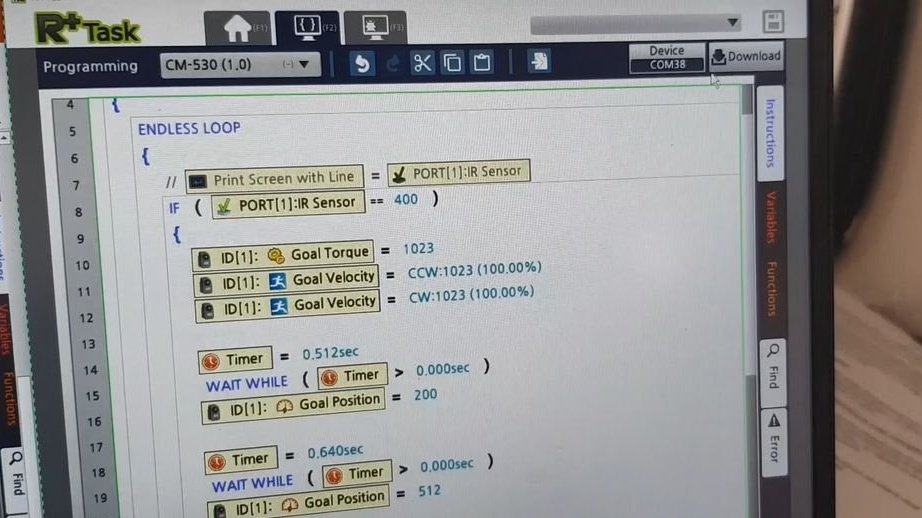
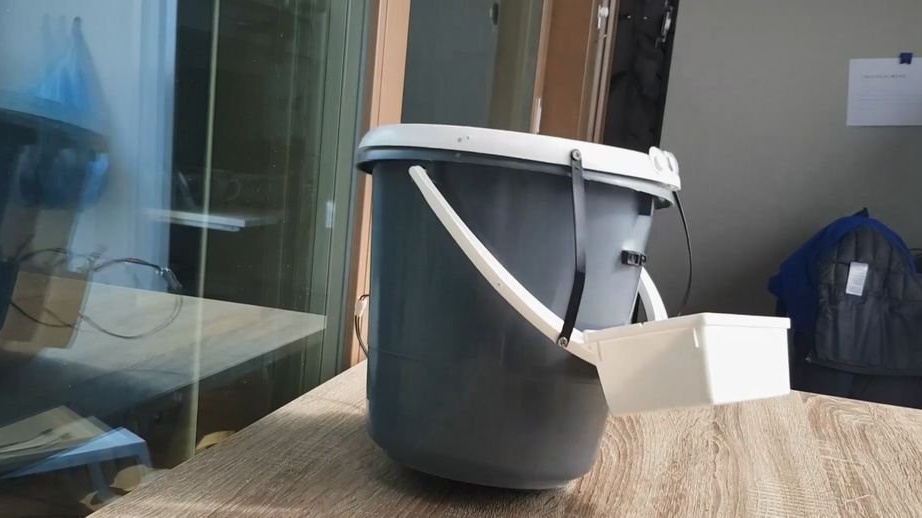
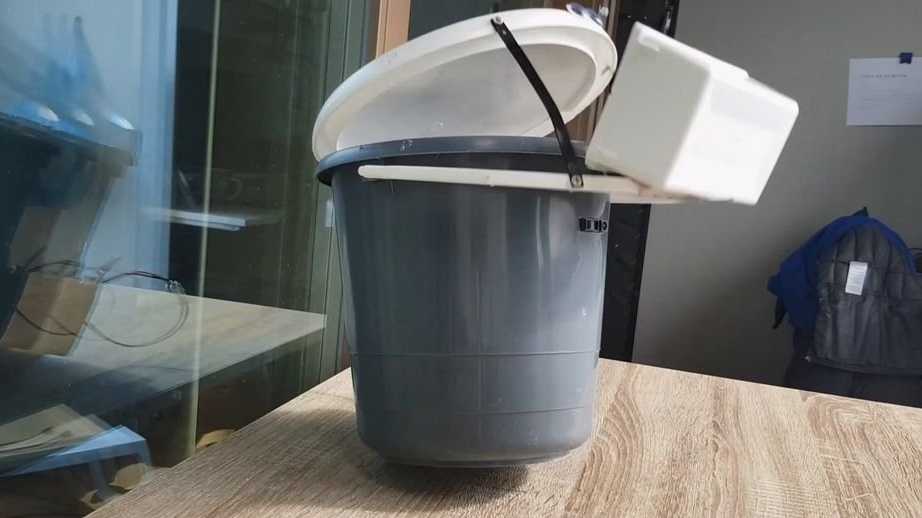
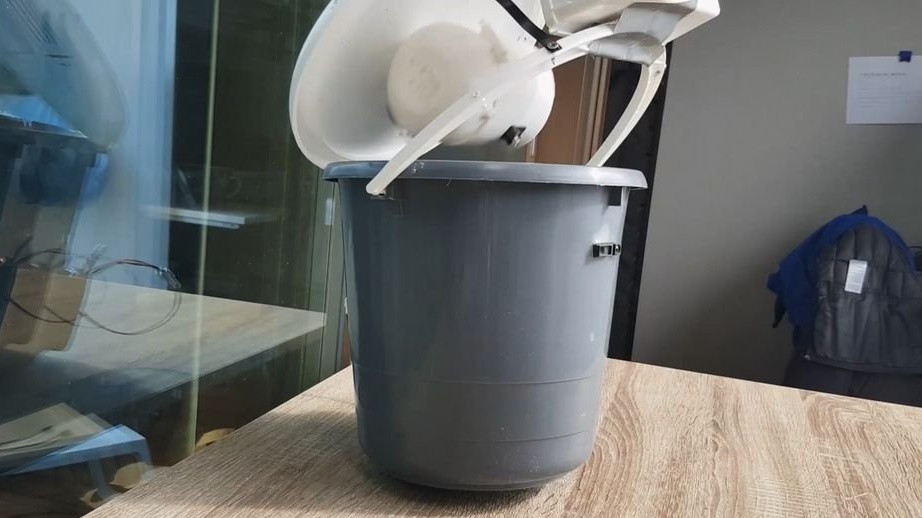
The device works as follows: as soon as a foreign object enters the tray, the laser sensor sends a signal to the controller about this. The controller processes the signal and supplies power to the servo drive. The servo lifts the handle with the tray, the tray overturns and the item is in the bucket.
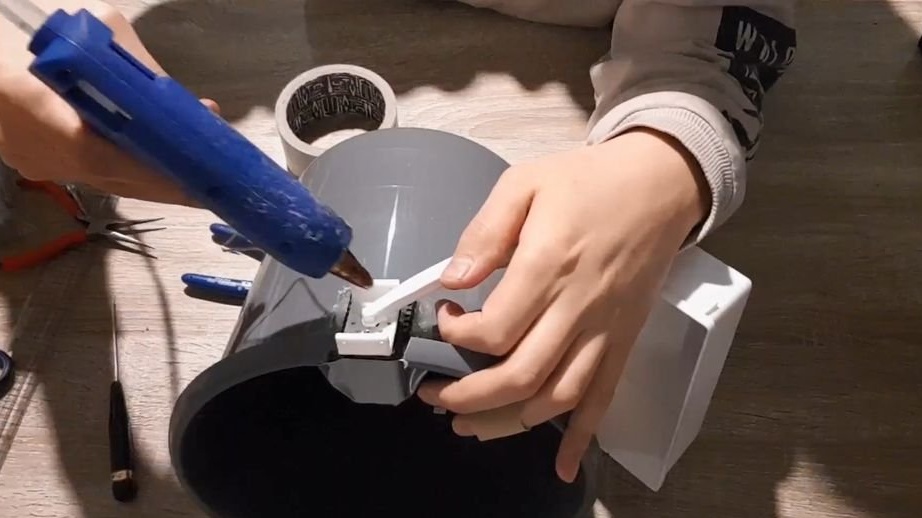
In the first step, the wizard secures the tray and servo.

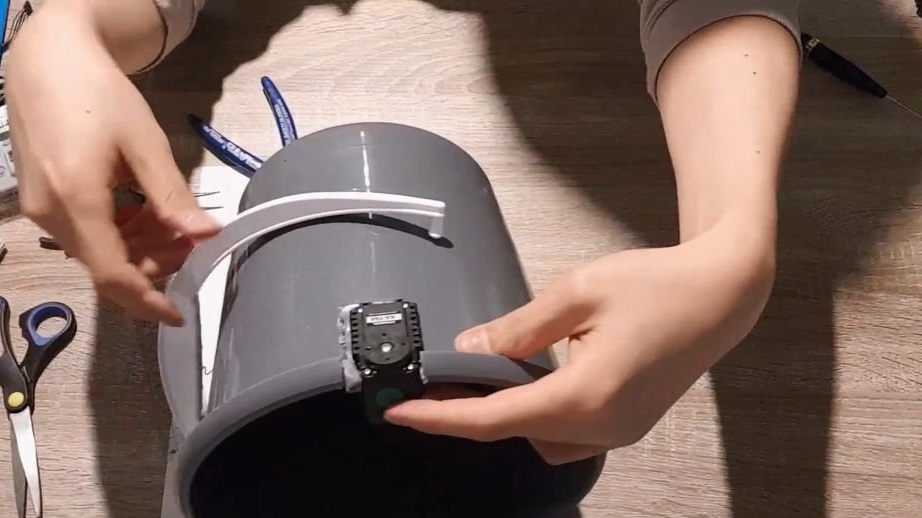
Step Two: Pen
Secures the lever to the servo shaft. On the lever fastens the handle.
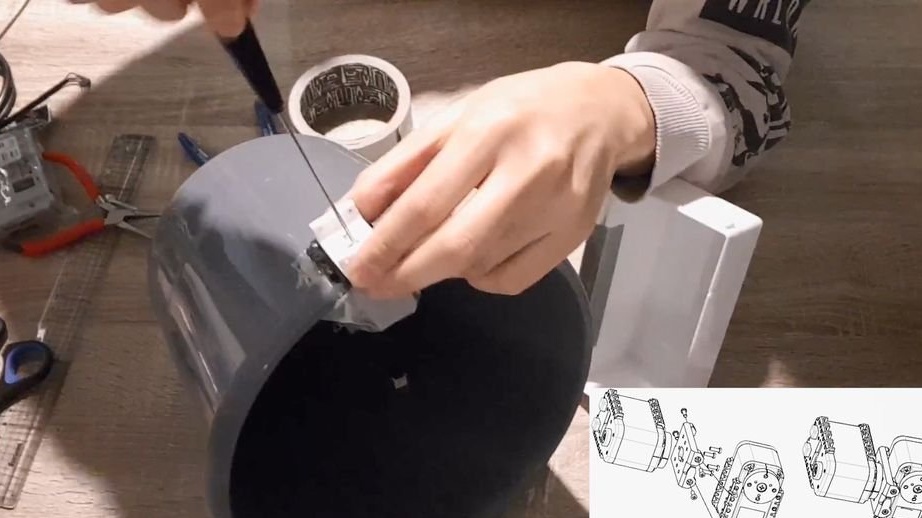
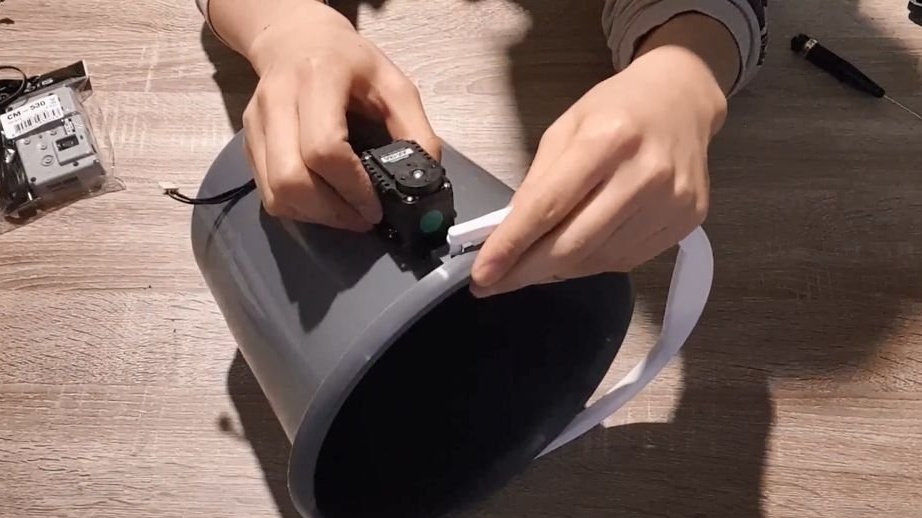
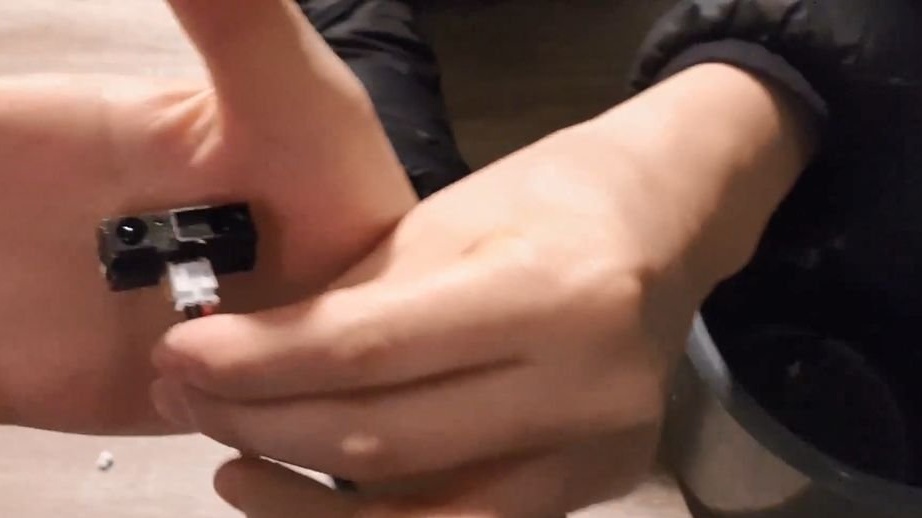
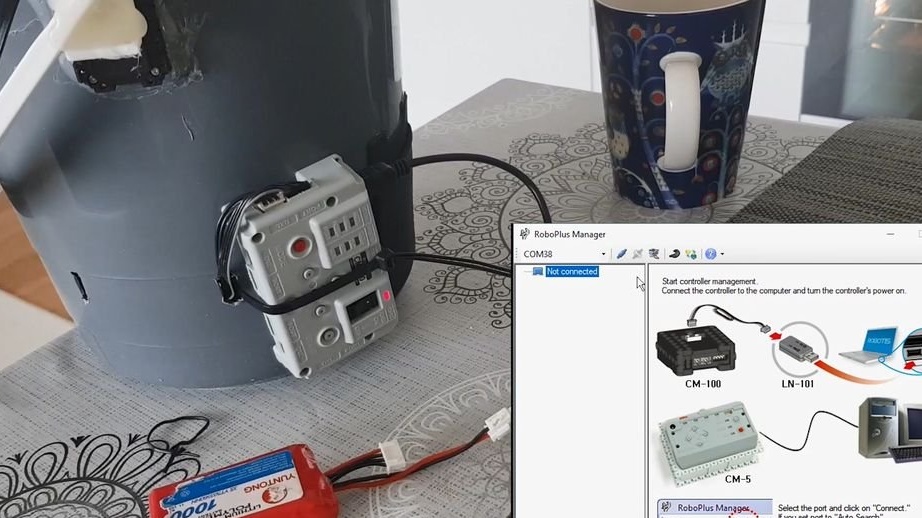
Step Three: Connect
Secures the distance sensor. It connects everything according to the following scheme: controller - sensor, controller - servo drive, controller - power supply.
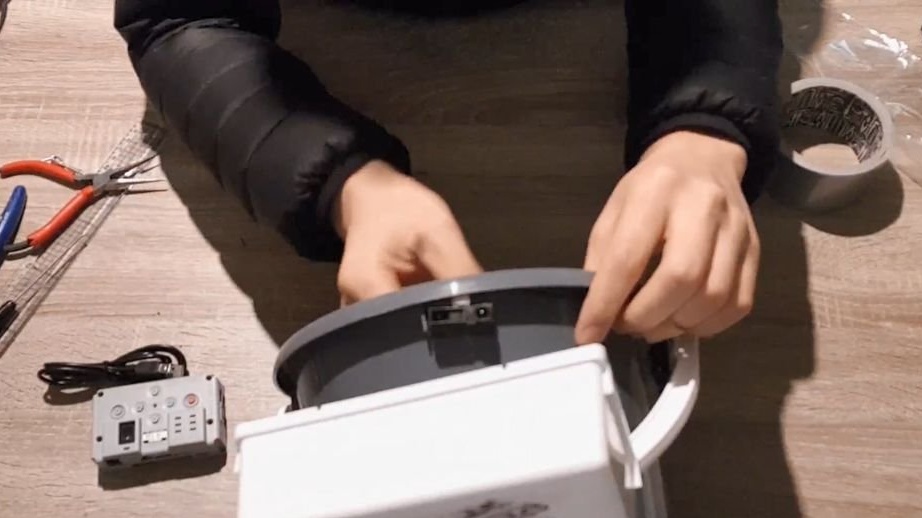
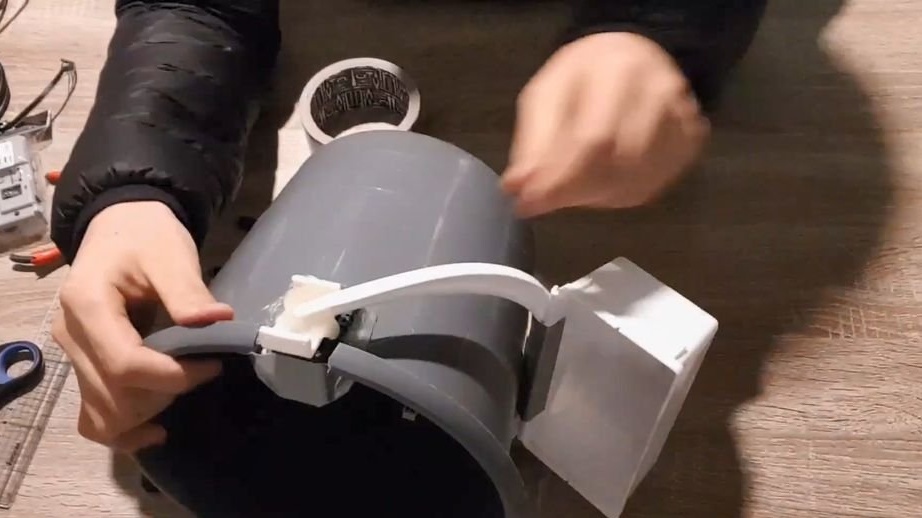
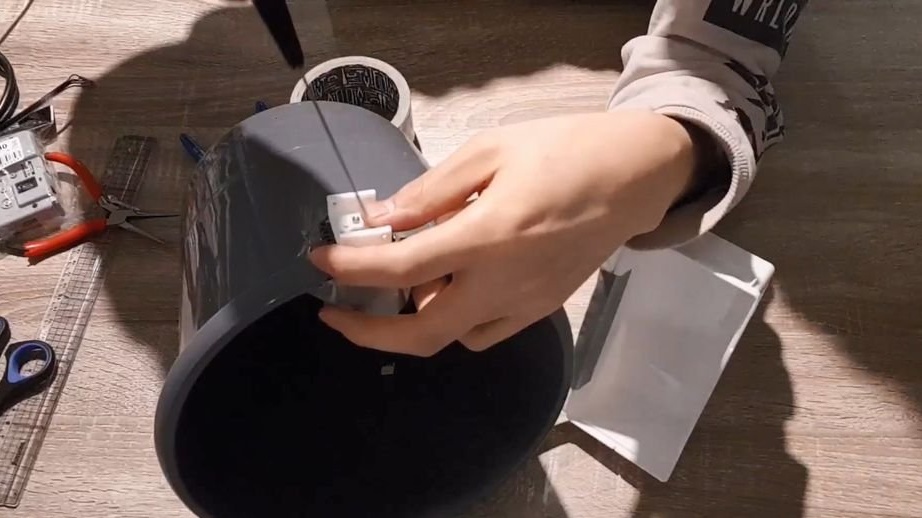
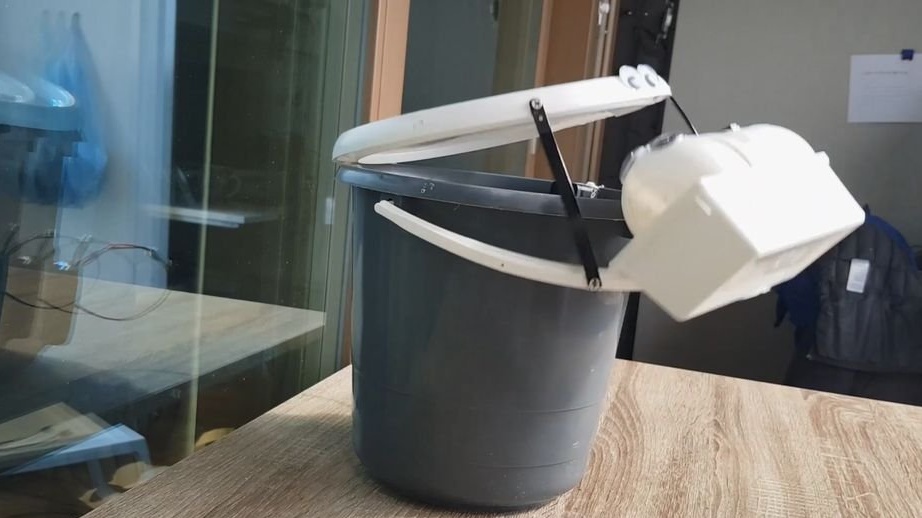
Step Four: Cover
The lid should be freely mounted on the bucket. One of its edges is fixed with tape, the other is free. To raise it, the master sets, on both sides, levers, the second ends of which are fixed on the handle.

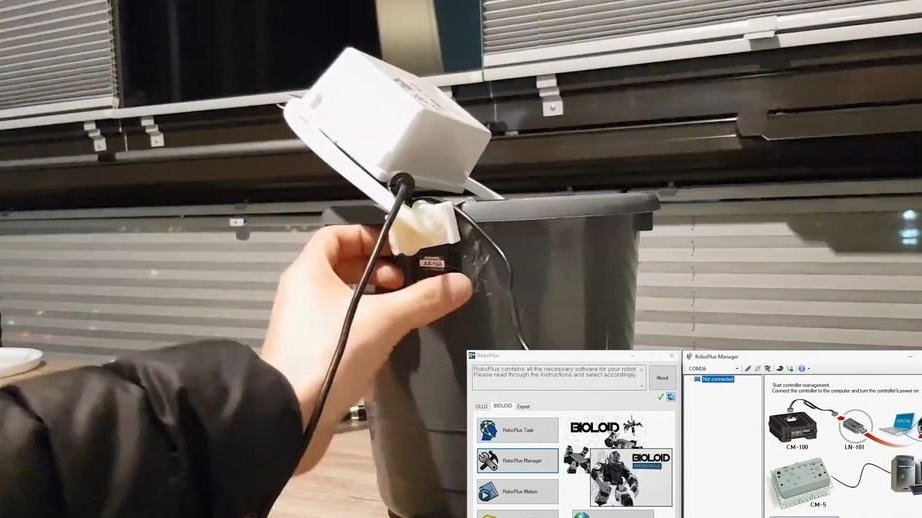
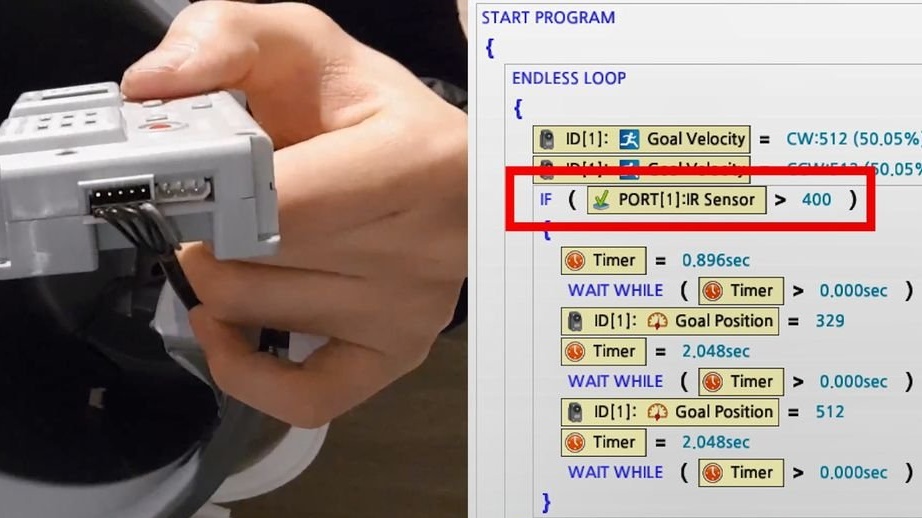
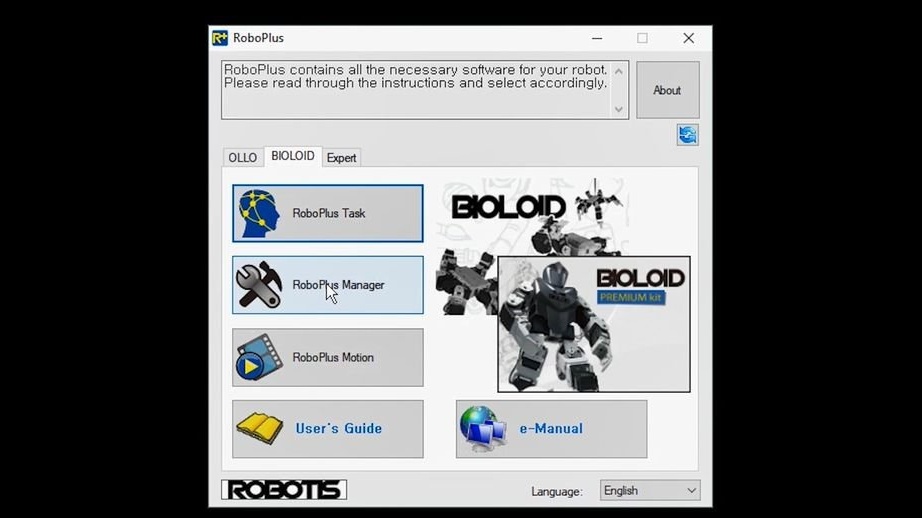
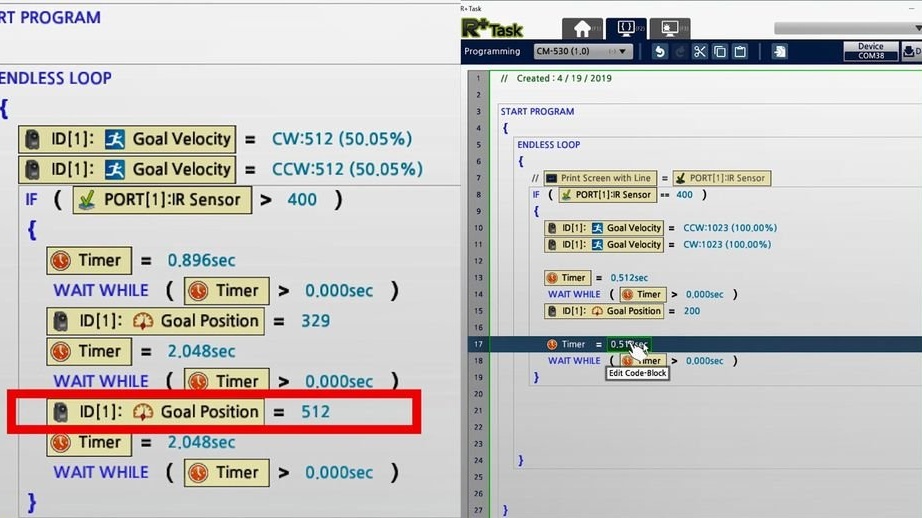
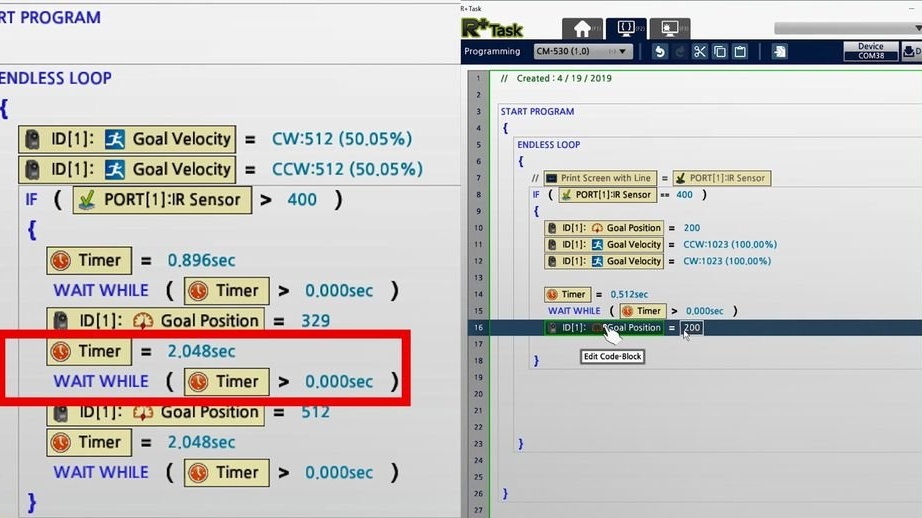
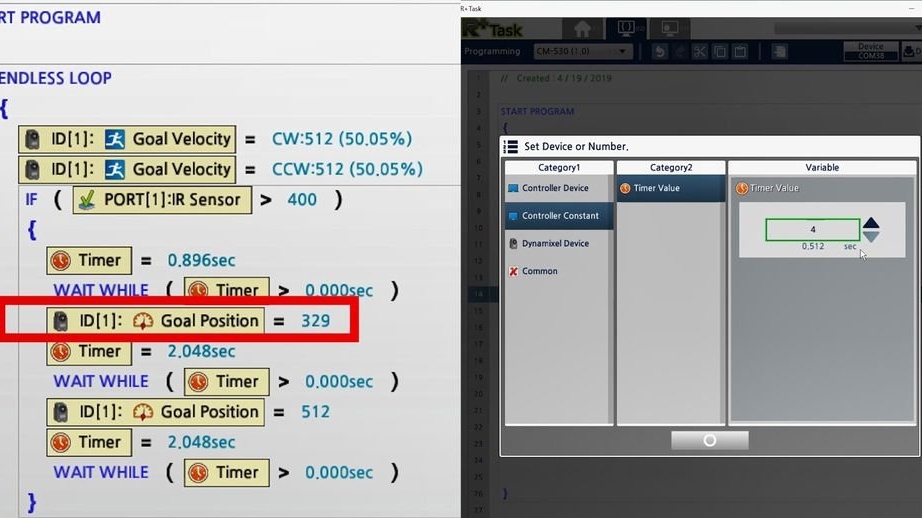
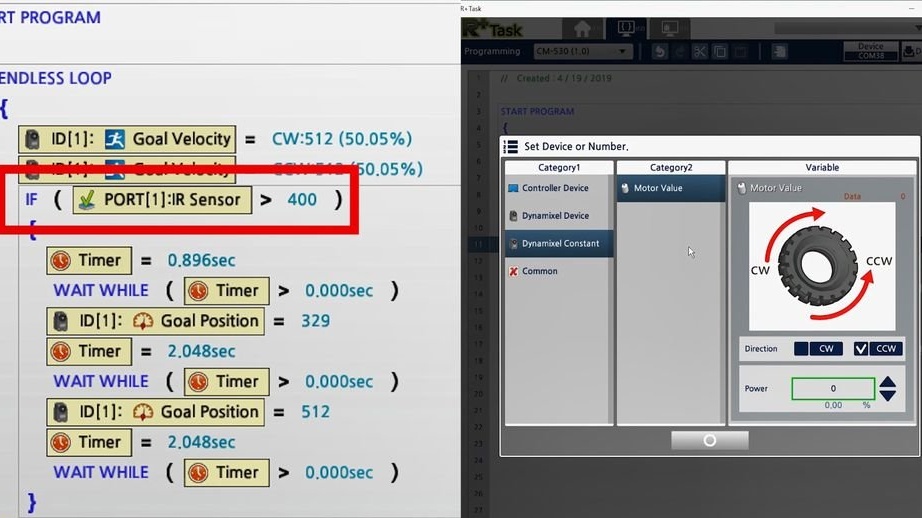
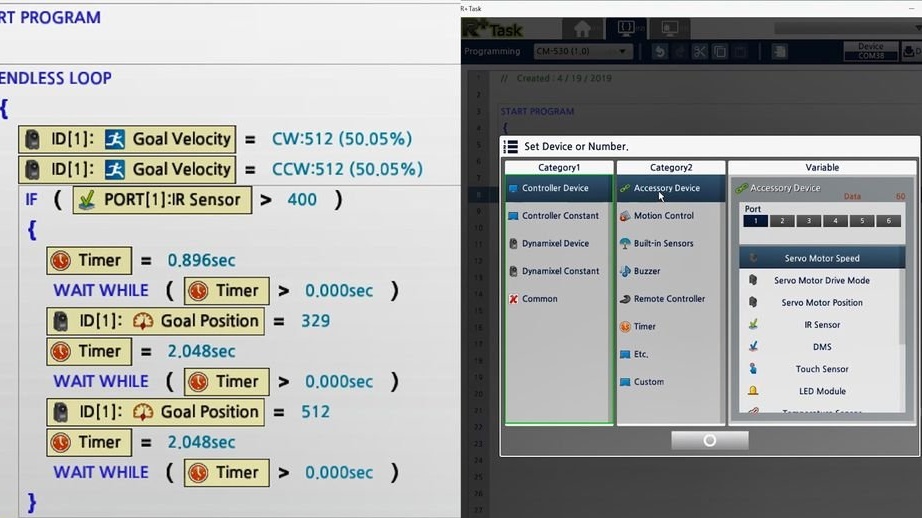
Step Five: Setup
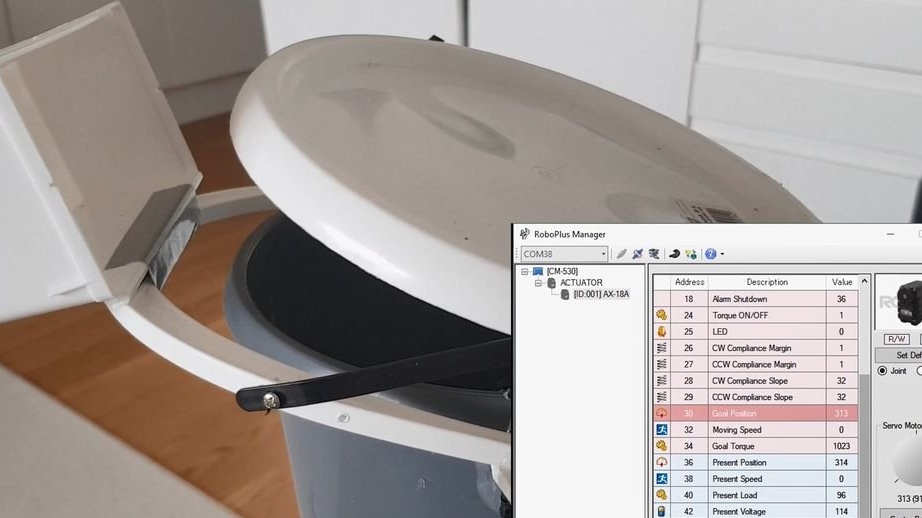
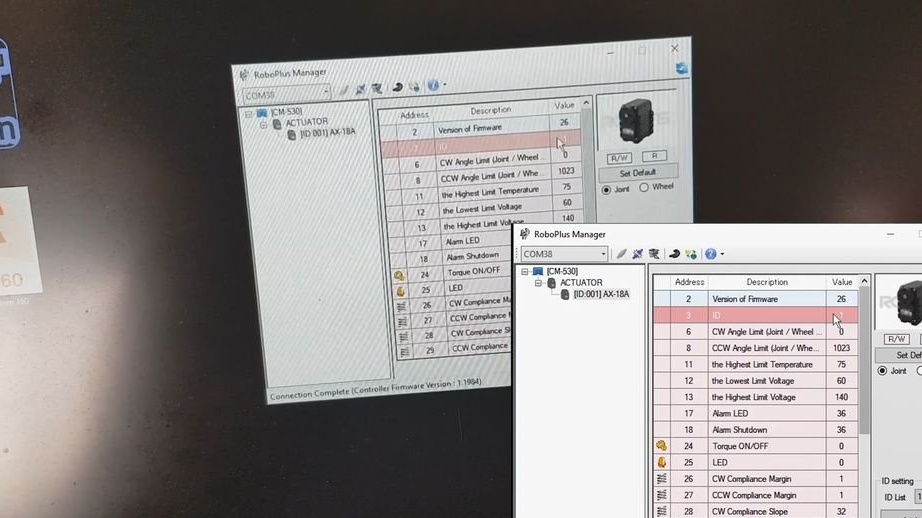
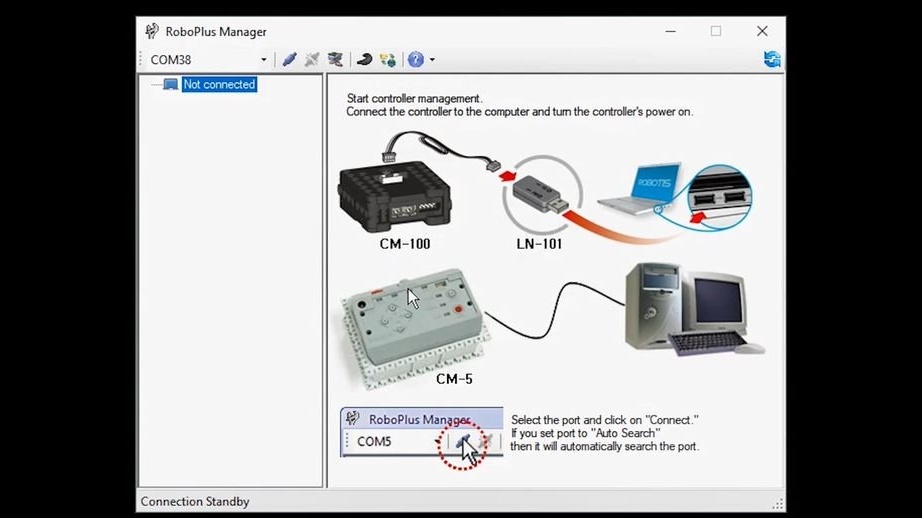
Next, the wizard connects the controller to the computer and configures through a special program RobotPlus Manager, you need to install for servo number 1.
Configures a distance sensor.
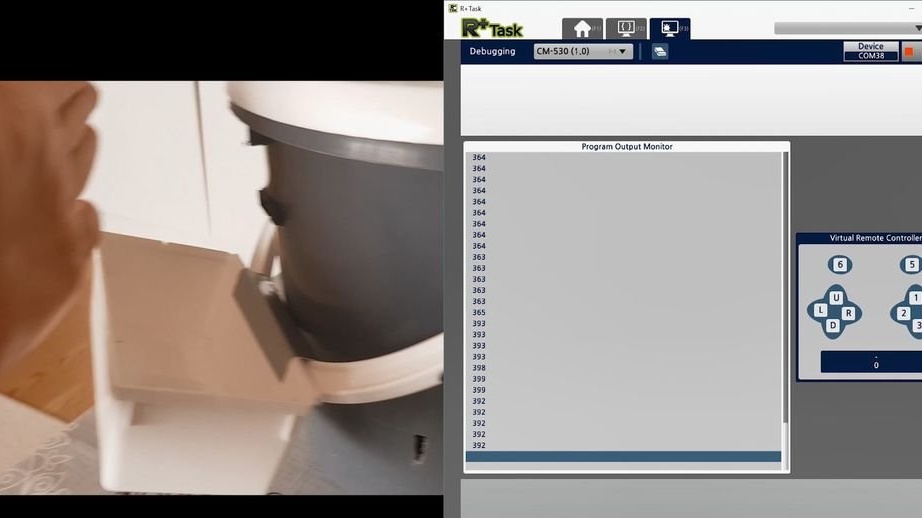

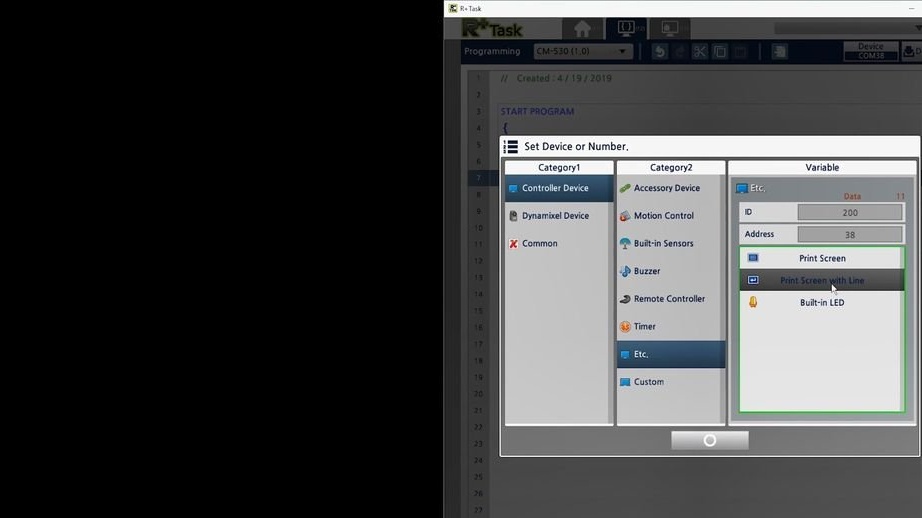
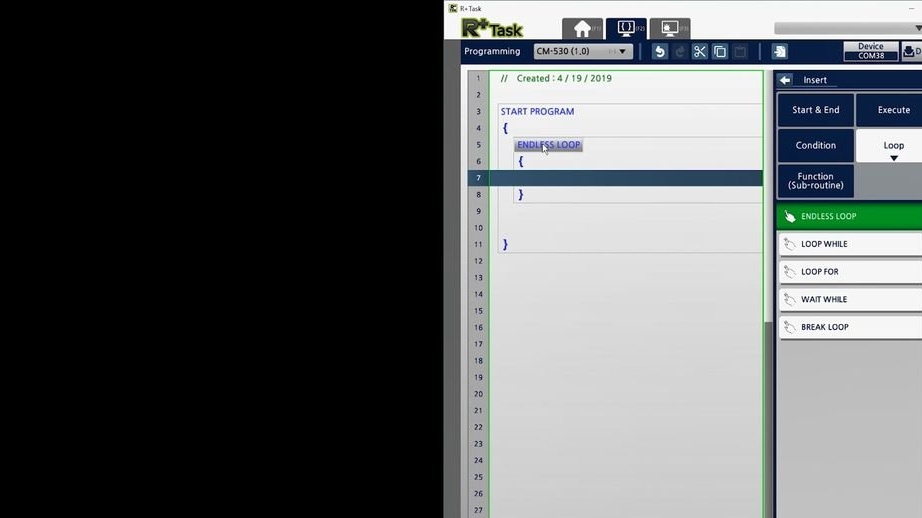

Sets the operation of the servomotor. The controller supplies power and the servo rotates a certain angle, and then returns. After setting the necessary parameters, it loads the code.
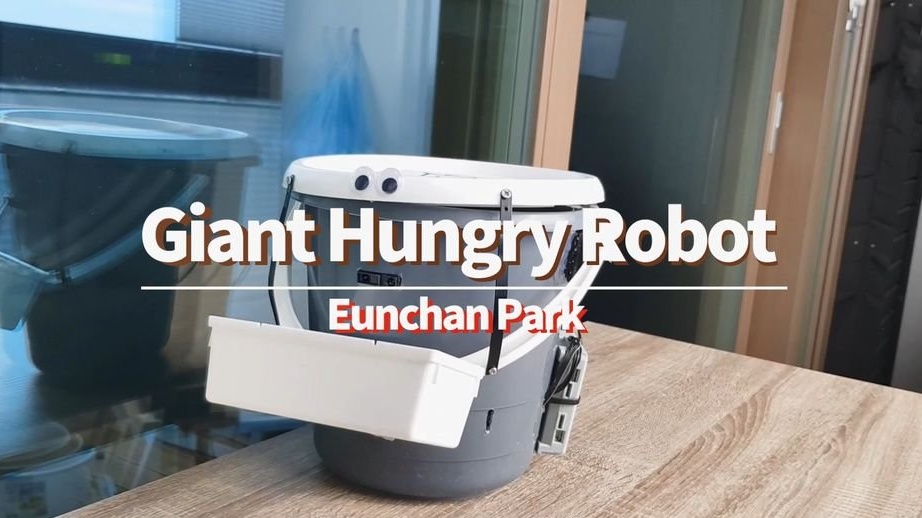
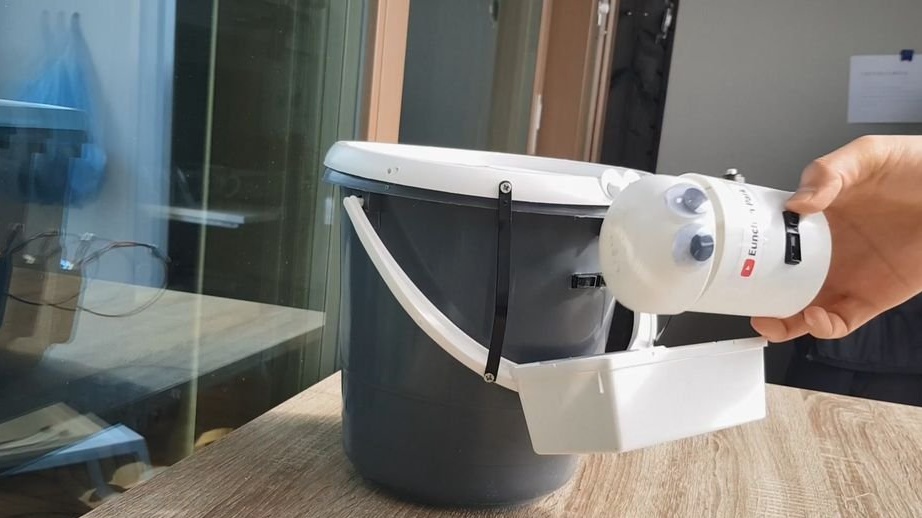
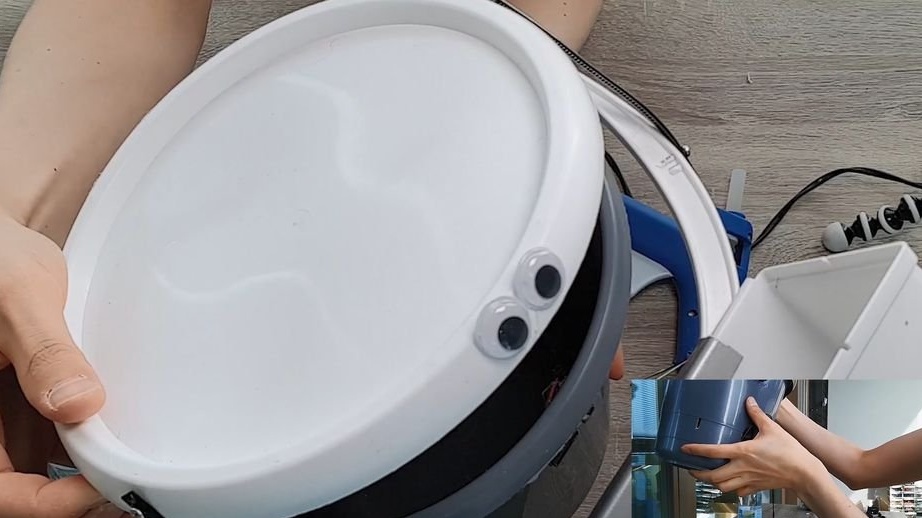
Everything is ready and the master checks the work of the robot - a garbage eater.
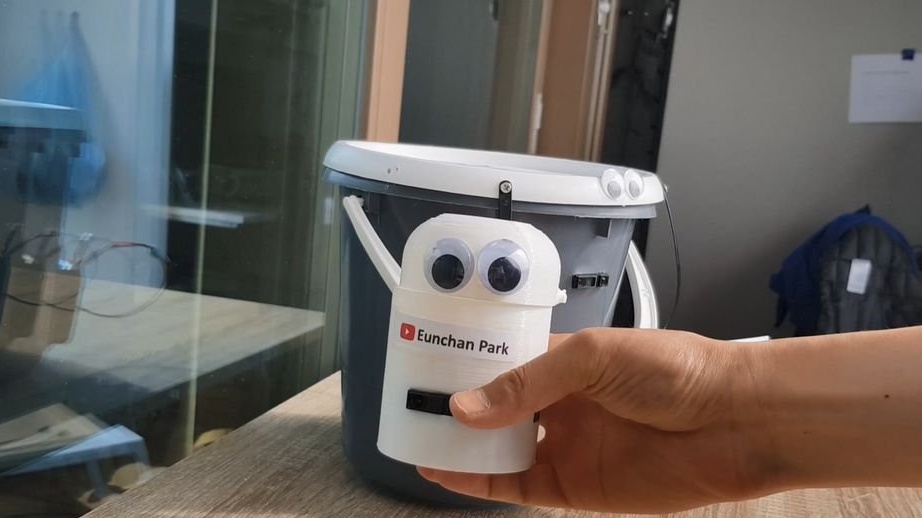
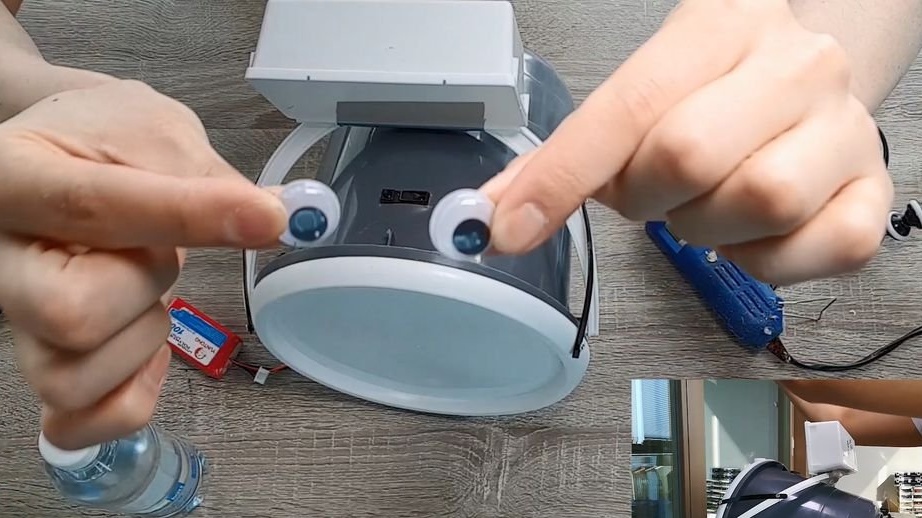
The final touch is glued the robot eyes.
The whole process of manufacturing such a robot can be seen in the video below.
And in this video you can see the assembly of the robot on Arduino.