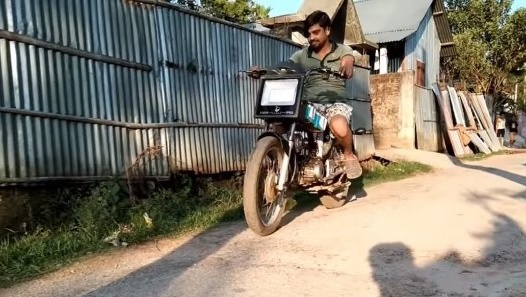
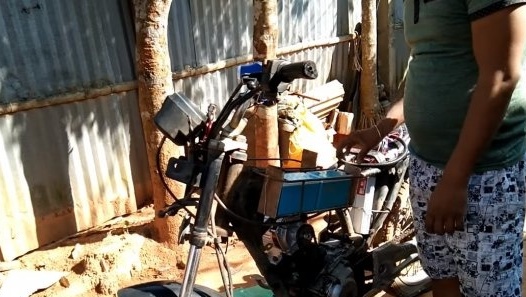
Hello to fans of craftsmanship, today we will consider how to quickly turn your moped into an electric moped. An interesting fact is that during the alteration, you will get the ability to switch the speeds of the moped, it is convenient if you need to drag a large load, go uphill, in the mud, as well as the gearbox will allow the moped to accelerate better.
This approach is relevant only for four-stroke engines, the drive from the engine shaft is carried out directly to the crankshaft. In general, the design is worthwhile, but there are high energy costs for friction units in the engine that we do not need. Also, a big design flaw is that the author did not close the crankcase from dust, as a result, homemade will live no longer than a person with an open wound. One way or another, if the project interests you, I propose to study it in more detail!
Materials and tools used by the author:
Material List:
- (more powerful);
- , and electronic throttle;
- wires;
- a battery pack capable of delivering a voltage of at least 48V to power the motor;
- fittings;
- plywood;
- nails;
- a little foam;
- a knife switch or other switch for emergency shutdown of the circuit.
Tool List:
- grinder;
- welding machine;
- wrenches and screwdrivers for disassembling a moped;
- multimeter.
The manufacturing process of an electric moped:
Step one. Disassemble the moped
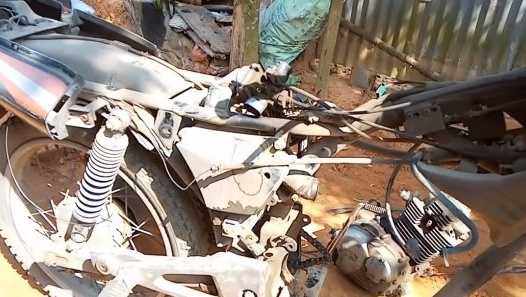
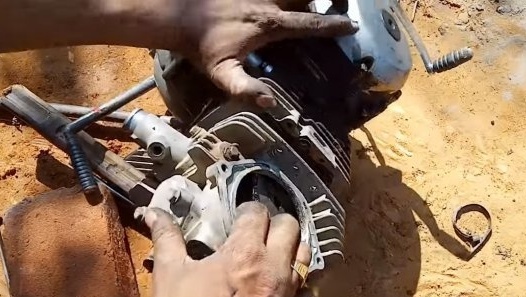
First of all, we disassemble the moped, you need to disassemble it to such a state that you can remove the engine. If you approach the process with patience and disassemble the moped carefully, without barbarism, it can then be returned to its original state.
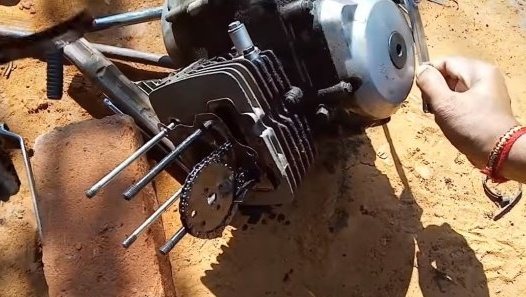
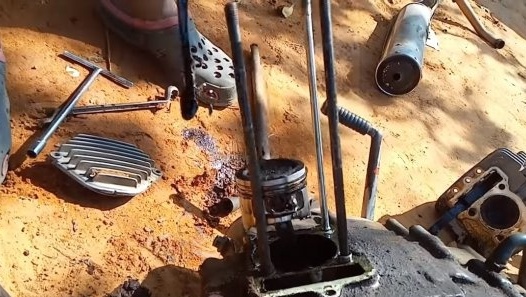
We remove the engine, now we need to remove the cylinder. Let me remind you that for alteration, the engine must be 4-stroke. As a result, we will see such a view as a timing chain, as well as a connecting rod with a piston. What the author did with the connecting rod remains incomprehensible, but it must be dismantled in any case, since it will interfere. If the engine is not a pity, you can bring the piston to the TDC and cut the connecting rod under the base with a grinder.
Step Two Battery pack
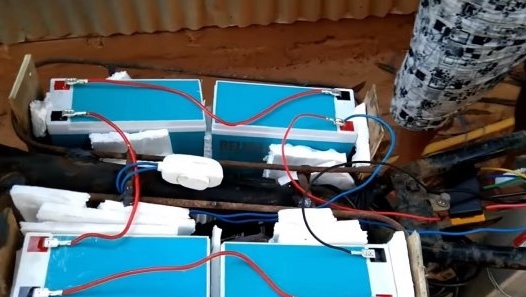
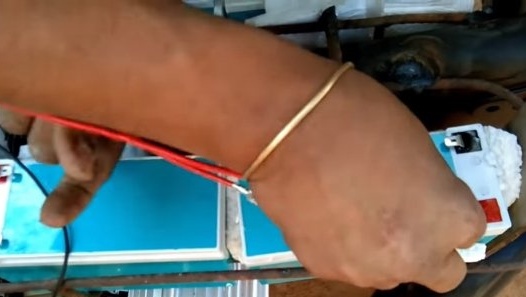
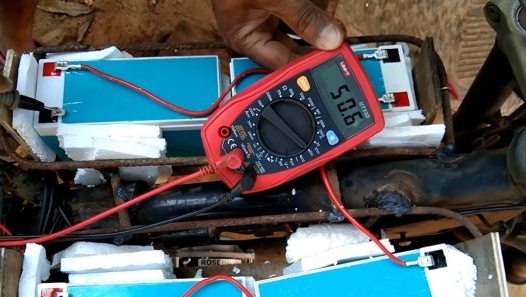
We assemble the battery pack; in total, 4 batteries of 12 V each are used for power; in total, with fully charged batteries connected in series, the battery pack produces 50V.
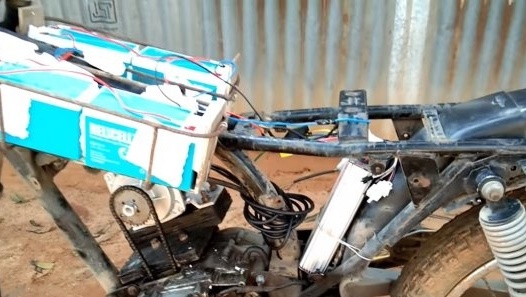
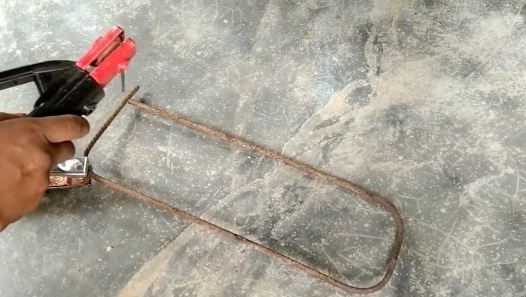
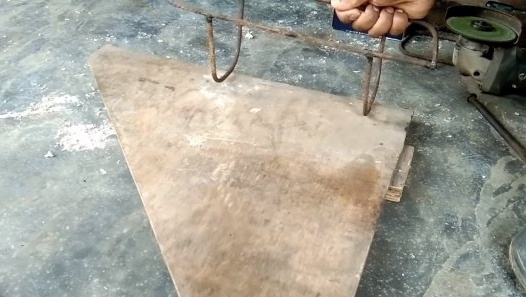
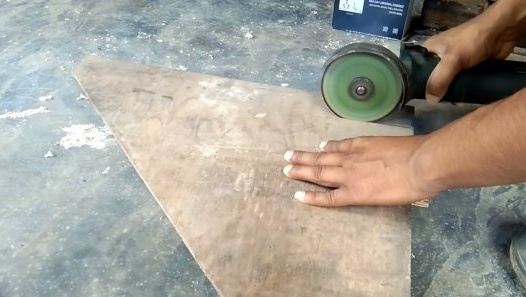
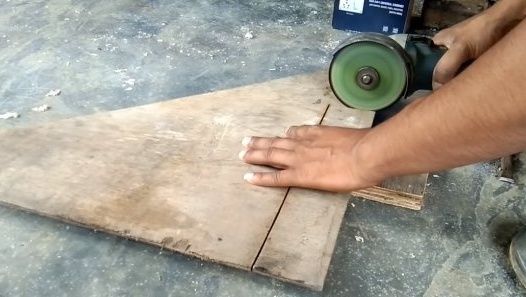
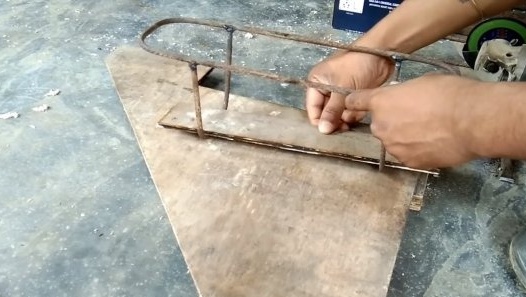
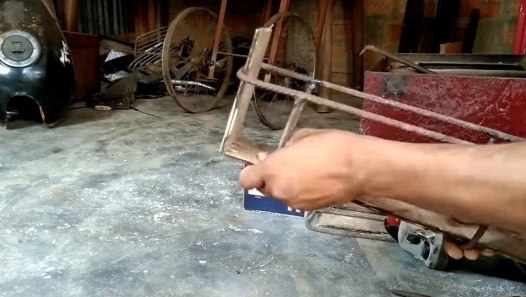
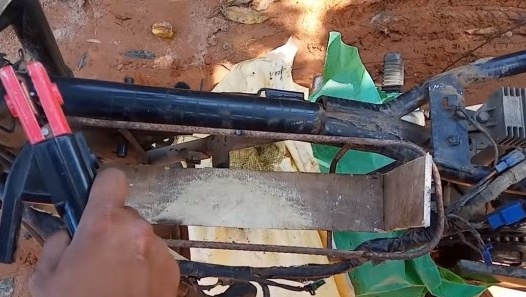
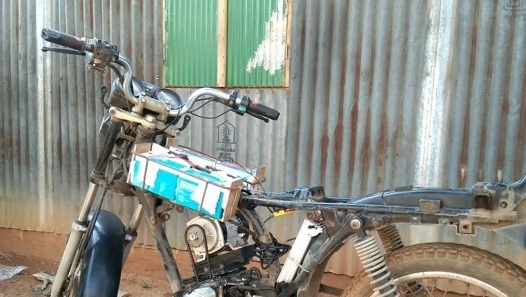
We need to make a design for installing batteries. We weld the frame from the reinforcement, and the author used plywood fastened with nails as the walls and the bottom. Battery compartments are welded to the moped frame.
Step Three Engine installation
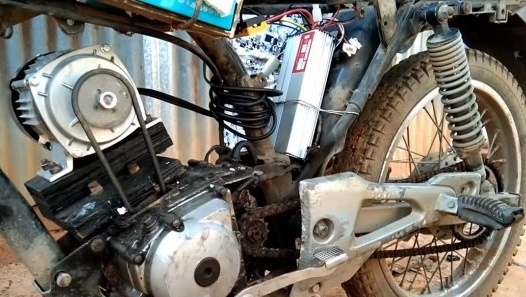
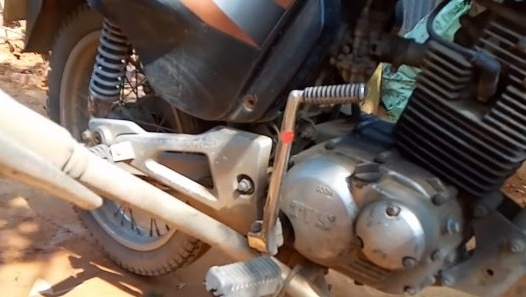
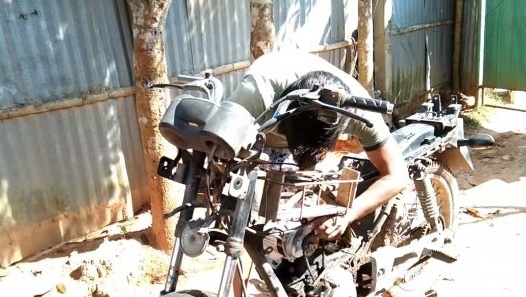
We proceed to install the engine, for starters, we have to install an asterisk from the timing on the engine shaft. To do this, it will need to be drilled clearly in the center, and then we fasten the sprocket with a nut and washers. If the hole in the sprocket is large, then you will need to make an adapter from an iron tube or on a lathe.
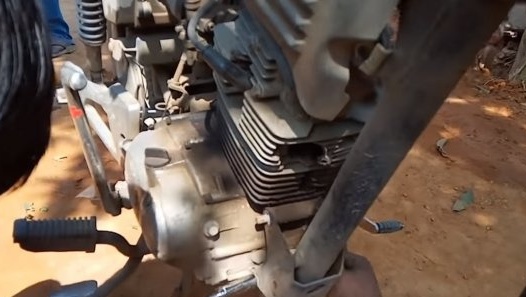
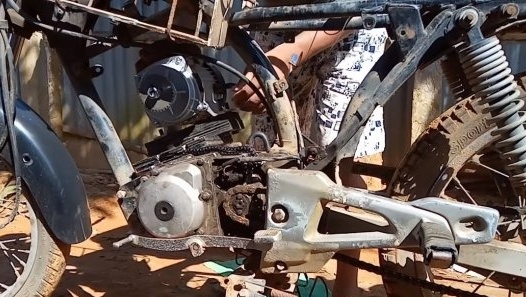
The motor can be installed, the chain must be tensioned, in the motor housing we drill holes and cut the threads for the bolts. We use iron plates and rubber gaskets to mount the engine. If the drive sprocket is set clearly in the center, there will be no beats and no rubber is needed.
As a result, after installation, the sump remains open, this is the window where the circuit enters. If you want the moped to last a long time, you need to build a protective cover over the chain drive so that dust and water do not get into the engine under any circumstances.
Step Four Electronics and Testing
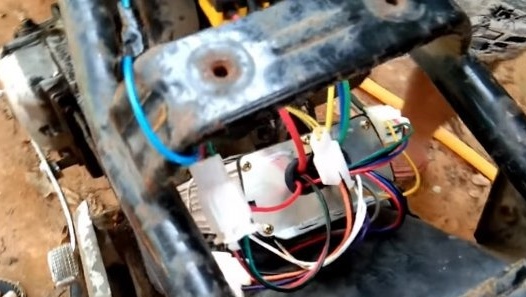
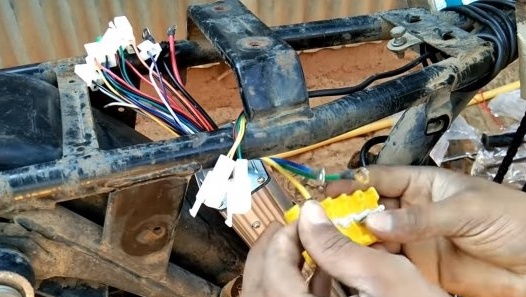
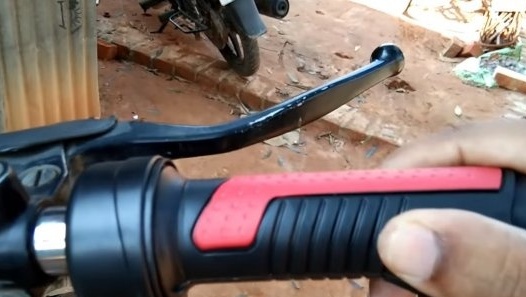
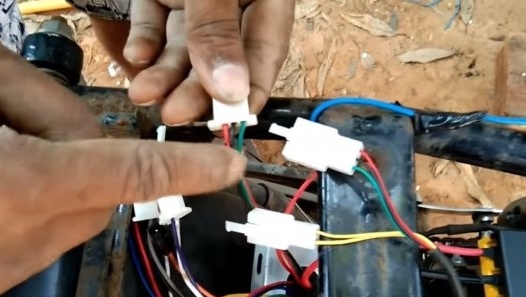
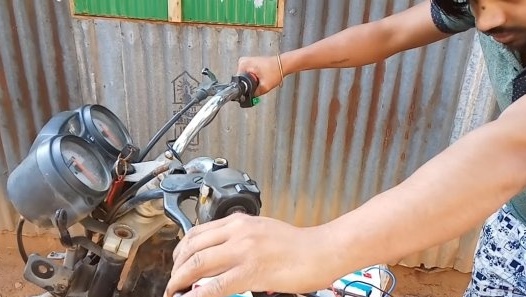
We install the electronics, for a brushless motor you will need an appropriate controller. We fix it on the frame, it is recommended to close the controller with a protective casing. We conduct the wiring, we connect the batteries in series to add voltage. In the end, it remains to fix the electronic throttle handle on the steering wheel, and we also install a huge spotlight as a headlight so that life does not seem like a fairy tale.
After that, the author experienced homemade work. For slow driving with high torque, you can engage first gear, and for riding on asphalt, we engage higher gears.
To what speed this miracle accelerates, and what is the flight range, remains a mystery. This is the end of the project, I hope you liked the homemade work, and you found useful thoughts for yourself. Good luck and creative inspiration, if you decide to repeat this. Do not forget to share your ideas and homemade things with us!

