
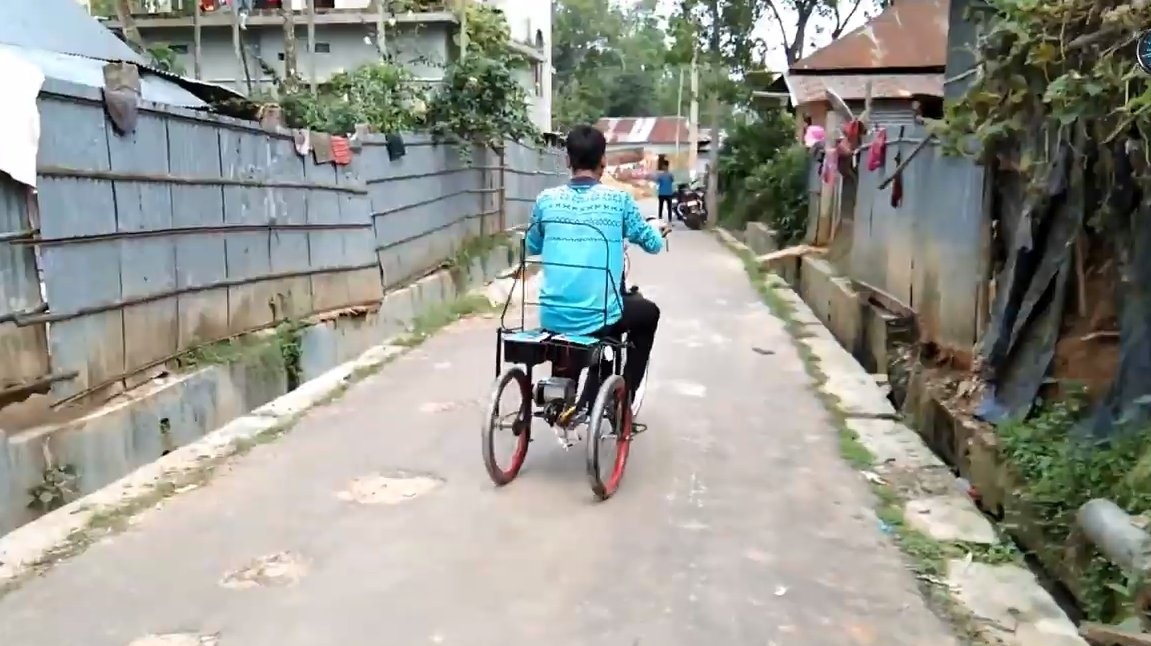
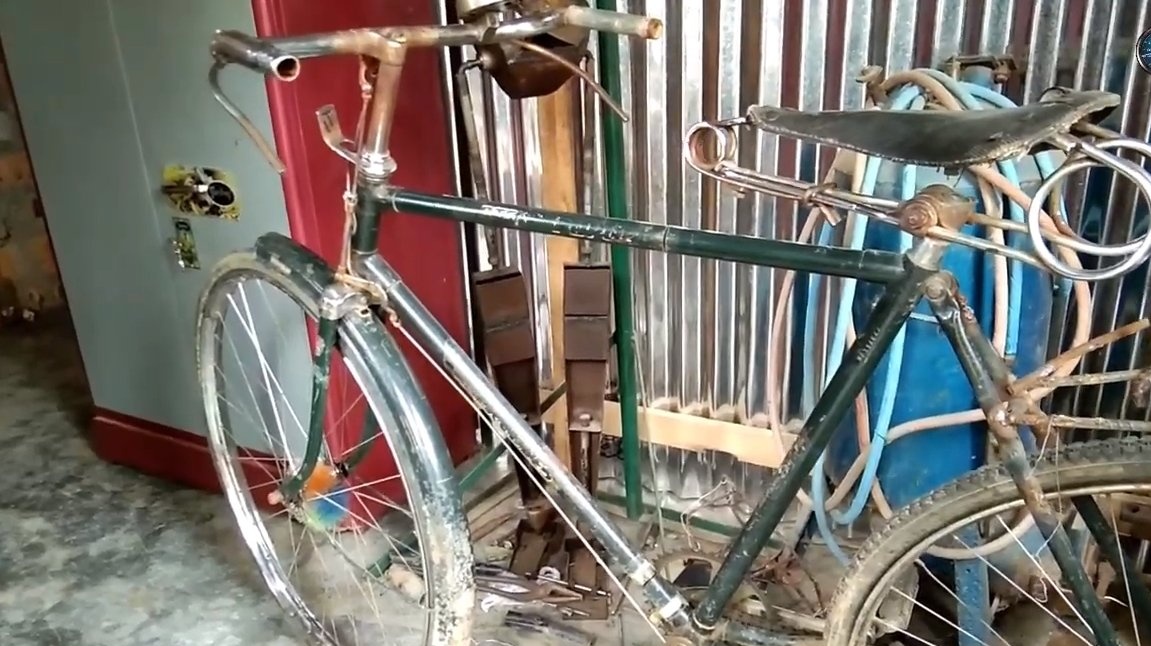
I welcome fans to craft, today we will look at how craftsmen from India make rickshaws. Of course, the design is unreliable and whipped up, but the idea is interesting and the Indian quickly worn on homemade through the streets of India. Everything was assembled as simple as possible, as the back of the frame, the author used a ready-made iron table. If you are interested in the project, I propose to study it in more detail!
Materials and tools used by the author:
Material List:
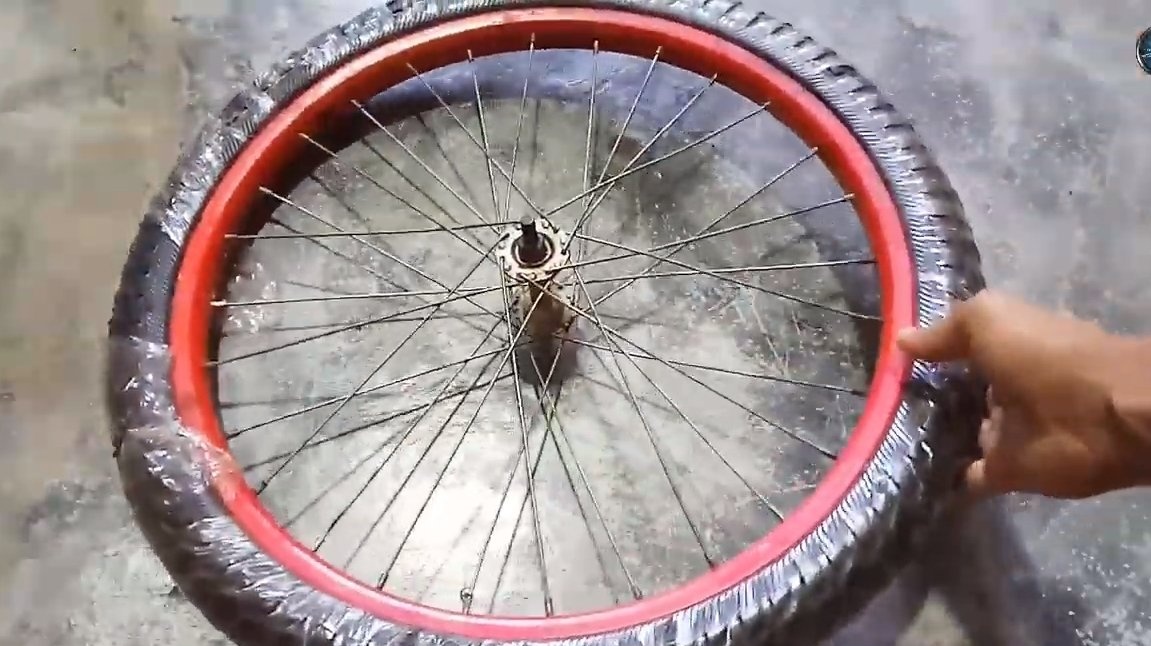
- three bicycle wheels (one must be rear);
- , and ;
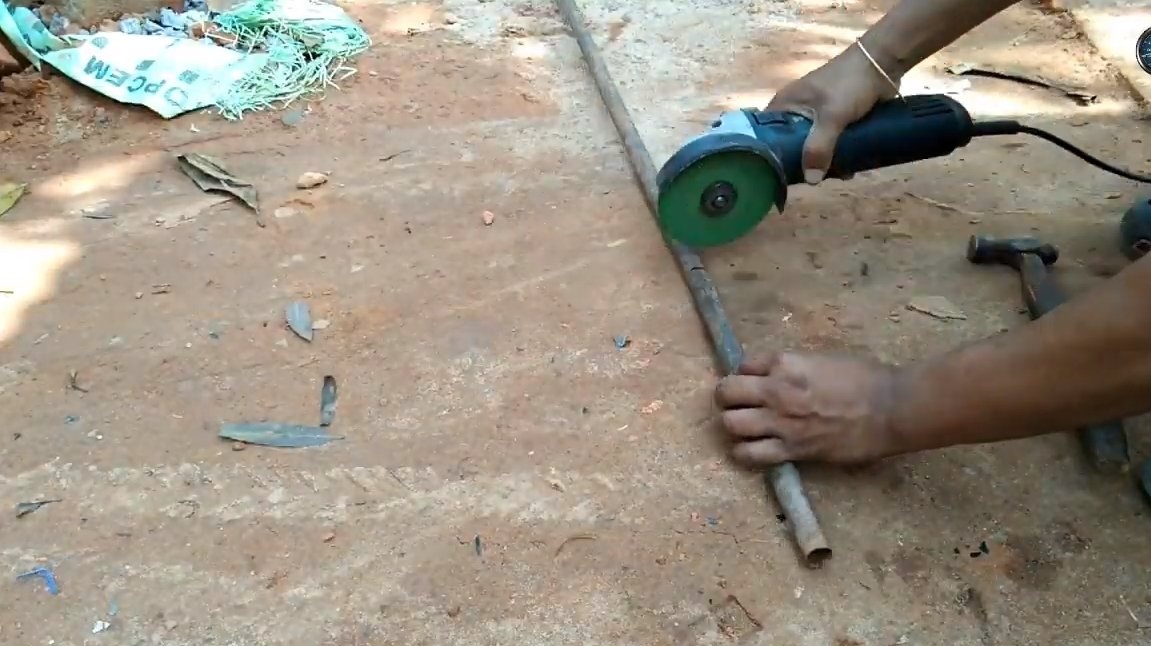
- round pipes;
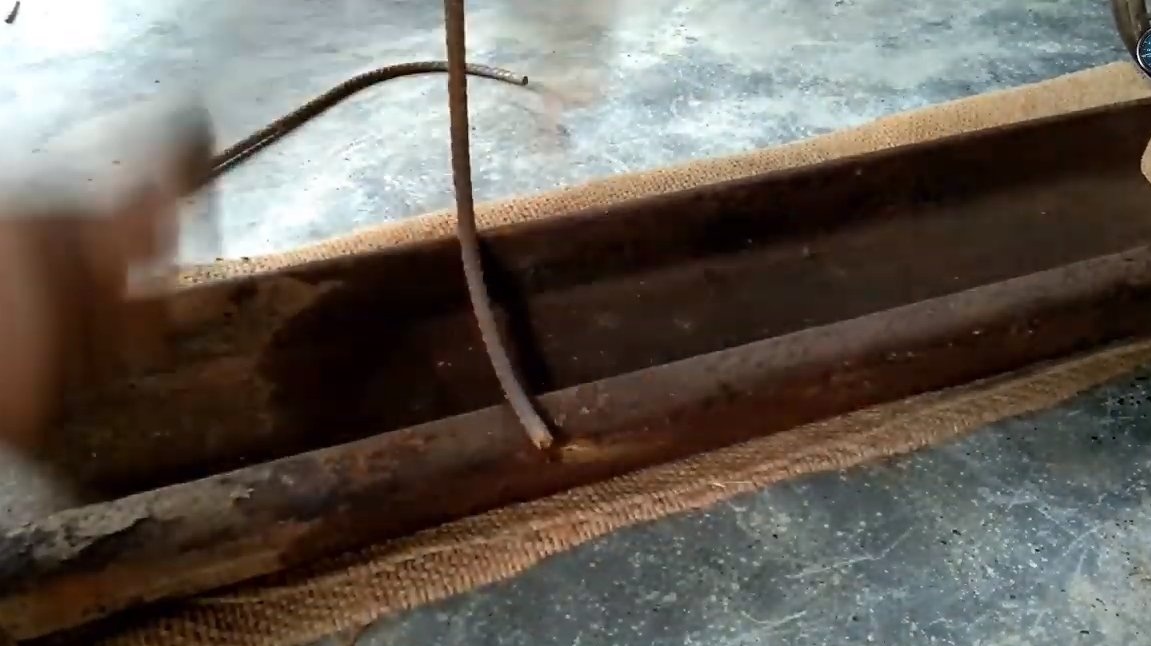
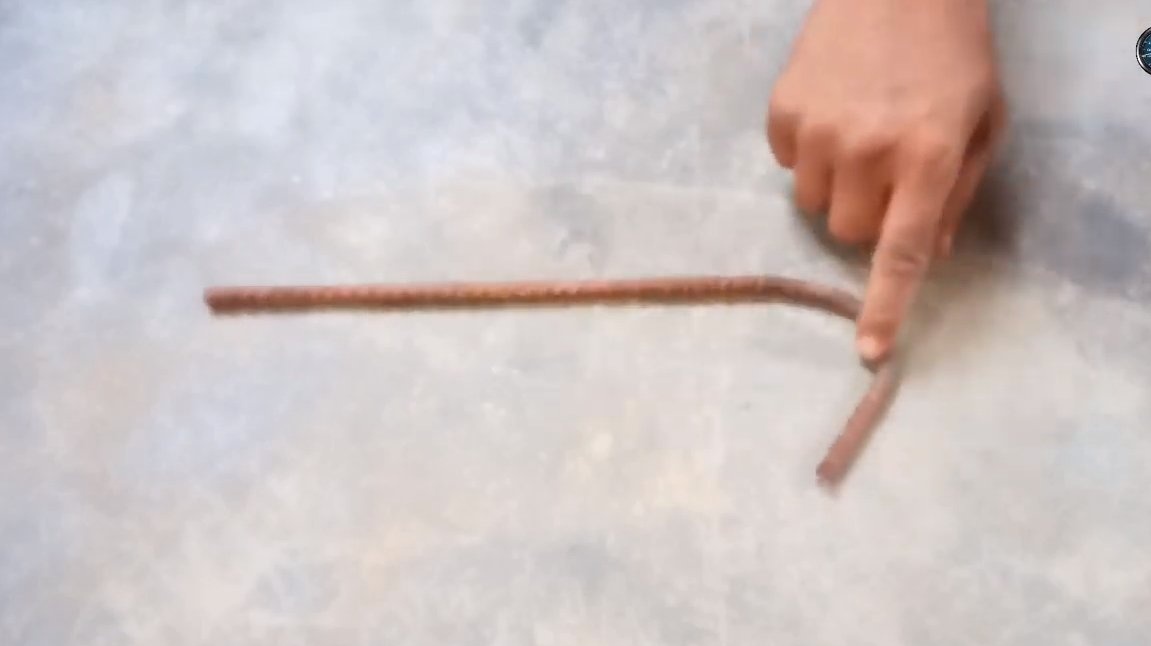
- fittings;
- iron plates;
- the front of the frame from the bike;
- corner;
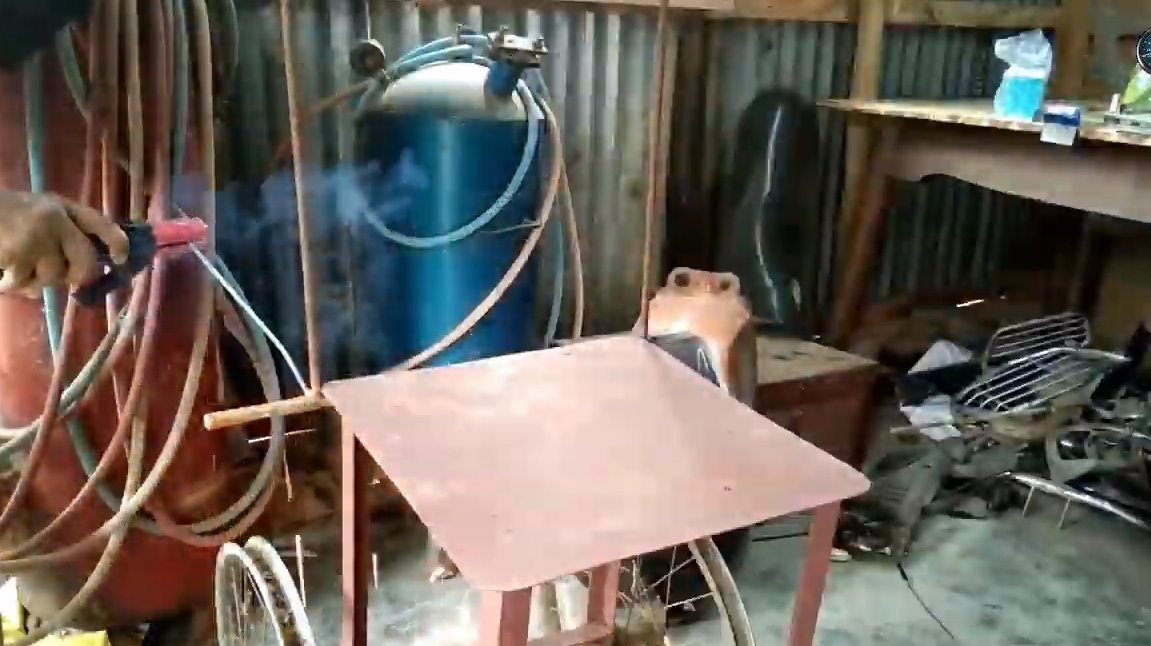
- paint;
- wires.
Tool List:
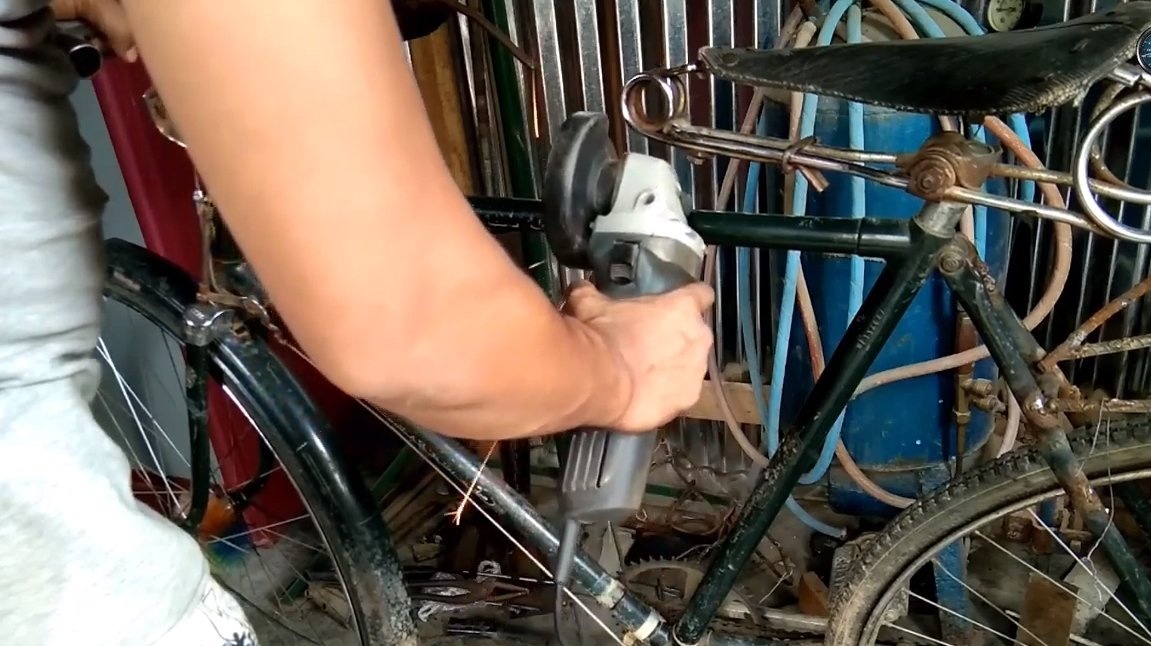
- grinder;
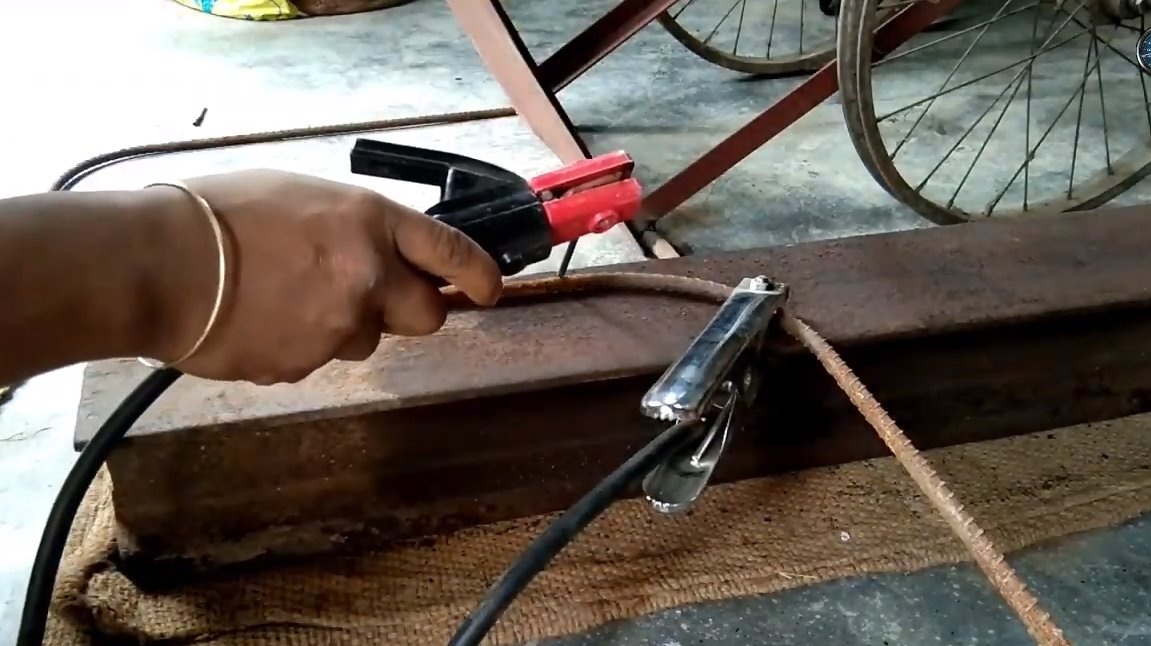
- welding machine;
- spanners.
The process of manufacturing rickshaws:
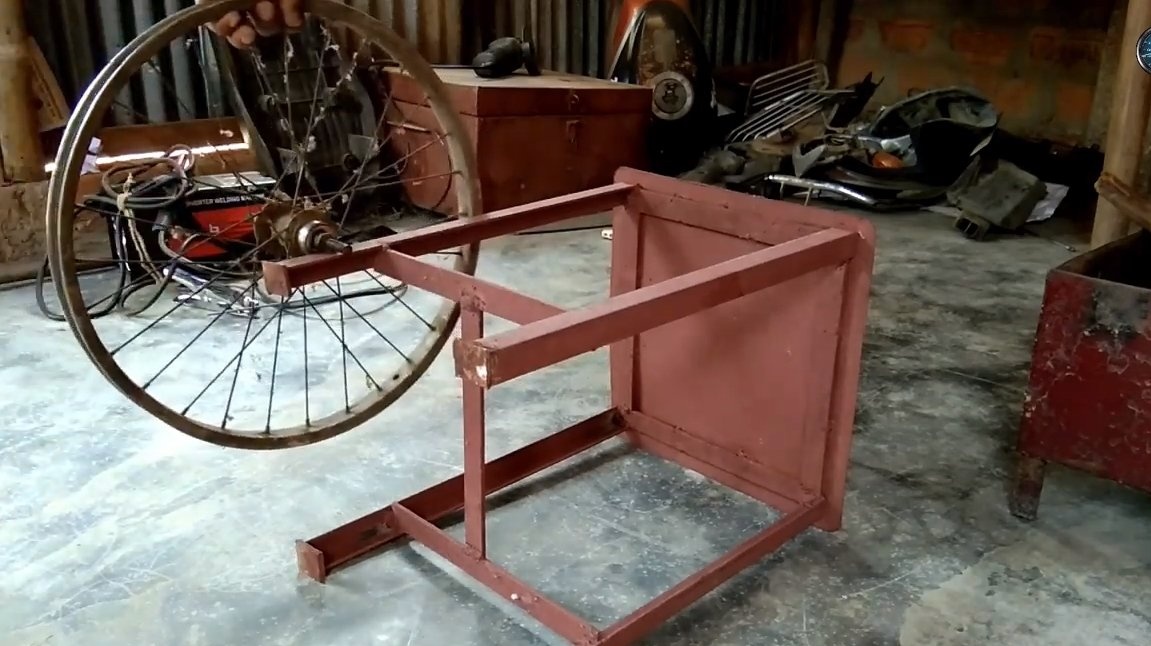
Step one. The main part of the frame
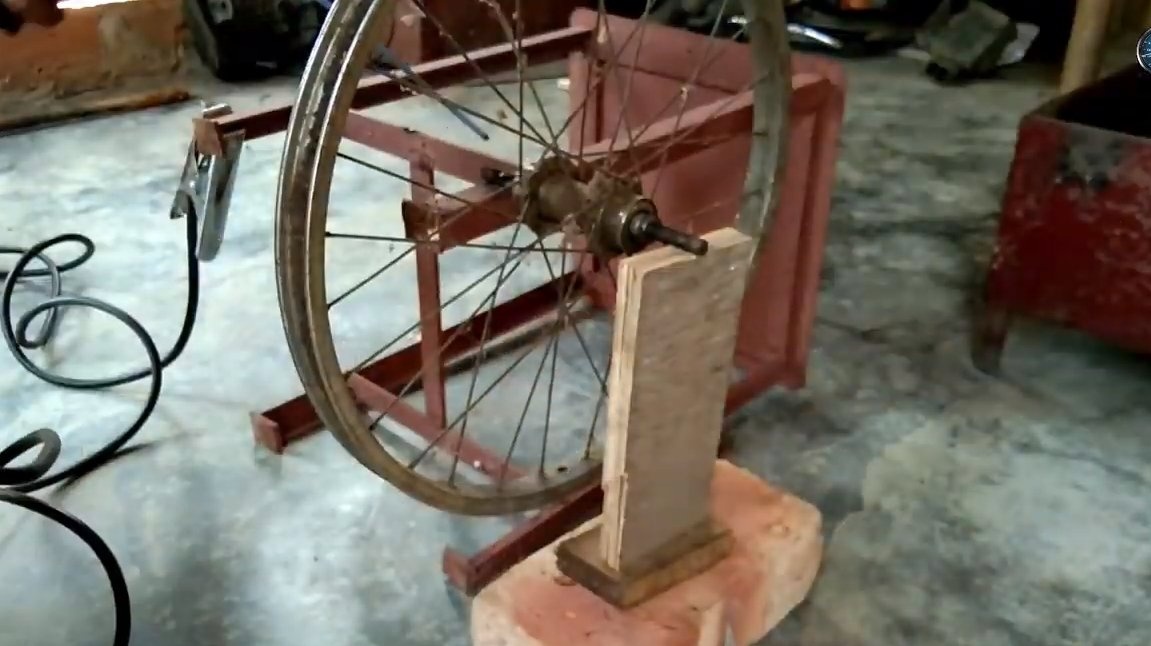
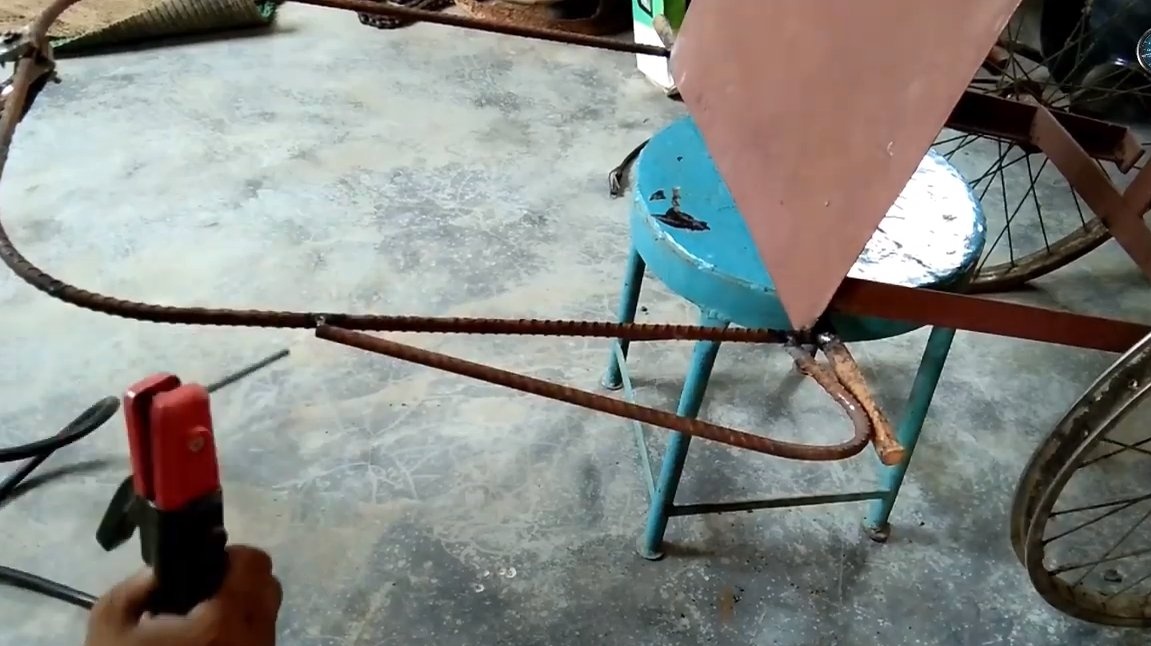
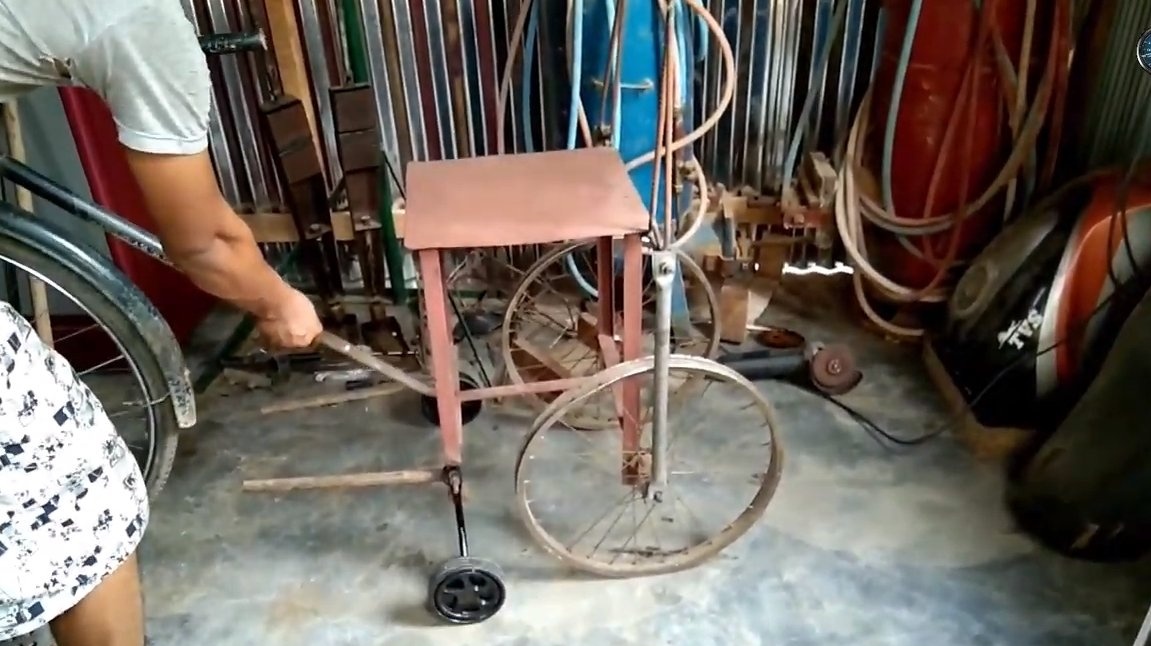
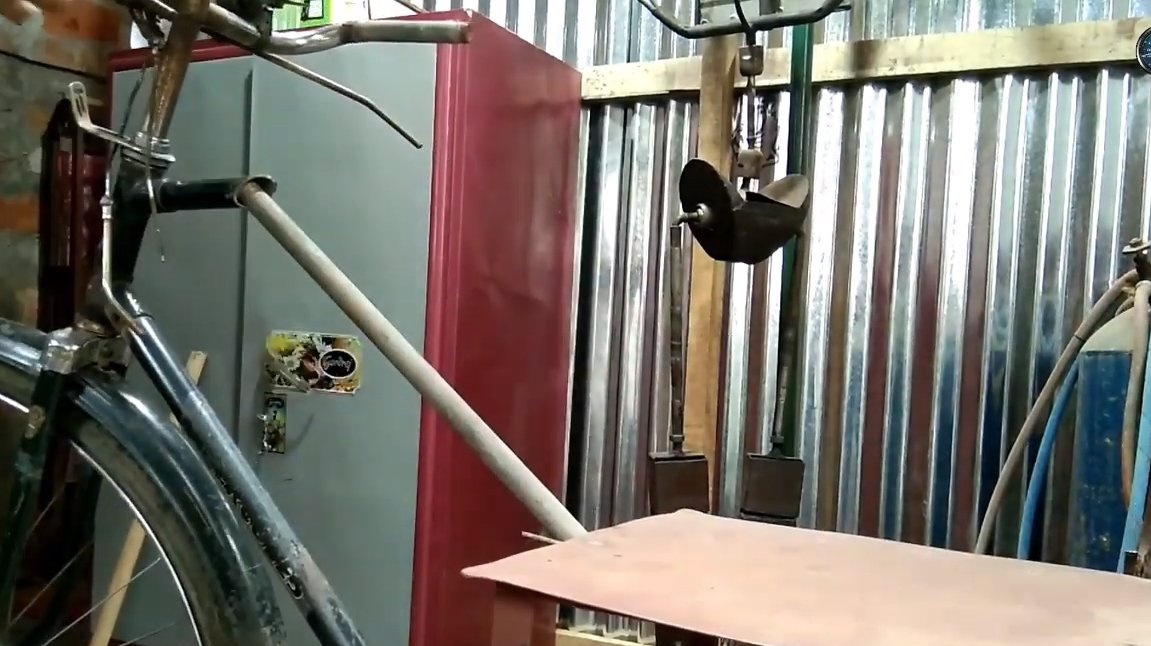
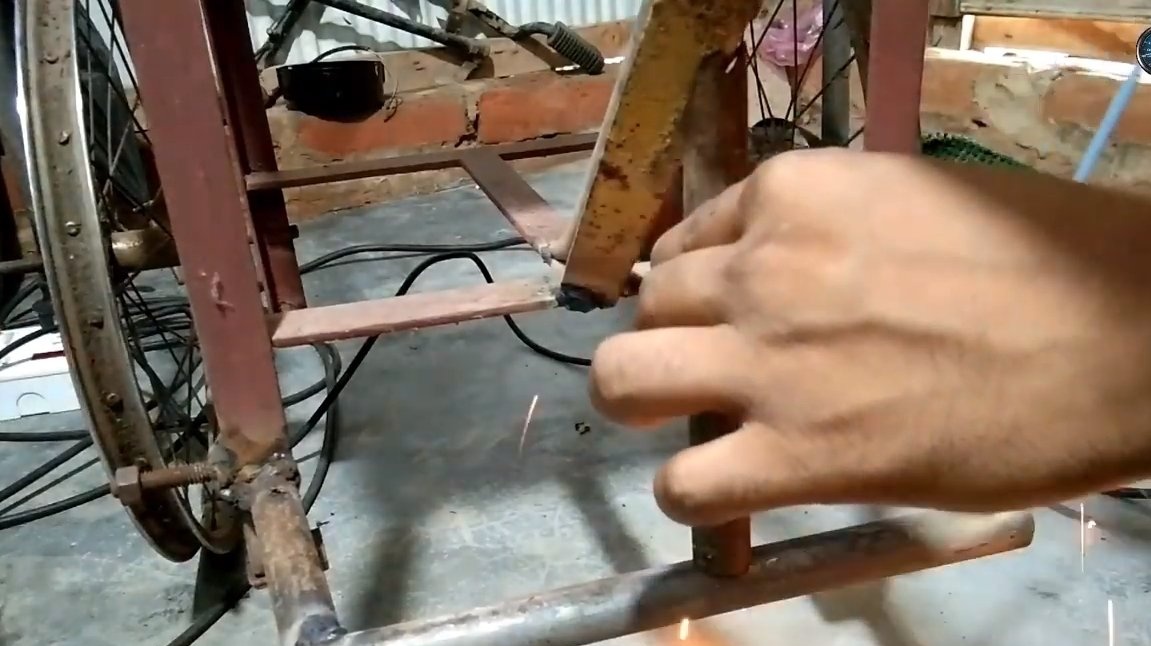
We proceed to the manufacture of the frame, its main part is made of a finished iron table. Just weld the axles from the bicycle wheels to the table legs. The other side of the axis is attached to the pipes with a nut, and the pipe is attached to the frame.
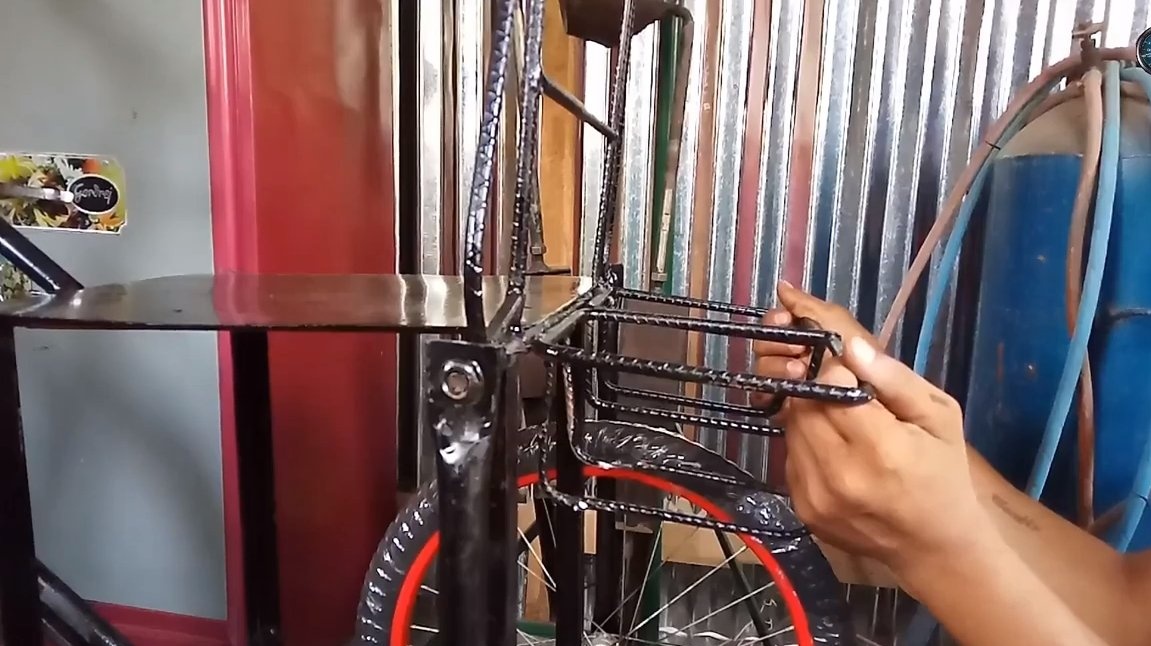
To the existing frame you need to weld the backrest and footrests, as well as the back you need to build a battery compartment. All these parts of the frame are made of fittings and pipes. Of course, as a result, the design will turn out to be quite heavy, which is impractical, but everything will be tight. In addition, we determine in advance where we will weld the front of the frame, weld the corresponding design for it.

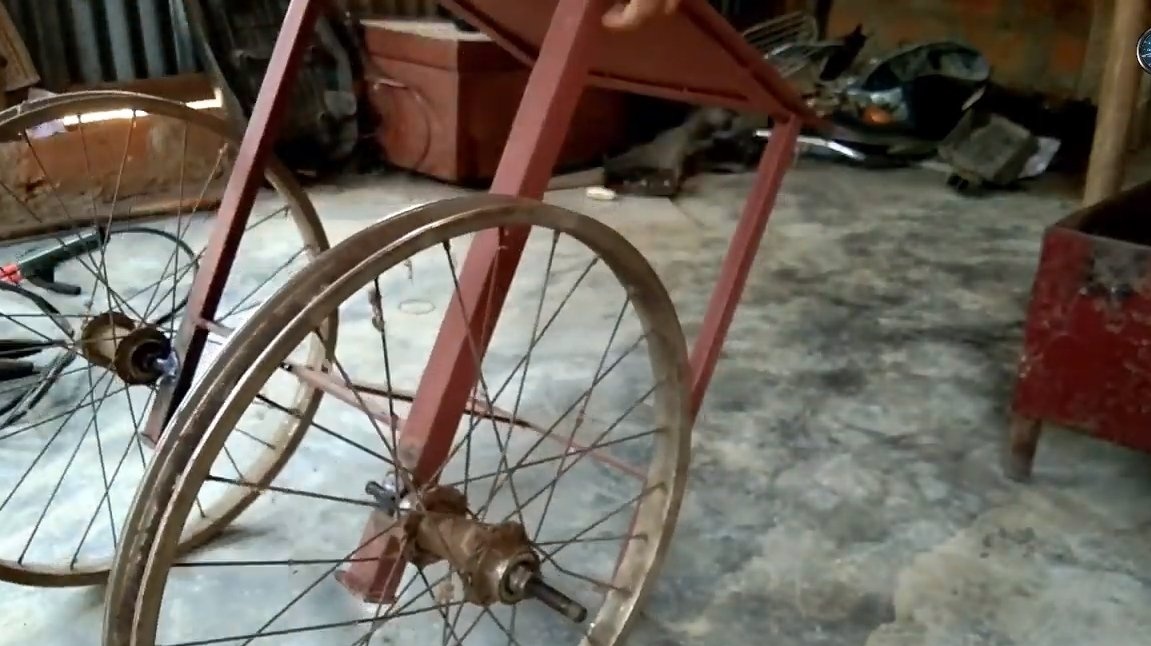


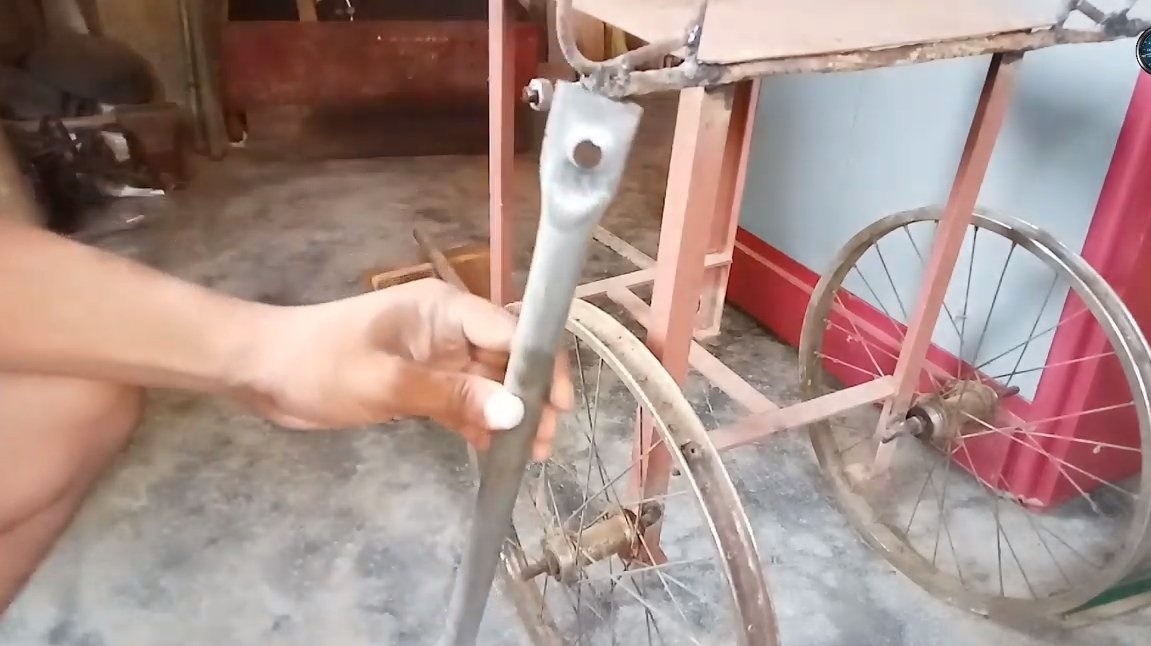
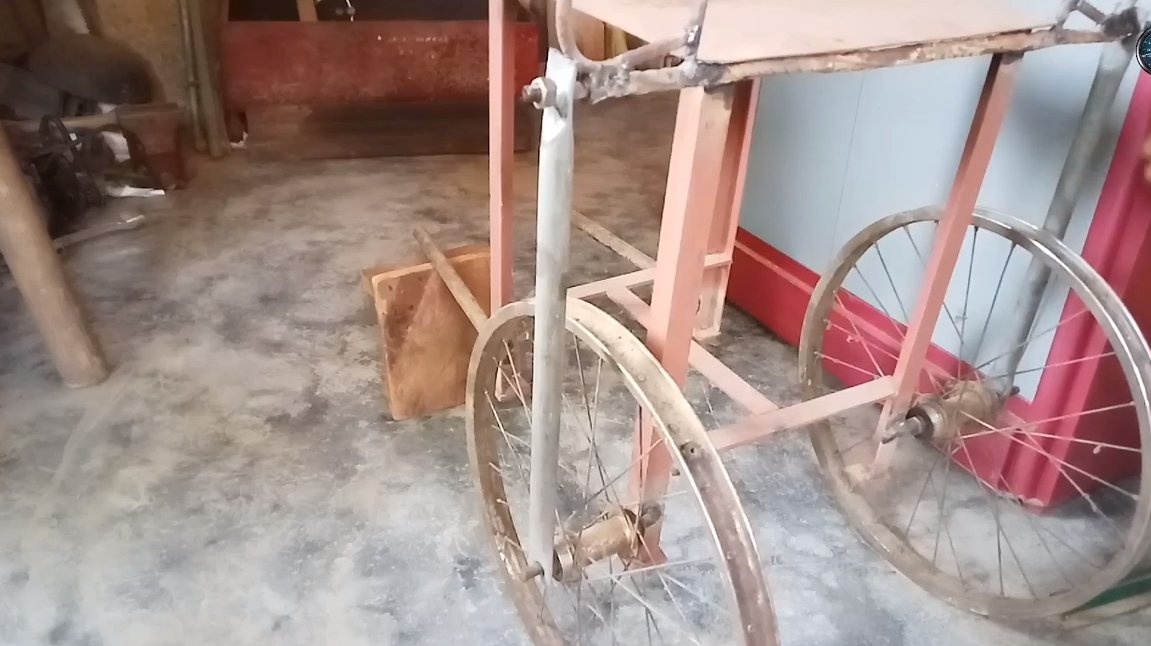
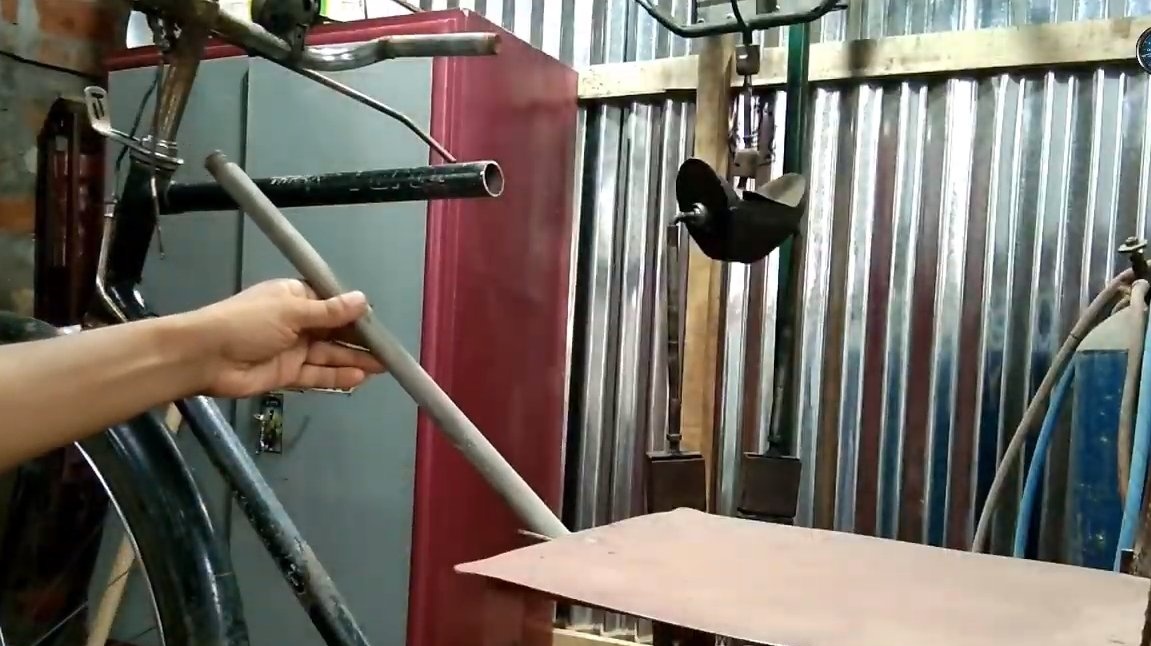
Step Two Front frame
As for the front of the frame, it is already used - from an old bicycle. Just cut bike and weld this part to the rear frame already made. You need to weld both pipes so that everything holds as tight as possible.

Step Three Assembling a rickshaw
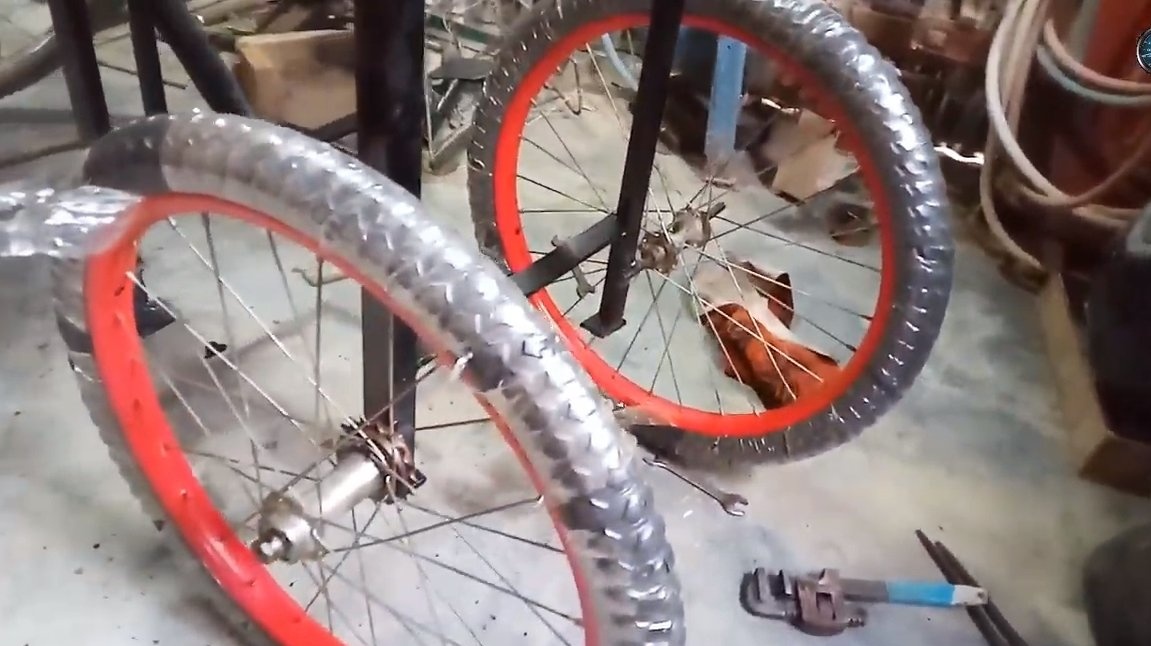
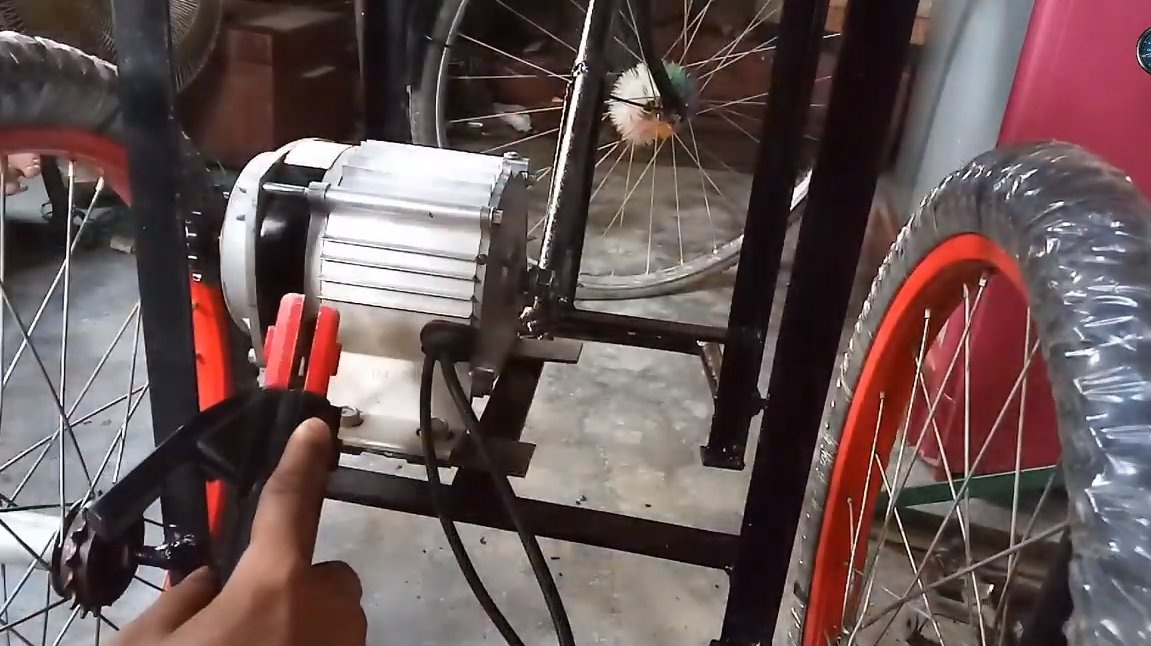
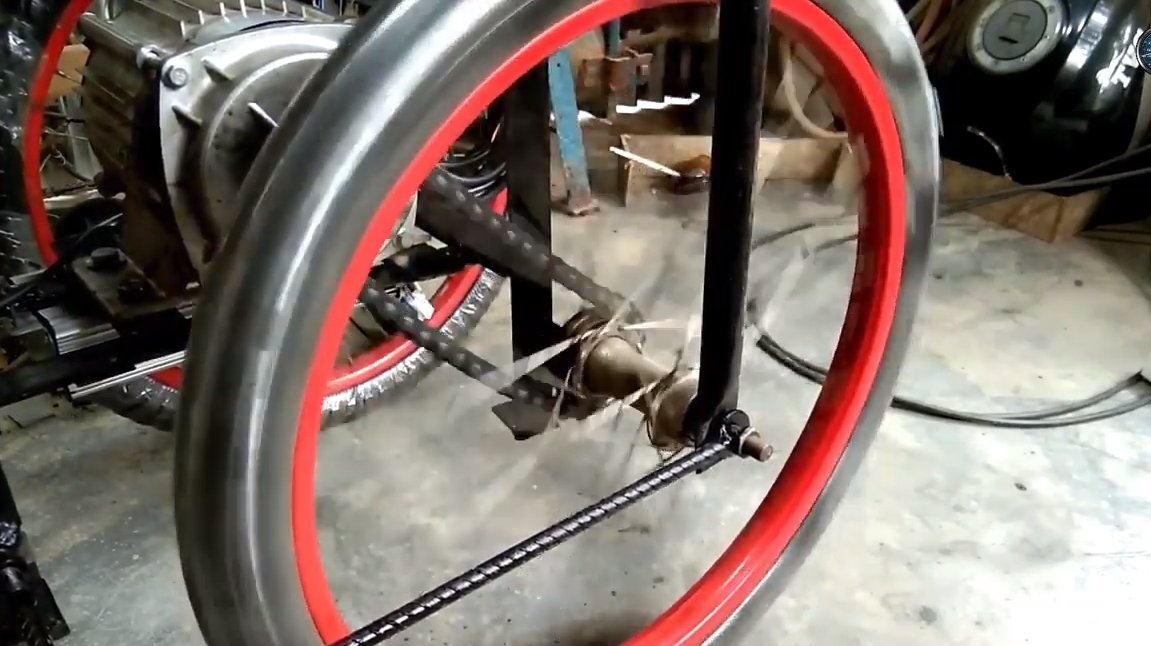
The frame is finished, now we paint it so that the pieces of iron do not rust, and everything looked clear. We fasten the wheels to the rear, they are installed on our axles welded on one side. One of the wheels will be driving, so we put it on the corresponding side. After that, we mount and install the engine.Fastening can be made of iron plates by drilling holes in the right places. We cut the chain to the desired length and set it in its place.
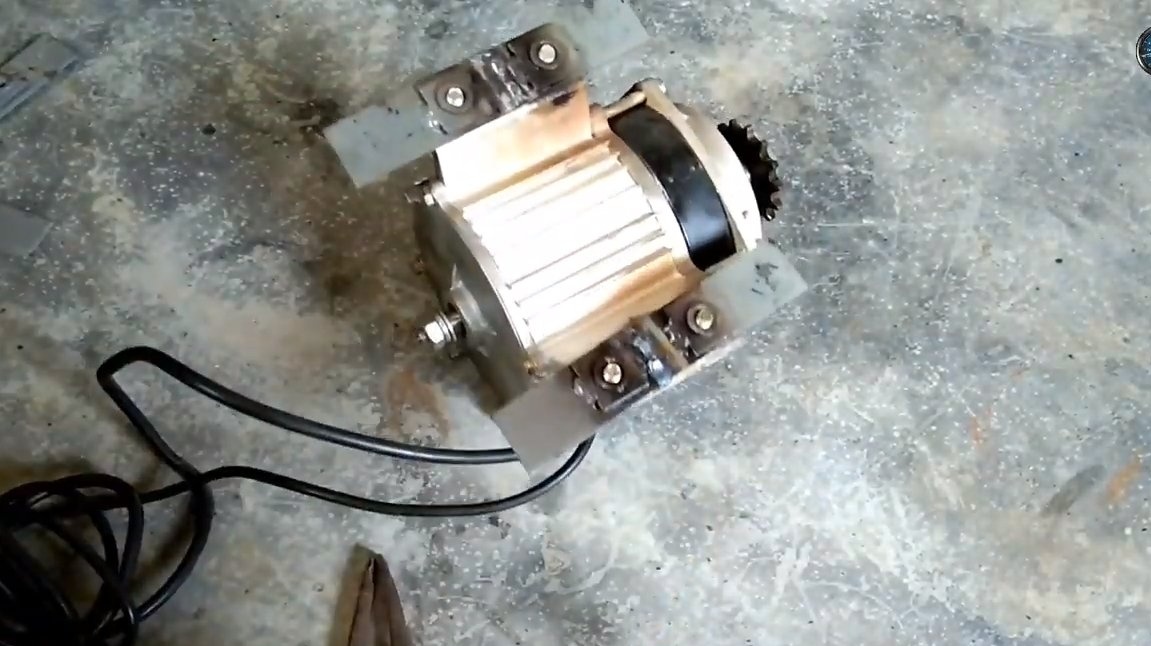
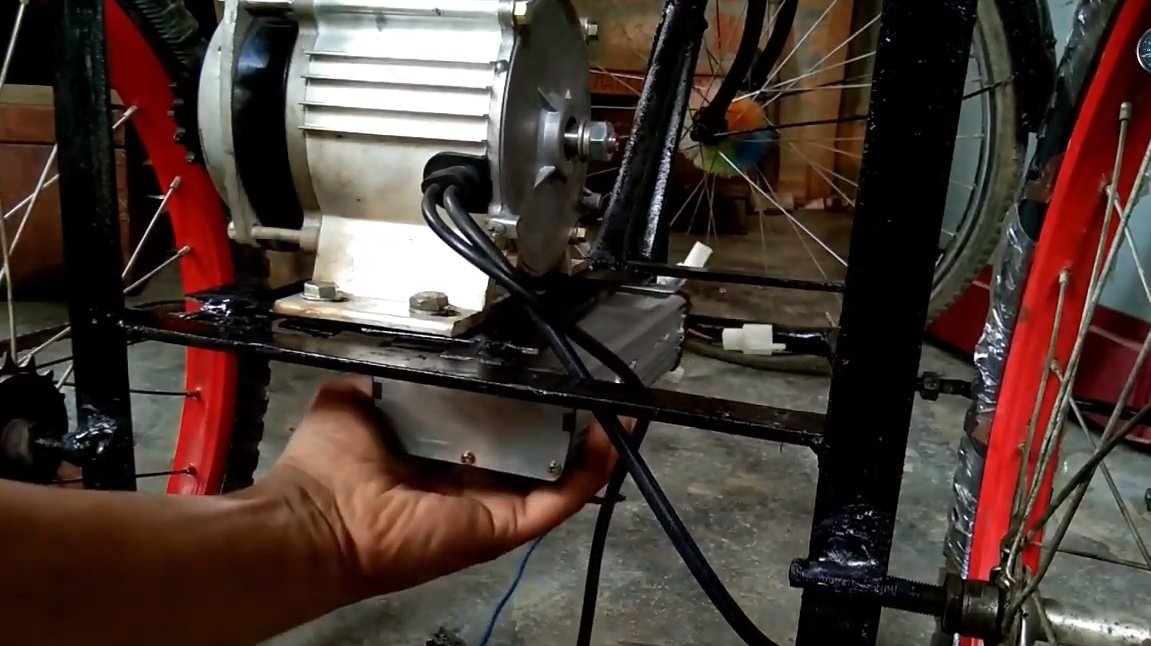
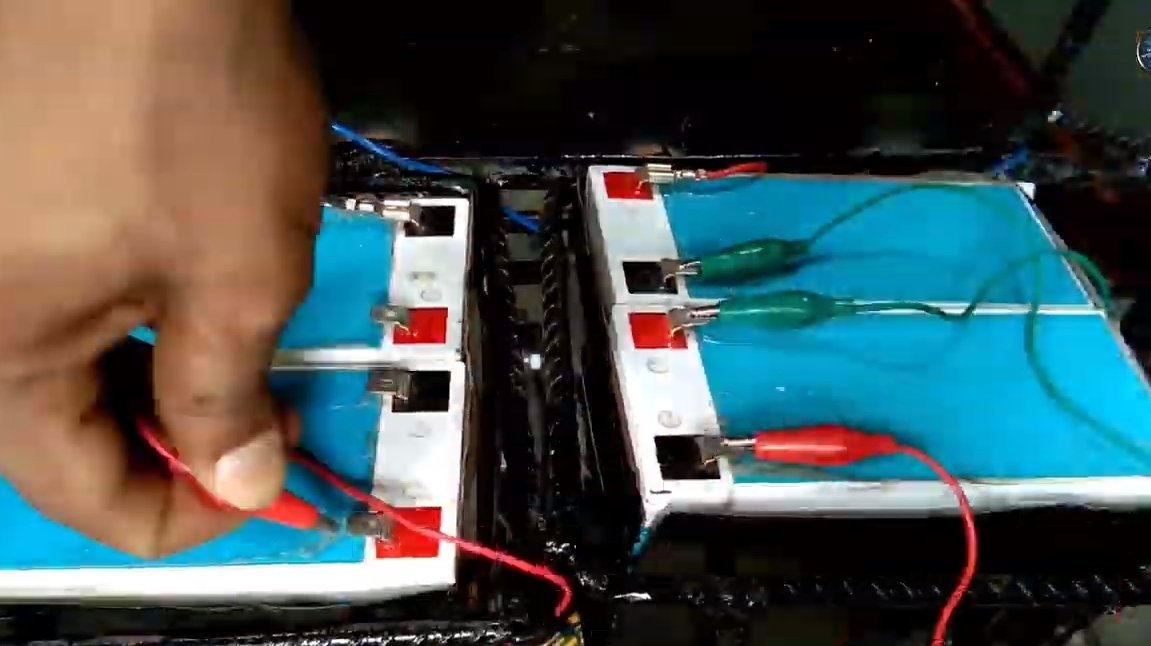
Next, we securely fasten the controller for the brushless motor, it is advisable to hide it from water and dirt. We connect the wiring, do not forget to also install electronic throttle handle on the steering wheel. That's all, the homemade product is ready, we install the batteries at the back, connect them in parallel or in series, depending on the voltage that you need to power the engine. The only thing the Indian forgot to do is the brakes, but oh well, why do they need him?
The brakes can be made manual, and if there is extra money, you can install hydraulic disc brakes that will operate on the pedal.
We are experiencing home-made work, the Indian easily starts off and goes pretty fast, however, since then no one has seen him again (joke).
The project is over, I hope you have found useful thoughts, good luck and creative inspiration for yourself if you decide to repeat this. Do not forget to share your ideas and homemade things with us!