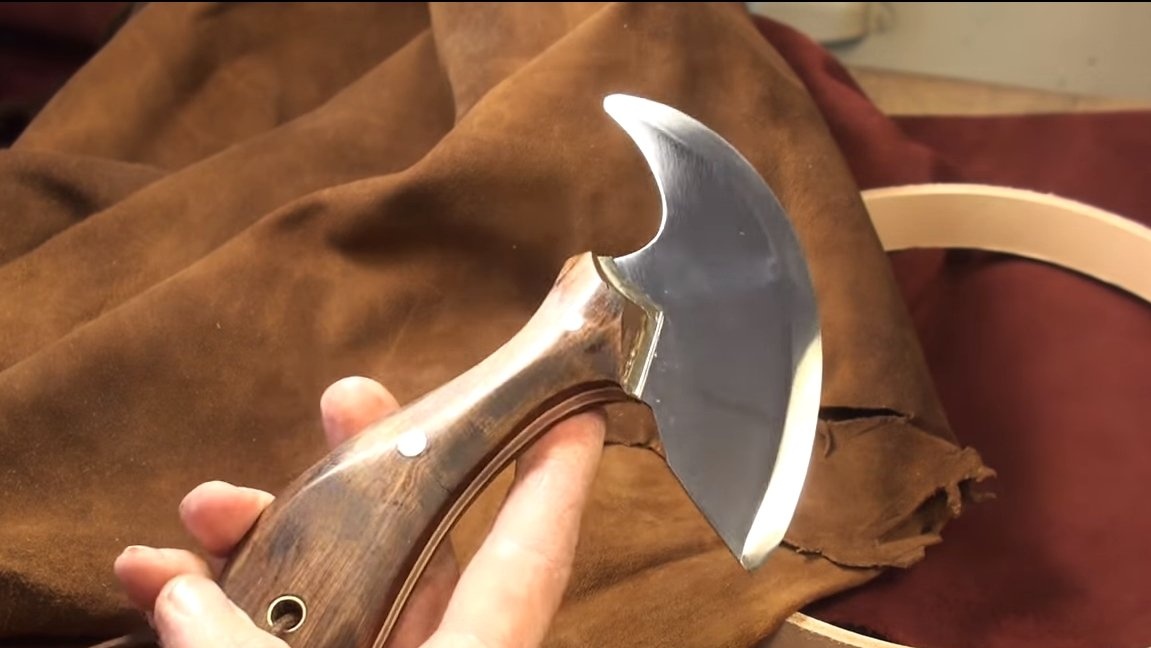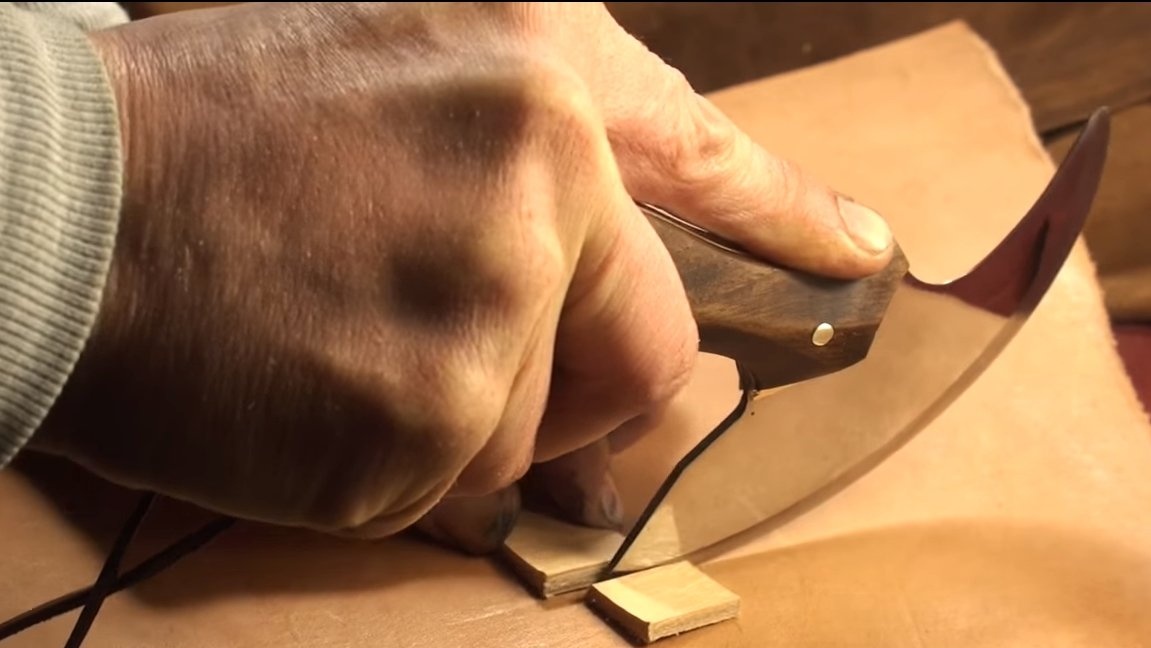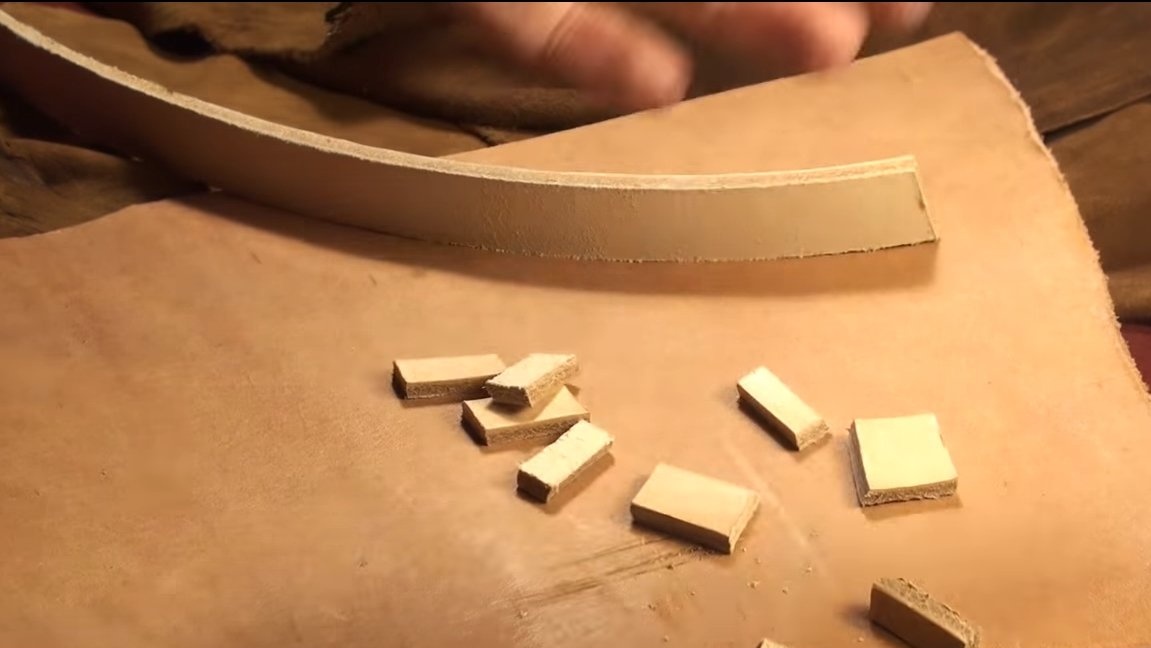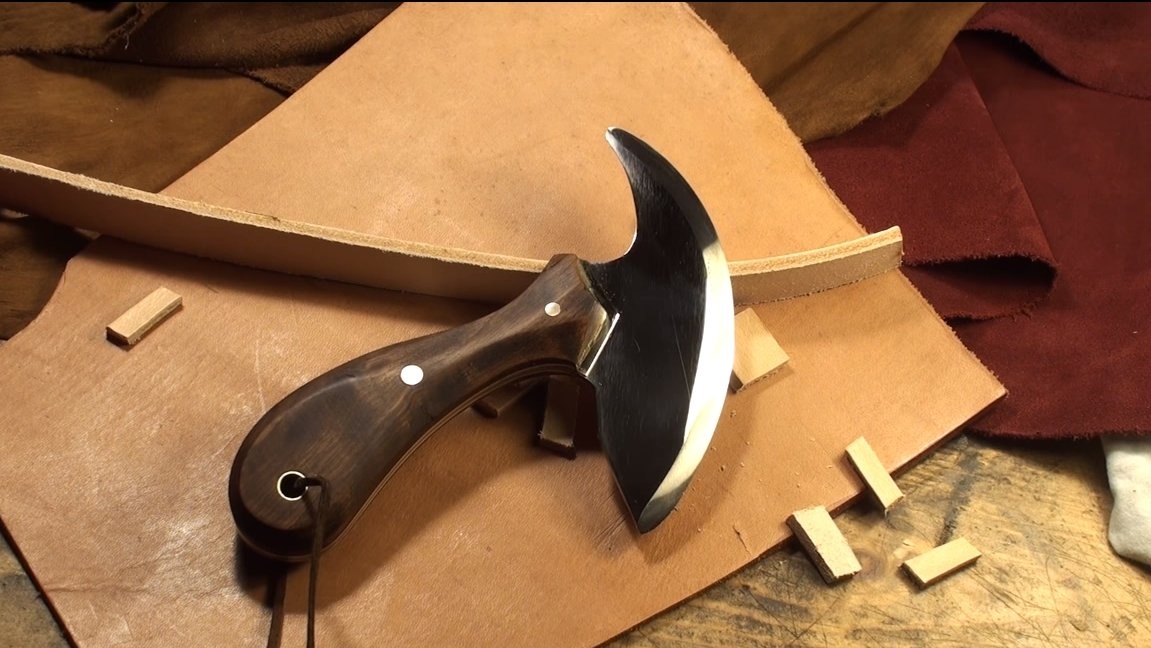
Hello to the lovers of craftsmen, and today we will do a knife for cutting leather. Homemade made quite high quality, the steel for the knife was used grade CX75, it is structural steel with spring properties. The blade was hardened and sharpened to a razor state, the knife easily cuts rather thick skin, and it is safe. If you need such a knife and you are interested in the project, I propose to study it in more detail!
Materials and tools used by the author:
Material List:
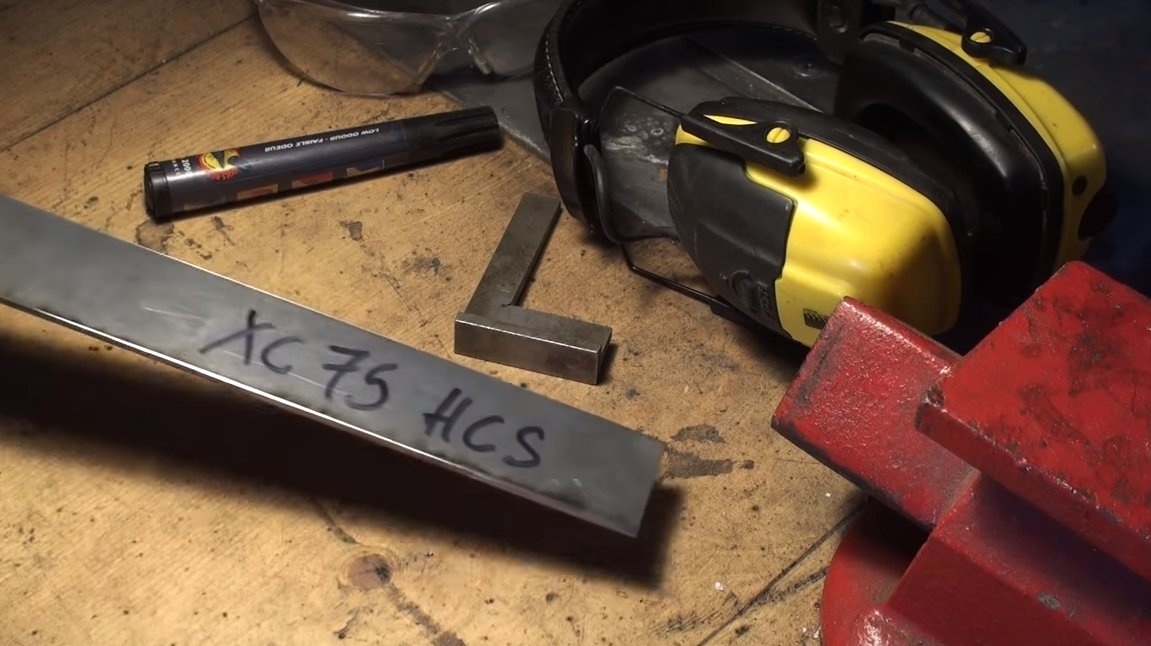
- high-quality steel for the blade (in our case CX75);
- wood for the handle;
- sheet brass;
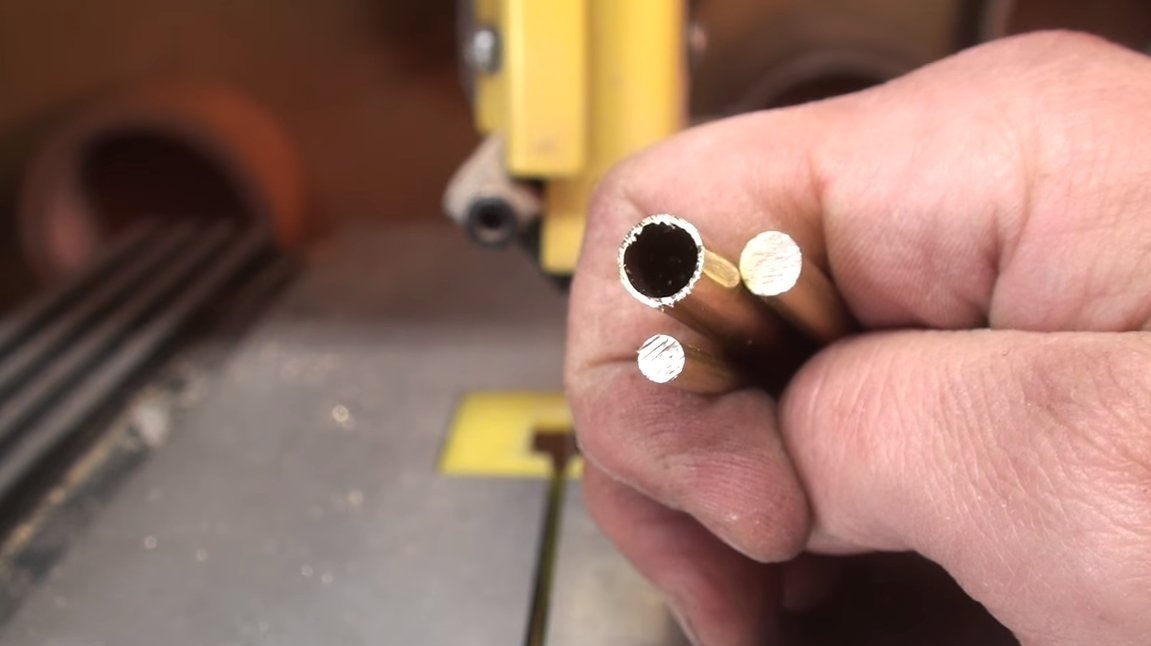
- brass tubes, rods, etc. (for pins);
- oil for wood;
- epoxy adhesive.
Tool List:
- ;
- welding machine;
- ;
- vise;
- files and sandpaper;
- ;
- marker, paper, pencil;
- clamps;
- gas burner and oil (for hardening);
- tape cutting machine or jigsaw machine;
- or a drill;
- a circular saw.
The process of making a knife:
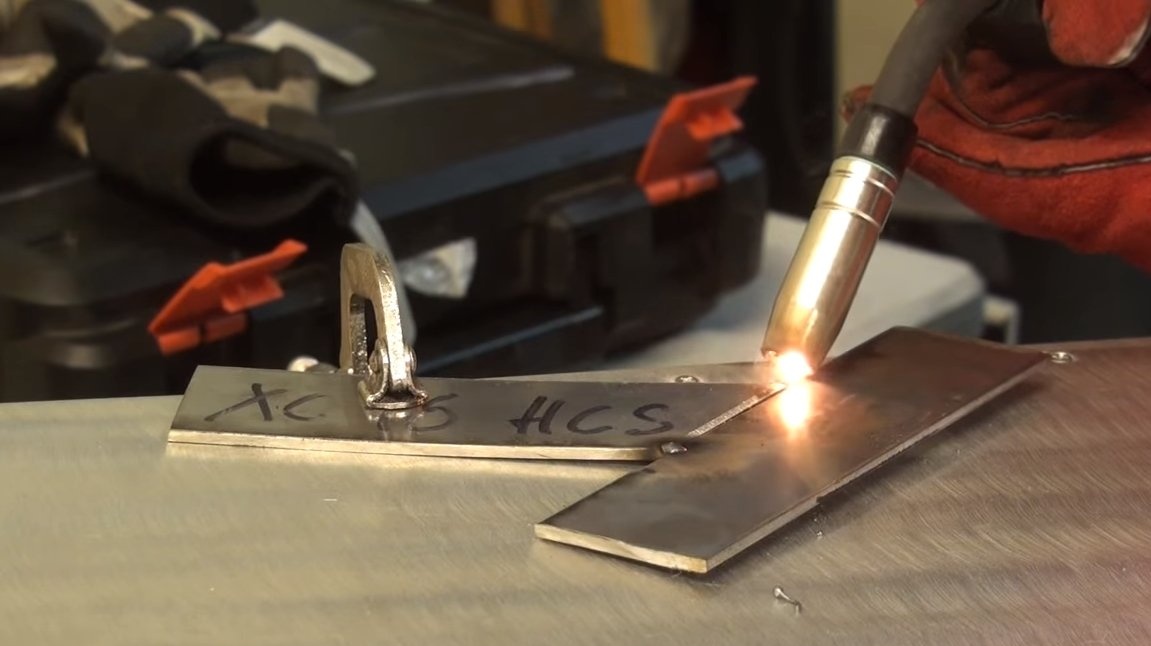
Step one. We collect the workpiece
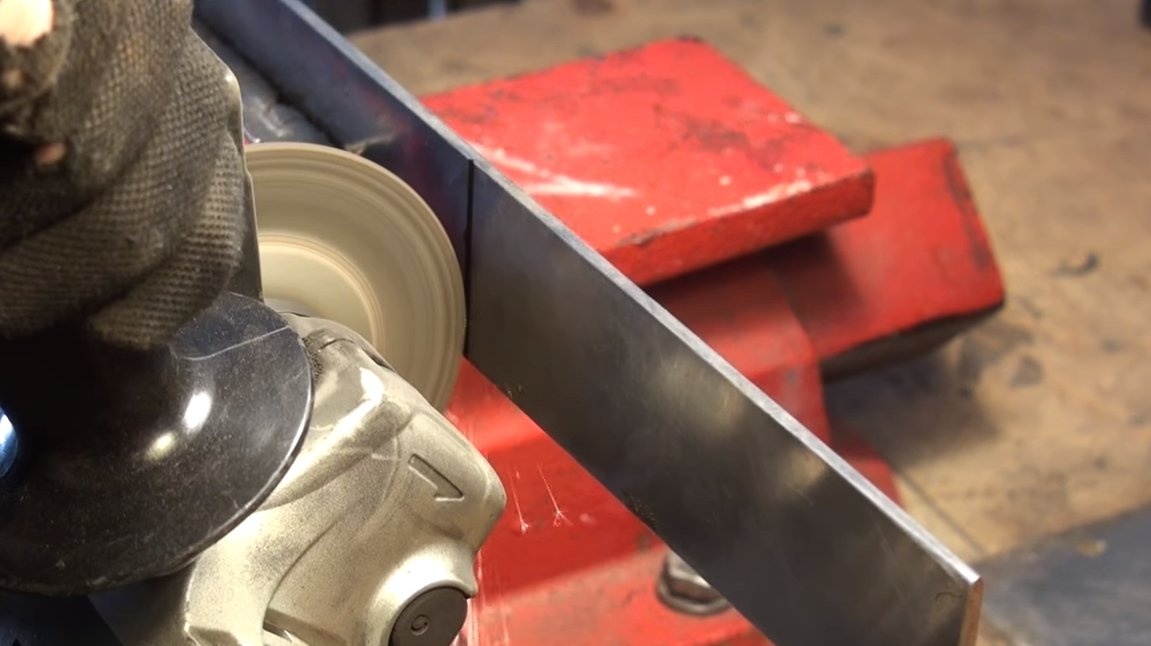
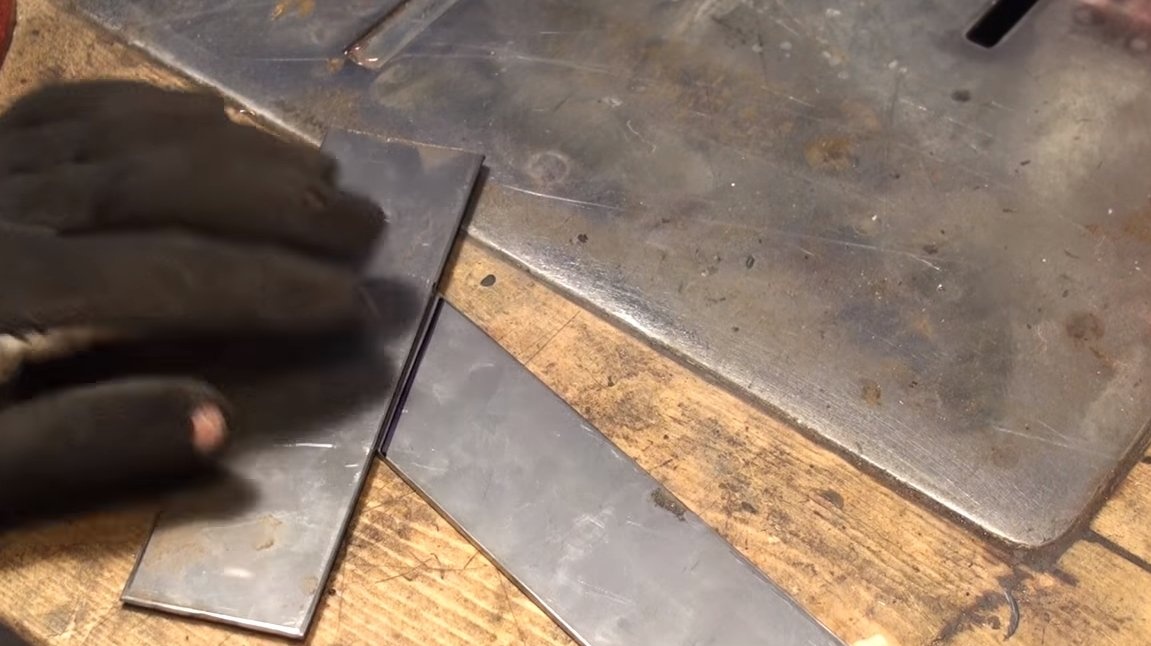
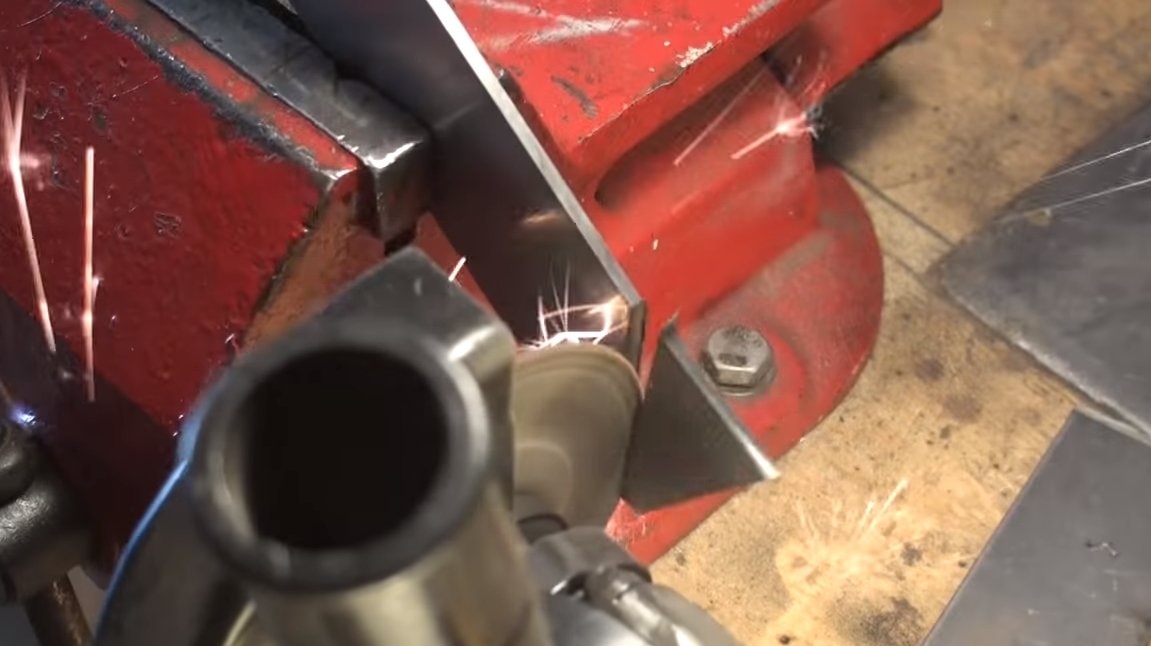
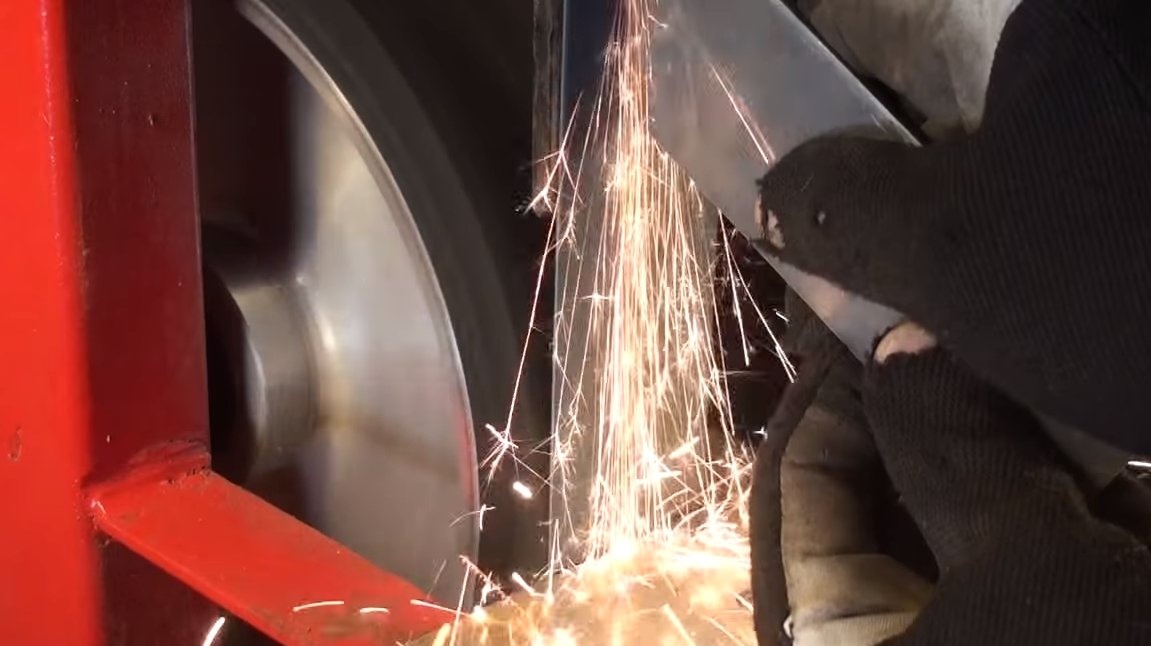
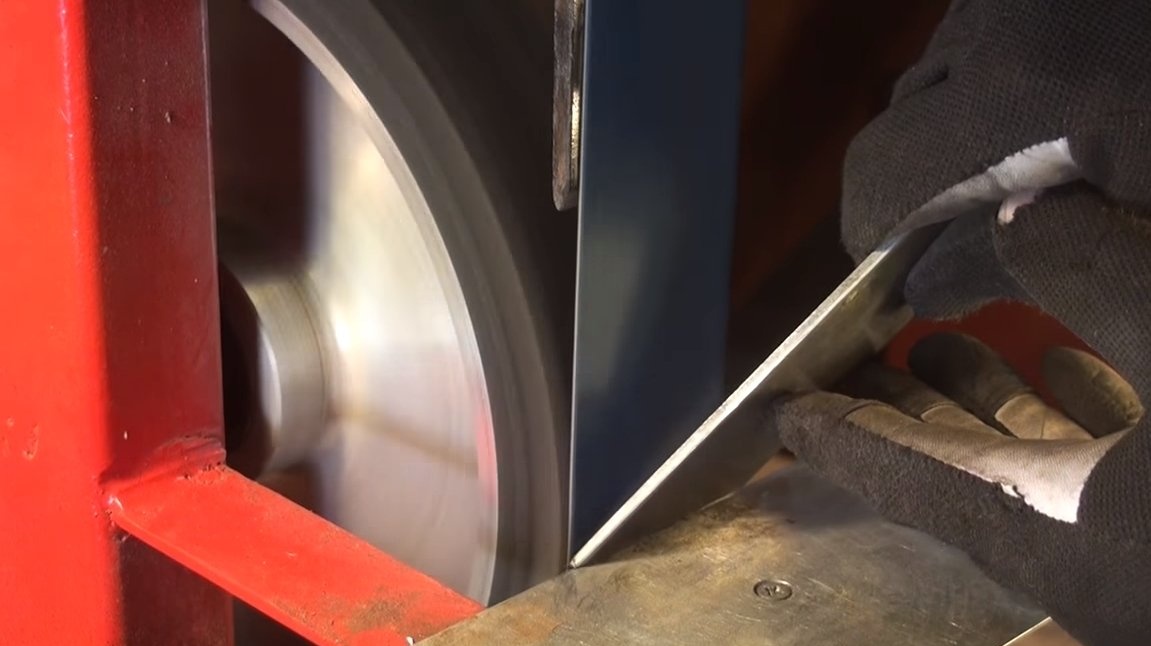
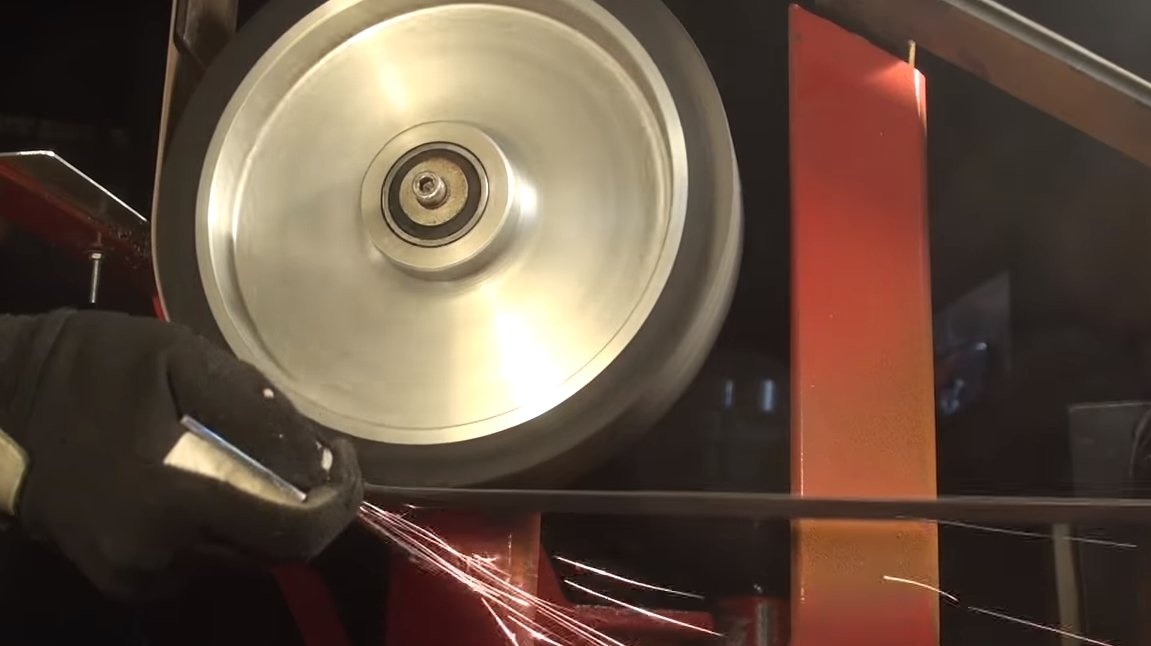
First of all, we will assemble the workpiece, this will be the primary profile of the knife. The author had only plates for the manufacture, it is not possible to cut a knife that is necessary in shape from a single piece. So we have to weld two plates with each other. The welding seam should be very high quality, the product should look uniform. To make high-quality welding, we remove bevels from workpieces on a tape machine. After welding, we grind the weld on a belt grinder, and now we have an excellent workpiece.

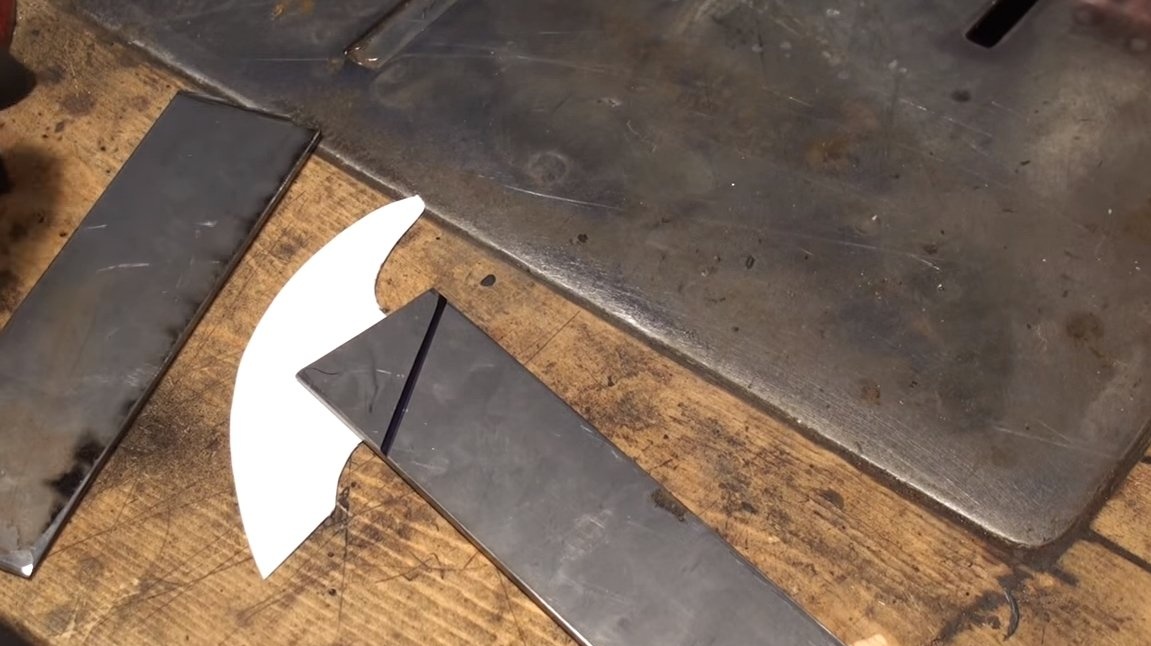
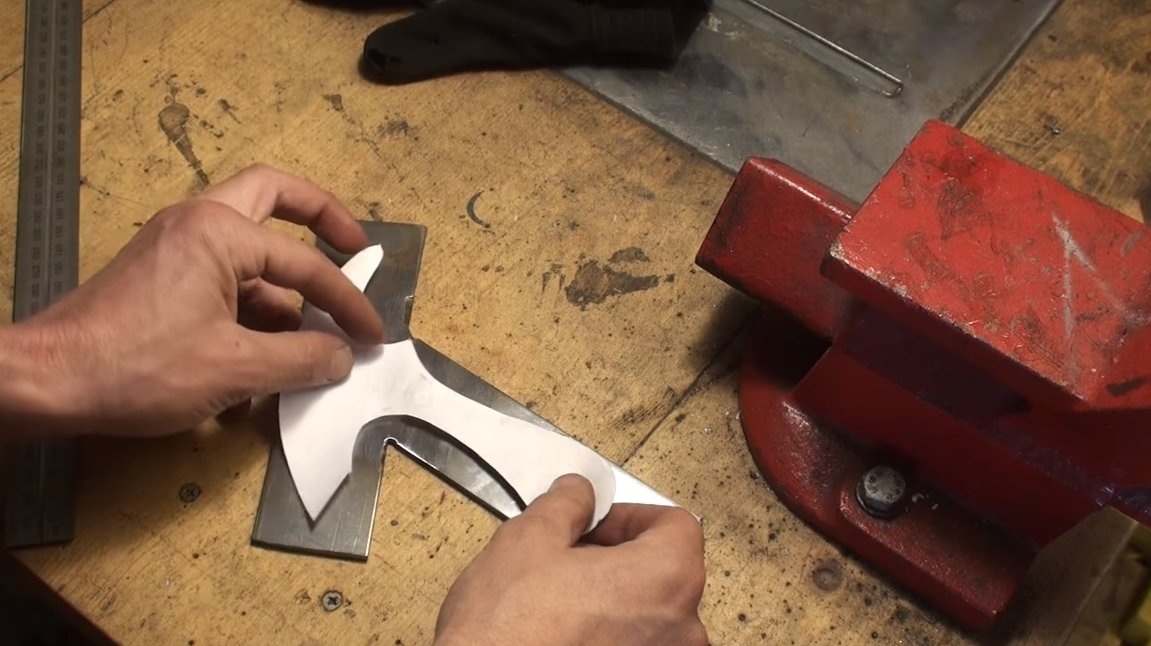
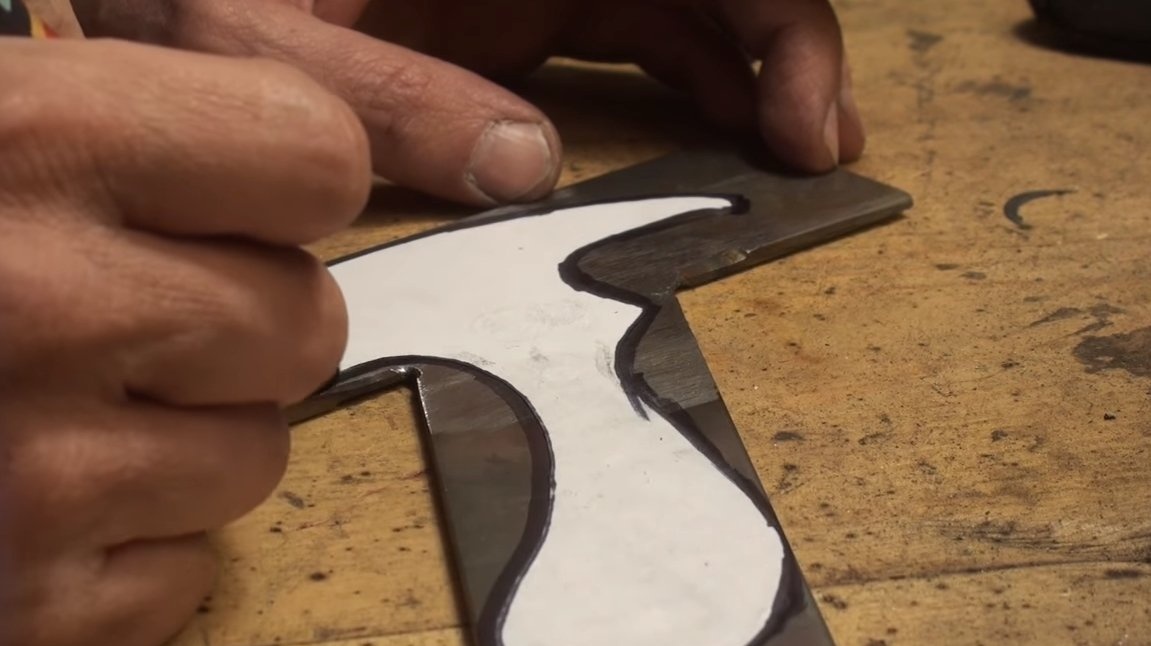
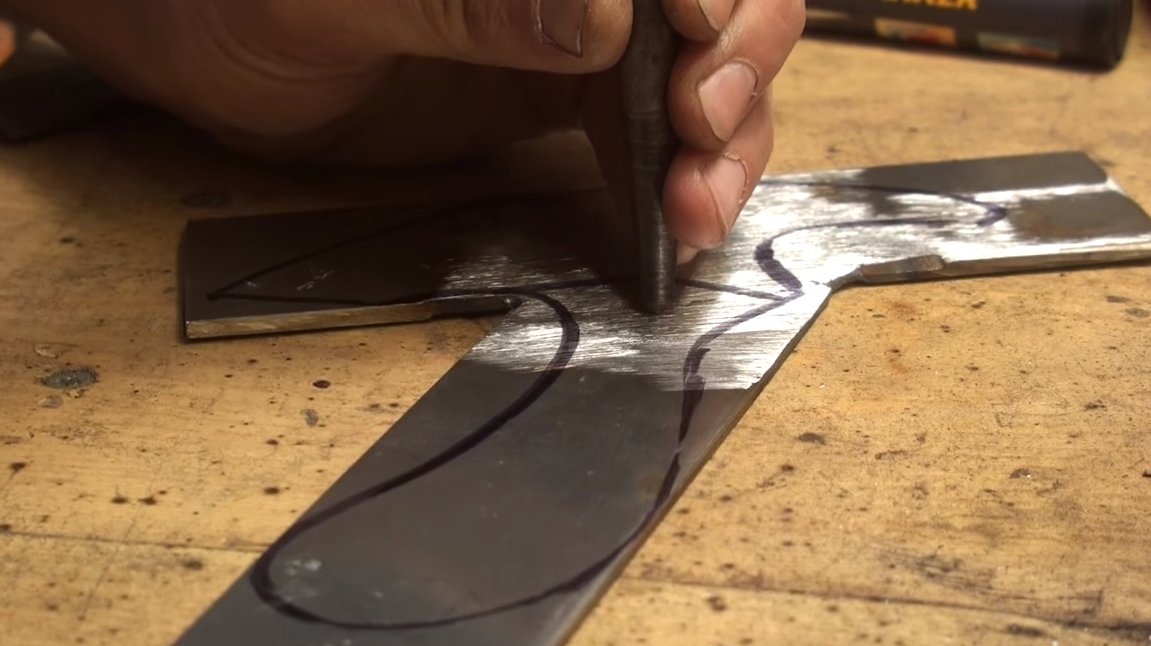
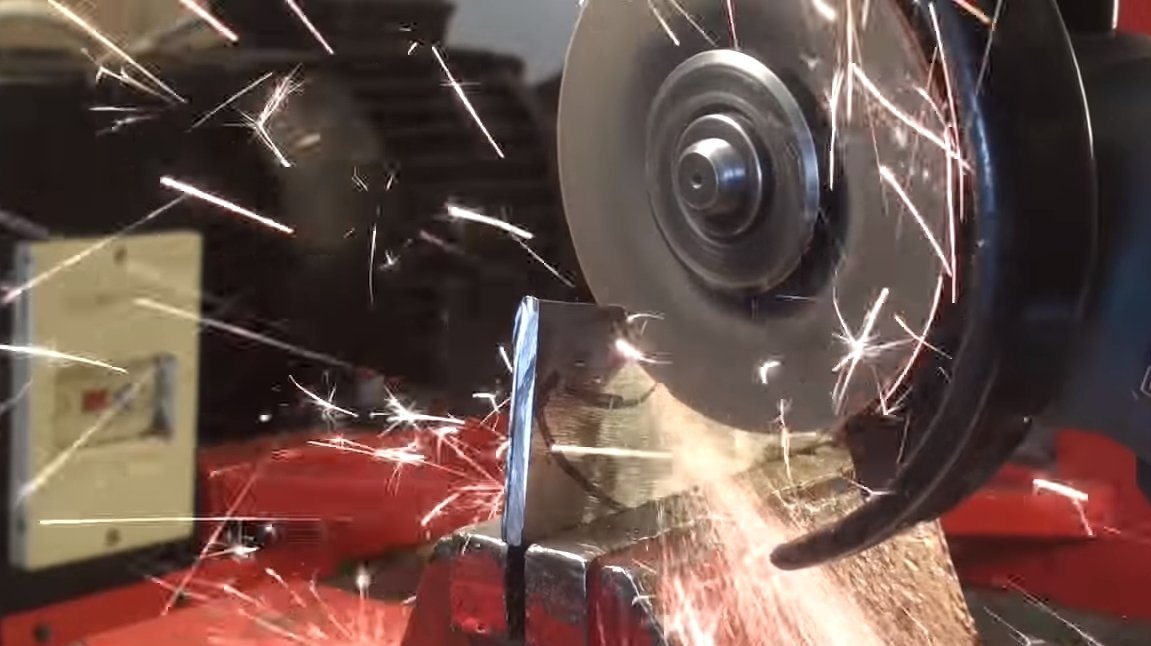
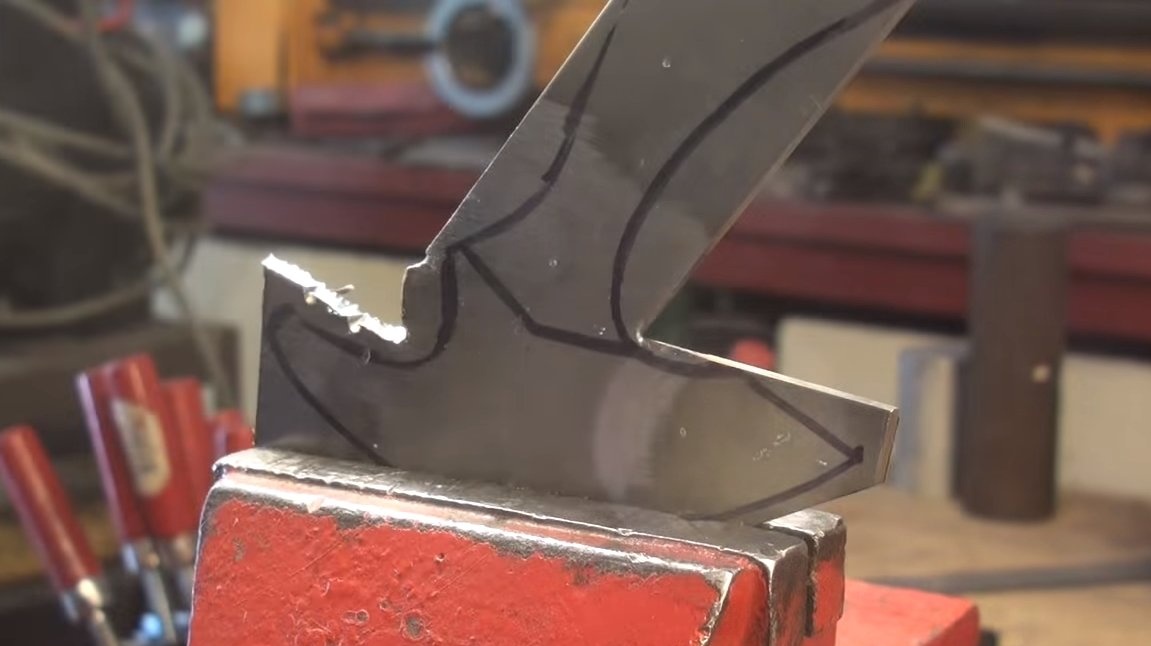
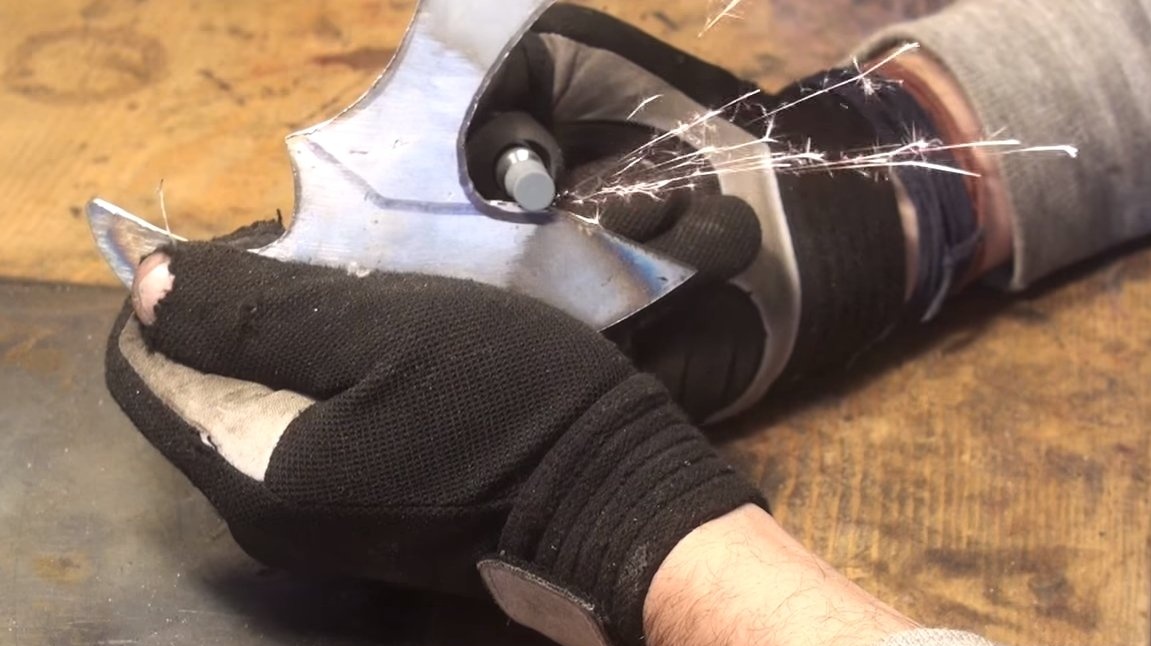
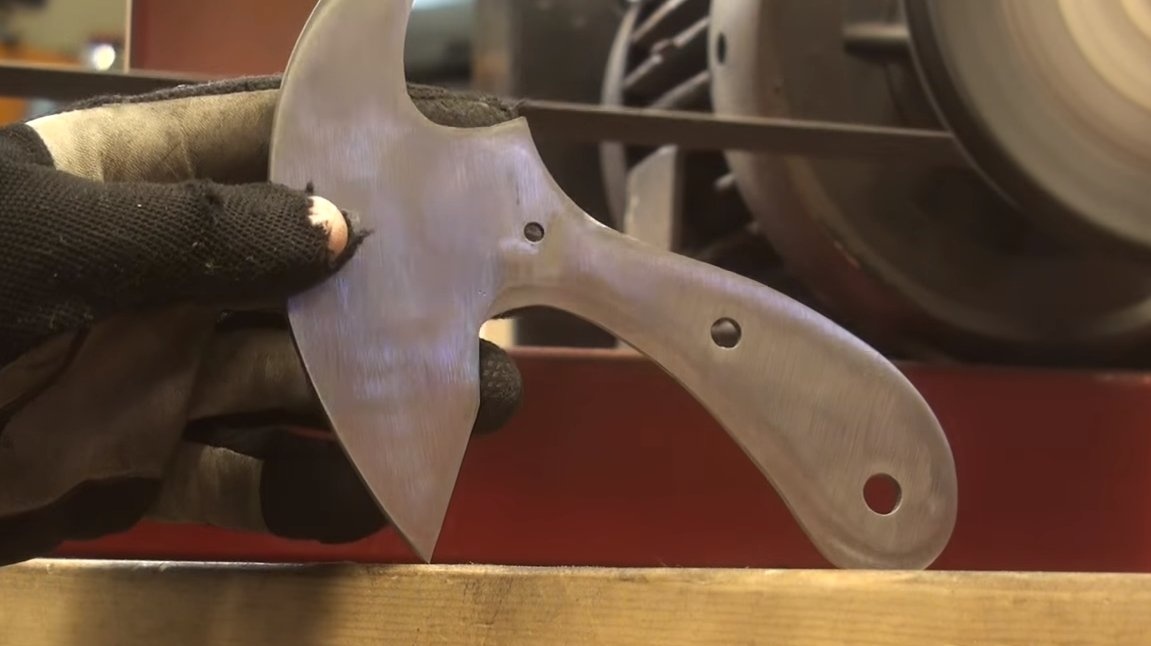
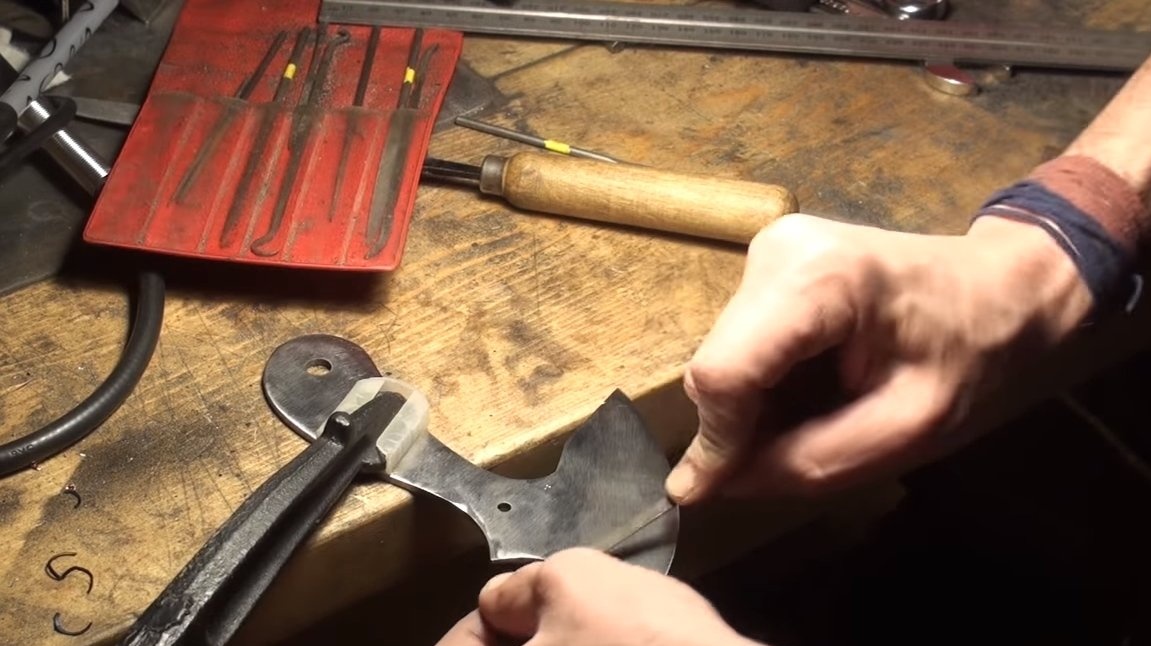
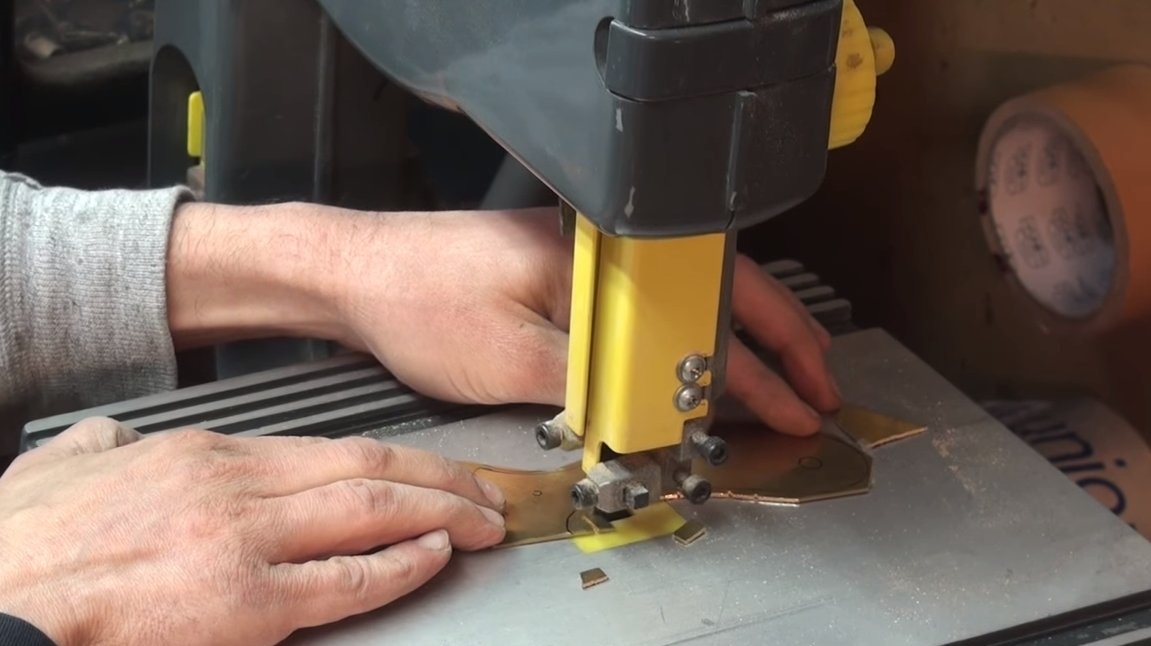
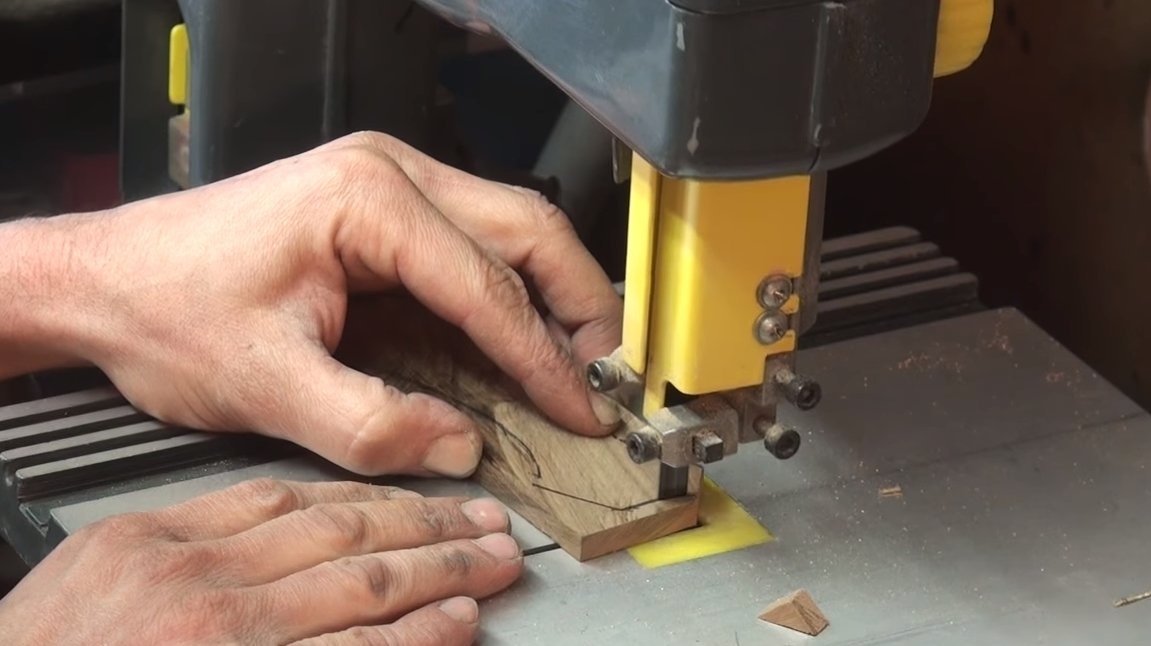
Step Two Cut the knife profile
Create a knife template from paper and now it can be cut. For cutting, the author uses a grinder, you can safely cut, without fear of overheating the workpiece, but the steel should not turn blue. Next, we refine the profile with other tools, a drill will be used, and if it is not there, you can work with files.
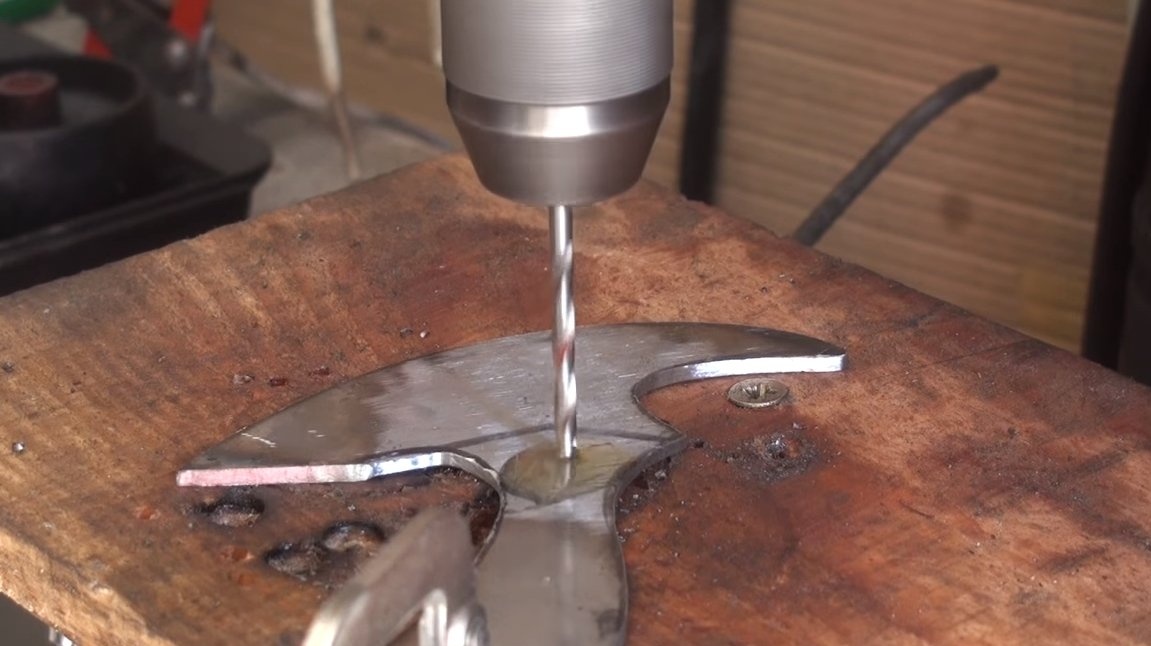
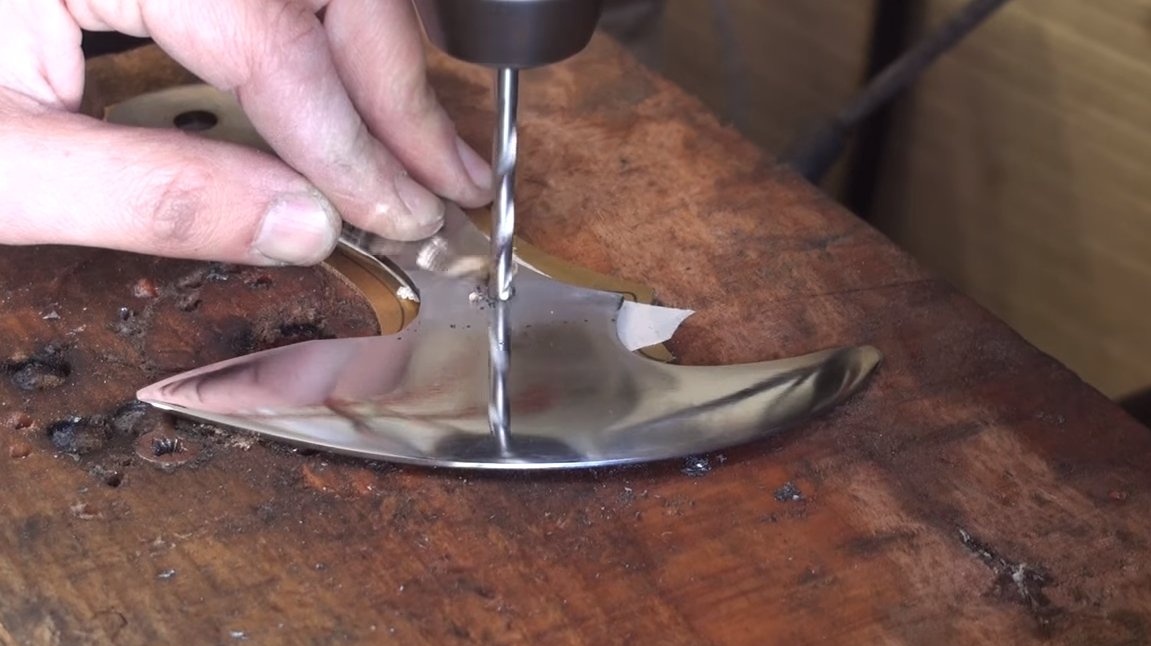
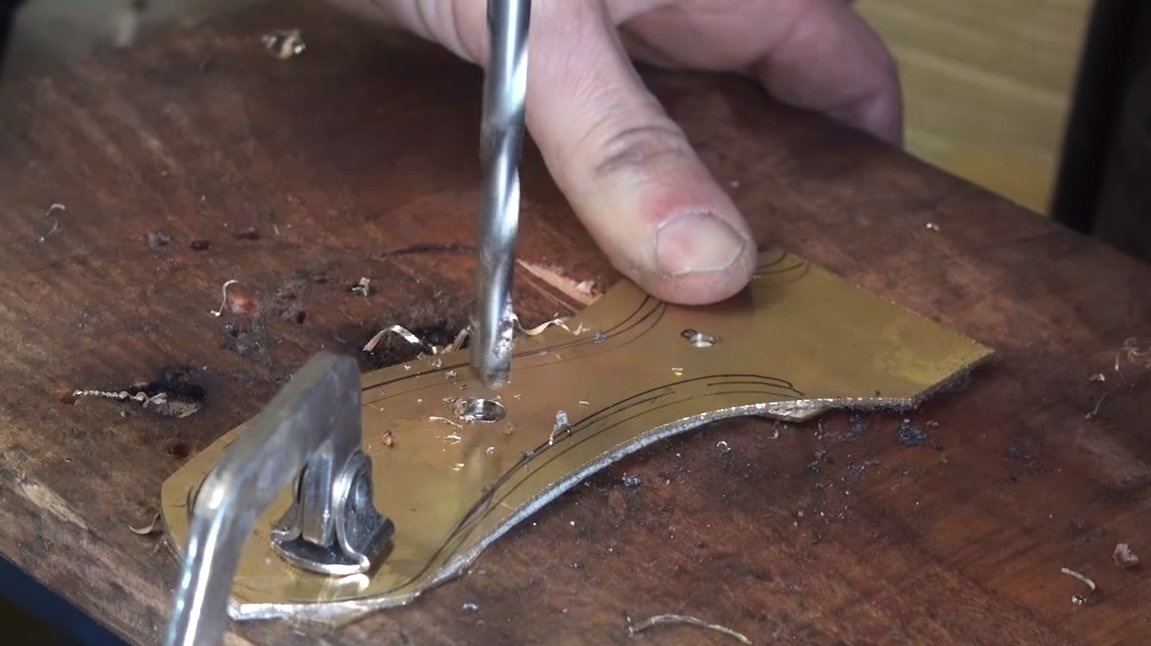
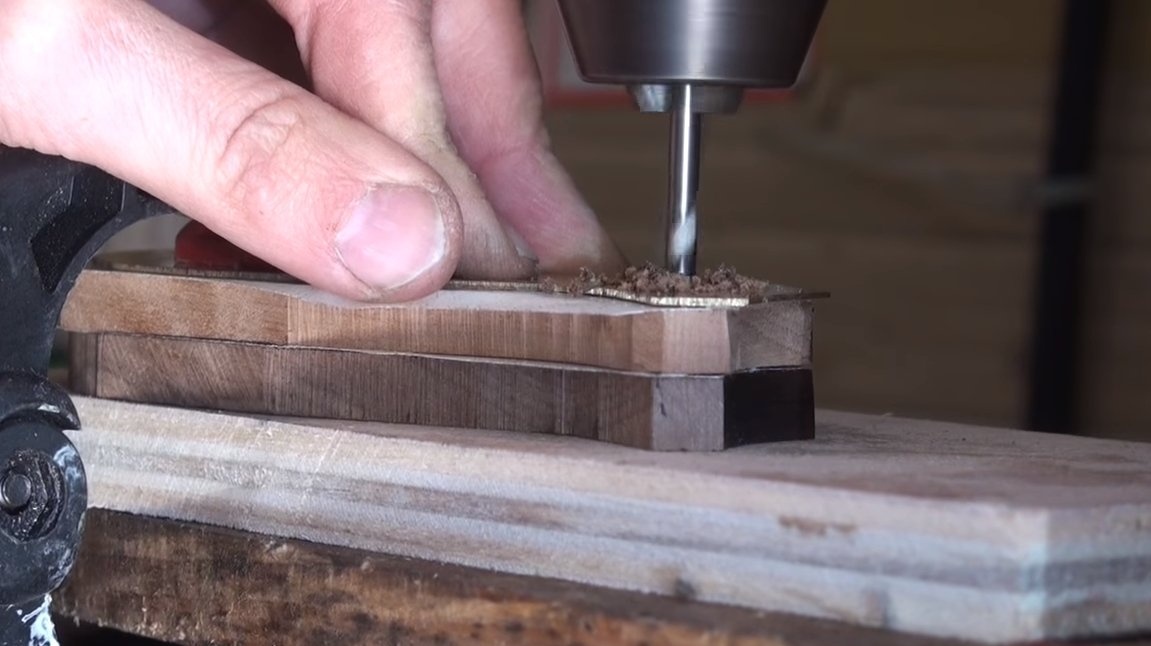
Step Three Holes
We drill holes in the handle, holding pins will be installed here, as well as a brass tube for attaching the cord, if you need it.We drill steel with grease, there is no need to rush anywhere. Then we grind the profile again and now we have the workpiece ready.
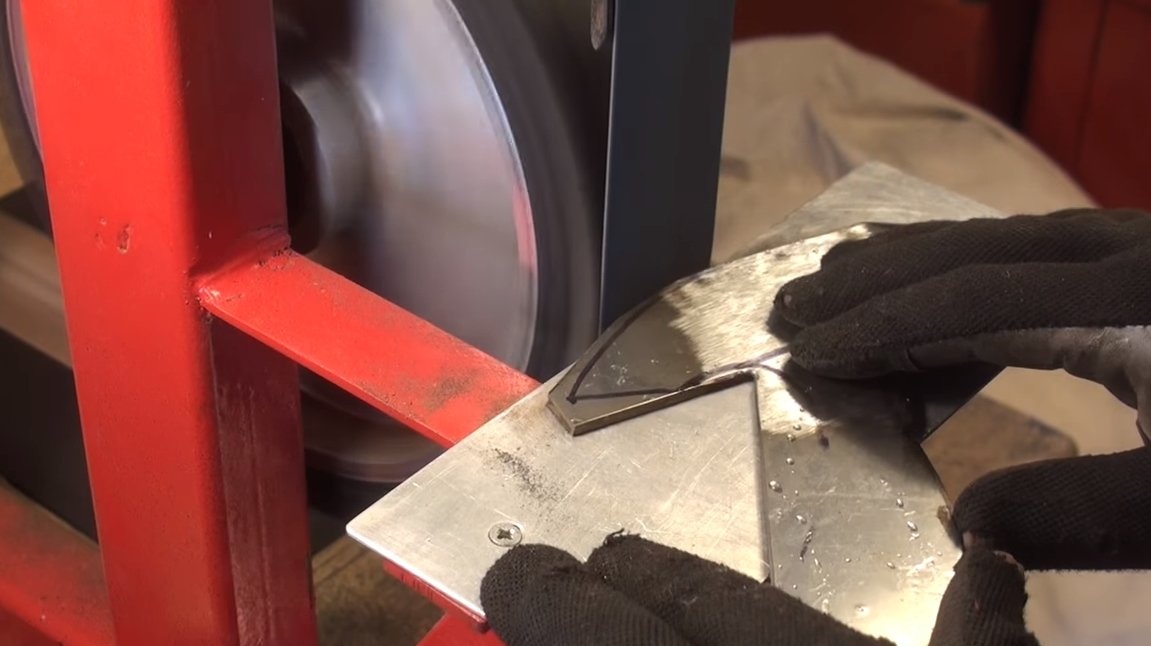
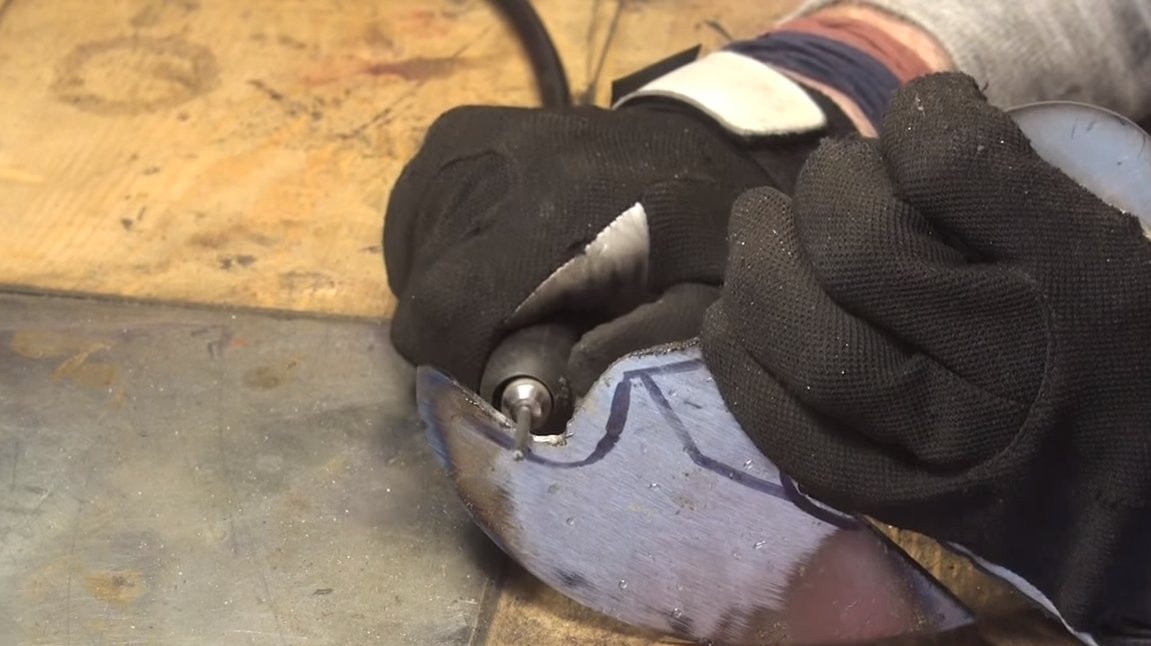
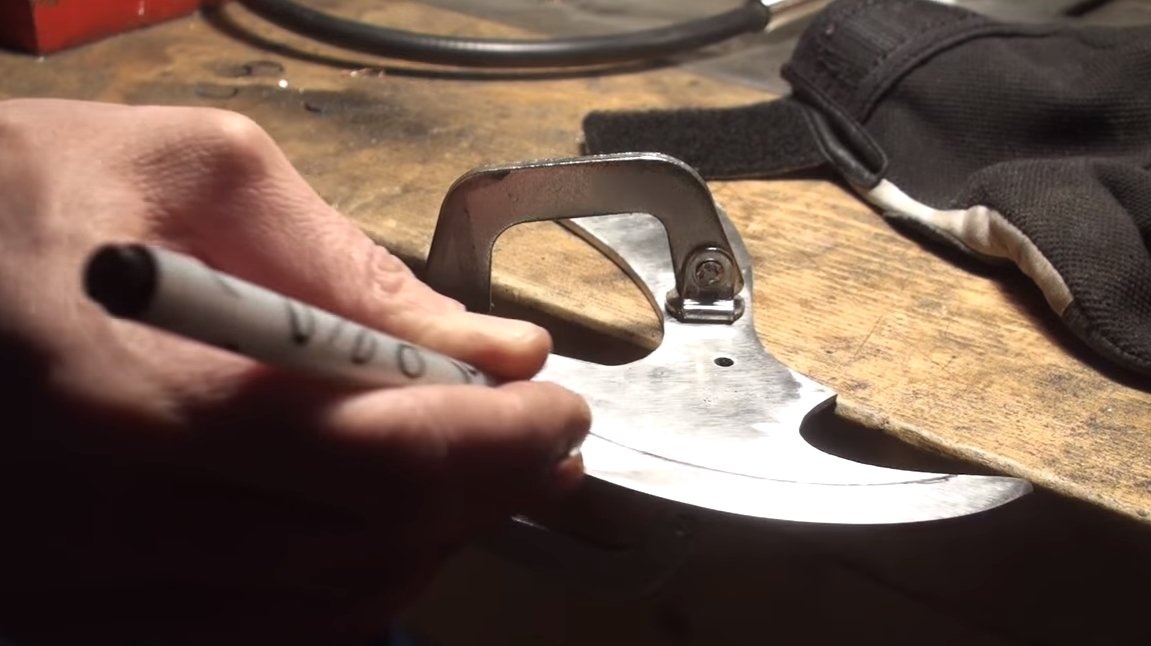
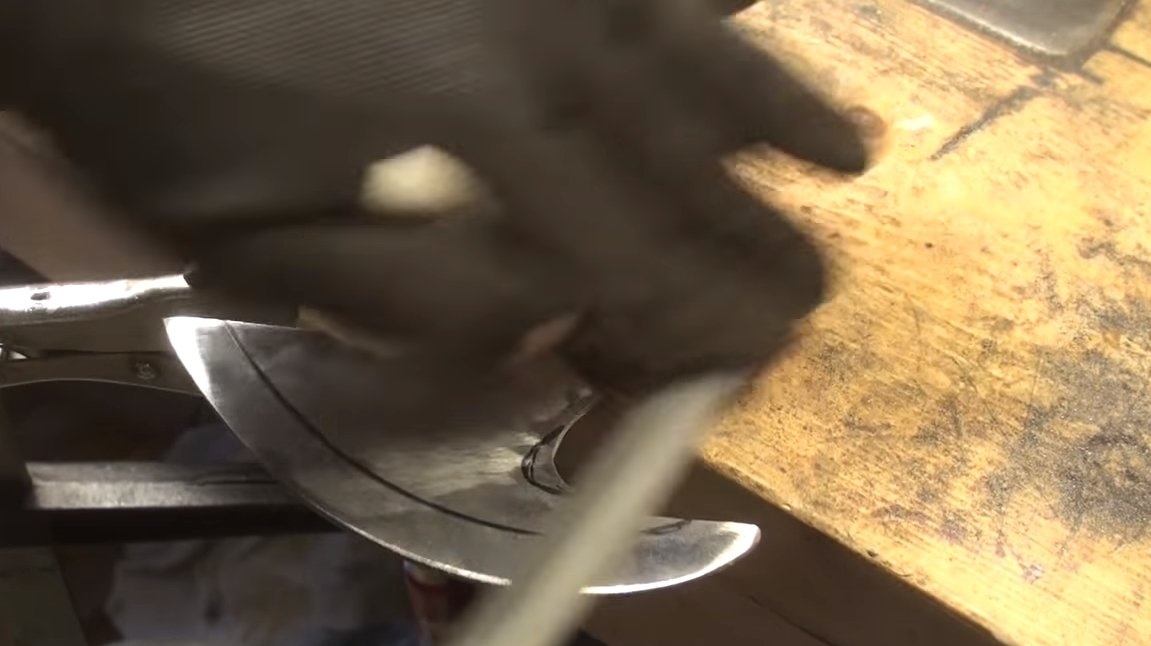
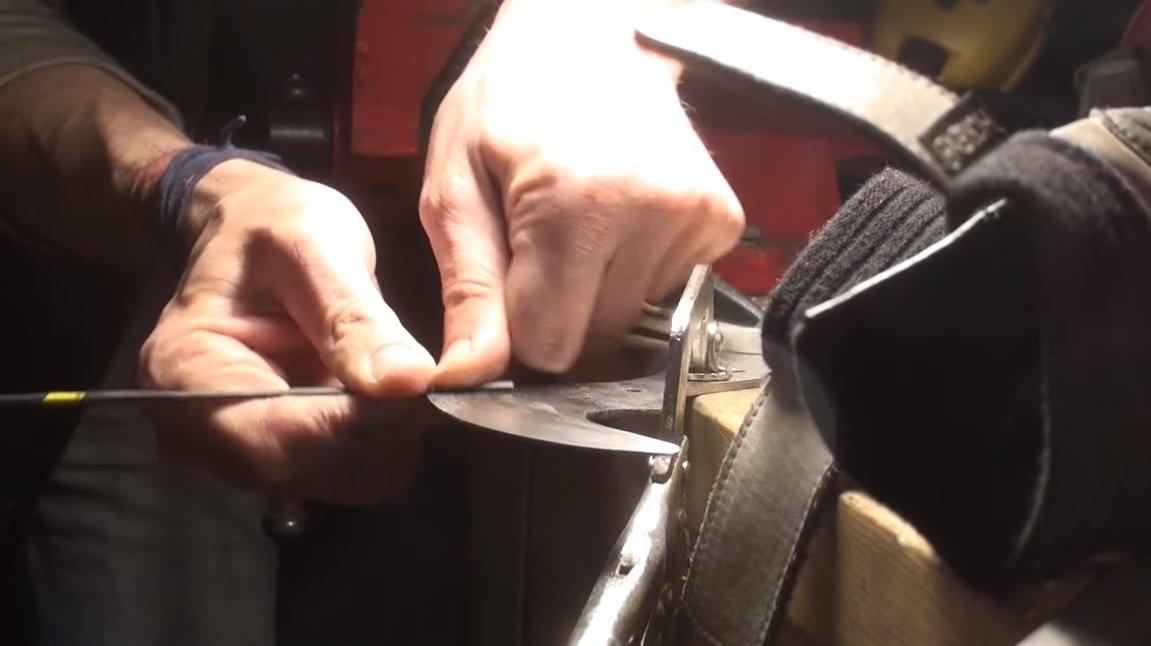
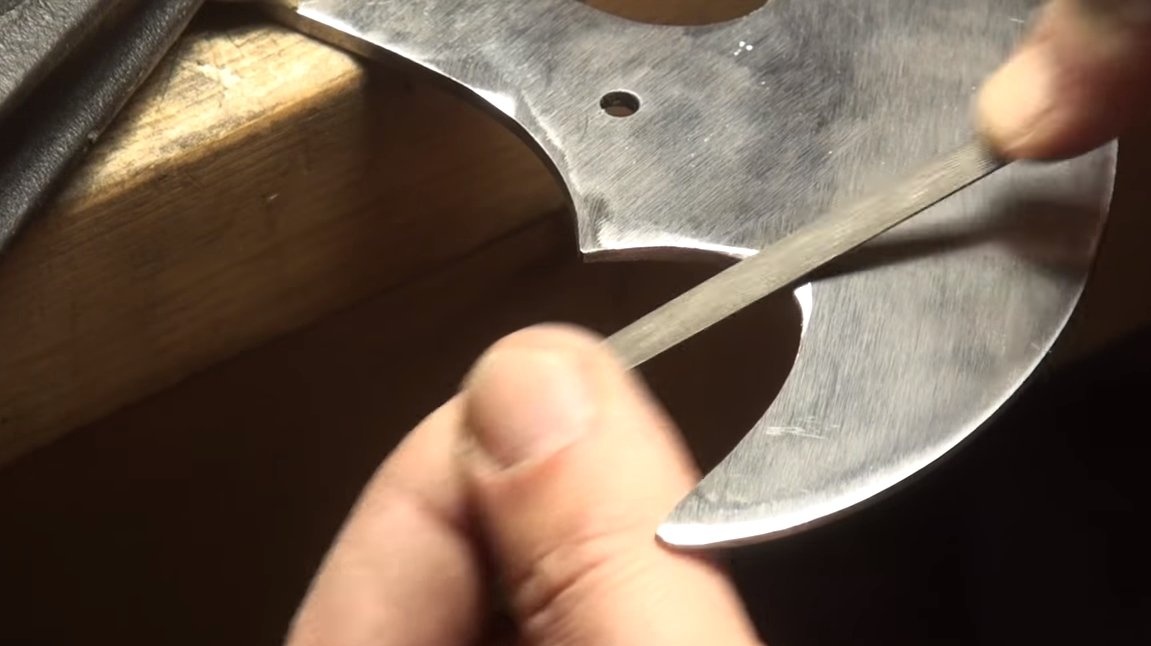
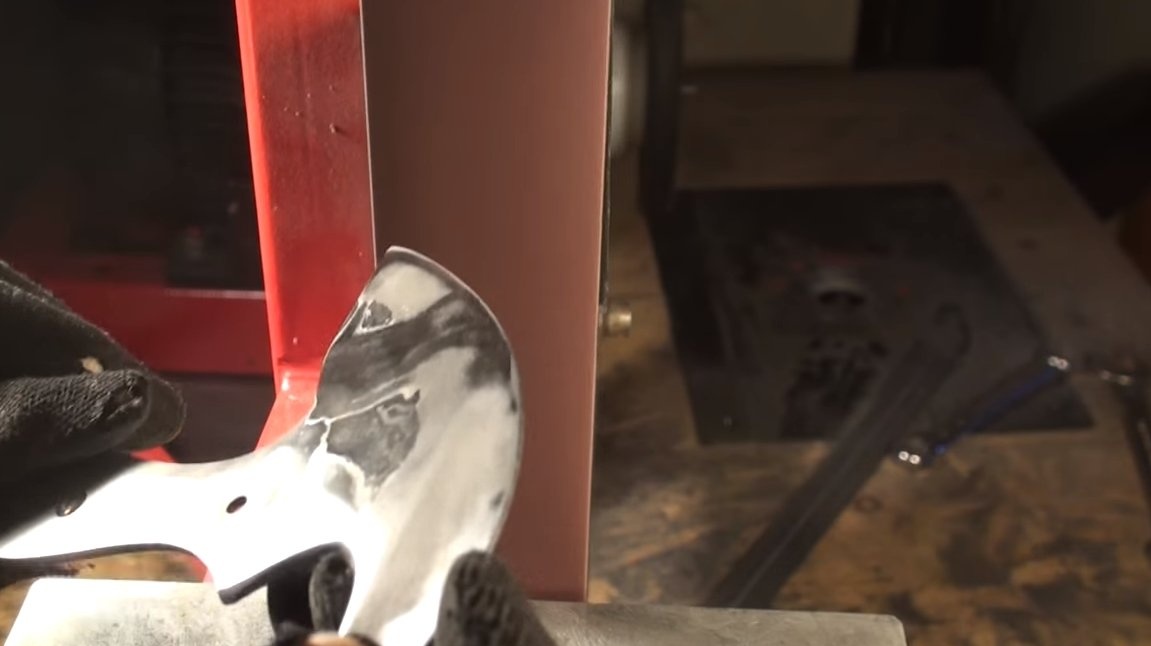
Step Four Bevels
We make bevels on the blade, first we mark everything out so as not to remove excess metal. Well, then we get to work, the author works with hand tools. When working with files, there is less chance of ruining the workpiece.
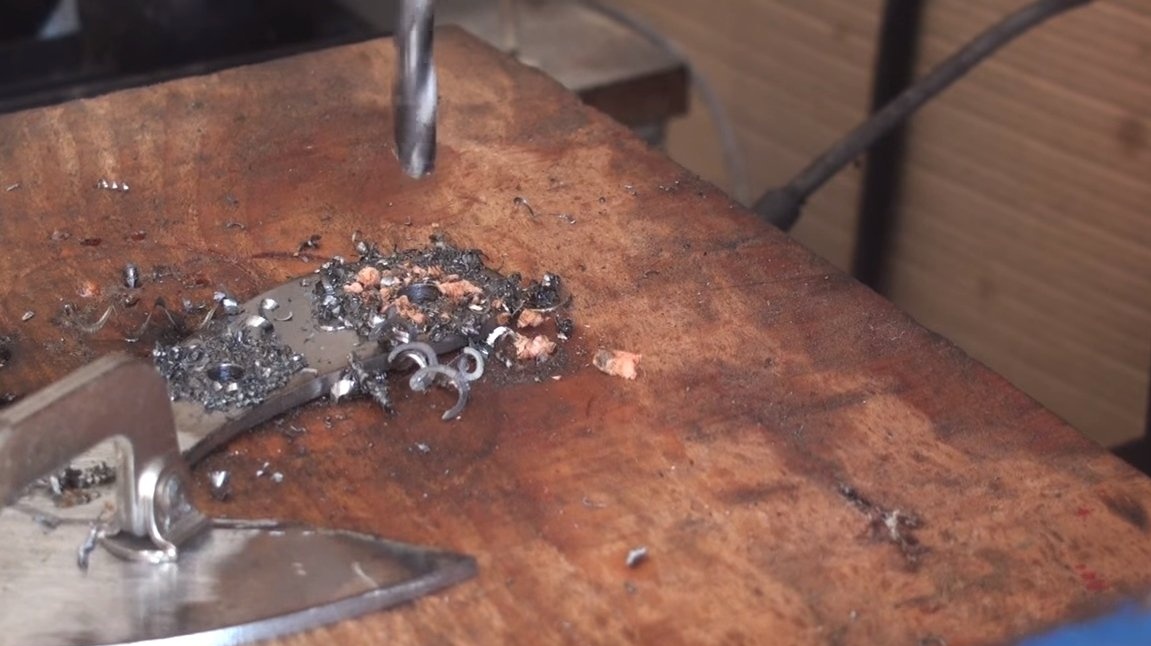
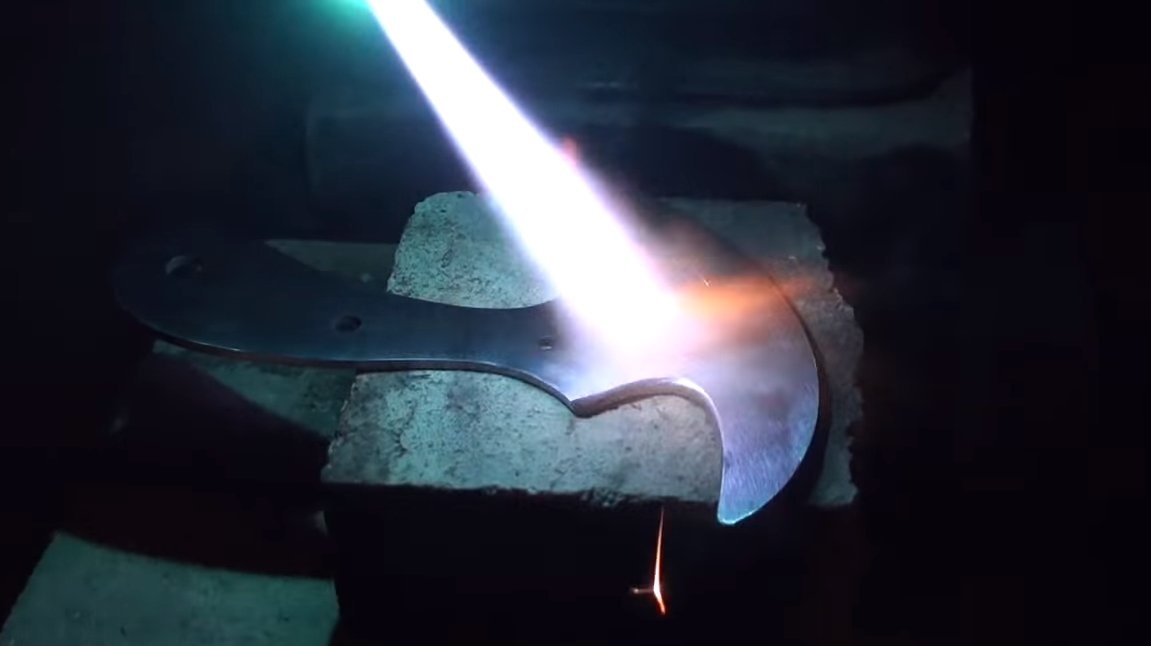
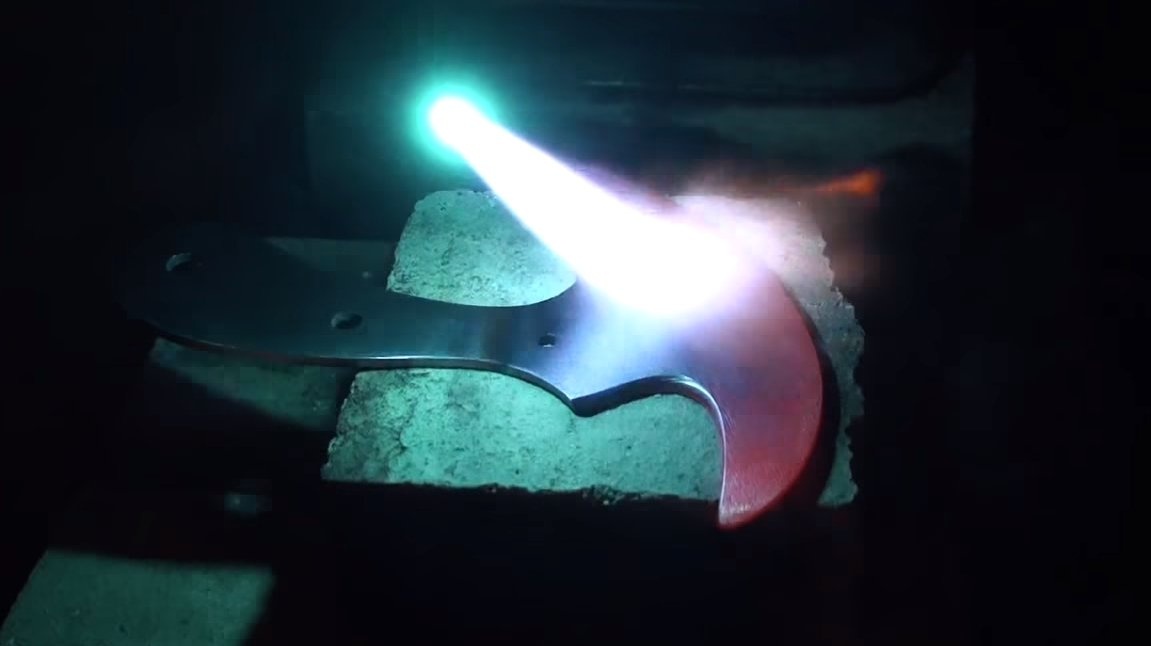
Step Five Heat treatment
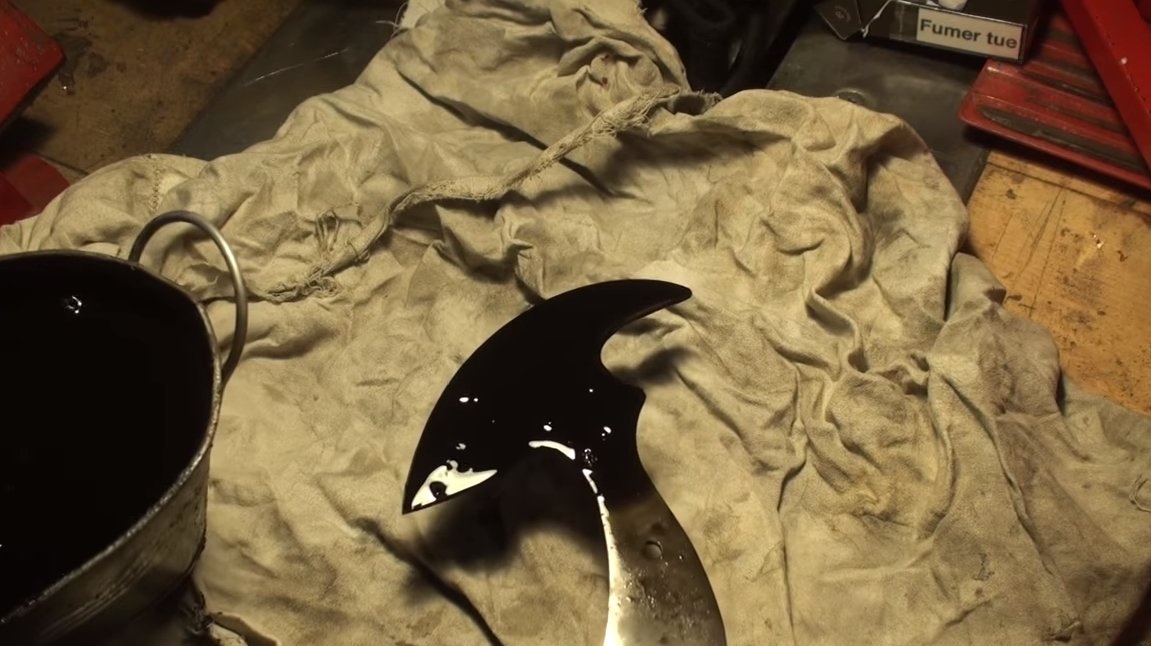
The author tempers the blade to achieve maximum hardness of steel, the blade is not released. For hardening, we heat the blade to a red glow, you need to try to warm the blade to make it as hard as possible. We lower the blade into the oil, which, as a precaution, is preferably heated.
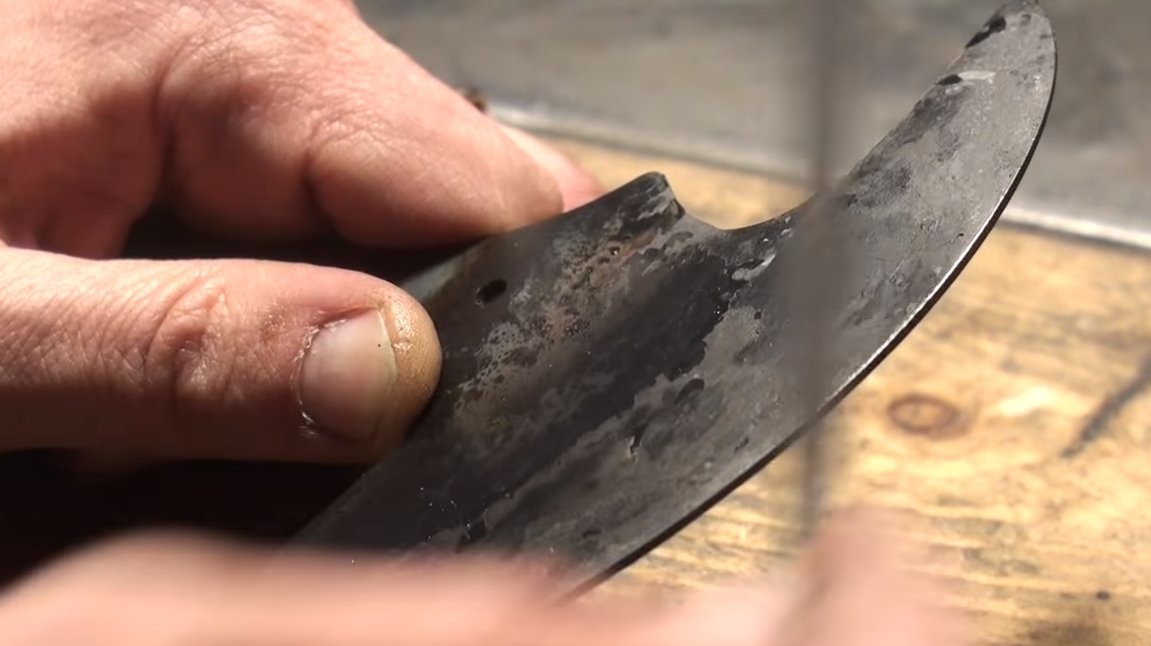
That's all, now the blade needs to be washed with oil, and we check it for hardening. You will immediately hear if the quenching is successful on a ring. We also try to scratch the blade with a file, if the file does not take metal, it means that the quenching went perfectly. We grind the blade again to a shine to remove carbon deposits after hardening.
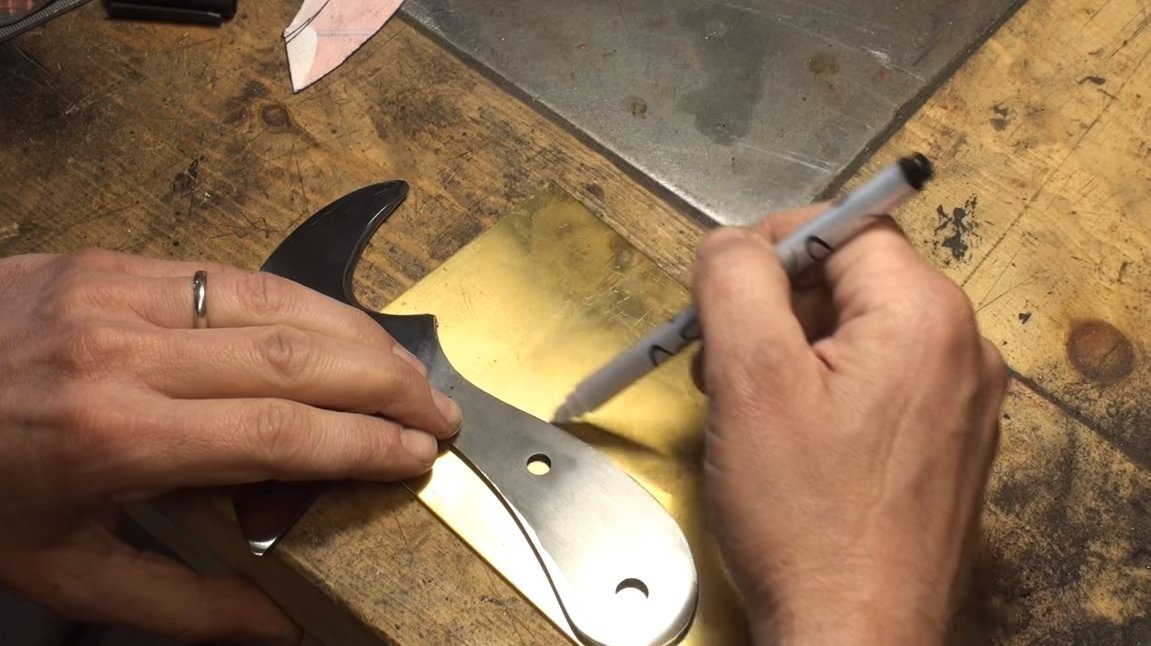
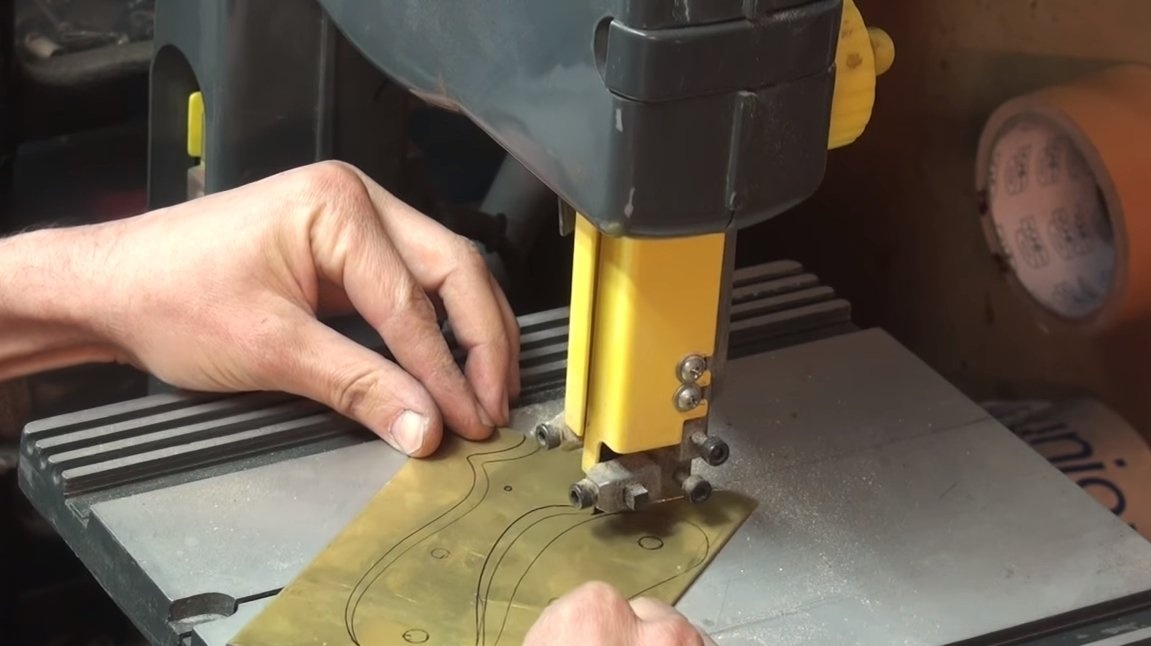
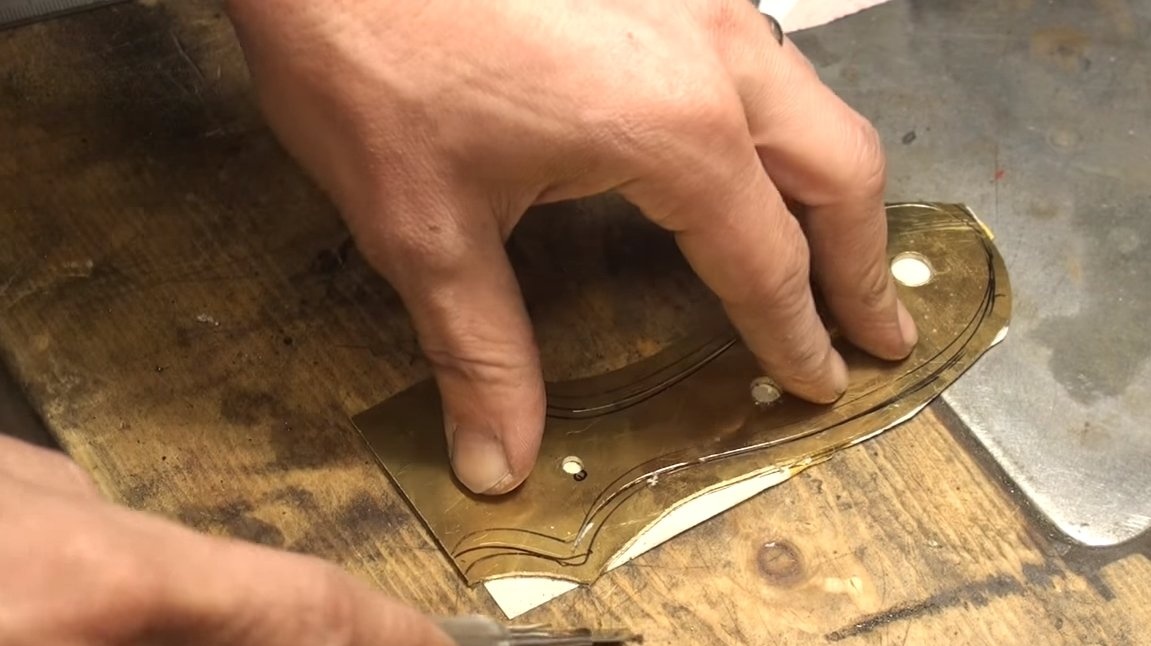
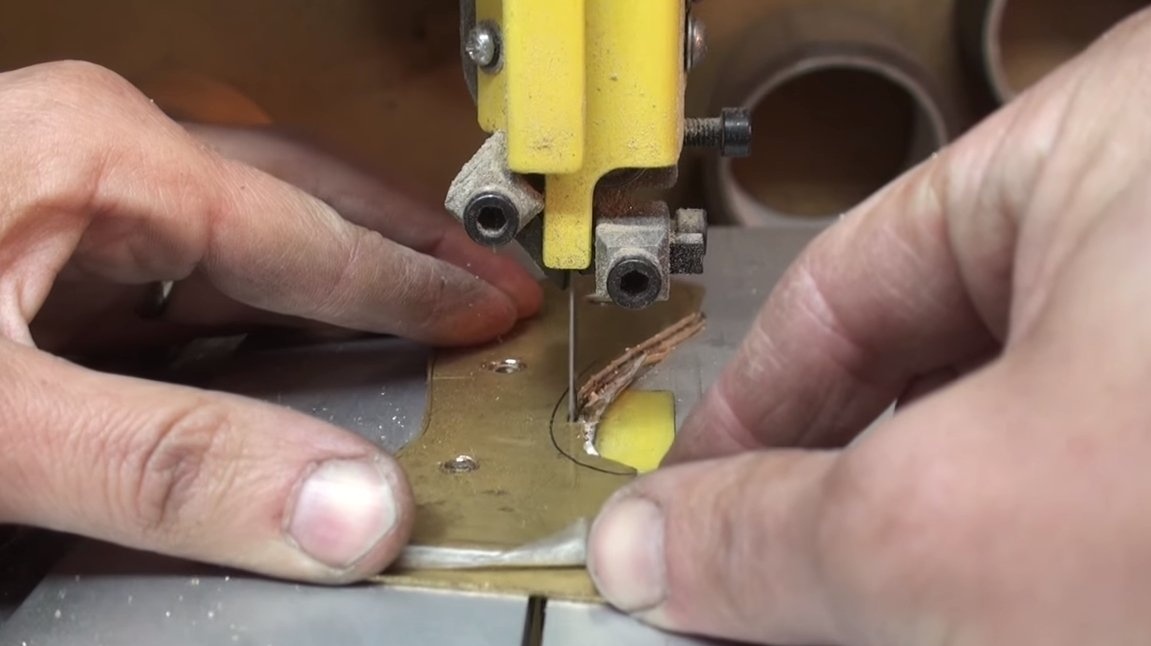
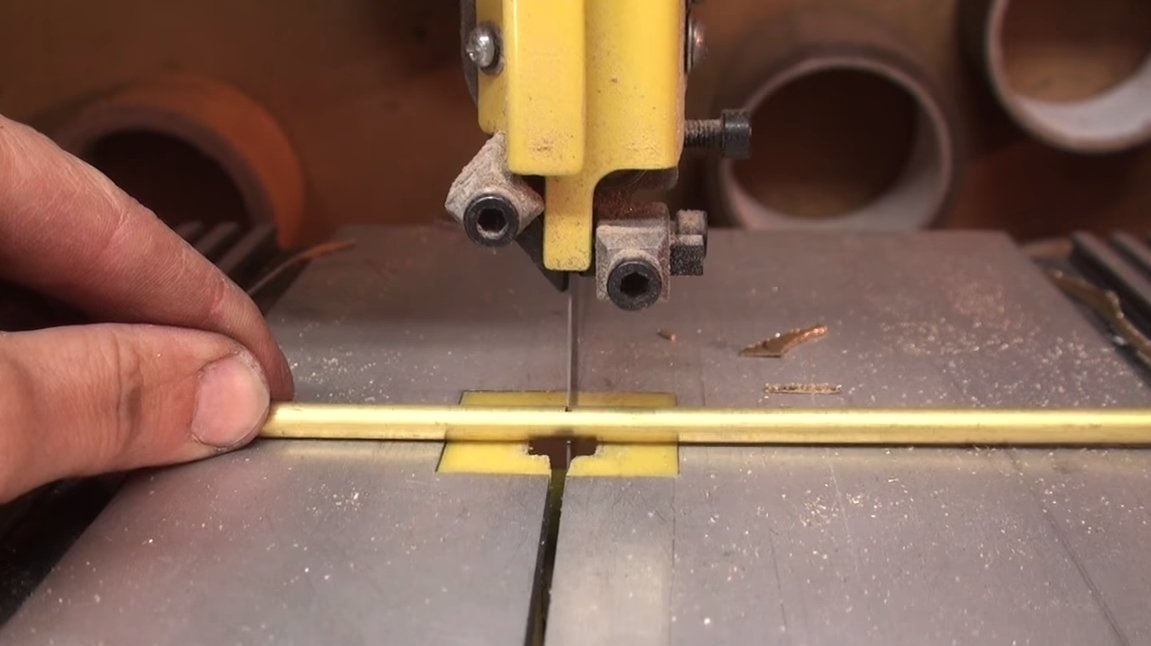
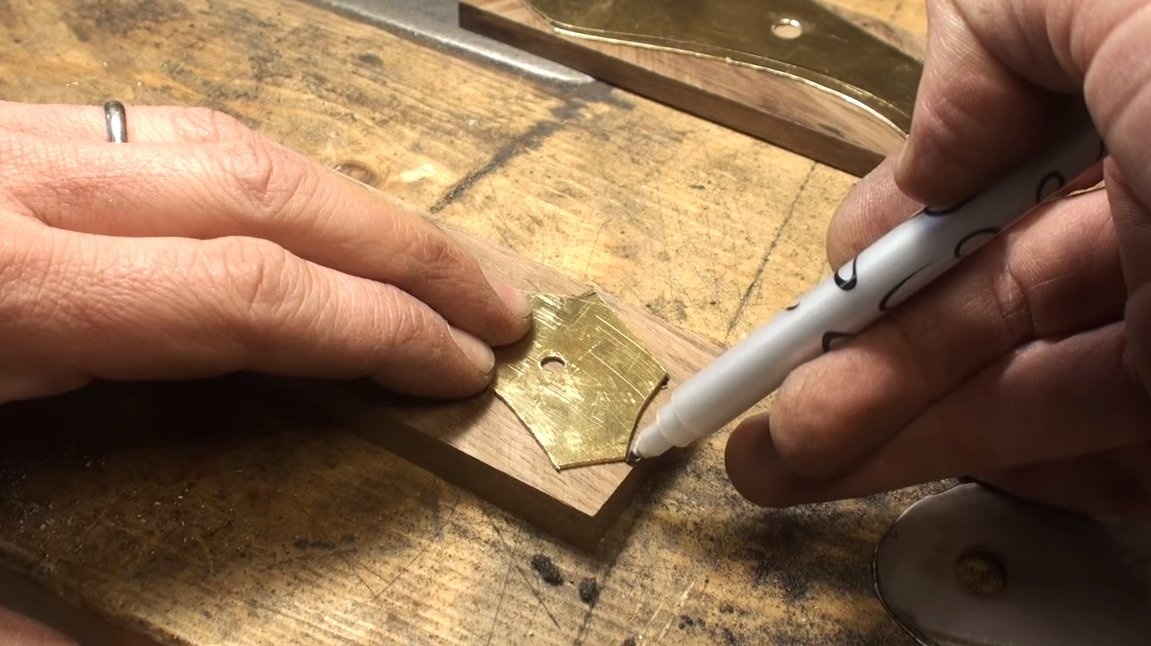
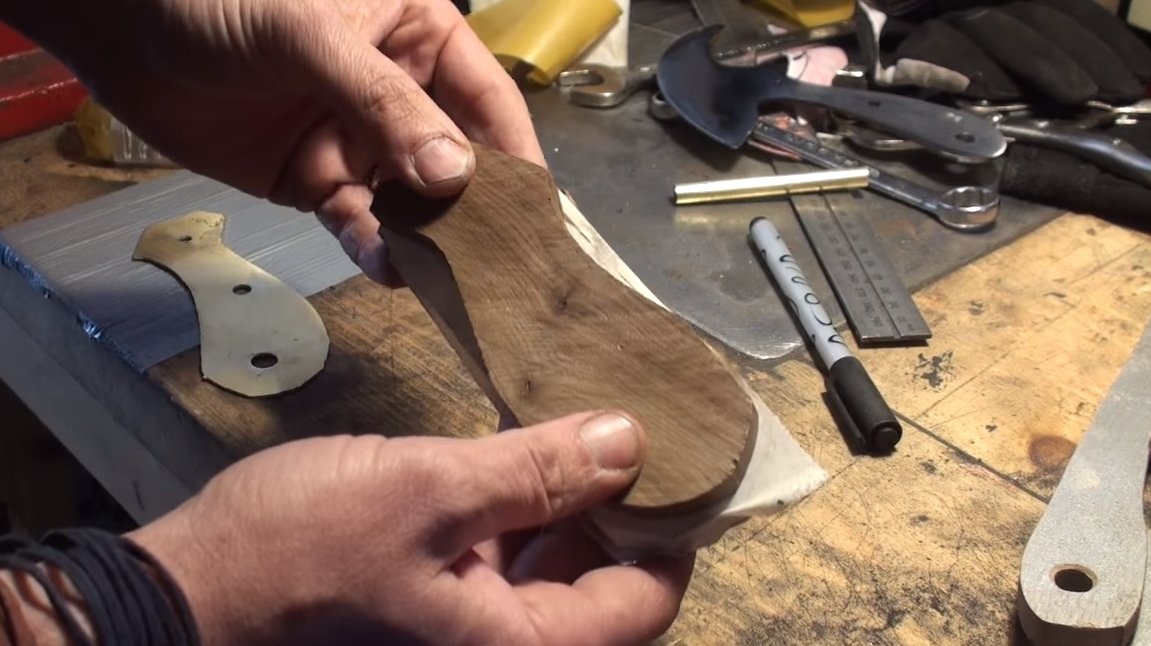
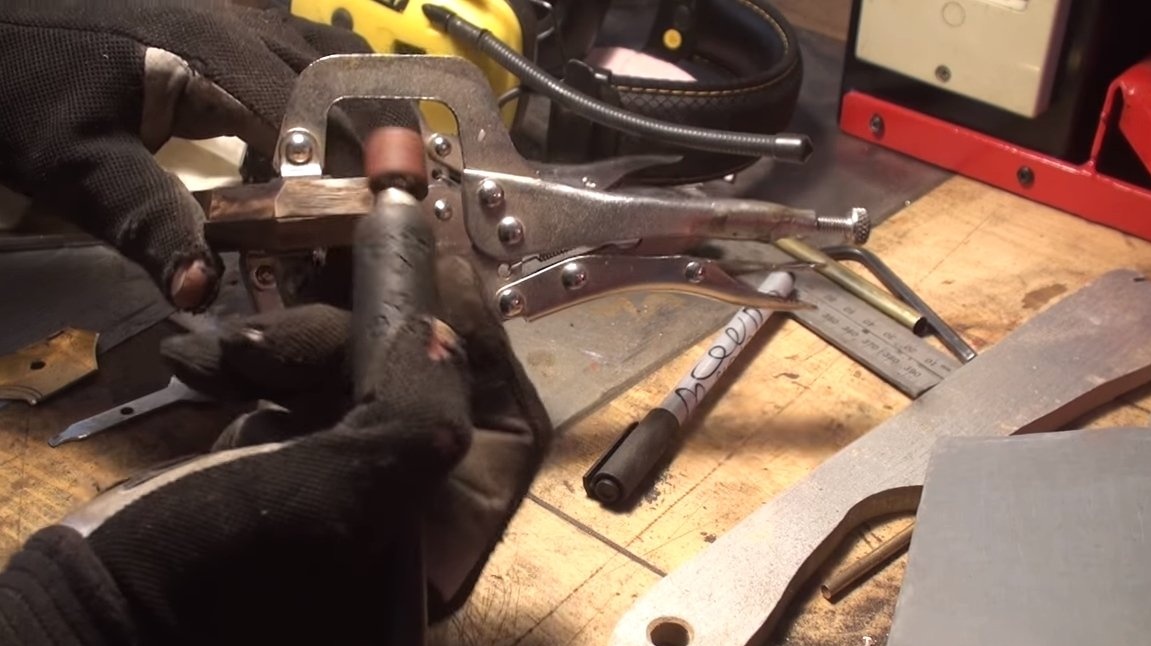
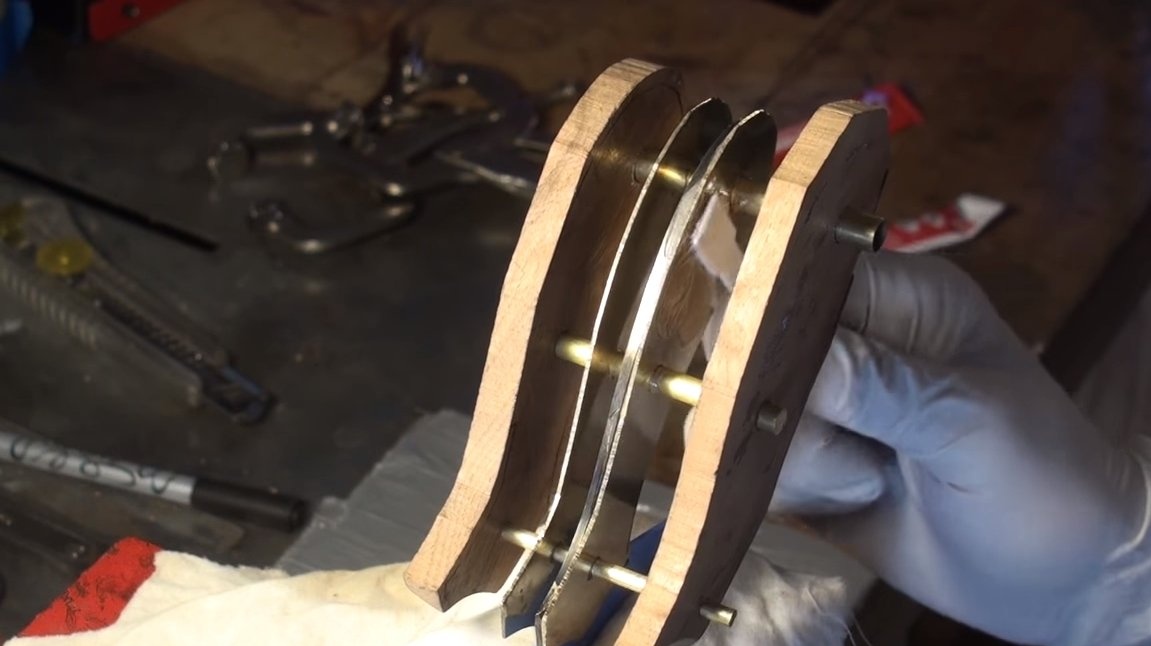
Step Six Handle blanks
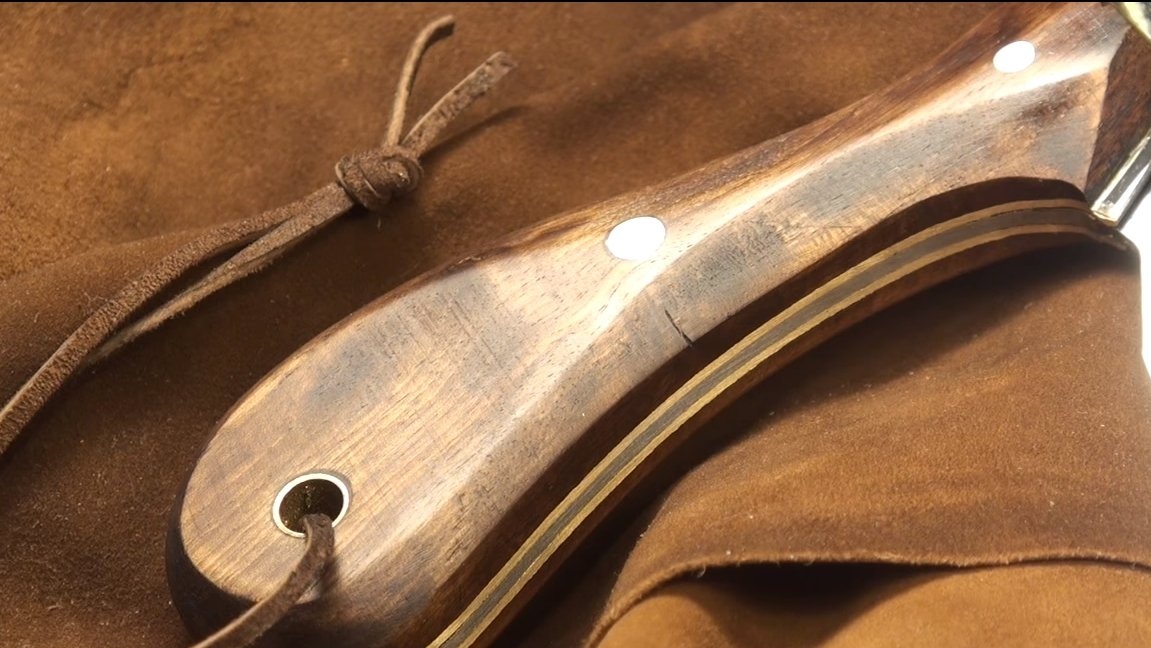
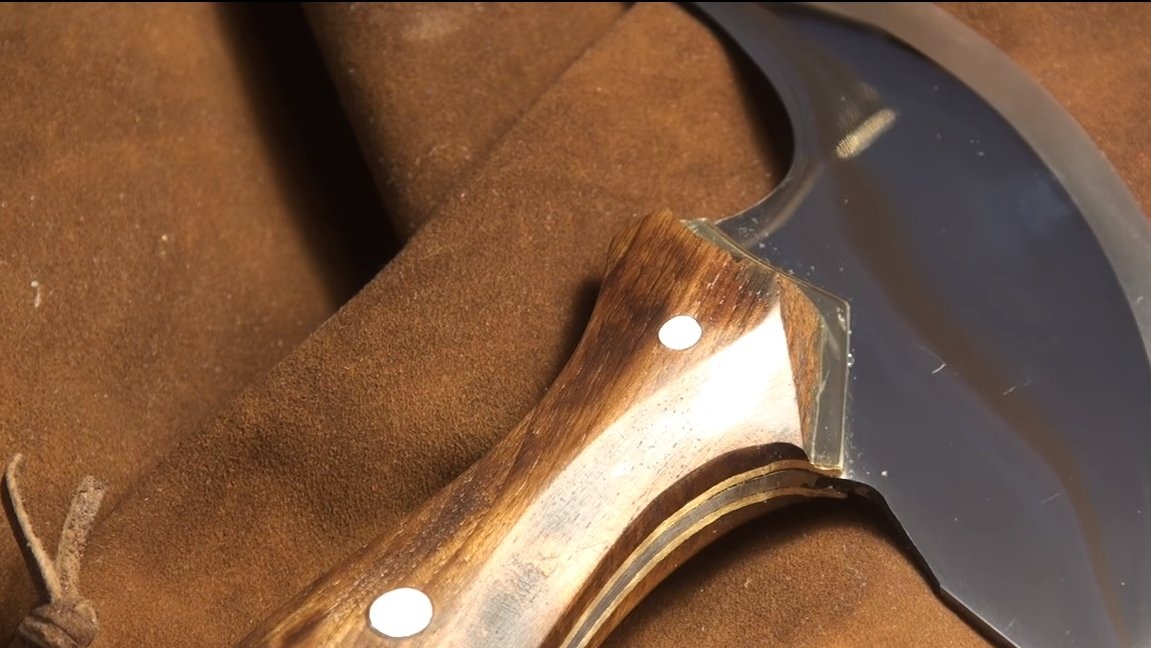
Next, we cut the blanks for pens, and we have a hand-drawn handle. The main plates are made of wood, and there are also inserts that the author cut out of sheet brass. To assemble the handle, we also need pins made of brass rods, and we also need a brass tube. We fit all the parts one to the other and drill holes for the pins.
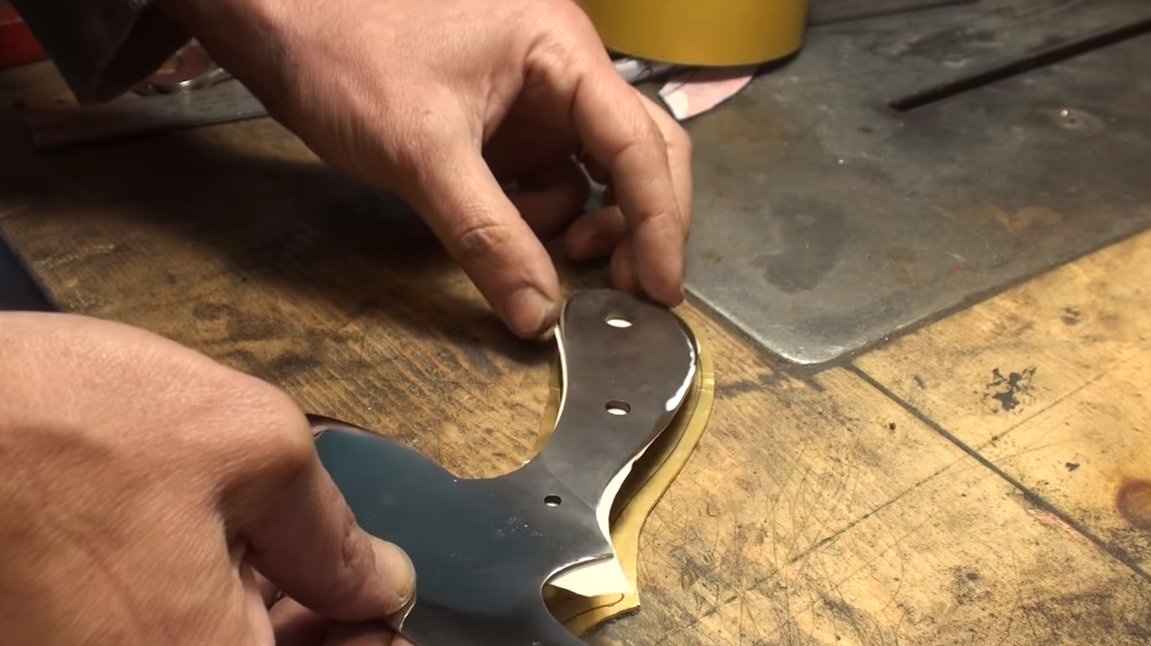

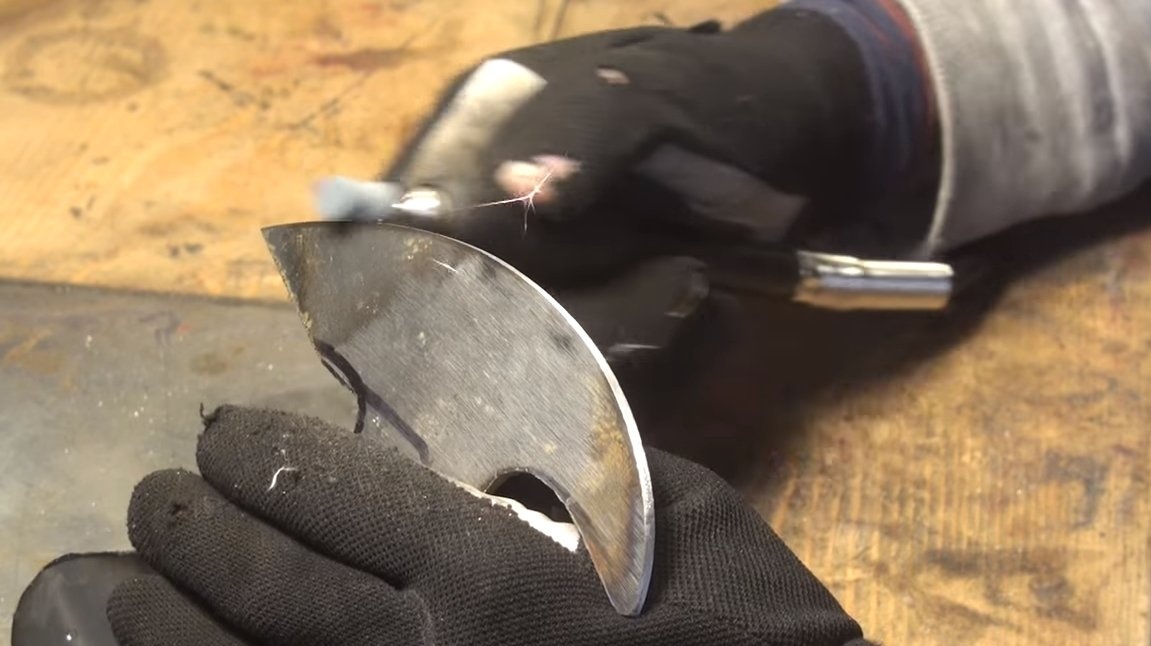
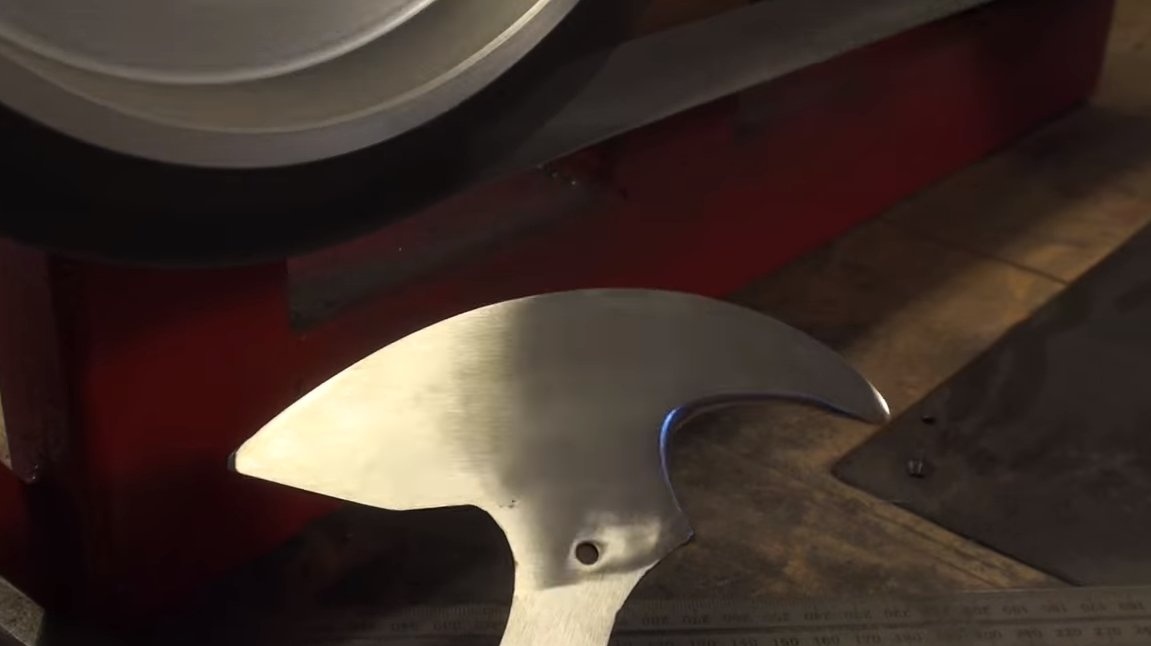
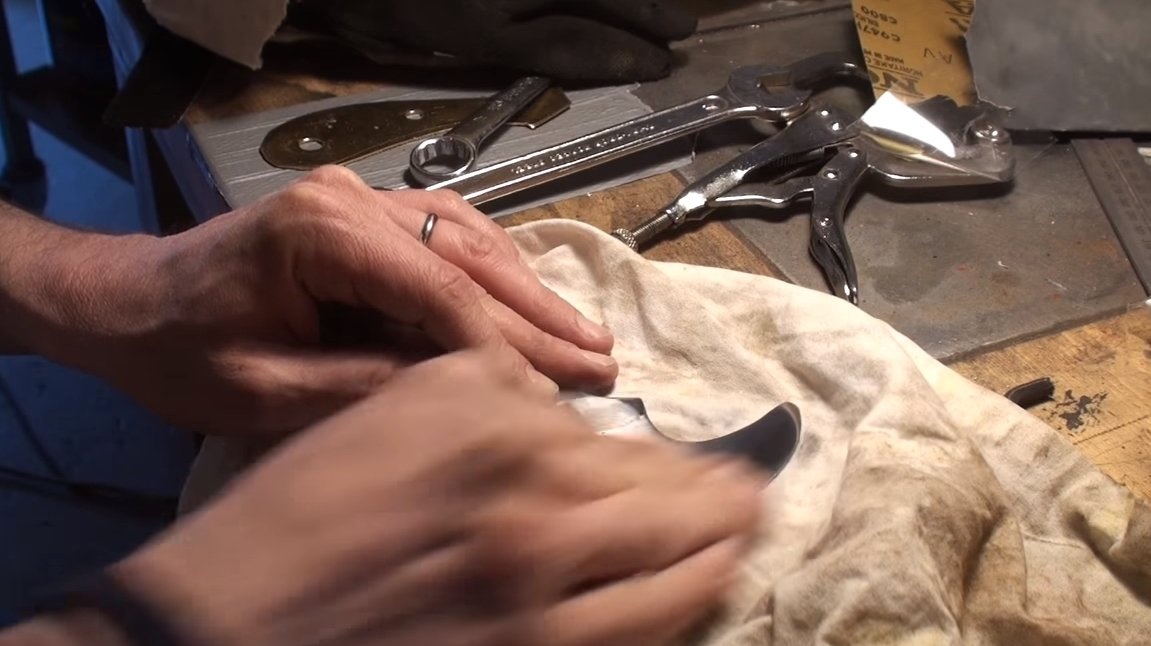
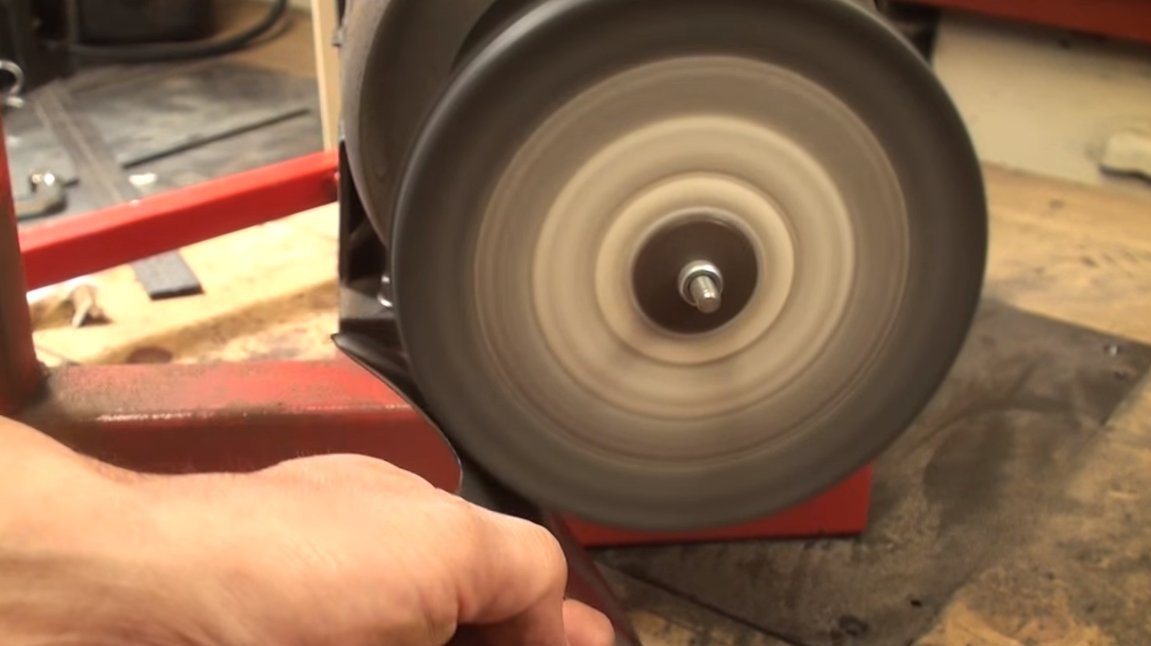
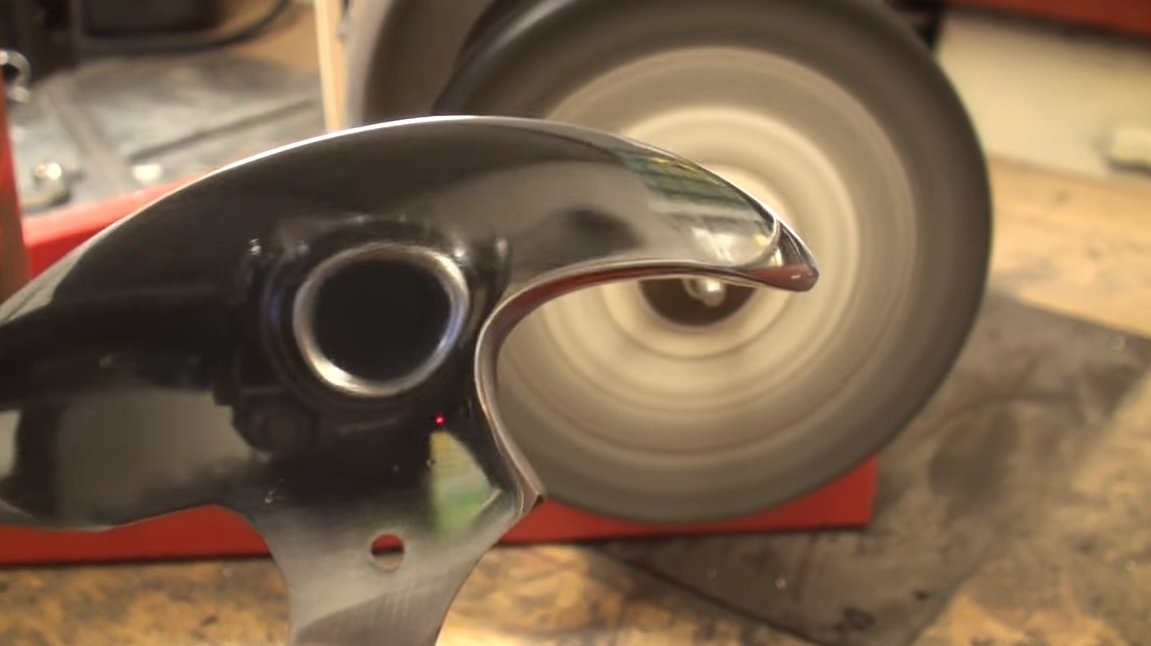
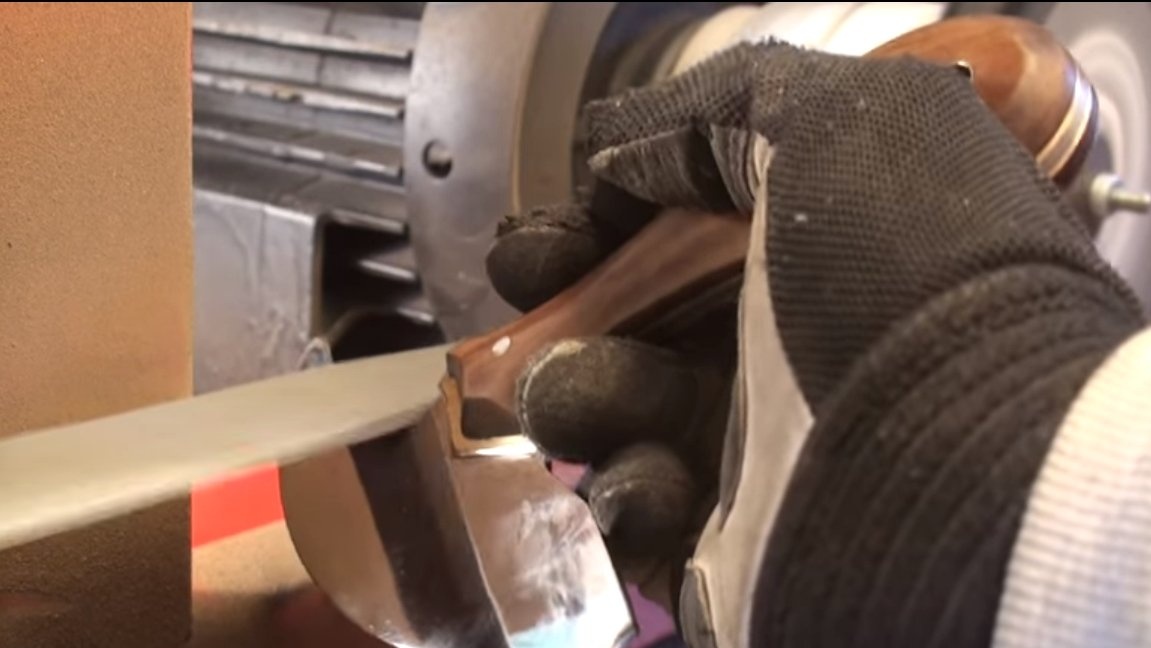
Seventh step. Modifying the blade
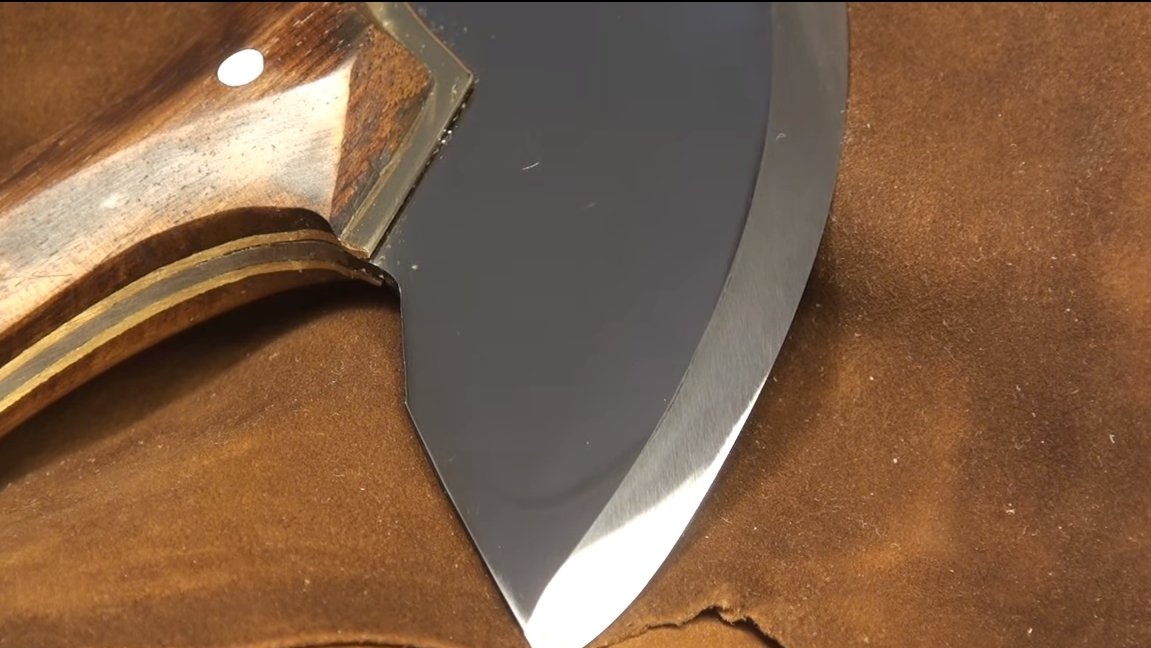
We will finalize our blade, we need to carefully grind steel to a mirror shine, fine sandpaper will help us with this. The author uses sandpaper with grit size of 3000 and 4000 units. And if you want the perfect shine, steel can be polished on a polishing machine. That's all, now the knife can be used as a mirror.
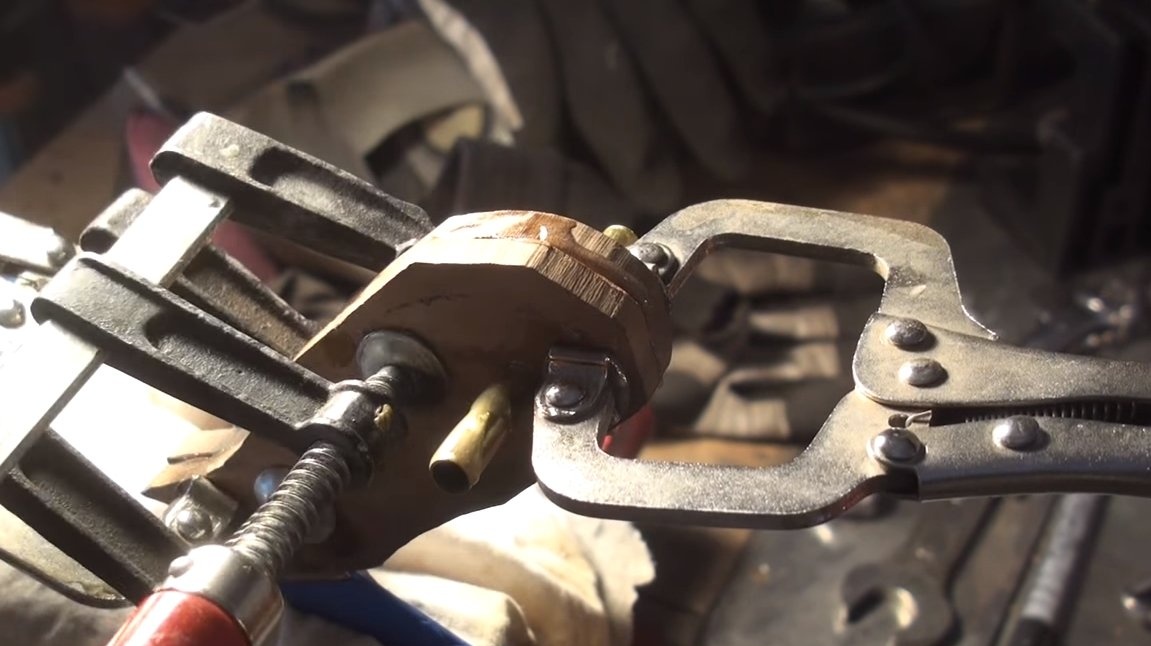
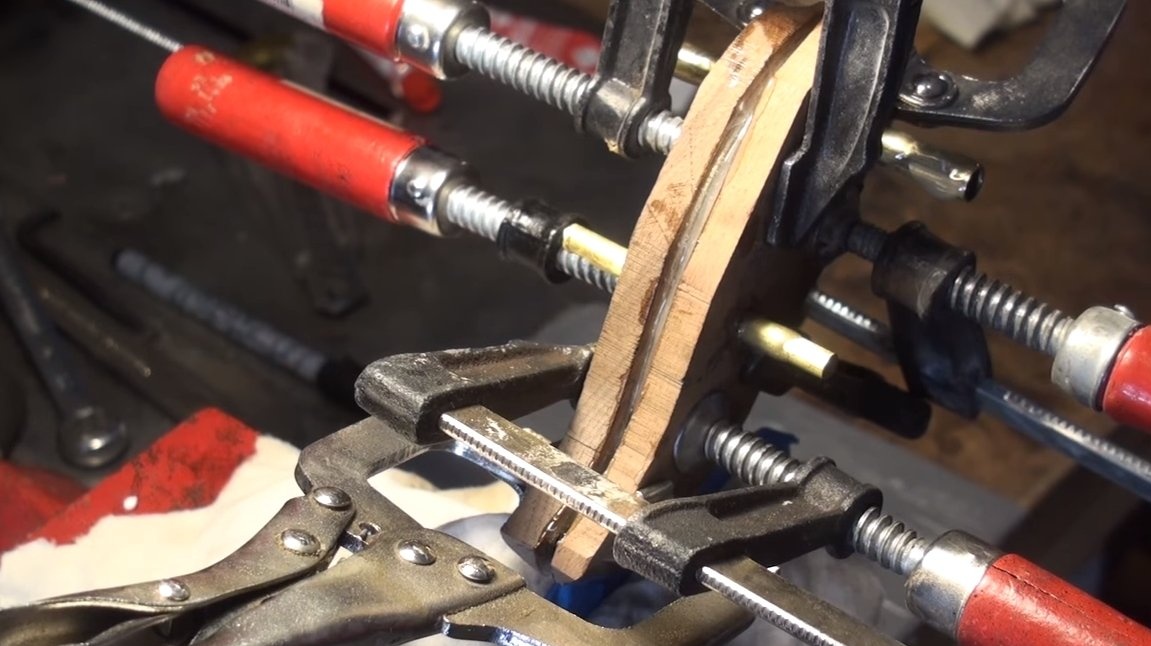
Step Eight. Glue the handle
We glue the handle, for such purposes we need epoxy glue. All parts are thoroughly degreased and glue applied, then the handle is pulled together with clamps. We are waiting for the glue to dry completely, the usual epoxy dries for about a day.
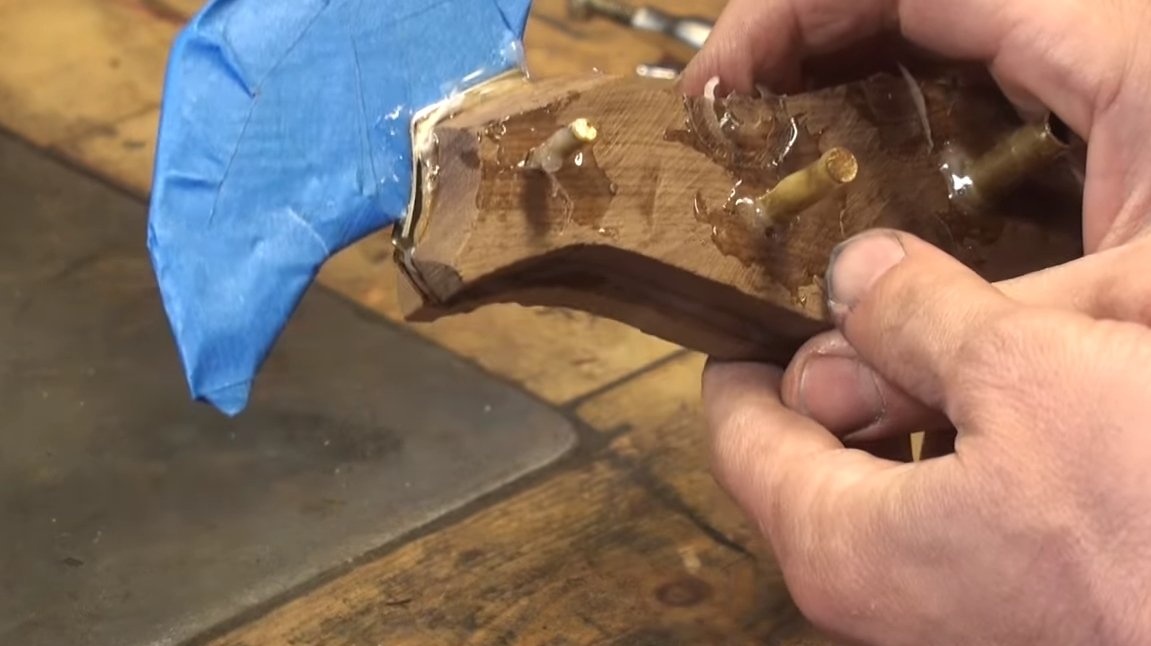
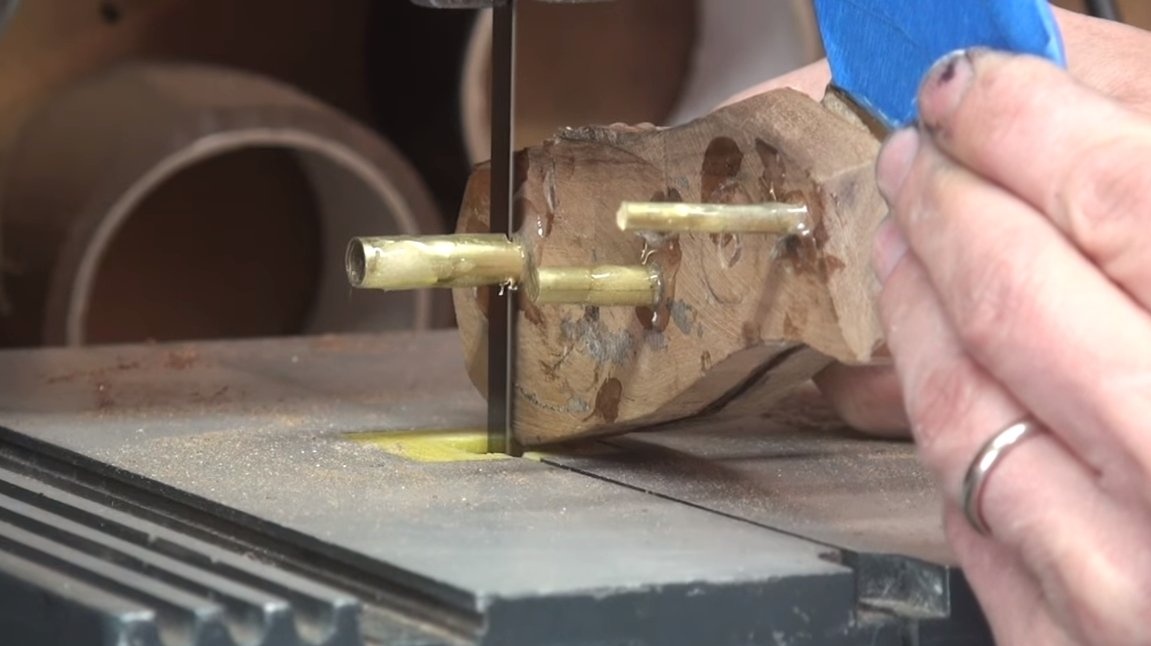
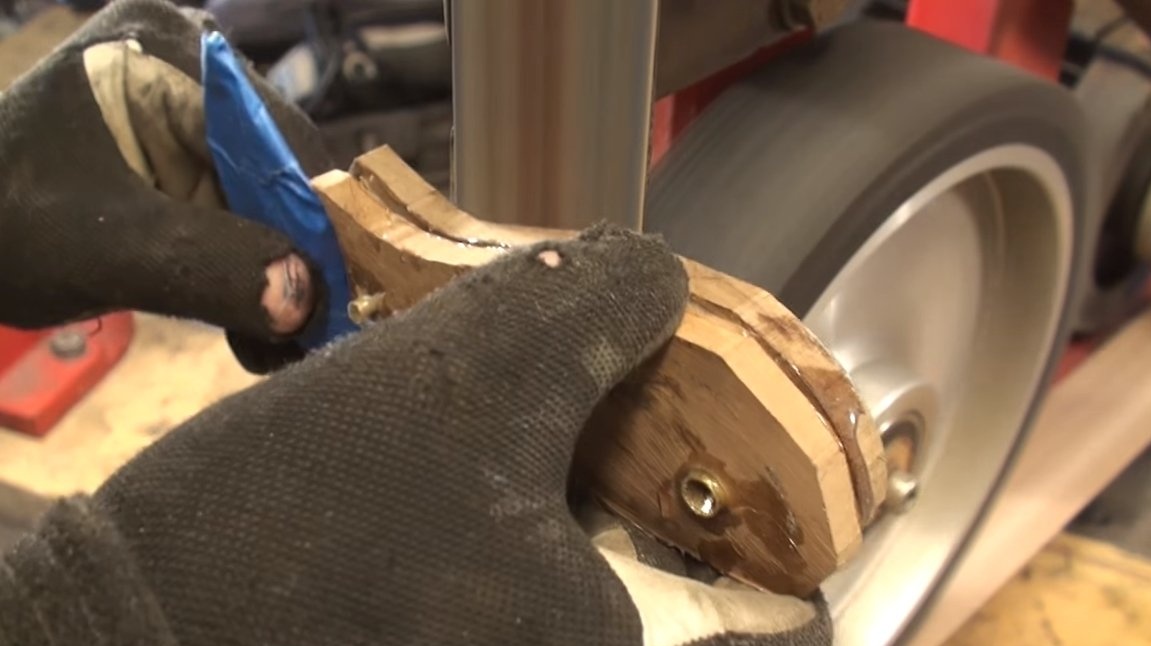
Step Nine. Modifying the handle
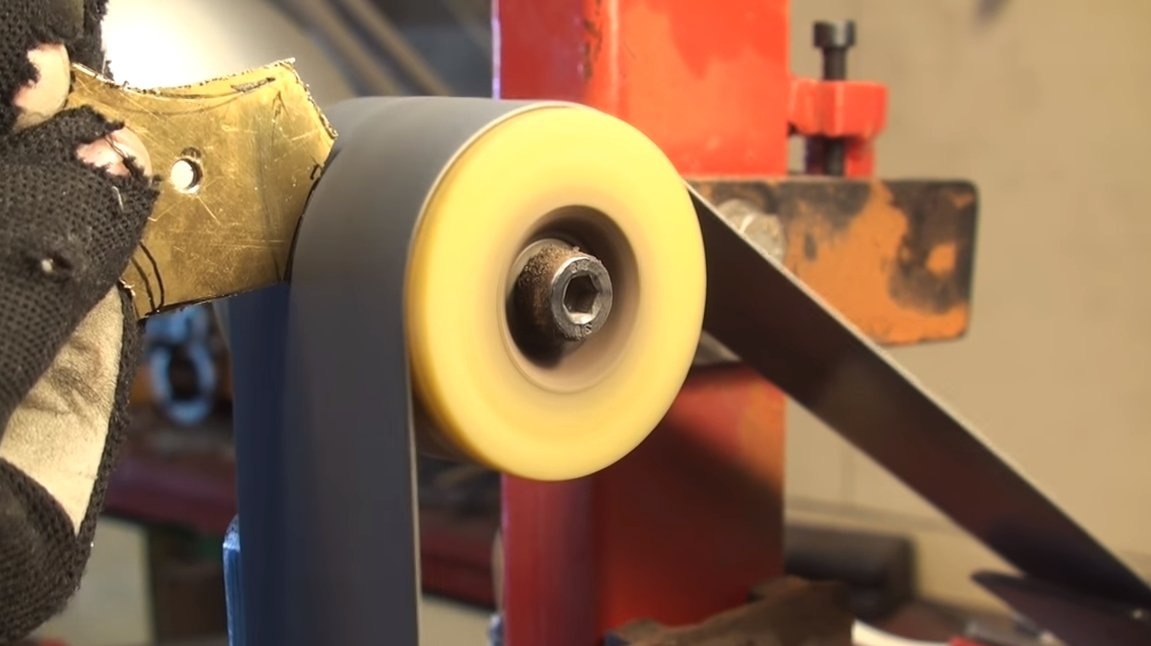
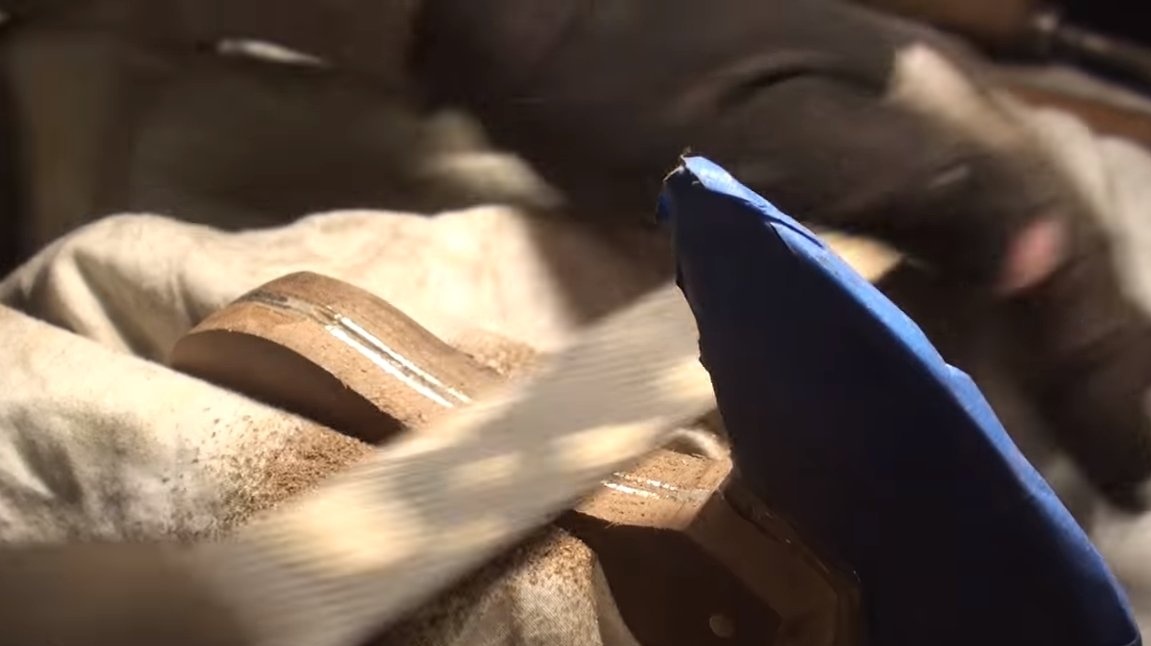
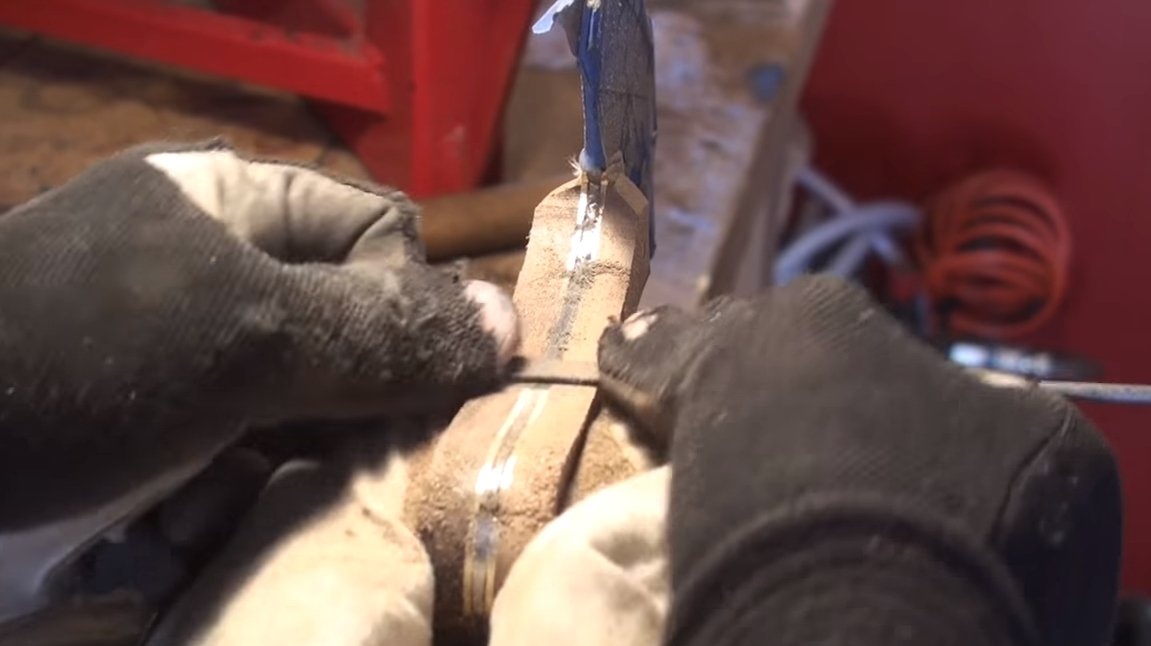
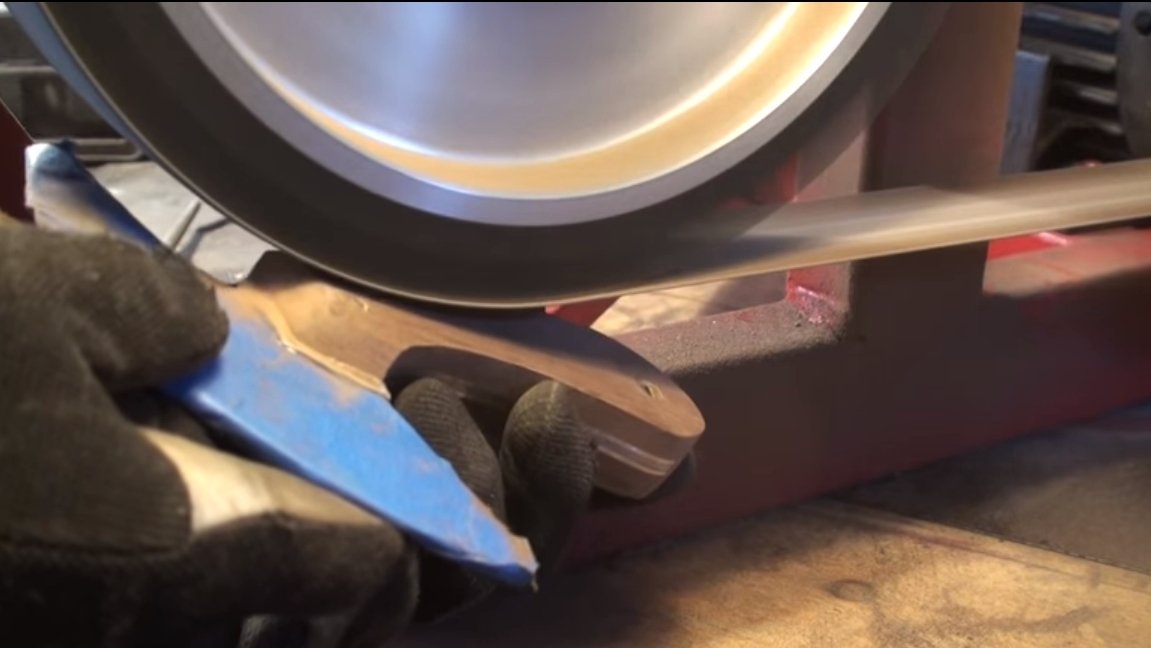
The glue has dried, now we cut off the excess pieces of the pins and proceed to grinding, we need to form the desired profile of the handle. For work, we use a belt sander. Where there is no way to crawl with a grinding belt, we work with files and a drill. Final processing is carried out manually with fine sandpaper. The better the wood is polished, the more expressive the drawing will be.
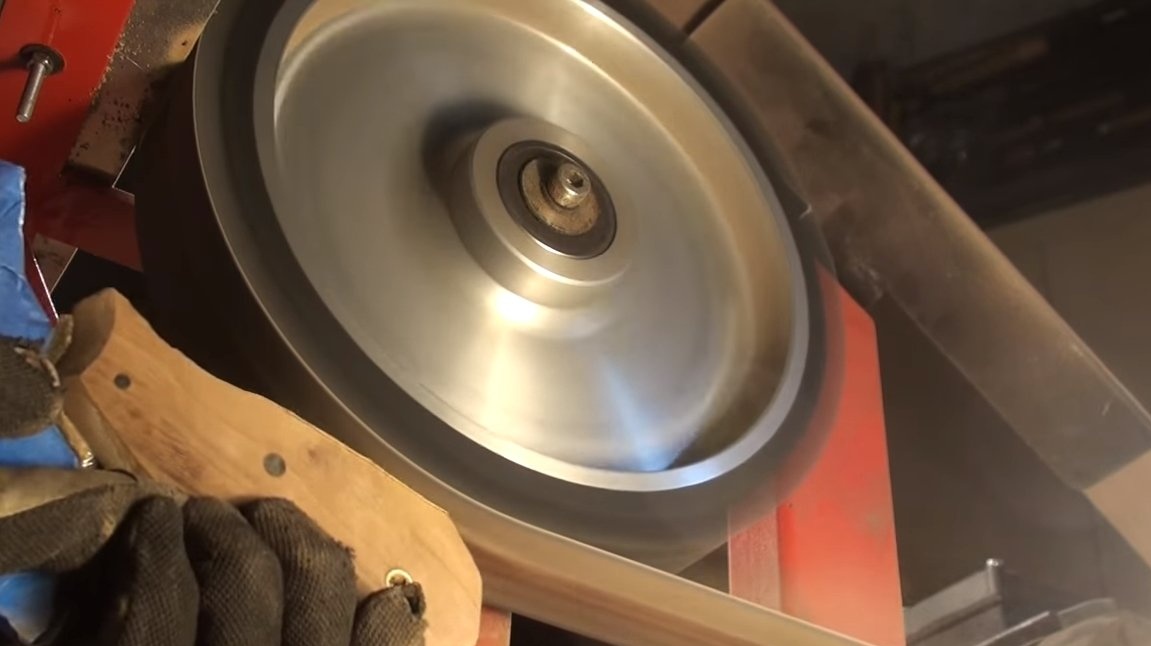

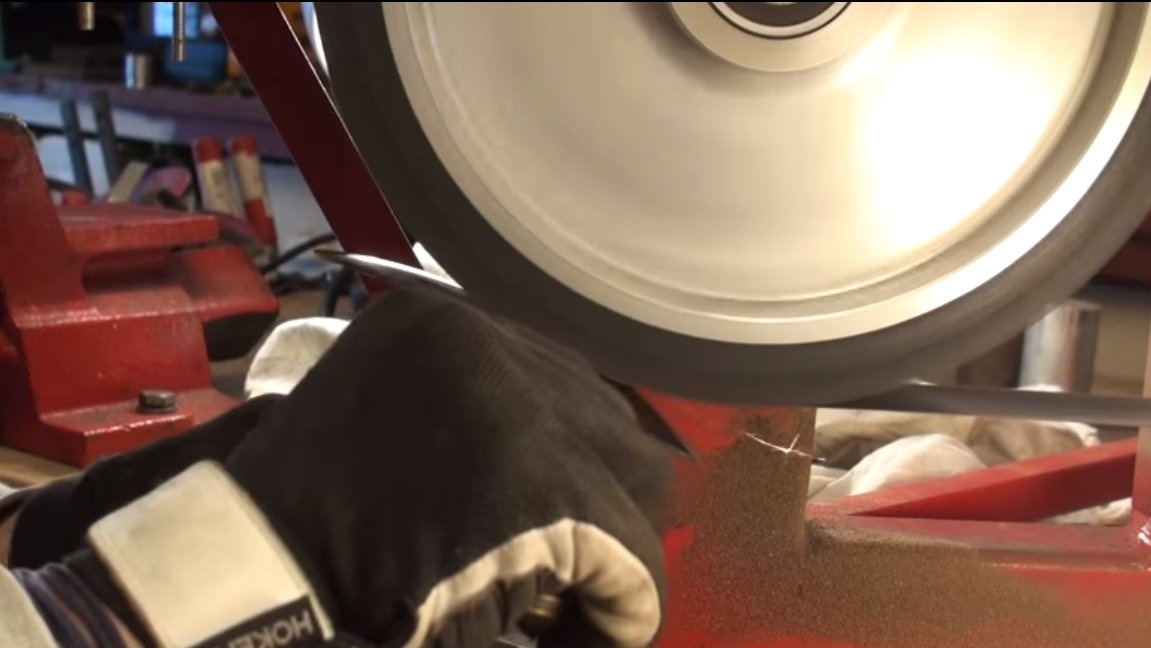
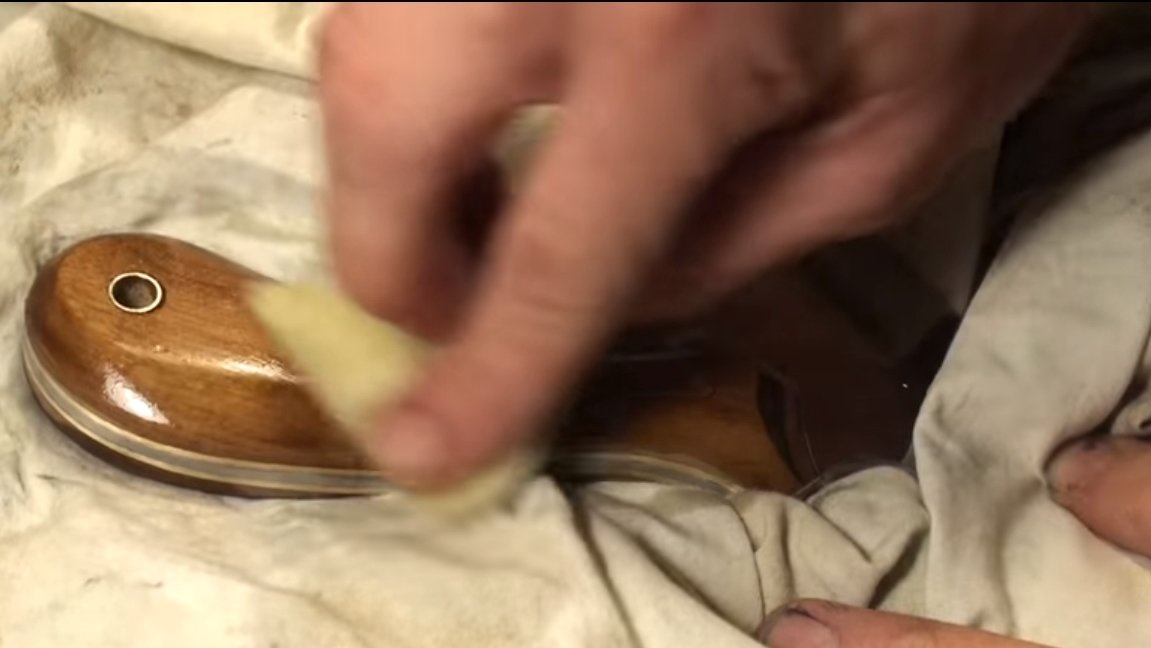
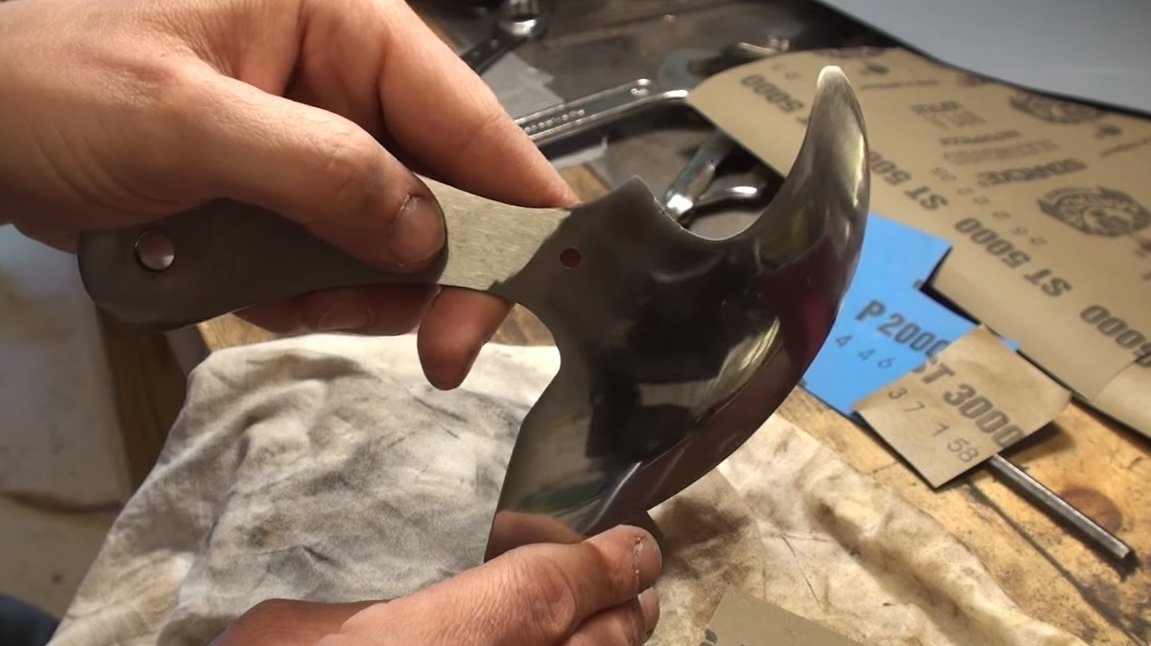
Step Ten Completion
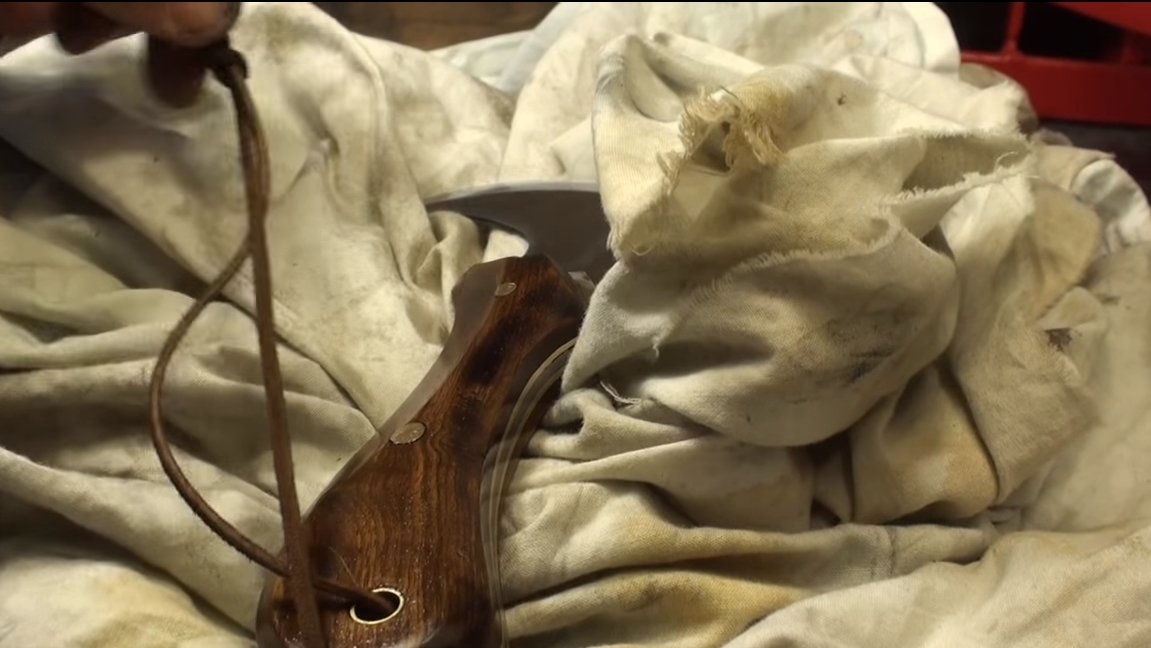
That's all, the knife is ready, it remains to soak the handle with oil, now it looks delicious. We also sharpen the knife, it can be brought to the state of the blade with grindstones. The author just sharpened the knife on a belt sander, and the knife turned out to be quite sharp.
The homemade product looks great and cuts the skin perfectly, which was required to prove. On this project can be considered successfully completed, I hope you liked the homemade work, and you found useful thoughts for yourself. Good luck and creative inspiration, if you decide to repeat this. Do not forget to share your ideas and homemade things with us!