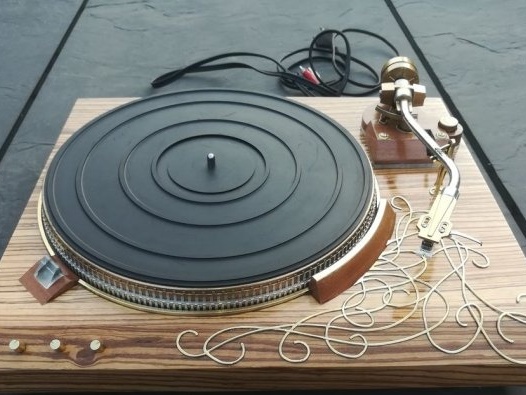
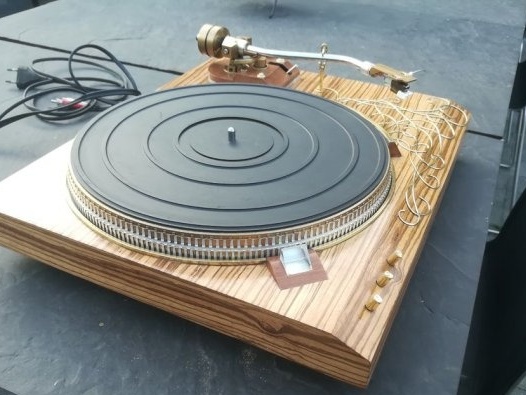
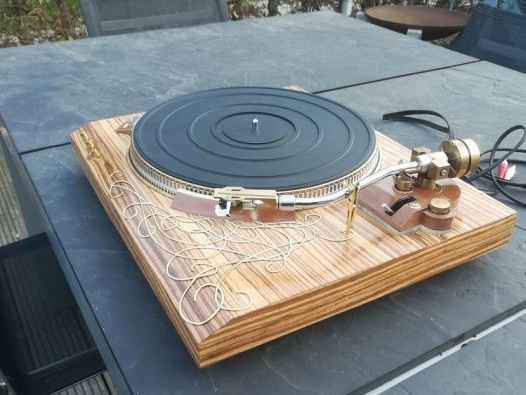
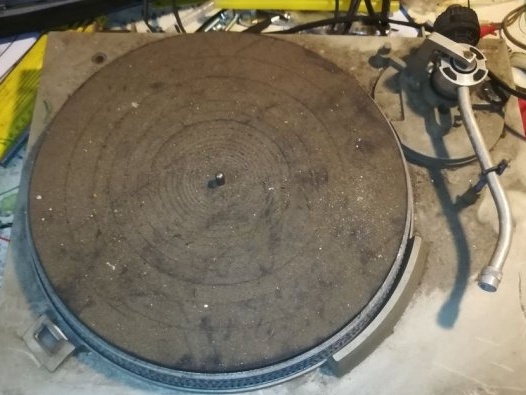
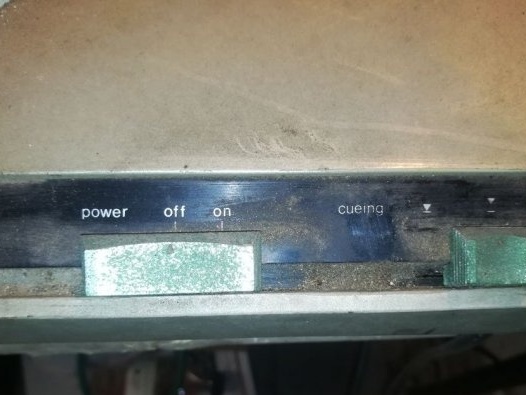
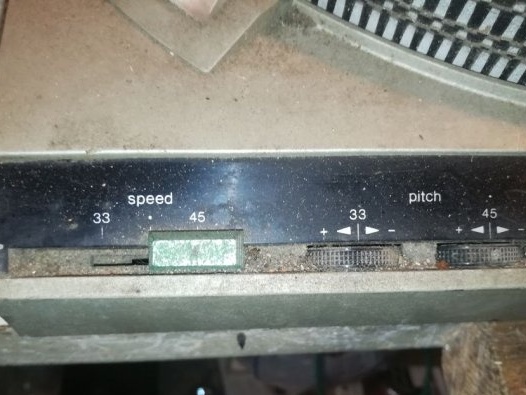
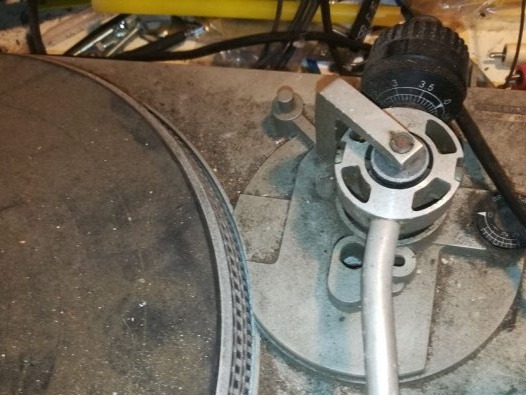
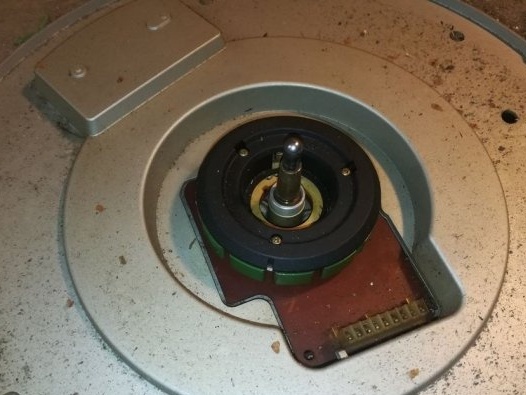
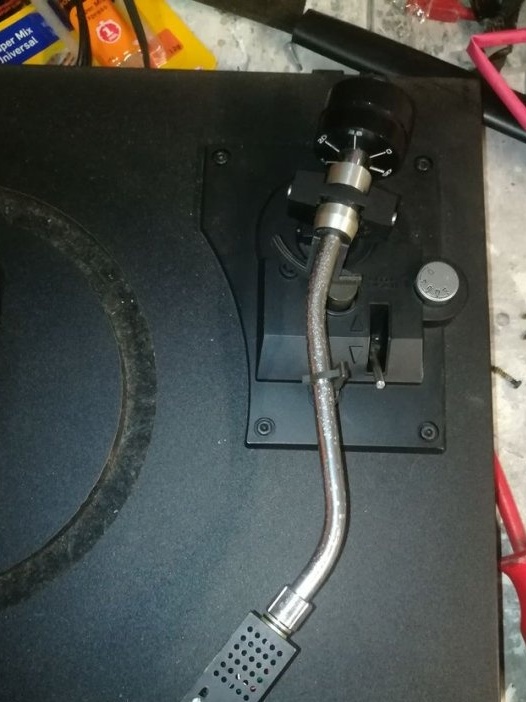
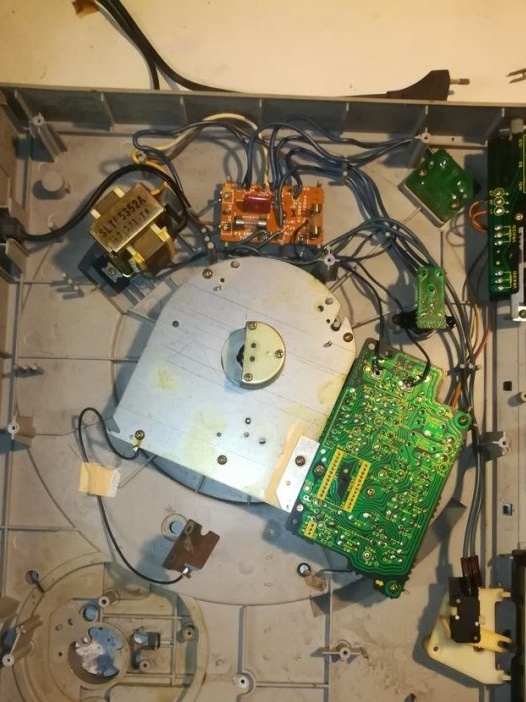
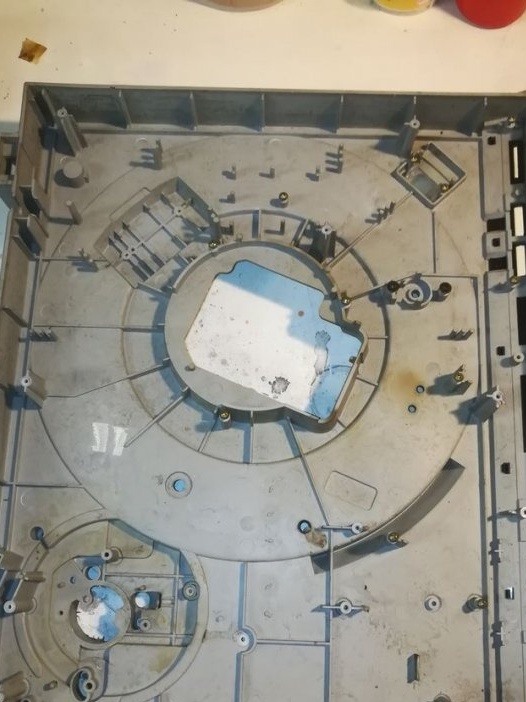
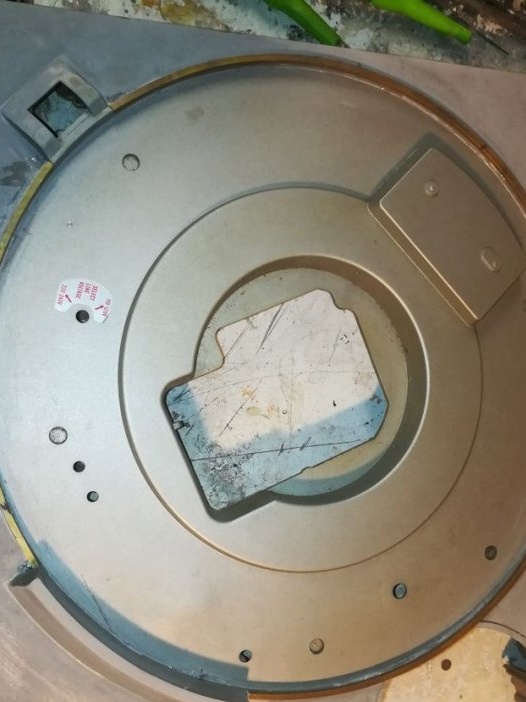
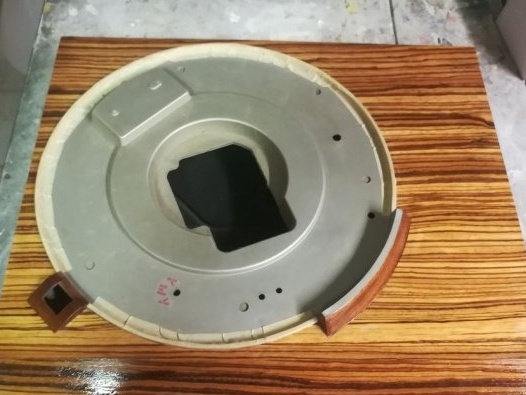
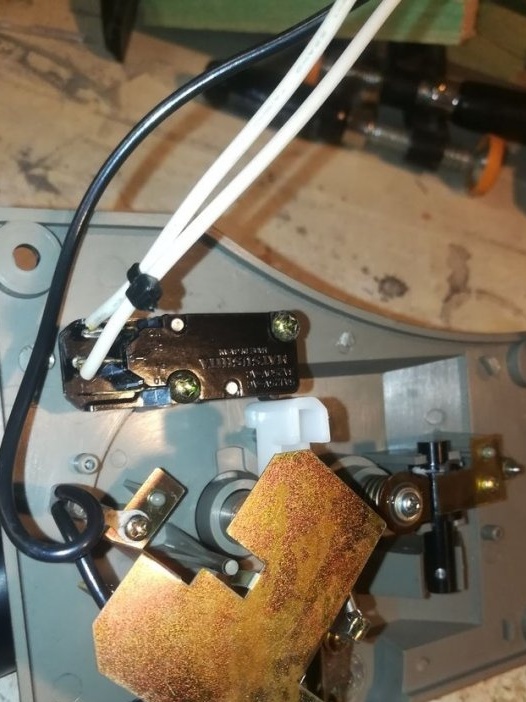
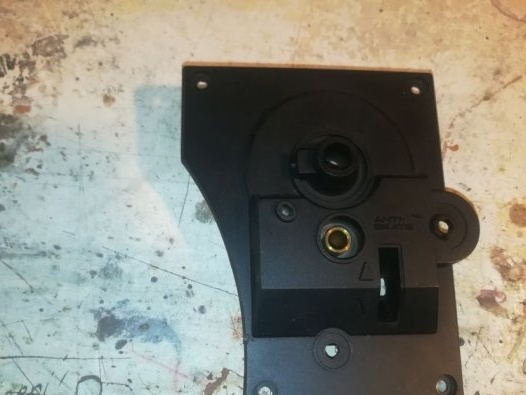
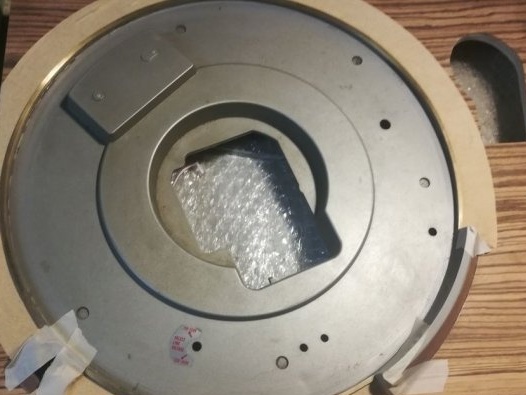
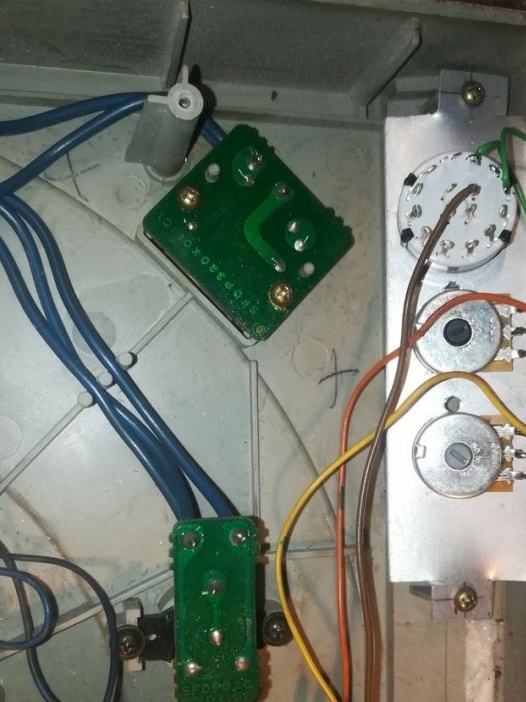
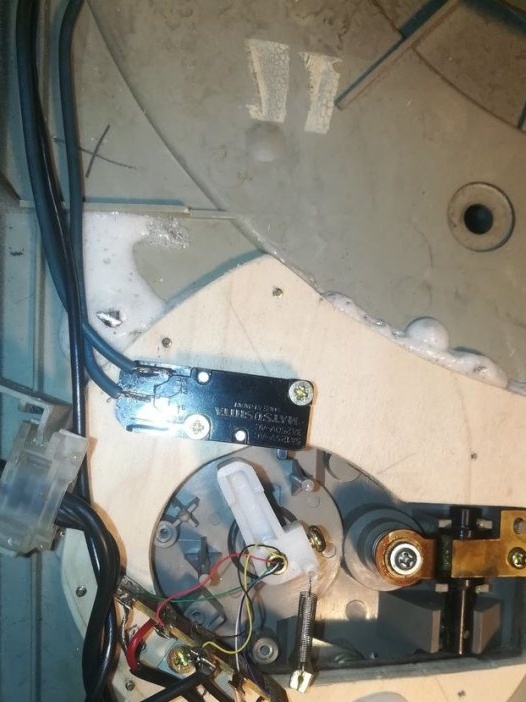
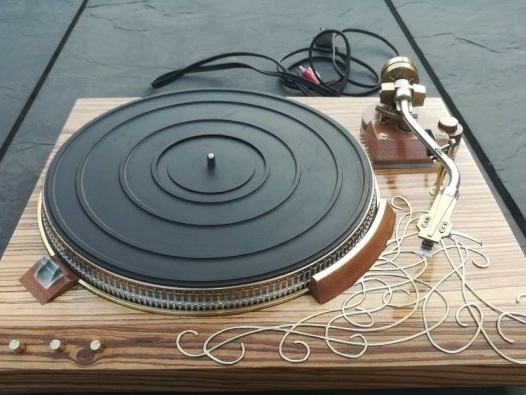
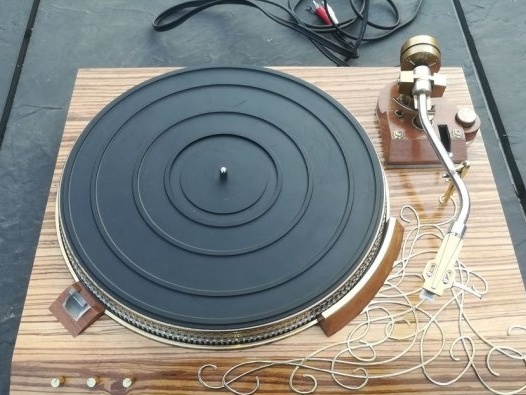
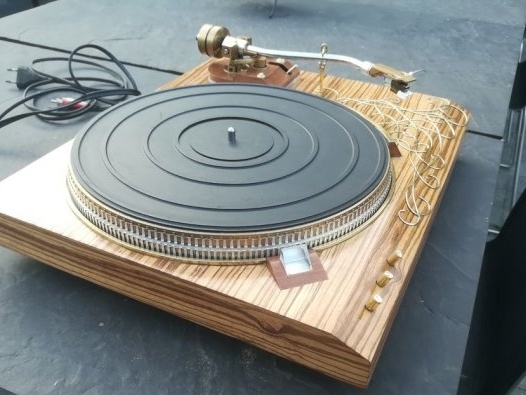
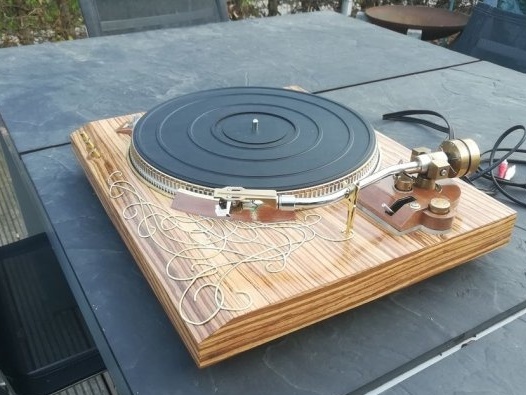
In the attic of the house, the master found an old record player, which had been lying there for about 20 years. Many parts and connections were oxidized and damaged, but when turned on, the engine was running and the drive was spinning. Then the master decided to try to restore the player using parts from other devices.
Tools and materials:
-Player;
-Dremel with nozzles;
-Sandpaper;
-Compass;
-Screwdriver;
-Pliers;
- Clamps;
- Brass profile;
-Gas-burner;
-Boards;
-Plywood;
-Fasteners;
-Glue;
- Hacksaw for metal;
-Veneer;
-Knife;
-Degreaser;
- Paint tape;
- Electric jigsaw;
-Drill;
-Cardboard;
-Plastic;
Water-based varnish;
-Brush;
-Acrylic;
-Aluminum plate;
- Potentiometer 22K - 2 pcs;
-3 position switch;
-Nadfiles;
- Brass plate;
-Double sided tape;
-Drill;
-Polishing disc;
-Polishing paste;
-Aerosol spray can with paint;
-Silver solder;
- Brass tube;
- Iron rod with a pointed end;
-Tweezers;
- Borax;
-Pipe cutter;
-Drilling machine;
-Soldering iron;
-Wire;
-Crown on wood;
Step One: Disassembly
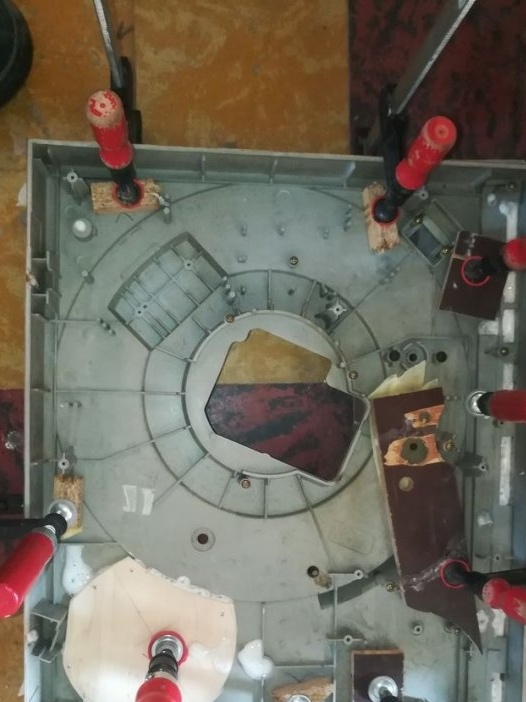
First, the master disassembles the restored player, and the donor players.
Step Two: Hole
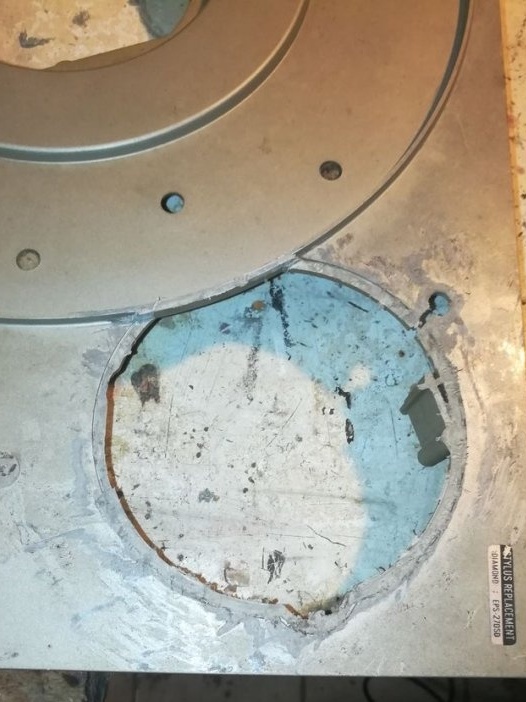
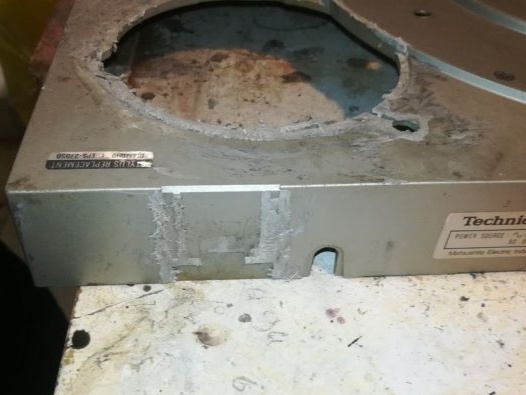
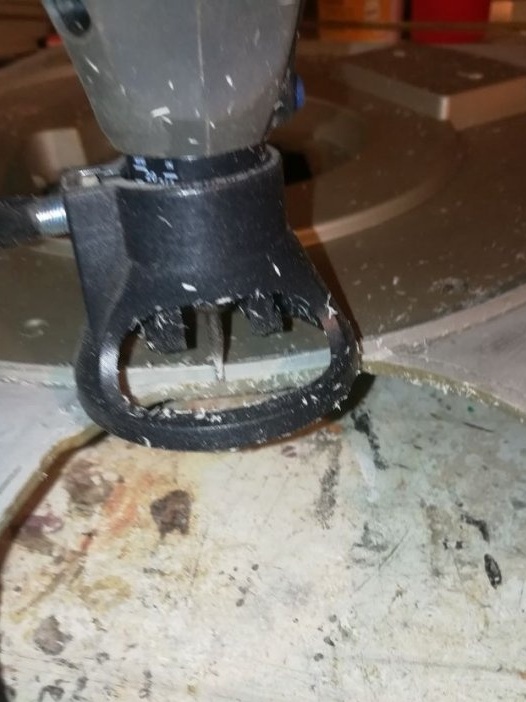
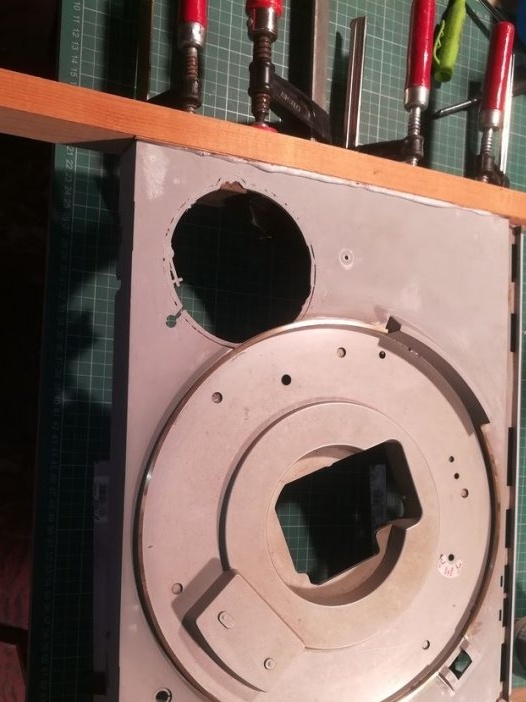
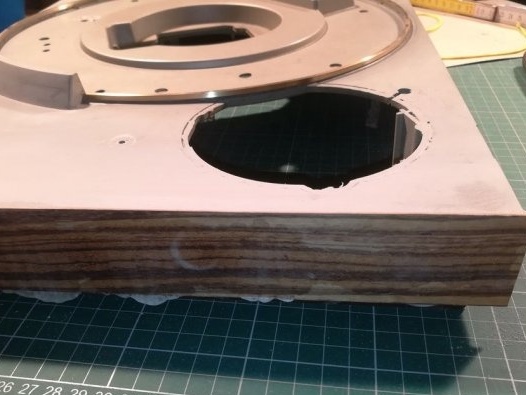
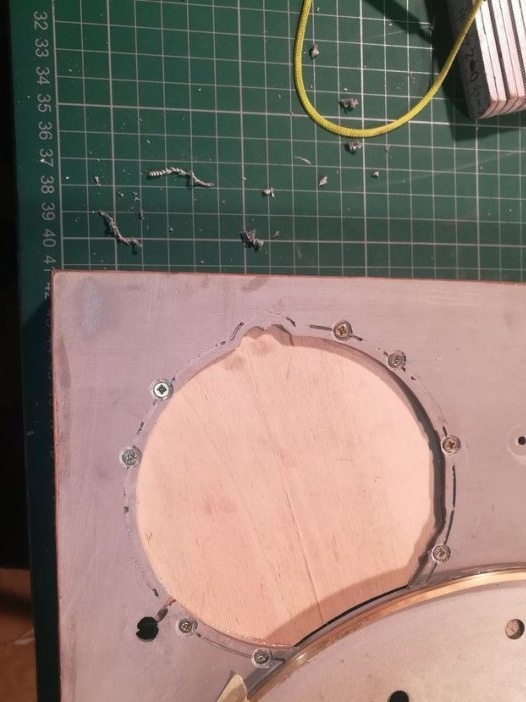
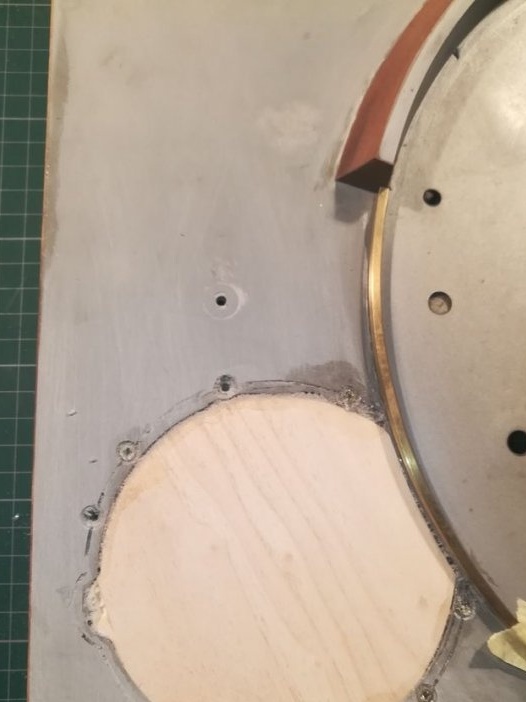
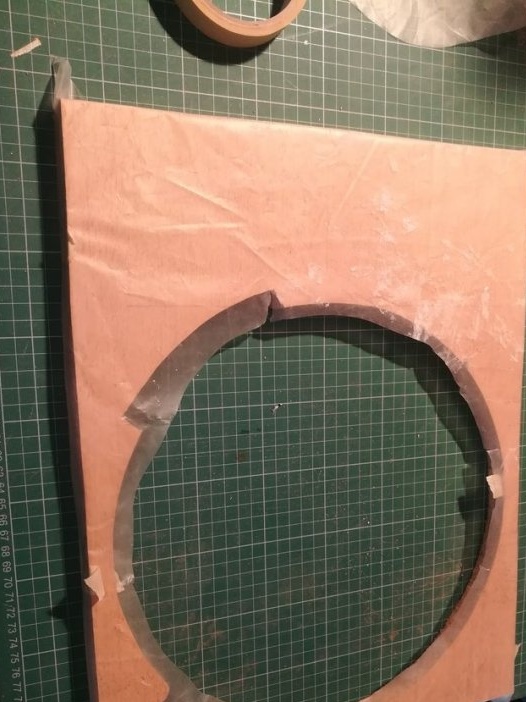
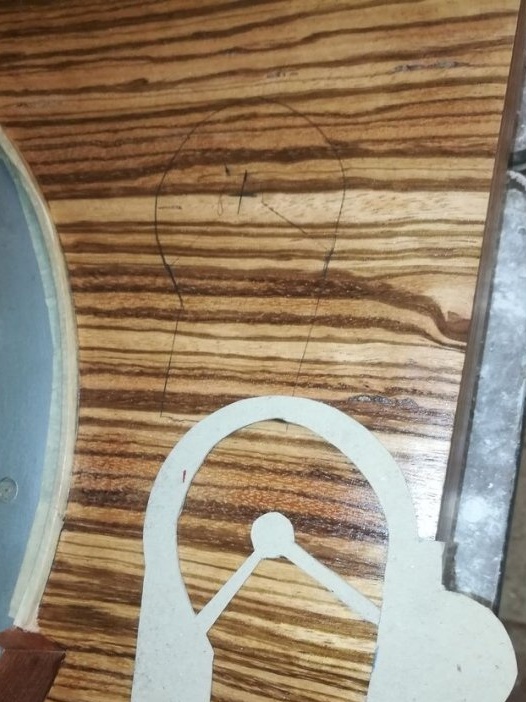
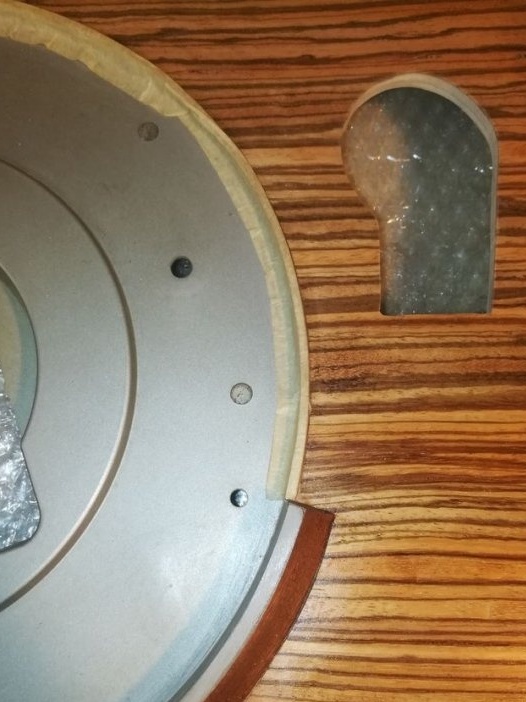
A new tonearm will be installed on the player. The old master removes and cuts a hole for the new one.
Step Three: Brass Profile
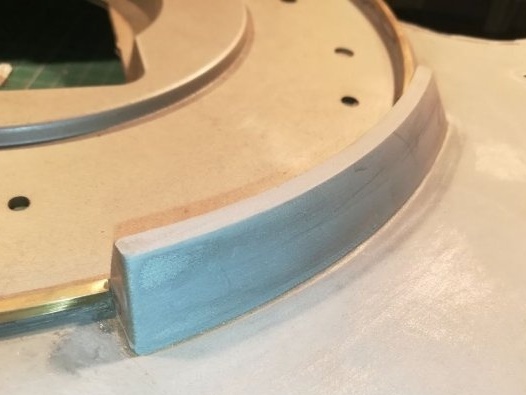
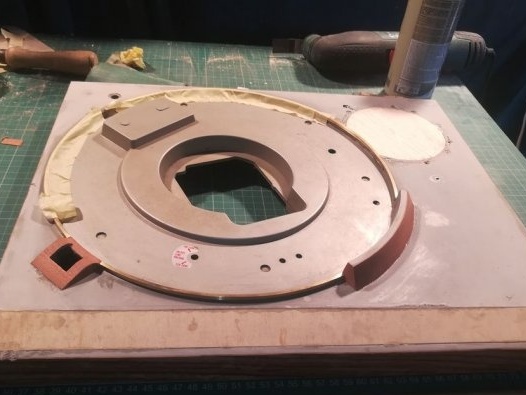
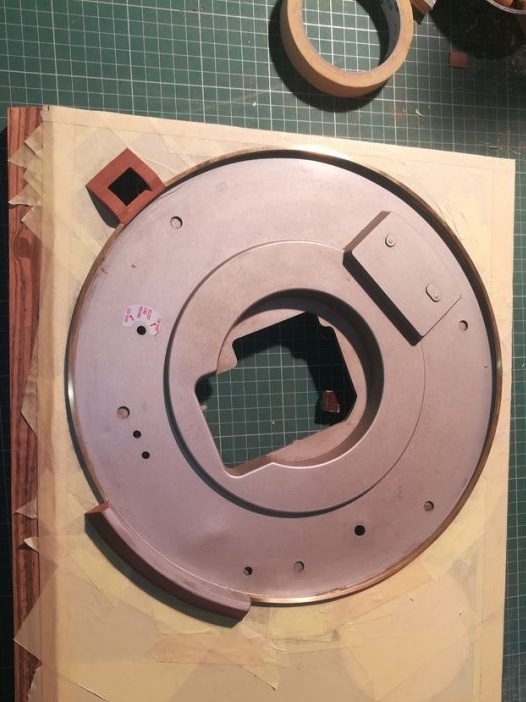
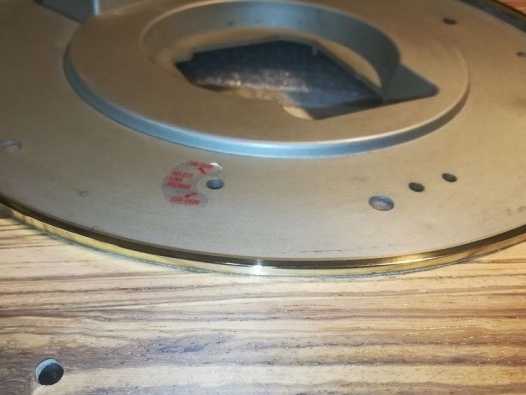
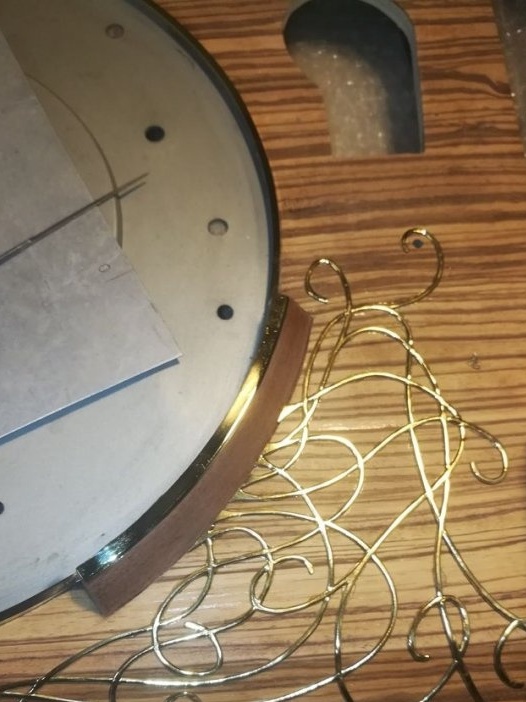
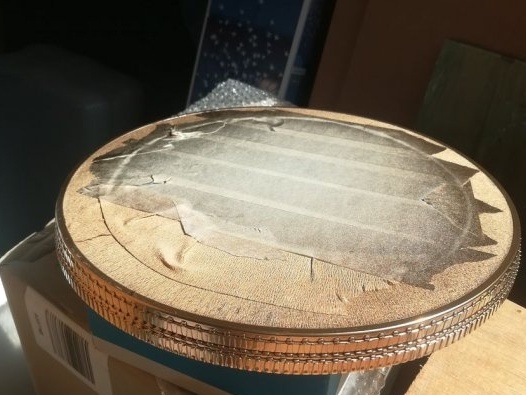
In the new design, the master decided to use brass parts. Heats up a brass profile and bends it with a ring. Glues a ring around the disc of the player.
Step Four: Veneer
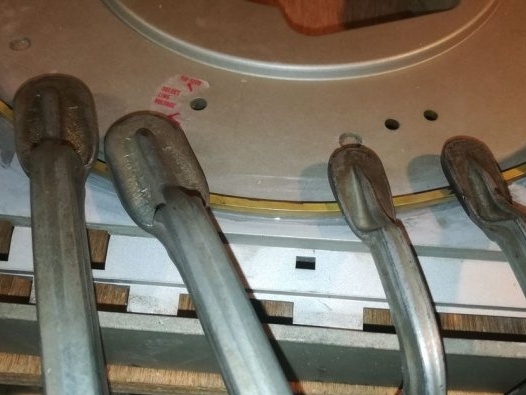
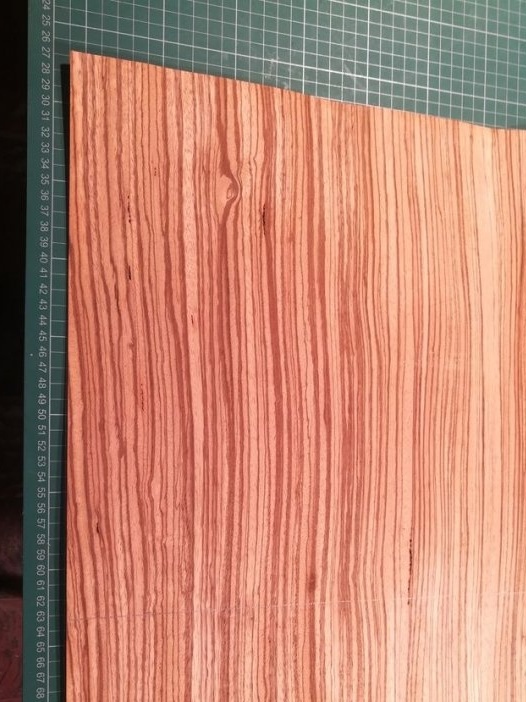
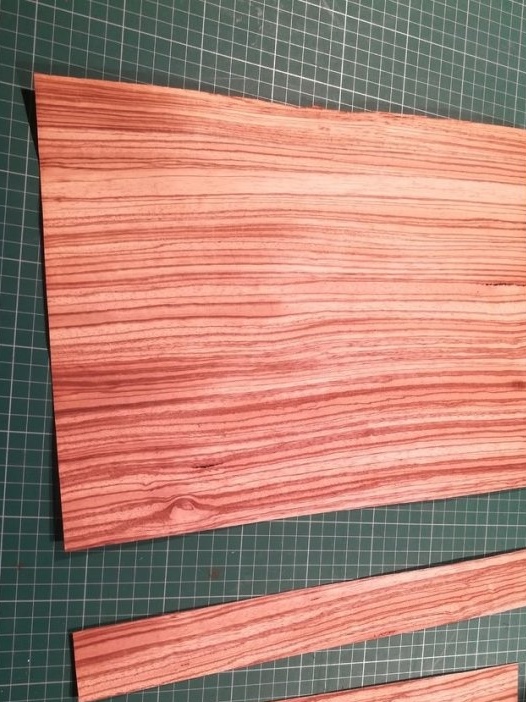
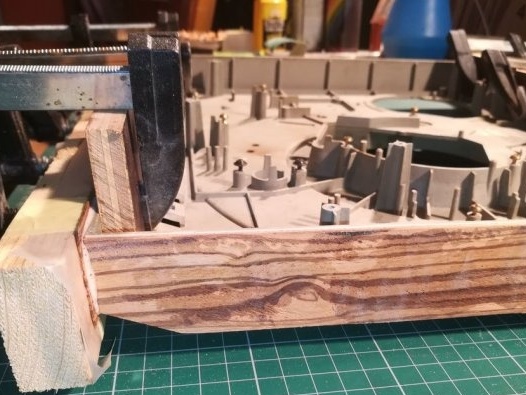
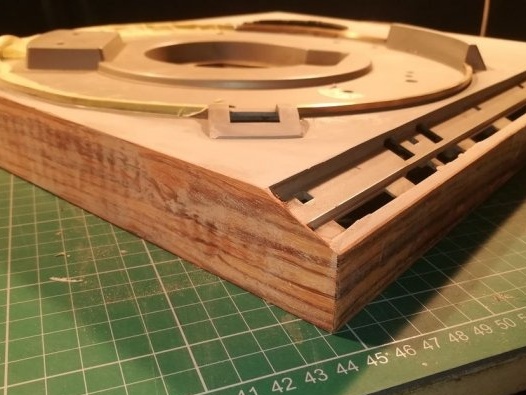
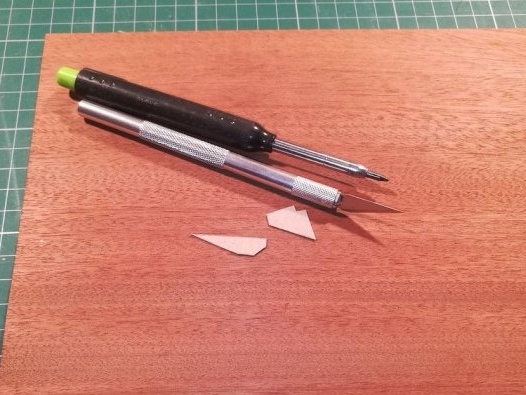
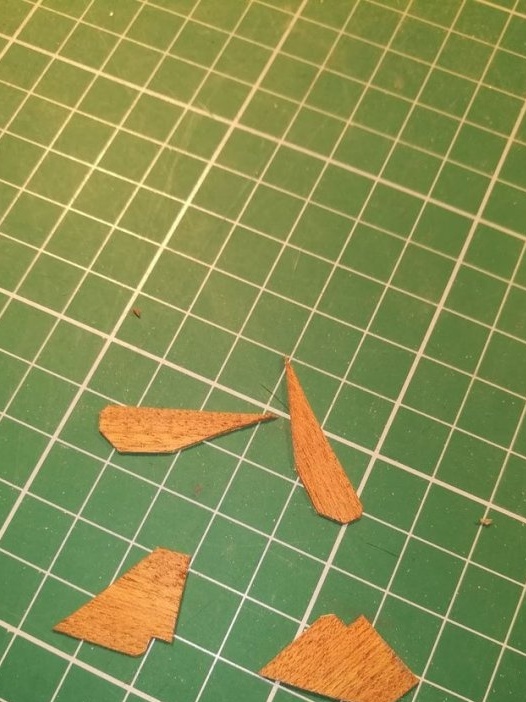
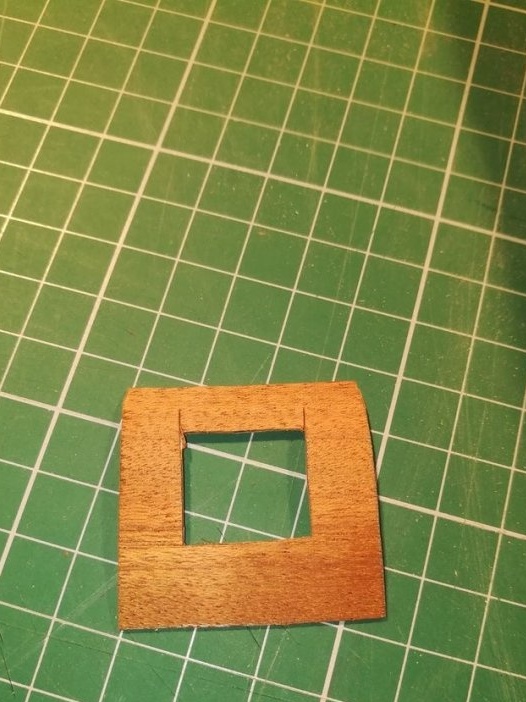
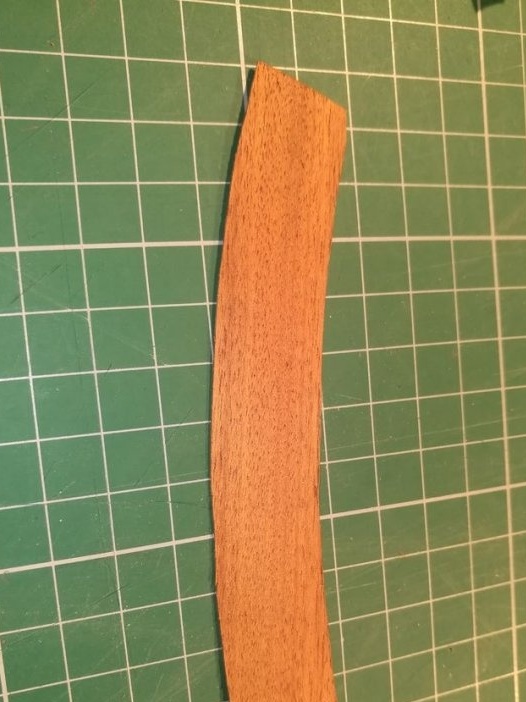
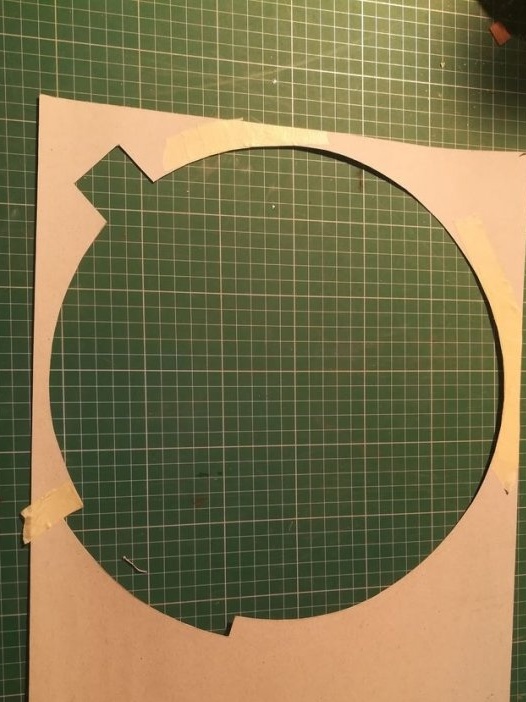
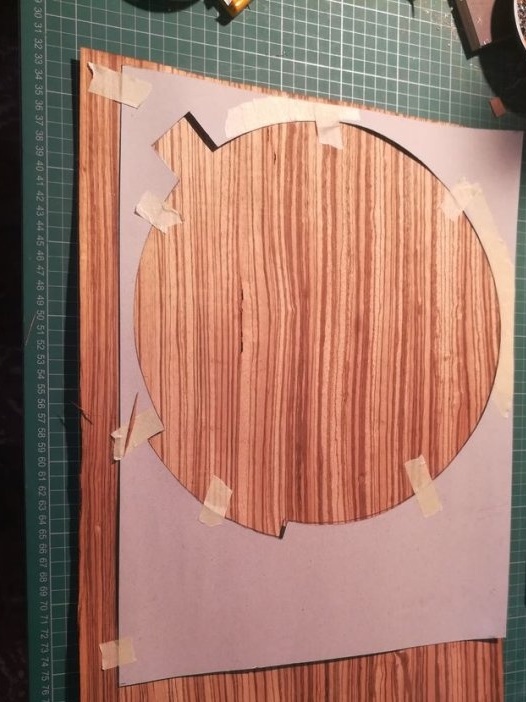
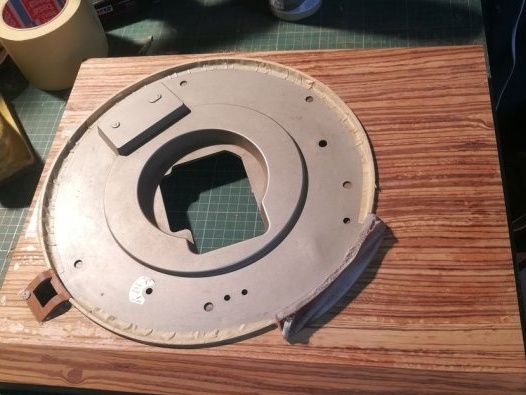
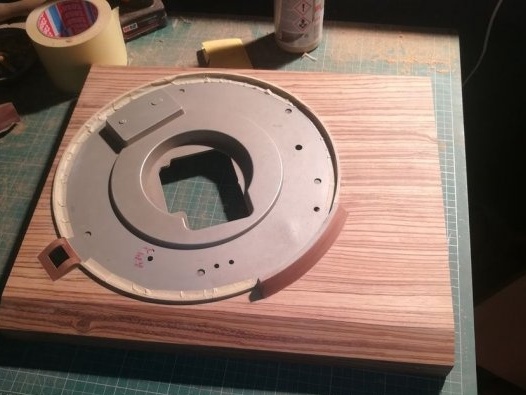
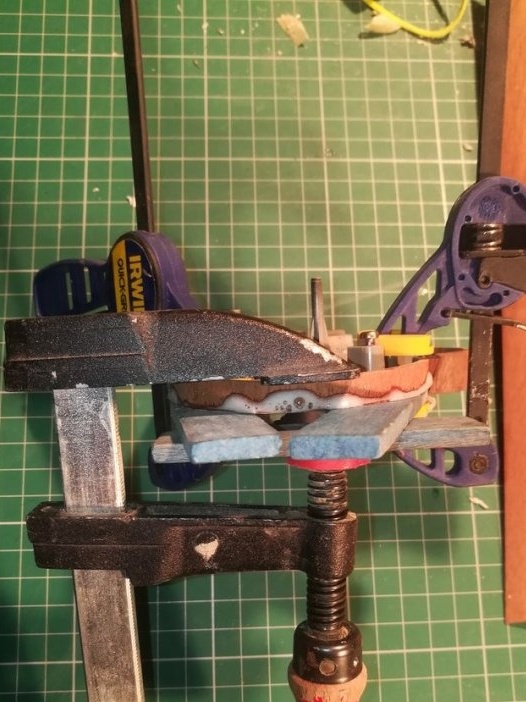
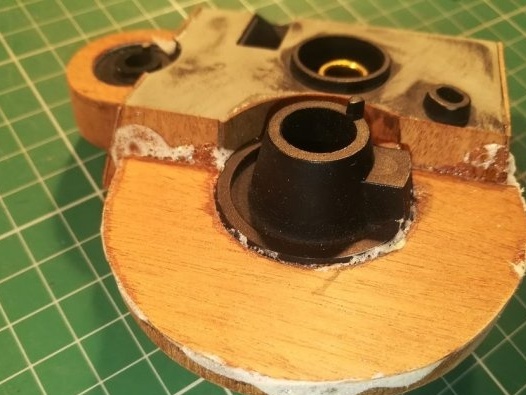
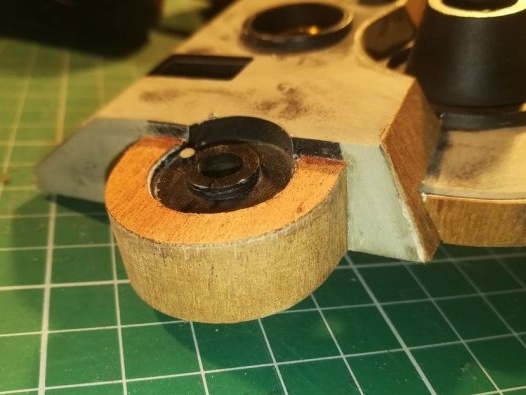
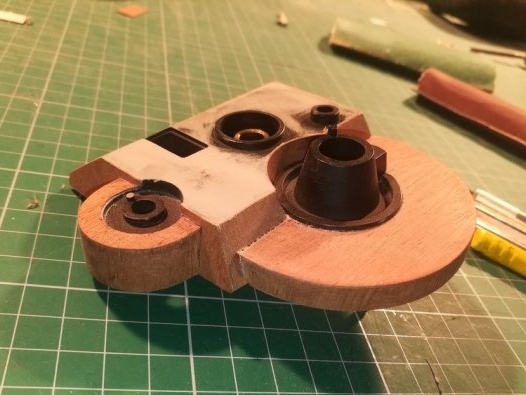
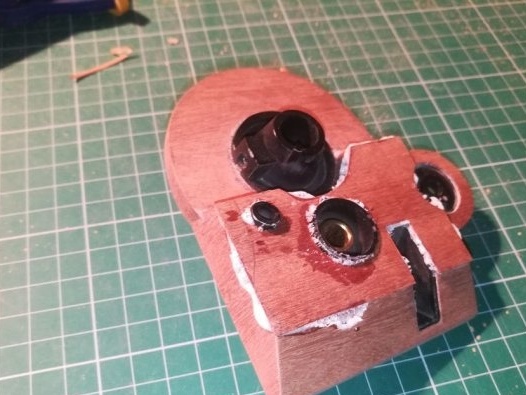
Now you need to paste over the body with veneer. Measures the front, back and side walls of the housing. Cut veneer to size. Apply glue and fix the veneer with clamps.
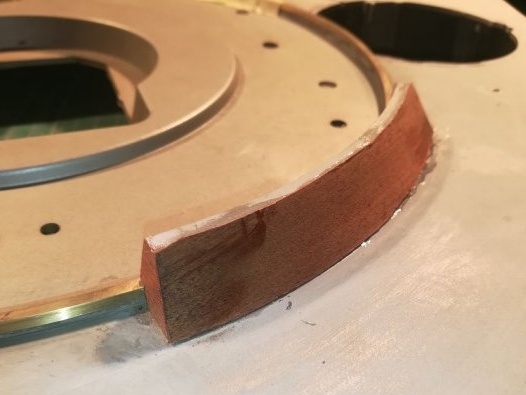
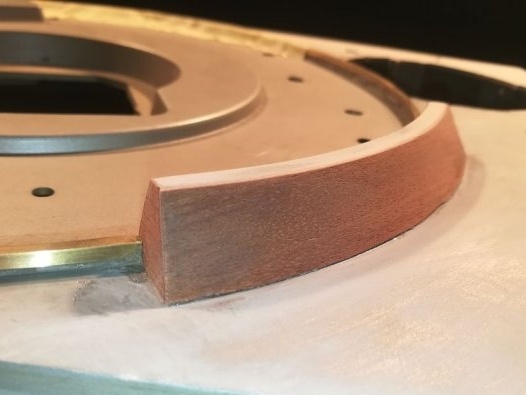
Glues veneer on various parts of the player.
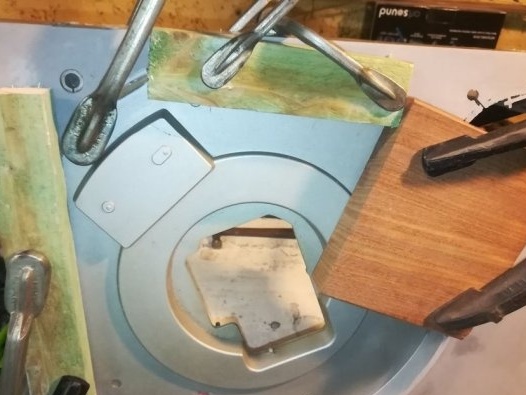
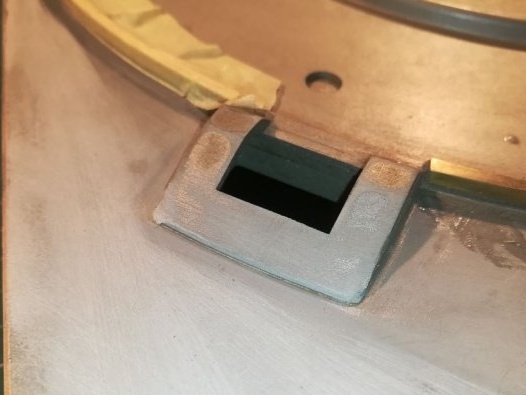
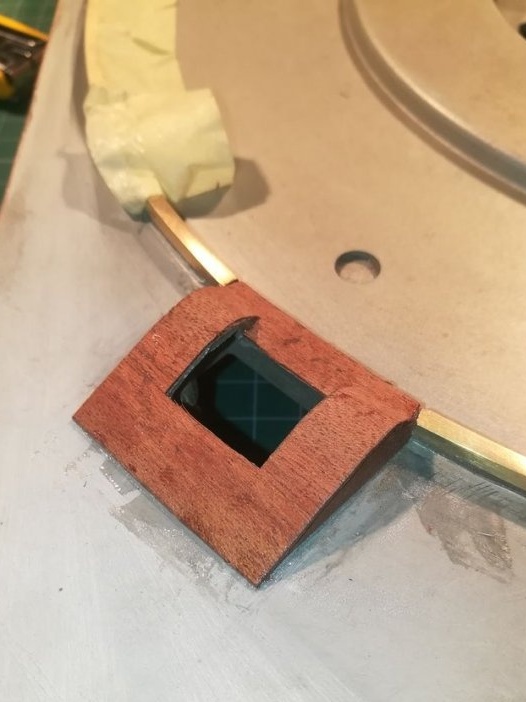
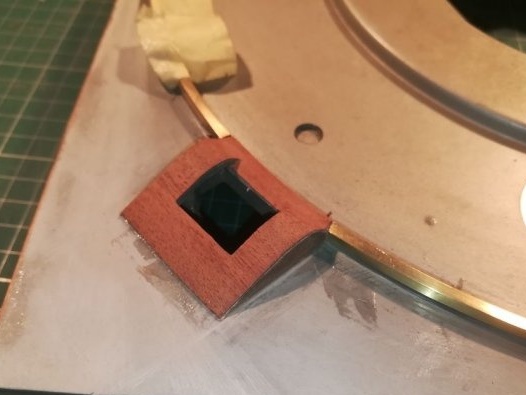
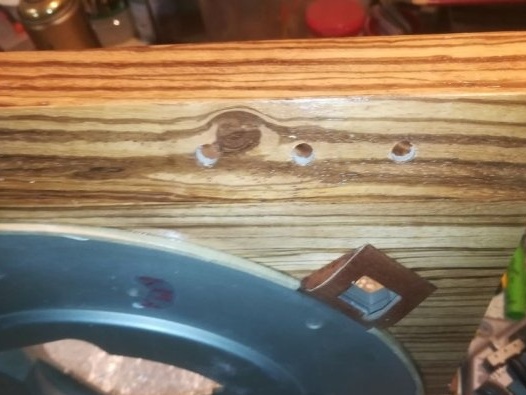
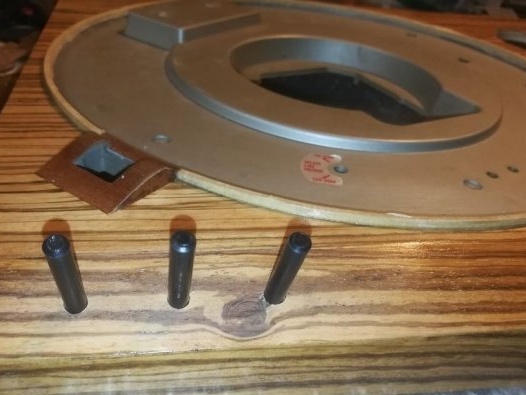
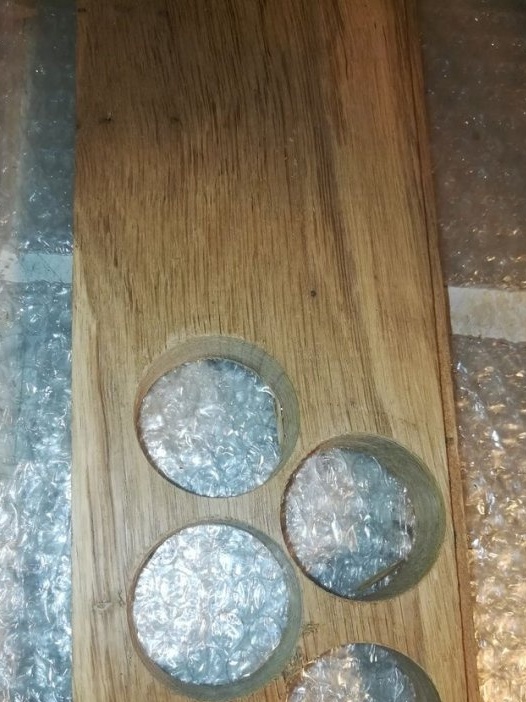
Before pasting the upper part with veneer, the master closes the holes with plywood inserts, and smooths the uneven surface by gluing cardboard on it.
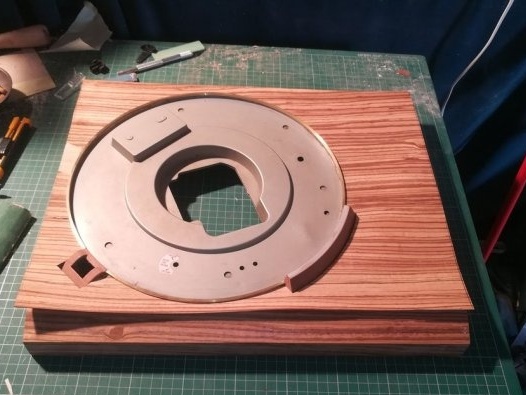
Now you can stick the veneer to the top.
Step Five: Varnishing
Covers the veneer with varnish in two layers.Between the layers, sand the surface 220 with sandpaper.
Step six: support the tonearm
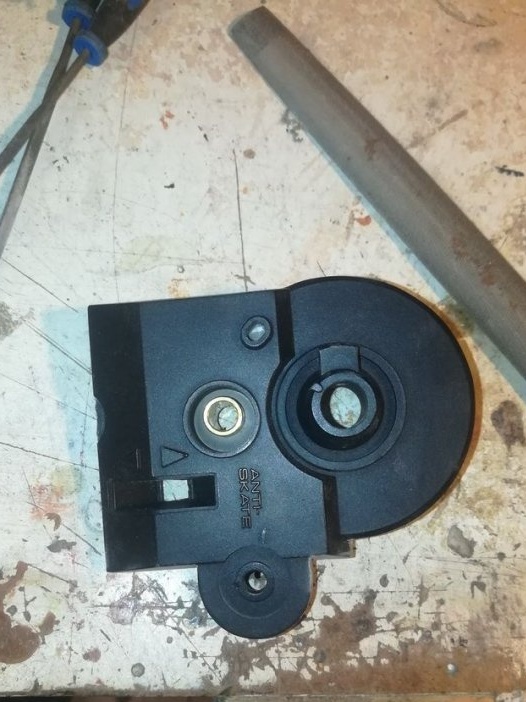
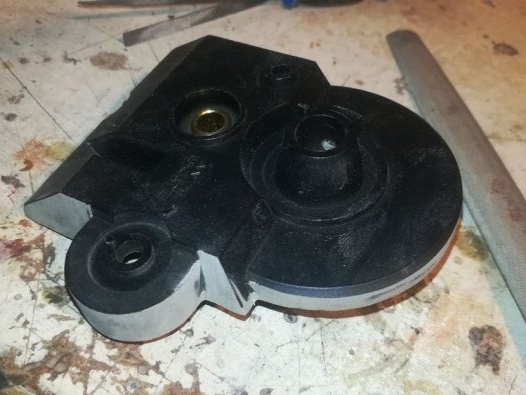
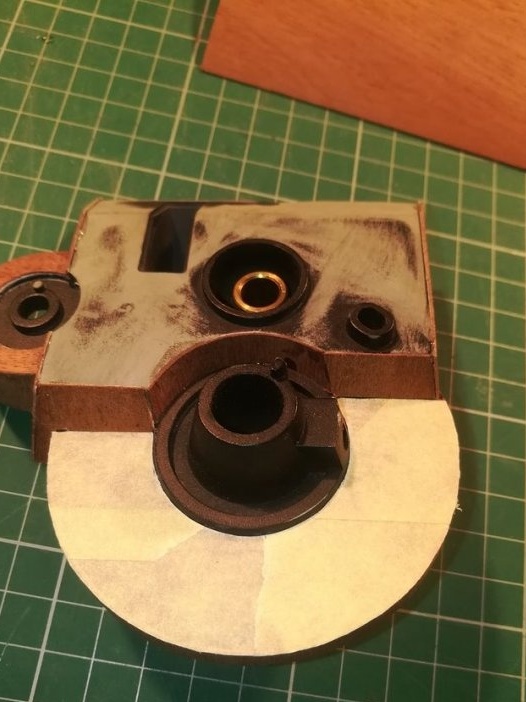
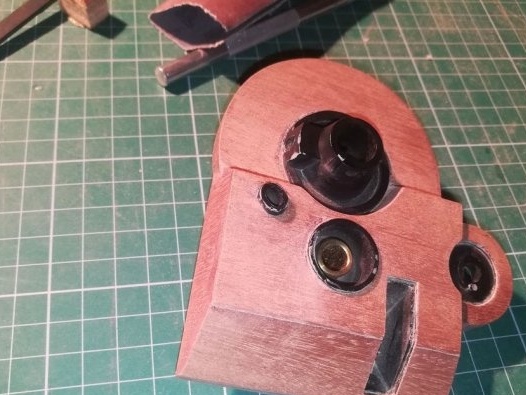
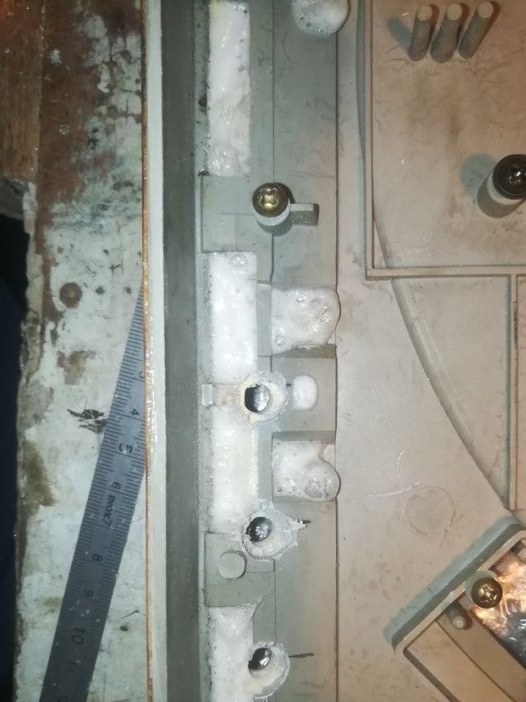
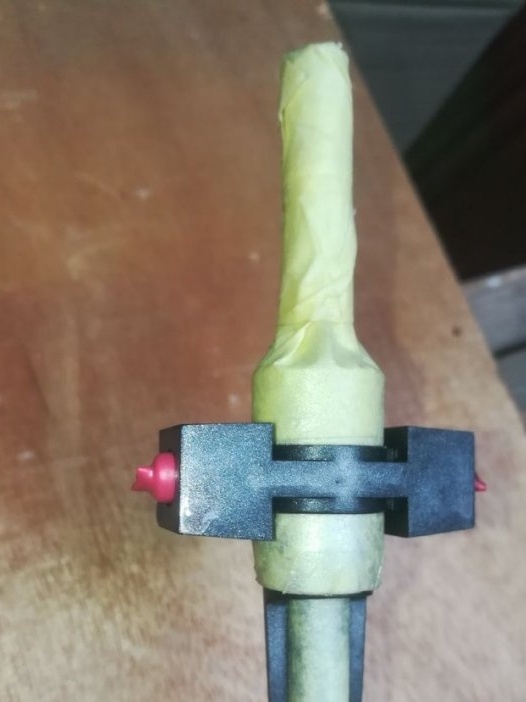
The tonearm and mount will be installed from another player. The master cuts off the excess plastic parts of the support. It polishes the surface with large emery paper and pastes it with veneer.
Seventh step: spacer
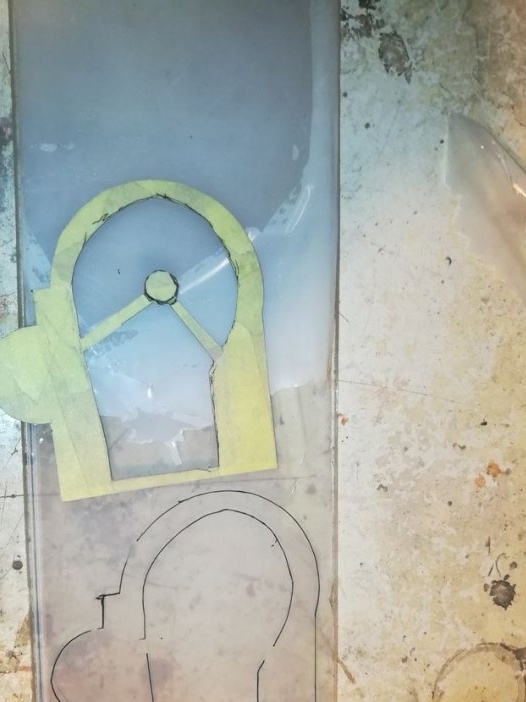
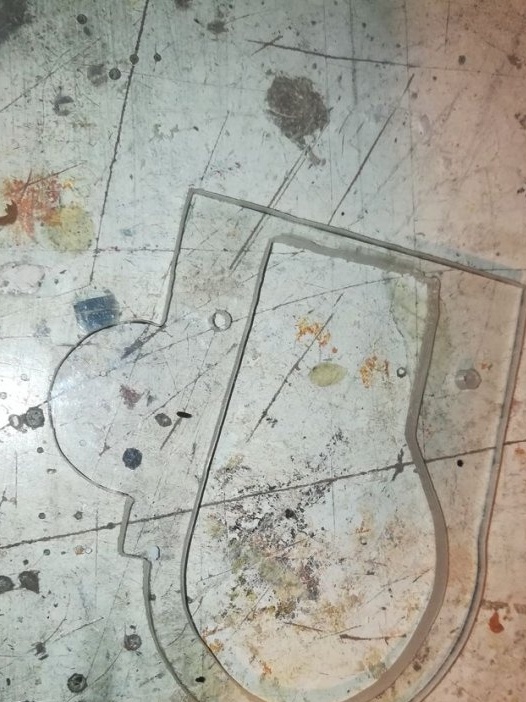
To raise the tonearm and, accordingly, the head, the master cuts and sets a spacer from acrylic.
Step Eight: Potentiometers
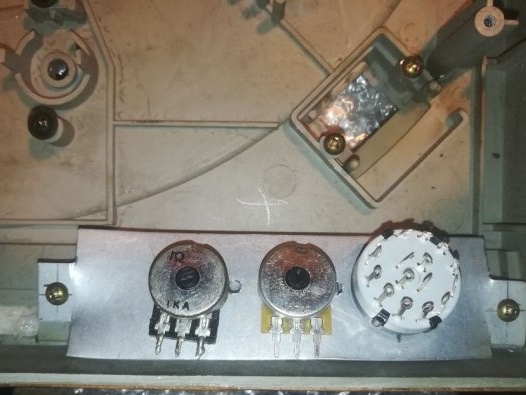
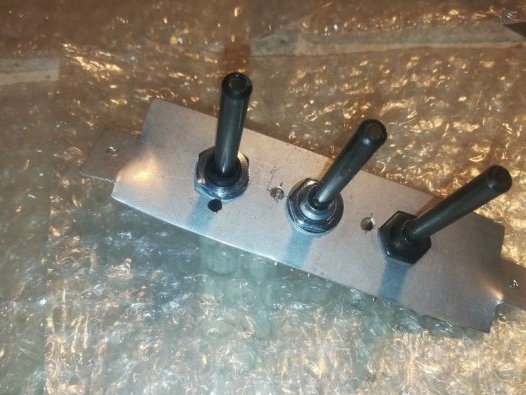
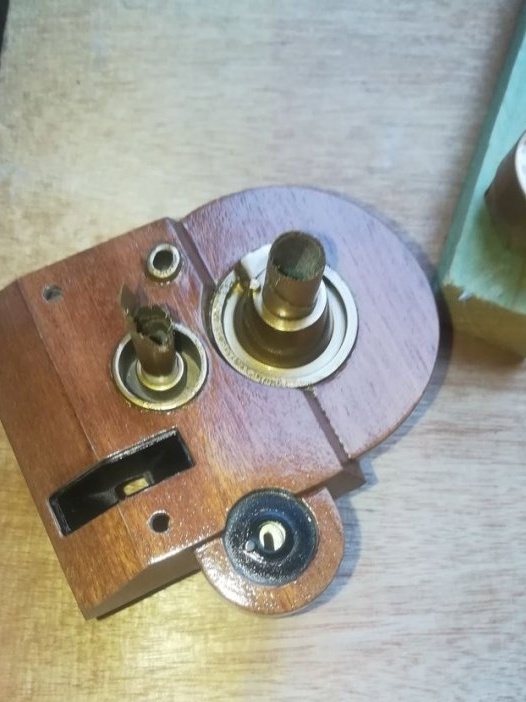
The old 22 kOhm potentiometers and the 3-position switch were replaced by the master with new ones. Fastened them to an aluminum plate. I drilled holes for handles in the case. Secured the plate to the body.
Step Nine: Decorative Details
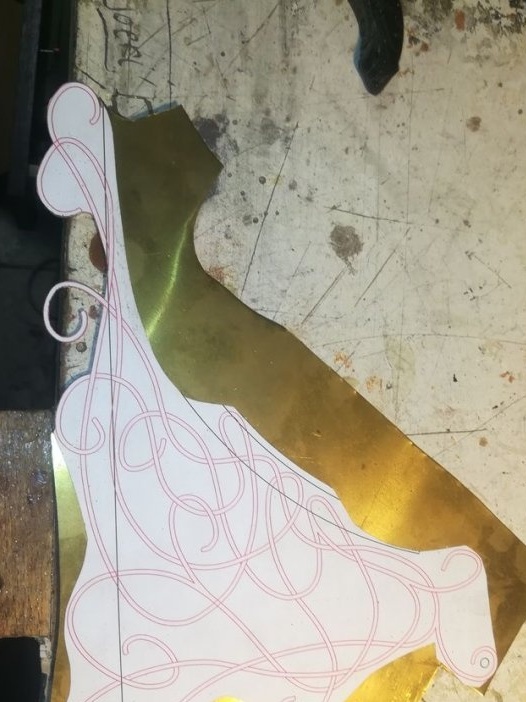
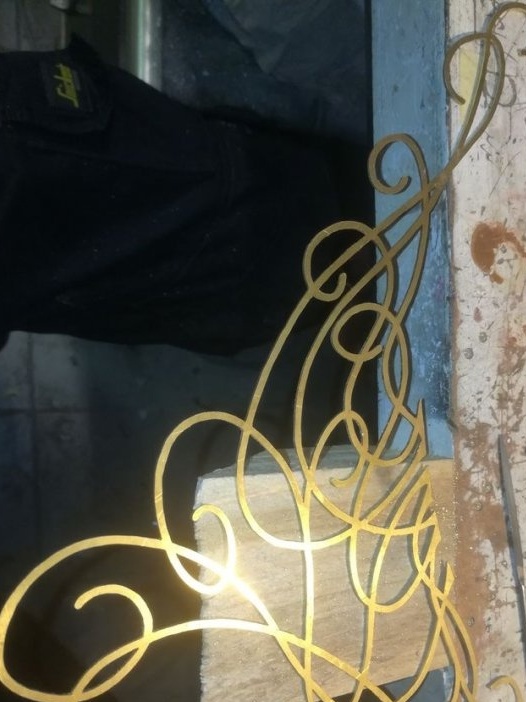
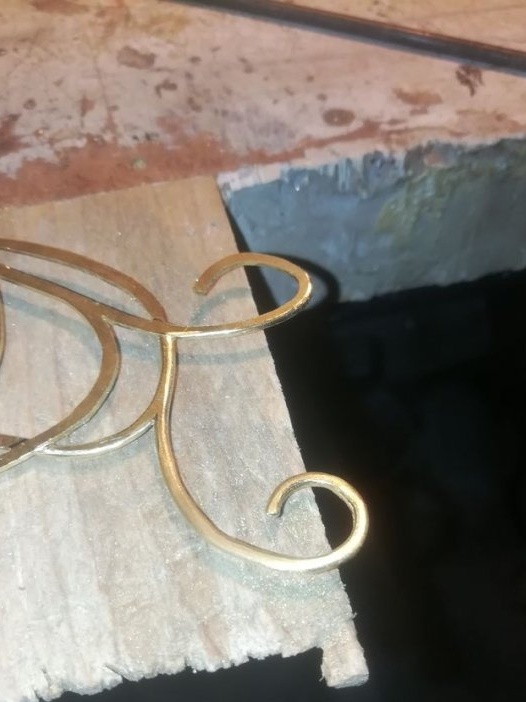
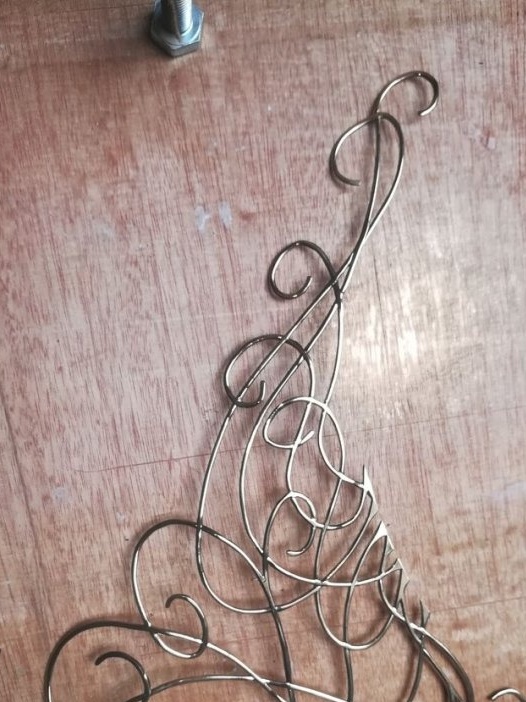
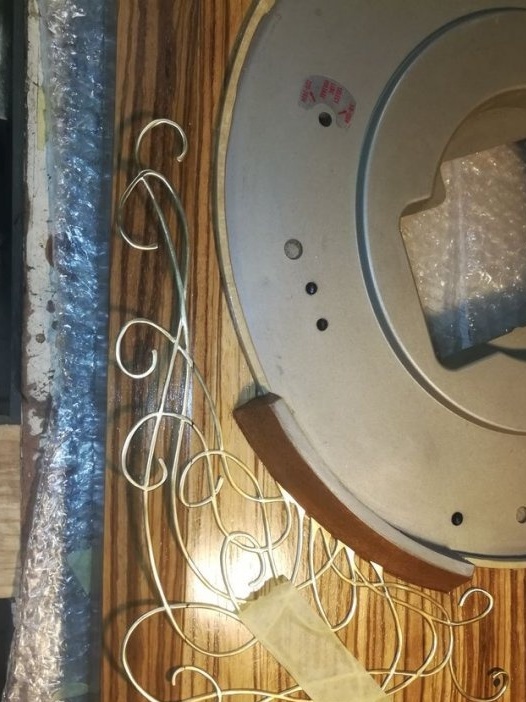
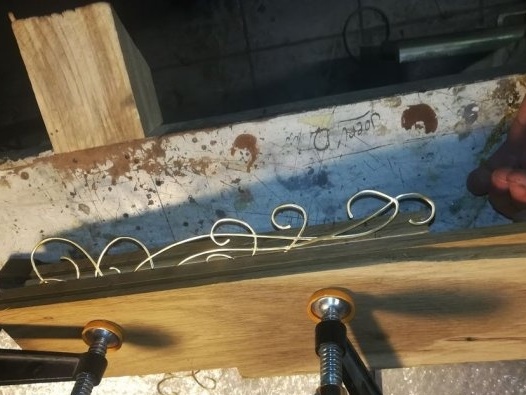
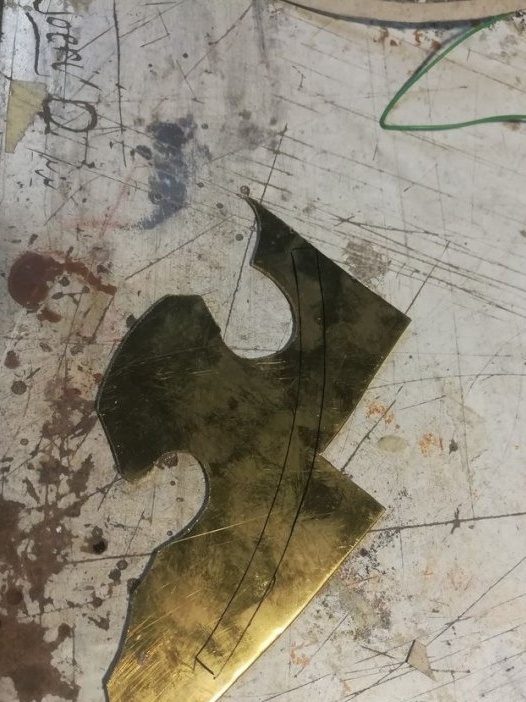
Prints a pattern on paper. Fastens it on a brass plate with double-sided tape. Cuts out. Next, the part must be sanded, polished and, necessarily covered with varnish.
Glues the pattern. Cuts and pastes an arcuate decorative trim.
Step Ten: Gold Painting
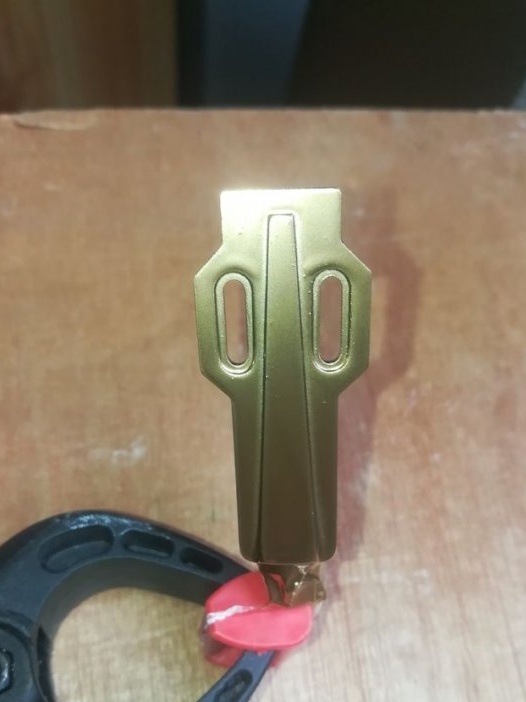
Stains the details of the head, counterweight and disc in gold.
Step eleven: parking place for tonearm and pen
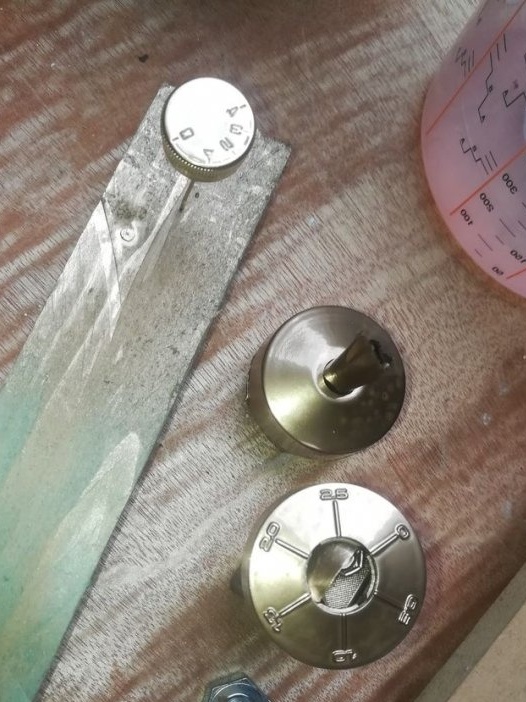
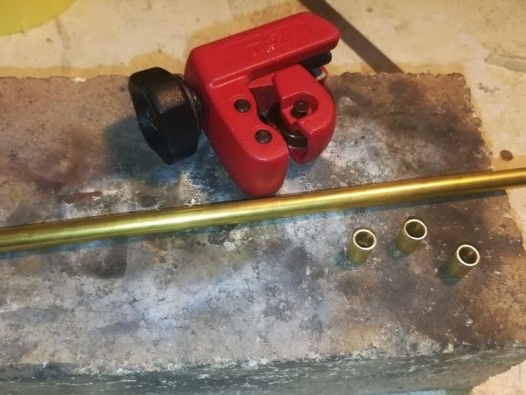
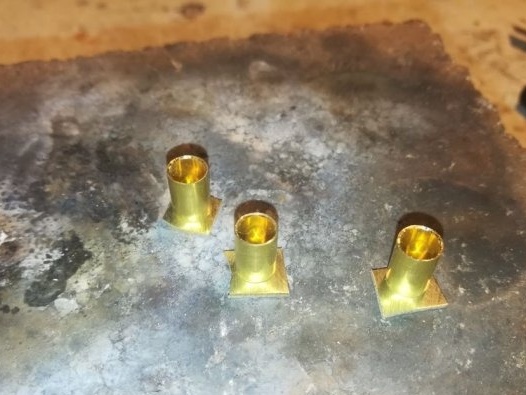
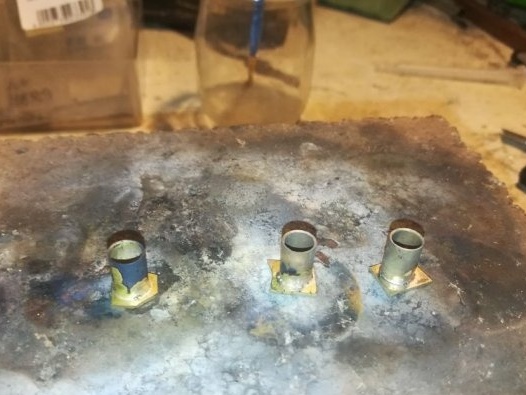
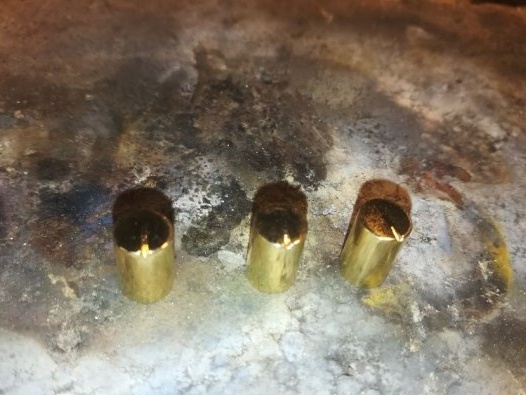
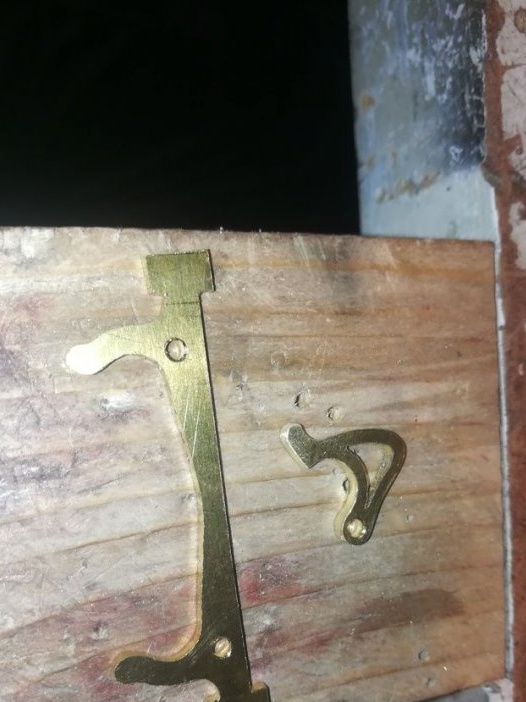
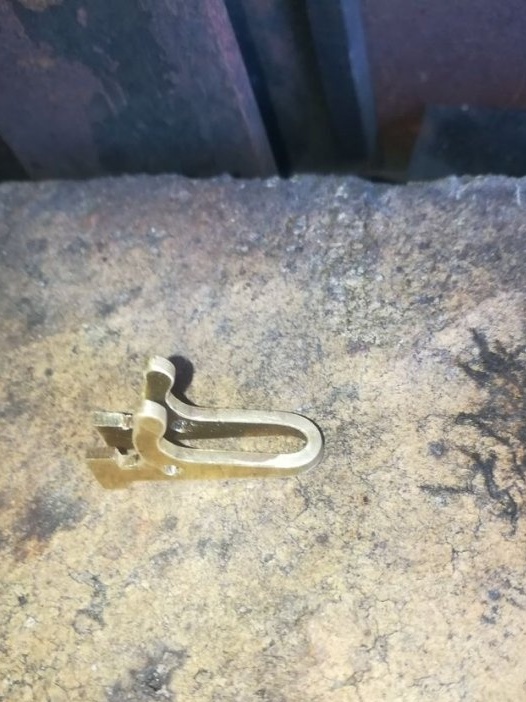
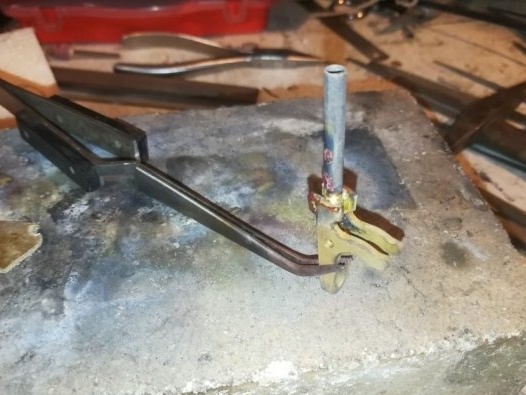
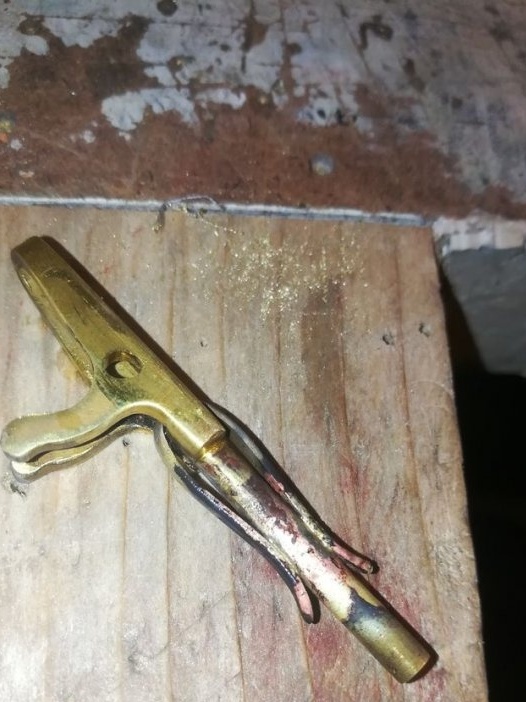
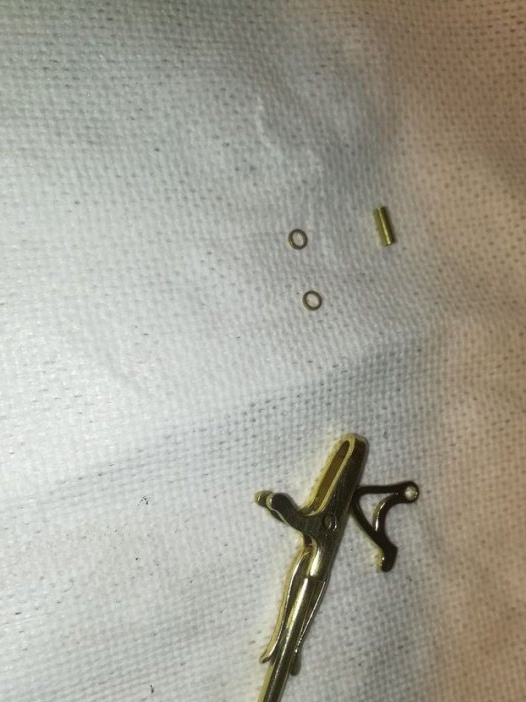
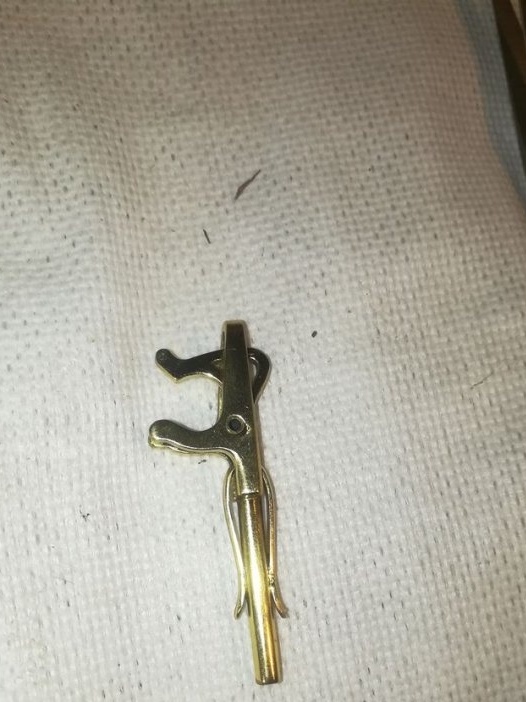
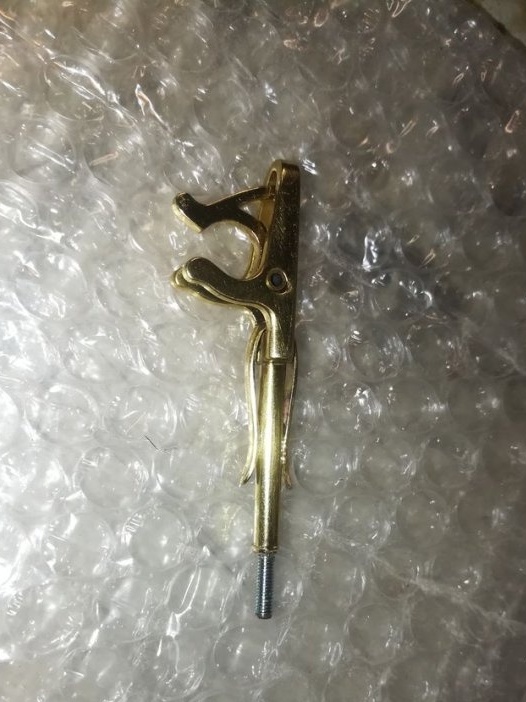
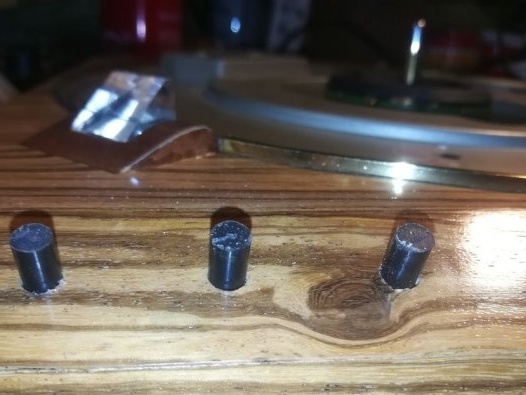
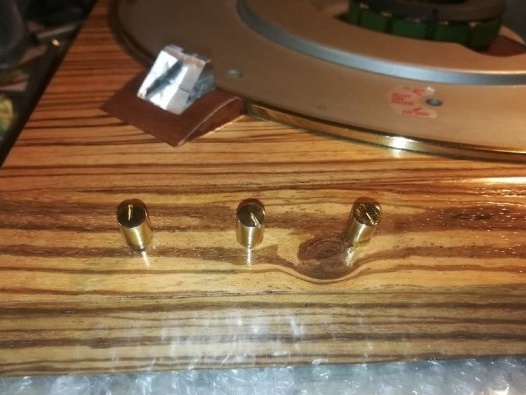
The master made pens of brass tubes soldered to brass plates. Then the handles were turned, polished, polished and varnished.
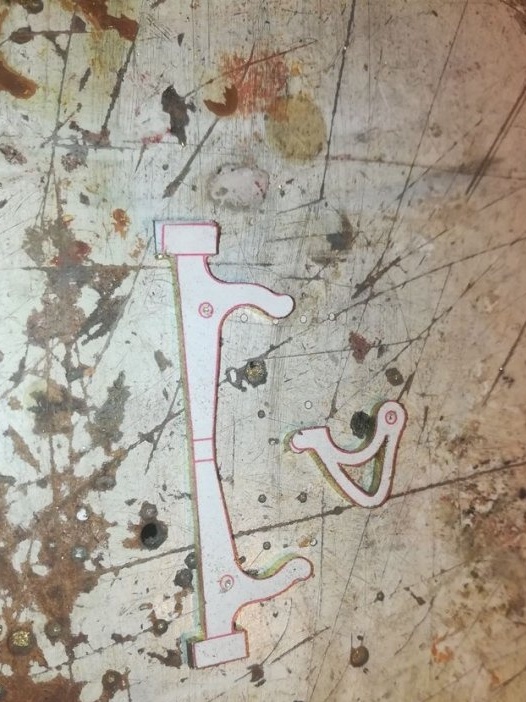
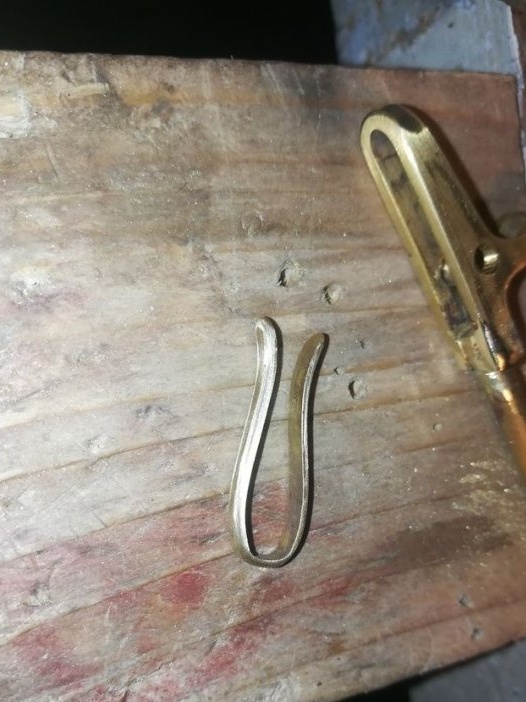
The master also makes a rack for parking the tonearm from brass parts.
Step Twelve: Final Assembly
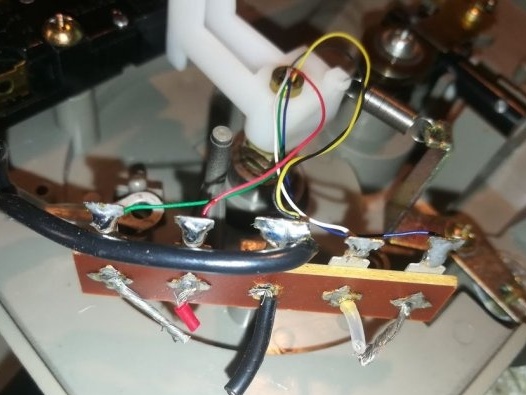
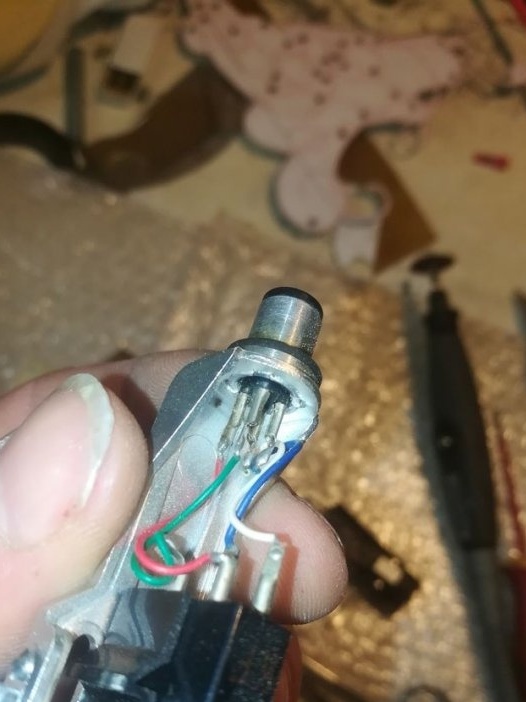
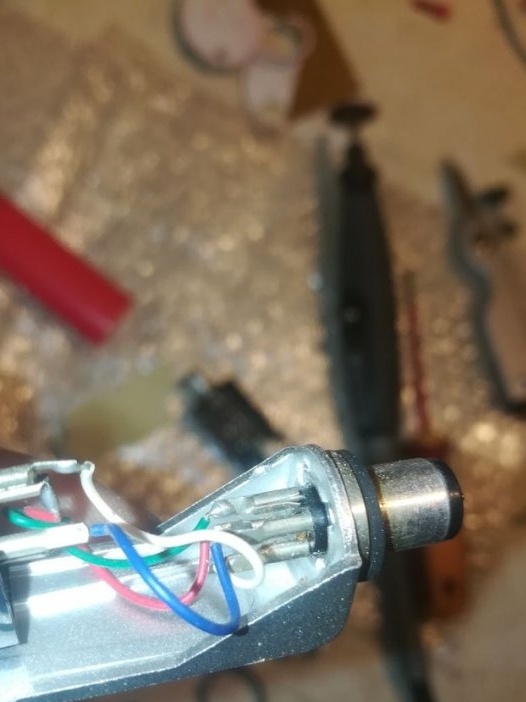
Before disassembling the player, the master photographed the installation of the electrical part. After installing new parts, the master solders the wires in the same order.
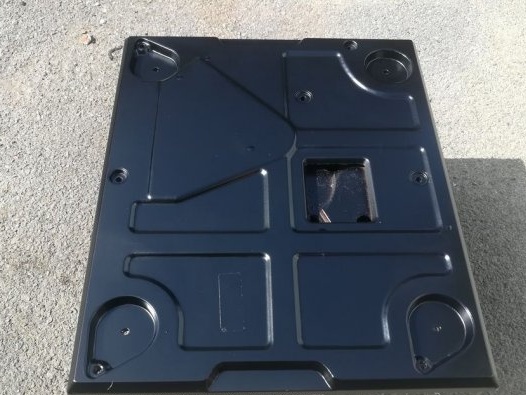
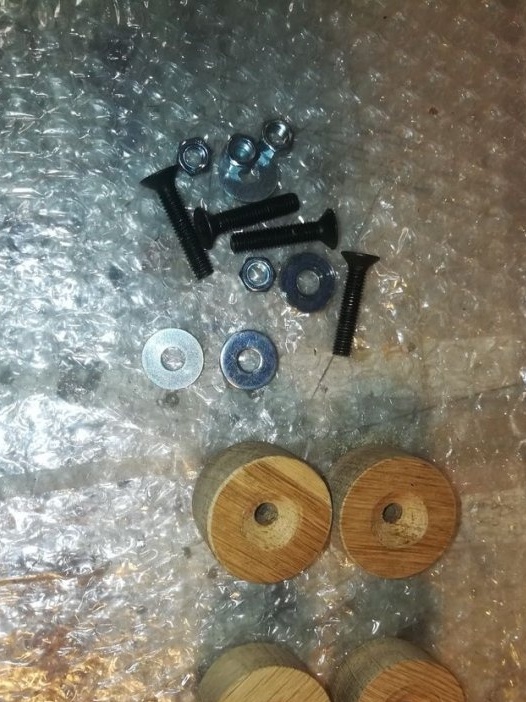
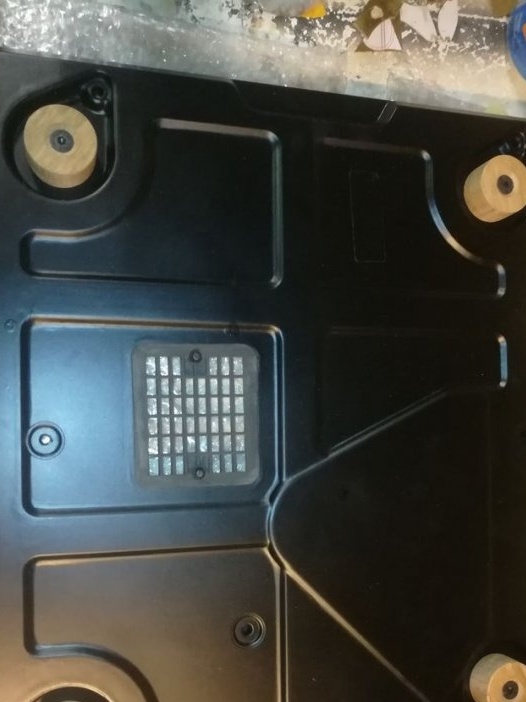
Then cuts the bottom cover out of oak. Paints it black. Cut and screw the legs. Screws on the lid.
Sticks on the handle.
All is ready. It remains only to install the needle and the disc, and enjoy the vinyl sound.

