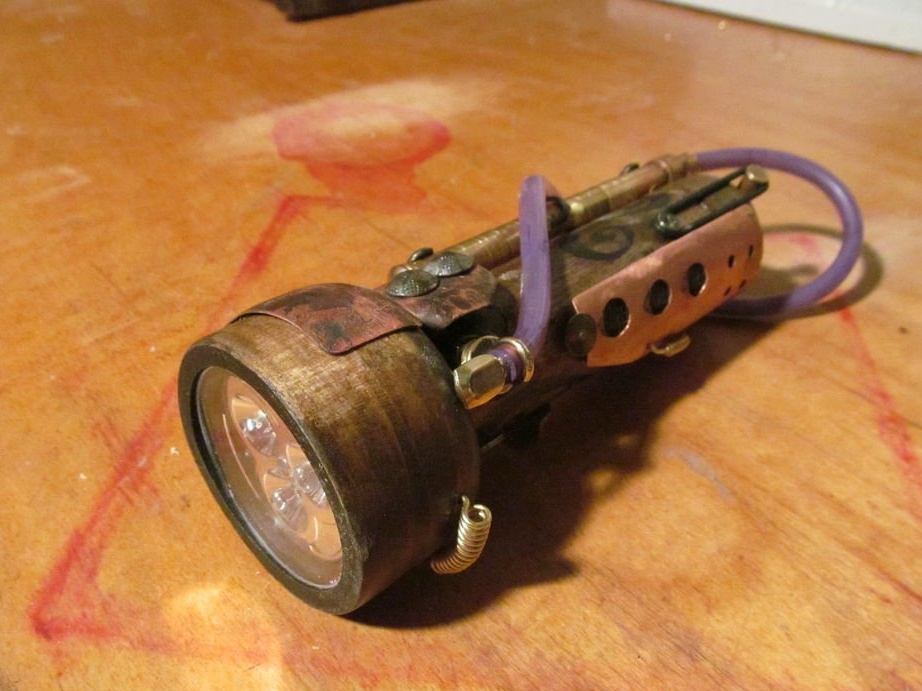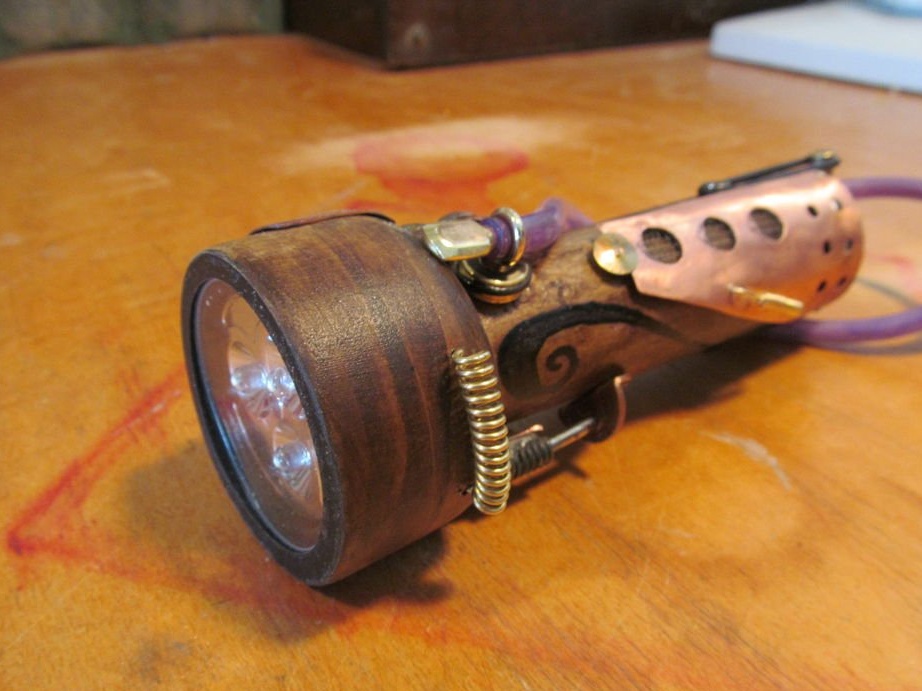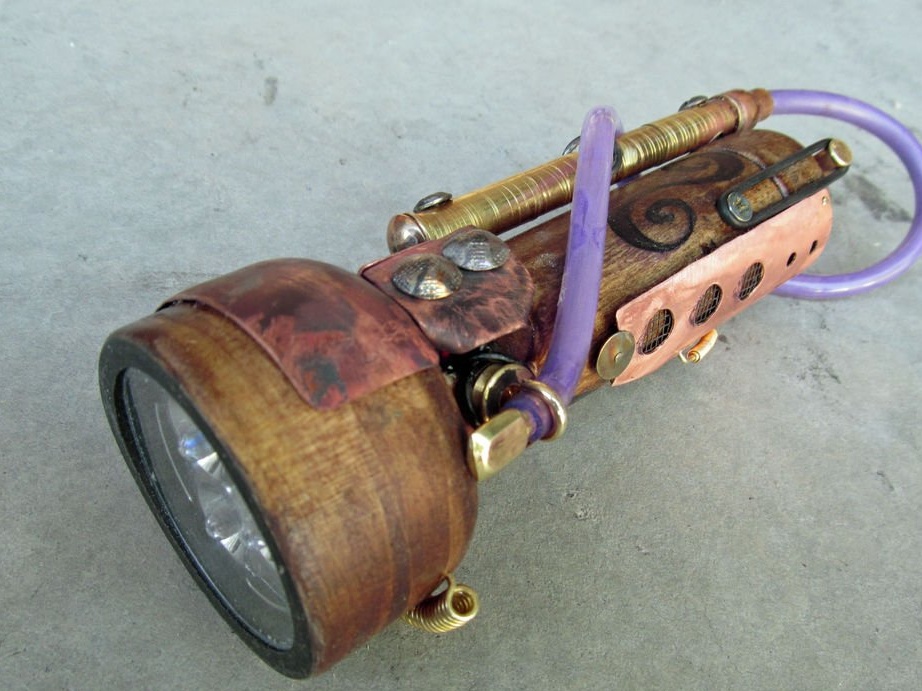

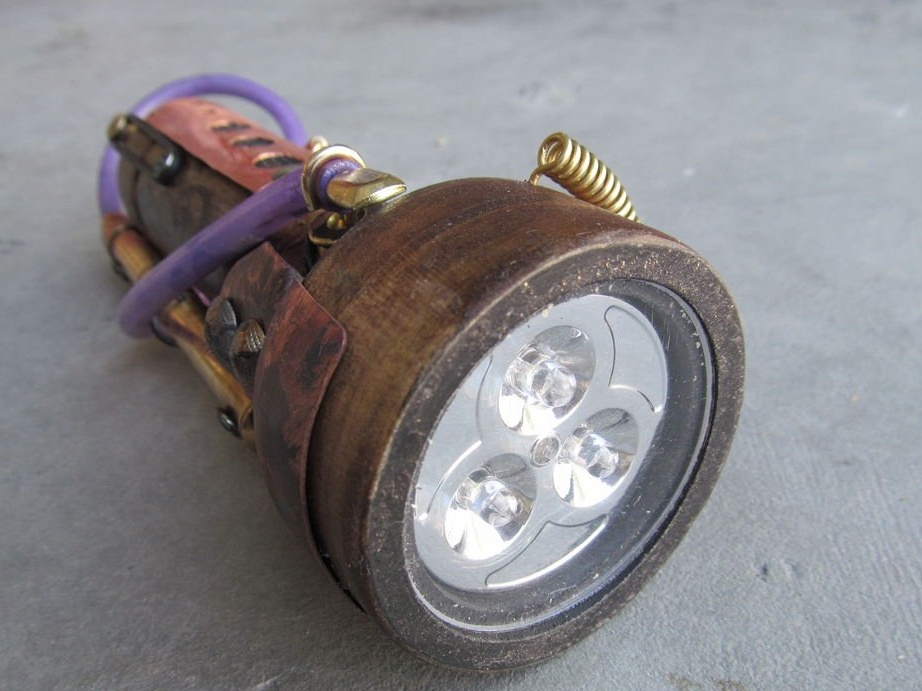
Steampunk - This is a whole subculture in the modern world. Many people are passionate about steampunk and do, sometimes useless, but pretty nice things. The master decided to make a flashlight in the steampunk style, and as a case he will use not a metal part, as it seems at first glance, but a piece of wood.


To make such a lamp, the master used the following
Tools and materials:
-Plank of poplar;
-Bandsaw machine;
-Glue;
- Clamps;
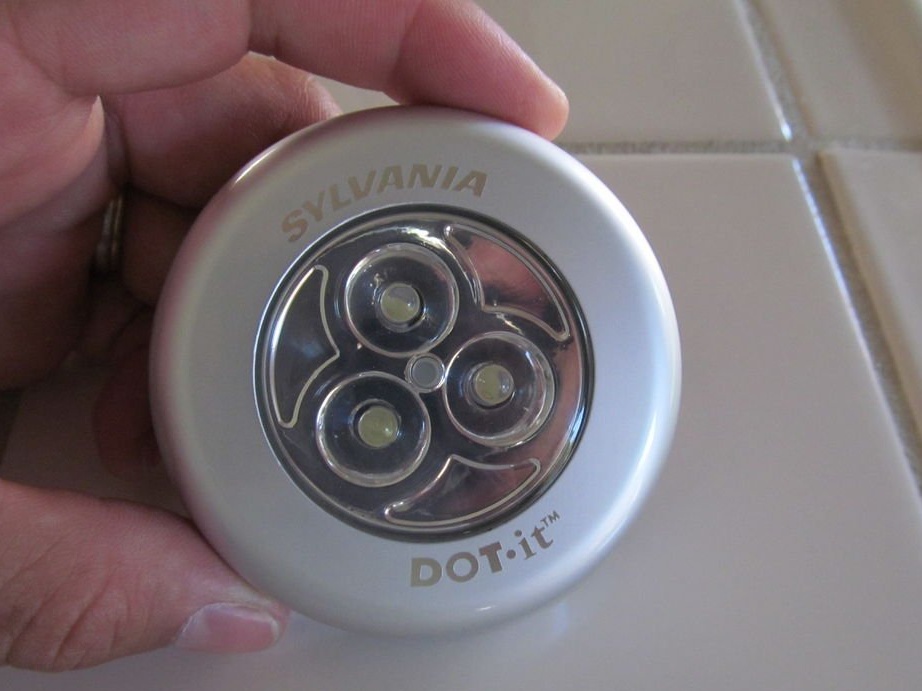
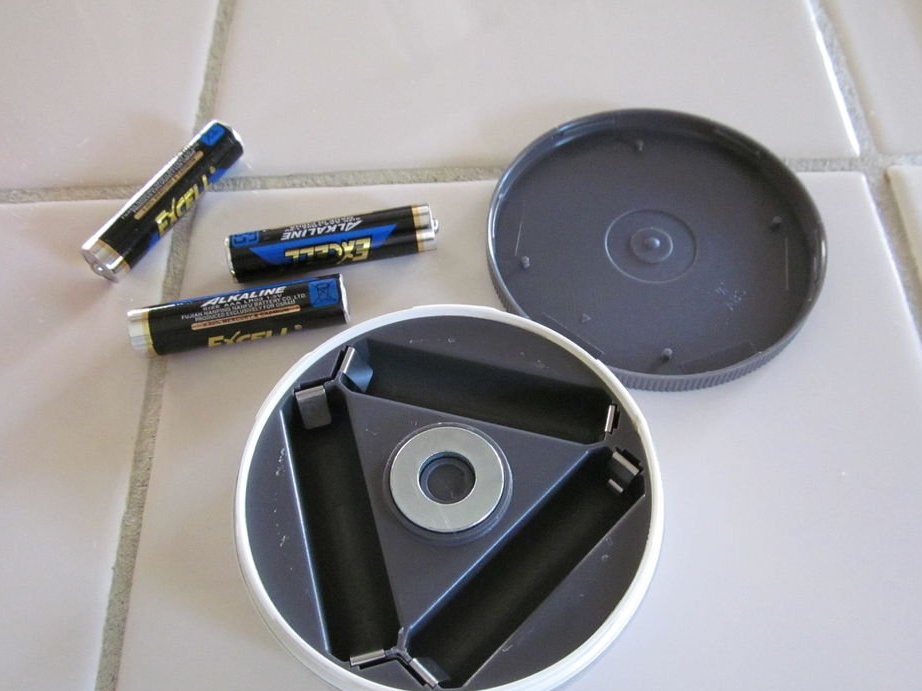
- Flashlight donor;
-Lathe;
-Drilling machine;
-Acrylic;
-Marker;
-Soldering accessories;
-Copper sheet;
-Microswitch;
-Wire;
- Stain;
-Black paint;
-Plastic tube;
-Mites;
-Wire;
-Nadfil;
-Metal grid;
-Hammer;
-Burner;
-Fasteners;
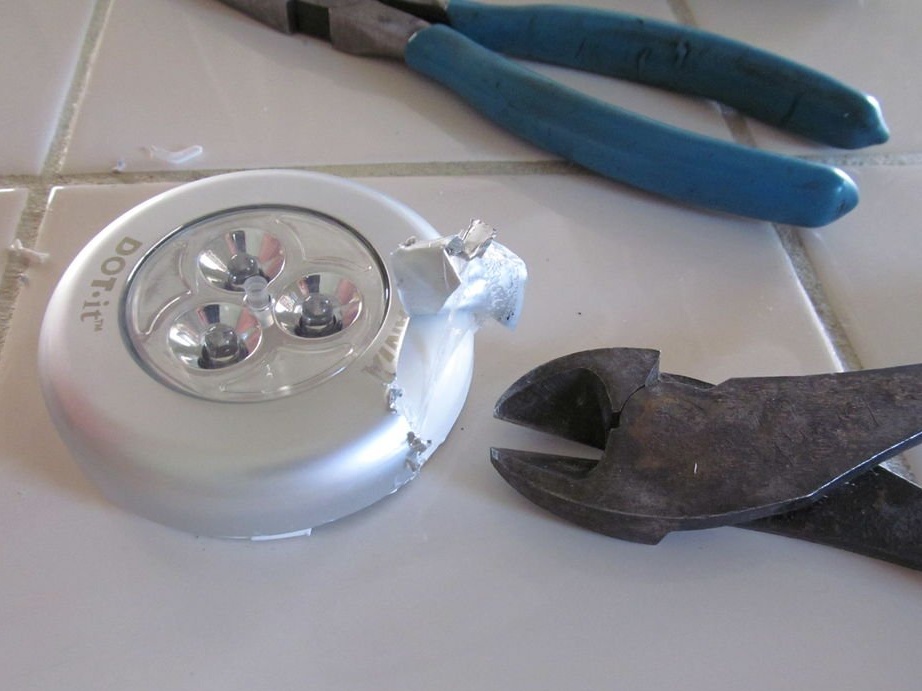
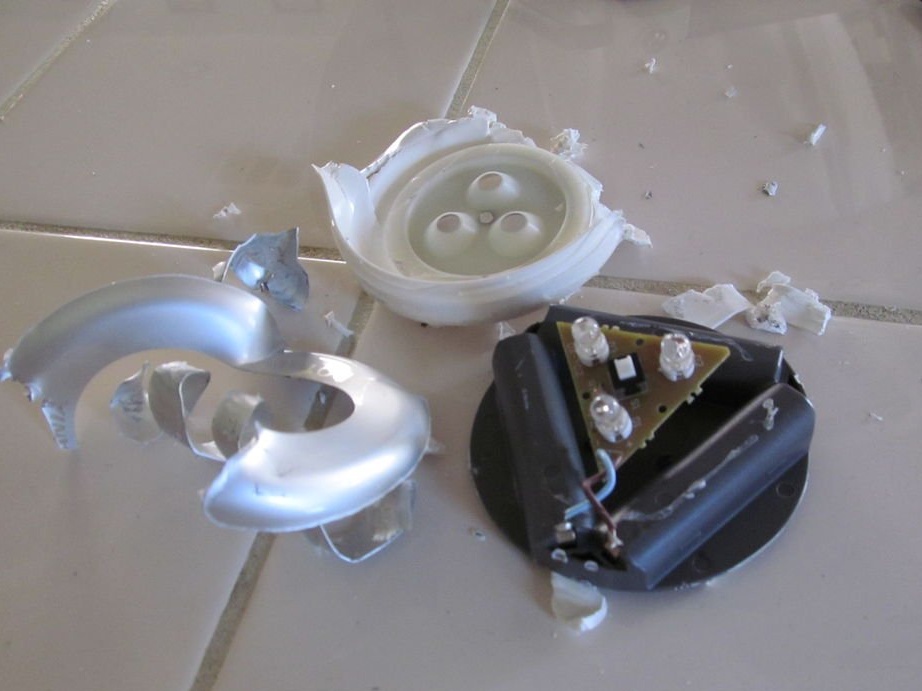
Step One: Donor Lantern
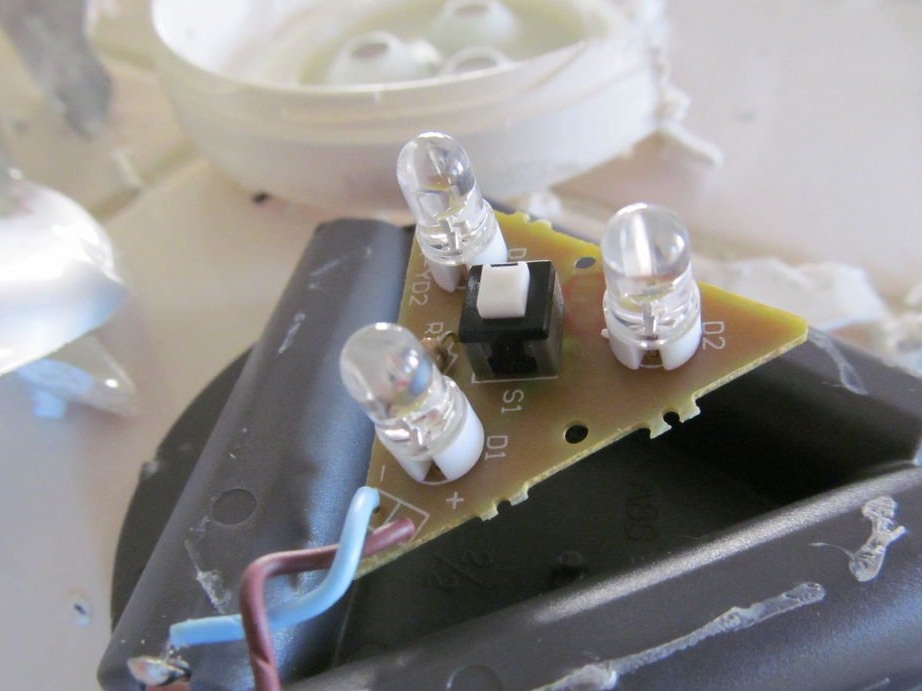
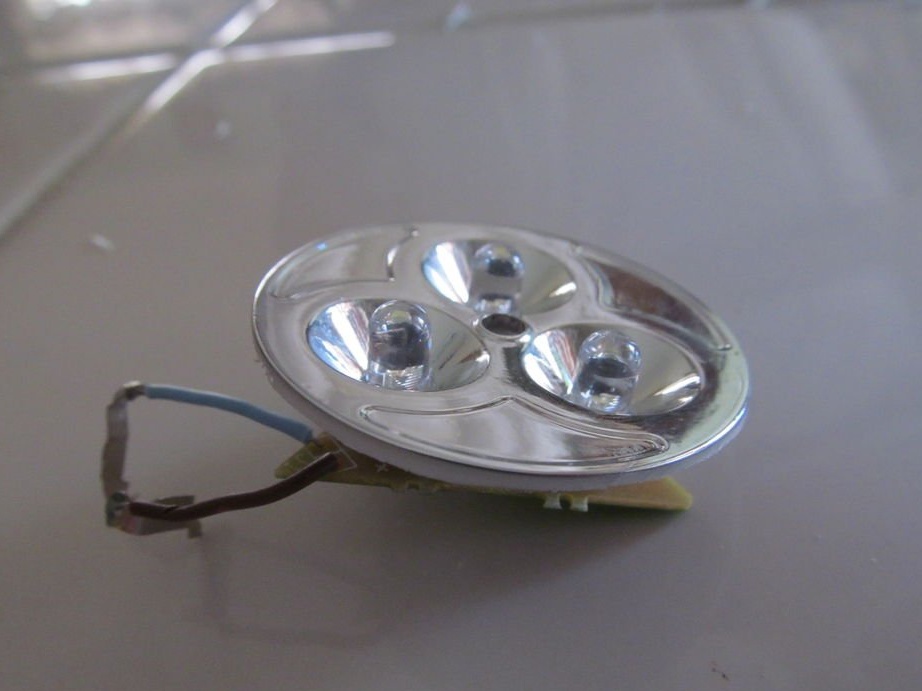
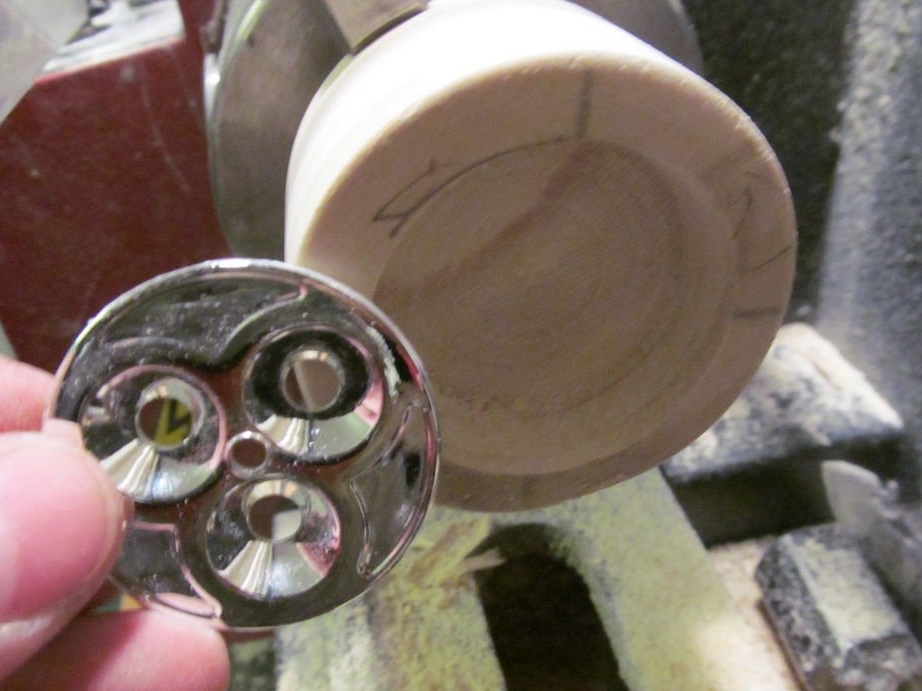
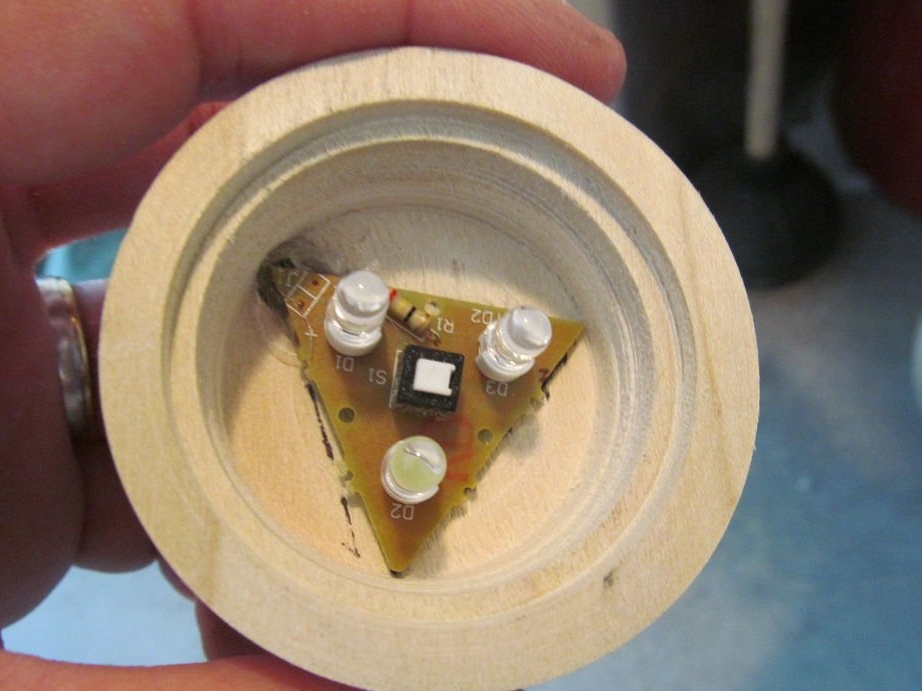
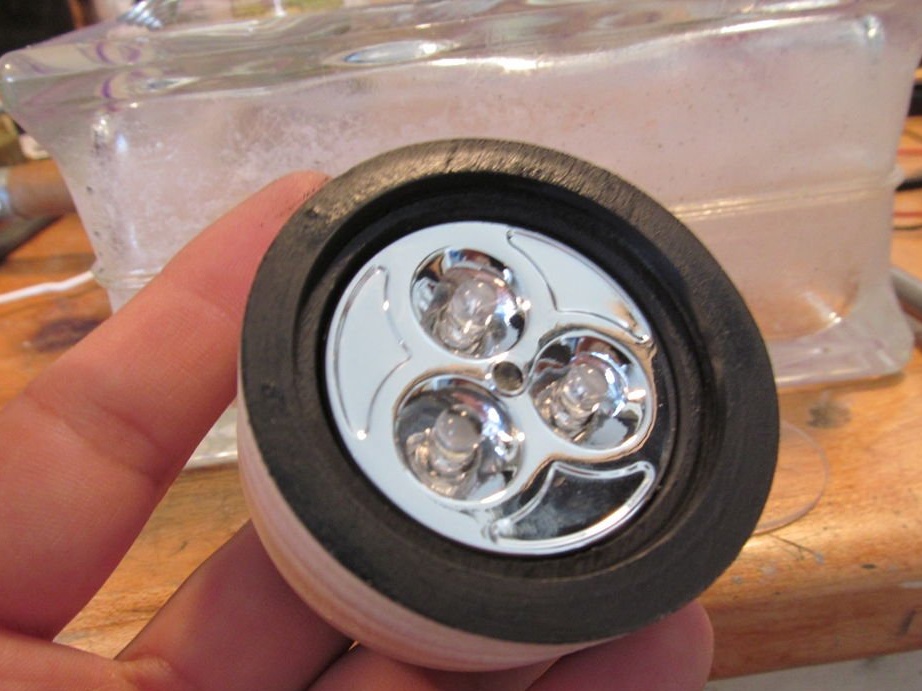
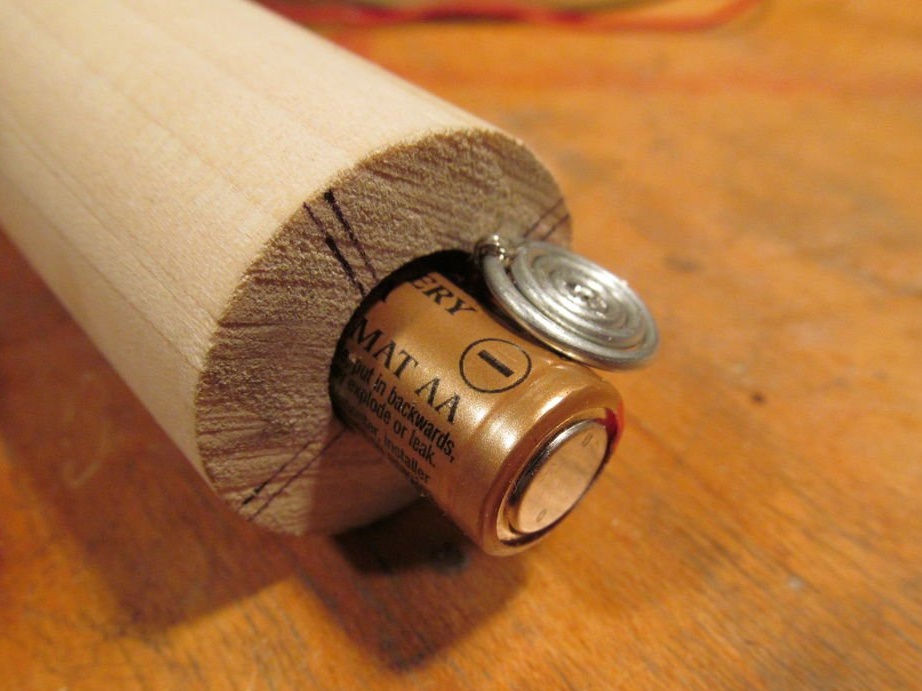
The donor lamp needs to be disassembled. Further work will require: a board with LEDs, a reflector and batteries.
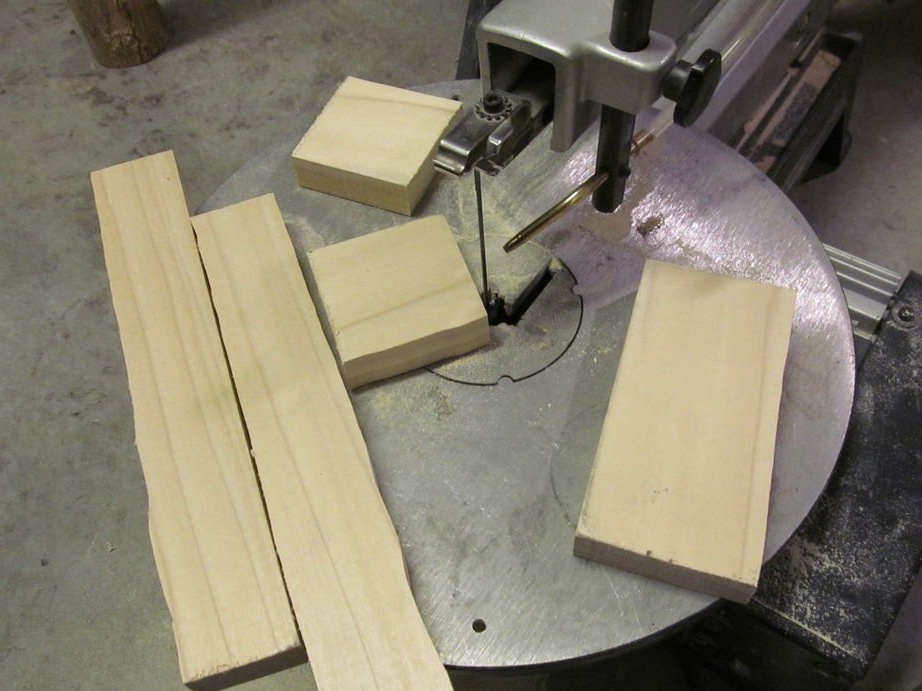
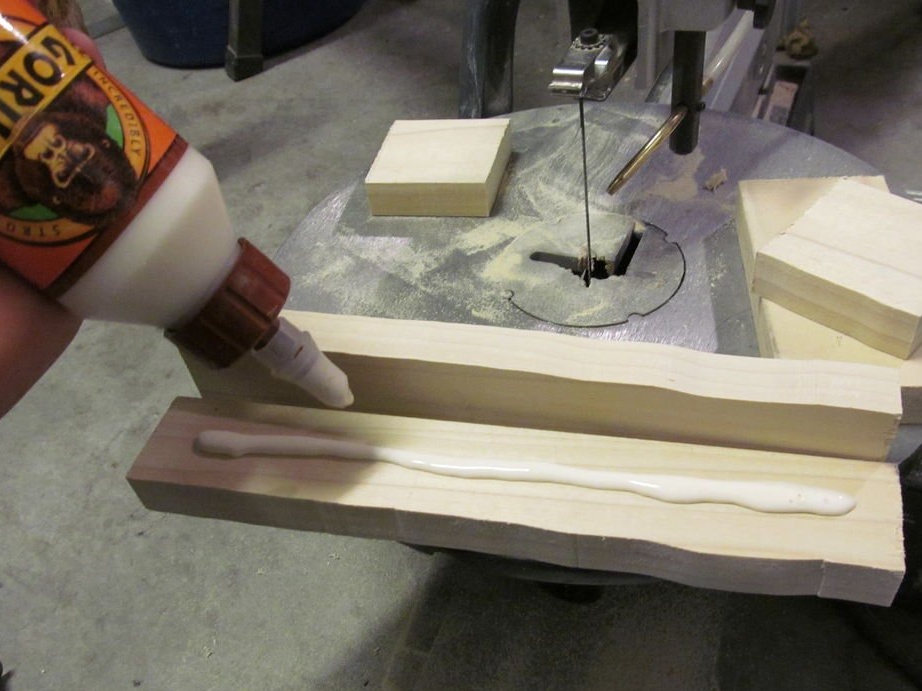
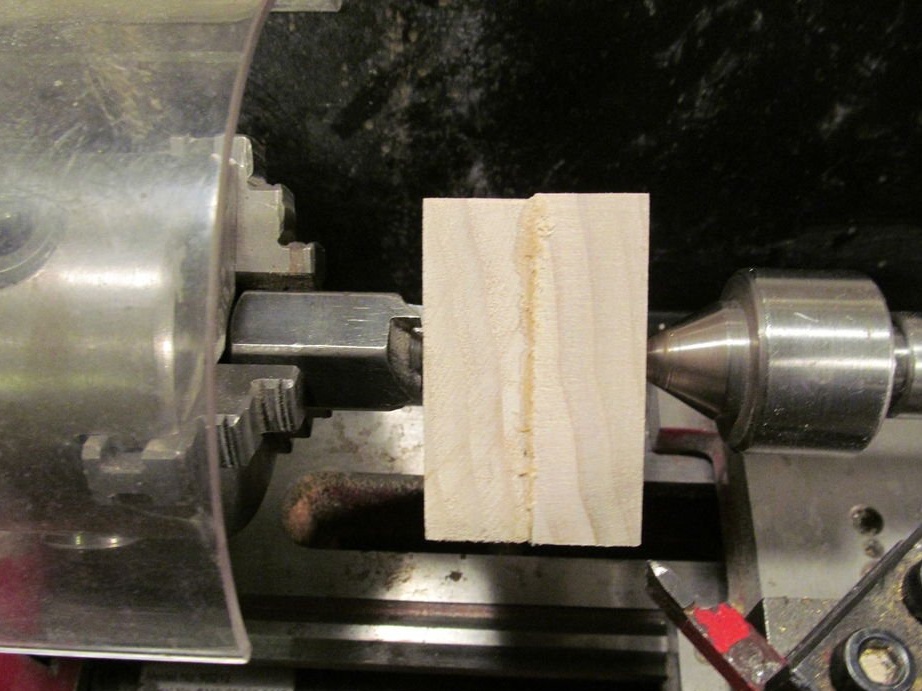
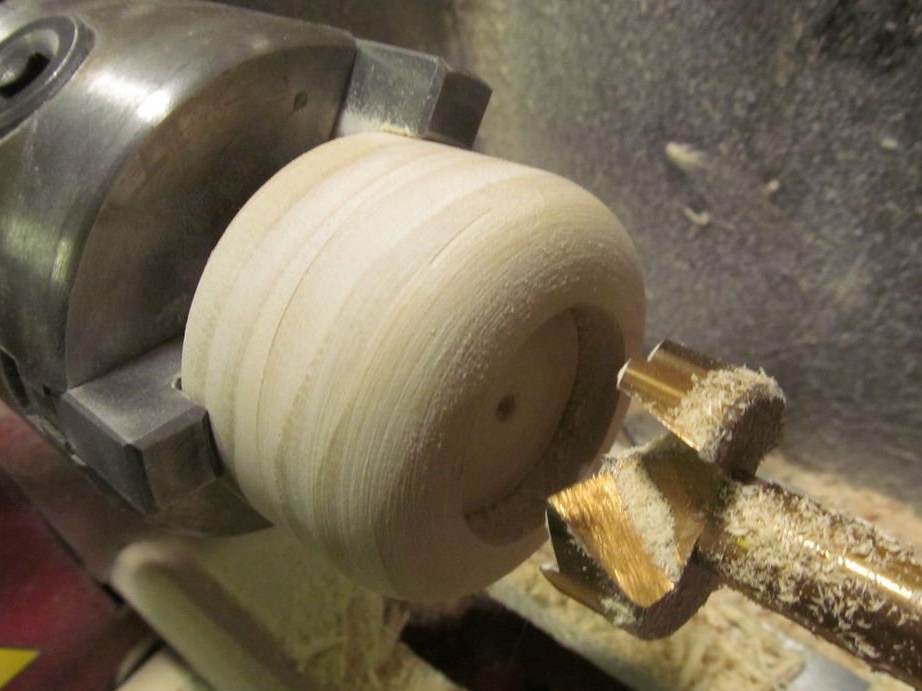
Step Two: Making the Case
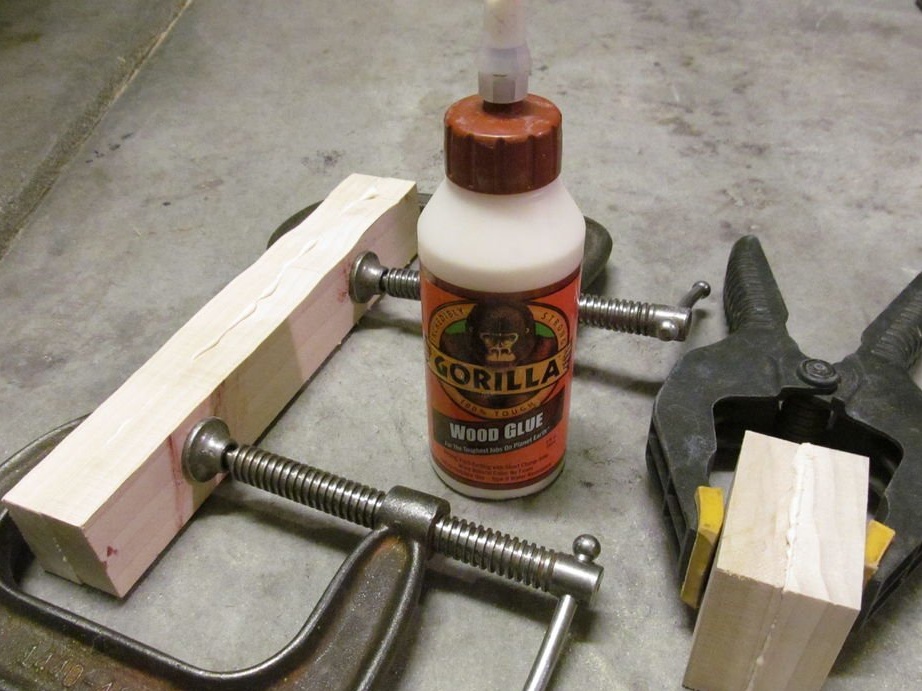
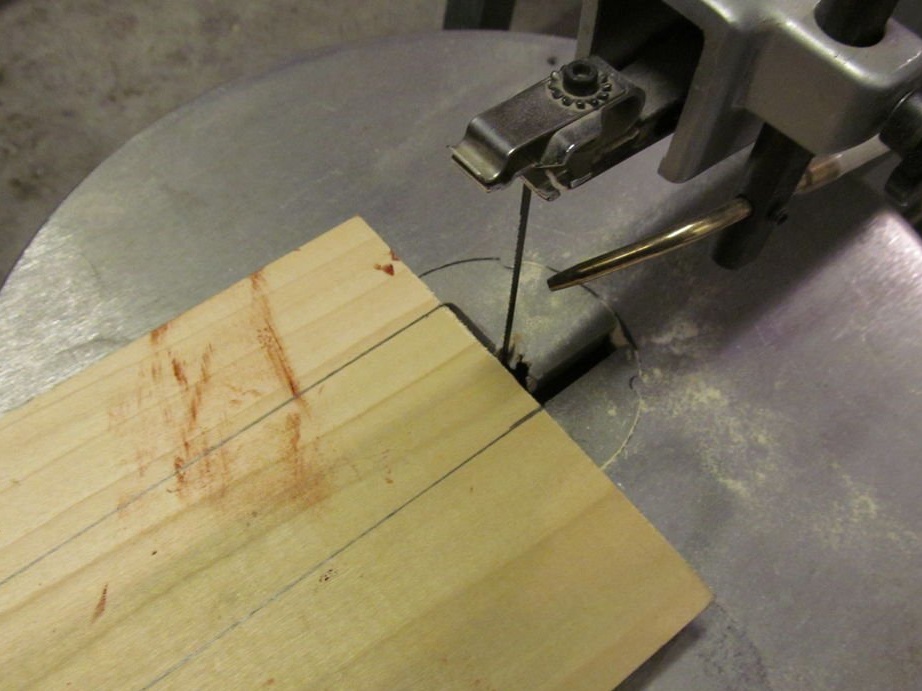
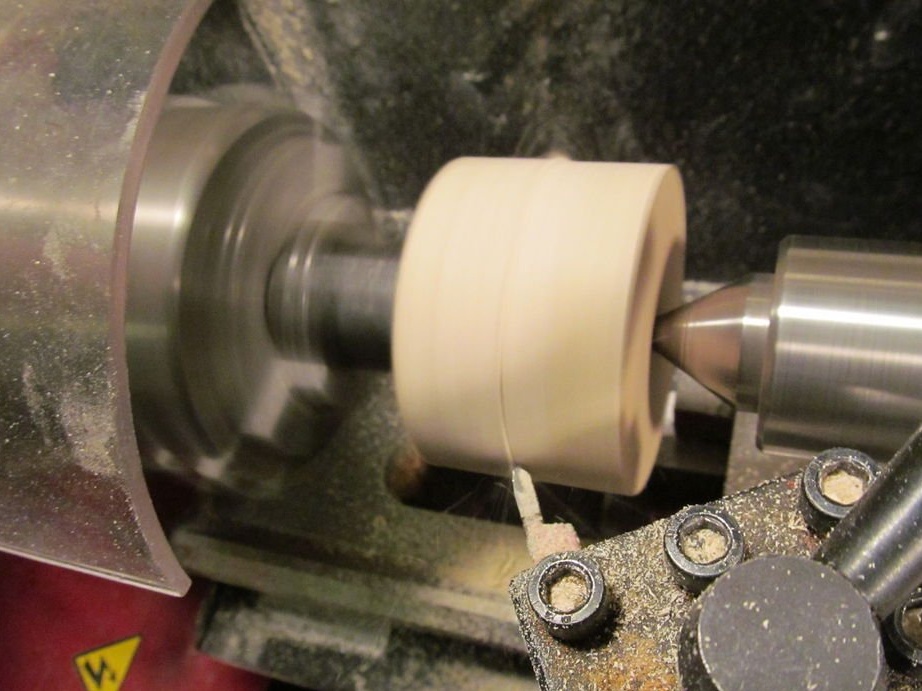
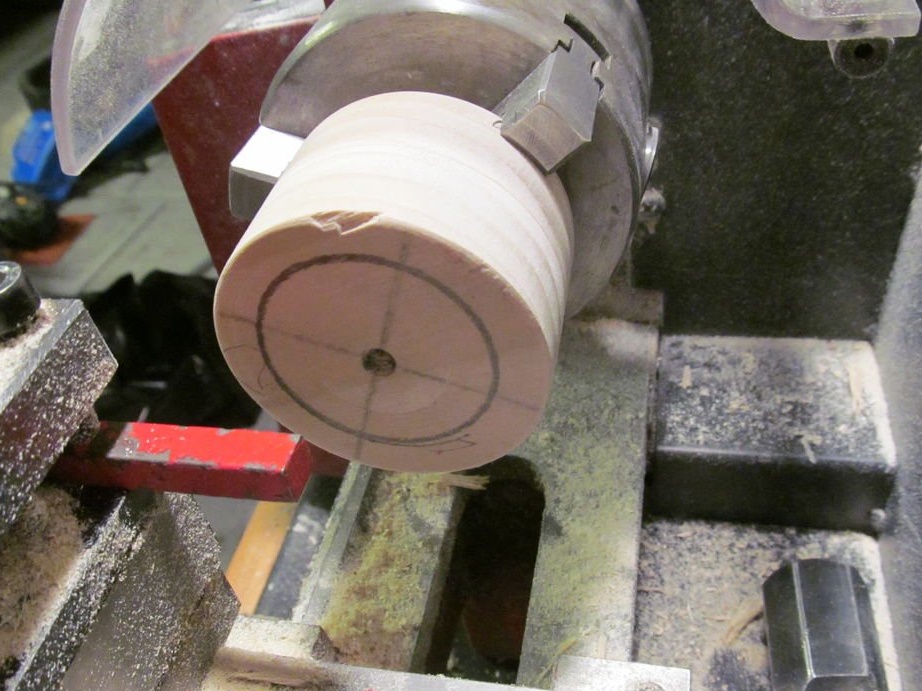
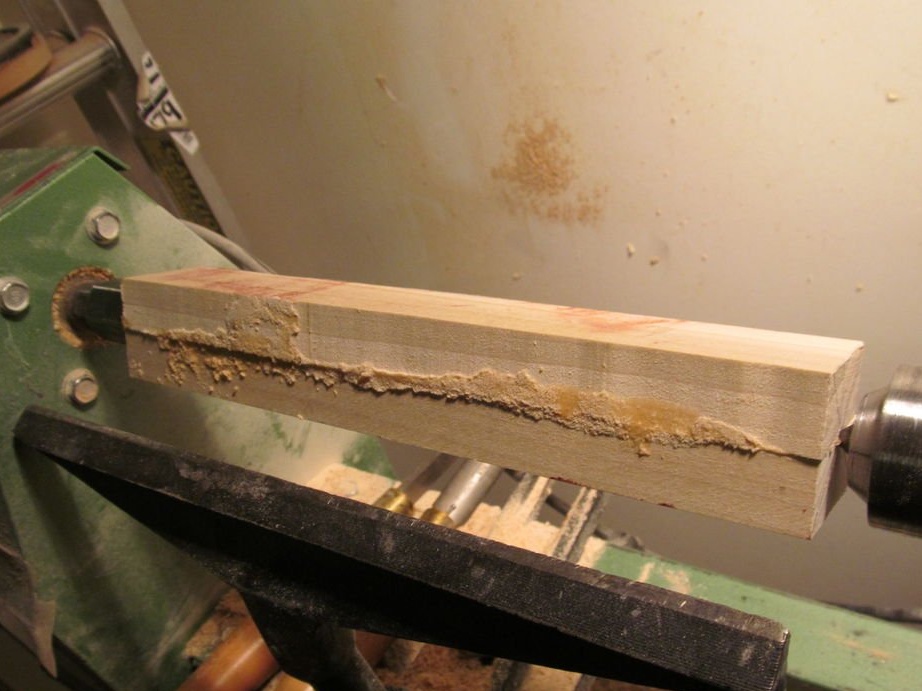
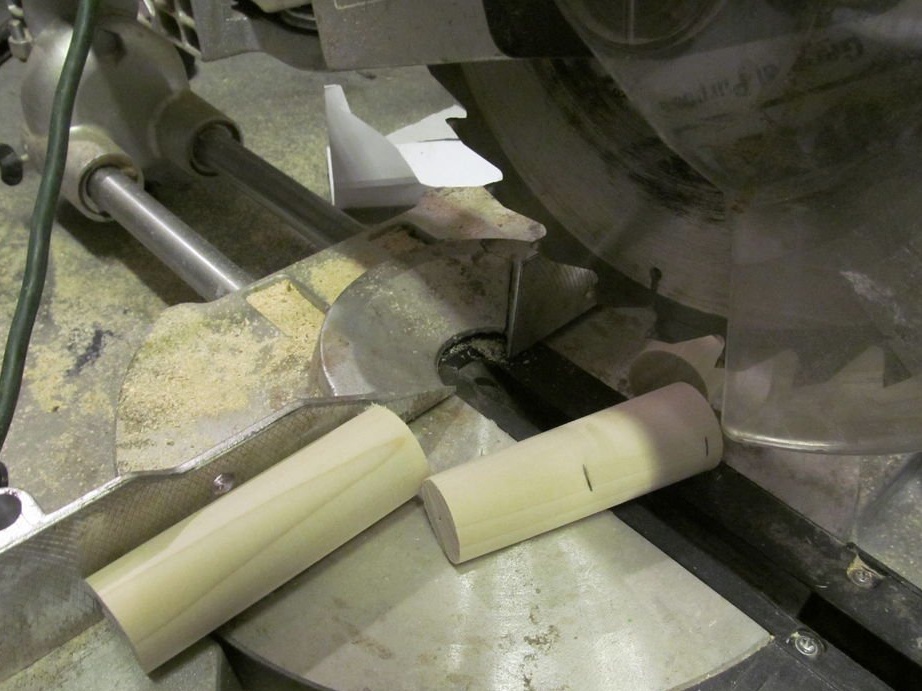
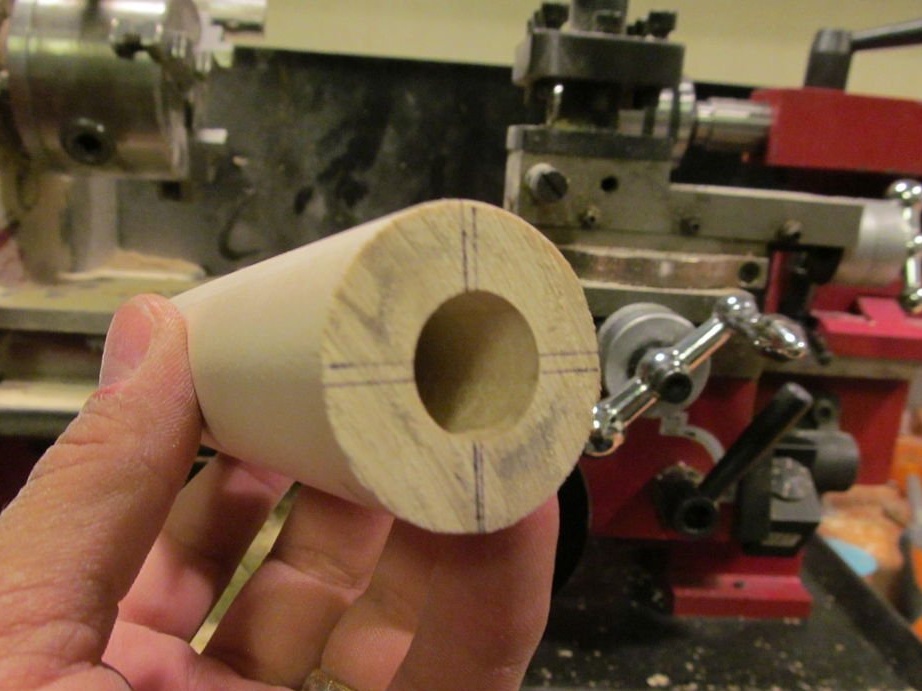
First you need to make a blank. The master cuts the wooden planks and glues them together. It is necessary to make a blank for the handle and the cap.
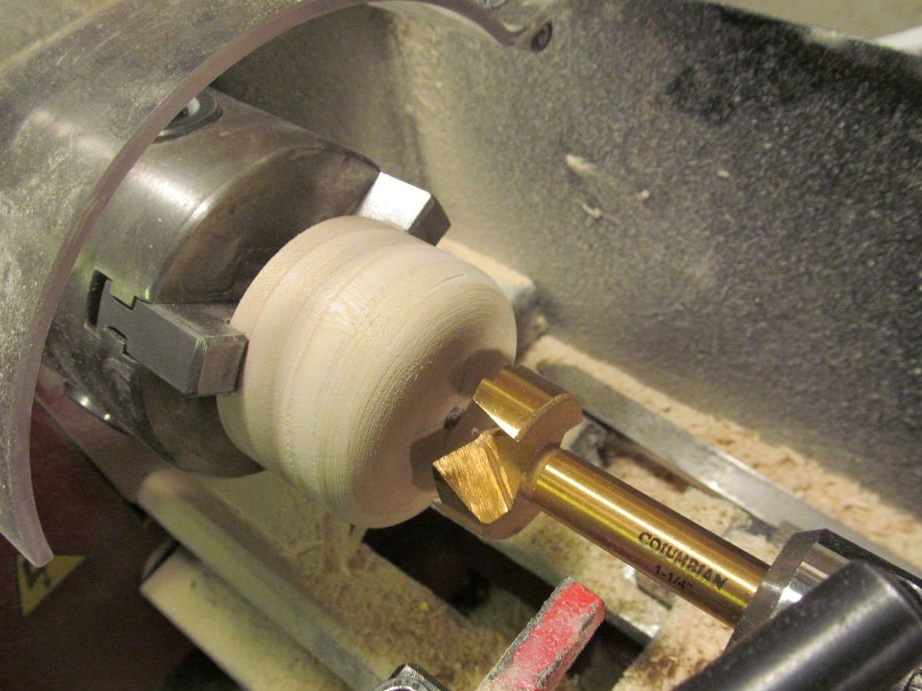
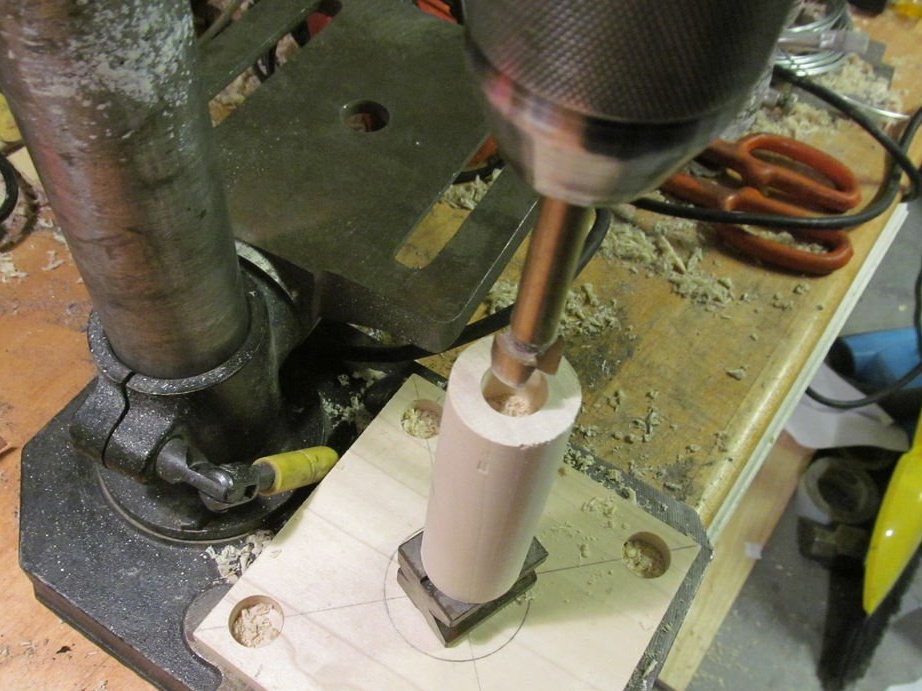
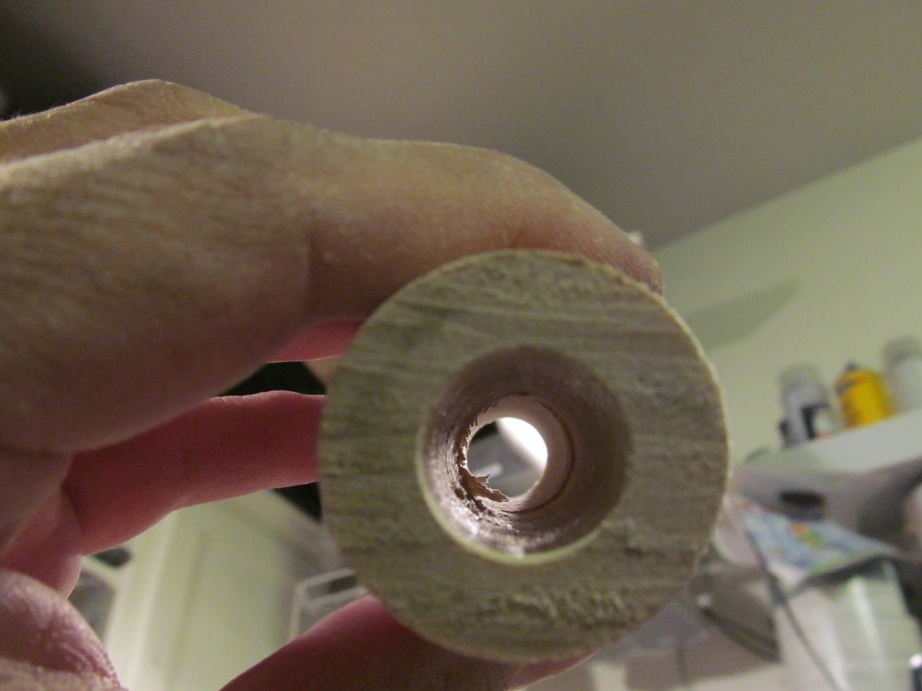
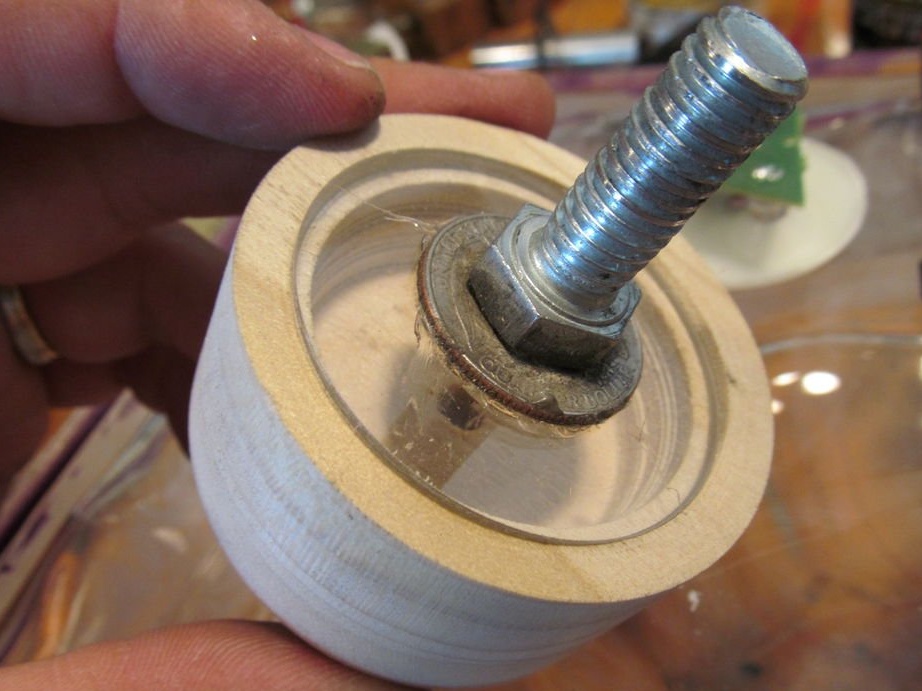
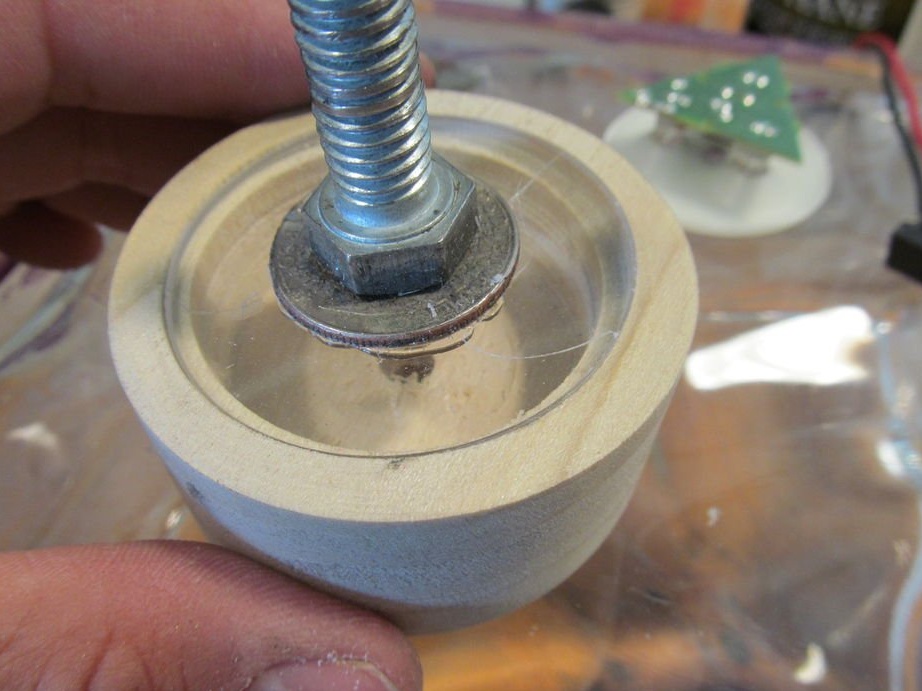
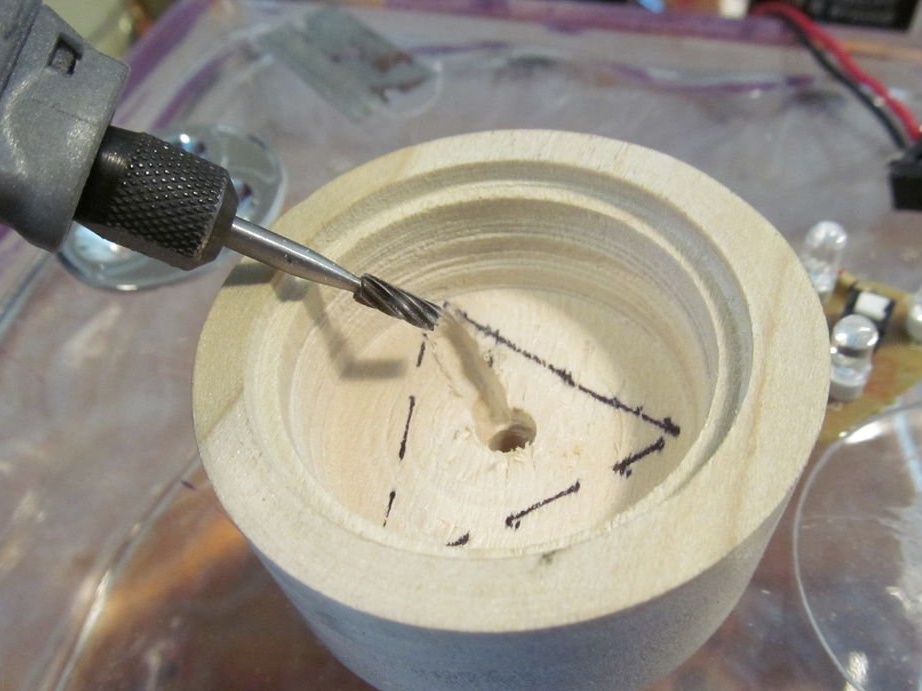
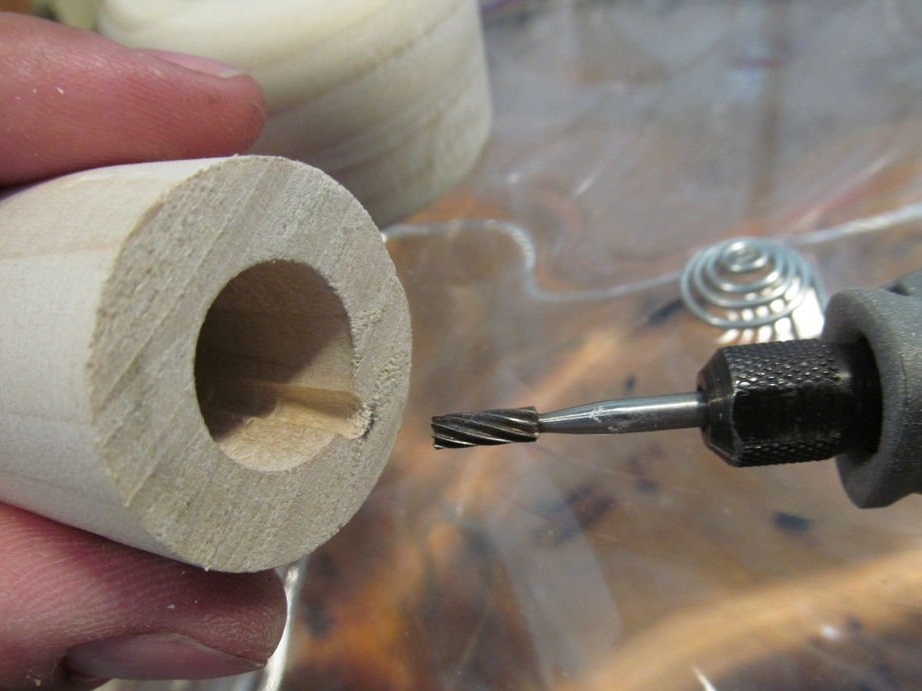
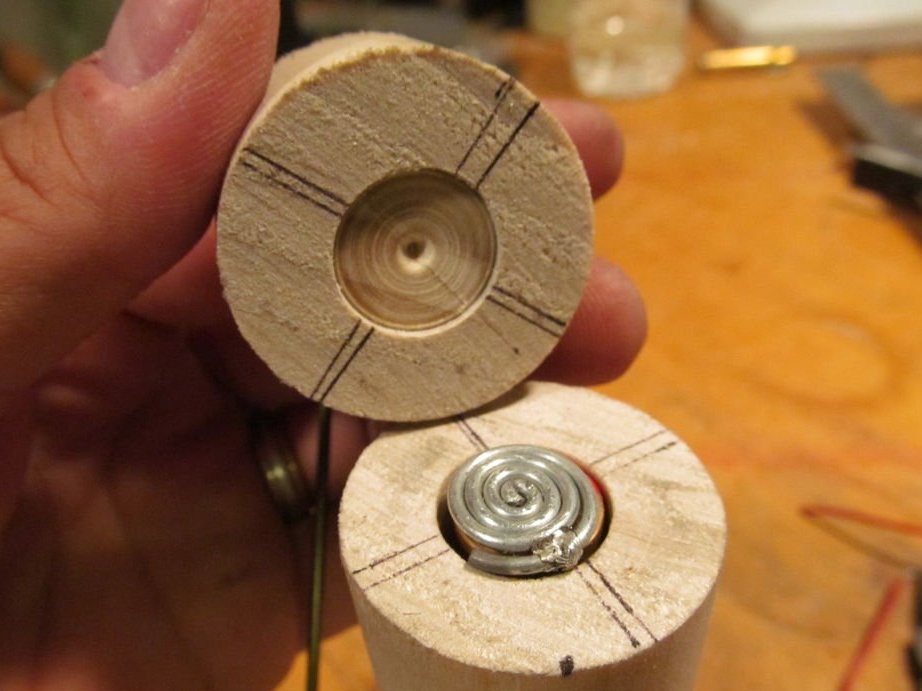
Installs the workpiece in a lathe and grinds it. Inside, it makes a niche for installing LEDs, a reflector and makes a groove for protective glass. On the reverse side, I ground the seat for mounting the handle.

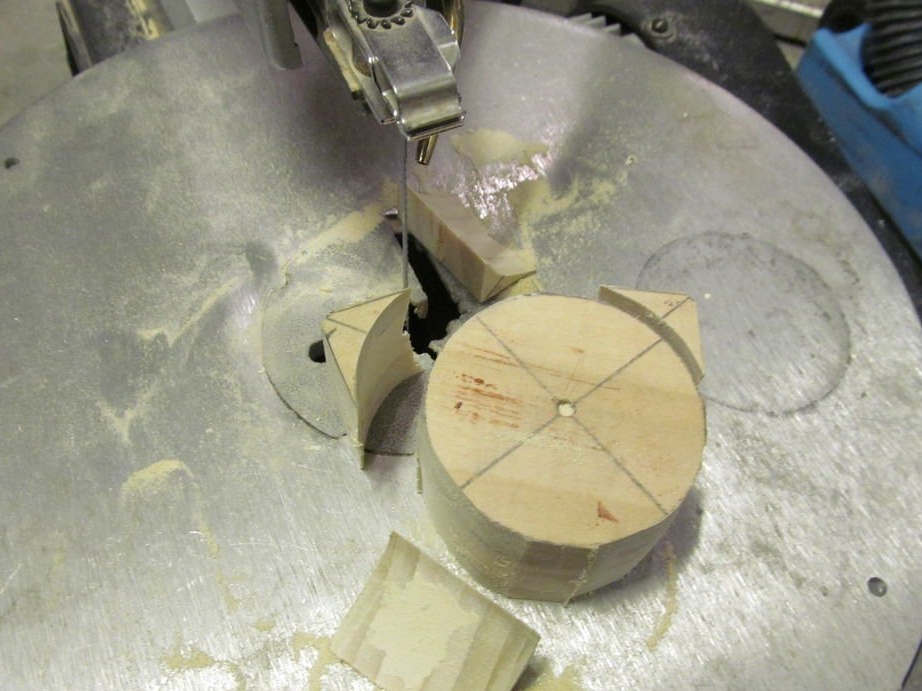

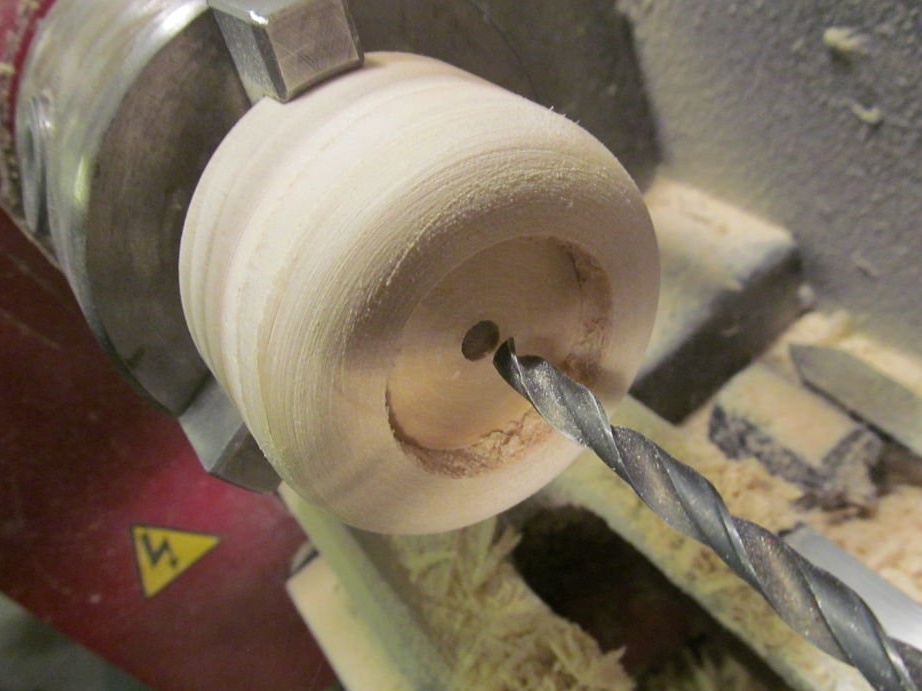
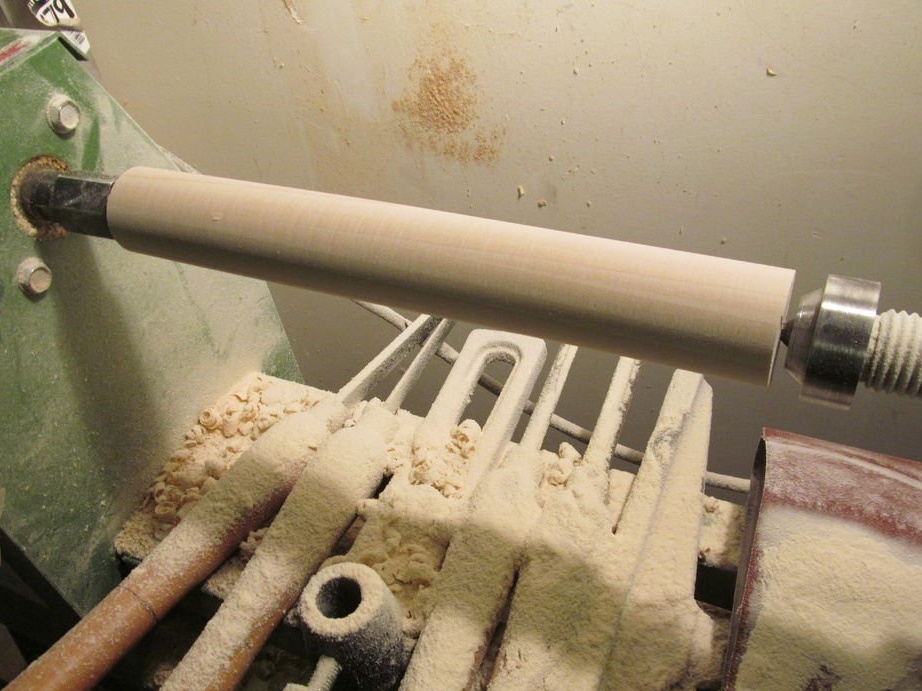
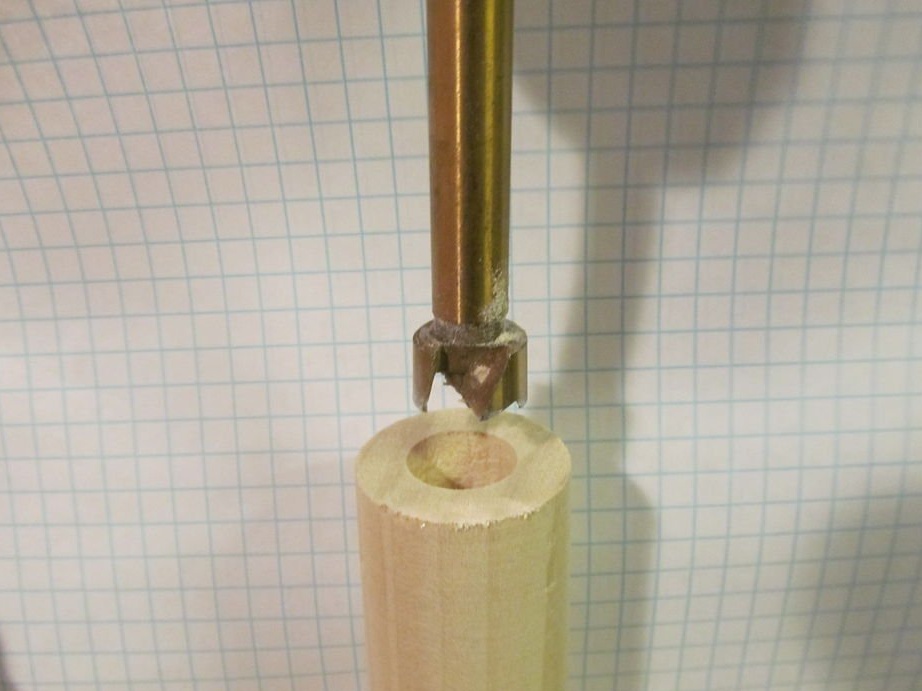
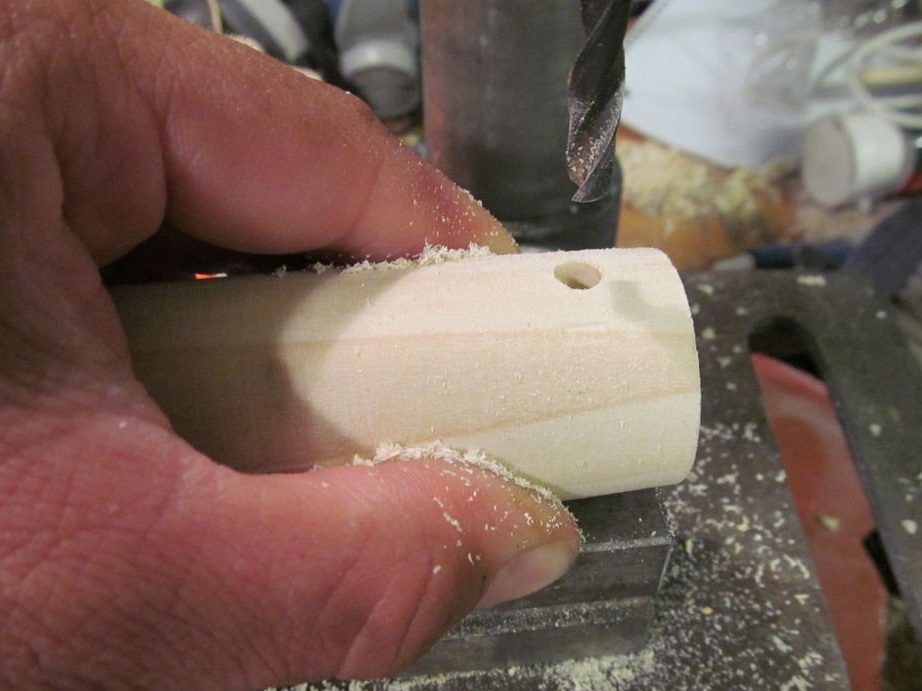
Sets the handle blank to the lathe. Grinds. Drills a through hole in the handle.
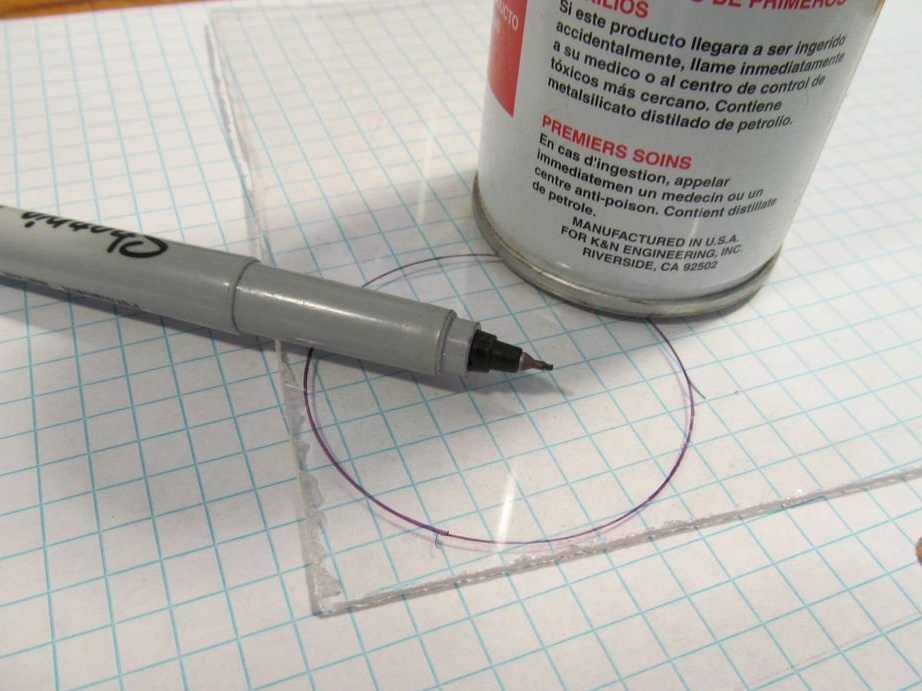
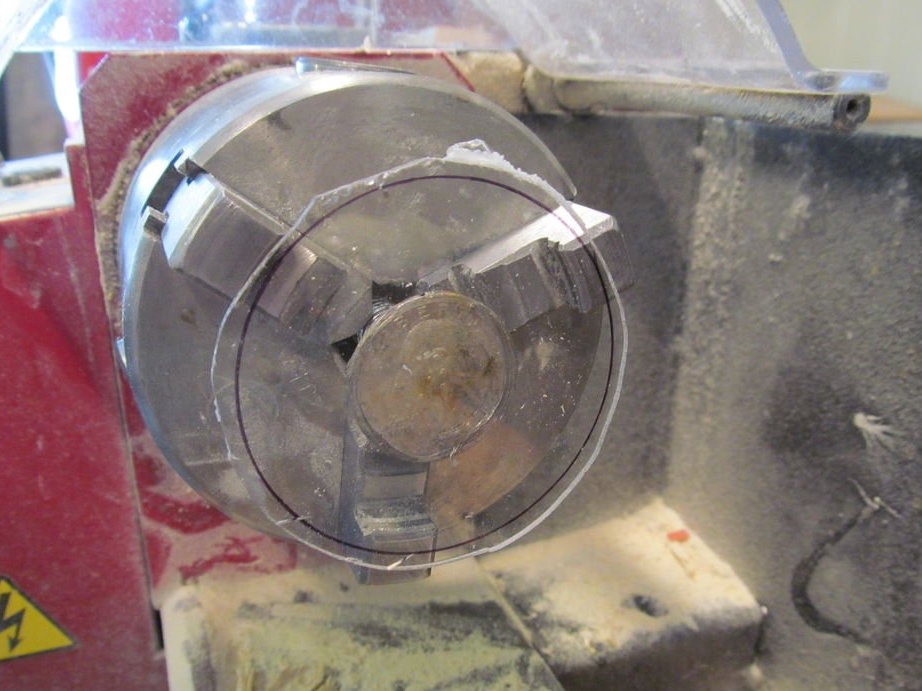
Step Three: Glass
Glass master carved from acrylic. Then fit, in size, on the lathe.

Step Four: Build
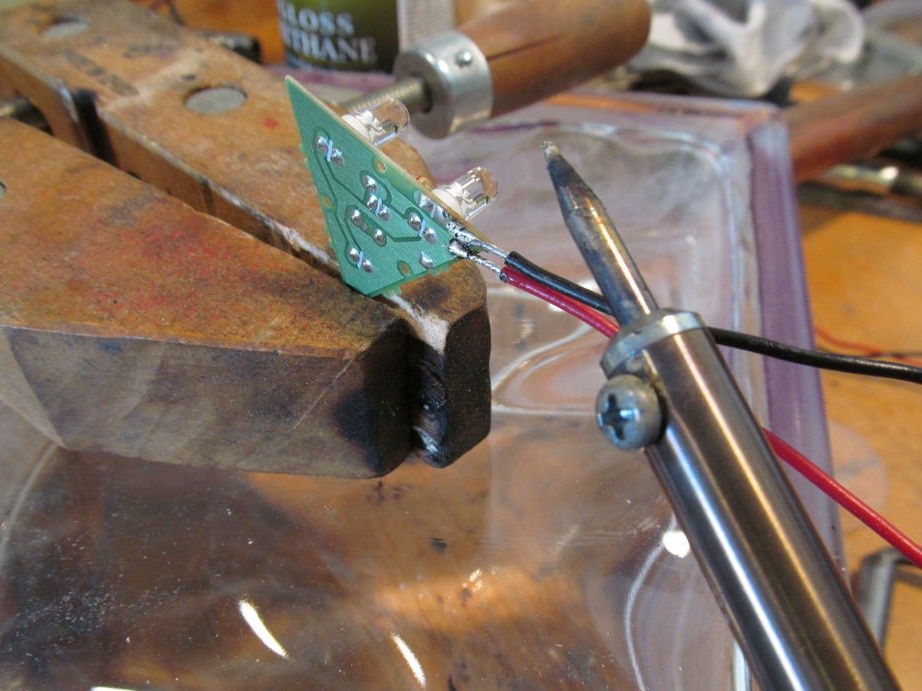
The wires are soldered to the LED board. Installs it inside the base. Installs the reflector and temporarily secures with an elastic ring.
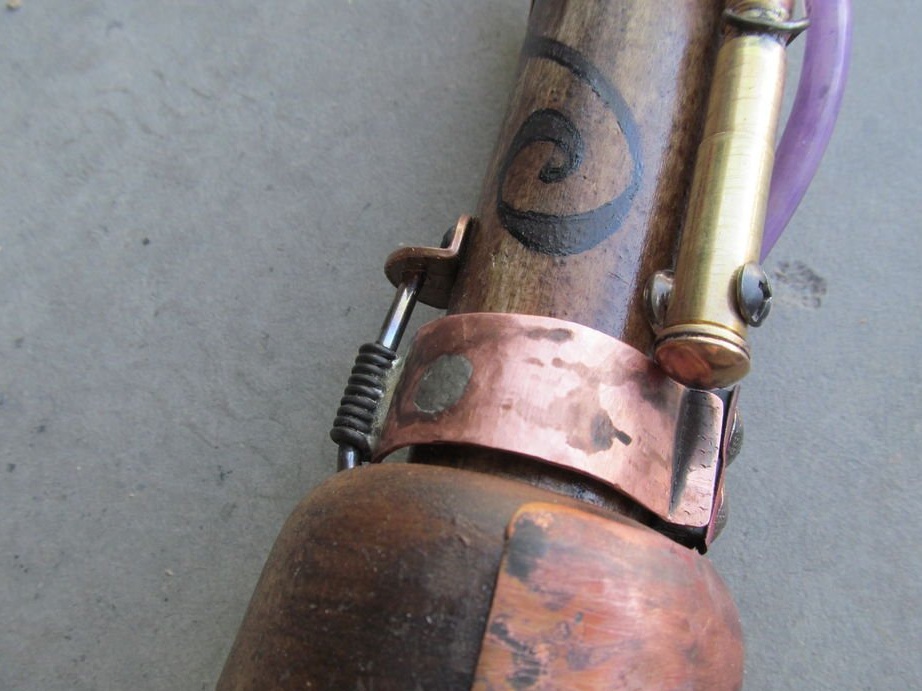
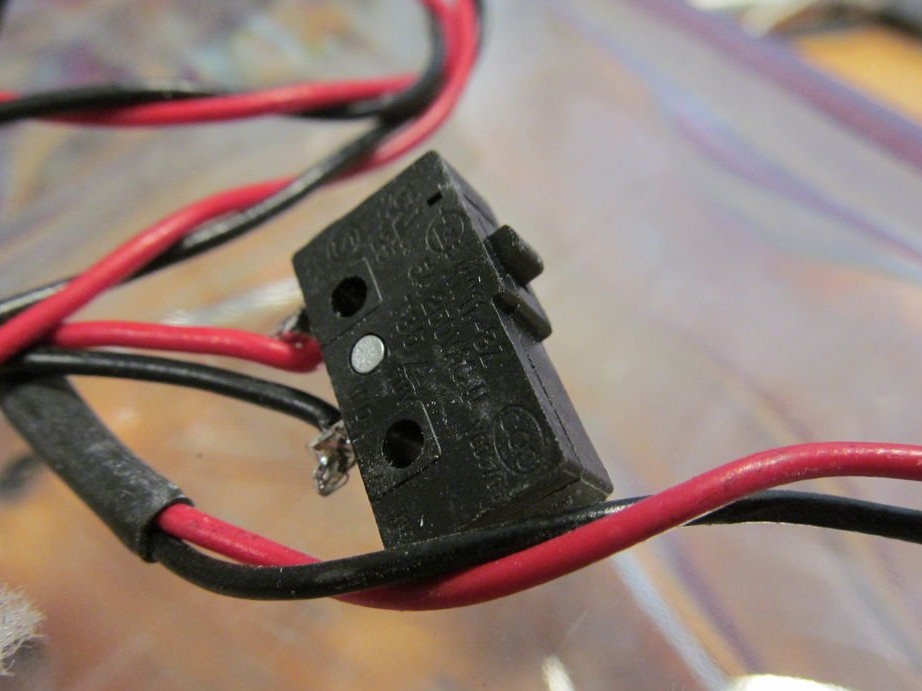
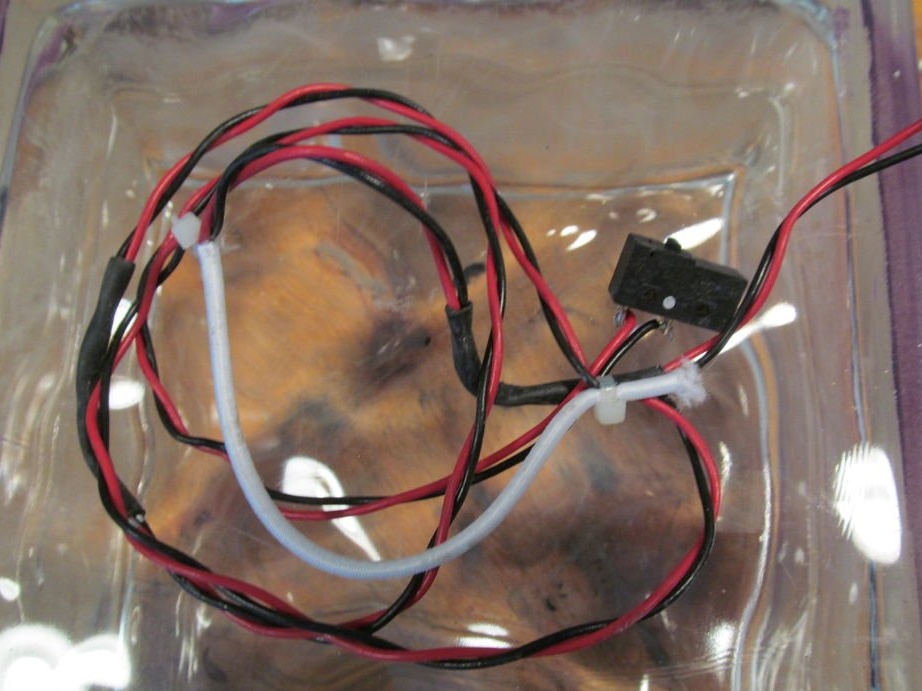
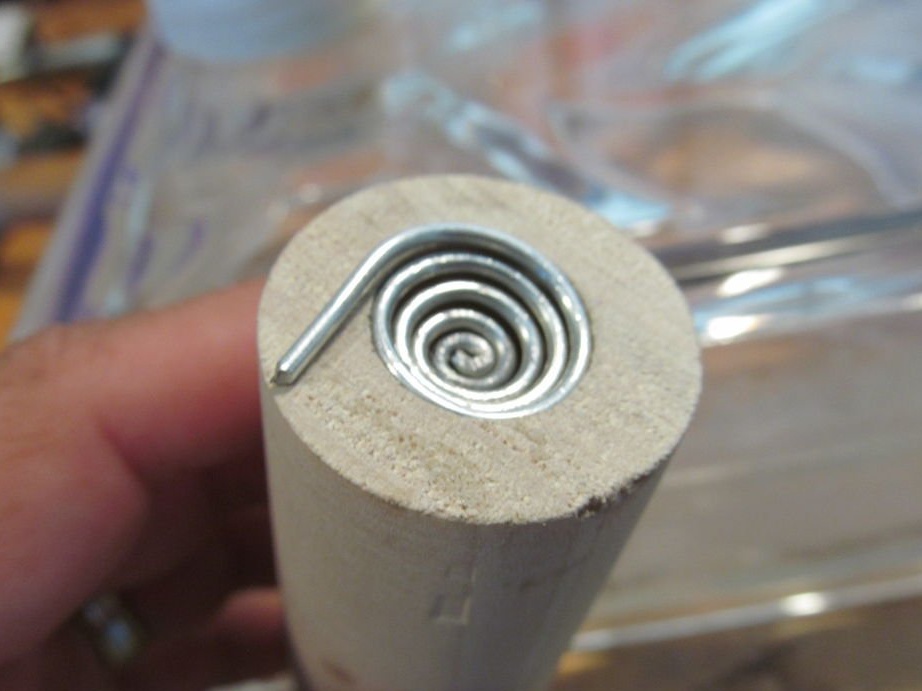
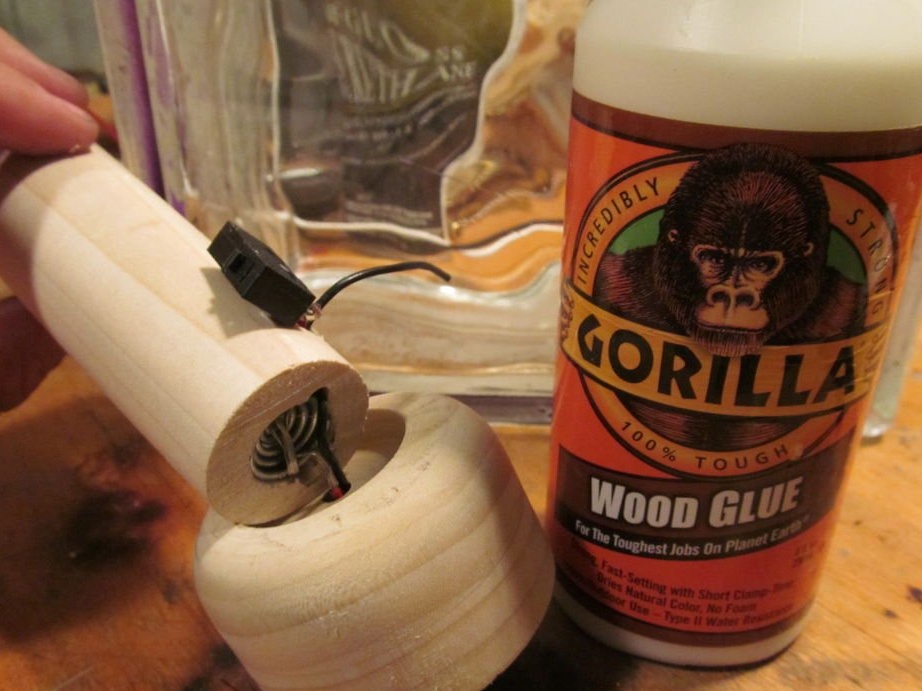
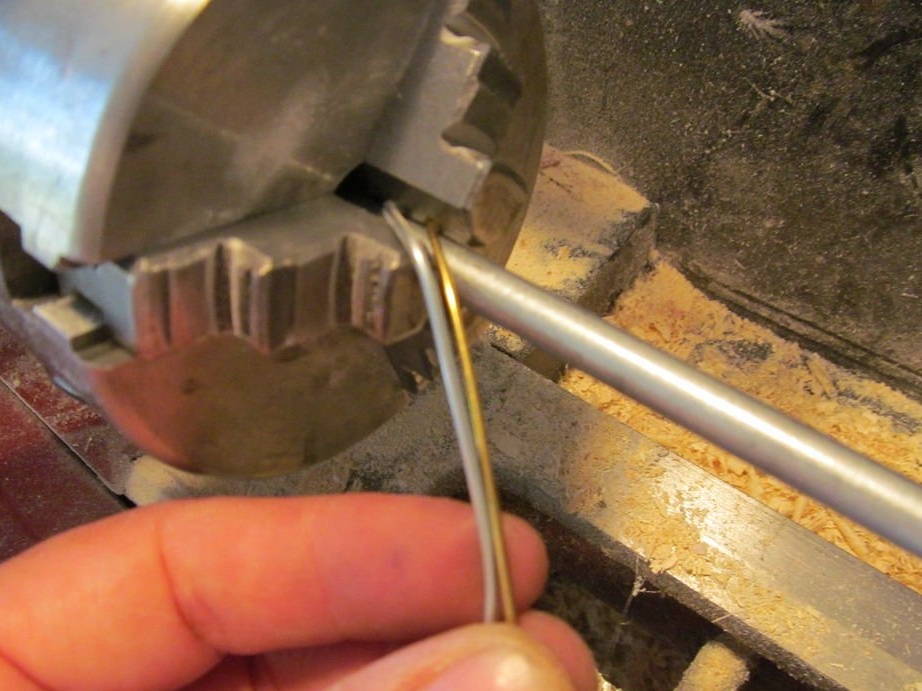
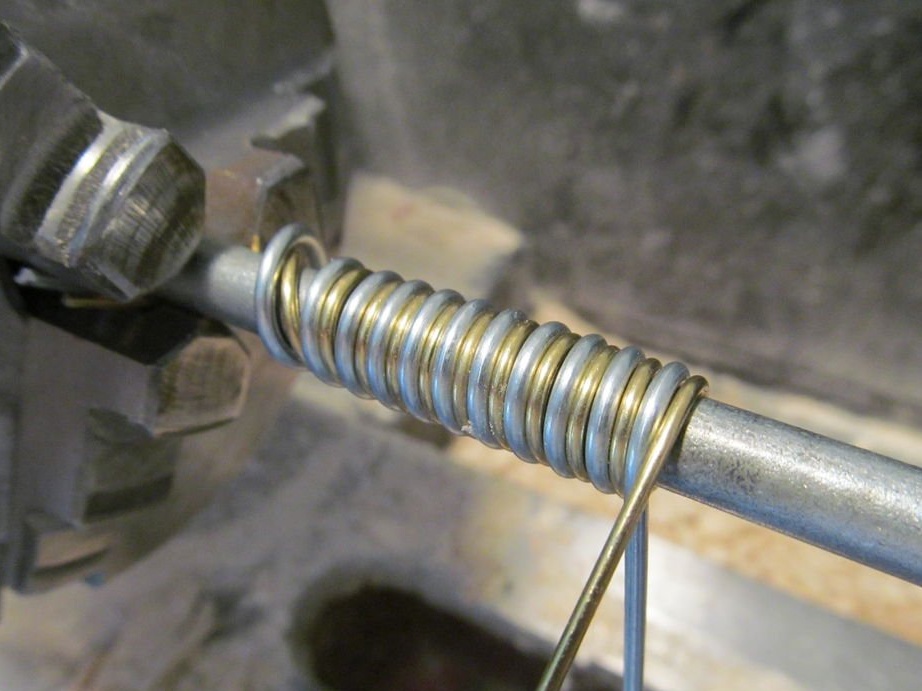
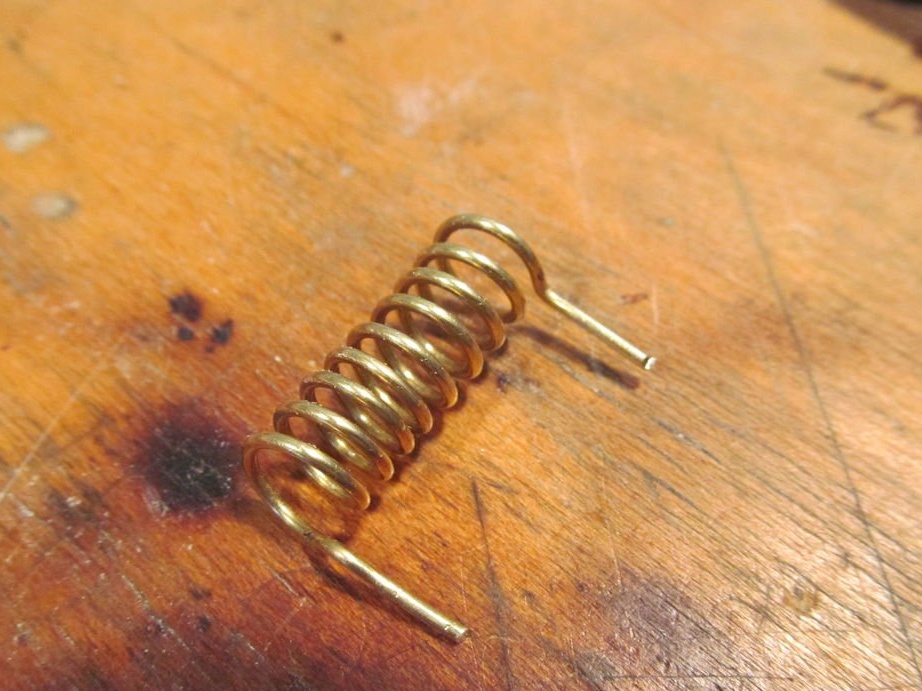
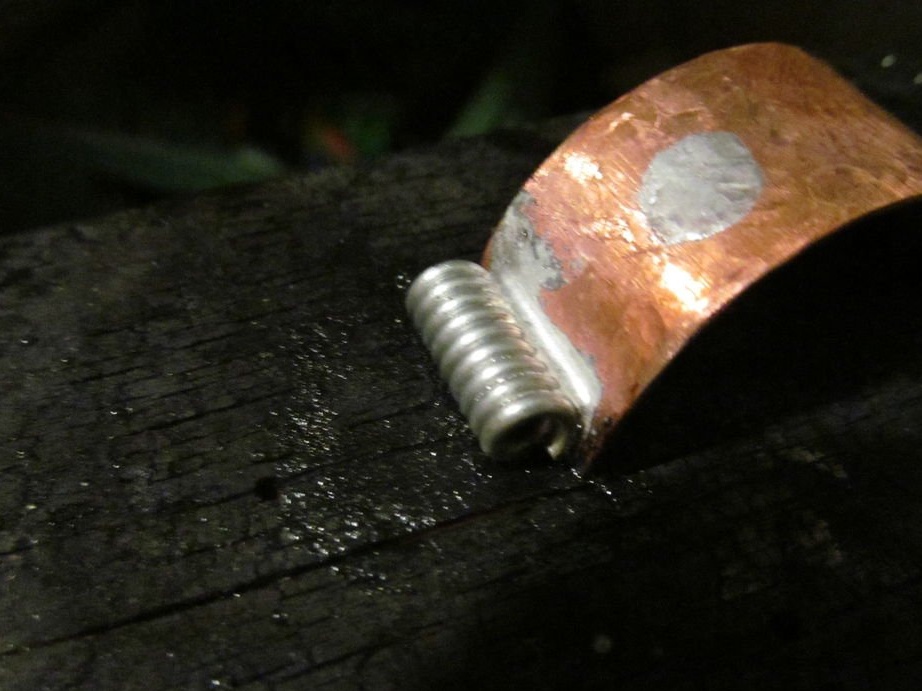
Solder the switch. Twists the contact spring out of wire. Stretches and solders wires.
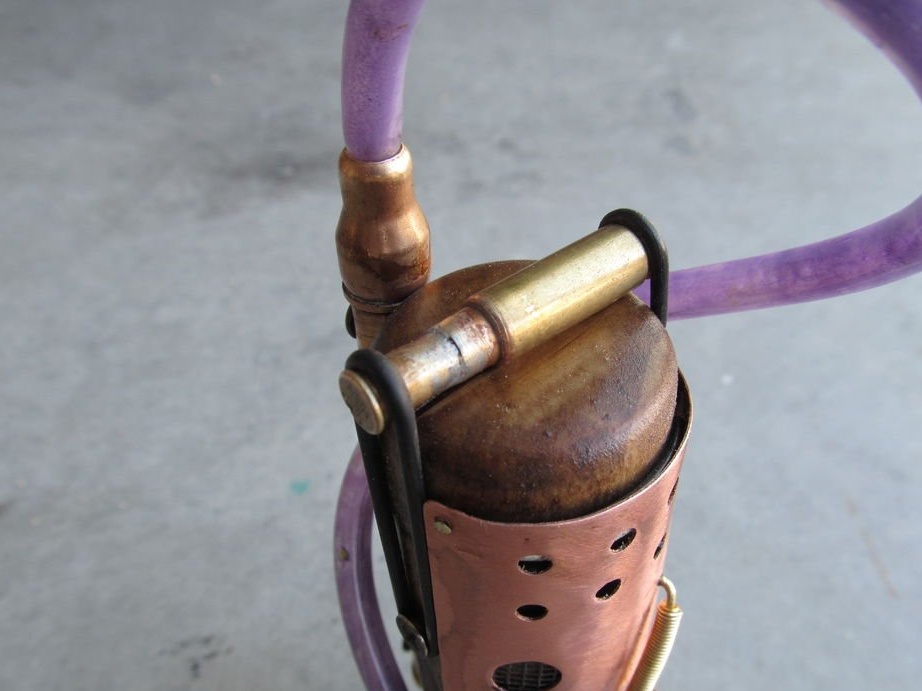
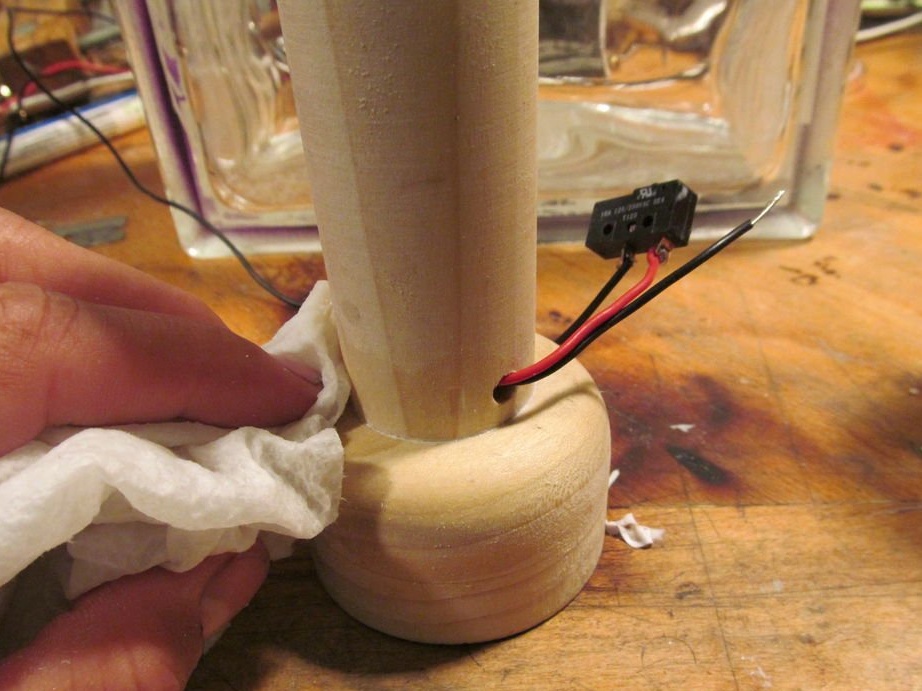
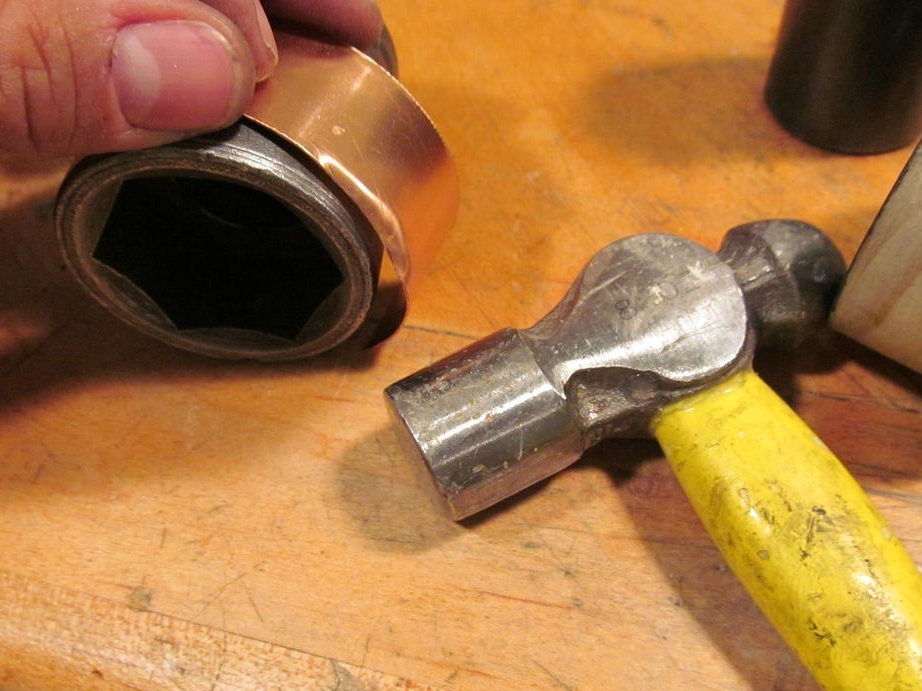
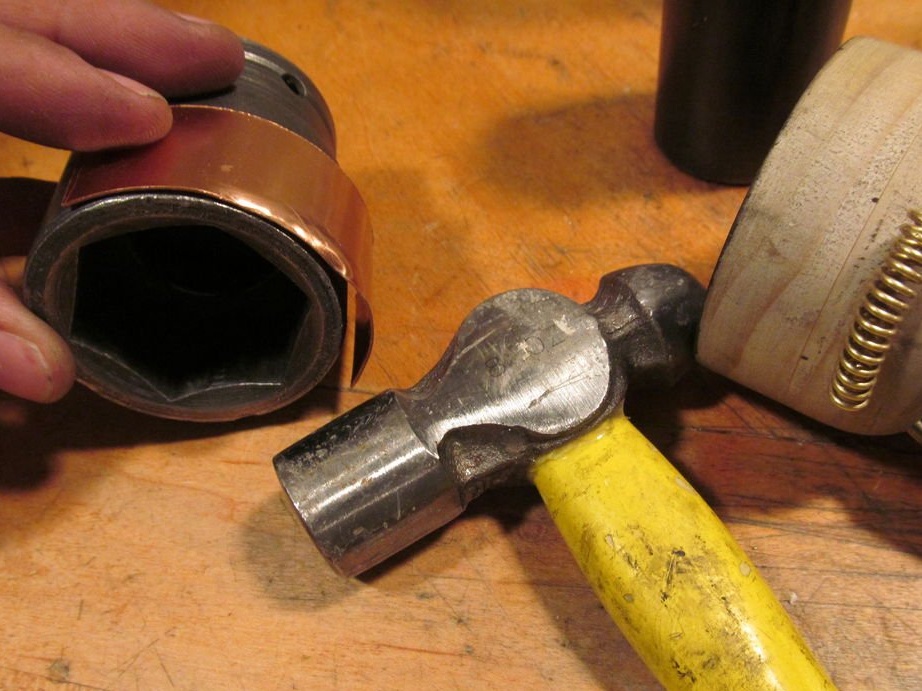
Glues two parts of the body, the handle and the base. Installs the back cover.
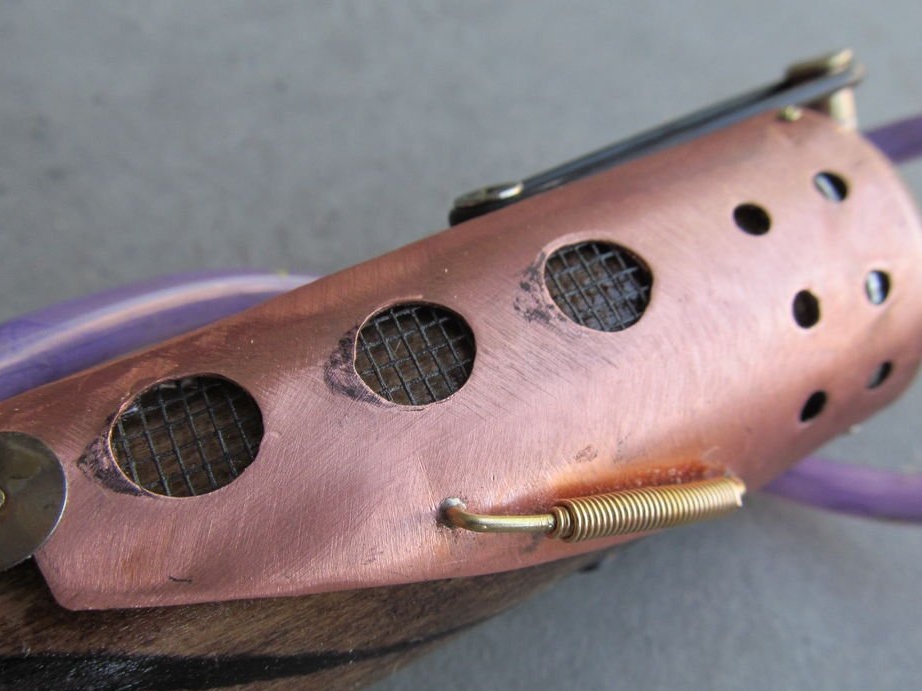
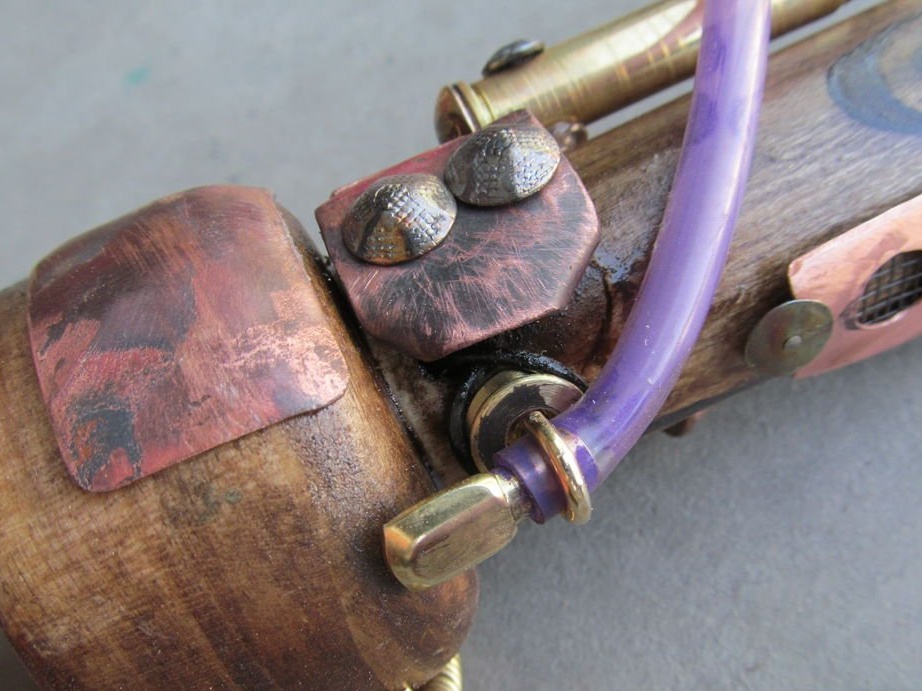
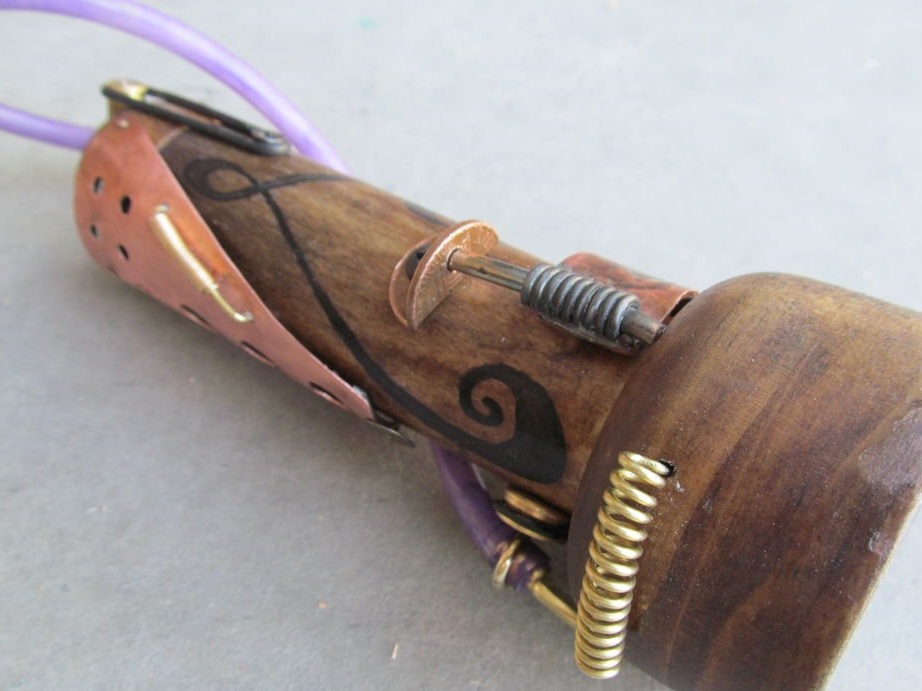
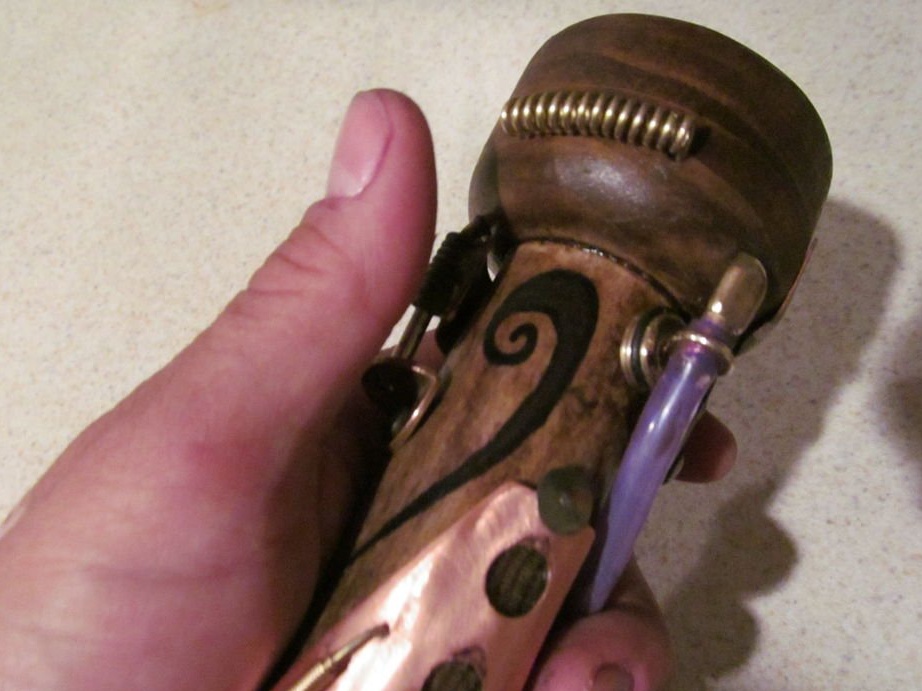
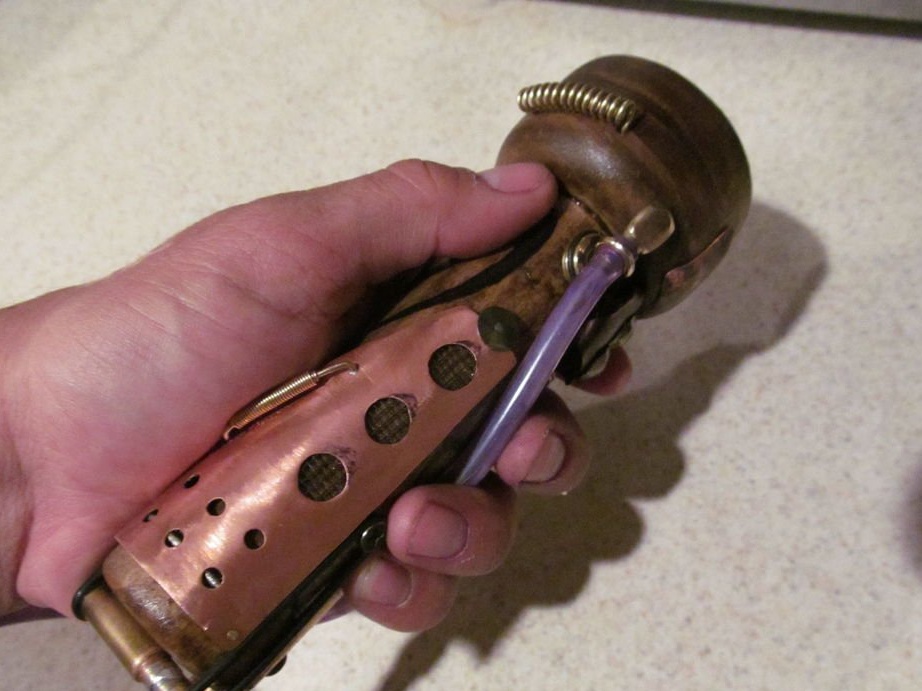
Step Five: Decorative Details
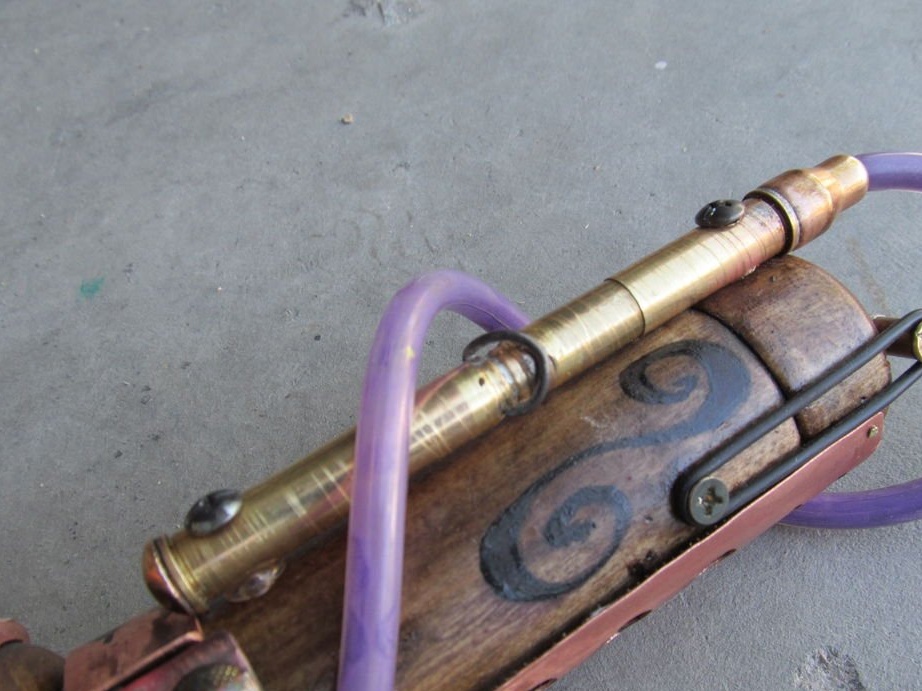
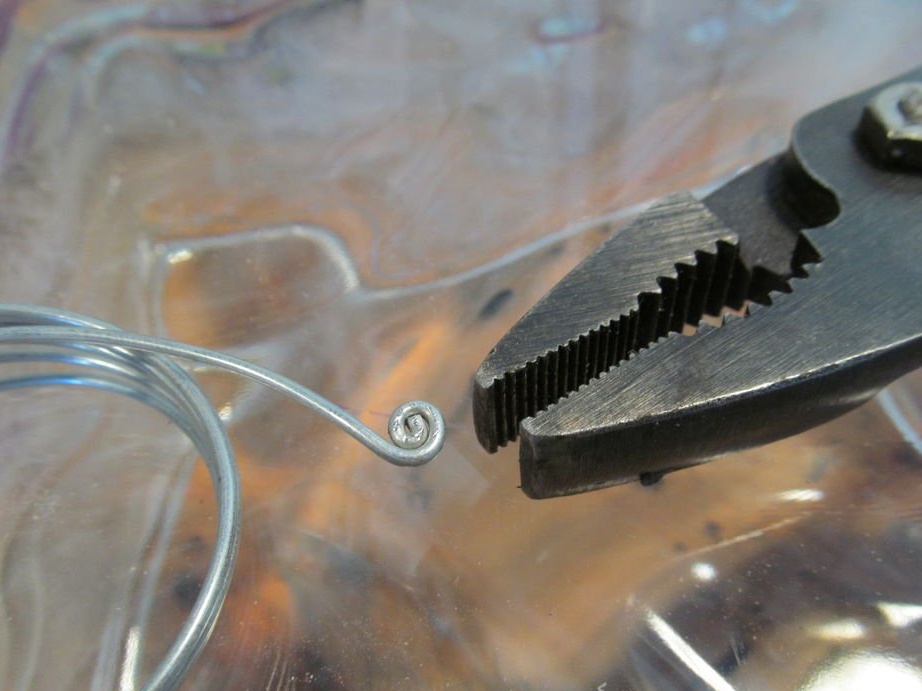
Now the master makes and customizes various decorative details of the flashlight. Here you need to be guided by the material that is available. Coils springs from wire.
Sets the buttons.
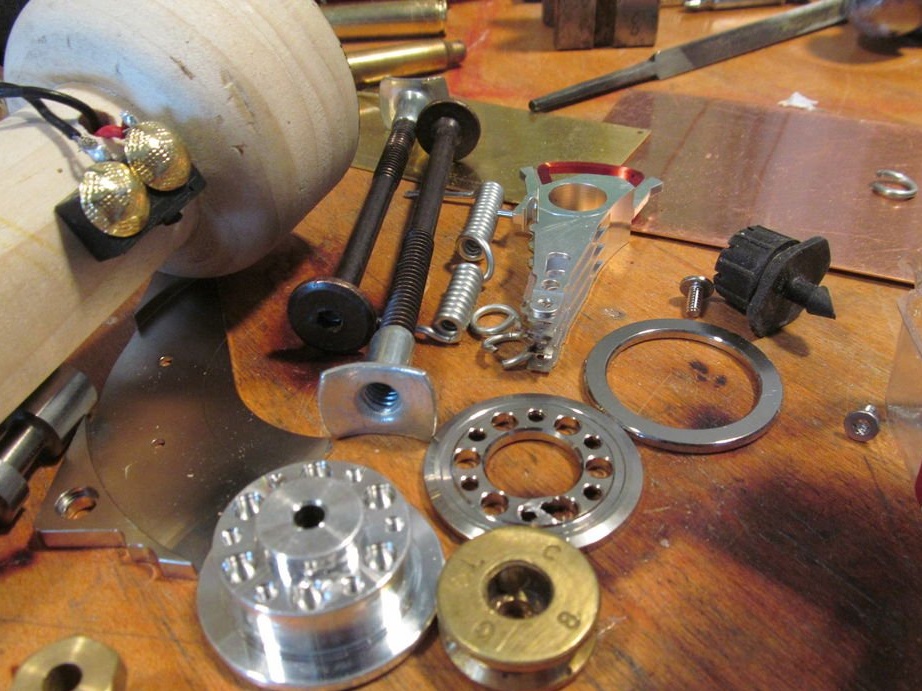
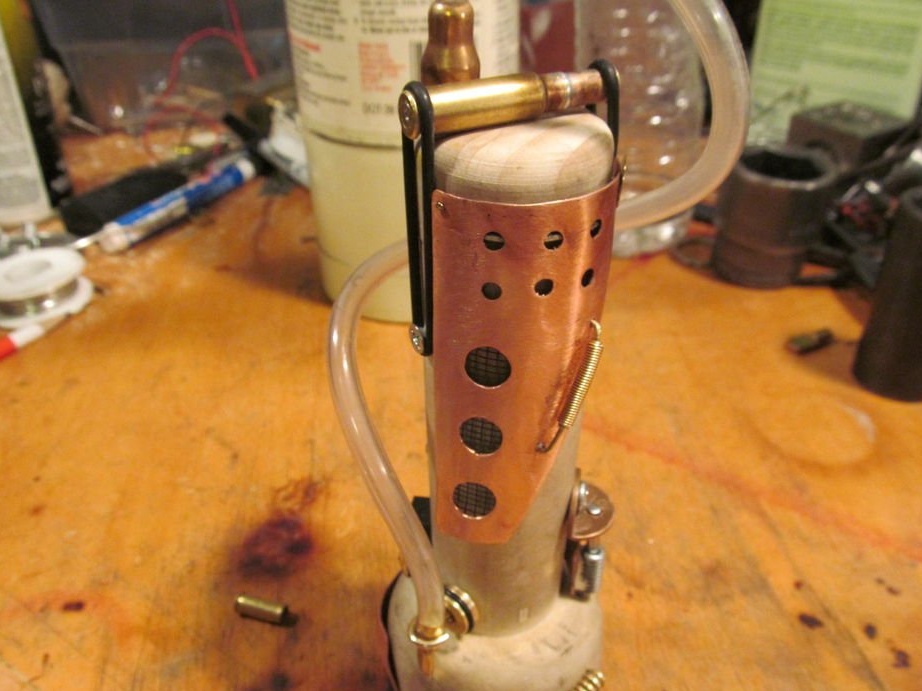
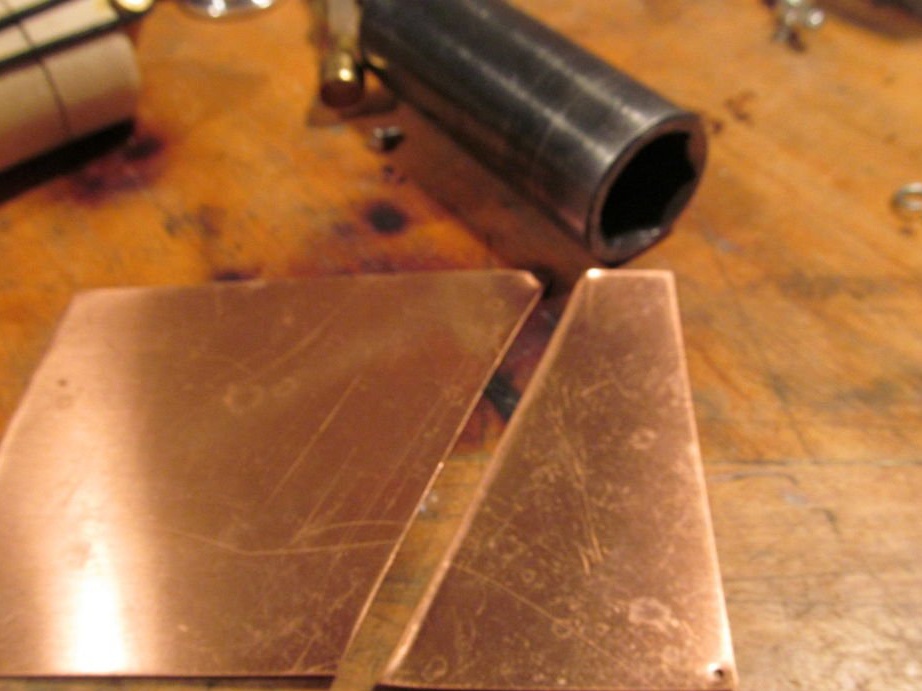
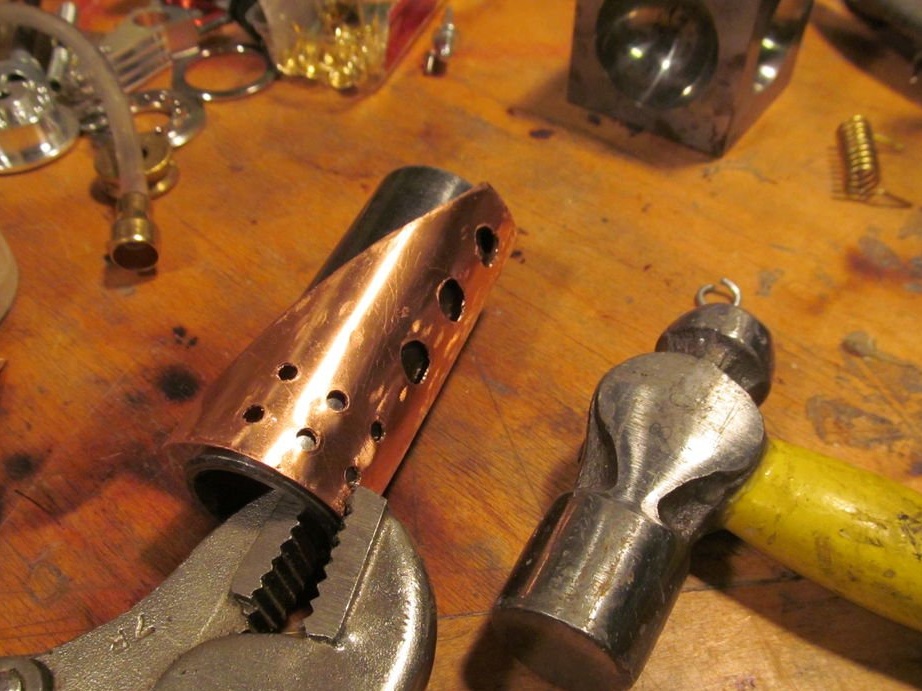
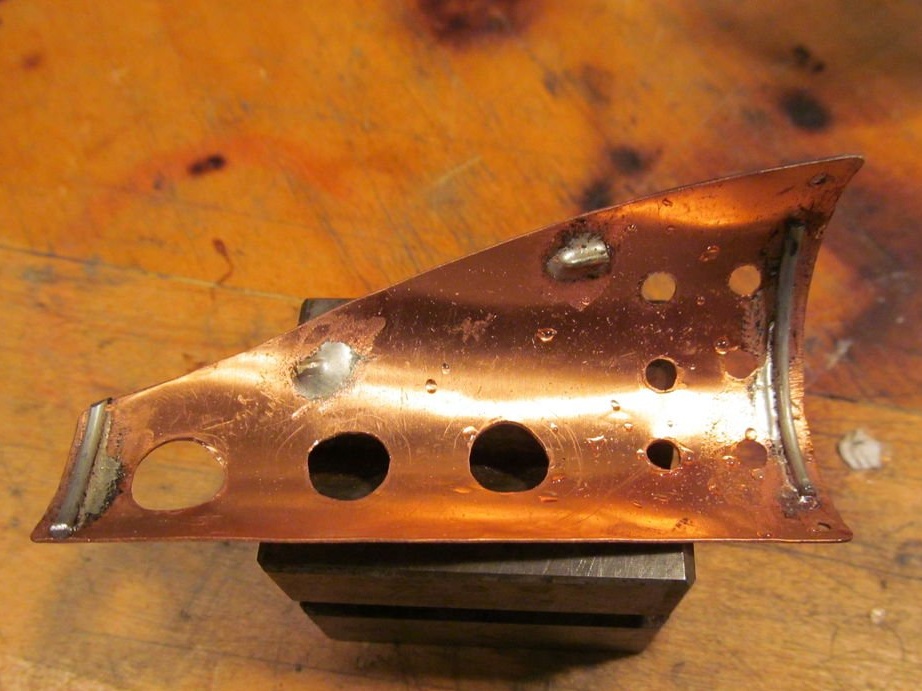
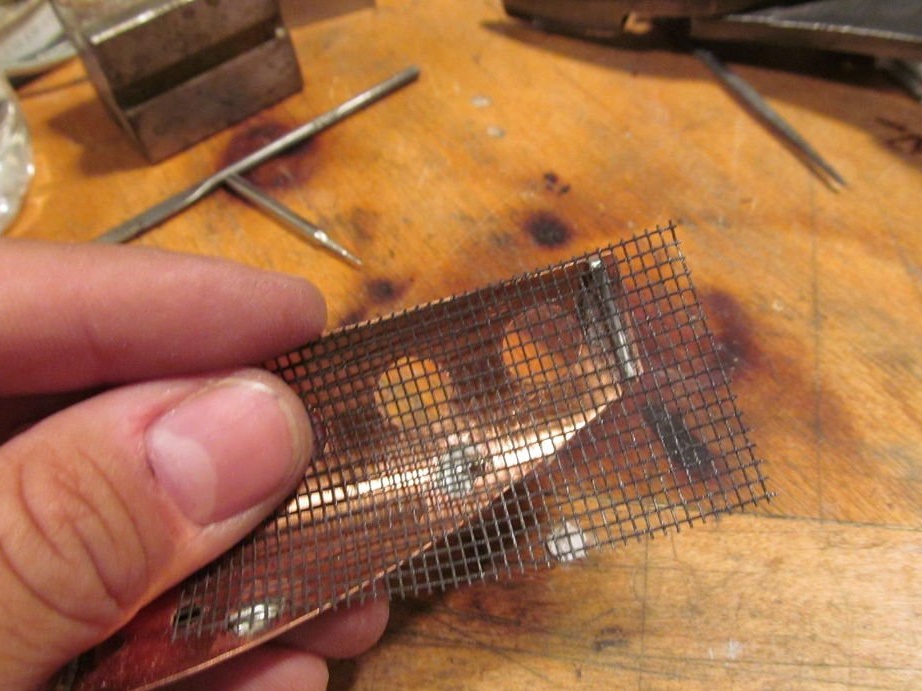
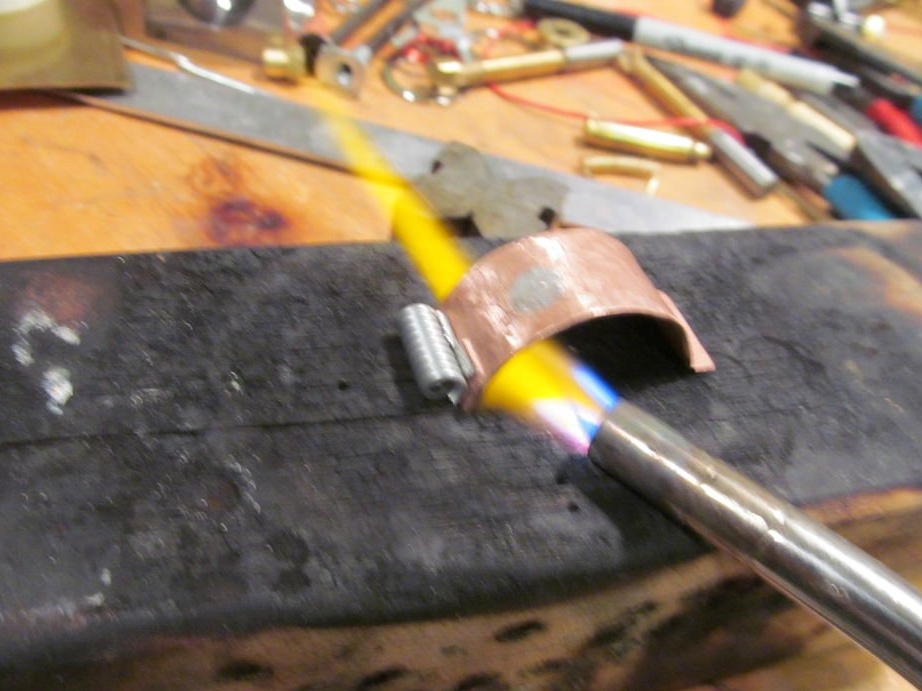
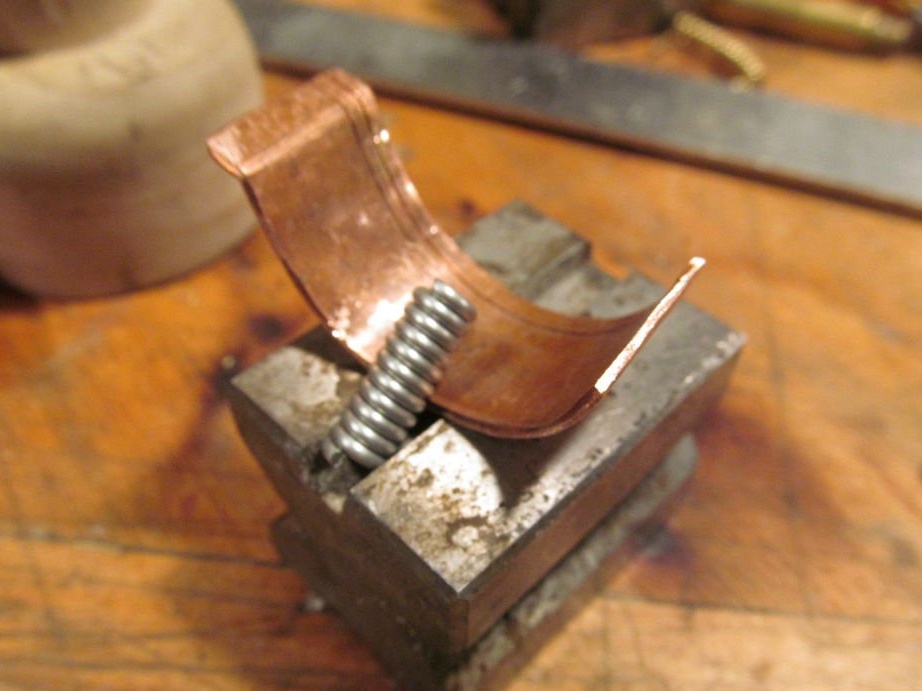
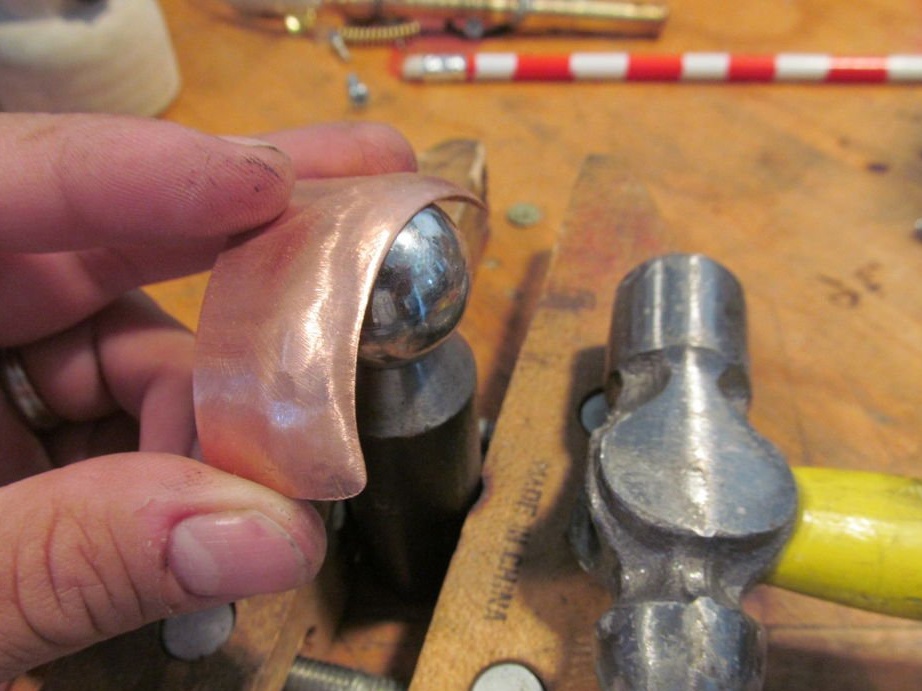
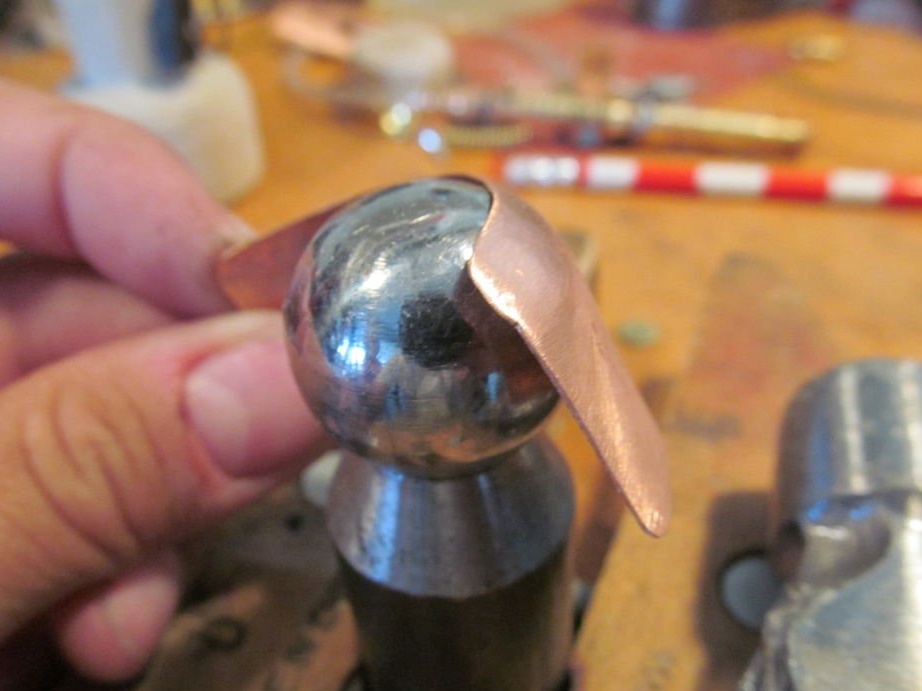
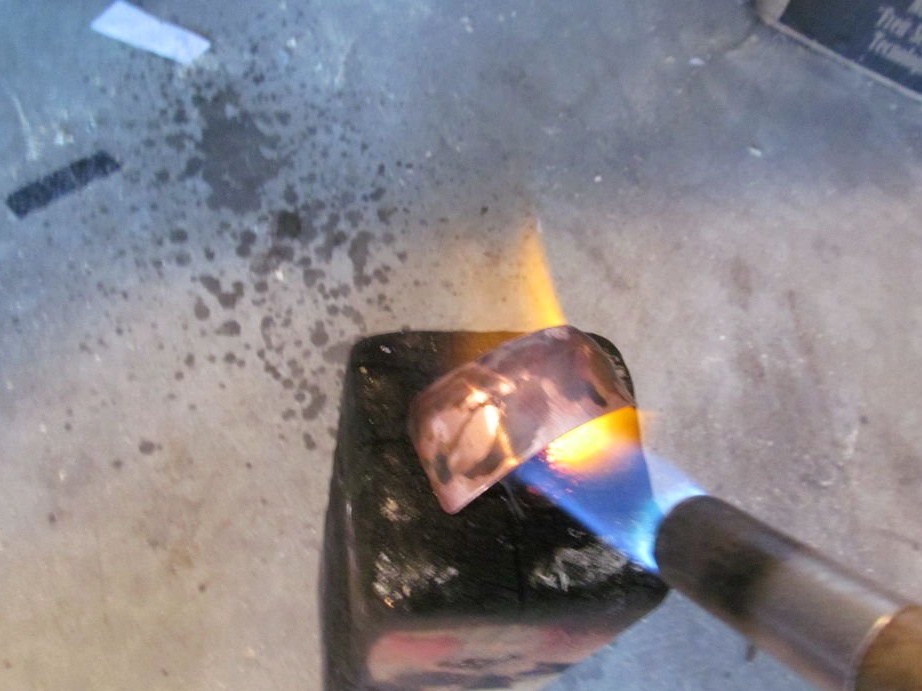
From the copper sheet cuts the lining. In one of them, he drills holes and solders a spring and a mesh to the pad. Bends them in the shape of a flashlight handle. Using a smaller pad, the flashlight will turn on.
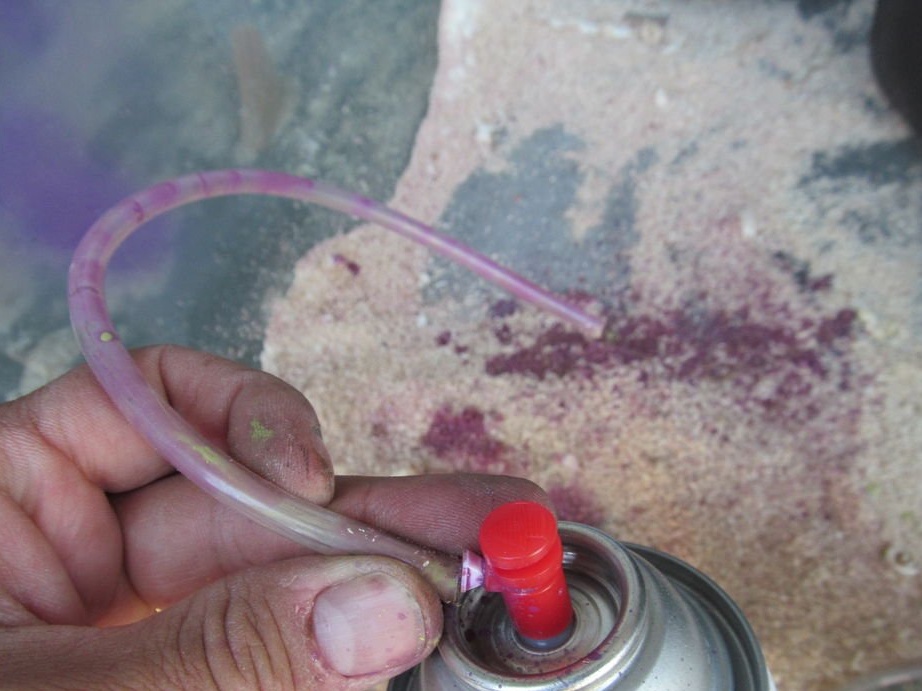
Paints a plastic tube from the inside.
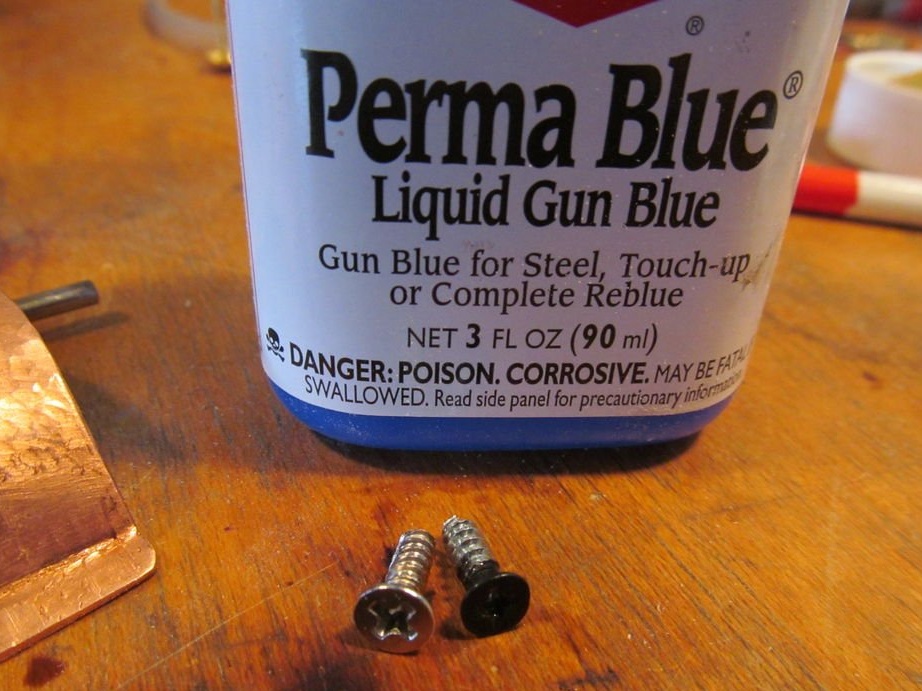
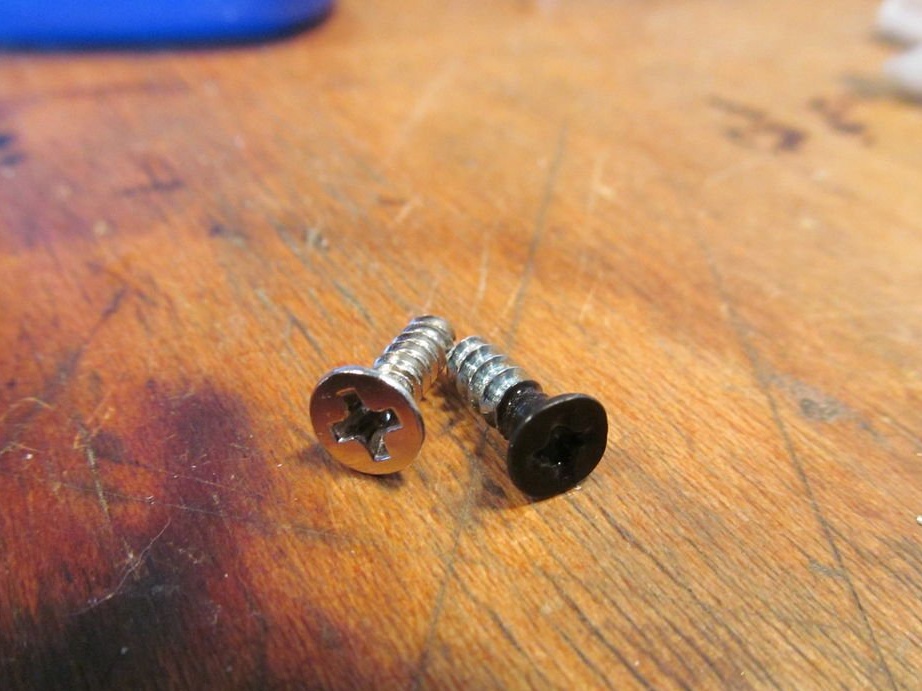
Paints fixing bolts.
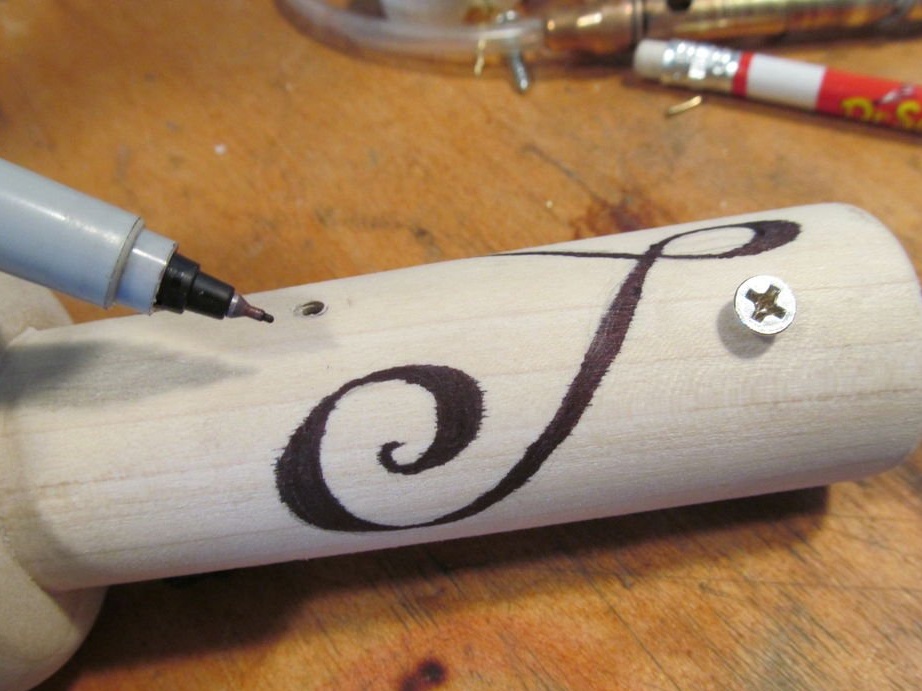
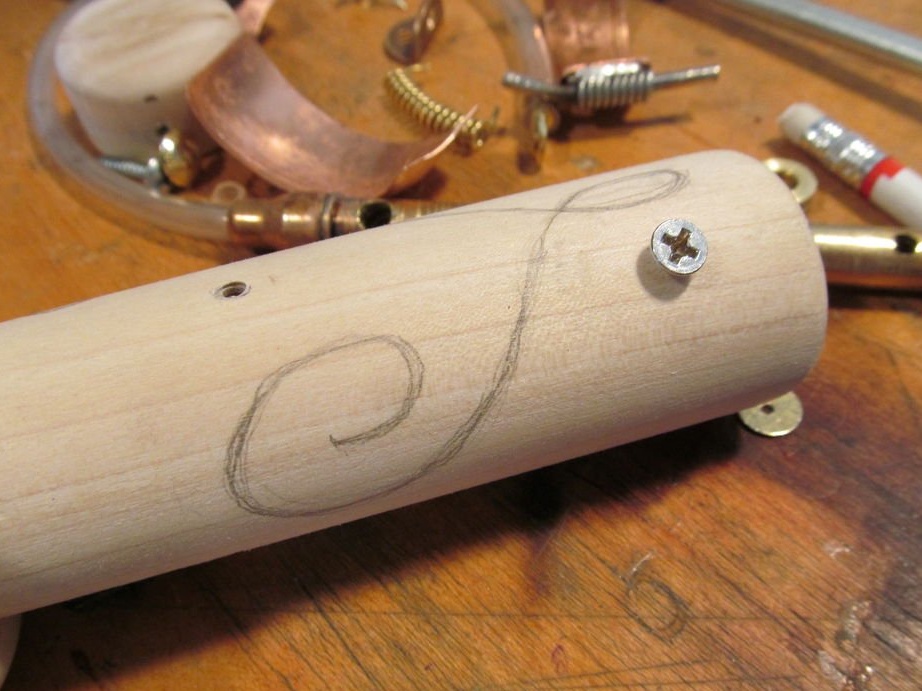
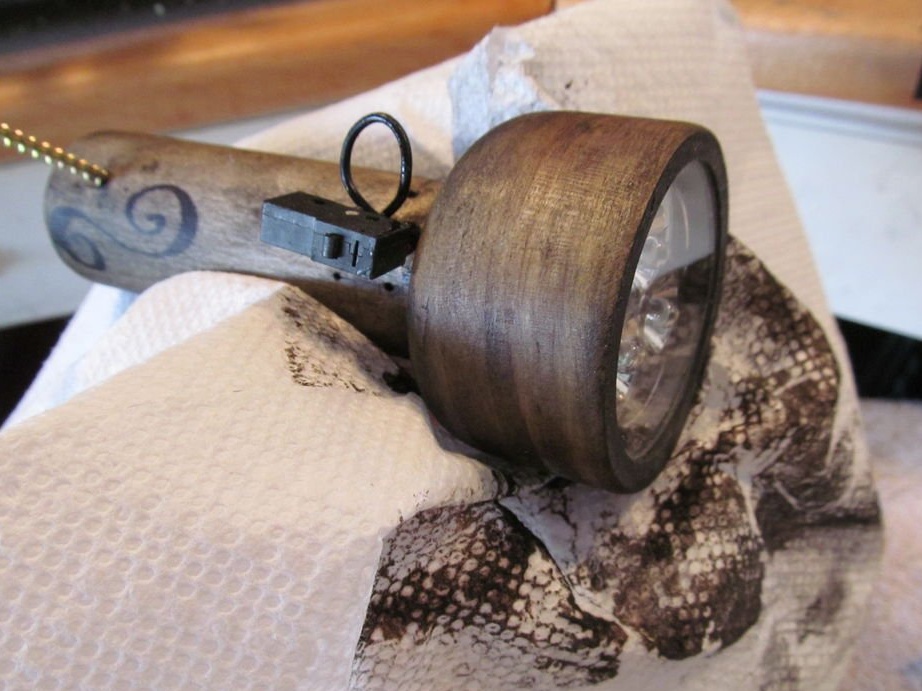
Step Six: Staining
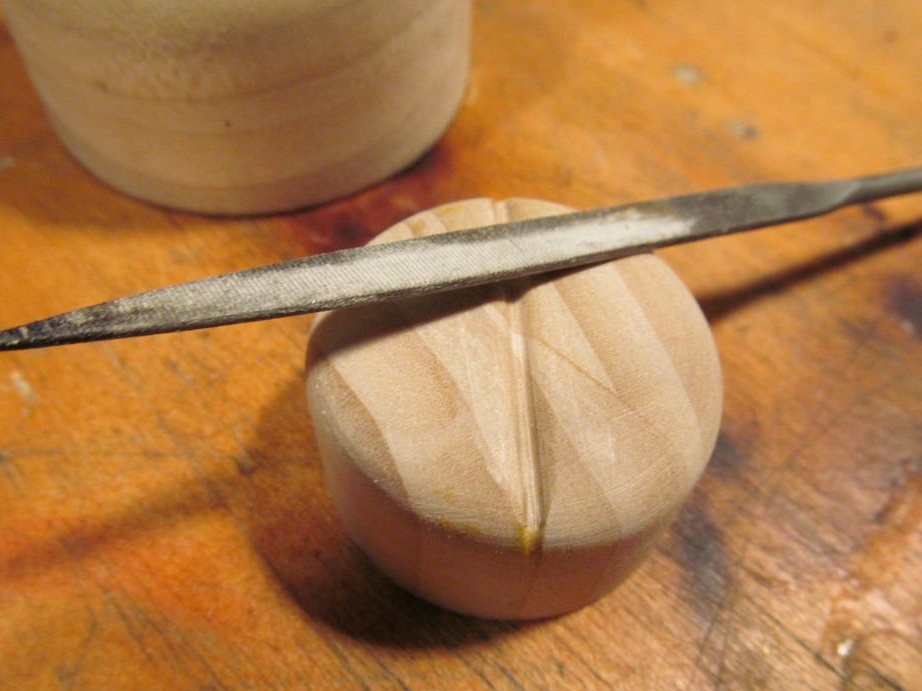
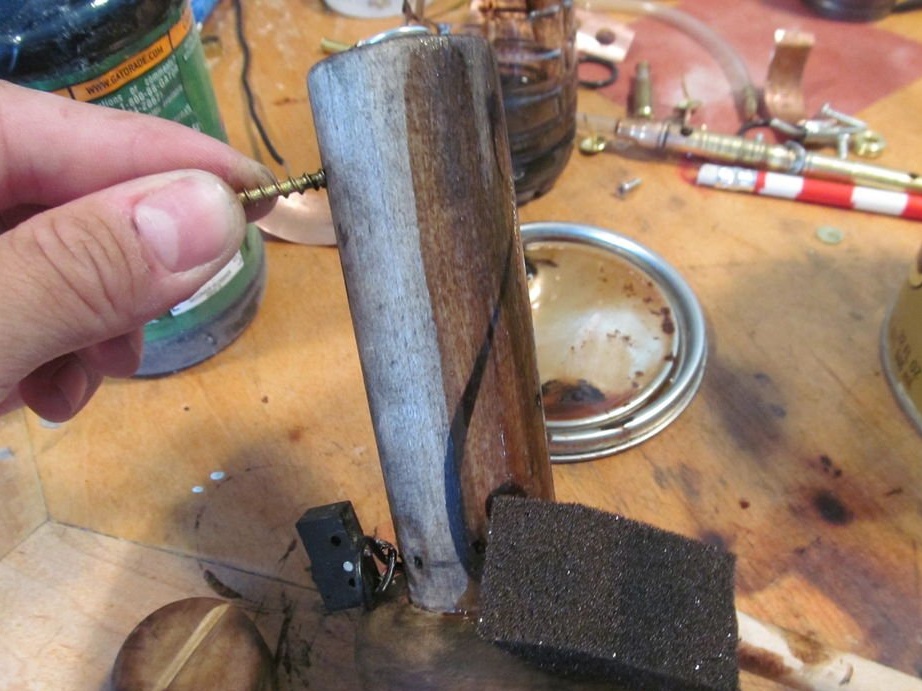
Before painting, the master draws a pattern on the handle.
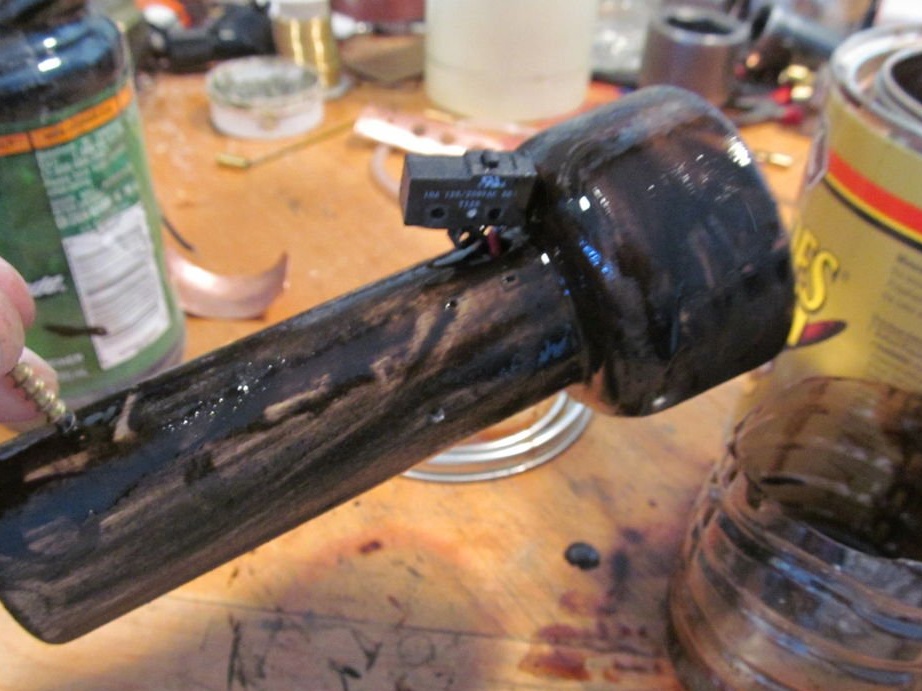
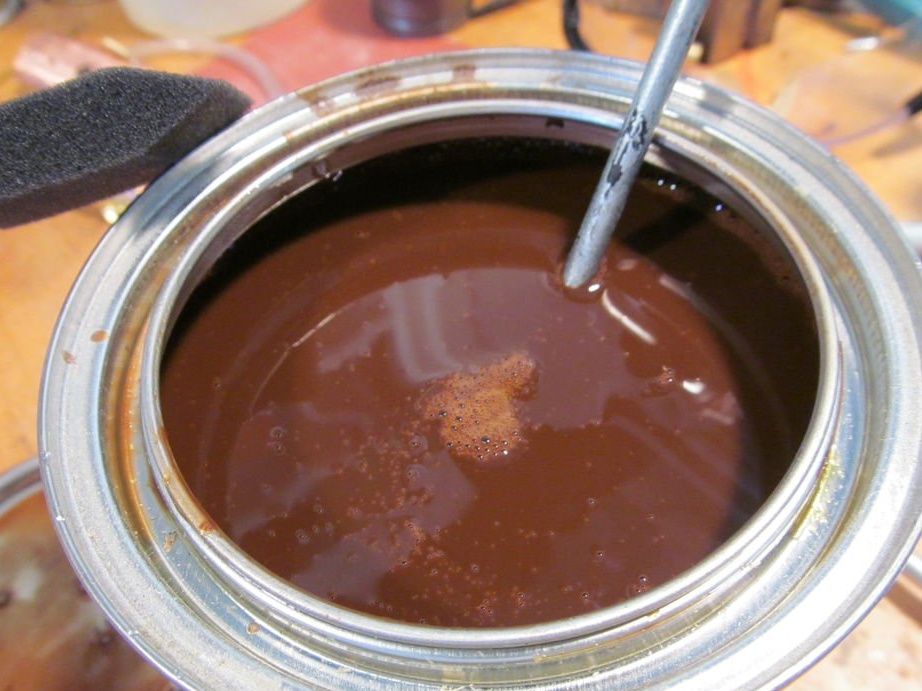
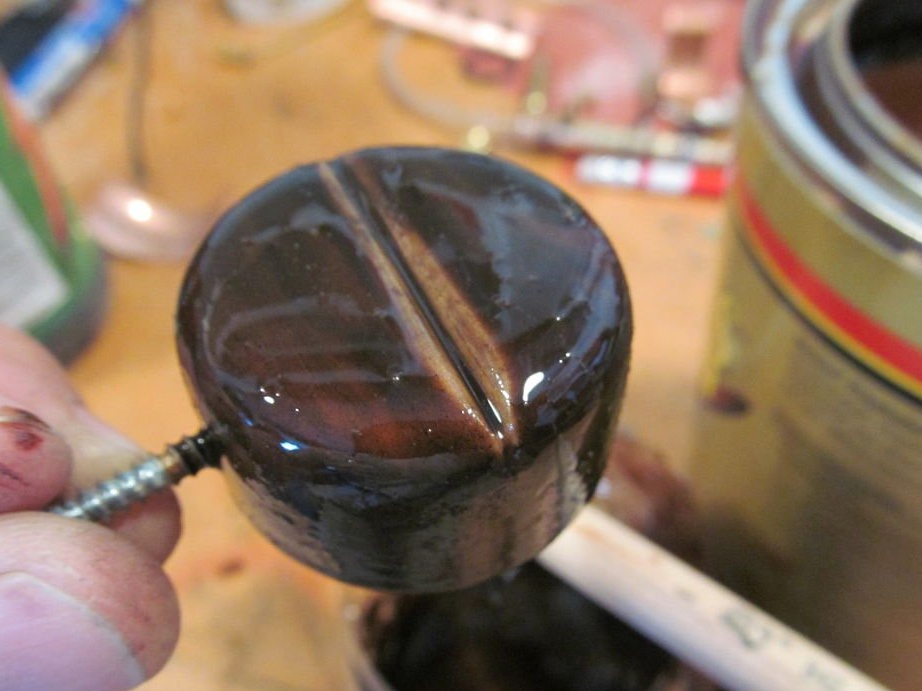
Apply black paint to the body. After 2-3 minutes, he wipes the paint and covers the body with a stain and then polyurethane.


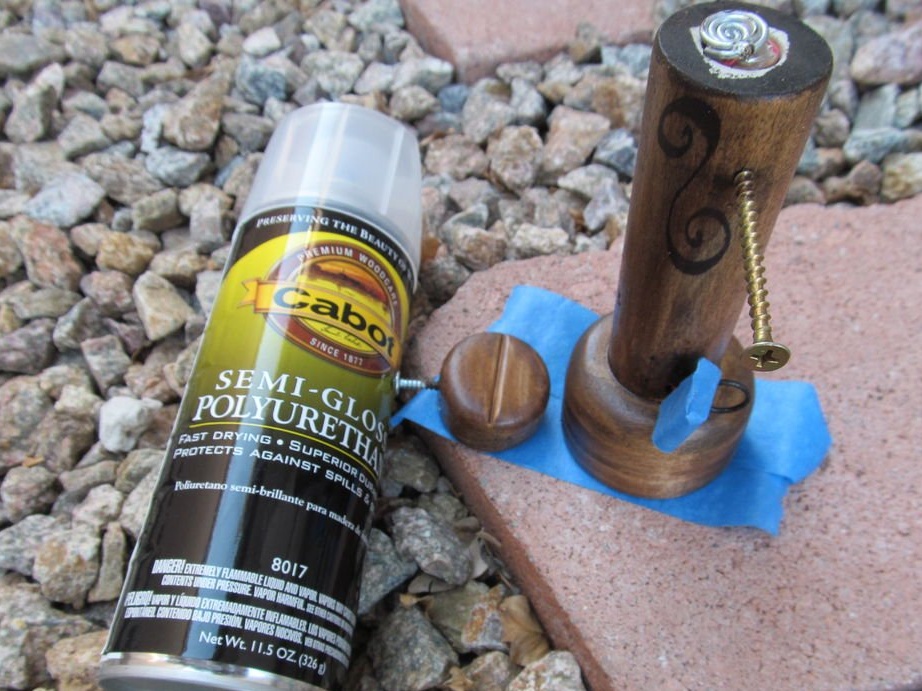
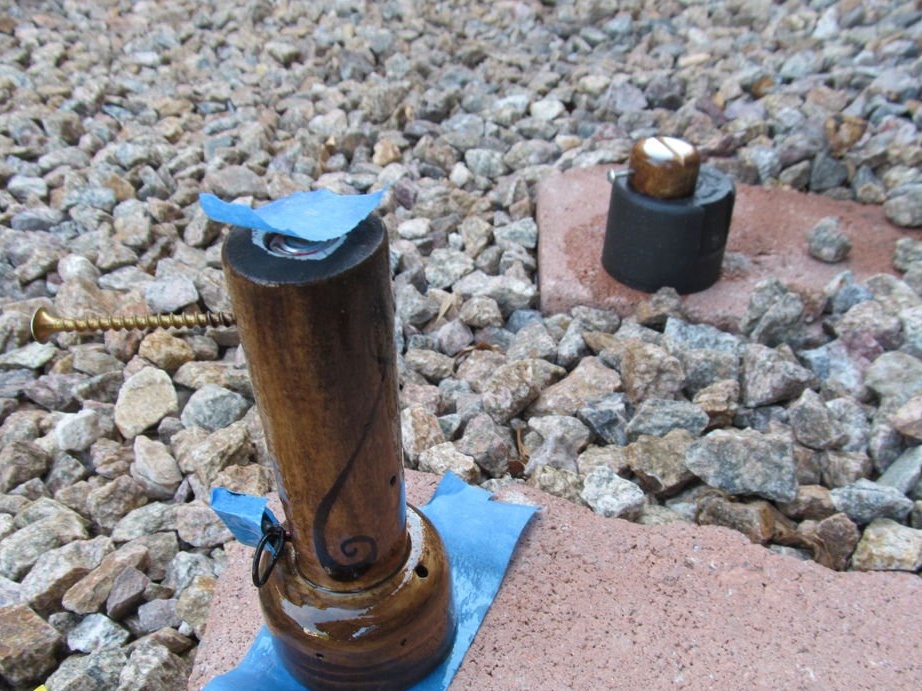
After the coating dries, it fixes decorative parts on the body.