
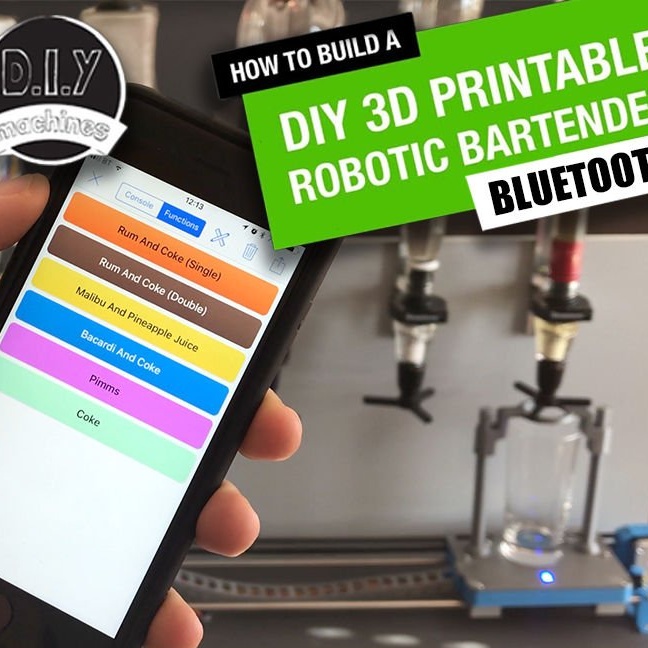
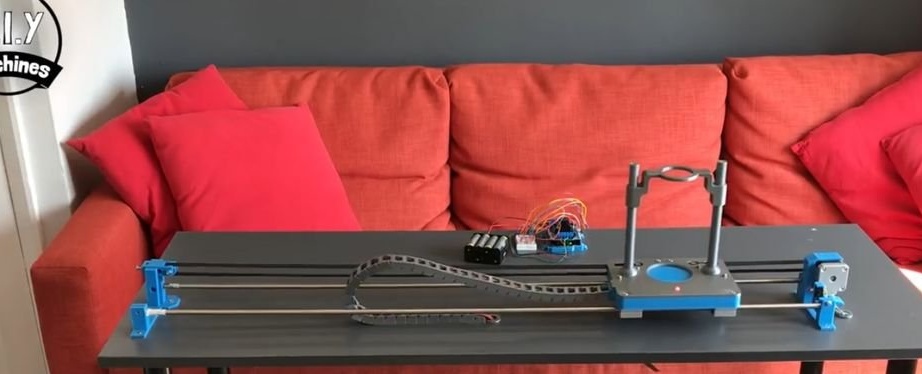
In this article, the Wizard will tell us how he made a robotic bartender controlled by a smartphone.
Features of the device: work on Arduino, affordable price, bluetooth control from any gadget, autonomy (work from 8 AA batteries).
To build such a device, the master used the following
Materials and tools:
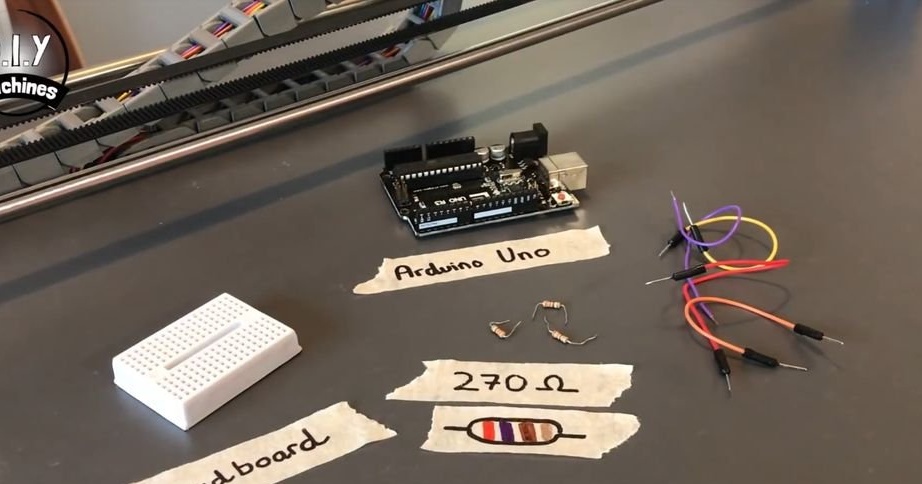
-Arduino Uno;
-Driver engine L293D;
- contact switch;
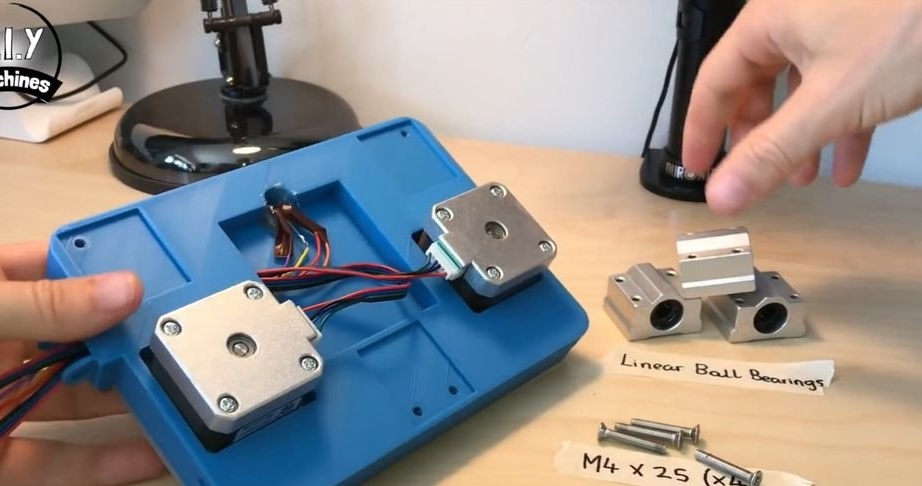
-Linear bearings;
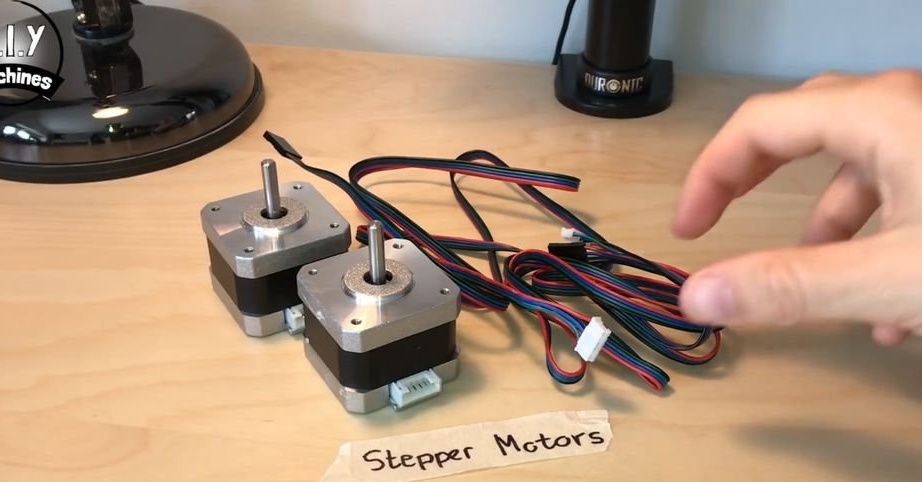
-Step engine;
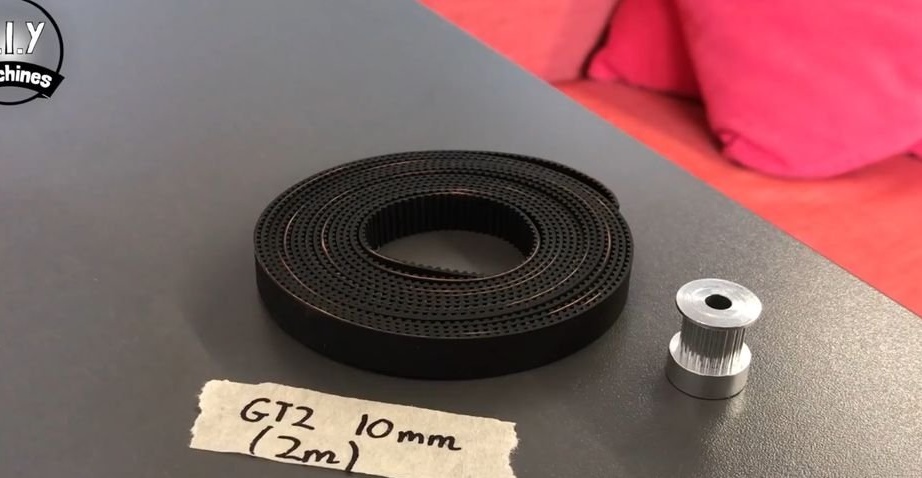
-Belt and pulley (version 2m);
-Belt and pulley (version 5m);
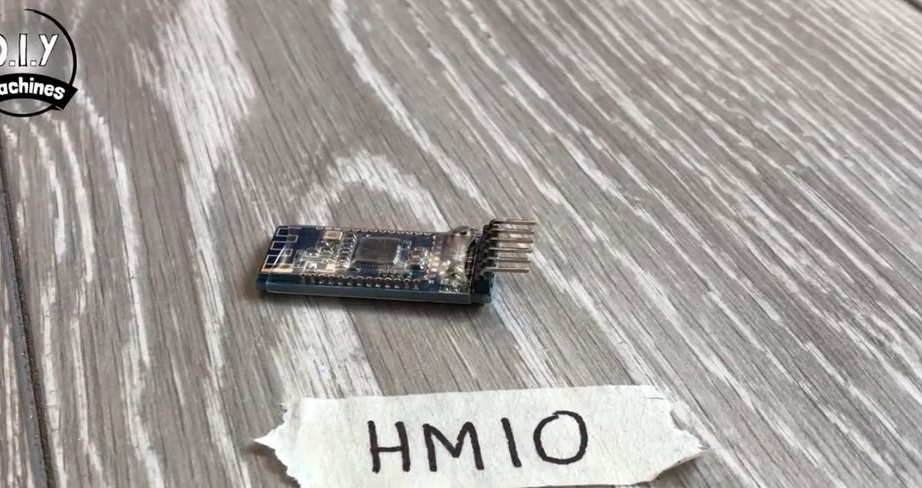
-HM10 Bluetooth module;
-A screwdriver;
-Fasteners;
-Legs;
-Table top;
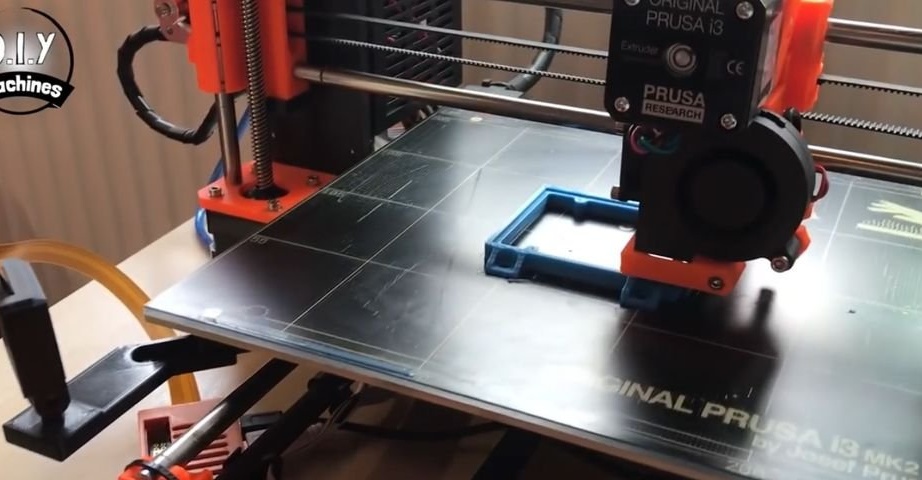
-3D printer;
-Metal rods;
-Screwdriver;
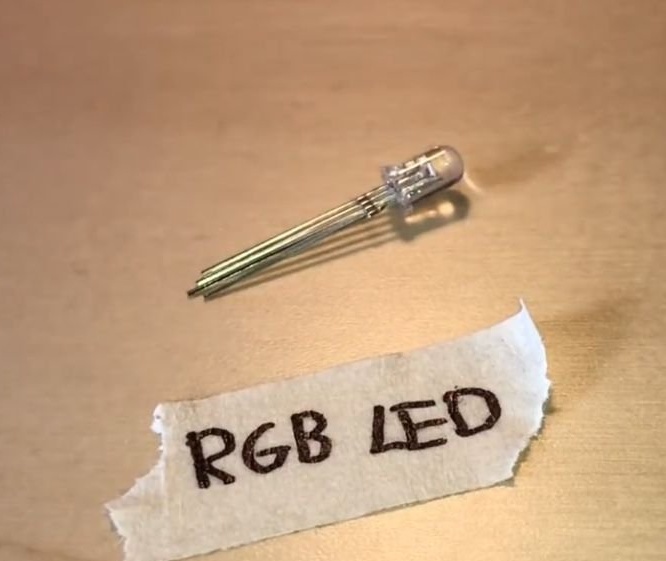
- RGB LED;
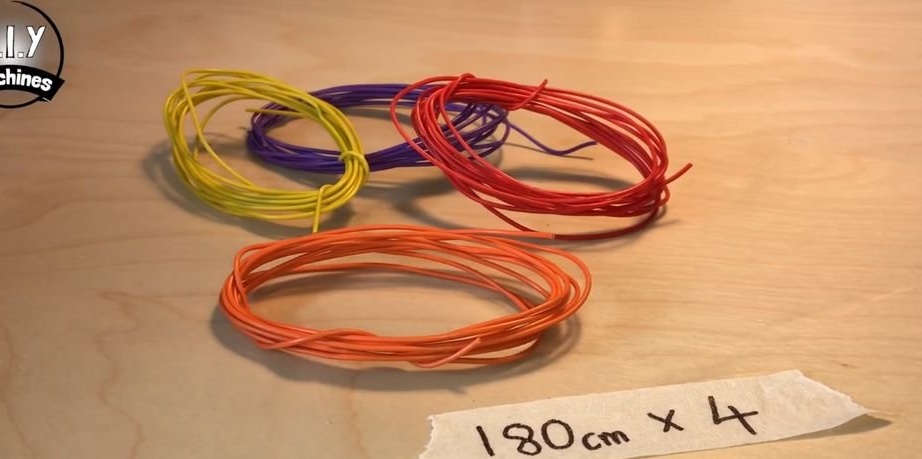
-Wire;
-Soldering accessories;
-Insulating tape;
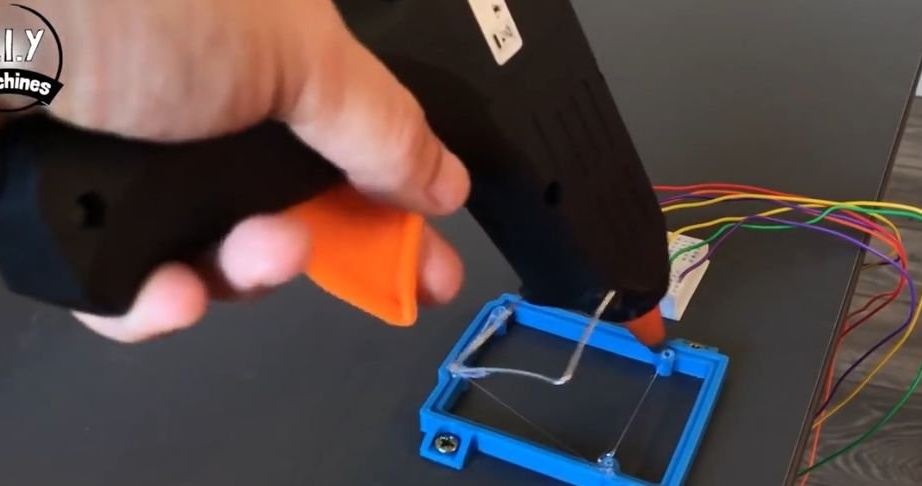
-Glue gun;
-Battery compartment;
-Connectors;
-Batteries;
-Computer with software;
- Holders for bottles;
Valve
-Bottles;
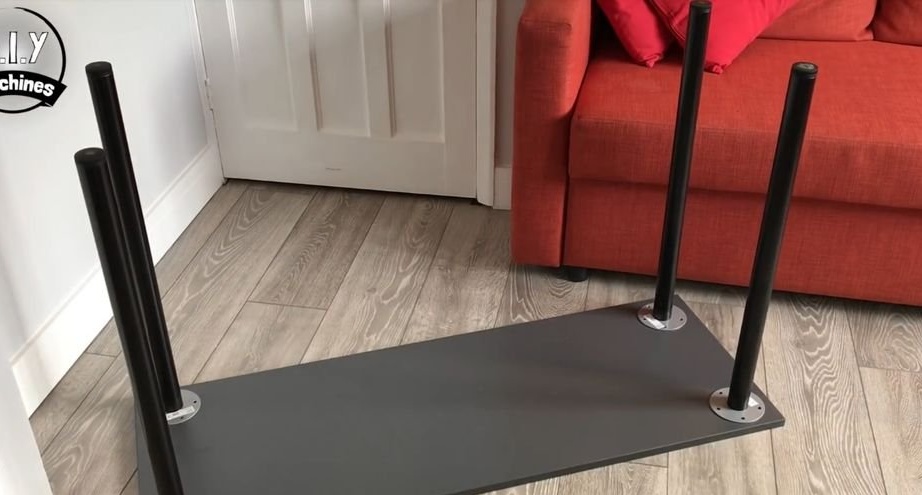
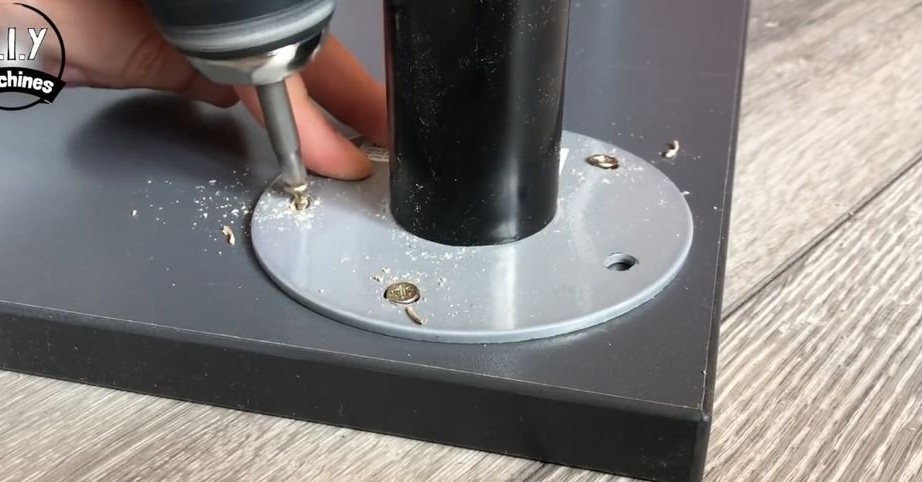
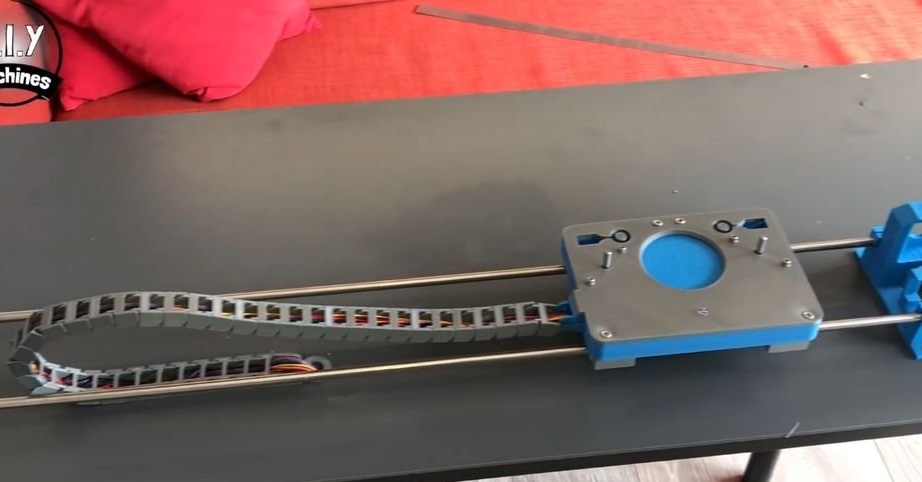
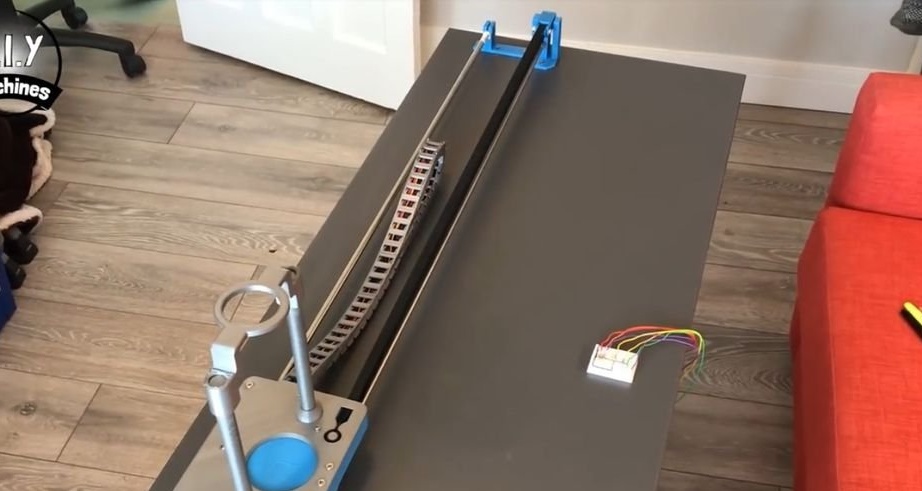
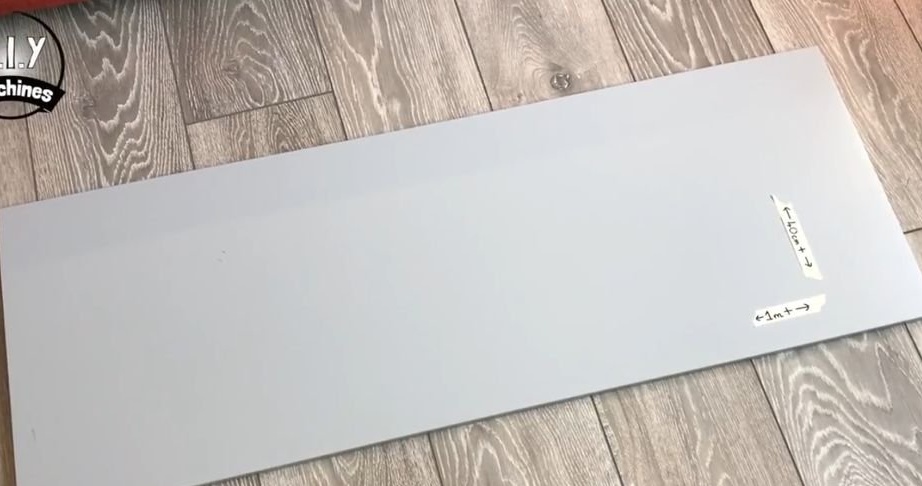
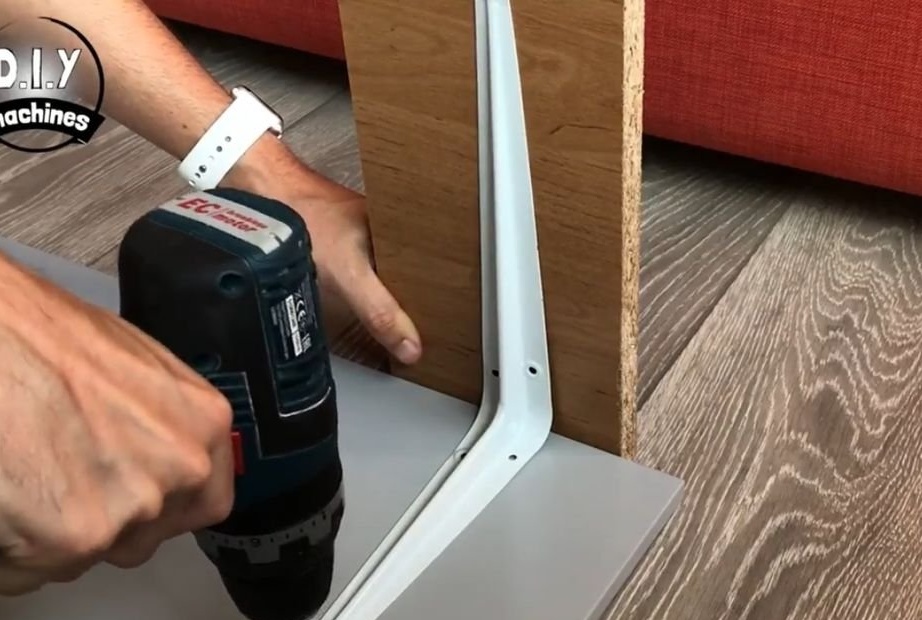
Step One: The Table
First, the master collects the table. Table size 120 * 45 cm. Tabletop thickness 18 mm.
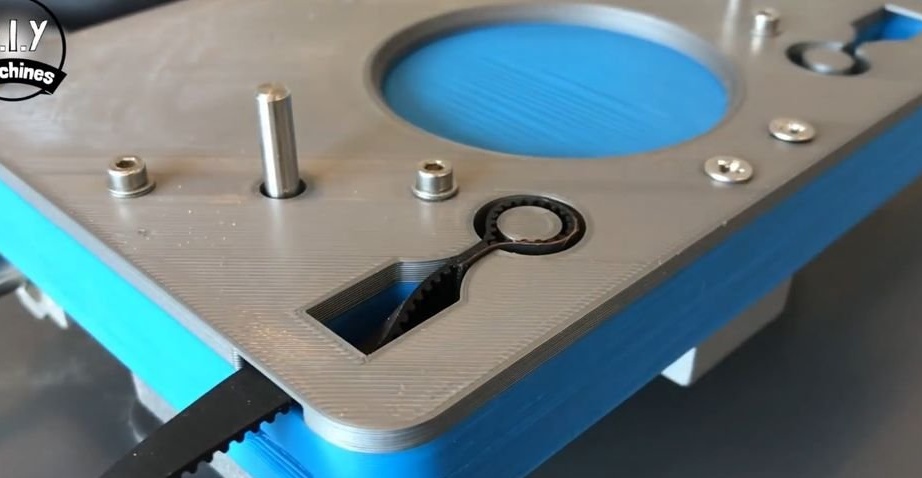
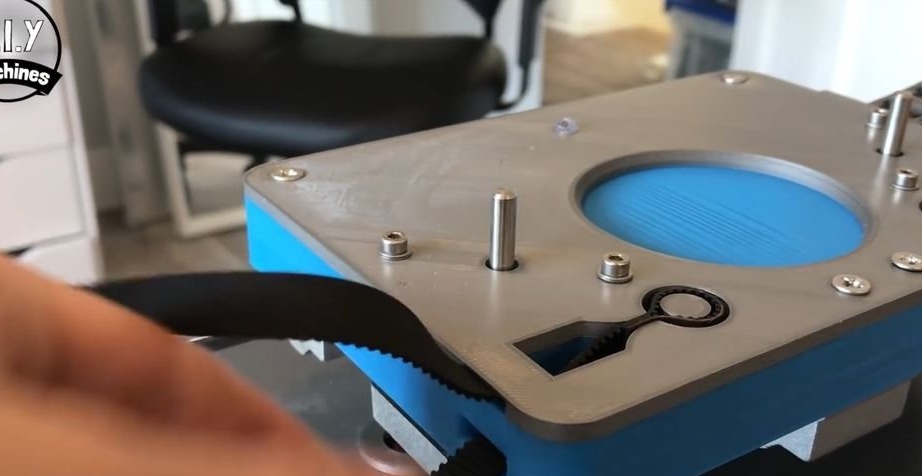
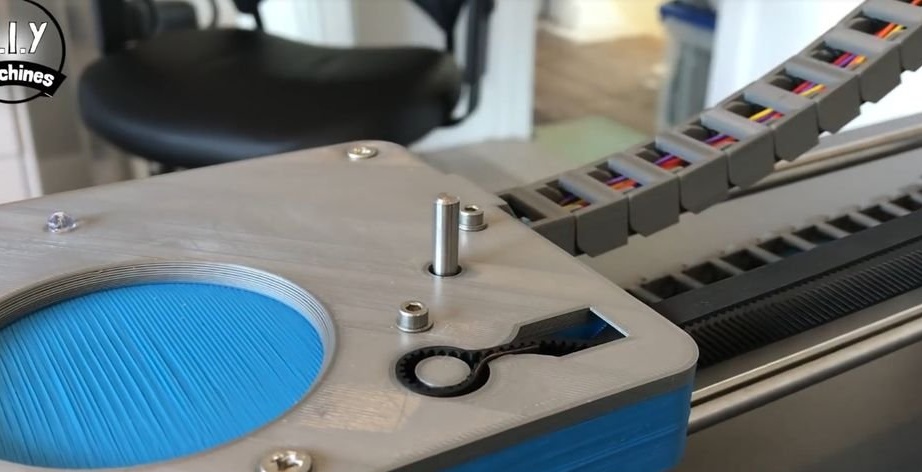
Step Two: Tensioner
Files for printing parts can be downloaded below.
3D Printing Files.
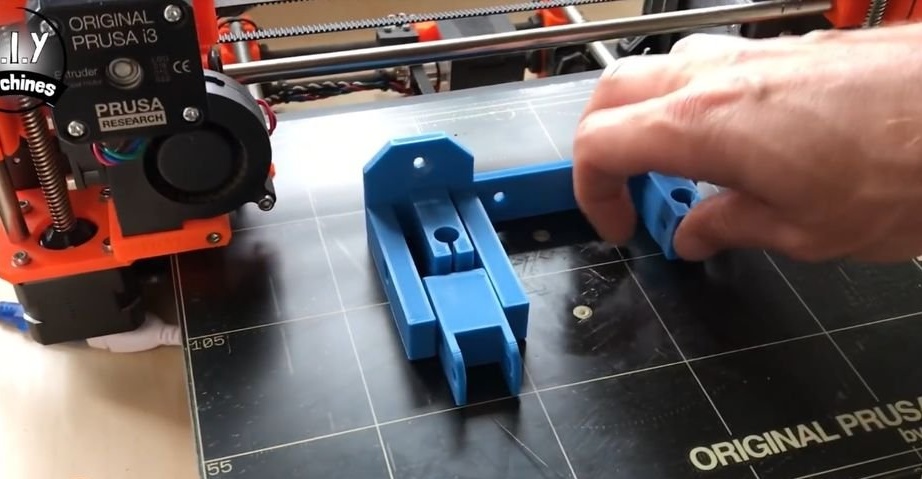
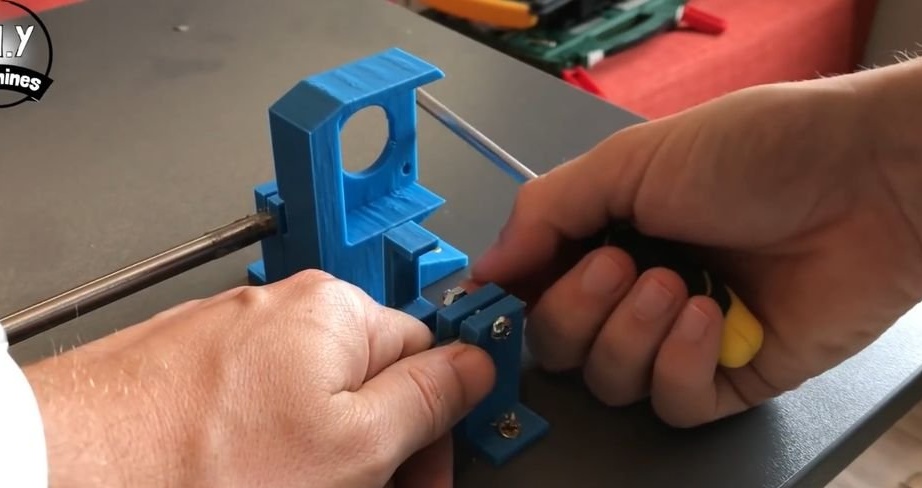
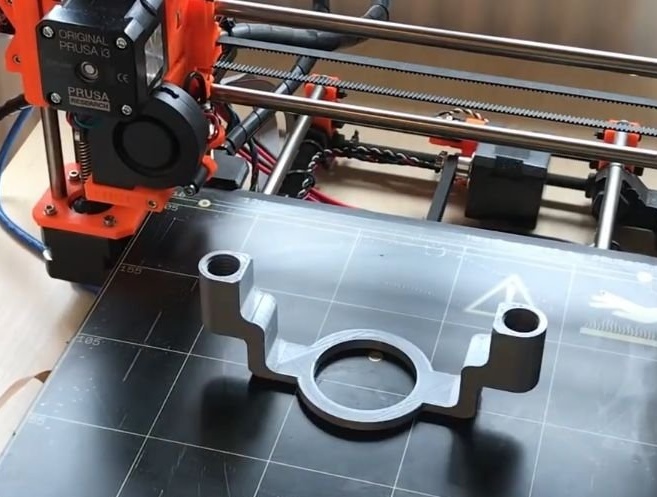
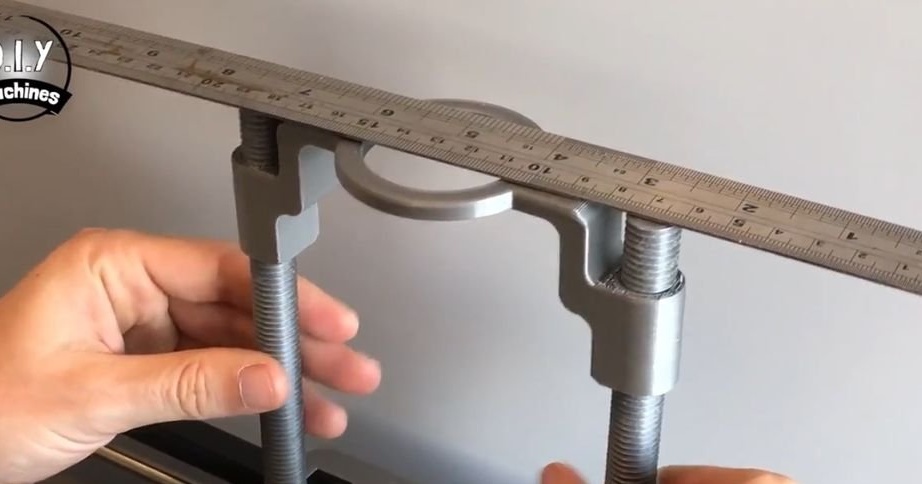
Now it will be necessary to print the first two details “idler.stl” and “Rod_Clamp_V5.stl”.
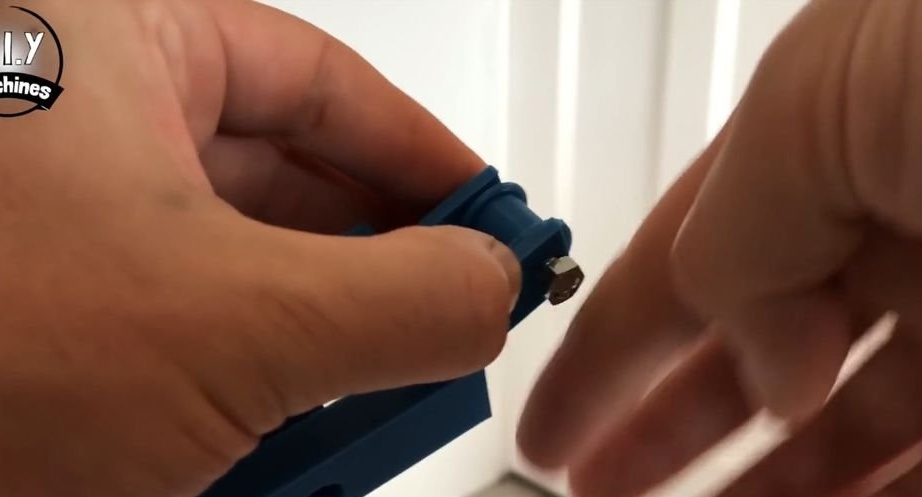
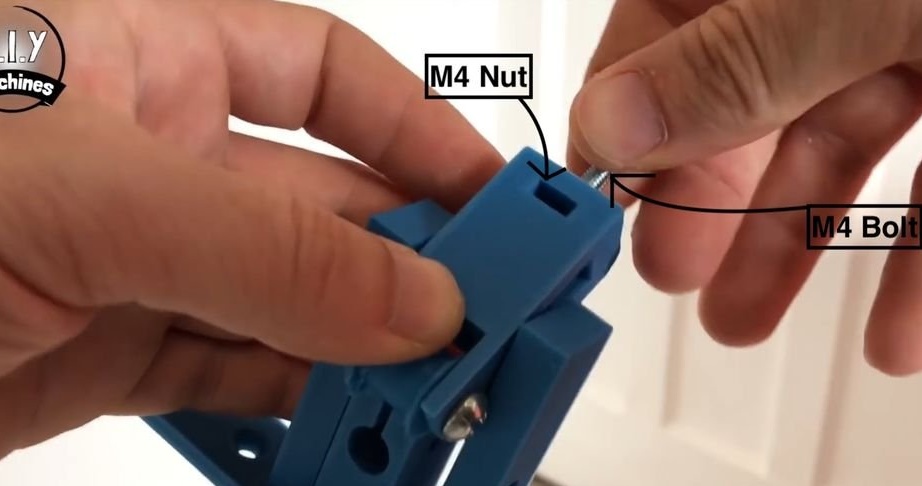
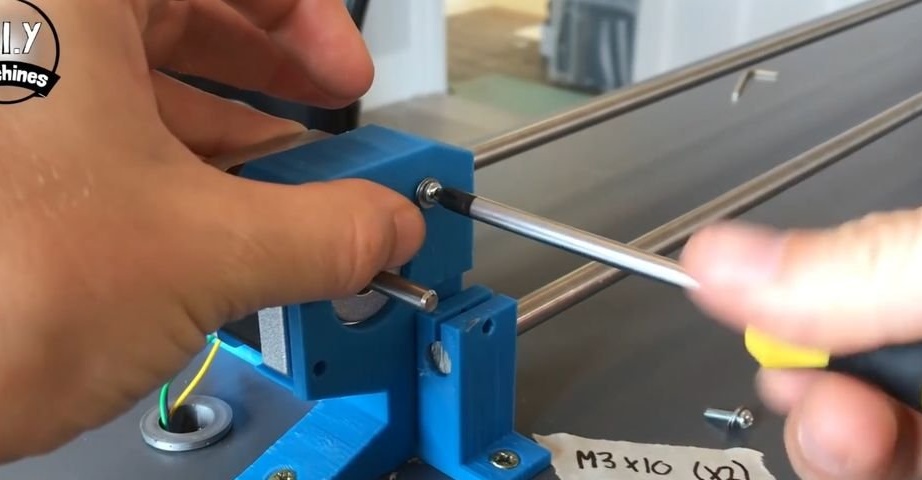
After printing, it is necessary to attach the tension roller to the stem clamp using a long M4 bolt and nut. Strong clamping is not necessary, as the roller must rotate freely.
Then the two parts are attached together.
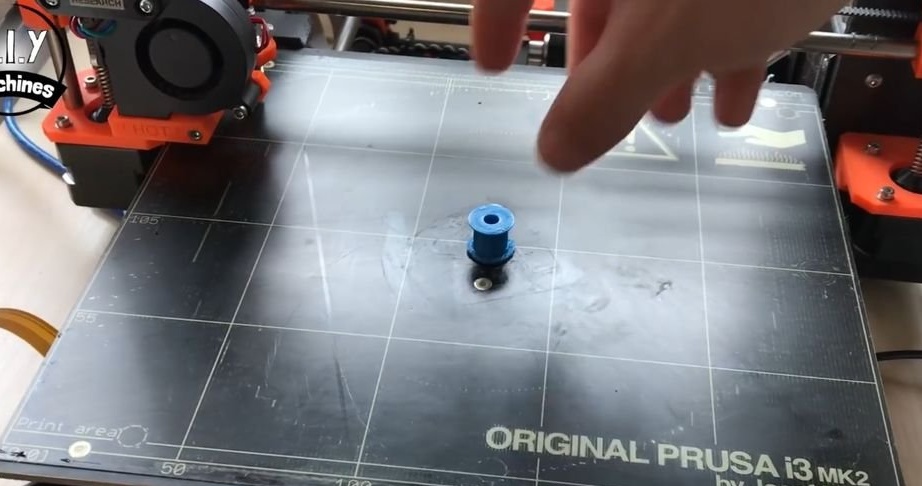
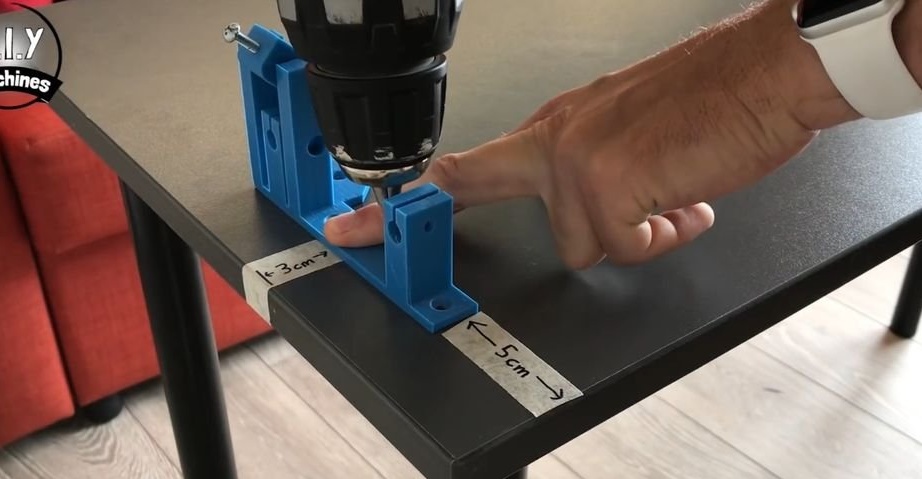
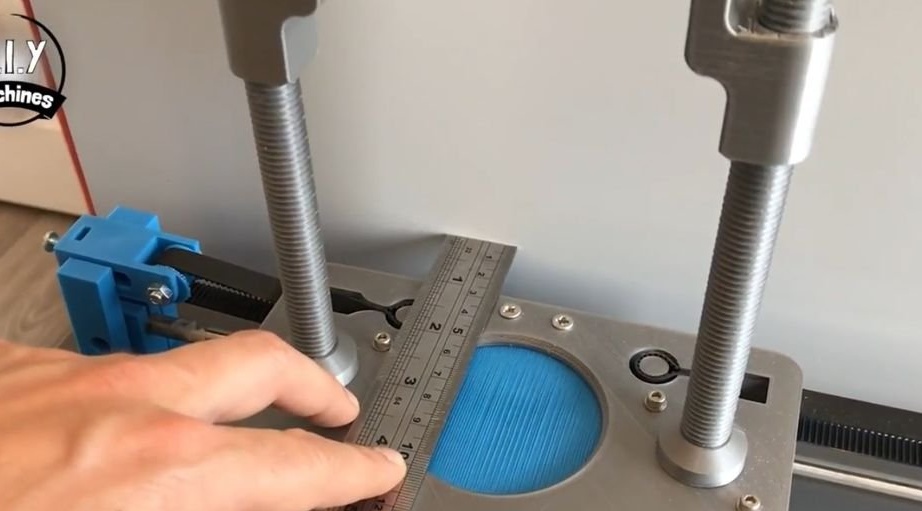
Marks on a table 3 cm from the left short end and 5 cm from the front edge and tightens the tensioner.
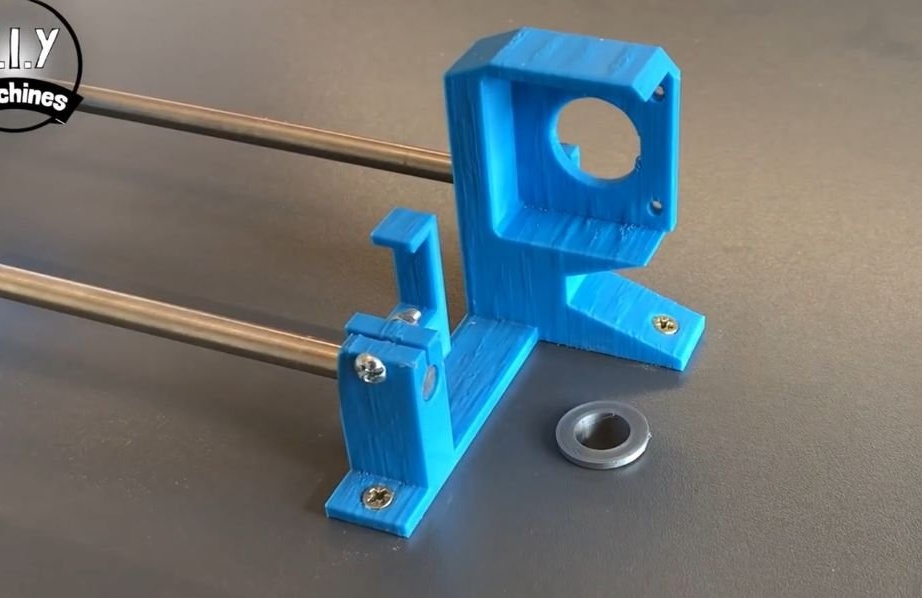
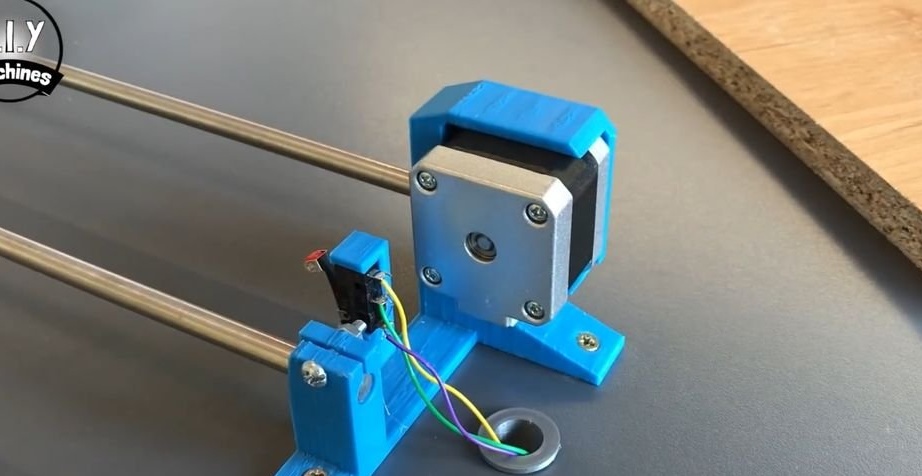
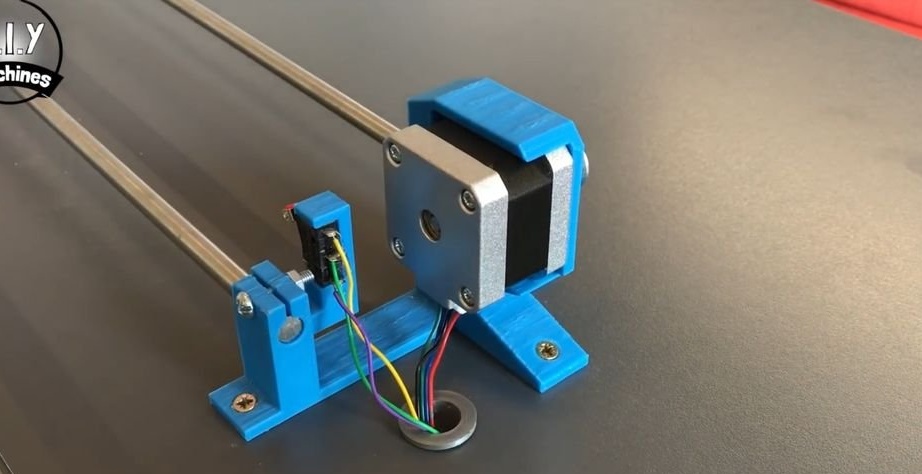
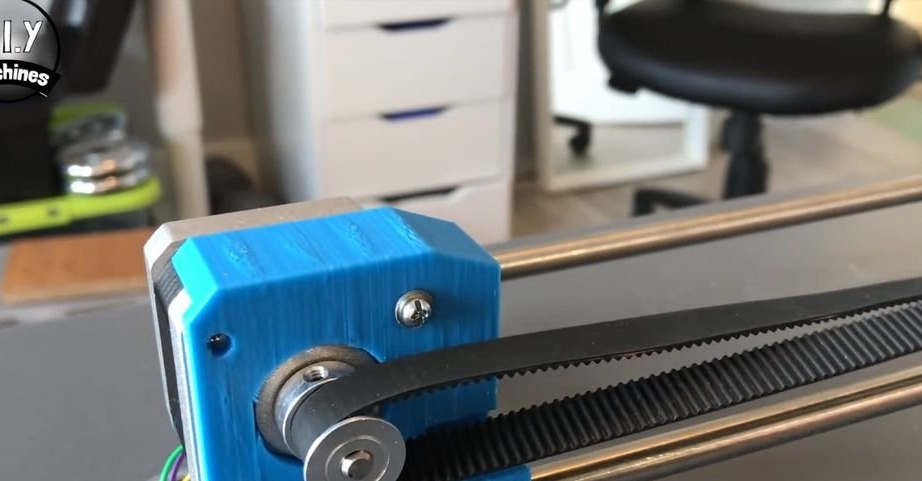
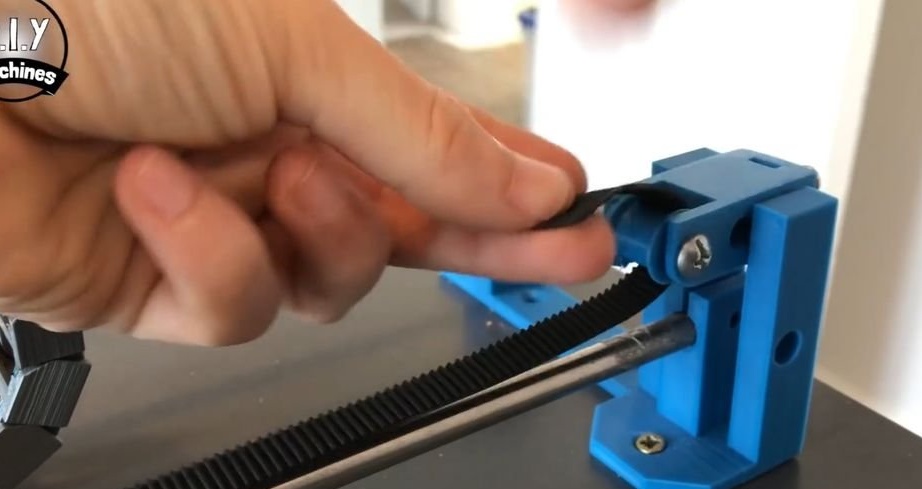
Step Two: Engine Mount
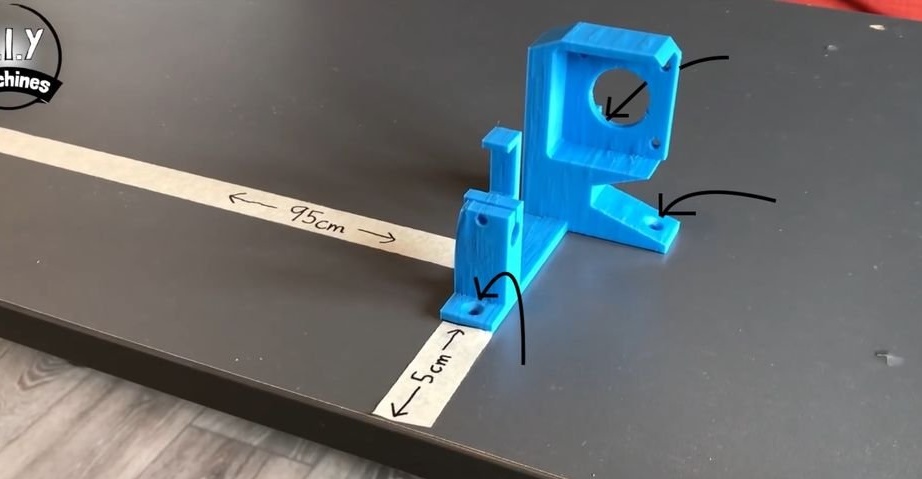
Prints the engine mount, file "X_Axis_Motor_Mount.stl". Fastens on the tabletop at a distance of 95 cm from the tensioner and 5 cm from the edge of the table.
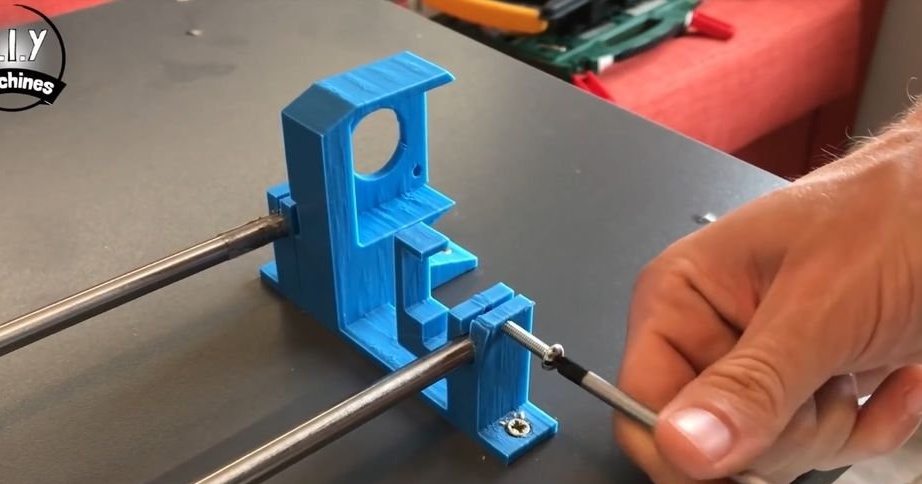
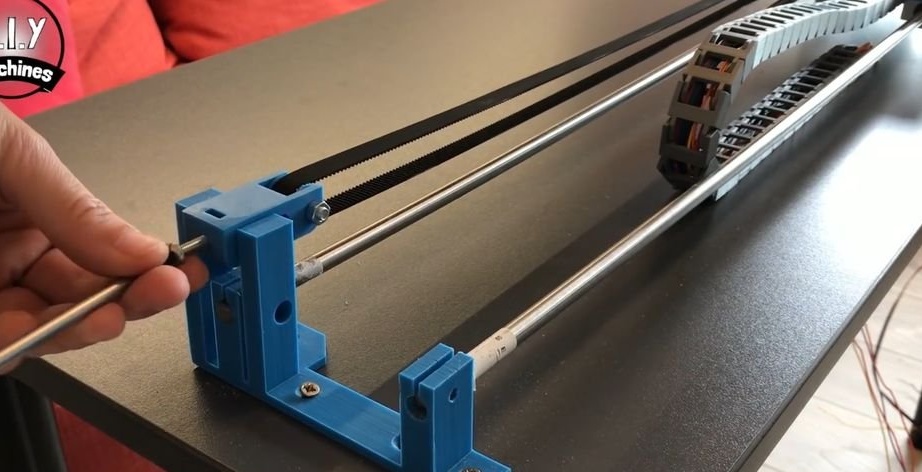
Step Three: Guides
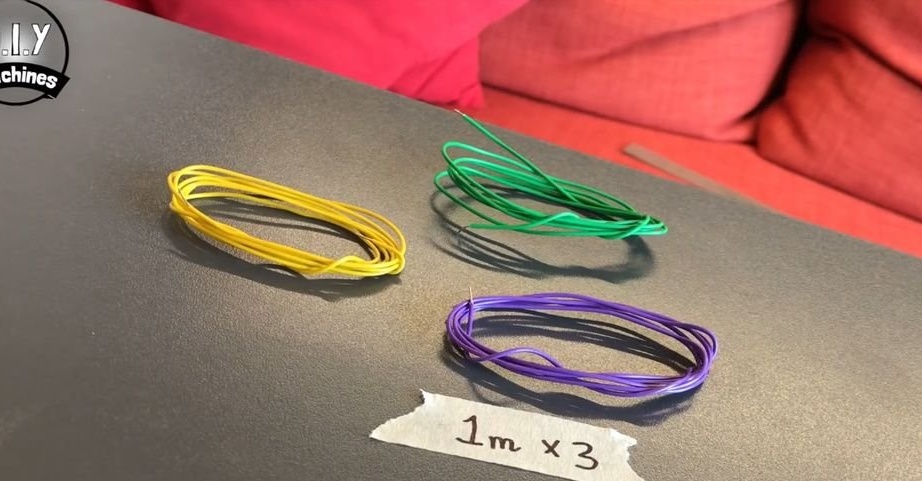
Sets guides. The length of the rods is 1 meter.
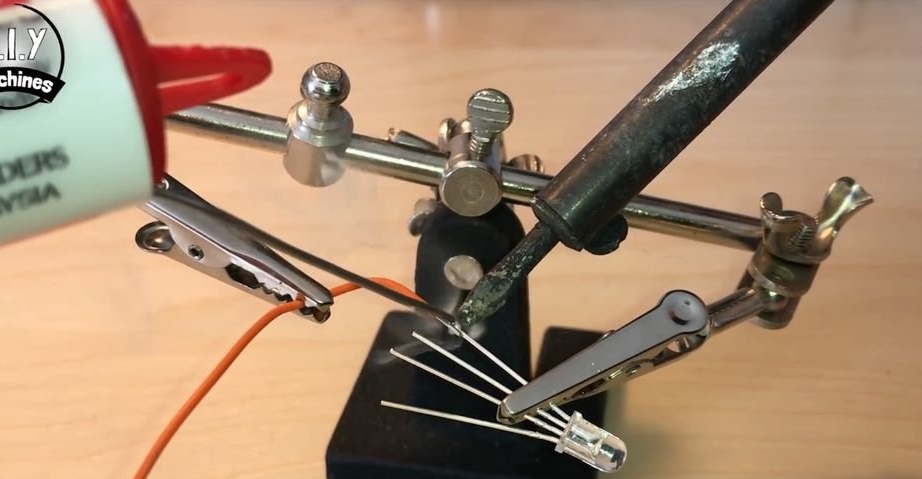
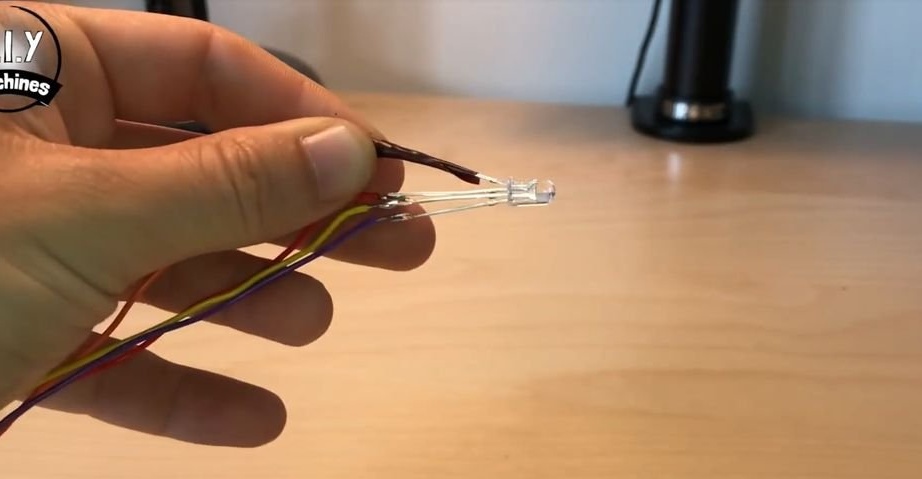
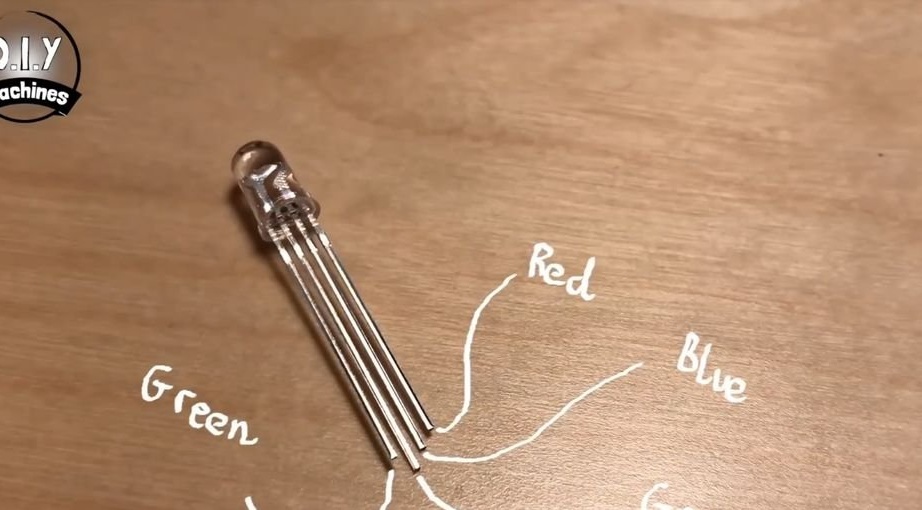
Step Four: LED
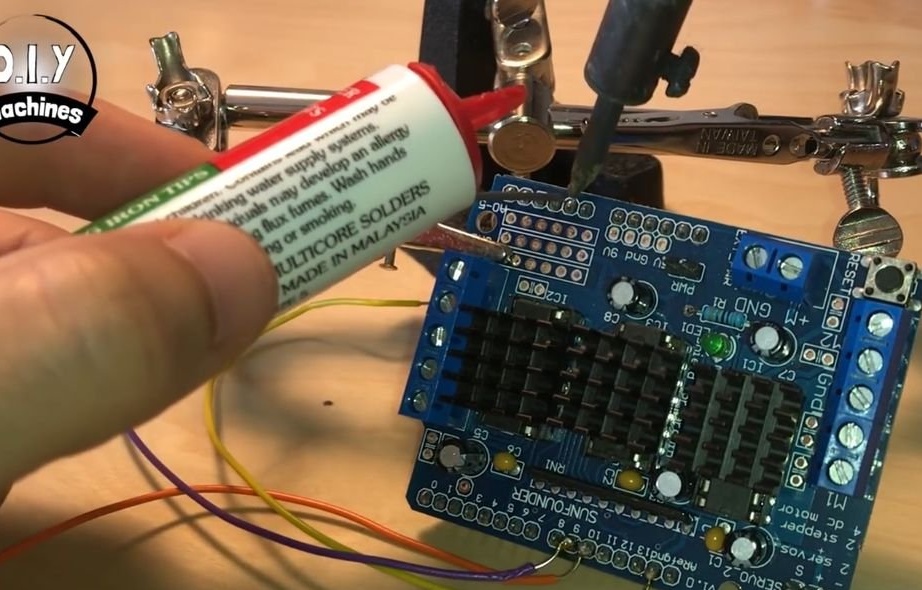
The master will use the RGB LED for indication. Solder 180 cm wires of different colors to each leg. The junction isolates.
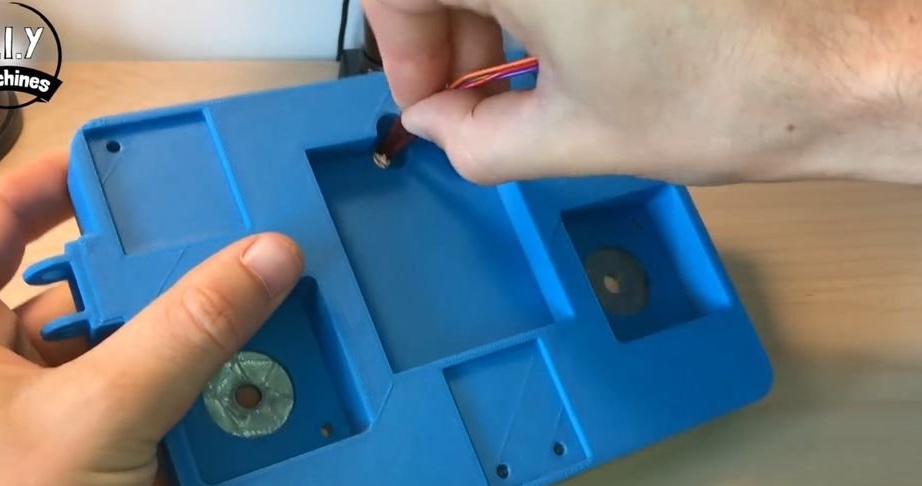
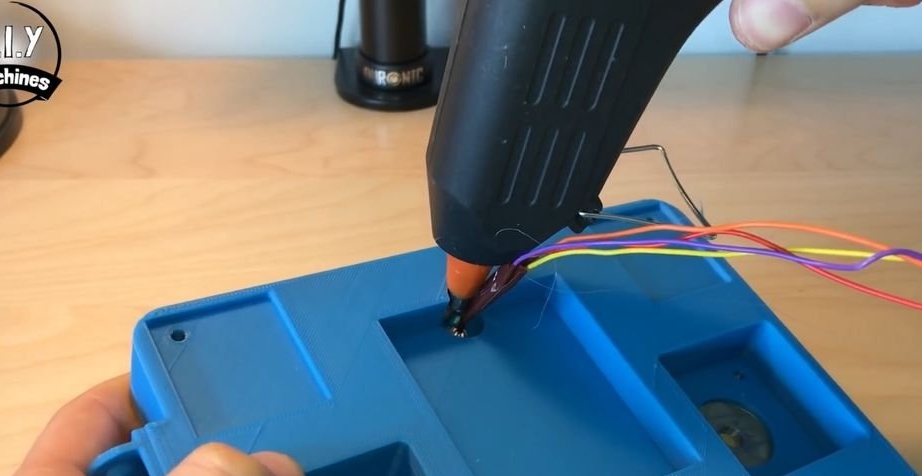
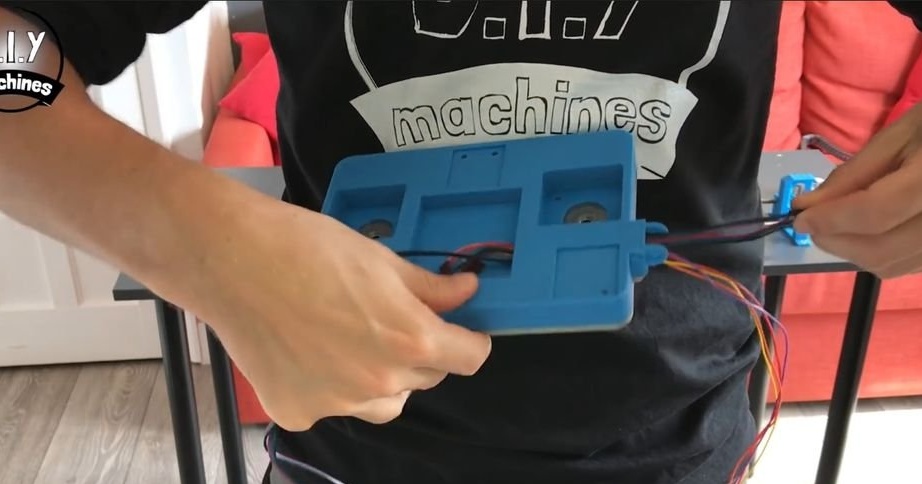
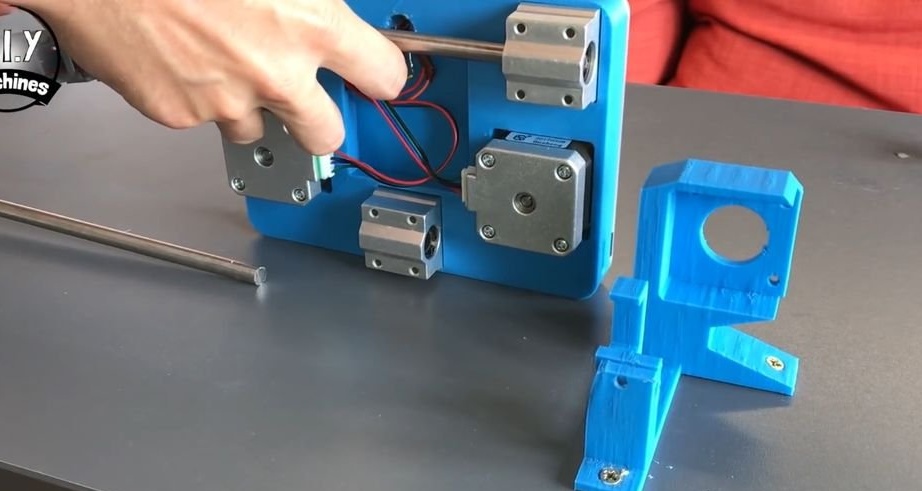
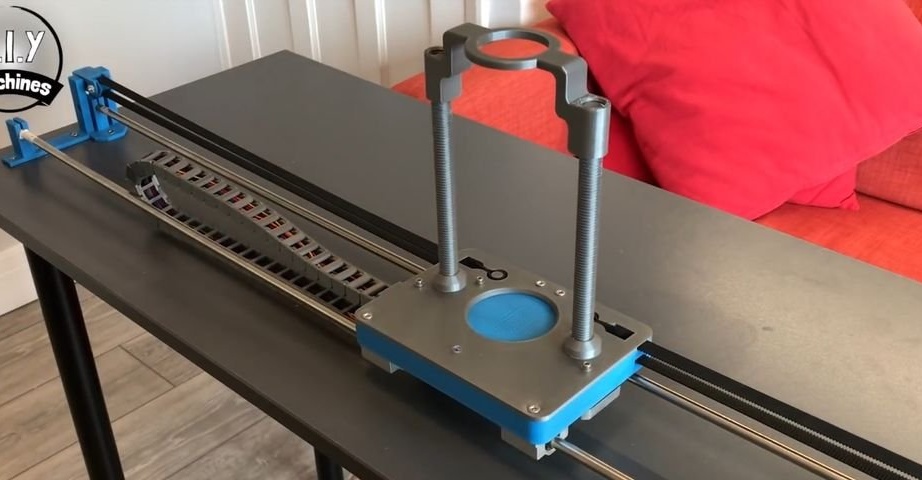
Step Five: Platform
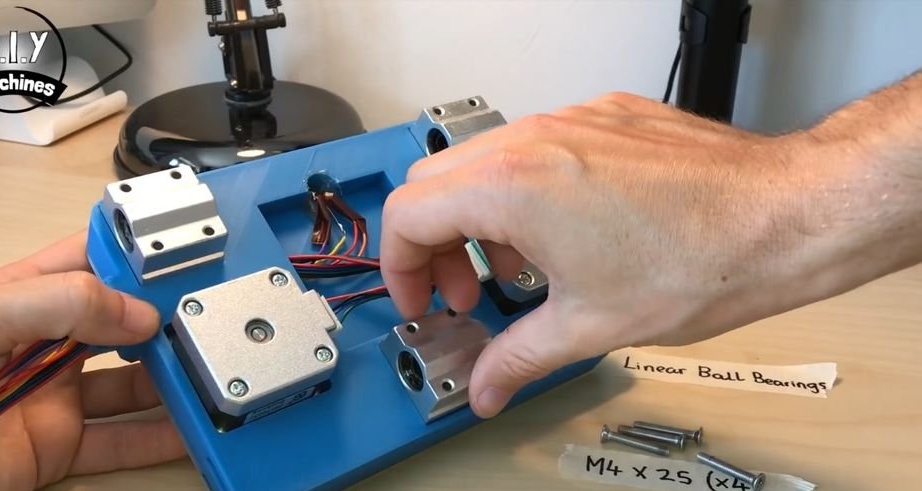
Prints the part 'slider_base_v3.stl'. Fixes an LED. Installs stepper motors.

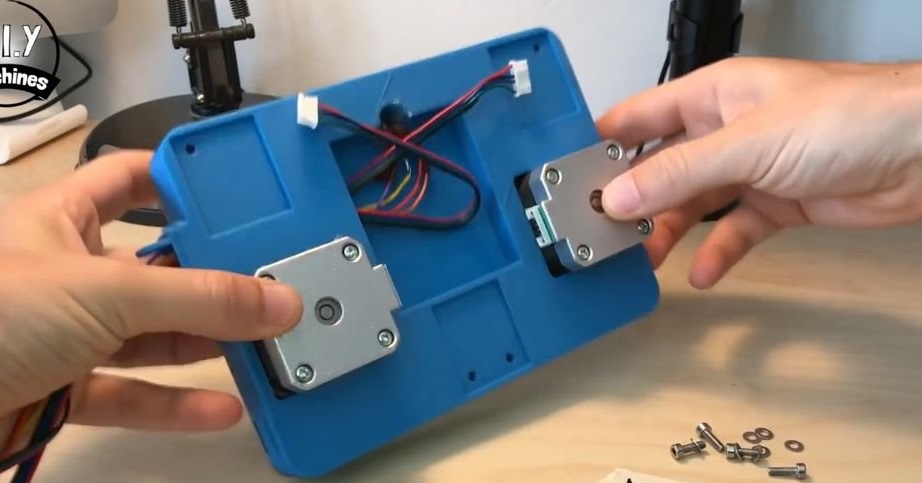
Installs linear bearings.
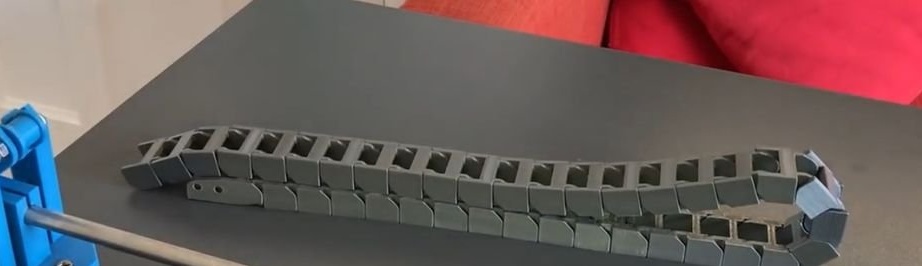
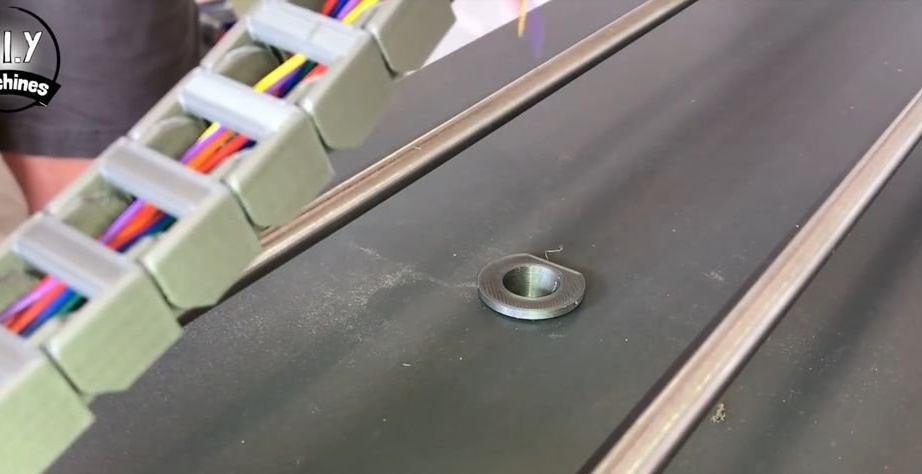
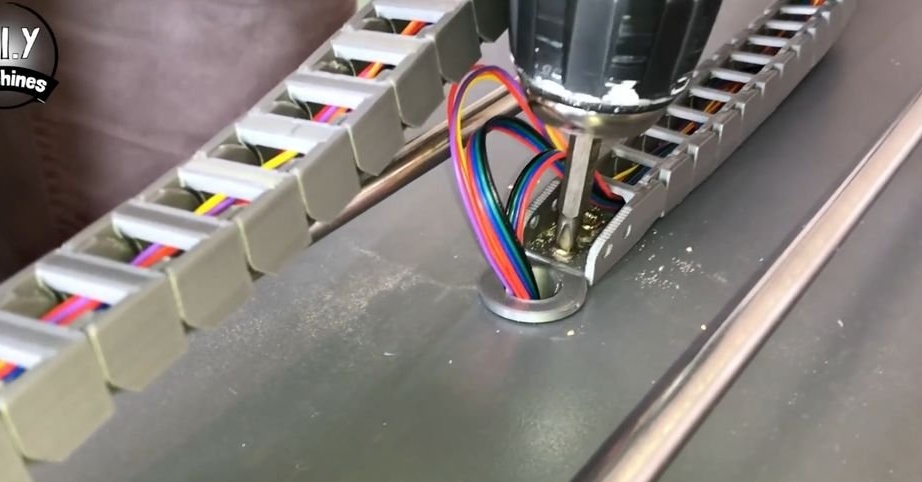
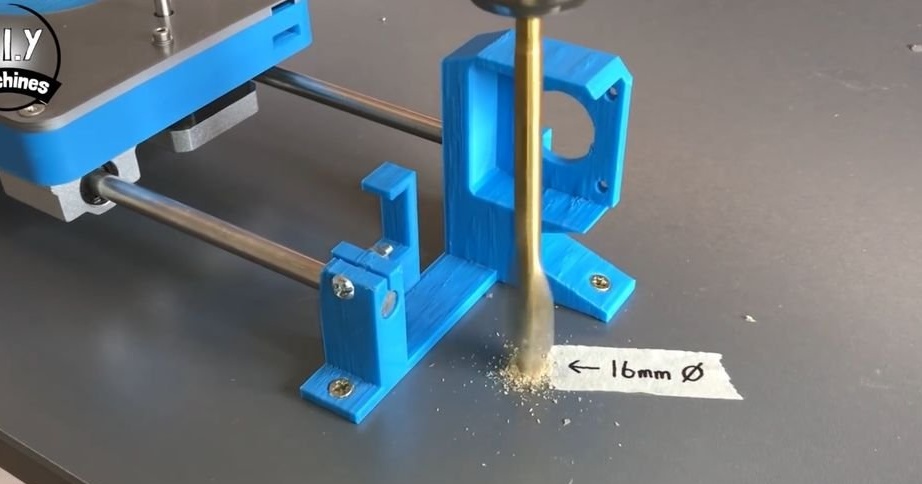
Step Six: Cable Channel
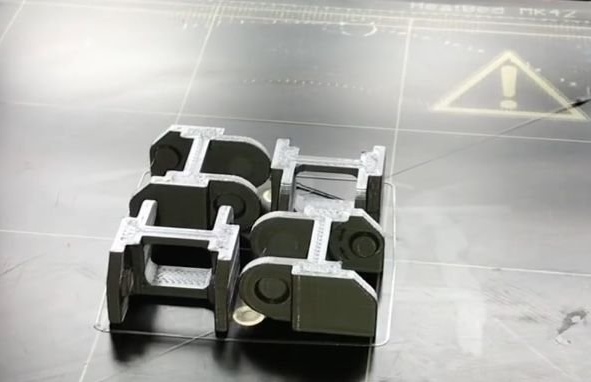
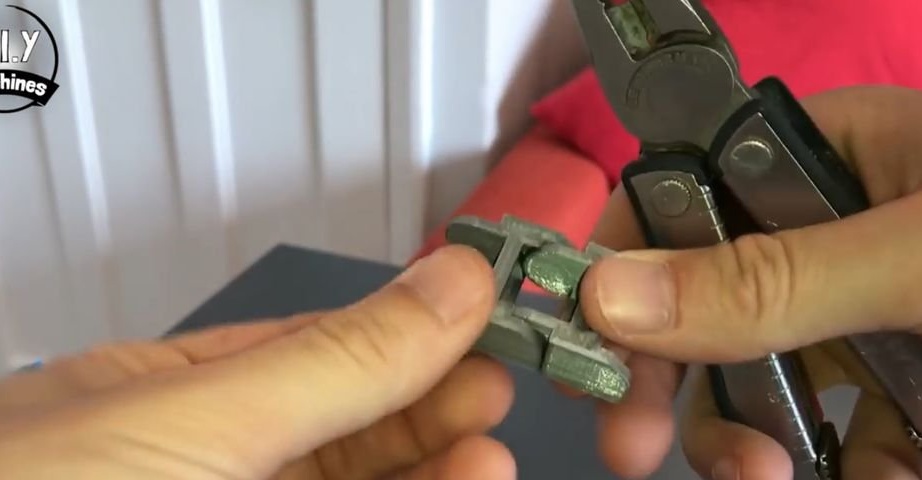
The cable channel for the device consists of separate segments connected in a single circuit.Inside the circuit, wires are laid. The chain is movable and bends if necessary. Chain segments are also printed on the printer.
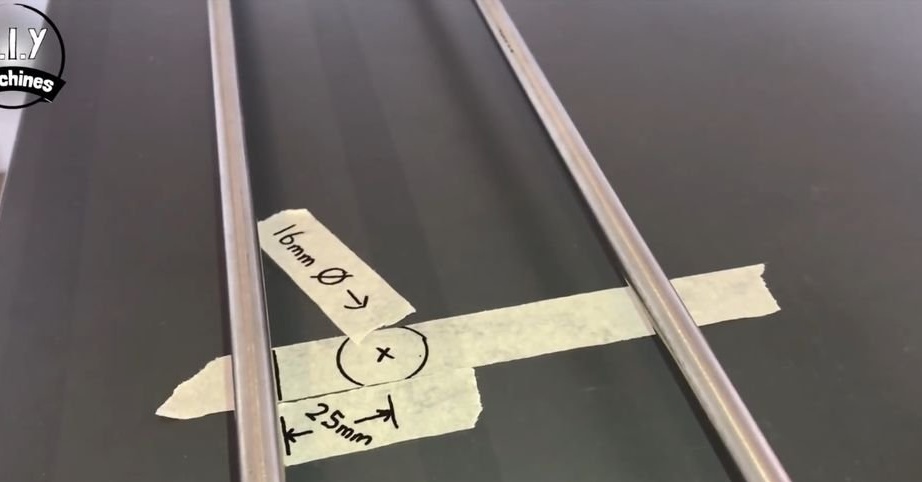
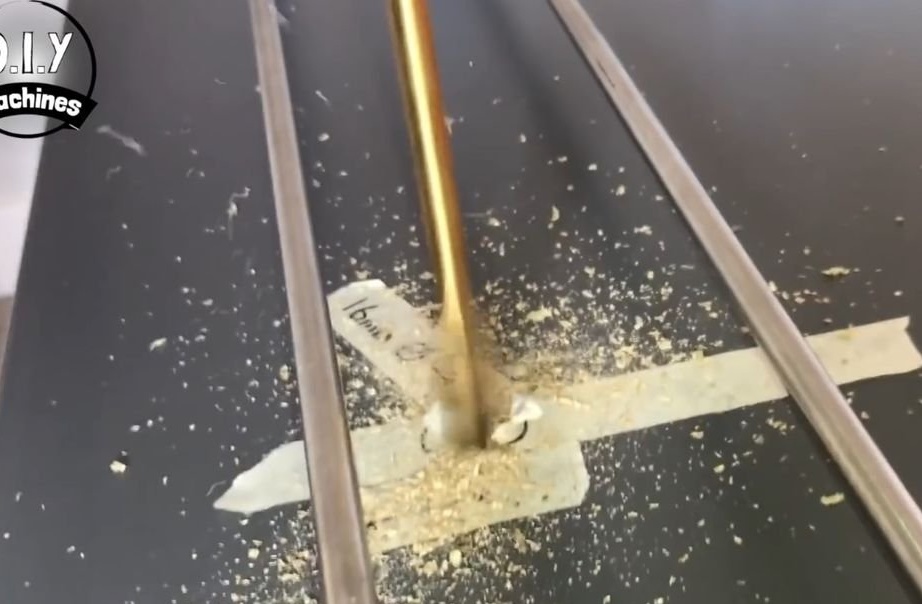
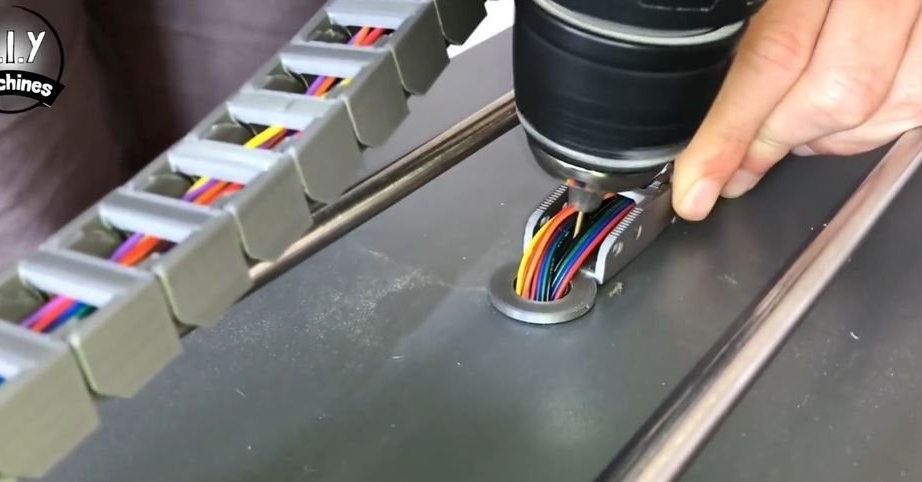
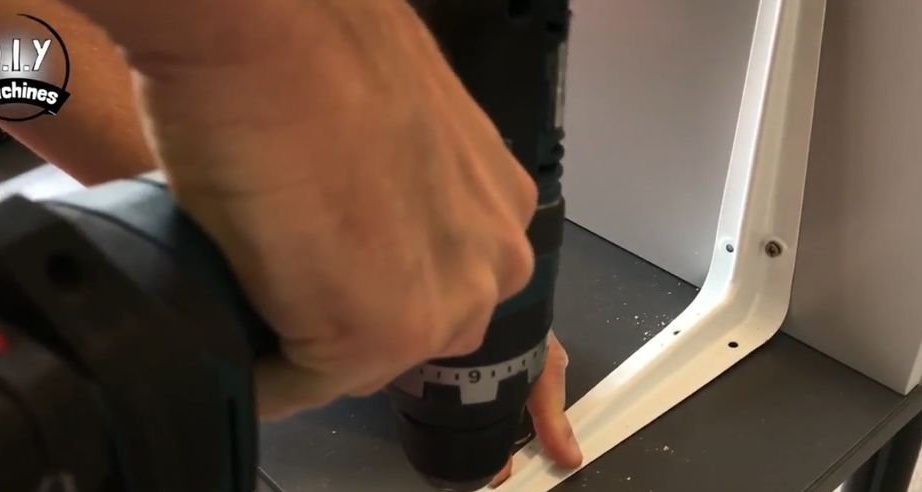
At a distance of 25 mm from the extreme guide and 47 cm from the tensioner, drills a hole of 16 mm. Inserts the sleeve "Table_Tidy.STL" into the hole. Fastens the cable channel one end on the platform, the second on the countertop next to the sleeve. Stretches wires.

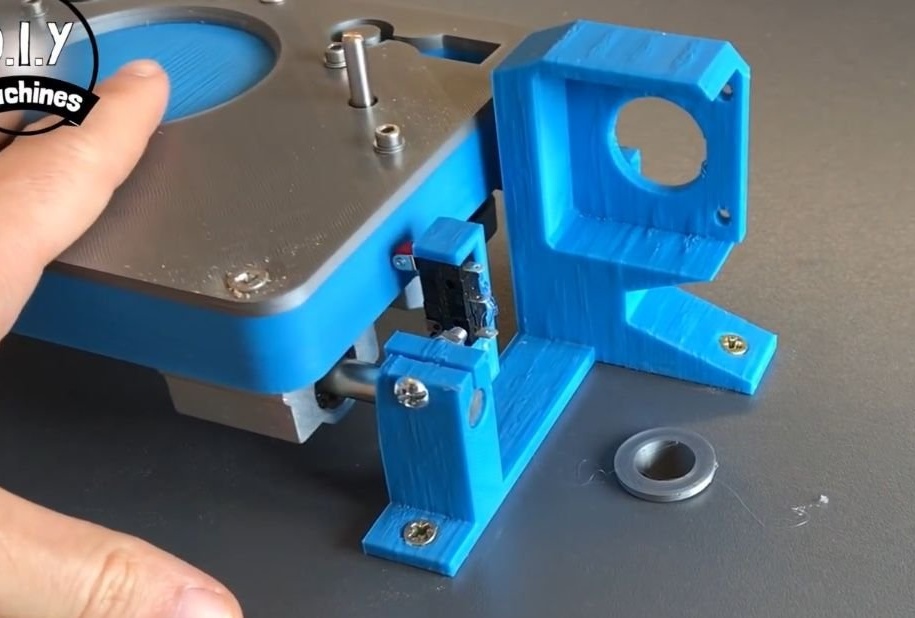
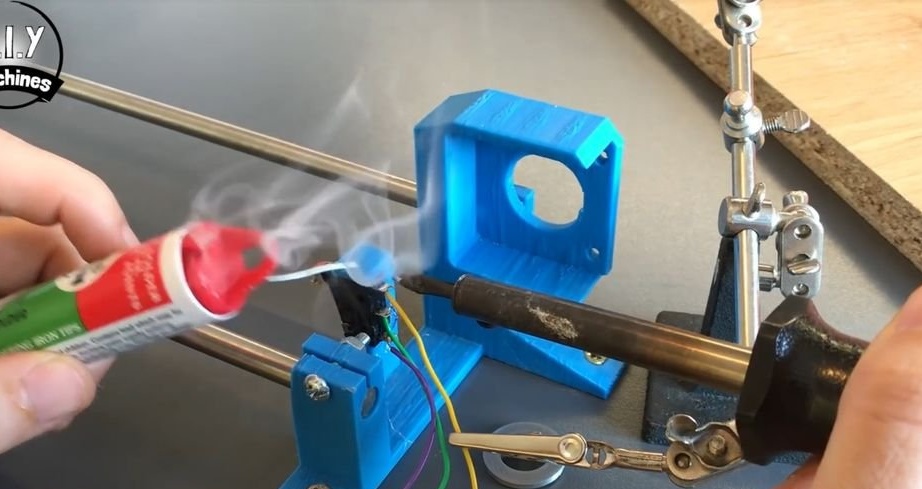
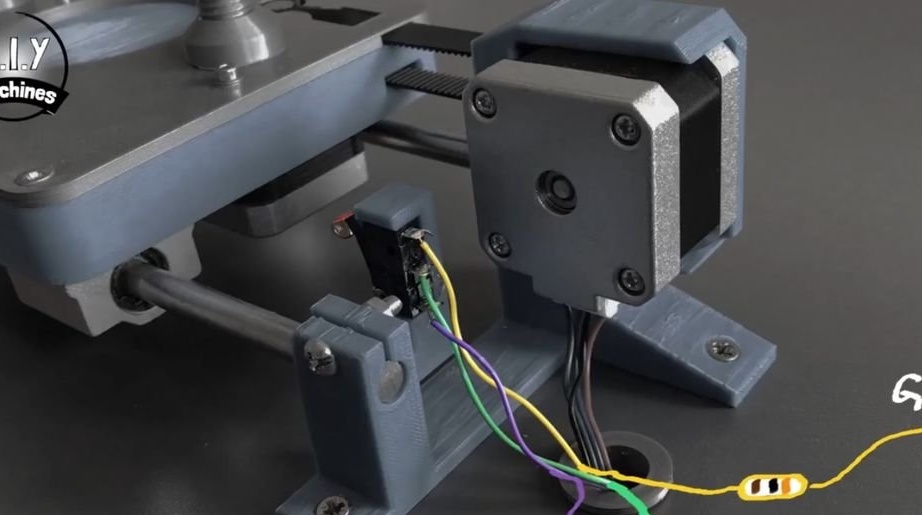
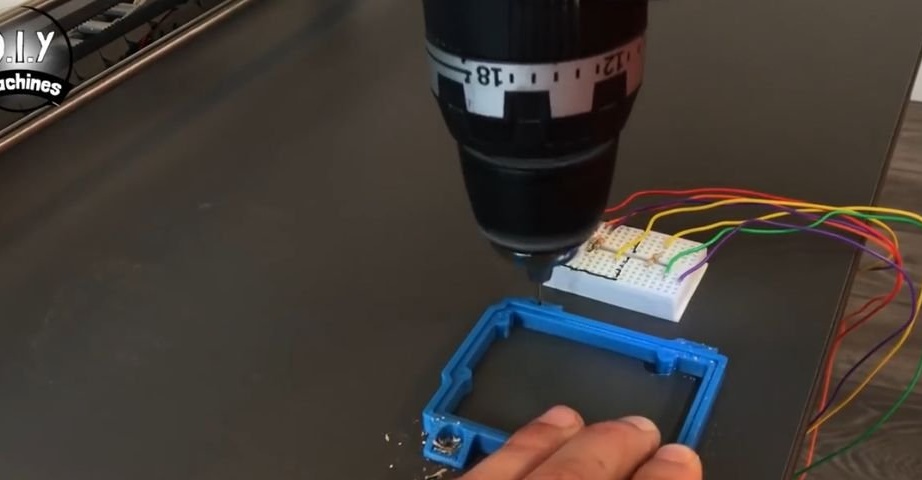
Seventh step: switch
Next to the engine mount, another 16 mm hole is drilled. Inserts a sleeve into it. Fastens the trailer to the mount. Solder to its contacts for 1 meter of wire.
Step Eight: X-axis engine
Secures engine to mount.
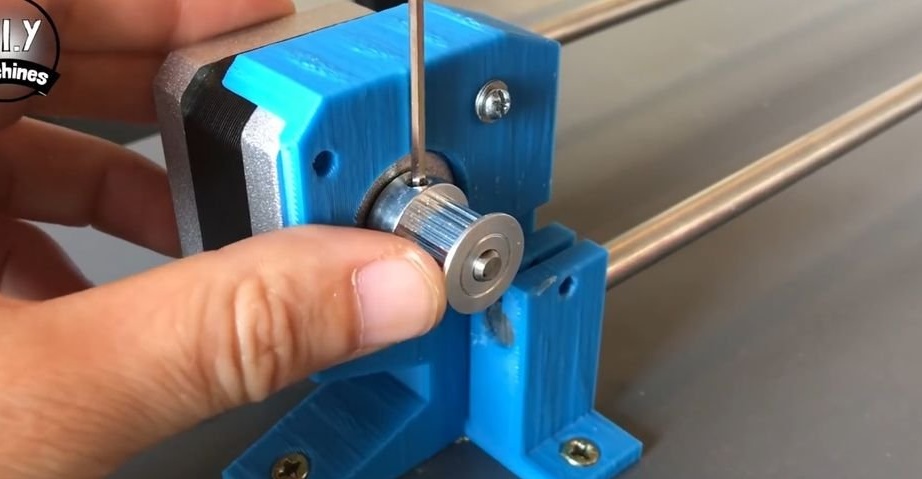
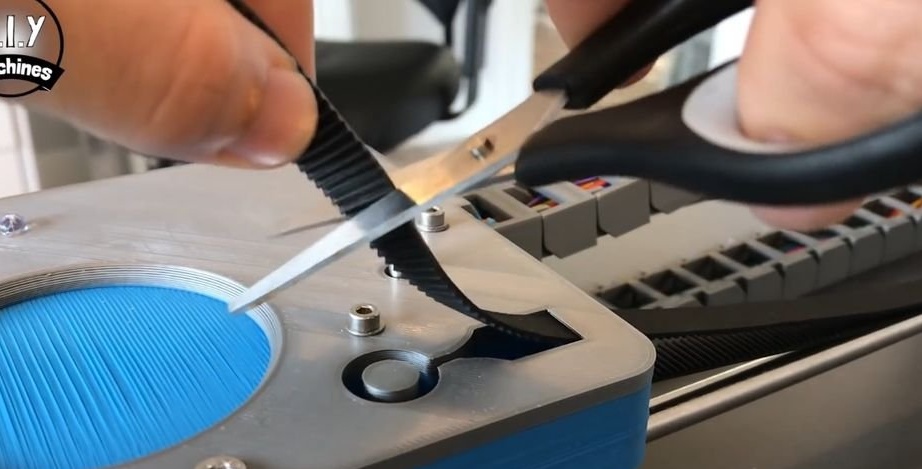
Step Nine: Belt
Secures the pulley to the motor shaft. Fastens the end of the belt to the platform holders. Pulls the belt through the pulley and through the tensioner pulley. Fastens the second end to the holders. If necessary, the belt tension can be adjusted by tightening or unscrewing the screw.

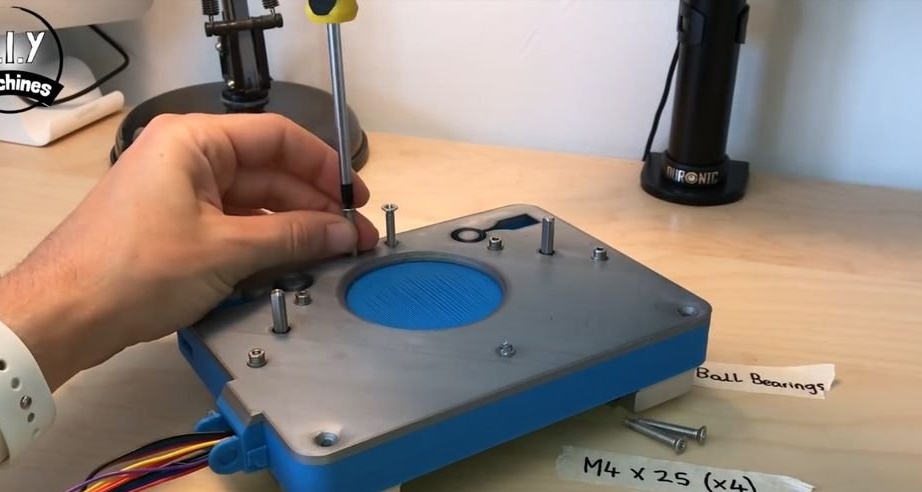
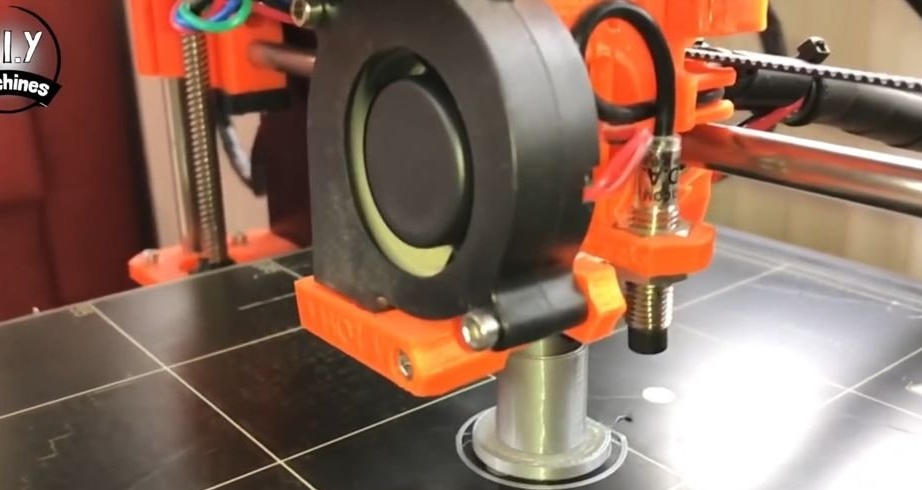
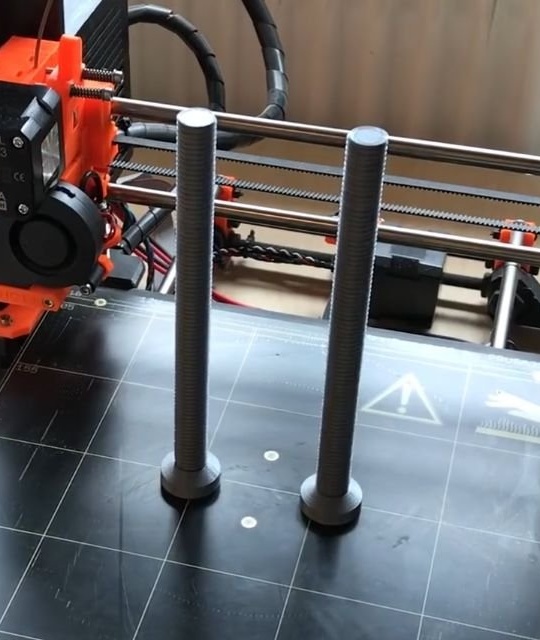
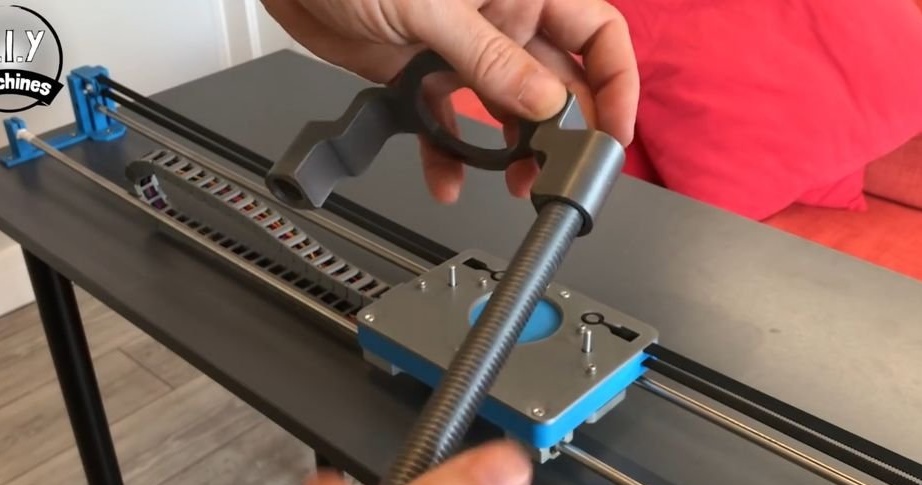
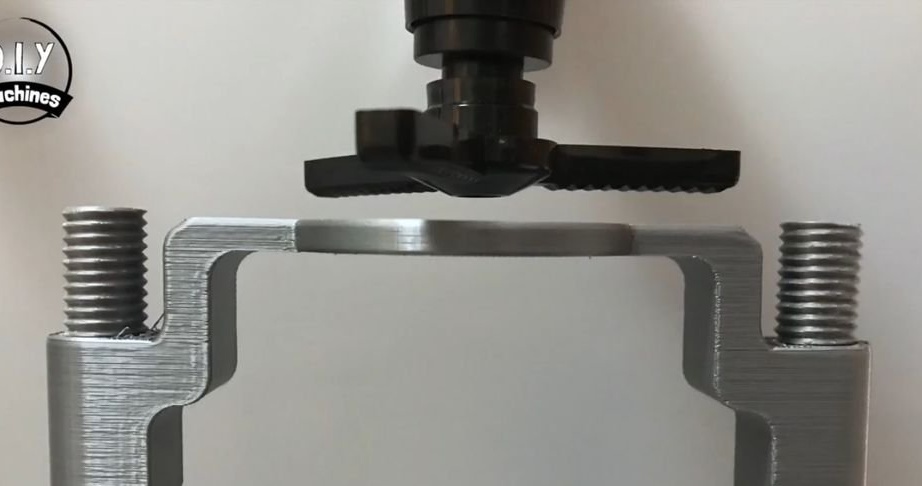
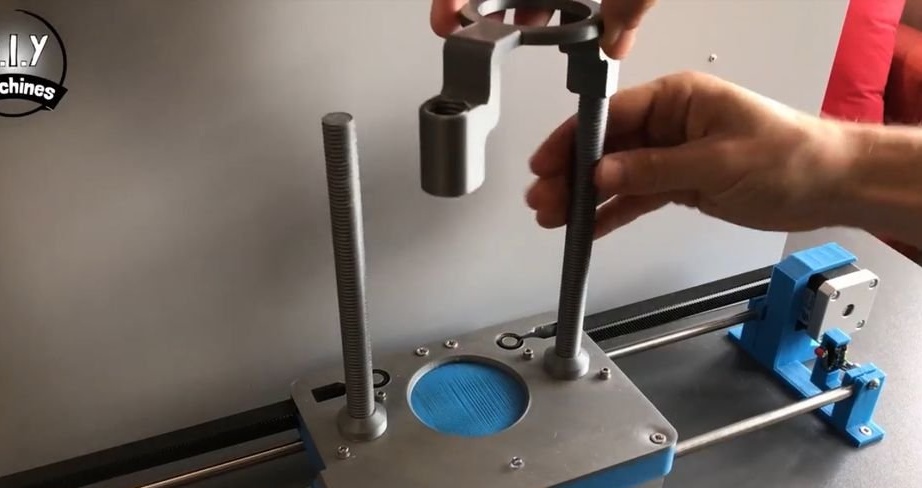
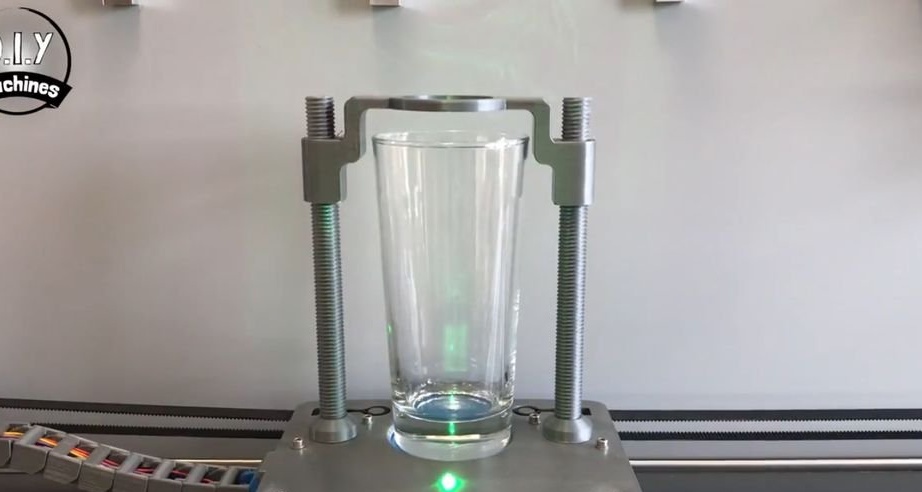
Step Ten: Cup Holder
Prints two threaded rods main_rod2.3.STL and holder Dispenser_Paddle_V2.STL. Fastens on a platform.
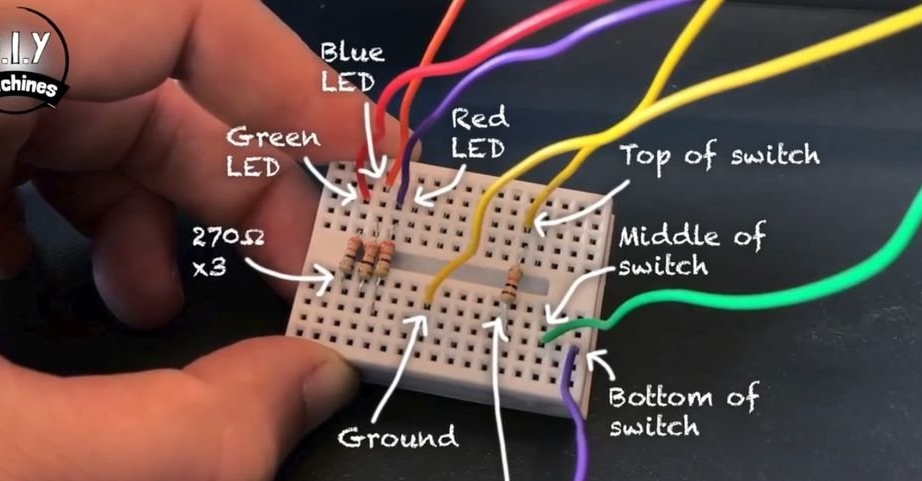
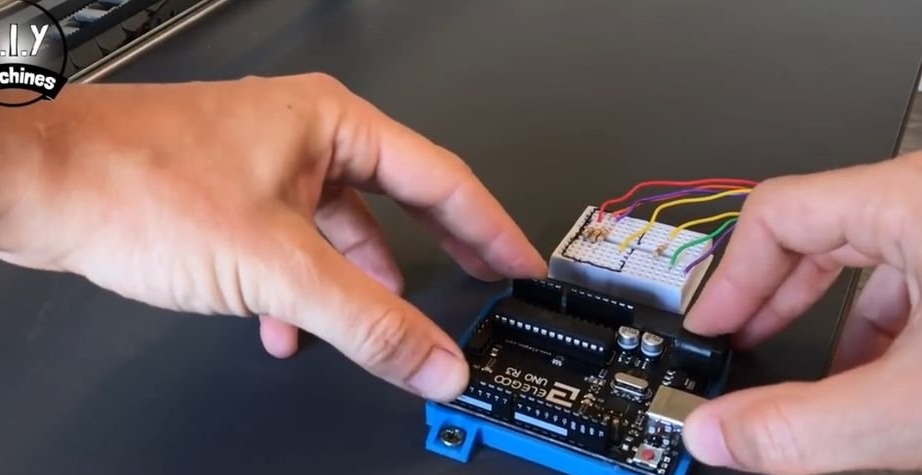
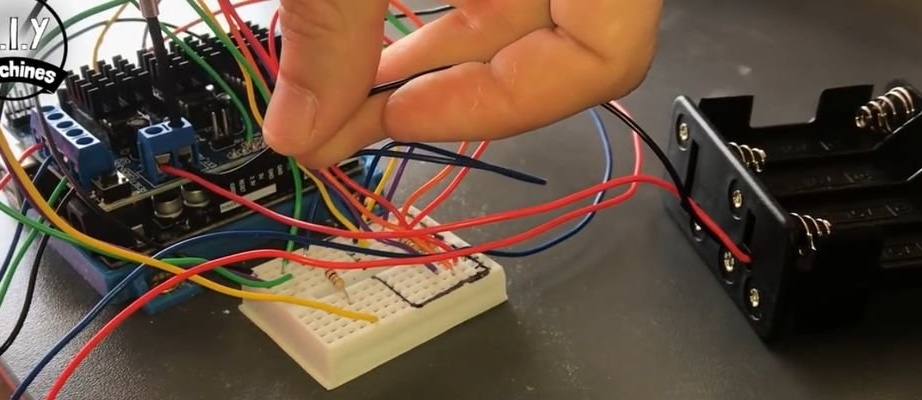
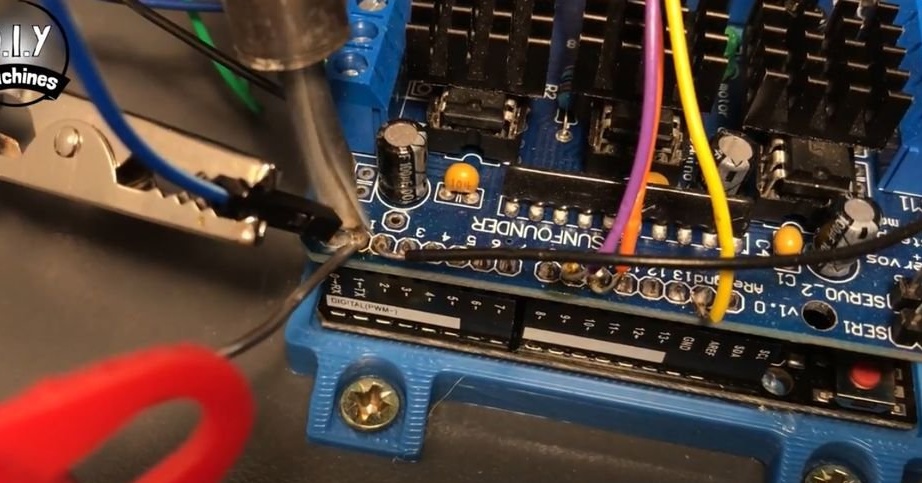
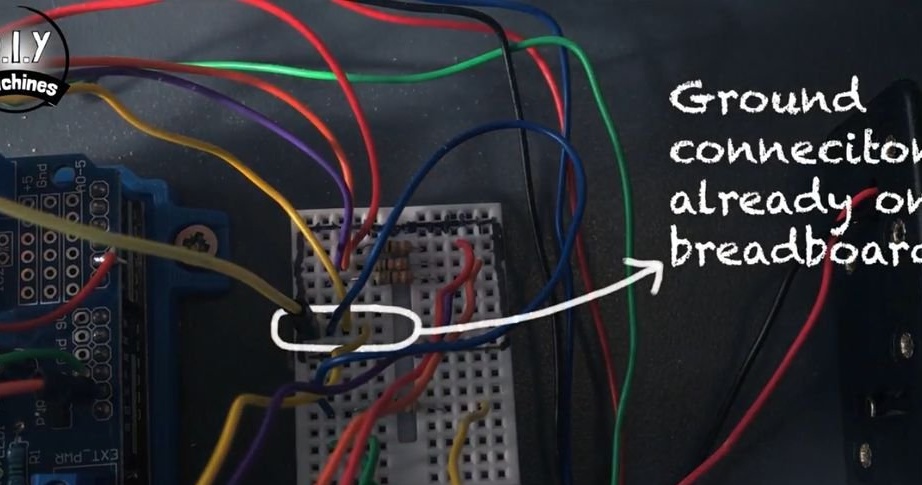
Step eleven: indicator, trailer, breadboard
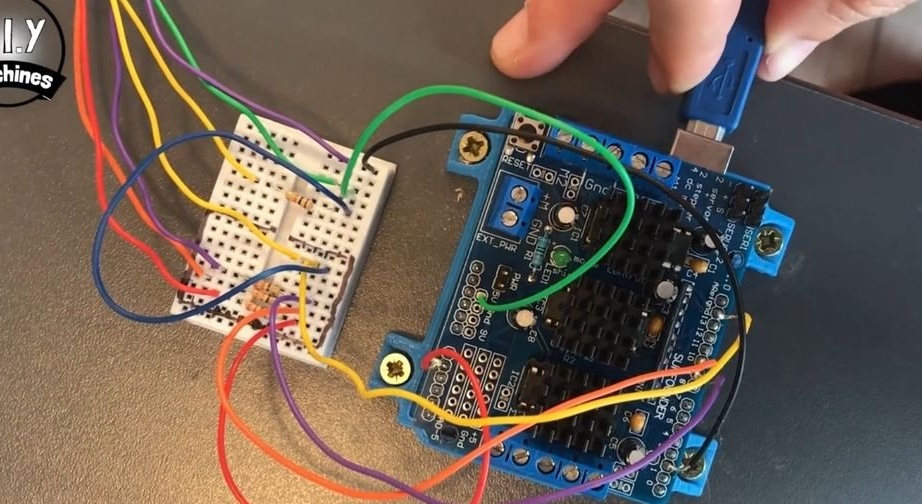
RGB LED, has four legs. One leg is common and three in color. The master takes four more wires, each about 15 cm long, and solders them as follows (by the colors of the LED glow) to the engine driver module:
Red to pin D9
Blue to pin D10
Green to pin A1
The cathode to the GND pin.


It connects the trailer: the upper contact is GND, the middle contact is 5 V, the lower contact is output No. 2.
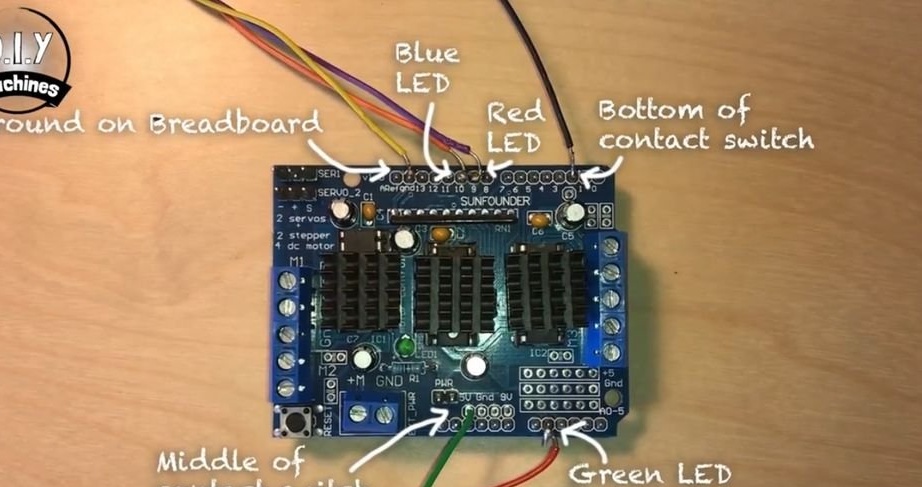
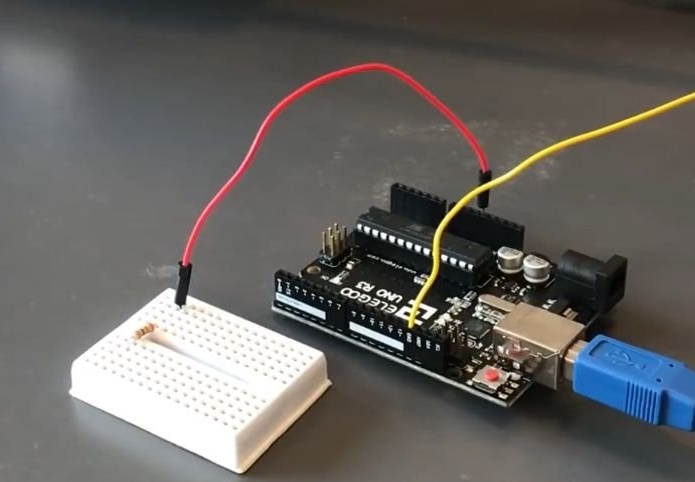
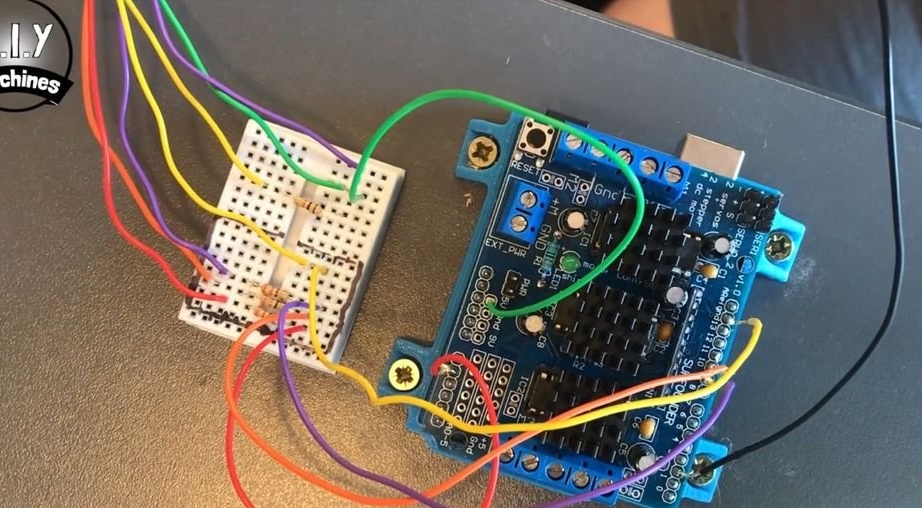
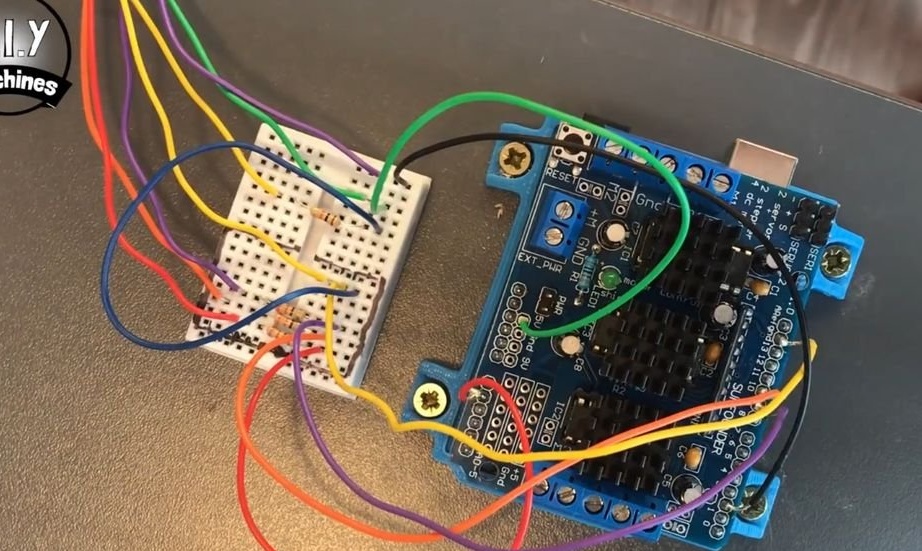
Next mounts everything on a breadboard (see photo). Secures the board to the table.
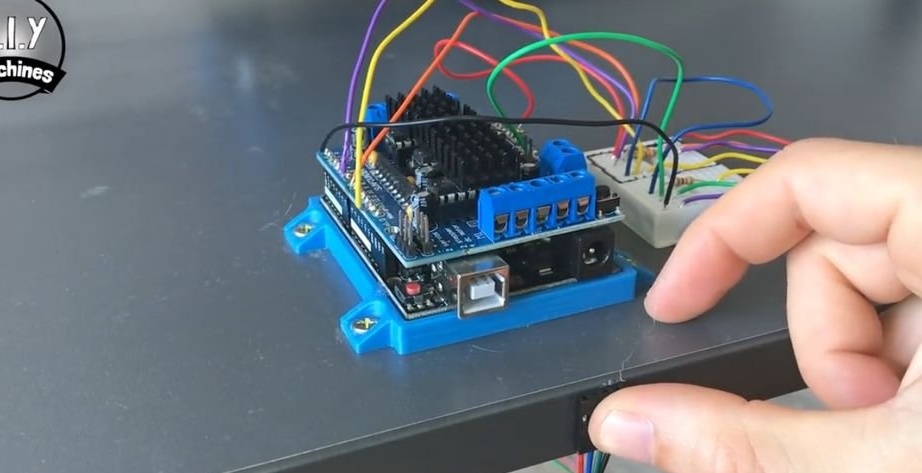
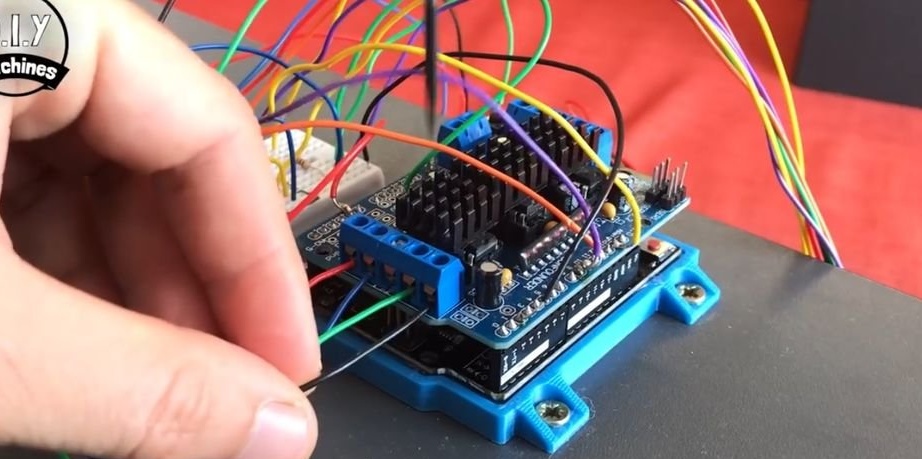
Step Twelve: Arduino
Prints mounting plate for Arduino. Secures the plate to the table. Fastens on a plate of Arduino. Installs an engine driver module on the Arduino.
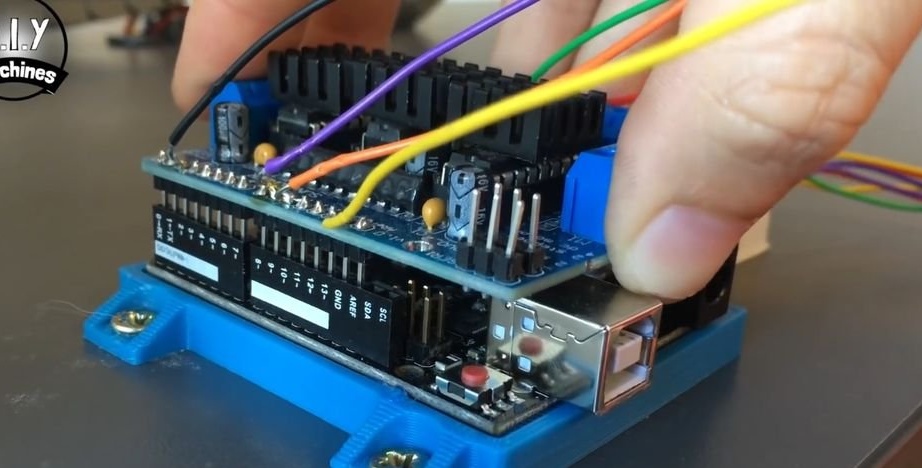
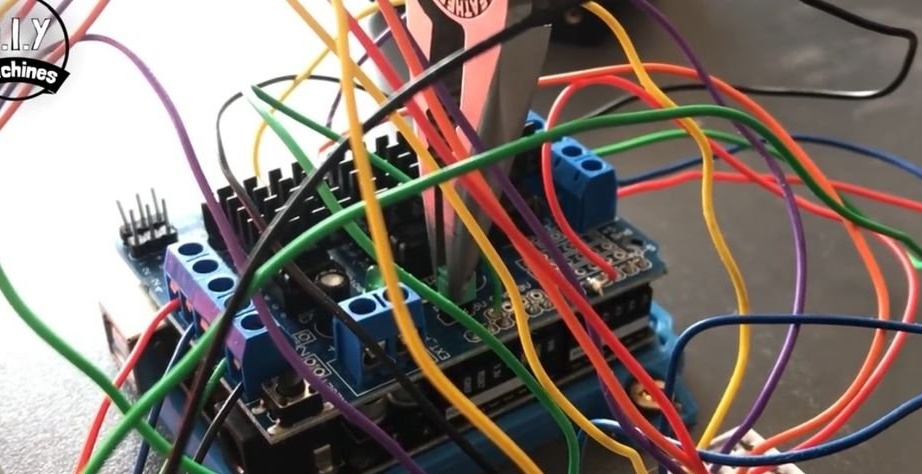
Connects the wires from the driver to the breadboard, as in the photo.
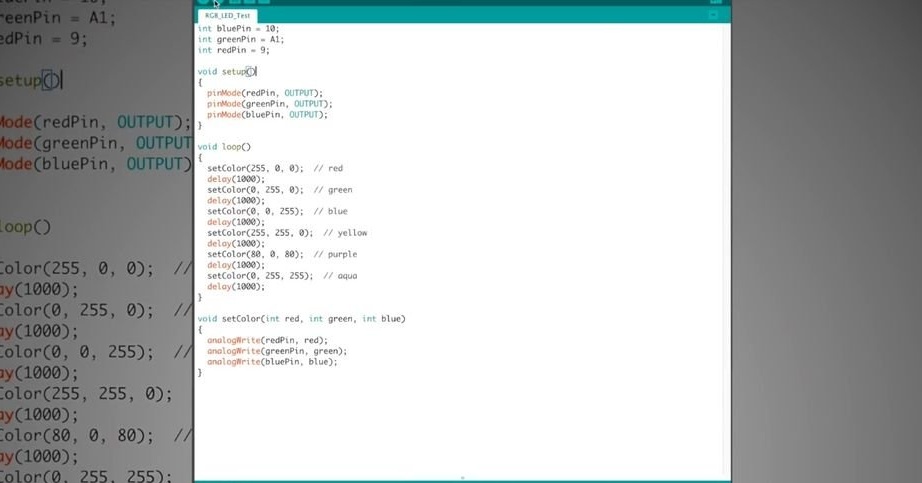
Step Thirteen: Download Code
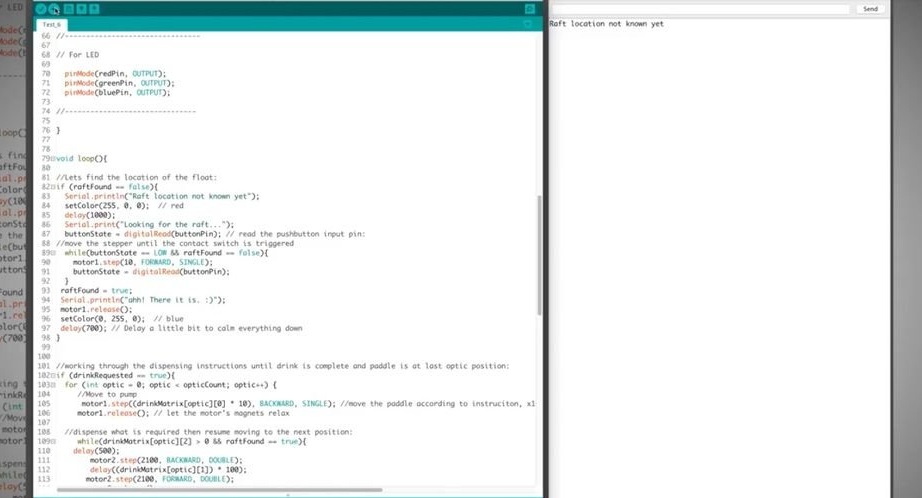
Connects Arduino to a PC and downloads the code. Code can be found here.
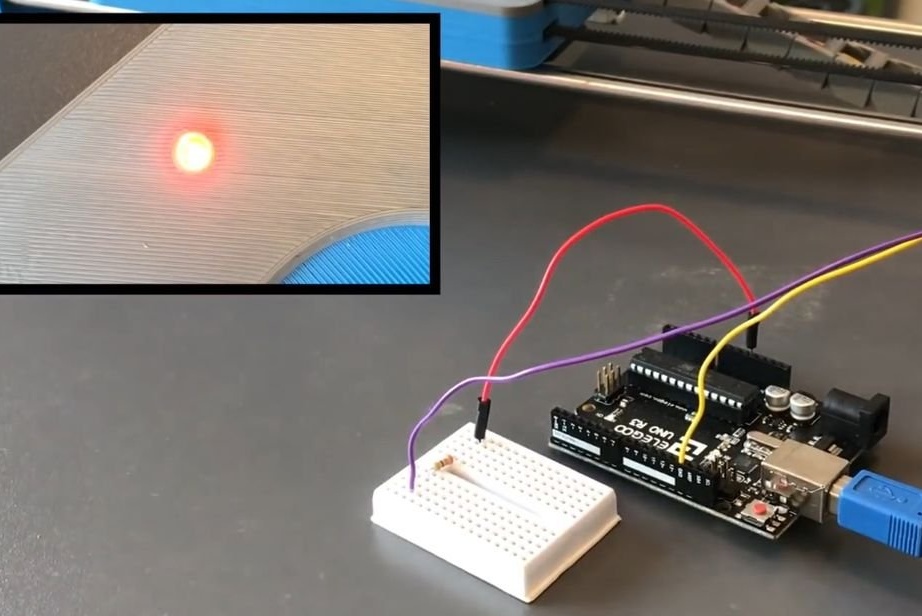
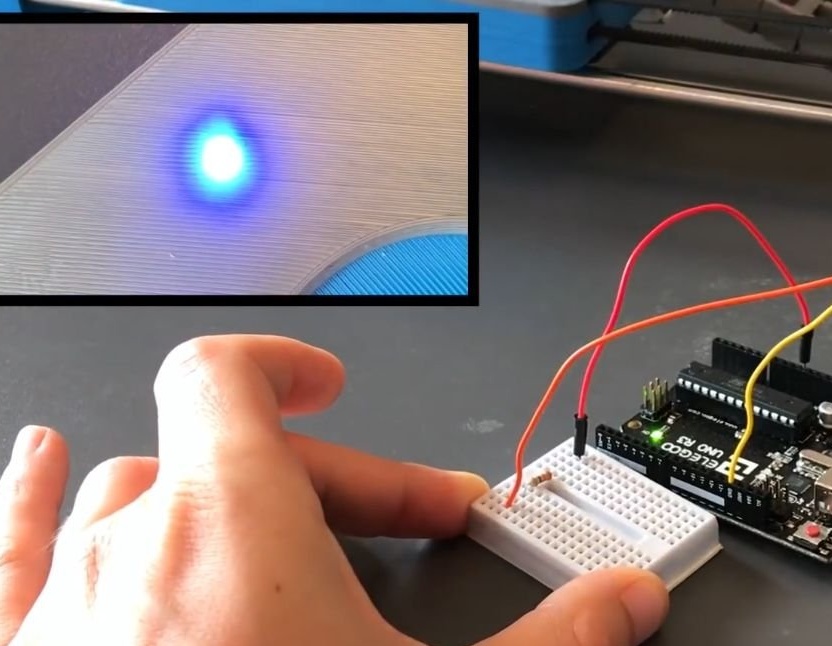
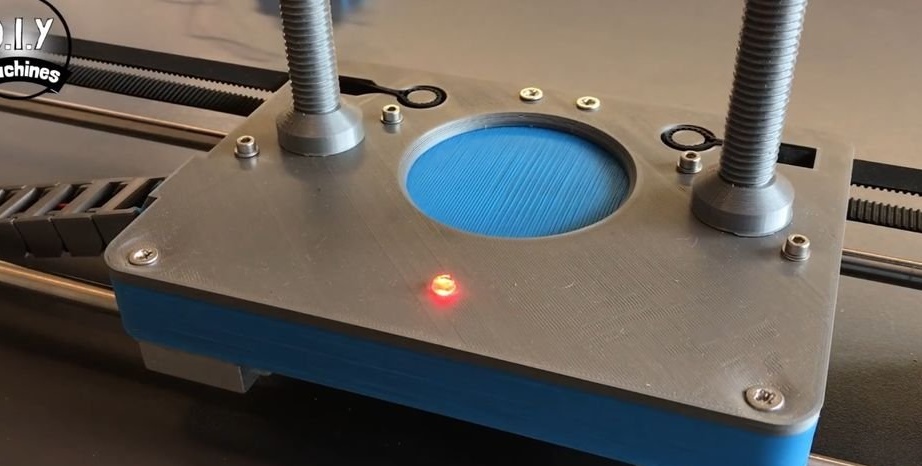
Runs the LED Test code. The LED should light up in different colors.
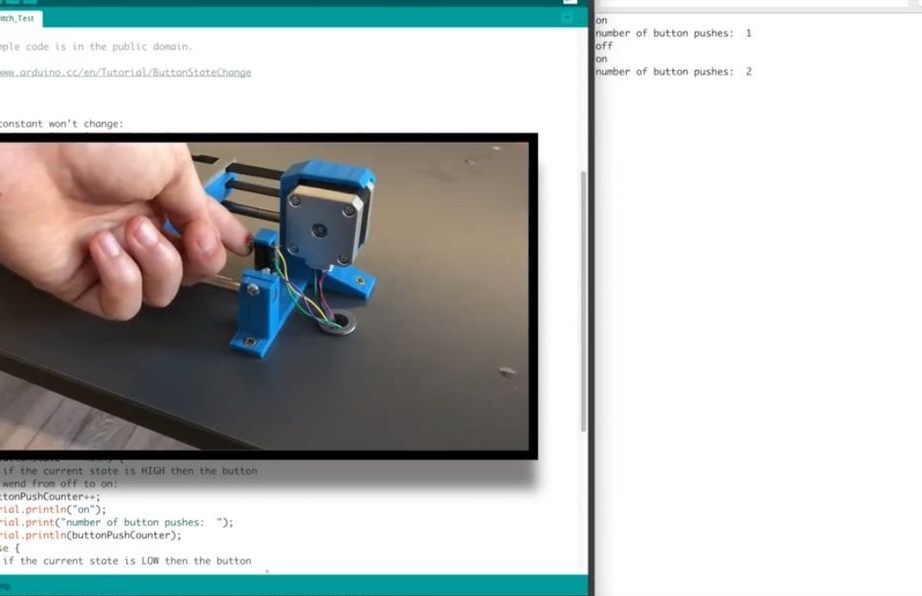
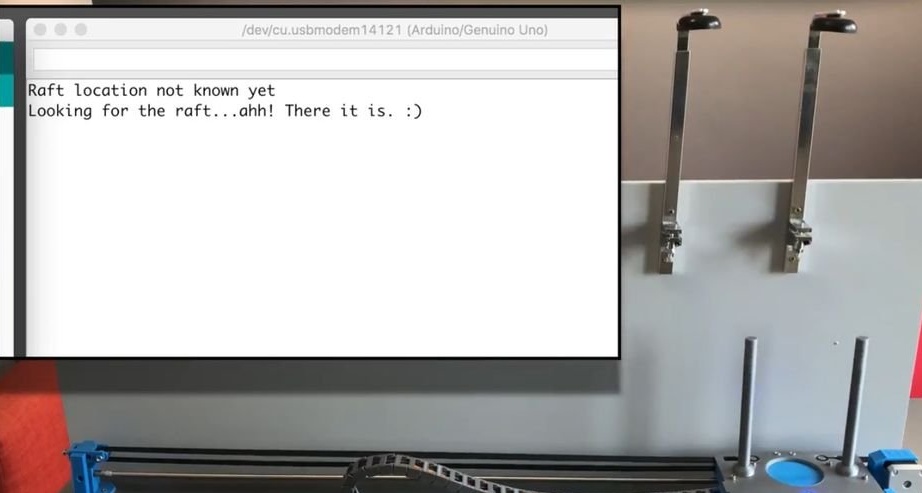
The following script to download is "Contact_switch_test". As soon as it is loaded, each press of the limit switch should be displayed on the monitor.
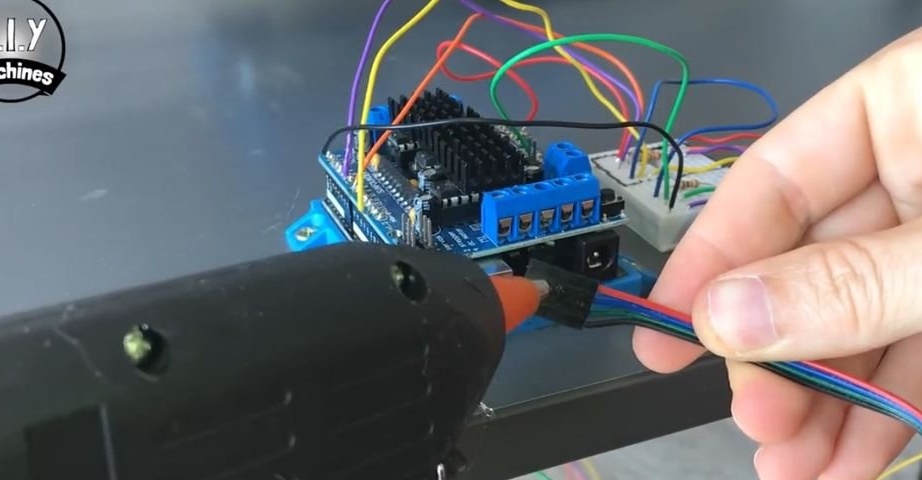
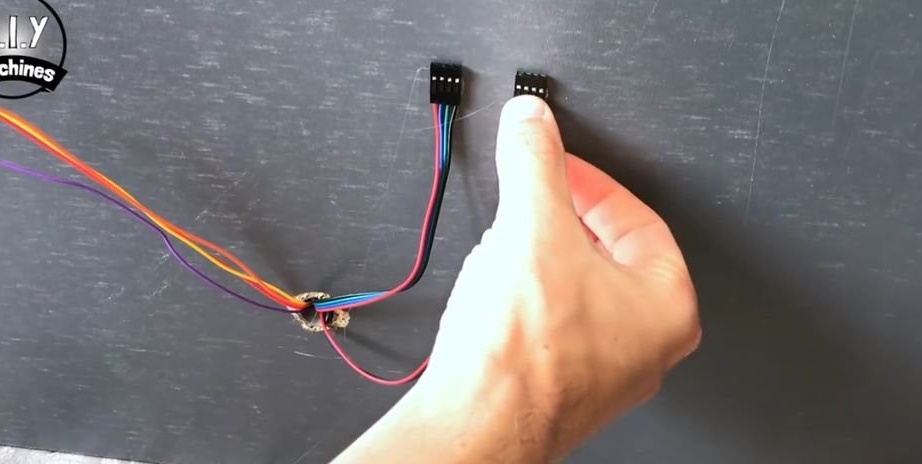
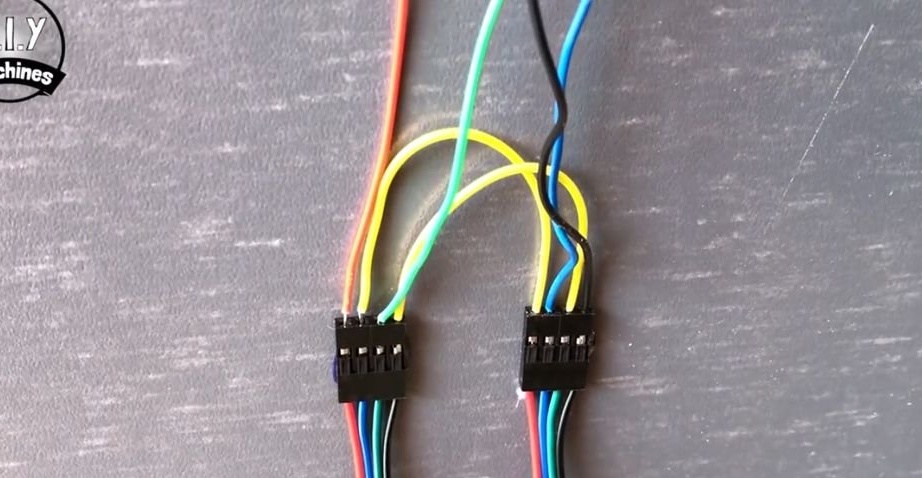
Step fourteen: connecting the X and Z motors
Secures the connector coming from the engine X through the breadboard on the table. Connects with driver wires.

Connects Z-axis stepper motors.

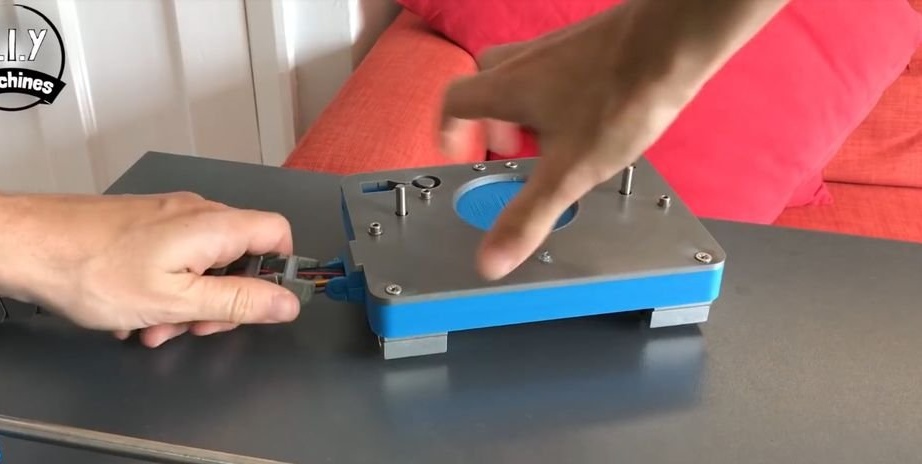
Step Fifteen: Battery Compartment
Removes a jumper on a module. Connects the battery compartment.

Now you can run "test 1". The red LED should light up and the platform should reach the limit switch. Then the LED will turn green.
Step sixteen: bottle holders
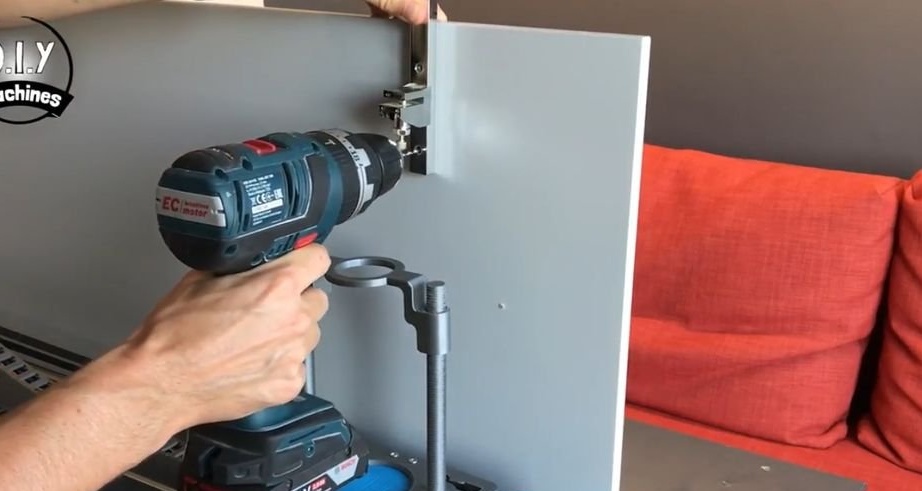
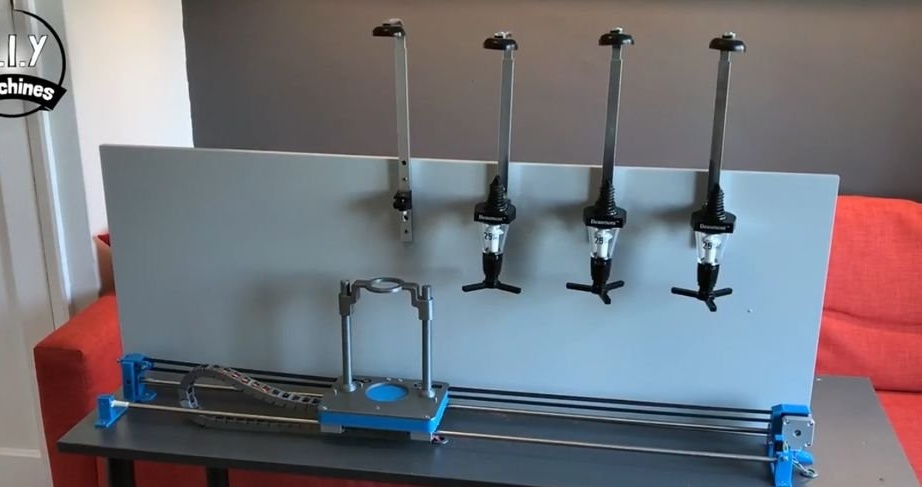
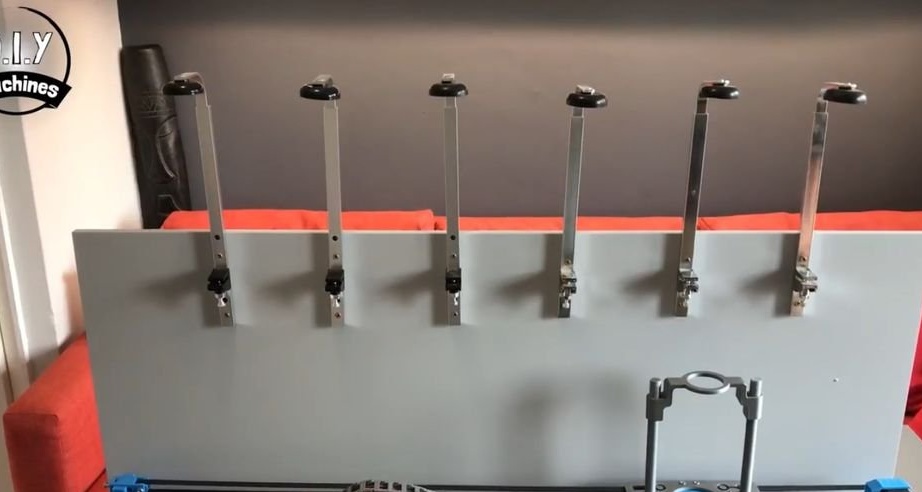
Using brackets secures the rear wall of MDF.

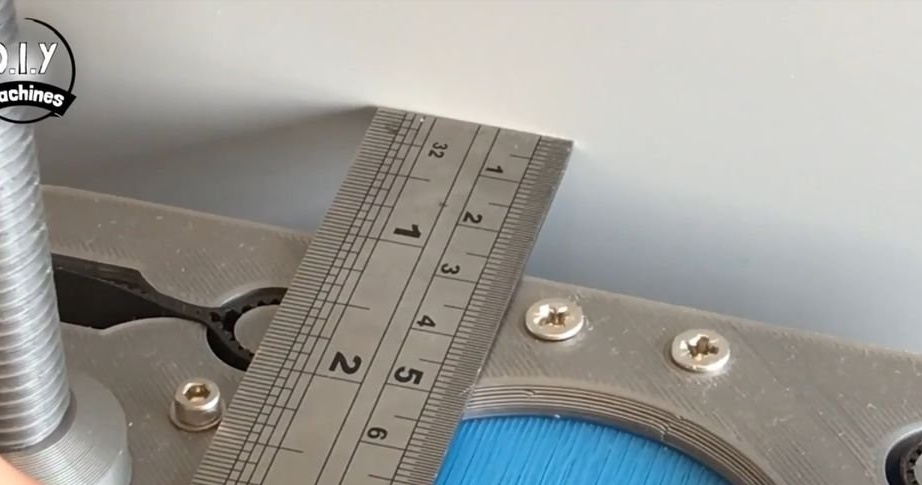
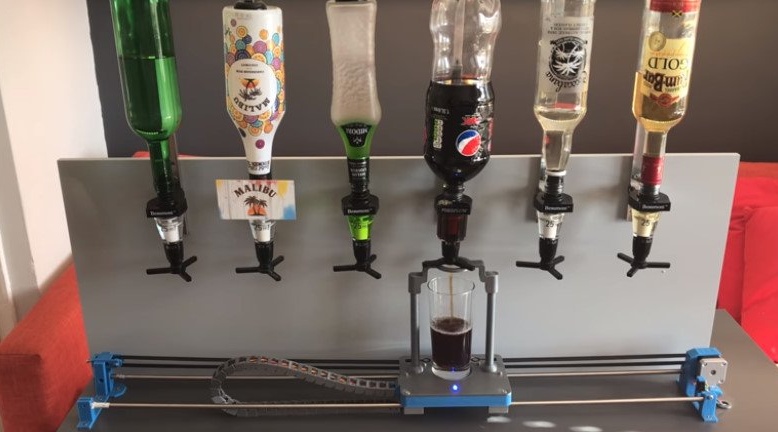
Further moves the platform 1 cm from the limit switch. Aligns the glass holder and secures the bottle holder with the dispenser (unfortunately the master did not give a description for the manufacture or purchase of the holder). Further. holders are attached every 12 cm.
Step seventeen: code, calibration, test
Loads the main code at https://www.thingiverse.com/thing:2478890
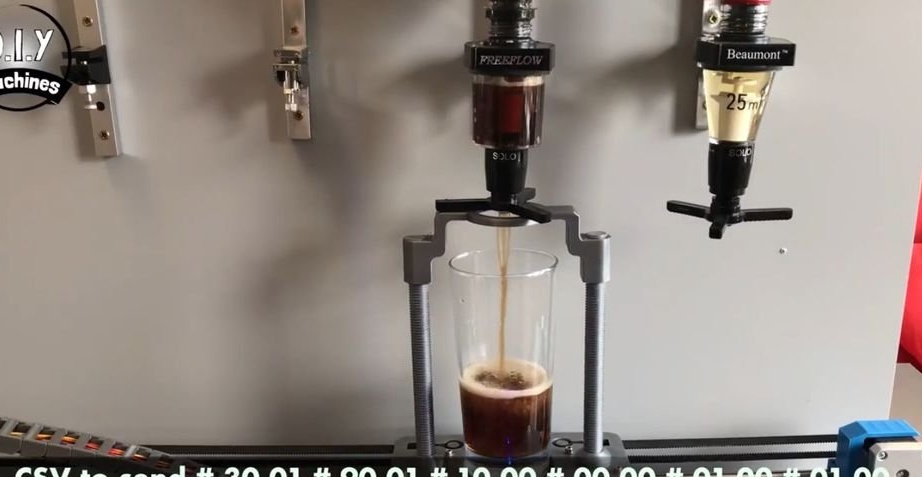
The following values are set in the setting: 50,10,01,50,06,01,50,50,00,57,00,00,50,50,02,50,50,00. The master has six dispensers. In the settings there are six groups of three, where the first digit is the distance from the limit switch, the first dispenser, the second dispenser, etc., the second digit is the time the drink was poured into the glass, the third is the number of pouring. All of these values can be changed as needed.

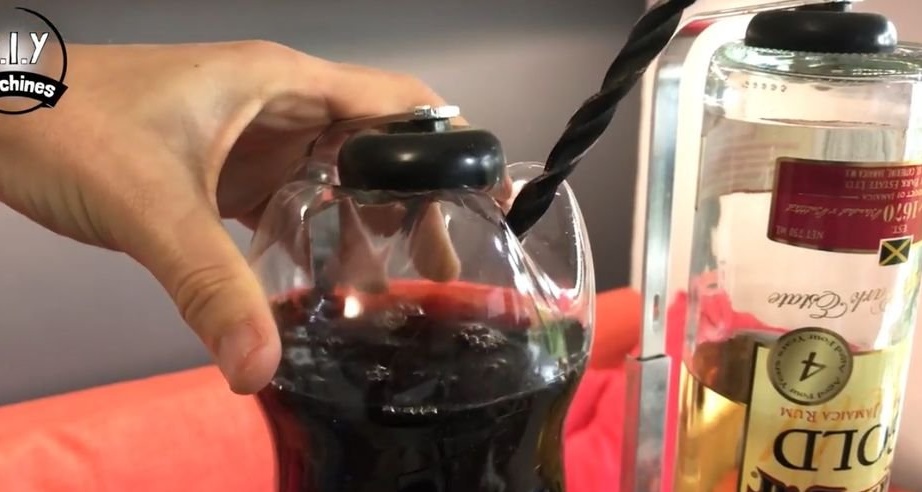
The first drink that the device prepared was gin and cola. To equalize the pressure in the bottle with cola, you need to make a hole. Then the wizard set the necessary parameters.
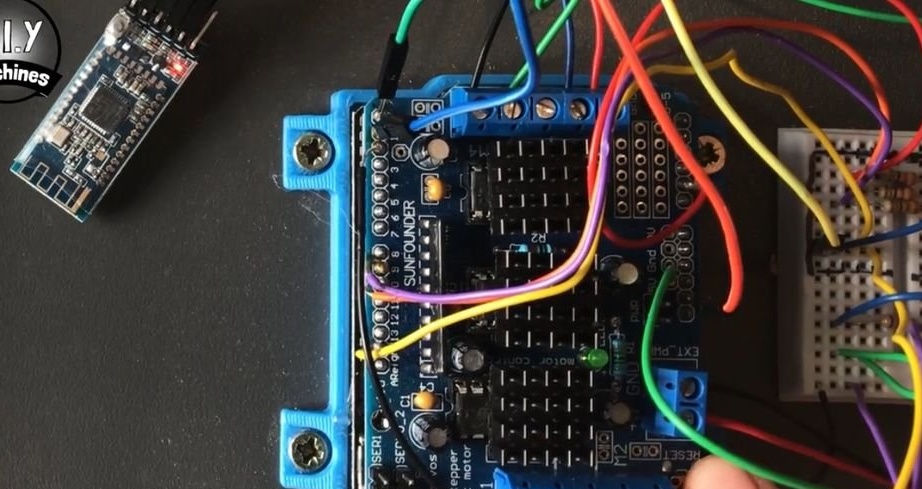
Step eighteen: bluetooth module
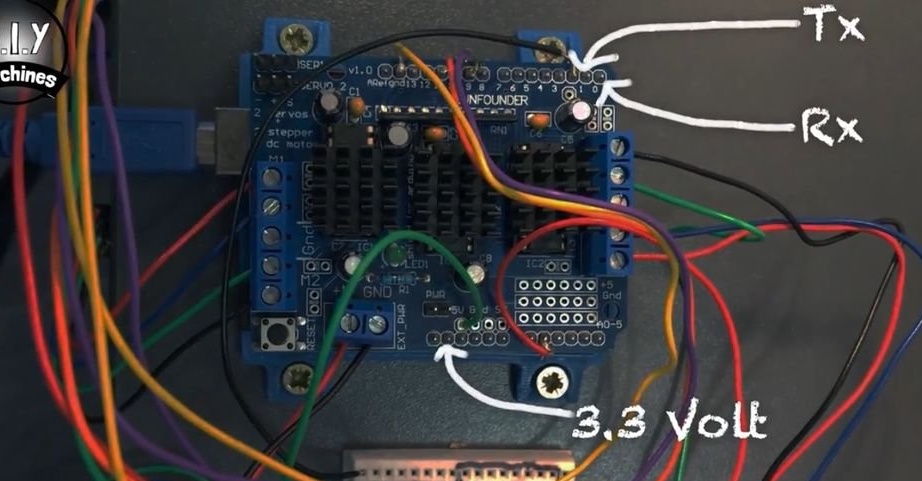
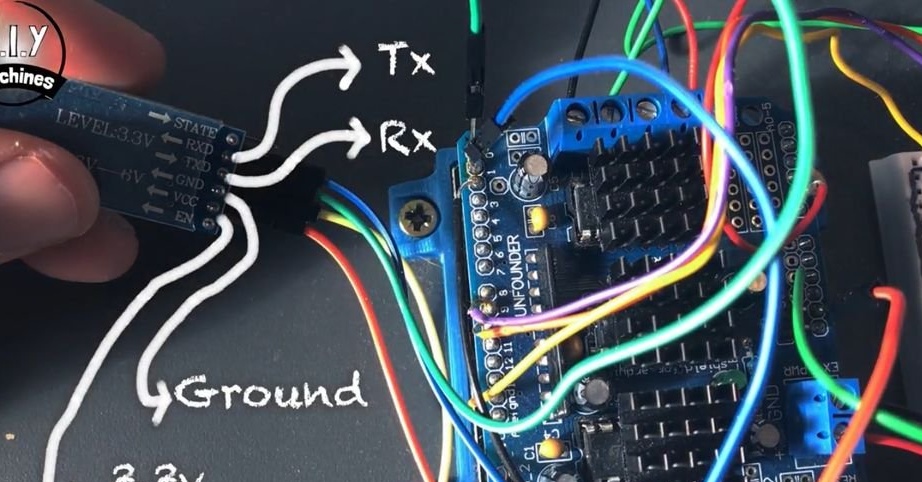
To control the bartender from the gadget, the master installed a Bluetooth module. The module connects as follows.
HM10 -> Arduino Shield
RXD ------> TX
TXD -------> RX
GND ------> Ground
VCC ------> 3.3V
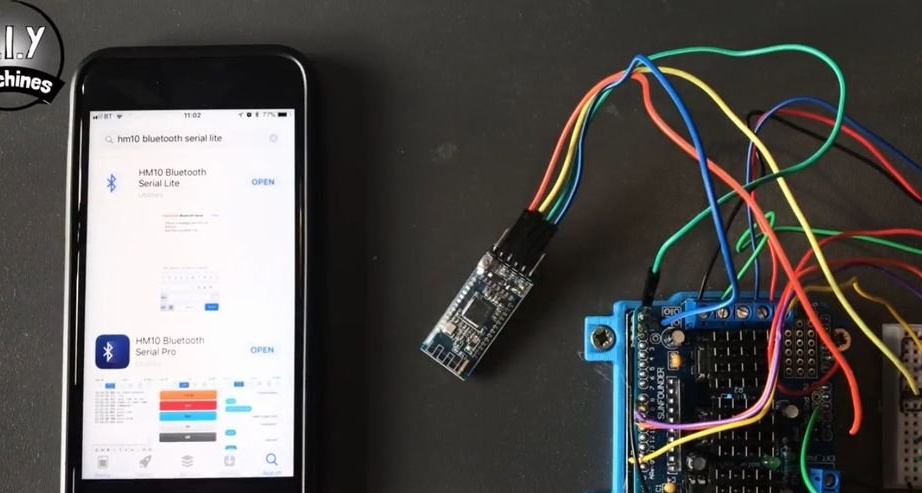
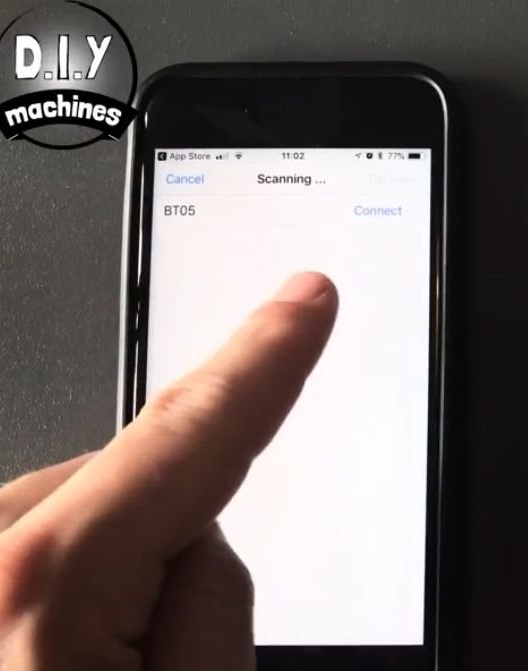
The master has a smartphone running iOS. For this system, he downloads “hm10 bluetooth serial lite” from the application store. Then it establishes connections and enters settings.
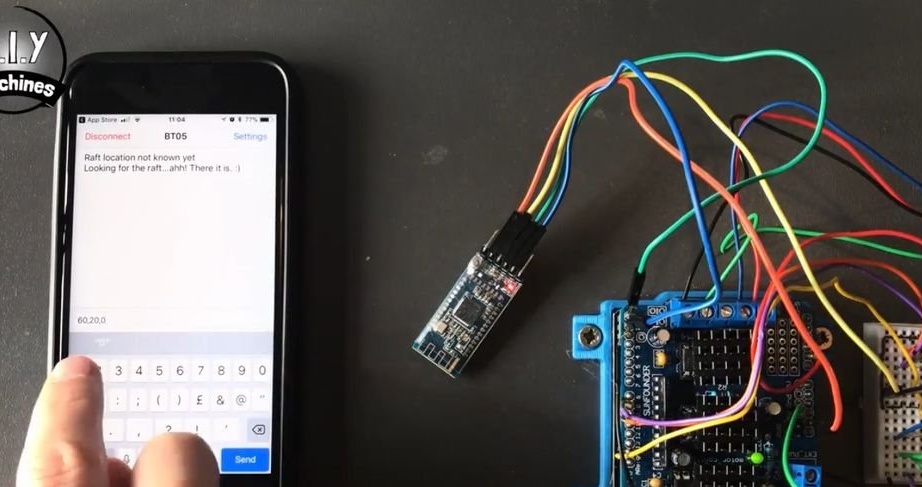
Everything is ready and for more complete information a few videos.