Hello everyone !!! Earlier in childhood, very often with friends we collected metal, handed over to the acceptance and bought something for ourselves. I always dreamed of picking myself up on bikebut alas I didn’t. And so the years passed and the metal collection went away with time.
Most recently, a friend asked him to do a md for metal search, I searched the Internet a bit and found two circuits, these are on transistors and on a 555 timer. Having looked at the reviews, I decided to build pirates for 555, it’s very easy to assemble, one minus it doesn’t distinguish between metals, it beeps all the same. For me, anyway, I would dig all the signals. He also sees coins, nevertheless it is better to take a professional detector for searching for coins, but for metal searches this is just our pirate.
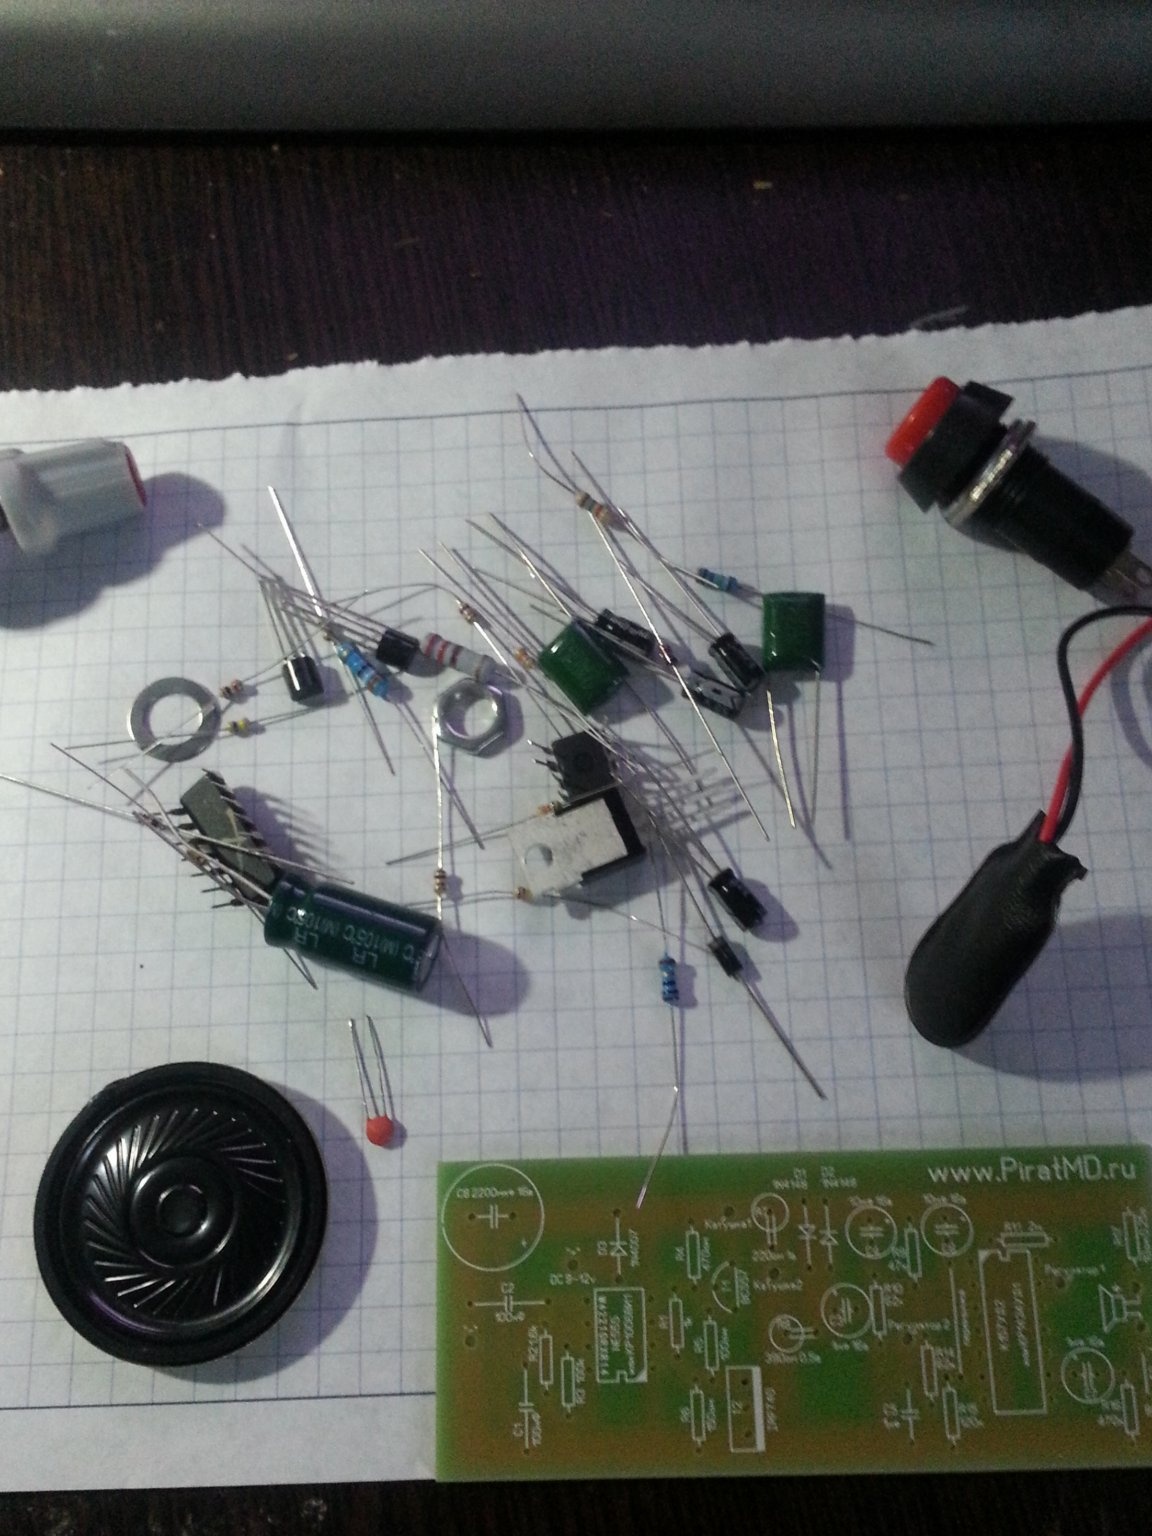
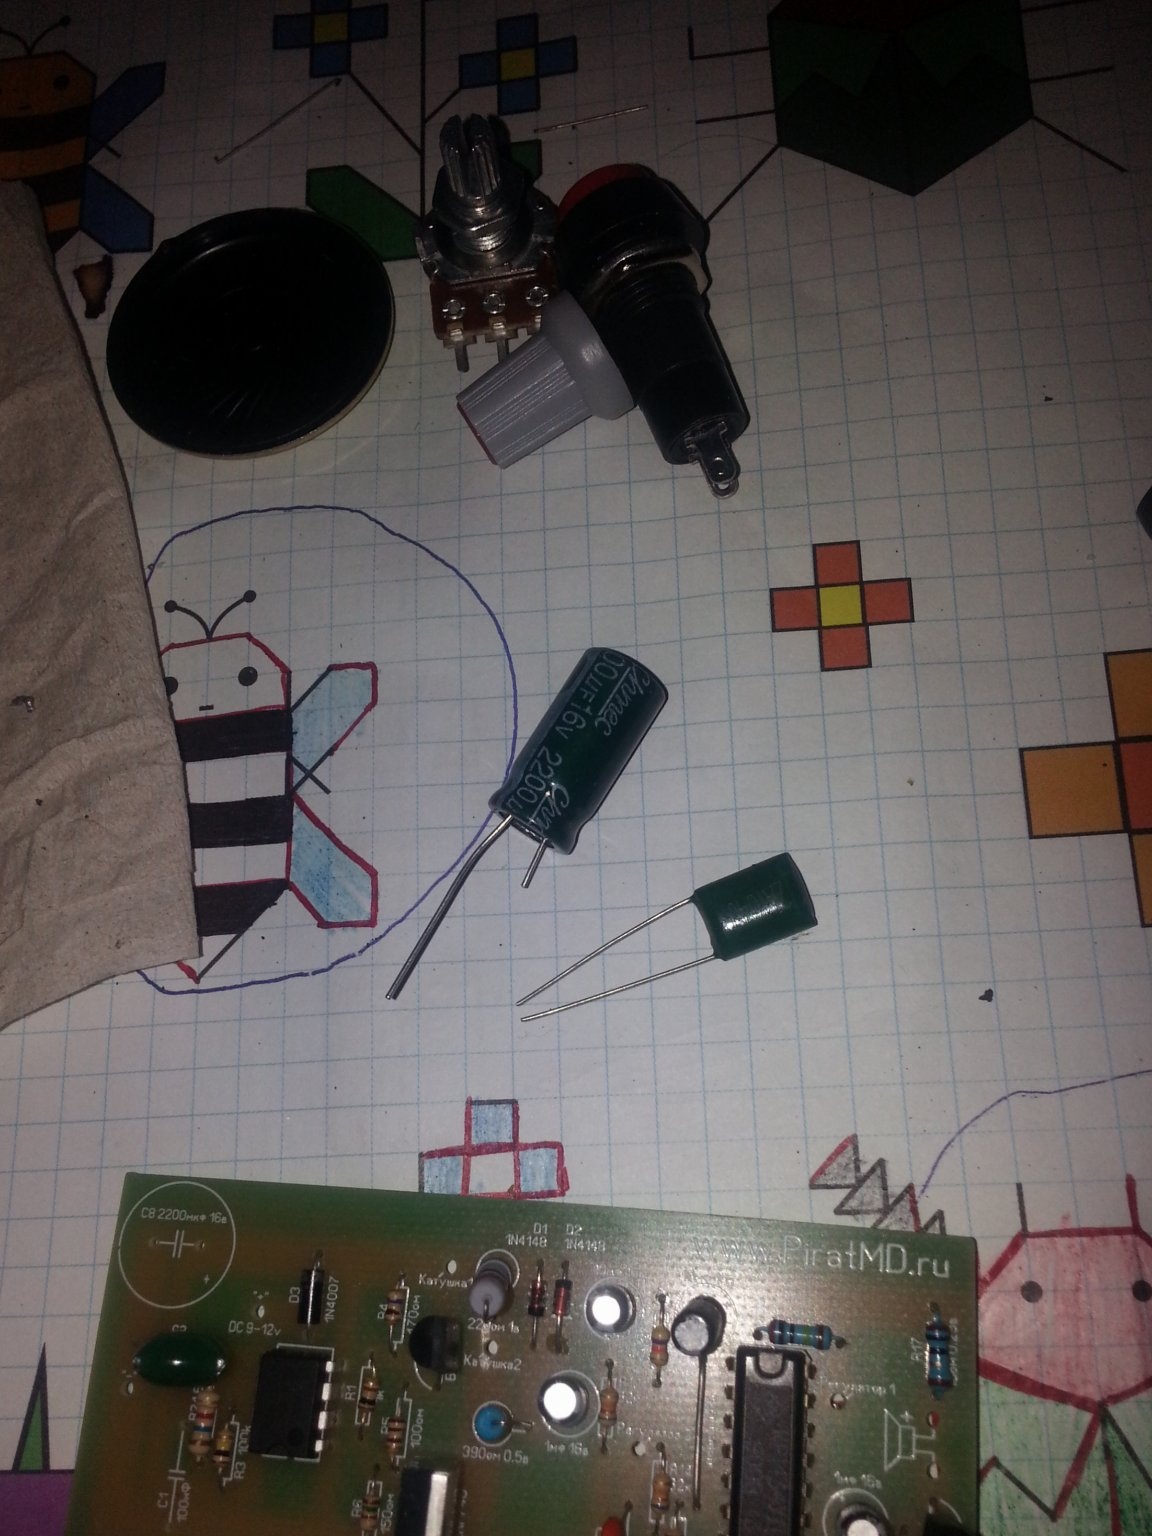
Previously, I did not collect such things and decided not to bother and buy a kit for assembly via the Internet. I found a suitable site, made an order, it remains only to wait. I waited a set of 25 days, the set cost me 900 rubles. And so I proceed to the assembly. Here is this set, everything in the set of parts is not very much, I think we will collect it and it will work right away, because the pirate does not need to be configured, just adjust with a variable resistor
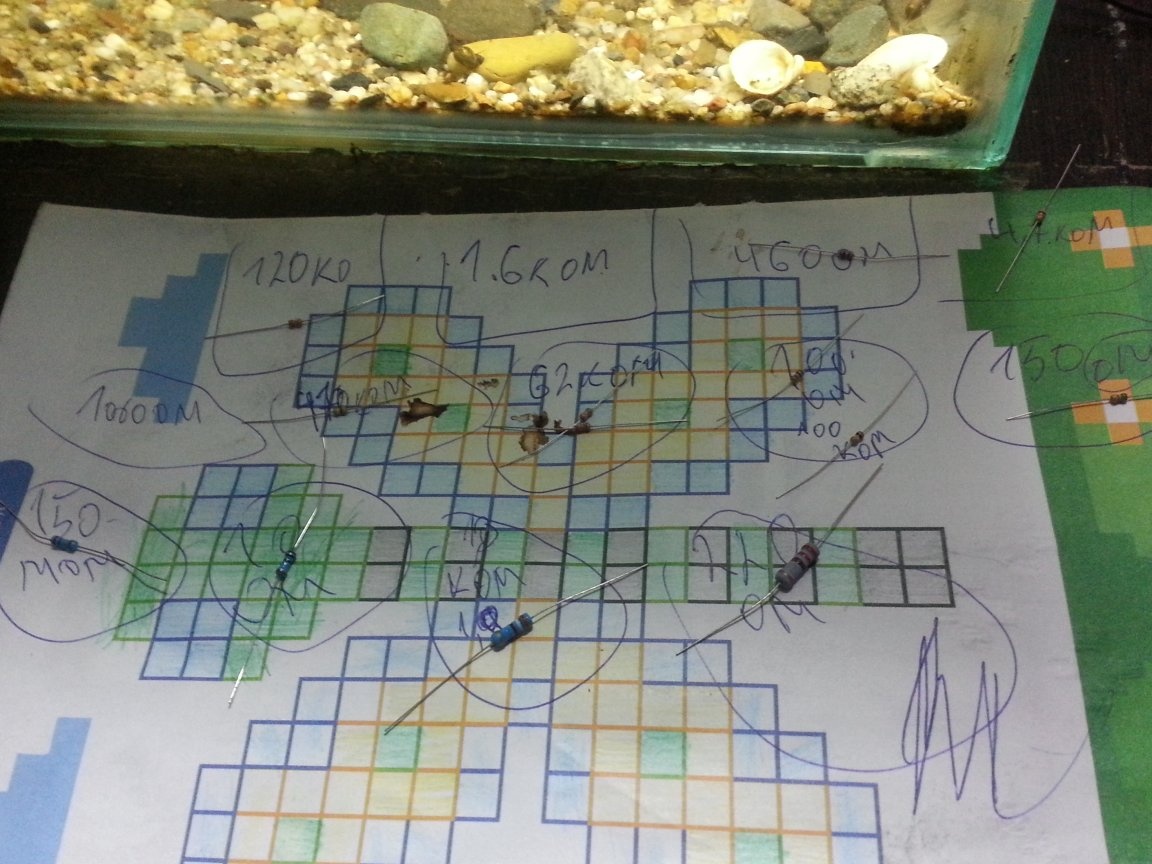
Now, before assembling, for convenience, you need to distribute all the resistors by the nominal resistance. To do this, you need a multimeter, I always do not have it. I had to download an application for color decoding of resistors; I quickly and easily laid out all the resistors by default. A pair of resistors were larger than necessary, but not significantly. If there was any kind of error, this will not particularly affect the work and stability of the pirate.
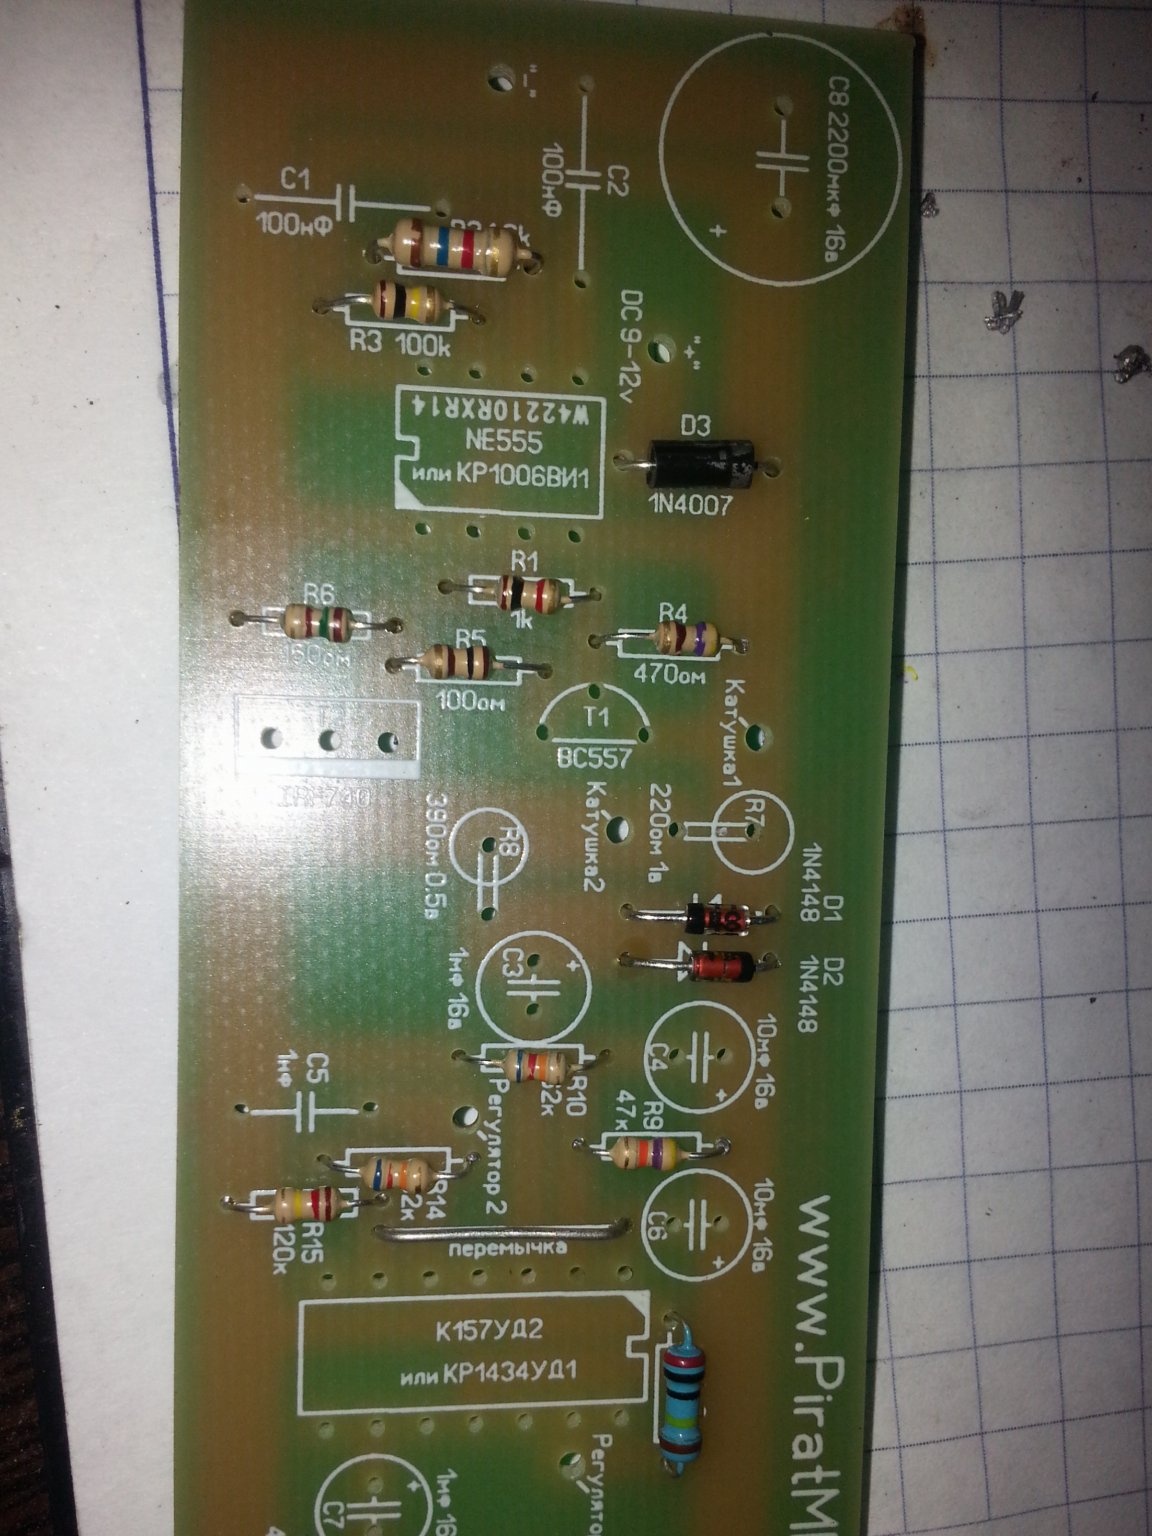
To begin with, I insert all the resistors in their places, on the reverse side I just bend them for now. The set is really a constructor. Everything is written on the board, so the assembly did not take up either energy or a lot of time. I even liked it.
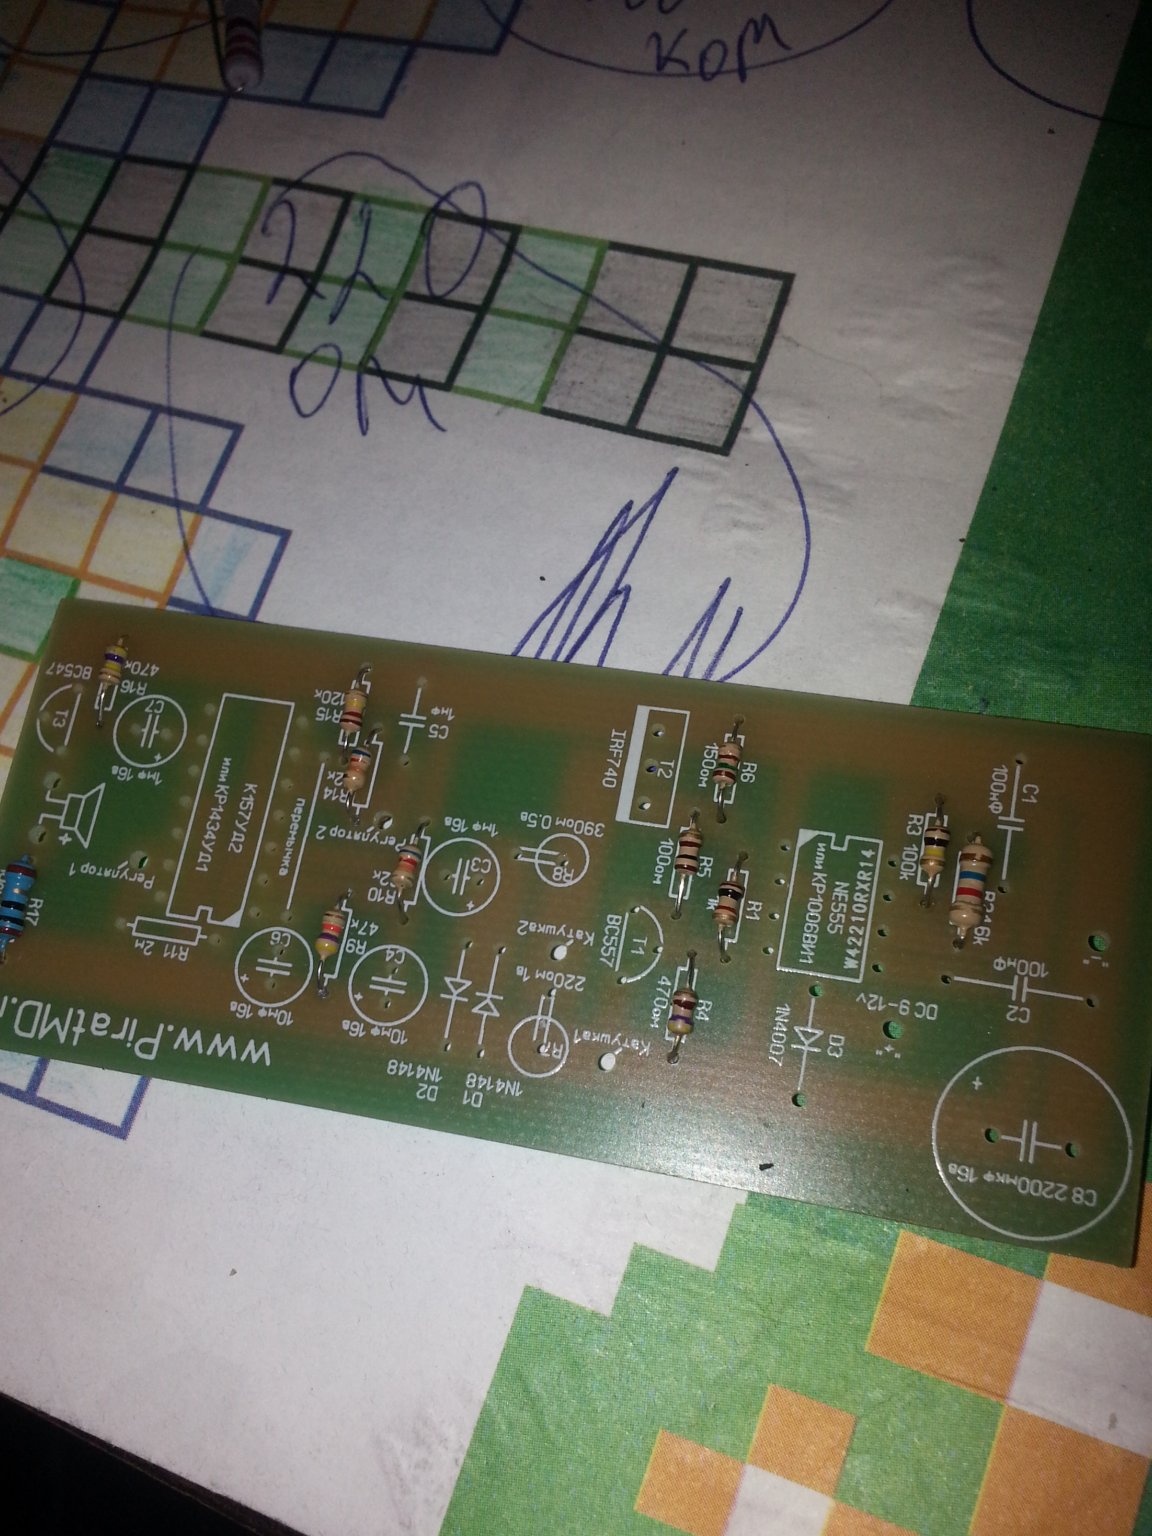
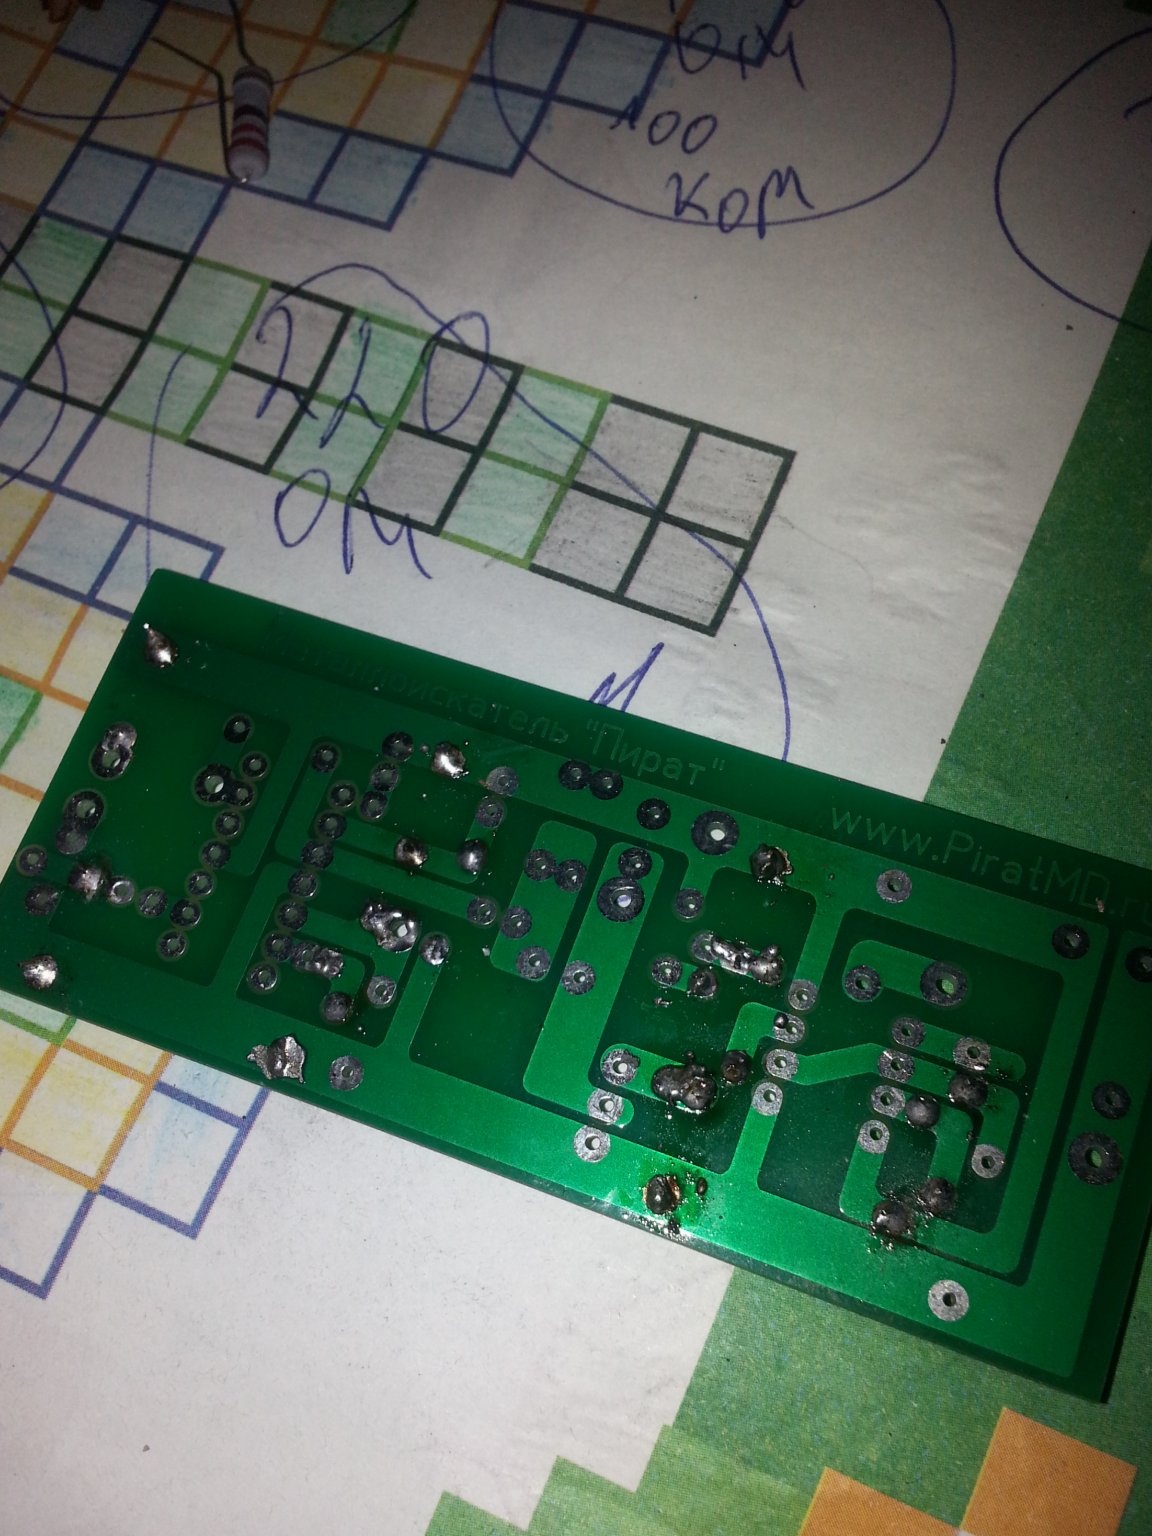
After installing the resistors in their places, on the reverse side I solder them by treating the place of soldering with soldering acid, trying not to heat the elements much for about two seconds for a maximum of three.
Now I install the diodes, and the converter observing the polarity.
It's time to solder the microcircuit, I decided to use the sockets for them, I decided without them, I didn’t find it at home, but they didn’t put it in the kit, in general the kit was not complete, I bought separately: terminal block, speaker, cap on the alternator, in short, take this seller from the seller I won’t.
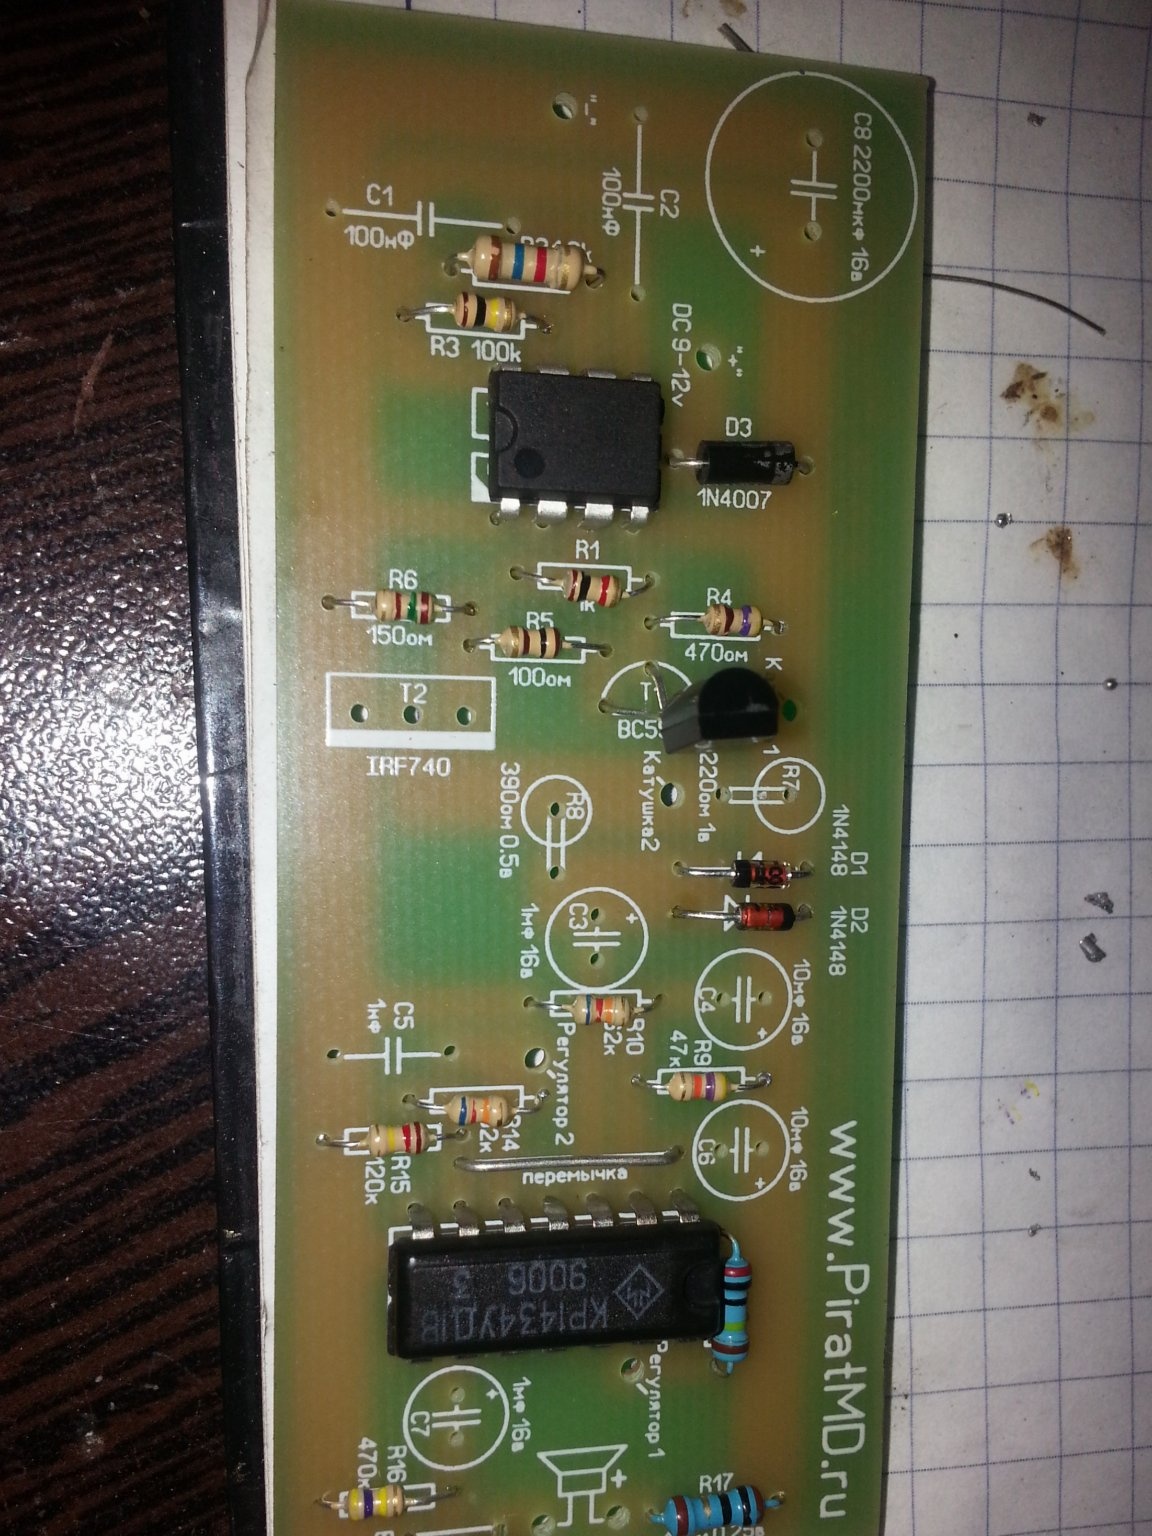
A few more details and our MD is ready.
Well, here are all the details in their places. It remains to solder the wires to the speaker, power, tuning, I will have one variable per 100k, then I can add 10k if necessary, and any suitable plug for the coil is any convenient for use.
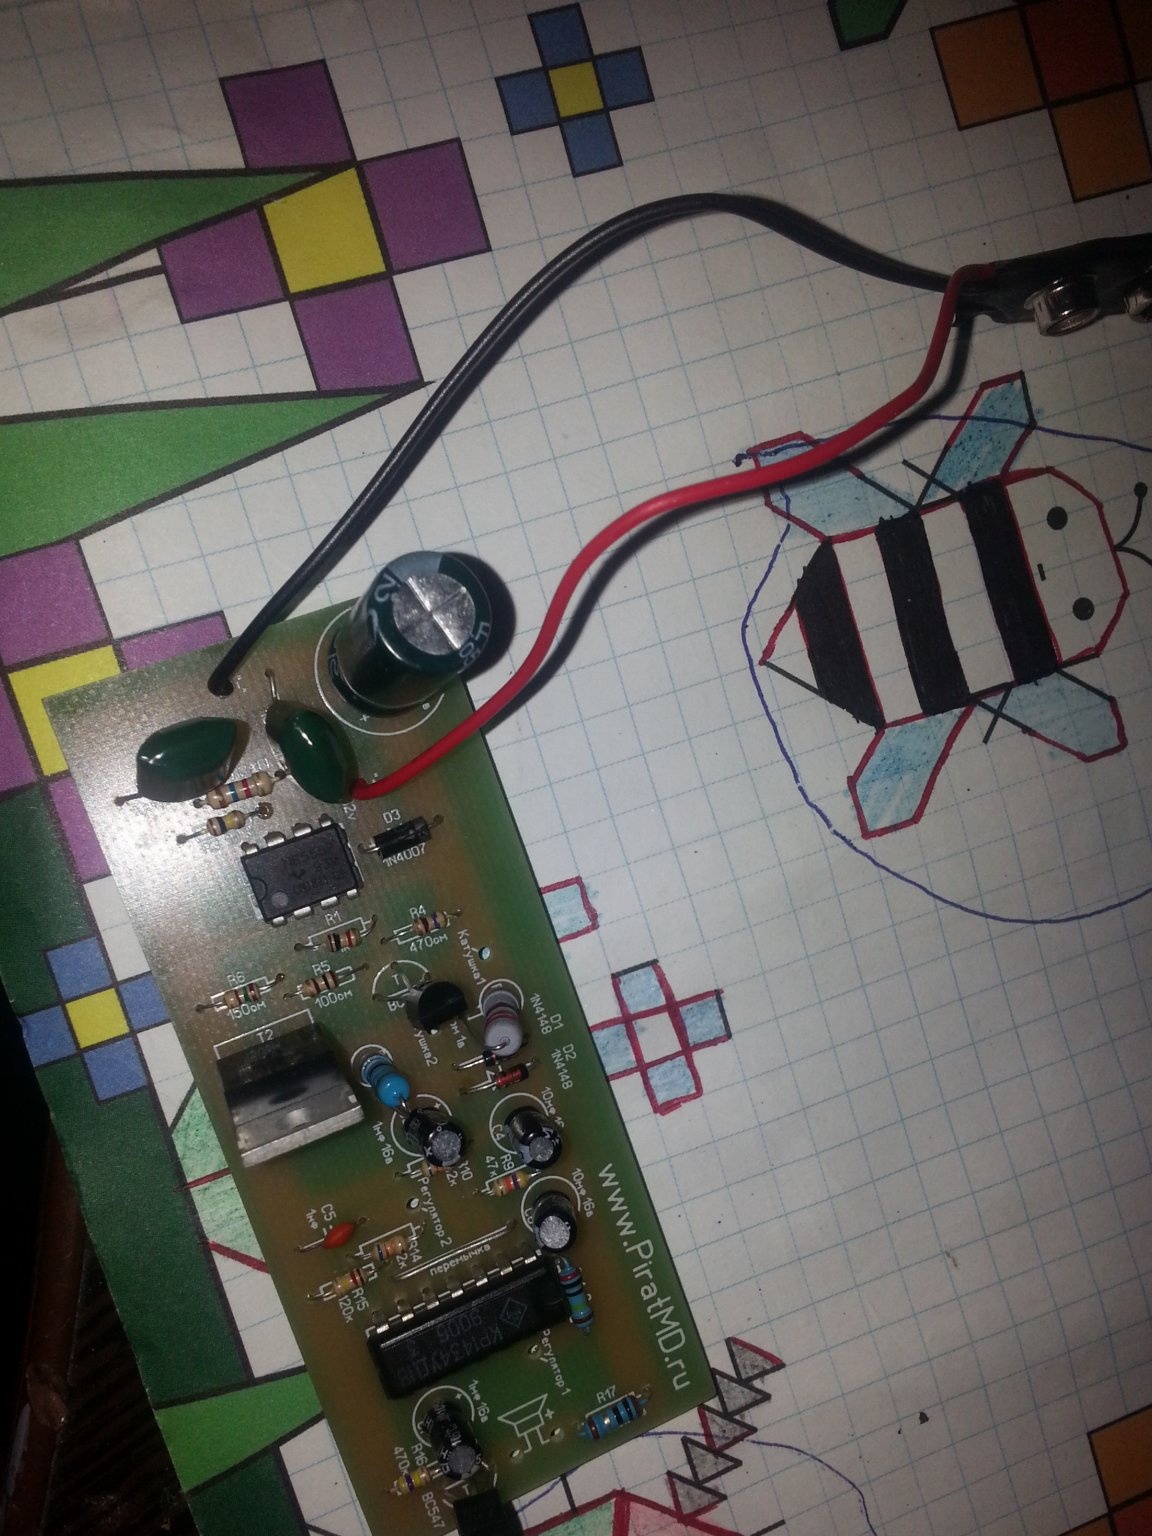
Soldered everything, my board with alcohol to eliminate short circuit on the rosin board.
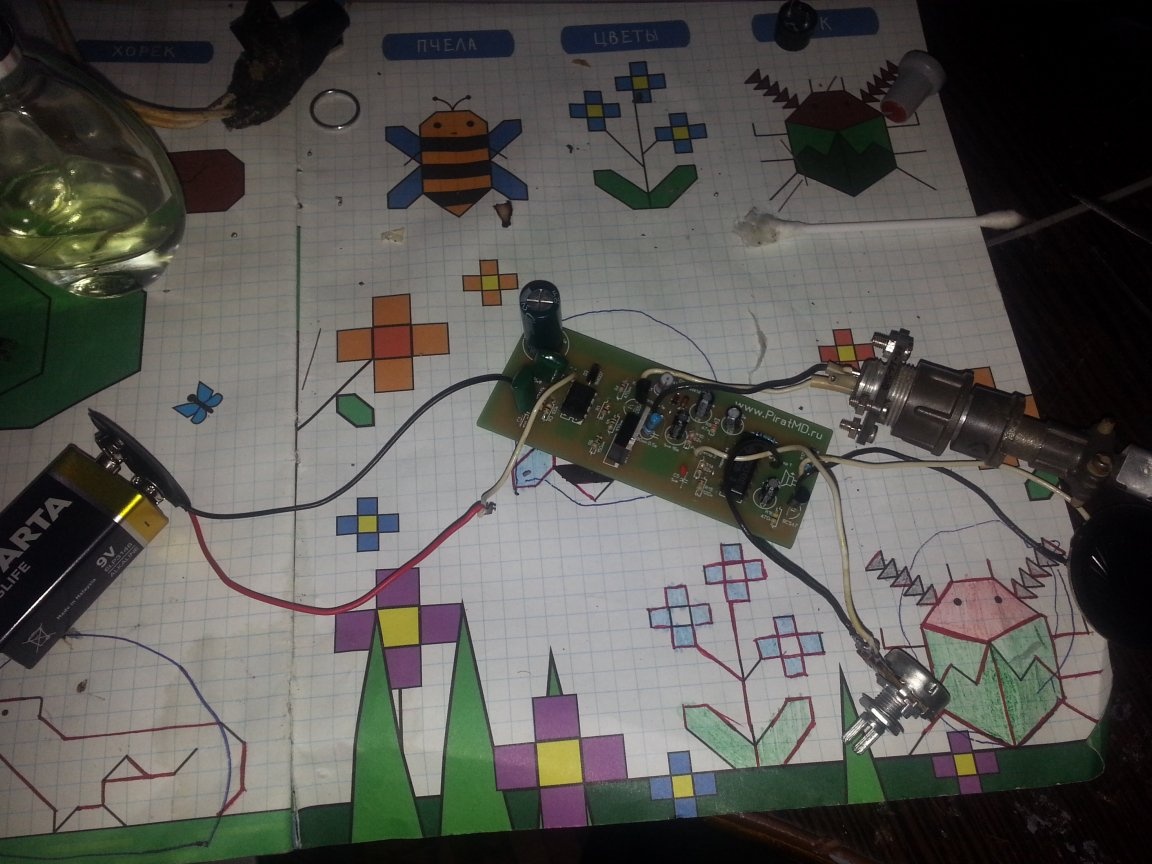
For the finished board, I picked up the box from the self-tapping screws is very convenient, it closes tightly and there is enough space, I installed everything in it, I have 9 volts of wart power, in crown operation mode it lasts for 10, 12 hours. In fact, a friend two weeks for three hours, every day he collected metal, the crown just sits down.

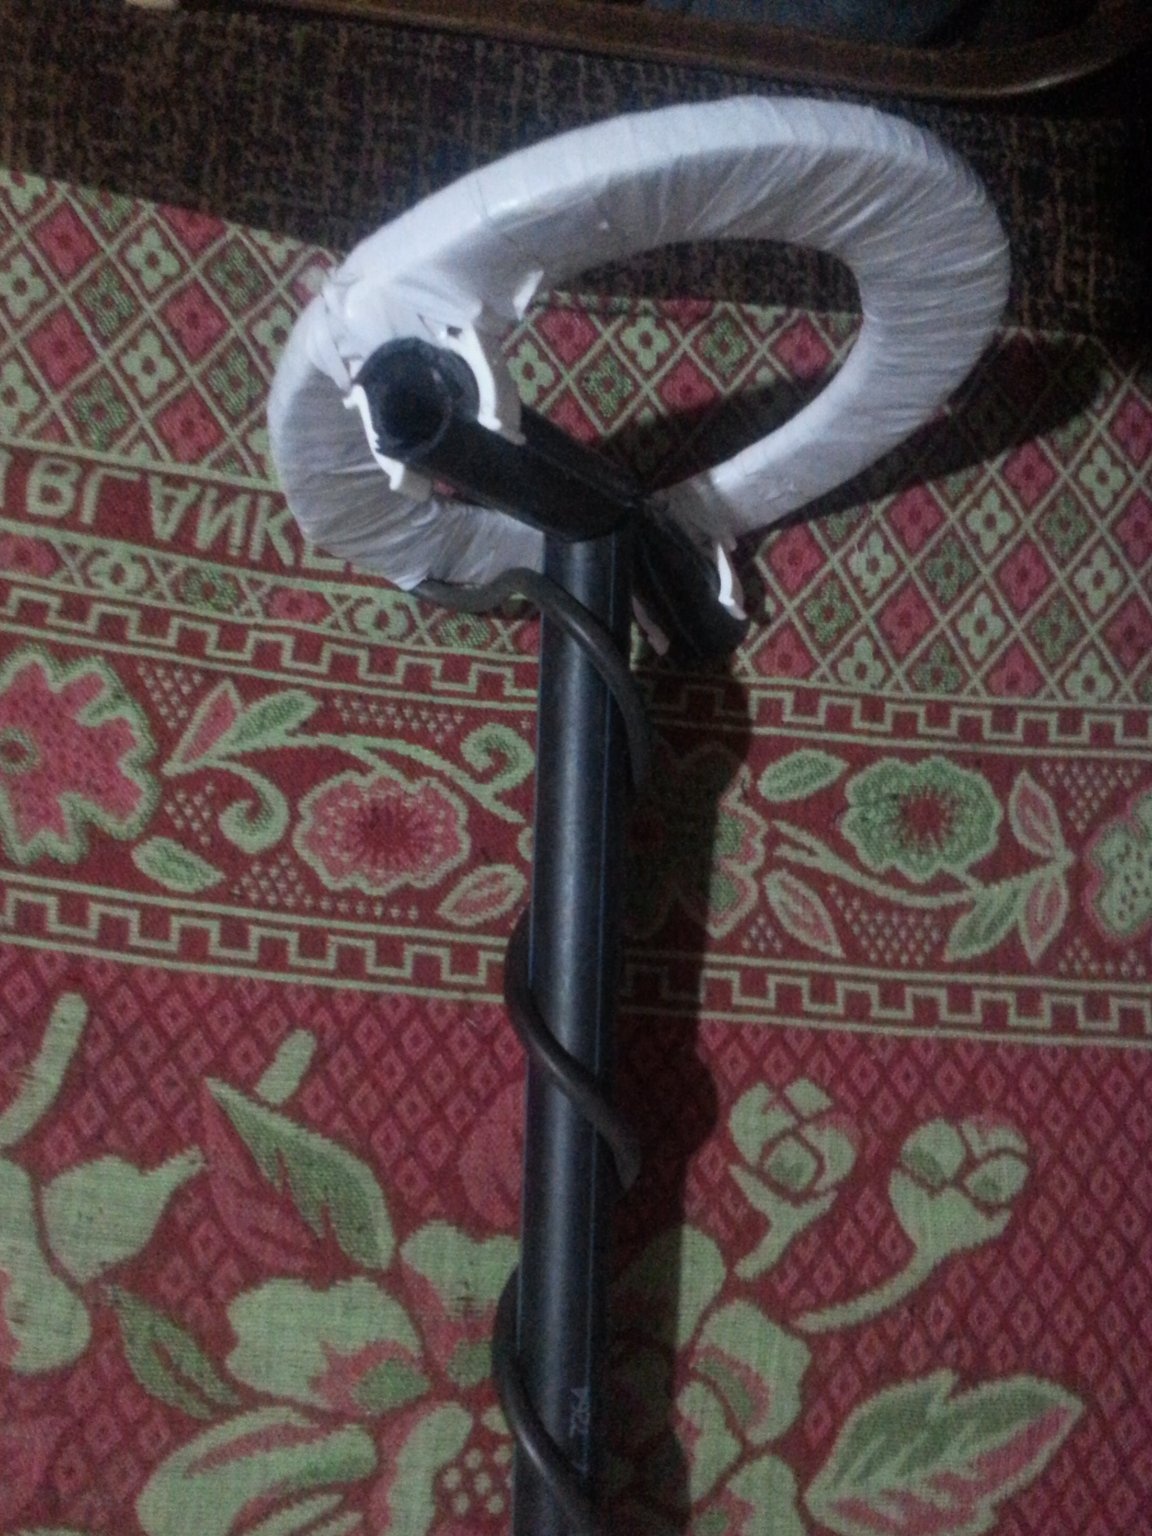
I wind 25 turns of 0.4 wire on a 20cm rim, measure the chuyka, not enough chuyka, remove another turn, and so I have reached 22 turns. I found a suitable case, a bit more case, well, it’ll do just fine. He poured everything with glue, poured wax on top for reliability, wrapped it in three layers with electrical tape.

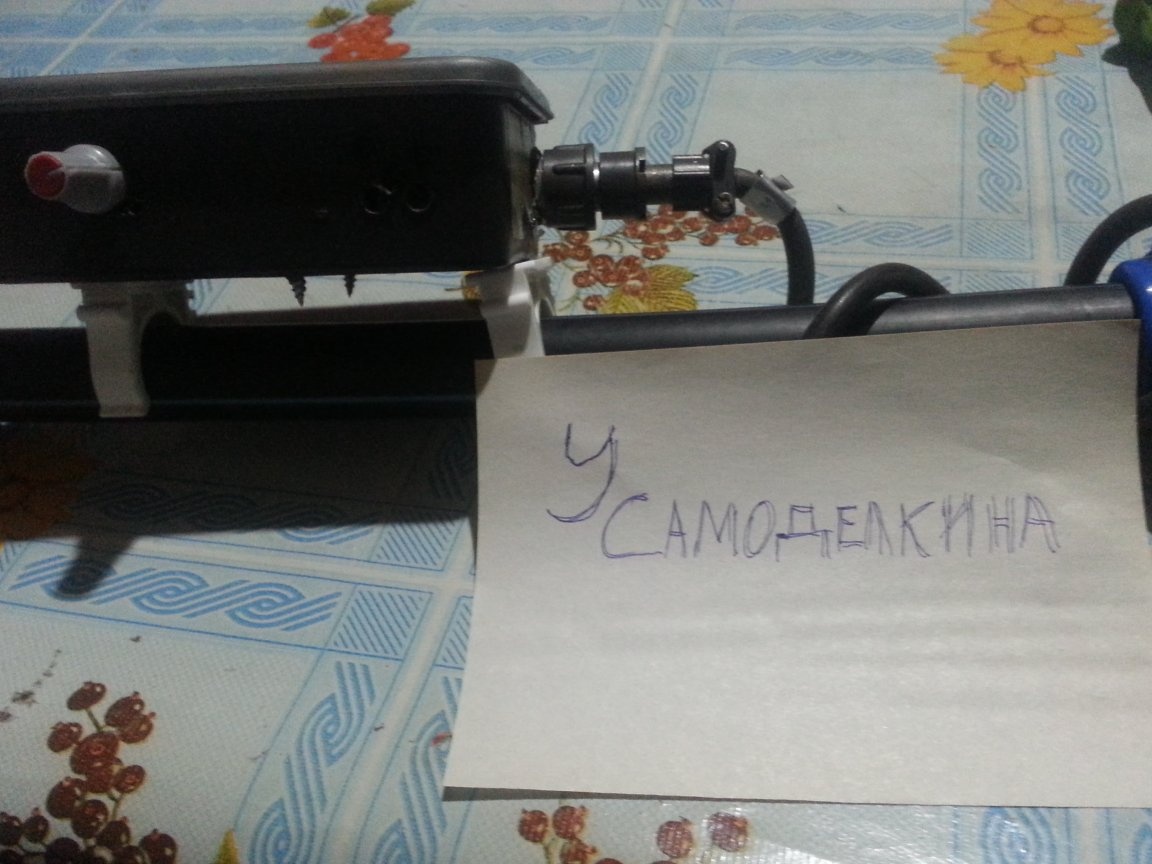
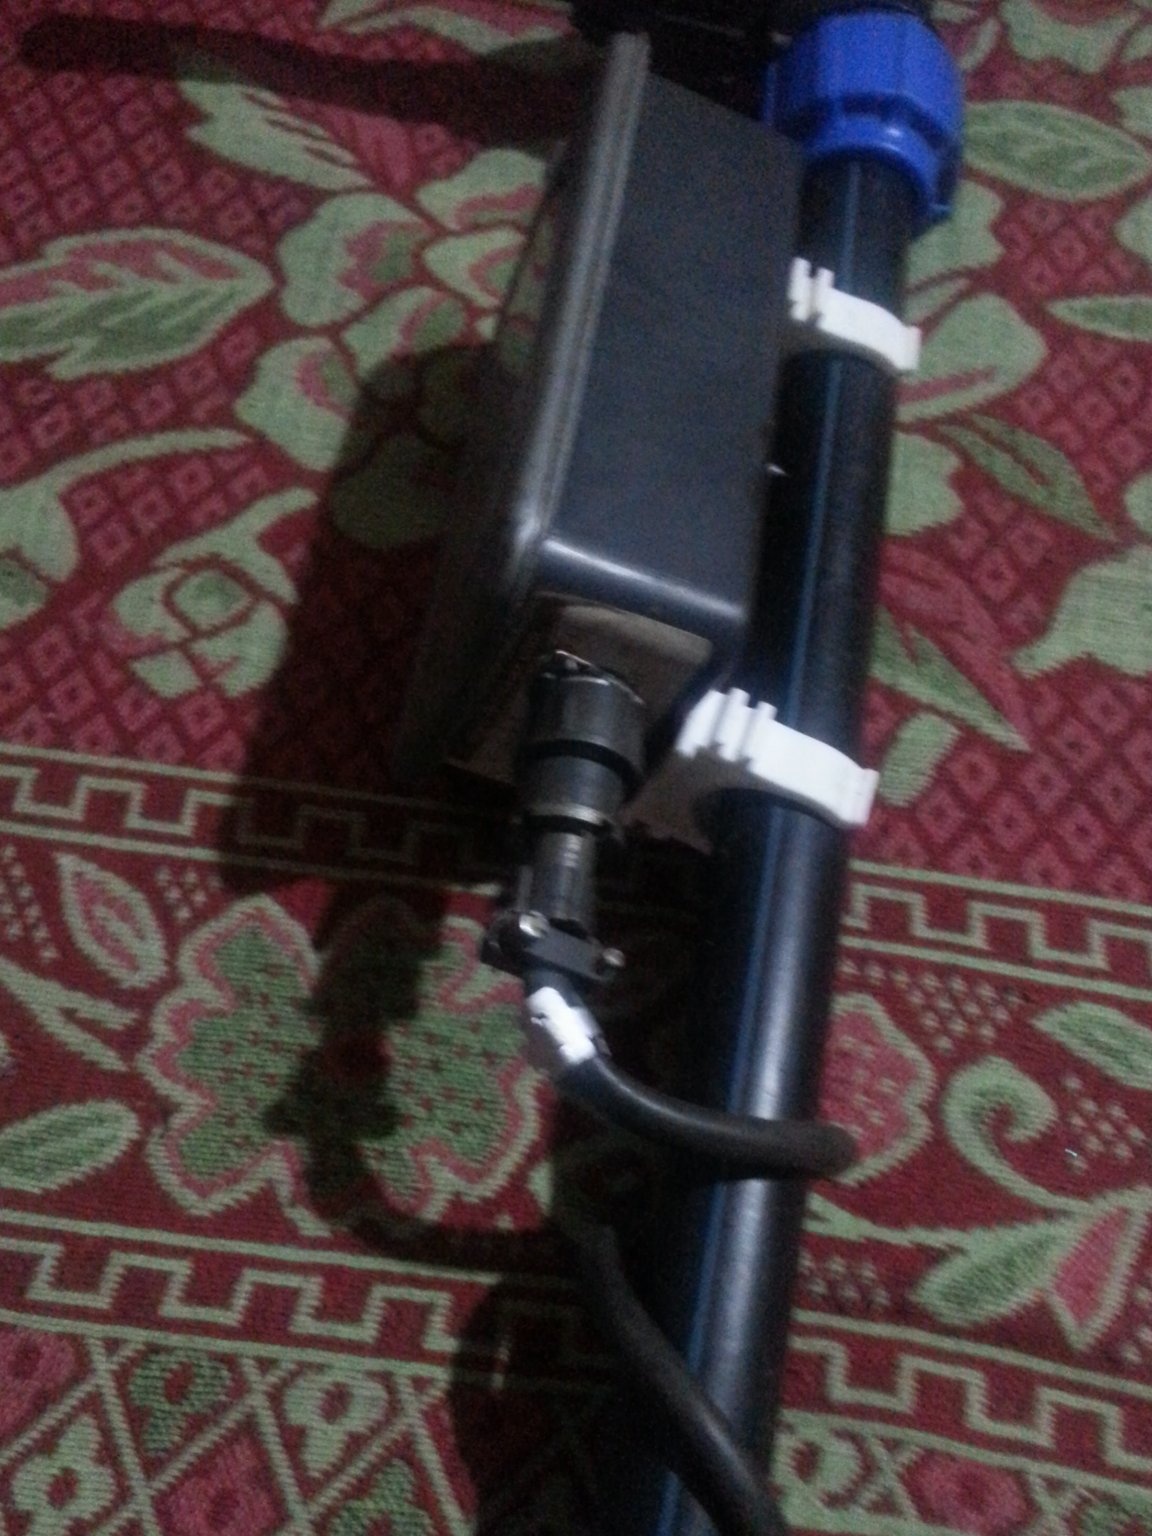
So I fasten it to the bar, I use a 25 mm pipe holder.
So I fasten the MD unit to the bar.
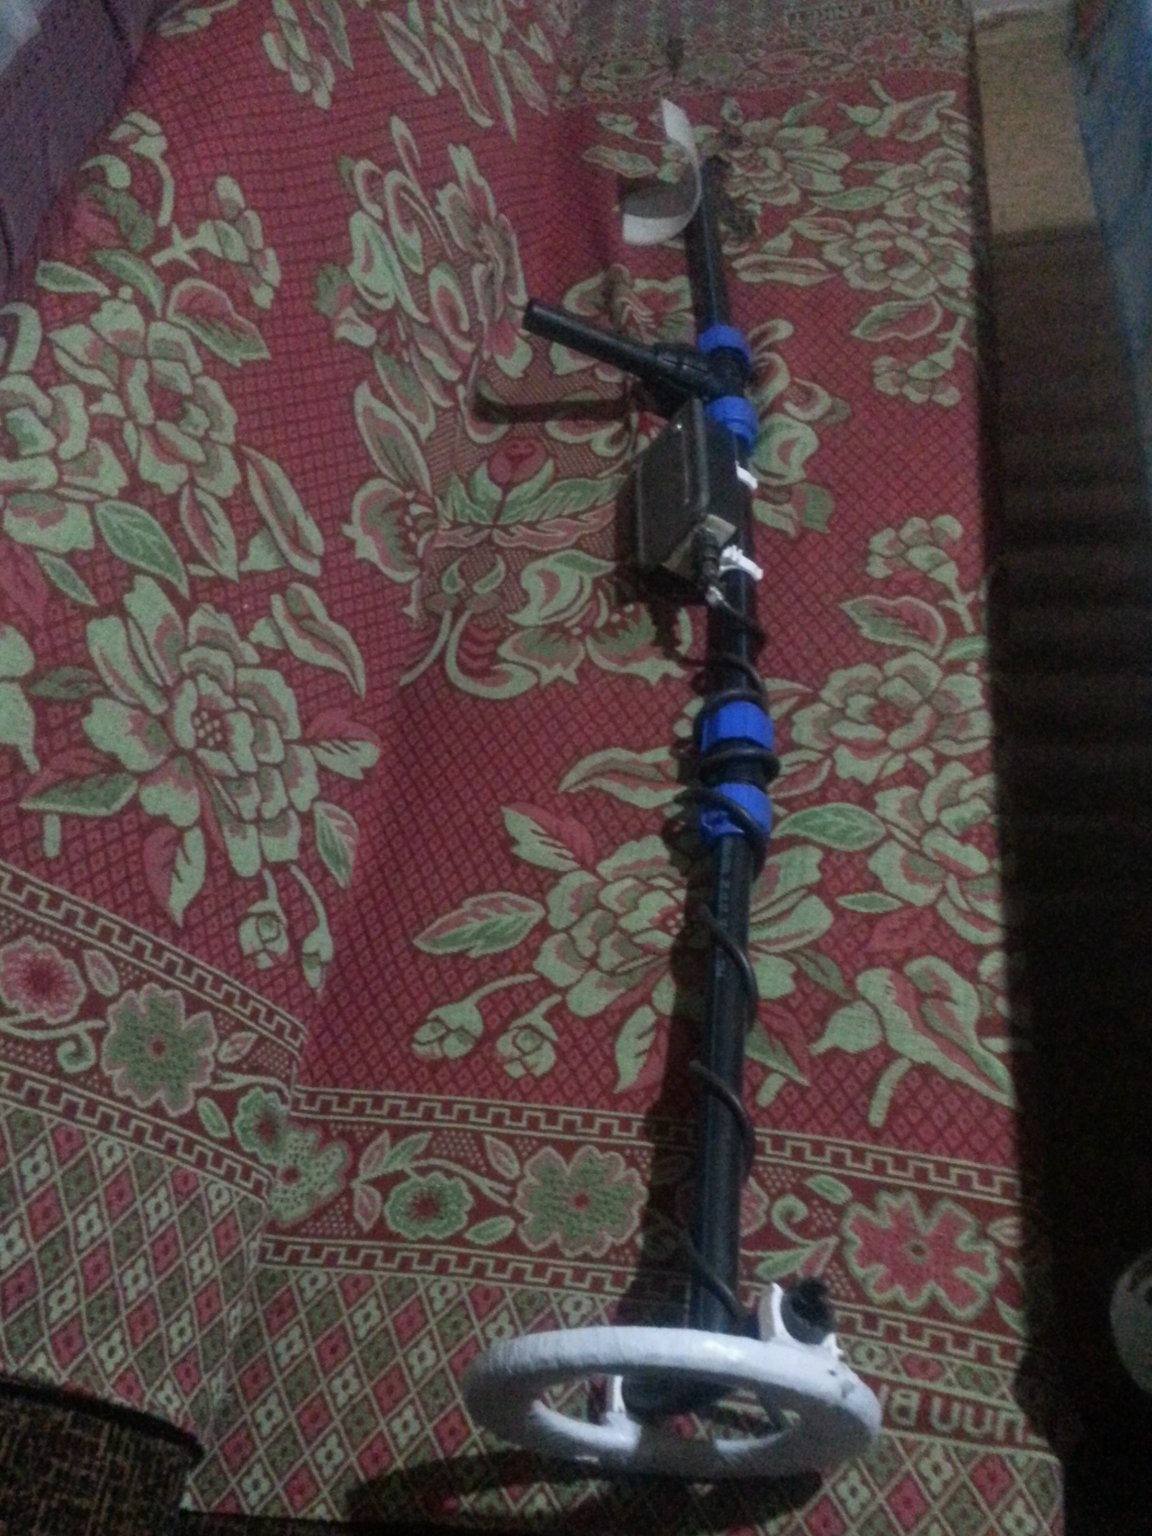
Anything is suitable for the bar, only plastic within a radius of 70cm from the coil. I had two PP pipes at my fingertips at 25mm, a 25mm connection, a 25mm tee, the entire boom can be easily disassembled and assembled in a minute. After assembling, the md started working immediately, I was already surprised that the chuyka in the air is 1 tenge 5 cm, 10 tenge 12 cm, 50 tenge 15..18 cm, a bucket 50 cm, short hatch meter. For collecting metal is an ideal option. Even a beginner will collect it, having only a little soldering experience, I also want to collect a pirate myself, as I will collect I will write in the next article.
Thank you all for your attention and Until New Homemade Friends