


This material shows how to create a cheap and simple but very small CNC using Arduino UNO. You can use it for milling thin wood, various foams or you can use it for drawing different sketches, as well as for engraving and etching.
Necessary materials and tools:
- 3 old CD / DVD computer drives;
- 1 power supply from a computer;
- 2 strips of aluminum;
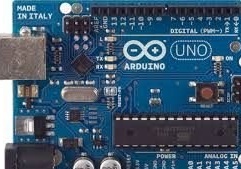
- 1 Arduino Uno;
- wooden plank;
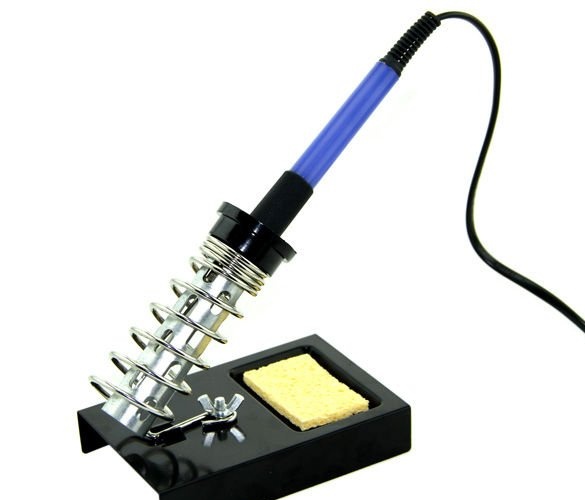
- 1 soldering iron;
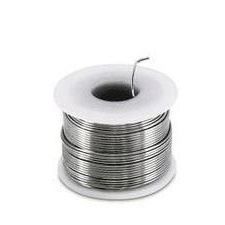
- solder;
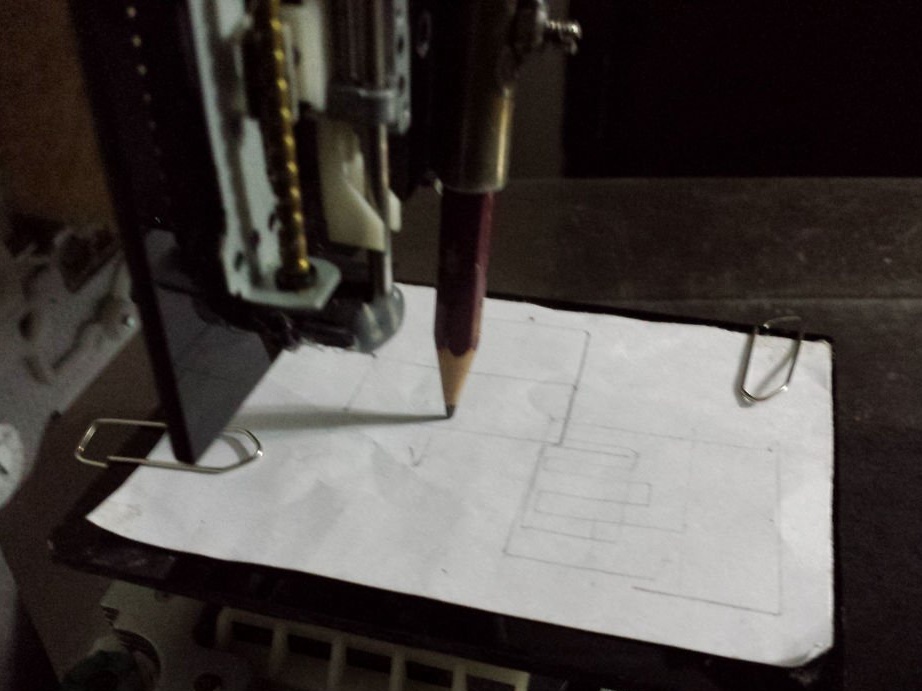
Step 1: Demo Video
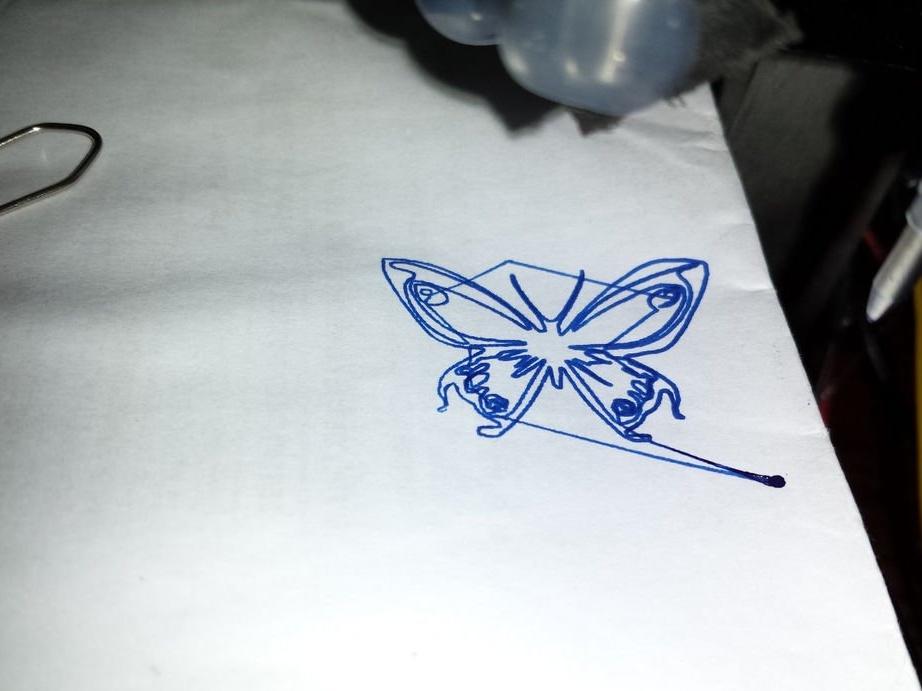
Watch the video of this CNC mini plotter. The wizard has increased the feed rate for thumbnails. He used Deskengrave and many other programs only to test the operation of the machine. The results were unsatisfactory because some of the generated Gcode codes were not supported by the GRBL library. After searching the Internet, he found Inkscape software. Inkscape is a free vector graphics editor. It is open source. With it, you can create and / or edit vector graphics. For example, logos, illustrations, line art, diagrams, as well as complex patterns. Using this software, you can import Dxf, Dwg, JPG, SVG files, etc. Then convert them to GCODE. You can download Inkscape by clicking on the link below.
Download
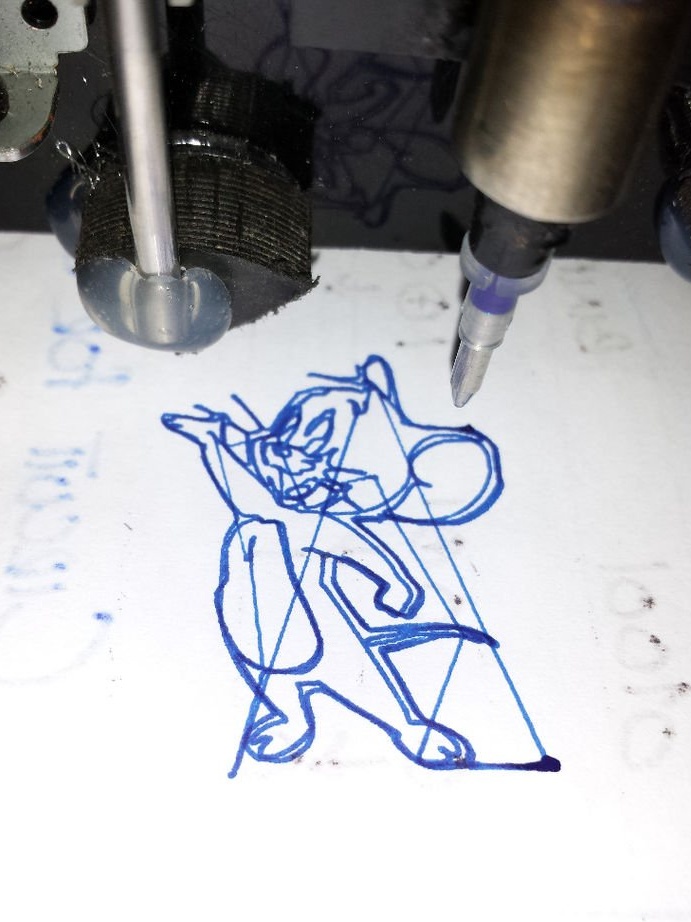
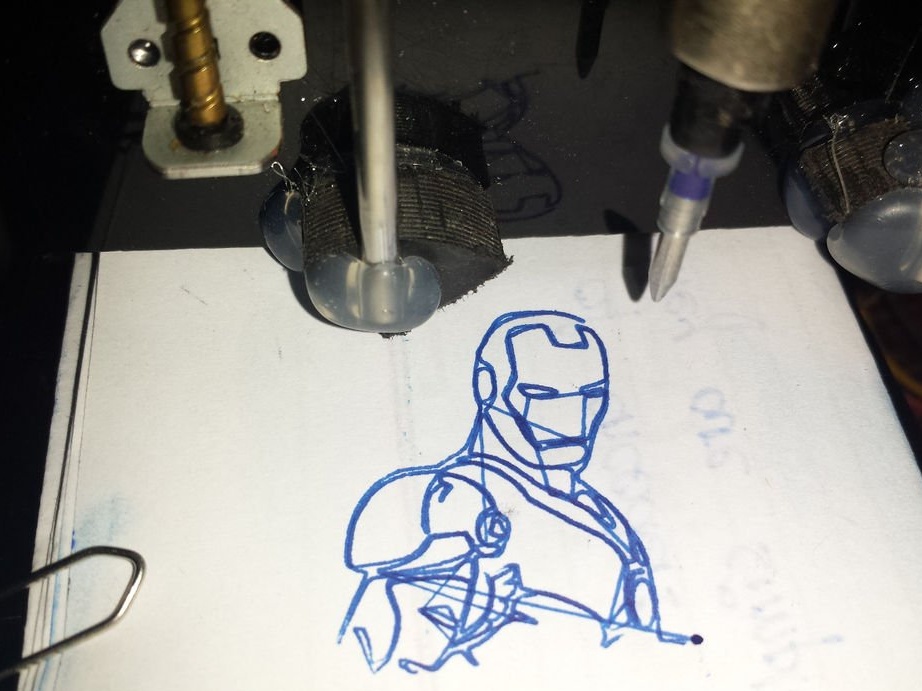
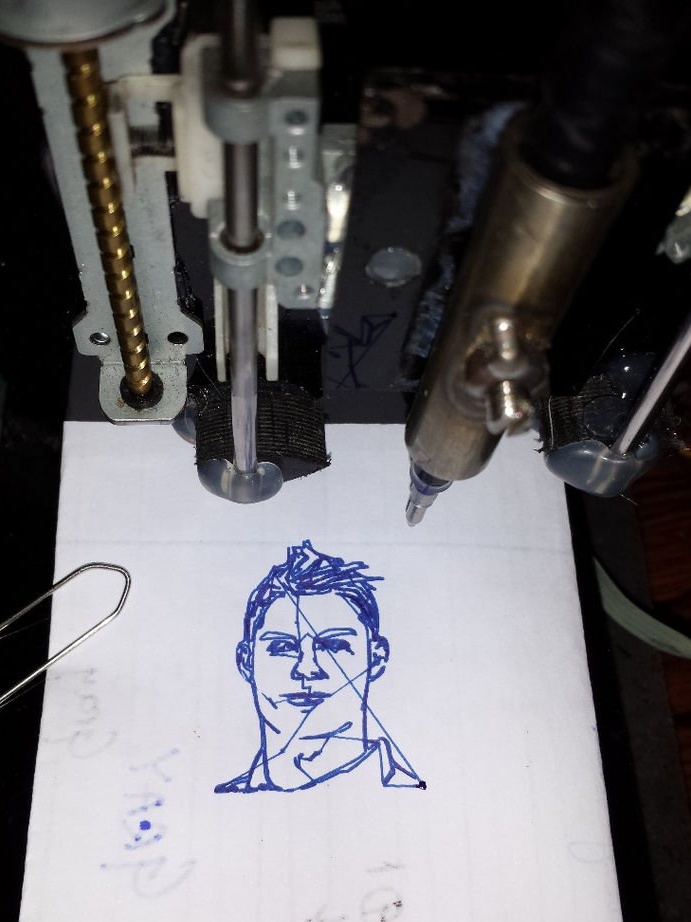
The wizard imported several image files, which he simply downloaded to Google, converted them to Gcodes and sent them to the GRBL software, everything worked fine.
Below is a link to an example video:
How to use Inkscape?
There are many videos on YouTube that teach you how to use this software and generate G-codes. For a quick reference, see this link:
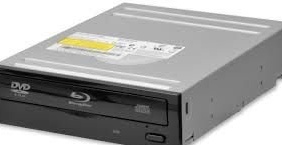
Step 2: Using DVD CD-ROM, Get Stepper Motors
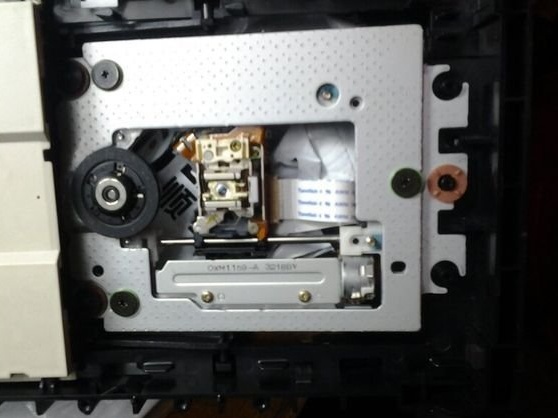
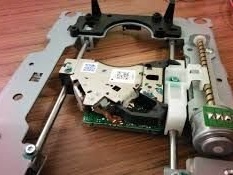
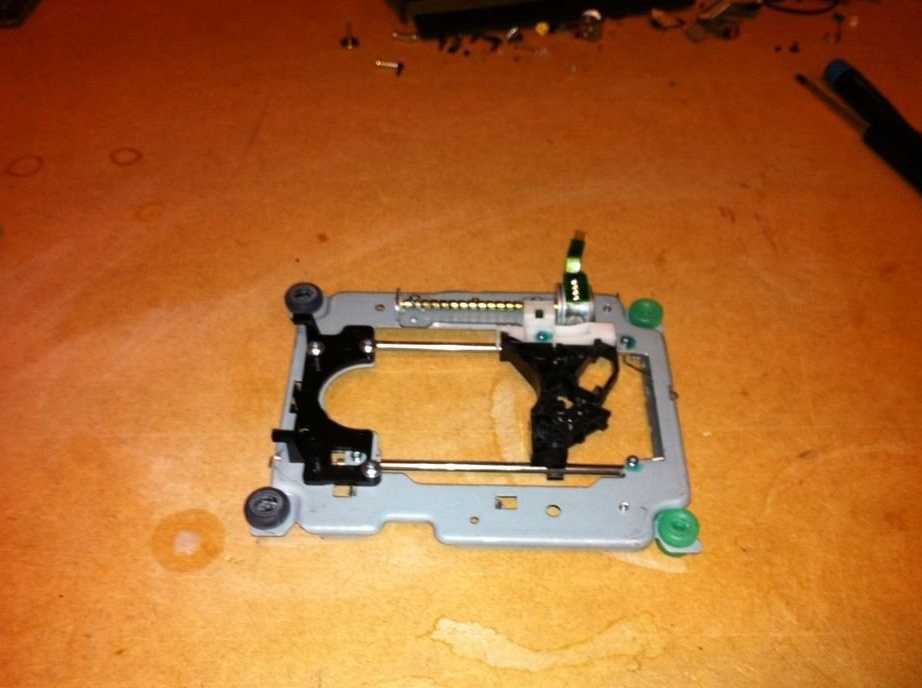
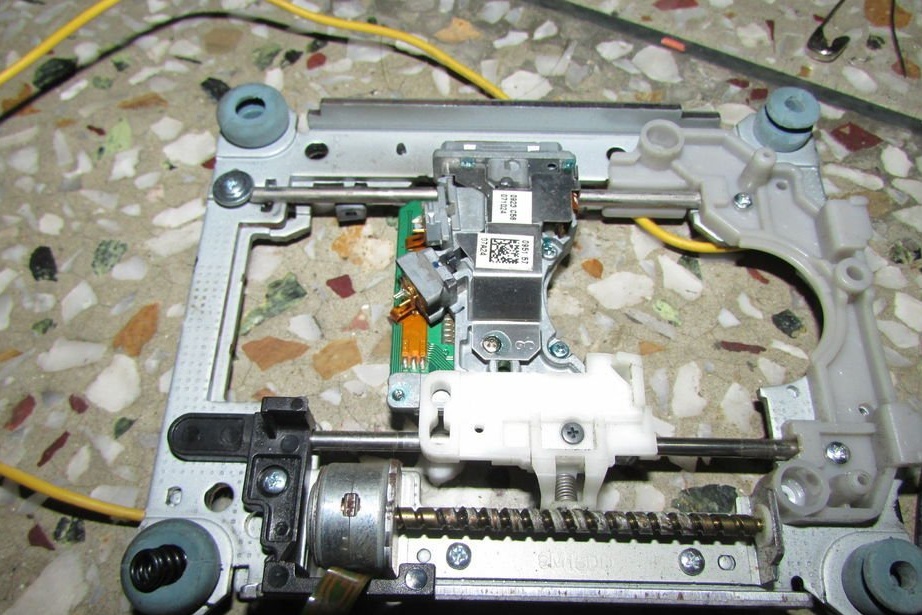
The master dismantled three useless DVD drives because stepper motors are needed (XYZ axis)
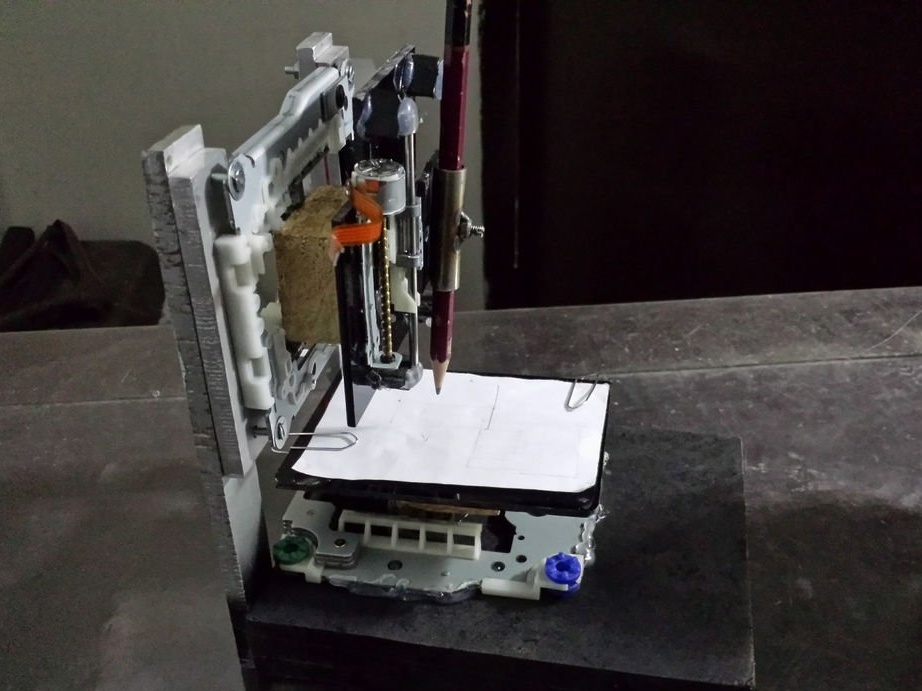
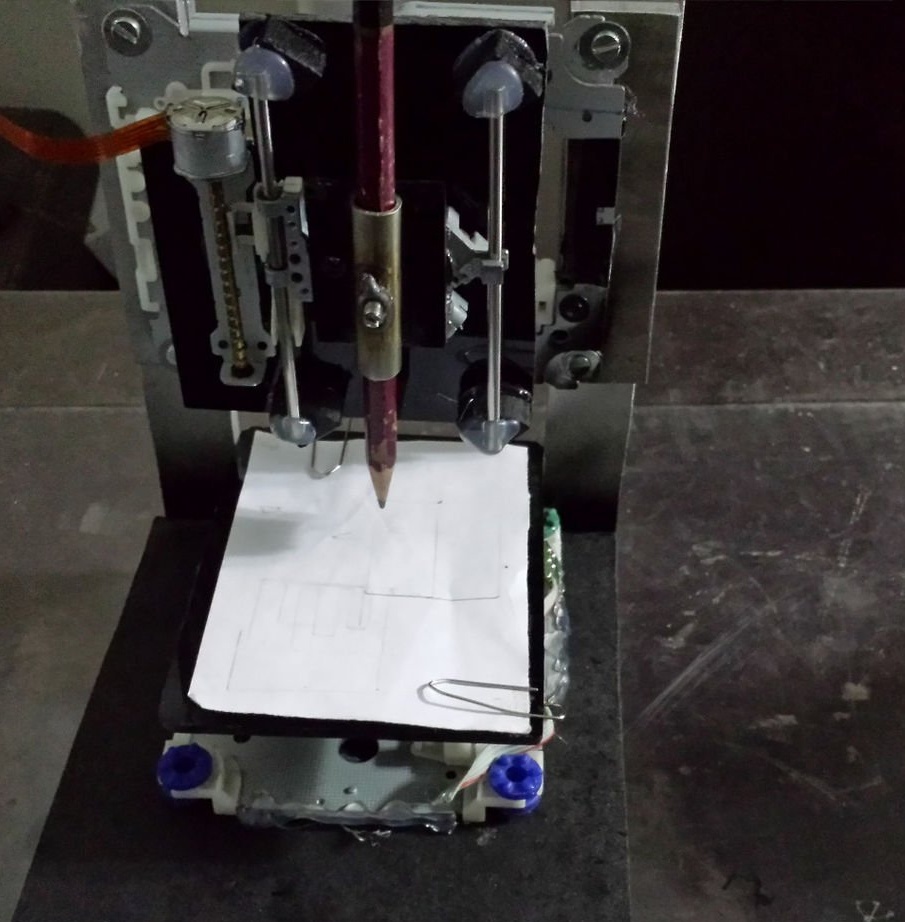
Step 3: Construction the structure
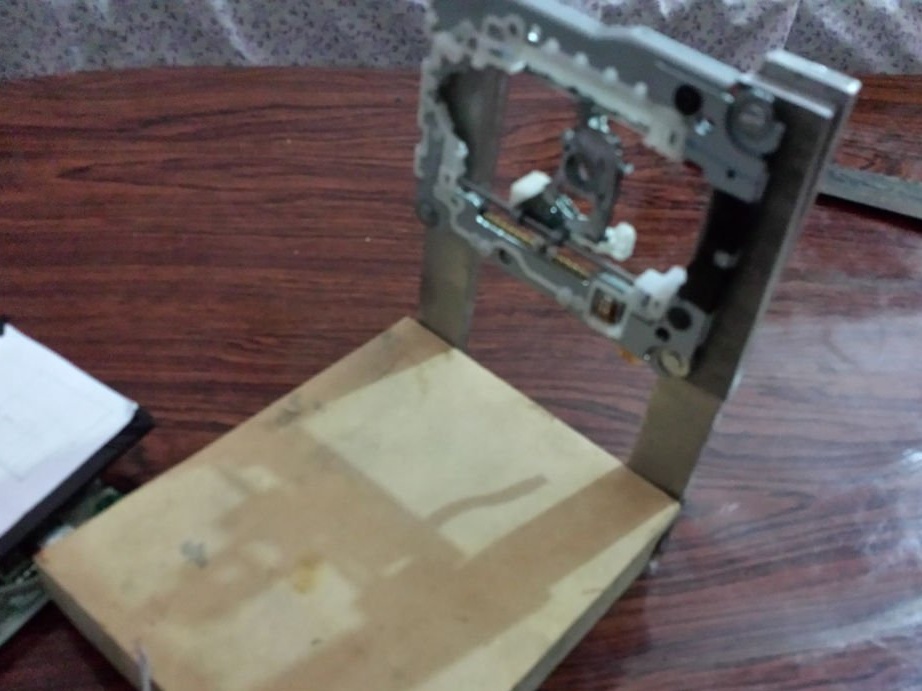
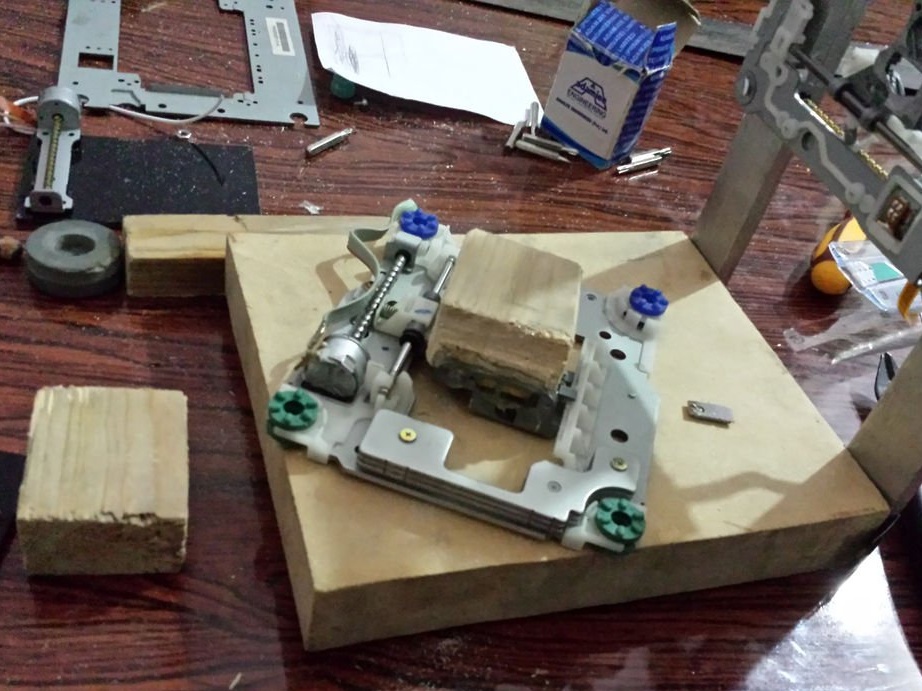
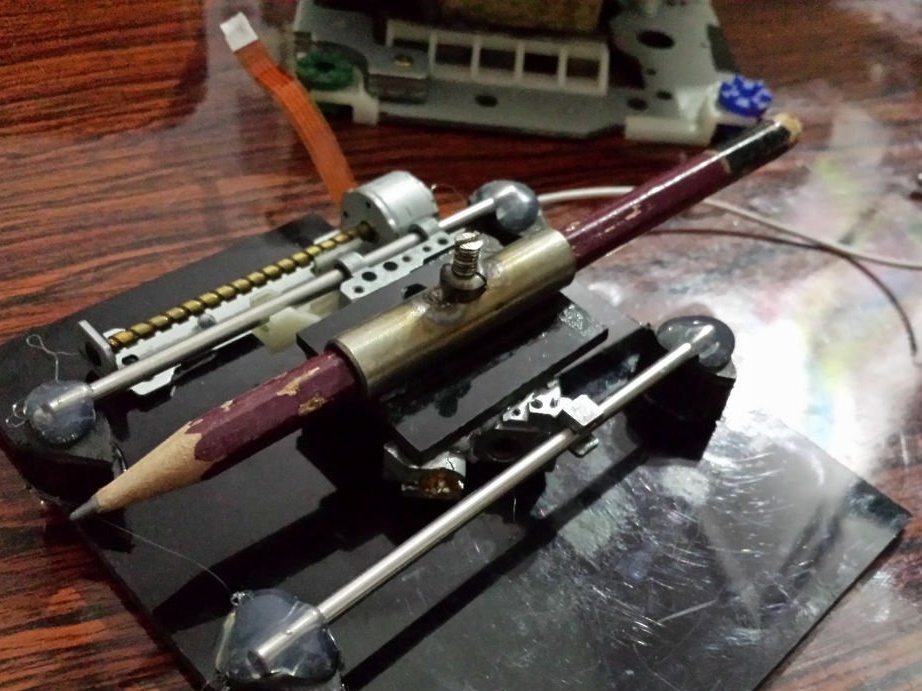

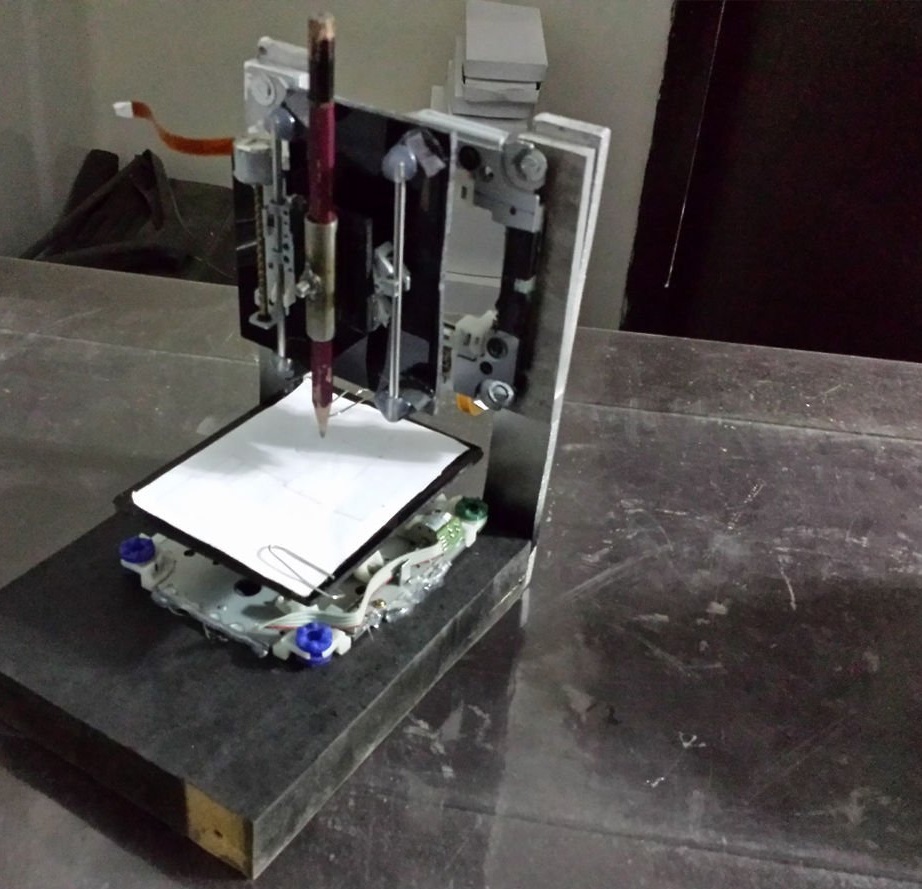
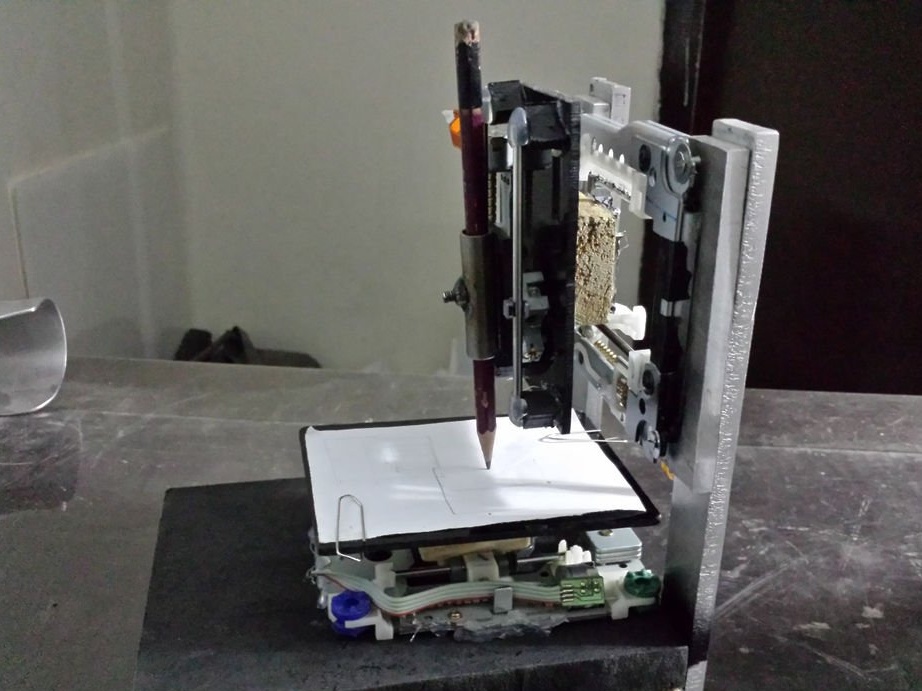
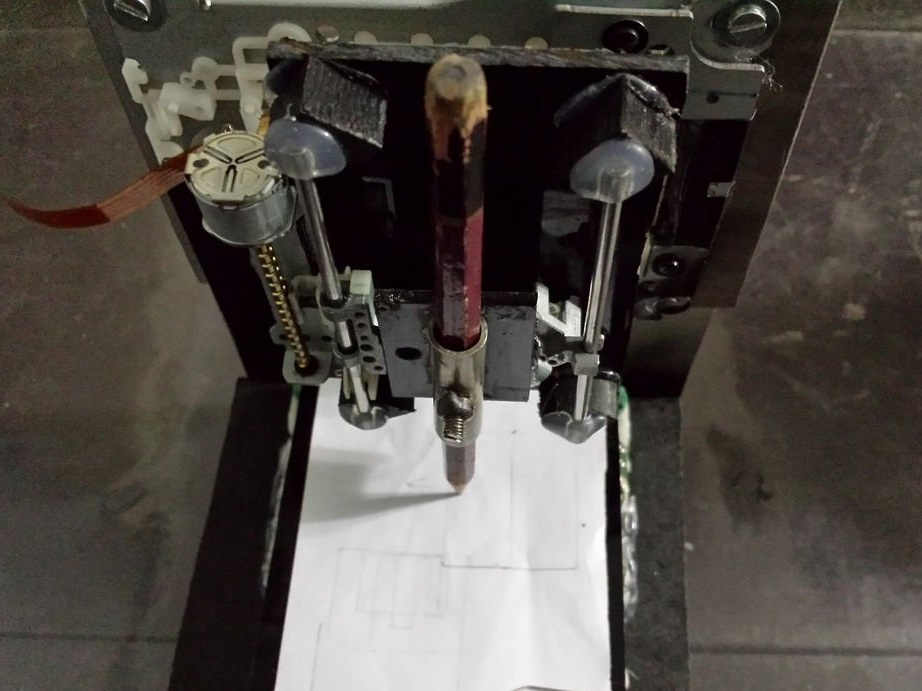
For this part, you just need a base platform and two pillars. The master made the base of wood, and the columns of aluminum. It remains only to screw the wooden base to these posts, as shown in the first figure.
Place the X axis across the columns and the Y axis on the wooden base, as shown in the figures. The master used glue to collect all the axes.Just make sure that all axes are exactly perpendicular to each other, they should be at right angles.
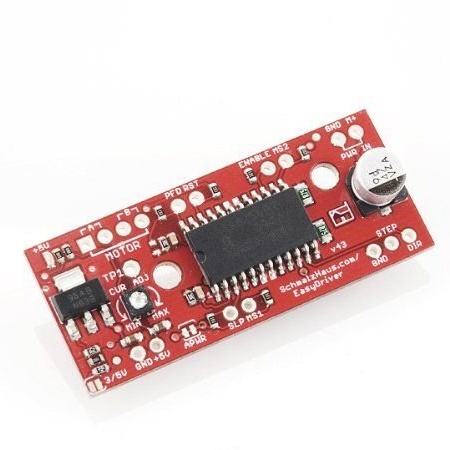
Step 4: Soldering and Wiring
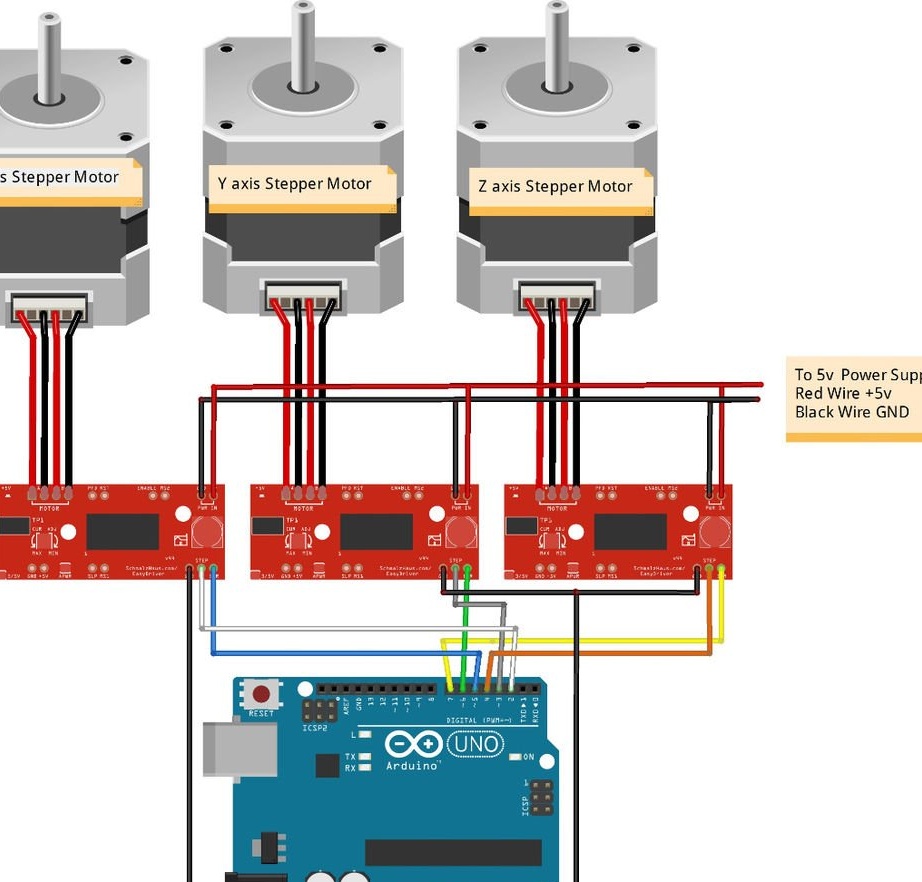

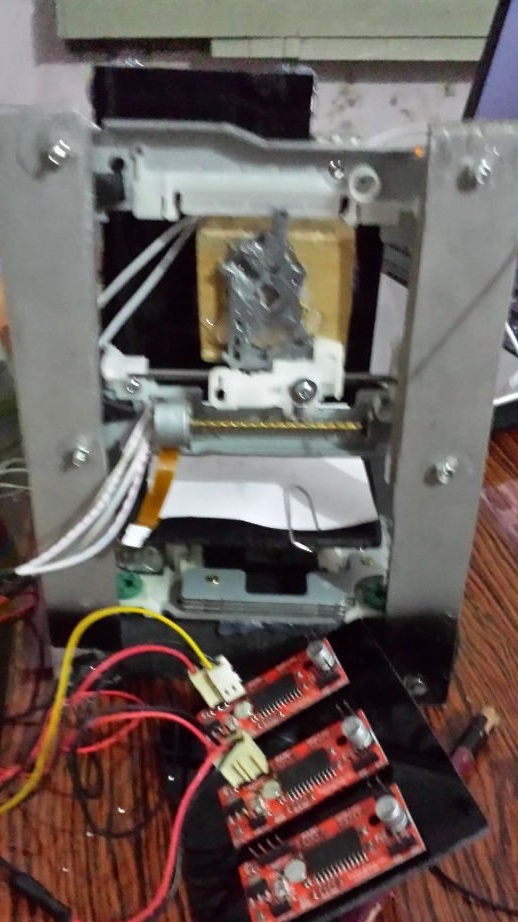
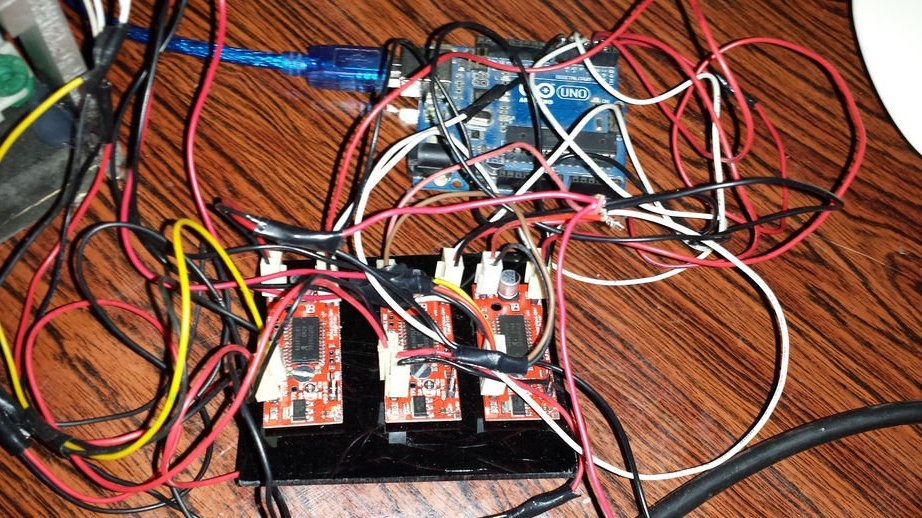
This is also not a very difficult step. You just need to solder the wires with your stepper motor. Be careful when soldering and do not use a high-temperature soldering iron, as it can burn the wiring of the stepper motor. The master used a 30 W soldering iron. and everything was in order. Just solder all the connectors and connect the wires as shown.
Step 5: Software

1. Download and install the software, library, and controller Grbl. or go to.
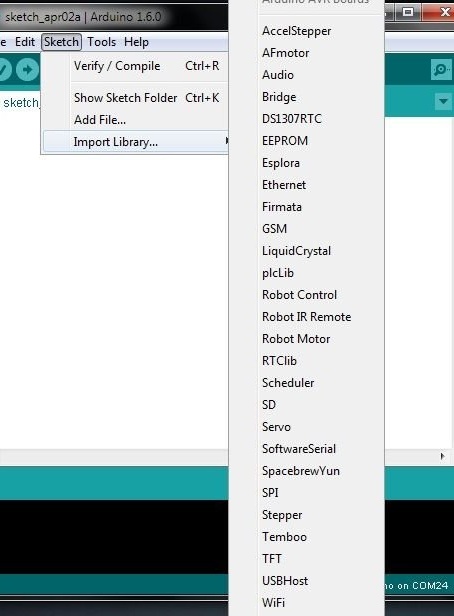
2. After downloading the Grbl library, you must click on the thumbnail, then import the library, then add the library to the Arduino software and select the just downloaded zip file.
3. Download the library to your Arduino.
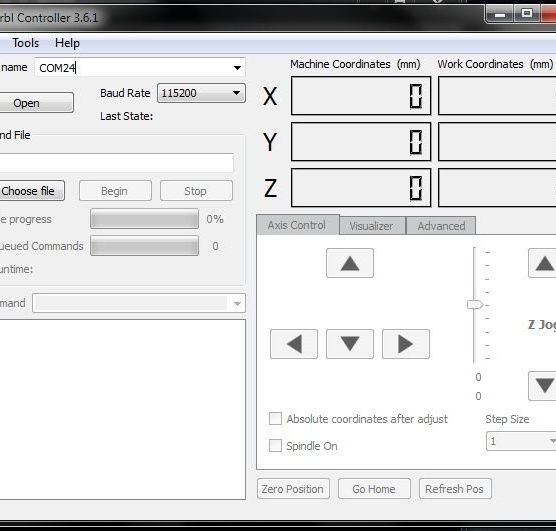
4. After you have installed Grbl on the Arduino, open the Grbl controller and select the port that your Arduino is connected to. Click the open button.
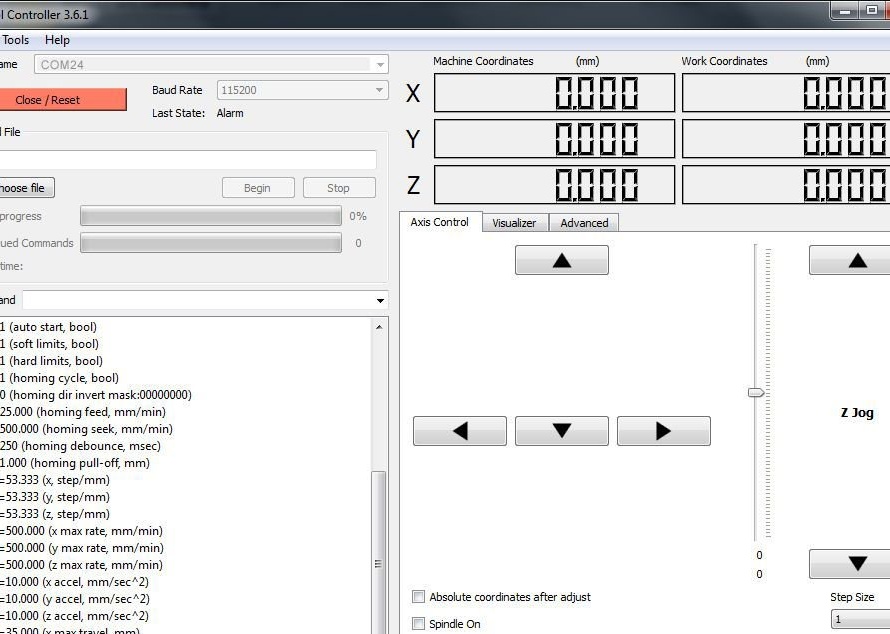
5. A list of options appears on the command screen. You must change some of these options by entering the option number (numbers with the $ sign) = and a new value (for example, $ 130 = 35.000). If your motors are moving in the wrong direction, go to Tools - Options - Axis and click on the axis you want to invert.
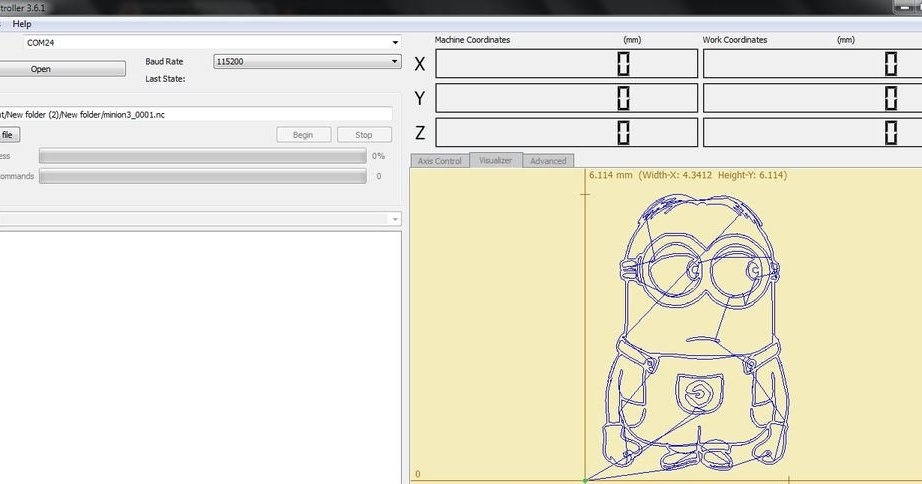
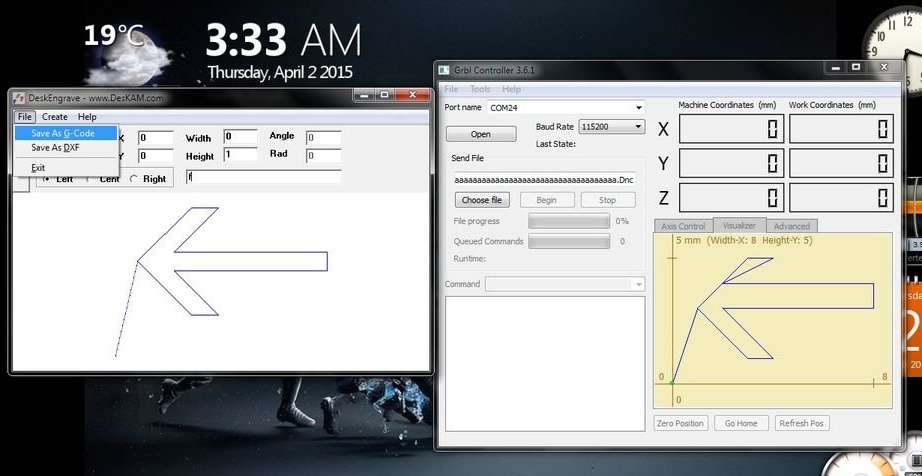
6. You can use any Gcode Generator software to create gcodes. The wizard downloads DeskEngrave software, which is also a gcode generator. Here's a link .