In this article, the author homemade will share with us how you can build your own cart for transporting kayaks from aluminum waste. This article can be used as an inspiration to create your own cart from any available materials such as wood, steel or PVC pipes.
Materials that will be needed for this homemade product:
- Aluminum profiles 20x40 mm .;
The author always has the remains of aluminum in the workshop. Also, many people disassemble machines and they have a large number of profiles that they sell cheaply. Short pieces are perfect for this homemade product.
- Carpet or foam for pillows;
- Screws that match the profiles;
- 2 wheels over 15 cm .;
- Solid axis;
The author used a threaded rod (hairpin) as an axis.
- straps;
- lightning;
- Studs;
Instruments:
- a hacksaw with a small tooth;
- cordless drill;
- band saw (cuts aluminum very well);
- automatic center punch (manual);
- pliers;
- different size screwdrivers;
Step 1: Planning for Future Design
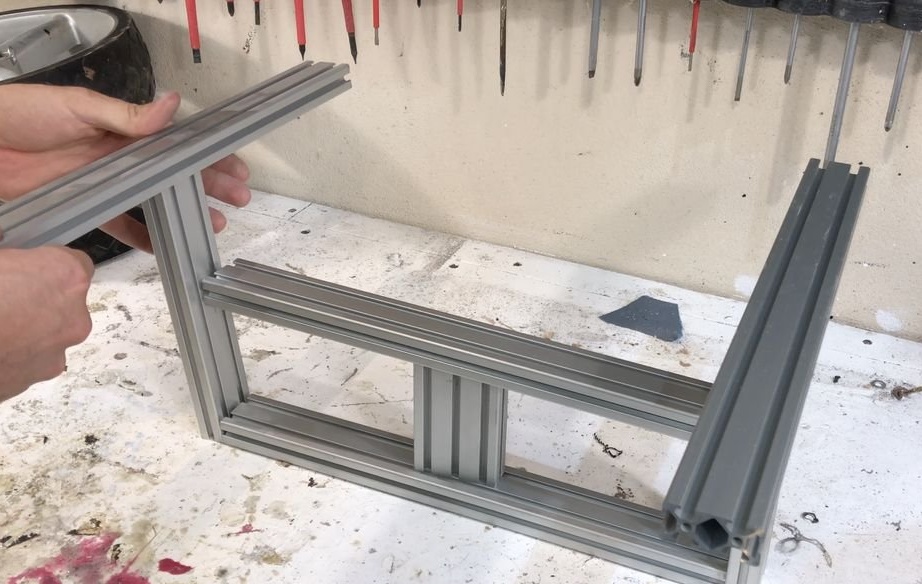
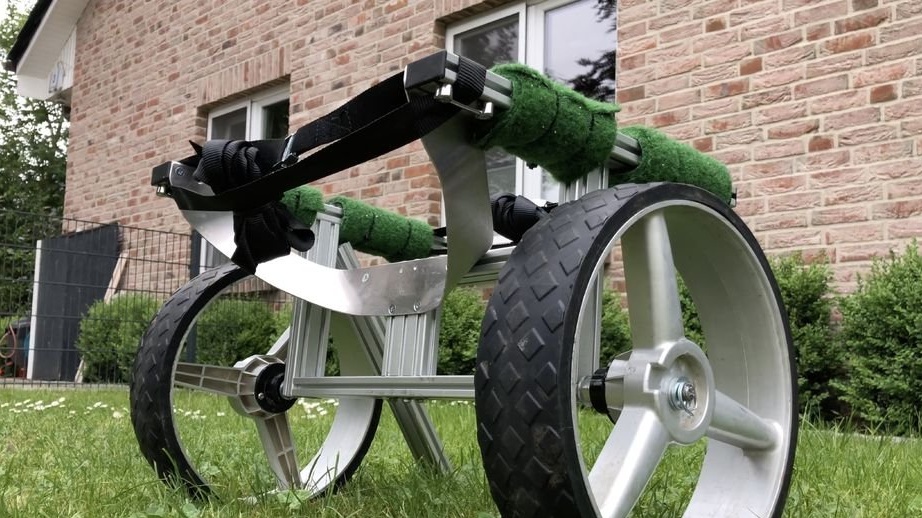
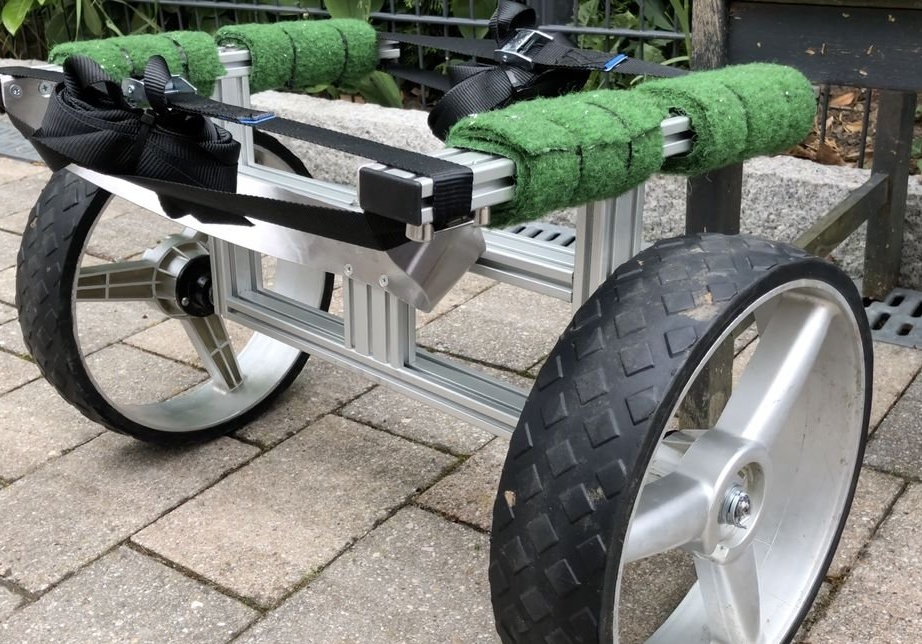
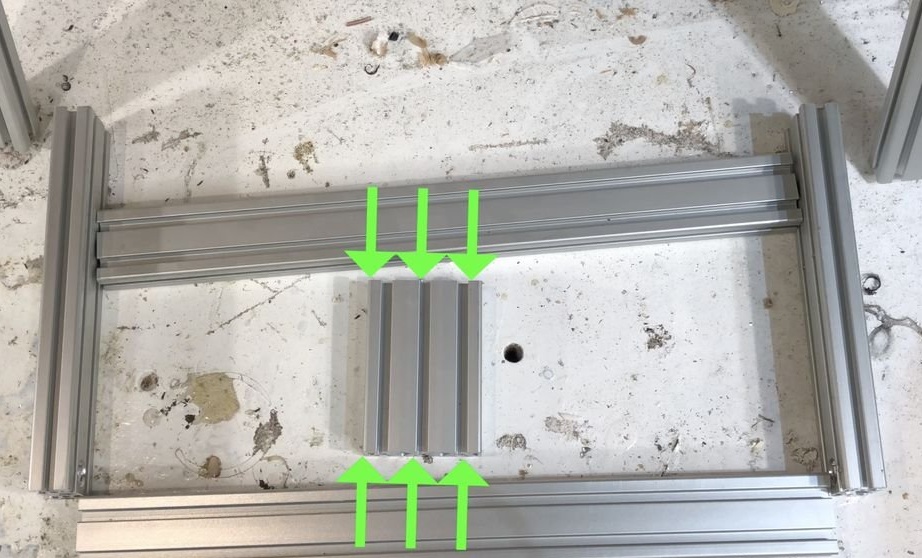
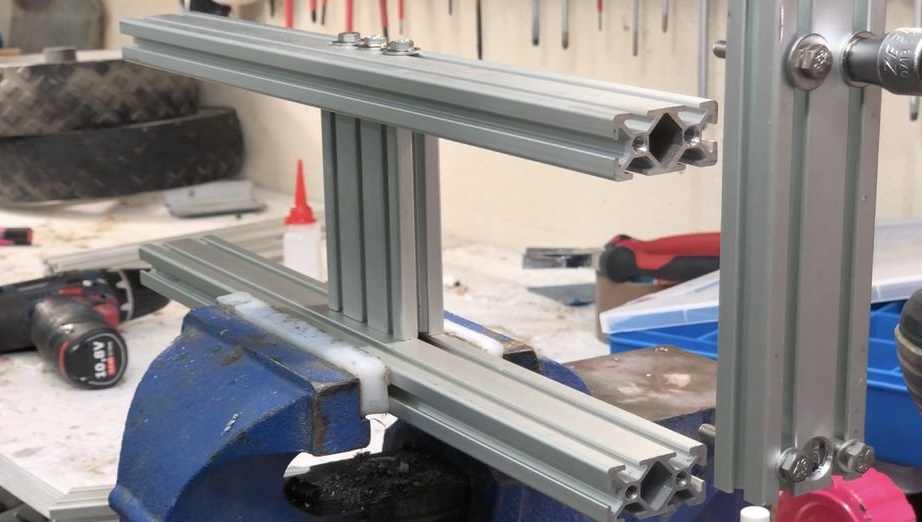
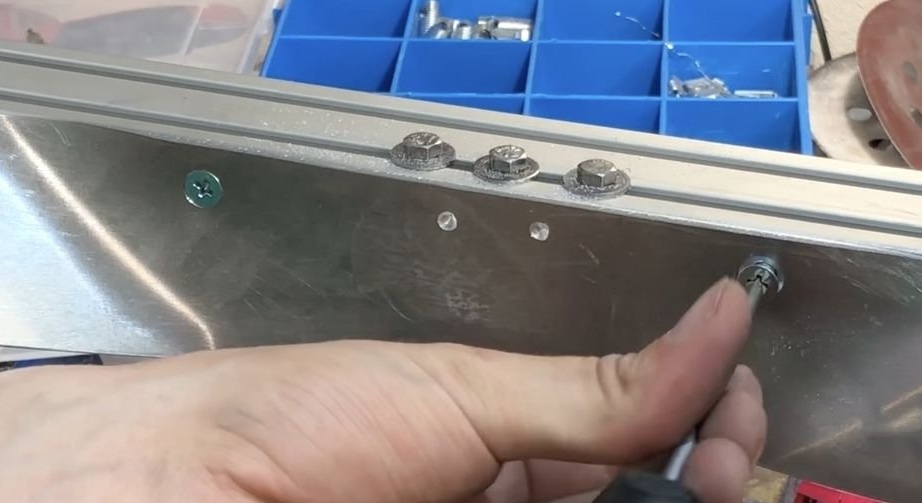
The wizard began by laying out several profiles in order to visualize how the support basket will look. Two racks, two transverse, going from left to right, and two supports for the boat itself. The master put a piece of 20x60 mm in the middle of the horizontal parts to strengthen the frame. The main thing is to make the frame rigid.
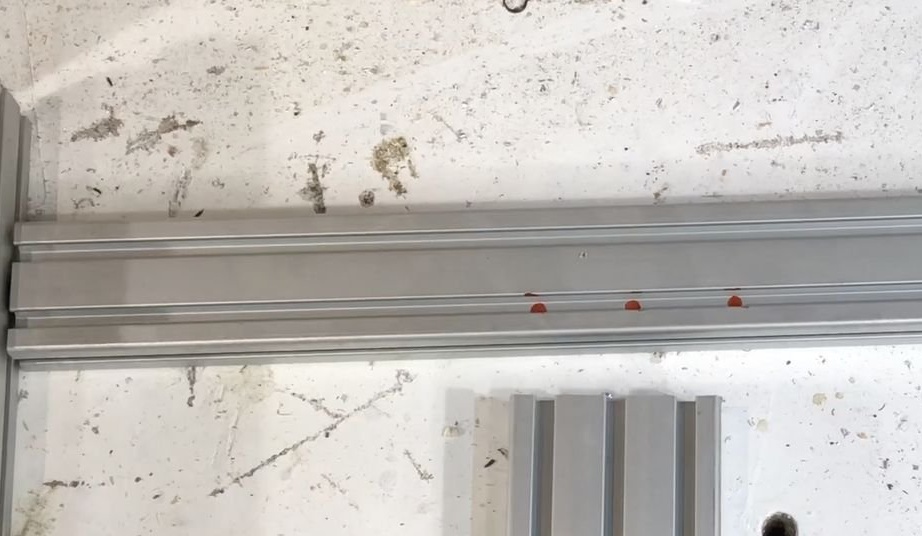
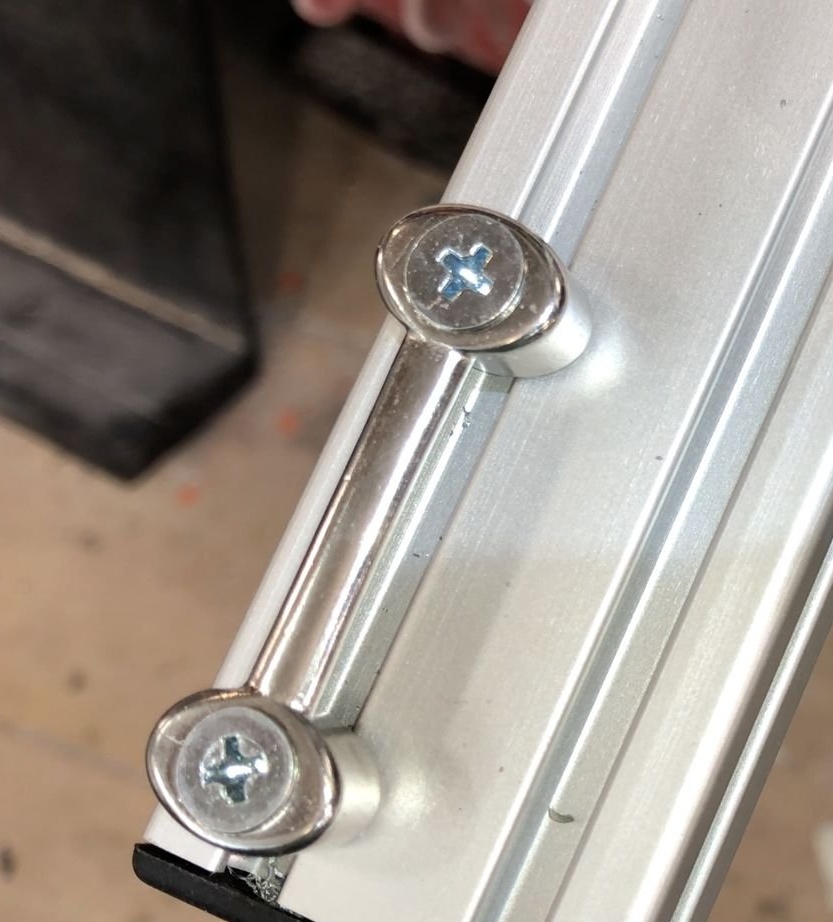
He then used a marker to roughly mark the places where holes would need to be drilled. These profiles have holes for M5 threads inside, which facilitates their connection.
Fortunately for the author, he did not have to cut anything, but if necessary, you can simply use a hacksaw. Carbide teeth cut aluminum well and can do thousands of cuts. The more teeth the hacksaw has, the better the cut. The hacksaw of the author has about 60.
Step 2: Drilling Holes
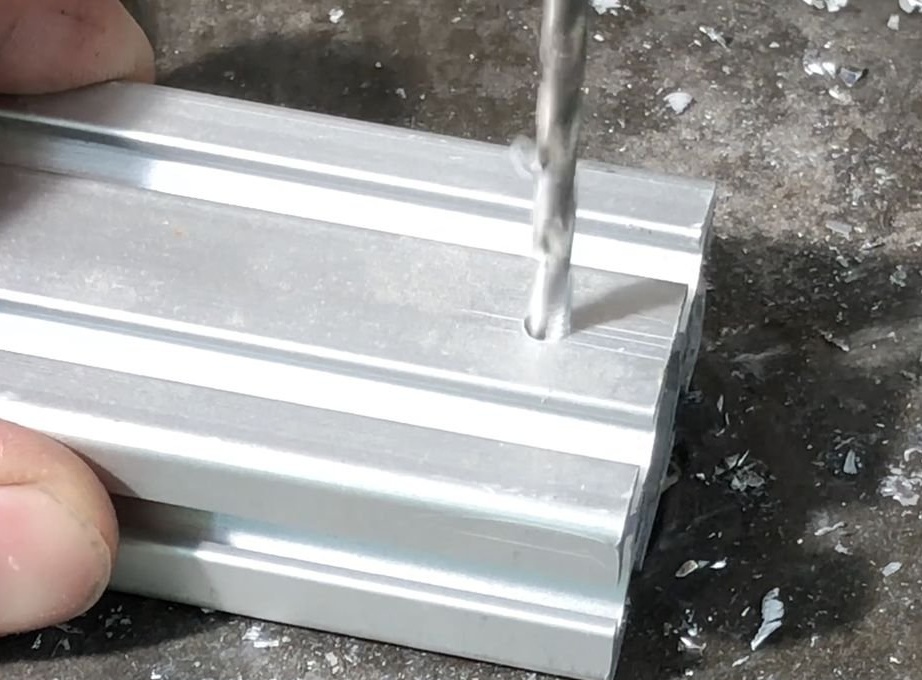

The author carefully marked all the holes, measuring them with a tape measure. A caliper would be more accurate. Then, using a core, he noted the location of future holes. This allows the drill to precisely get to the right place. The author drilled 5.5 mm holes for the M5 screws. The diameter is taken slightly larger to make it easier to go into the next profile.
The metal must first be drilled with a smaller drill, and then the final size should be used. The author began with a diameter of 3 mm, and ended with a design 5.5 mm. This is because the center of the drill does not actually remove the drilled aluminum.Thus, on a 3 mm drill, this diameter can be 0.2 mm, which will not impede the movement of the drill, and on a 5 mm drill, the burrs can be 0.5 mm, which is more difficult to drill. So it is always necessary to pre-drill a smaller diameter.
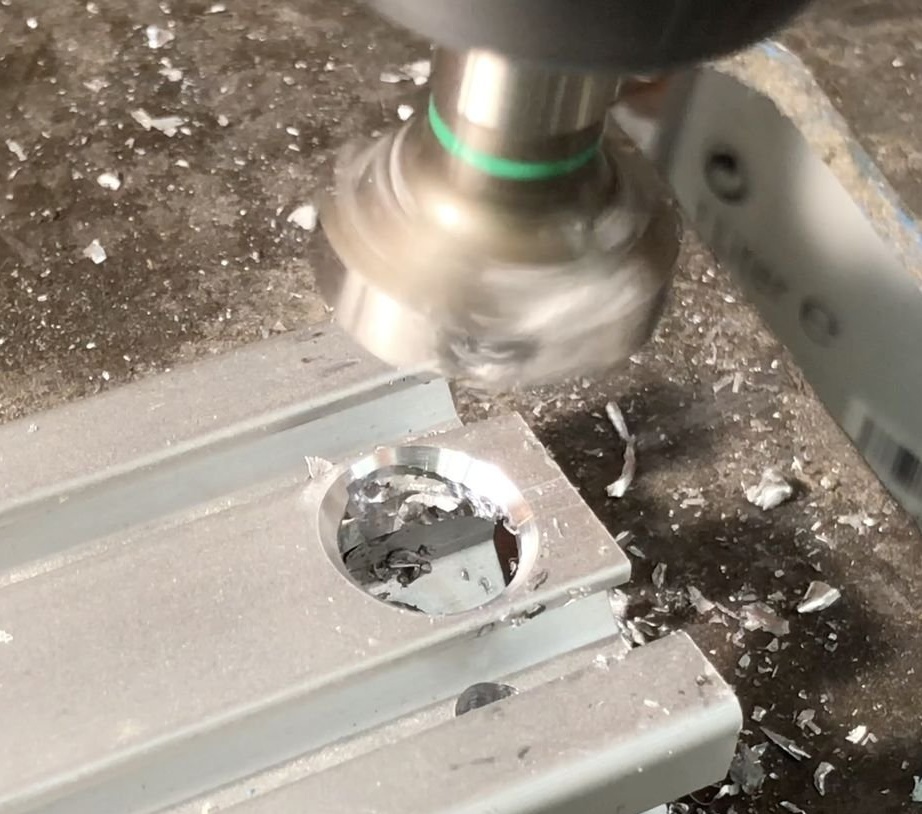
Step 3: Check the drilled holes
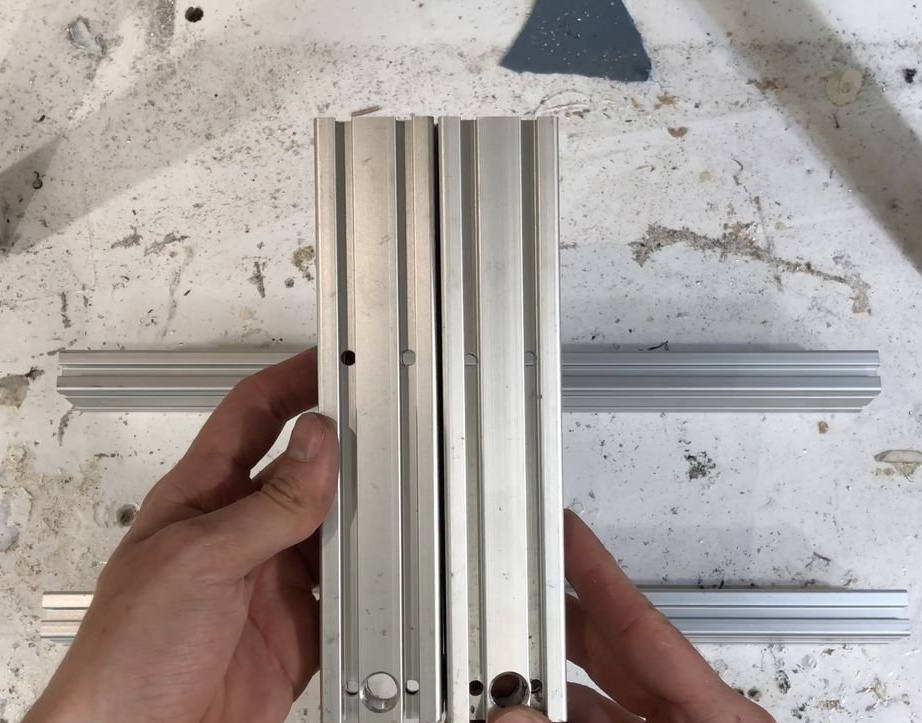
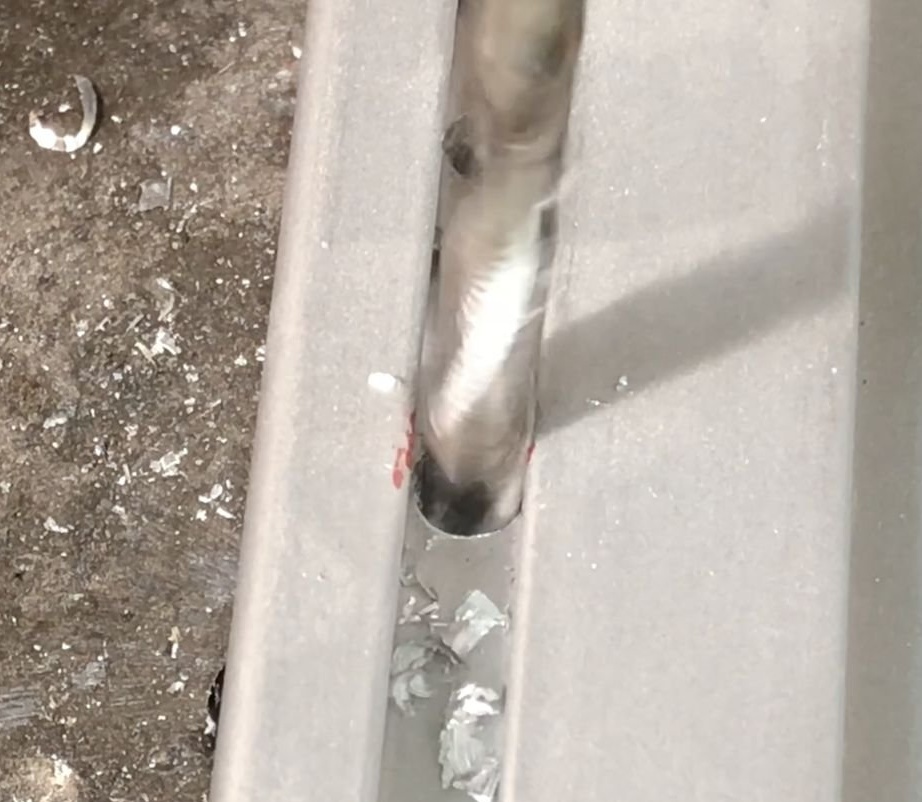
You should get 4 holes on each of the parts going from left to right, and one 12 mm hole for the threaded rod. If there is no 12 mm drill, then a step drill can be used.
Step 4: Threading in Holes
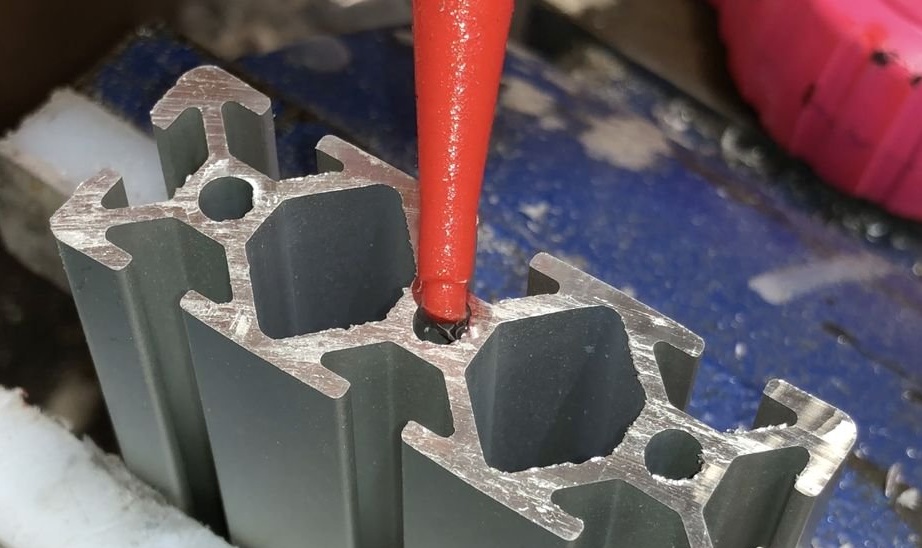
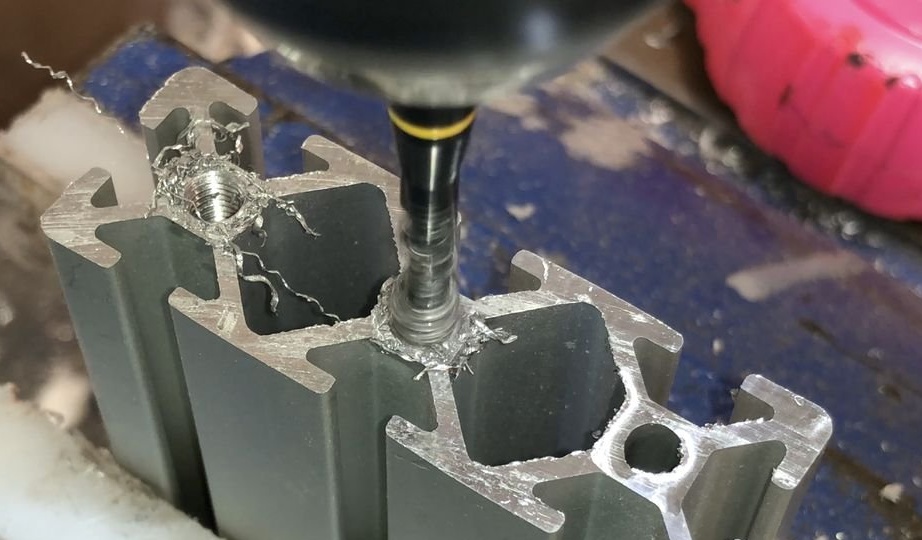
Holes in the stiffeners can allow M5 holes to be cut. To cut them, the author inserted the M5 tap into the cordless drill. This is much faster than doing it manually. Aluminum is soft, so a large force is not required, such as when threading in steel.
The author buys taps only high-speed HSS. Theoretically, HSSs do not last as long as carbide ones, but carbide is so fragile that at some point it can be accidentally broken. This is a very difficult choice. The success rate may be 10%.
Use a lot of oil as a lubricant. The author uses oil for sewing machines. It is suitable for almost everything in the workshop. This is a great material without any flaws.
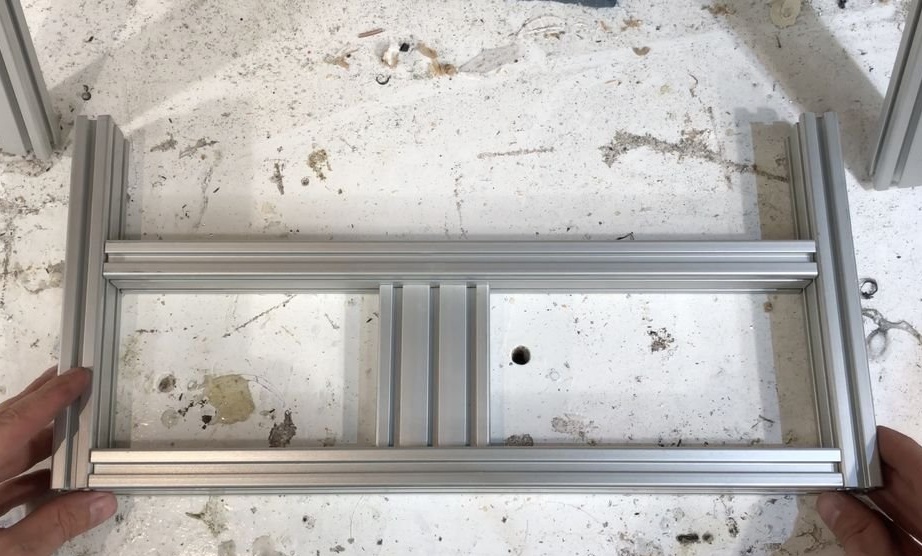
Step 5: Assembling the Frame
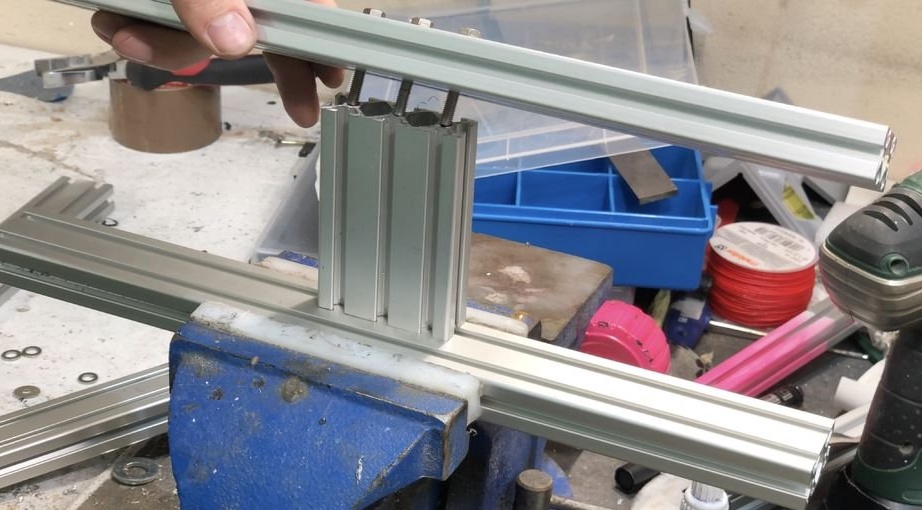
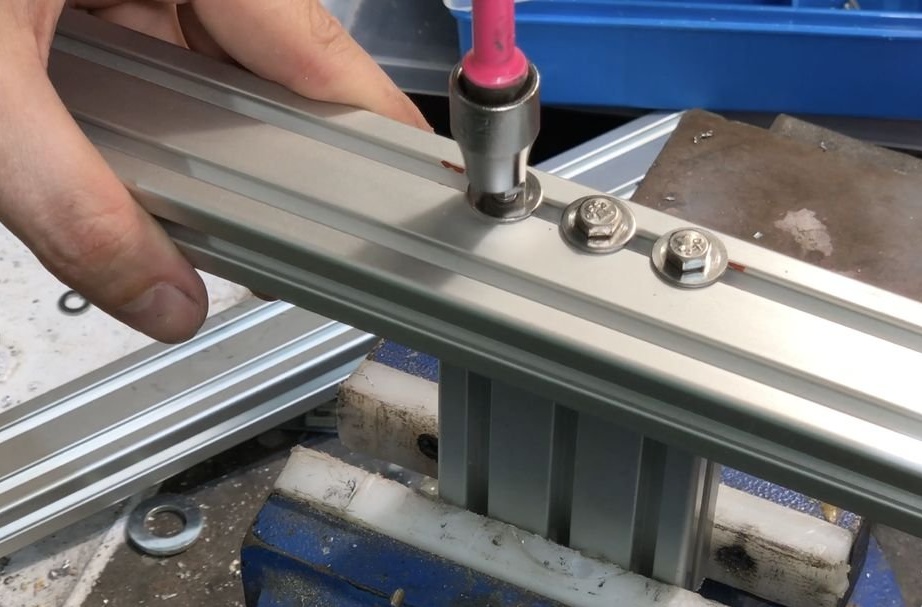
At this stage, holes are drilled and a thread is cut. Now it's time to assemble the frame itself. This is like LEGO or Ikea. Fun and easy.
The author used galvanized screws, stainless steel may be better, but no guarantees. Corrosion-proof screws are much softer than galvanized steel. Stainless steel does not rust quickly, but ultimately it has lower mechanical properties and costs more.
Step 6: Problem Solving
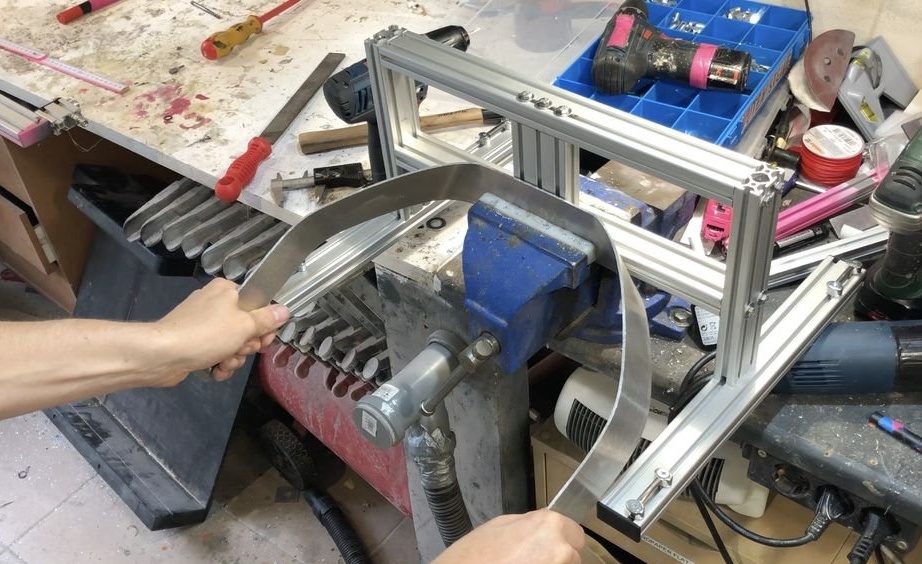
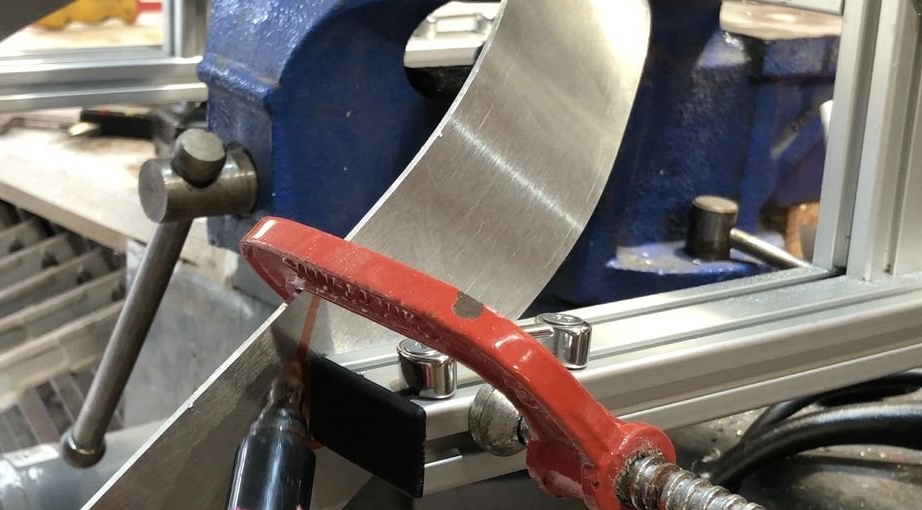
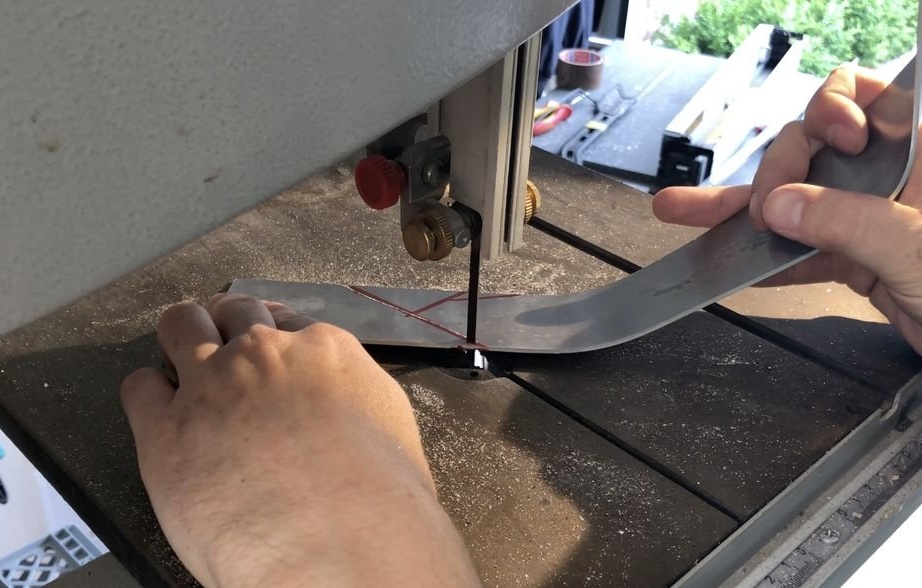
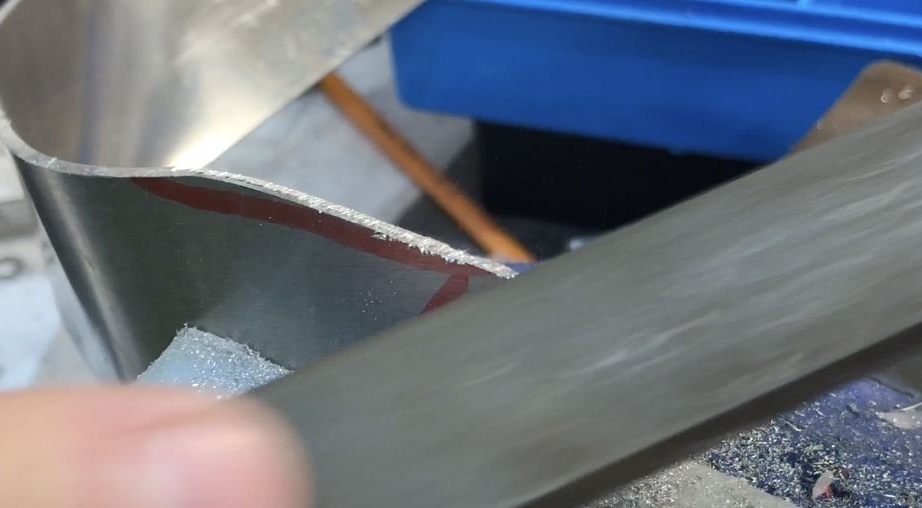
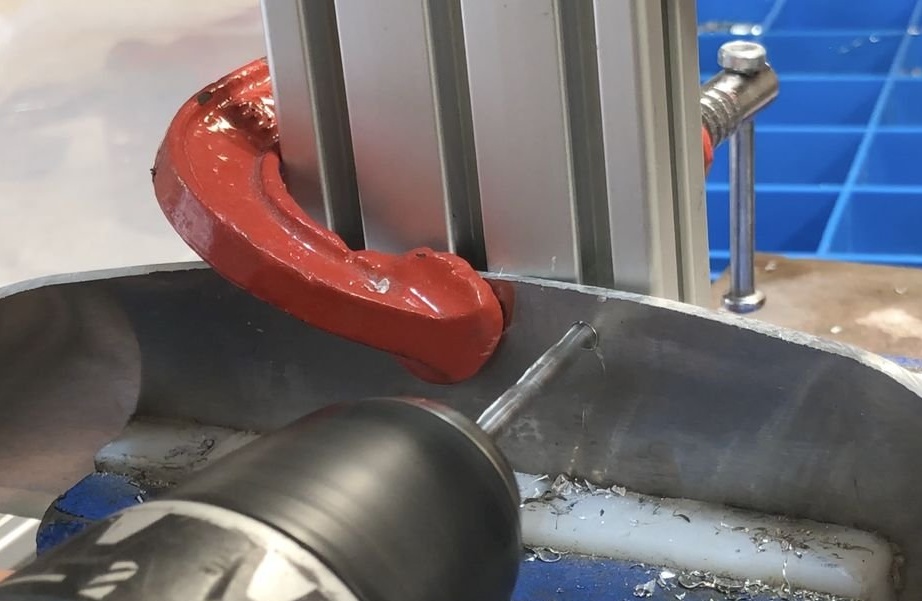
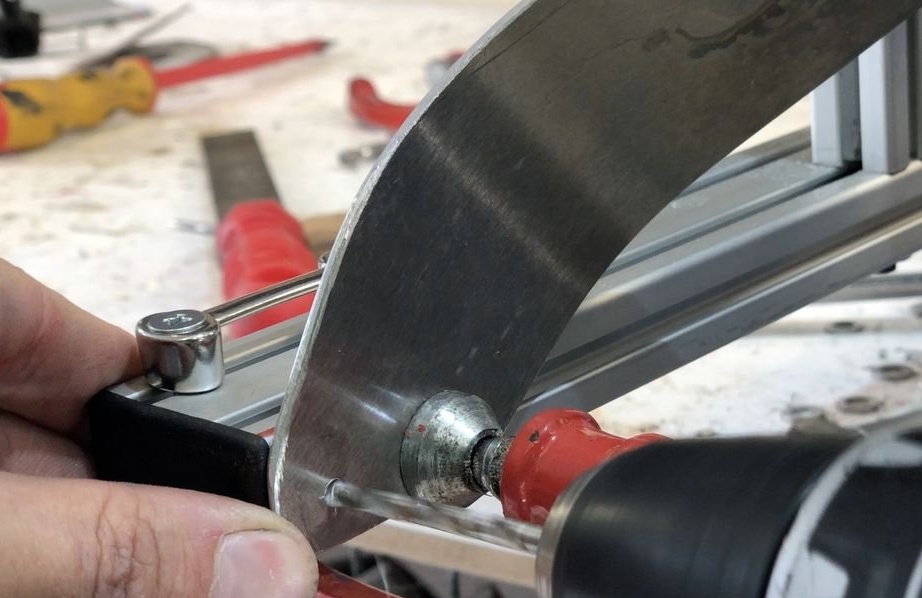
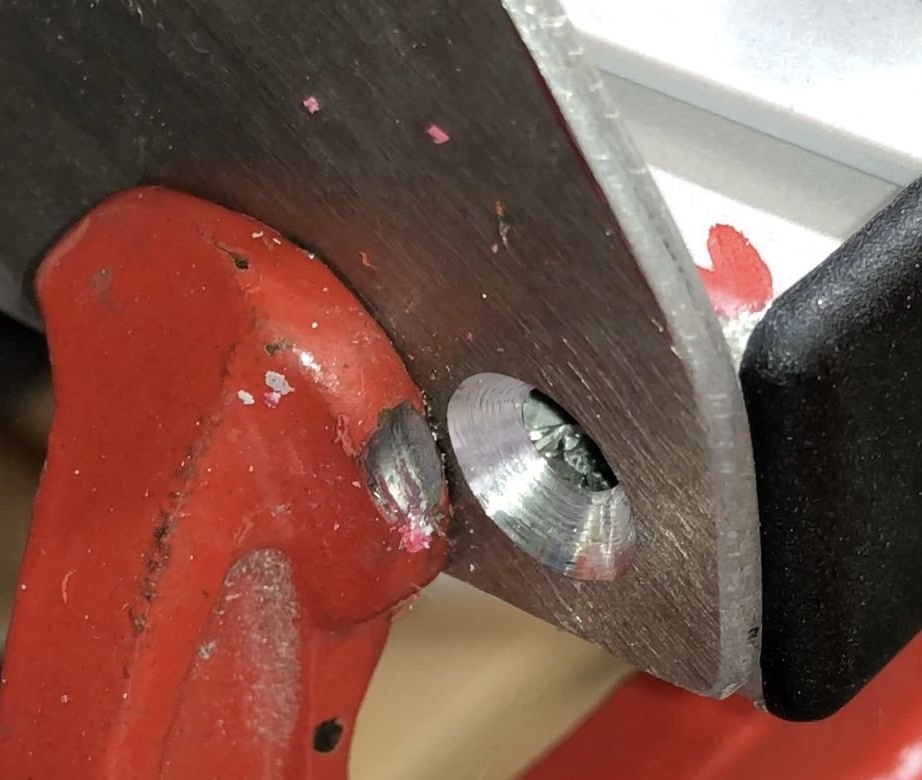
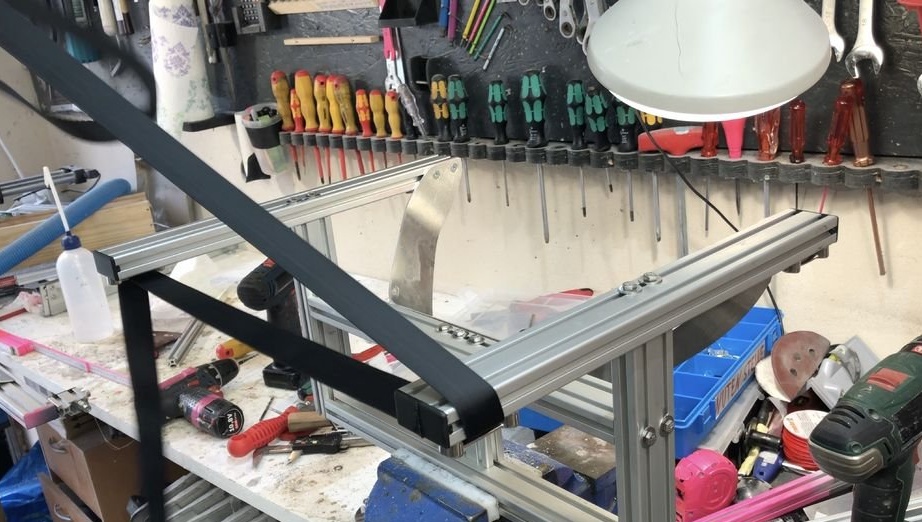
It was noticed that the boat stands were not rigid enough. The power of the boat could potentially tear them off, because they were attached to the frame at only one point. So they needed cross brackets. After much deliberation, the author simply took a piece of flat aluminum sheet metal and bent it in place. He magically took shape. He then attached it to the frame to mark where to cut it, and also drilled holes for the screws.
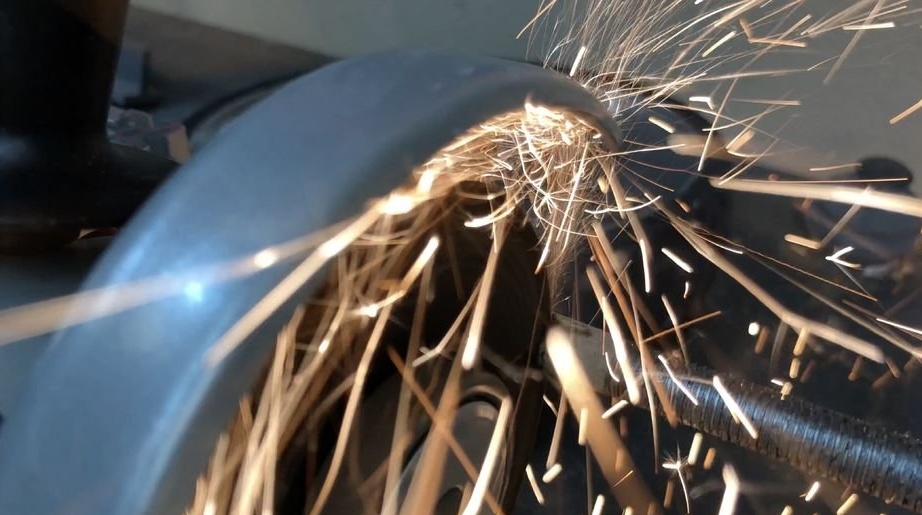
Aluminum sheet can be cut on a band saw. Use a little grease though ... The band saw blades are not made of carbide, but simply of steel. Steel is harder than aluminum, so it cuts, but not very long. The author used old blades for this work. They still do not mind.
Step 7: Final Touch
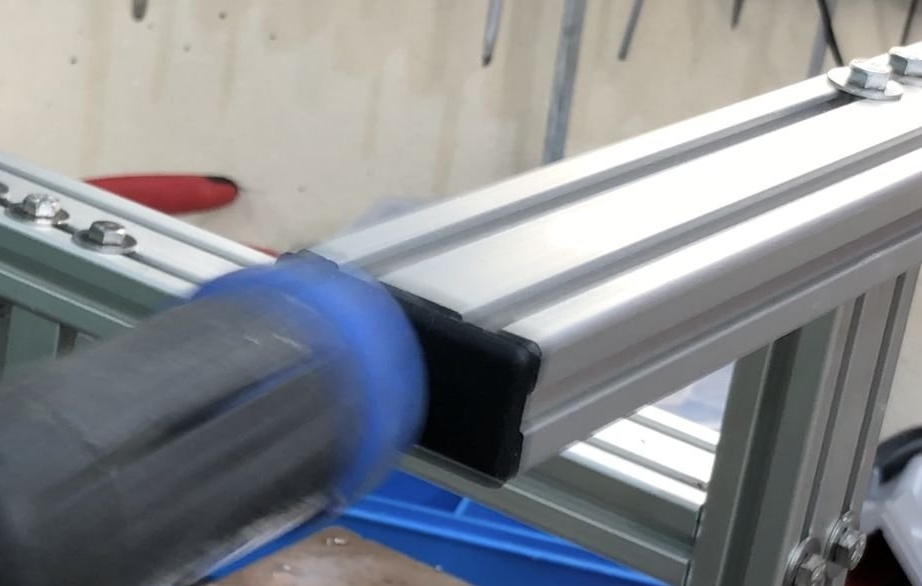
End caps give a complete aesthetic appearance to aluminum structures. If you do not have them, then you can draw the edges using any suitable metal plug.
Belts used in homemade products are designed for tarpaulins on trailers and all-terrain vehicles. The author used 4m belts.
Step 8: Adding a Carpet for Protection
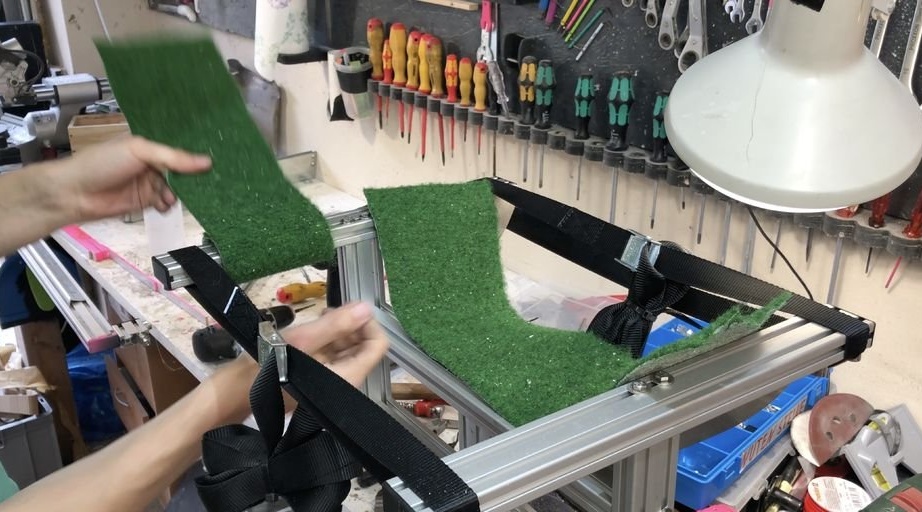
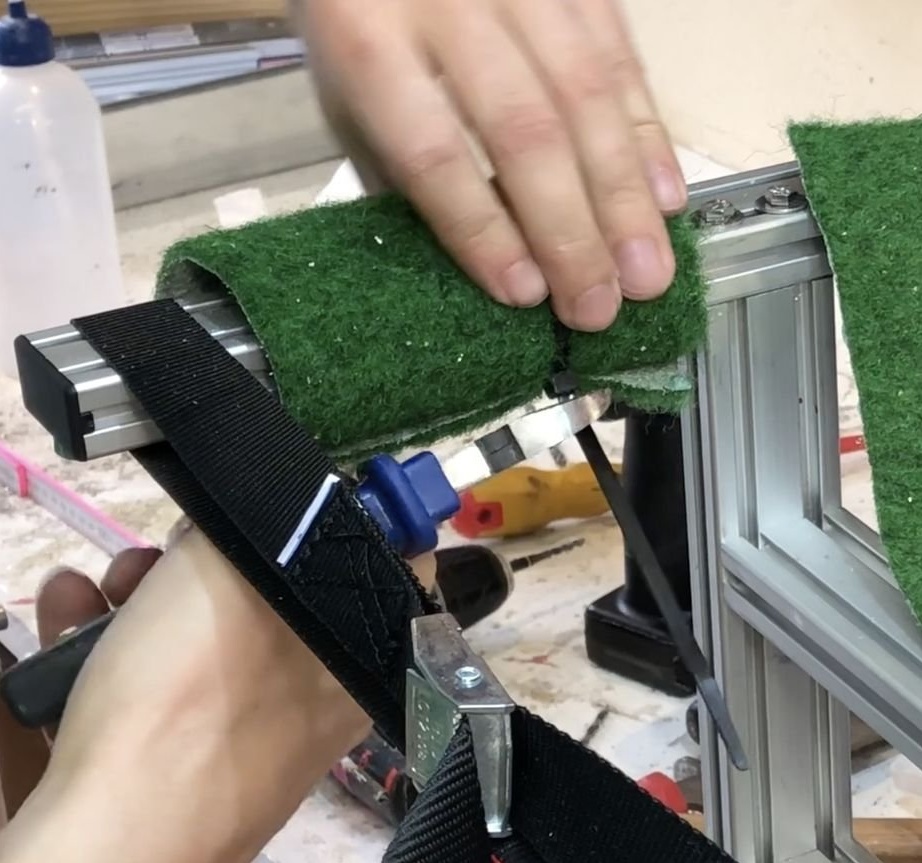
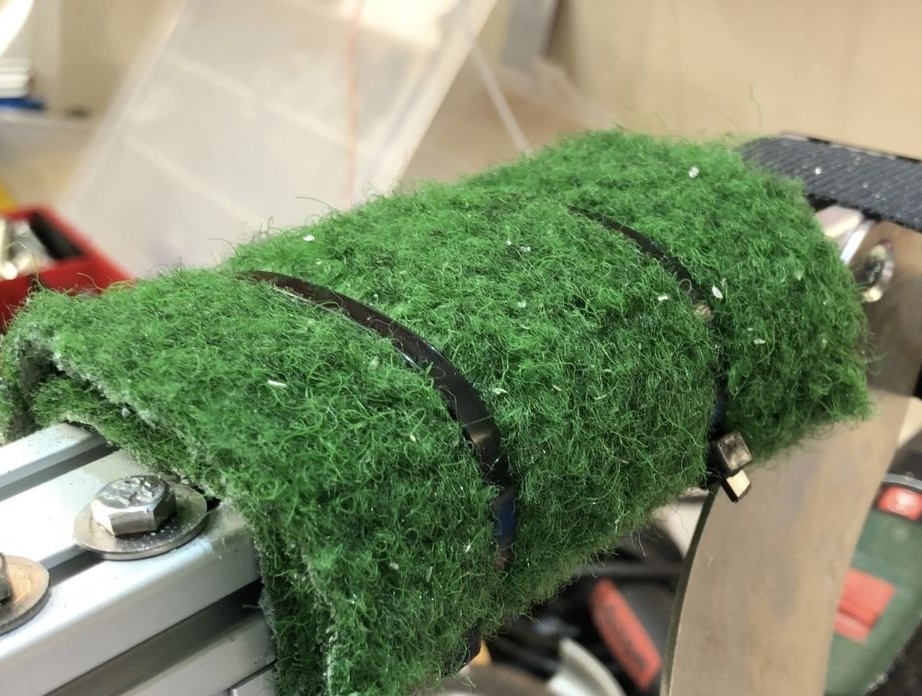
This green carpet for a long time lay with the author in the workshop. If there is no carpet, then you can use belt ties. Belts will not scratch a kayak. Unfortunately, they decompose over time.
It makes no sense to recommend the foam because it breaks easily. Especially in the sunlight. It is not intended for use in the sun.
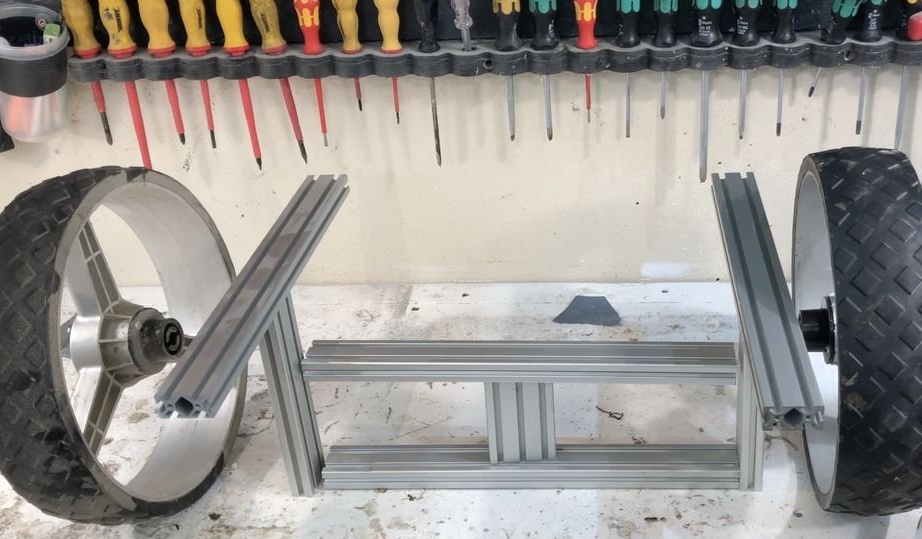
Step 9: Installing the Wheels
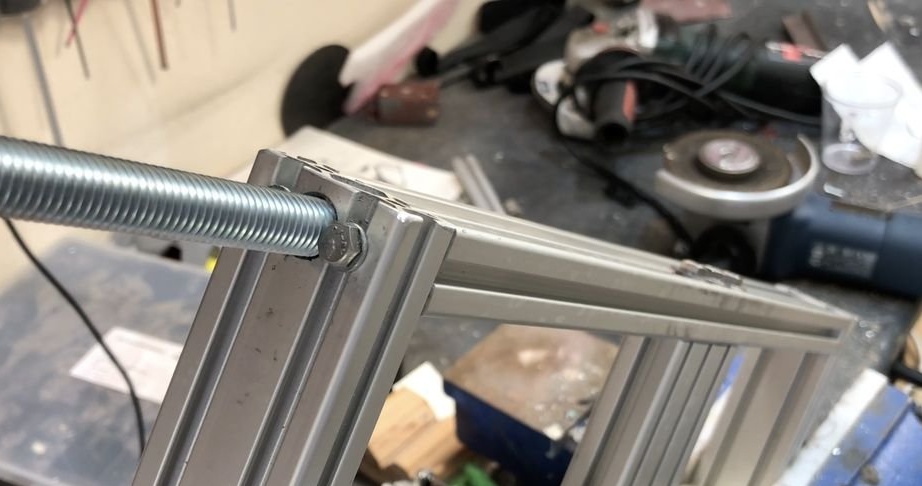
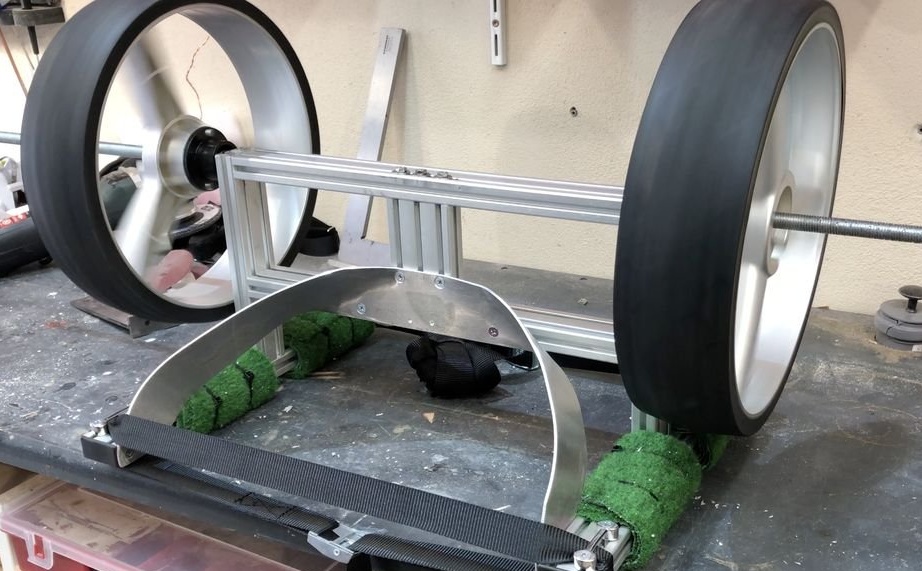


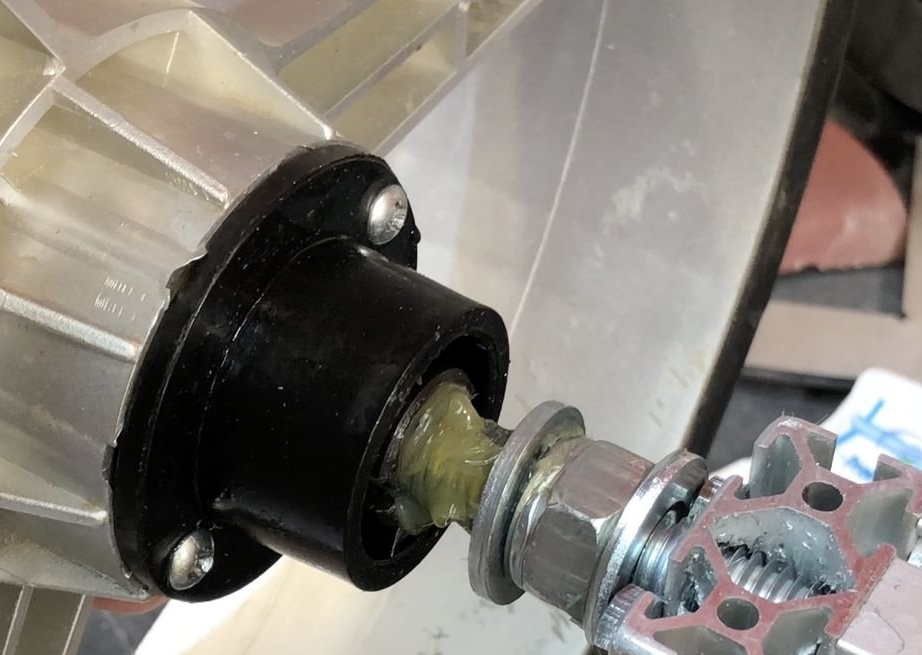
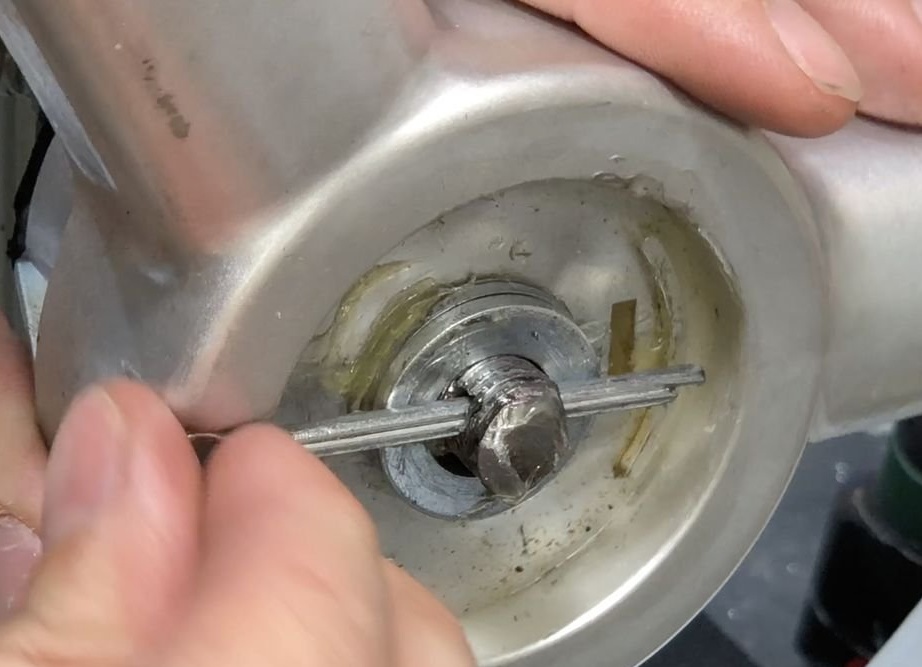
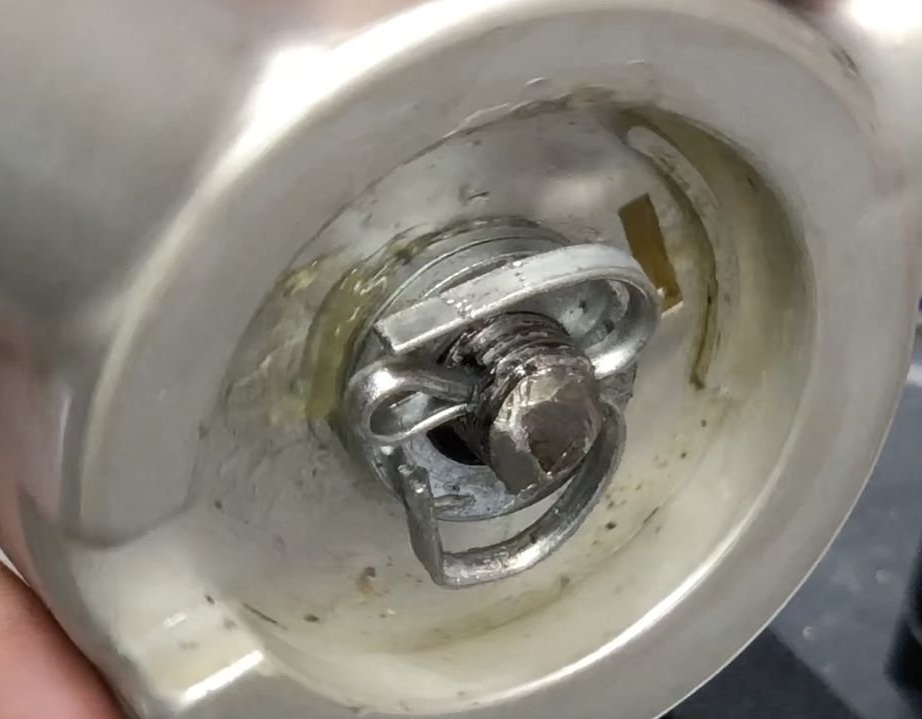
The author removed his wheels from the old cart. They have 12 mm axial holes, and aluminum profiles have large enough holes to let a 12 mm threaded rod through them. If your axle is larger, you can simply snap it to the outside of the frame using clamps. They are very durable and easy to use.
The threaded rod was secured with Nylock nuts to prevent it from slipping. These nuts are very tight and do not vibrate.
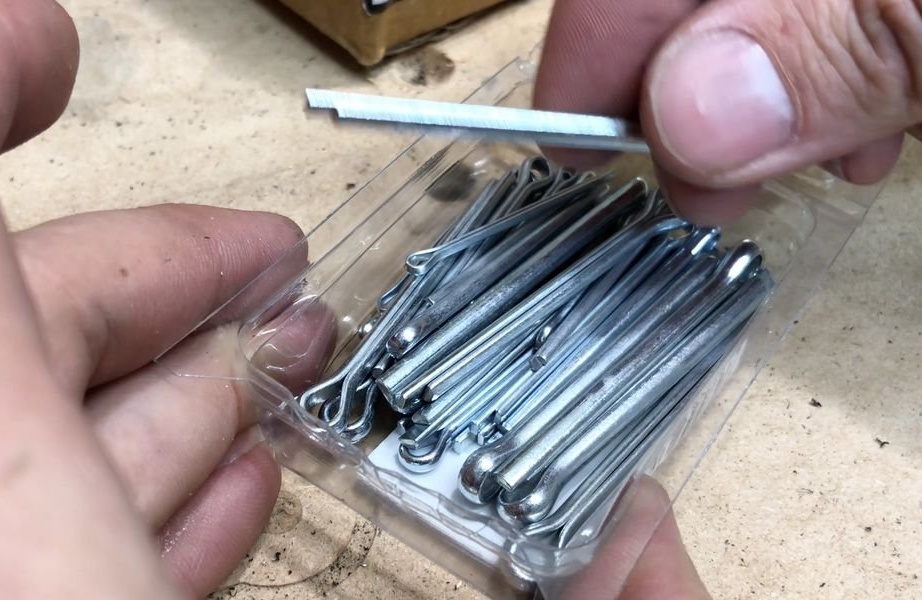
Lubricate the entire shaft and wheel liberally. Also on the edges. The author used several grease washers between them to isolate all moving surfaces and to avoid increased friction. The wheels are attached with cotter pins.