

Hello to all lovers homemade. In this article I will tell in detail and show how to make the simplest mass accelerator do it yourself literally in 30 minutes. At the exit, we get the projectile speed of 58 m / s at an energy of 4.5 J.
This homemade product will be useful to those who study electromagnetism, as well as are interested in radio electronics.
To build a homemade product we need:
1. Copper locked copper wire with a diameter of 1.18 mm and a length of 50-60 cm, as well as a regular piece of wire with a cross section of 1.5 mm
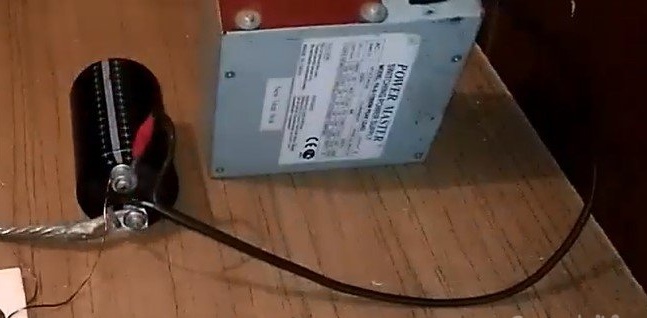
2. Electrolytic capacitor capacitance 3100 uF 400V
3. Powerful thyristor brand T161-160
4. 400V voltage converter
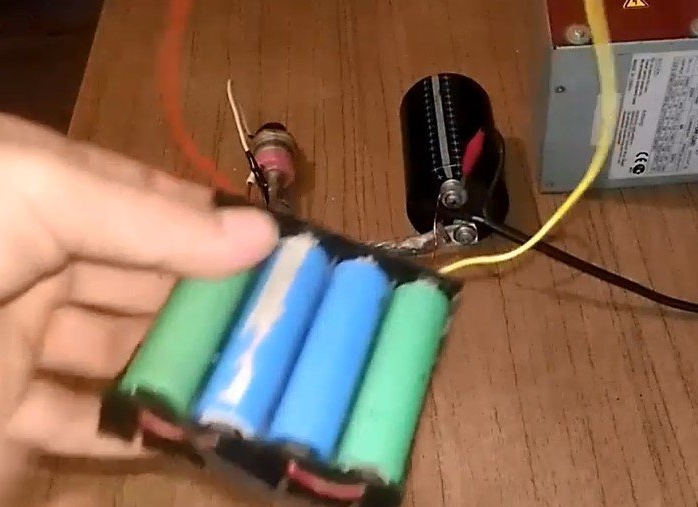
5. Battery pack (to power the converter)
6. Screwdriver and 2 drills at 6mm and 1mm
7. Scissors for metal (for the manufacture of a shell)
8. Side cutters and pliers
9.1.5V battery
10. A piece of copper (aluminum or brass)
11. A piece of plywood (for winding a coil)
12. Screwdriver and a pair of screws
13. Glue
14. Electrical tape
15. 6mm nail (serves as a guide)
16. Knife
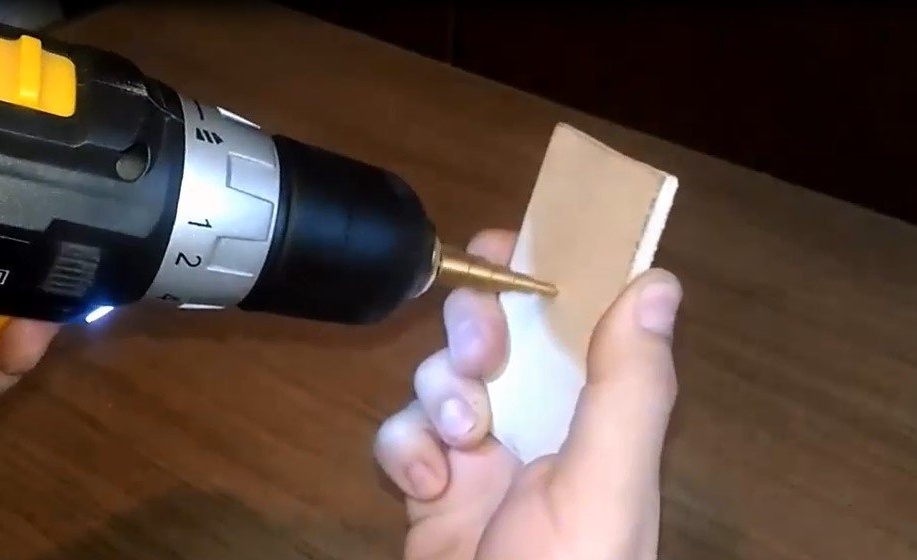
Step One (preparing the platform for the coil)
First, let's drill a hole with a diameter of 6 mm in a piece of plywood approximately in the center
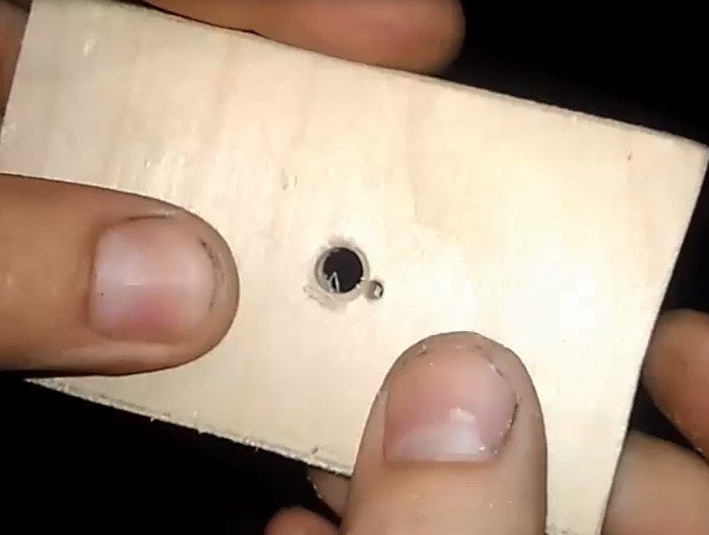
Then a little higher hole 1 mm in diameter
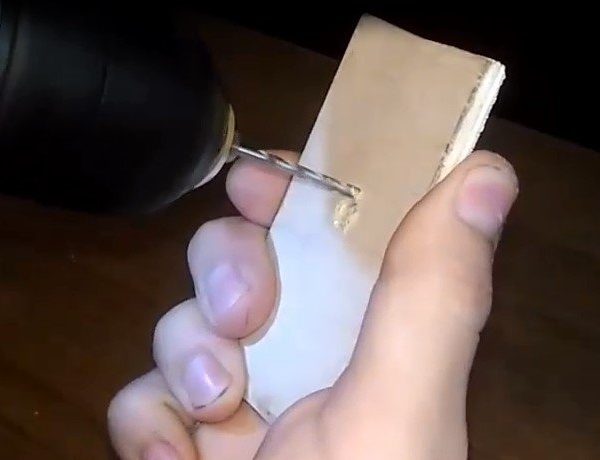
It should look something like this:
Step Two (Coil Winding)
Thread a wire with a small margin into a small hole
In the other hole, insert the guide (6mm nail) and fix with glue
We also fix the wire with glue
We start to wind the wire, gradually I get a flat coil and every 2-3 turns we fix with glue
We do about 8-10 turns:
After the glue has dried, you can once again thoroughly grease it with everything.
We remove the insulation from the ends of the wire
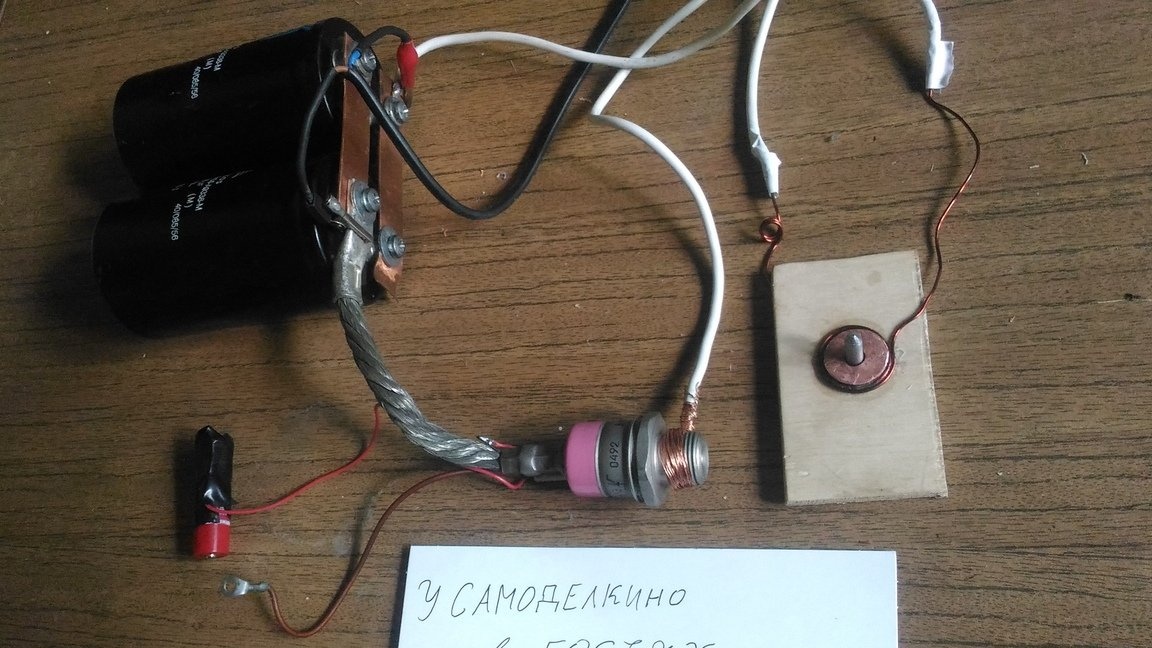
Step 3 (getting started)
Prepare a capacitor, thyristor and a pair of screws
Take thyristor
And we connect its "braid" to the minus the capacitor

Fixed with screws
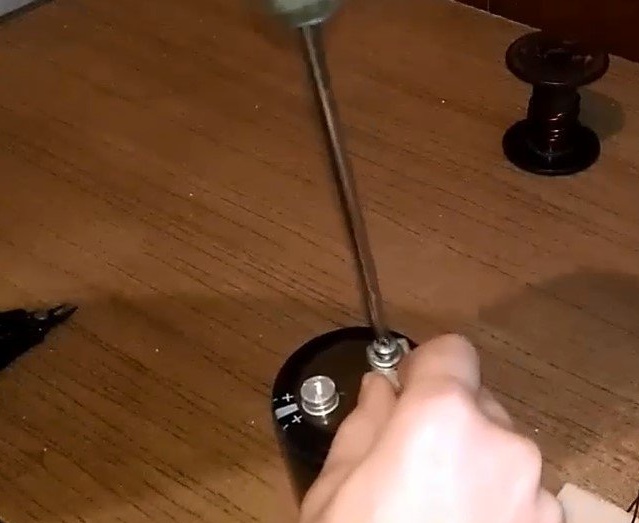
Tighten tight for better contact
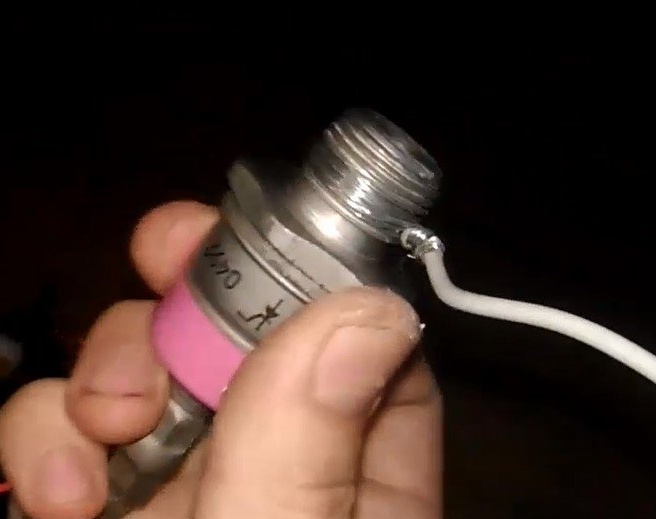
Then we take one of the ends of the coil, and create a hook shape
Preferably through the washer, thread the end in this way
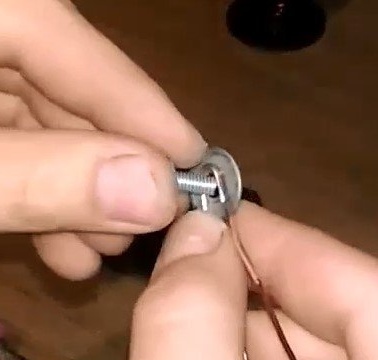
And connect to the plus of the capacitor
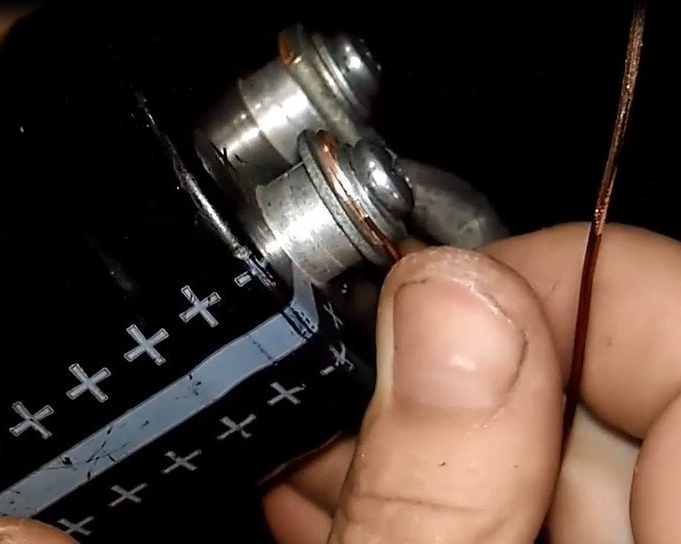
Now you need to connect the thyristor anode and the other end of the winding.
To do this, take a 1.5 square wire
We tie one end around the anode like this
For insulation and the reliability of the connection we fix the tape
The second end of the wire is also connected by the method of "twisting" with the end of the winding
In the same way we bind with electrical tape
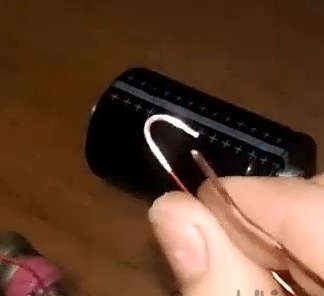
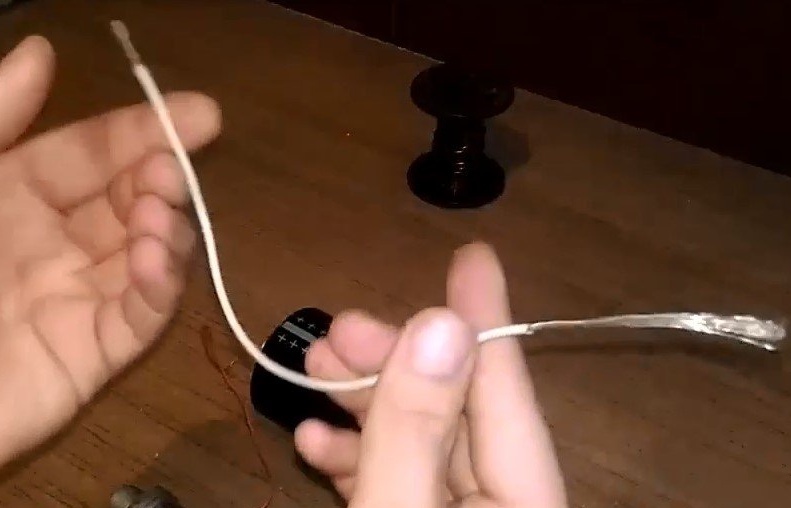
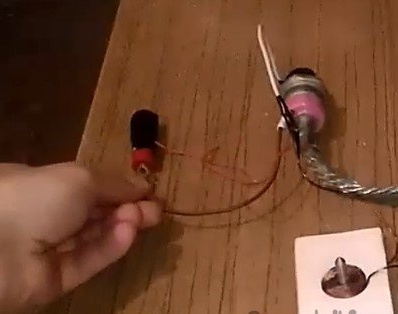
Fourth step (connecting the "logical" part)
In parallel to the "braid" of the thyristor there is a wire
taking a 1.5 volt battery
it is necessary to connect its minus to the common minus of the thyristor (cathode), and for reliability and insulation, wrap with electrical tape
Thus, only 1 wire from the thyristor should remain, when it is closed, voltage is applied to the coil plus batteries.
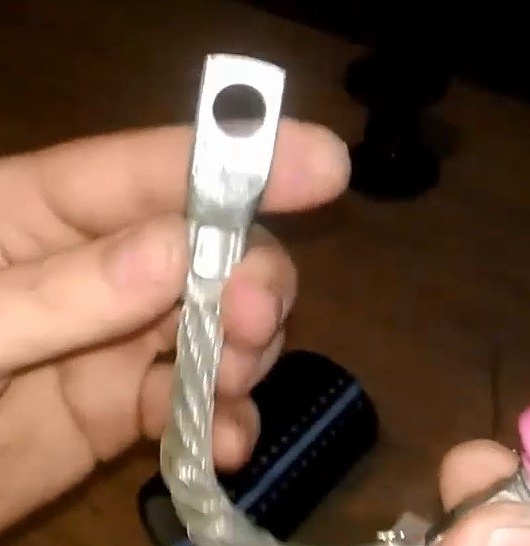
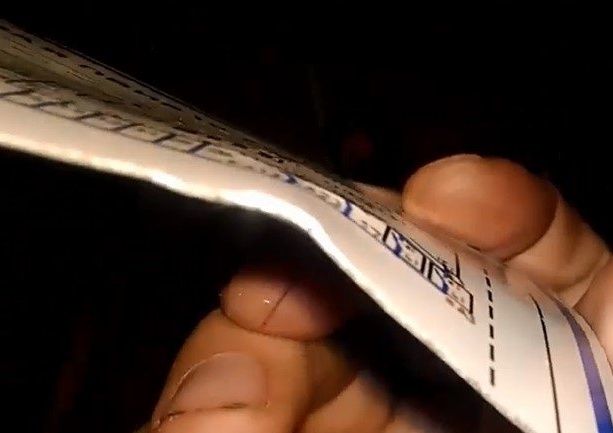
Step Five (preparing the projectile)
Take a piece of copper

and cut with metal scissors
Then, approximately in the center, it is necessary to drill a hole with a diameter of 6 mm
having finished with a file (or any other convenient means) we get something like that
the projectile should easily enter the guide

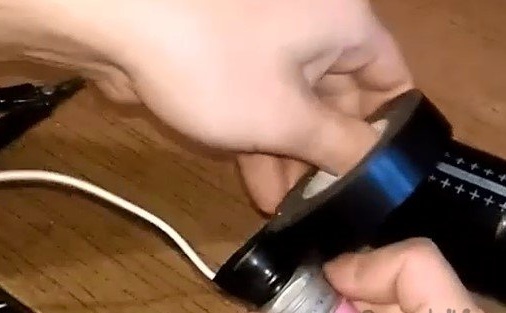
Step Six (Connection)
To connect, you need a 400V source to charge capacitors

I use a battery pack to power it
from the power supply "+ to + - to -"
Switching is carried out by touching the control wire from the thyristor (the one that remains) to + batteries
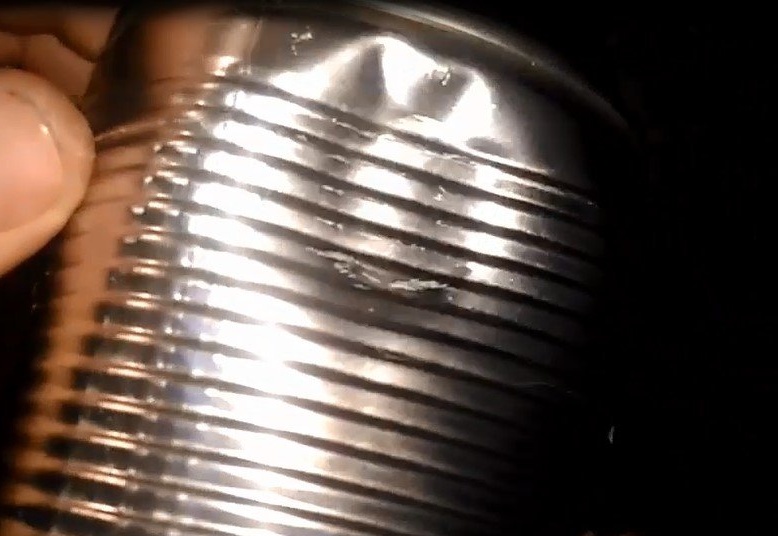
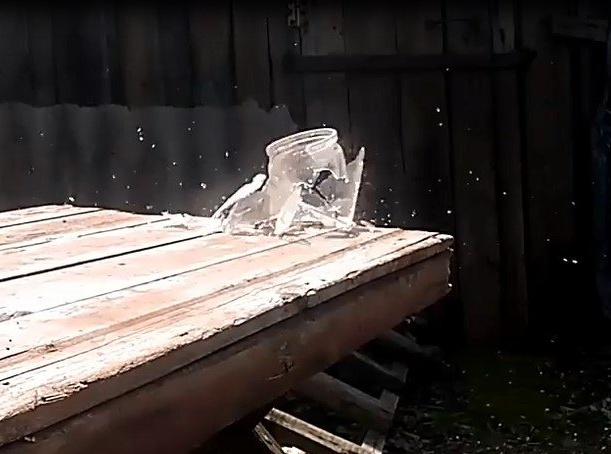
As a result, when charging a capacitor up to 400V, the projectile flies out at a speed of 58m / s and an energy of 2.5J
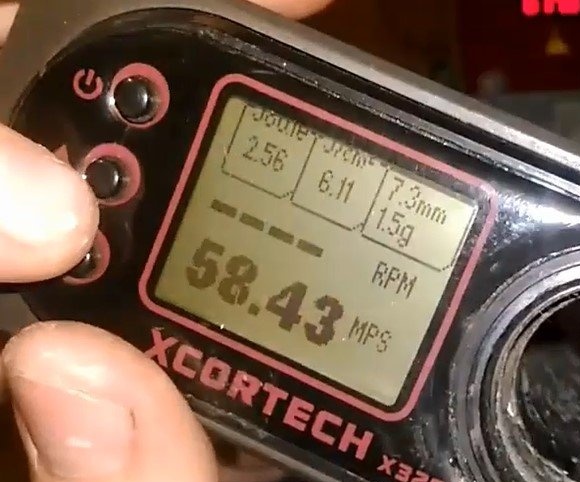
This is more than enough to create large dents
That's all, thank you for your attention and success in your endeavors.