
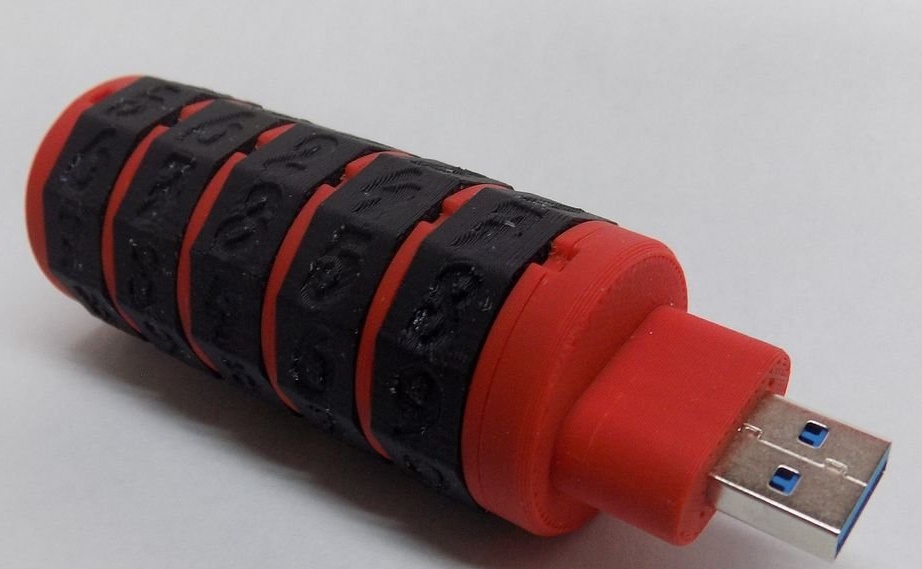
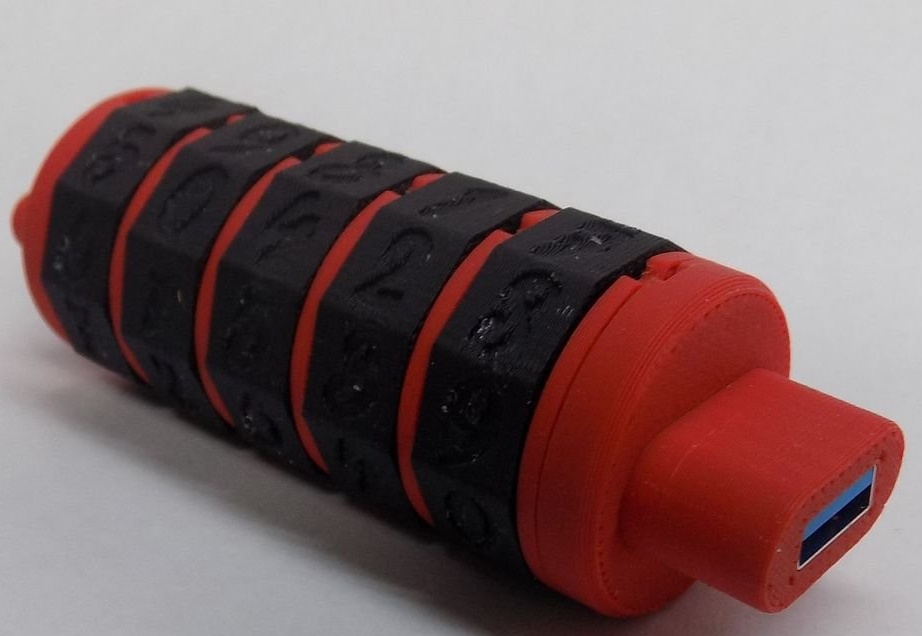
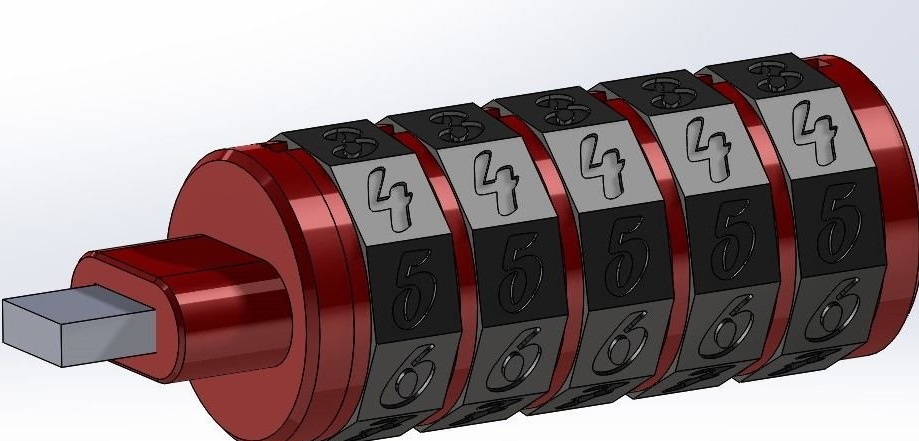
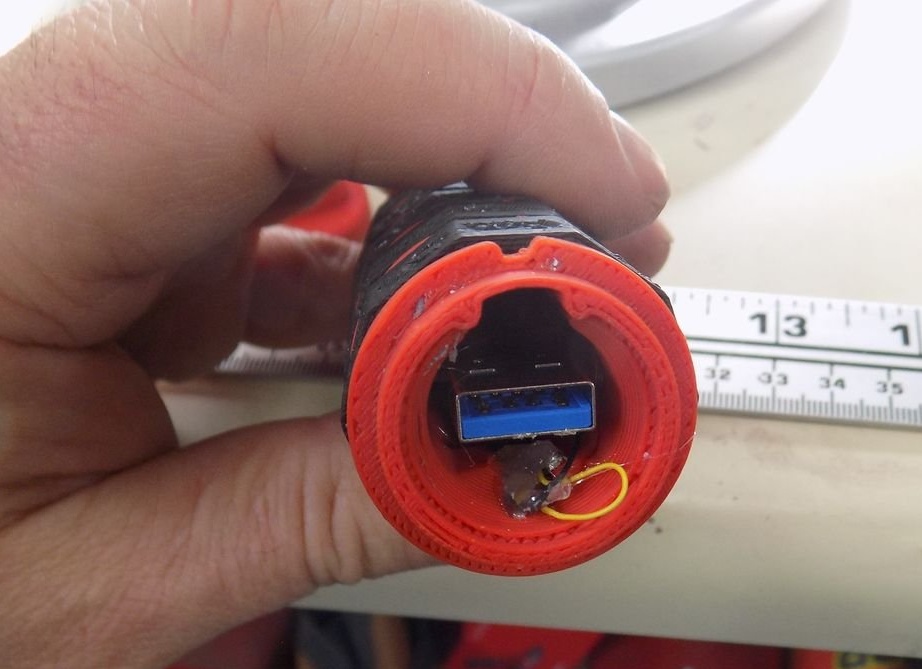
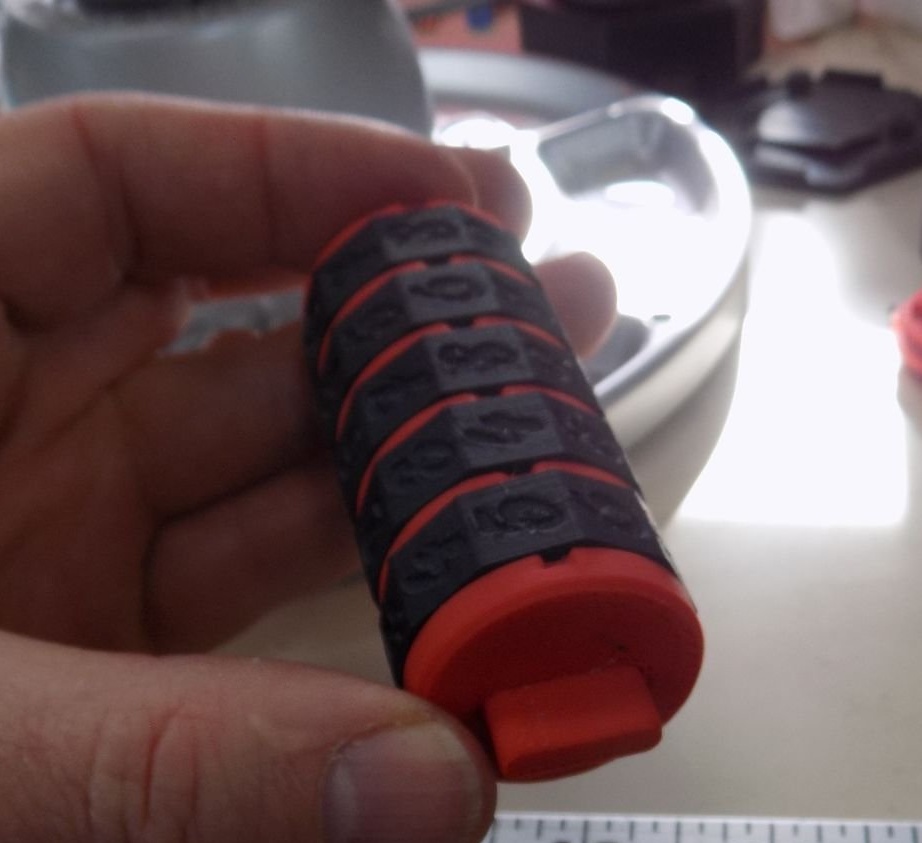
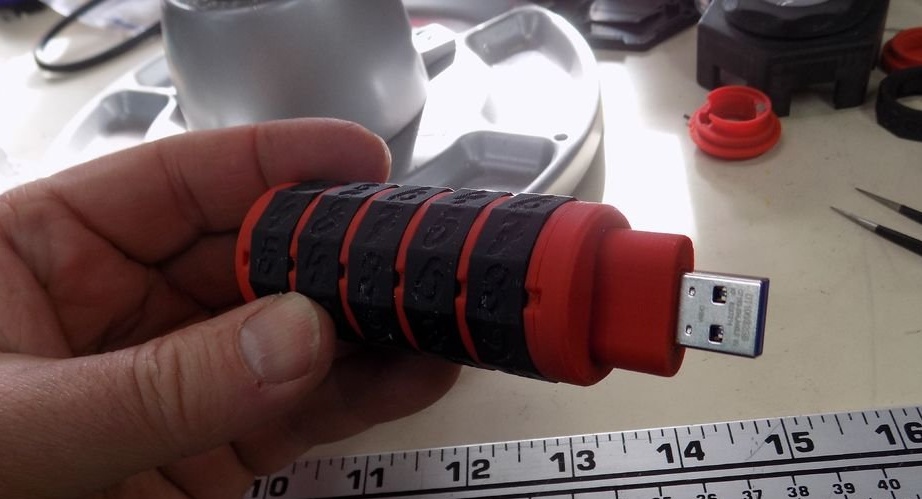
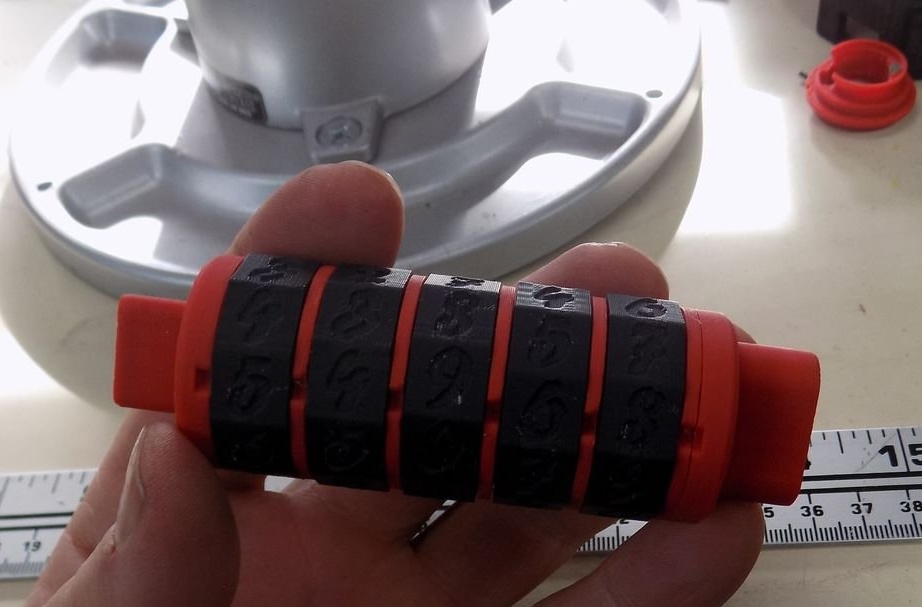
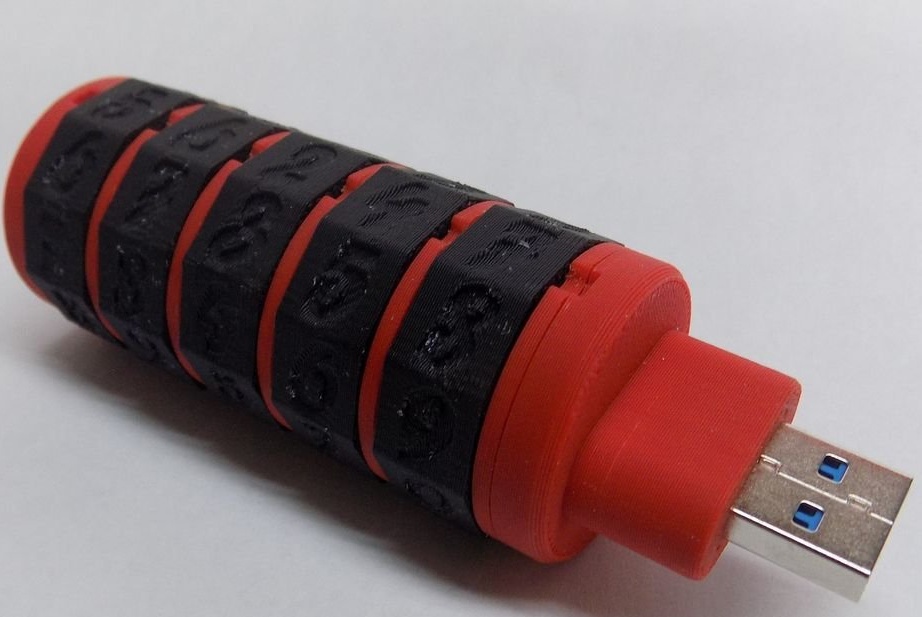
Entering the correct combination on this USB flash drive allows you to press the button on the back of the device to push the USB 3.0 connector and insert it into the USB port on the computer and see the information contained on the 32 GB memory card ...
At least everyone thinks so. However, by entering the correct second 5-digit combination with an extended connector, you will get access to a secret 32-gigabyte hidden drive that stores real information.
These are 3 lines of defense
- 5-digit combination lock for opening the USB connector and viewing the contents of the 32 GB drive;
- ignorance that there is a second disk;
- Another combination of 5 digits for access to a 32 GB hidden drive;
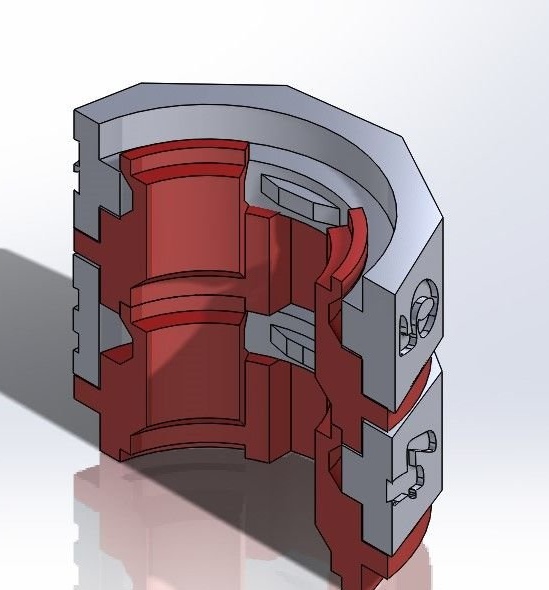
The shell protects the thin electronics and internal work from prying eyes. The construction is sealed with glue to prevent opening. The digital rings are solid, and the combination is hard-coded.
To lock the drive, simply insert the USB connector back into the case.
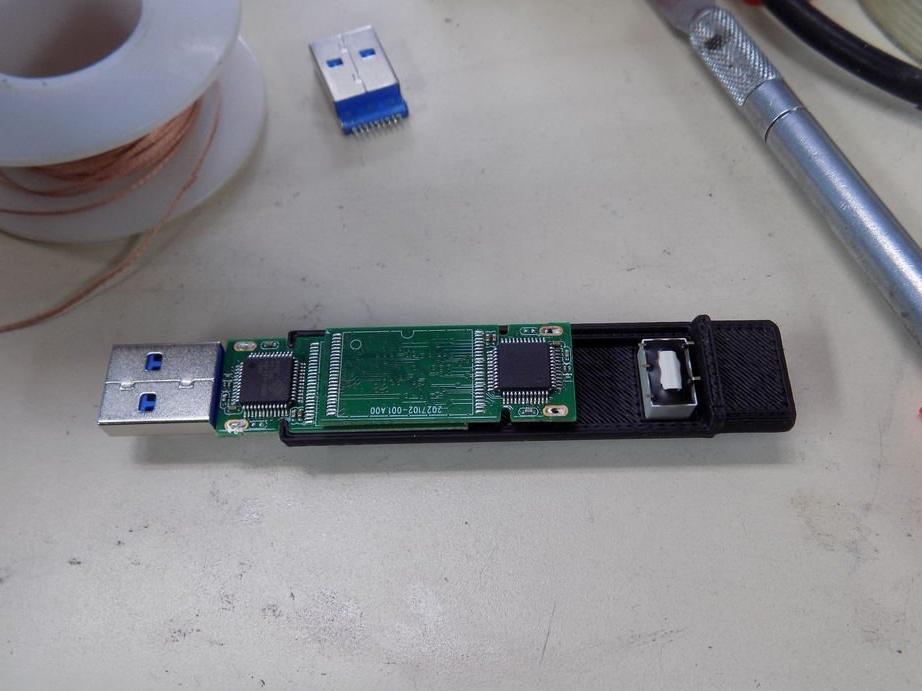
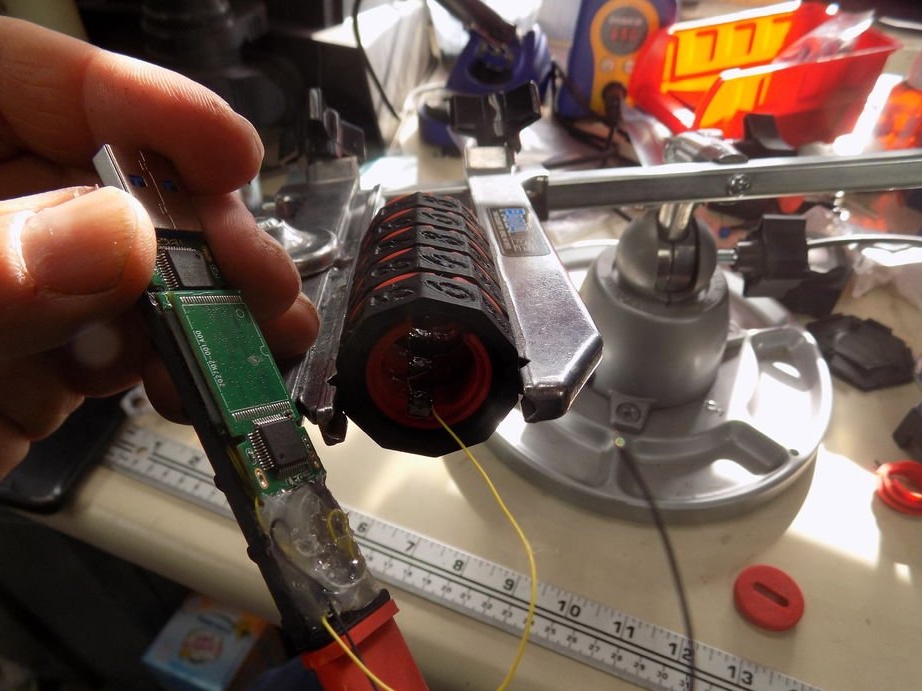
Step 1: Disassembling USB Drives
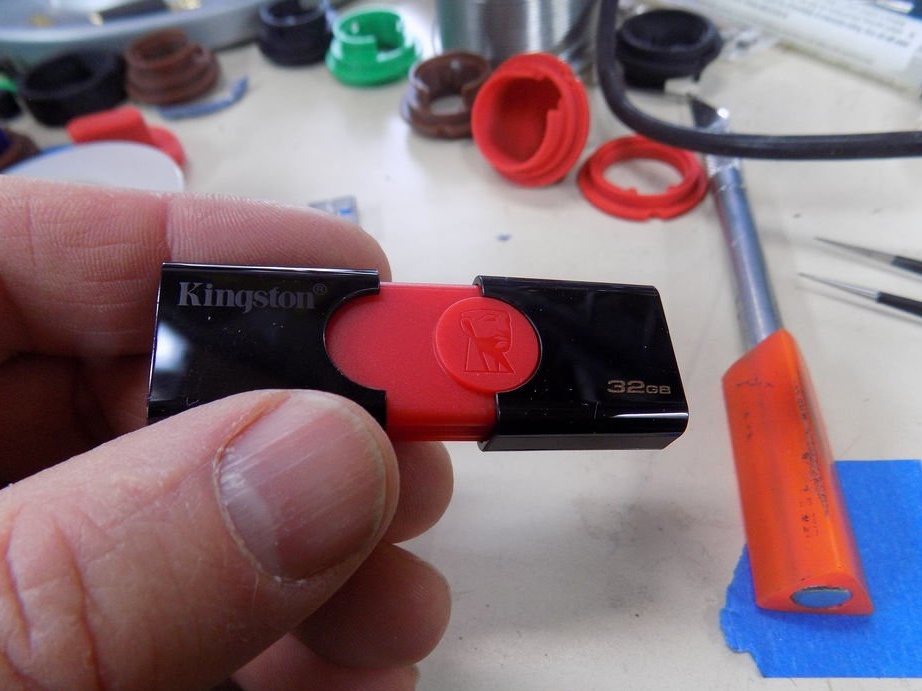
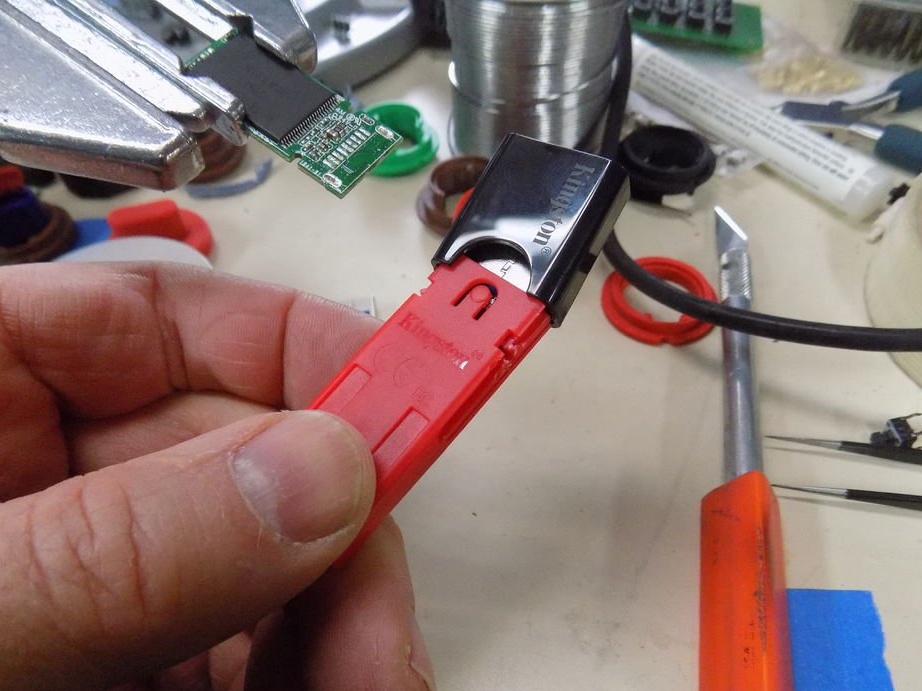
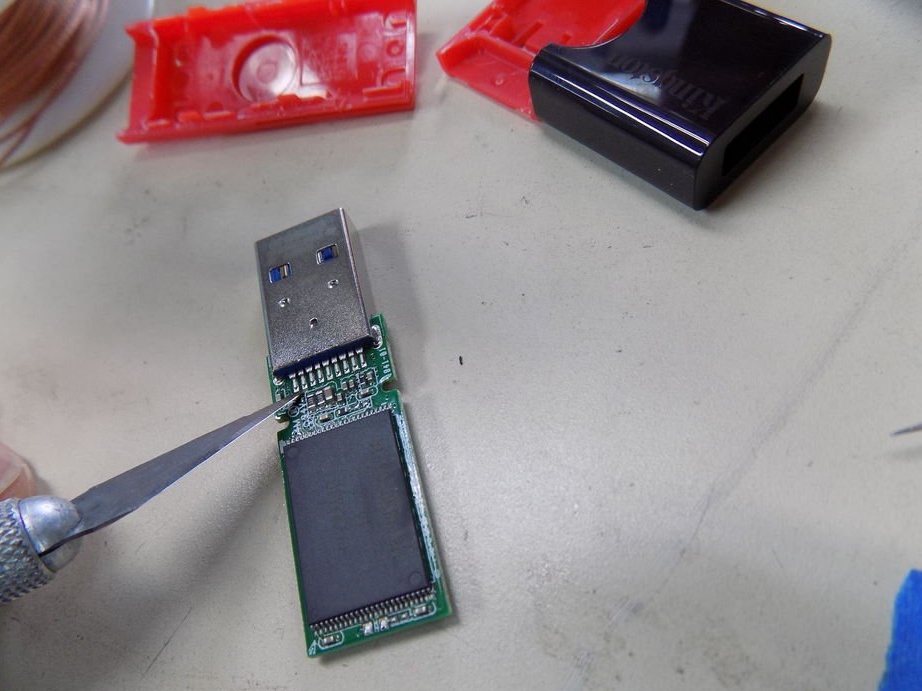


For this, the master used 2 USB 3.0 drives of the Kingston 32 GB type. He chose their simplest design, size and price, because he knew that he was going to destroy them in order to make a grand invention.
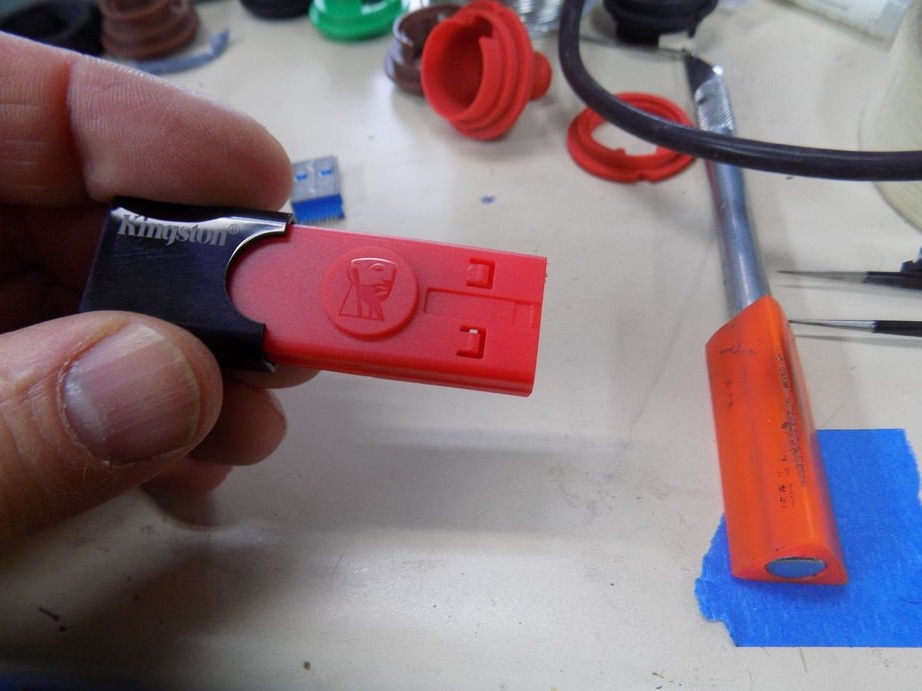
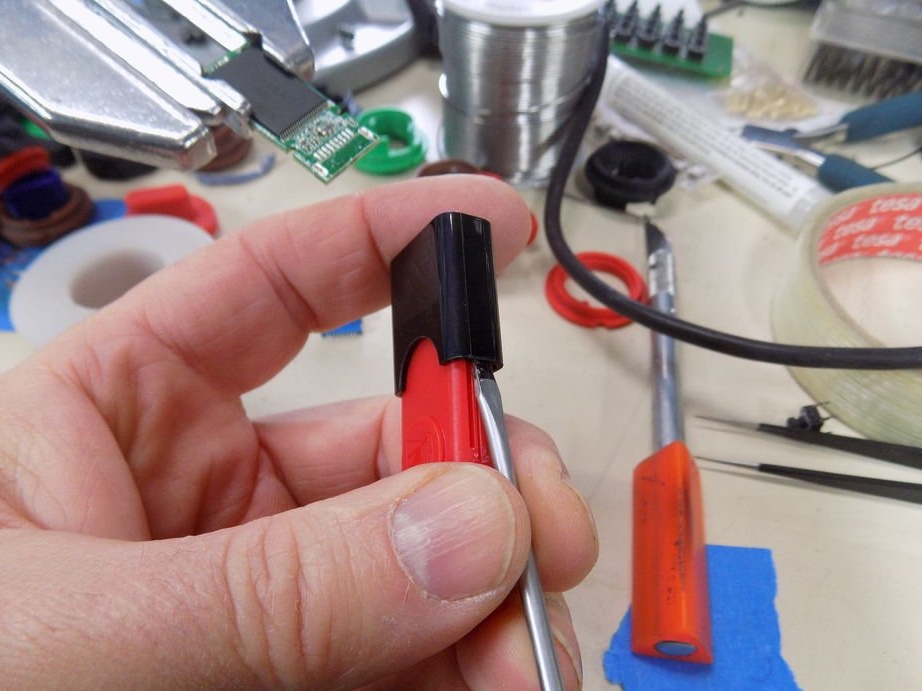
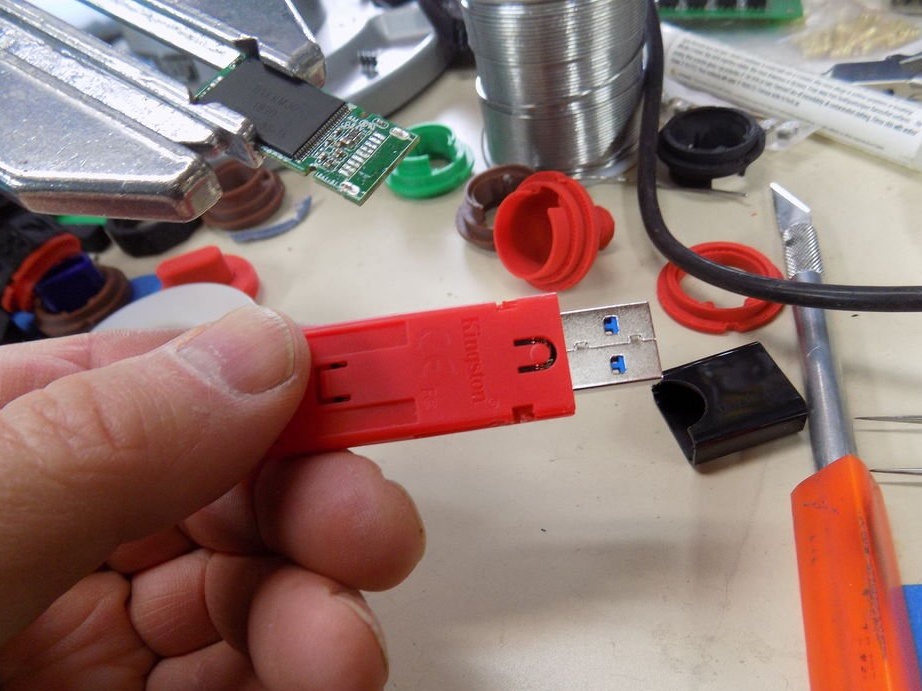
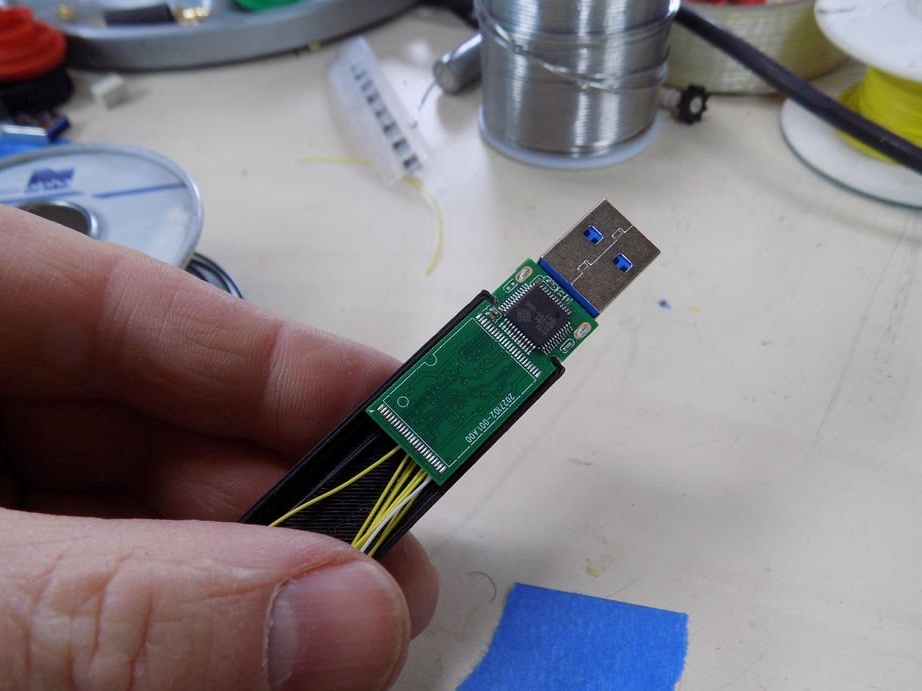
The protective sheath was previously removed to reveal the internal circuits.
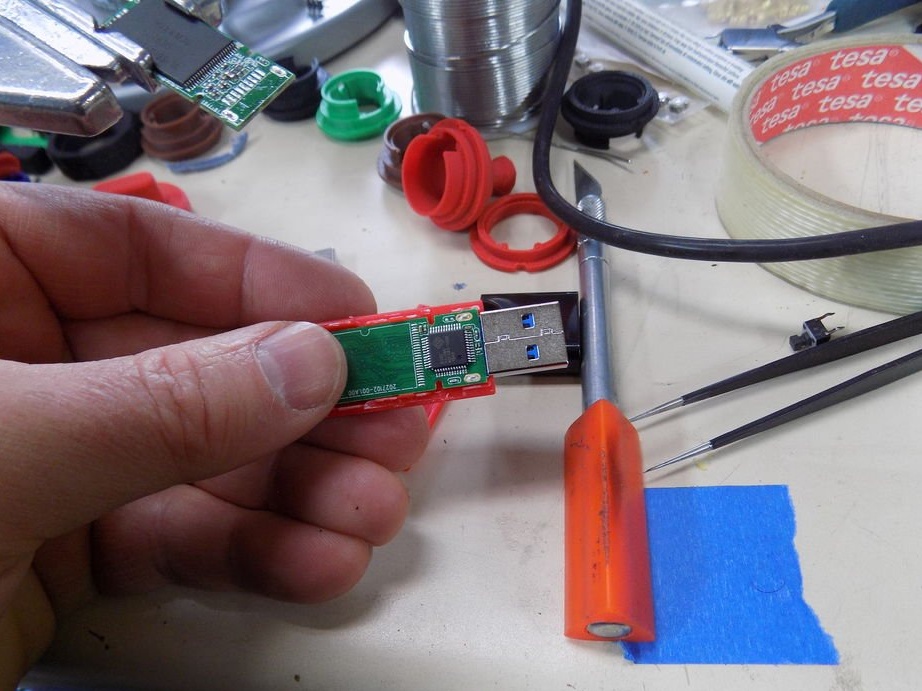
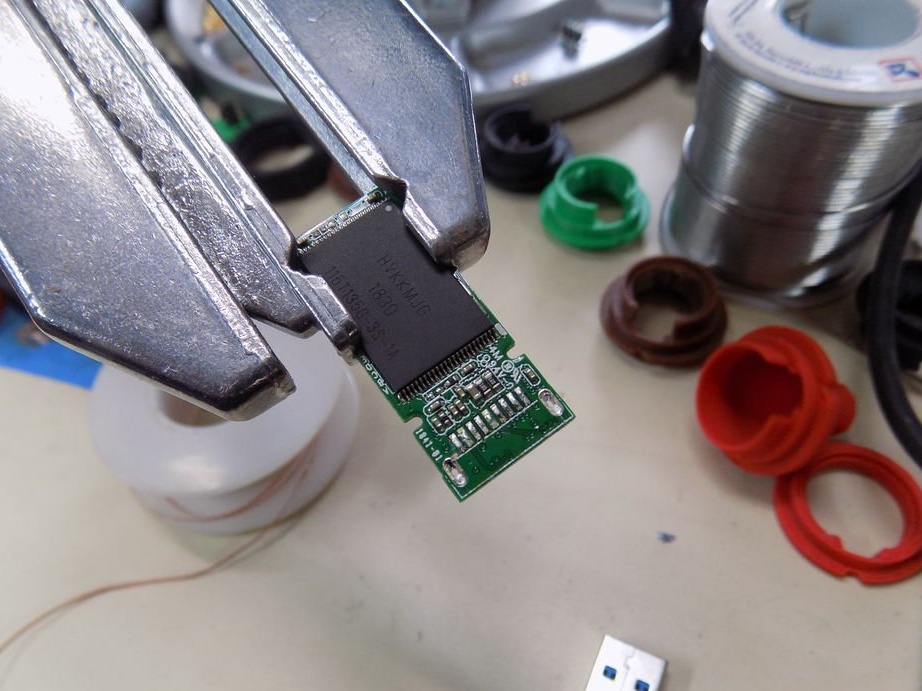
Both must be changed by removing the VCC power pin from the circuit board. This is pin 2 in the case of USB 3.0, a 9-pin architecture. This will be clear after checking the connector data table ...
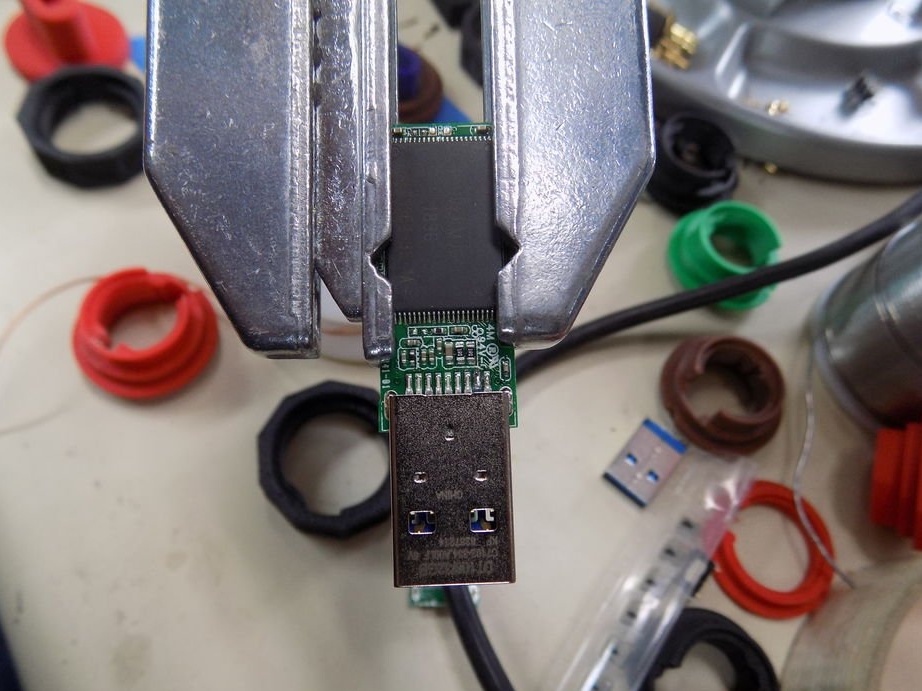
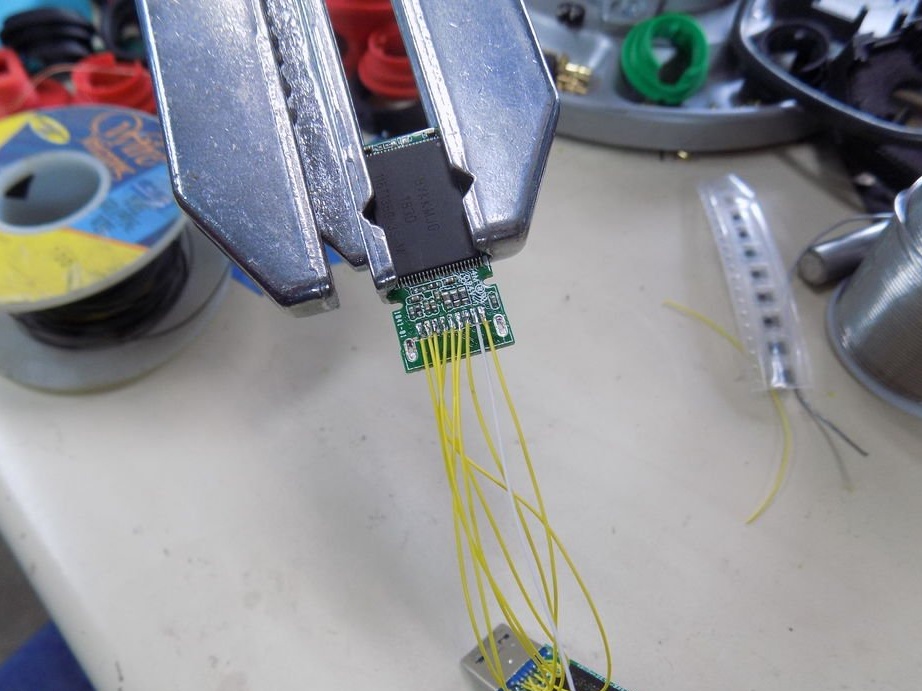
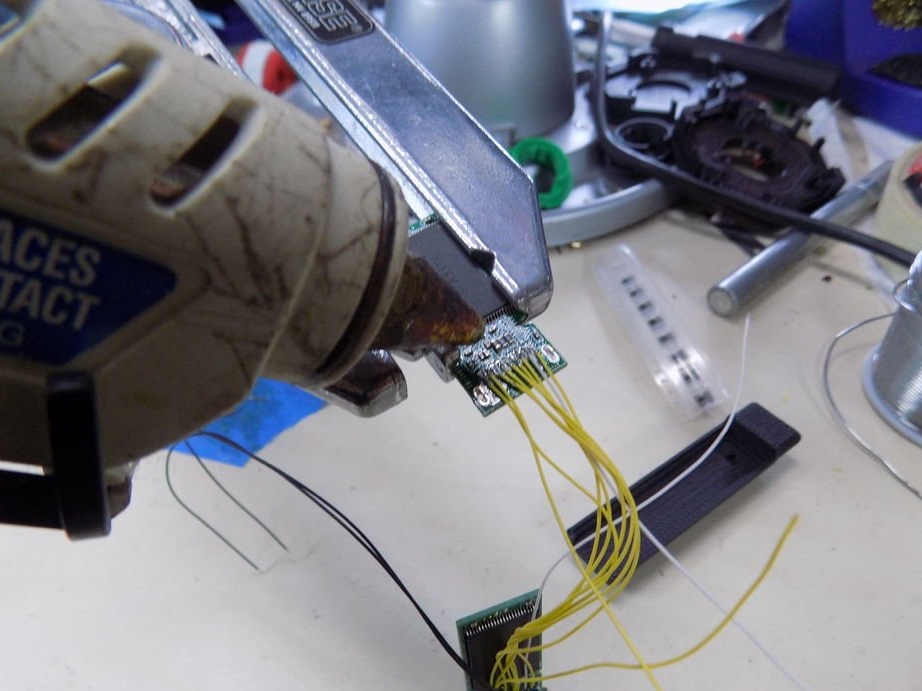
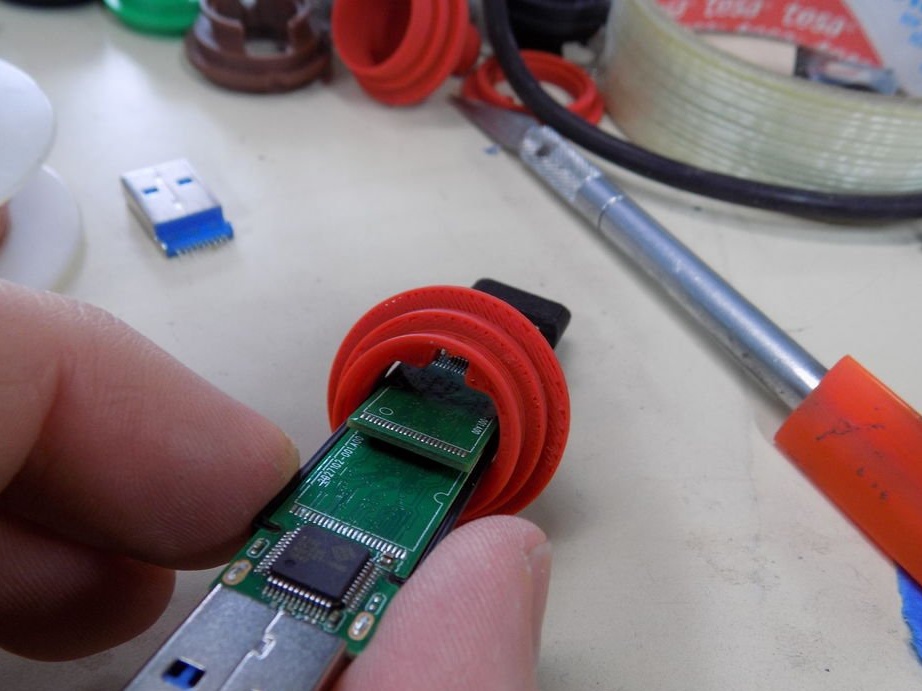
To determine the size, one of the input connectors of the disks must be removed ... For this a soldering iron with hot air was used. The connector literally fell off the board.
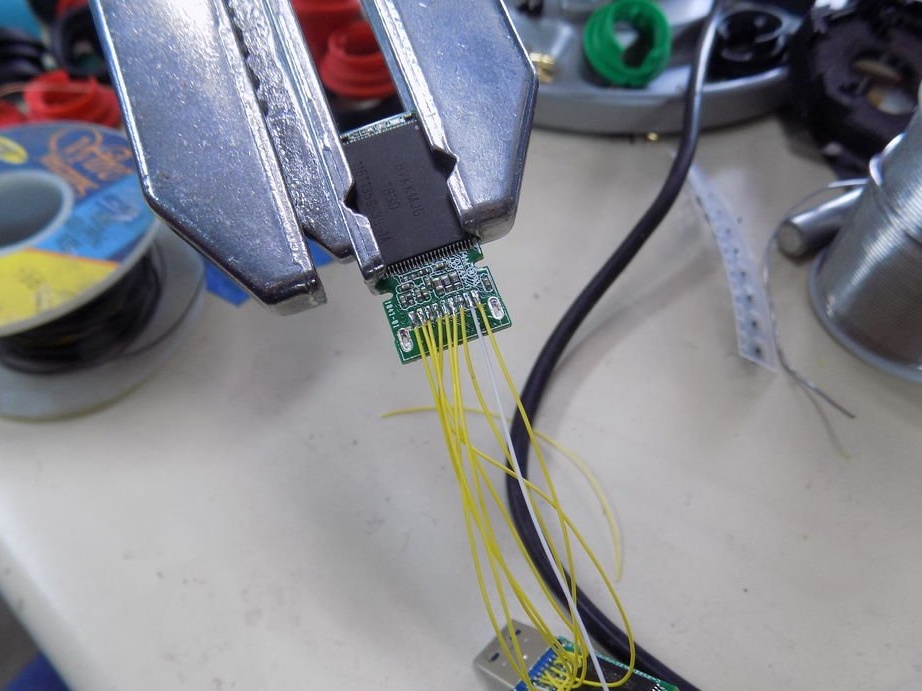
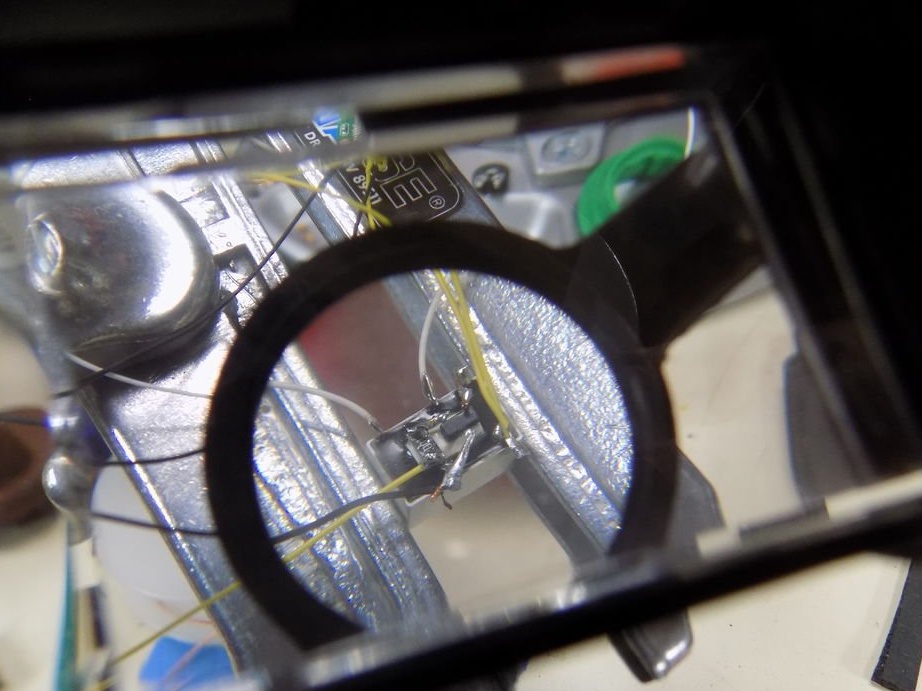
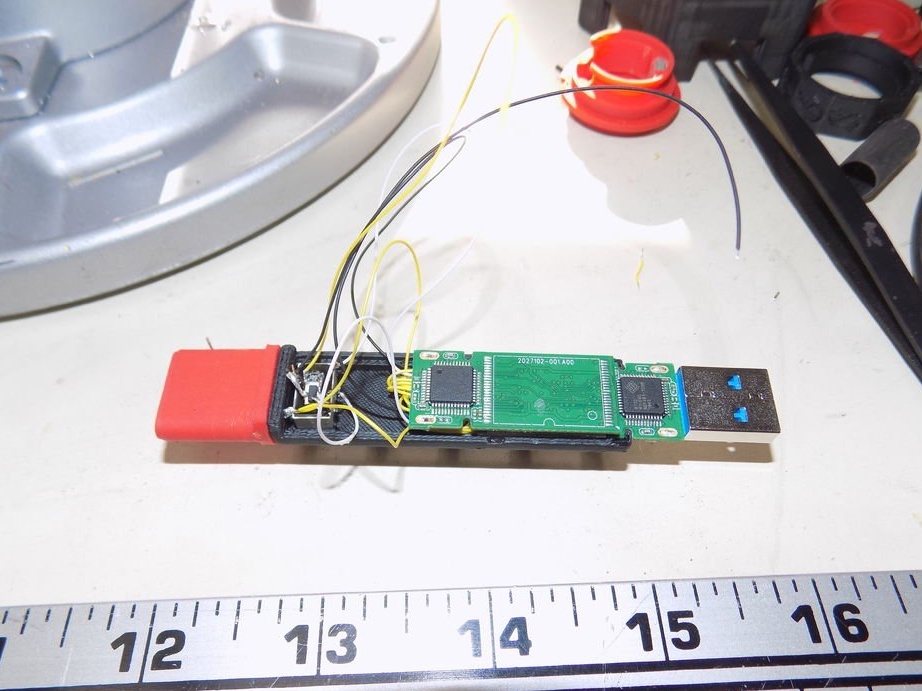
For the next operation, the master used wires in the form of a wire mesh.
All disk pins are connected between dummy and secret disks, with the exception of the power pin.
On the PCB side of both drives, there must be a wire connected to position 2, this is the VCC power for the drives. Do not connect it to the power input via the USB connector, it must be completely isolated from the power input.
Then the jumper is soldered to pin 2 of the USB connector. This wire will eventually supply power back to the drives, as well as power the control circuits, and for now, the power wires will be disconnected.
In stock 5 free wires turned out that were not connected at both ends: 2 black 5V from the USB connector, 2 yellow for grounding and one white for powering each drive.
Step 2: Parts
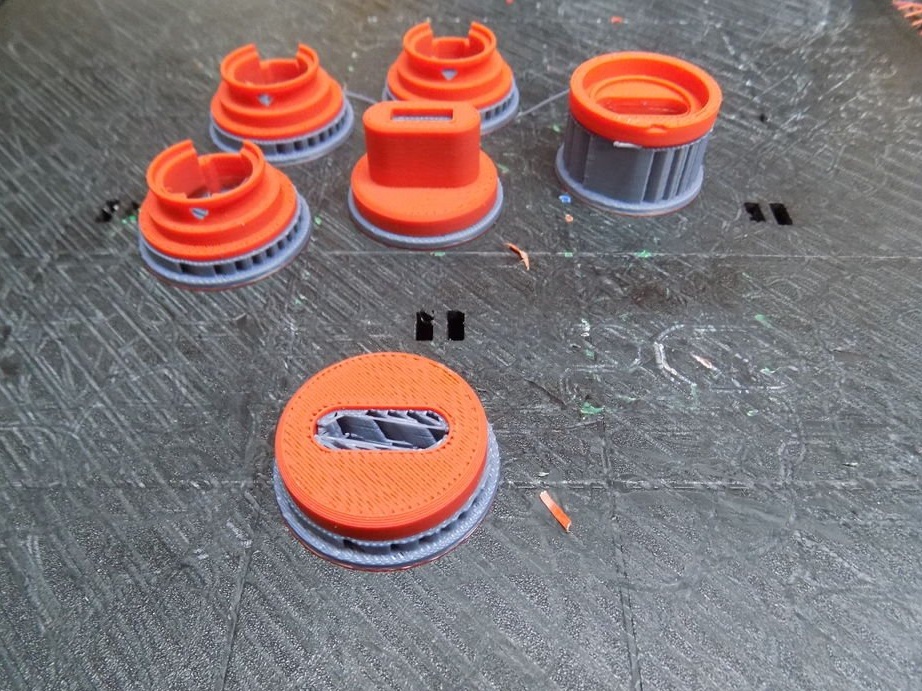
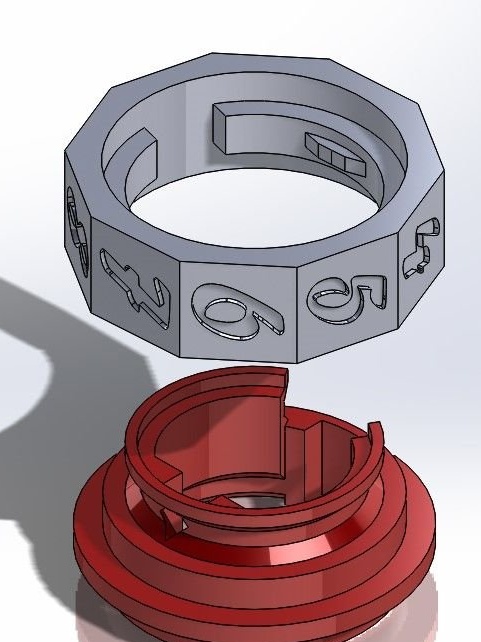
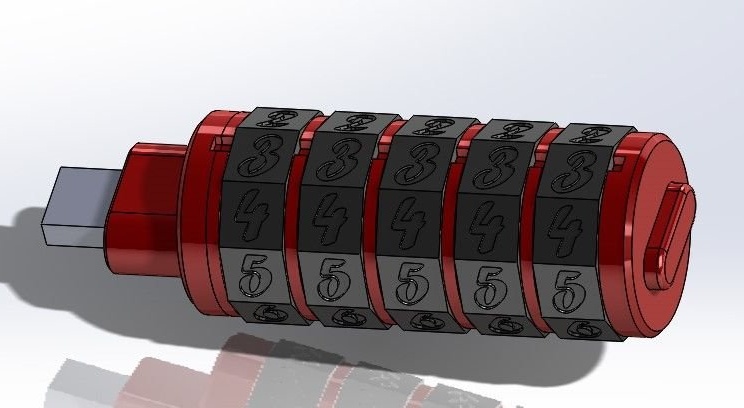
Using the attached files, print the details on the 3D printer required for the disc.
You need 5 rings with numbers, 5 spacers, 2 end caps, 1 fixing rail and 1 internal board holder.
Required Files for Printing
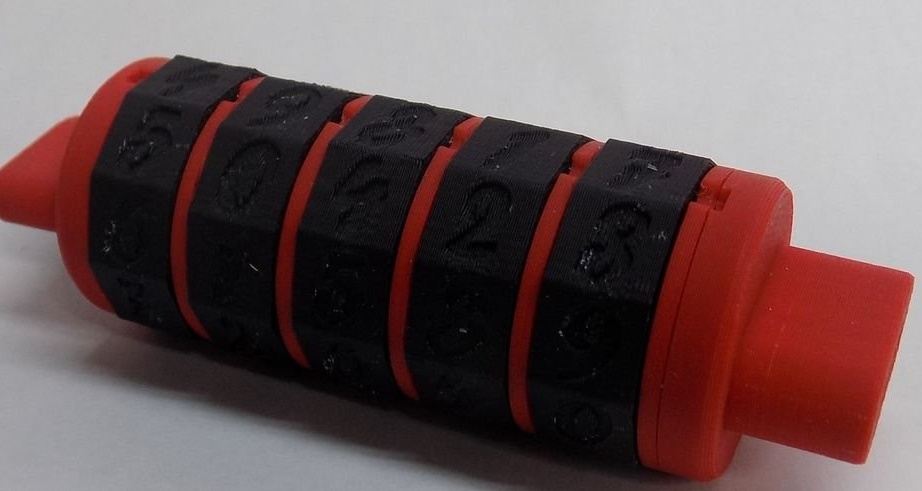
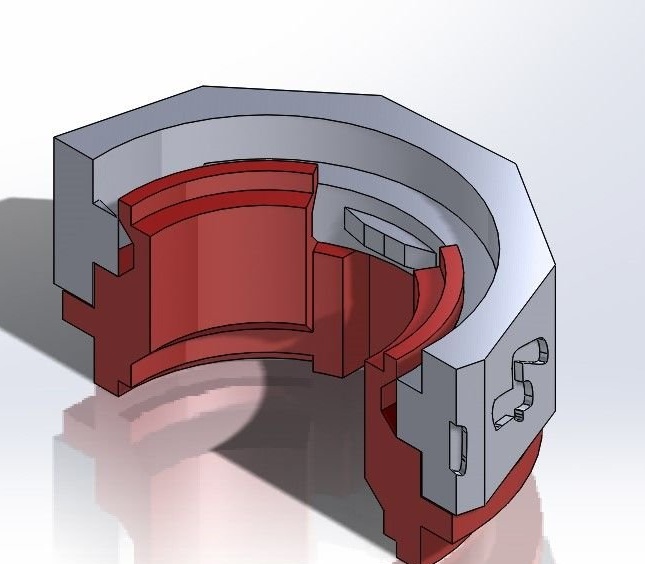
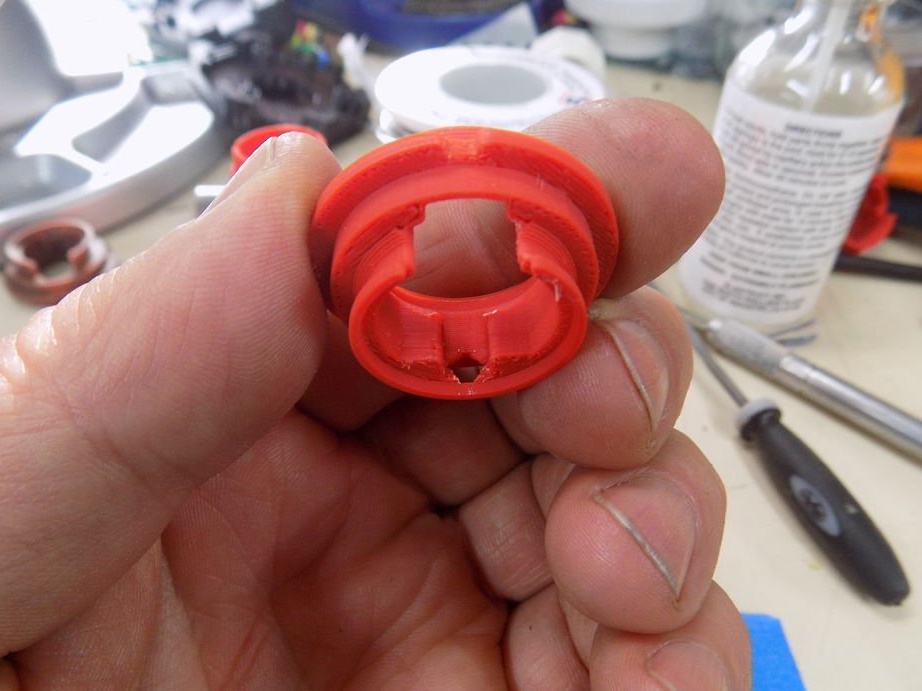
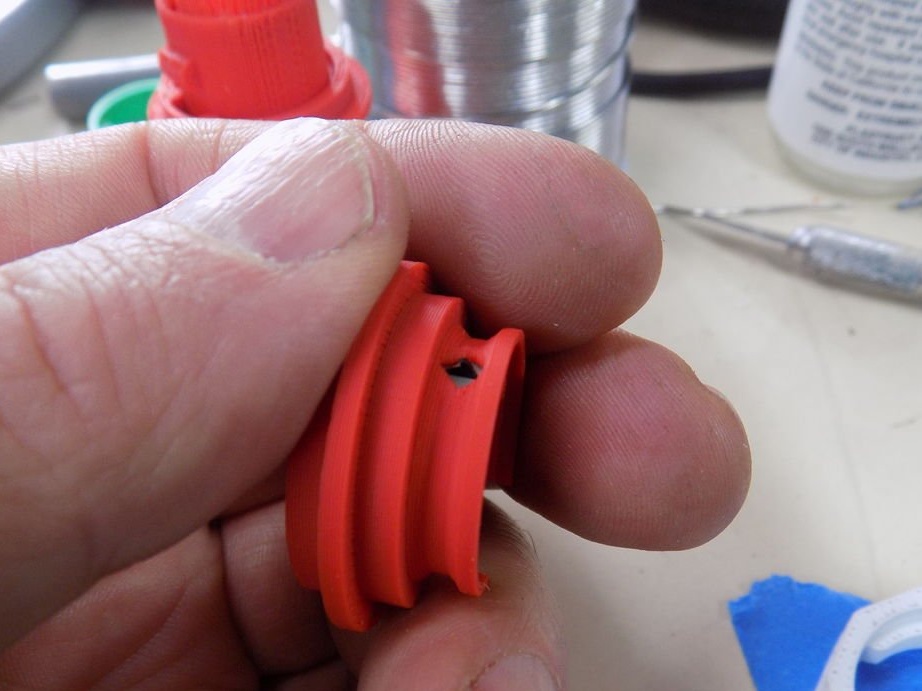
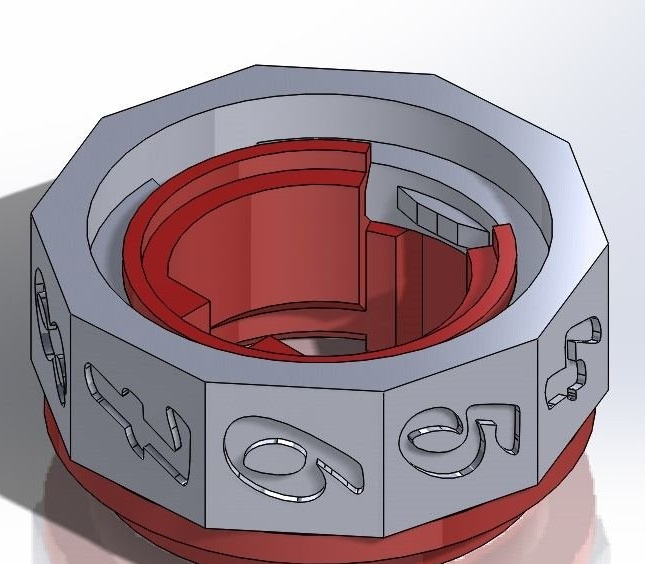
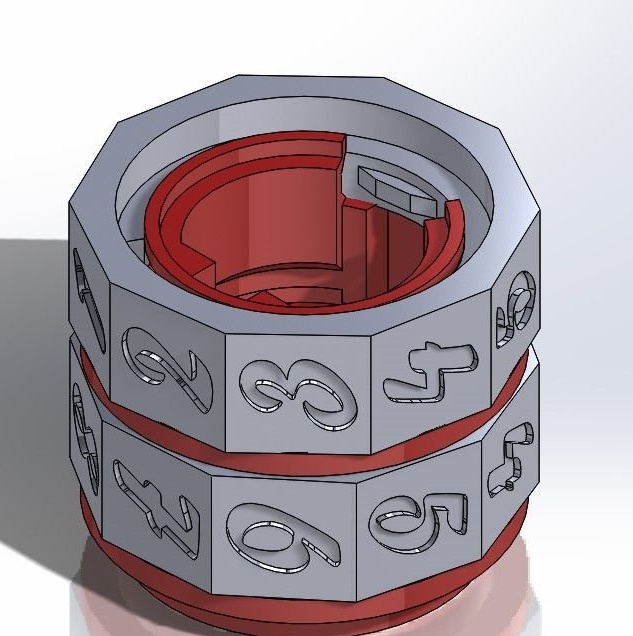
Step 3: Rings with numbers and unlock ...
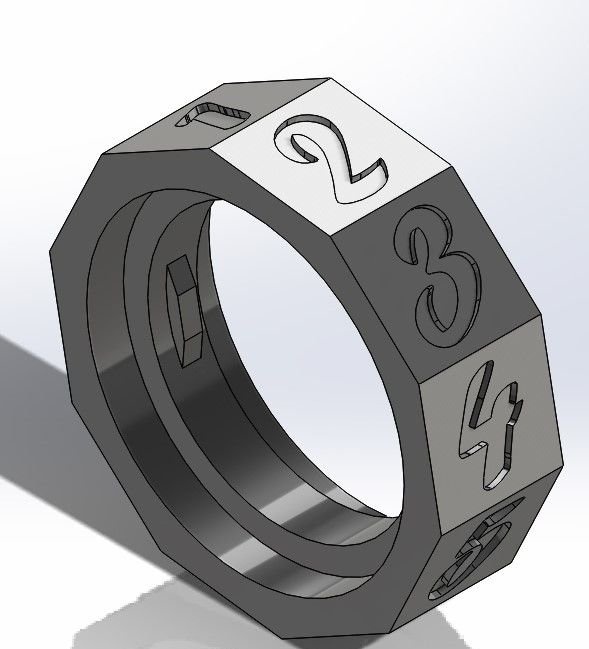
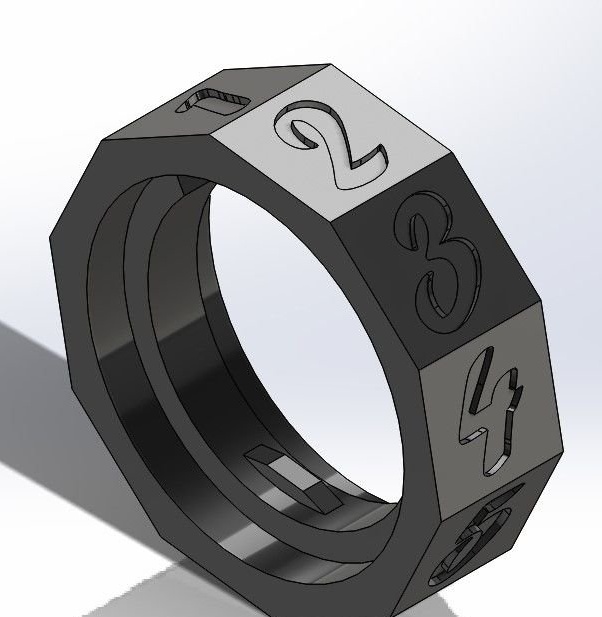
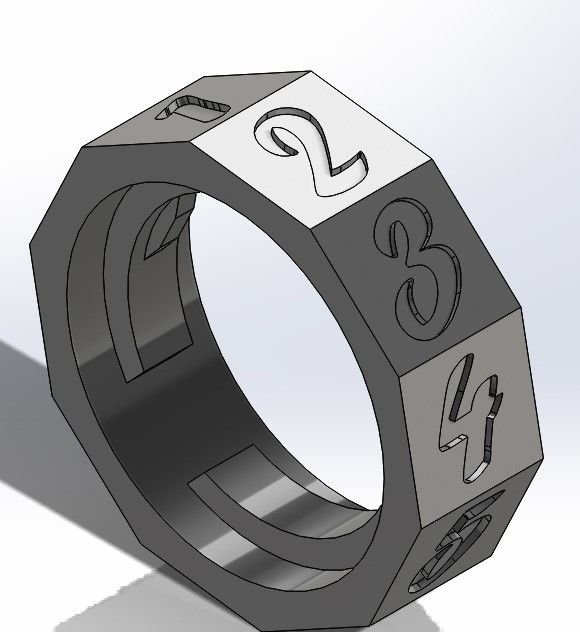
Digital rings have two unlock functions.
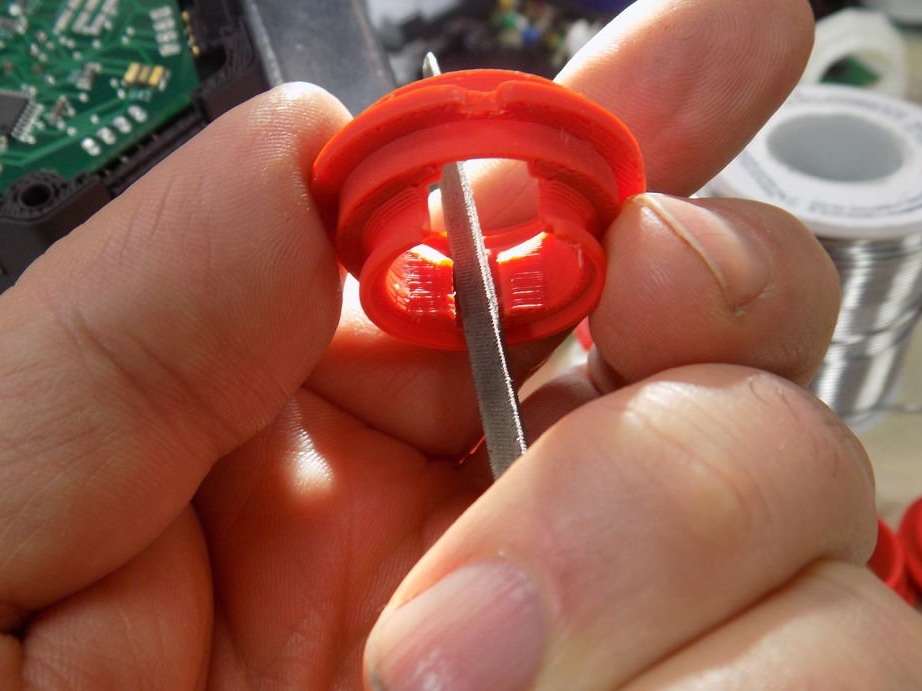
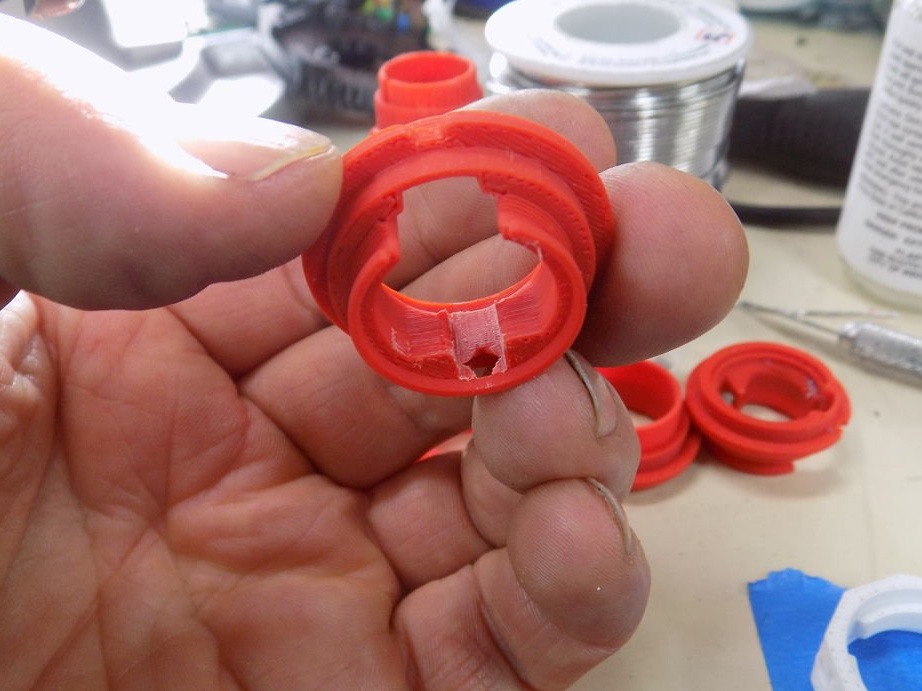
The first is a standard combination lock, which is a space or hole in the inner ring.
The second is a beveled ledge, which will provide a mechanical entrance to the lock circuit.
Step 4: Electrical, circuit description and partial assembly
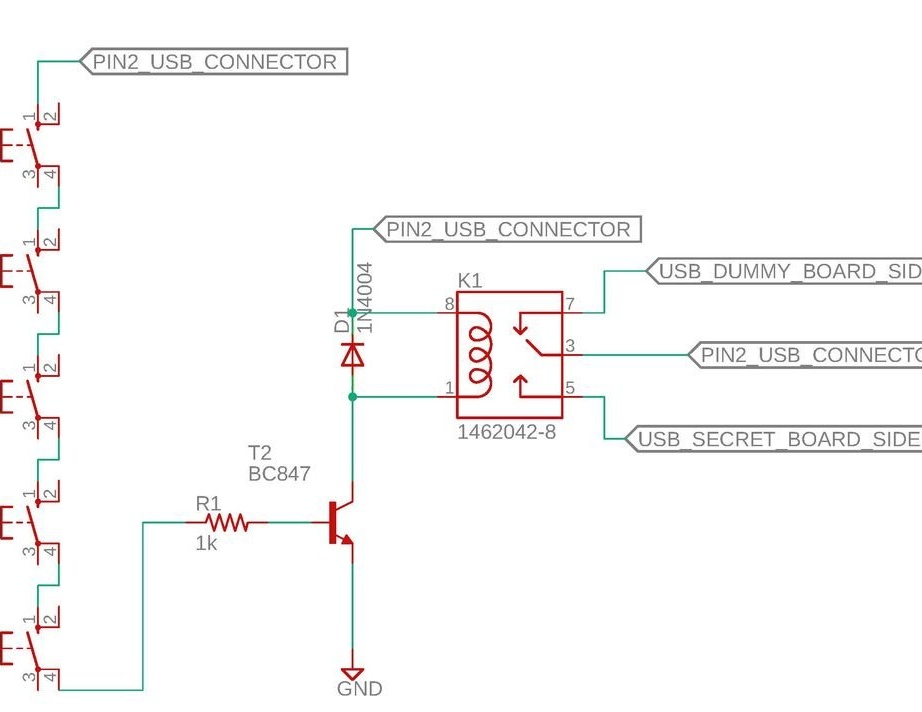
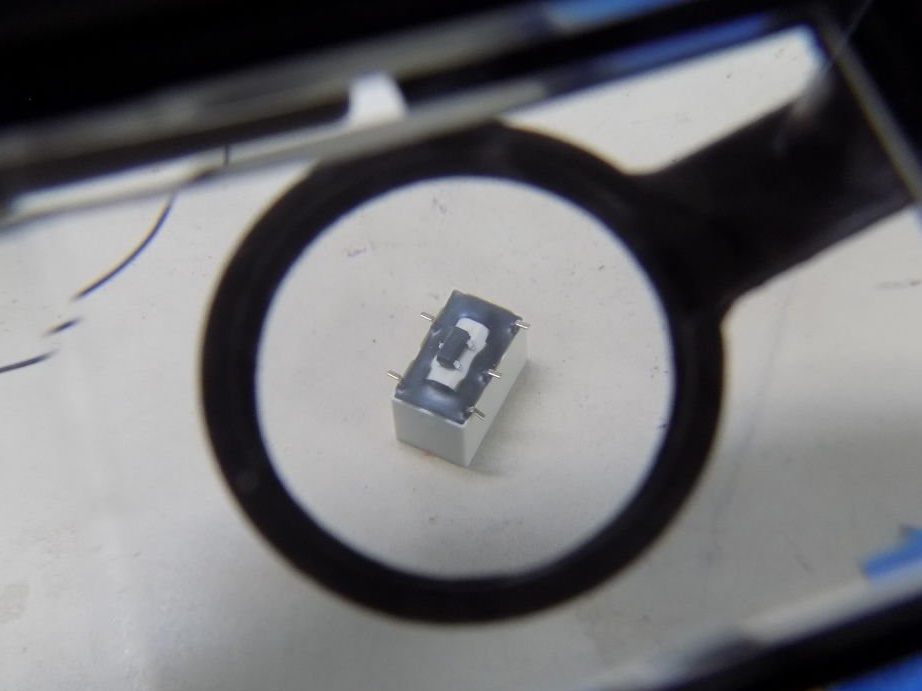
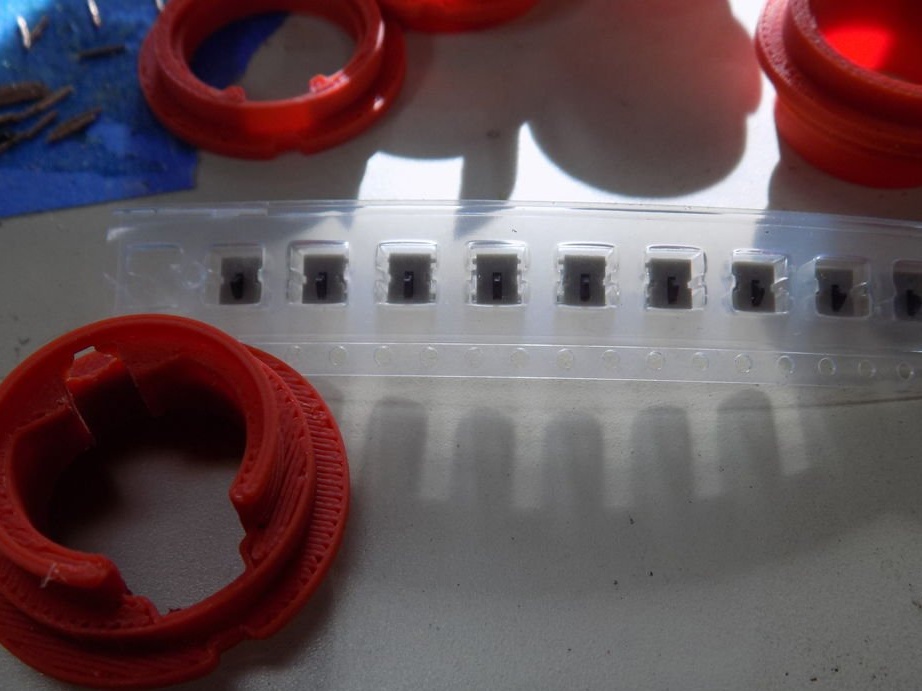
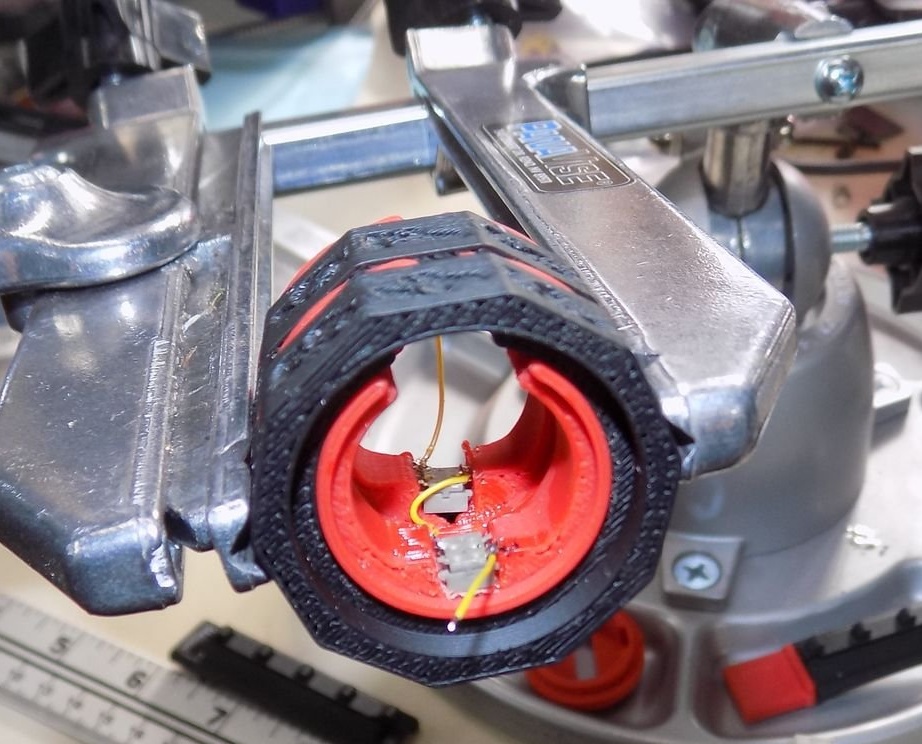

The wizard usually always begins the physical design of the product, and then adjusts the electronics, this severely limits the choice of switches. Therefore, we had to use tiny tactile switches, which turned out to be low-power for the tiny relay that needed to be used.
To fix this, a transistor had to be connected to the circuit together with the switches in order to switch the power supply for the relay coil in order to avoid burnout of the switches, which were rated at 1 mA each.
The circuit uses USB input power through 5 series-connected switches. There is a 1 kΩ resistor in series with switches that drive a tiny transistor to activate a relay coil.
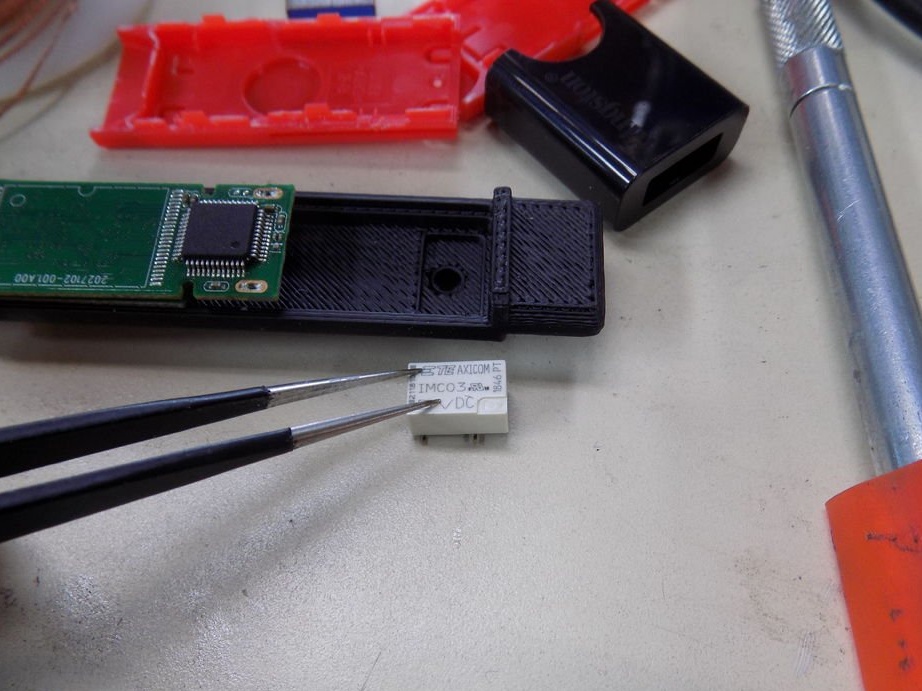
The relay, in the normally closed position, will send the USB 5V input to the dummy disk. When all the switches are closed and the relay coil is activated, the relay will turn off dummy power and supply power to the secret drive.
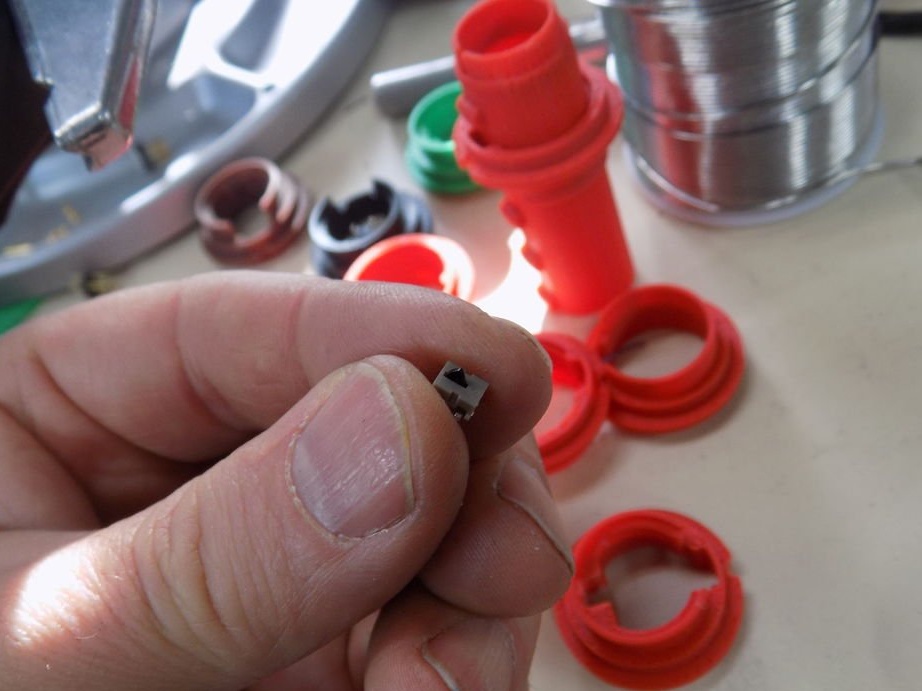
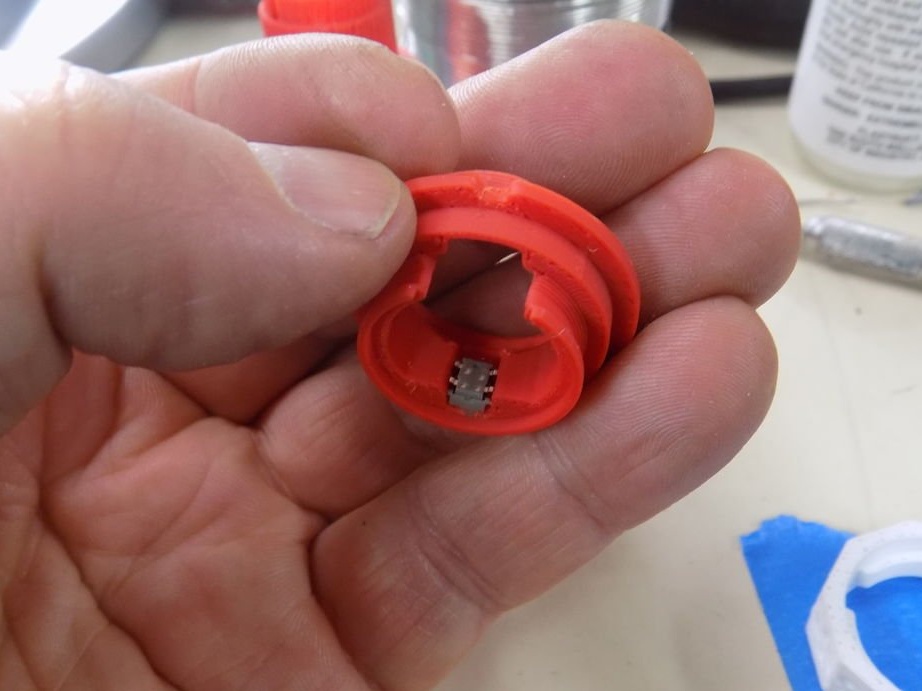
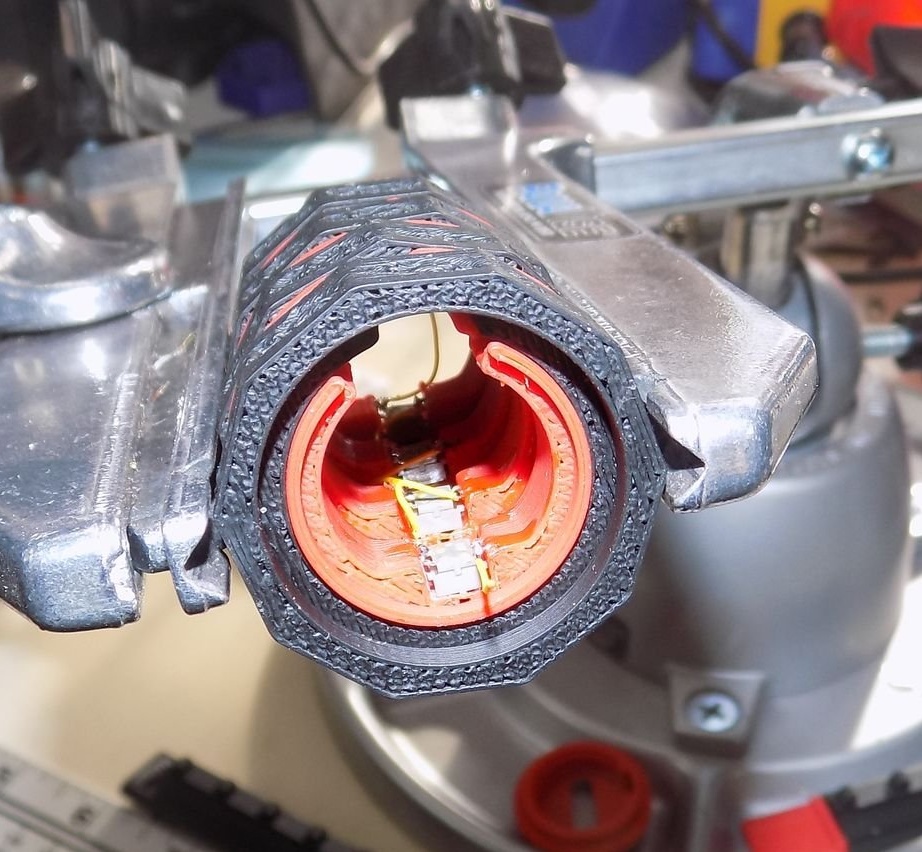
Each switch is held in place with glue in the selector ring as shown.
Each digital ring is then placed on the selector ring, taking care to pass the annular protrusion through the notch. Pay attention to the orientation of the rings and the combination of opening.
The switches are easier to solder together, as each pair of rings is glued to the next.
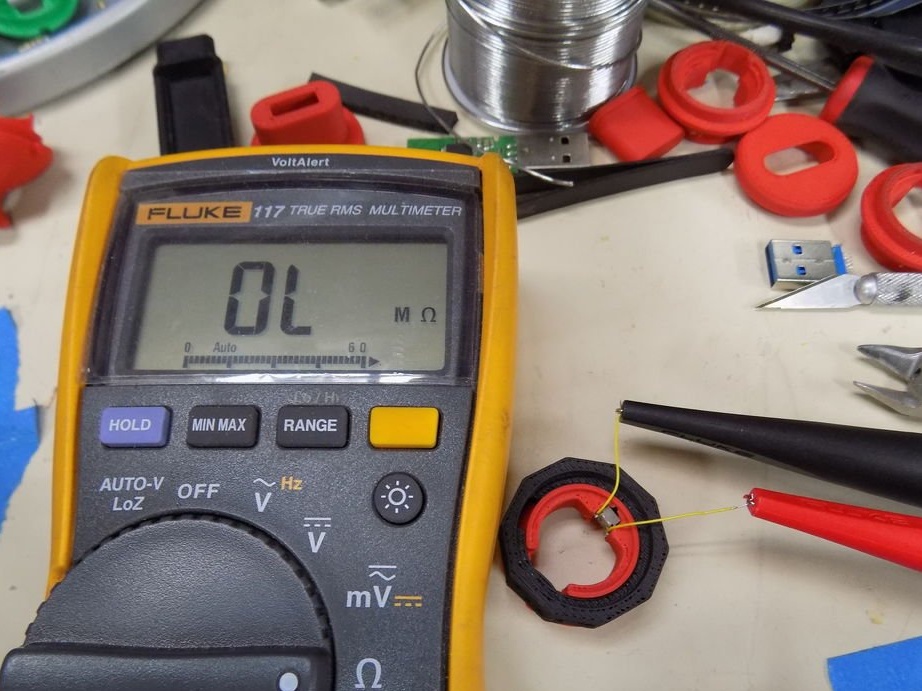
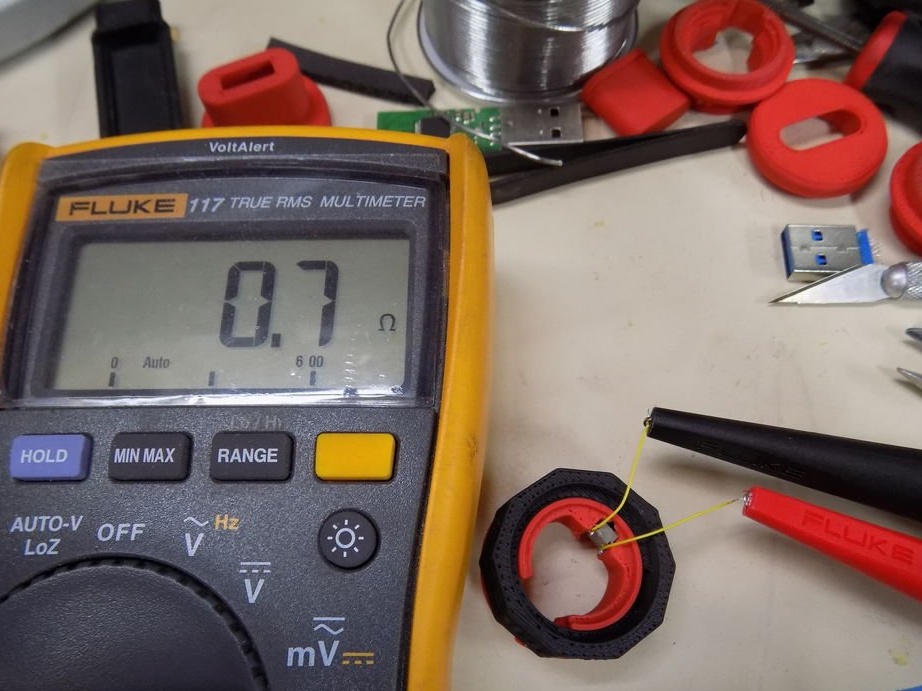
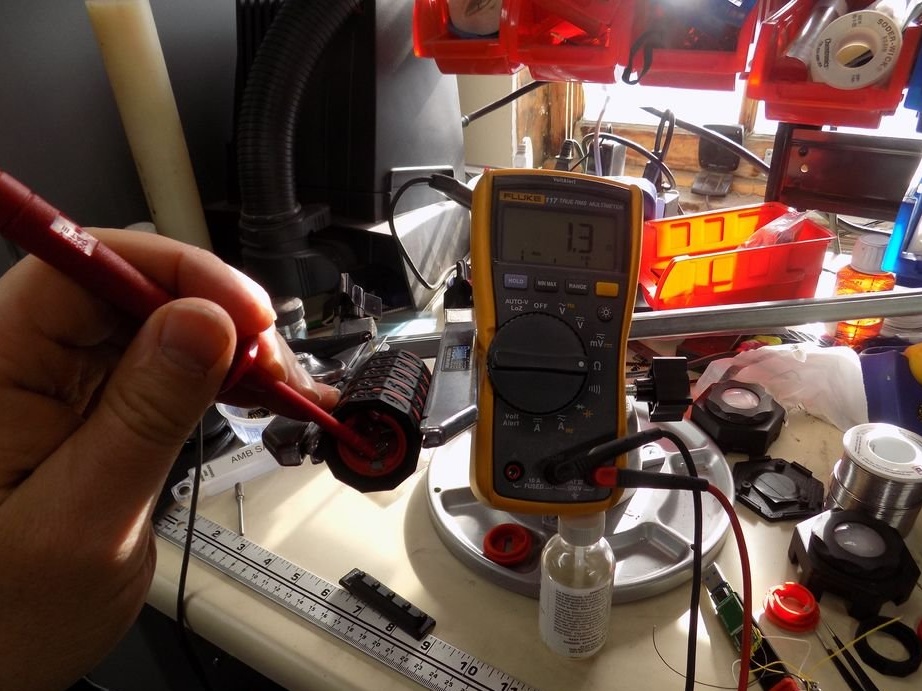
When all rings are held together, the chain must be checked before final assembly.
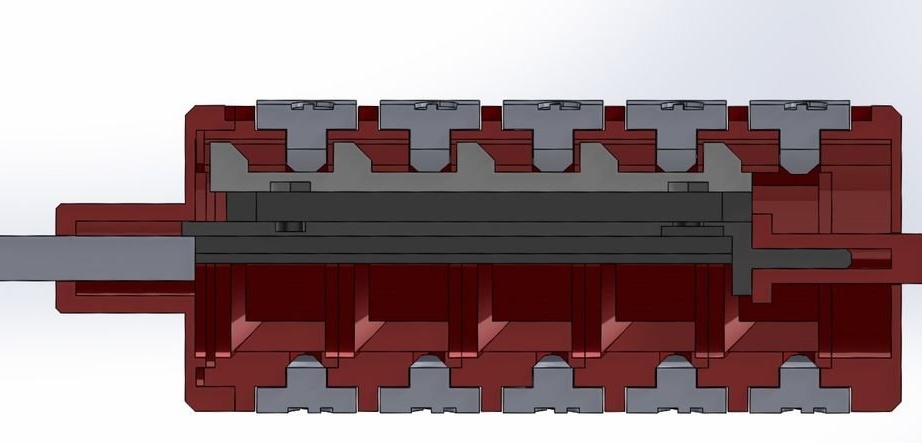
Step 5: Mechanical Internals
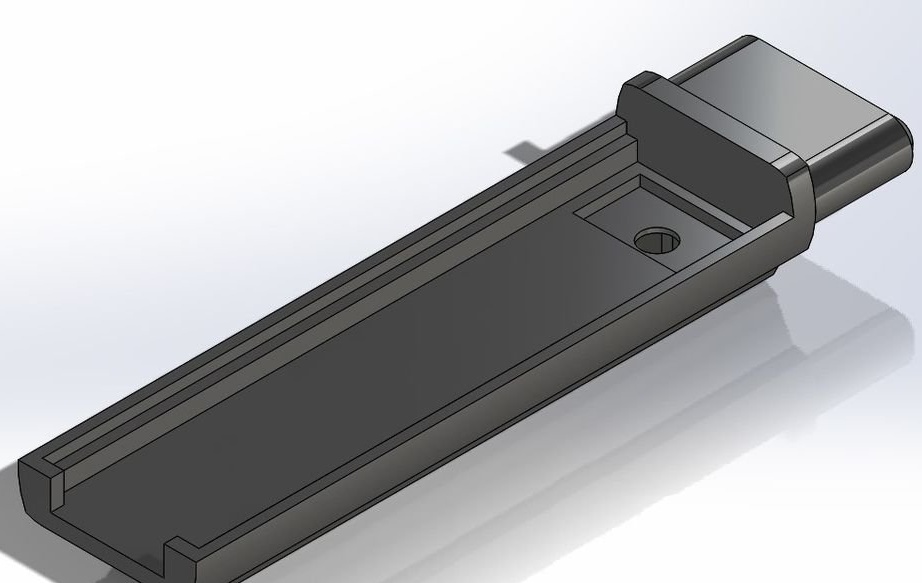
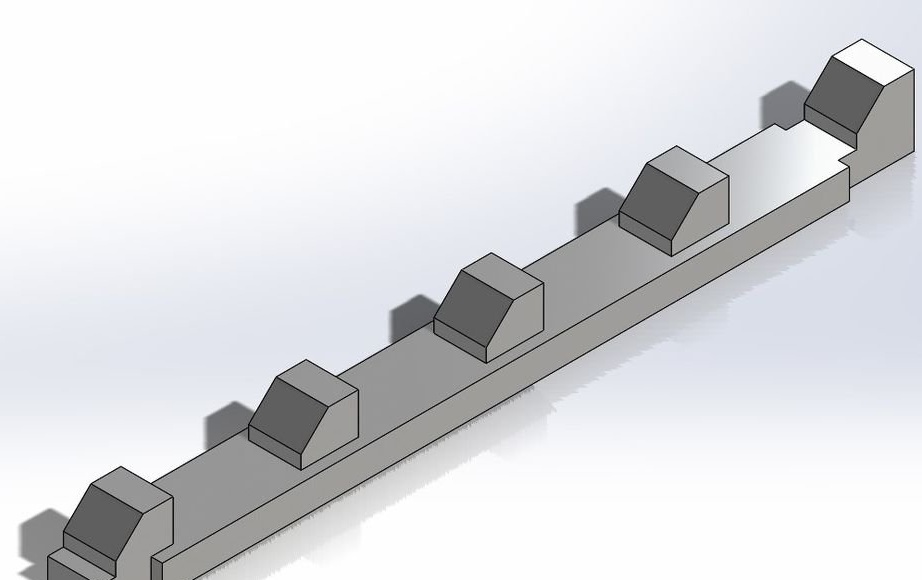
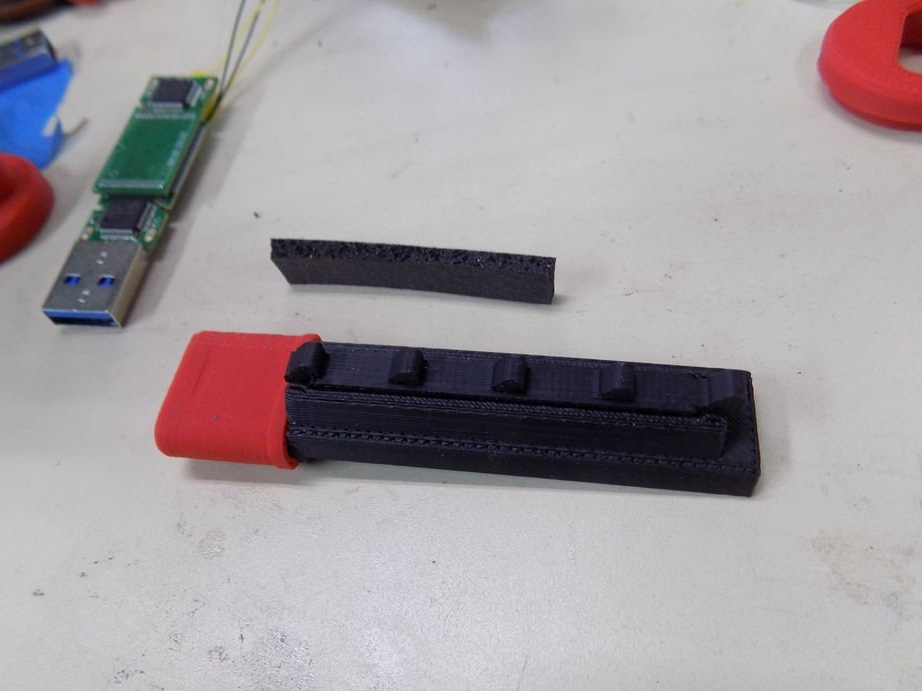
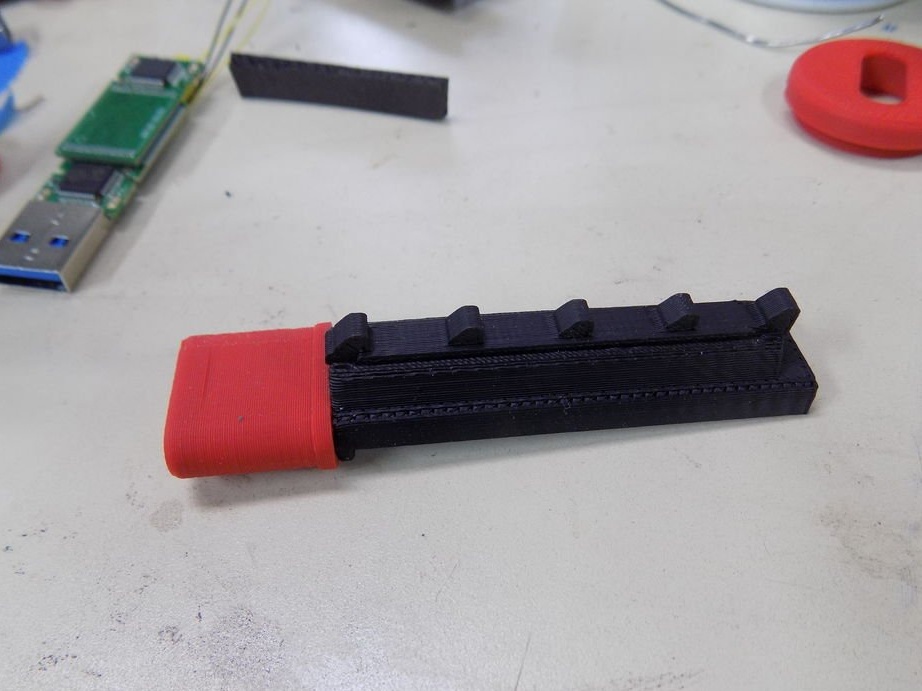
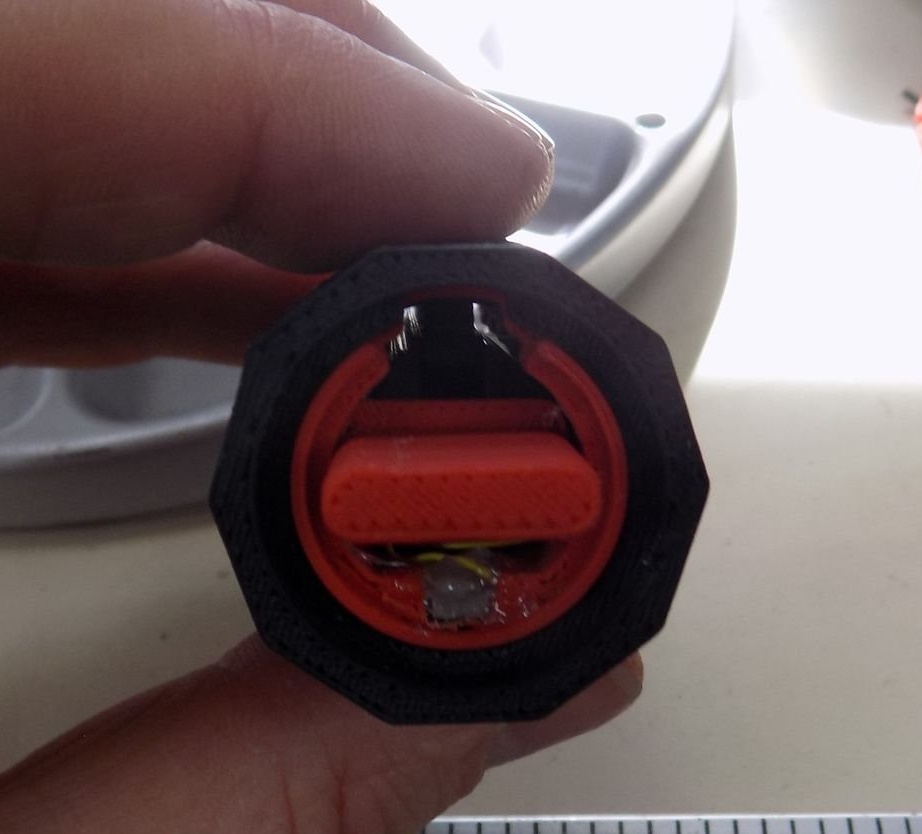
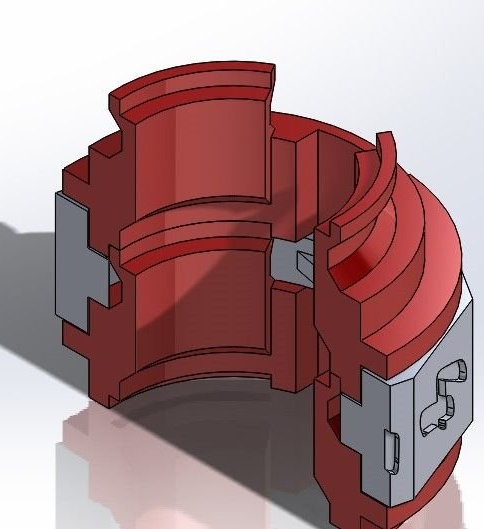
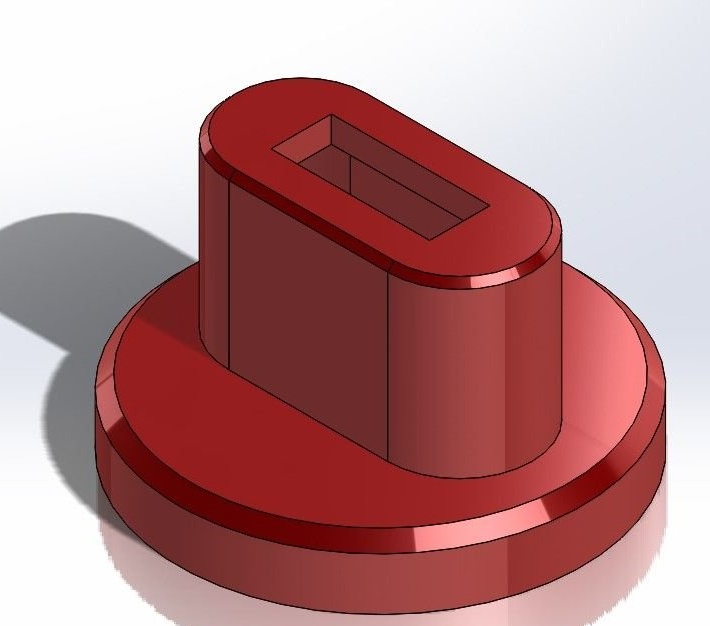
The internal disc holder is assembled, as shown in the figure, with an end cap and a retaining guide.
At the slide lock, the bevels are arranged in such a way that the disk with rings can be locked from this position.
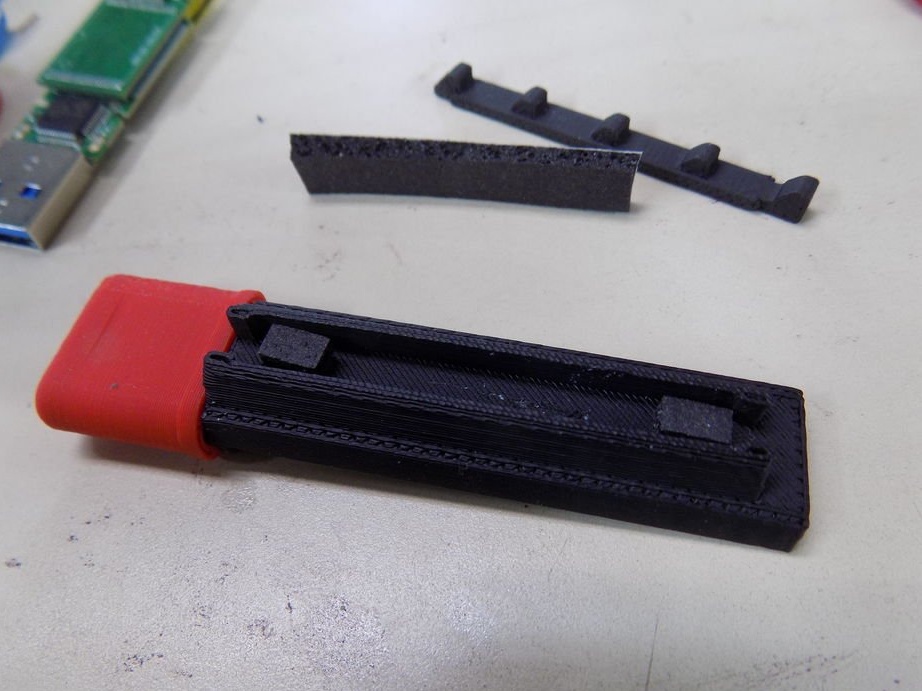
Ideally, the slider should have springs to hold the lock in place, but the master used a foam pad as a suitable replacement. When you click on the slider, the foam shrinks, allowing the slider to slide apart and then return to its original position.
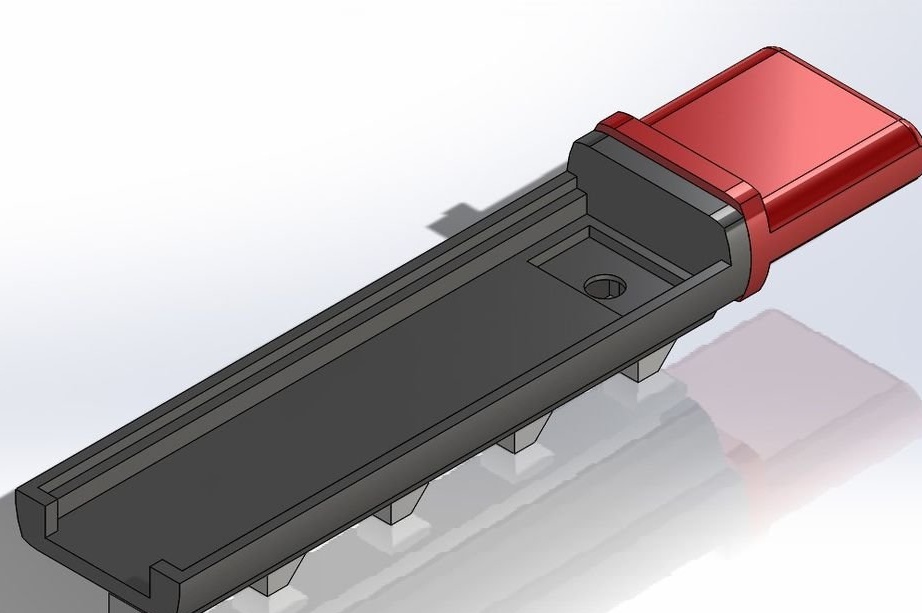
A button cap is attached to the back of the holder, the same color as the case. It has a flange so that the slider does not slide too far, and also to prevent any physical access.
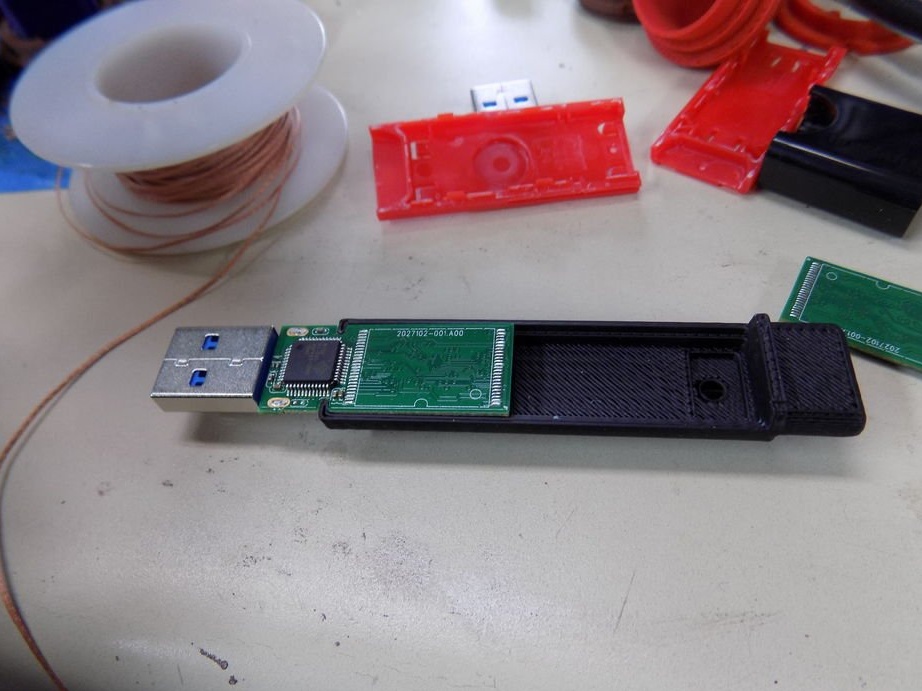
There are tabs for fixing the USB drive and a cutout for the relay.
The dummy disk is in the notch, with the chip facing down. Then a small insulating layer is placed, and then a secret disk is placed on top of it.
All of them are held in place with glue that does not conduct current. The master used hot glue, but this is not an ideal solution.
With the help of glue, all freely hanging wires were also glued.
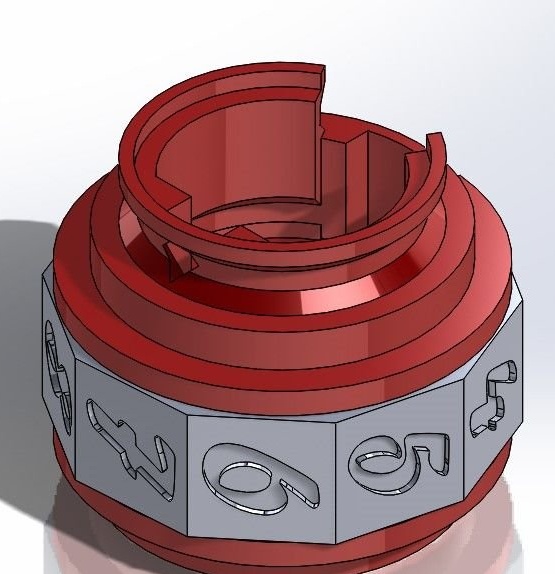
Step 6: final assembly

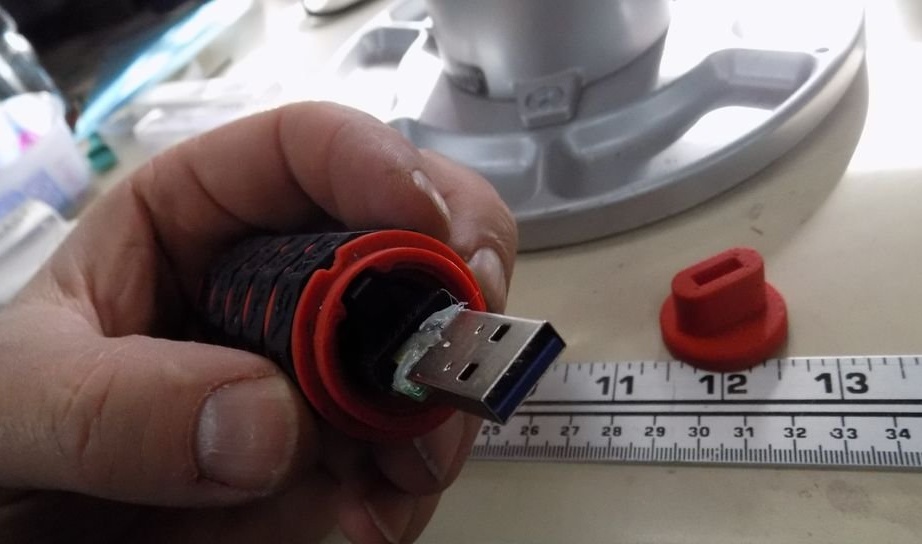
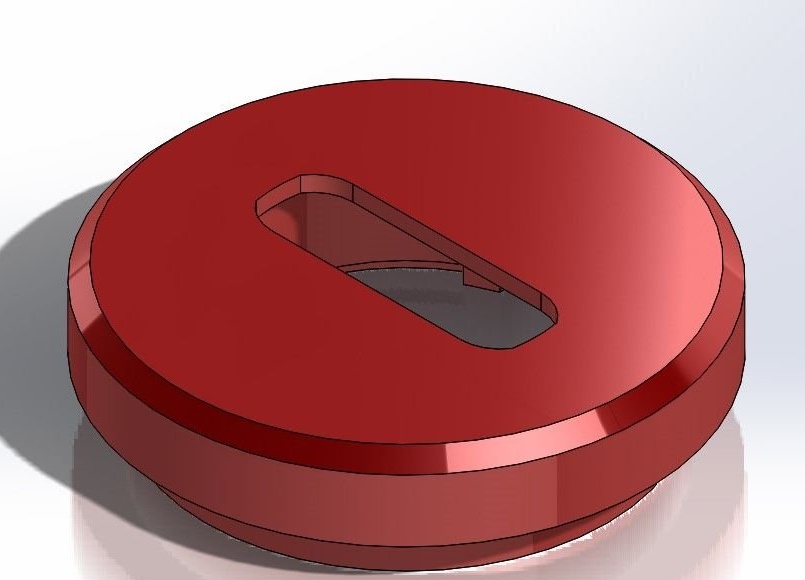
The back cover is keyed for proper alignment.
After installing all parts of the disc, the back cover is glued with a solvent-based absorbent.
The front of the disk has an internal secret key, but it will not participate in the secret of the moving rings, since an additional 1mm was required. for internal clearances.
The front part is inserted in a tight and the disk is checked for mechanical and electrical work.
If everything is in order, remove the front cover and glue it in place with a solvent.