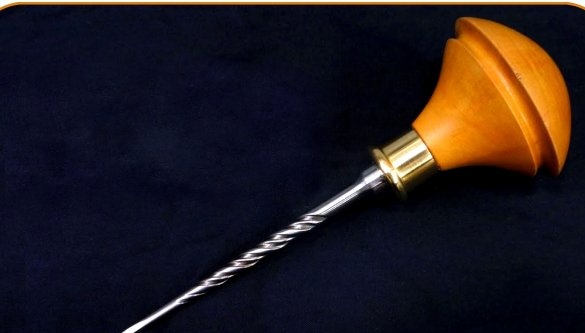
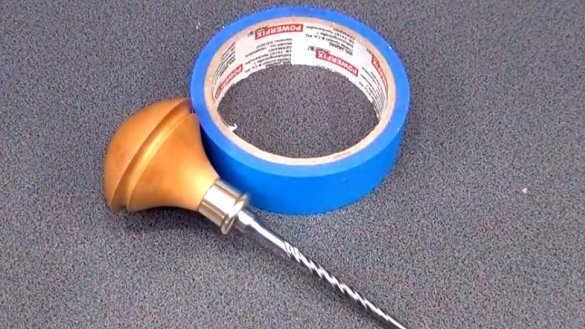
In this article, the author of the YouTube channel "The Small Workshop" will tell you how to make a reliable awl from an old drill for a punch.
Materials
- 1/2 inch brass plug
- Old drill for punch
- Wooden block
- Two-component epoxy resin
-
- masking tape
- Sandpaper.
Instruments, used by the author.
- Grinder
- Belt sander
-
-
-
-
-
- Vise, chisel, nipper, square, marker, pencil.
Manufacturing process.
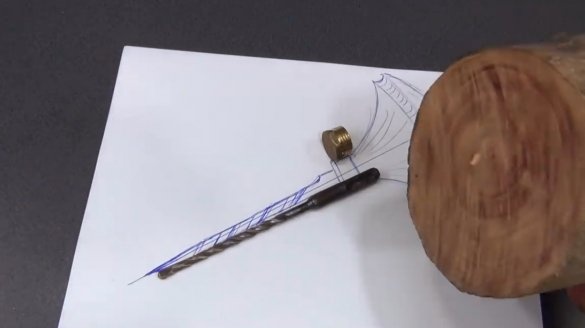
To begin with, the author drew a sketch, and prepared the basic materials.
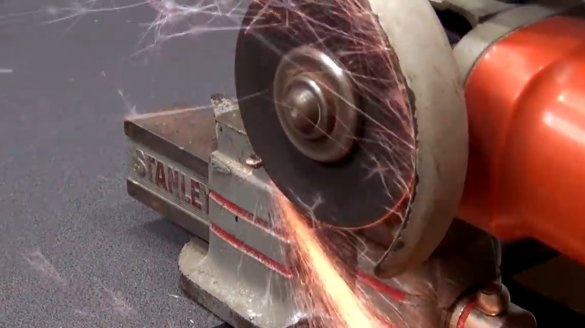
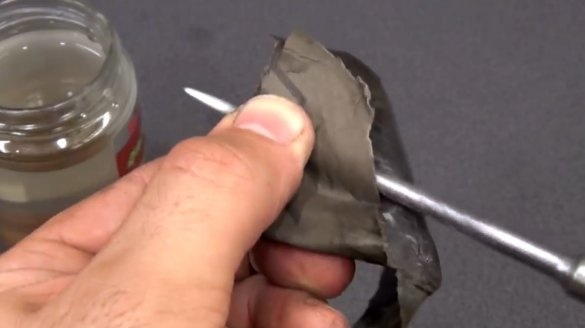
Then he fixed the drill in a vice, and cut off the tip with a victorious insert.
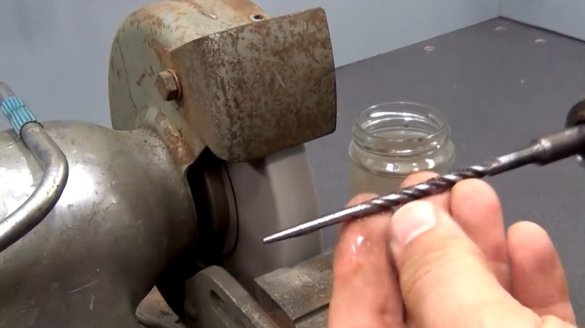
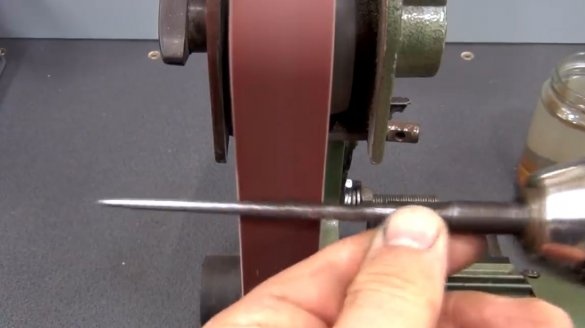
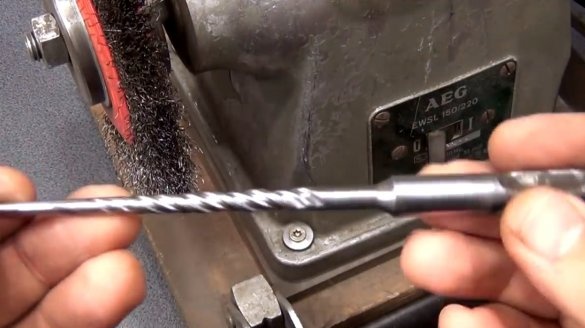
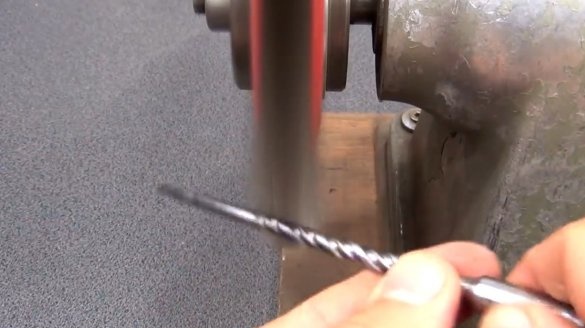
Then he gave it a conical shape, roughly grinding it on a machine, then on a belt sander. At the end, I processed it with a wire brush, removing dirt from the recesses.
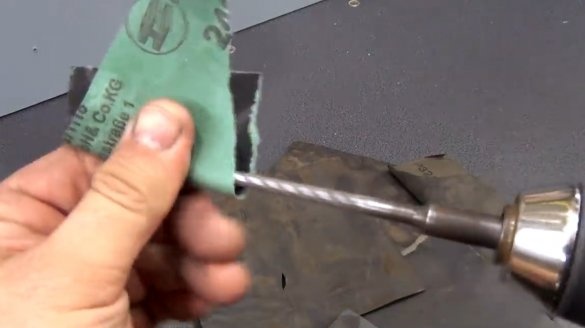
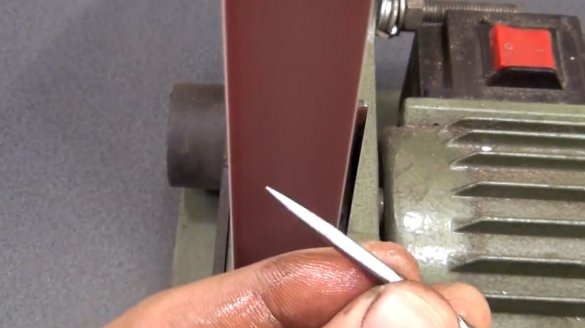
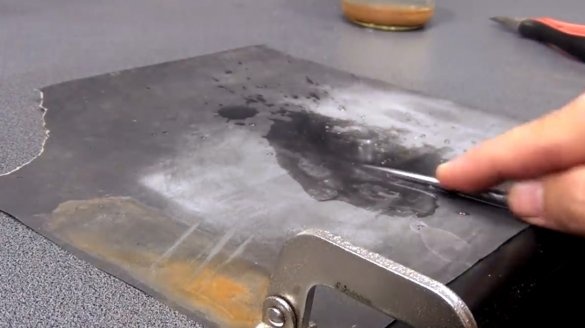
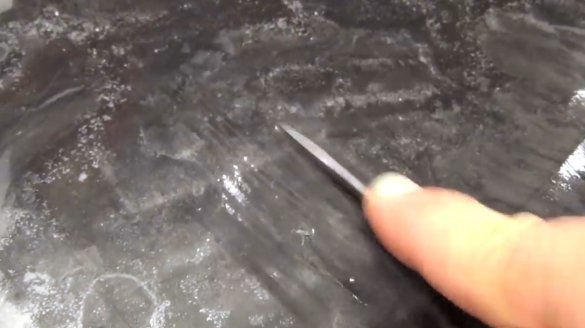
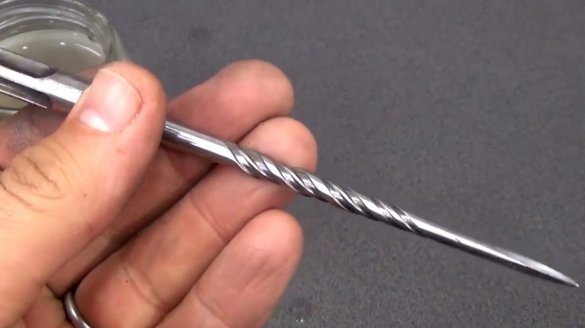
He grinds the tip of the drill to a tetrahedral shape, and polishes it on emery with the addition of water.
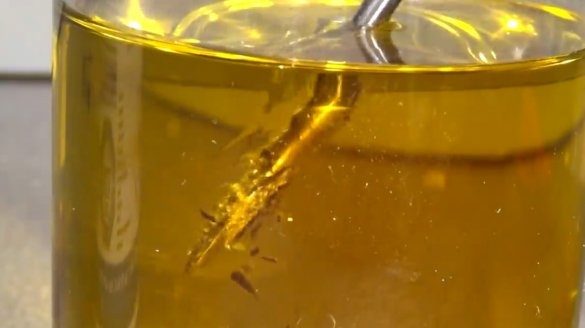
He heated the tip of the drill with a gas burner, and tempered it in oil.
Again he brushed it, removing the scale, and repeated grinding.
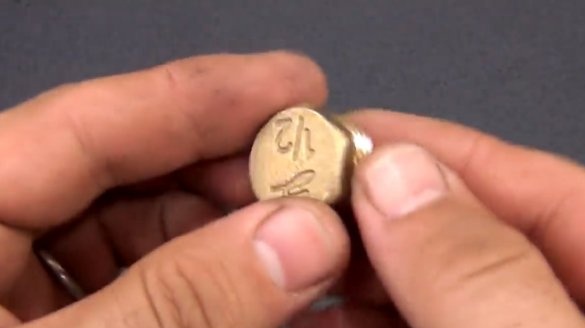
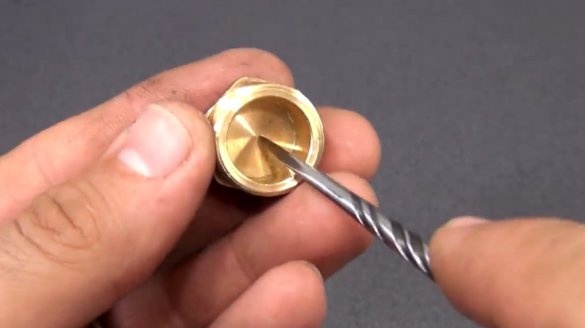
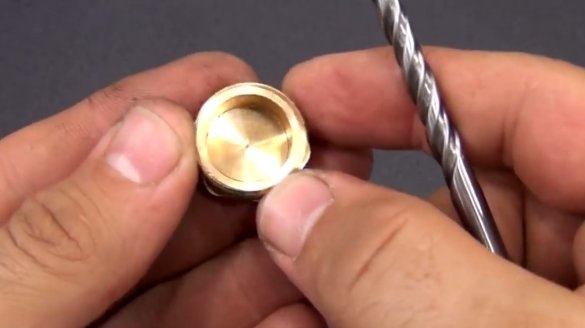
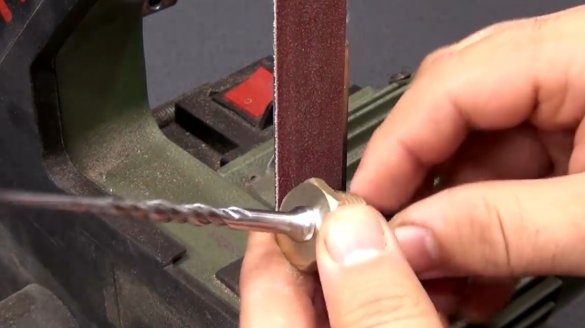
Now you need to make a crimp ring. The author uses a 1/2 inch brass plug, at the same time checking the sharpening of the awl.
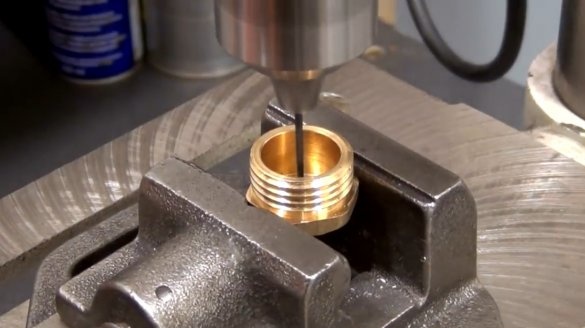
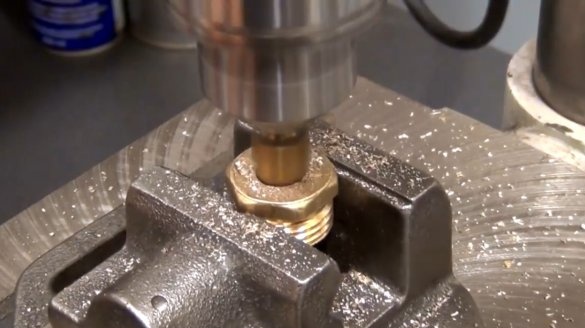
Then he drills a hole in the center of the plug along the diameter of the neck of the drill. First a thin drill, and then a step drill.
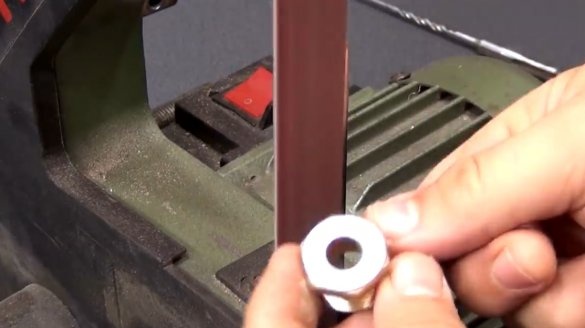
I polished the workpiece.
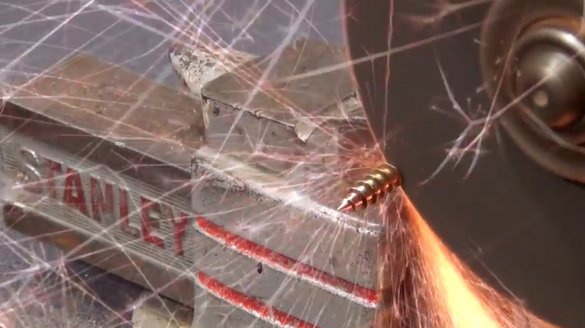
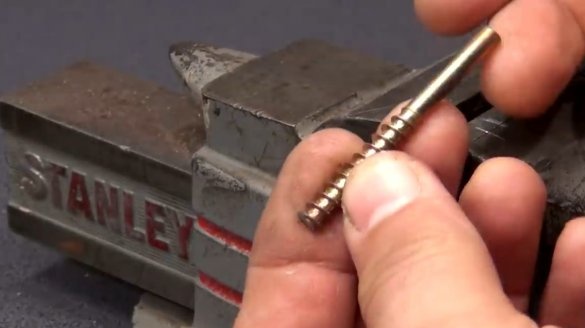
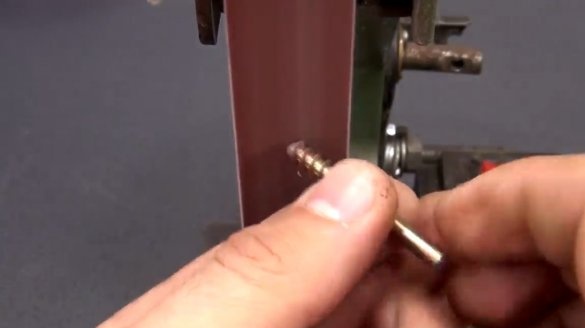
Now he is preparing a self-tapping screw, cutting off his hat and nose.
The next step is to make an adapter for processing the crimp ring. For this, a shovel handle is suitable.
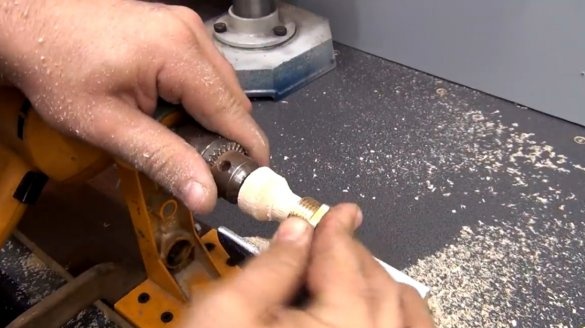
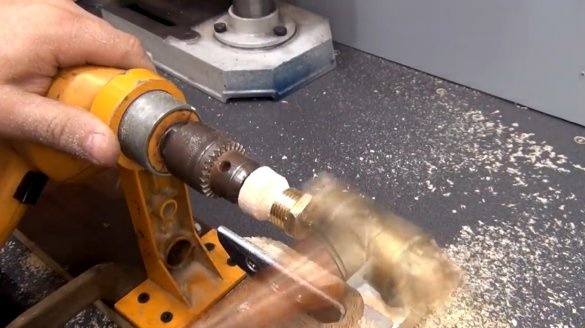
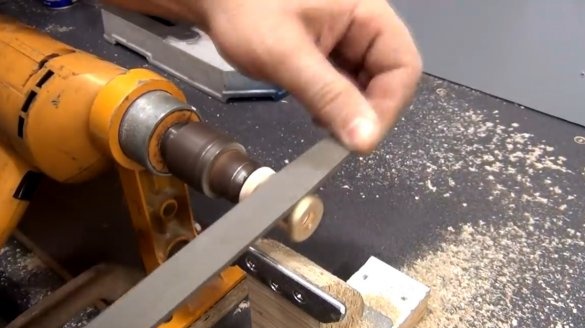
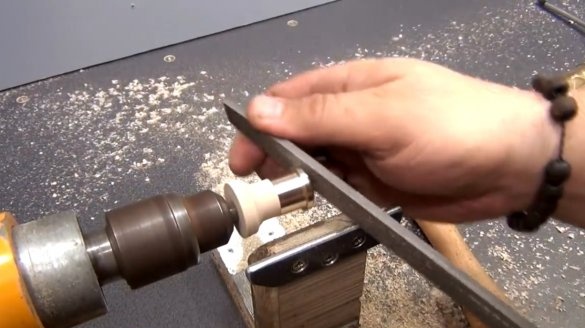
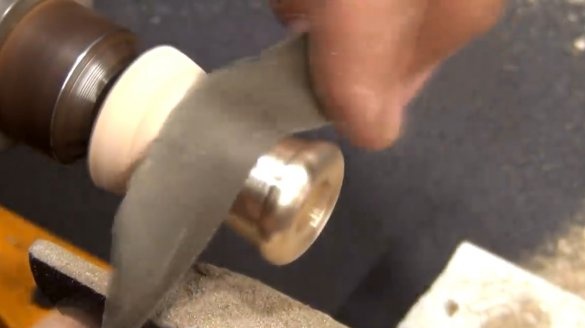
I fixed the workpiece in an improvised lathe, and turned its edge along the inner diameter of the ring.
Now you can grind the brass billet, and grind it.
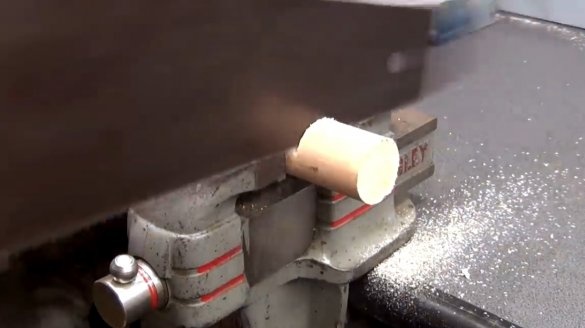
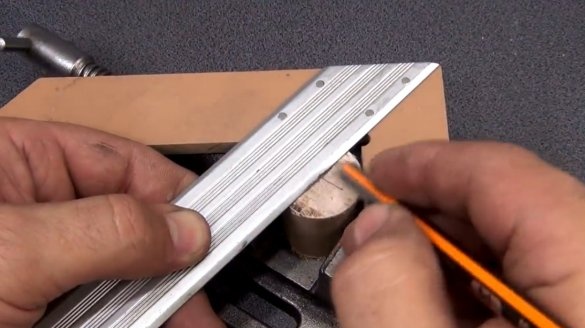
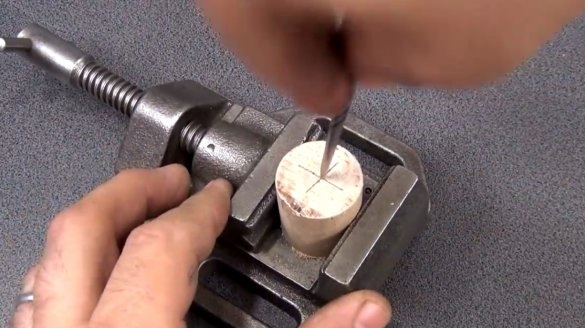
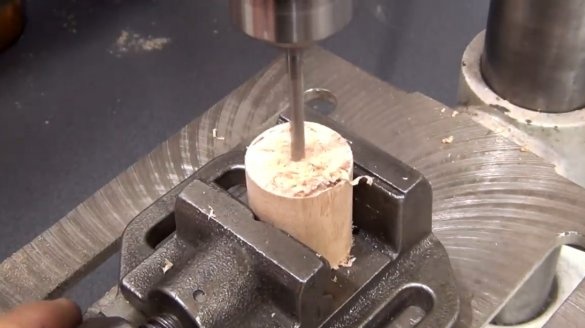
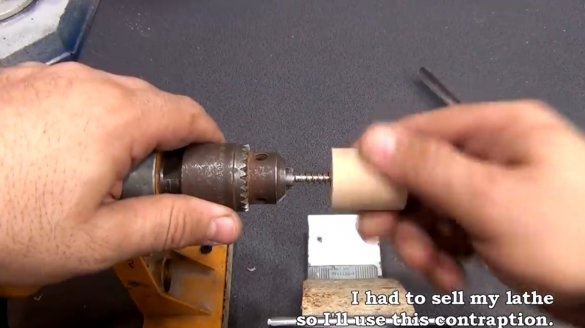
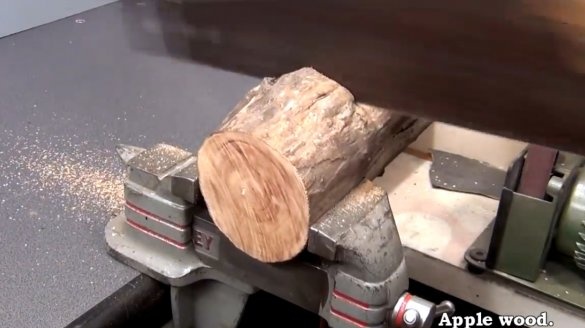
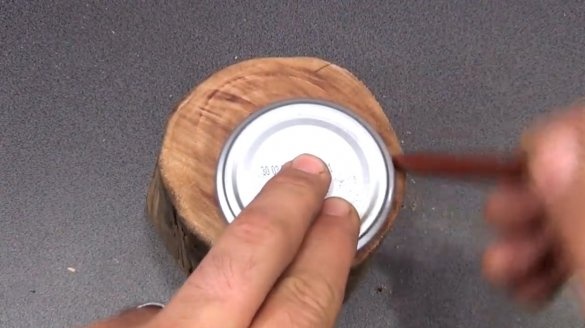
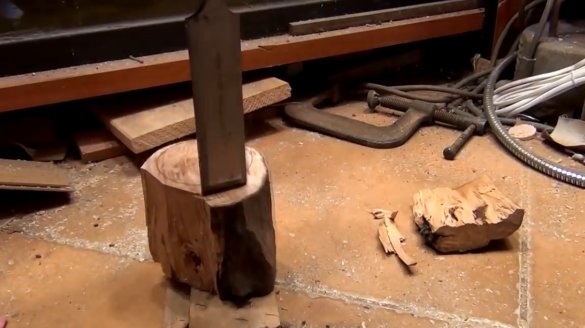
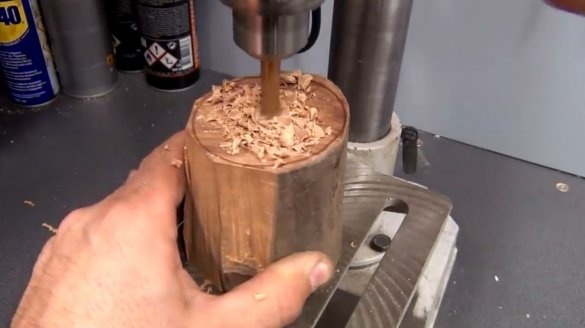
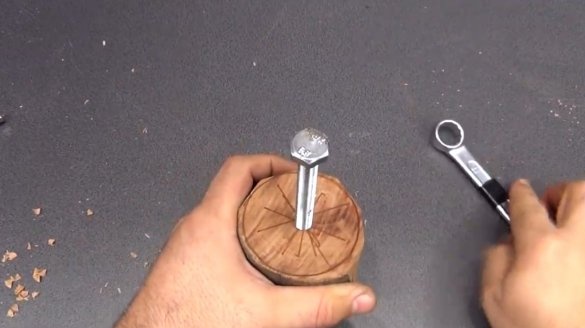
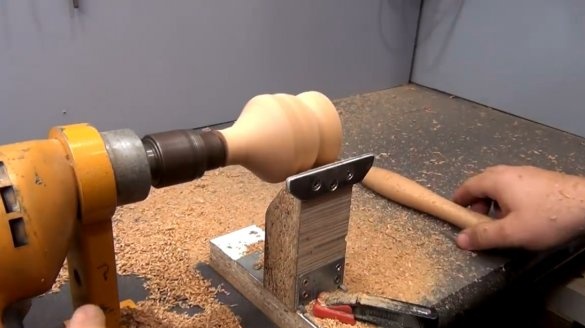
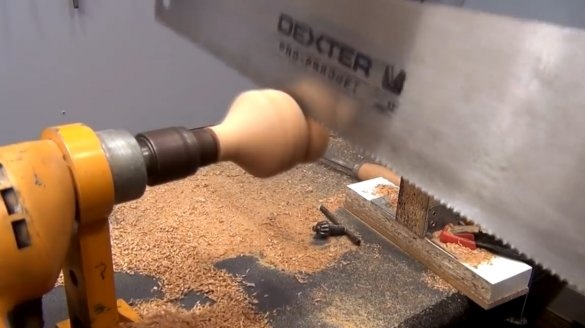
The author will use hazel as a handle. He roughly cuts it with a chisel, and drills a hole for a bolt in the center.
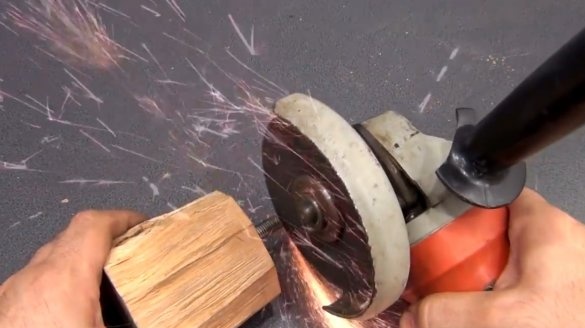
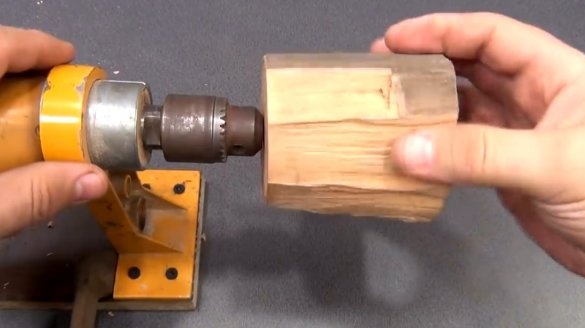
Screws the bolt into the workpiece, cuts it, and clamps in the drill chuck.
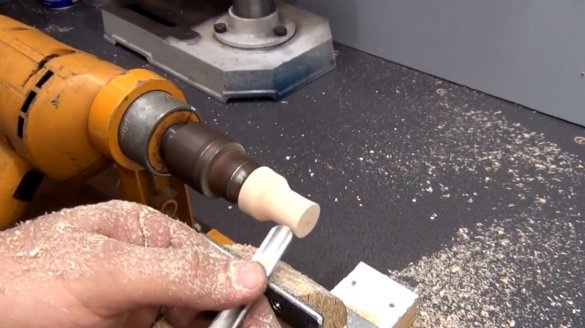
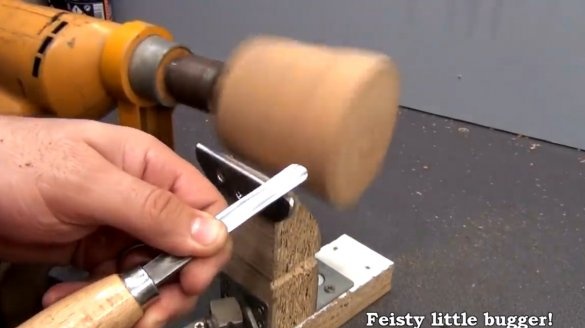
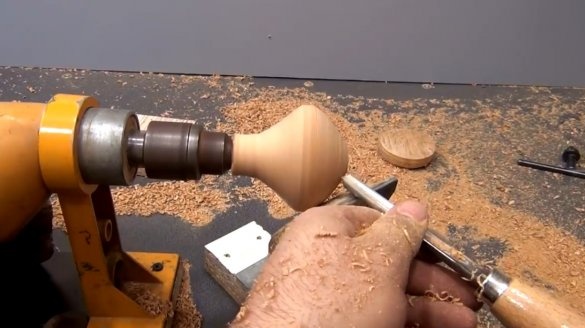
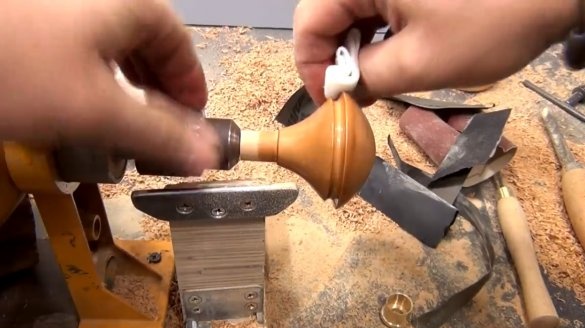
Now you can shape the handle.
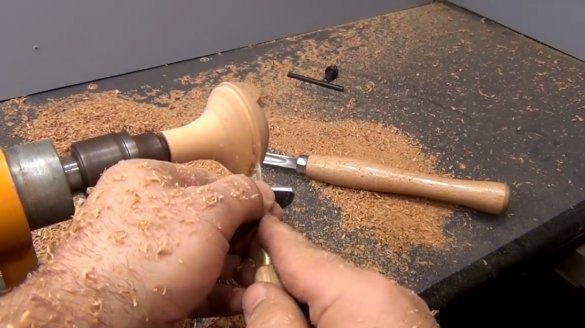
It rounds the upper part, cuts a decorative groove, and impregnates the handle with linseed oil.
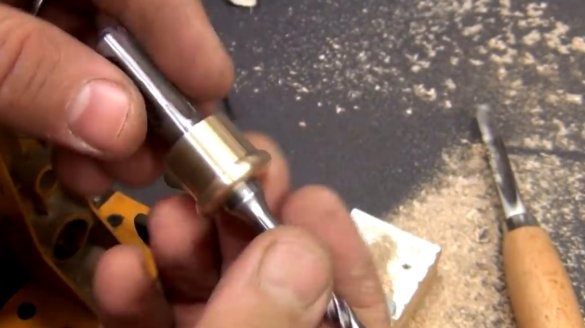
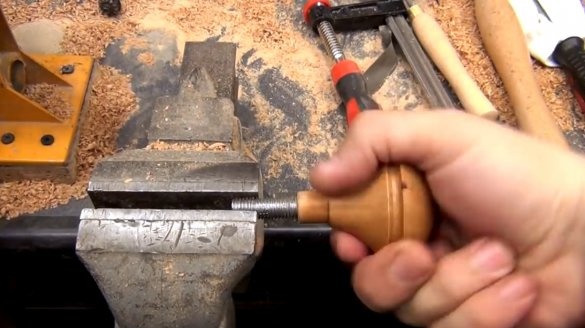
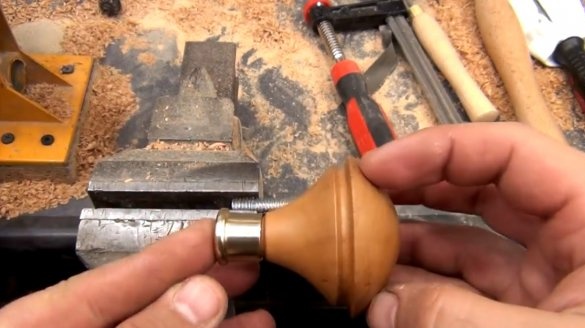
He unscrews the bolt and tries on the crimp ring.
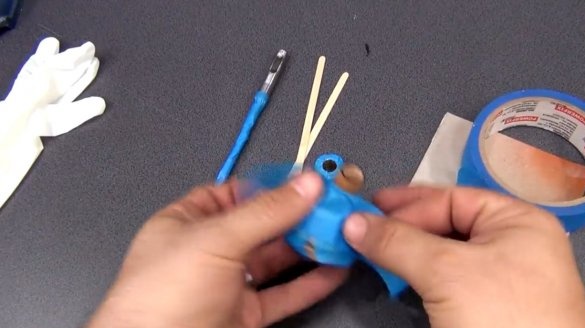
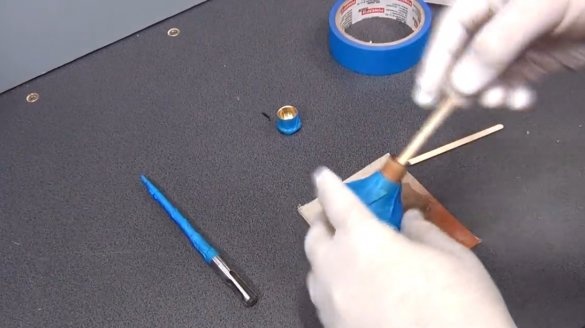
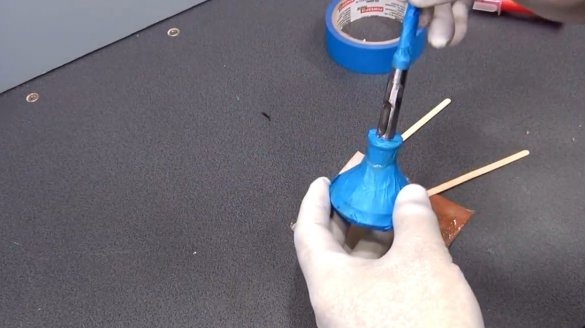
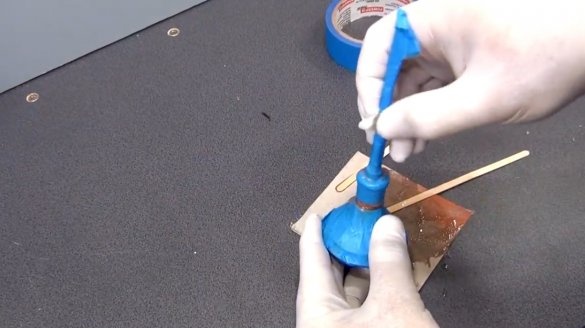
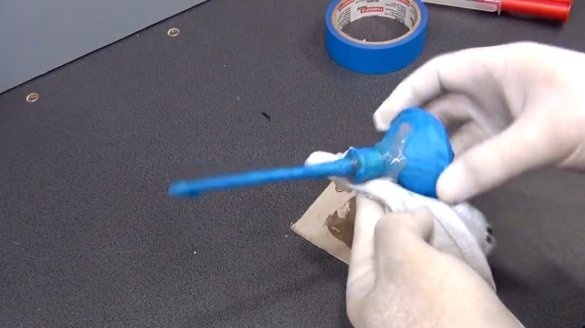
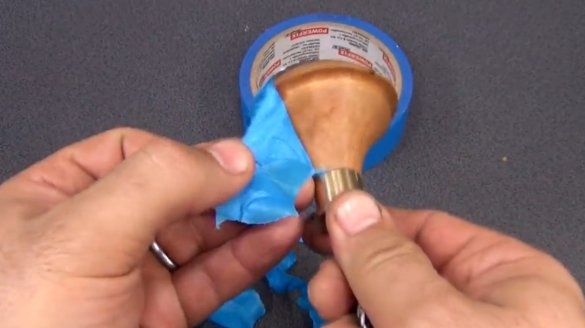
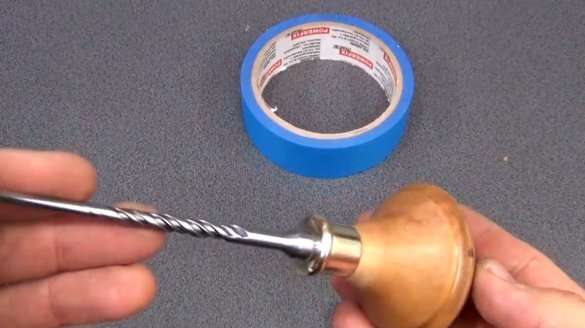
Now the author protects all external surfaces with a masking tape, fills epoxy resin inside the handle, ring, and puts it on the shank of the drill. Collects an awl, removes excess glue, and leaves to harden.
That's all, the tool is ready to work.
Thanks to the author for a simple but useful tool for the home and workshop!
All good mood, good luck, and interesting ideas!

