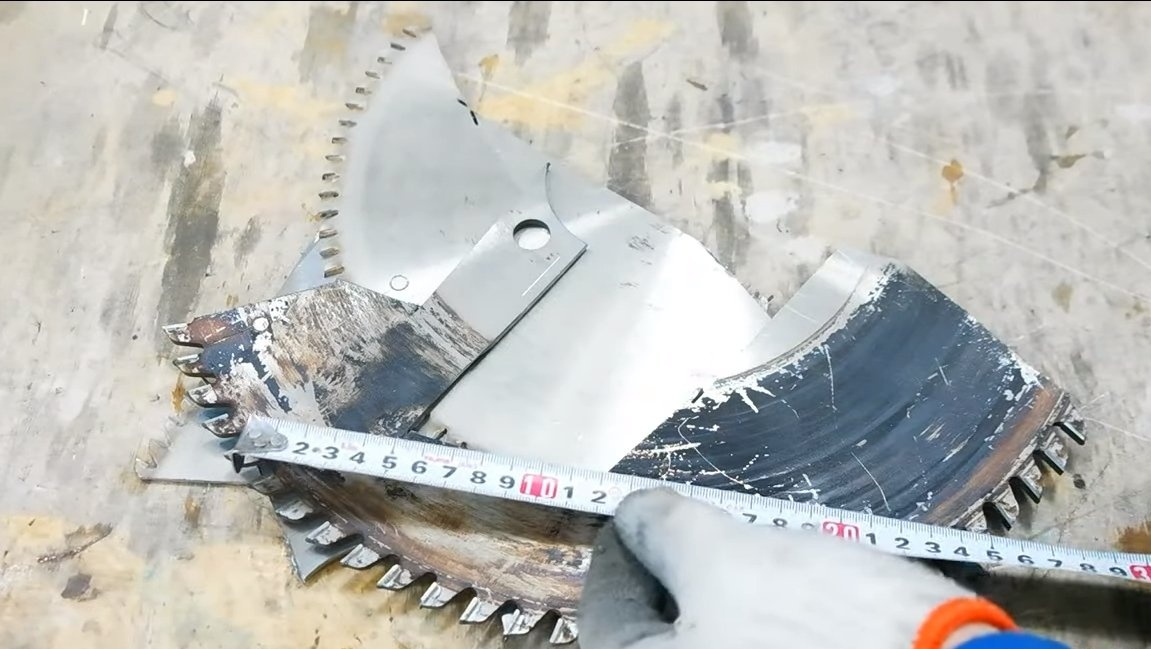
I welcome fans to craft, I propose to consider a high-quality kitchen knife, which any chef will be happy with. The source material for the knife was the circular saw blade. The blade went through hardening, the blade turned to be so sharpened that the knife easily cuts paper. The manufacturing process was not complicated, but you have a lot of grinding work to do, so it will be useful to have a belt sander. If the project interests you, I propose to study it in more detail!
Materials and tools used by the author:
Material List:
- saw blade (better than the old model);
- a tree for the handle;
- brass, textolite or G10 for bolster;
- brass rod for the pin;
- epoxy adhesive;
- acid for etching;
- heat resistant cement.
Tool List:
- oven, oven, oil (for hardening);
- drilling machine;
- belt sander;
- grinder;
- vise, clamps;
- files;
- sandpaper;
- ;
- tape cutting machine or jigsaw.
The process of making a knife:
Step one. Cut the main profile
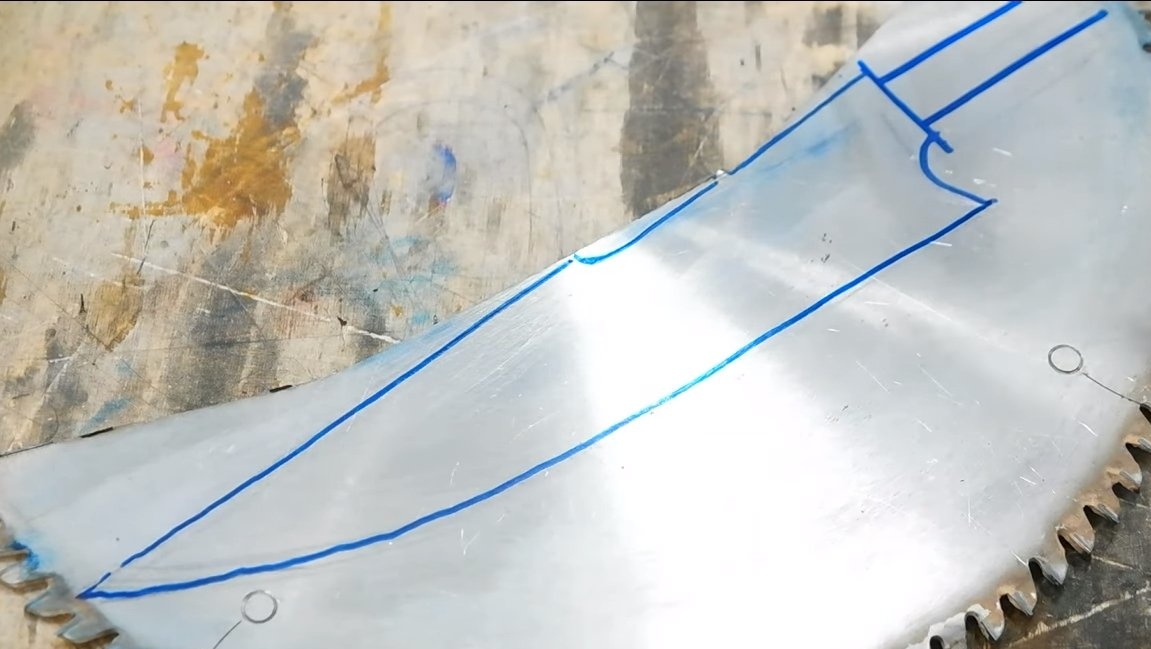
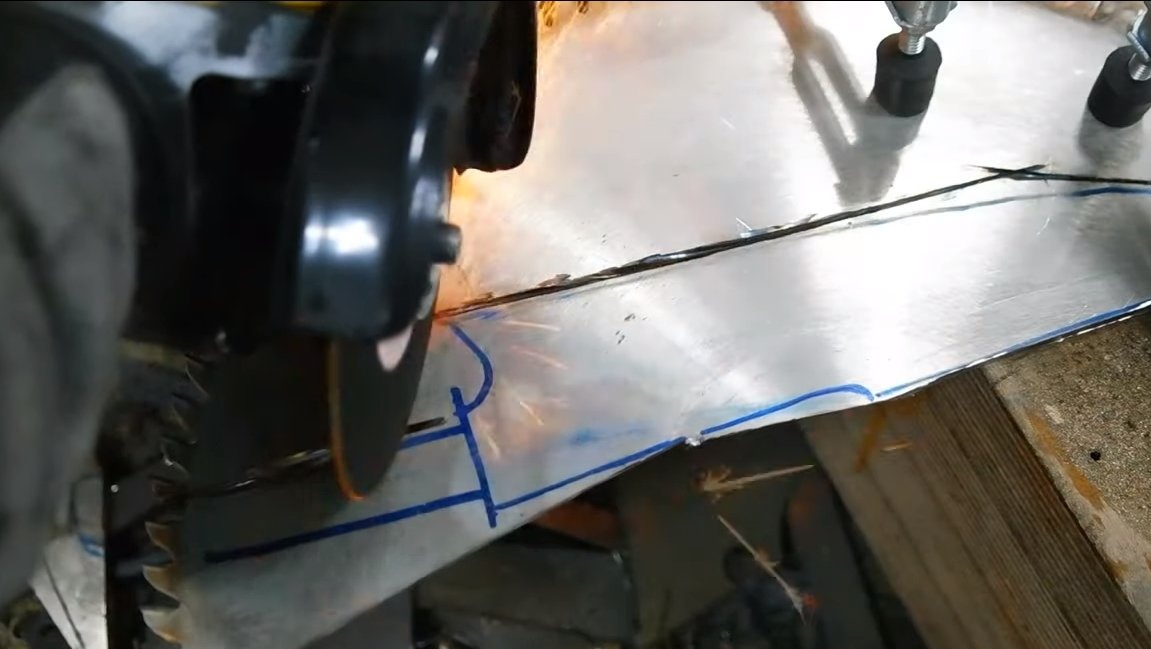
First you need to choose a quality source material. The author used a saw blade for such purposes. Before making a knife, it is important to check the steel for hardening, as in modern discs the steel can be bad, and the knife will fail. Well, then draw the desired knife profile with a marker on the disk and cut it out. For cutting, the author used an ordinary grinder.
Step Two We finalize the knife profile
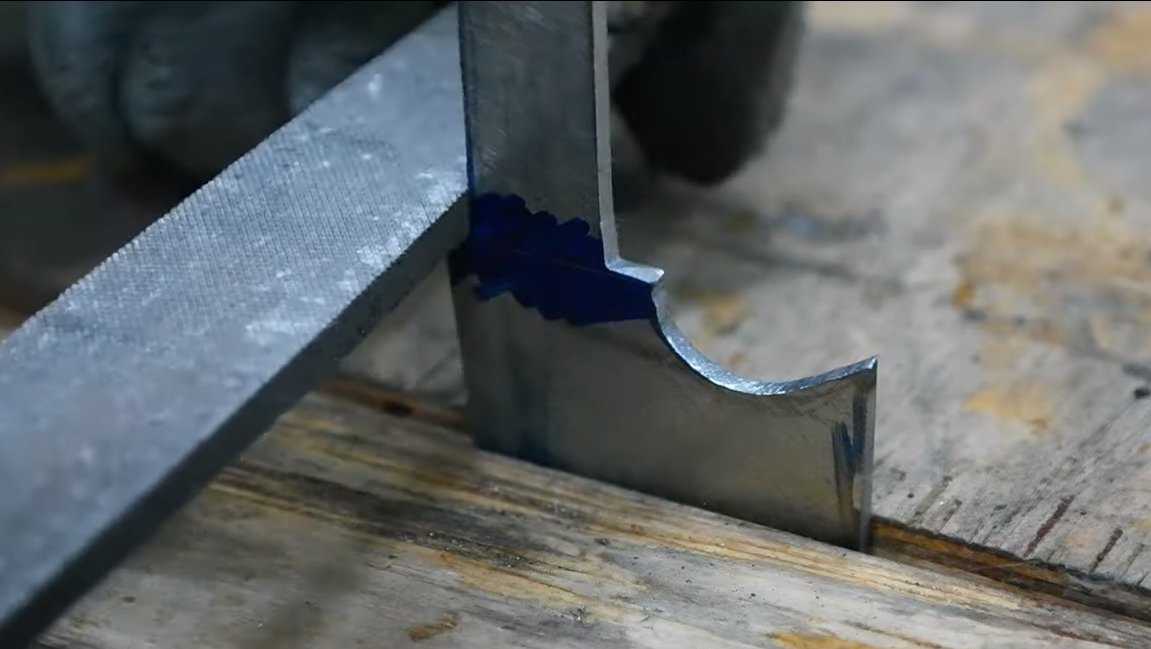
Of course, after cutting the grinder there will be many areas that need to be finalized. Easily accessible places can be processed on a belt grinder, and as for the recesses, then you already have to work with files or a drill. By the way, many work on the refinement of the profile can be carried out with a grinder with a thick grinding disc. As a result, we get a ready-made profile for the future knife.
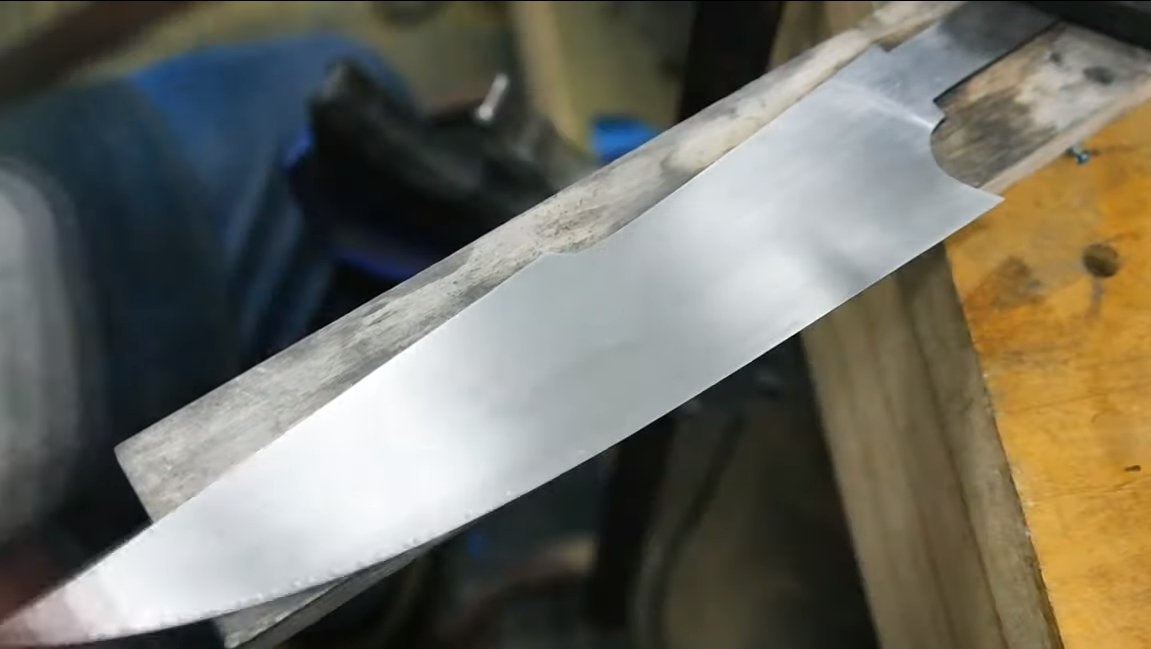
Step Three Bevels
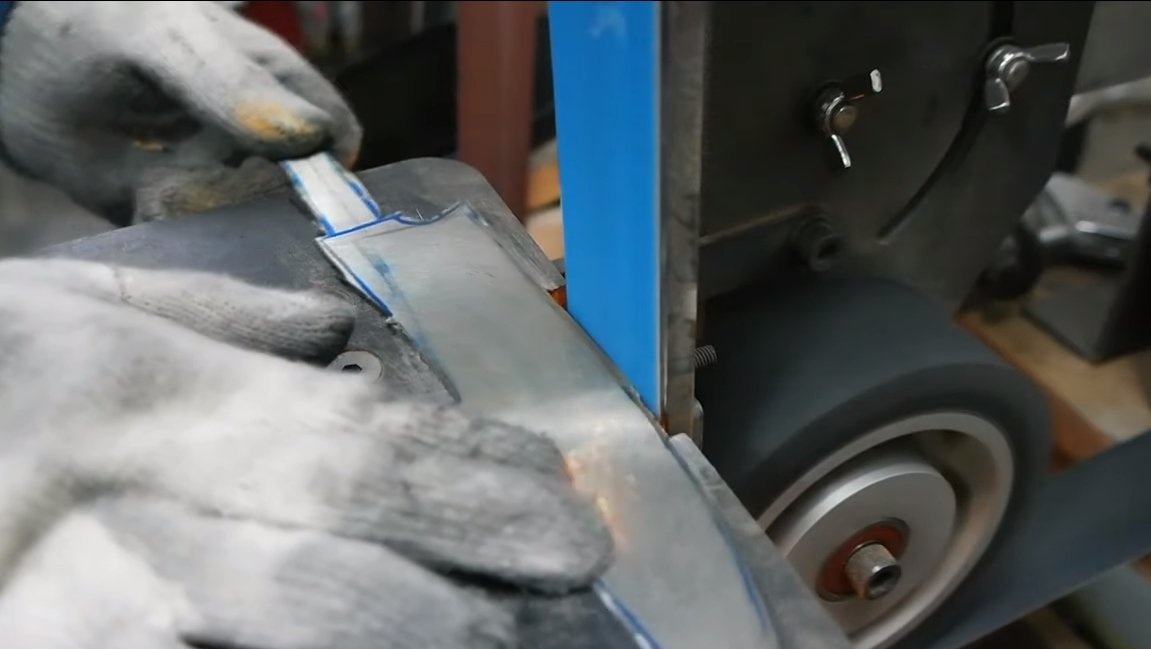
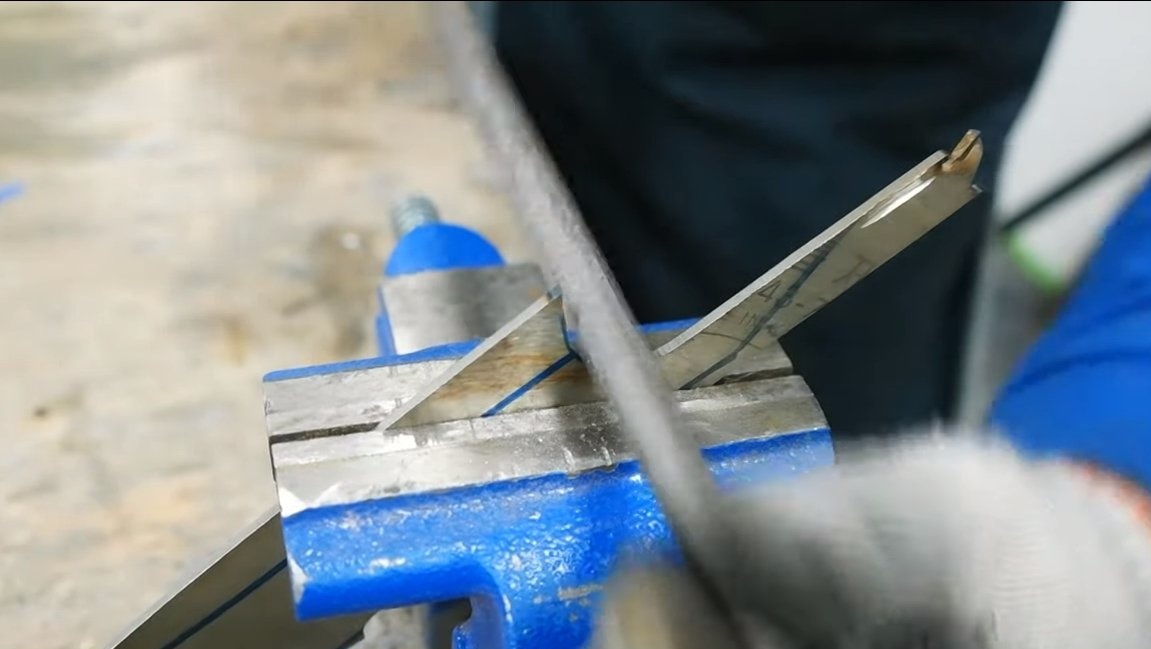
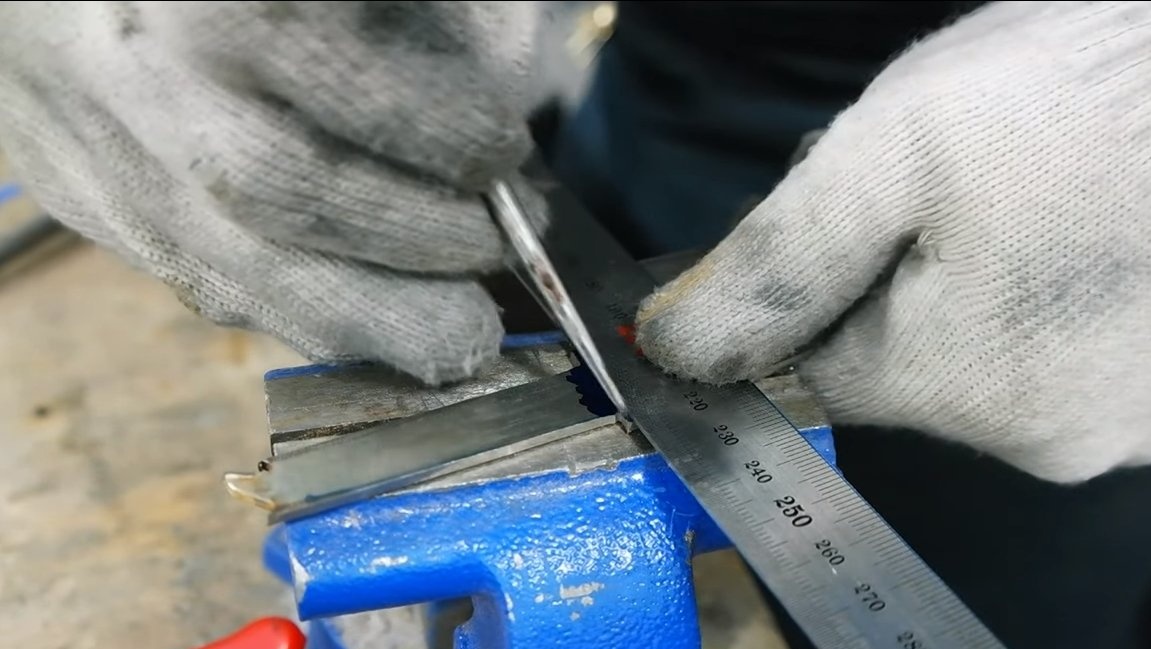
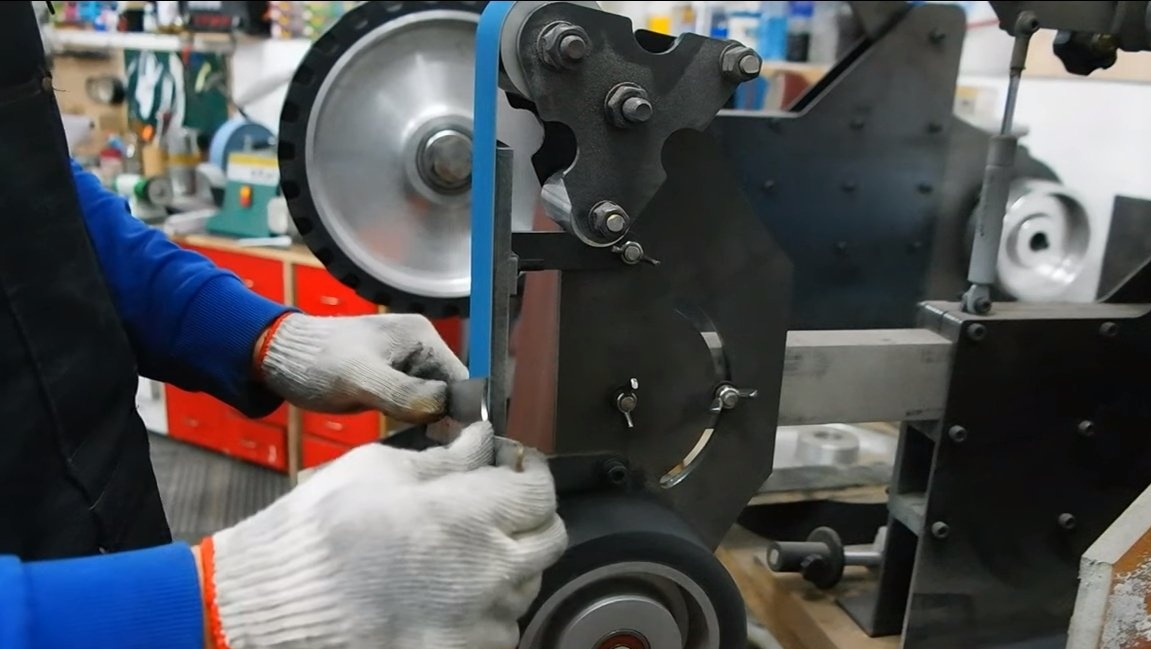
We proceed to the formation of bevels on the knife, but for this we do the marking first. It is important for us to draw a line along the blade, which after grinding will be directly the blade itself. It can be carried out with a special device, or using a drill of the same diameter as the thickness of the workpiece. And so that the line is clearly visible, paint over the metal with a marker.
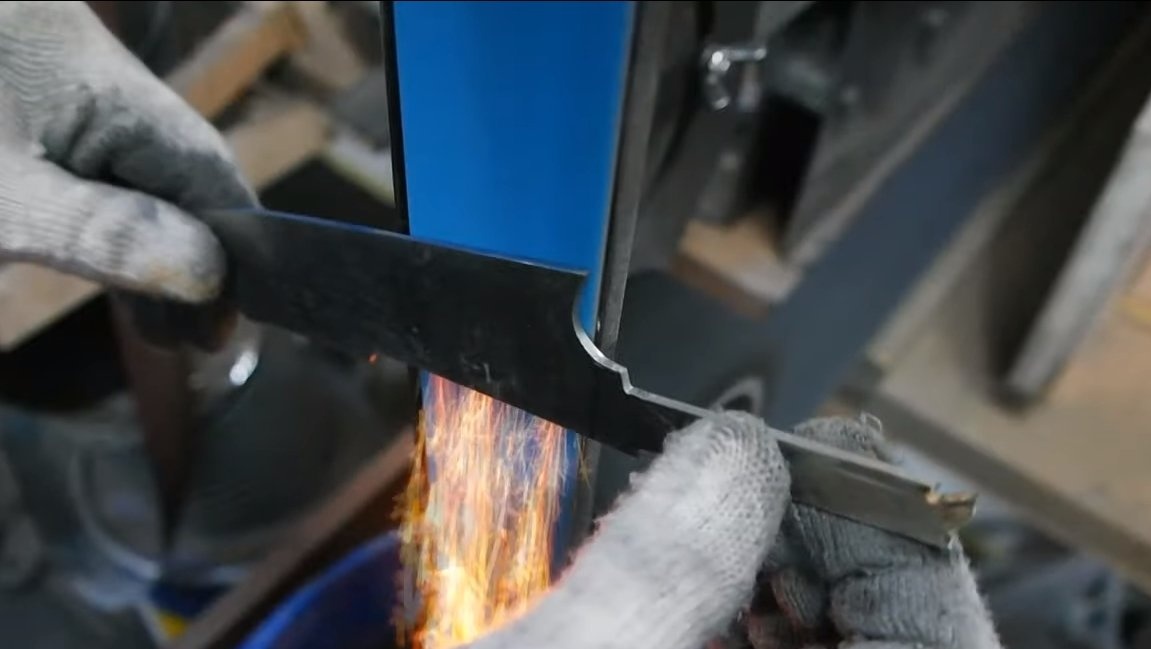
Then you can start grinding, in this case we need a belt grinder.The author holds the blank with his hands, and so that the steel does not overheat, we wet the blade from time to time in water. When working, we make sure that the bevels are symmetrical. The blade after work must have a thickness of at least 2 mm, otherwise the steel will burn out during hardening.
Step Four Heat treatment
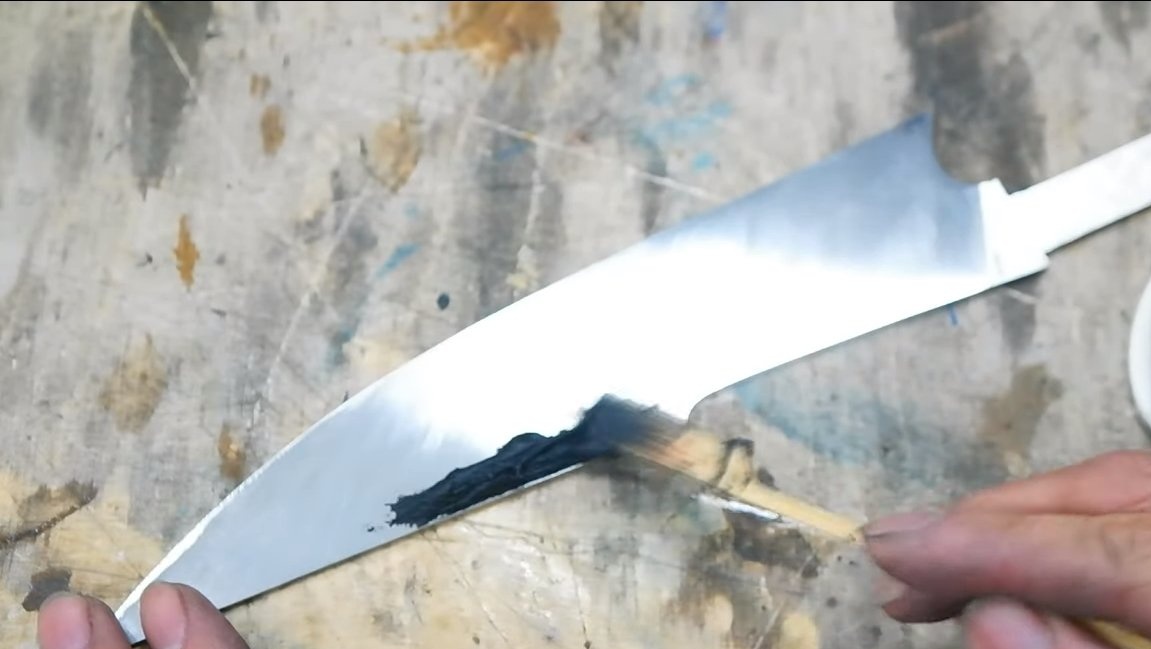
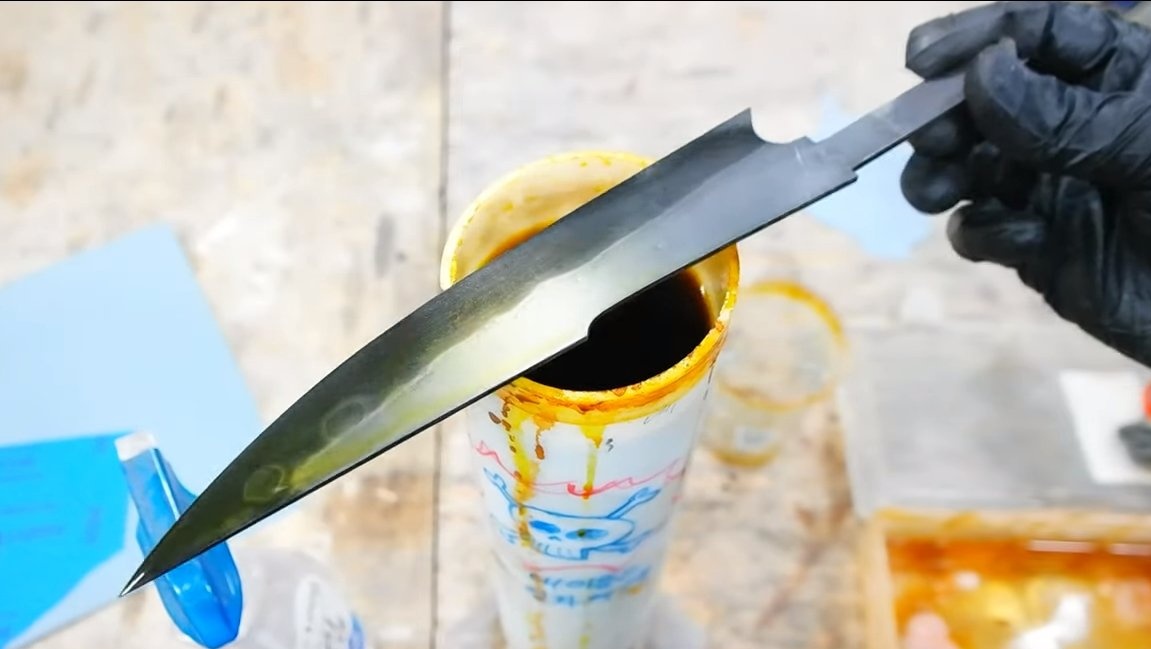
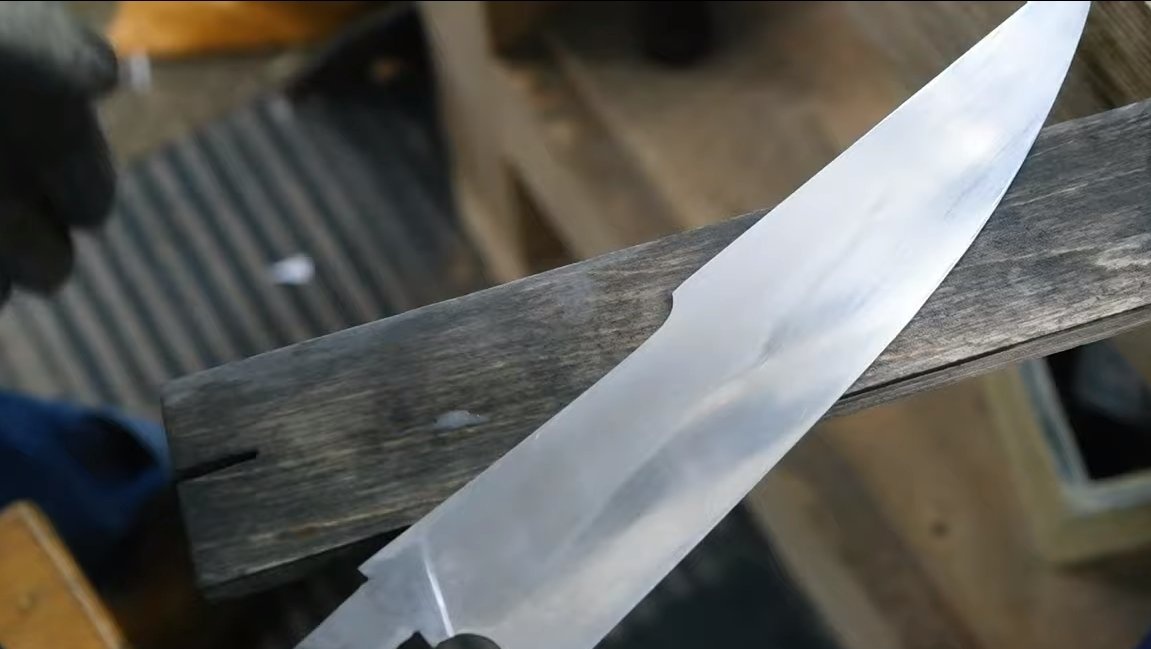
Getting to hardening, the author decided on the blade line of jamon, with it the blade looks unique. To obtain such a line, we need heat-resistant cement, we coat the upper part of the knife with it. Where there is this coating, there the steel will then differ in color.
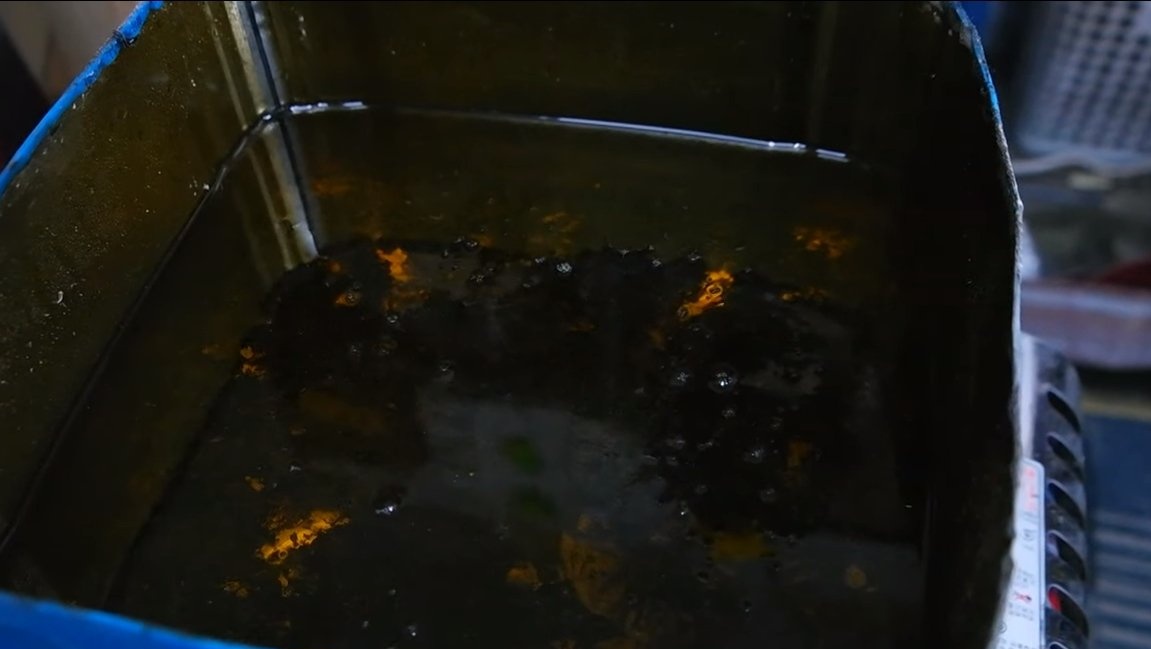
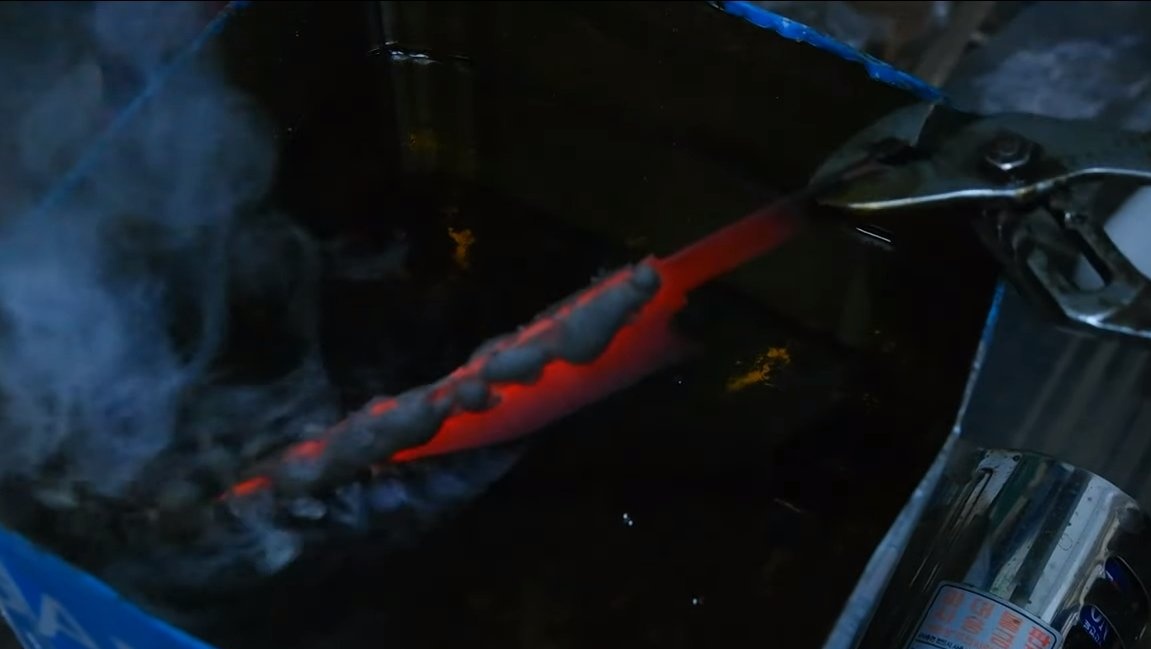
That's all, now we heat the blade to a red glow and lower it into oil. To avoid unpleasant surprises such as cracks and deformations, the oil must first be heated. After hardening, we check the blade with a file, there should be no scratches.
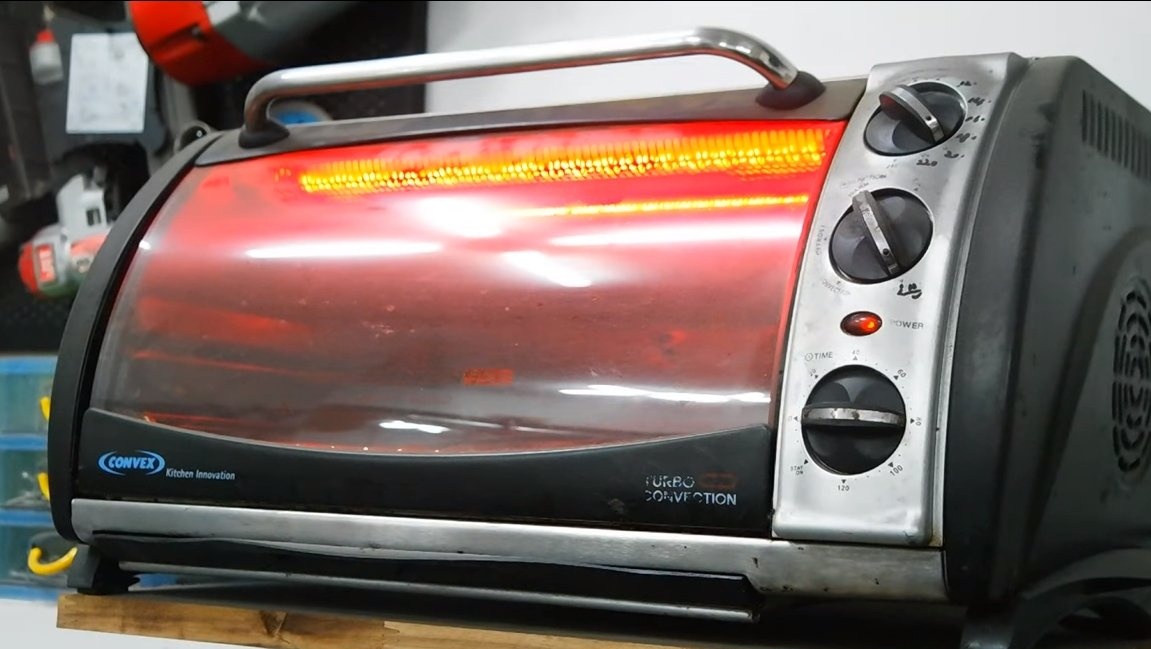
After hardening, we necessarily make steel tempering in order to give it spring qualities. As a result, the blade will be able to withstand large bending loads, it will also break if thrown onto concrete. We release the blade in the oven, the temperature should be around 200 ° C. As for the time, it usually takes about 2 hours, you need to make sure that the blade is covered with a straw color, this will indicate the release of steel.
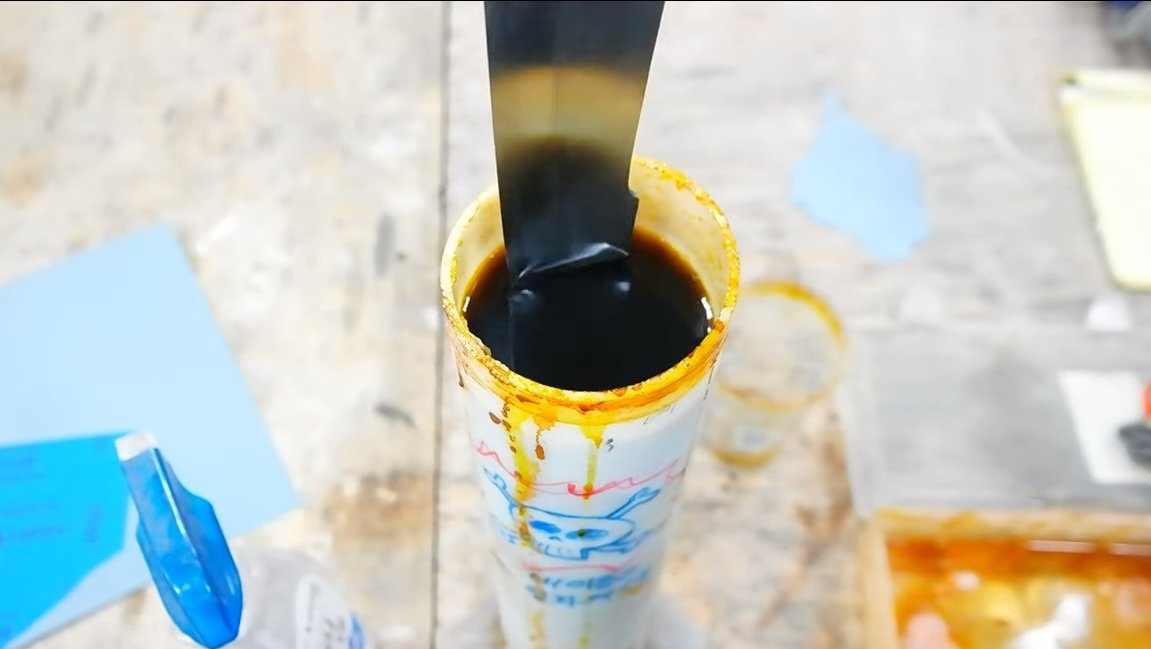
Step Five Etching
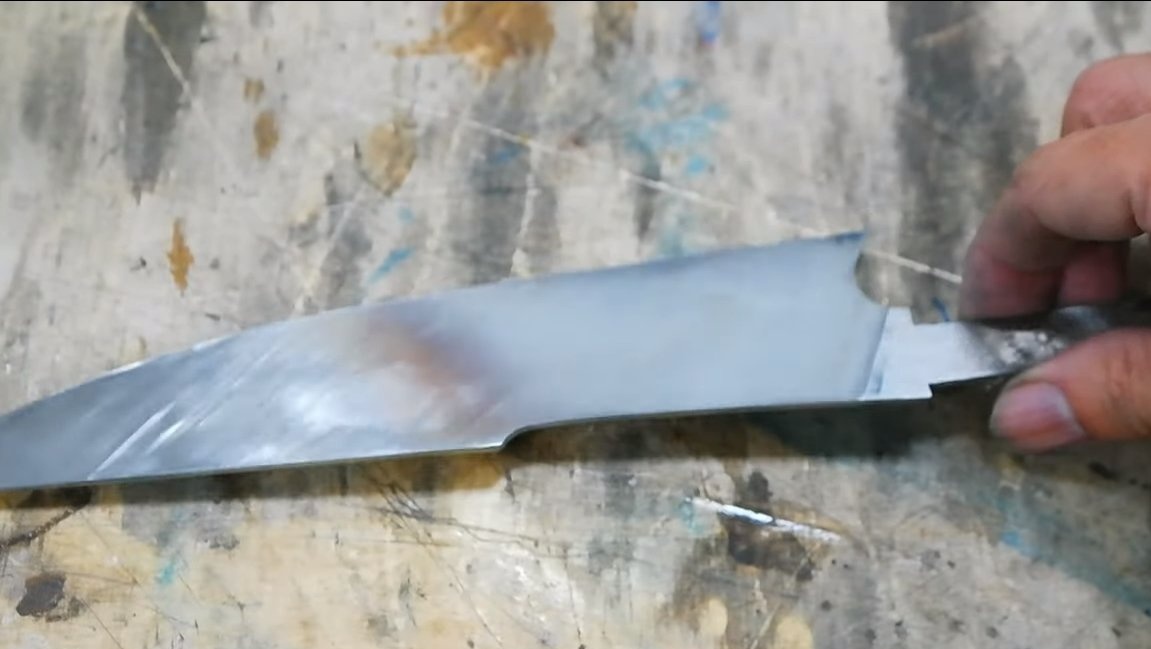
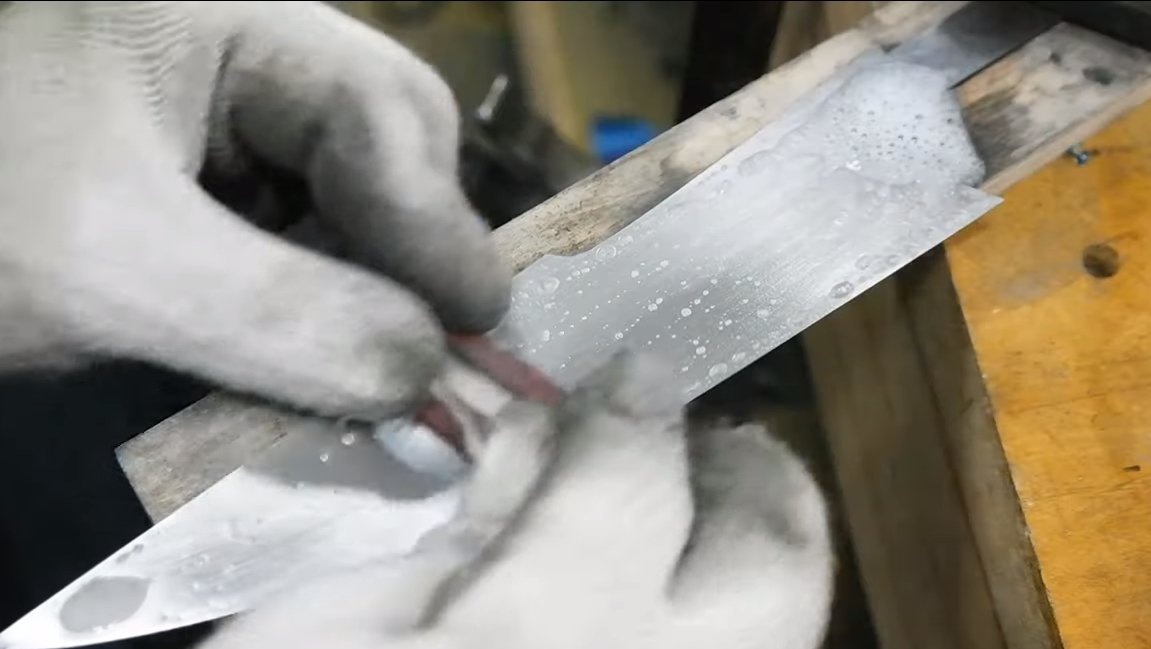
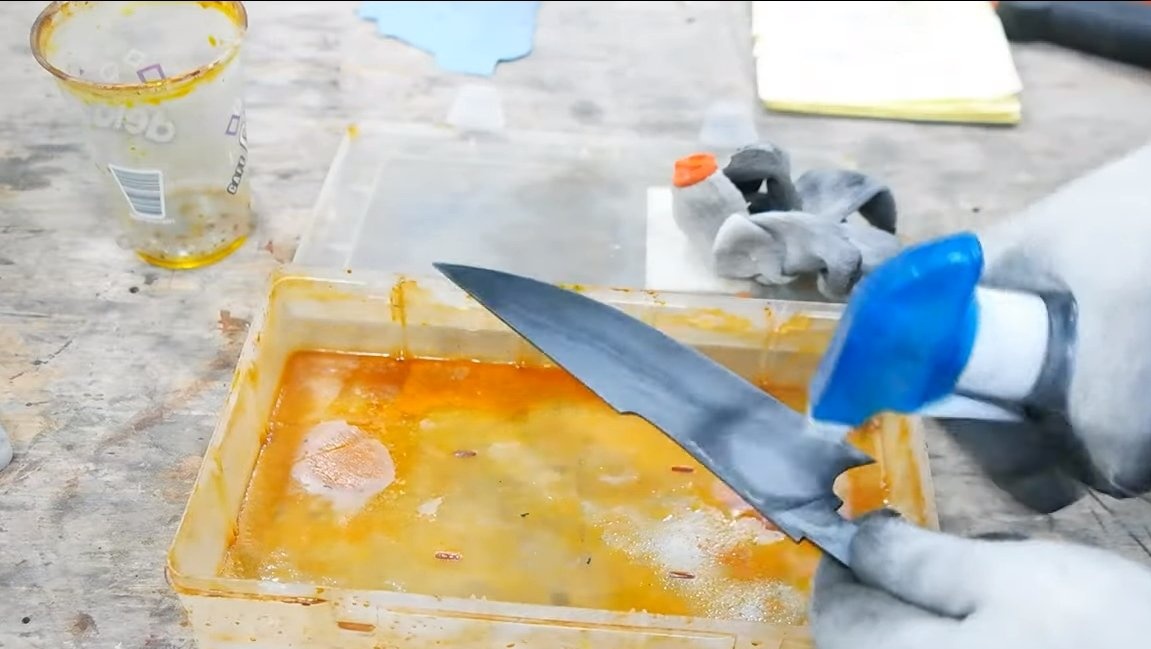
To get the jamon line, we need to pickle the steel. To begin, the blade is very carefully sanded to a shine. Steel should also be well degreased, otherwise the reagent will not react with steel. We lower the blade for some time in acid and look at the process, we are waiting for the desired result.
After etching, we treat the blade with soda or another reagent to neutralize the acid. Then the knife is washed under running water and now we have a wonderful blade ready.

Step Six Handle blank
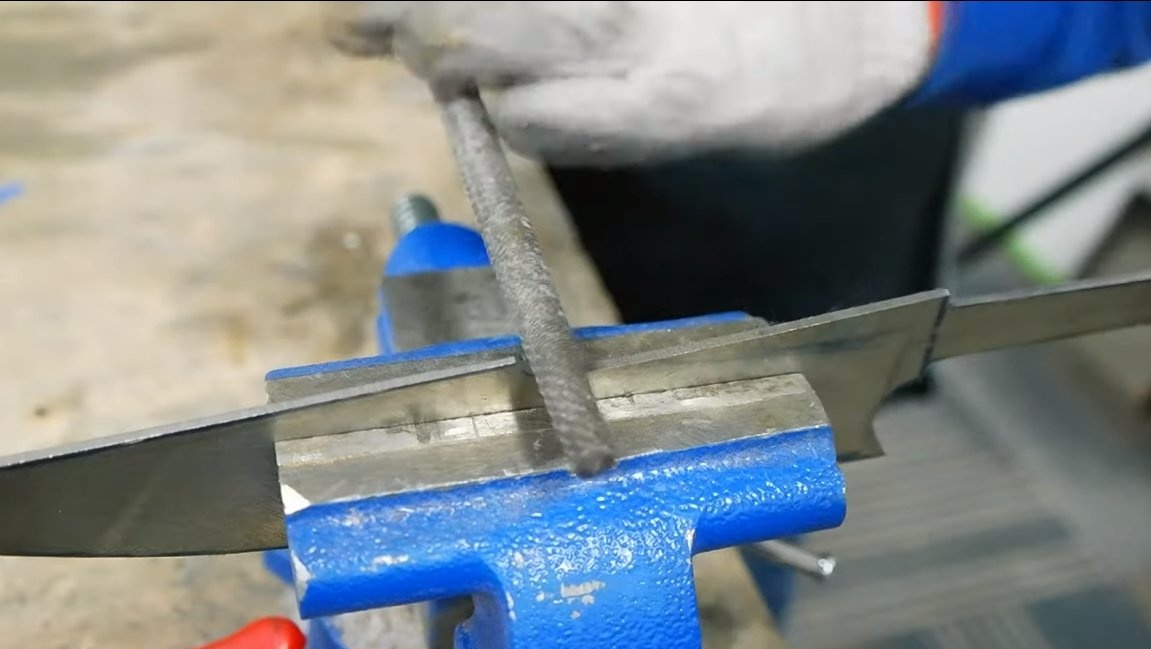
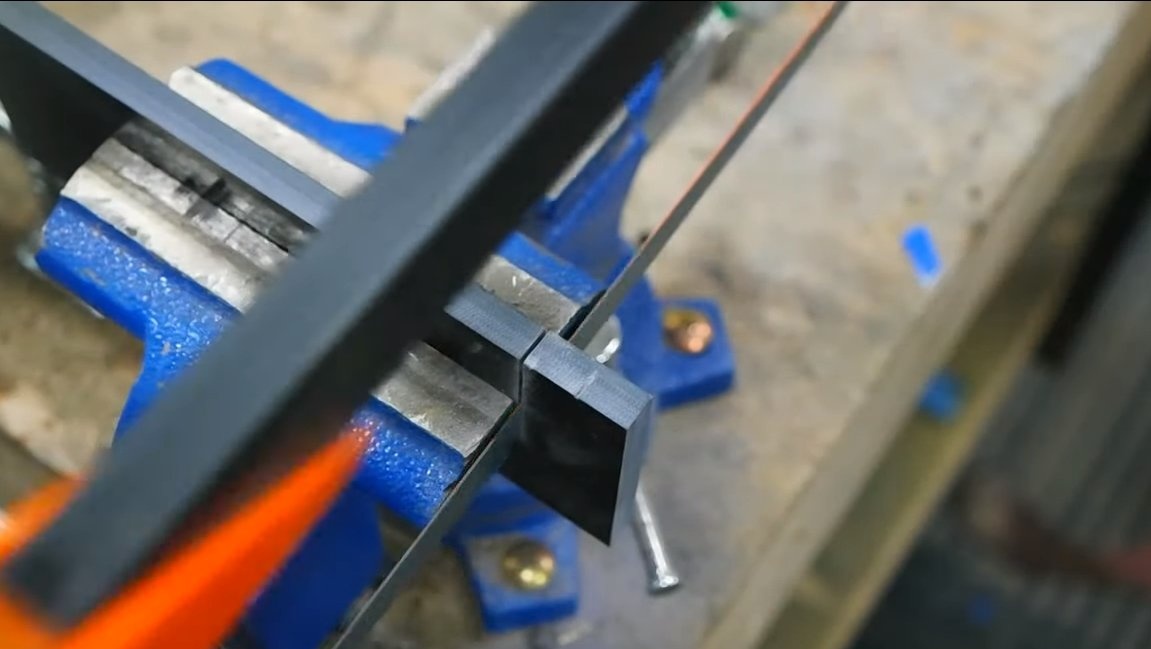
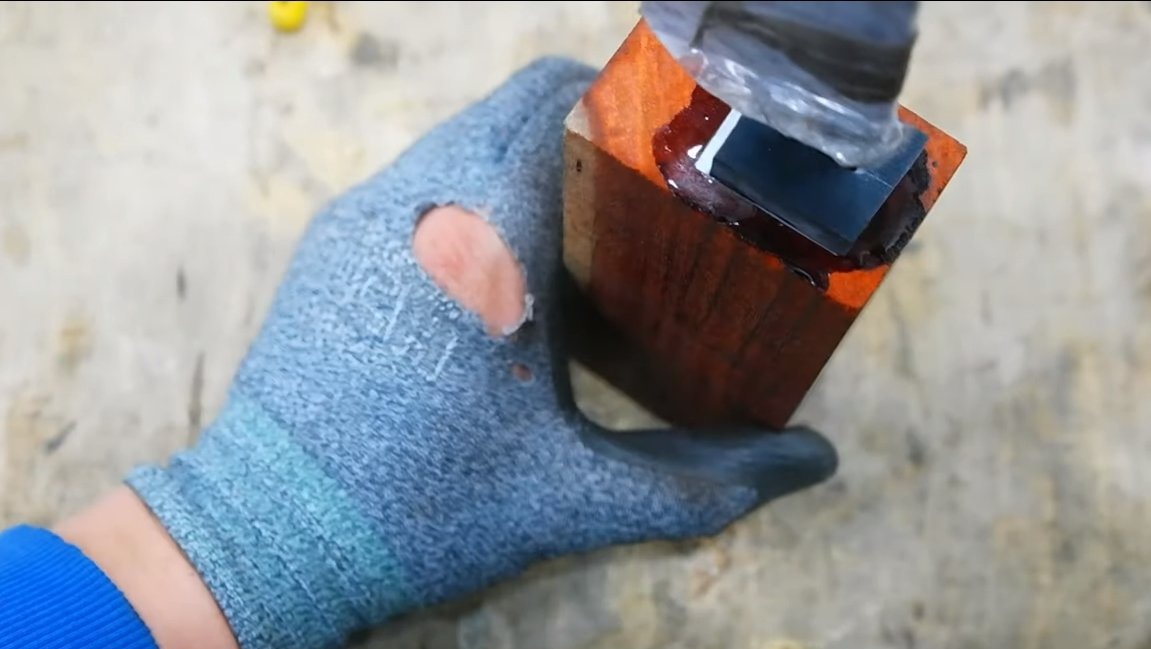
To make a pen, we need a block of beautiful wood, as well as material G10 or brass sheet, if desired, for making a bolster. To begin with, we make a bolster, cut a piece of the right size and make a slit hole for the knife shank. If there is no milling cutter, you can work with a drill and flat files.
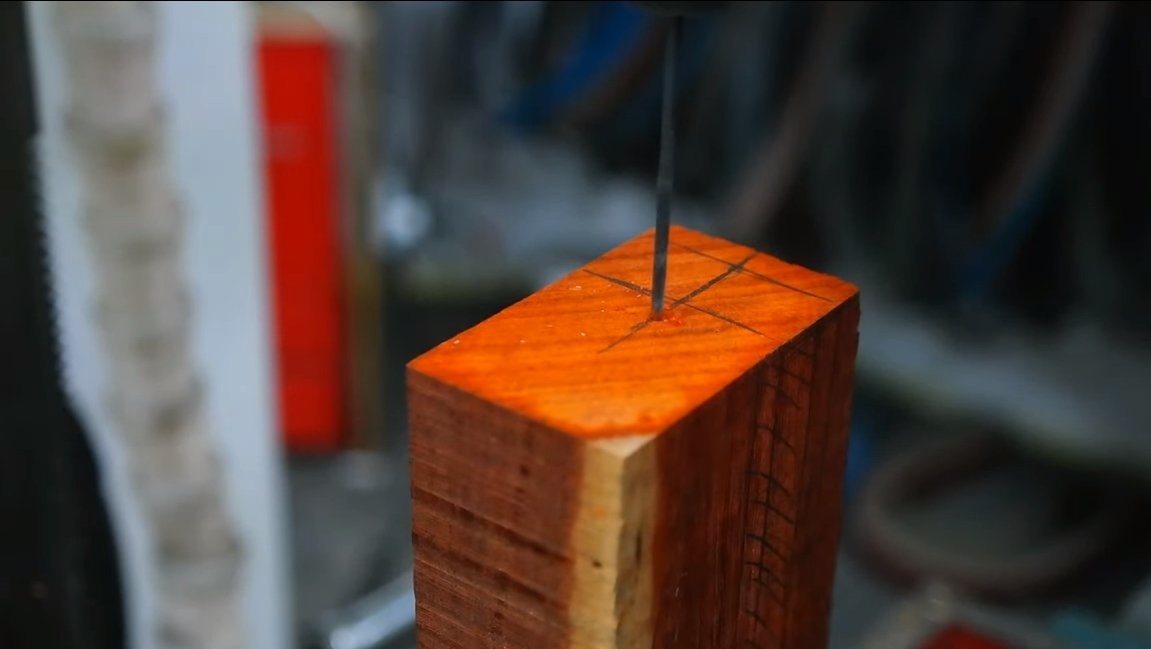
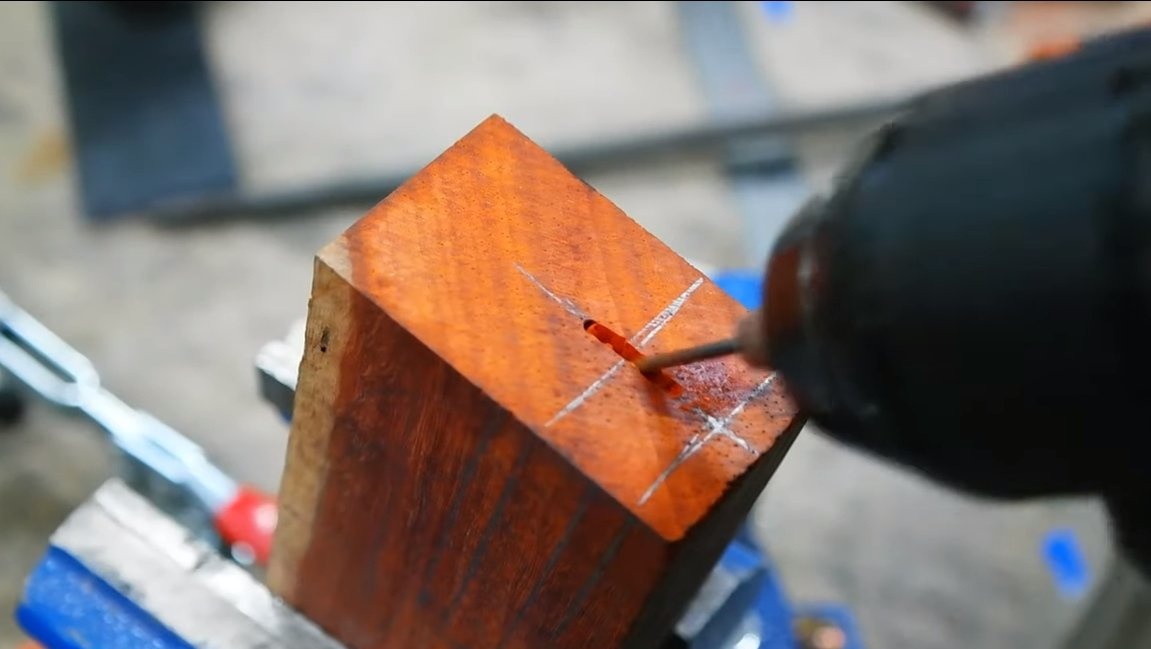
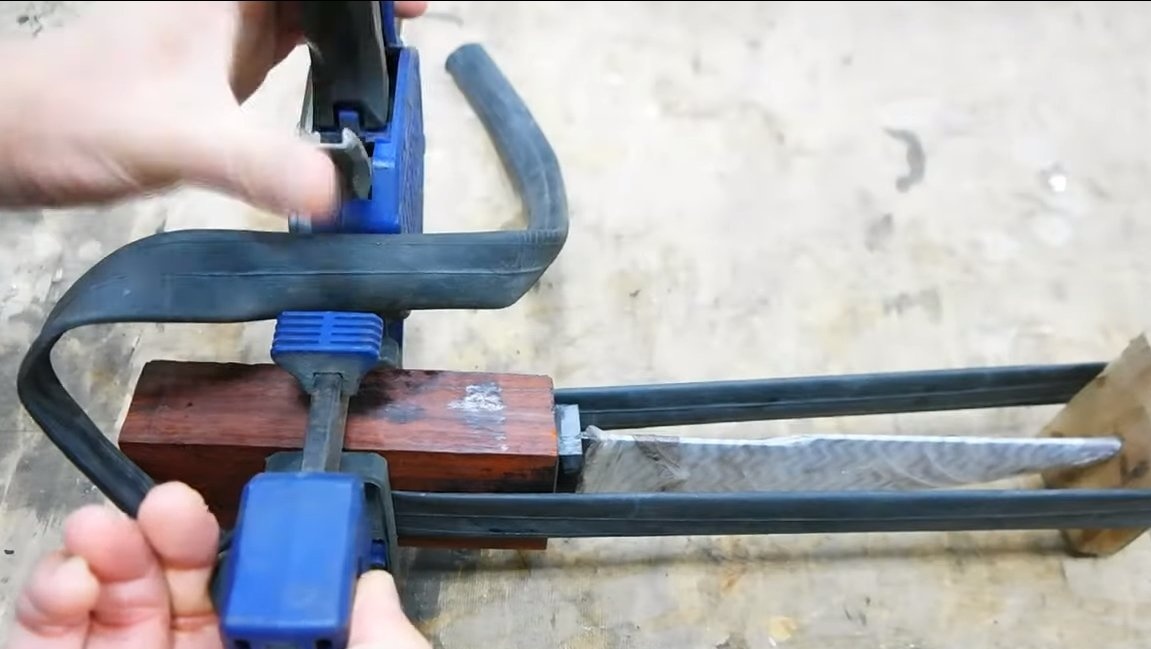
Also, the slit hole needs to be drilled in the bar, from which the handle will then be made. You can drill a series of holes, and then combine them. That's all, now we glue all these parts on the shank of the knife. As glue we use epoxy resin. Steel must be degreased well for good bonding. We clamp the whole thing with a clamp and leave it to dry.

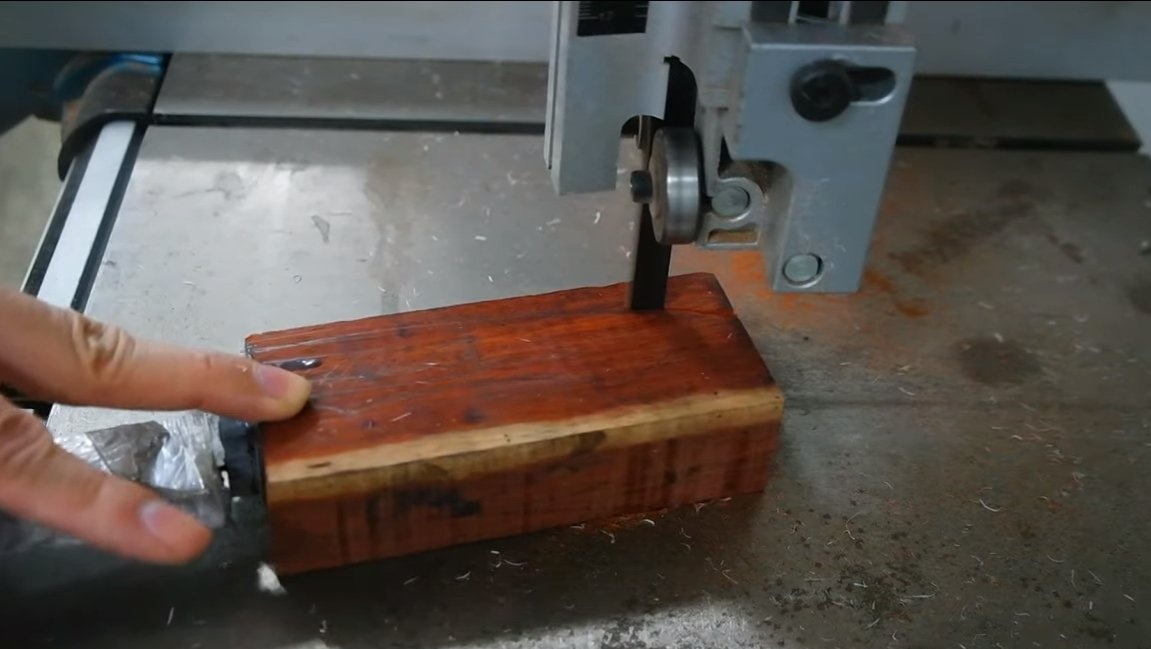
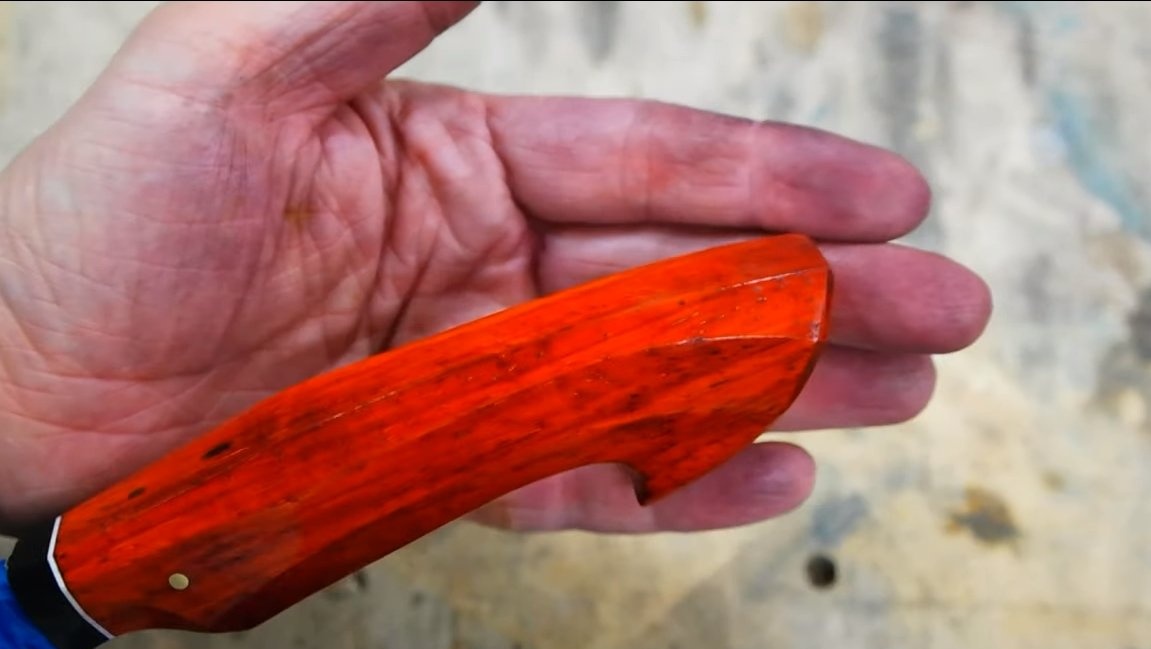
Seventh step. We form the handle
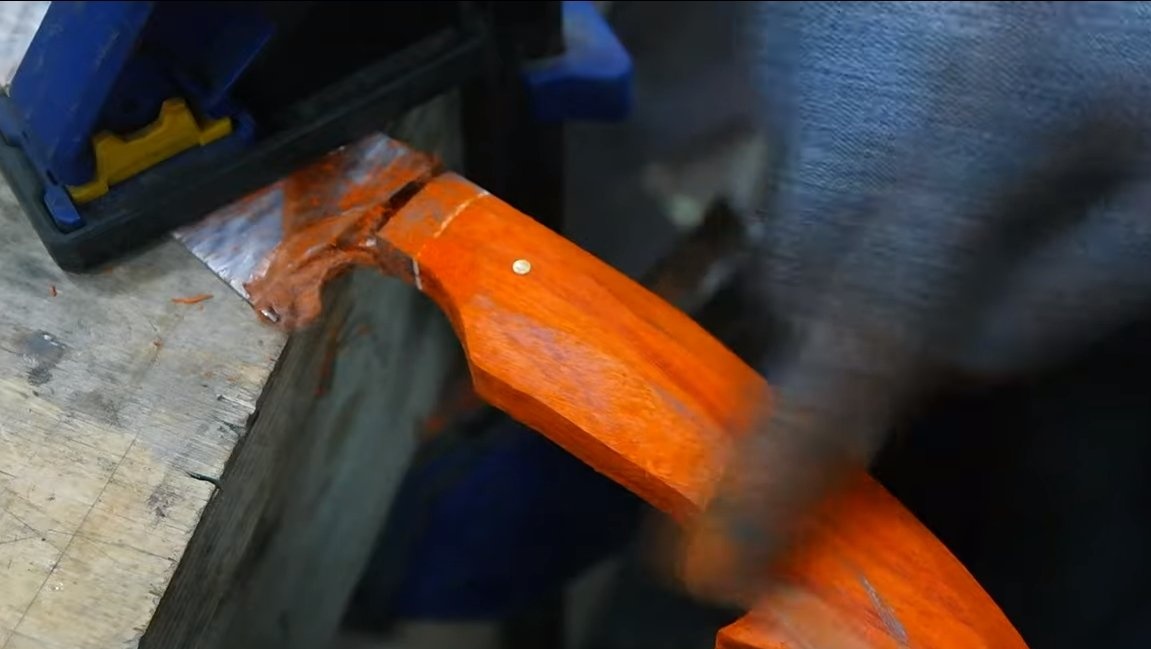
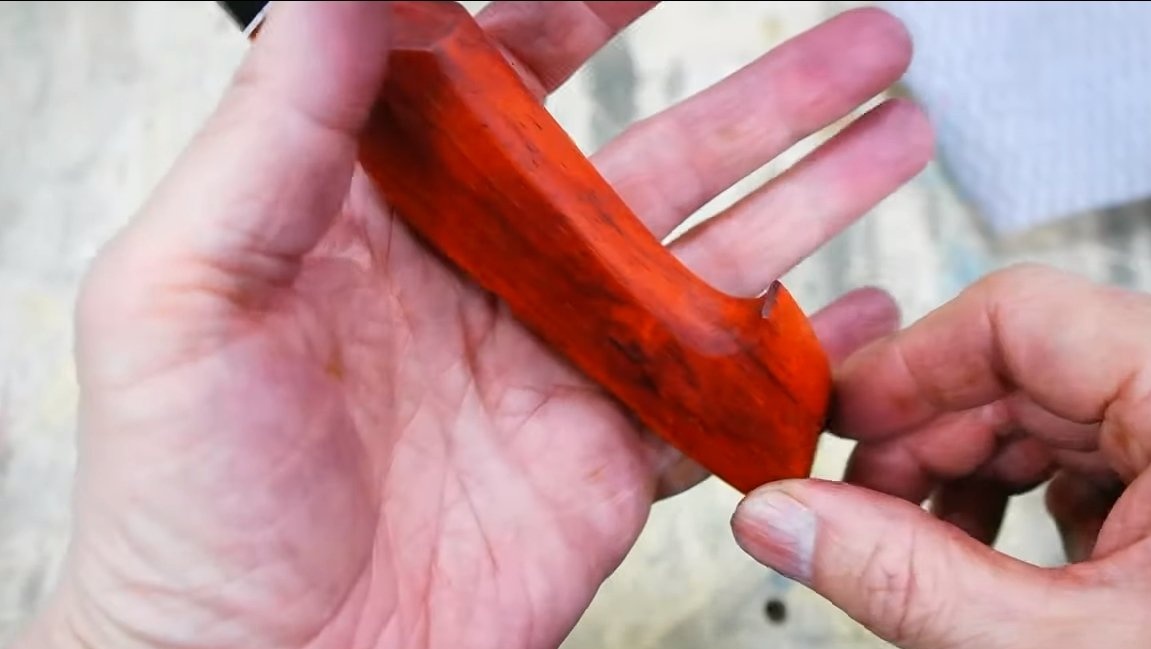
When the glue is completely dry, you can now set the desired profile for the handle. We cut off excess on a tape detachable machine or a manual jigsaw. Next, we finish the handle with files on wood and sandpaper. The tree needs to be brought to a perfectly smooth state, so the handle will be pleasant to the touch, and you will also get an expressive picture of wood.
When the handle is ready, soak it with wood oil or wax. Such an impregnation will perfectly protect the tree from moisture, which is important for a kitchen knife. And also oil emphasizes the natural beauty of wood.

Step Eight. Completion
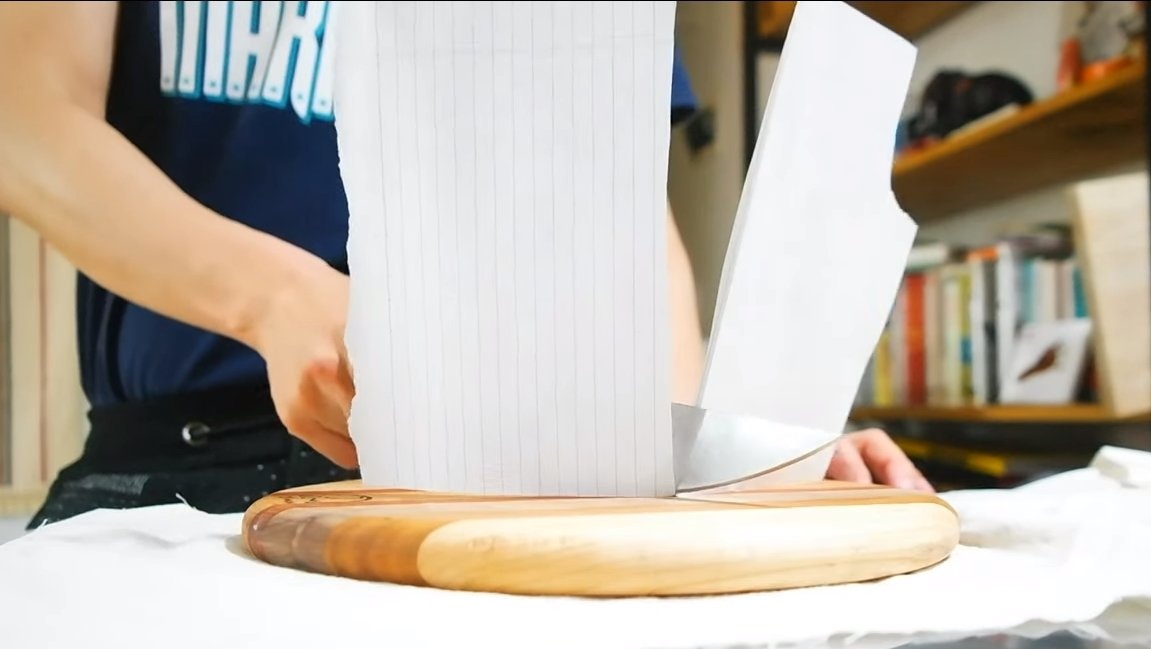
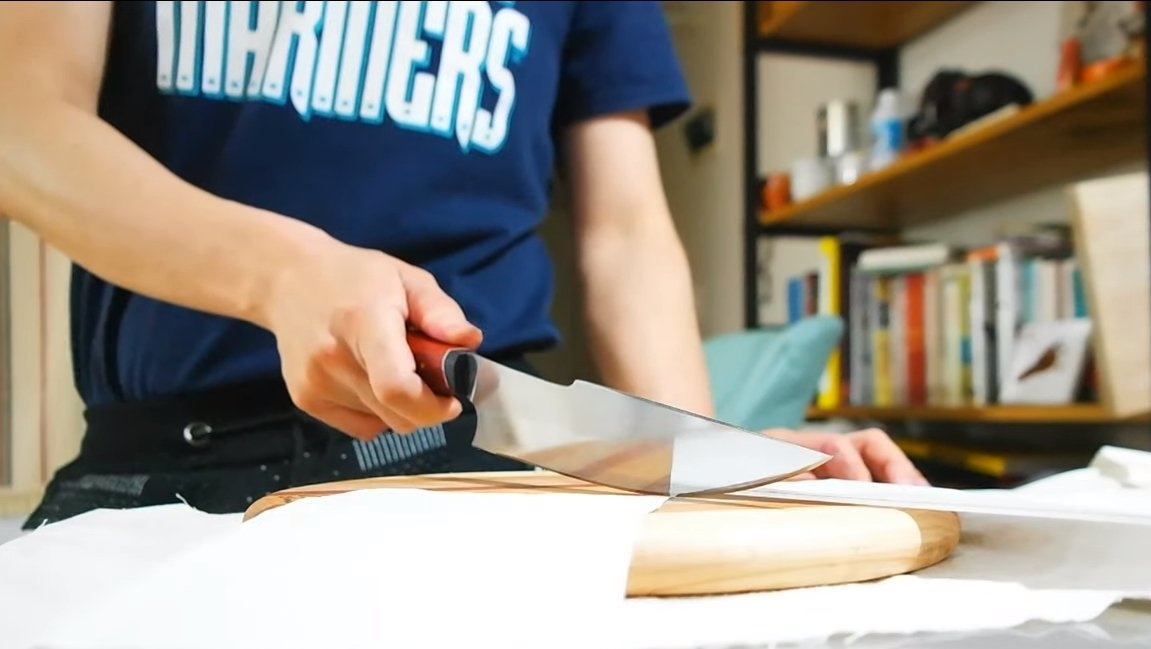
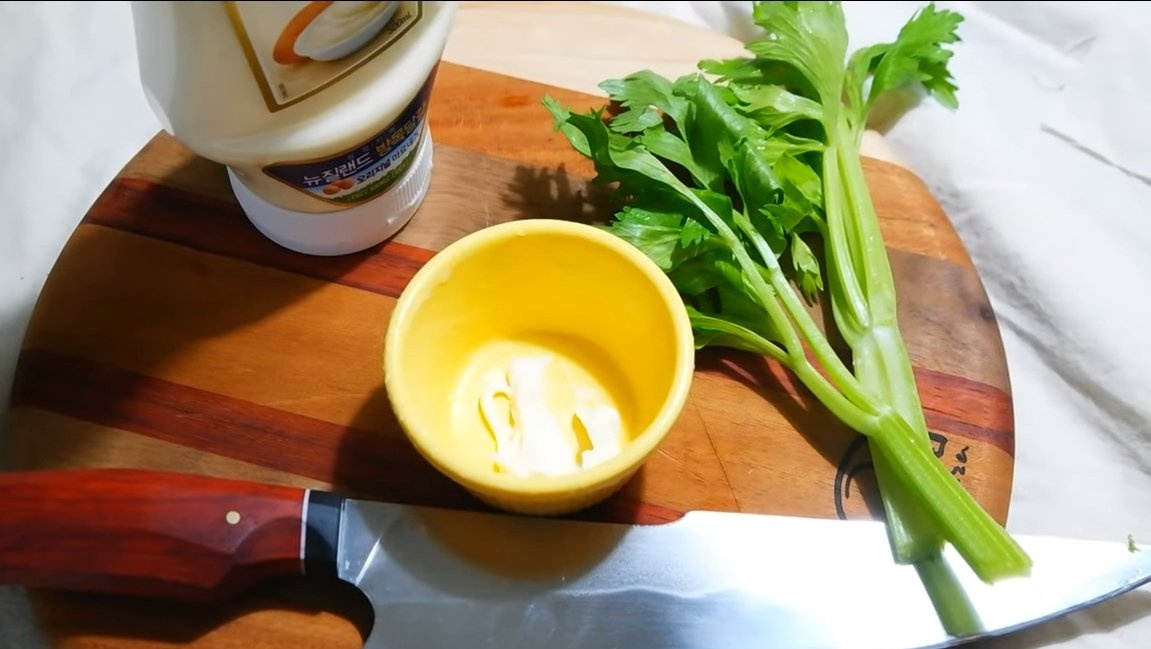
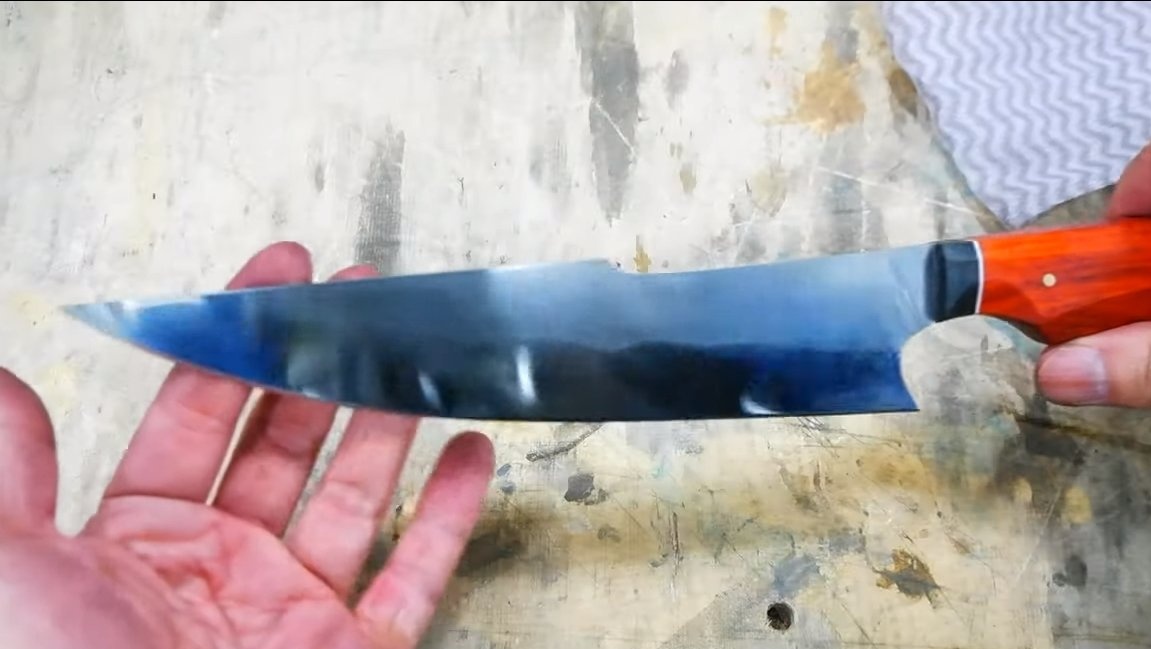
That's all, the knife is ready, it remains to sharpen it. For such purposes it is very convenient to use whetstones or. The author sharpened the knife to the state of the blade; he easily cuts paper. Of course, greens and other products such a knife will cut perfectly.
In general, if the knife is not left to sour in the sink, it will serve for quite some time. On this project can be considered successfully completed, I hope you liked it. Good luck and creative inspiration, if you decide to repeat this. Do not forget to share with us your ideas and homemade!