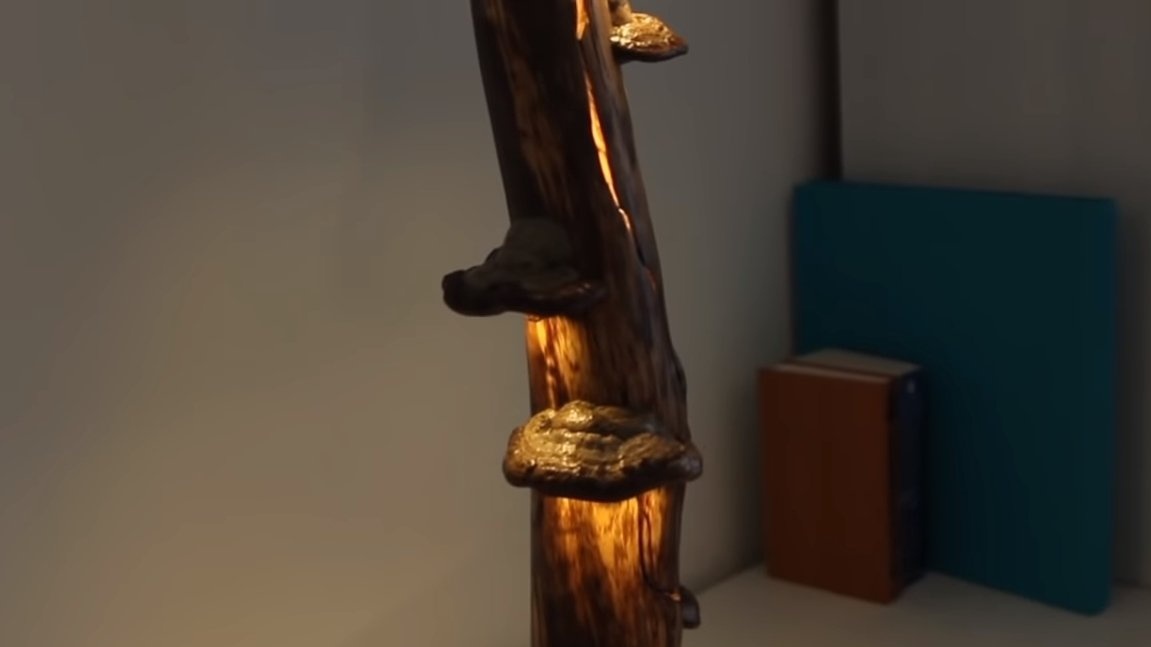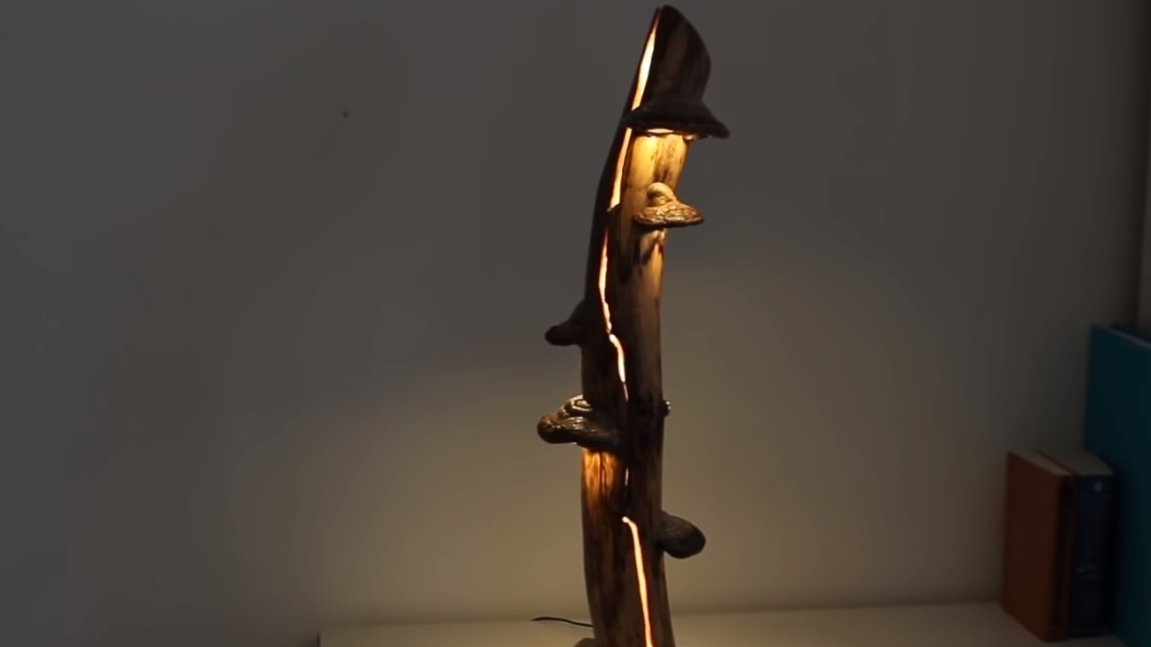
Hello everyone, today we will consider how to make a unique lamp from natural materials. The main part of the lamp is an old branch that has a crack that glows. Also, there are mushrooms-tinder fungi on the lamp, LEDs are installed in them and the whole thing looks pretty interesting. The lamp is made quite easily accessible tools. If homemade Interested in you, I suggest studying the project in more detail!
Materials and tools used by the author:
Material List:
- ;
- ;
- wires;
- LEDs (for mushrooms);
- tinder mushrooms;
- a piece of branch;
- a board or similar base material;
- socket for connecting the power supply;
- varnish;
- putty on wood, paint, etc.
Tool List:
- Bulgarian with discs on wood;
- milling cutter;
- drill;
- vibration grinding machine;
- sandpaper;
- soldering iron;
- circular saw (optional).
The manufacturing process of the lamp:
Step one. Preparation of materials
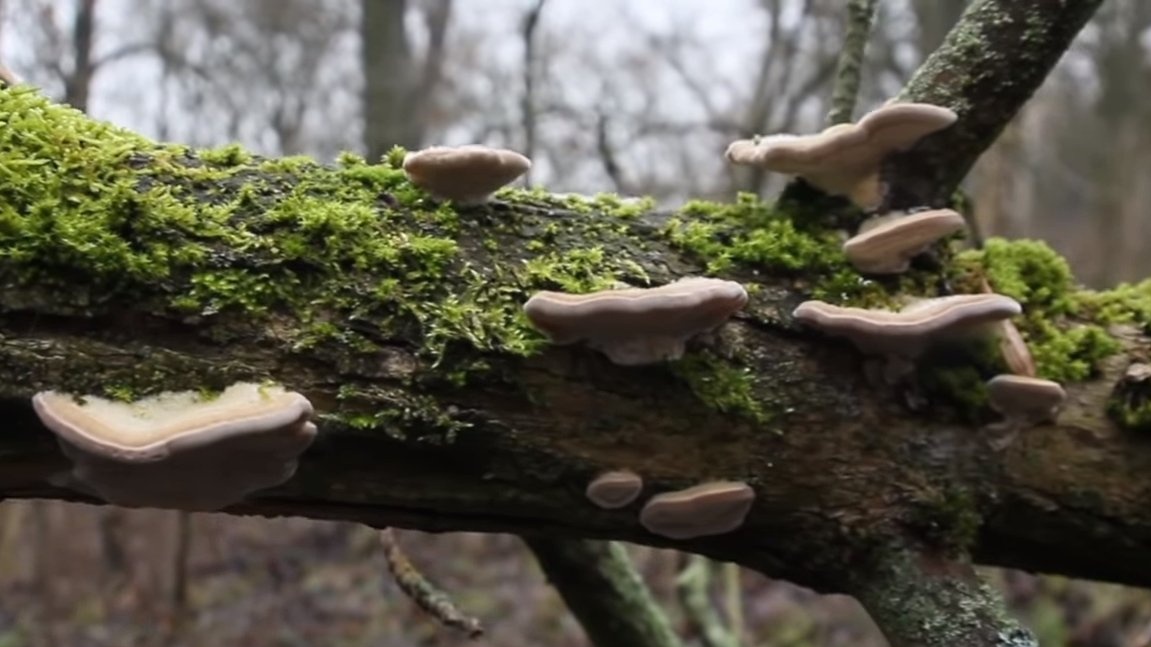
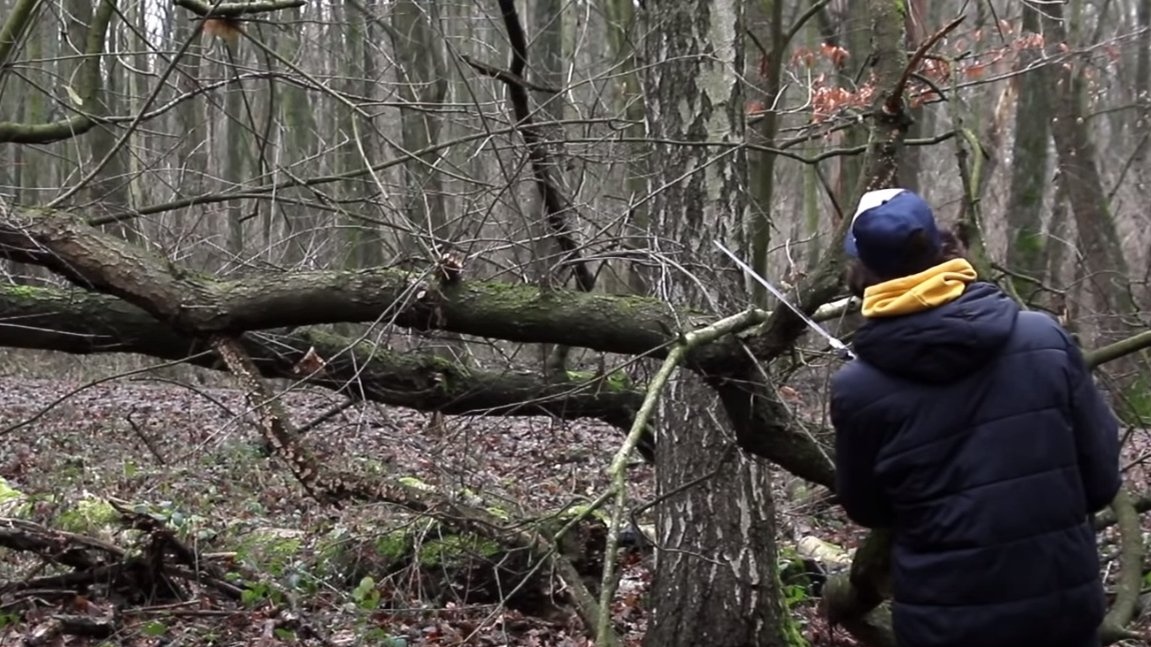
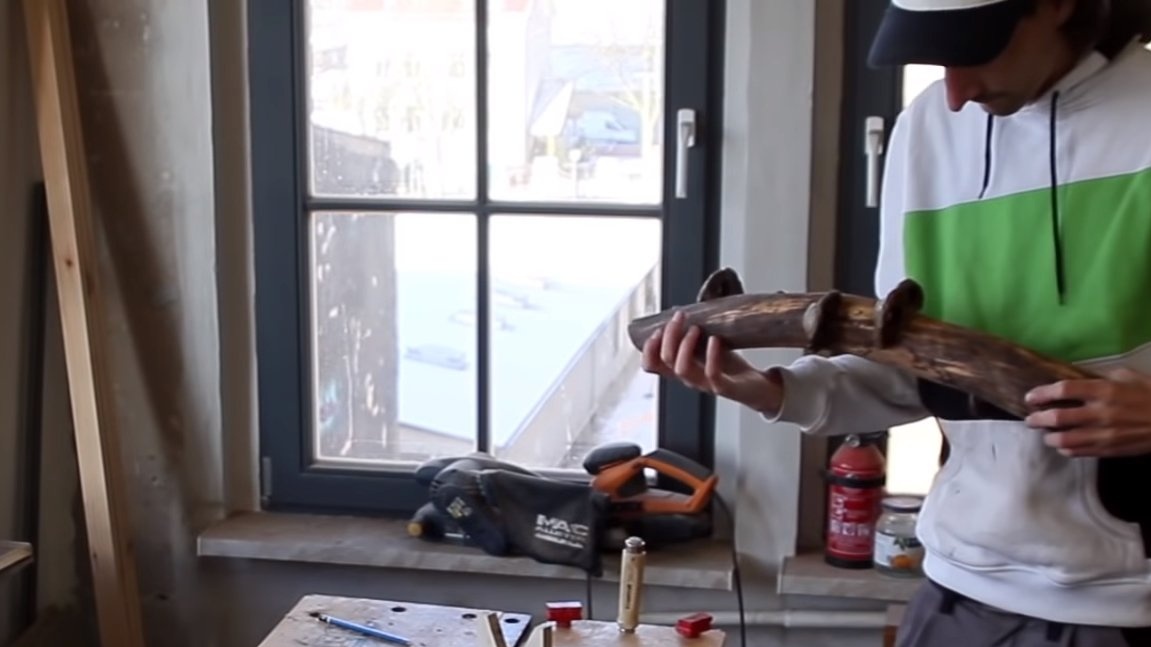
First, we will prepare the necessary materials, and you need to go for them to the forest. We are looking for a piece of a branch of suitable size and shape. The wood should already be “dead”, since the living wood will dry for a very long time, will deform and crack.
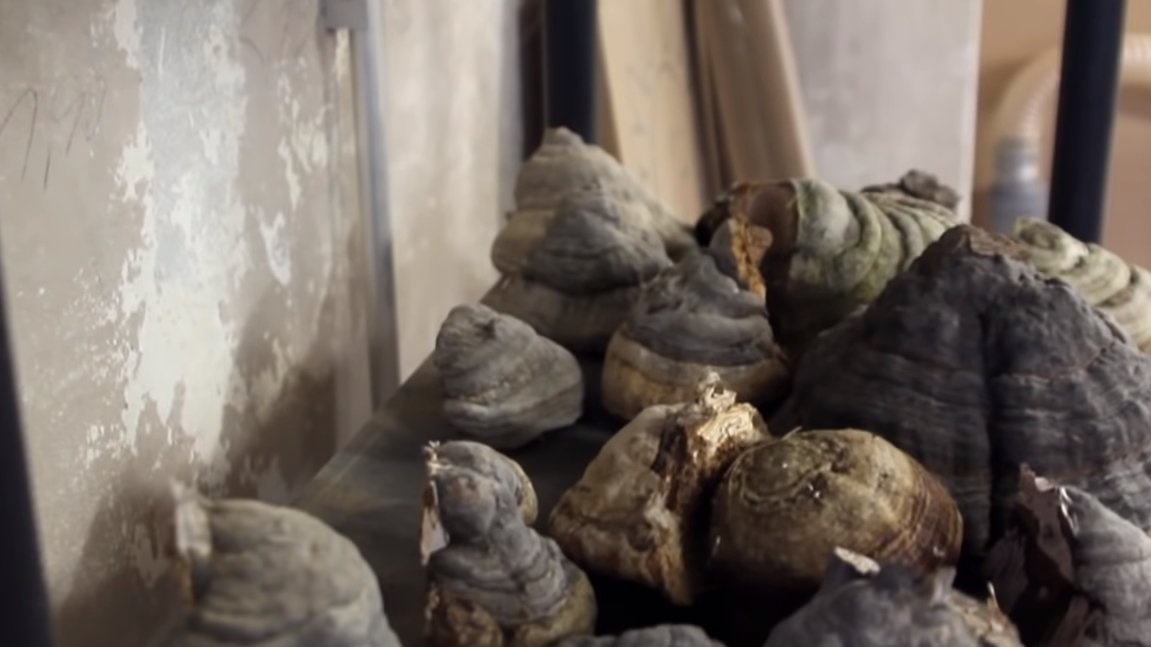
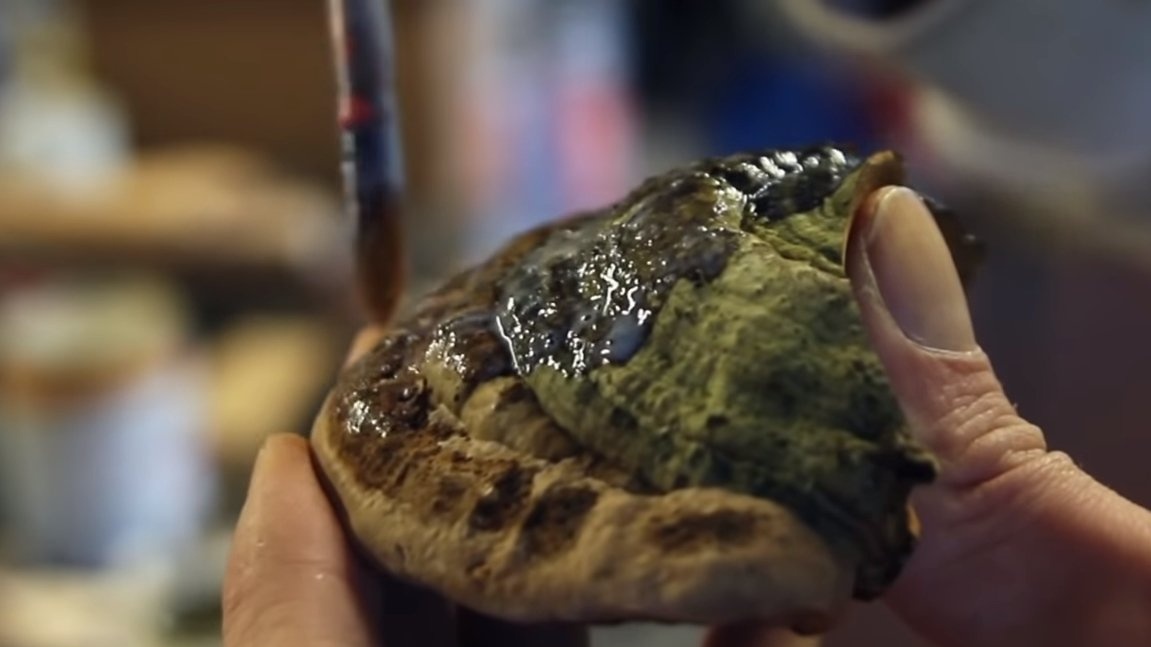
We also need tinder fungi, we choose them at our discretion, depending on size and appearance. All these materials must be well dried to avoid unpleasant surprises after the manufacture of the lamp.
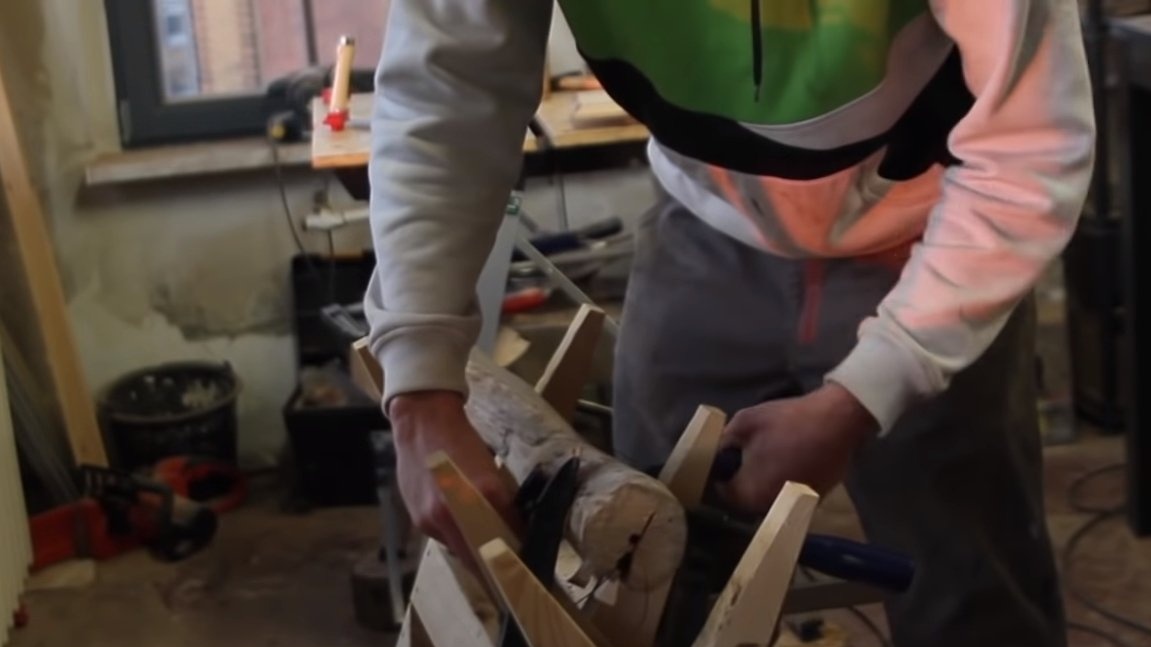
Step Two Work with the main part
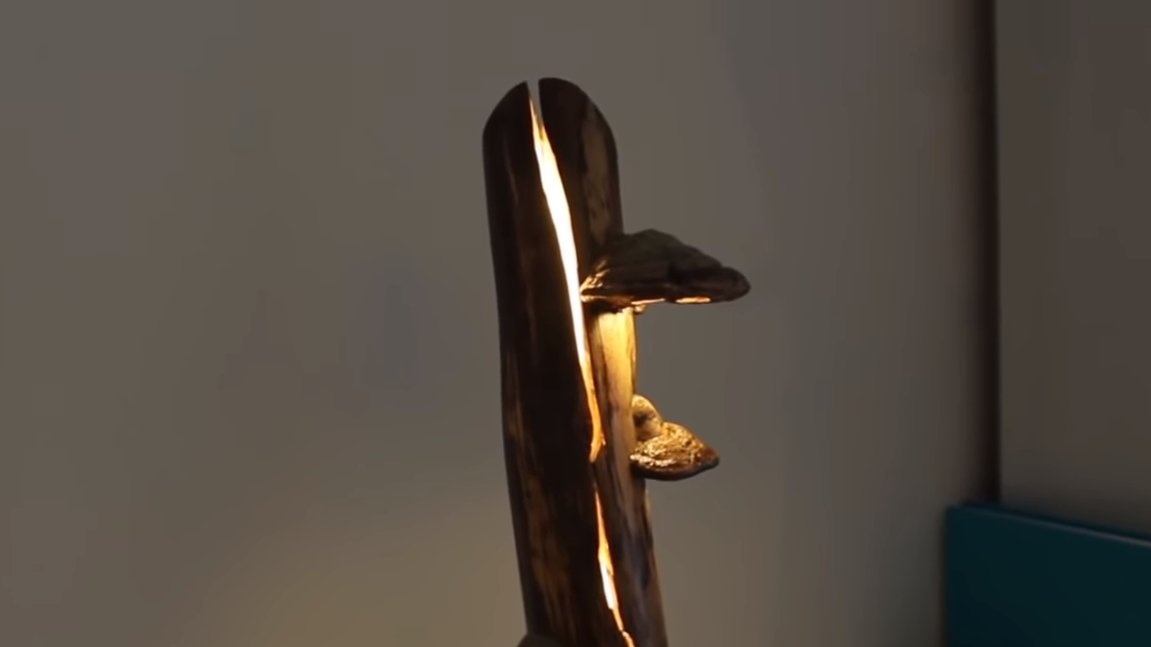
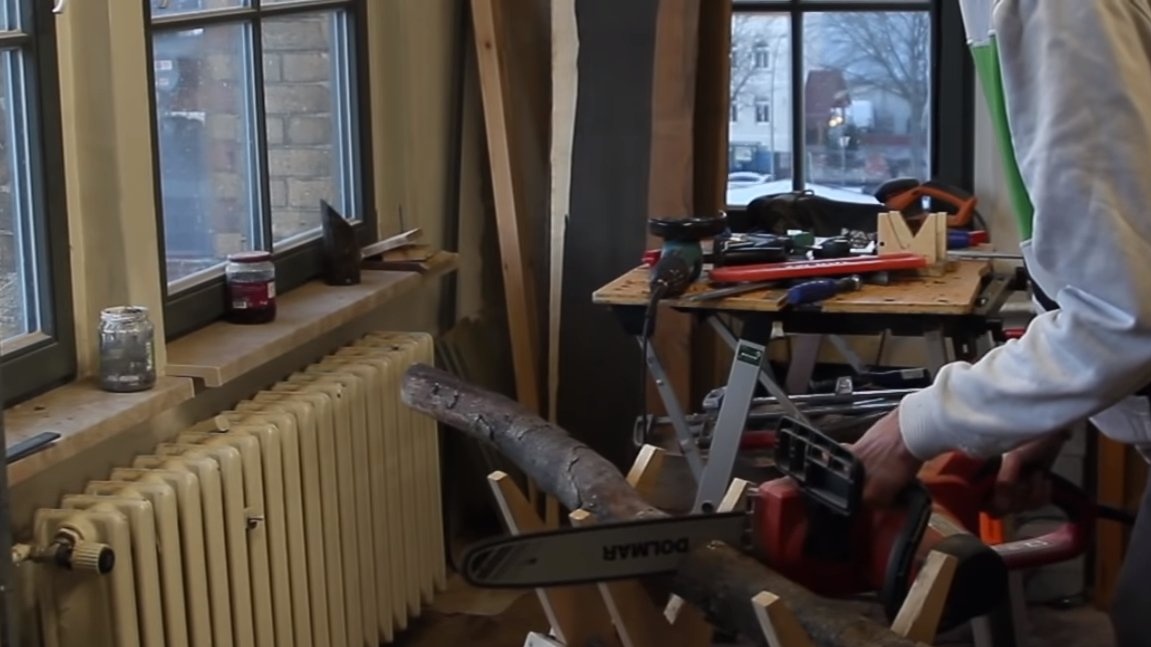
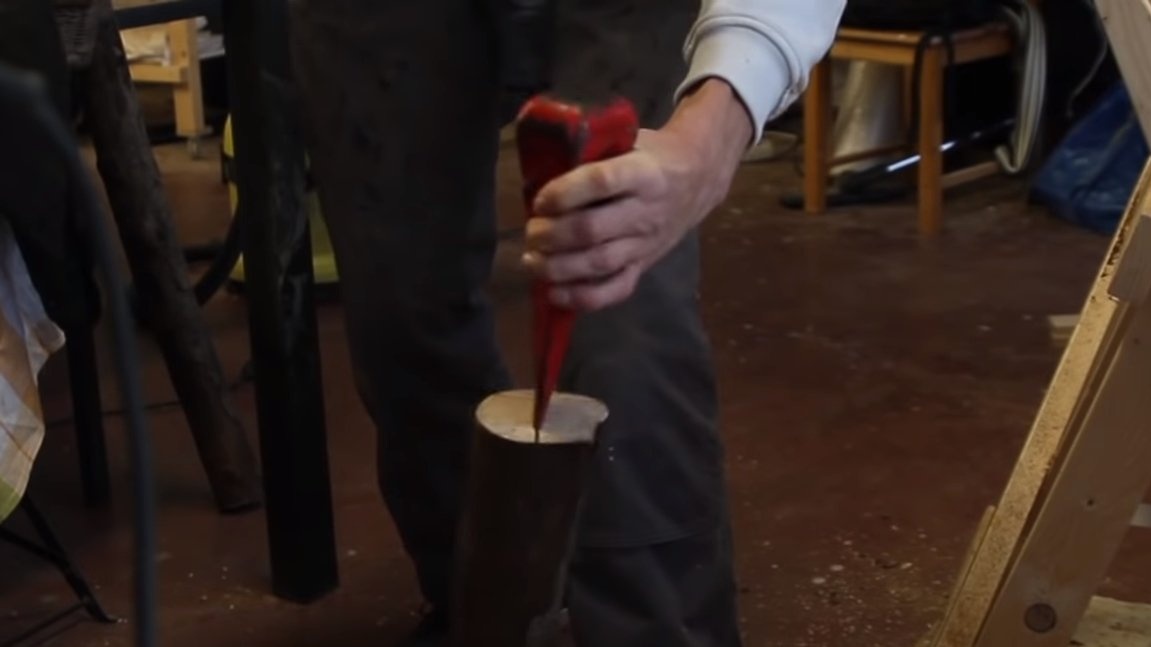
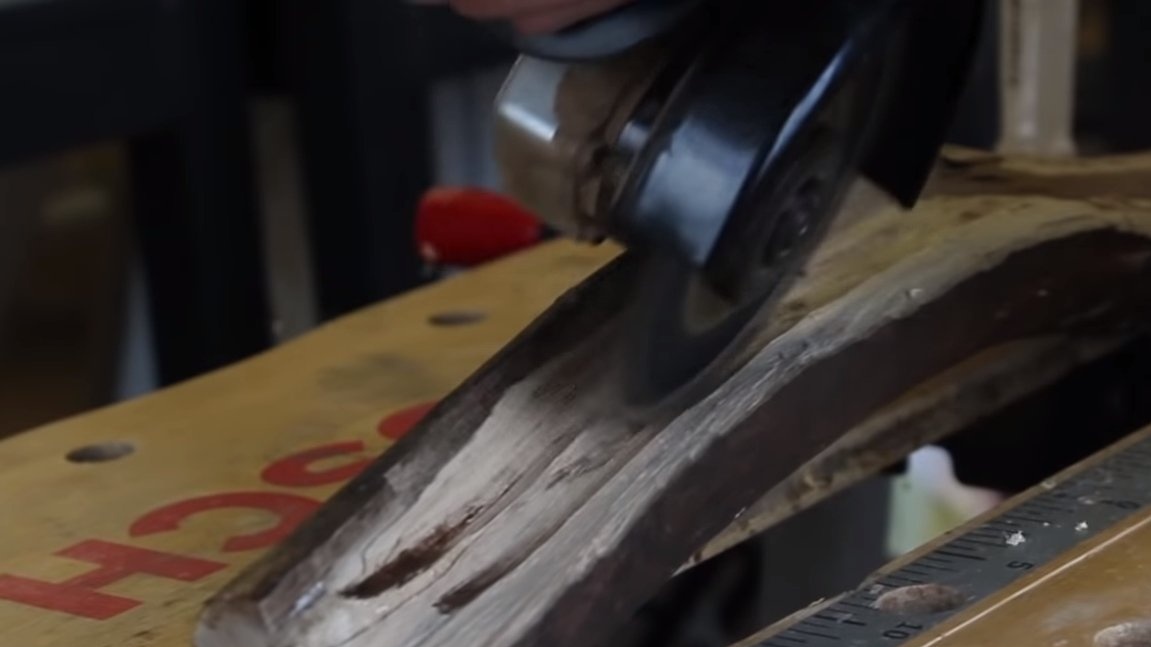
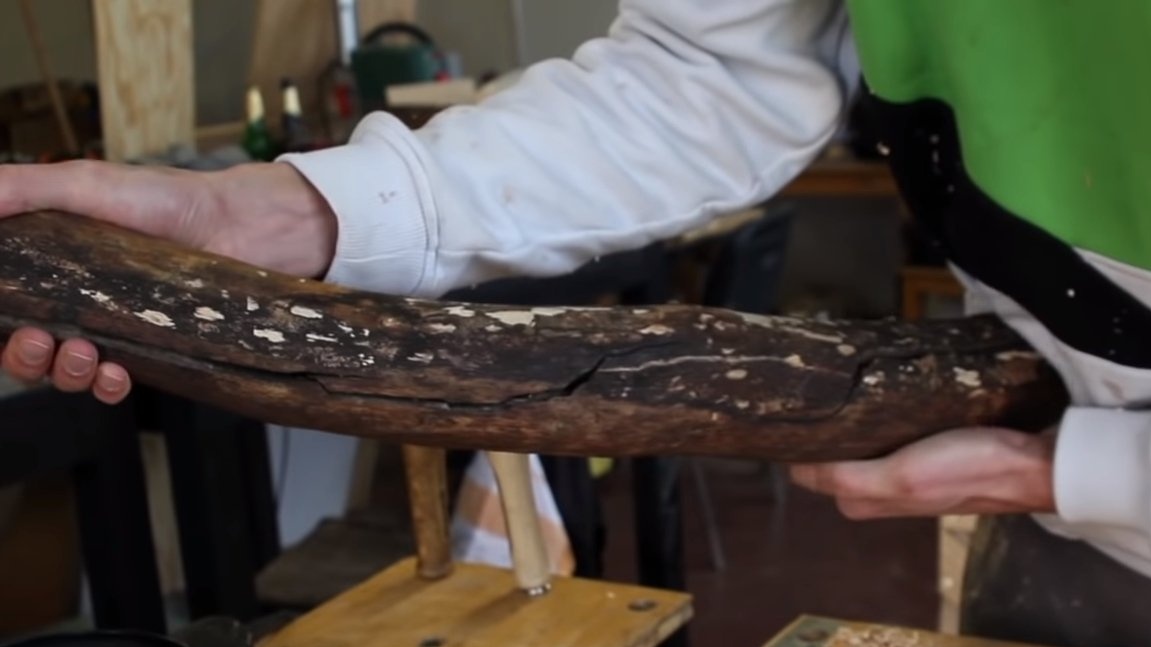
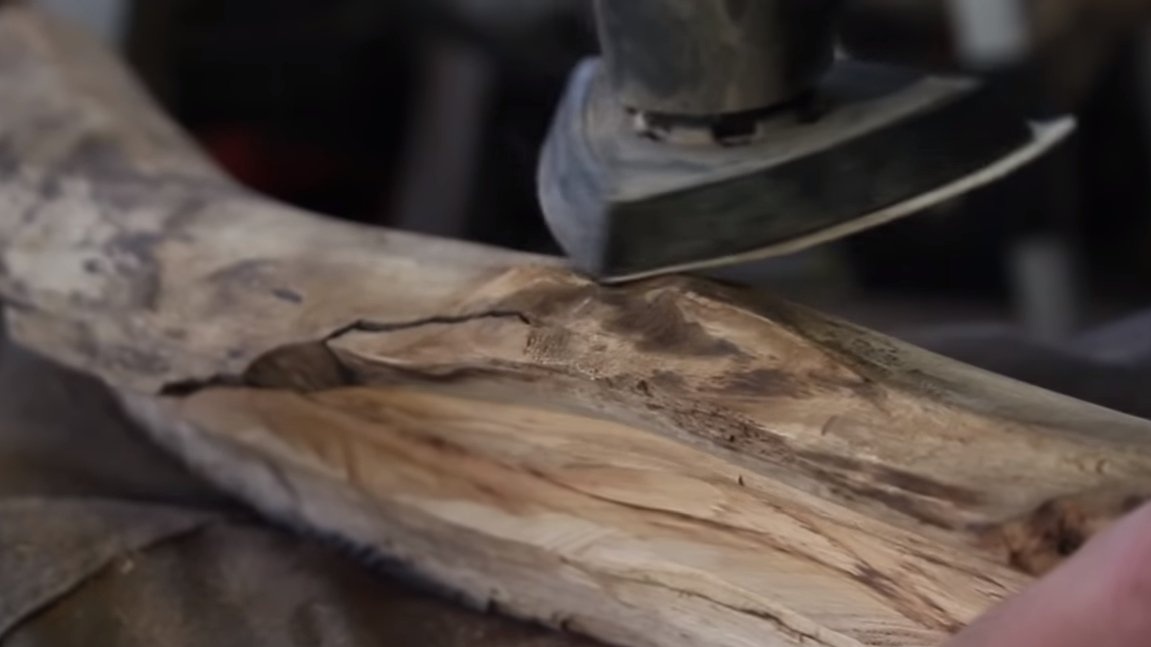
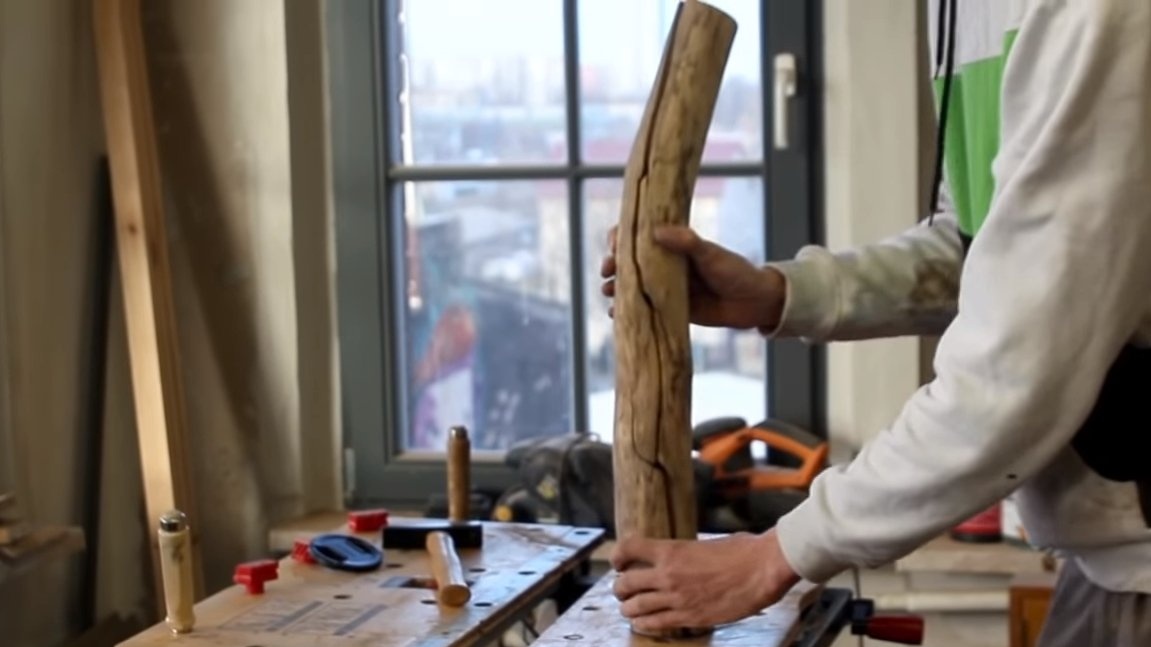
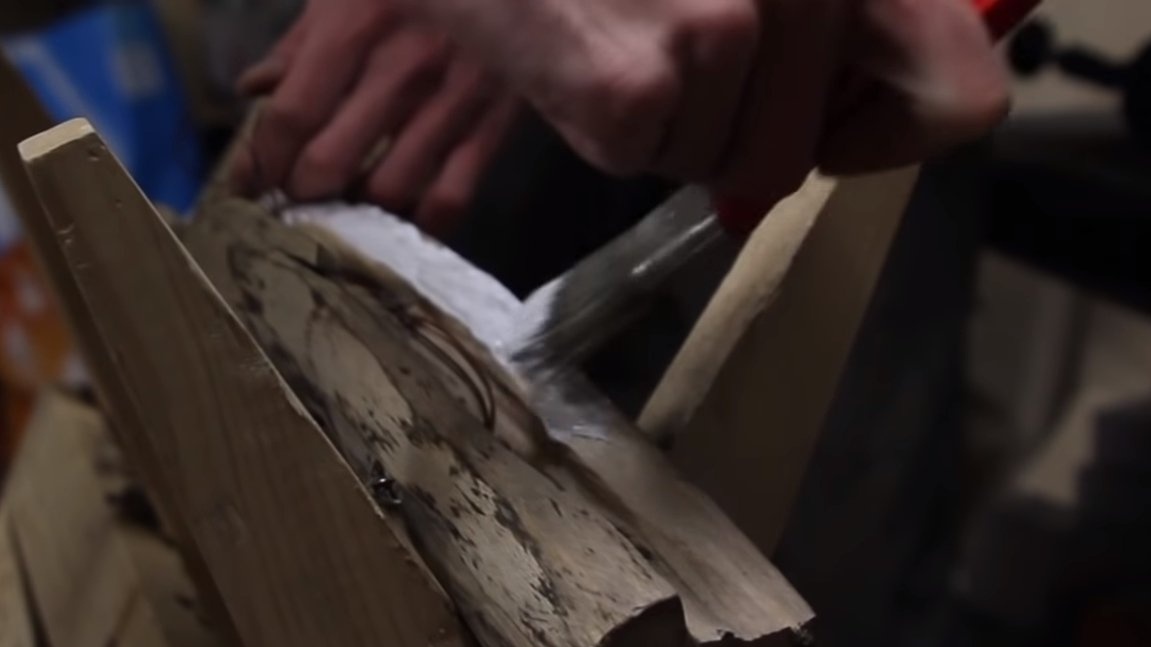
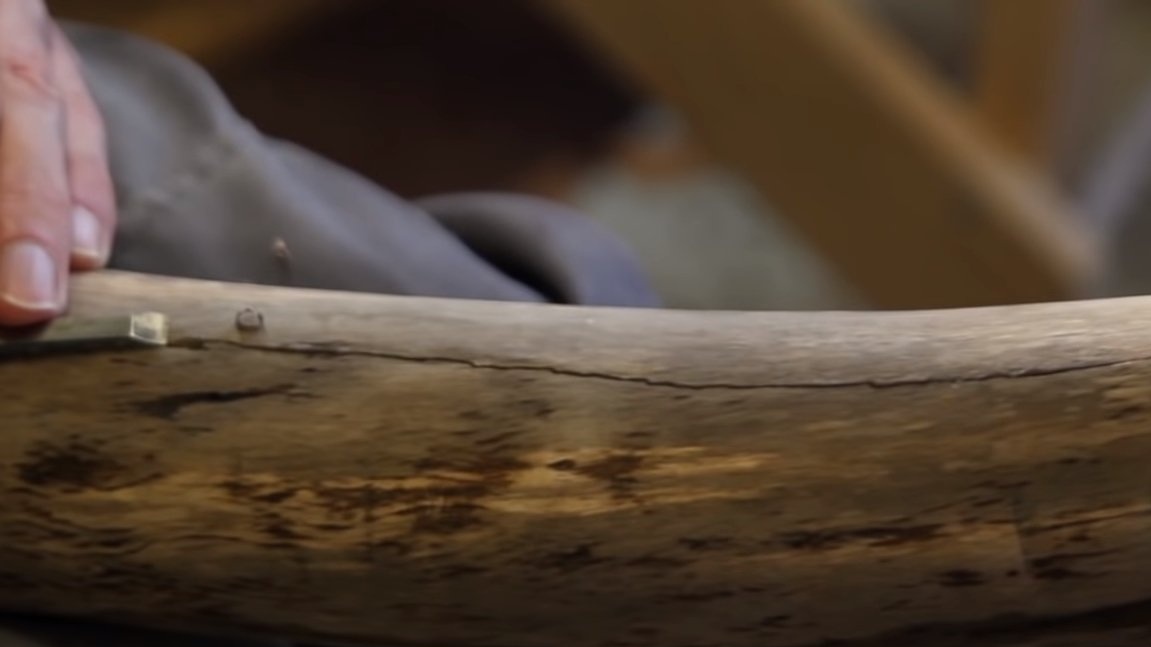
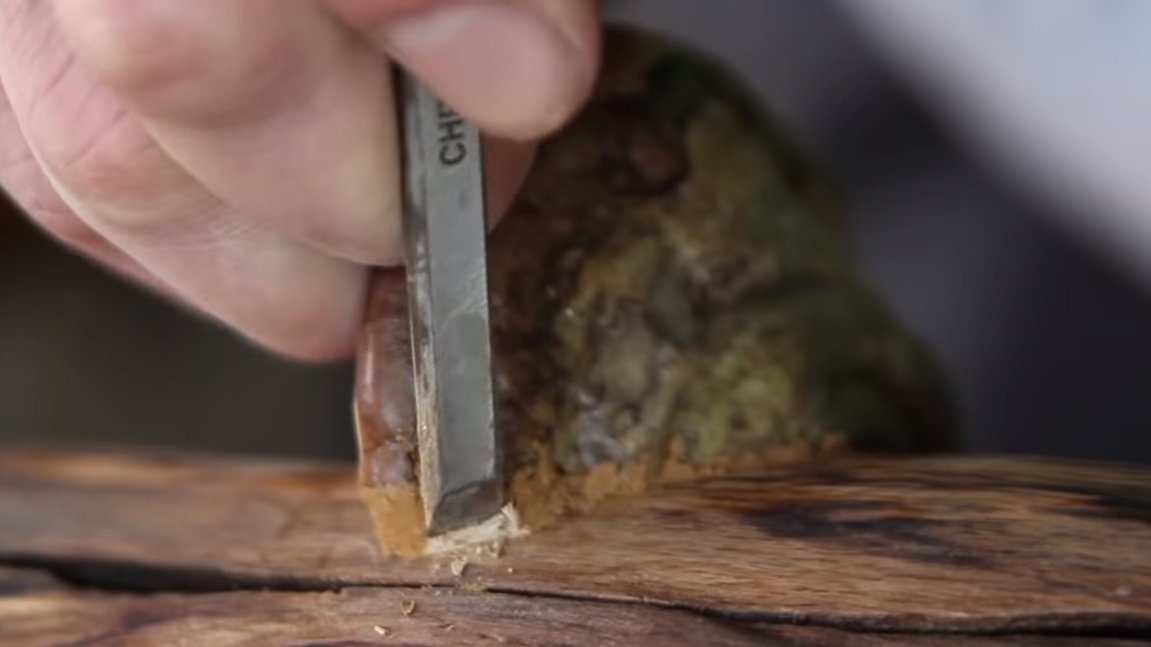
The main part of the lamp is a piece of tree branch. We cut it to the desired length, and then we need a wedge and a hammer. The branch needs to be split along the entire length, and how it turns out, it already depends on the branch itself.
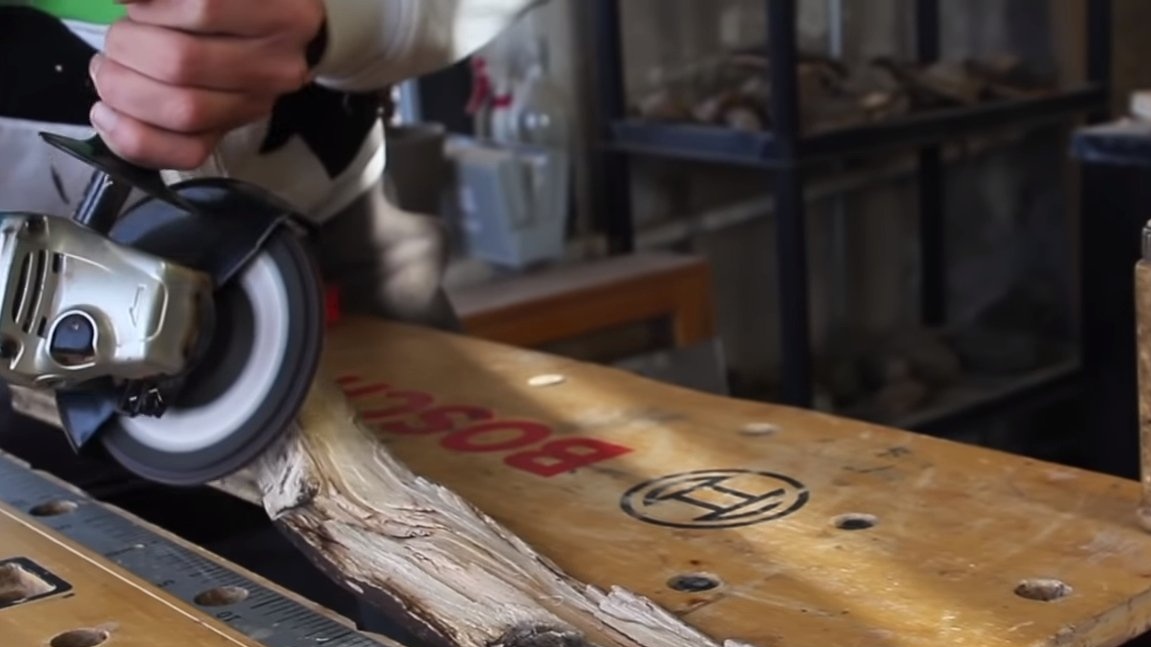
Next, we arm ourselves with a grinder with a wood nozzle, we need to make the branch inside become hollow. In this cavity, we will then install an LED strip. Do not damage the wood, the crack after splitting should remain in its natural form.
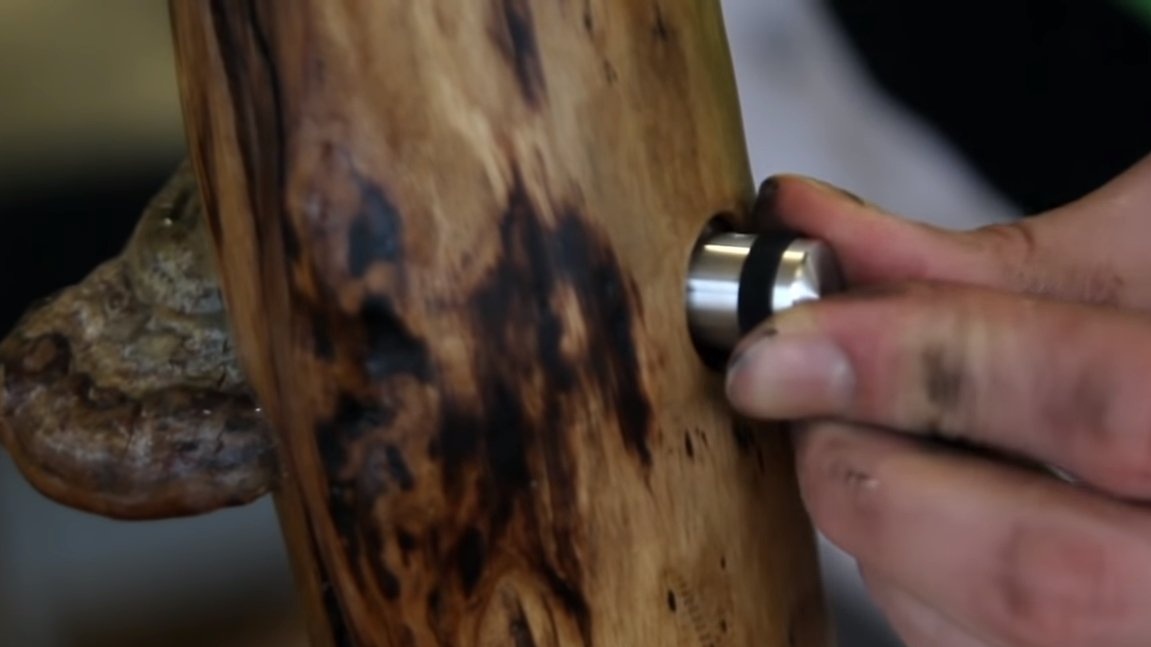
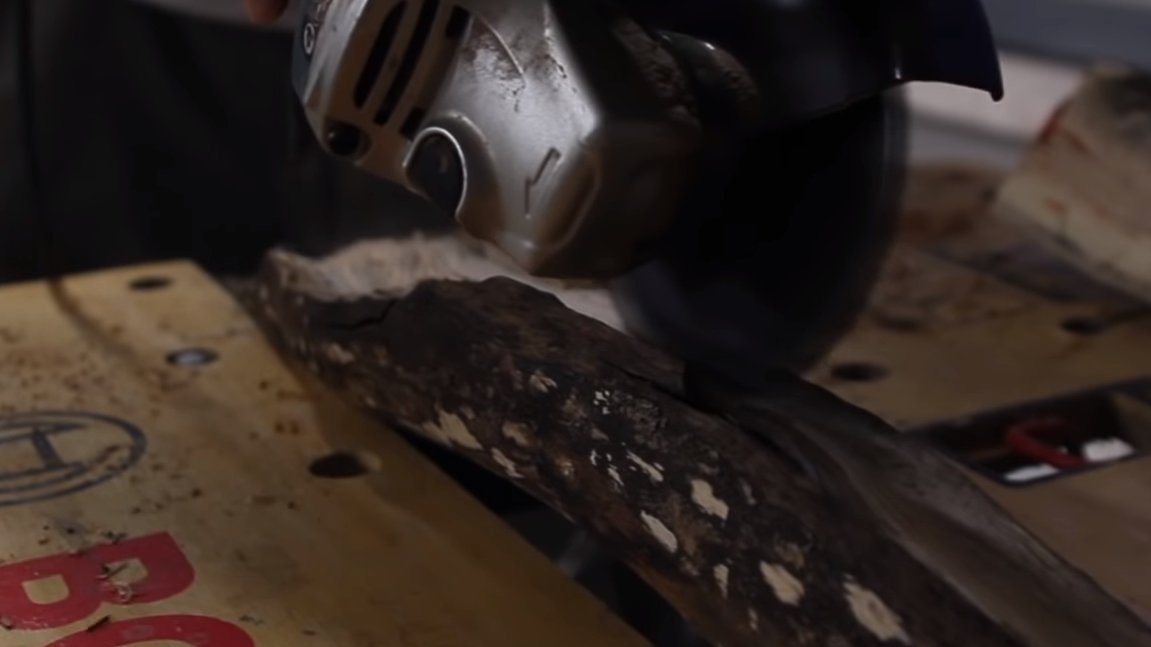
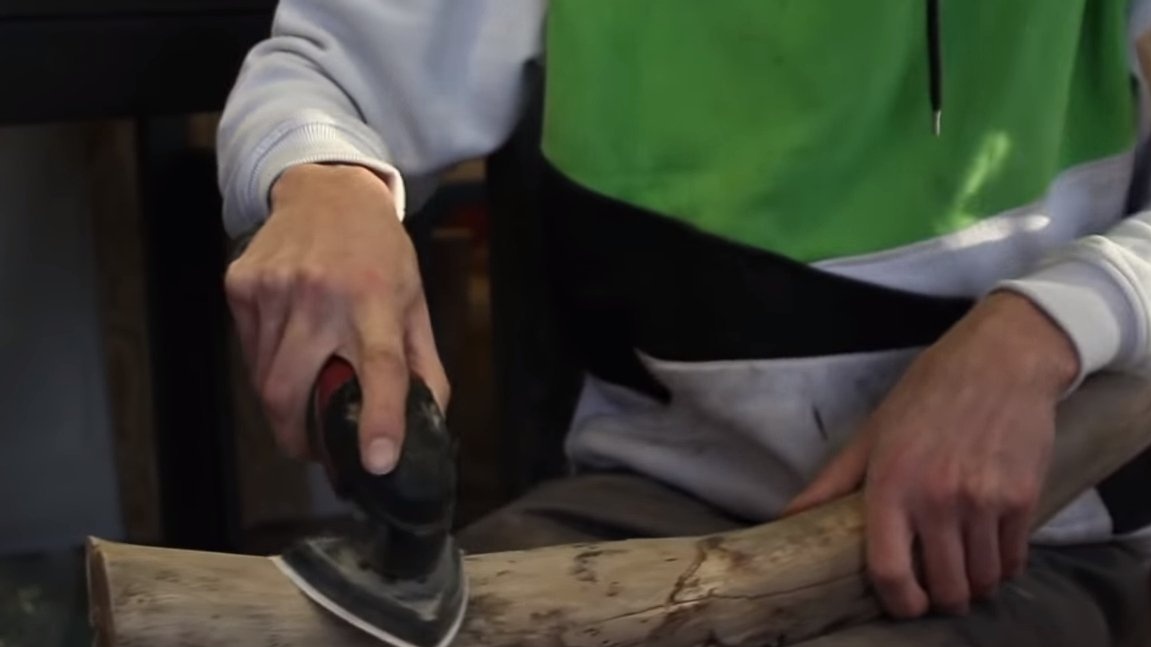
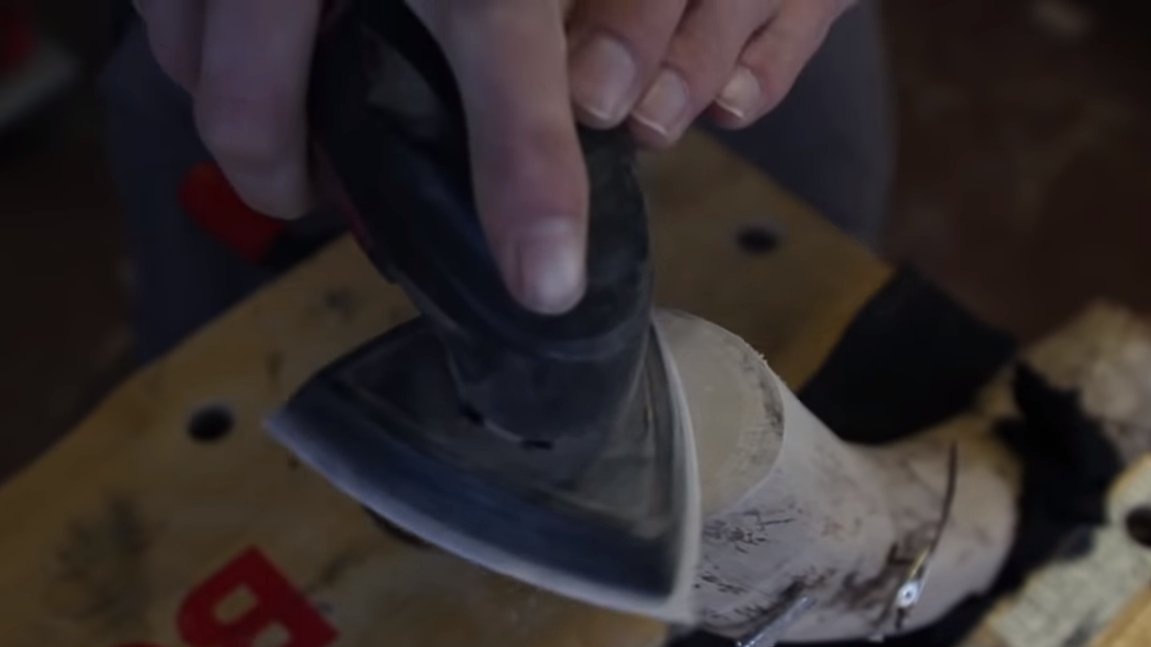
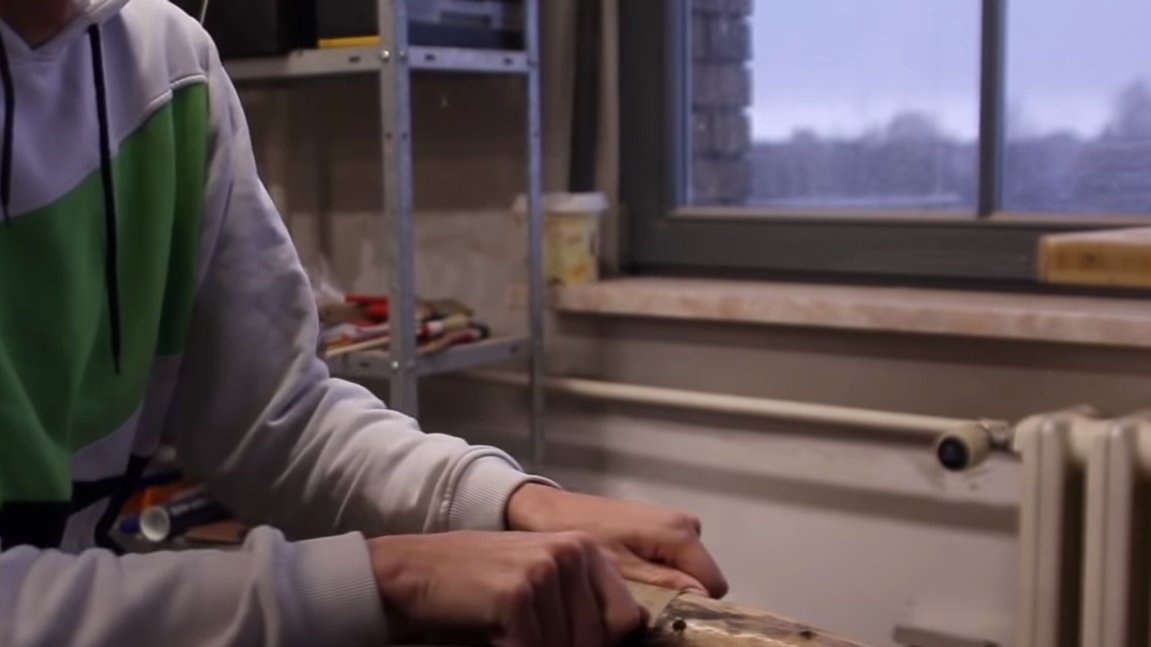
Well, then carefully grind the workpiece from the outside. Here we need a vibrating sander or other at your discretion. Final work can also be done manually using fine sandpaper.
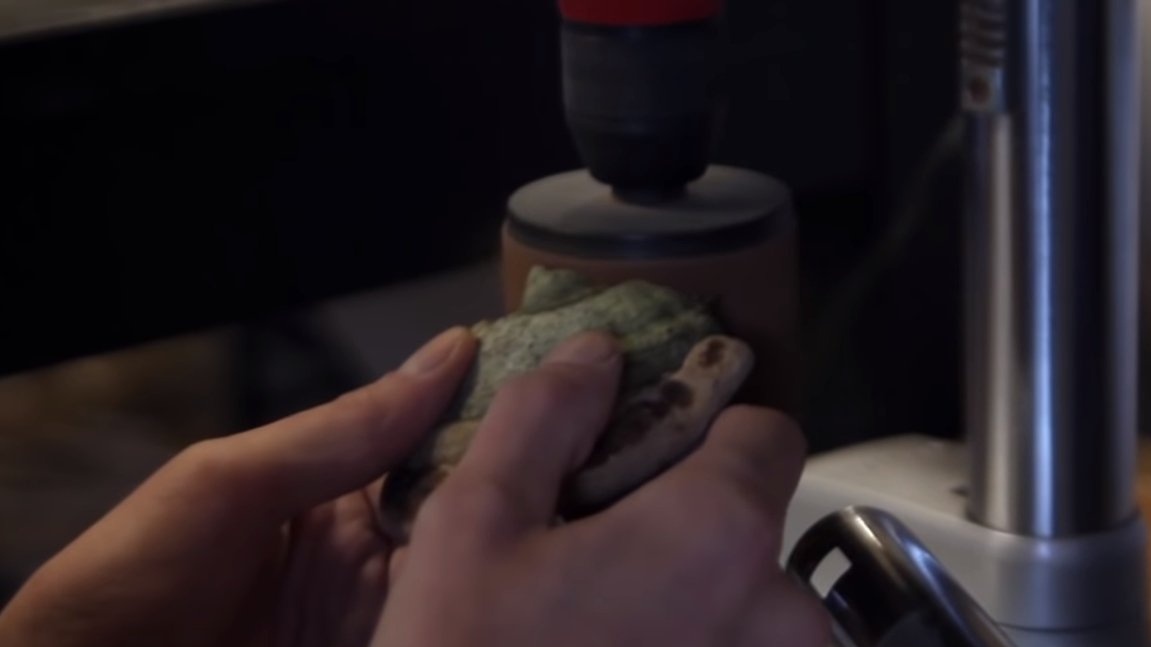
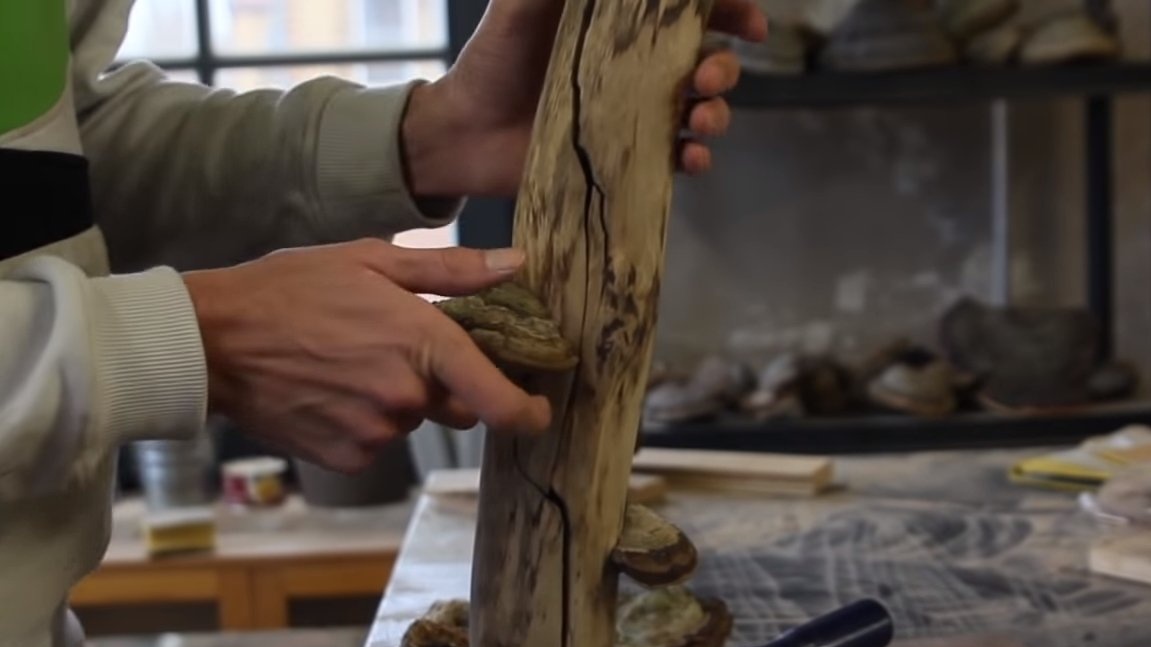
Step Three Mushrooms
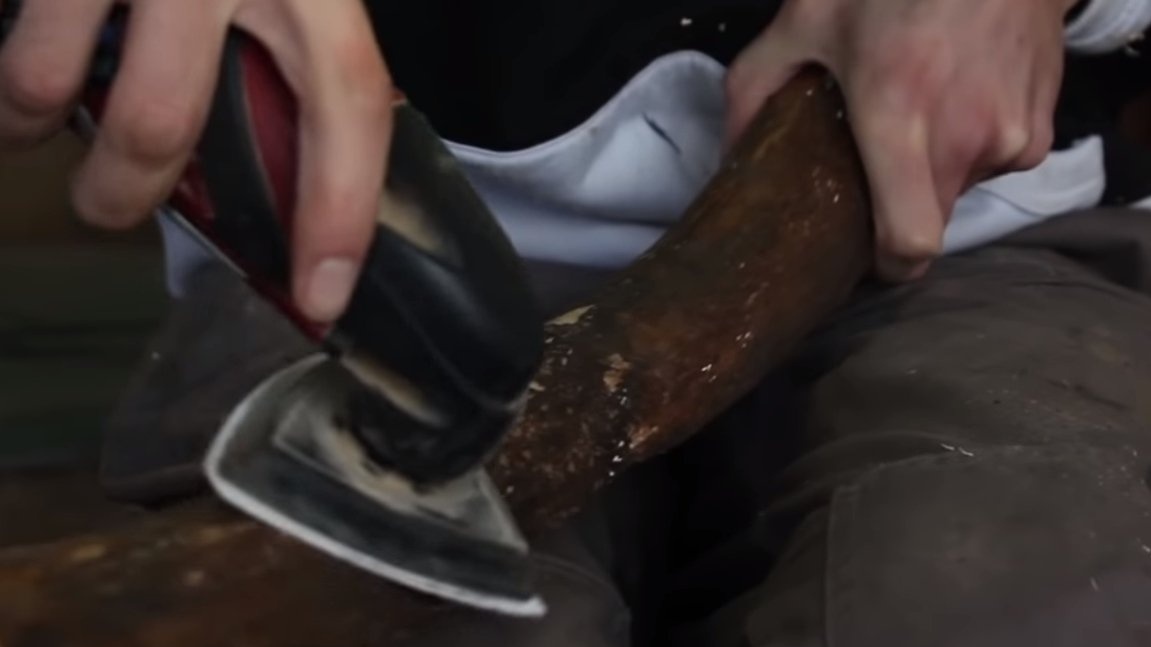
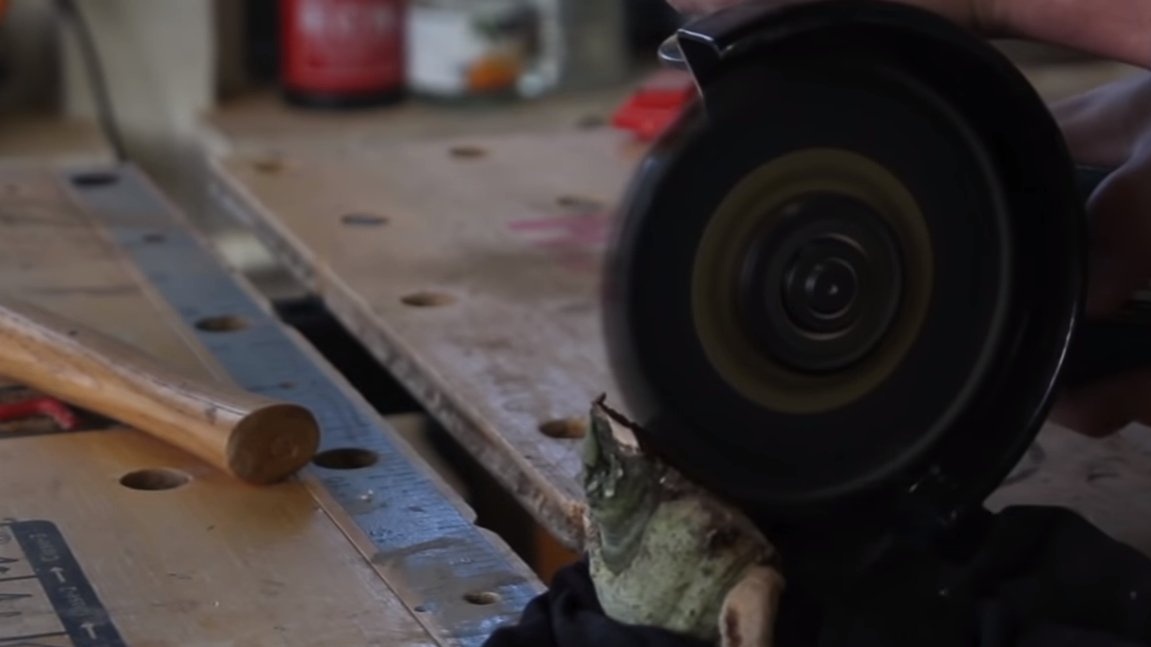
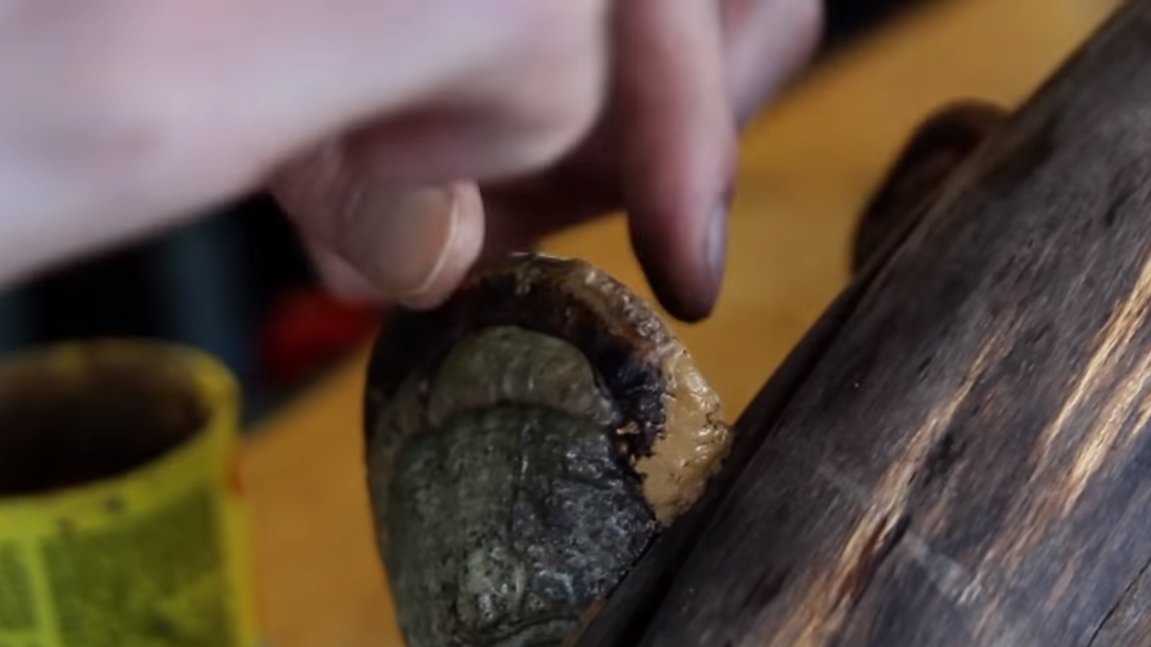
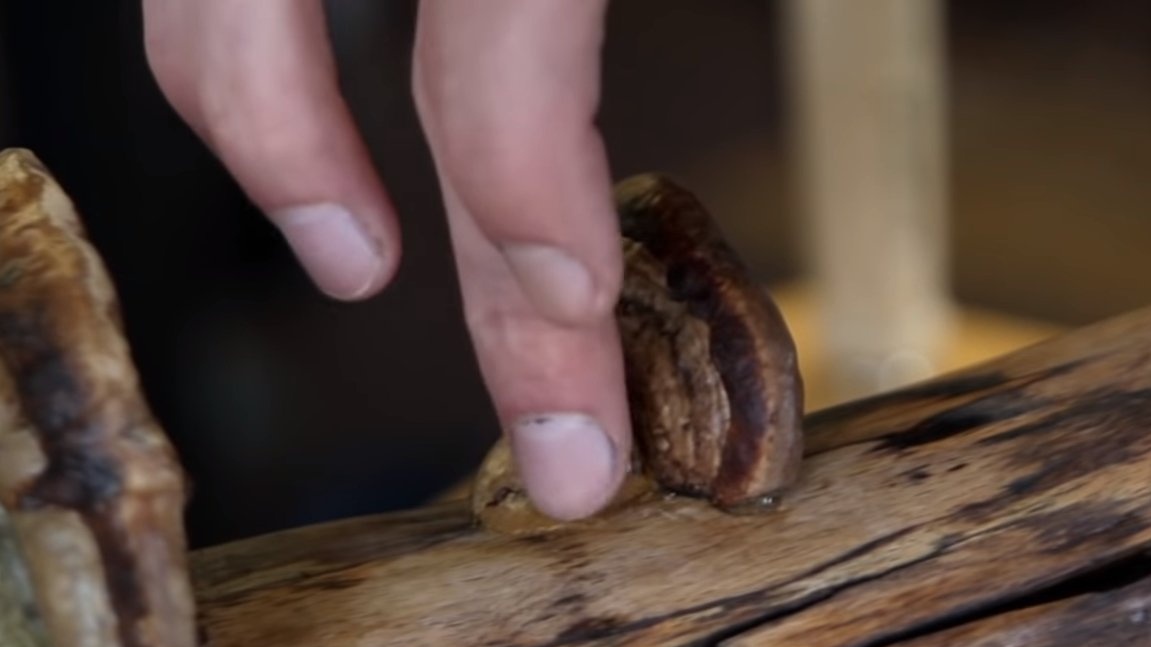
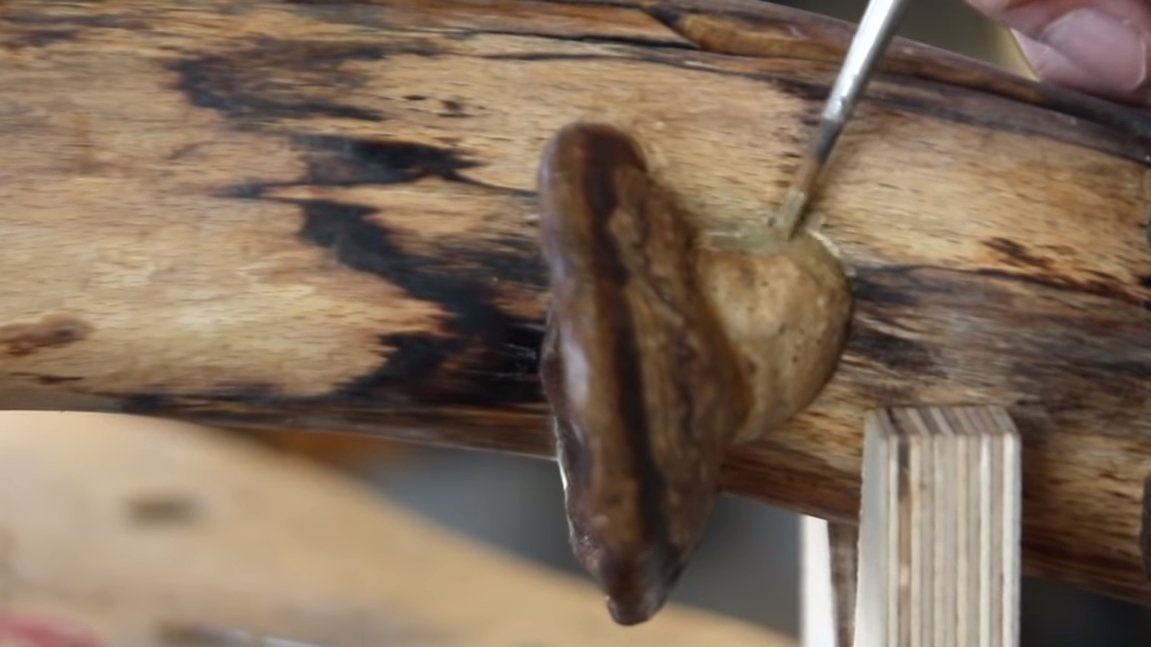
We will prepare the mushrooms, for starters they need to be adjusted so that they are tightly joined by the points of attachment to the branch. To do this, you need a rotary sander or similar tool.
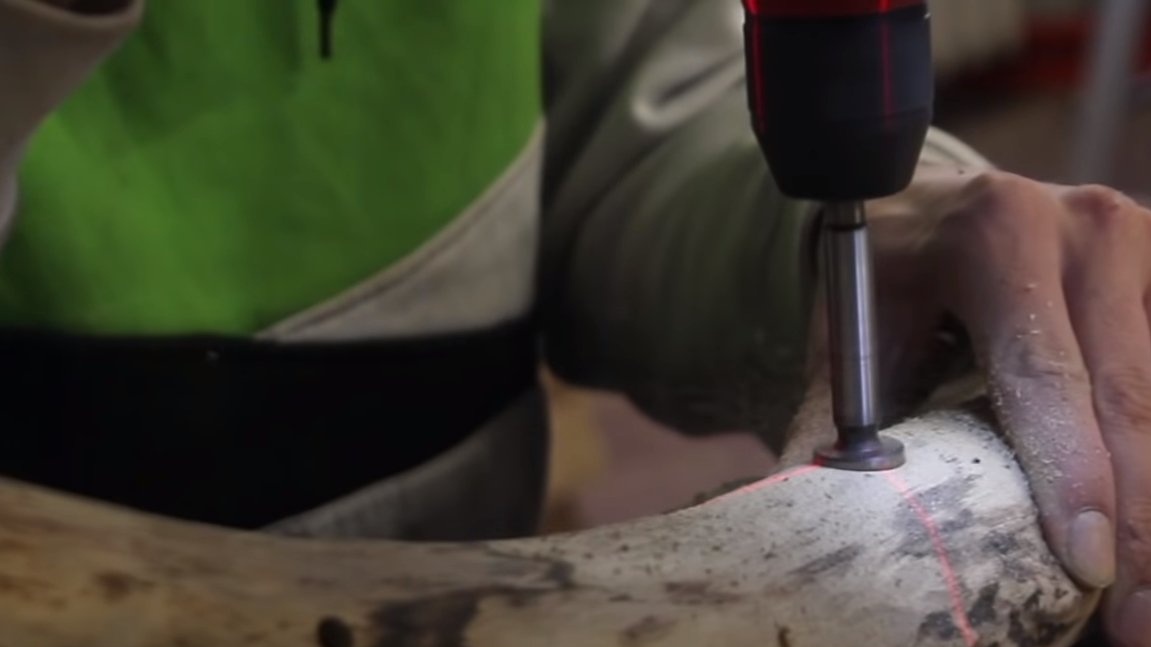
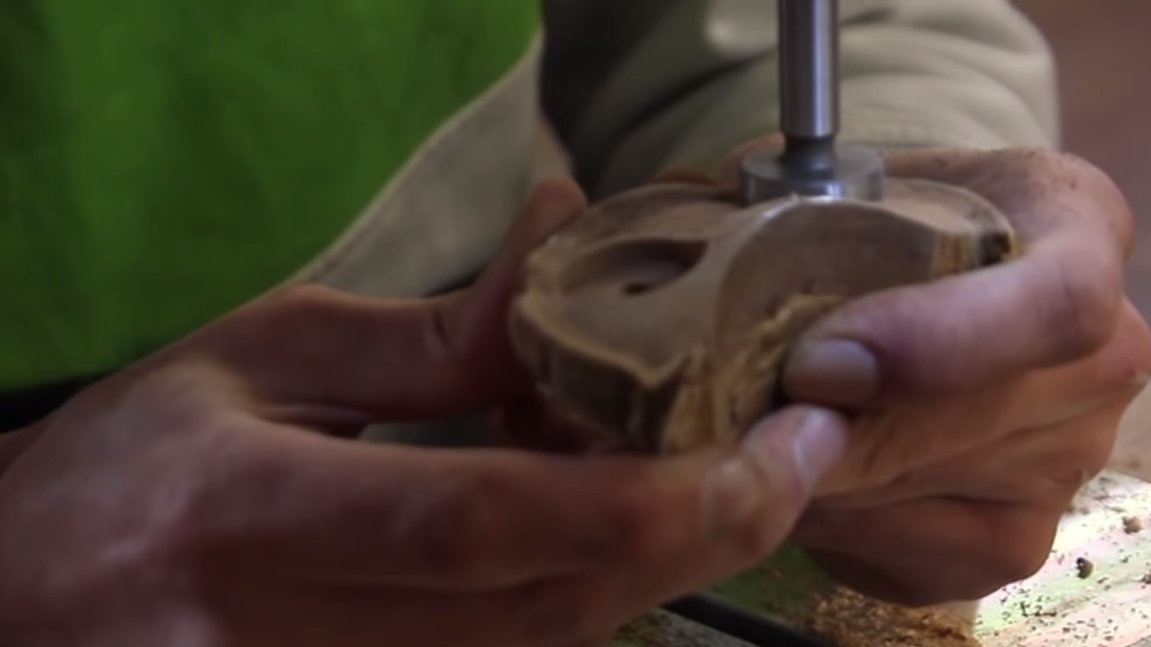
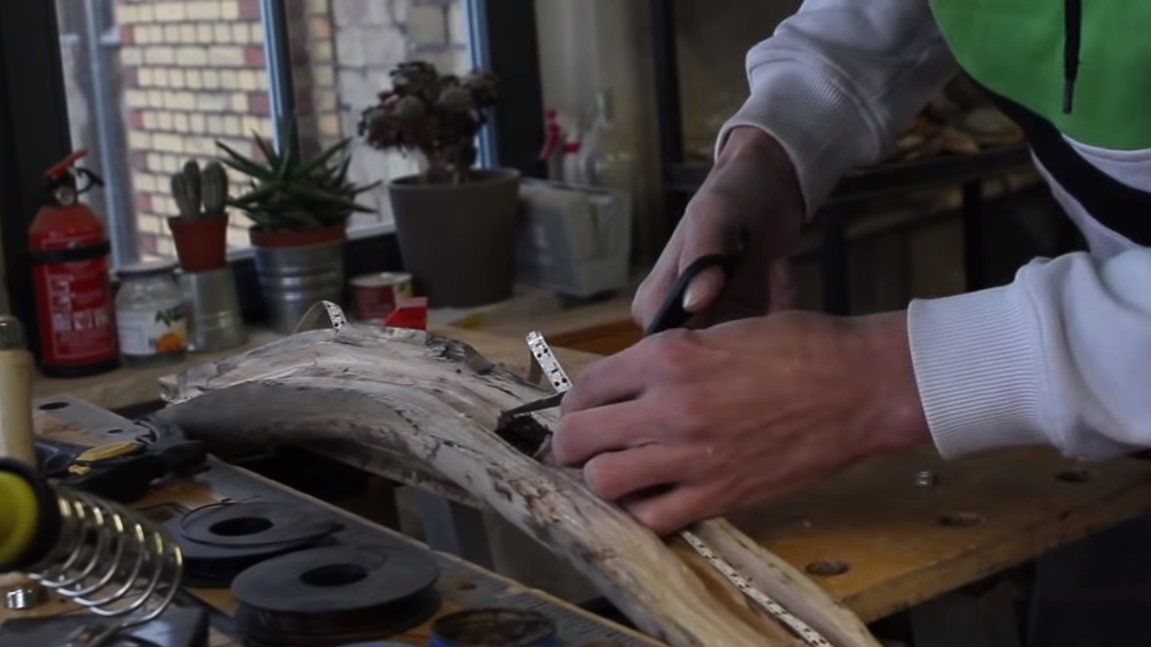
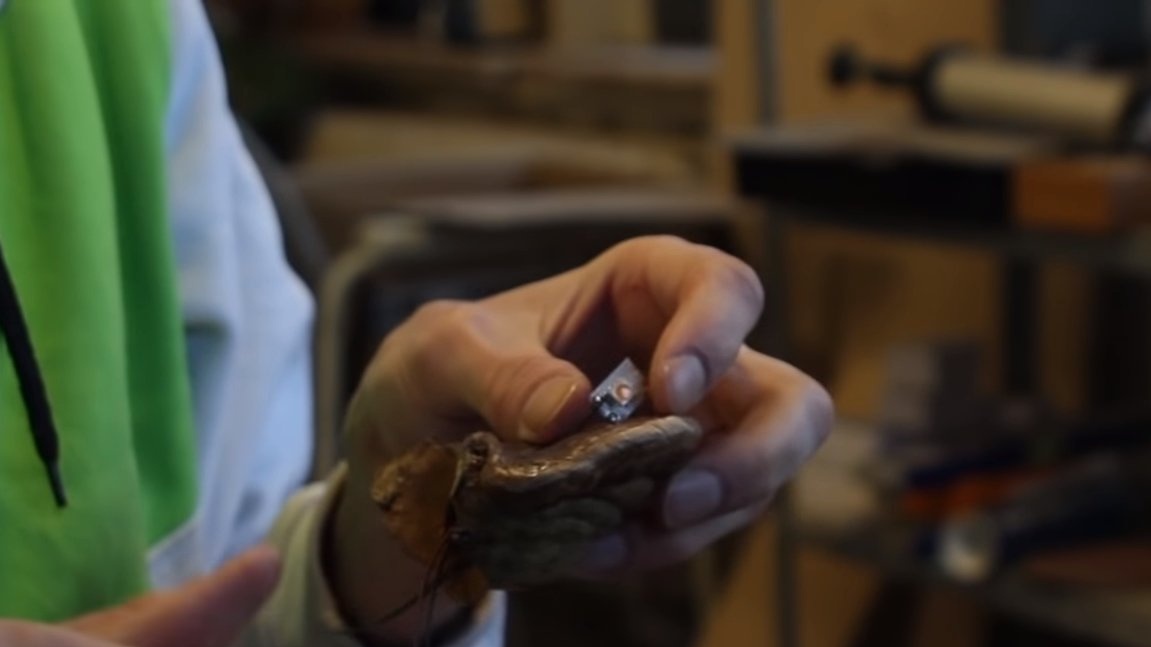
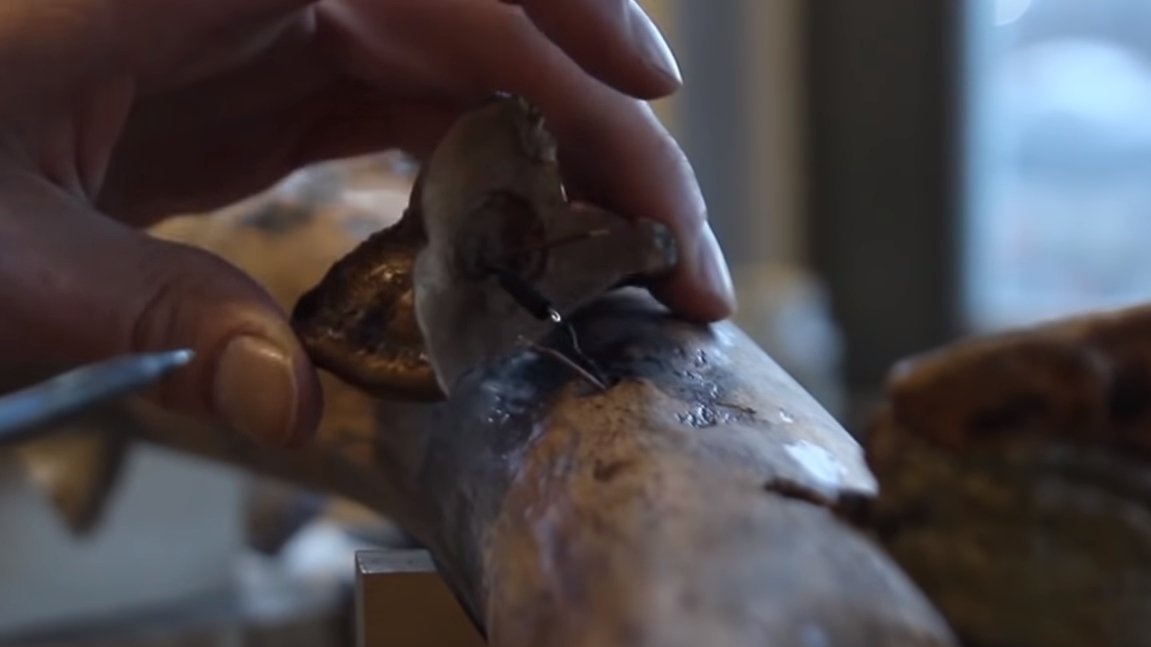
In the mushrooms themselves, you also need to drill holes for the wires and make seats for the LEDs. Do not forget to drill holes for the wires and in the workpiece from the branch where the mushroom will be attached.
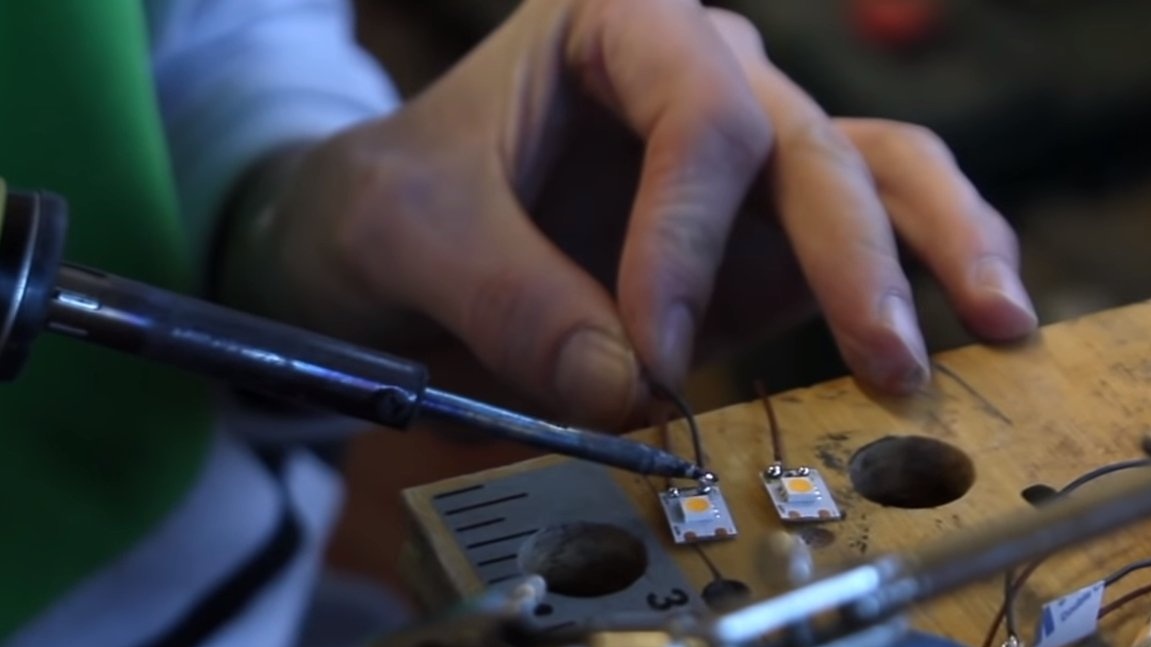
Step Four LED Strip Light
Inside the stick you need to install the LED strip, it needs to be glued. Please note that the tape must not become very hot, otherwise this may cause the lamp to catch fire. Solder the wires, remove the wires for the mushrooms and now the “stick” can be glued. It is necessary to glue the blank on the one hand, so that on the other hand you get a “luminous crack”. We tighten everything well with clamps and leave the whole thing to dry.


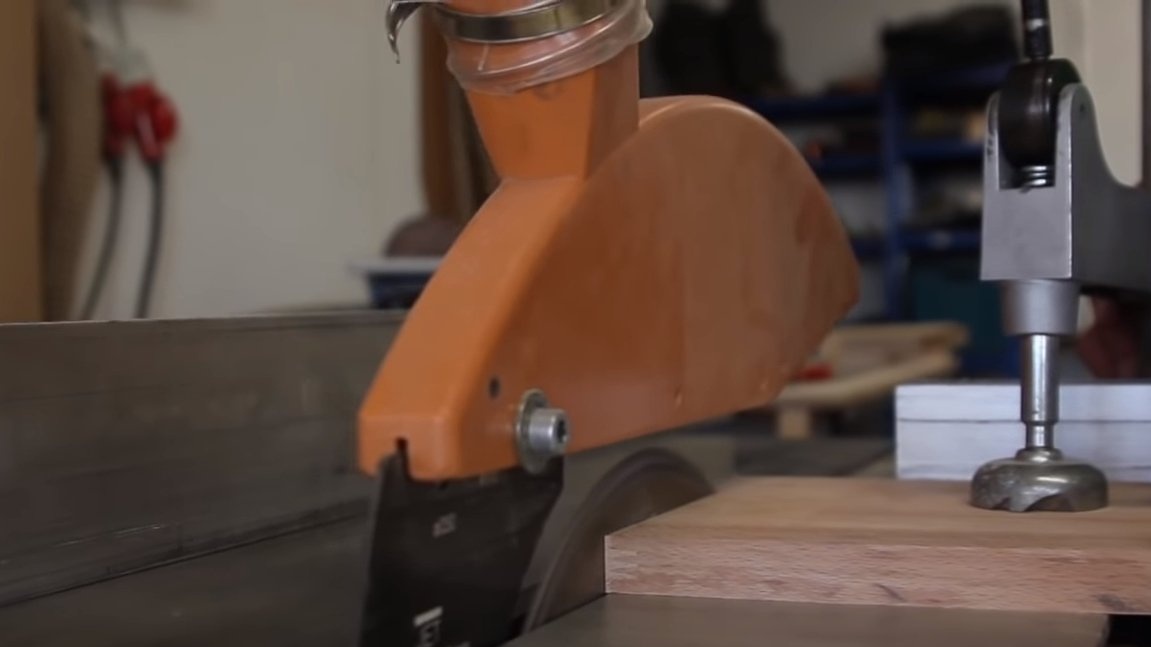
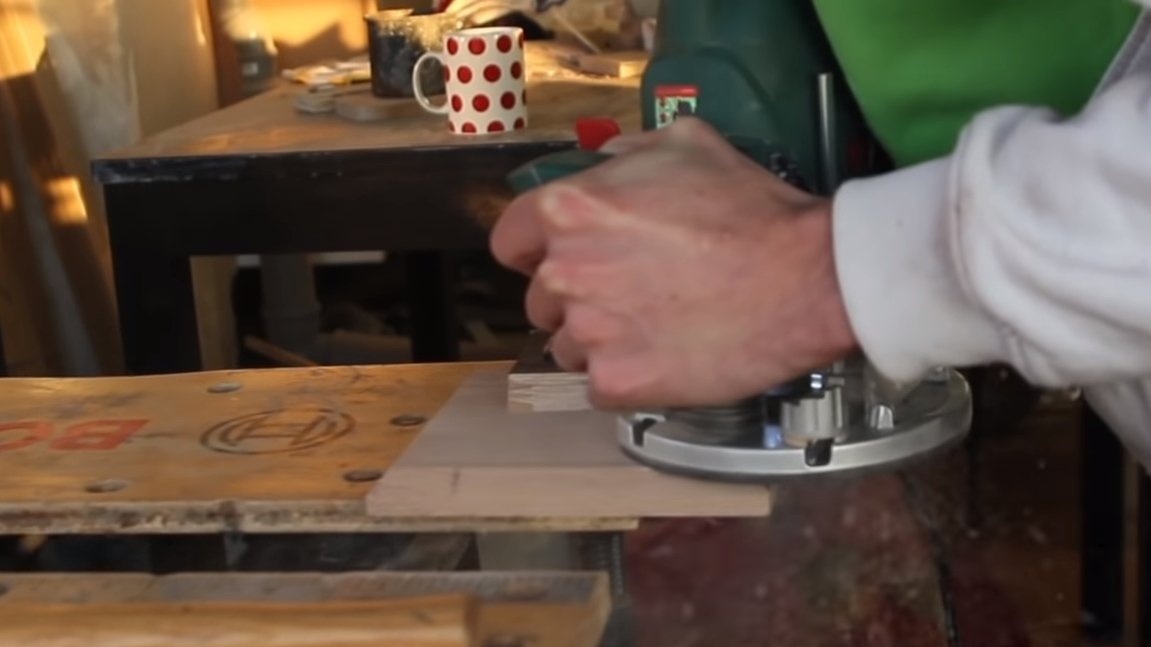
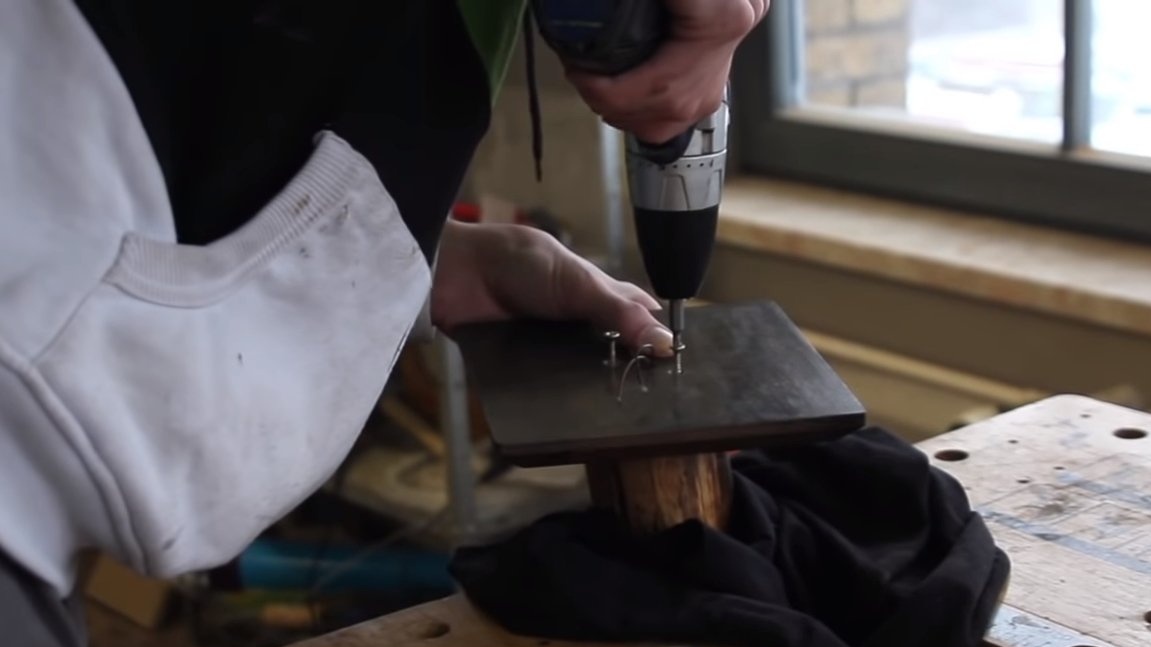
Step Five Stand
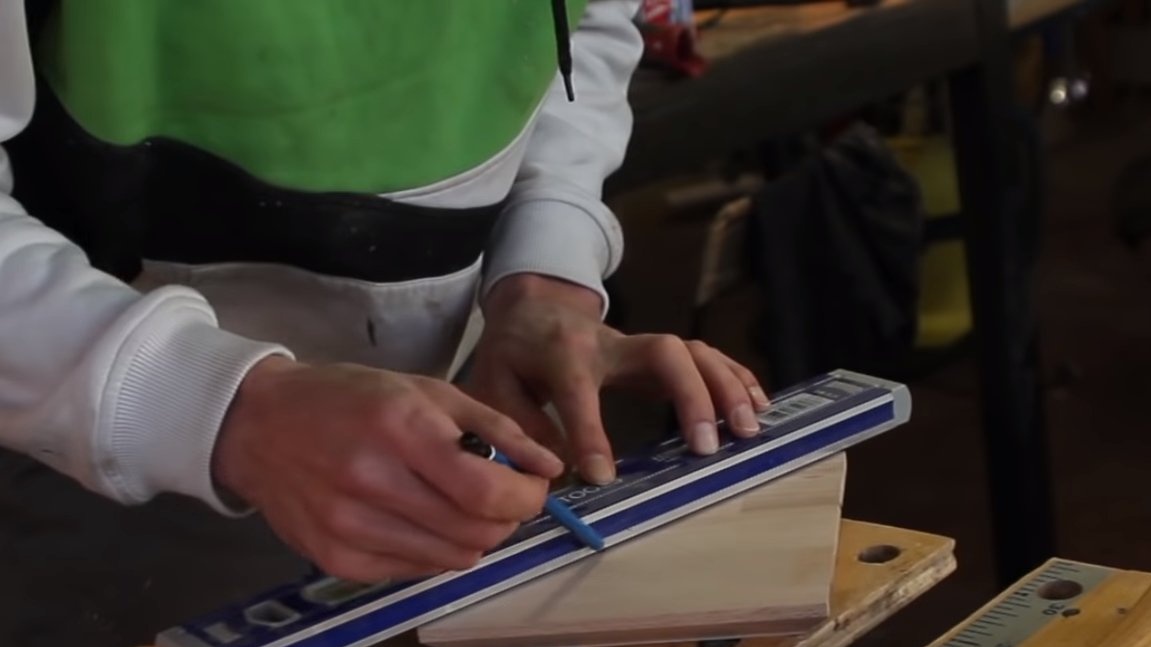
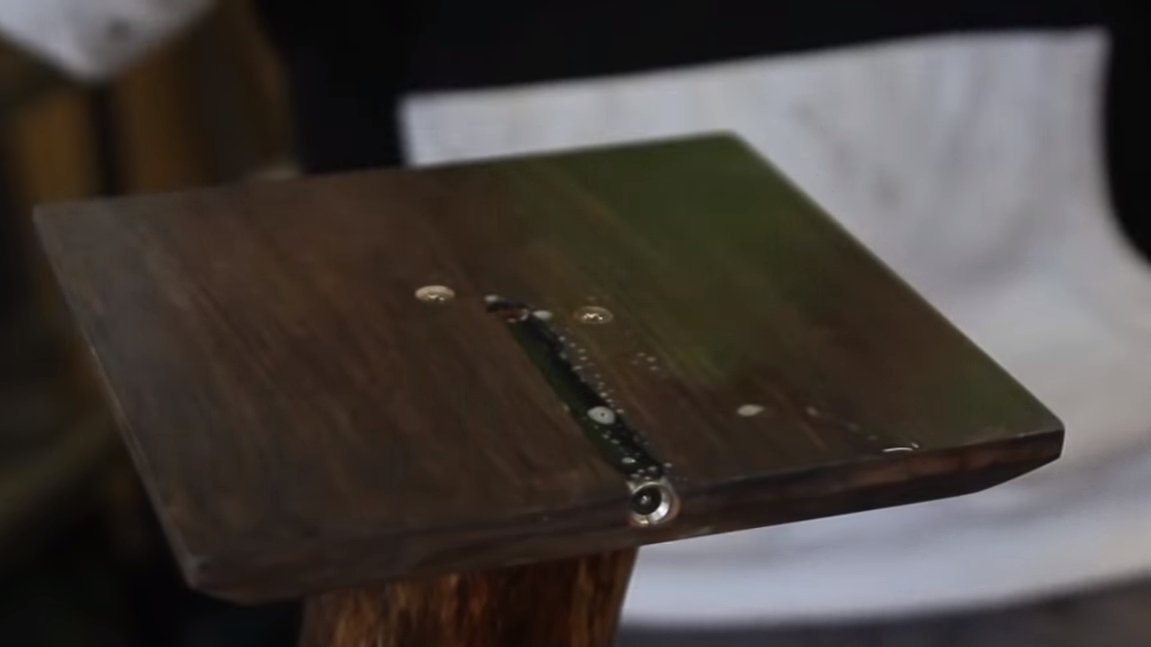
We’ll make a stand for the lamp, for this you can use a tree saw cut, but our author used just a piece of the board. We cut the material to the desired size and form the desired angles with a milling cutter. We drill a hole for the cable and grind the base well.
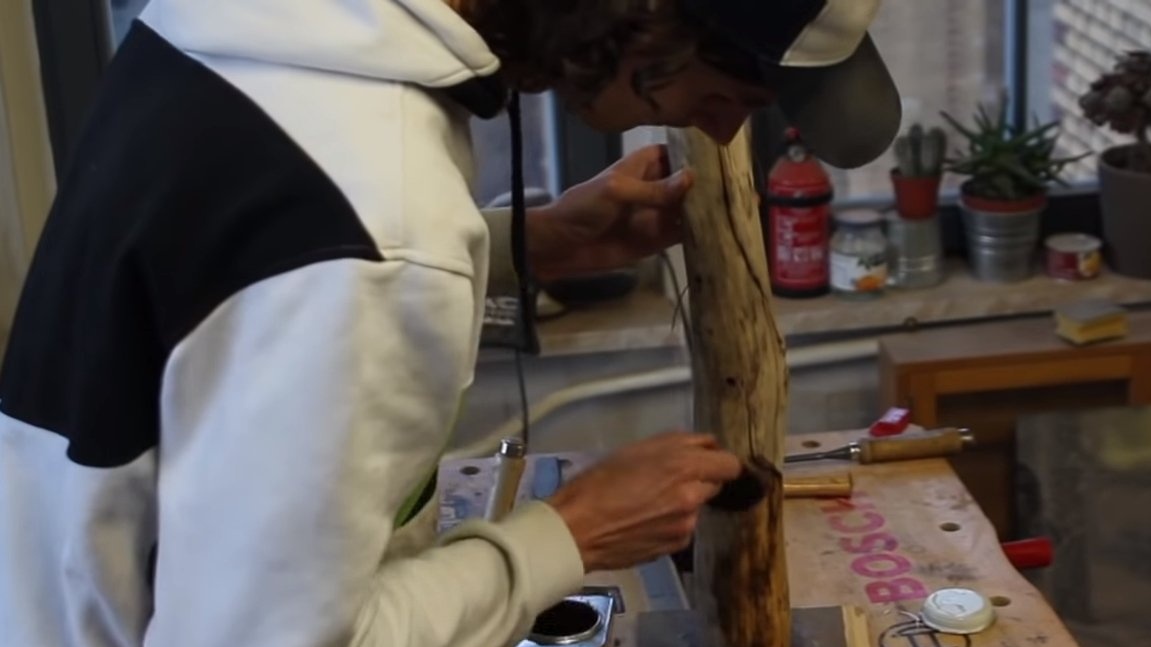
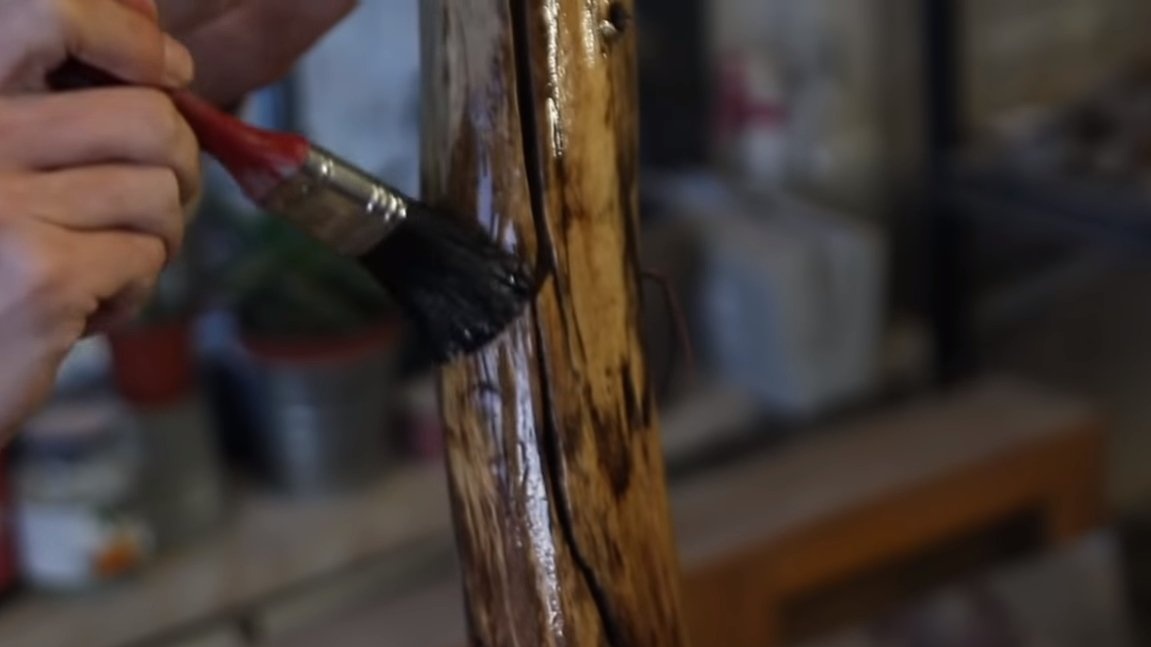
Step Six Primary wood processing
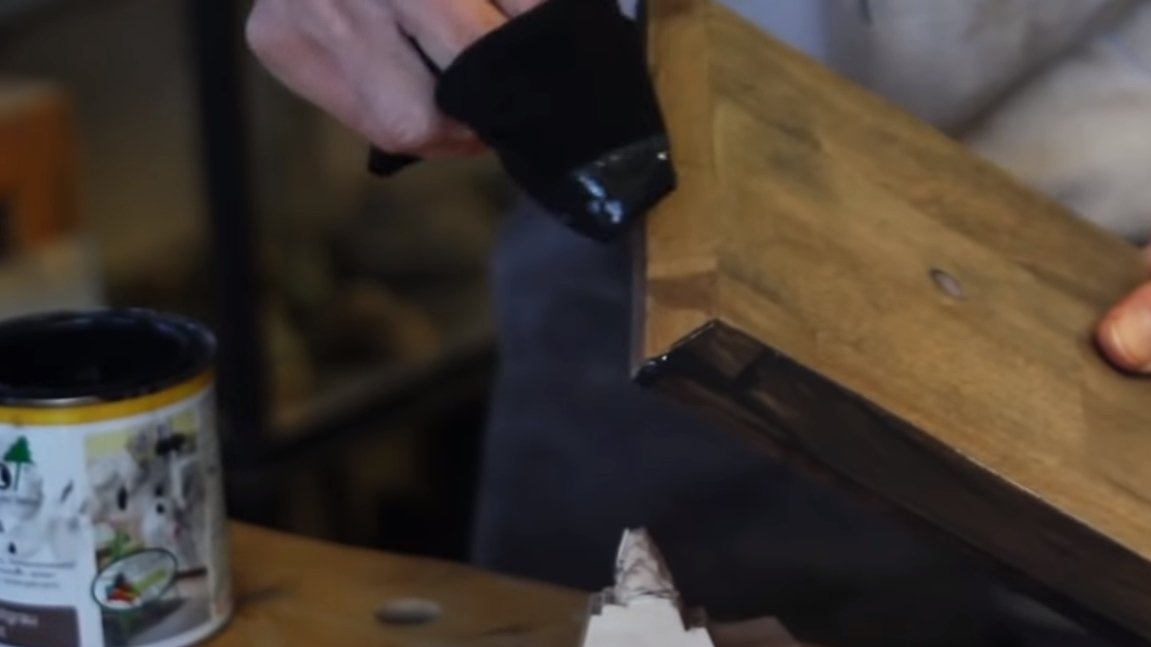
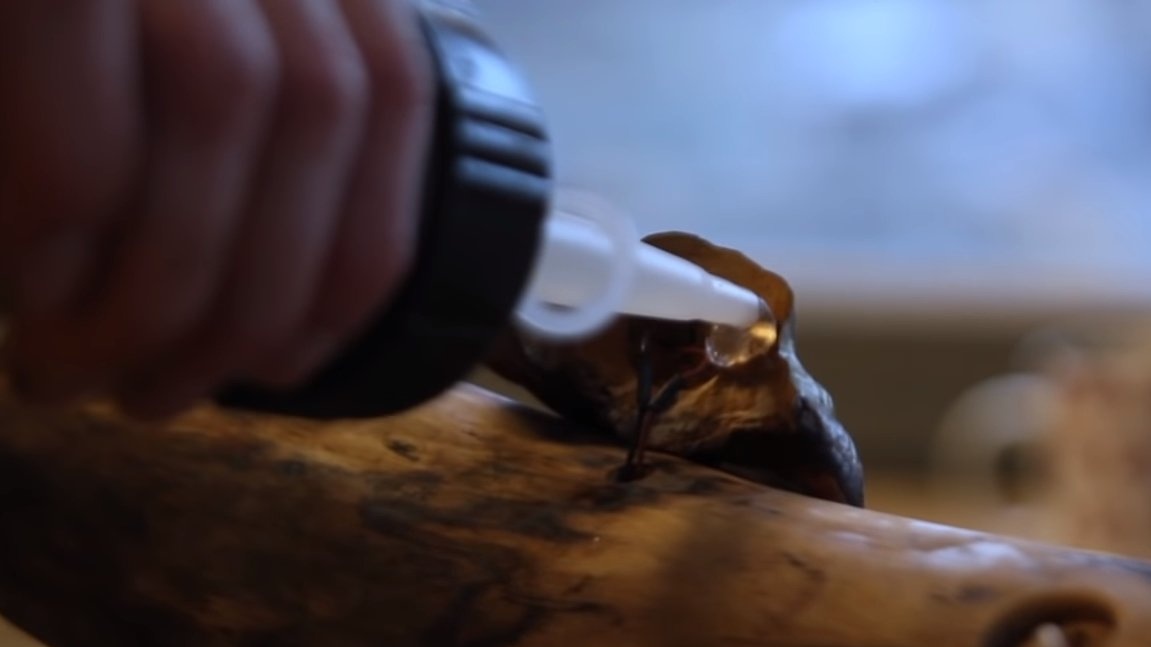
We proceed to the primary processing of wood, after carefully grinding all the wooden parts soak with varnish or epoxy. Such a coating will strengthen old wood, and also emphasize the beauty of the material.
Seventh step. Final touches and assembly
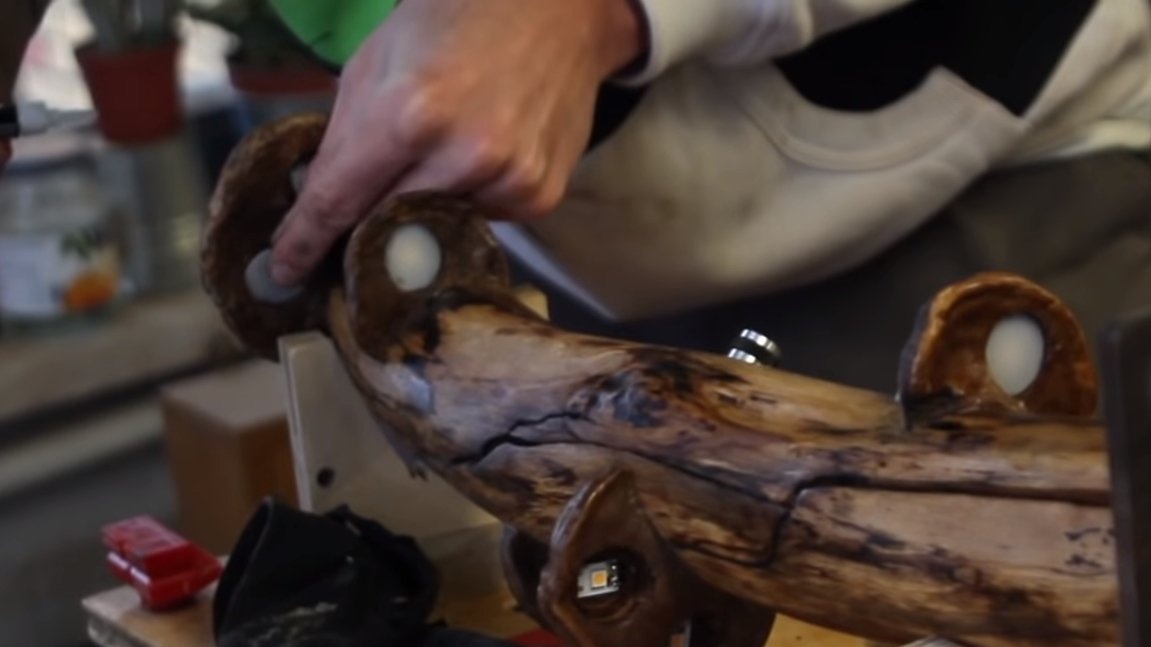
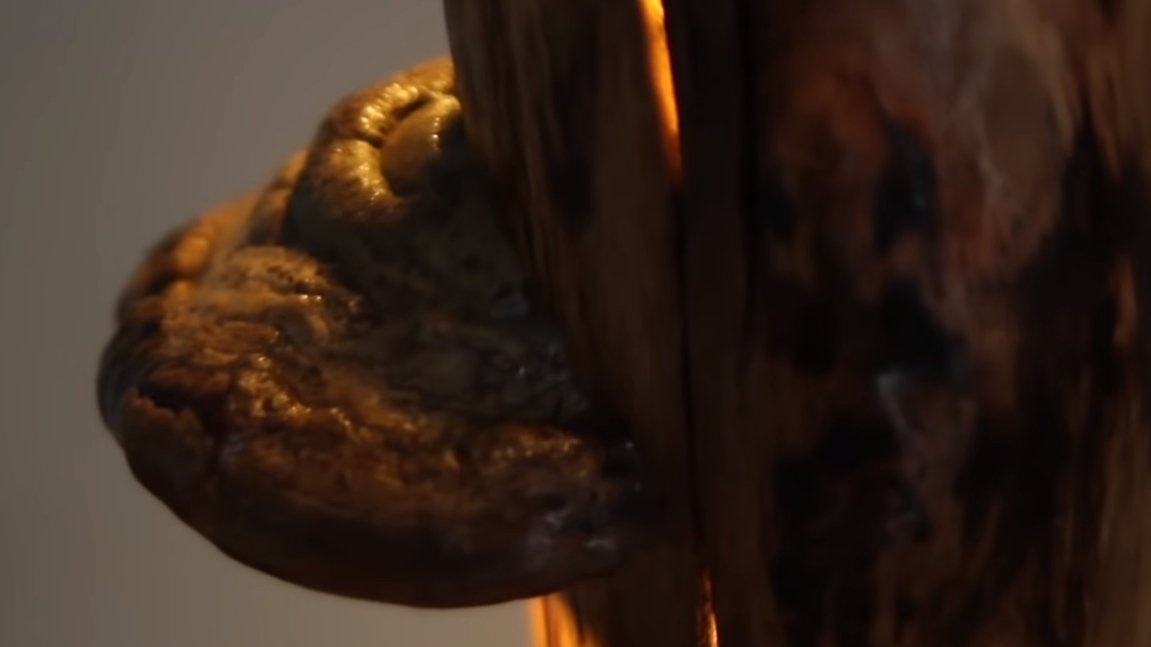
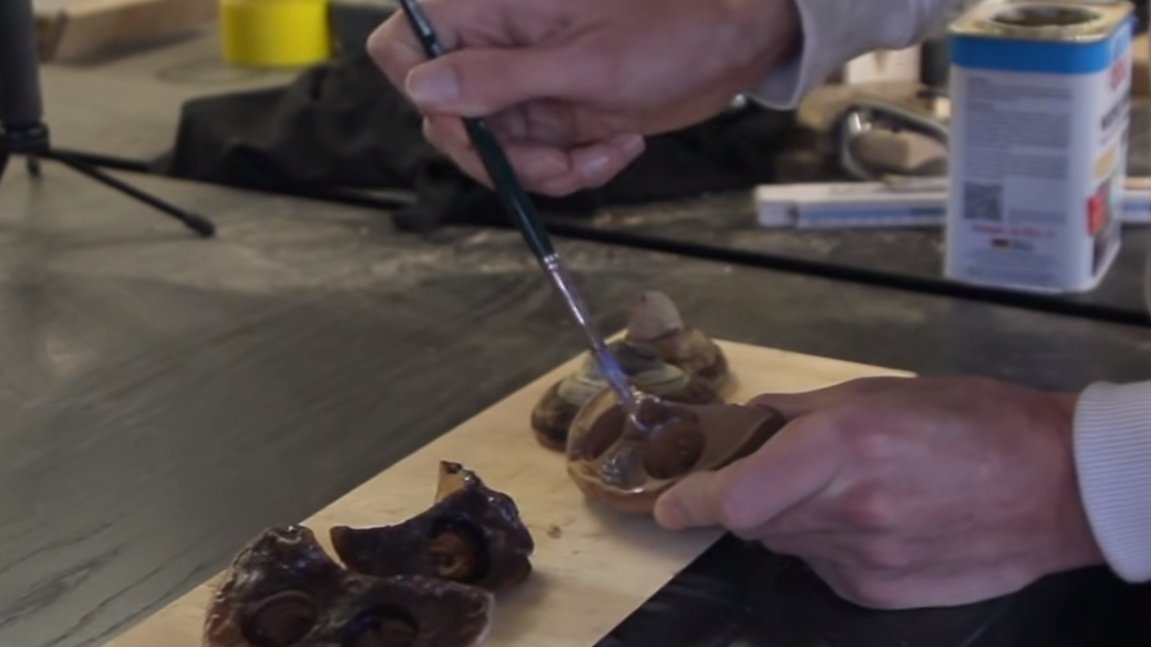
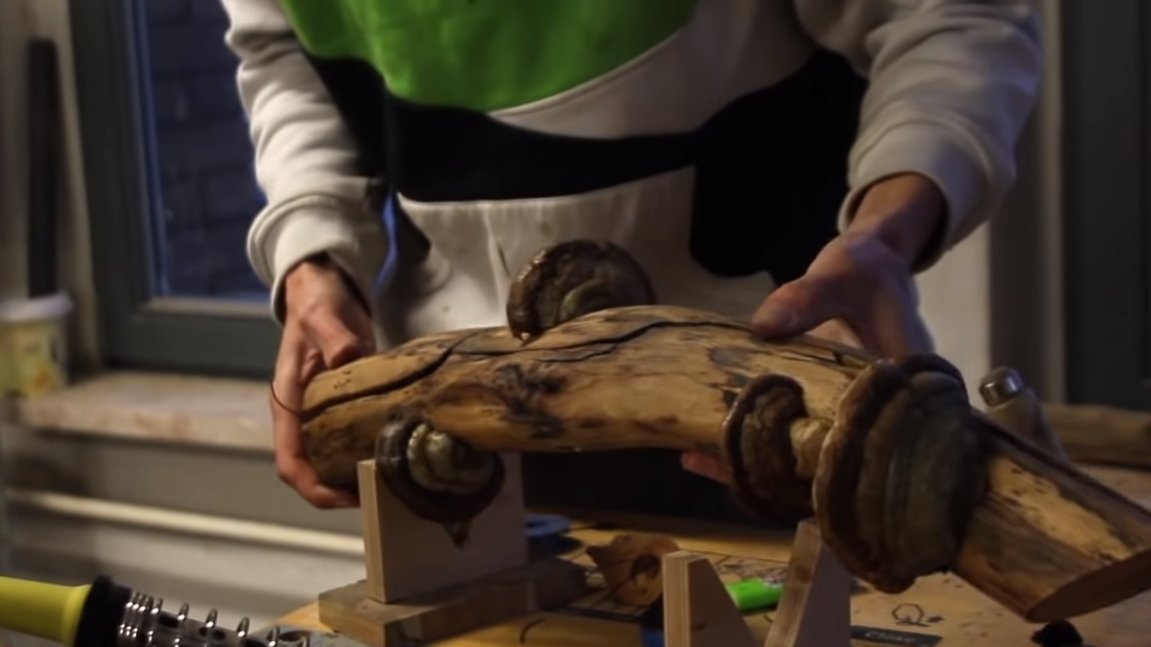
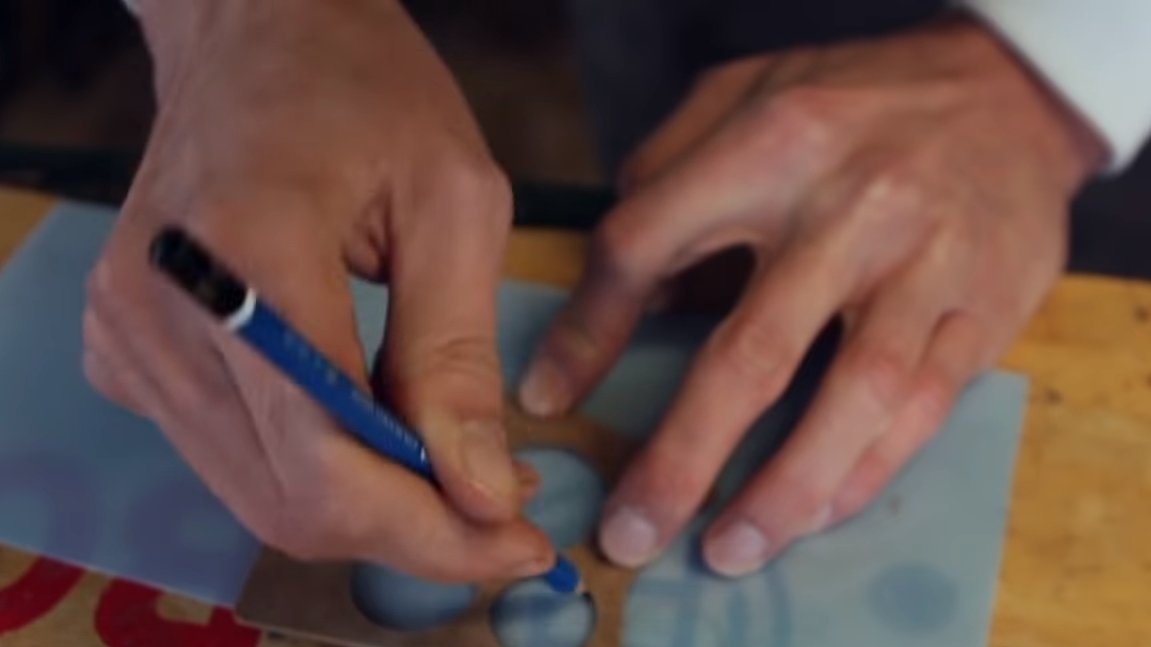
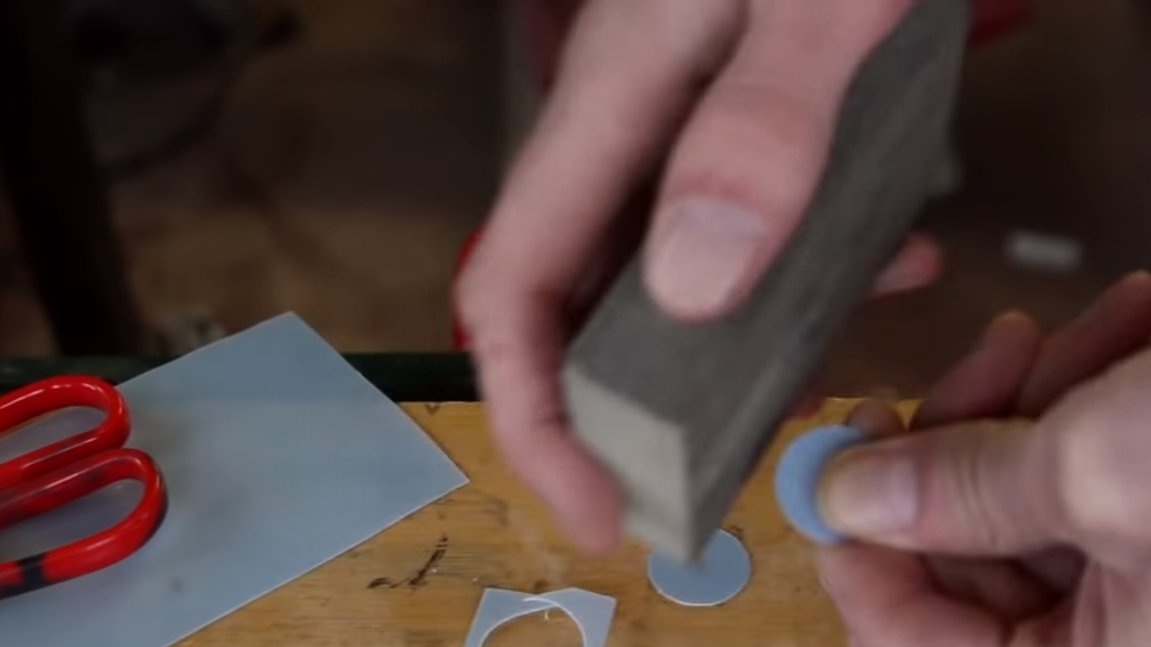
Next, we need to install the LEDs in the mushrooms, and in order to get a beautiful diffused color, we will make glass for the LEDs. Thin sheet acrylic or any other plastic will suit your taste. We cut out the circles and paste them over the LEDs. Next, we glue the mushrooms to the part of the lamp from the branch.
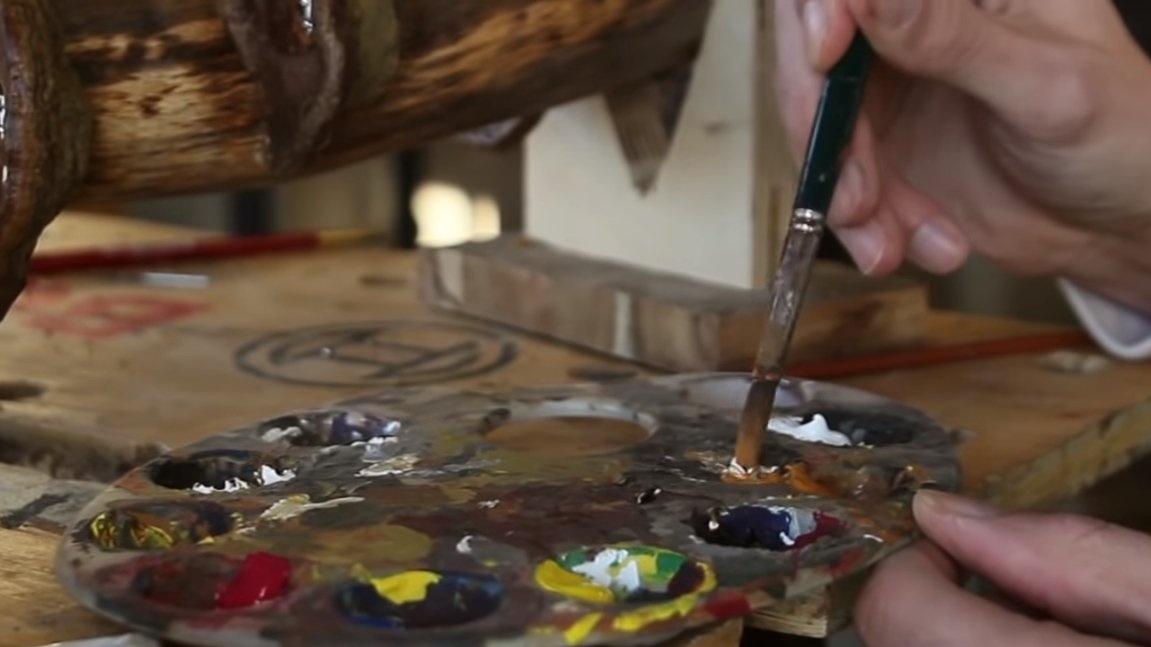
When the mushrooms stick, quite large gaps between the parts can remain, they can be covered with putty on wood. And when the putty dries, we grind it and tint it on top with the color of a tree as watercolor or other paint.
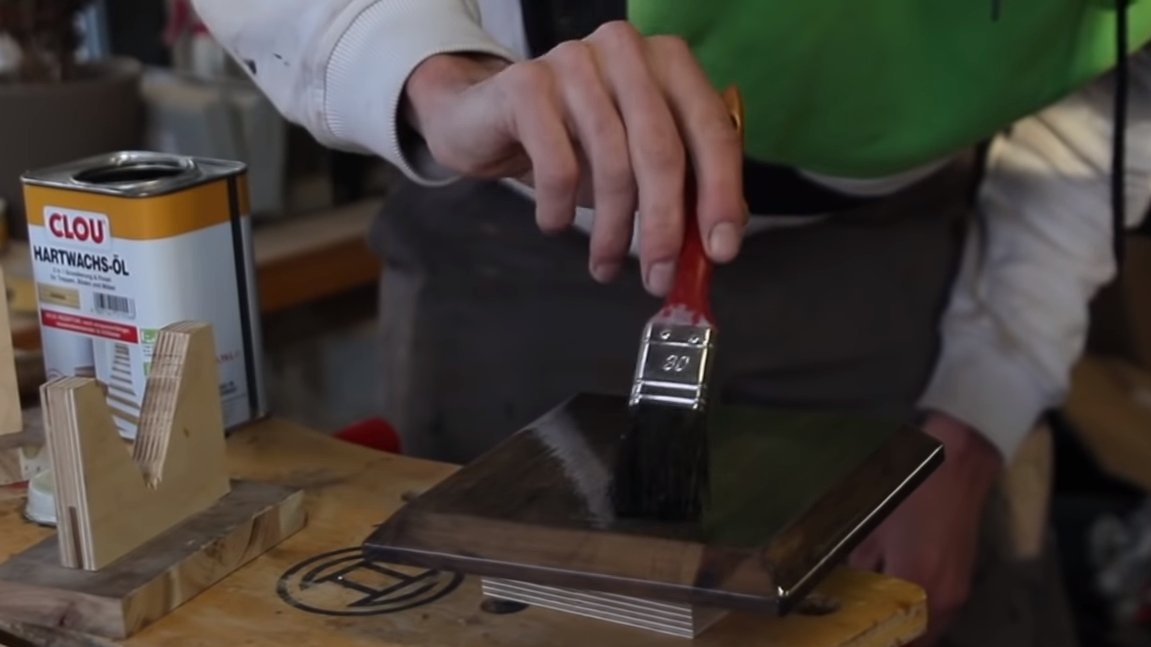
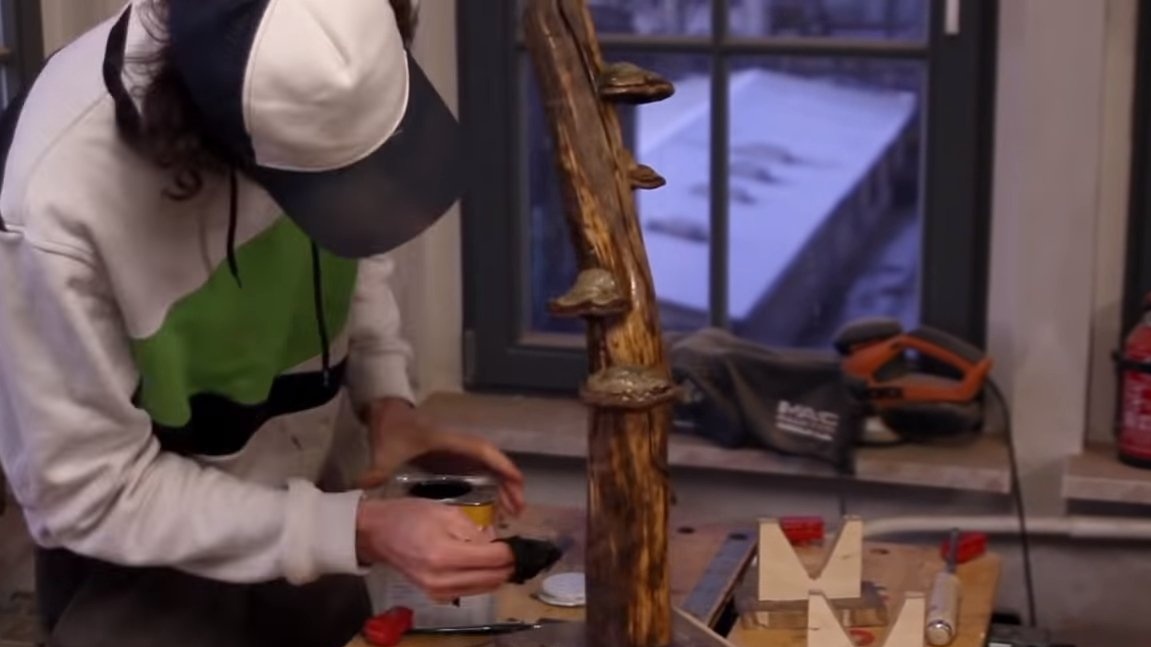
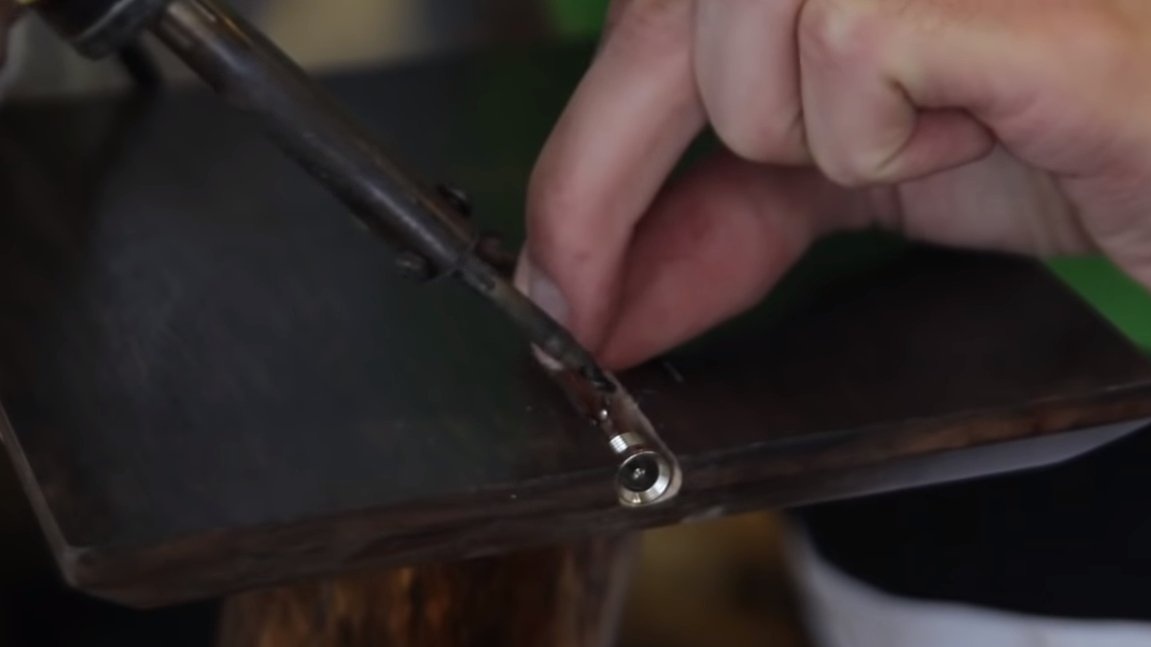
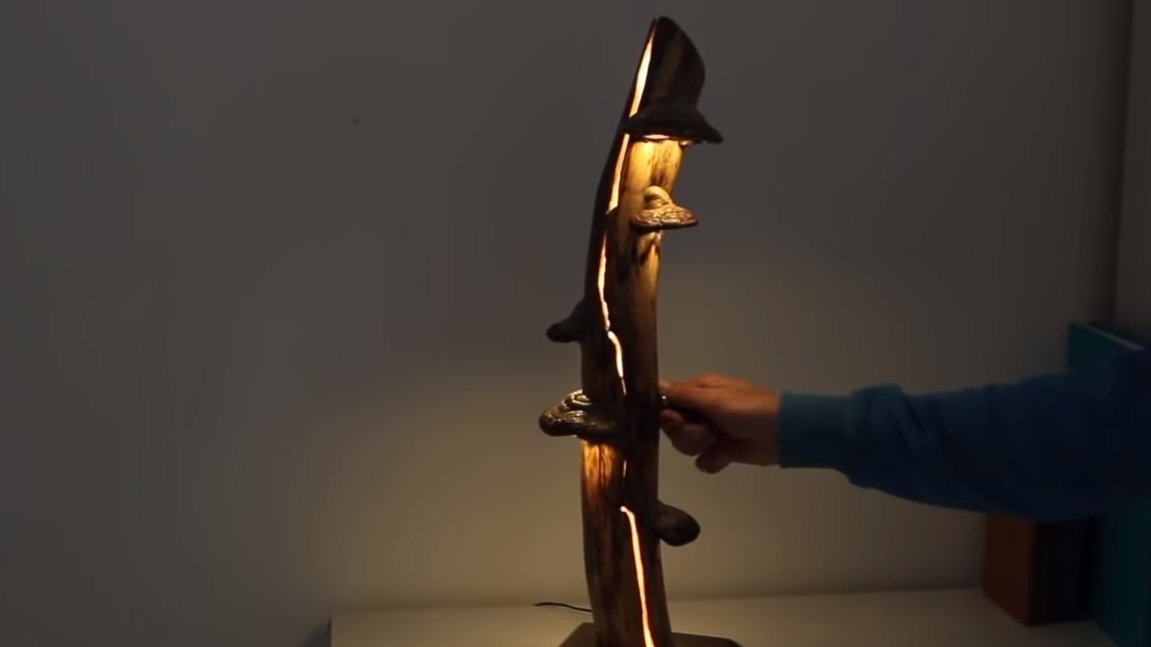
The lamp is almost ready, we fasten the base, a socket for connecting the power supply is built into the base. We also install a knob for adjusting the brightness of the lamp. At the final stage, the lamp is covered with the last layer of varnish, now everything looks amazing.
Such a lamp creates an unusual cozy atmosphere in the house, and it’s also convenient to adjust the brightness, you can use the battery to power the homemade product if you wish. On this project can be considered successfully completed. I hope you enjoyed your homemade work and found useful thoughts for yourself. Good luck and creative inspiration, if you decide to repeat this. Do not forget to share your ideas and homemade things with us!