I welcome fans to craft, this time we will manufacture a very useful machine for your workshop. Homemade It will make it easy to cut sheet metal and other metals without noise, electricity and dust. The cutting is of high quality, and the workpiece is not heated, as happens when working with a grinder. It will be about a tool such as scissors for metal, or rather a machine that works on a similar basis. The reliability of the machine is enough to cut iron plates up to 3 mm thick, which is quite an impressive result. According to the author, if you make the knife tighter, you can cut thicker iron. Everything is going to be quite simple, if you are interested in the project, I propose to study it in more detail!
Materials and tools used by the author:
Material List:
- 1075 steel or similar for knives;
- iron plates;
- iron corner;
- strong steel bolts with nuts;
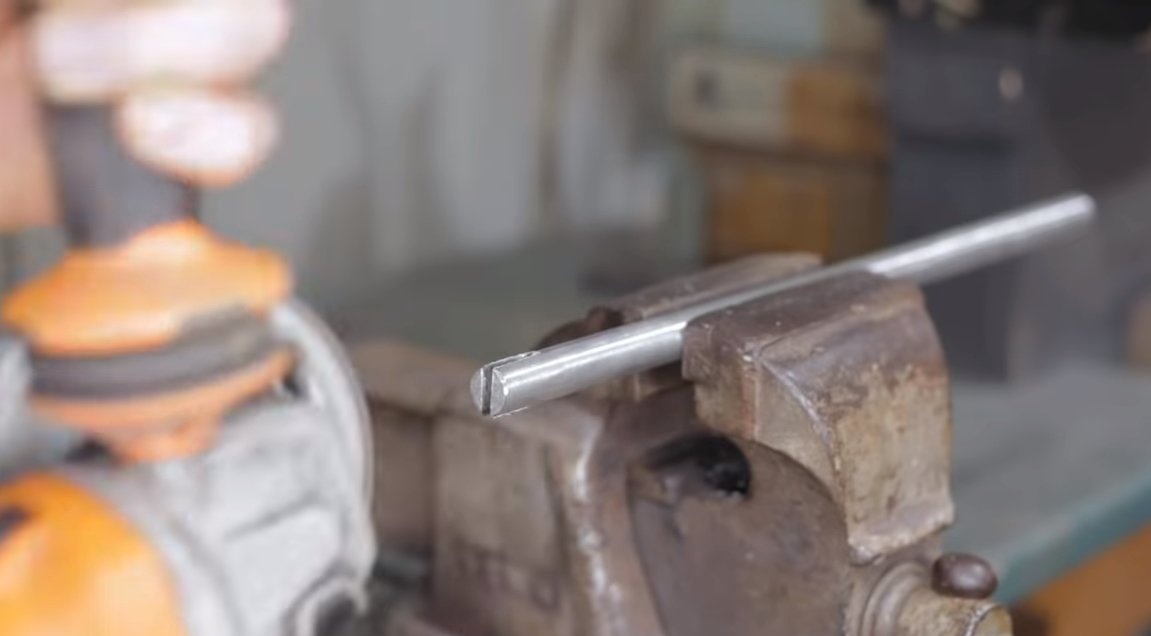
- steel rod for the handle;
- spring.
Tool List:
- belt sander;
- ;
- ;
- or a drilling machine;
- an oven for hardening knives and oil;
- vise, clamps;
- paint.
Homemade manufacturing process:
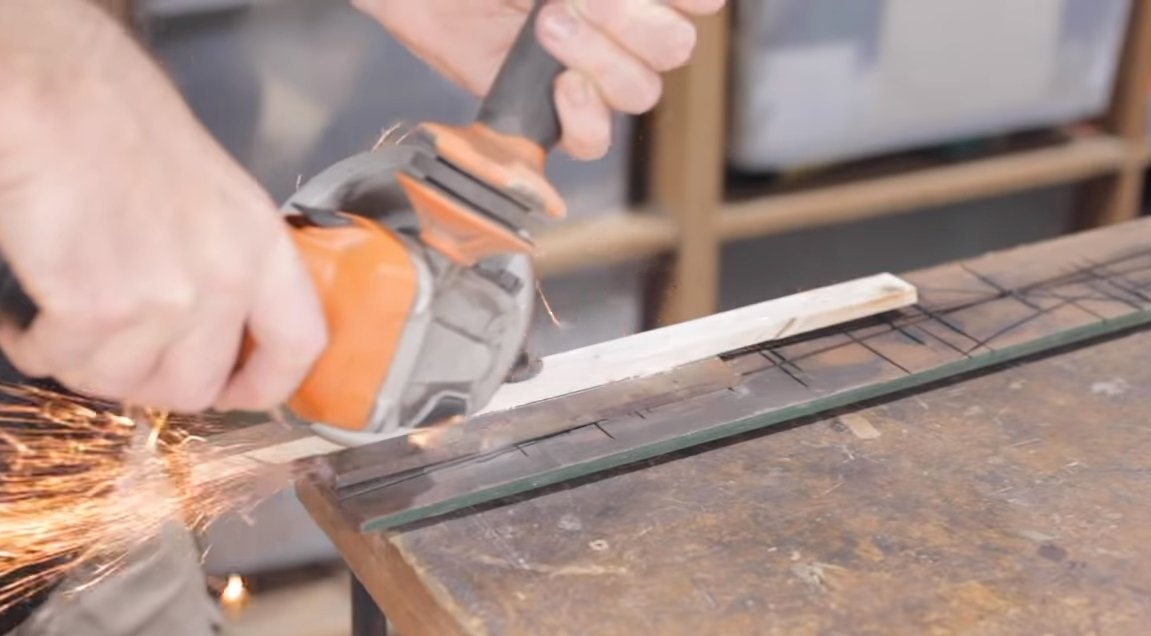
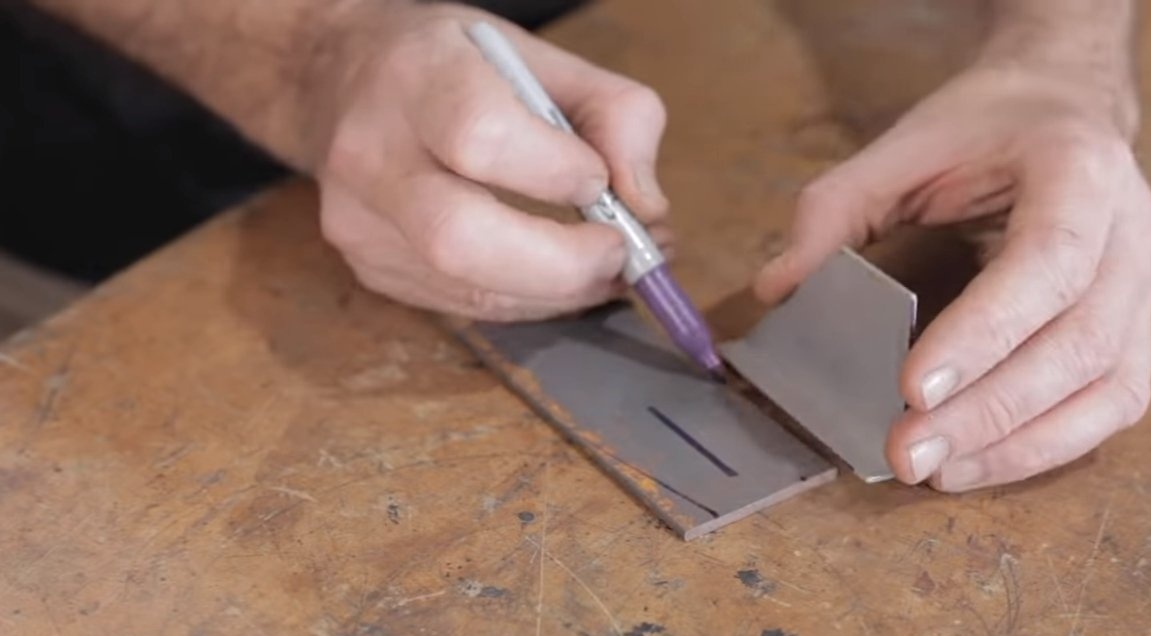
Step one. Blanks
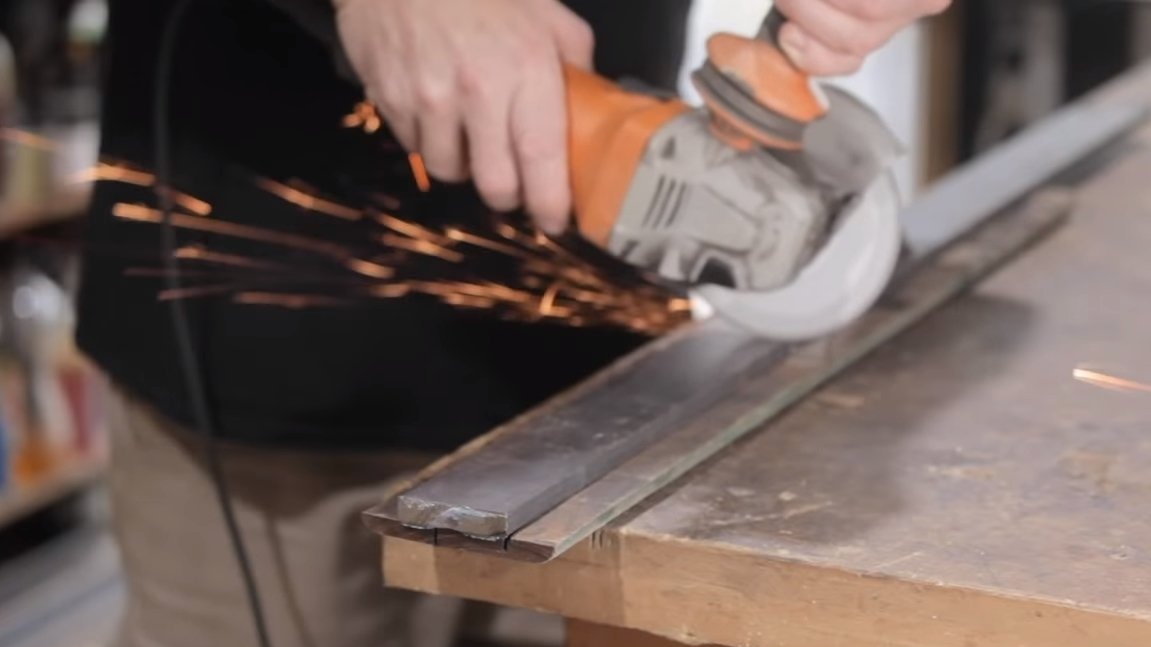
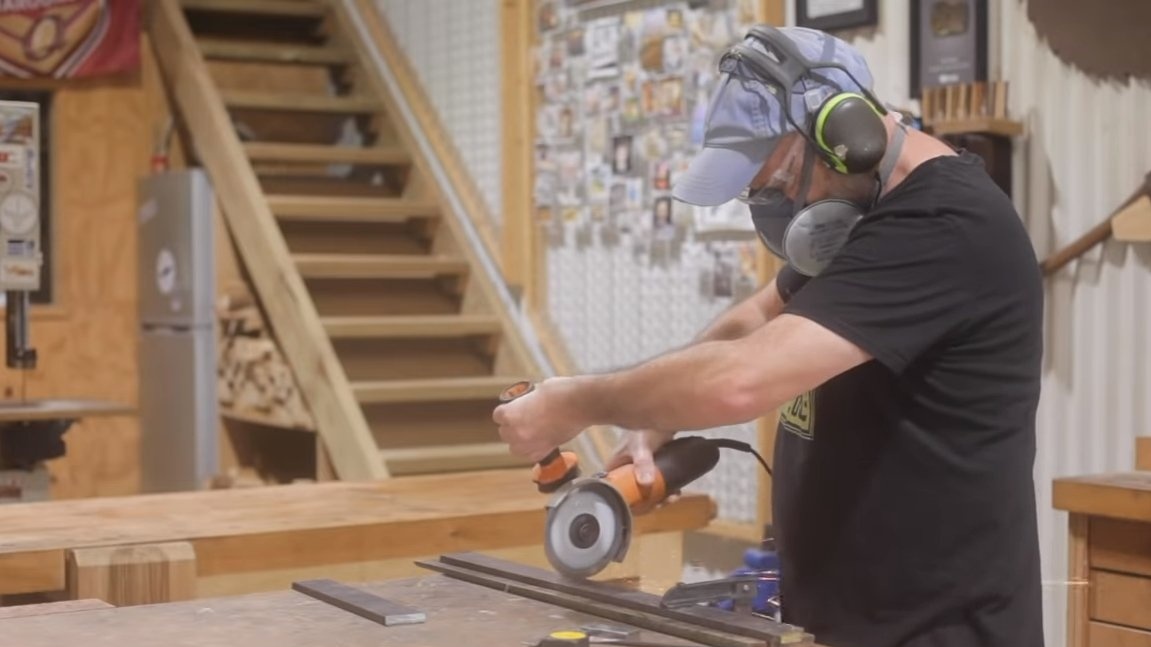
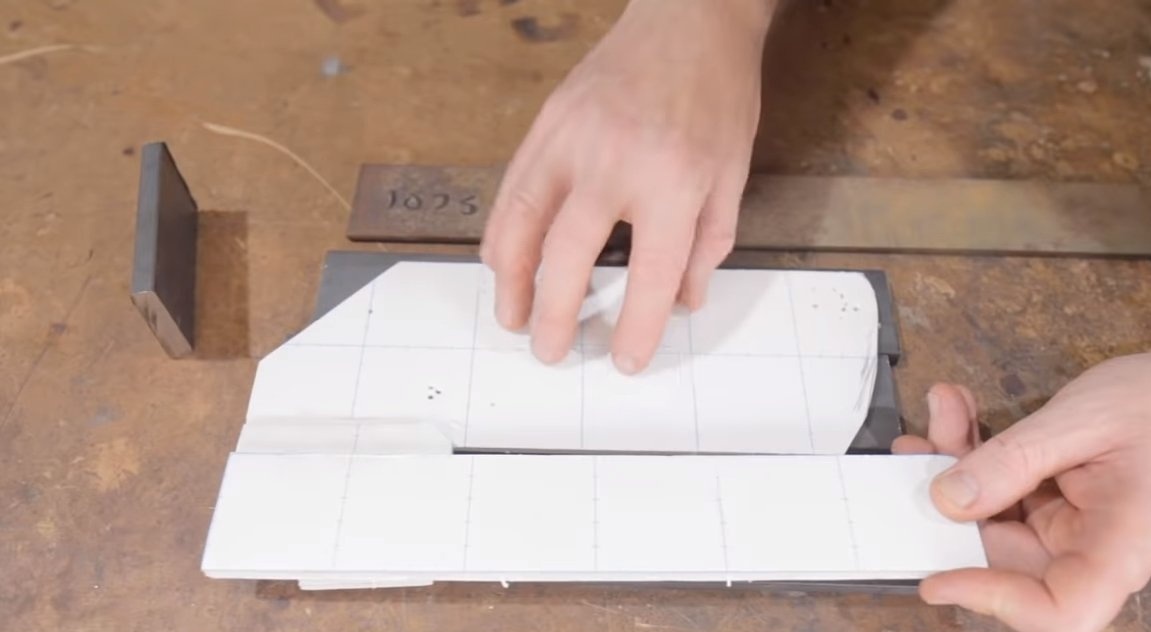
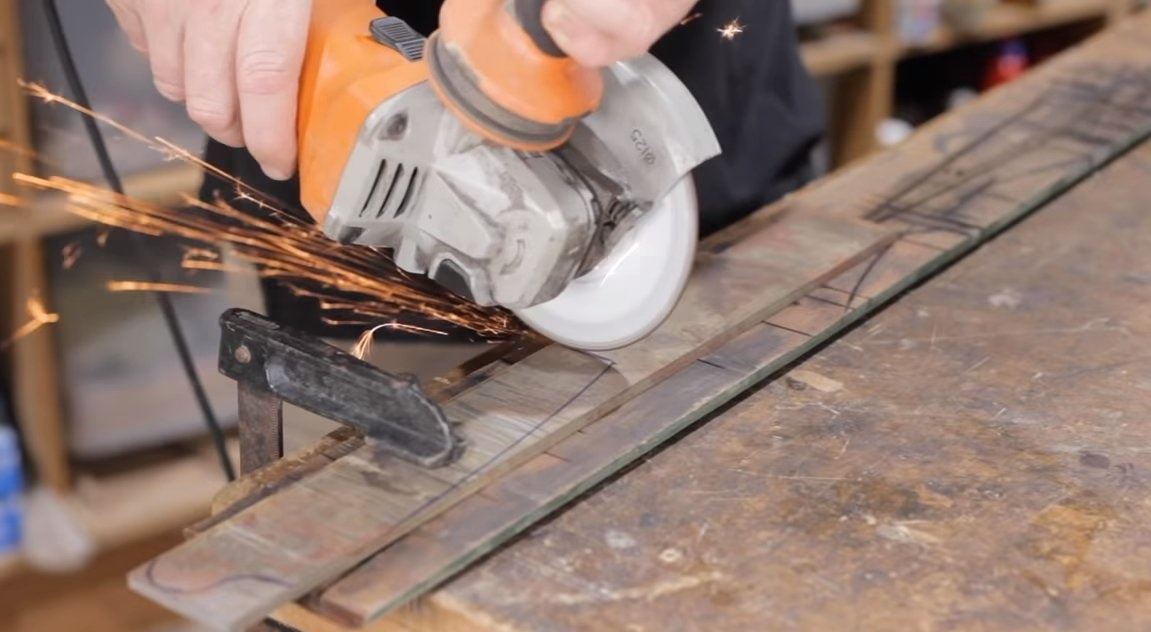
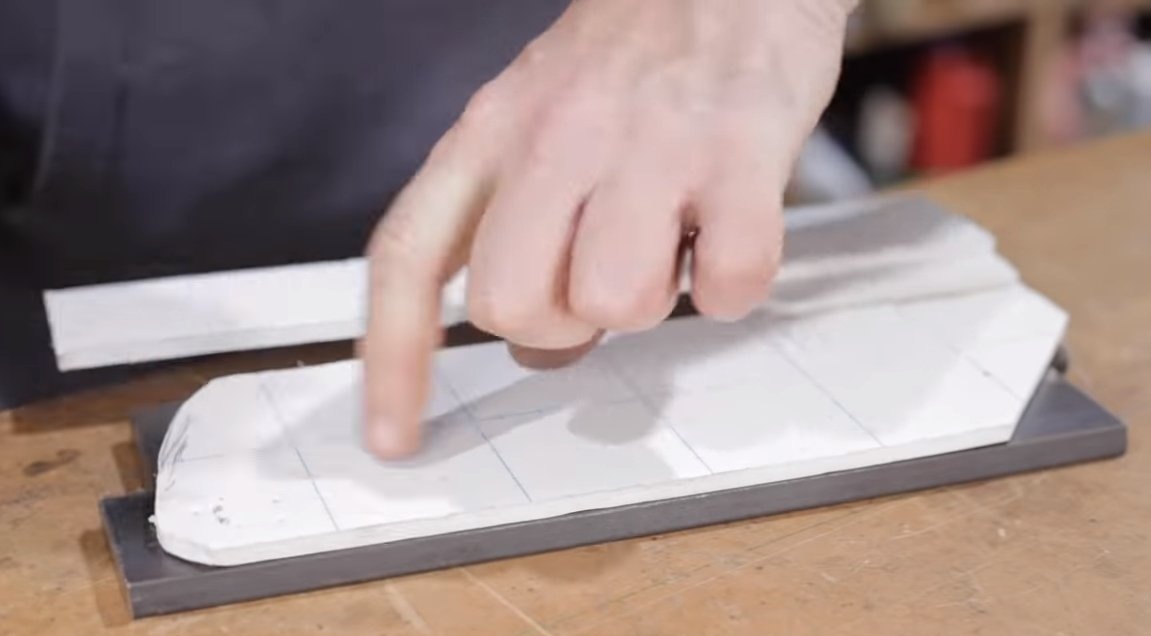
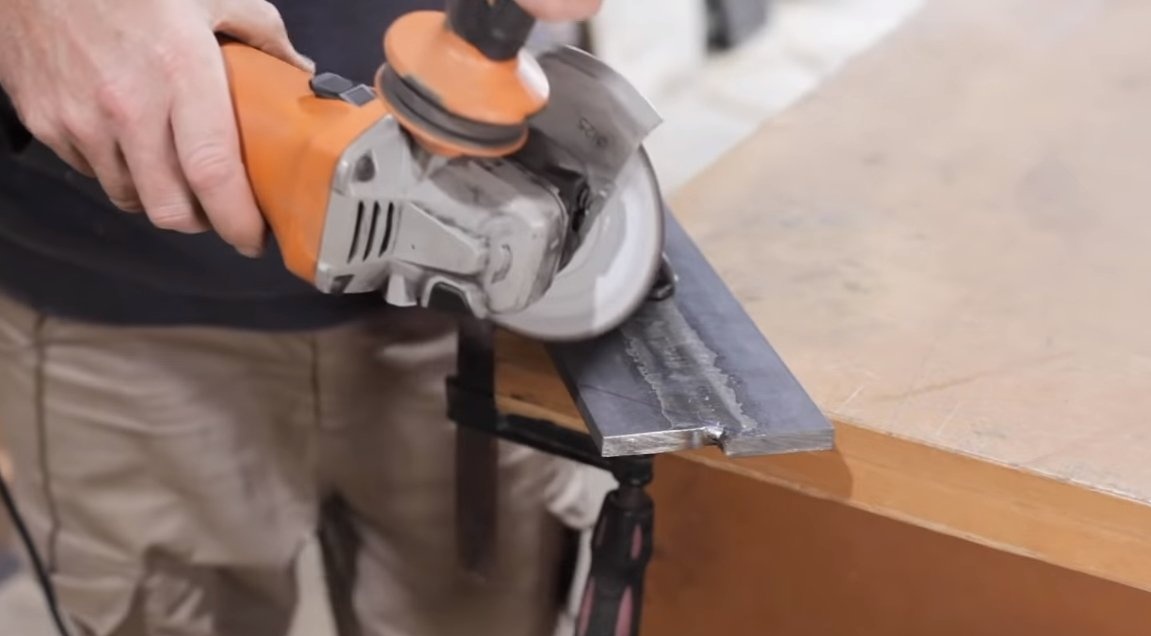
Let's start by cutting the material into blanks. The main part of the structure is assembled from thick iron plates, we cut them in accordance with the template that needs to be done in advance.
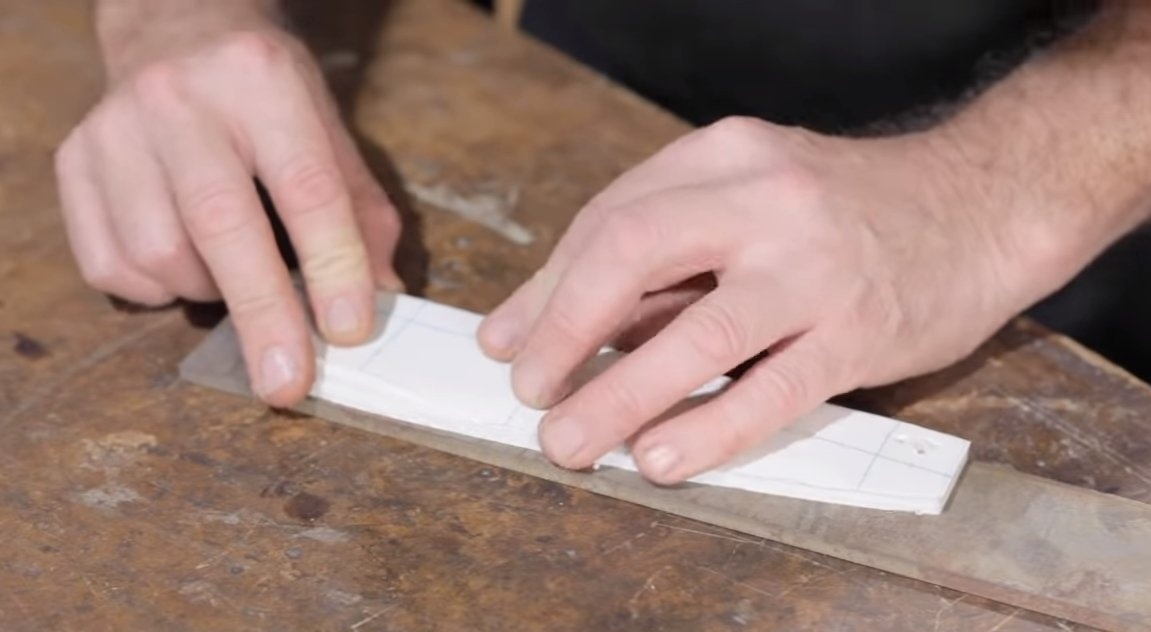
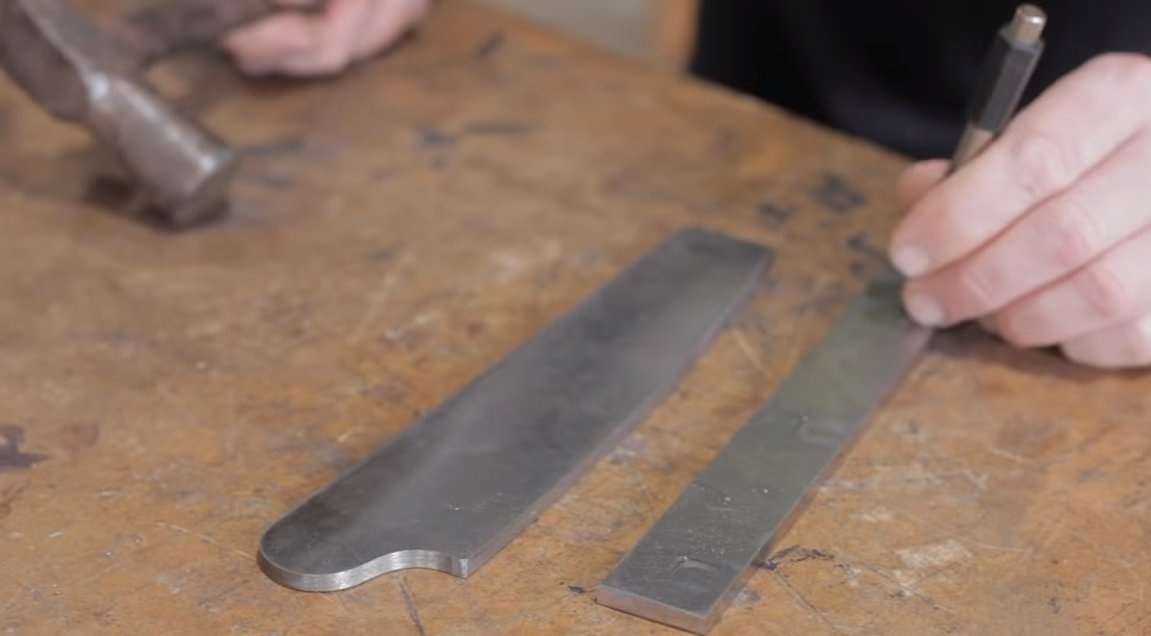
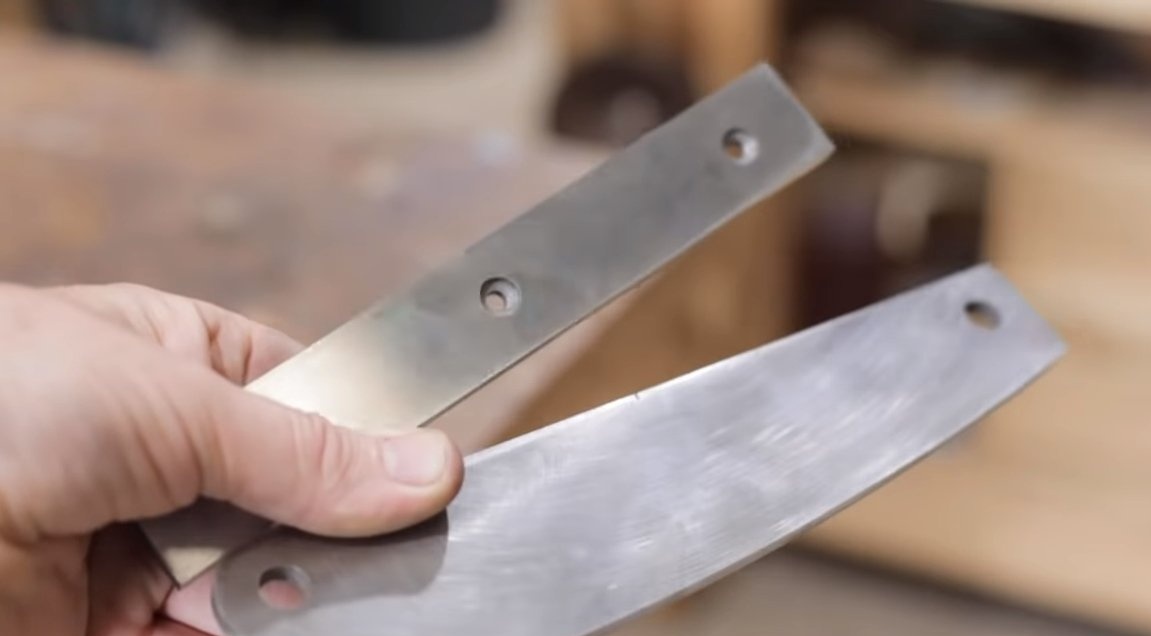
We also need steel for knives, the author used steel 1075. You can try to use a file as steel, but the author had a file that was narrow and too thick, which is not suitable for the project.

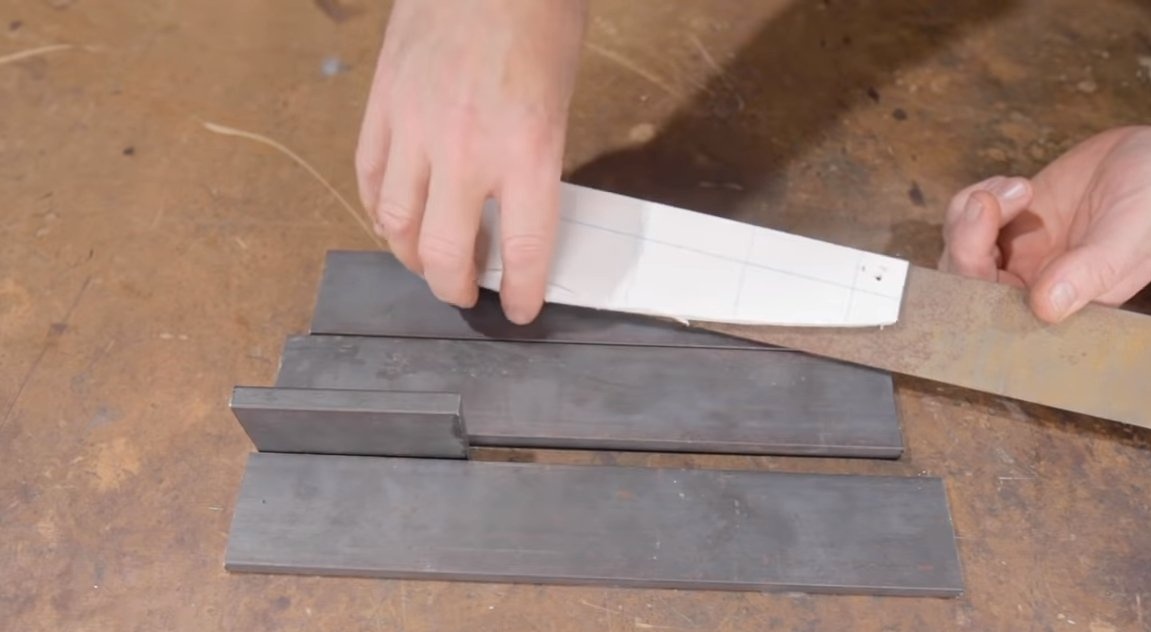
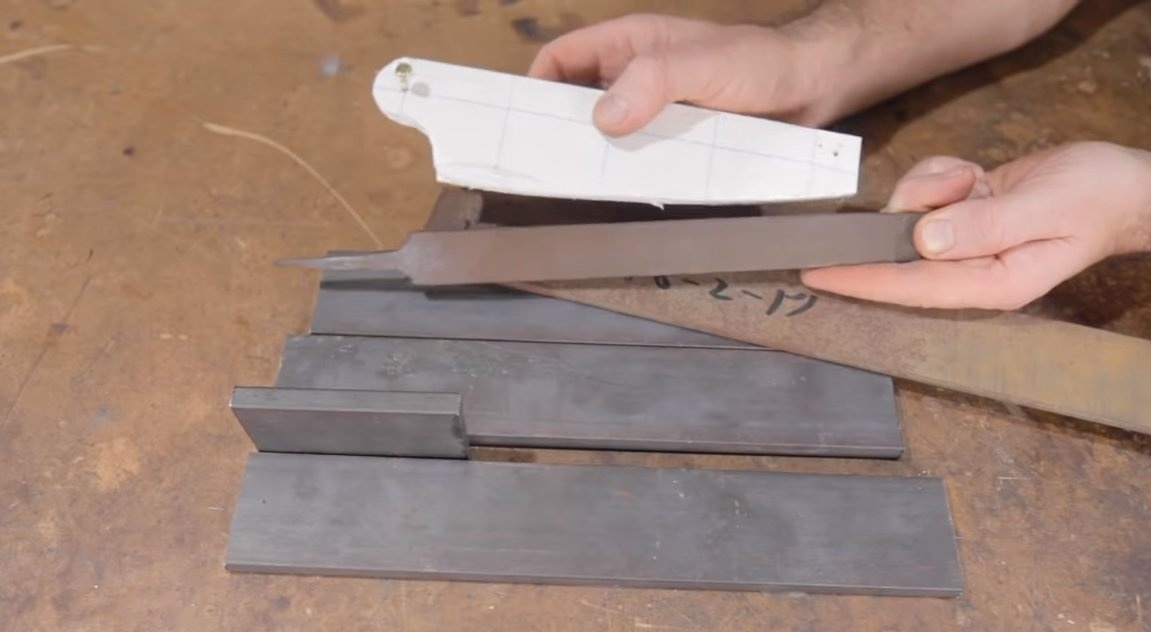
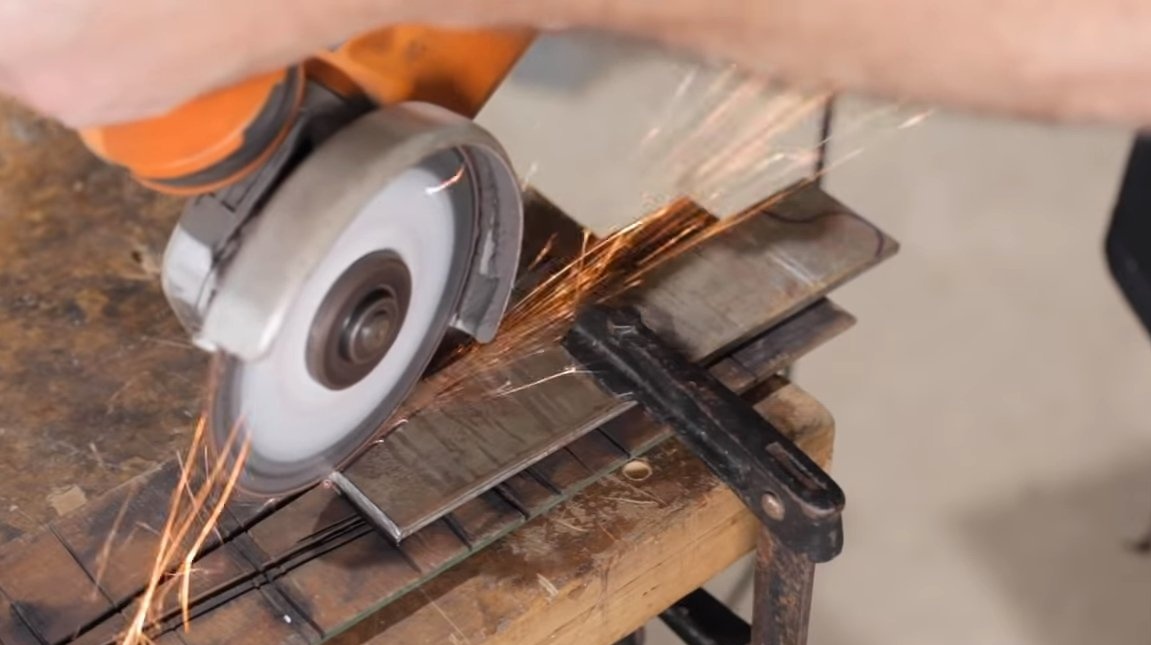
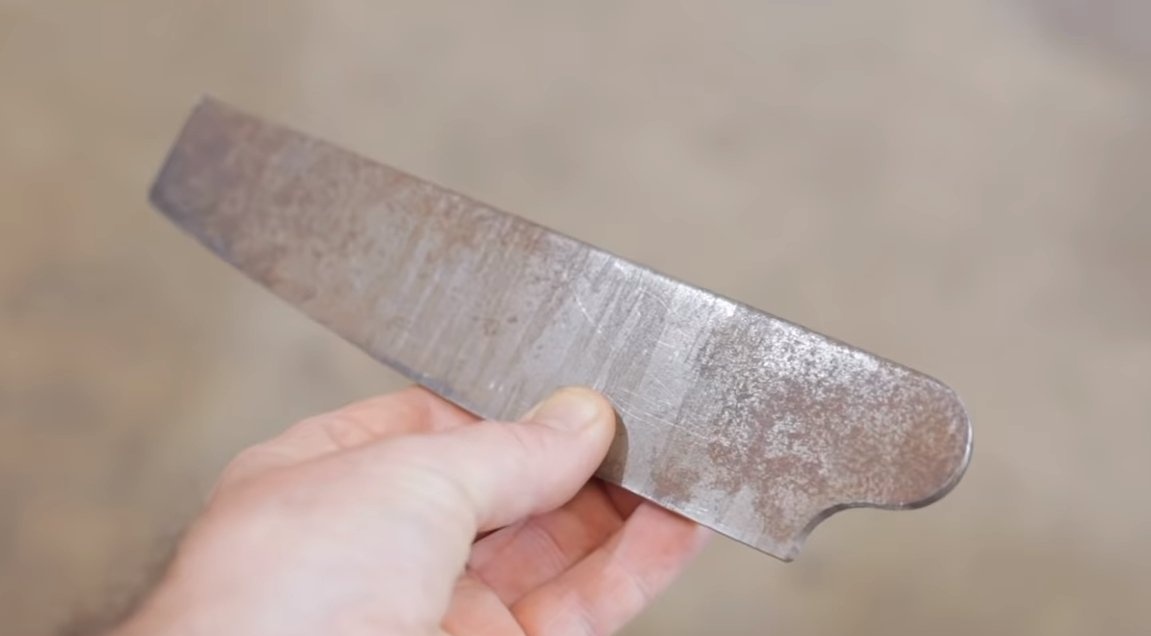
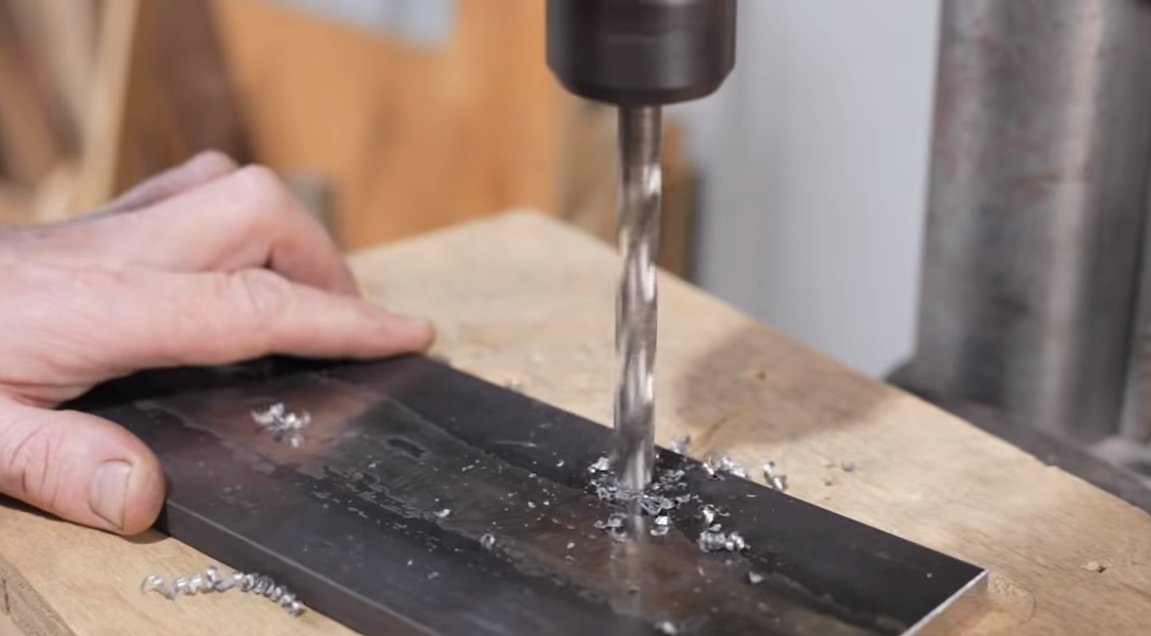
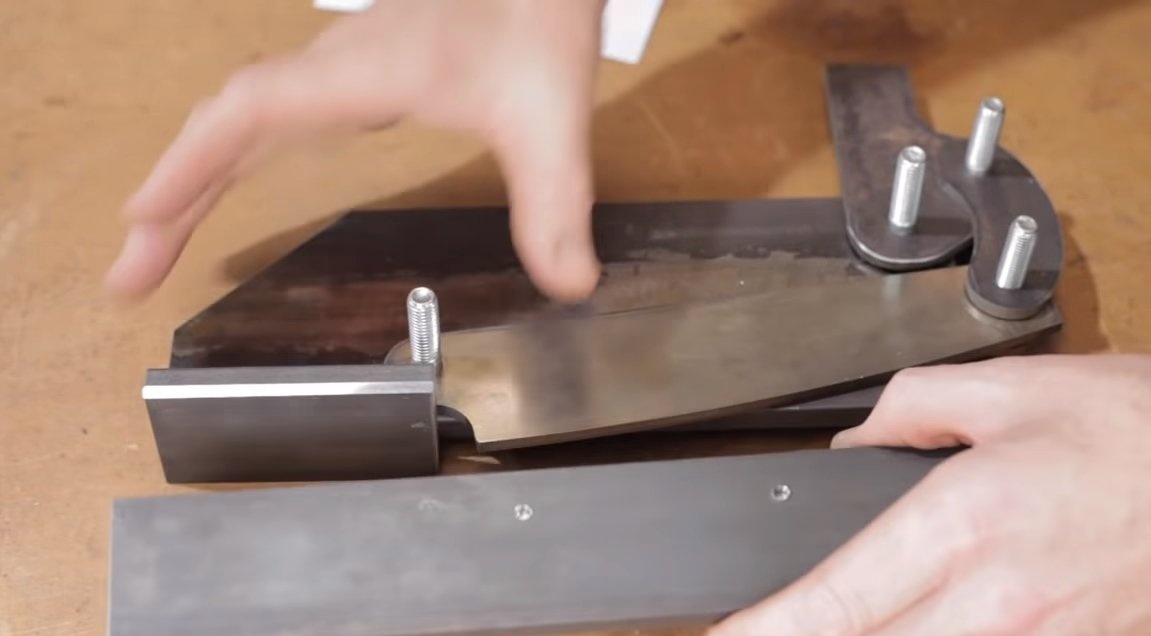
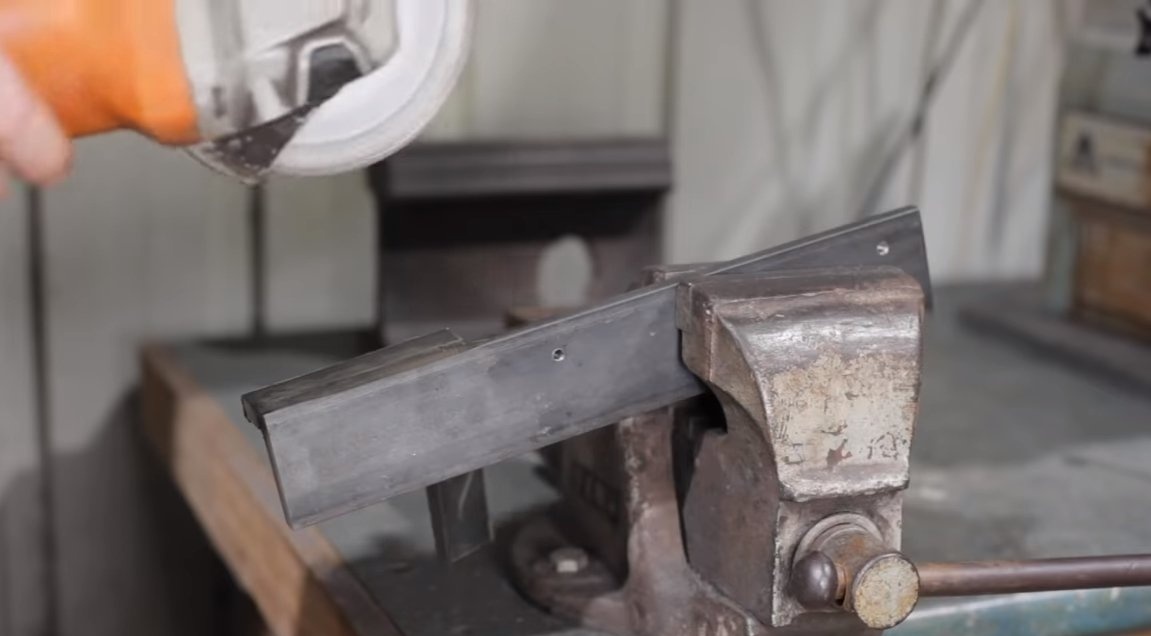
Step Two Cut the knives
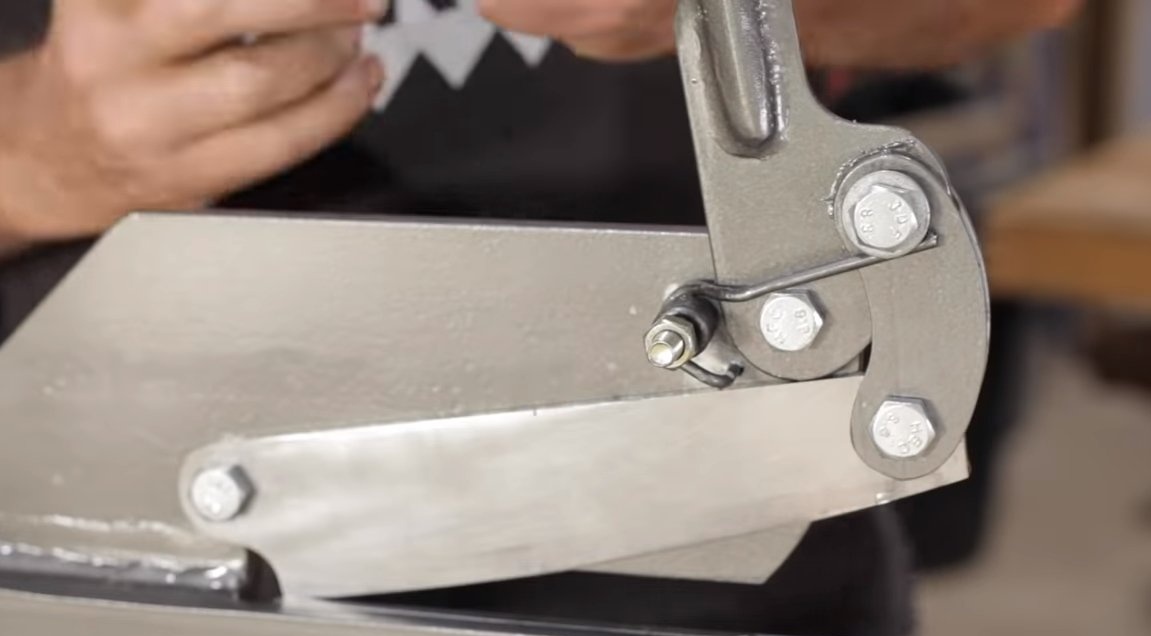
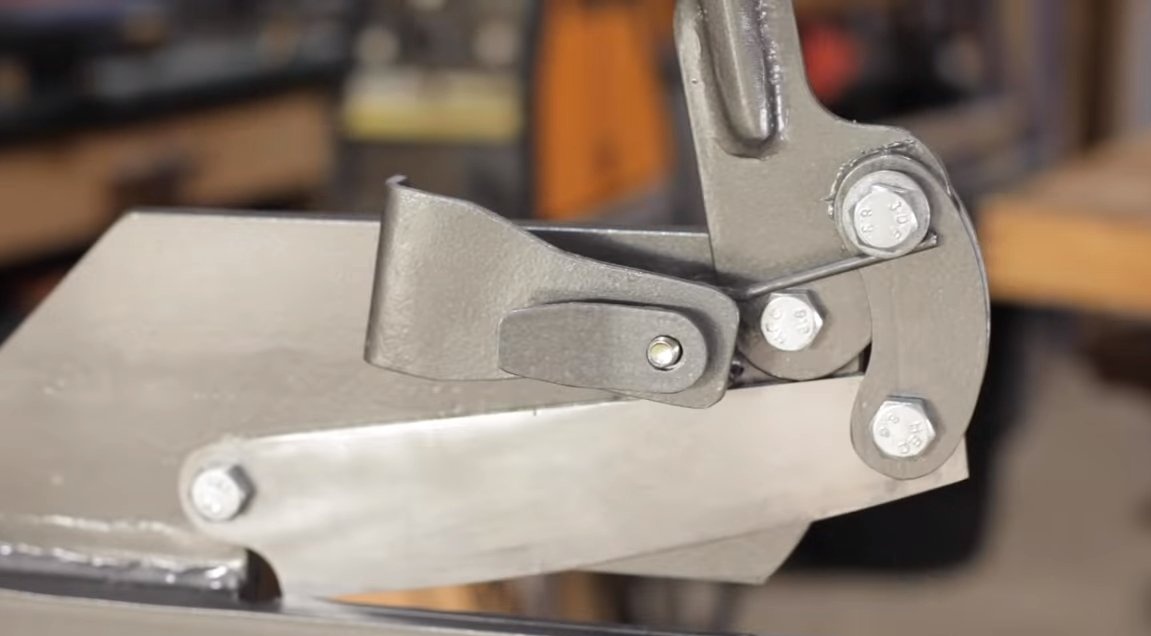
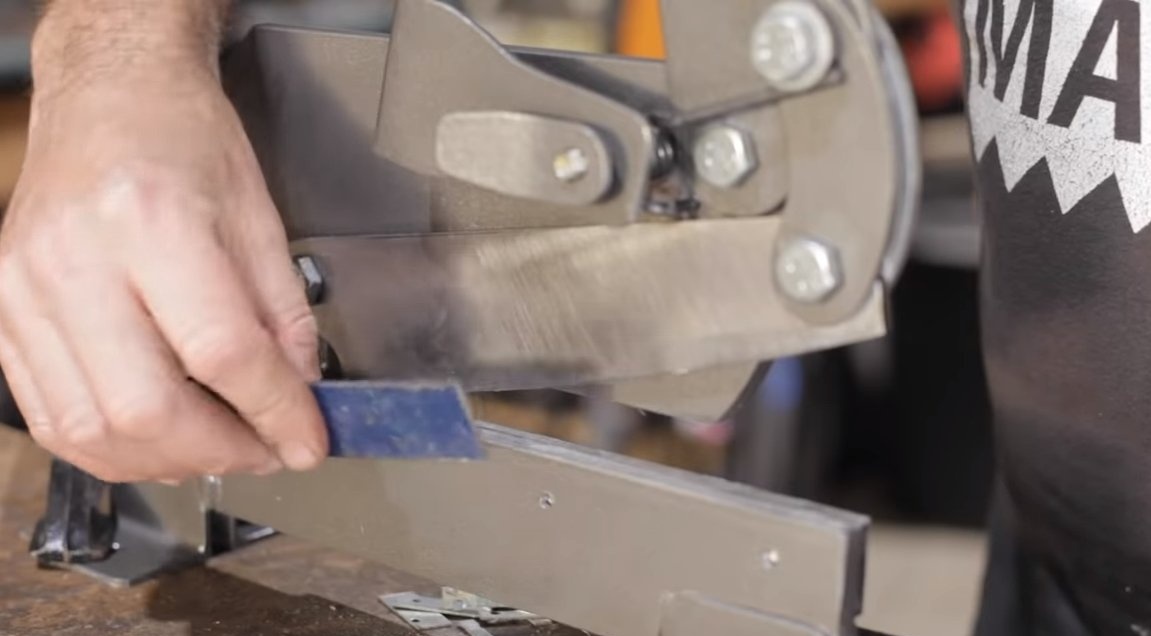
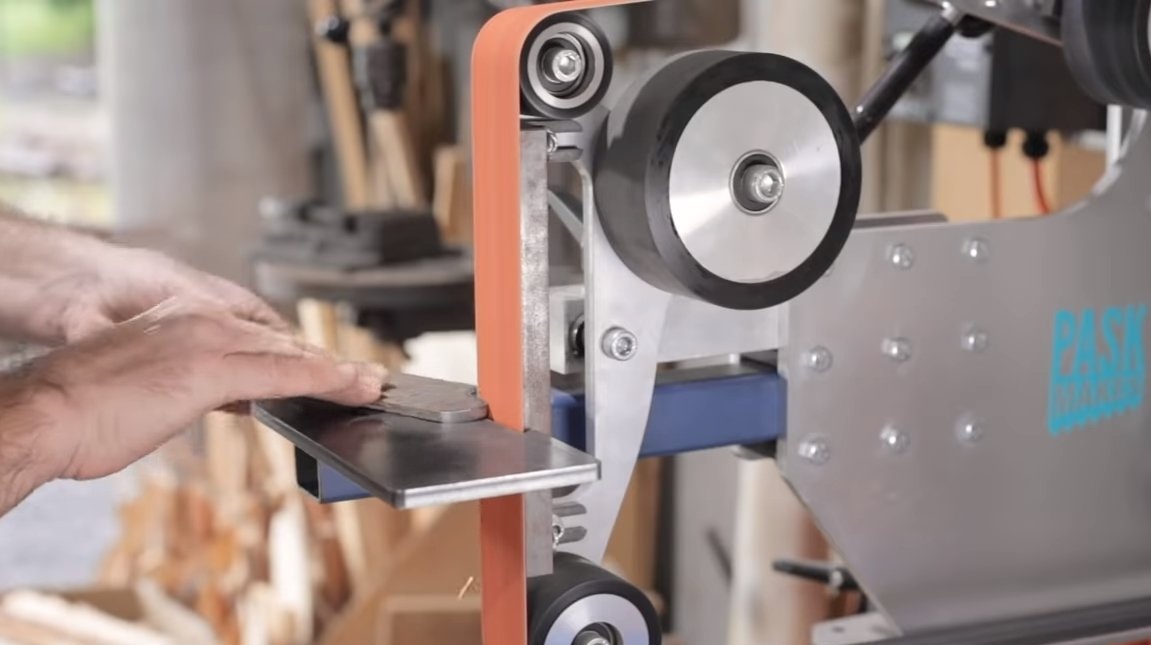
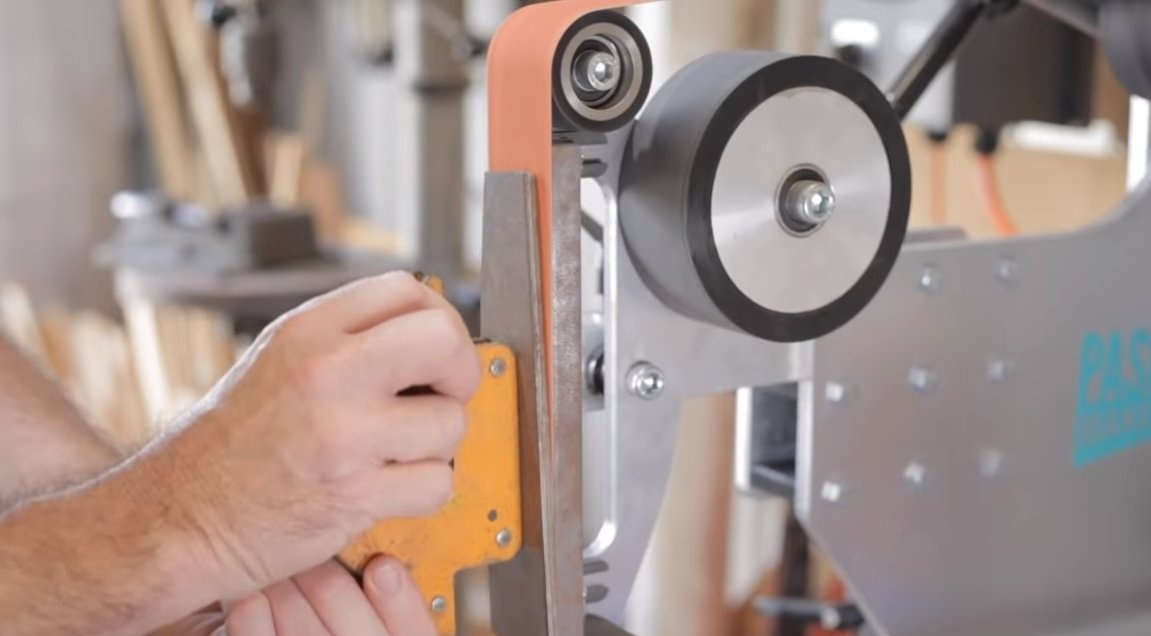
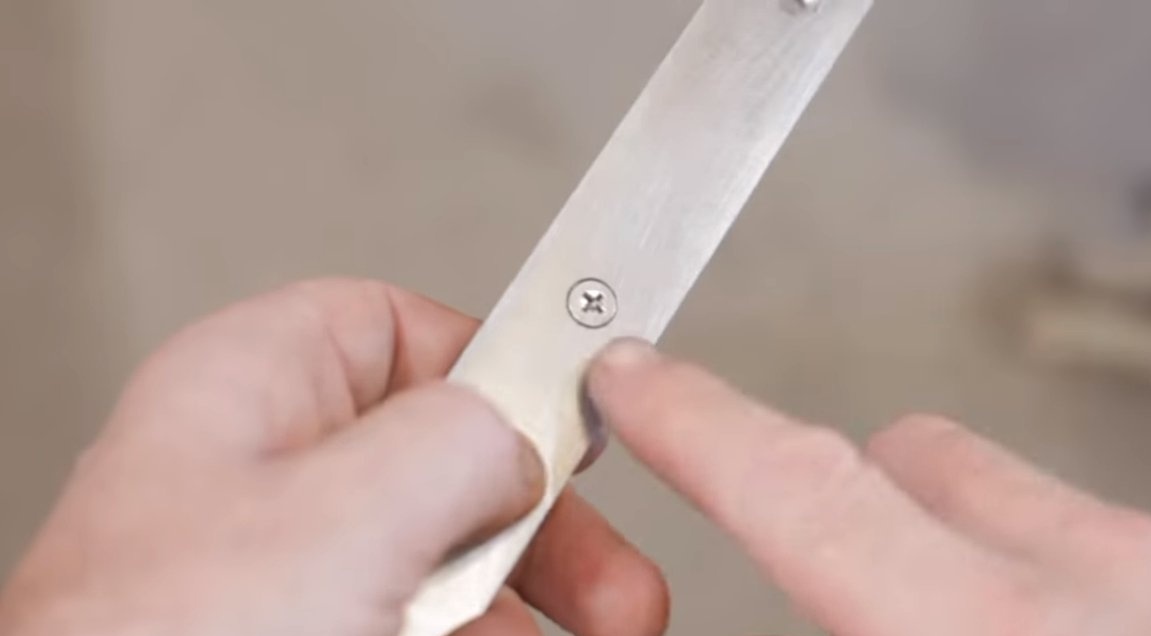
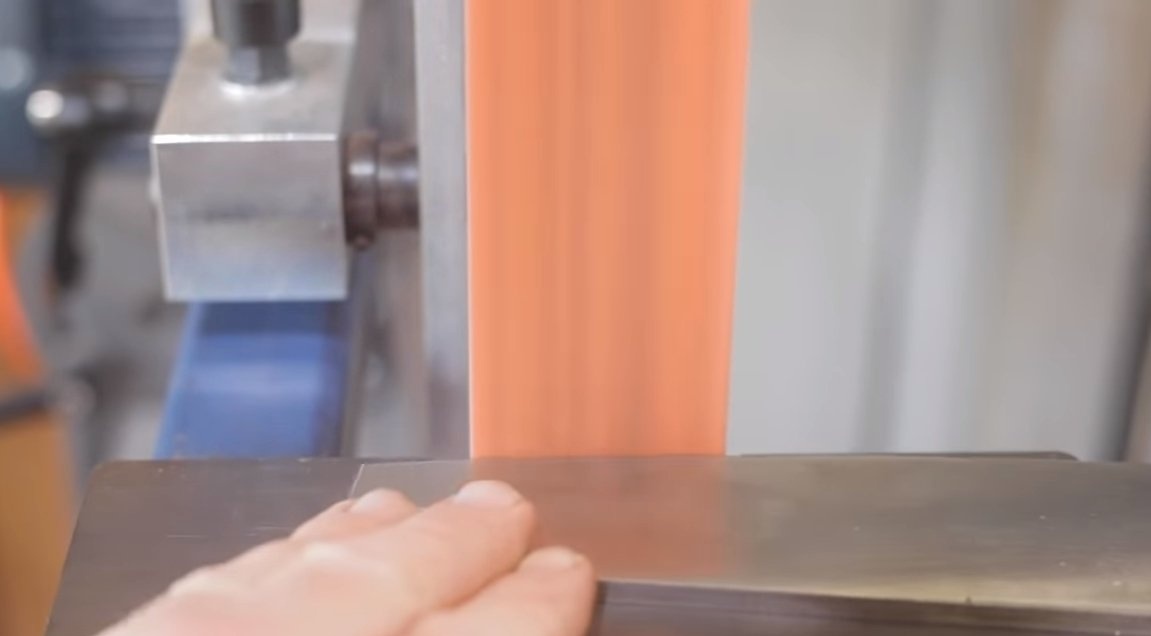
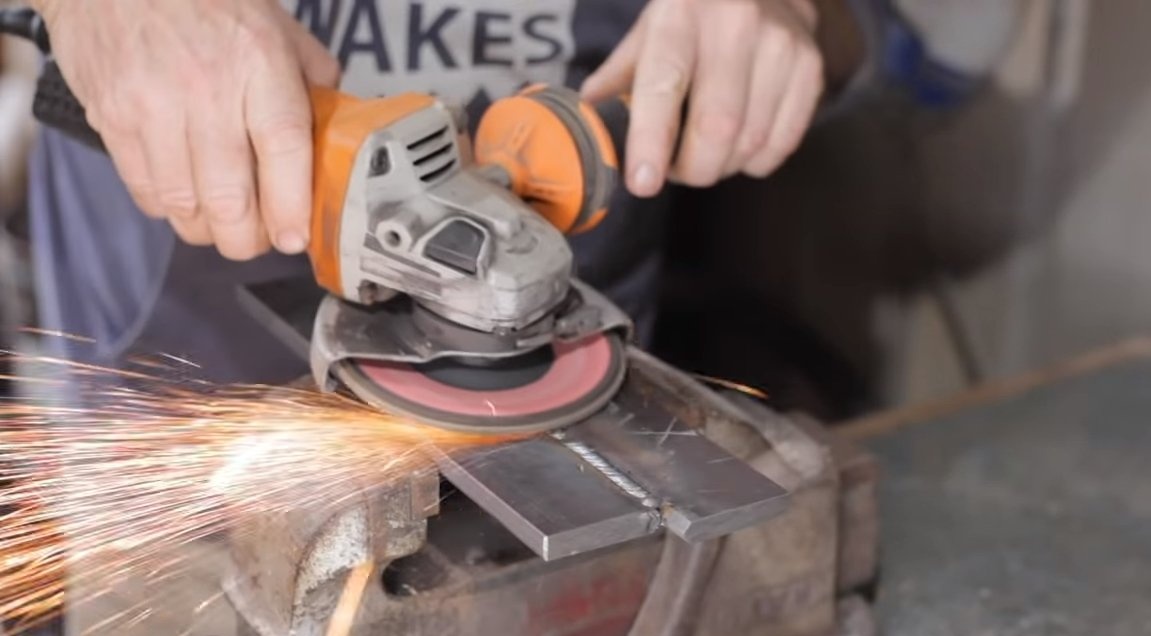
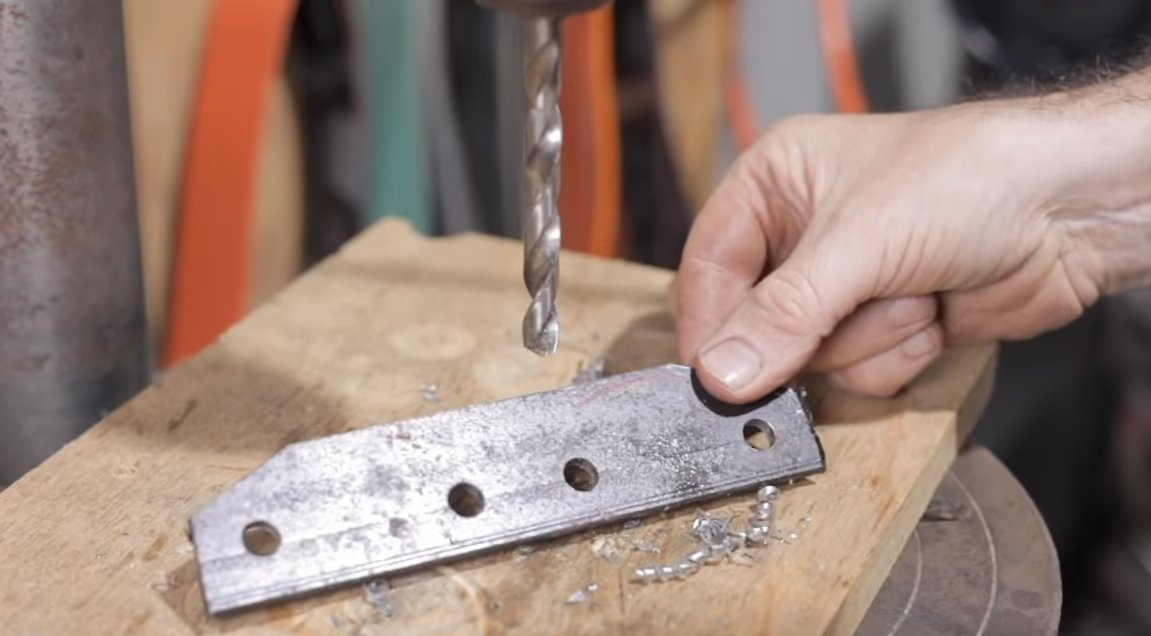
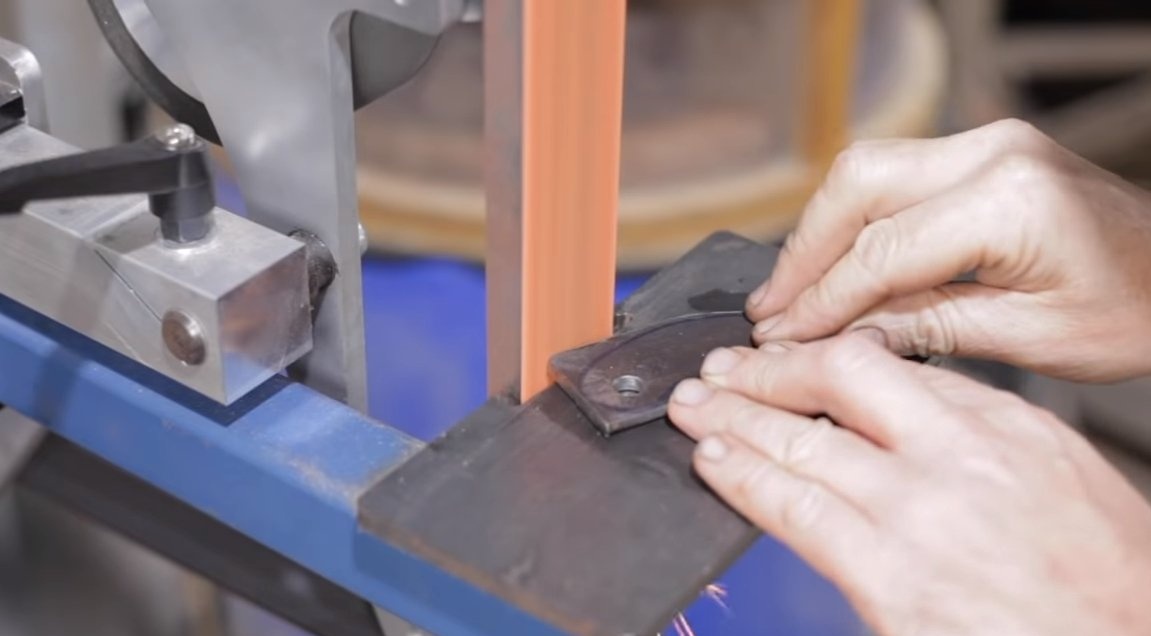
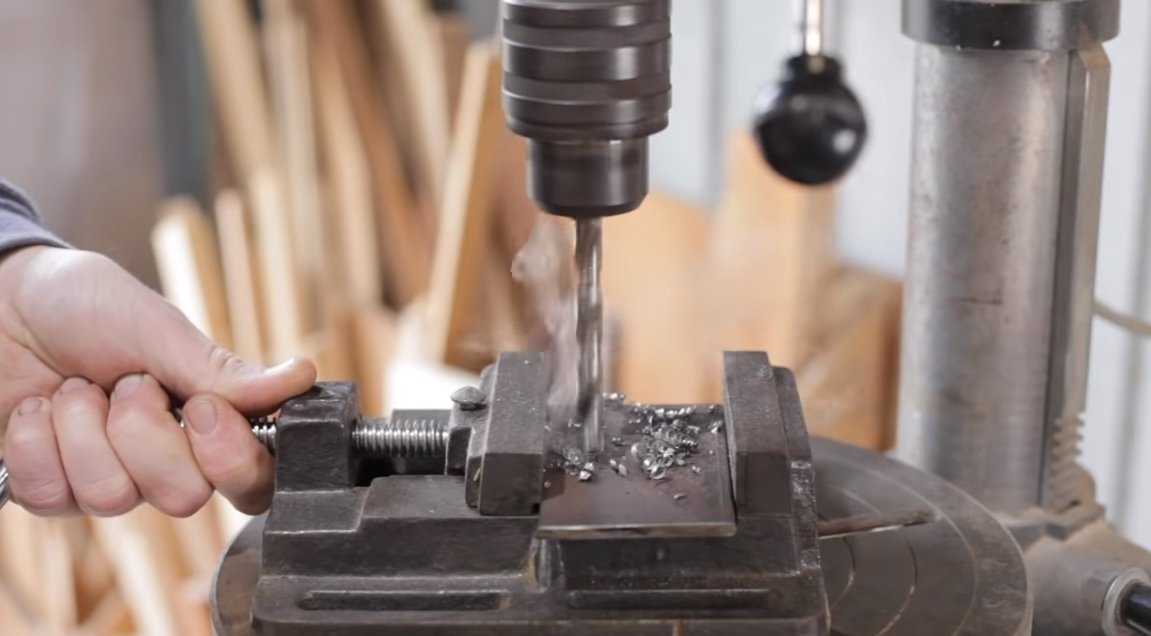
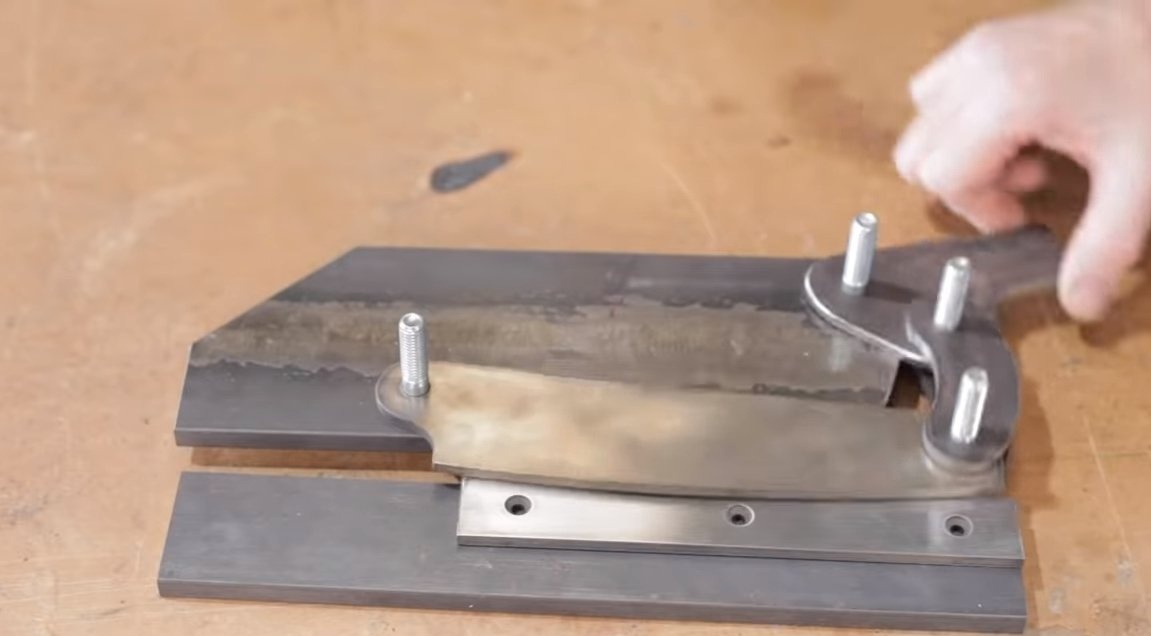
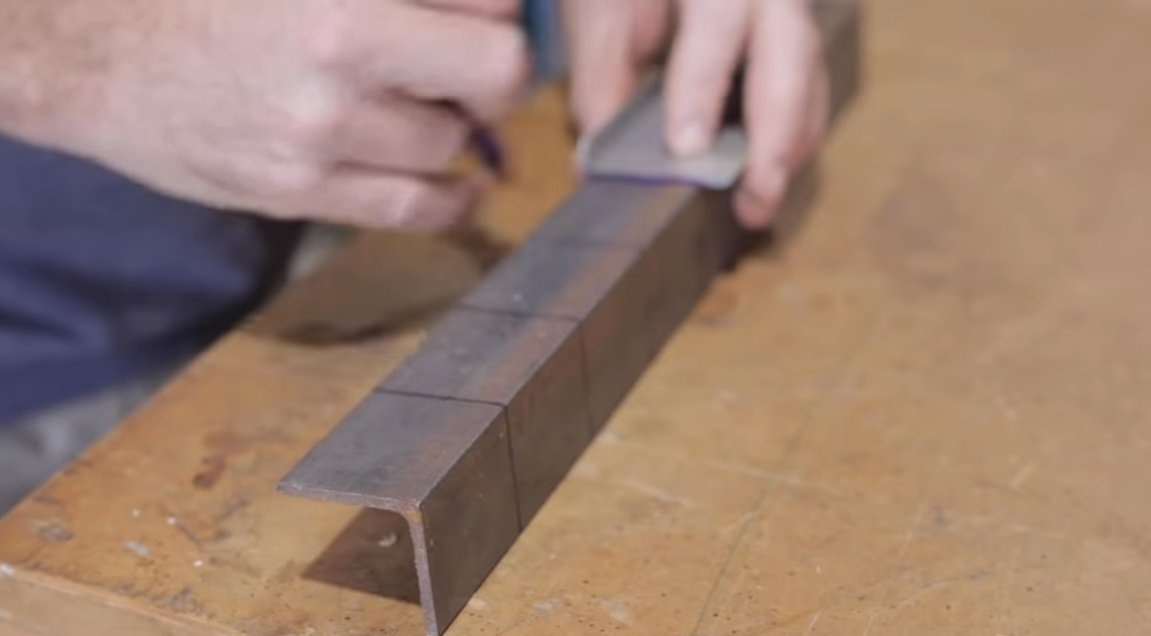
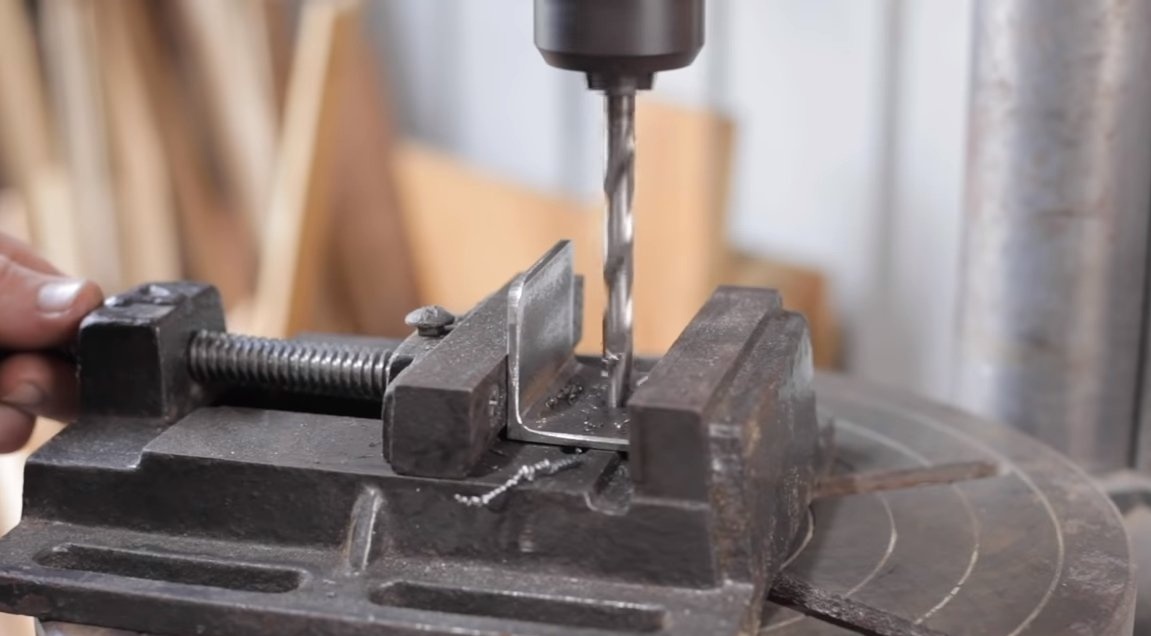
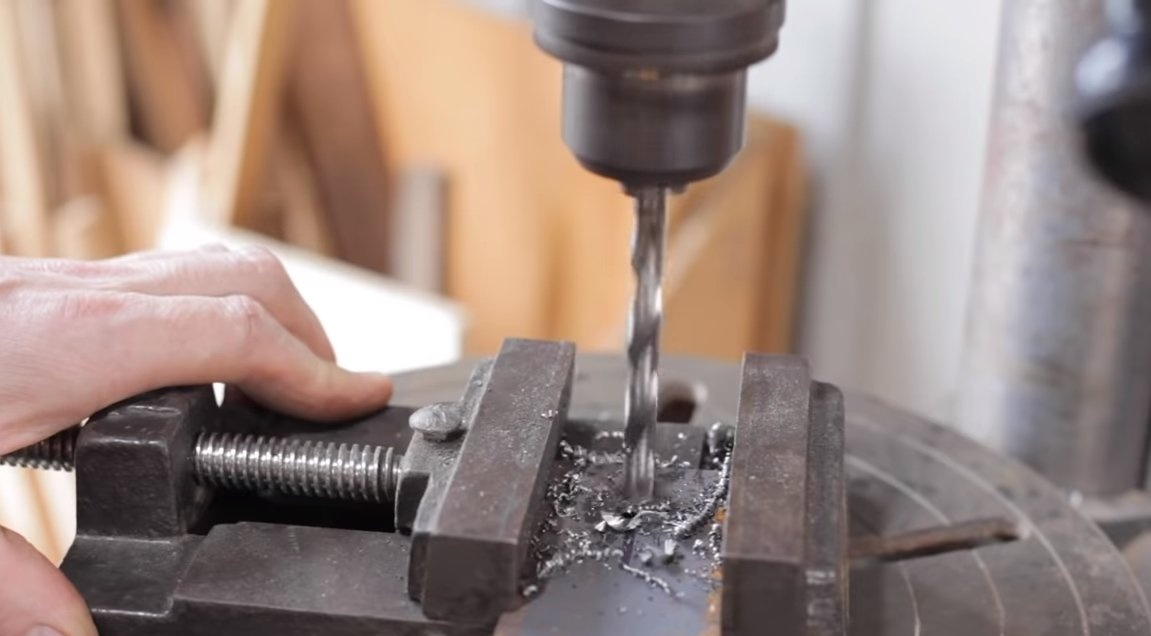
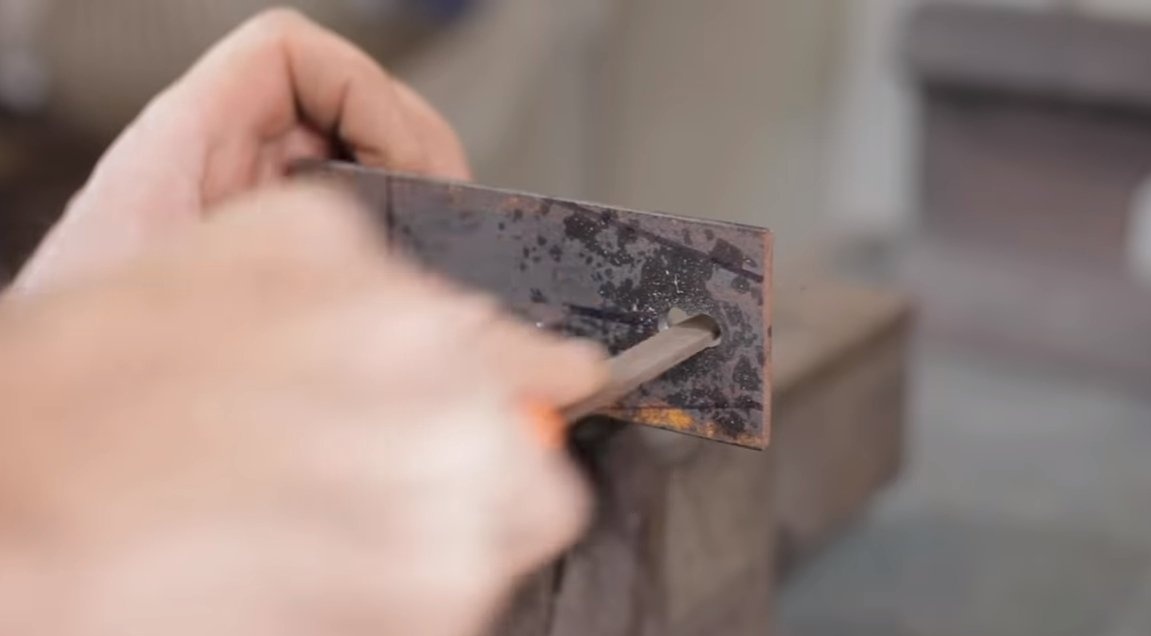
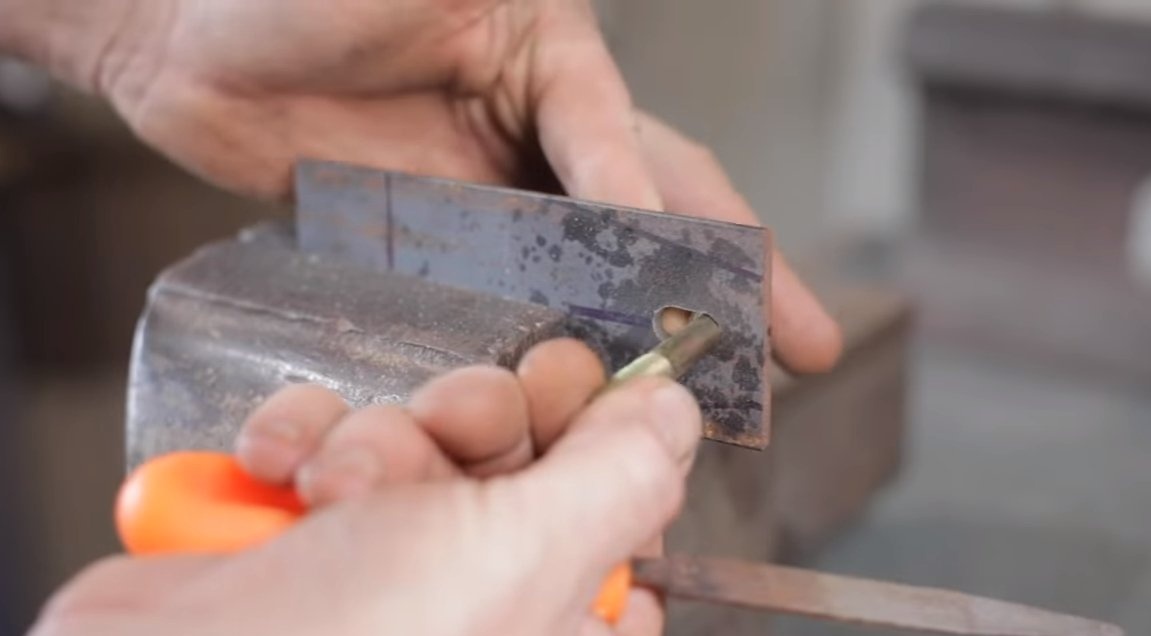
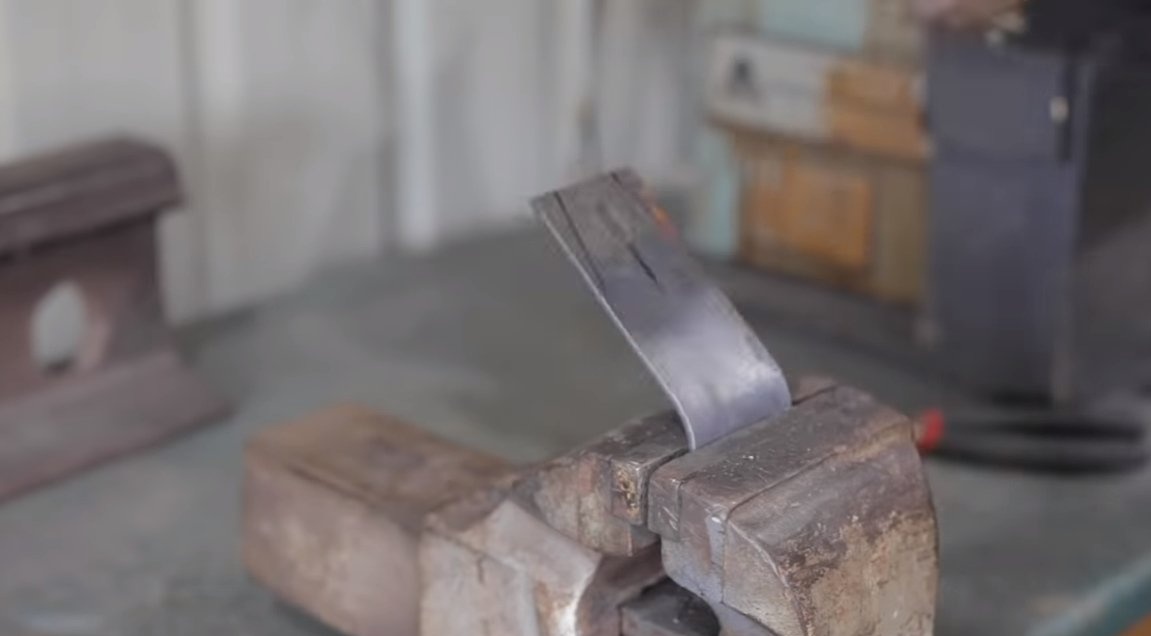
Next, we need to cut the knives, we have two of them, one is attached to the bed and it does not move, and the knife, which is made more massive, it is hinged to the bed, and it is on it that we act with the handle during cutting. We cut two knives and carefully grind on a belt grinder. As for the knife sharpening angles, it should be 90 degrees. We also drill holes in the knives to attach them to the bed, after hardening it will be very difficult to do.

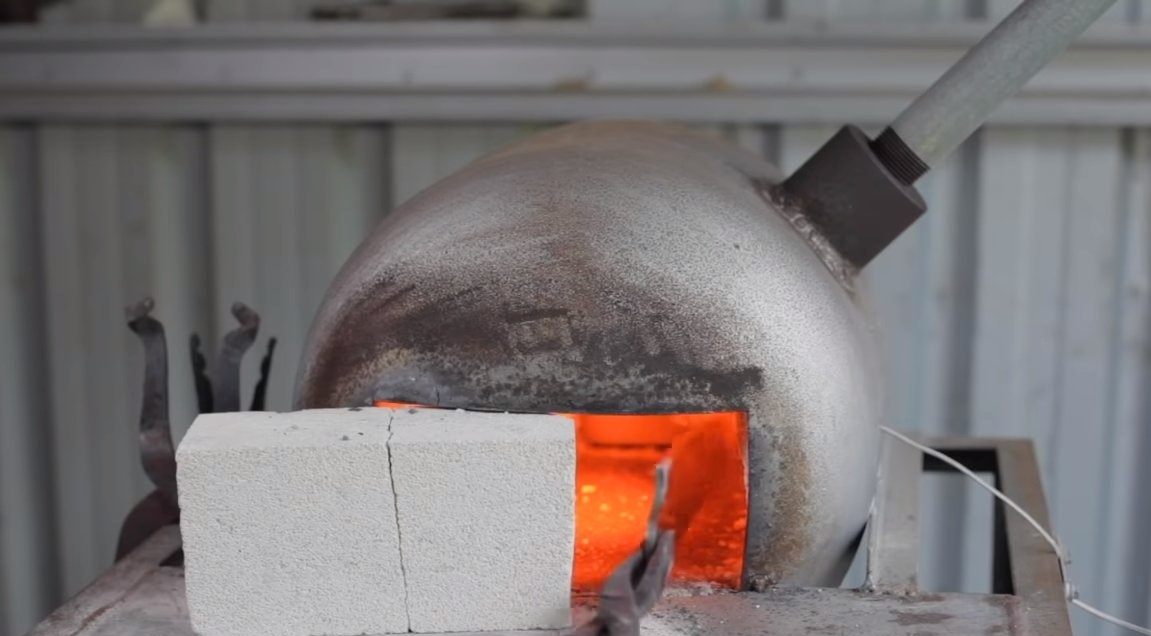
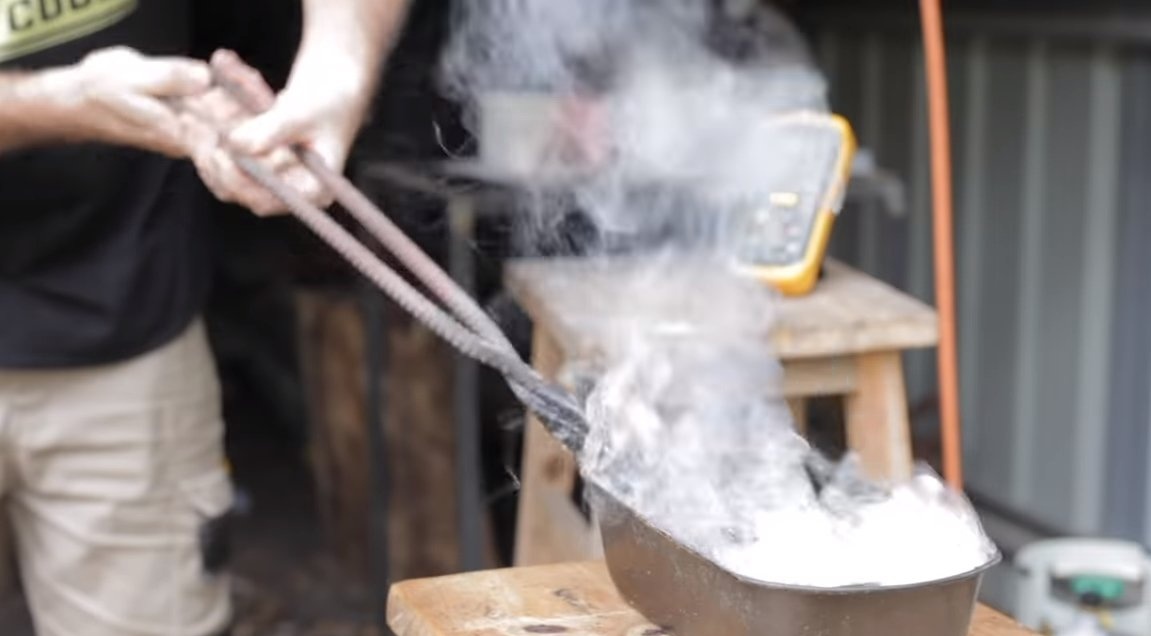
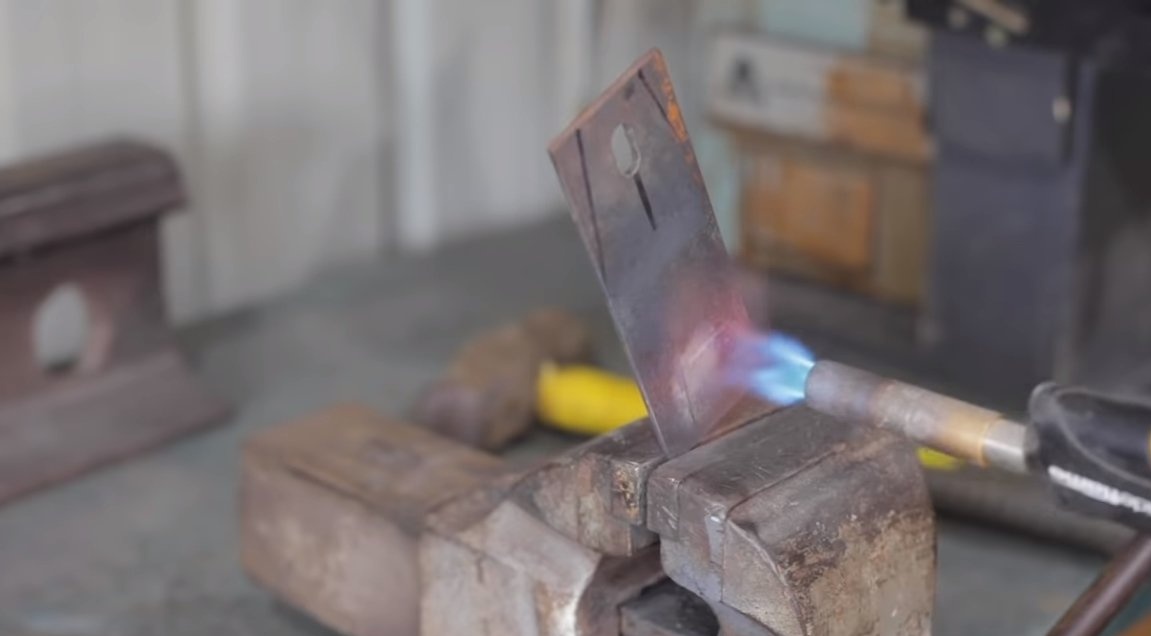
Step Three Quenching
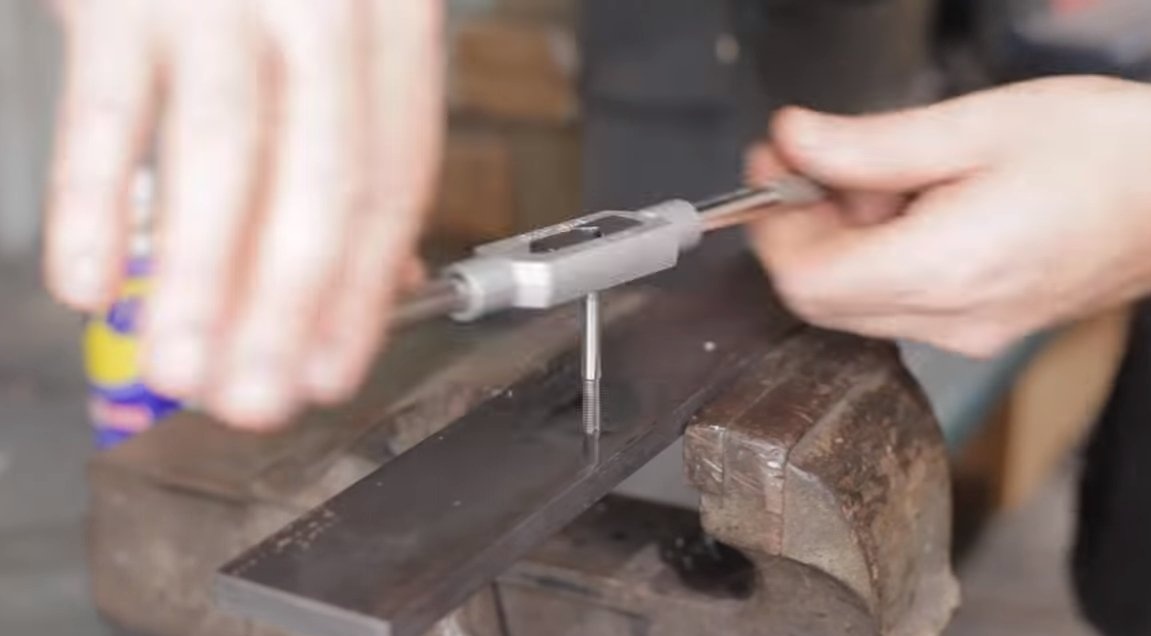
So that the knives do not blunt for a long time and can cut iron, they need to be hardened. We heat the steel to a red glow and dip in oil. If hardening has turned out, the steel should not be taken with a file, and if taken, you need to try to heat the steel more.You can roughly determine the degree of heating by a magnet, the hot steel should not respond to the magnet.
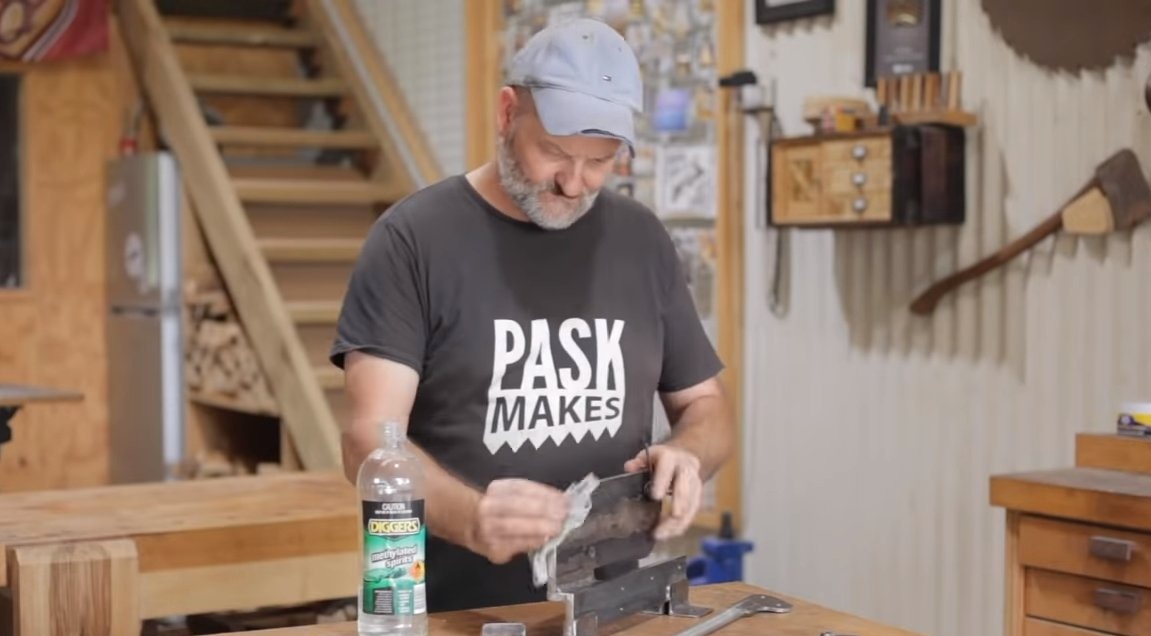
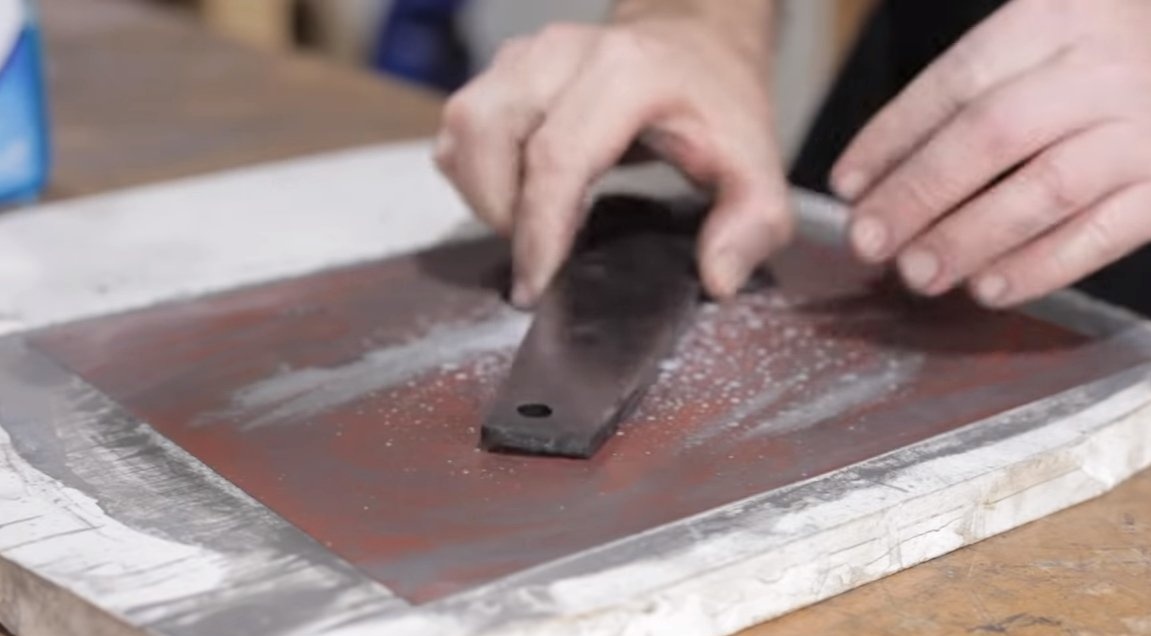
After hardening, wash my knives and carefully grind them on fine sandpaper to shine.
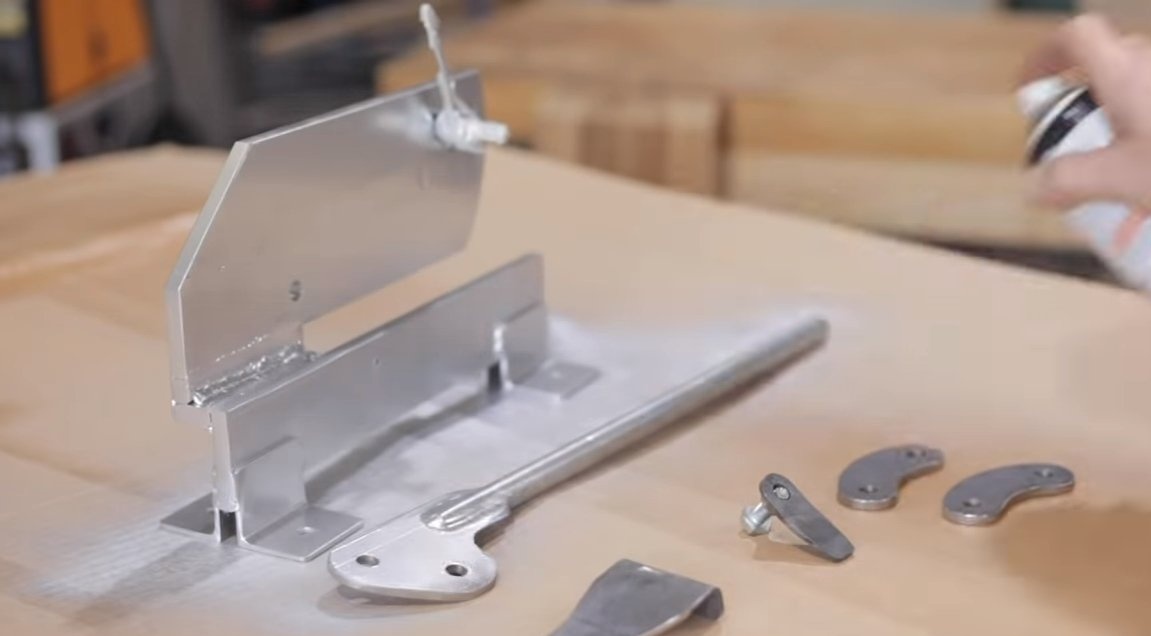
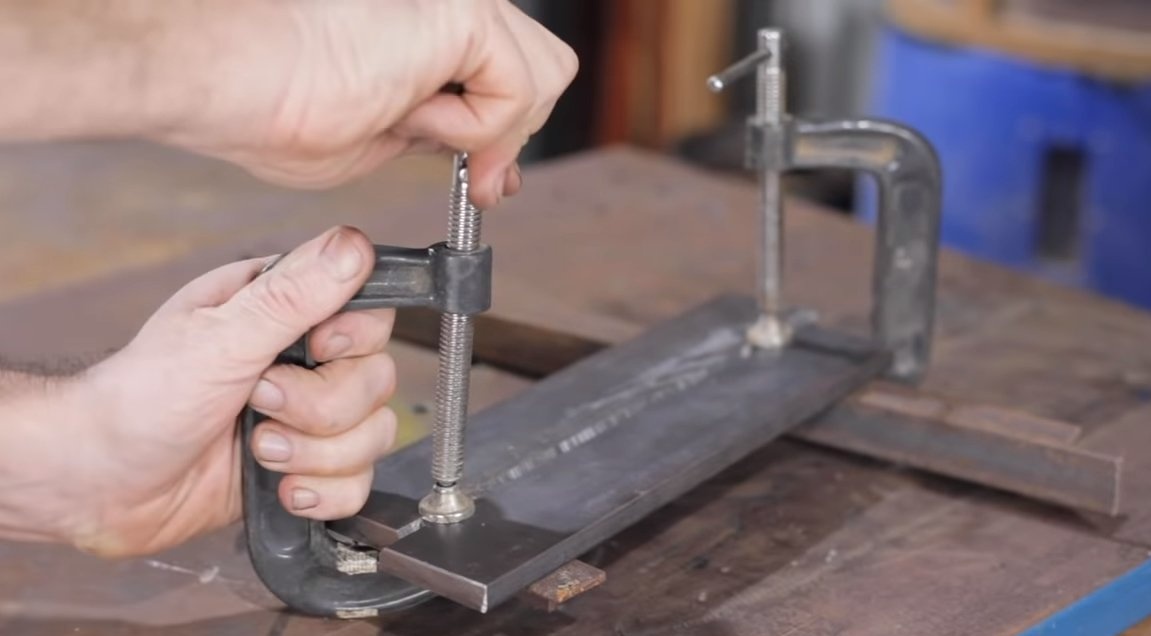
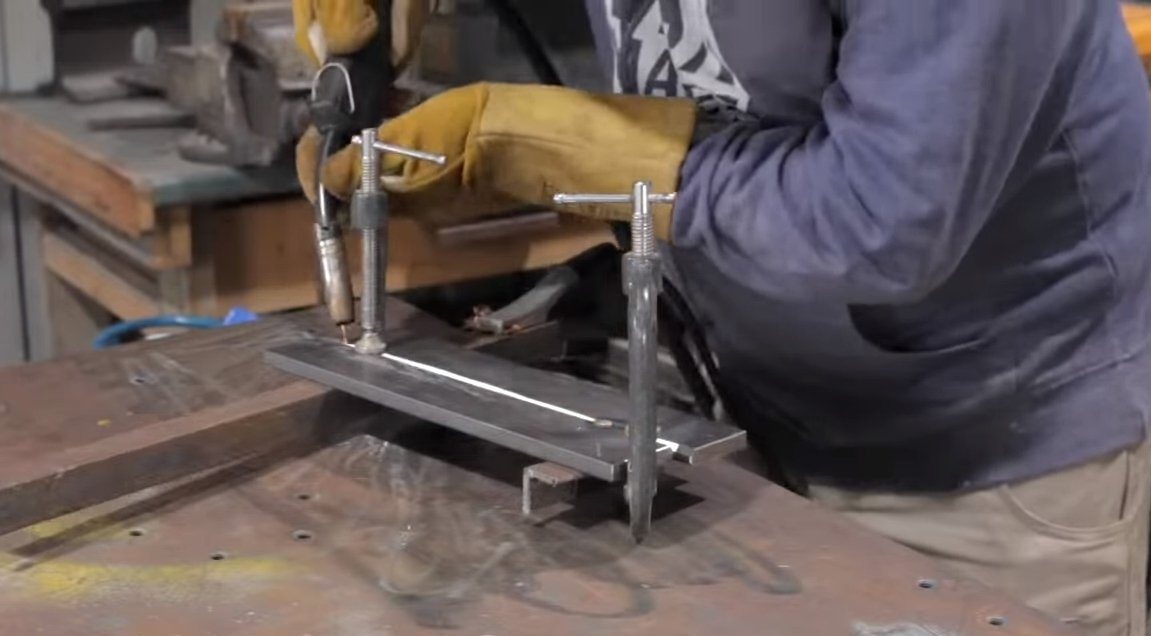
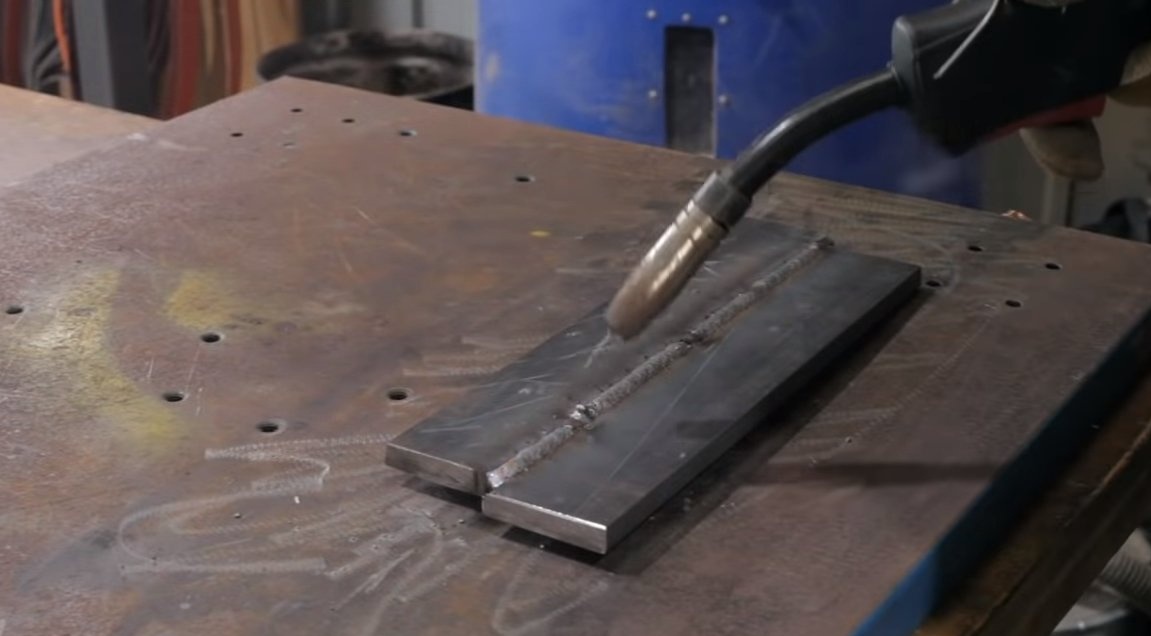
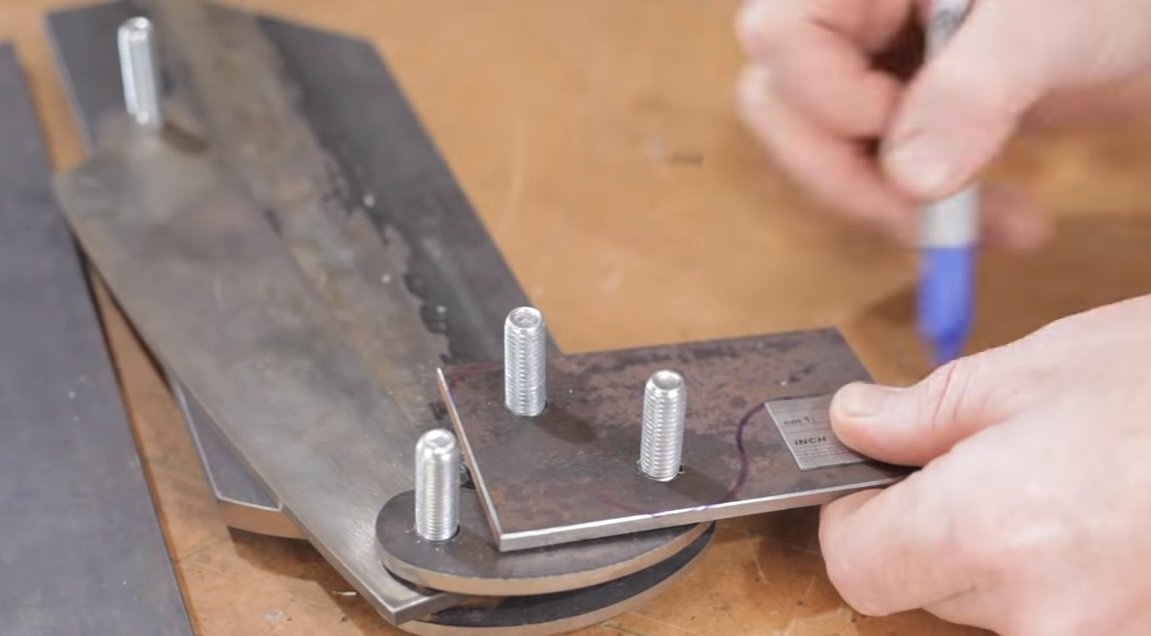
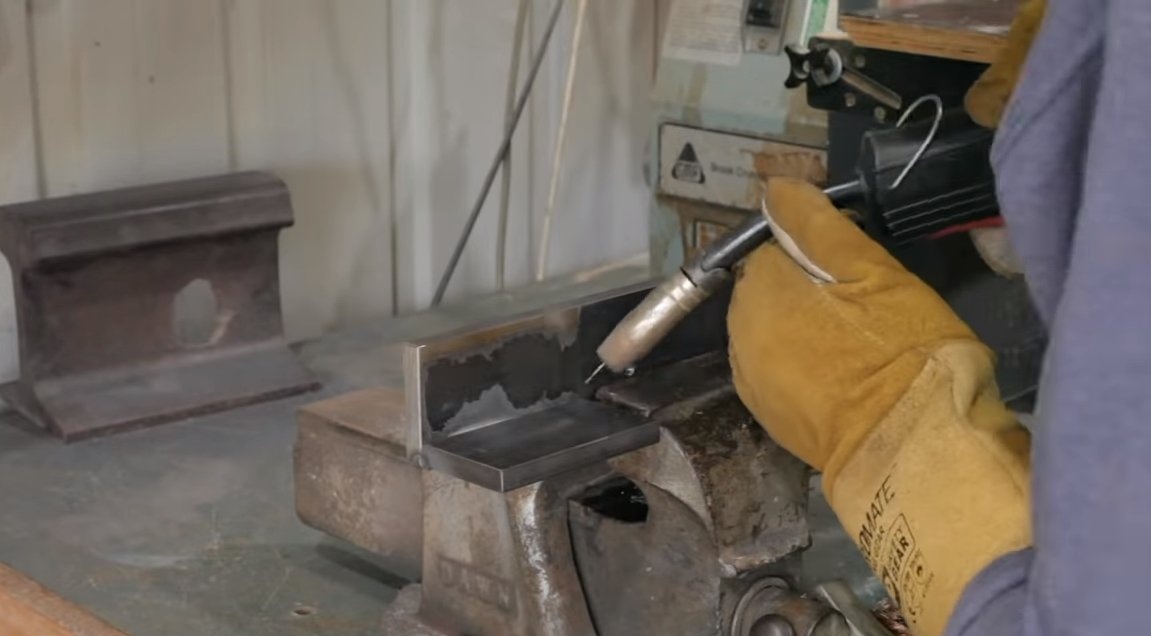
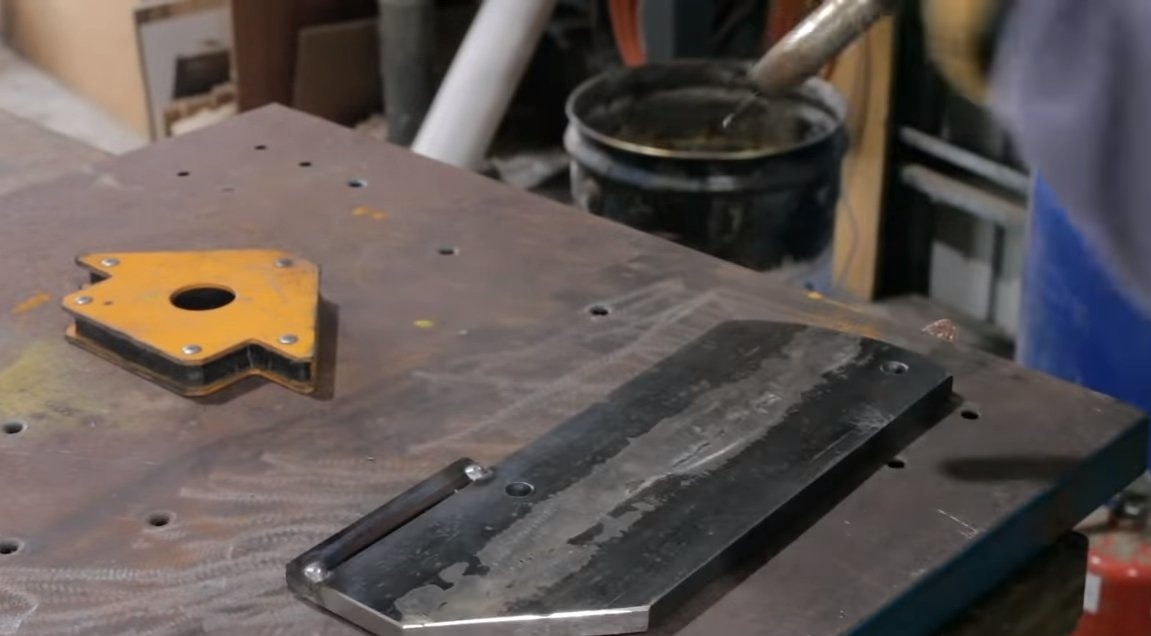
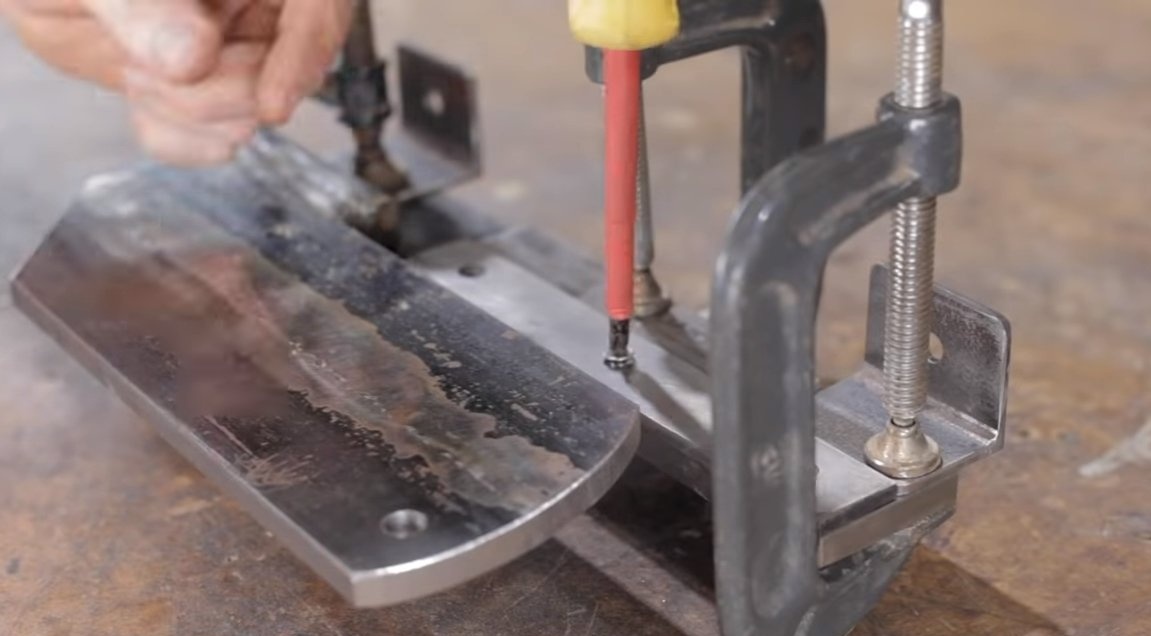
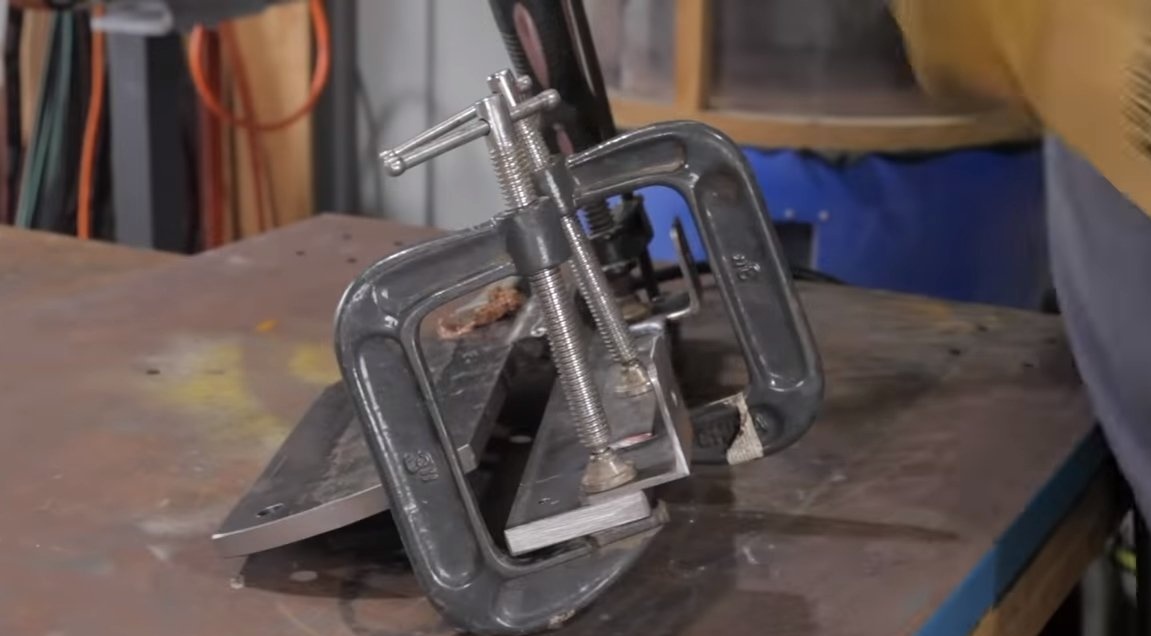
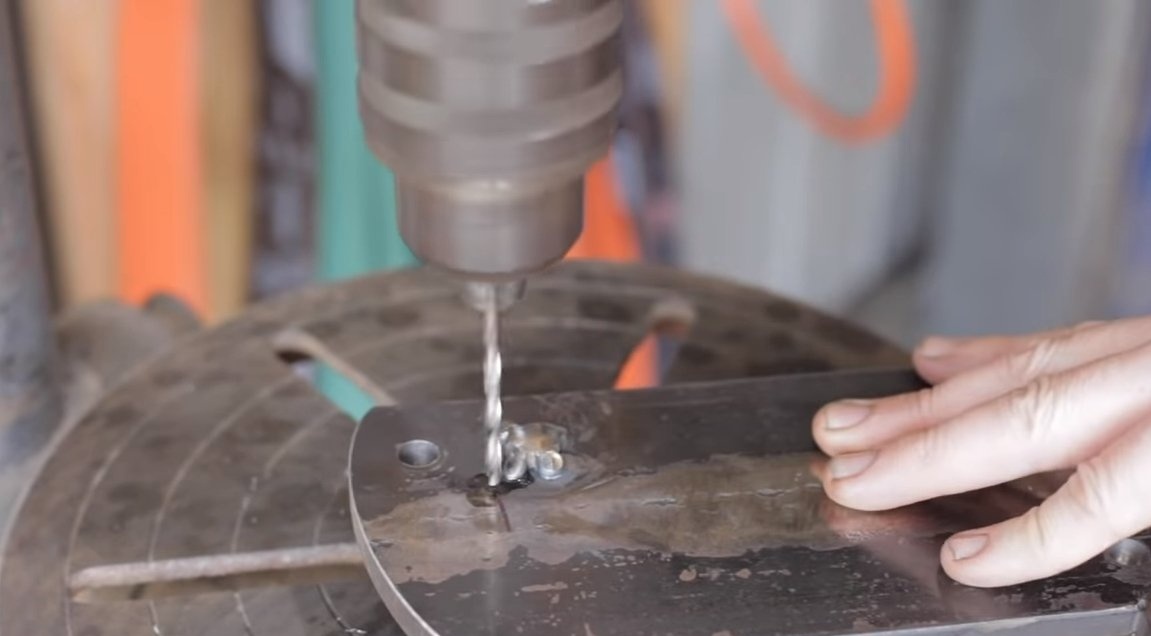
Step Four The main part of the bed
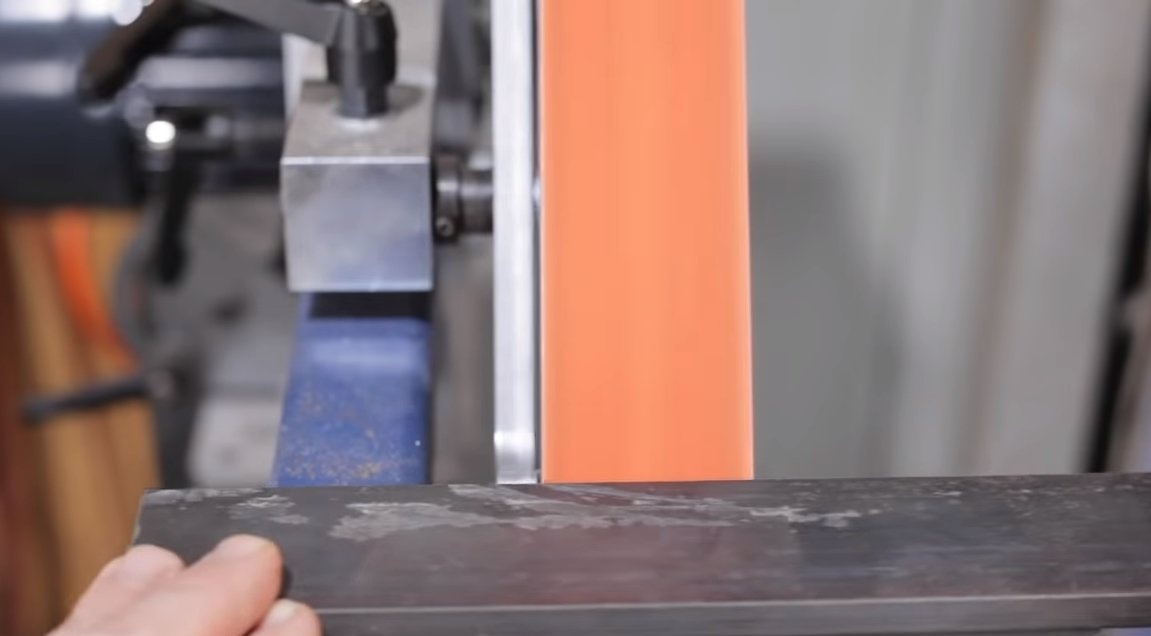
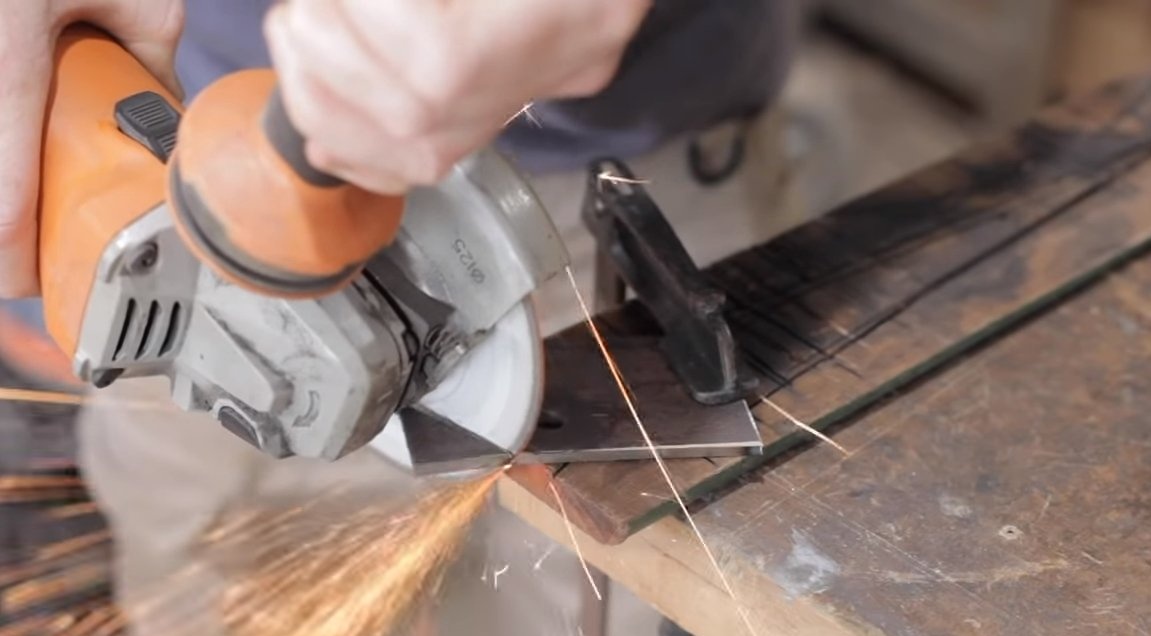
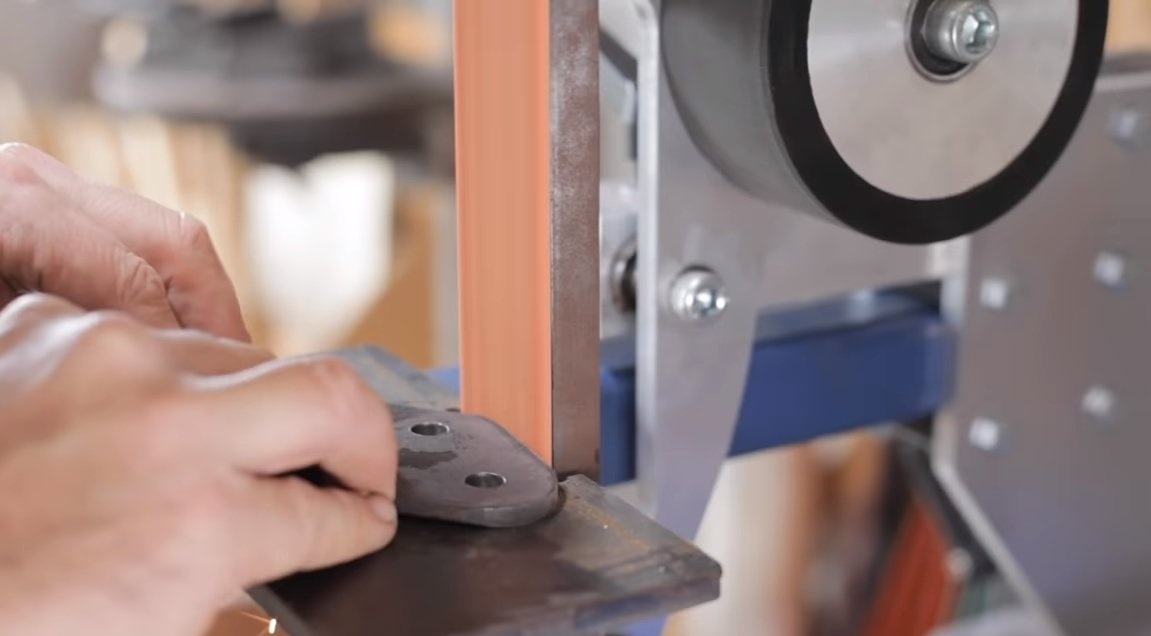
Let's make the main part of the bed, it is the most massive at the machine. To obtain the details of the right size, the author welds together two iron plates. For high-quality welding, we first remove the chamfer from the workpieces on a tape machine. We cut the resulting workpiece, grind it and drill the necessary holes in accordance with the template.
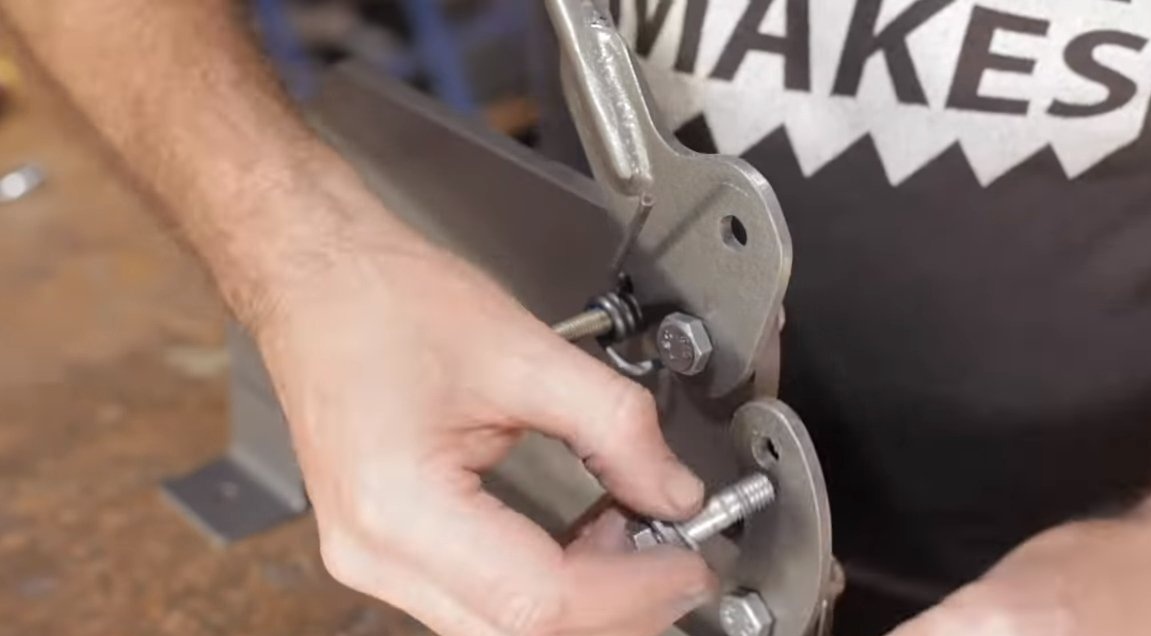
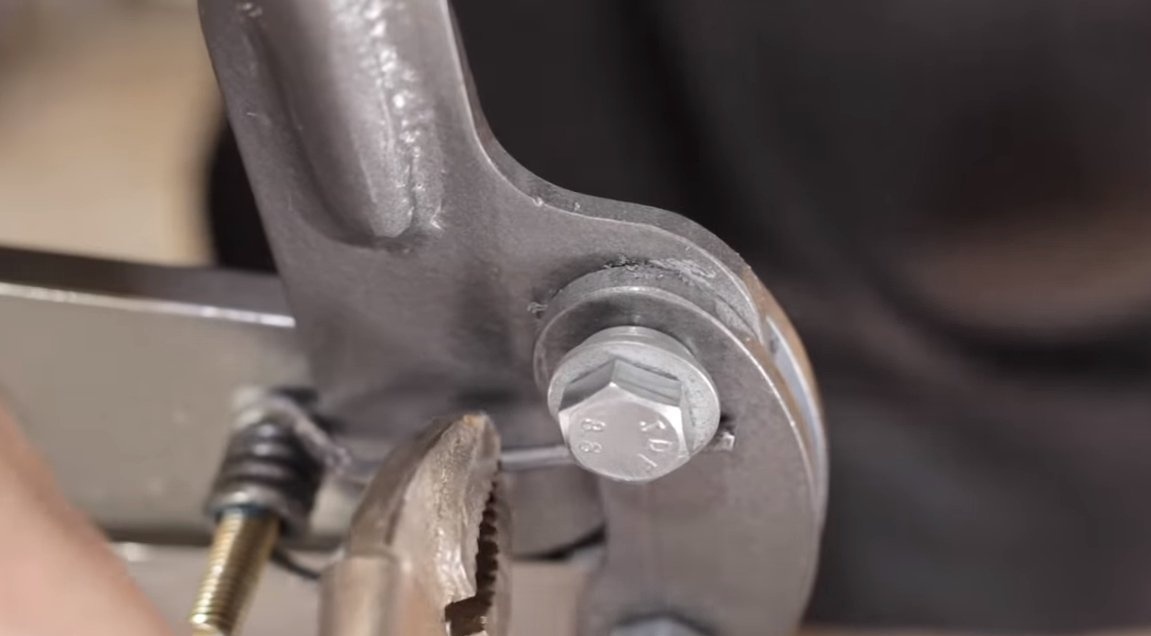
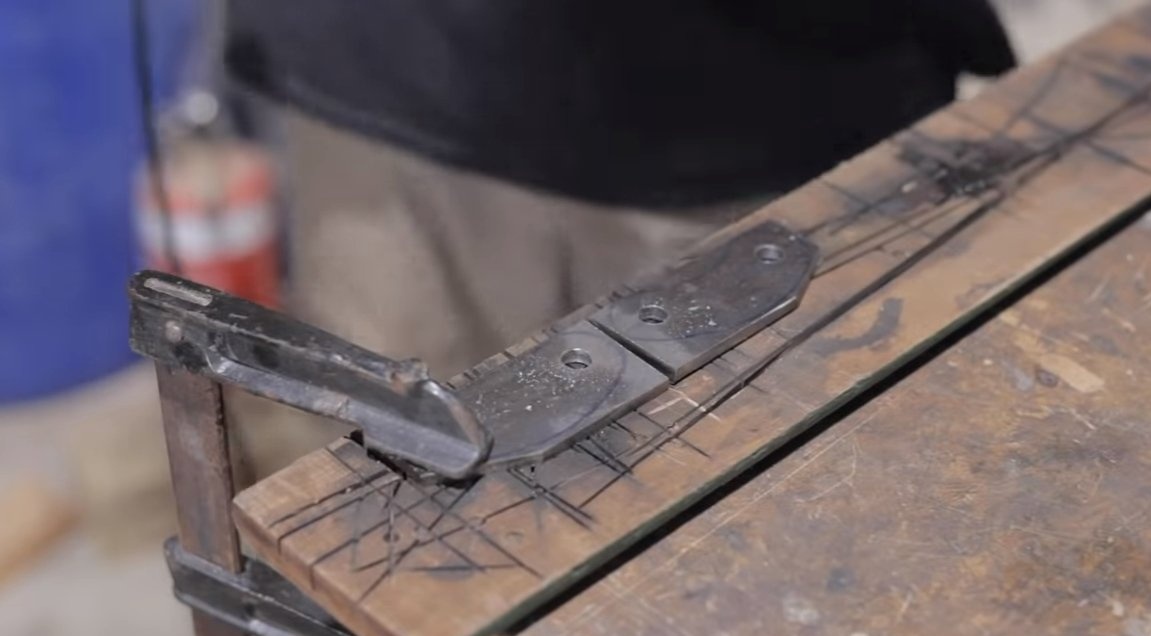
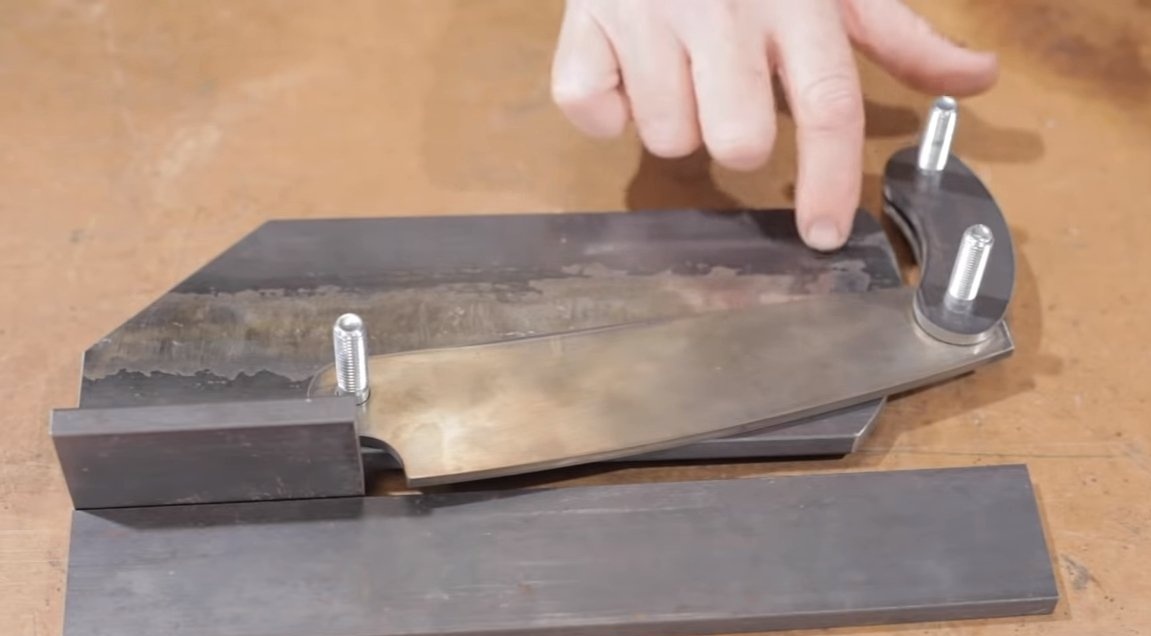
Step Five Staples and pen
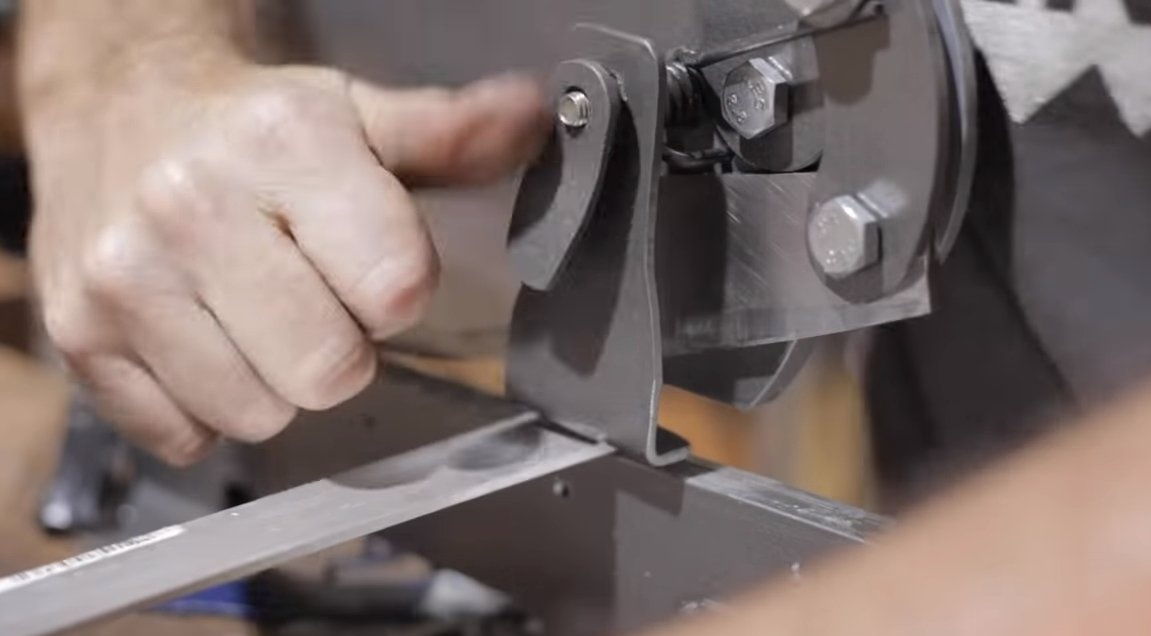
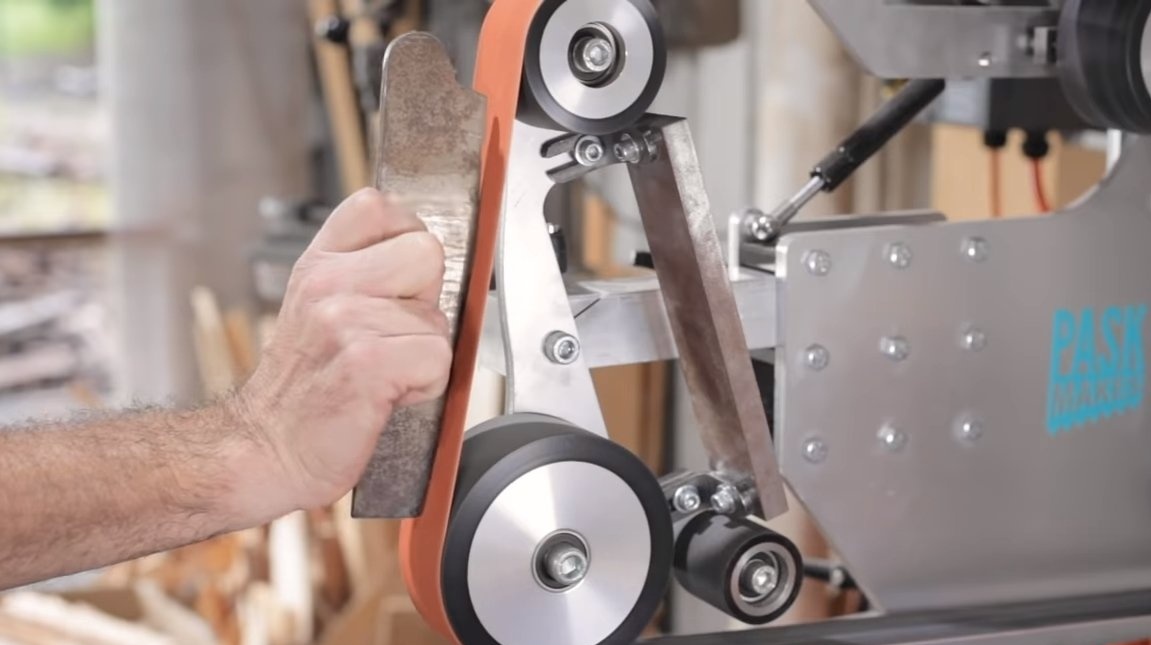
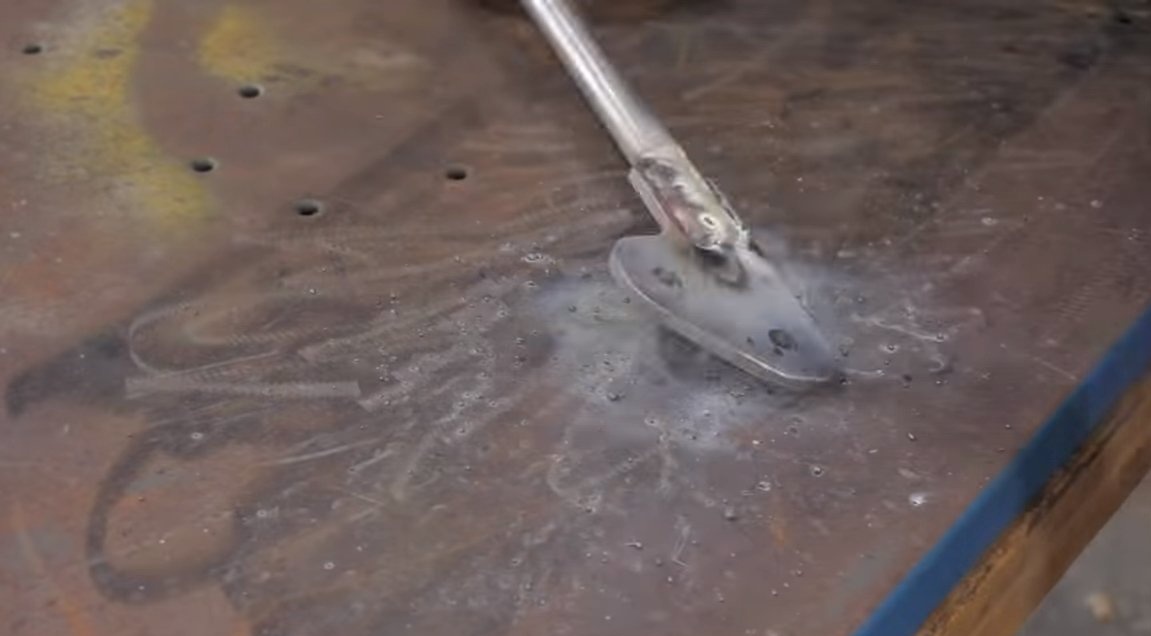
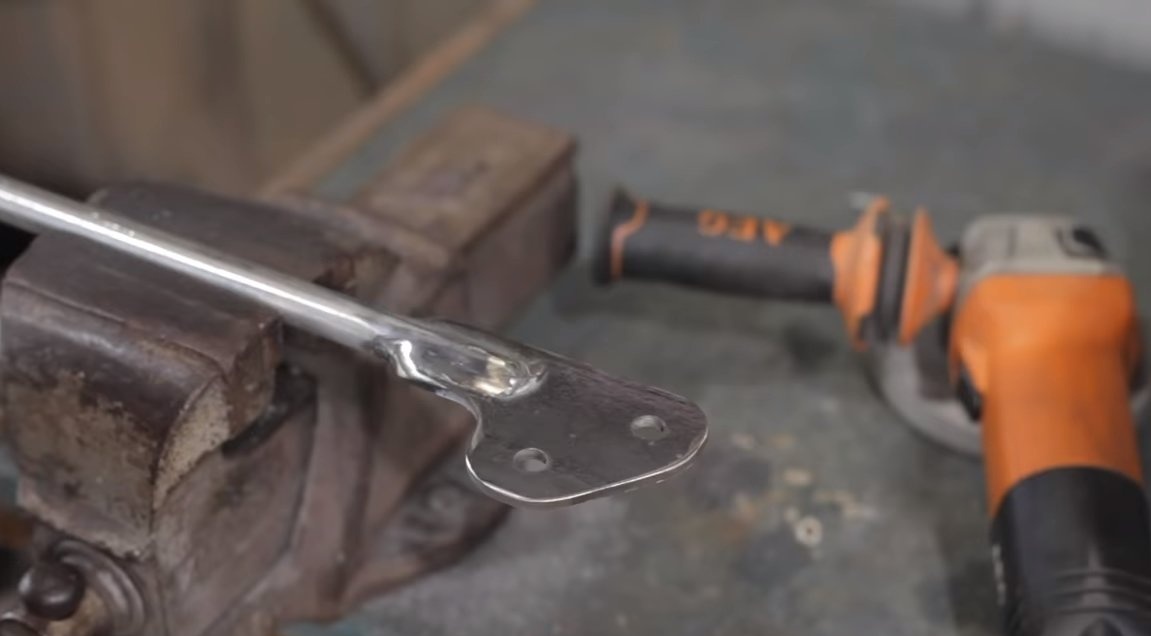
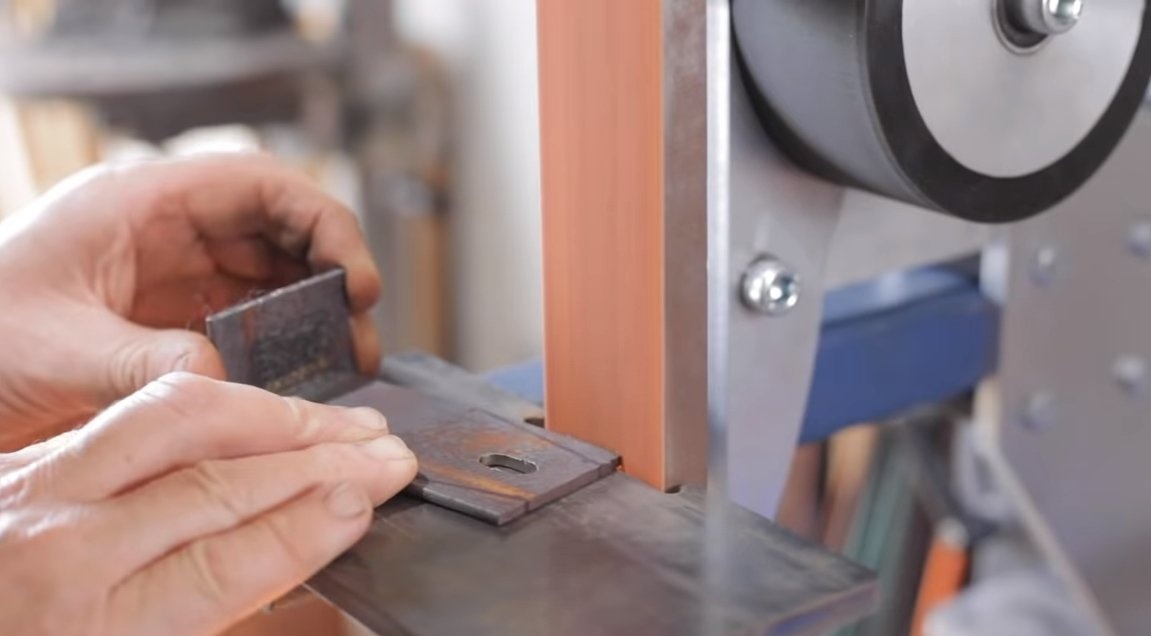
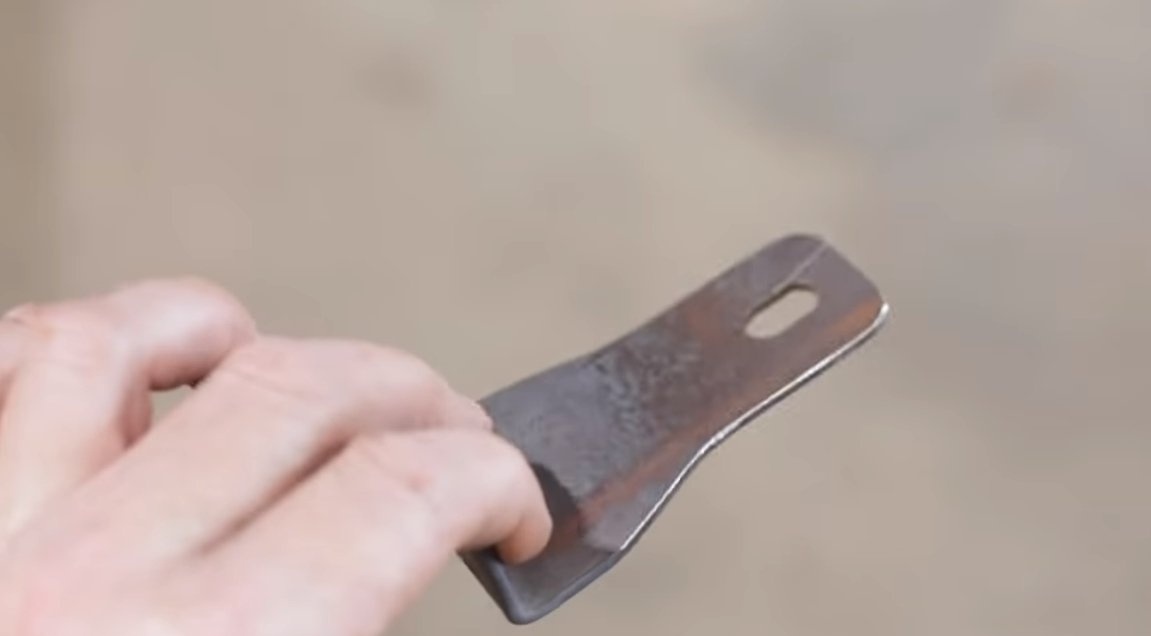
We need to make two parts visually resembling staples. These parts pivotally connect the upper knife to the handle. Everything is simple here, we work as a grinder, drill holes and modify products on a belt grinder.
We also make sheet metal to which the handle will be welded. This part is pivotally attached to the bed, as well as to the brackets. We weld a steel rod to this part, which will be the handle.
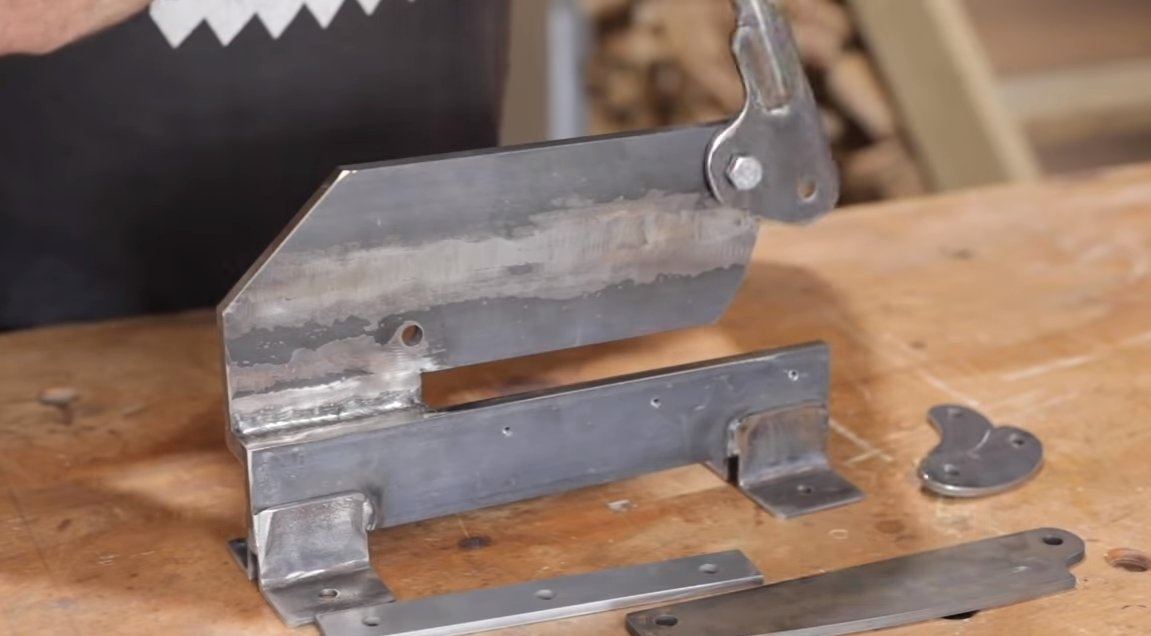
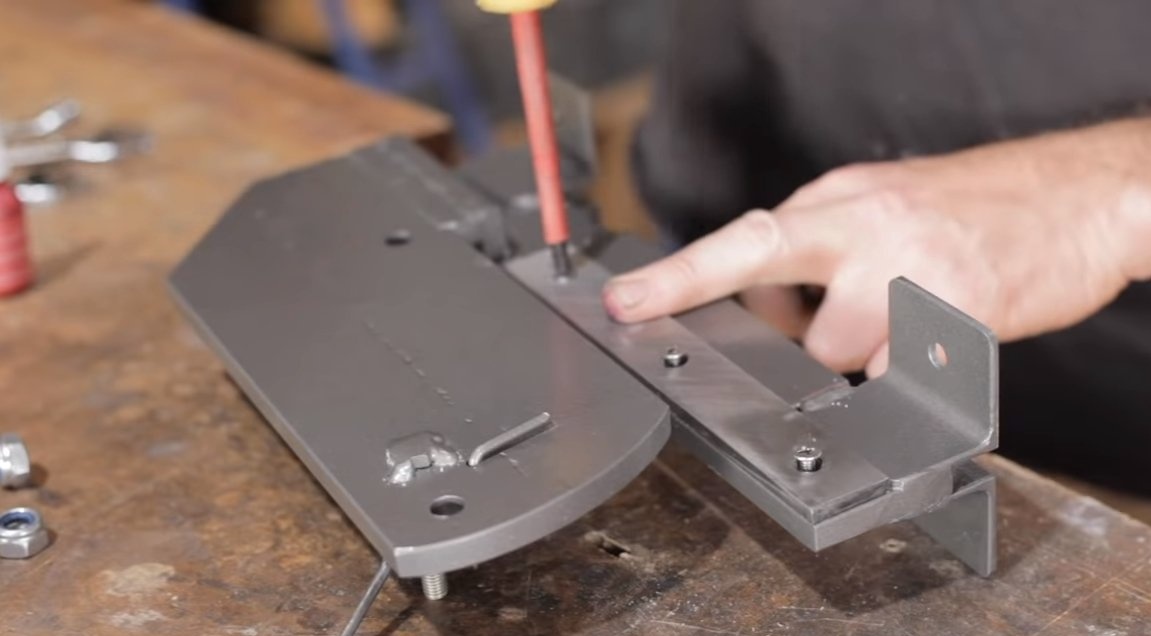
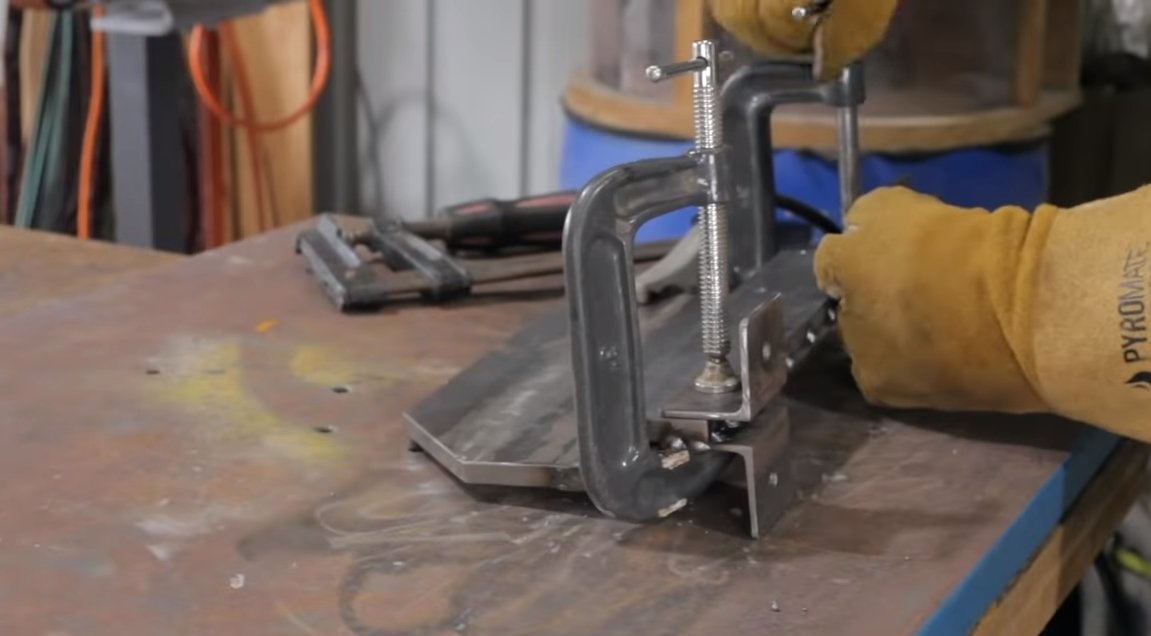
Step Six Lower part of the bed
Next, we need to weld the bottom of the bed, but this must be done very accurately. The bottom line is that the knives eventually go as in scissors with a minimum clearance. We perpendicularly weld the iron plate to the required width and weld to it the lower part of the bed. In the lower part you need to drill holes and thread for fastening the lower knife with screws.
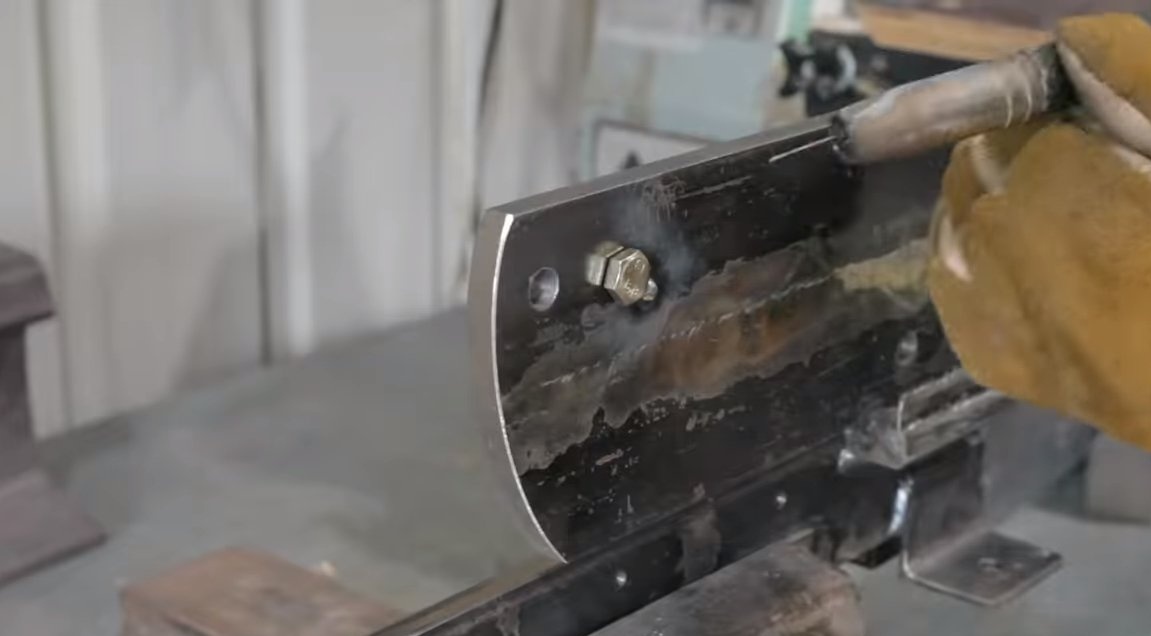
Seventh step. Mounting brackets
We attach mounting brackets to the device bed, with the help of which the homemade product will be securely attached to the table. To do this, we need 4 pieces of corner, drill holes in them and weld to the device.
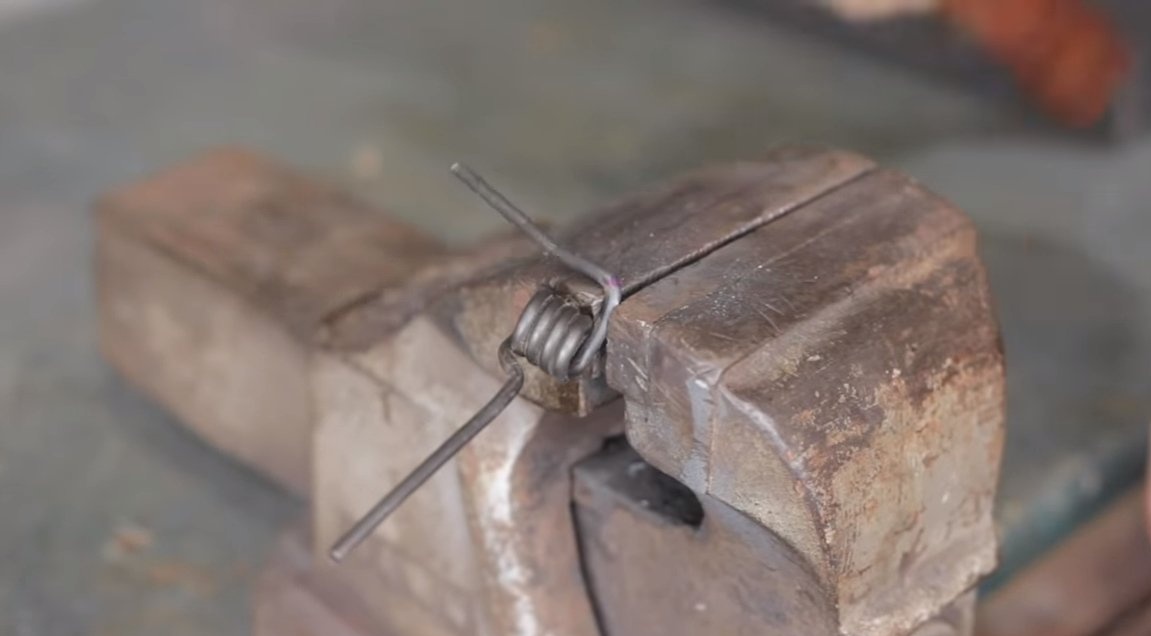
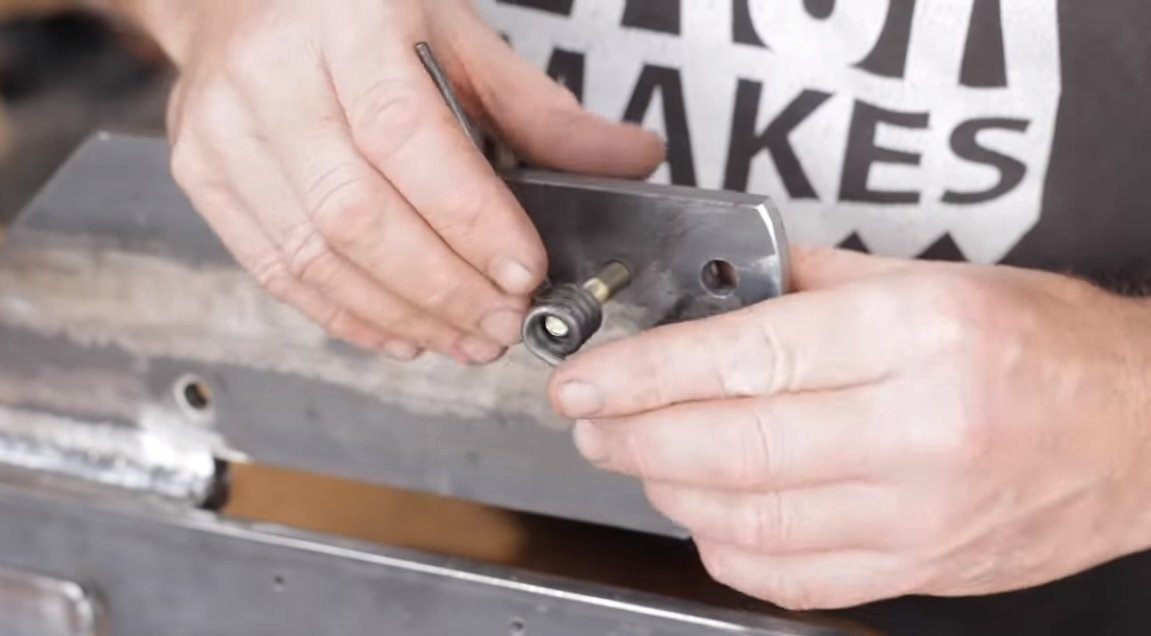
Step Eight. Spring
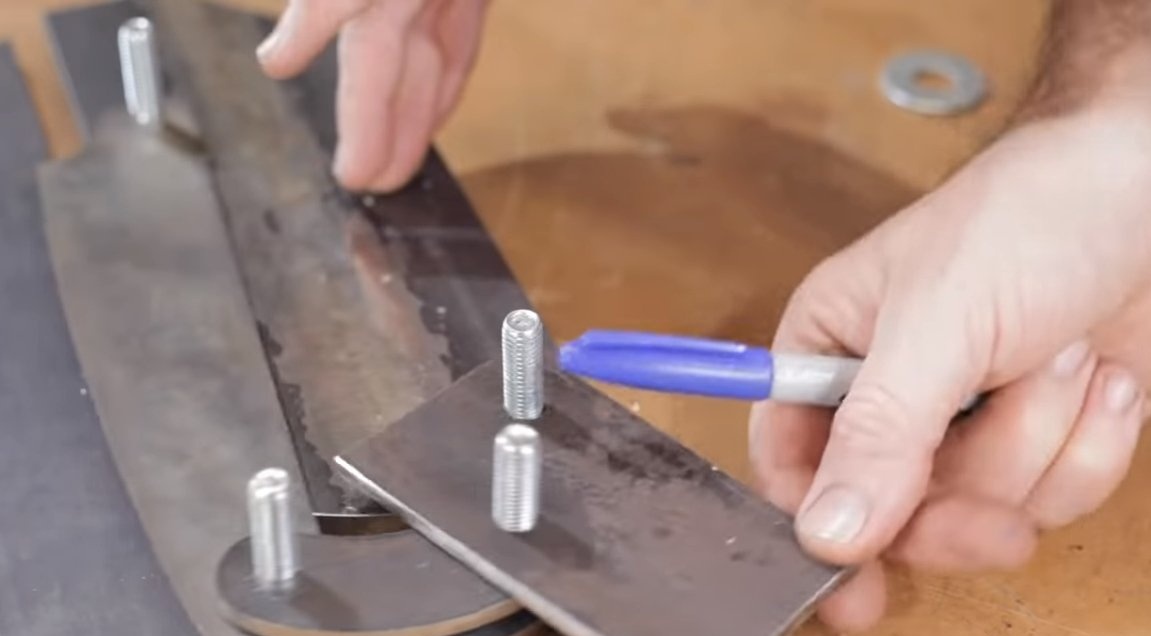
The machine must have a spring that will return the handle to its original position. To do this, we need a torsion spring, which the author got from cheap clips. As an axis, we weld a bolt to the bed and drill holes for attaching the spring.


Step Nine. Clamp
For the convenience of cutting, you can make a clamp for the machine that will hold the material. We cut it out of sheet iron, the author bends the workpiece by pre-heating it with a gas burner. We also make a convenient handle, which will tighten the lock.
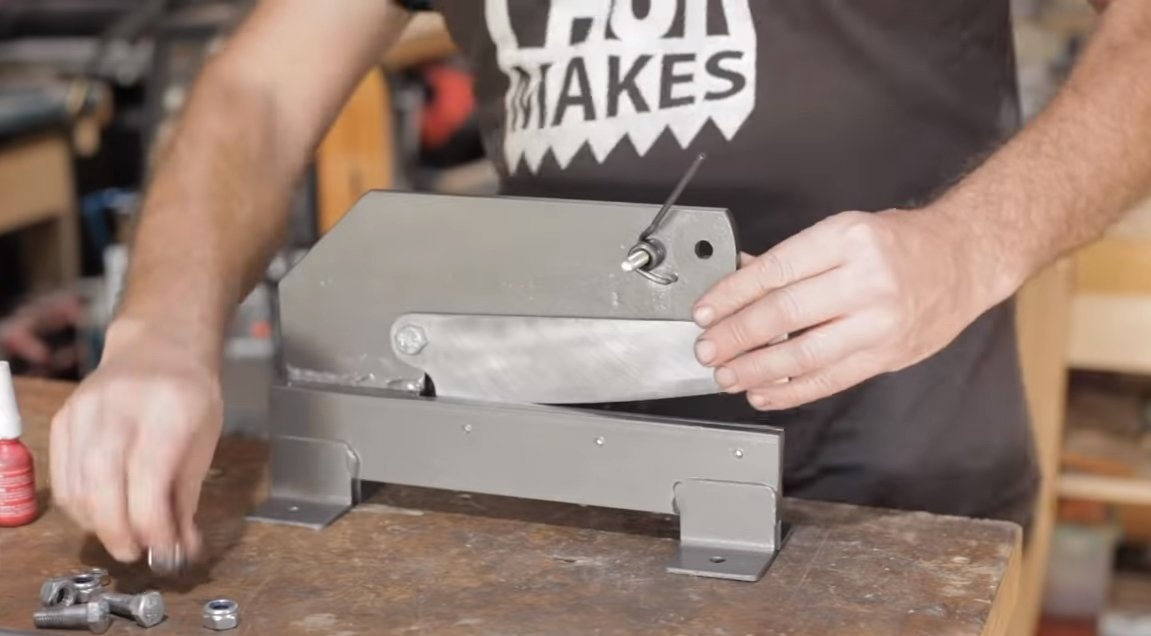
Step Ten Painting, assembly and testing
We disassemble the machine, primer and paint, now the homemade product looks elegant and is reliably protected from rust. That's all, the machine can be assembled and tested. The machine easily copes with iron up to 3 mm thick; the author was afraid to cut more. If you make the knife stronger and the handle more authentic, you can cut thicker iron. As for non-ferrous metals, they are cut much easier than iron. When cutting, it is important not to mix up and not try to cut the hardened steel.
That's all, now the project is ready, the home-made turned out to be quite successful. I hope you enjoyed the project and found useful thoughts for yourself. Good luck and creative inspiration, if you decide to repeat this. Do not forget to share your ideas and homemade things with us!