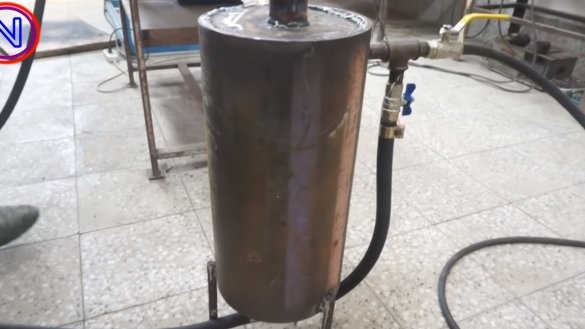
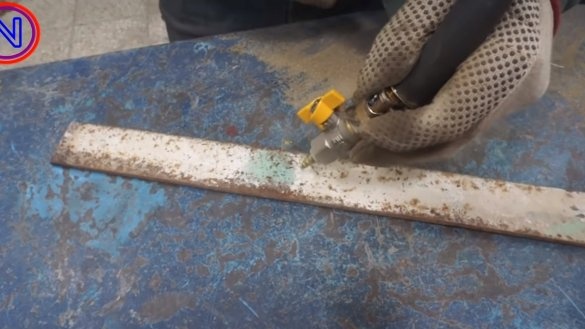
Hello to the craftsmen, today we will make sandblasting. Its design is simple, the machine turned out to be quite functional, you just need to think about adjusting the amount of sand or increase the pressure, since the performance of the machine is rather weak. Also, the ceramic part from the spark plug must be used as a nozzle; such a nozzle lasts quite a long time in comparison with a brass tube. If the project interests you, I propose to study it in more detail!
Materials and tools used by the author:
Material List:
- thick-walled iron pipe;
- threaded iron pipes;
- air hoses;
- water taps;
- sheet metal;
- fum tape;
- round timber;
- water tees, fittings and other parts for plumbing.
Tool List:
- ;
- ;
- with crowns for metal;
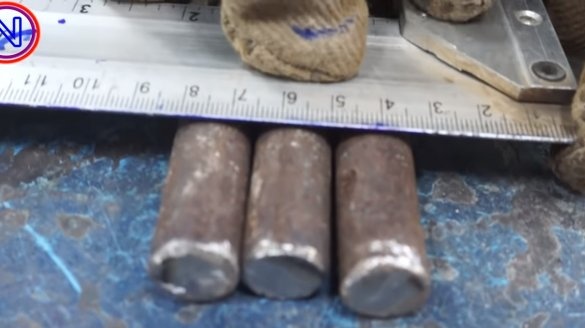
- marker, tape measure, ruler;
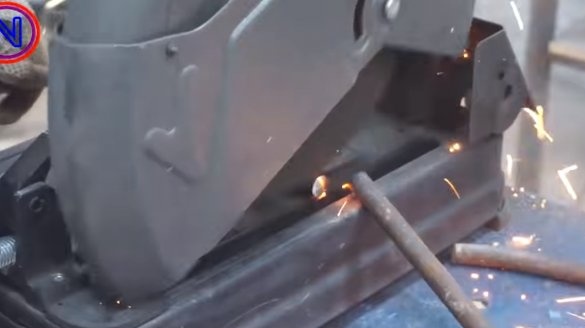
- Miter saw.
Manufacturing process homemade:
Step one. Housing
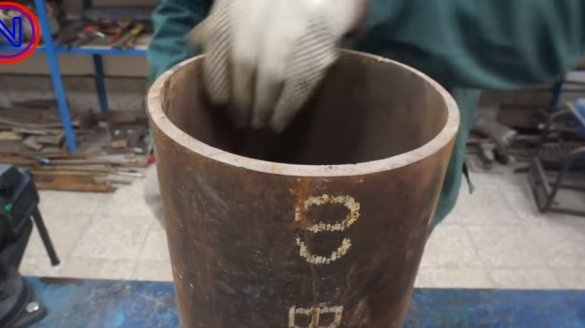
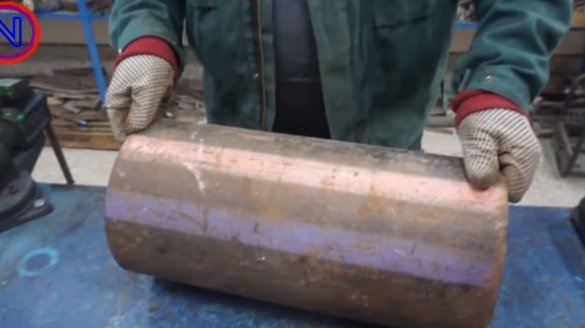
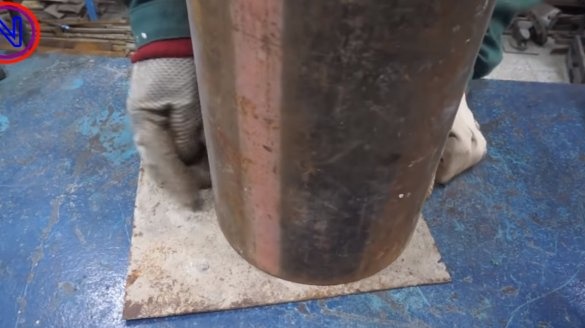
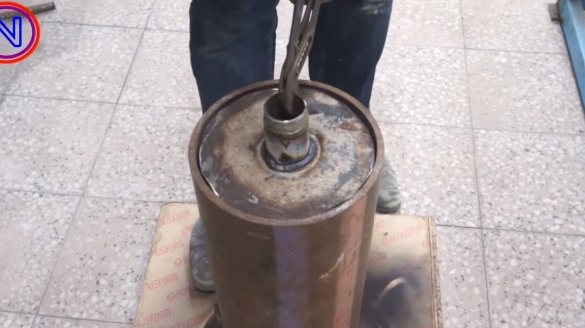
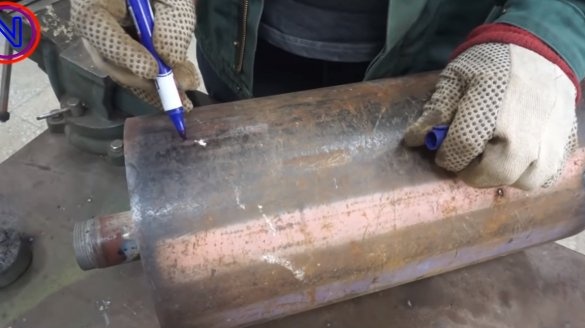
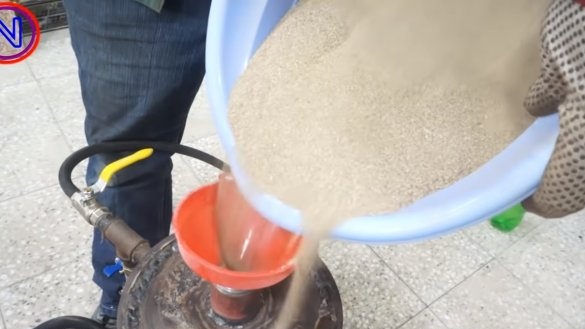
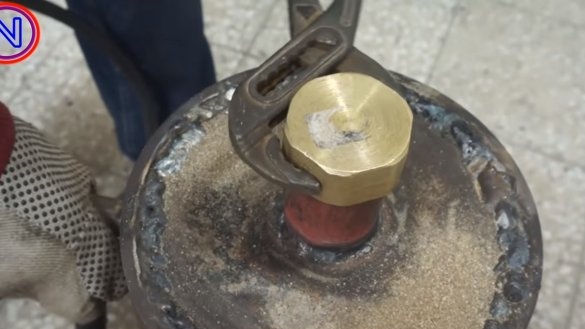
All the mystery of the operation of the device occurs inside the tank, which is made of a thick-walled iron pipe. Sand is poured into this body, which is then picked up by the air pressure from below, and is carried up to the outlet pipe.
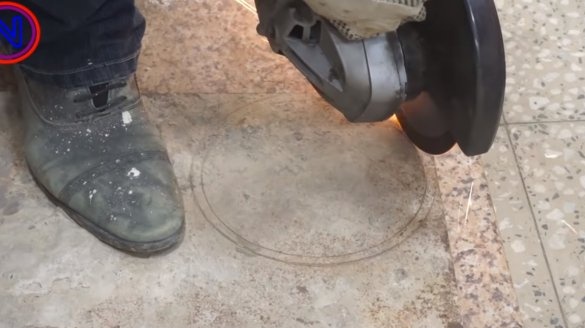
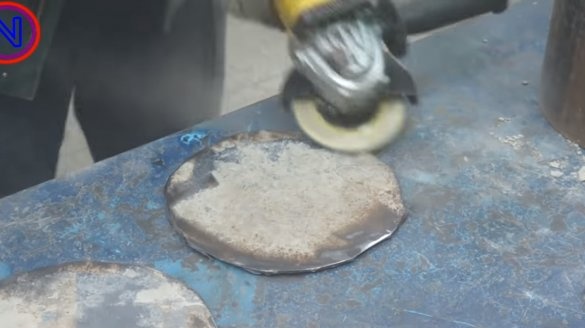
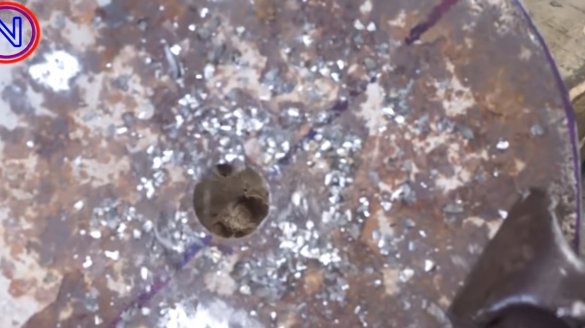
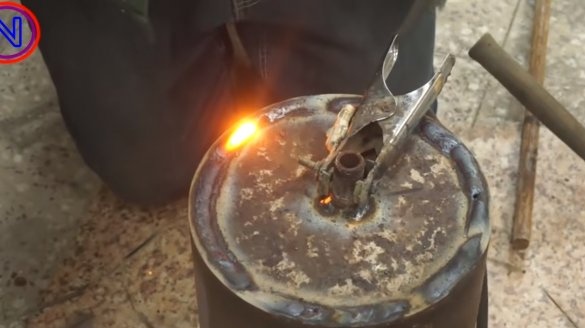
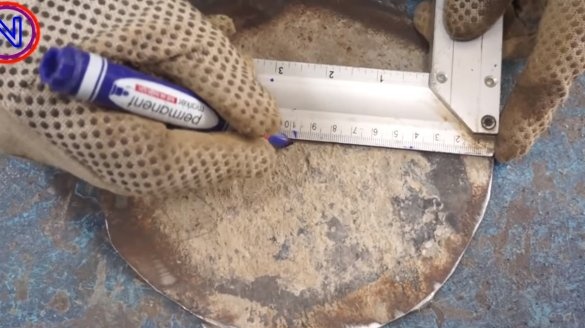
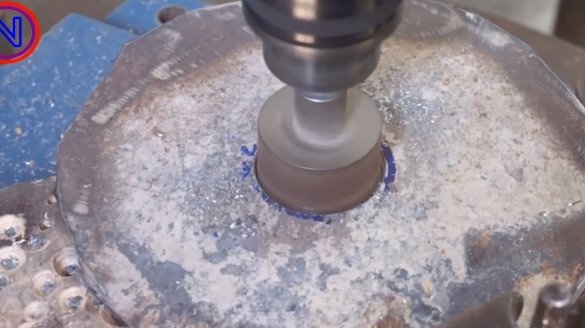
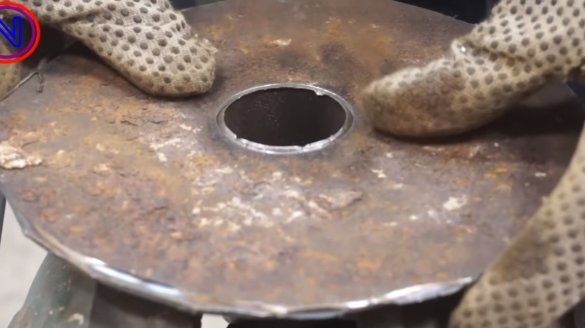
First, we need to cut out two plugs for the pipe from sheet iron, cut out the circles with a grinder and weld them well on both sides of the pipe. Of course, the welds must be airtight so that there is no air leak anywhere.
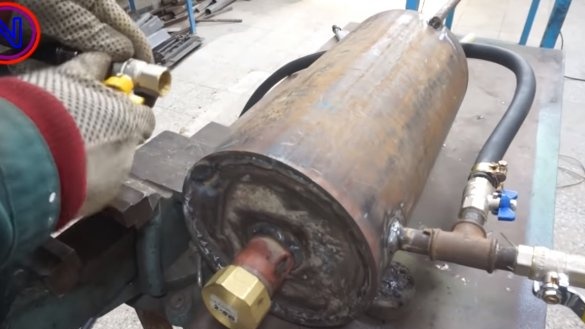
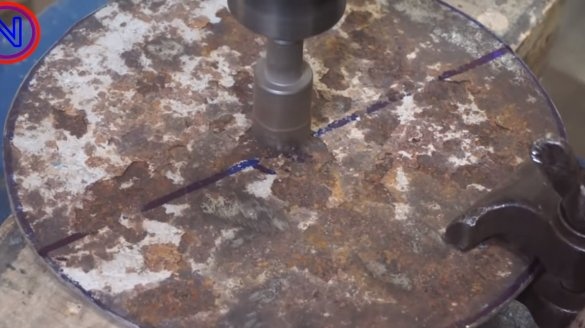
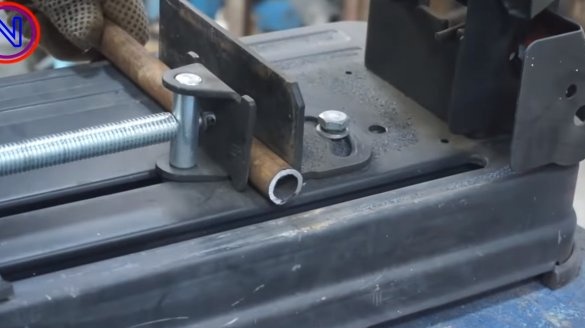
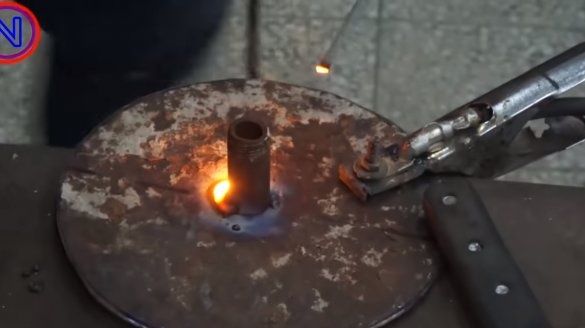
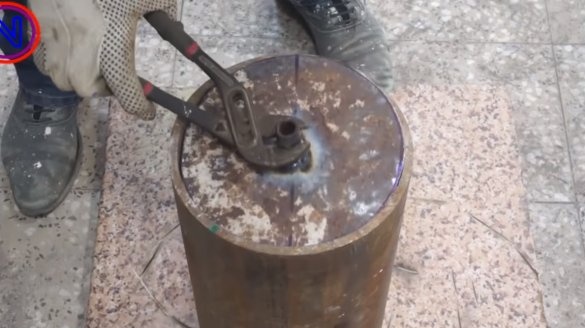
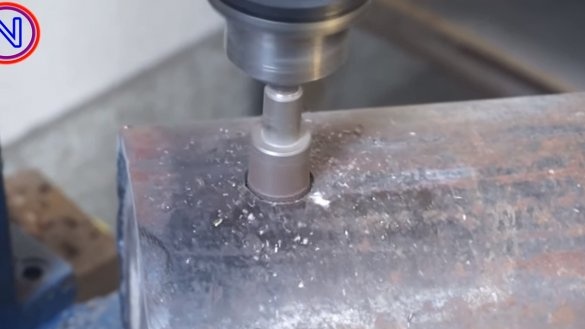
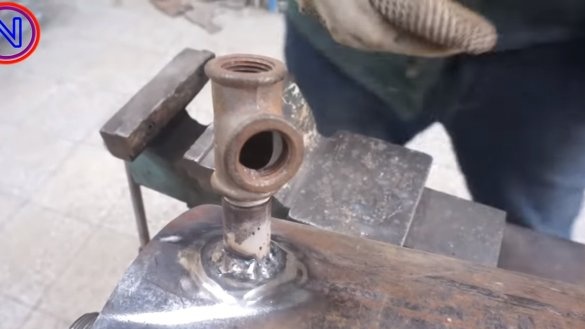
A thick threaded pipe will need to be welded into the upper part, it will be needed as a neck for filling sand. Under the diameter of this tube, you need to pick up the blanking nut.
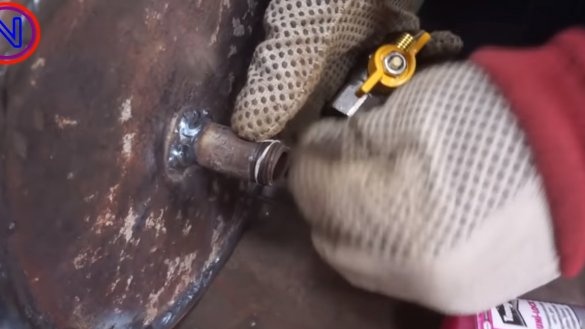
In the lower part we weld the required through which air will be supplied into the container.
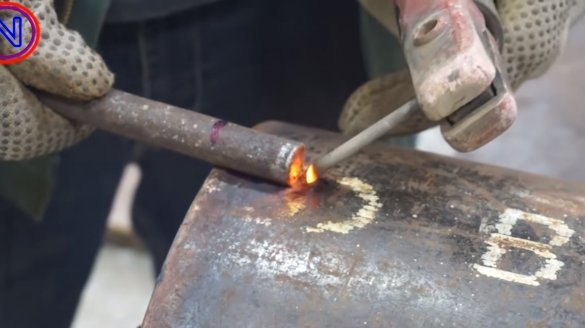
You need to weld another, third tube to the tank, it is welded to the side in the upper part. Sand with air will come out through this pipe.
Well, and, of course, you need to make legs for the furnace, for such purposes we use round timber, profile pipes or whatever.
Step Two Connection
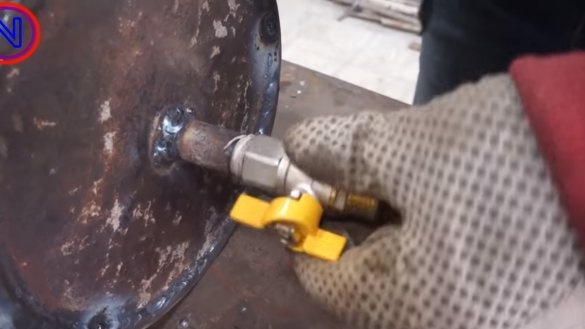
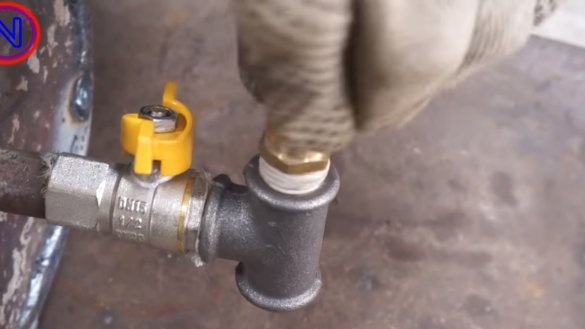
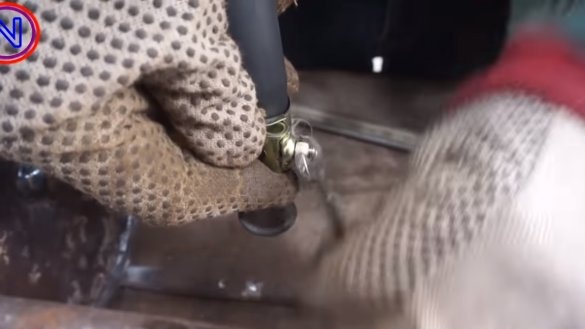
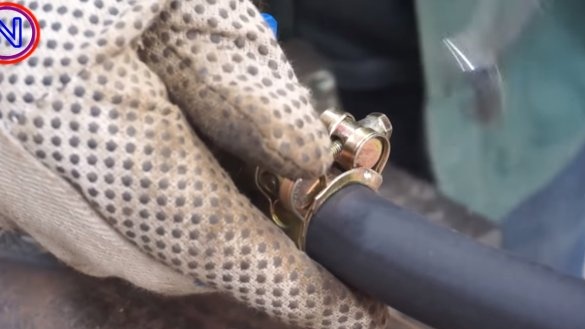
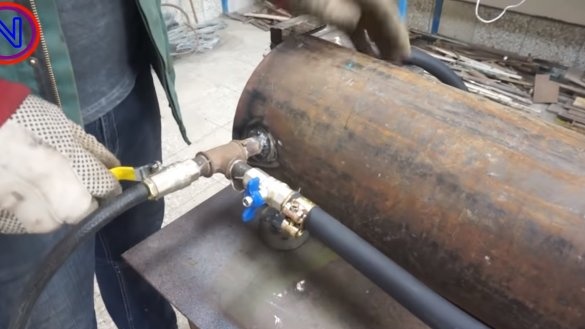
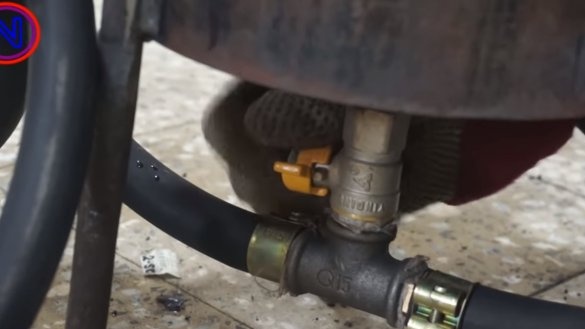
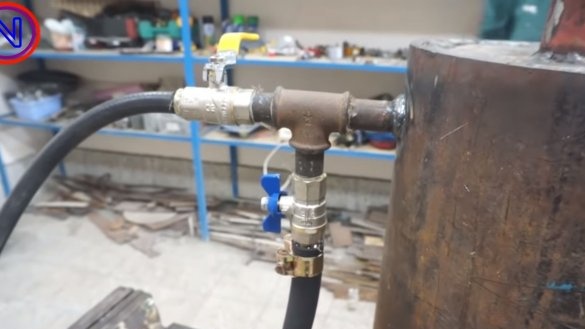
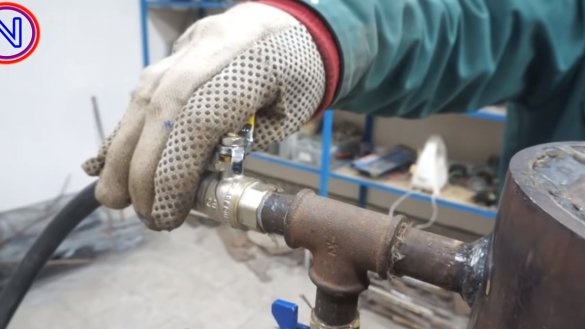
Next, we need hoses and tees, we need to assemble the circuit.We fasten the tees to the lower and upper tube. The hose that supplies air from the compressor is attached to the lower tee. Between the tee and the tank is a tap that regulates the air supply to the tank.
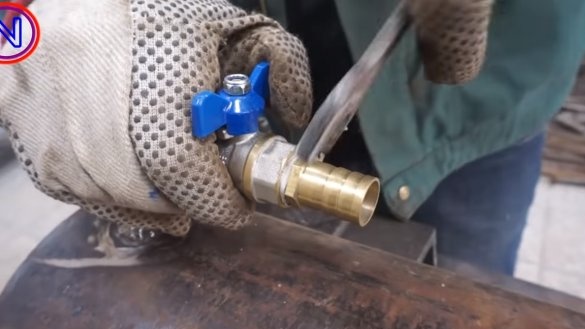
We connect a hose to the remaining outlet of the tee and lead it to the upper tee, this upper tee will work as a mixer. In the upper tee, air from the compressor will mix with air that comes with sand from the tank. There are two taps on the top tee, blue is needed to control the air volume from the compressor, and yellow is used to limit the amount of air with sand that already goes into the outgoing hose. This yellow tap is no longer necessary; just install the tap at the end of the outgoing hose. As a nozzle, the author wrapped a brass fitting in a tap, which is a bad decision. As a nozzle, it is best to use ceramics from a car spark plug.
Step Three Test
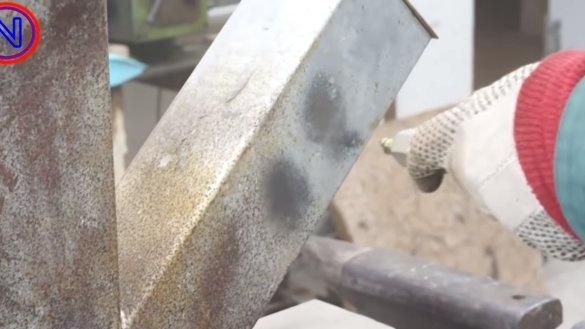
The homemade product is ready, the machine works, but the performance is weak, apparently the problem is the insufficient air flow rate. The design drawback is that it is not possible to precisely adjust the amount of sand supplied, and this parameter will also depend on how much sand is in the tank. In addition, you cannot pour a lot of sand into the tank, otherwise it will not be blown out by air.
In general, the machine turned out to be workable, but the idea requires improvements in terms of the sand supply system.
This is the end of the project, I hope you liked the homemade work, and you found useful thoughts for yourself. Good luck and creative inspiration, if you decide to repeat this. Do not forget to share your opinion in terms of finalizing the design.

