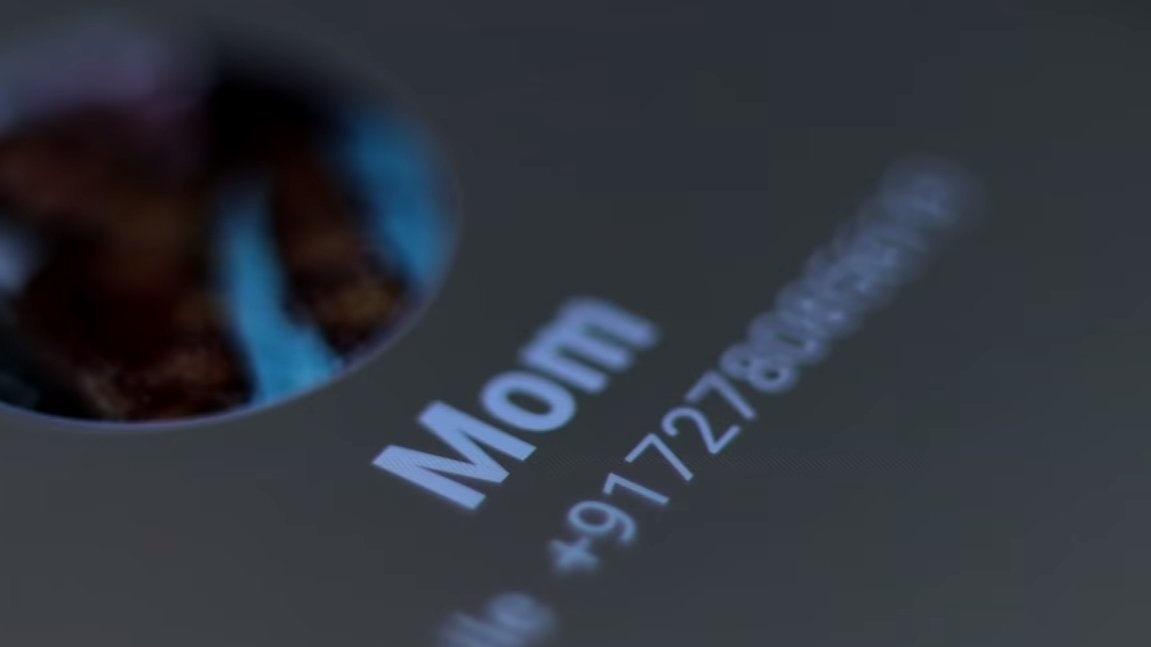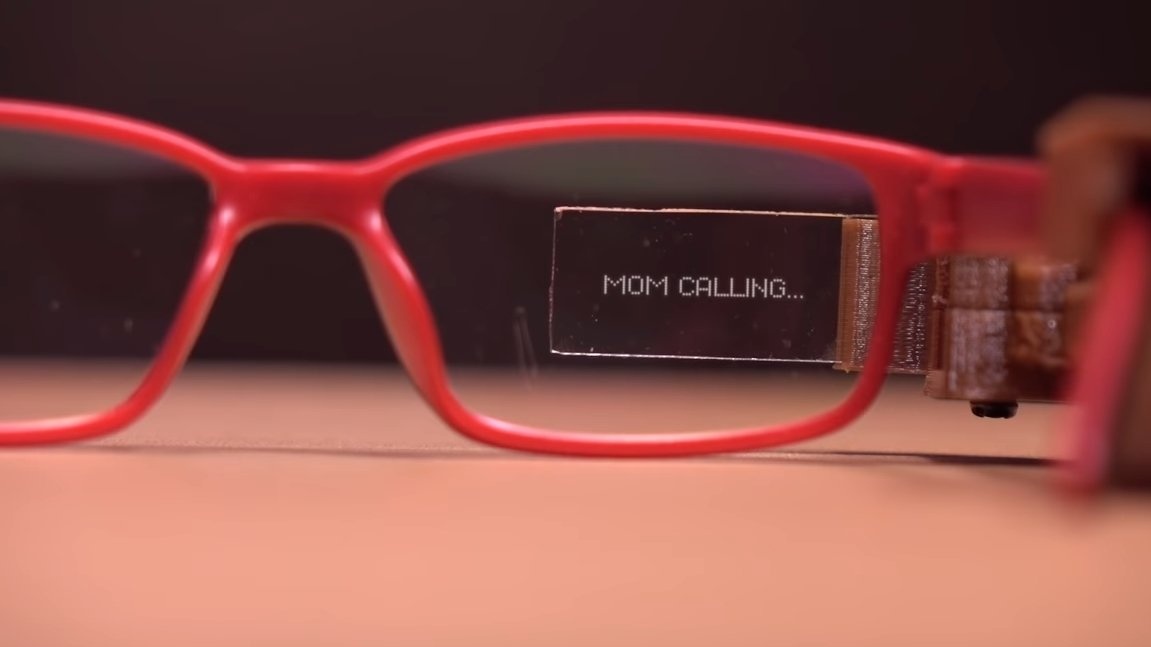
Hello to fans to work with a soldering iron, today we will consider a manufacturing project. Device clings to glasses and a display appears in front of your eyes, on which you get useful information. This can be information about calls to a mobile phone, SMS and more. The design is very simple, but I’ll say right away that the author provides firmware and files for a 3D printer for a paid subscription in Patreon. In principle, a subscription costs only $ 5, so with a great desire you can donate small things to our friend, a master from India. Well, or, you can write the firmware yourself if you are good at programming for Arduino. If the project interests you, I propose to study it in more detail!
Materials and tools used by the author:
Material List:
- sheet acrylic and glue (or 3D printer services);
-;
- ;
- ;
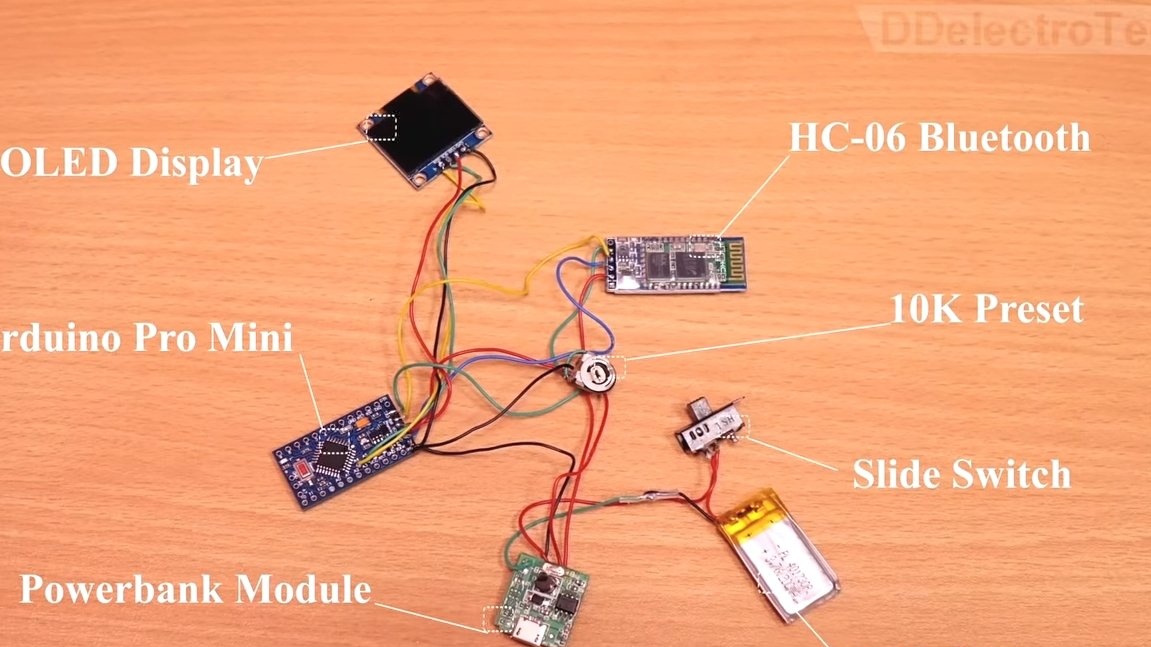
- battery charging module;
- lithium battery;
- switch;
- 10K variable resistor;
- a mirror;
- magnifying glass;
- glass for projecting images.
Tool List:
- soldering iron;
- glass cutter;
- a screwdriver.
From China, you can have ready-made video glasses.
Manufacturing process homemade:
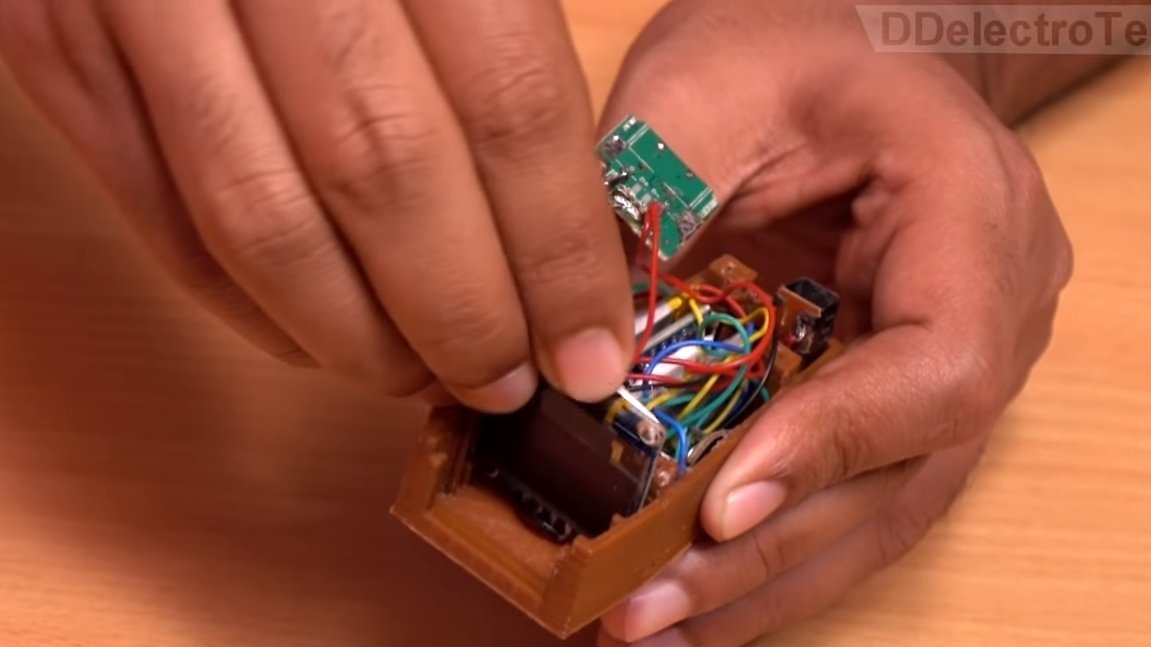
Step one. Assembly of the circuit and installation in the housing
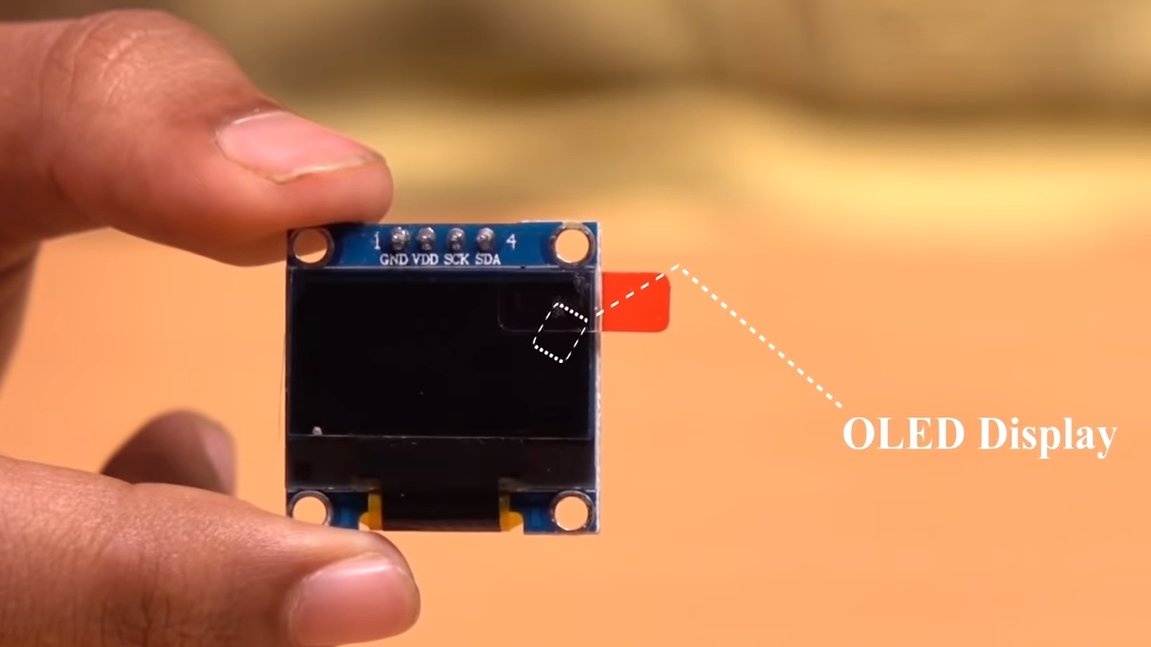
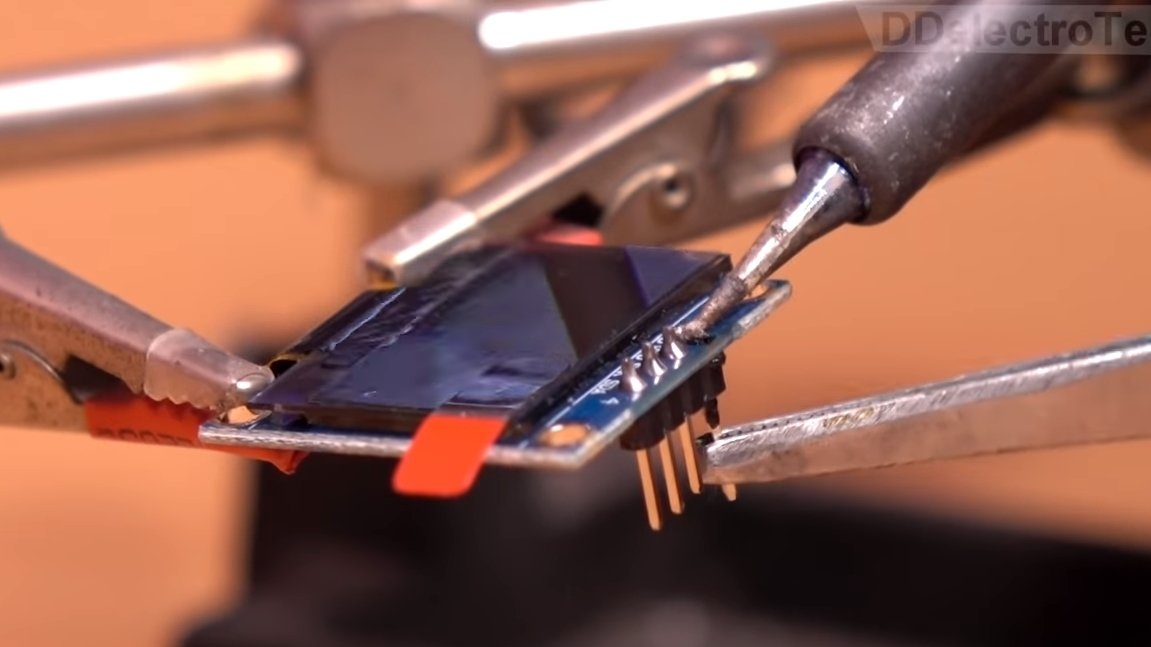
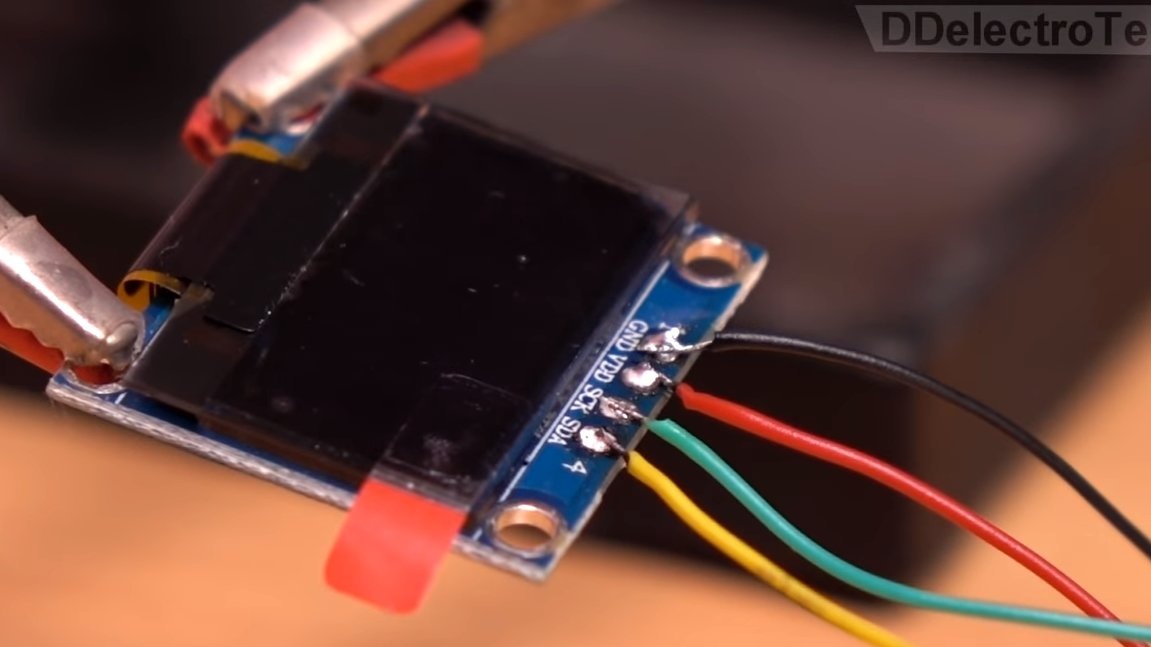
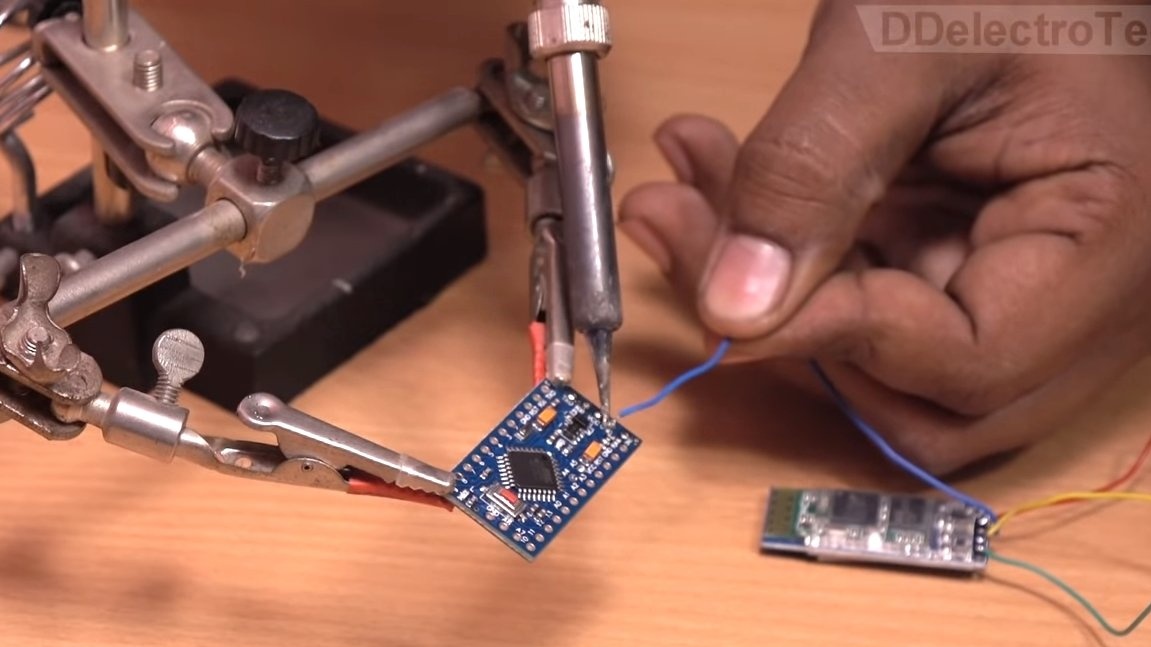
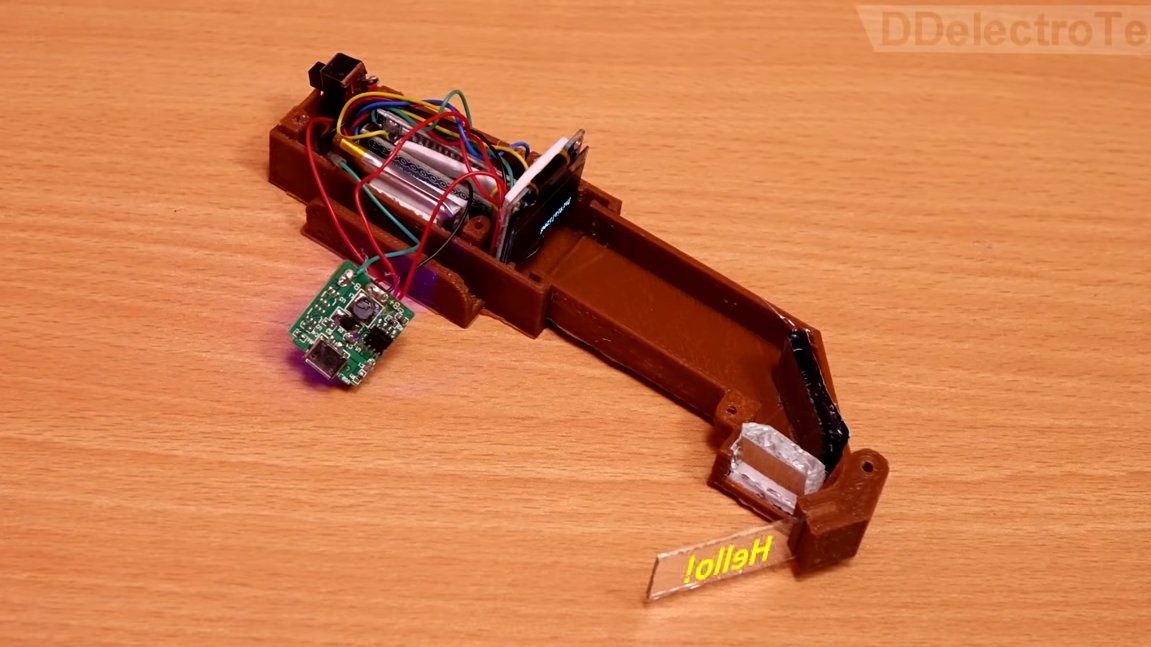
To assemble homemade need to solder the circuit. Solder wires to the display by color, the author provides a complete connection diagram for a paid subscription. So you need to either understand yourself, or pay.
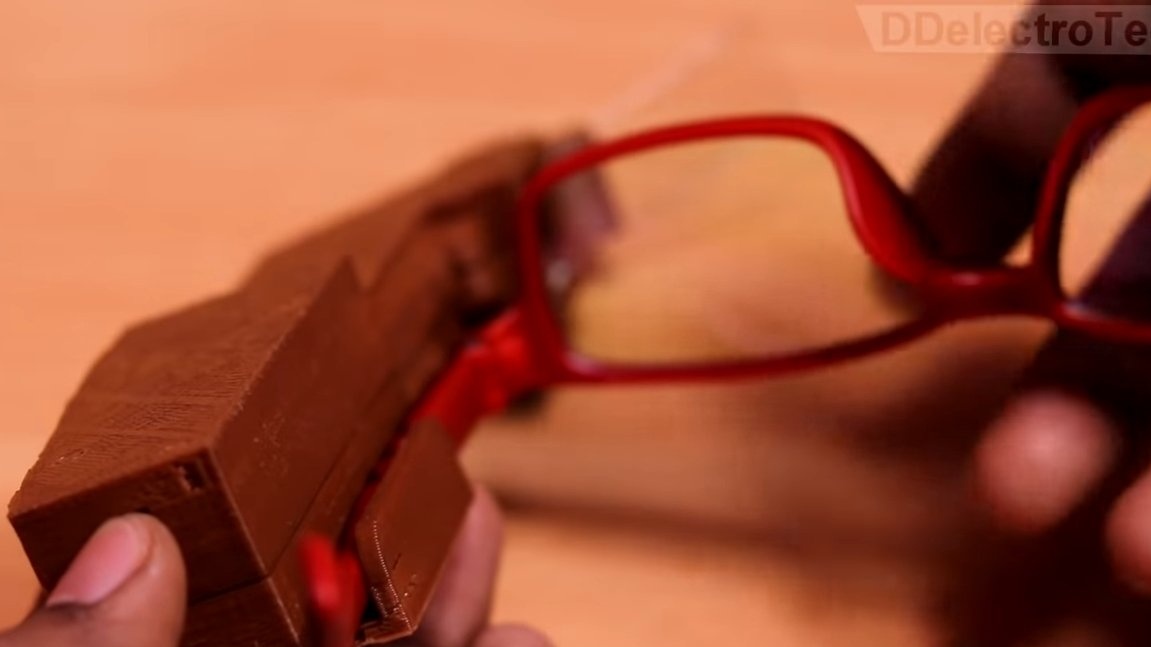
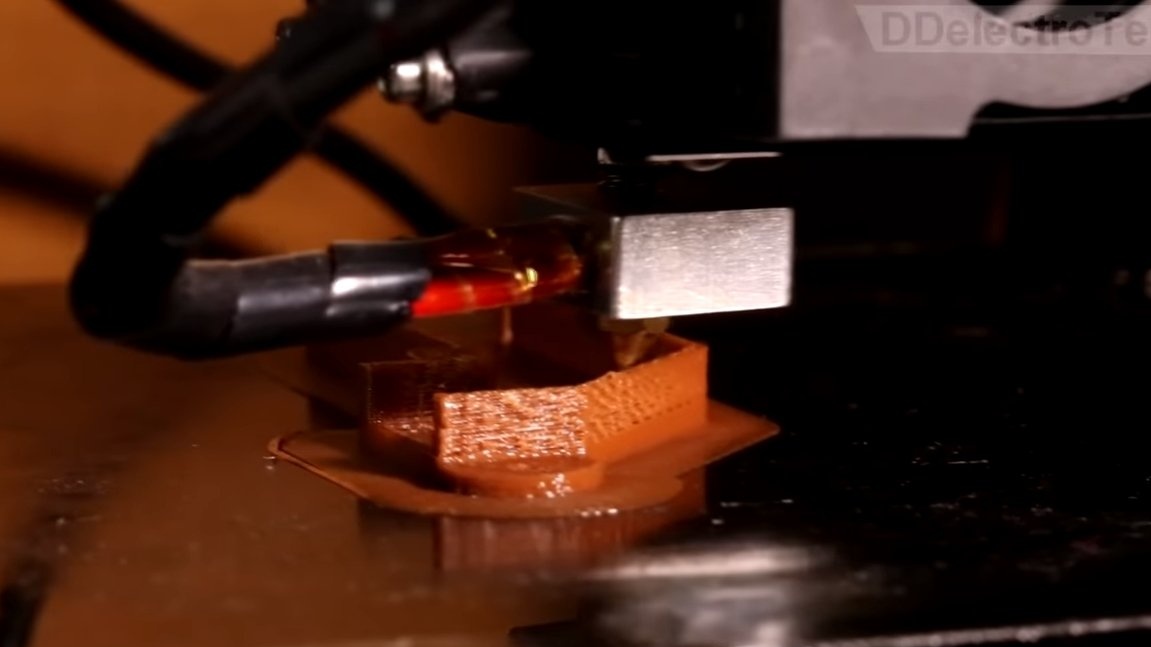
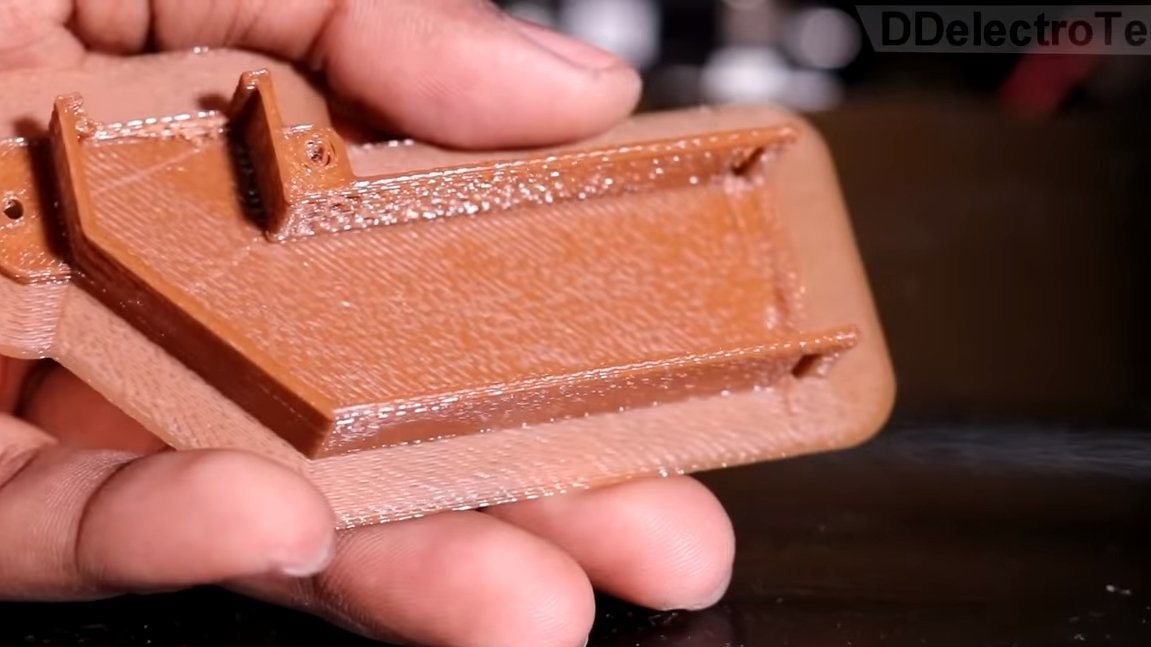
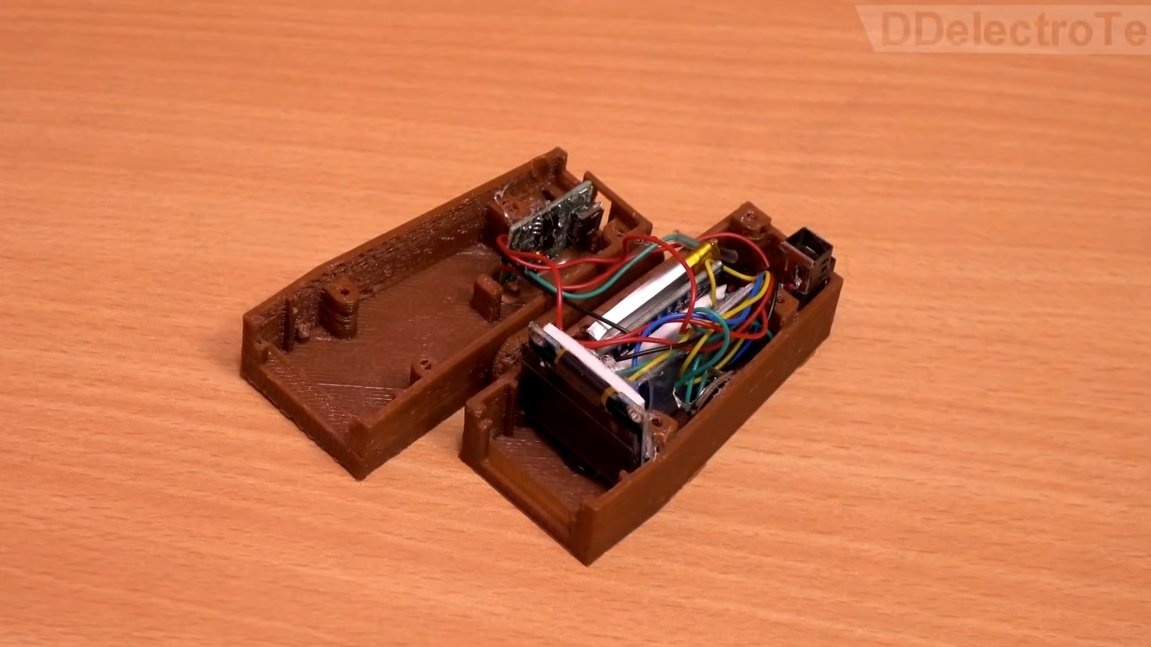
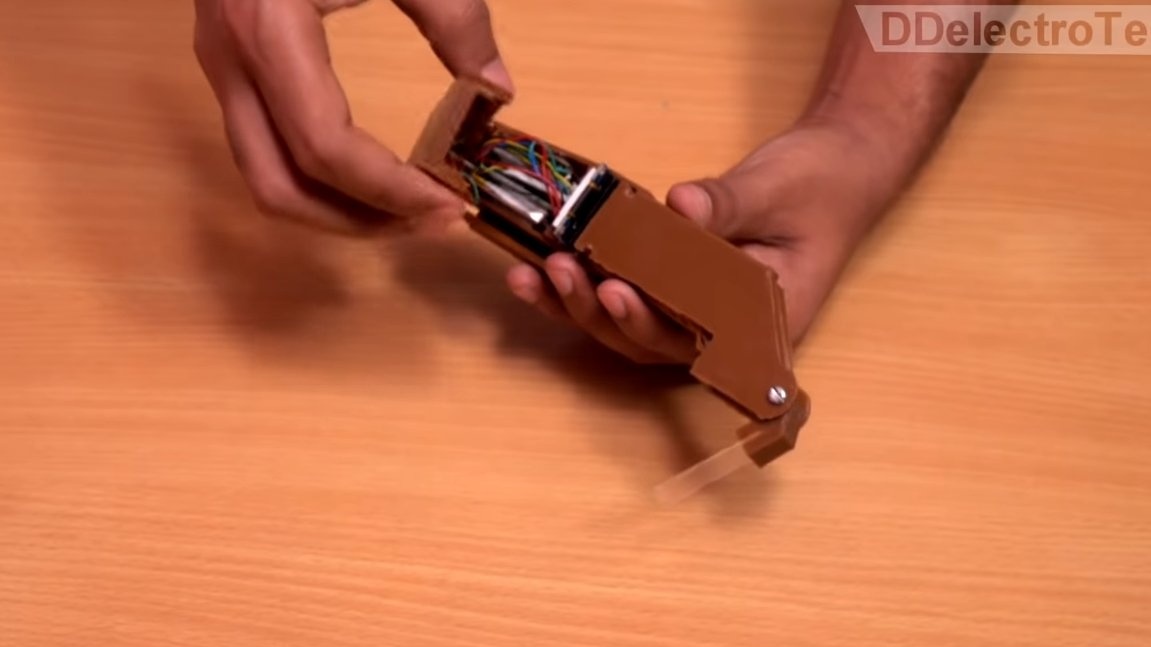
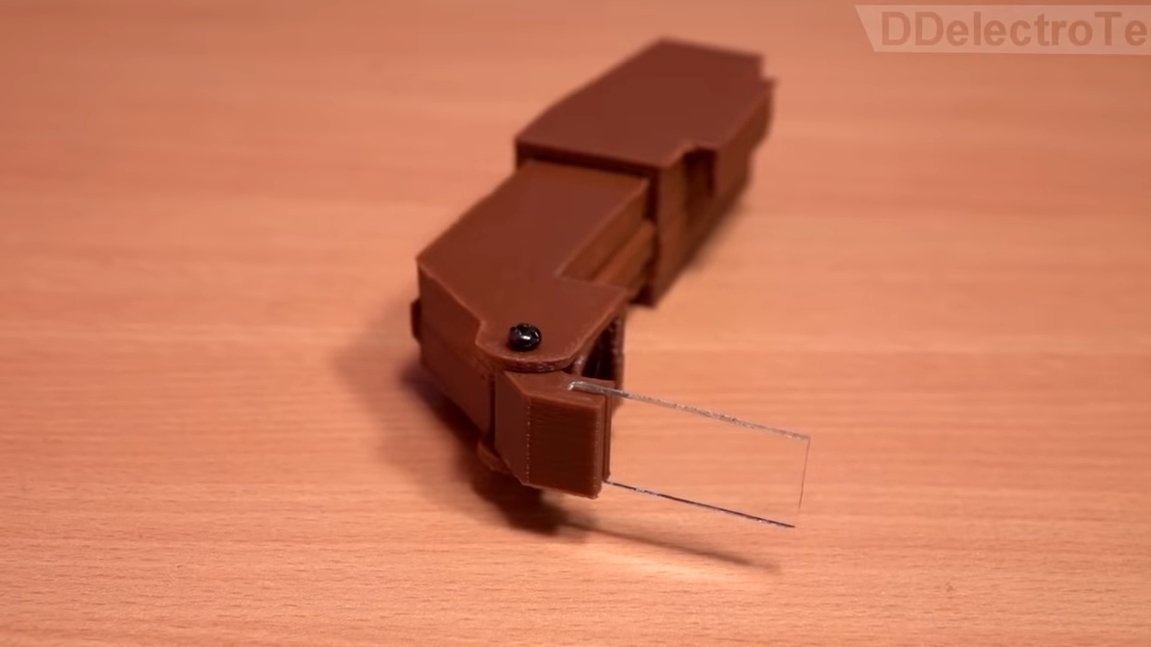
After that, all the components are installed in the case, its author printed on a 3D printer. If desired, the case can also be assembled from sheet acrylic.
Step Two Optics
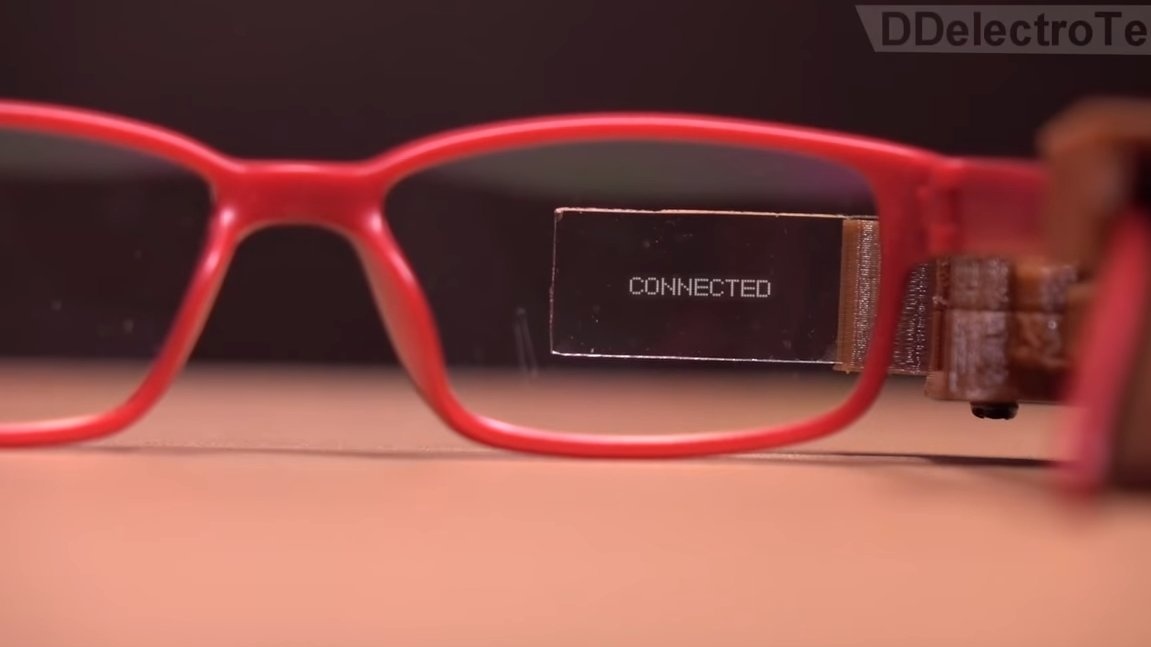
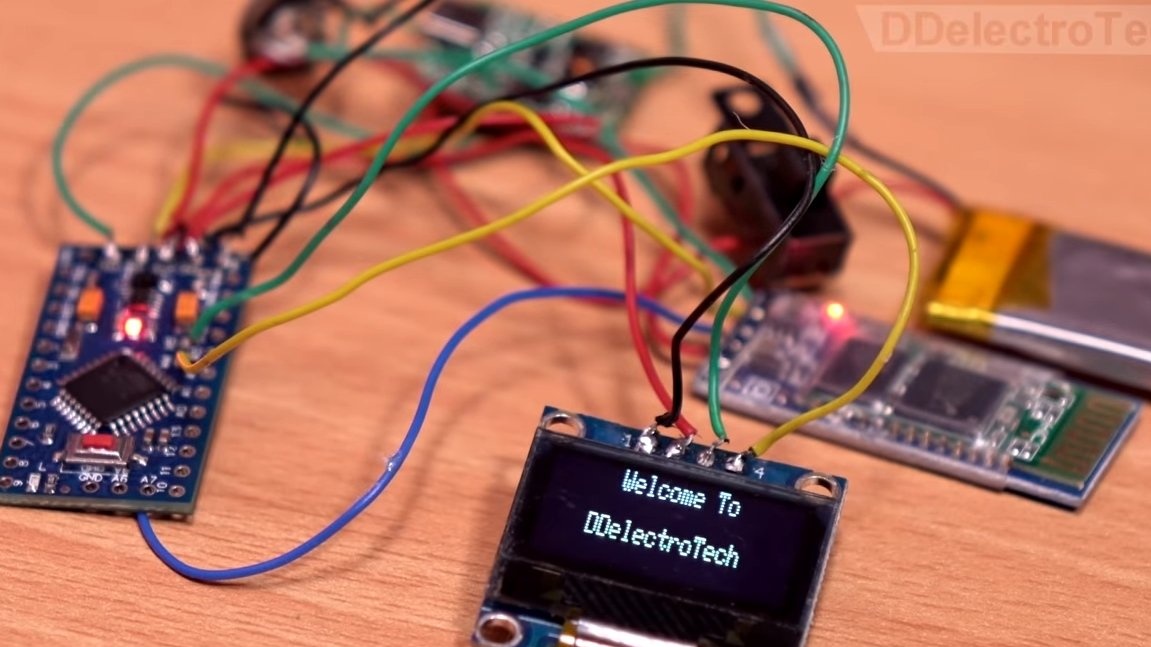
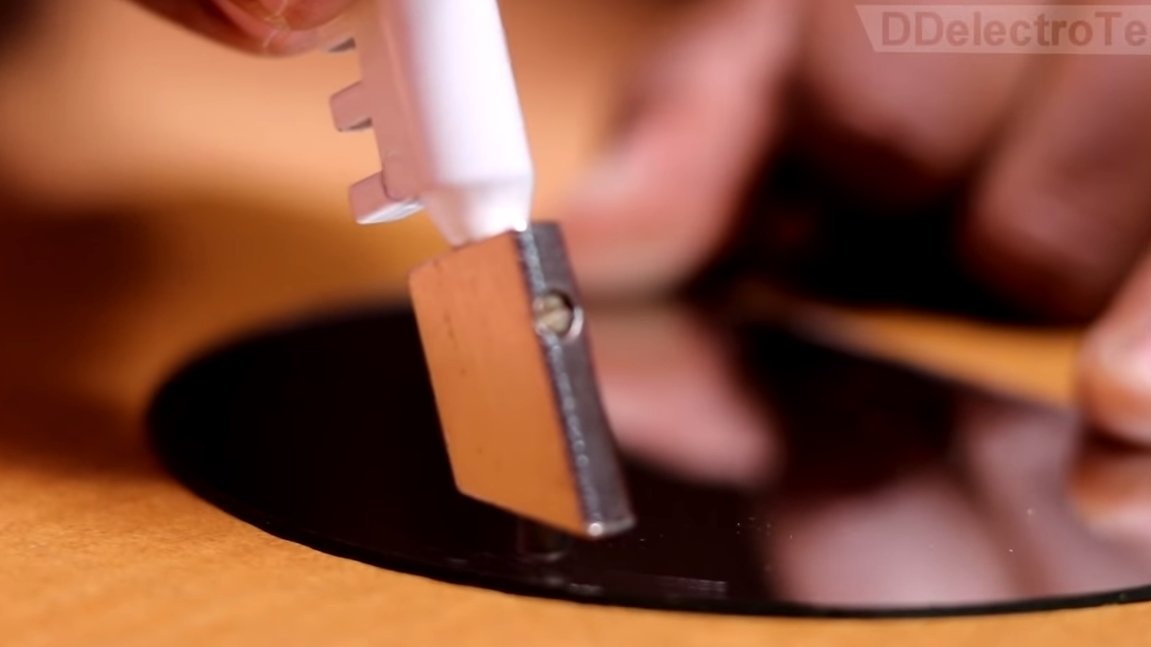
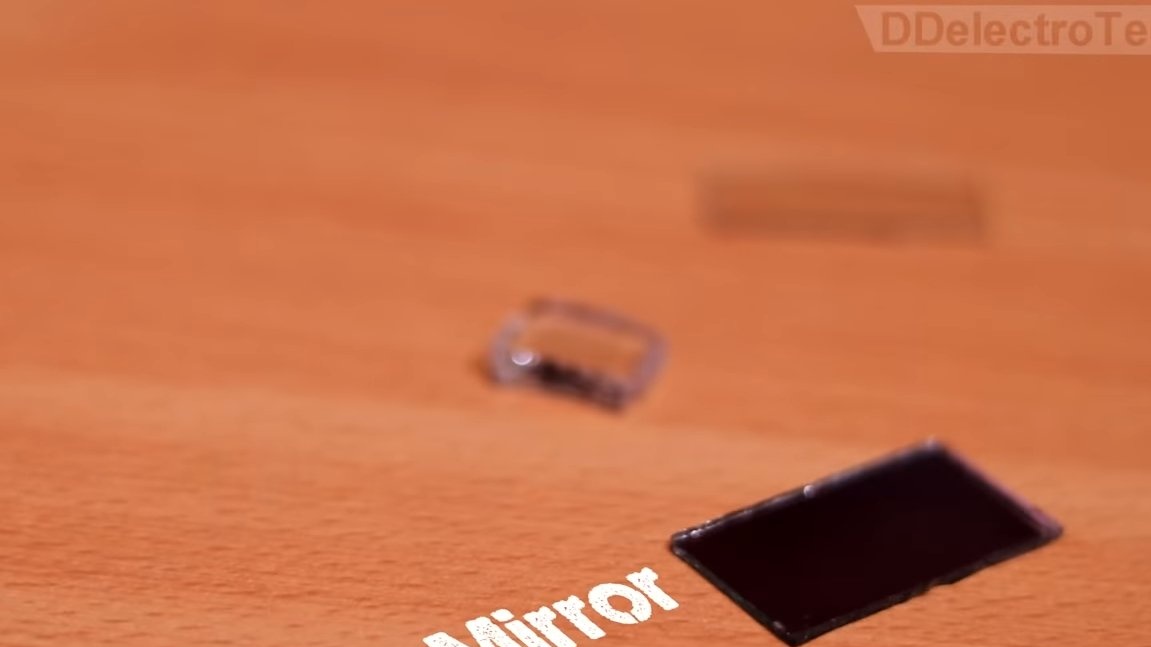
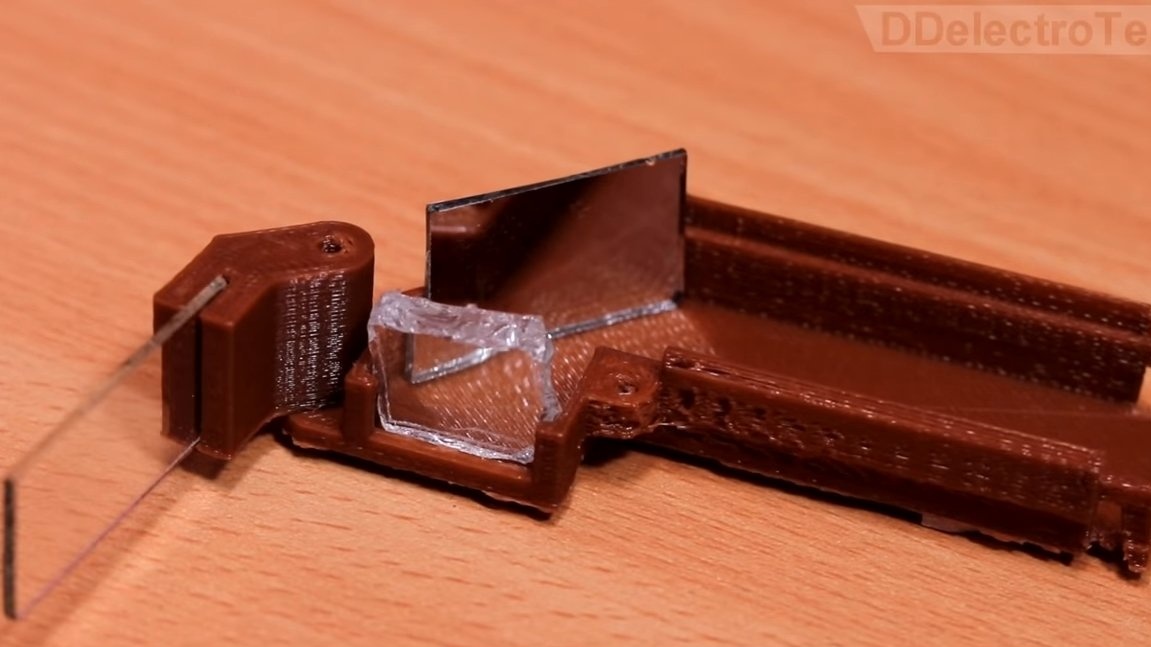
The principle of operation of the design is quite simple, a display is placed inside the case, the image from it is transmitted through a mirror to a magnifying glass. Well, then with a magnifying glass, the image is projected on a thin glass that is in front of your eyes. All that is needed is to cut a piece of the mirror, as well as a piece of a magnifying glass, and insert them correctly into the case.
As for the glass onto which the image is projected, it is better to set it so that you can adjust the angle for adjustment. After that, the case is assembled on cogs.

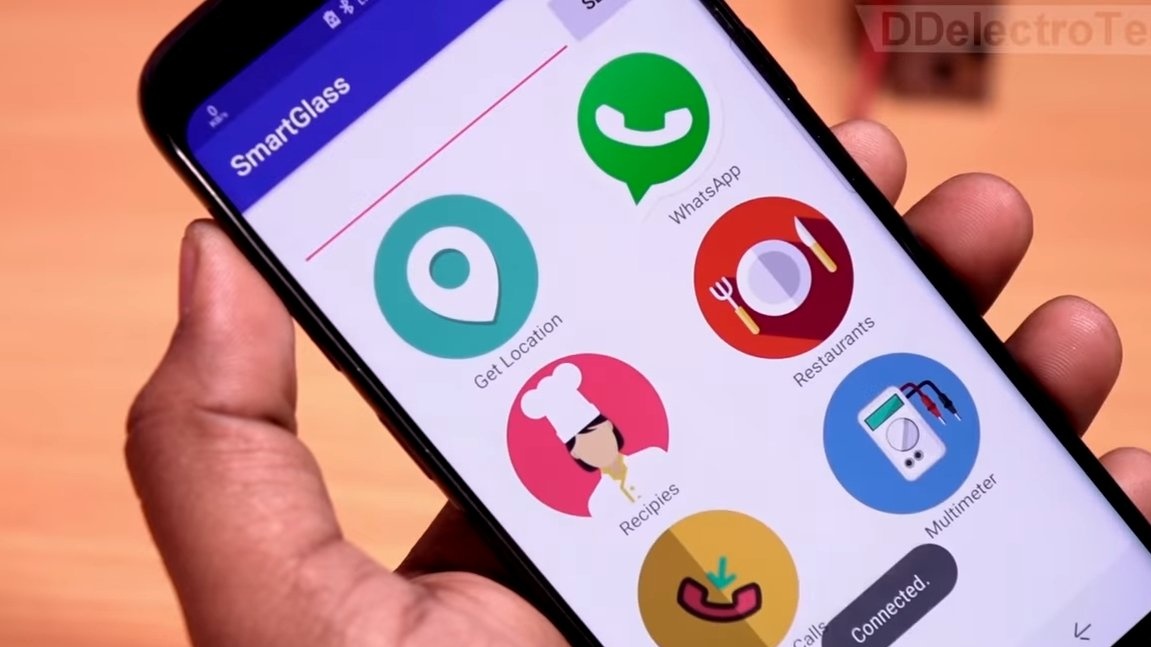
Step ThreeTest
The homemade product is ready, we connect to the glasses using a smartphone and we get the necessary information on the display. This is the end of the project, I hope you have found useful thoughts and ideas for yourself. Good luck and creative inspiration, if you decide to repeat this. Do not forget to share your ideas and homemade things with us!