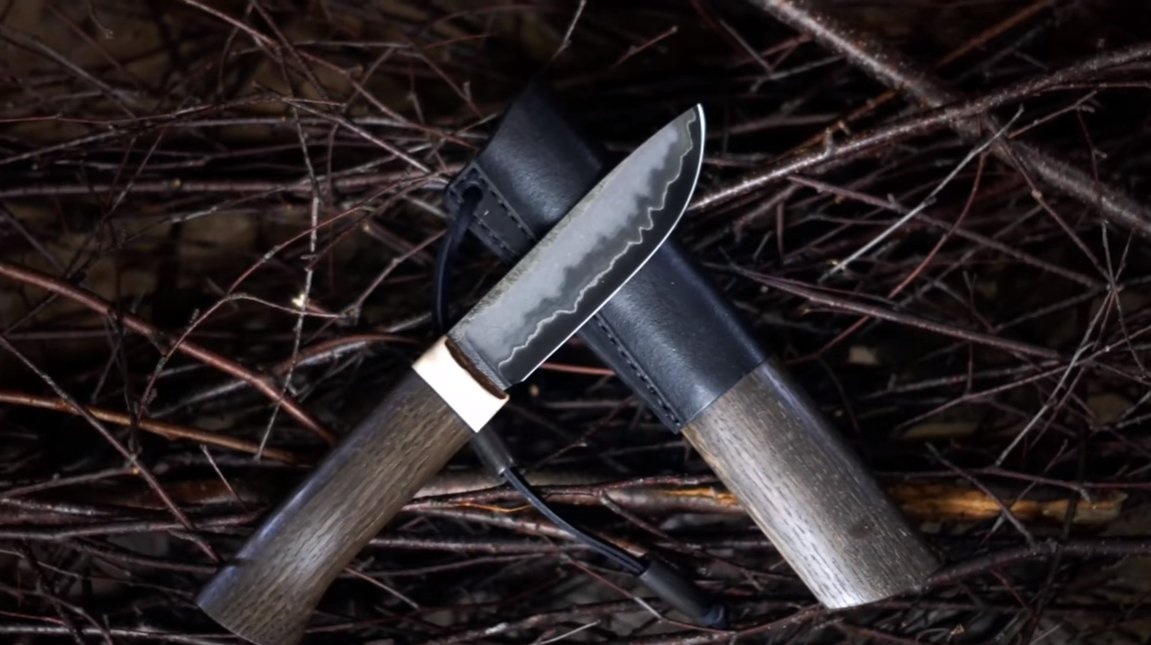
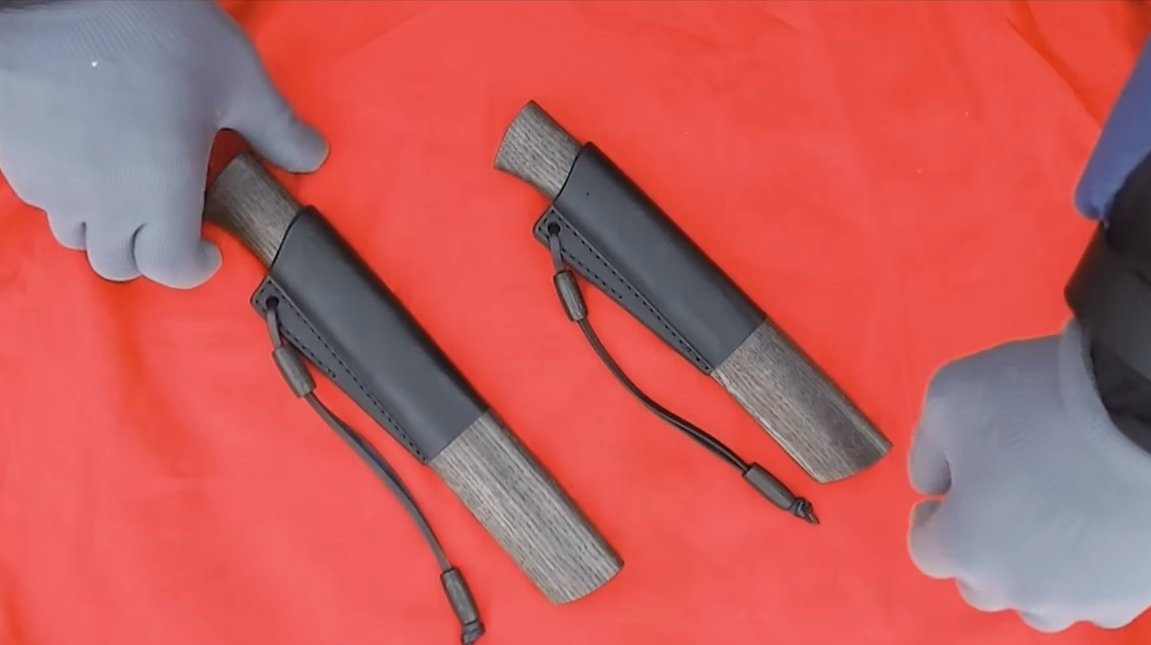

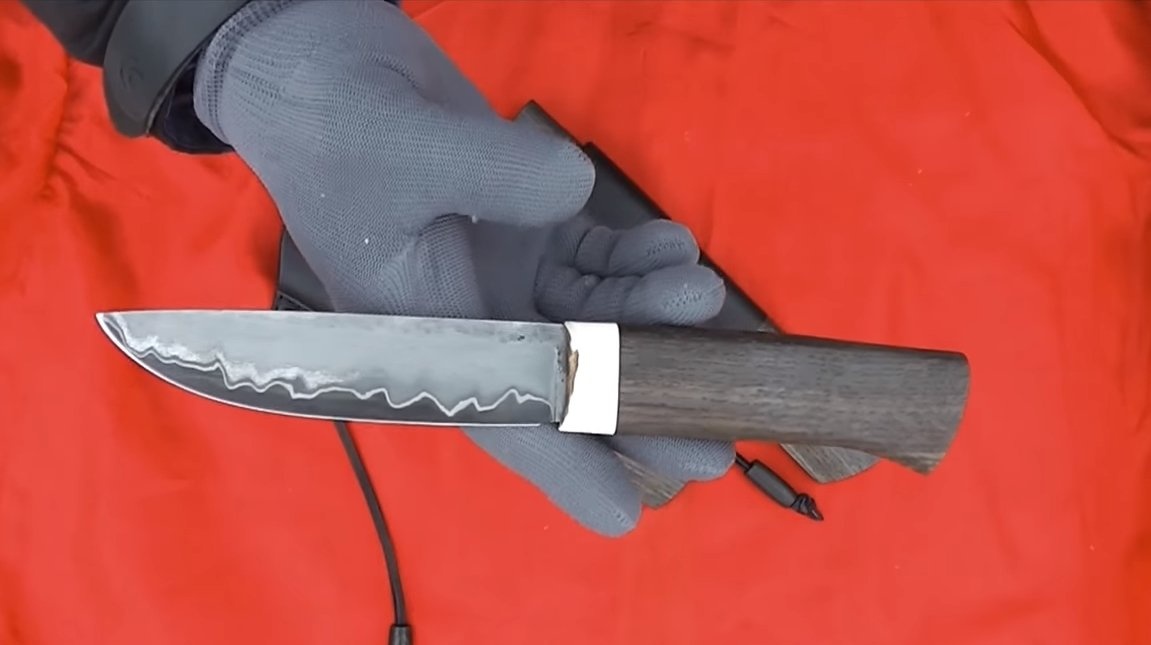
I welcome fans to craft, today we will make a unique knife. The peculiarity of the knife is that it was forged from carbon and stainless steel. As a result, our blade does not rust, since on the outside it is a stainless steel, and the knife blade is made of carbon steel, but after etching this steel also does not rust. The knife has a beautiful pattern, it is strong and reliable, and the knife got its name because the blade is made of three layers of steel. The handle of the knife is made of oak, there are also chic wooden scabbards. The knife looks great, such homemade can be a great gift. If you are interested in the project, I propose to study it in more detail!
Materials and tools used by the author:
Material List:
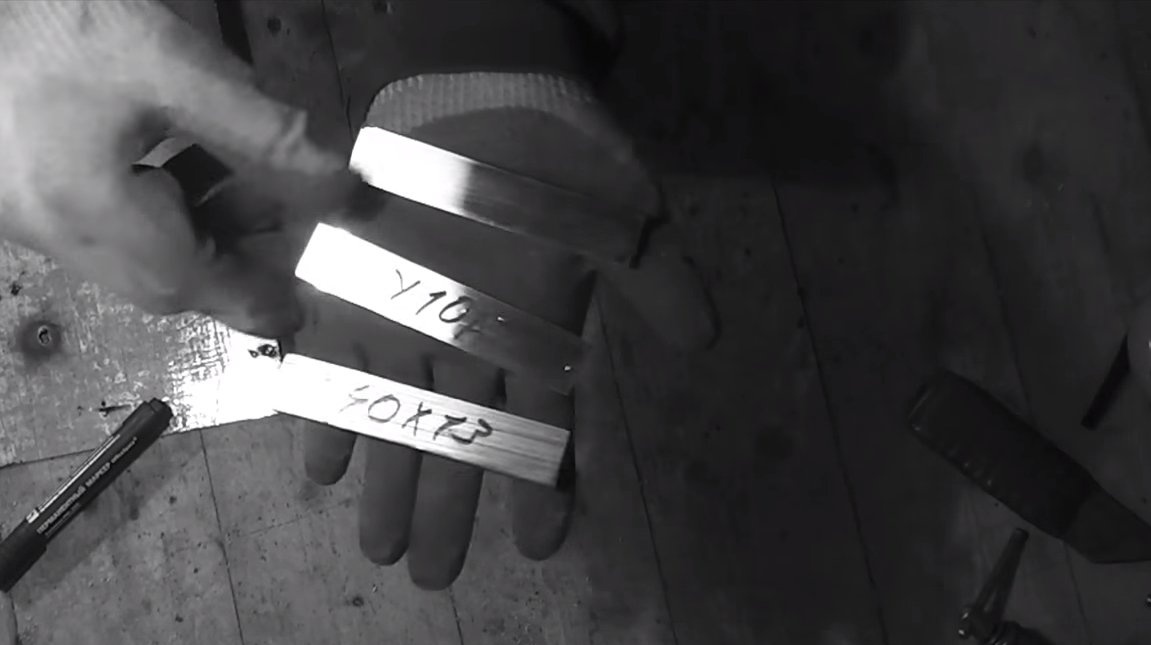
- carbon steel U10A;
- stainless steel 40X13;
- oak of natural staining;
- epoxy adhesive;
- skin;
- oil for wood.
Tool List:
- belt sander;
- grinder;
- blacksmith furnace and blacksmith tools;
- oil for hardening;
- vise;
- marker;
- ferric chloride for etching;
- clamps;
- drill;
- sewing tools.
The process of making a knife:
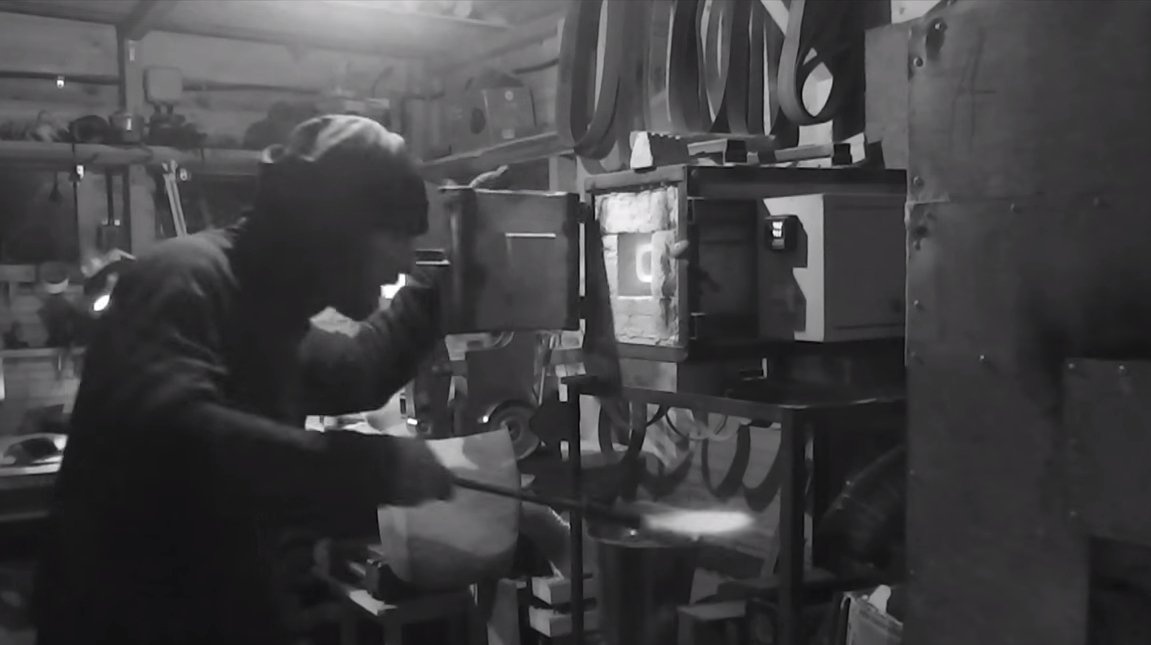
Step one. Forging blanks
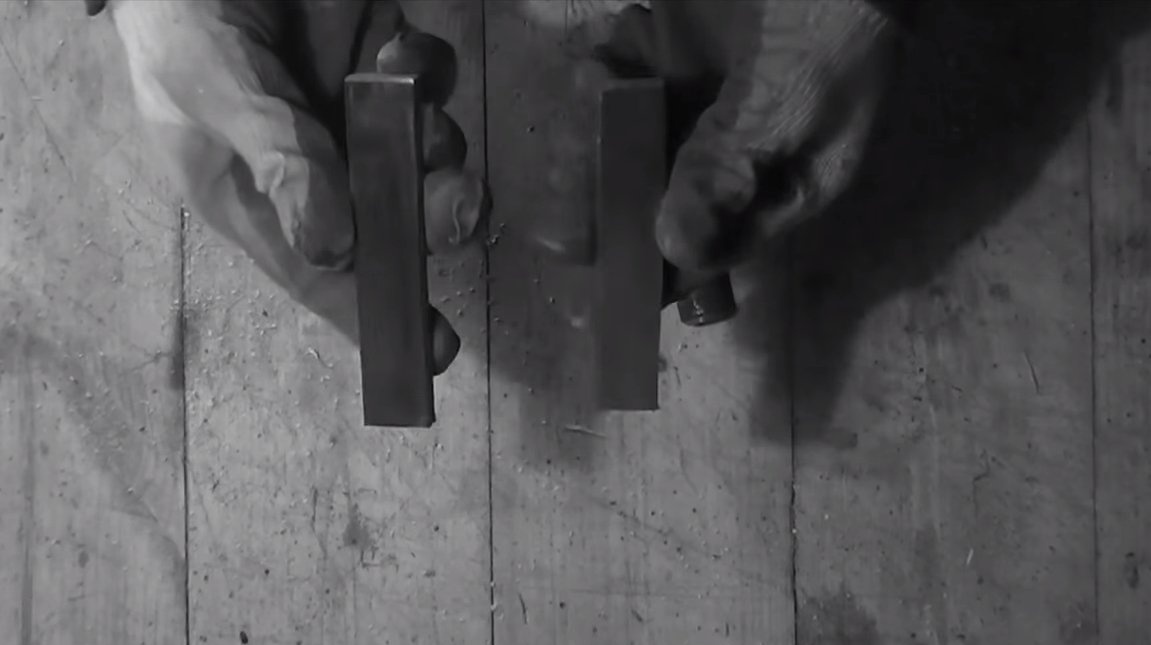
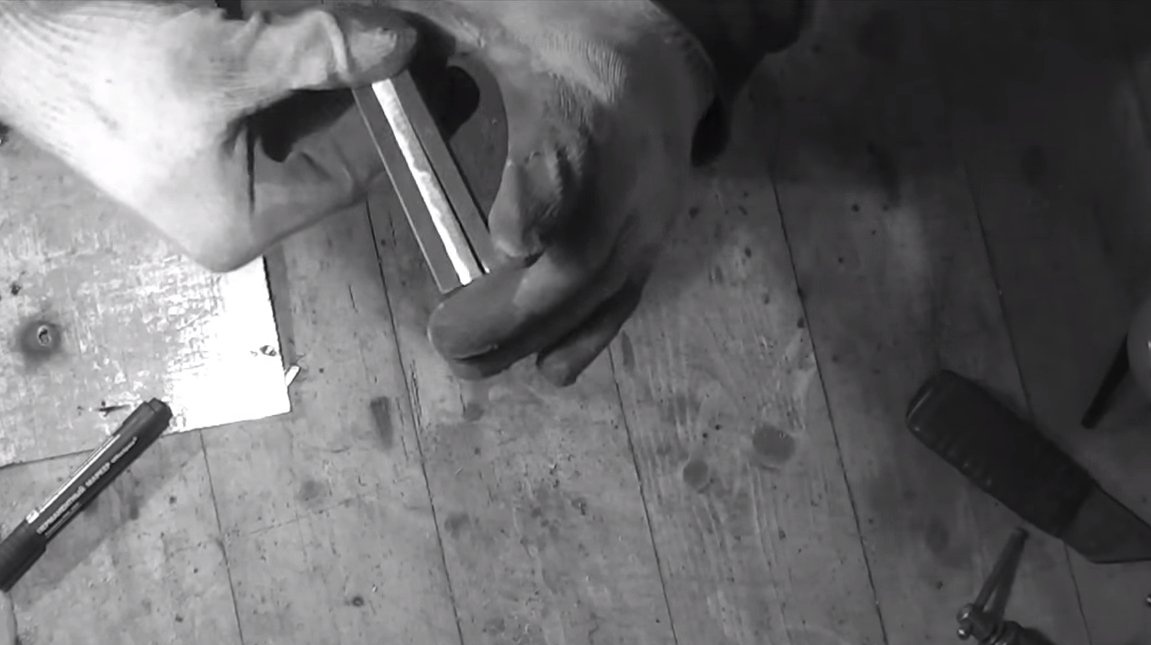
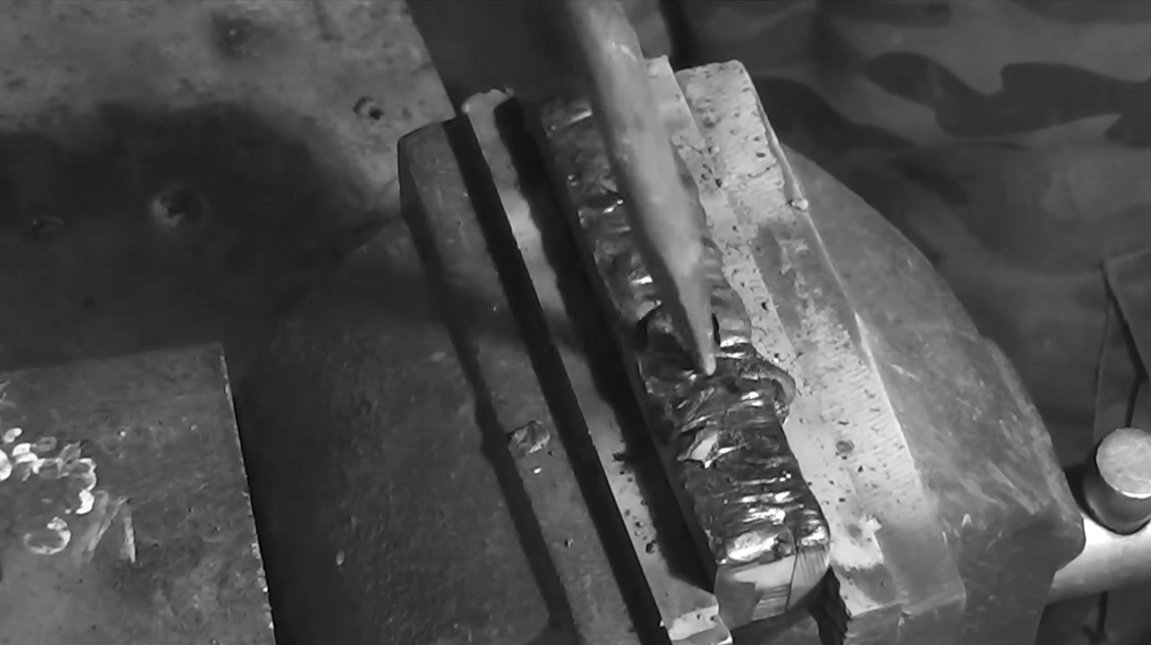
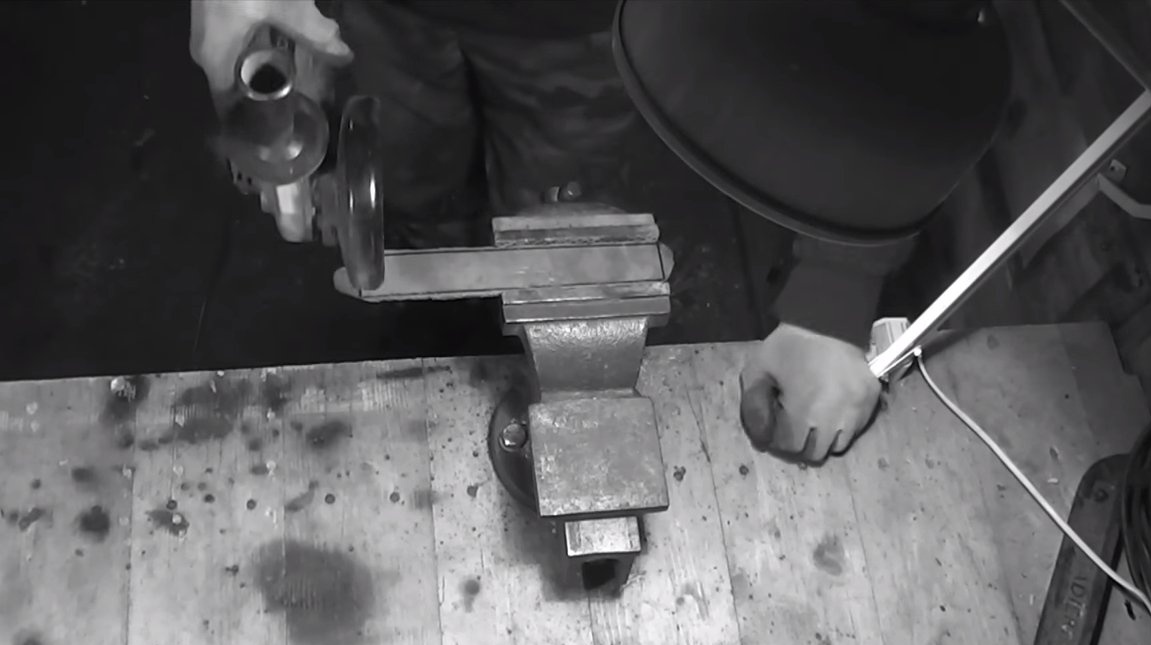
First we need to forge a workpiece, first we need three pieces of steel, these are two pieces of 40X13 stainless steel and a piece of U10A steel. The blanks should be the same size, clamp them in a vice and weld well.
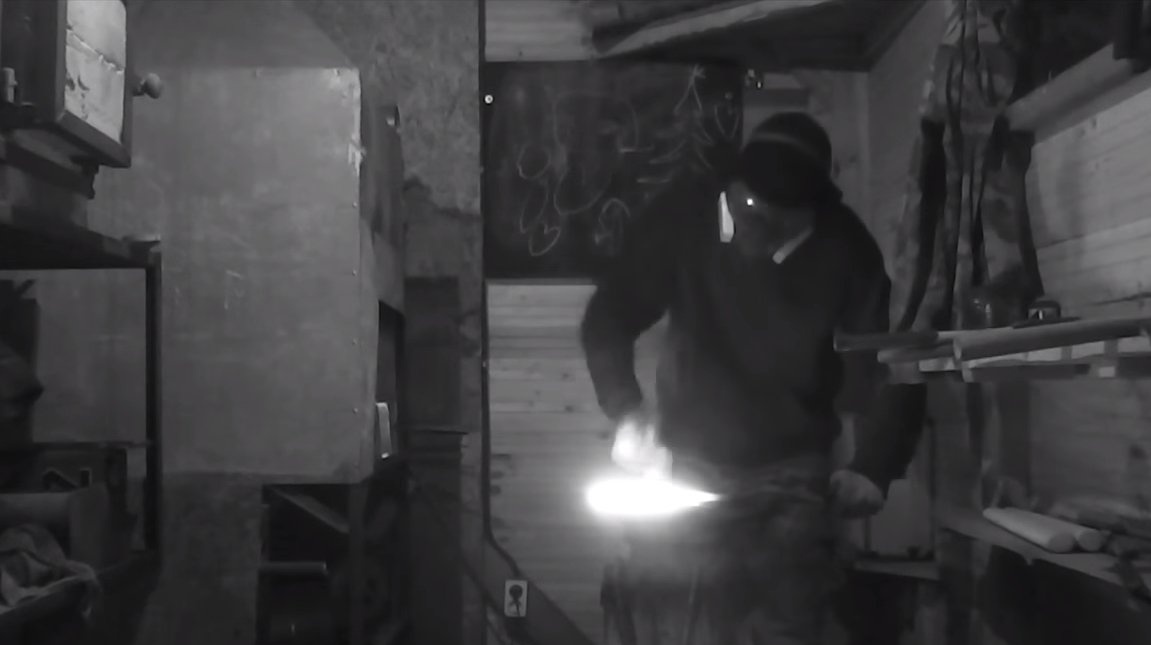
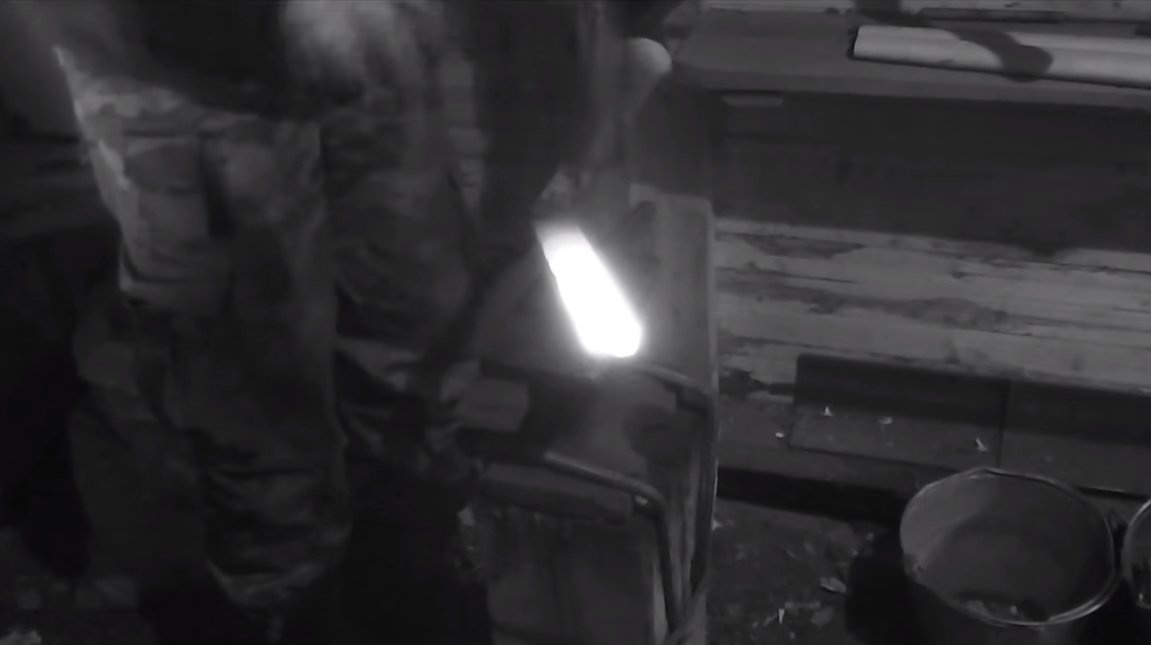
Well, then you need to weld a long piece of reinforcement to the workpiece, which will act as a handle. Then we heat the steel to a bright yellow glow and proceed to forging. This is a crucial moment, since for welding all three layers it is necessary to achieve a sufficient temperature, experience is needed here. As a result, we need to forge a plate, from which we then cut the blade.
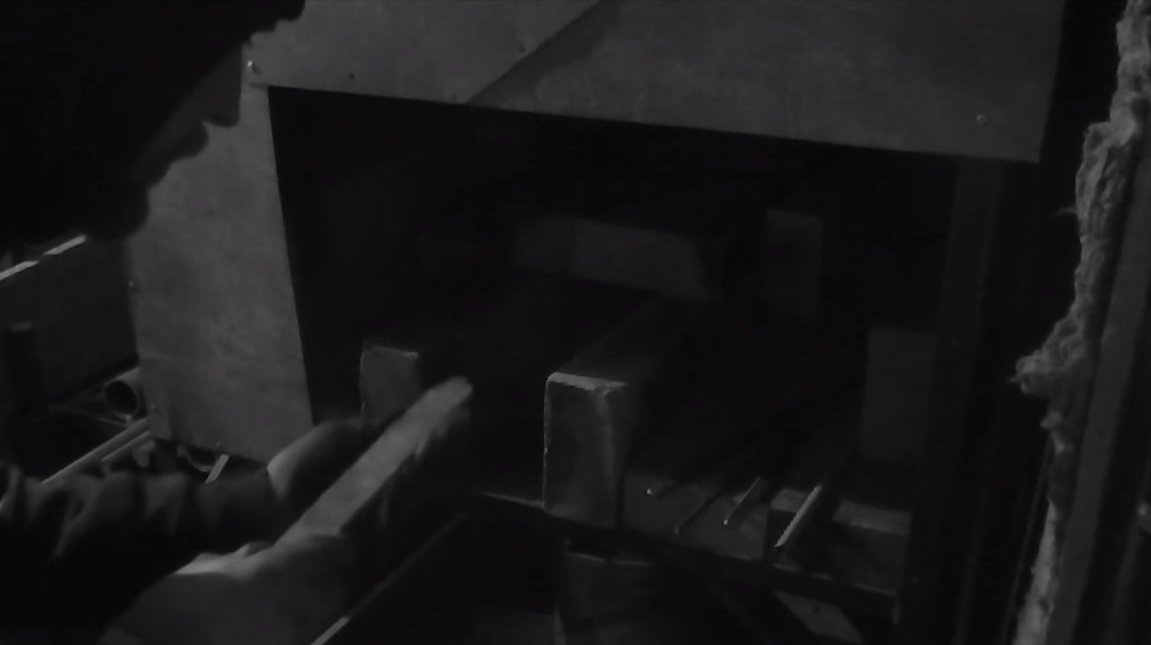
When the workpiece is ready, it needs to be annealed in the furnace in order to make the steel soft and pliable for further processing.
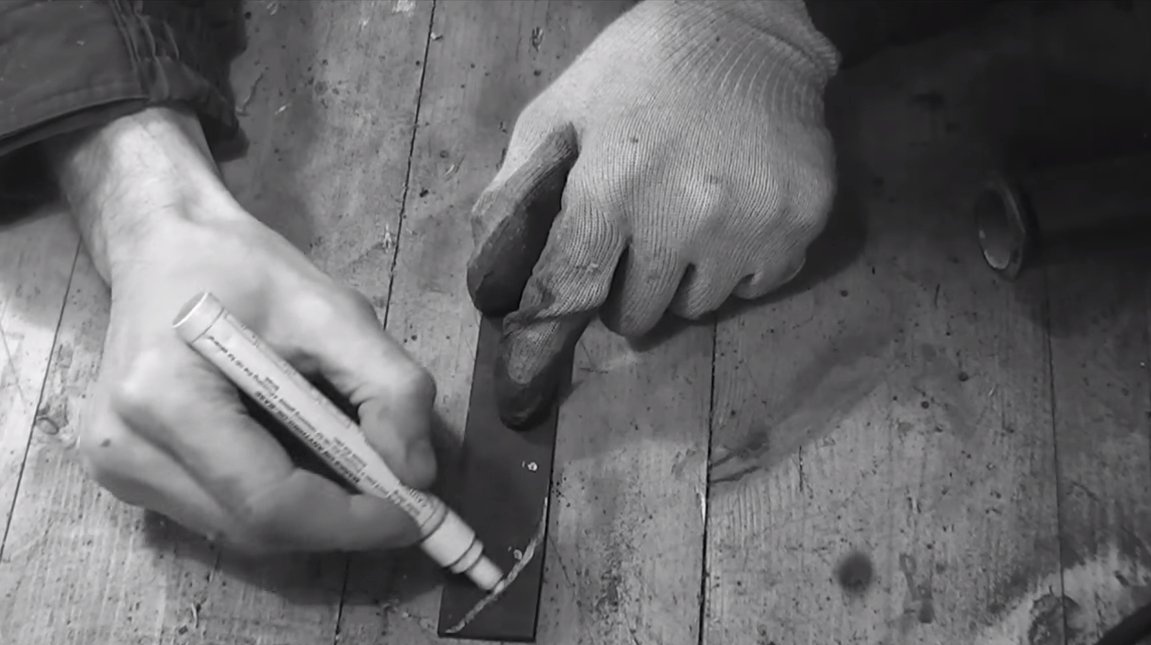
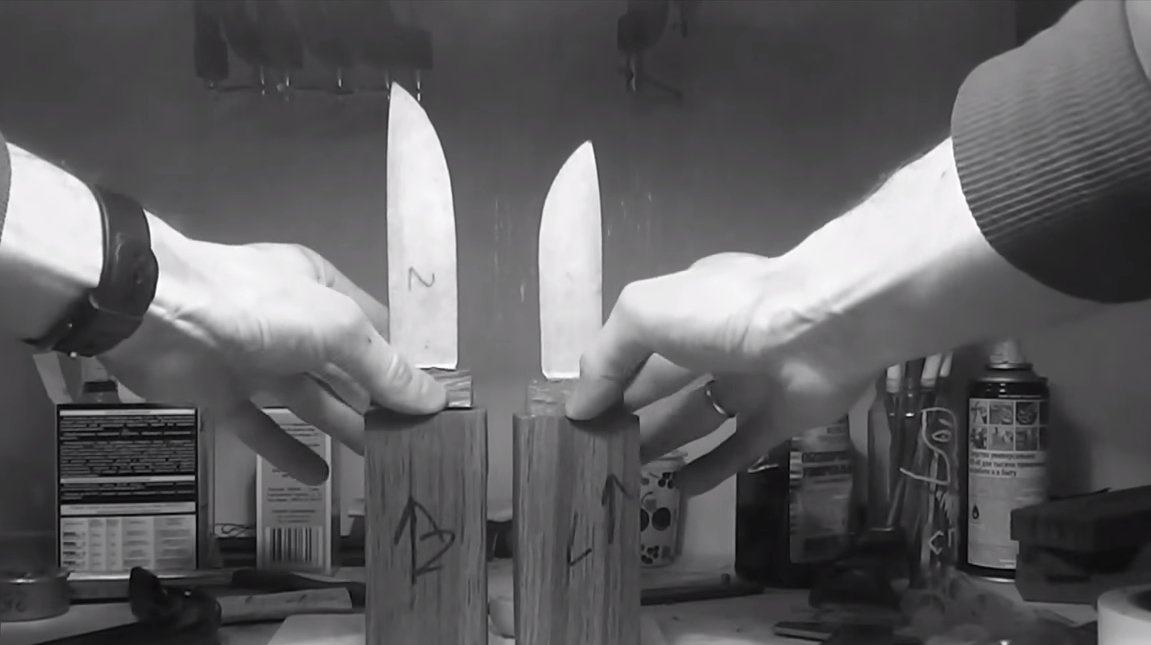
Step Two Primary profile
On the resulting workpiece, draw the desired blade profile with a marker and start cutting. The work can be done with a grinder, but for cleaner cutting it is better to use a tape cutting machine.
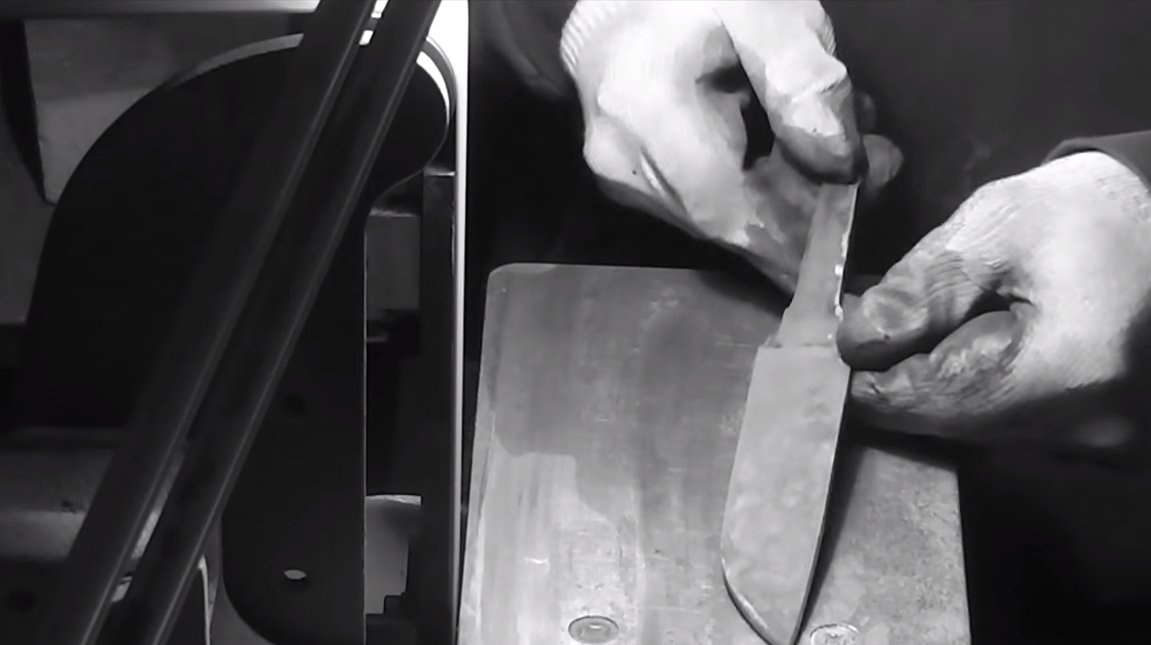
Step Three Grinding
Then the knife profile needs to be finalized on a belt sander. It is also possible to form primary bevels, so that later there will be less work on grinding hardened steel.
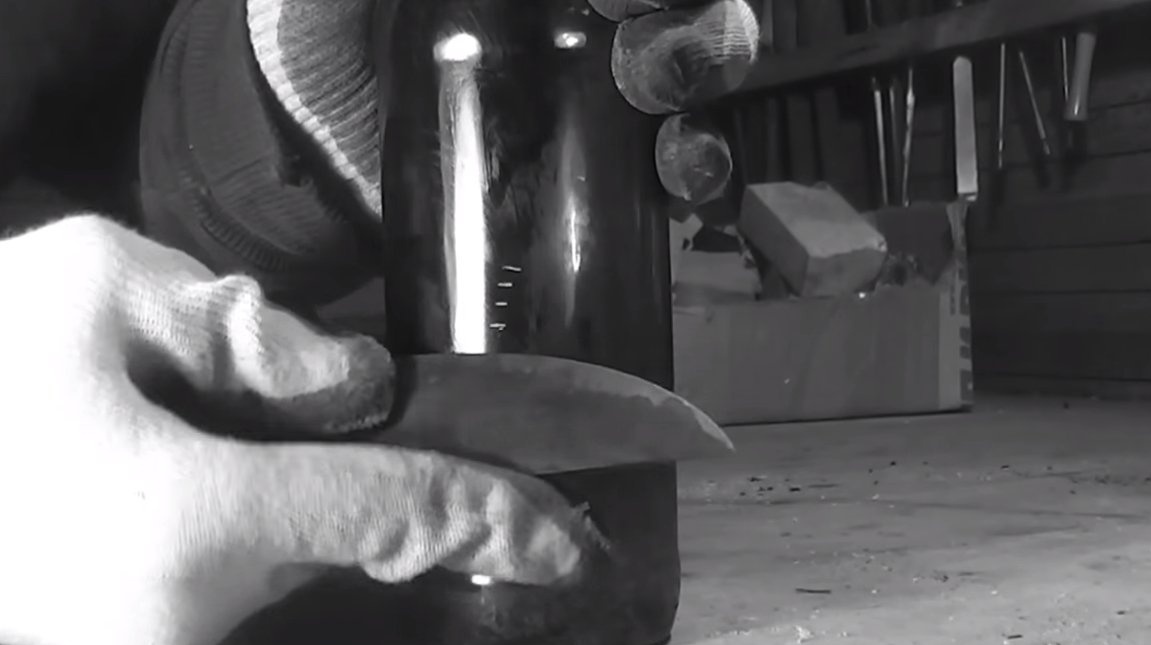
Step Four Quenching
When the blade is ready, it can be hardened. The author heats the blade to a yellow glow and immerses it in oil.If hardening is successful, the steel will become strong and not even a file will take it. The author’s blade turned out so hard that the knife cuts a glass bottle. Of course, if after this the steel is not released, the blade may be too fragile, but the author did not provide us with information on this issue.
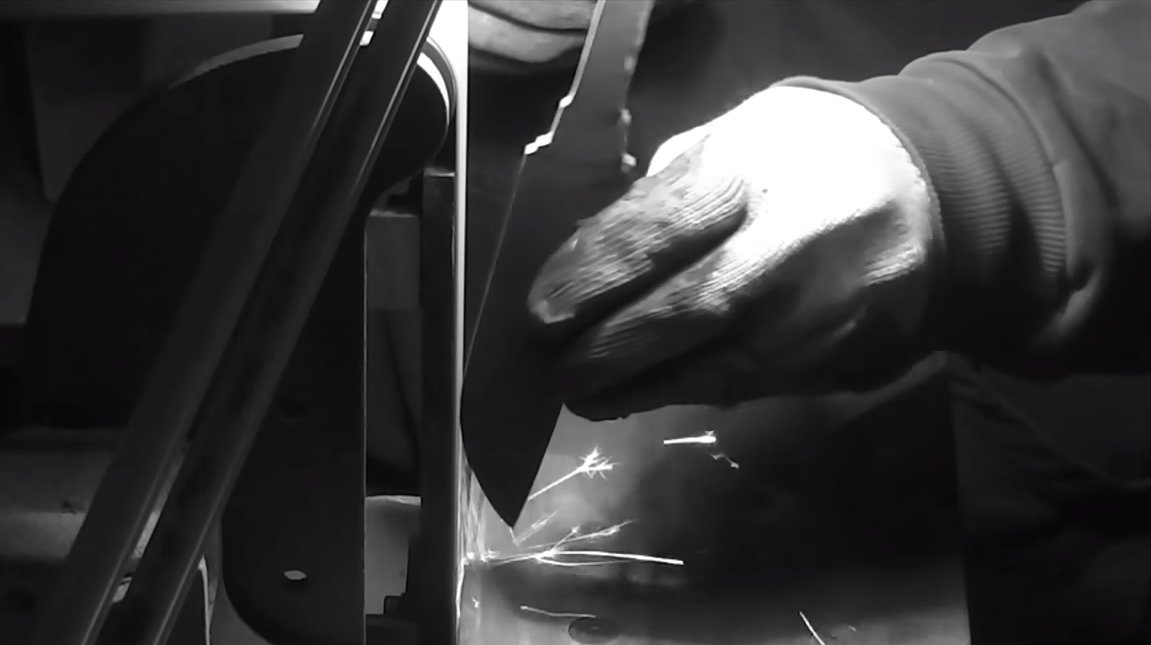
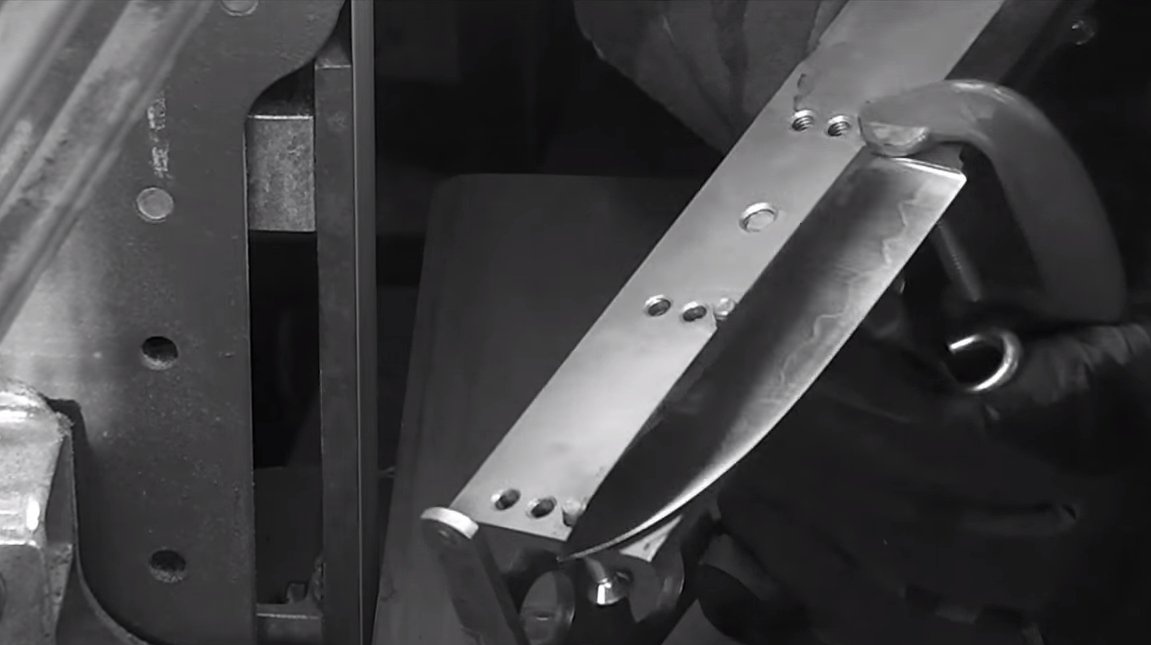
Step Five Bevels and sharpening
Next, you need to bring out the bevels on the blade, then it would be nice to use a special clamp that will hold the blade at a given angle relative to the sanding belt. And to make the bevels symmetrical, it is advisable to draw a line along the future blade. When grinding a hardened blade, it is important not to overheat it, otherwise the steel will release and may become soft.
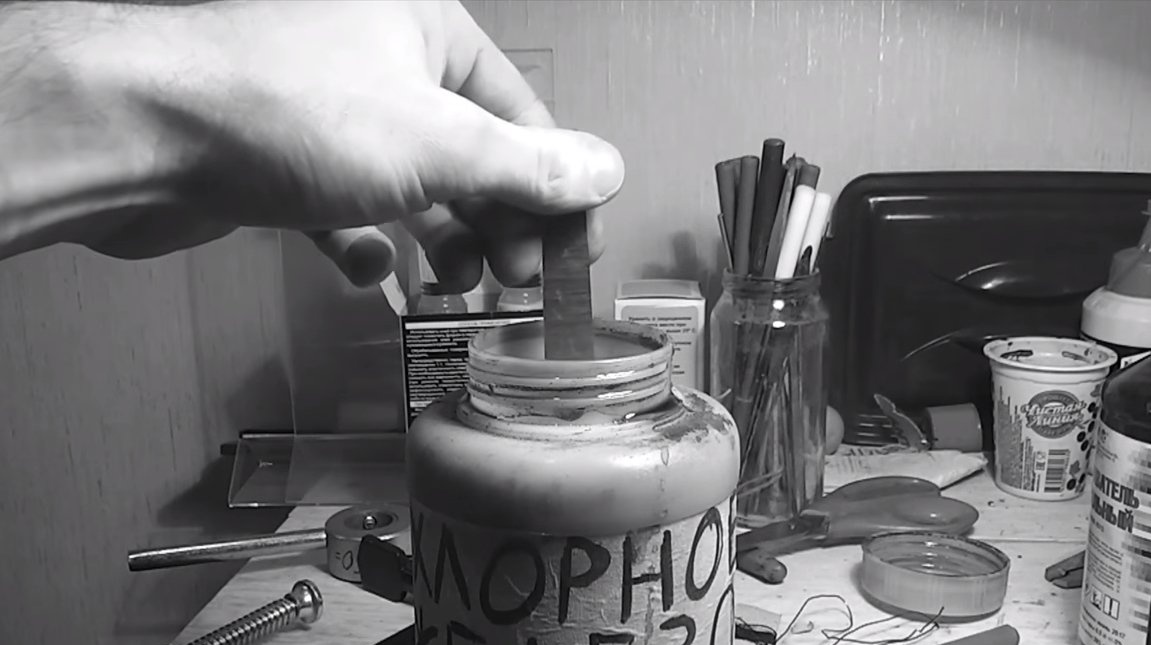
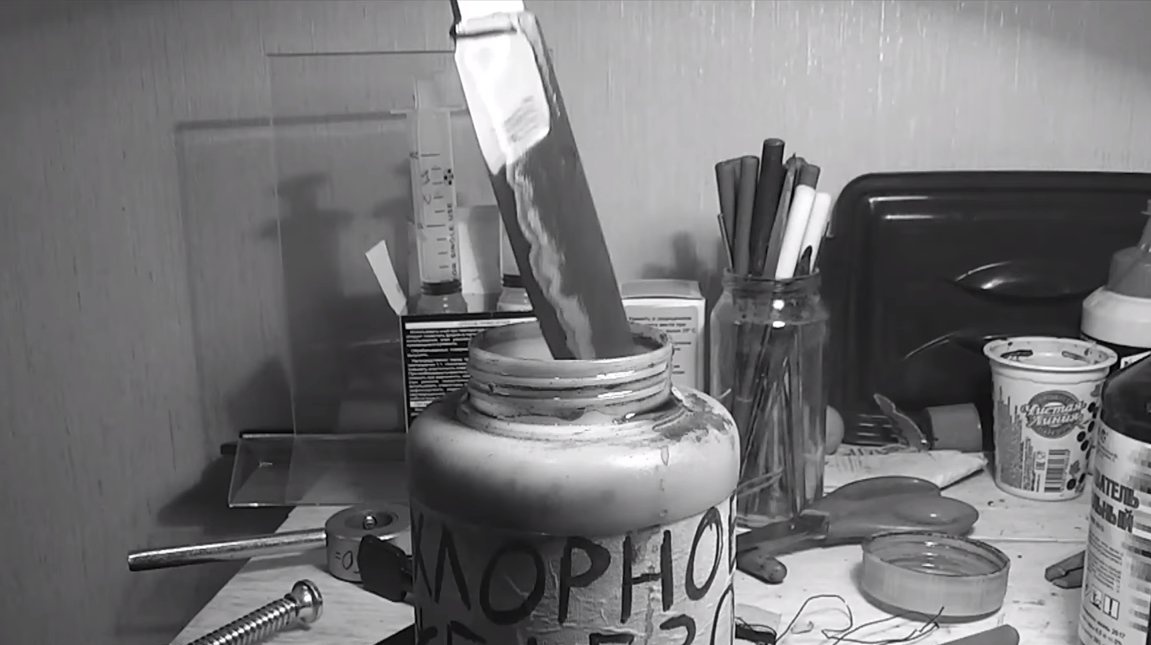
Step Six Etching
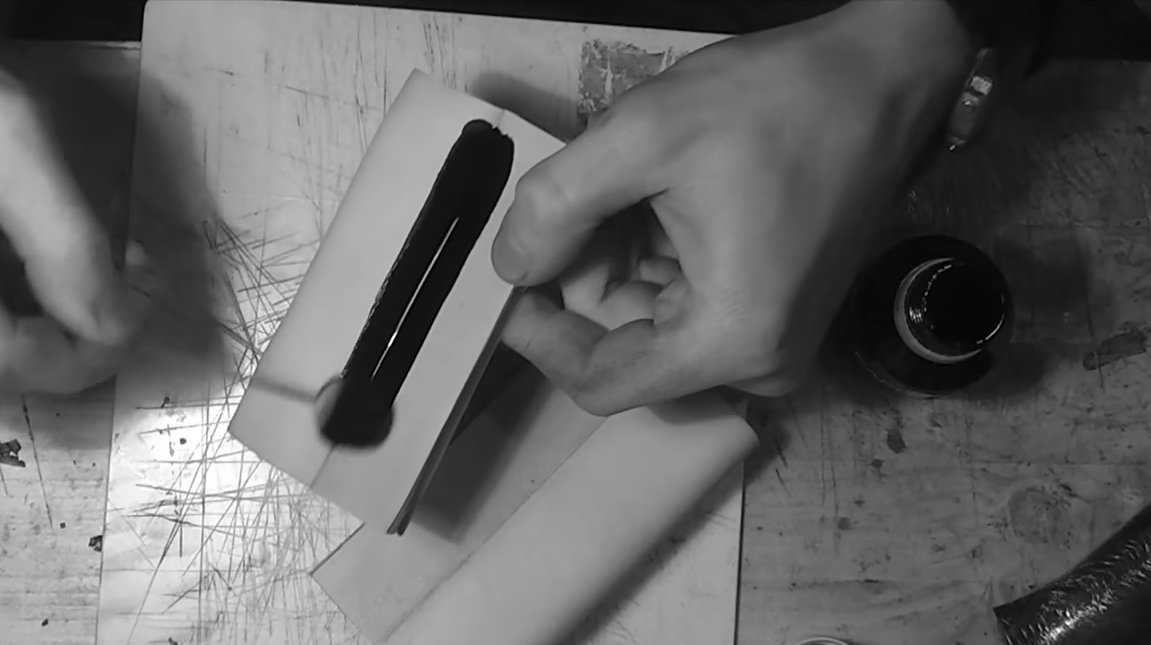
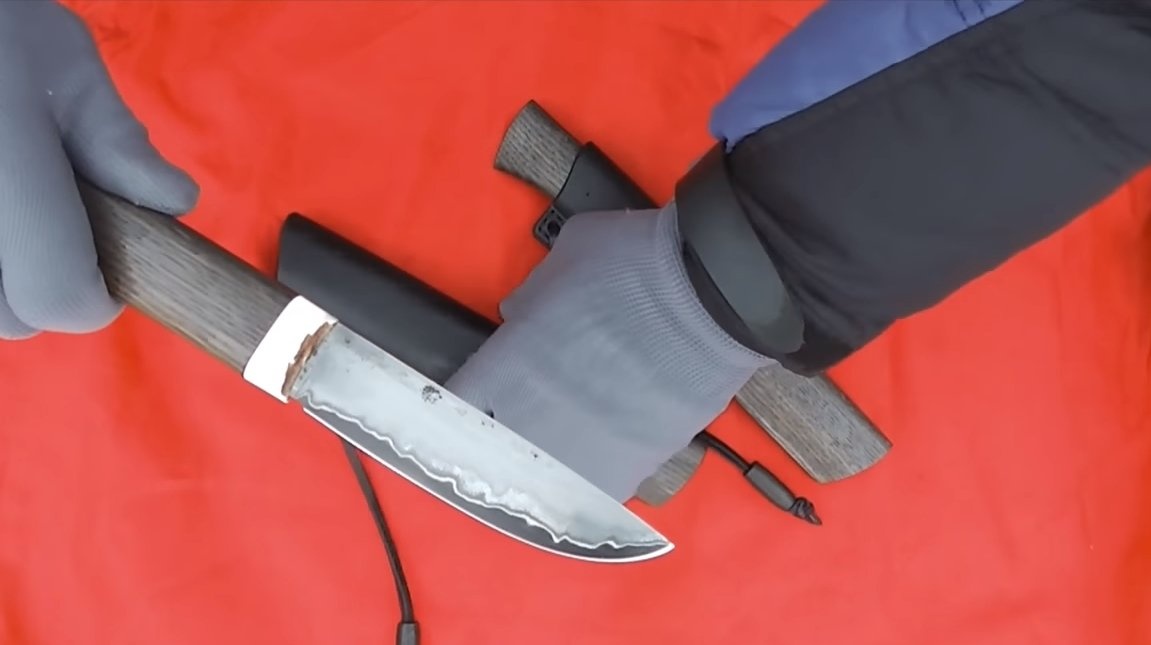
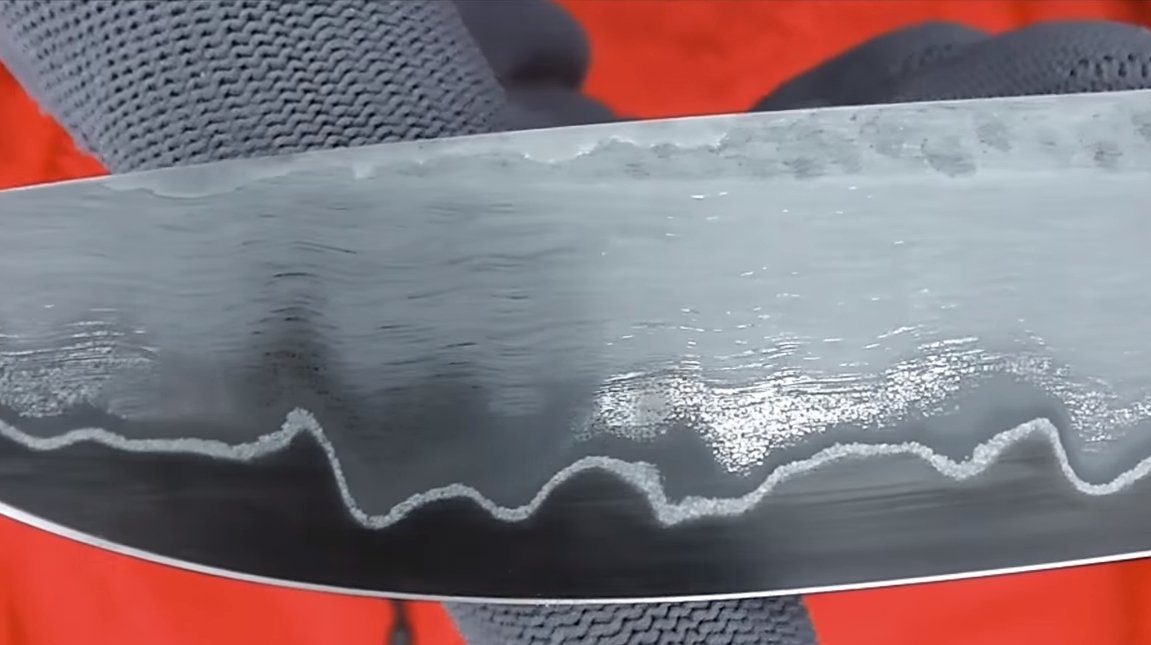
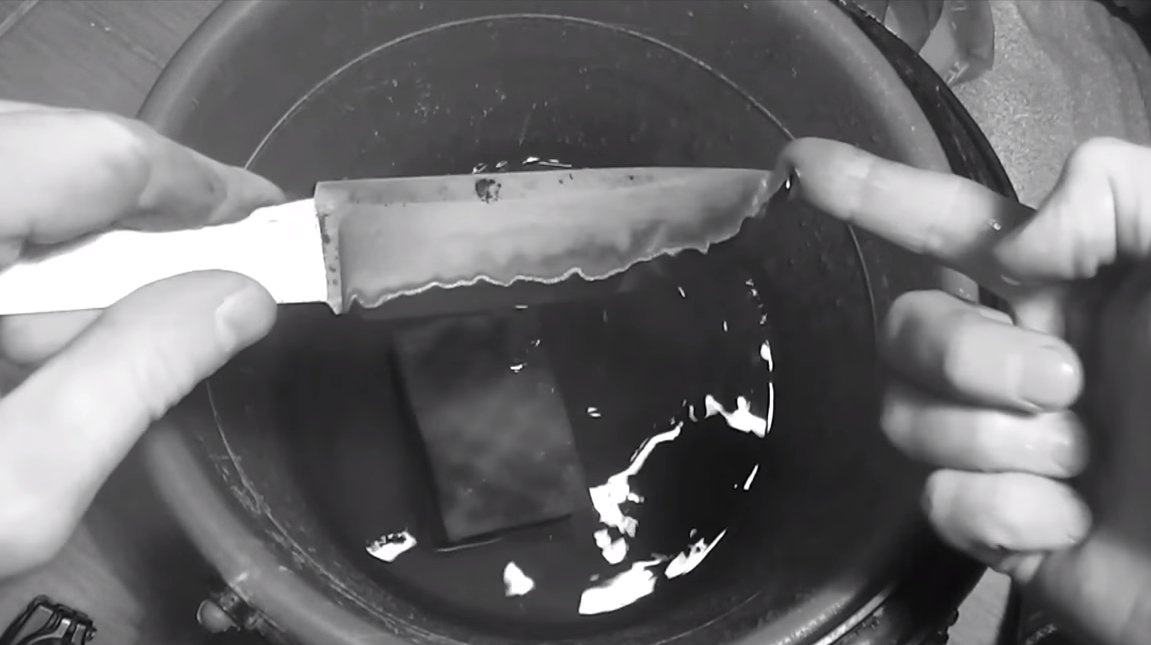
To highlight the pattern on the blade, we lower it into ferric chloride. Stainless steel is not afraid of such reagents, but U10A carbon steel will immediately darken and an expressive pattern will immediately be visible. As a result, the blade is covered with a black patina and is not afraid of oxidation, and the rest of the blade is stainless steel.
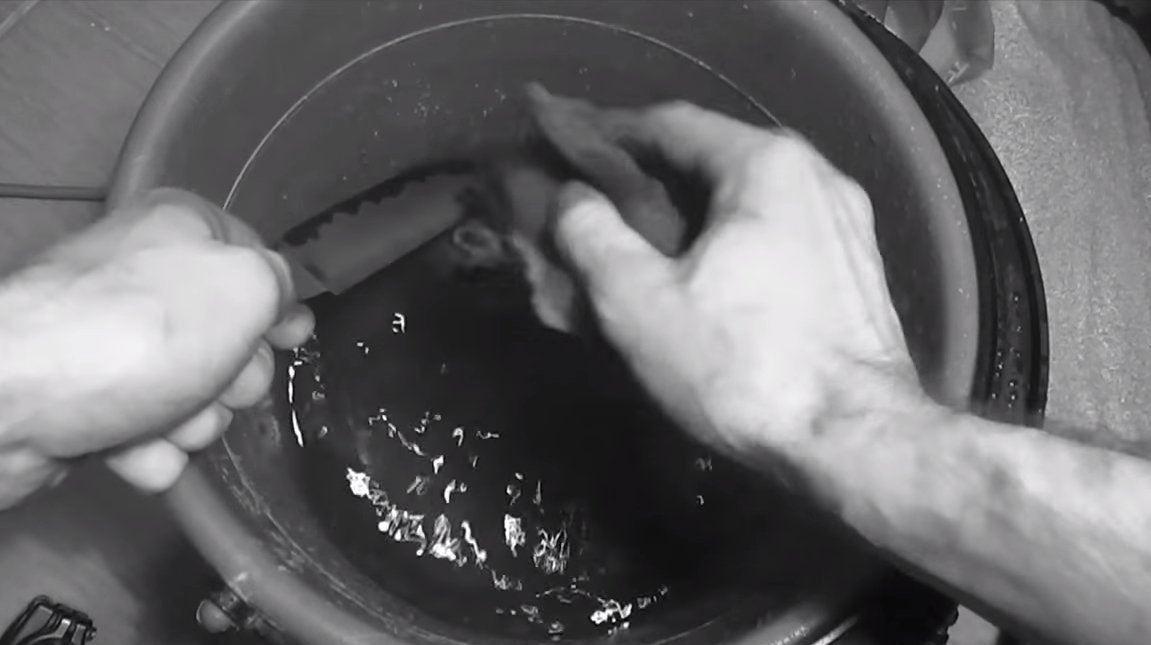
After ferric chloride, wash the blade in soda, and then thoroughly rinse under running water.
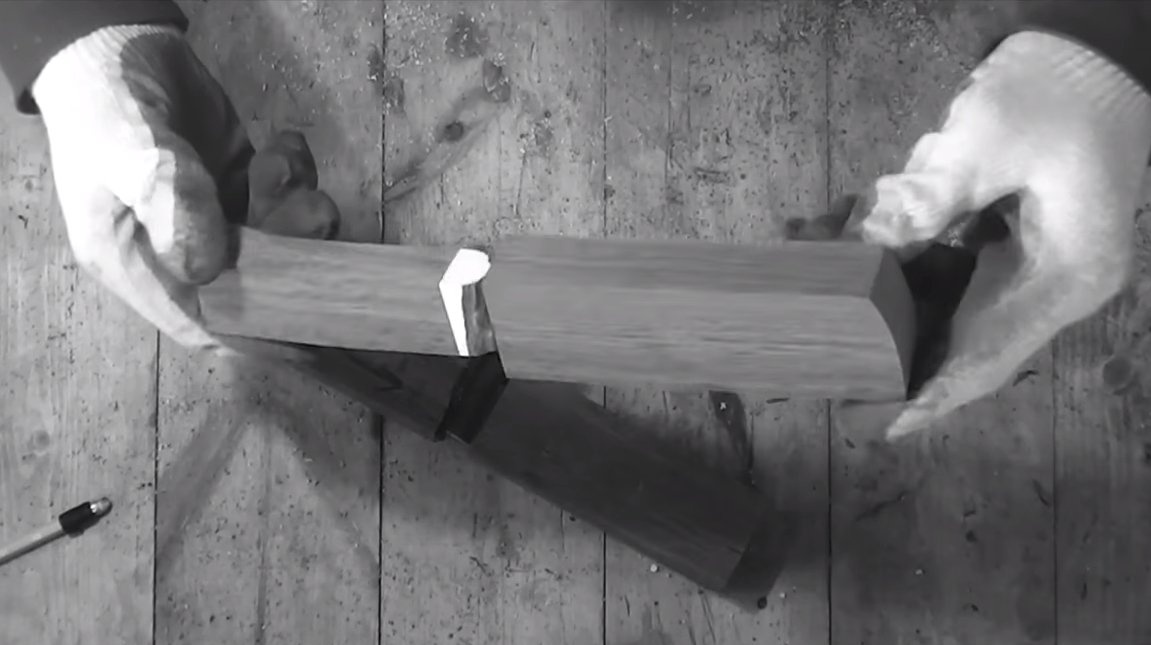
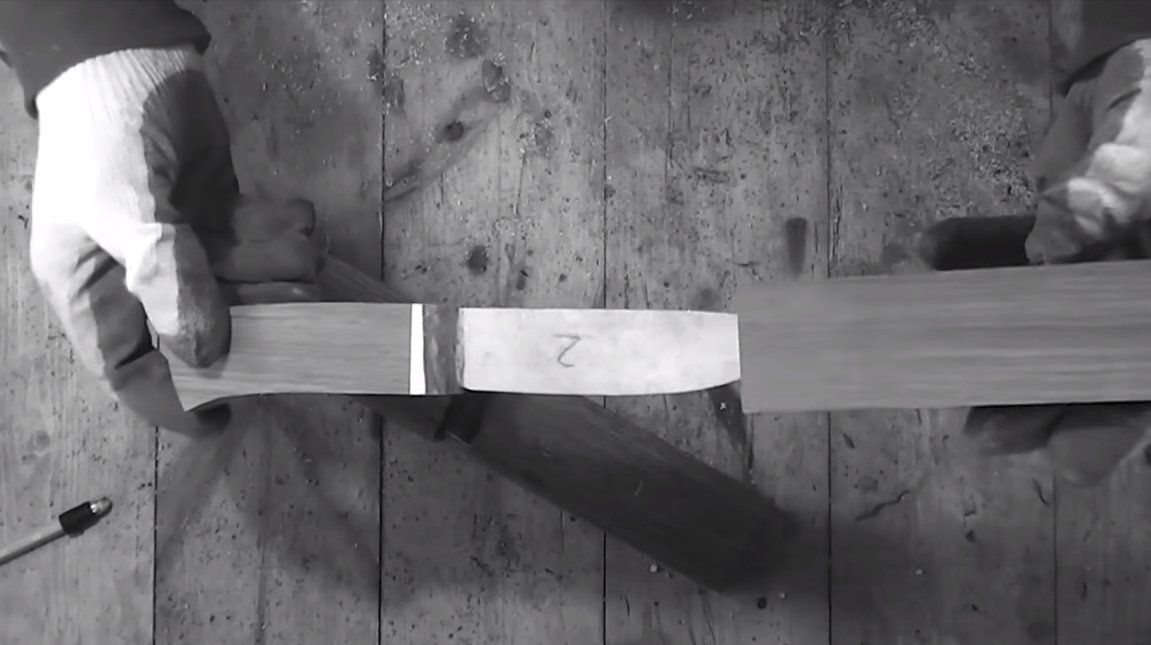
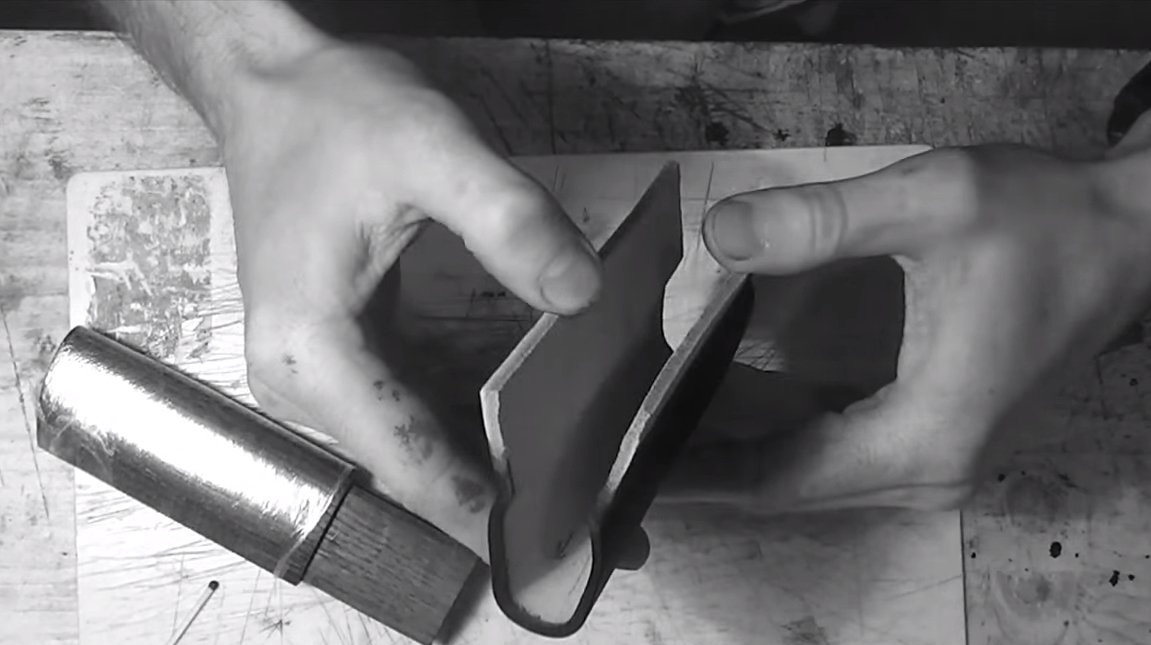
Seventh step. A pen
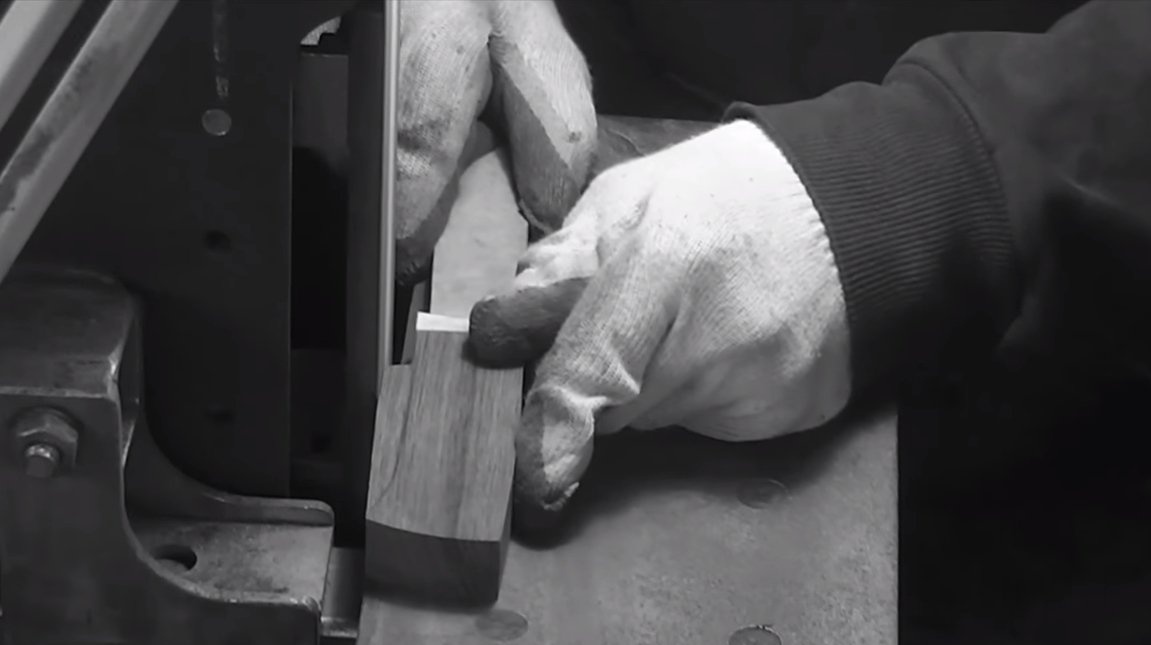
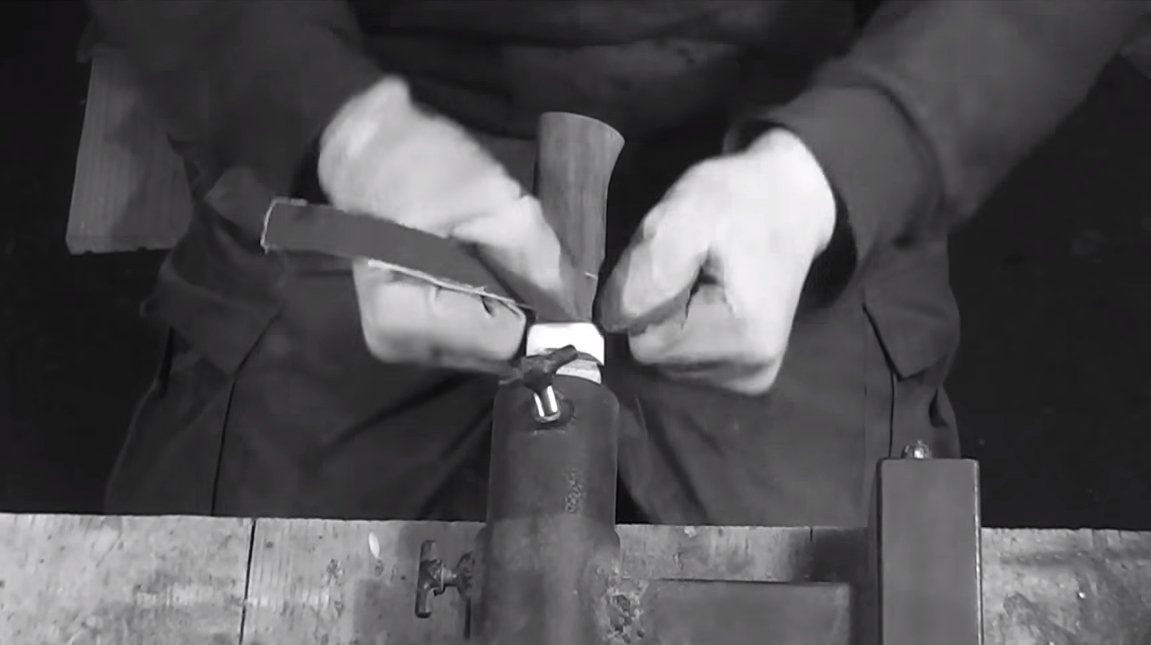
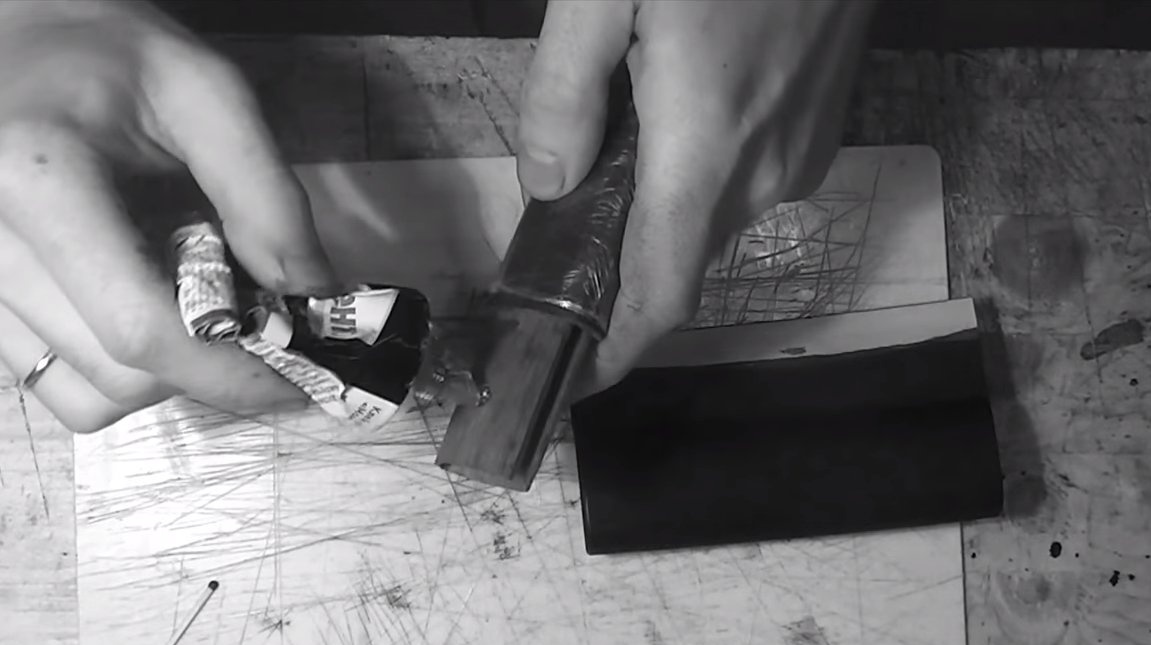
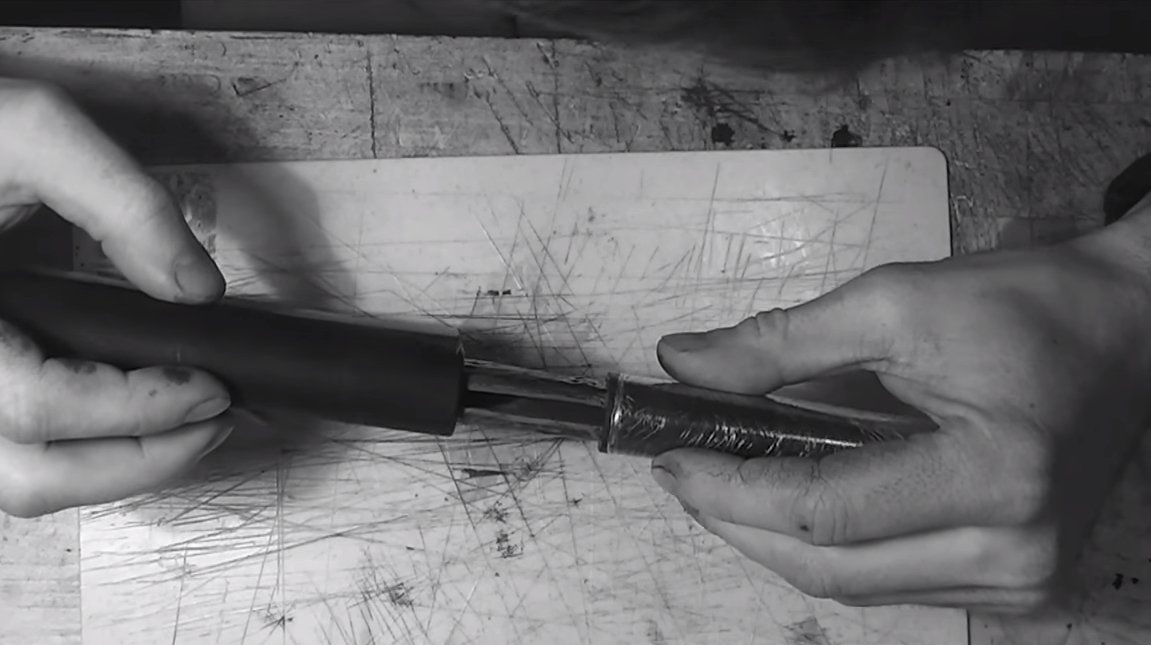
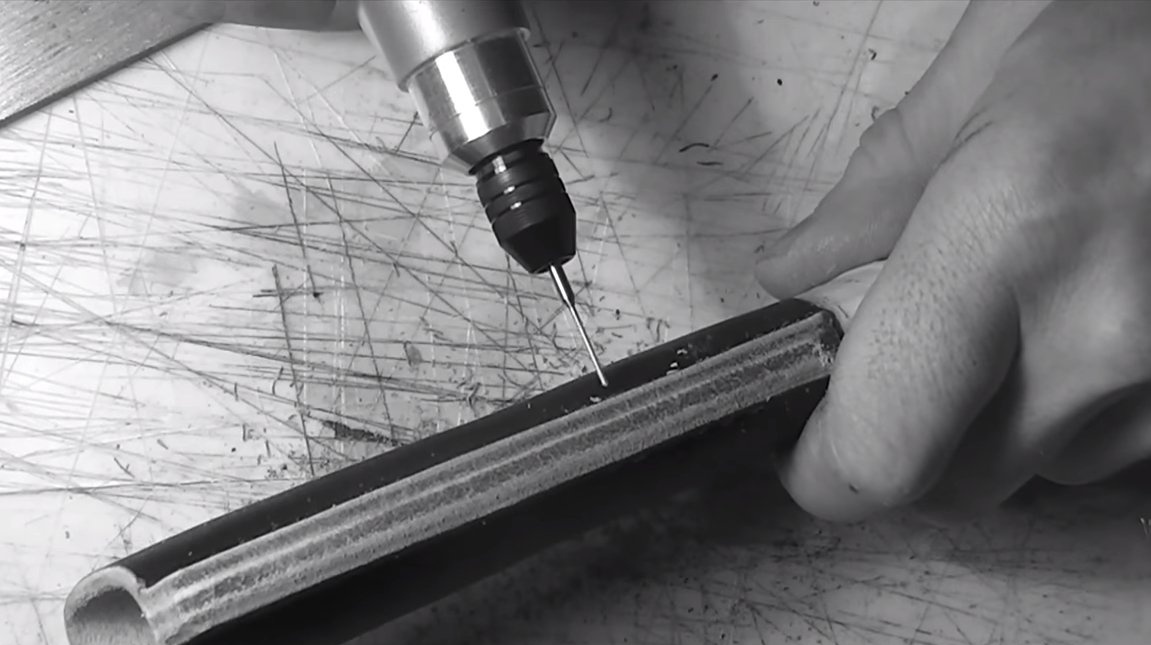
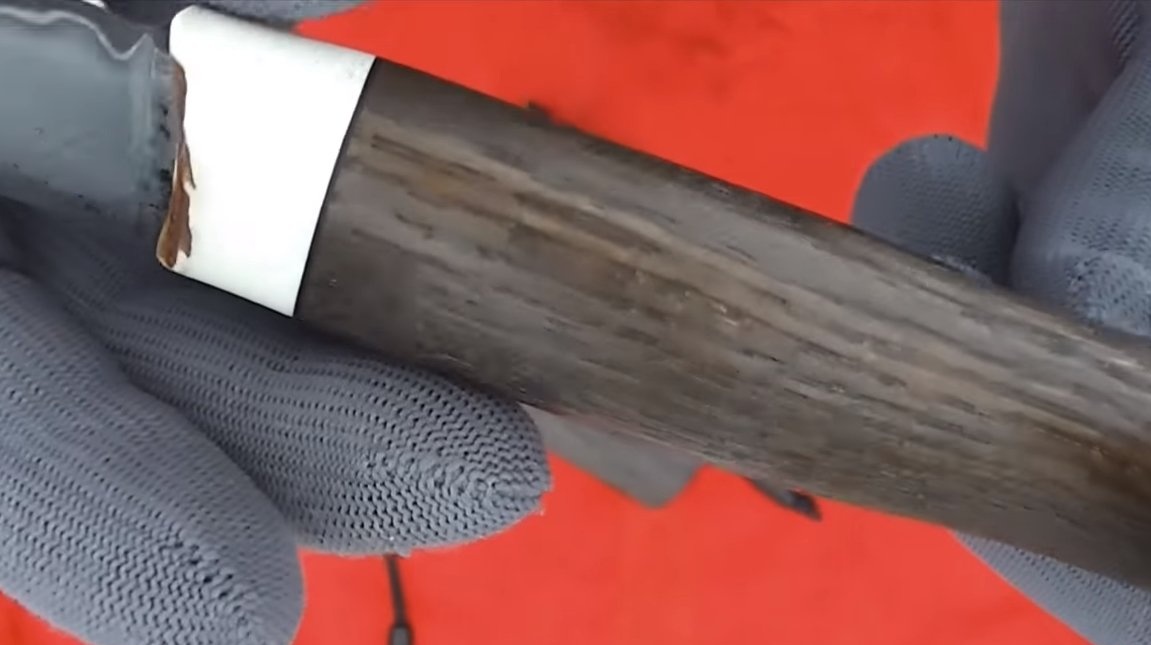
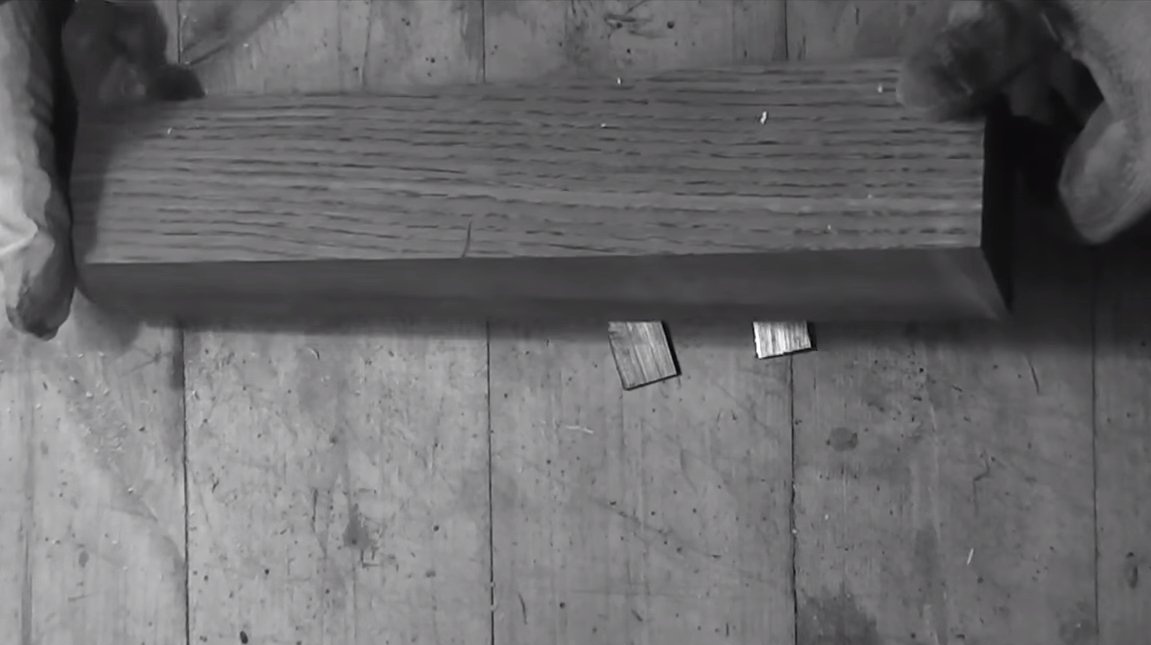
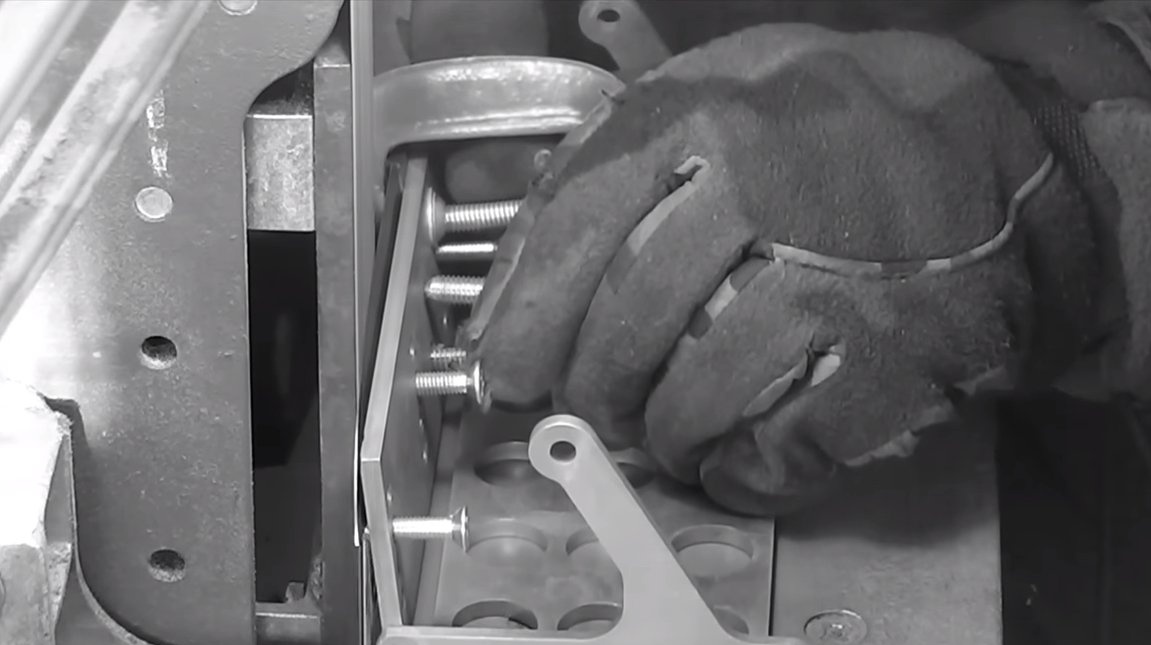
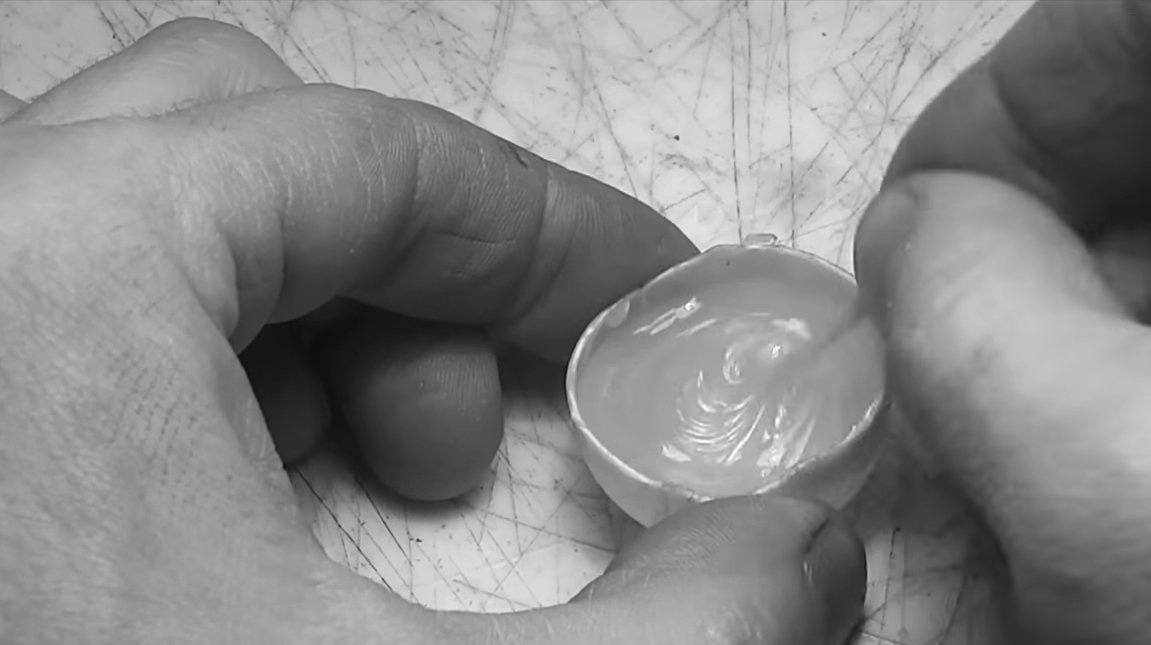
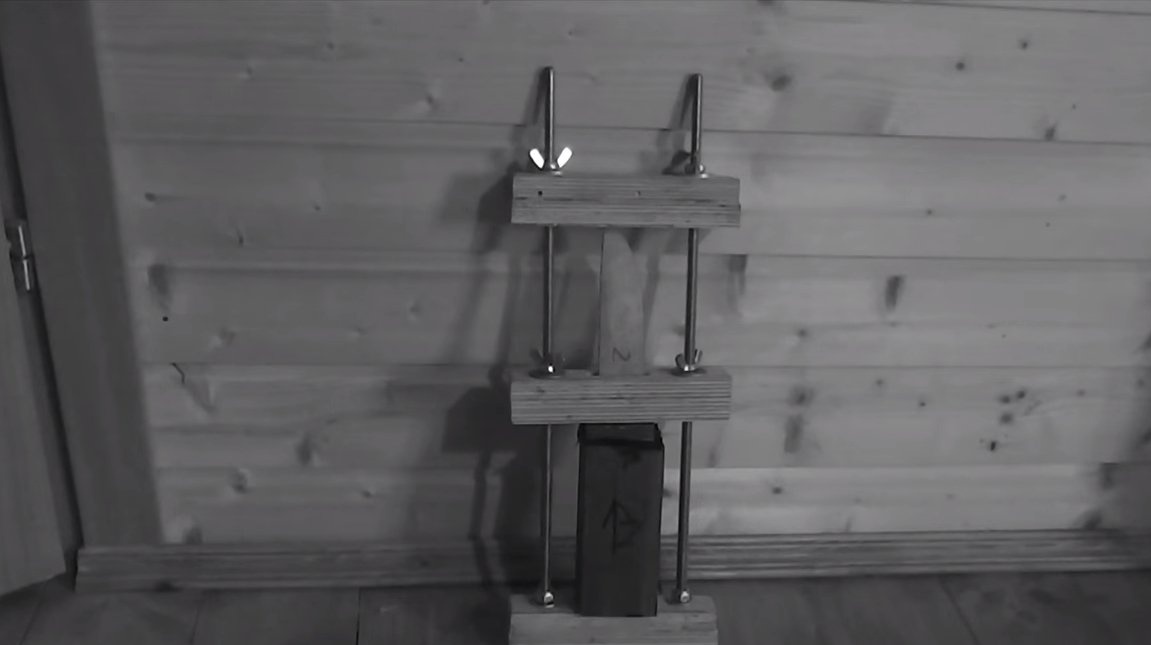
We make a handle for the knife, for such purposes the author used a block of oak, stained in a natural way. We cut a slit hole under the shank in the workpiece and glue the handle on epoxy glue. The gap can be drilled, burned or made a drill. If desired, you can also make a bolster for a knife. We tighten the knife well, for such purposes the author has a clamp made of plywood and threaded rods. When the glue dries, we form the desired profile of the handle and bring it to a perfectly smooth state.
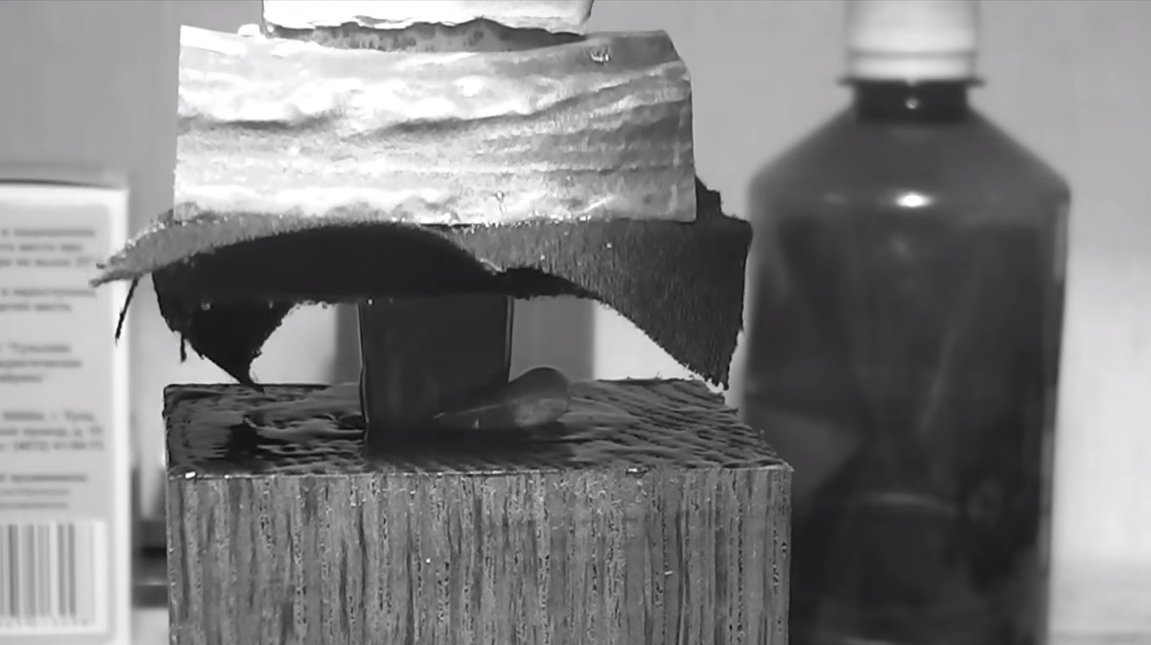
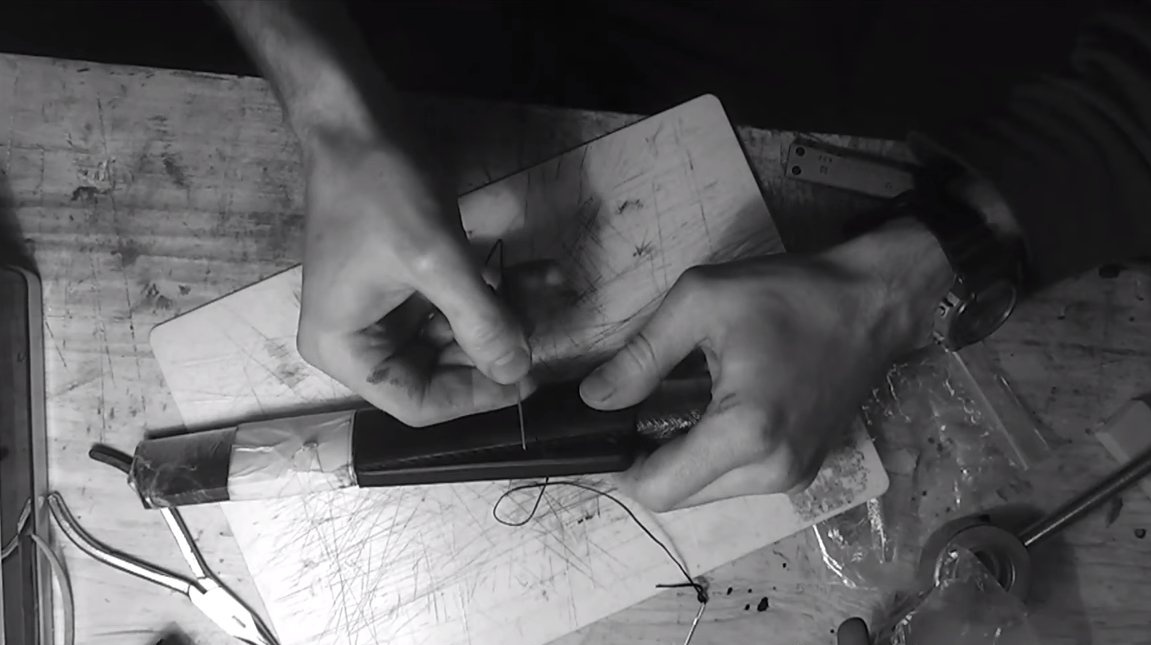
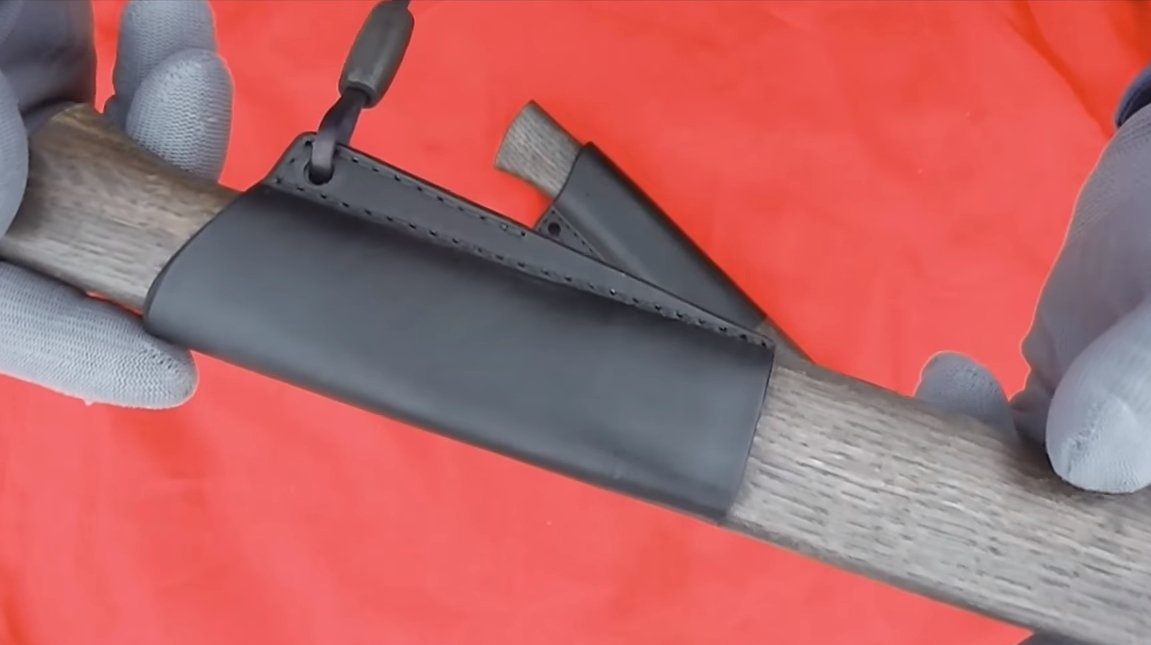
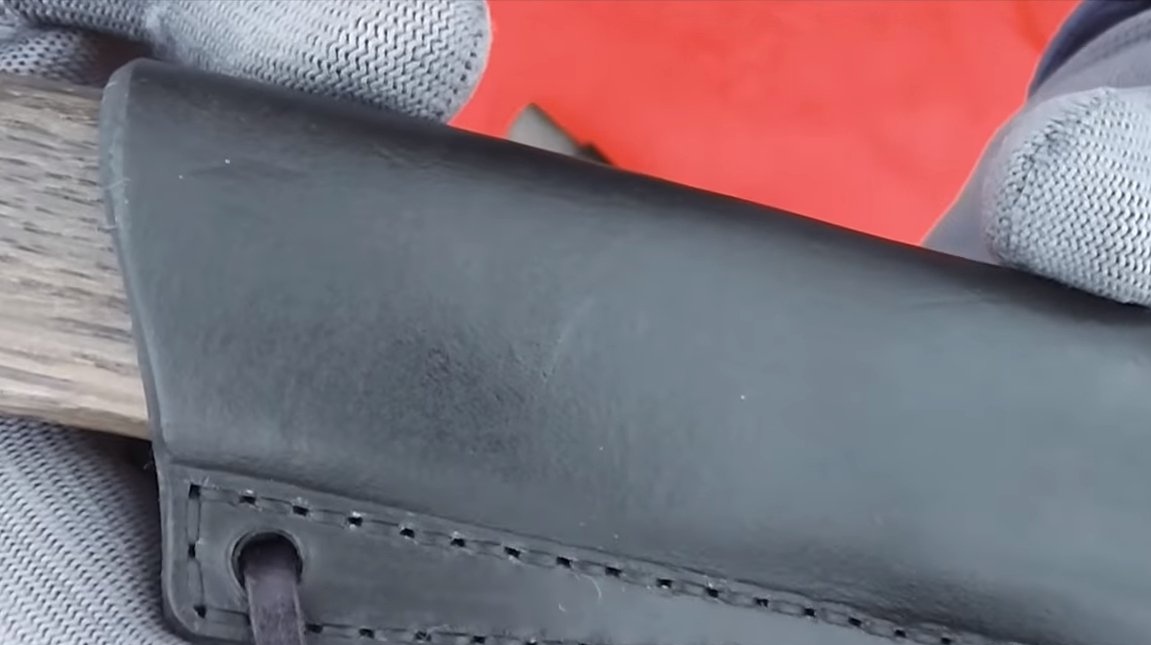
Step Eight. Sheath
We also make the sheath for the knife so that it is comfortable to wear on the belt. The author also made the scabbard from oak and leather; they look delightful. At the end, we saturate the tree with oil, now it will look delicious, and will not absorb moisture.
The author’s knives turned out to be delicious, they are also very strong and, if desired, are sharpened to the state of a razor. I hope you enjoyed the project and found useful thoughts for yourself. Good luck and creative inspiration, if you decide to repeat this. Do not forget to share your ideas and homemade things with us!