


Step 1: Tools and Materials
Materials:
- linden tree (the master used a wooden block 12x12x30 cm in size for the lamp and a 8x8x60 cm block in size for the base);
The master used linden wood, because when carbonized, it looks very nice, it’s pretty easy to work with and ... cheap.
- walnut tree (very little, only for overlays);
- steel, 4 mm thick;
- a rectangular steel pipe for attaching the bracket to the base, size 20cm 30x20mm;
- screws and locknut 5 x 40 mm;
- a cartridge for a lamp of type G9, as it can work with various types of small LED lamps with low consumption;
- LED lamp (in homemade low power LED is used. The main thing is that the lamp does not heat the wooden ceiling);
- switch;
- the wire;
- epoxy adhesive;
- Glue for wood (PVA);
- linseed oil;
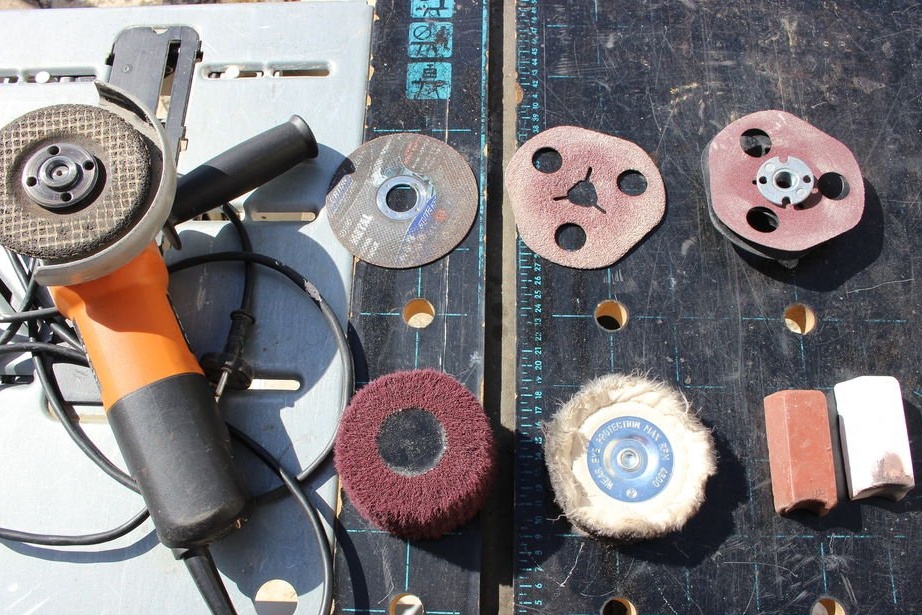
Instruments:
- angle grinder with cutting and grinding discs;
- router with straight and round cutter;
- Lathe;
- band-saw;
- a circular saw;
- bit;
- gas-burner;
- cord brush;
Step 2: Drawings
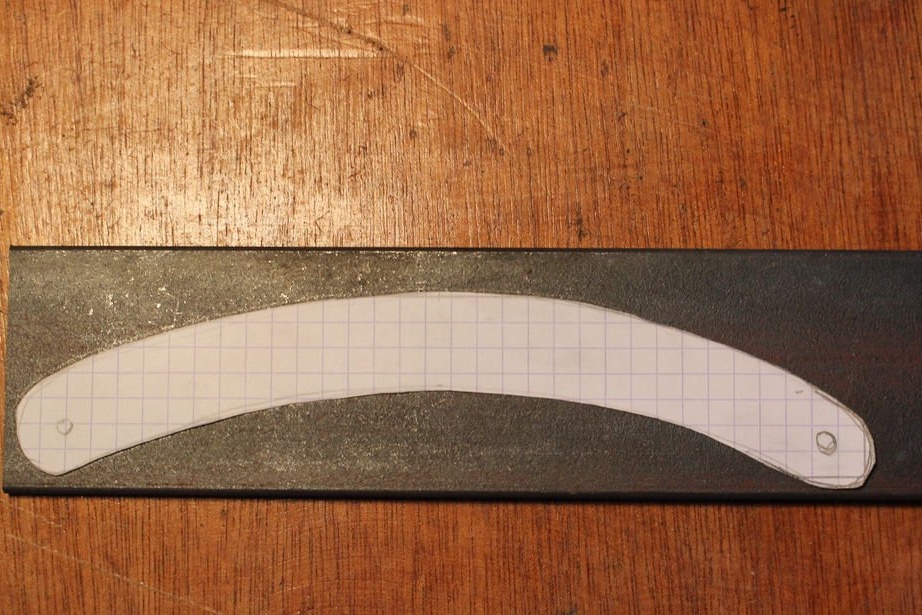
The master made several freehand drawings, which he used as a pattern.
These drawings are life-size, and they were used to cut out patterns of parts (either to draw on the source material, or to check the shape when the part was rotated or cut).
Attachments
Step 3: Making Steel Parts
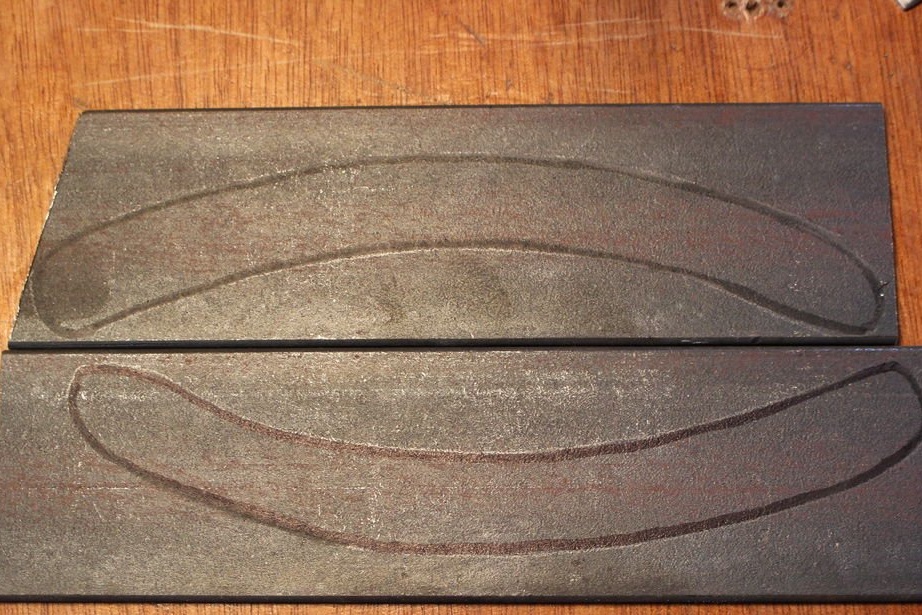
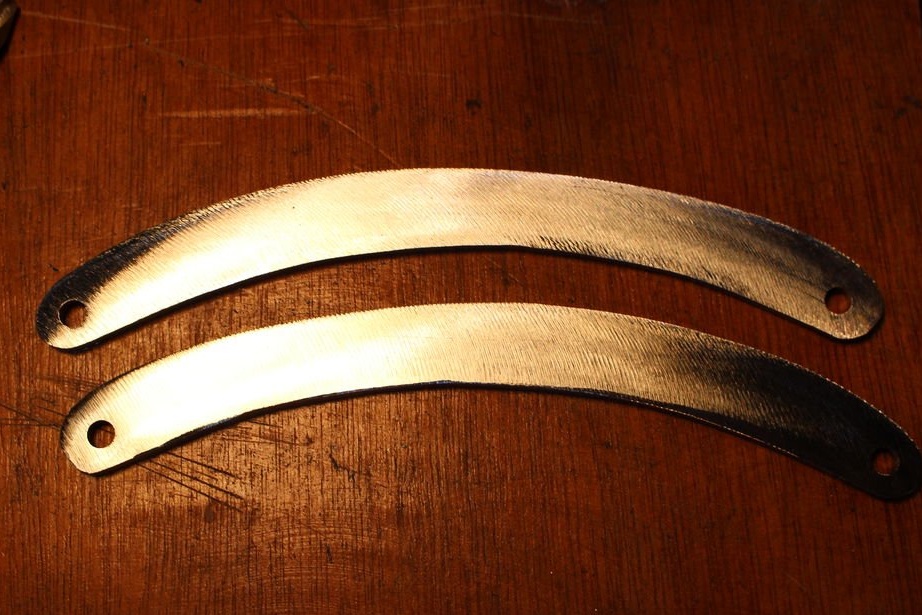
Making a collapsible metal stand (a pair of plates for the bottom and a pair for the top) is quite simple, although it takes a lot of time:
- draw a shape on a steel plate;
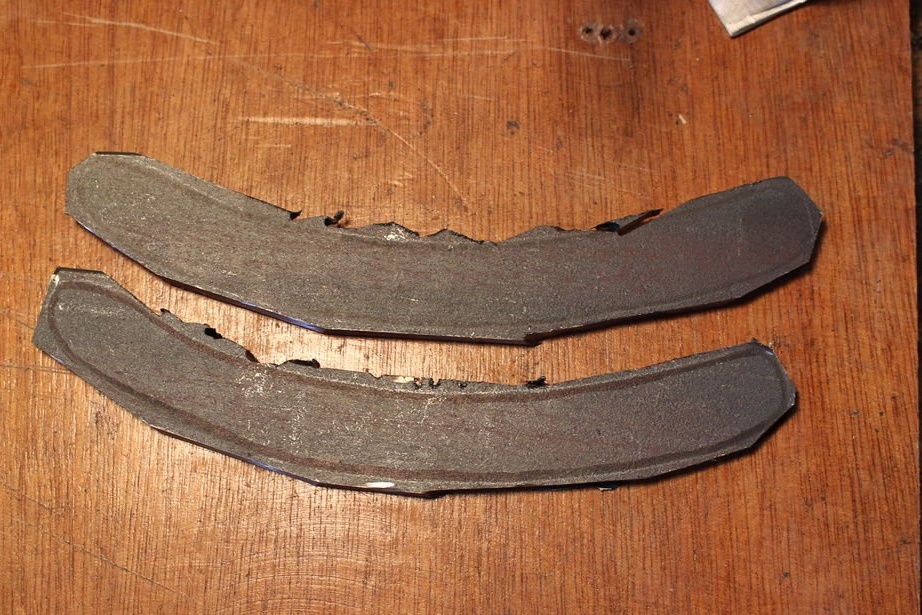
- cut the mold using an angle grinder;
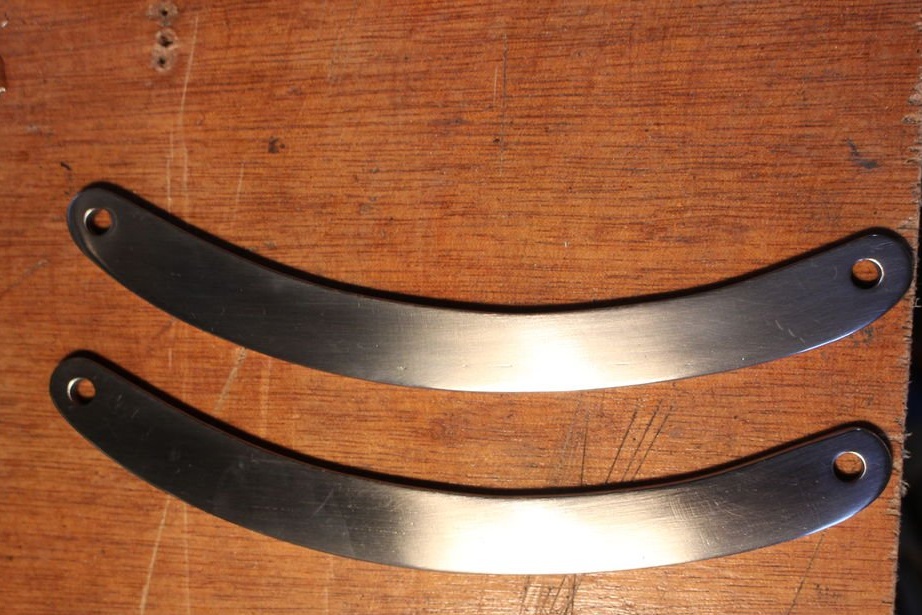
- grind to the final form (both parts must be clamped in a vice when grinding to get the same shape);
- drill 5mm holes for the connection;
- sanded parts with a segmented disk of different grain size;
Step 4: Add Walnut Pads
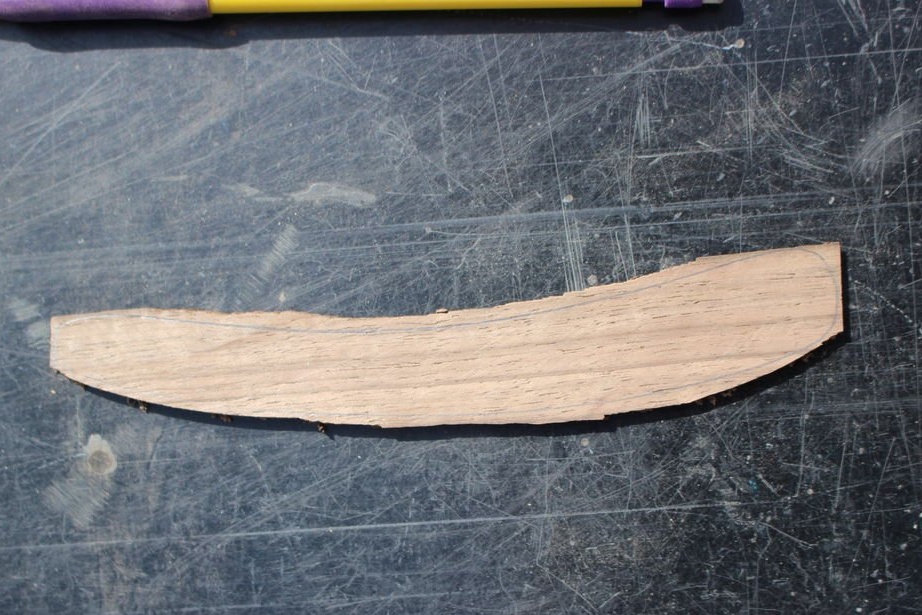
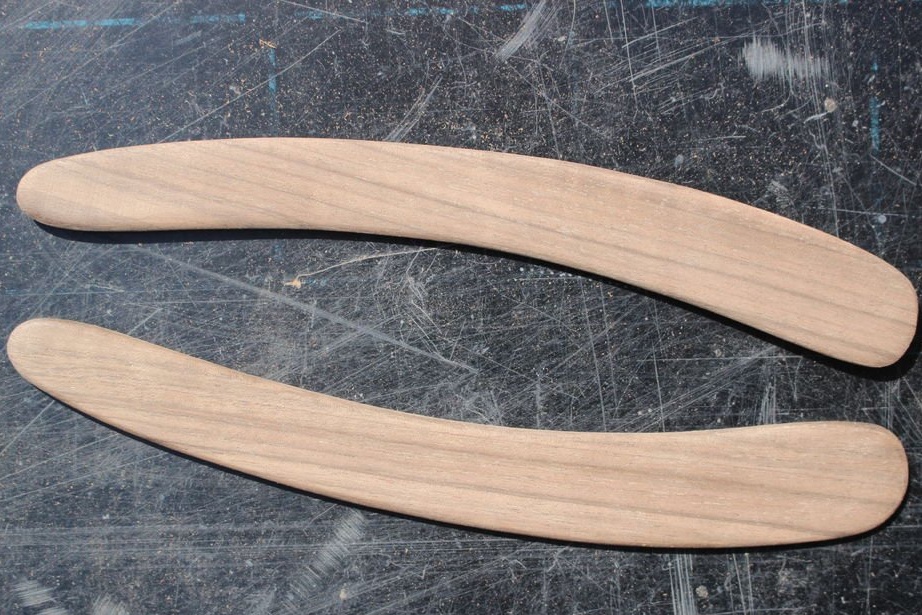
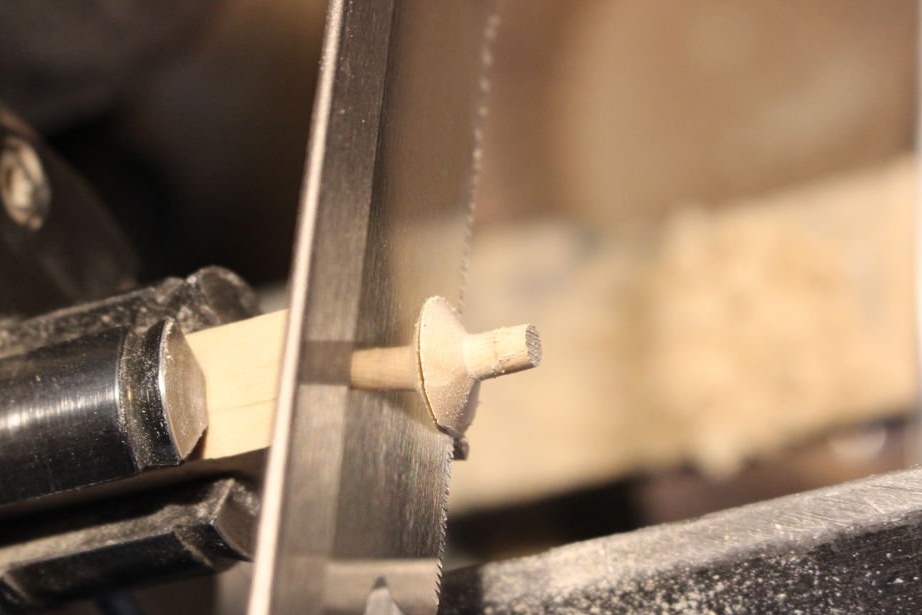
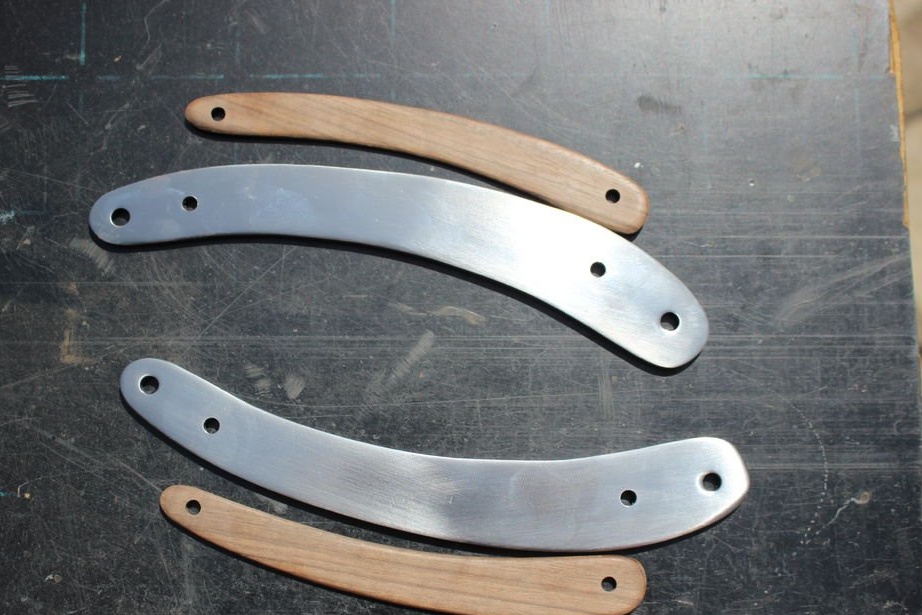
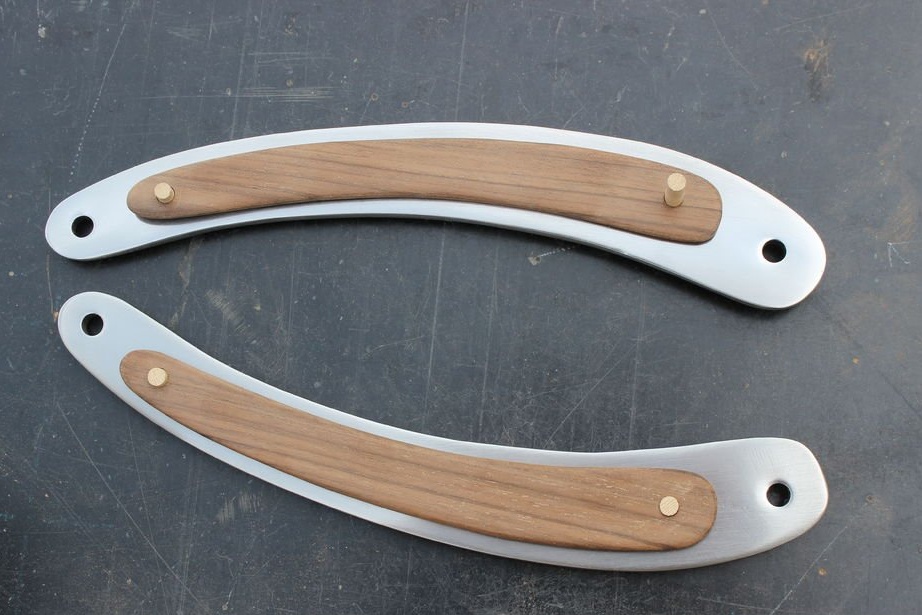
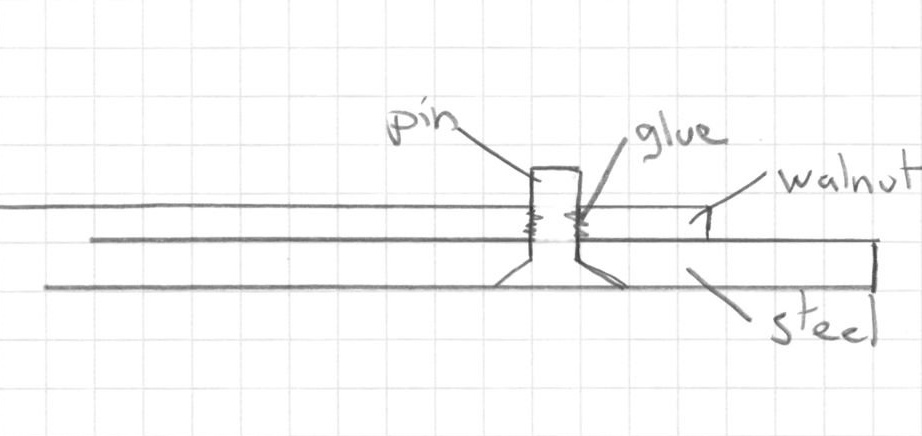
After cutting and grinding to the desired size, pins were installed on the metal parts, on which walnut pads were subsequently glued.
The pins are trimmed after the walnut pads have been glued onto them.
Step 5: Making the base mount and holder slot
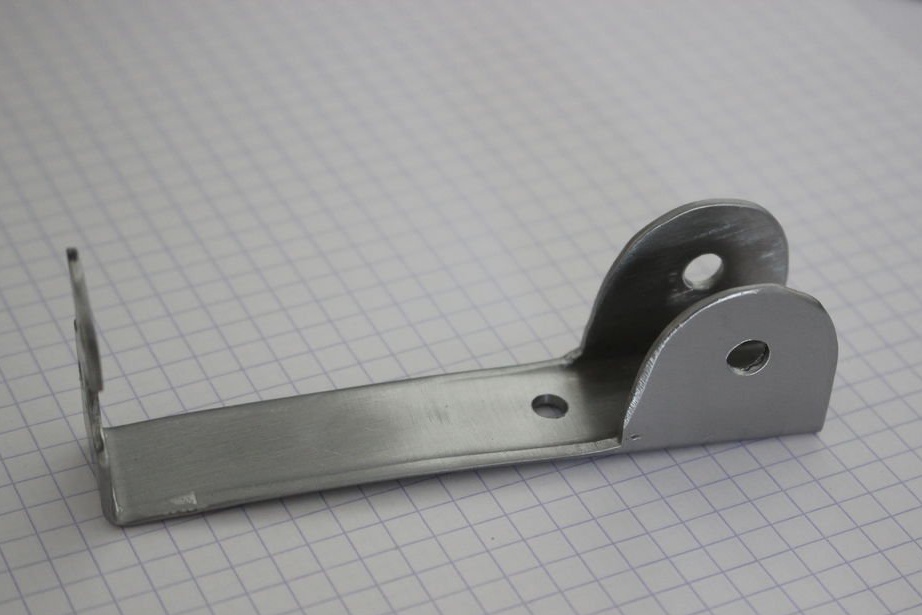
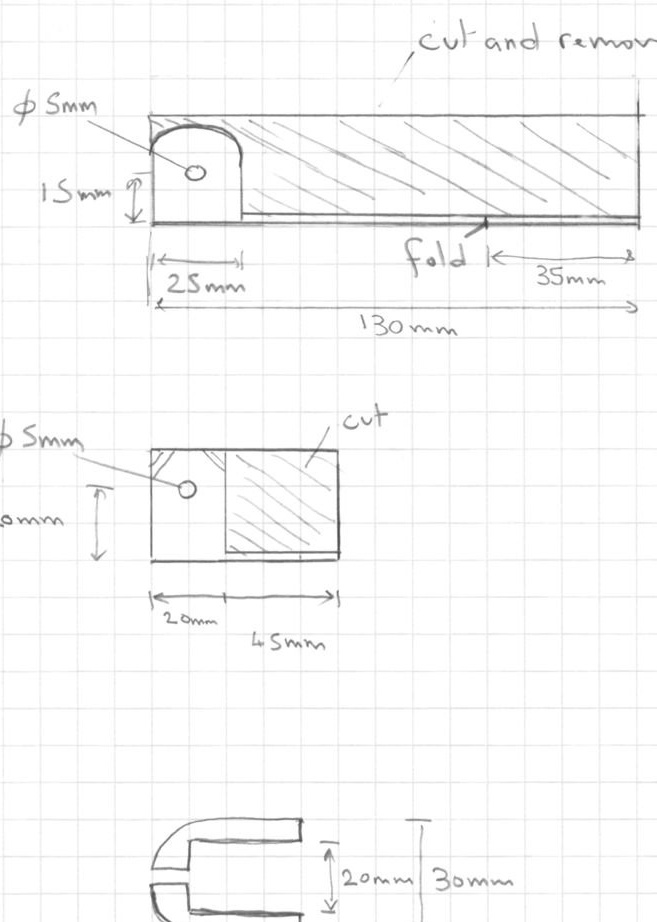
The base and fasteners for the movable part of the lamp are cut from a rectangular steel tube 30x20 mm (see. Drawings).
4 holes are made on the base holder: 2 for wires, 2 for mounting screws.
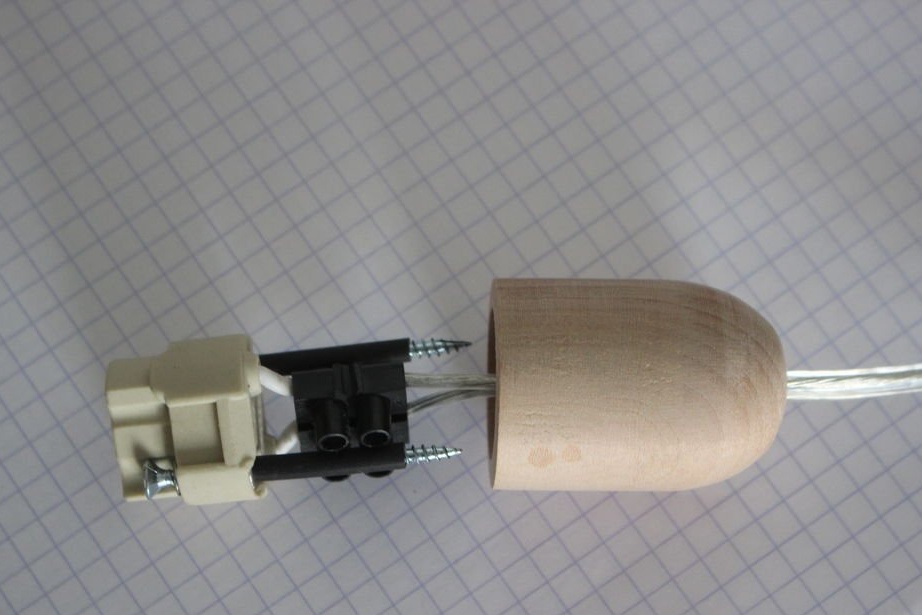
The bulb holder is a wood part made on a lathe.
Step 6: Assembling the Movable Structure
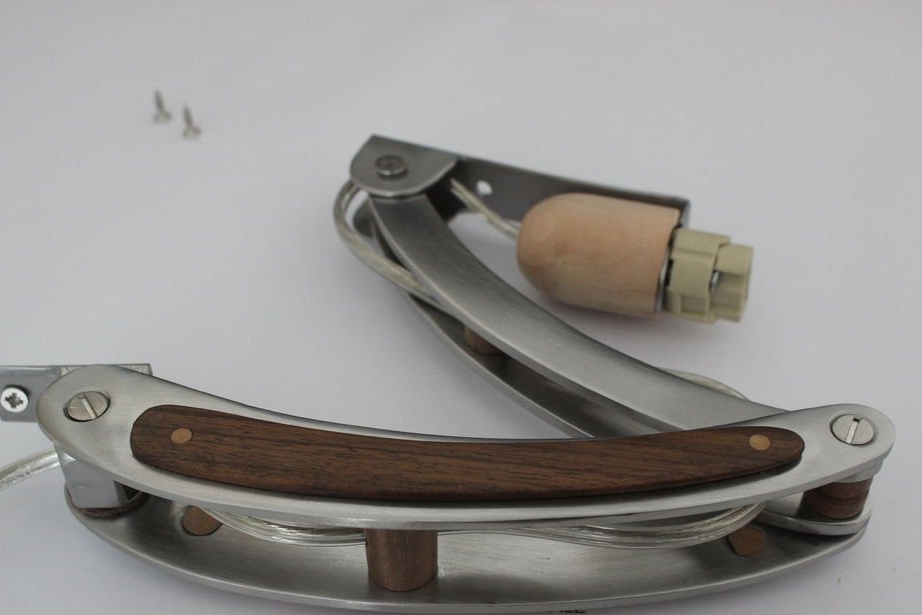

It remains to make several parts for folding brackets:
1. a small walnut gasket to hide the screw (see. Figure). The master has a part width of 12 mm.
2. Two more small walnut inserts are drilled and used as a cable guide. They are cut to the width of the folding structure and simply inserted between the plates. The inserts do not stick, but are held by the pressure on the plates.
For each swivel, the screw and locknut will exert enough pressure to hold everything in place ... but we need the design to fold like a penknife.
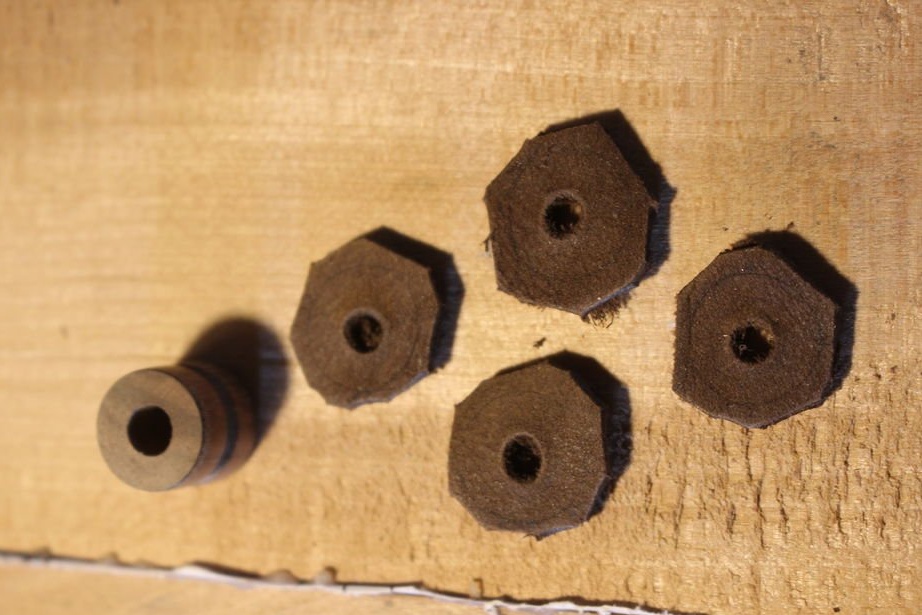
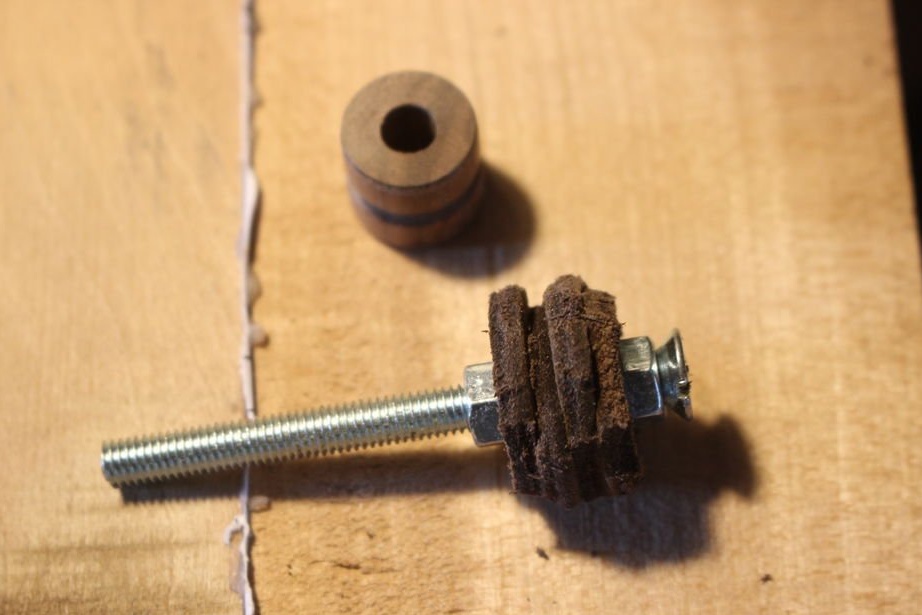
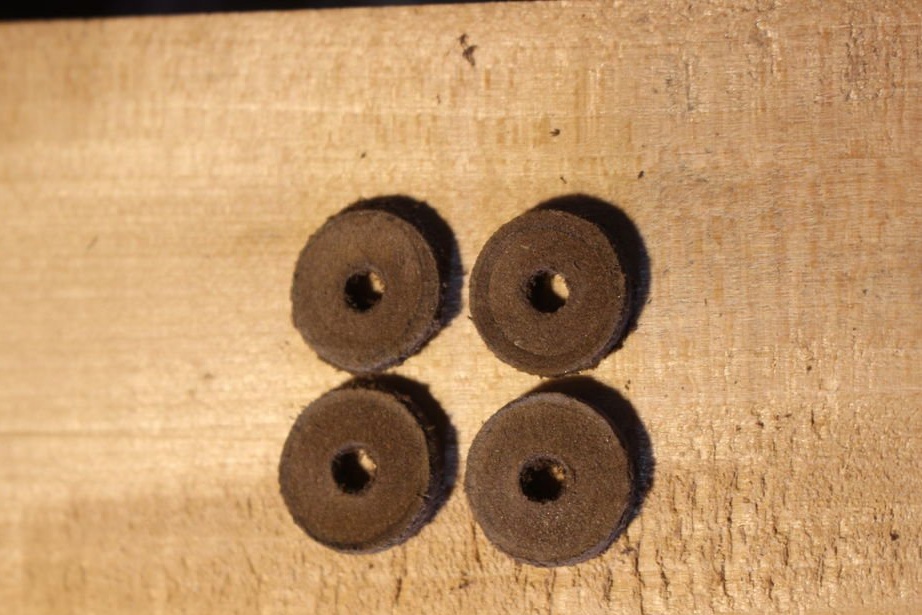
The magic detail in this design is the leather washer. Thanks to the leather washer between all the steel parts of the joint, we get a smooth folding.
A leather washer can be replaced with a similar sanitary washer, but the result will not be the same.
The master made these washers from thick leather. Then he drilled holes, cut and processed on a lathe.
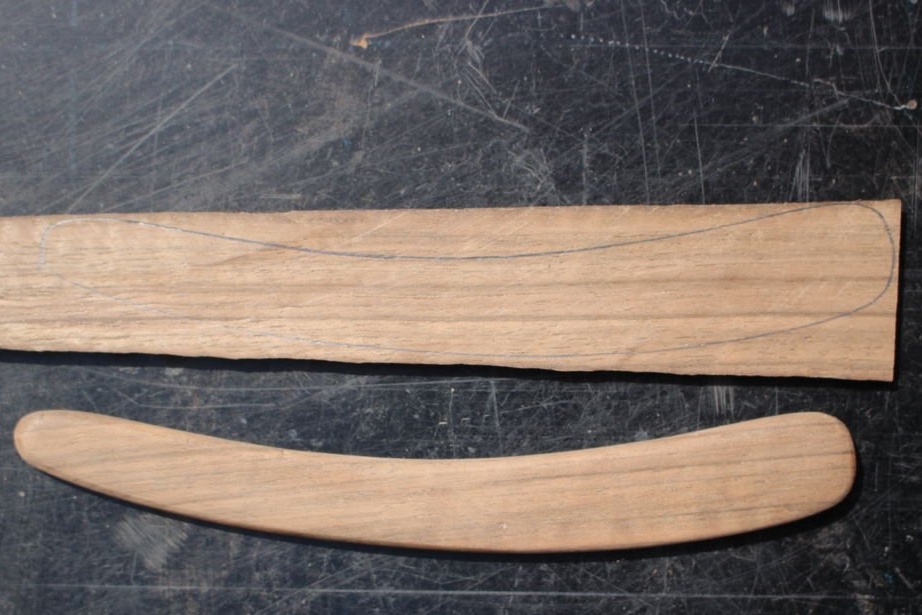
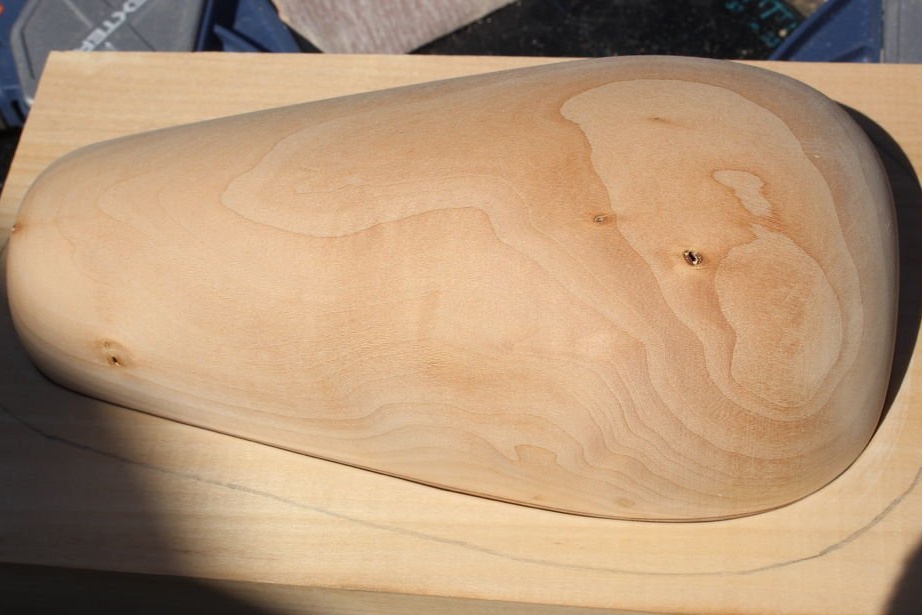
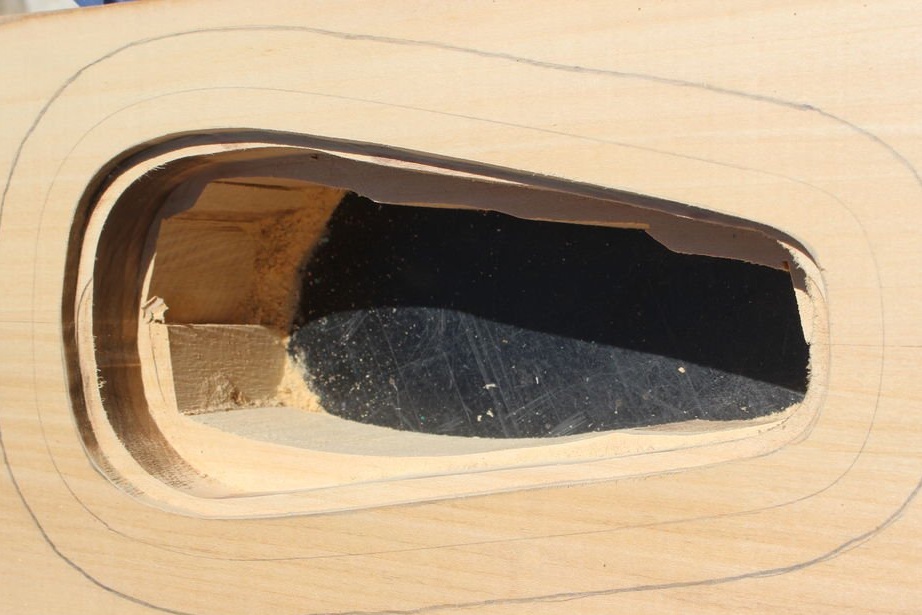
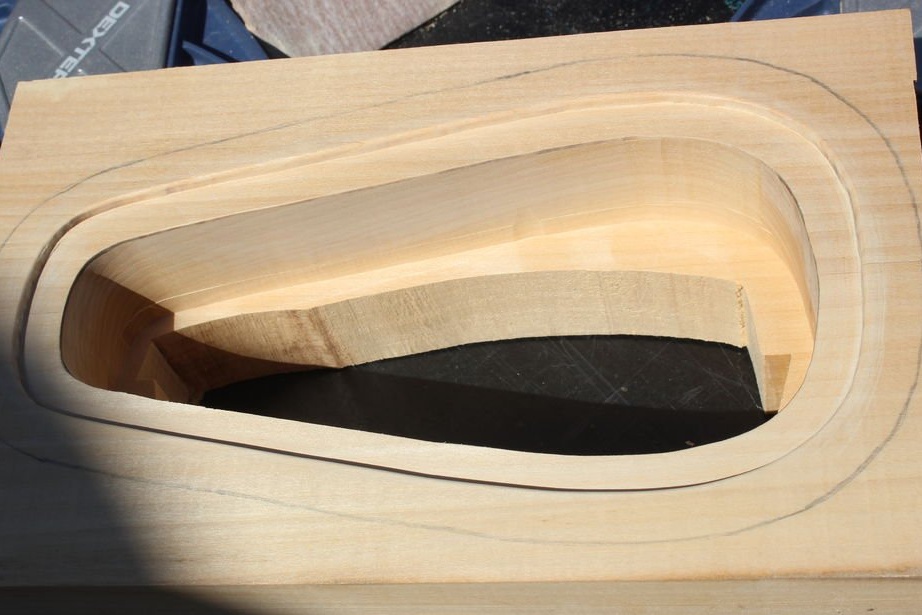
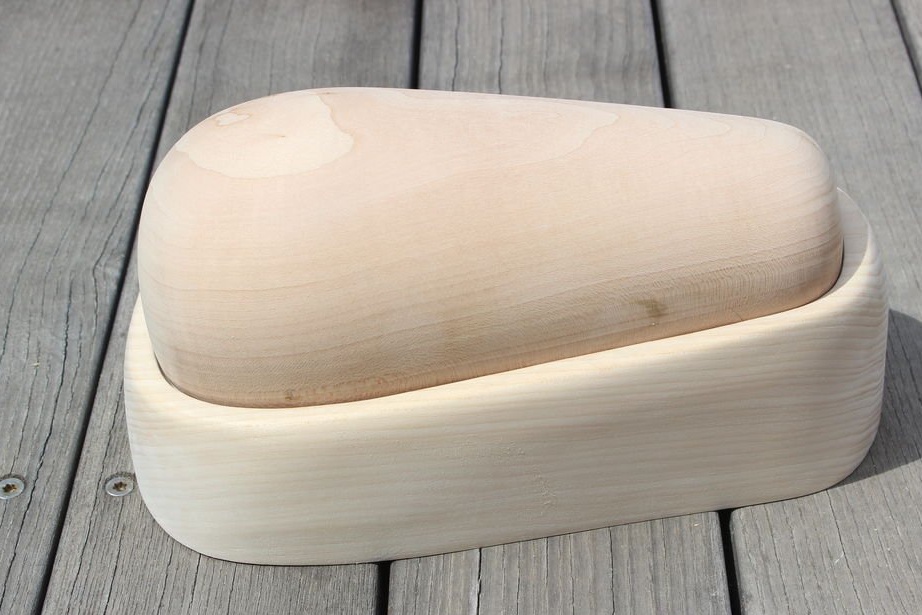
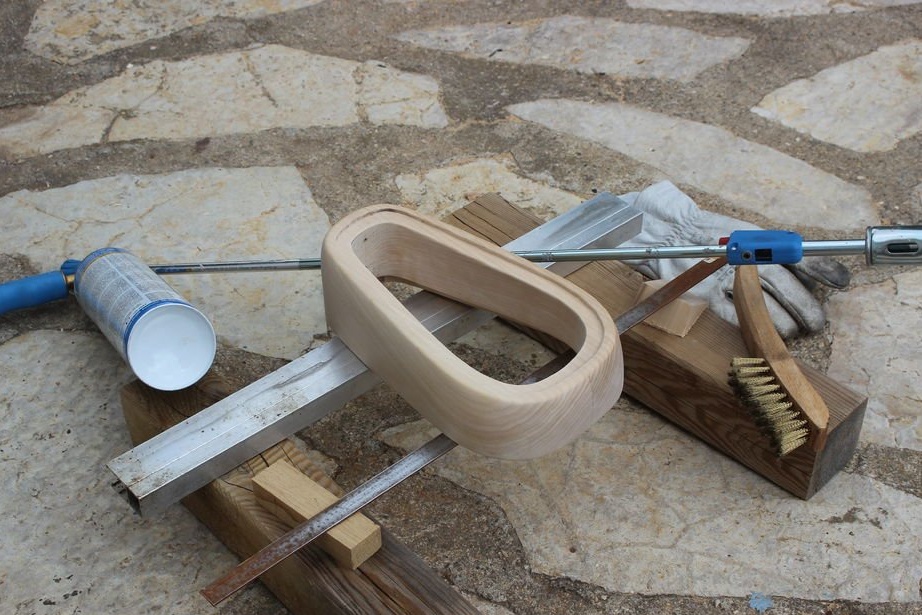
Step 7: Making Wooden Parts of the Lamp
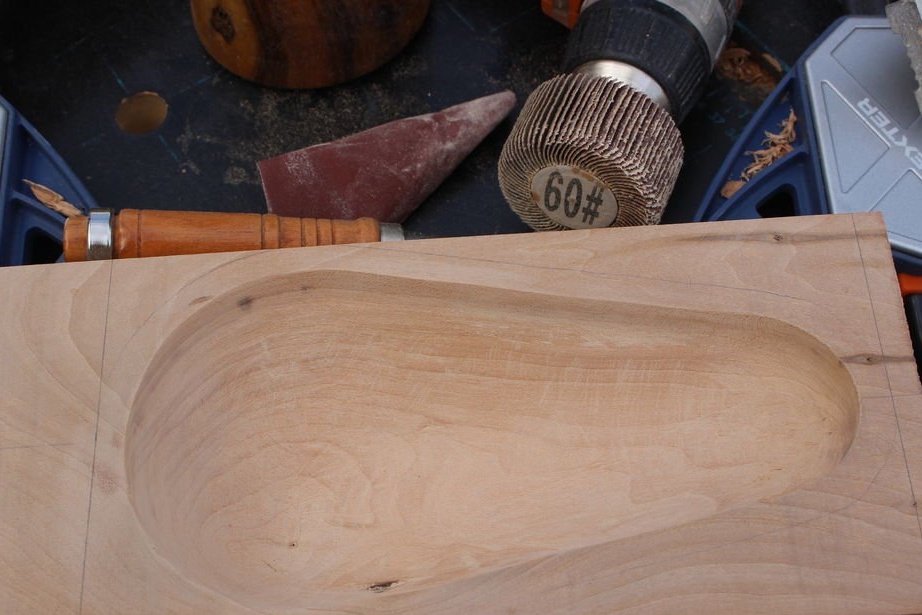
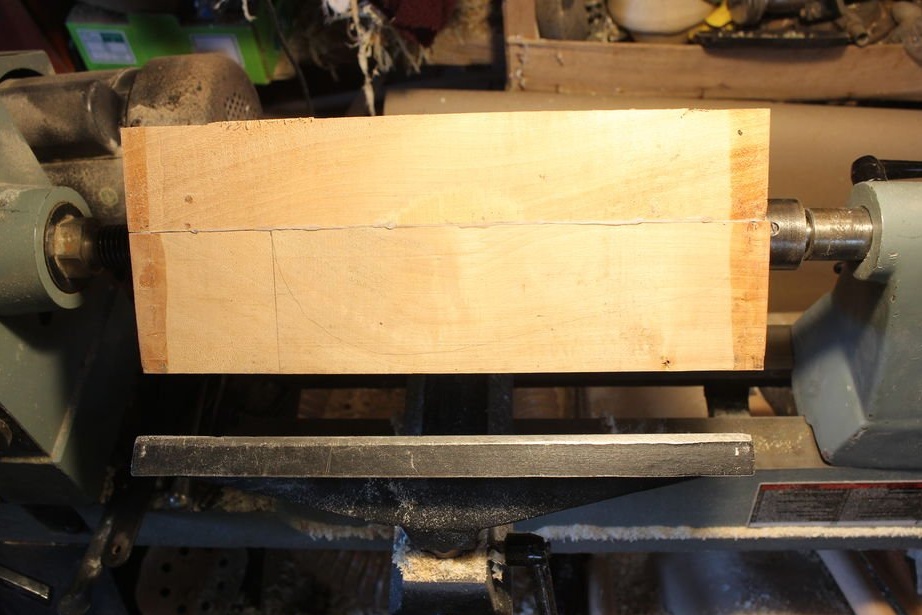
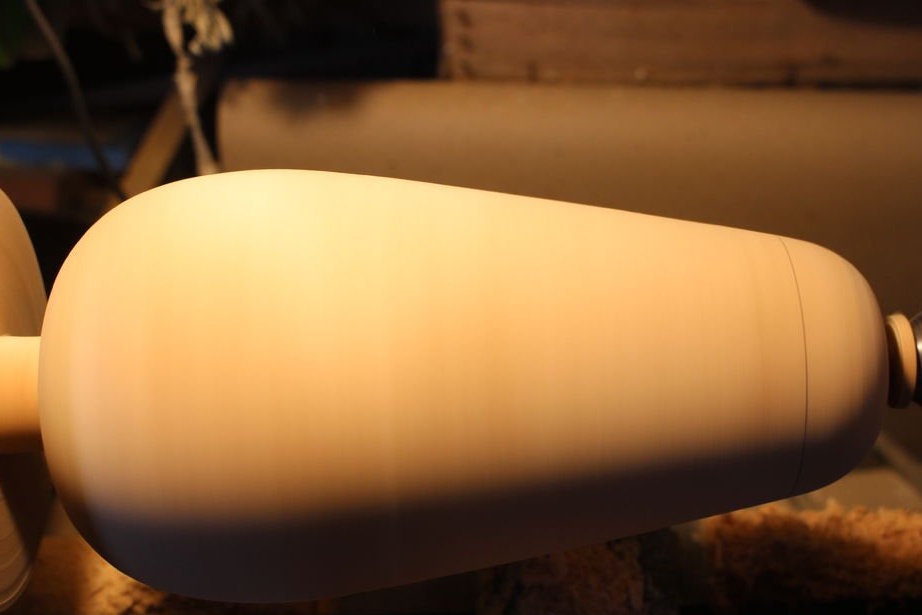

The lamp head is made of solid wood block.
The general process that the wizard followed:
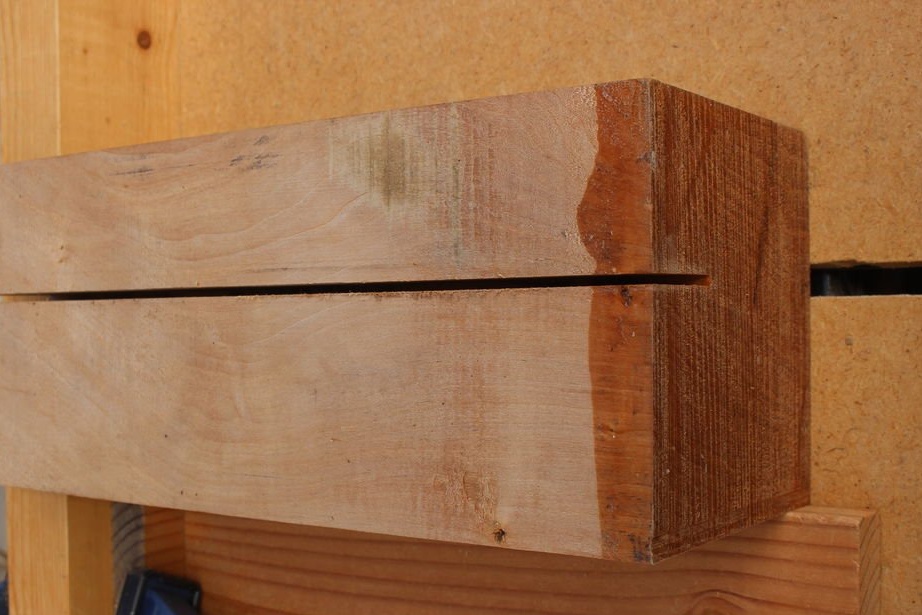
- the wooden blank is cut into two parts (the head of the lamp is more than half the blank. The master had this size 8 cm from the 12 cm blank);
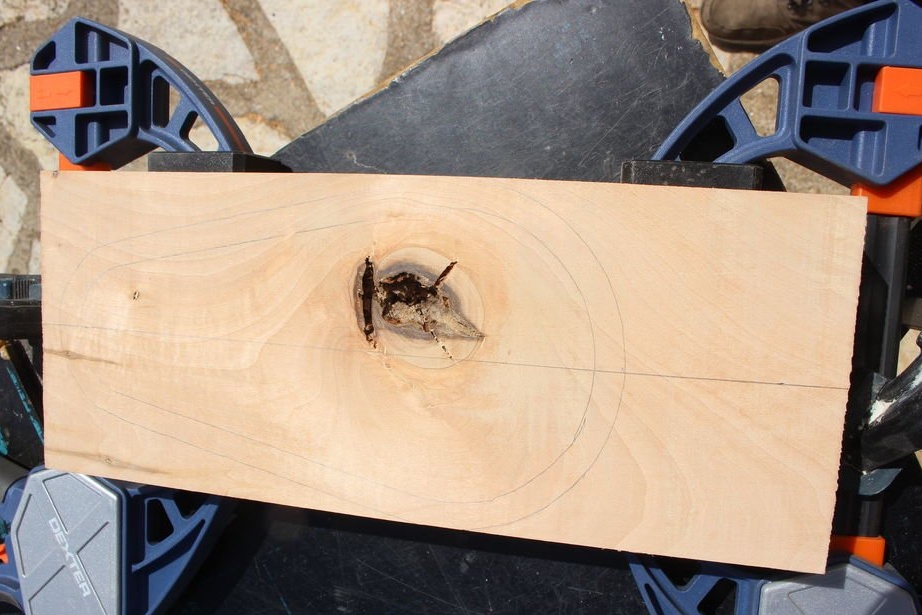
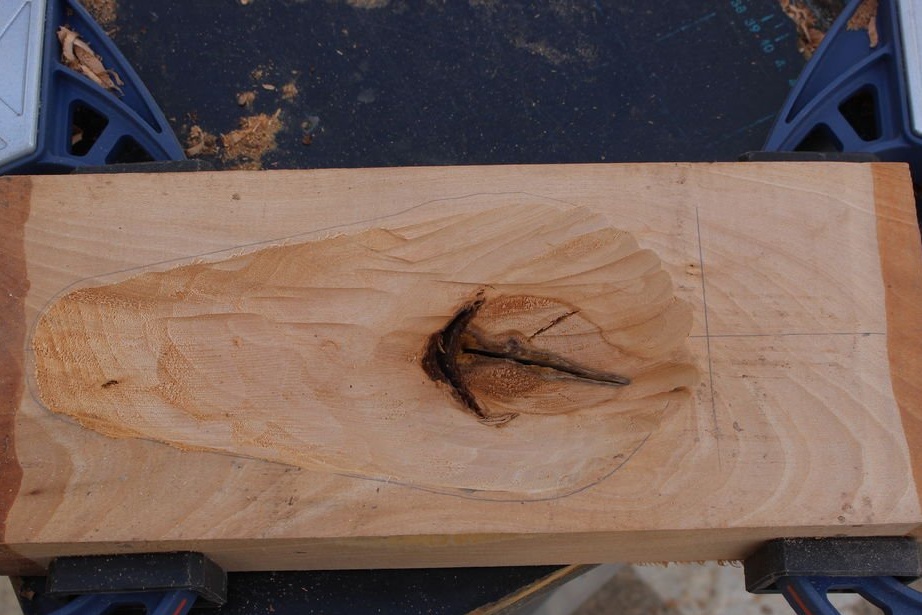
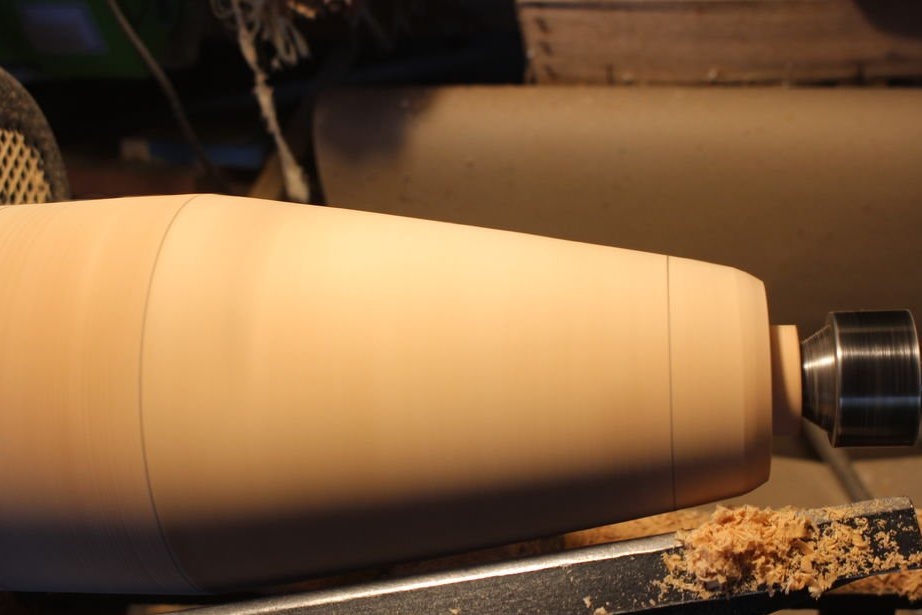
- the desired shape is drawn;
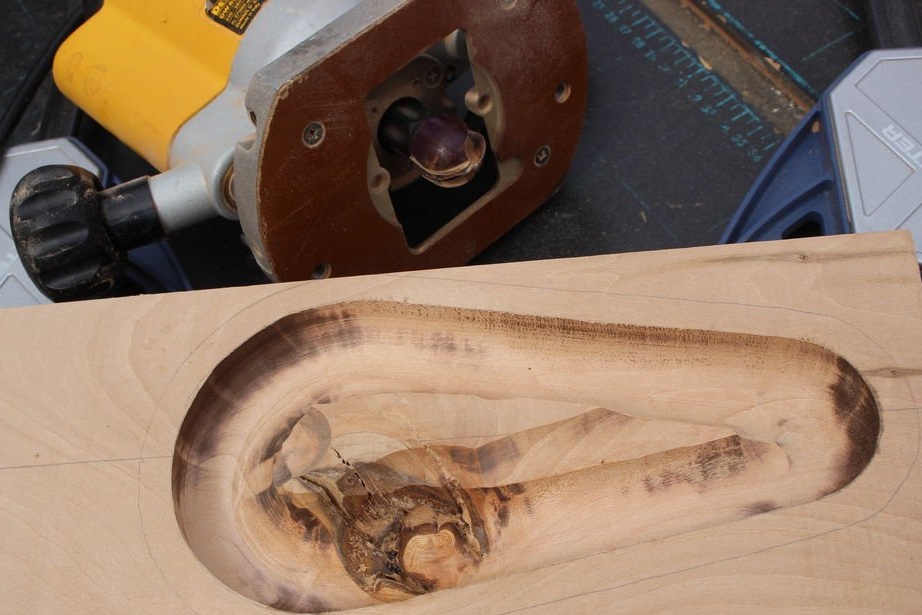
- Lock and use the router to gently cut the extension;
- the remaining / inaccessible tree is cut with a chisel;
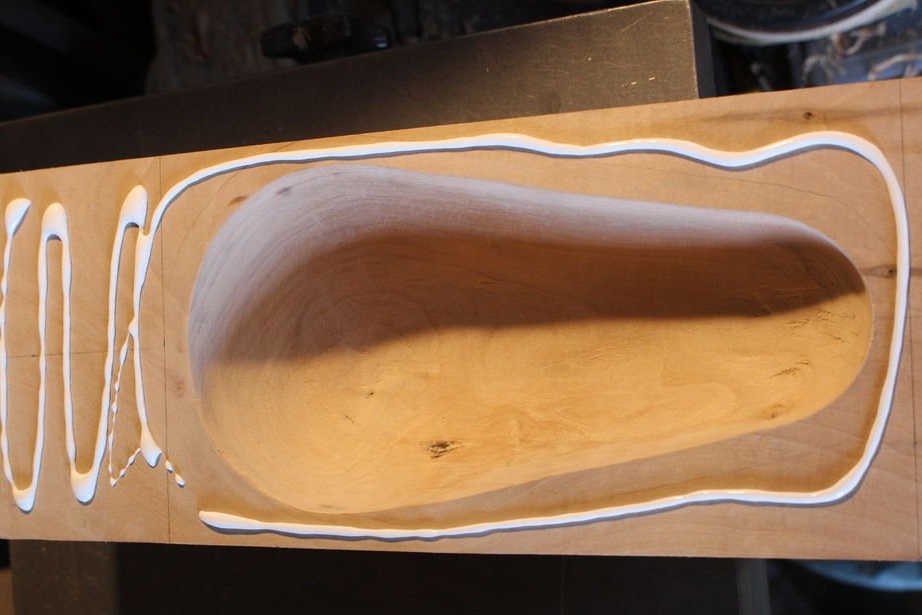
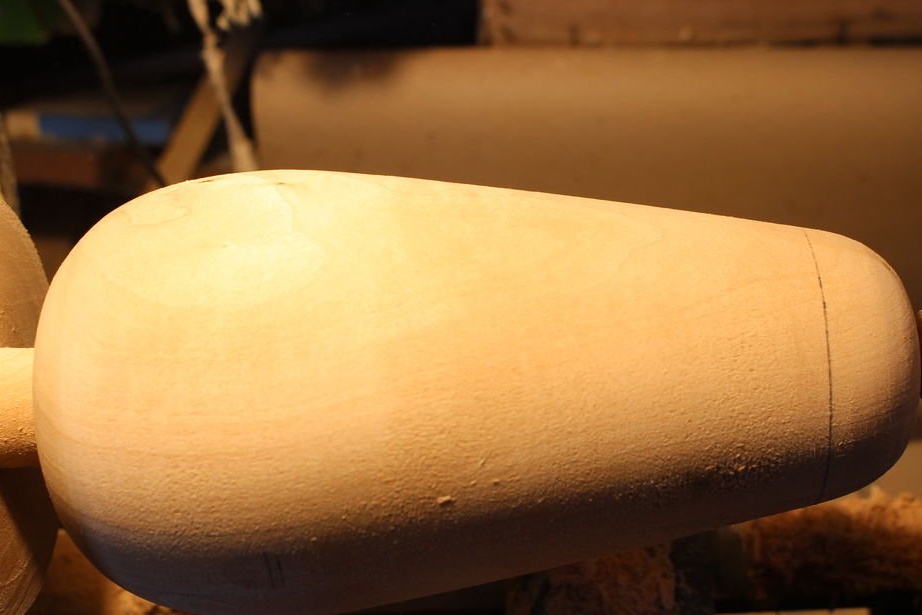
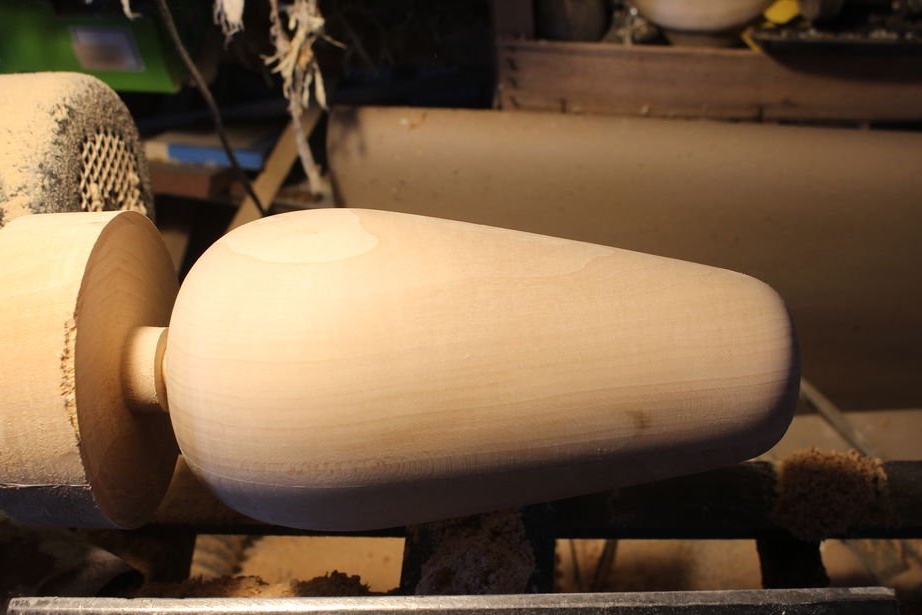
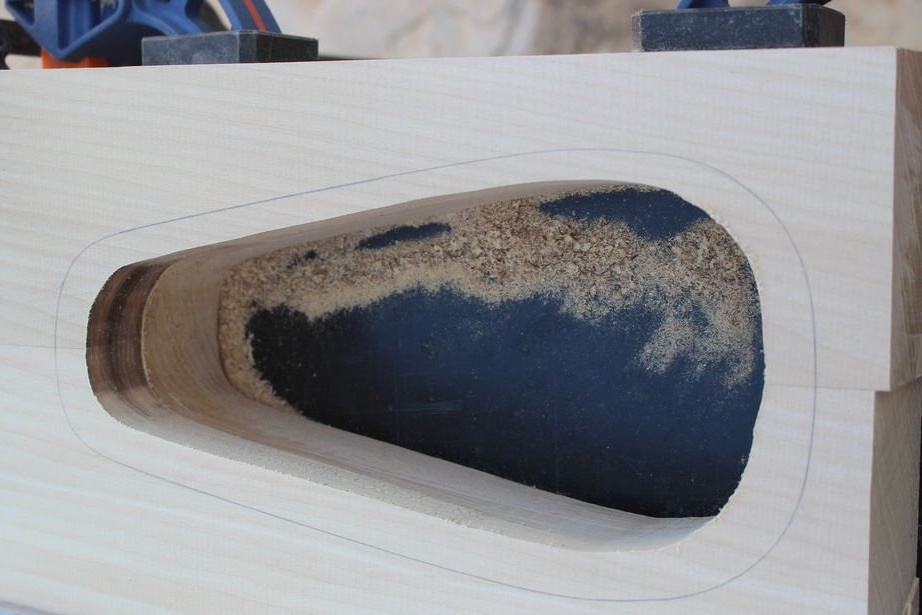
- using a paper template, check how deeply you should choose the material;
- at the end of the workpiece must be sanded;
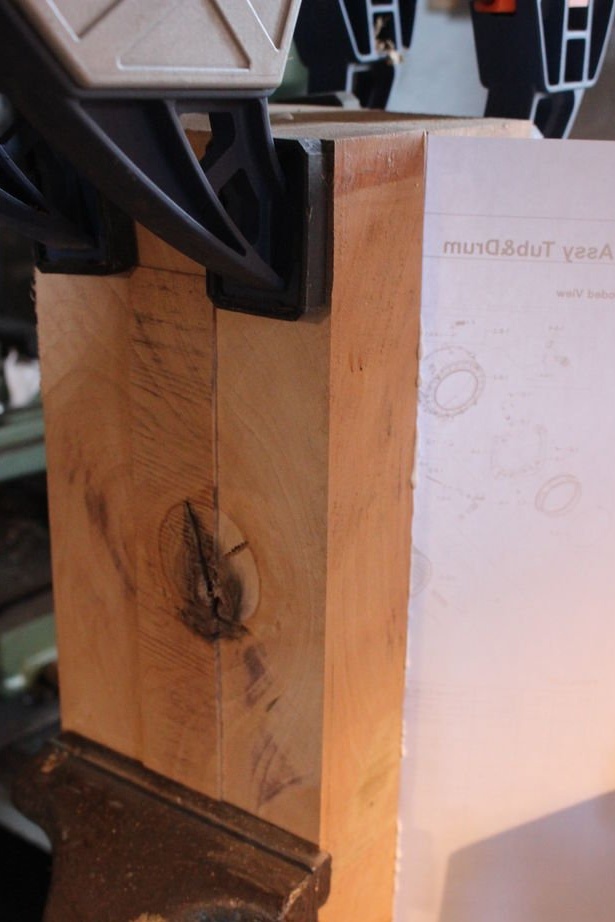
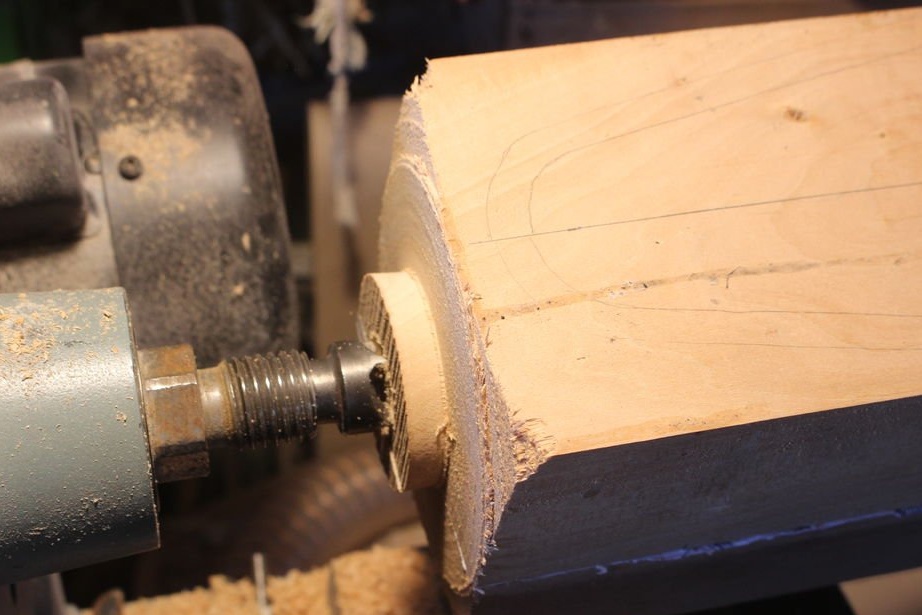
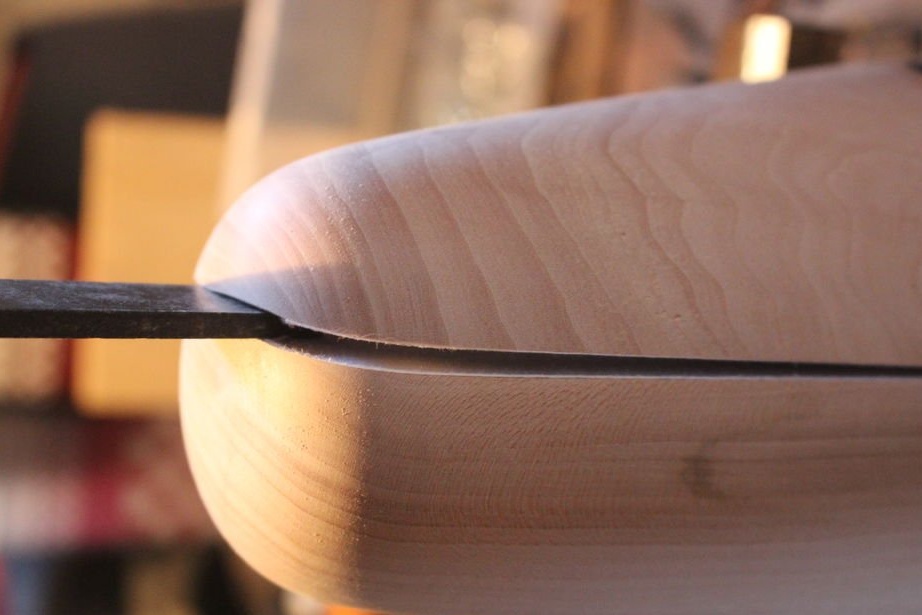
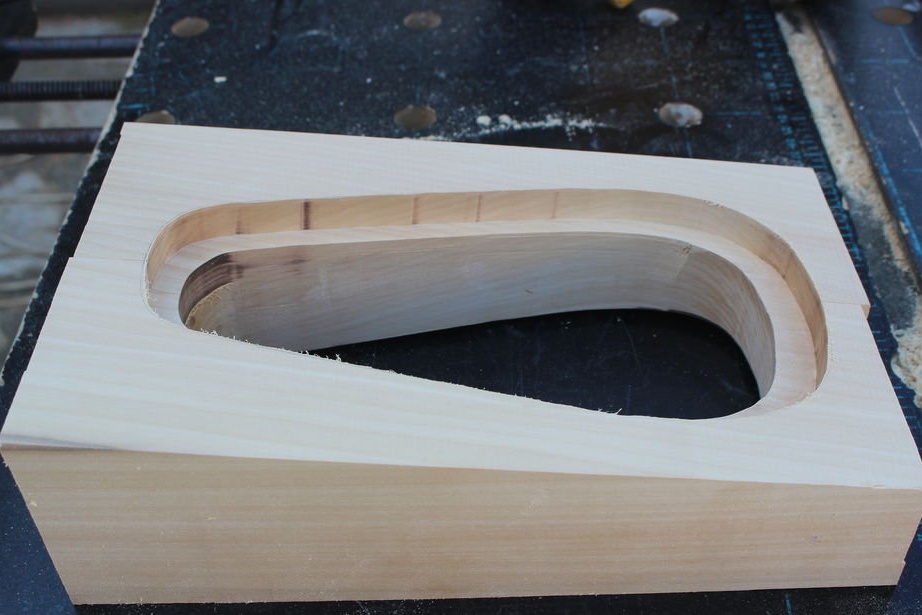
Then the master roughly cut the opposite, upper block, for maximum balancing of the part, in order to avoid problems on the lathe.
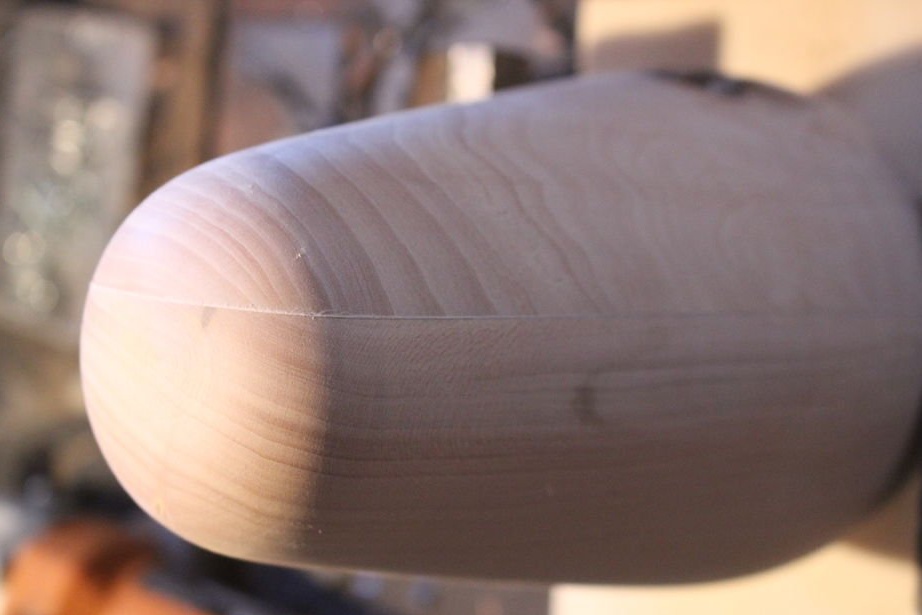
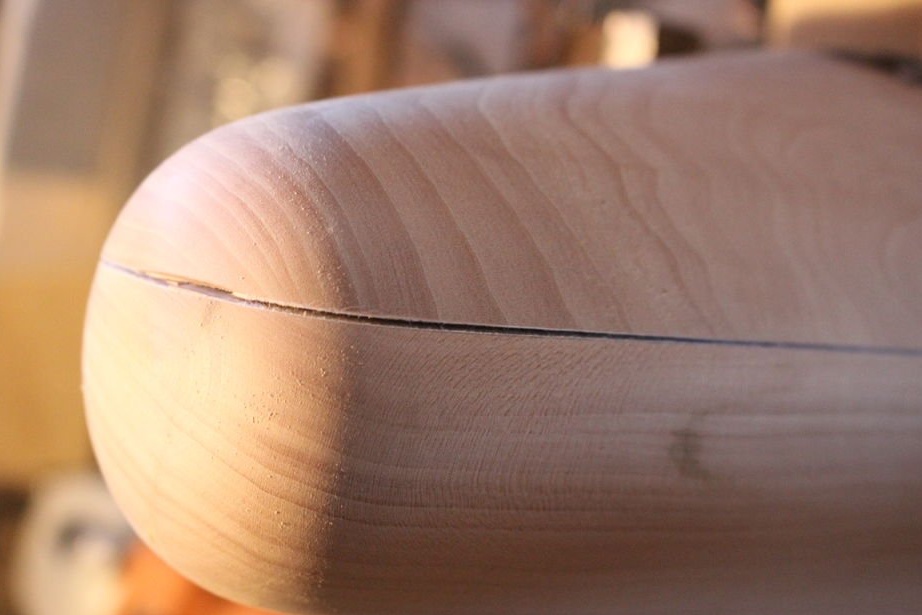
Before gluing, measure the beginning and end of the lamp head to know exactly how close you can get when removing wood.
Then the two blocks were glued together. The master used a piece of paper between them. The part will be strong enough to be machined. After processing, it easily opens into two halves.
Step 8: Base
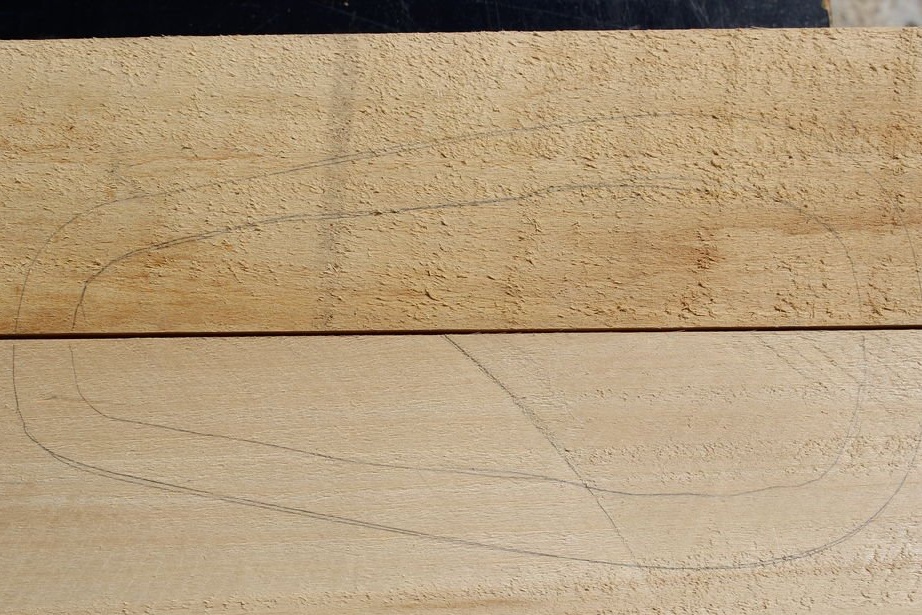
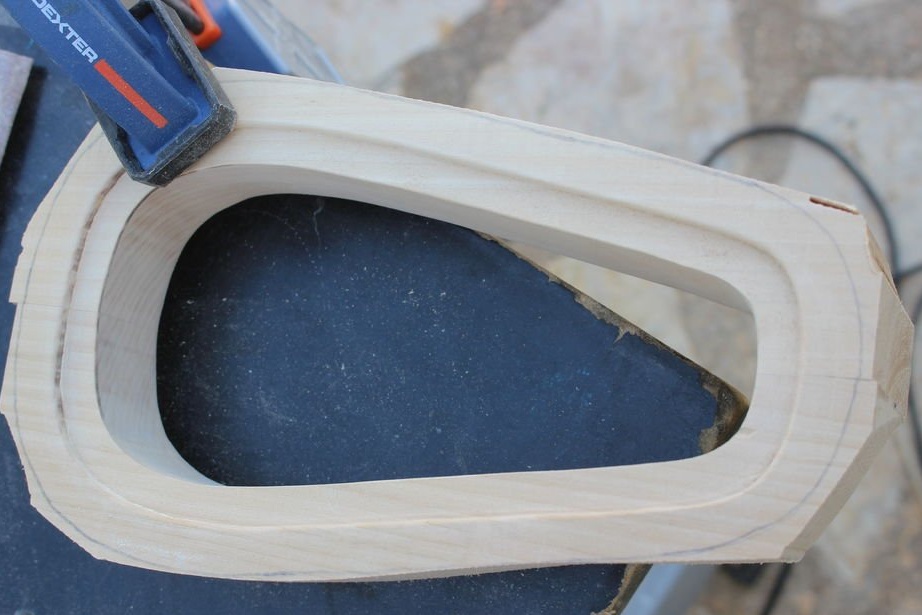
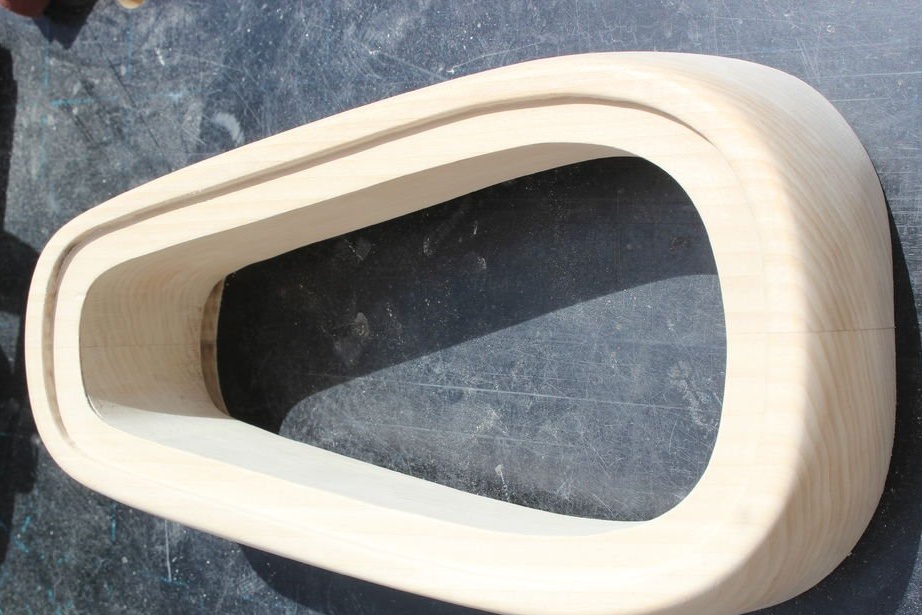
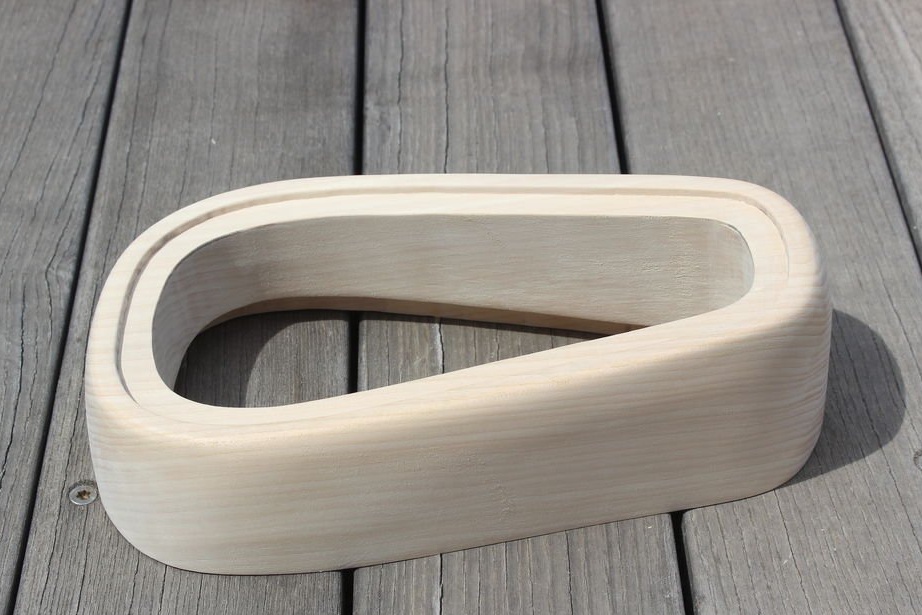
The master did not have a sufficiently wide board for the manufacture of the base, so he made it from two glued boards.
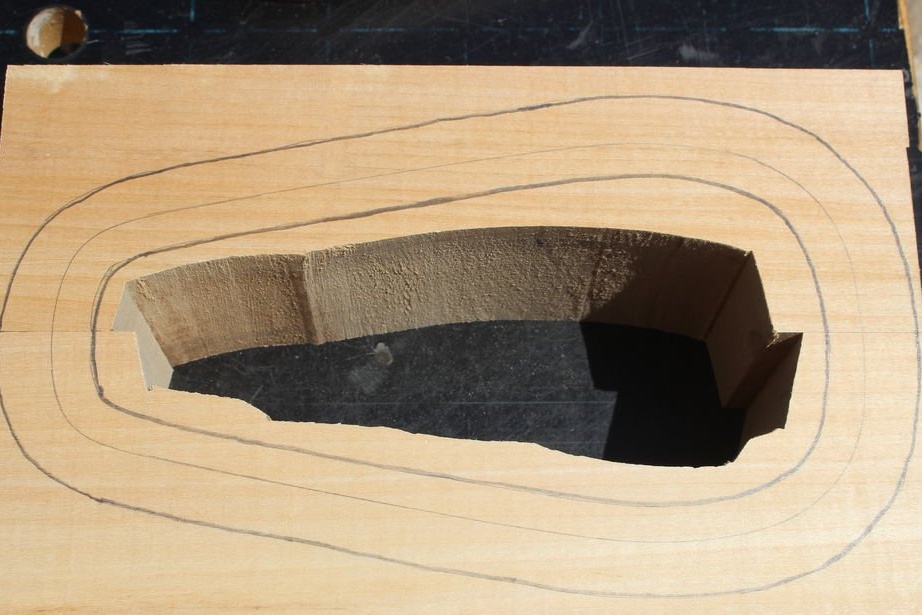
The manufacturing process (follow the photos):
- draw the contour of the head of the lamp, the inner contour and the contour of the lower end on the base;
- cut the inside with a band saw;
- cut the shape of the router;
- cut the outside with a band saw;
- process to the final shape of the angle grinder with a grinding disk and sandpaper;
- Drill a hole in the lower back of the base for the power cord.
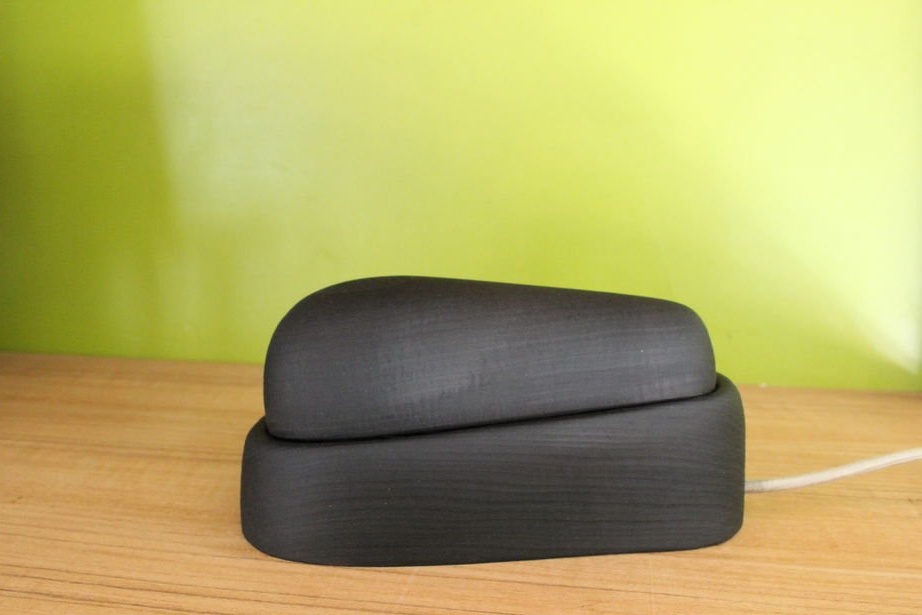
Step 9: Completion of work. Wood burning
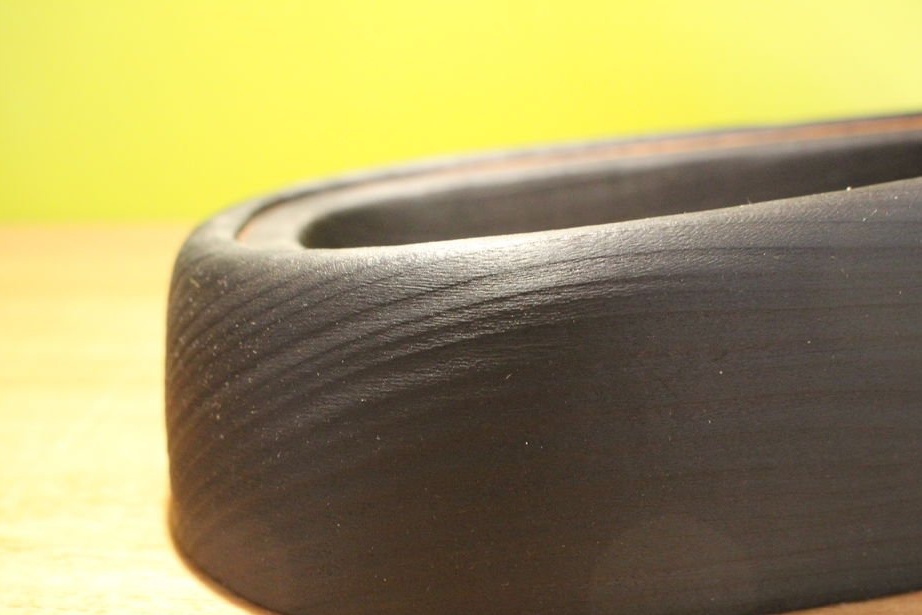
This pleasant deep dark coating is performed in three stages:
1. Surface firing
The finish is not unique and will depend on how deeply you burn the tree.
As for linden, when the wood begins to burn by itself, it burns out deep enough. The tree should be evenly black.
2. Cleaning the wood with a cord brush
The wood is cleaned (not sanded), follow the wood fibers.
The wood will lose its black color (at least as far as linden is concerned) and turn dark brown. The next step will return a nice black color.
3. The use of linseed oil
After oil treatment, the wood needs a couple of hours to dry.
Surprisingly, after drying, the surface will be stable and will not leave soot on your hands when you touch it.
Step 10: final assembly
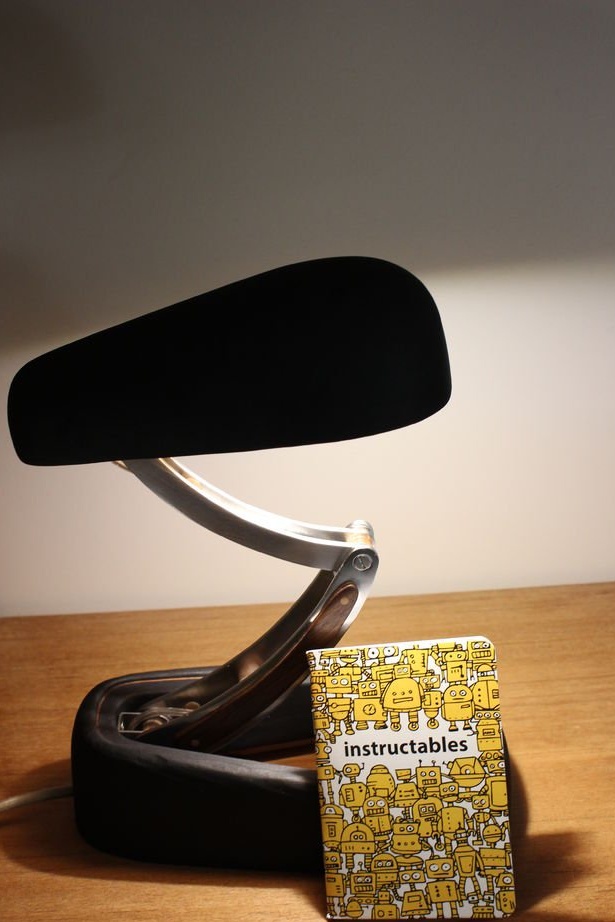
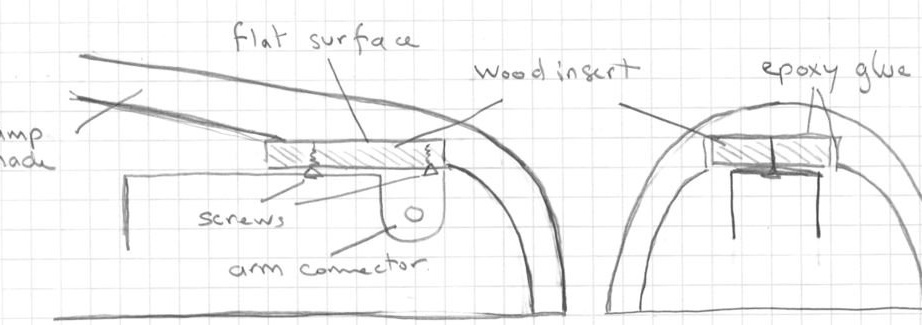
Attach the metal stand to the base and head mount.
The jacks on the stand screw into the base and head. In order to have a perfect fit when the lamp is folded, the master used a router to get a flat surface. The upper connector is screwed onto a small wooden insert, and this piece of wood is glued with epoxy on the lamp head in the folded position. To better understand the moment, look at the picture. Thus, we have an ideal placement in the closed position, and the head can be removed from the lever (using screws).
Power cord and switch
A power cord with an on / off switch is inserted through an opening in the back of the base and connected to the cable. This connection will be below the lower end of the rack. The wizard used Wago connectors that are easy to use and provide good protection.