
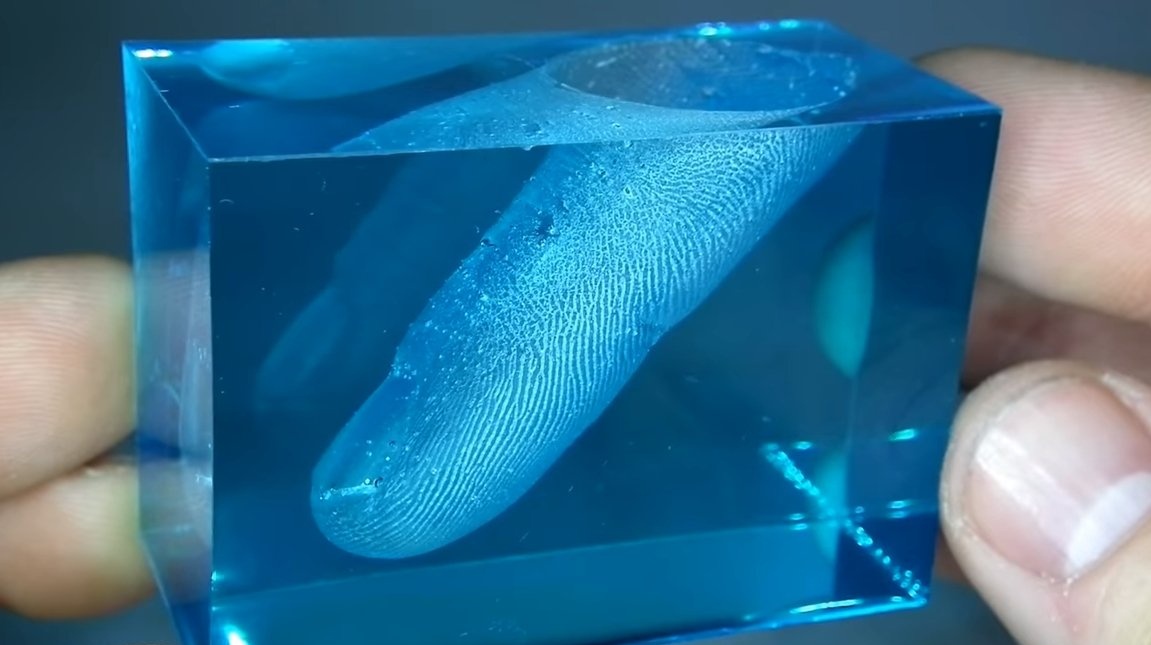
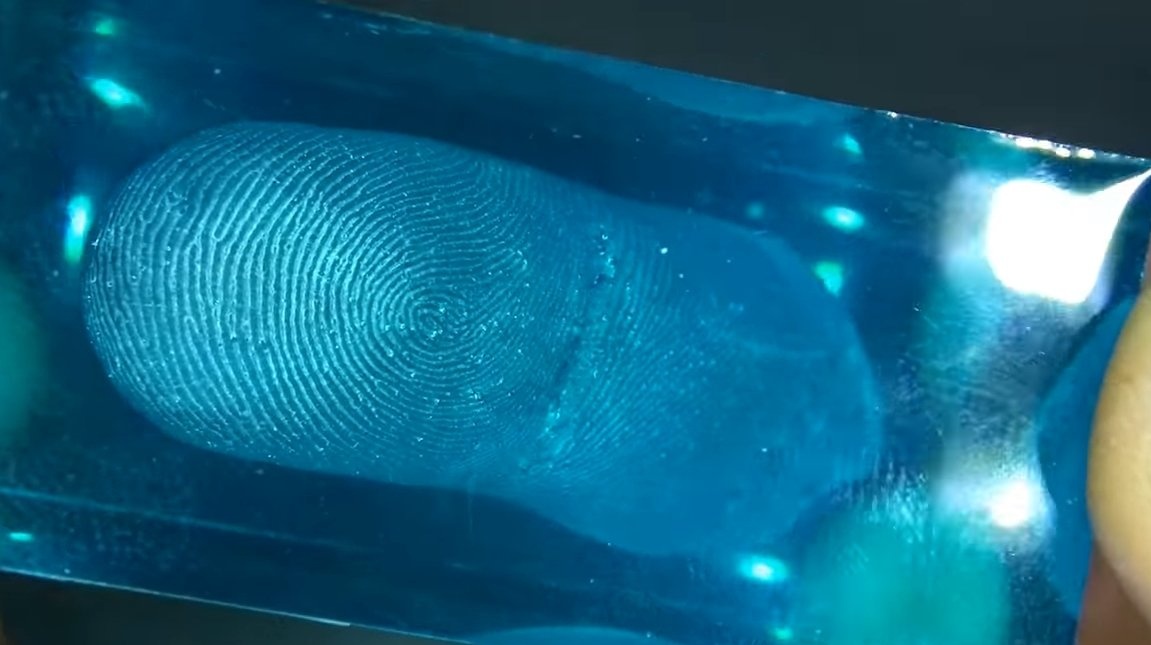
Hello to all lovers of craftsmen, today we will work with epoxy. As an example, we will leave the outline of our finger in epoxy. Everything looks pretty interesting, though the manufacturing process looks a little creepy, you have to cut your finger with a stationery knife. By this method, various other products can also be cast. If the project interests you, I propose to study it in more detail!
Materials and tools used by the author:
Material List:
- ;
- dye;
- acrylic for formwork;
- wooden stick;
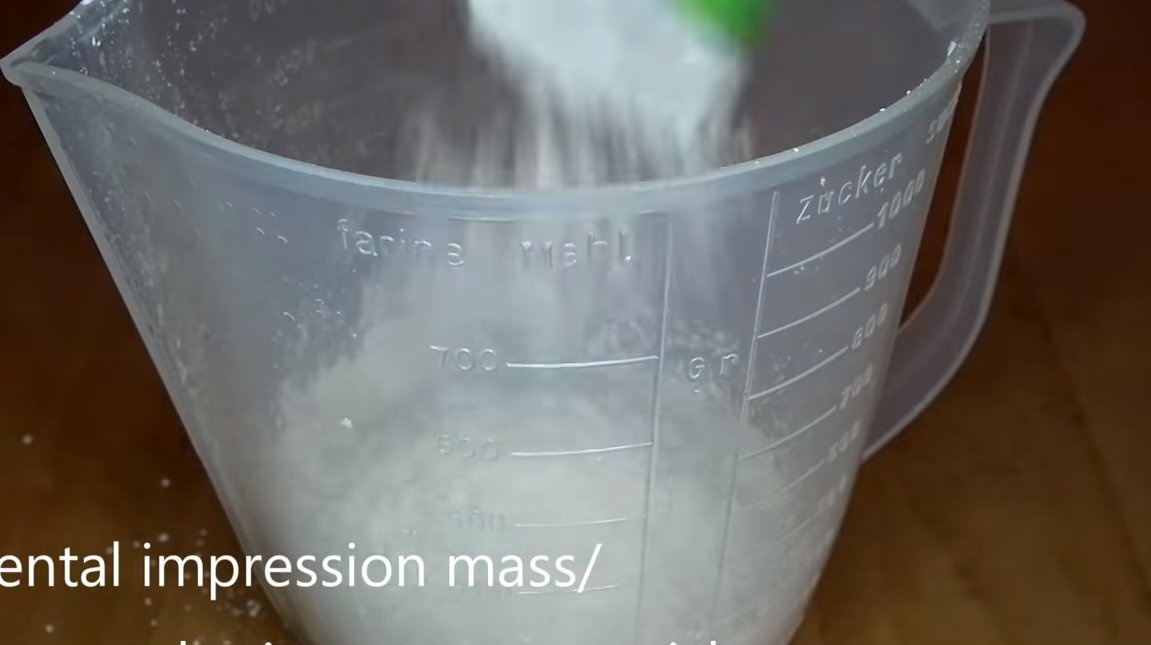
- dental thermoplastics;
- silicone for molding (two-component);
- scotch tape.
Tool List:
- stationery knife;
- containers for kneading;
- glue gun;
- ruler.
Manufacturing process homemade:
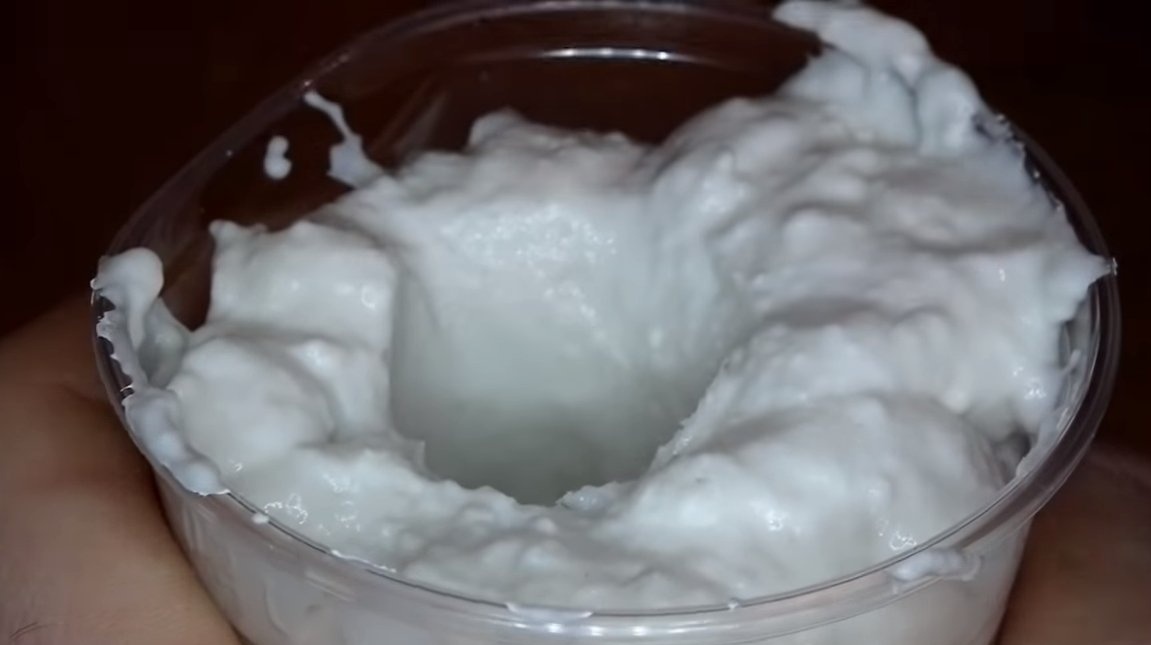
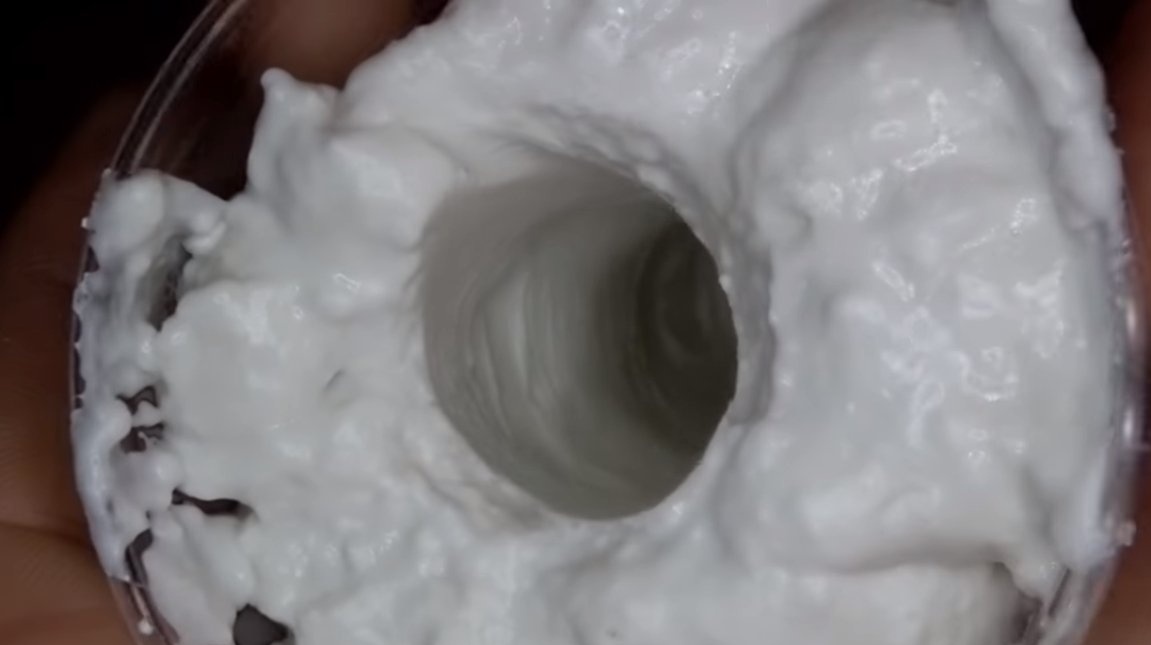
Step one. Silicone mold
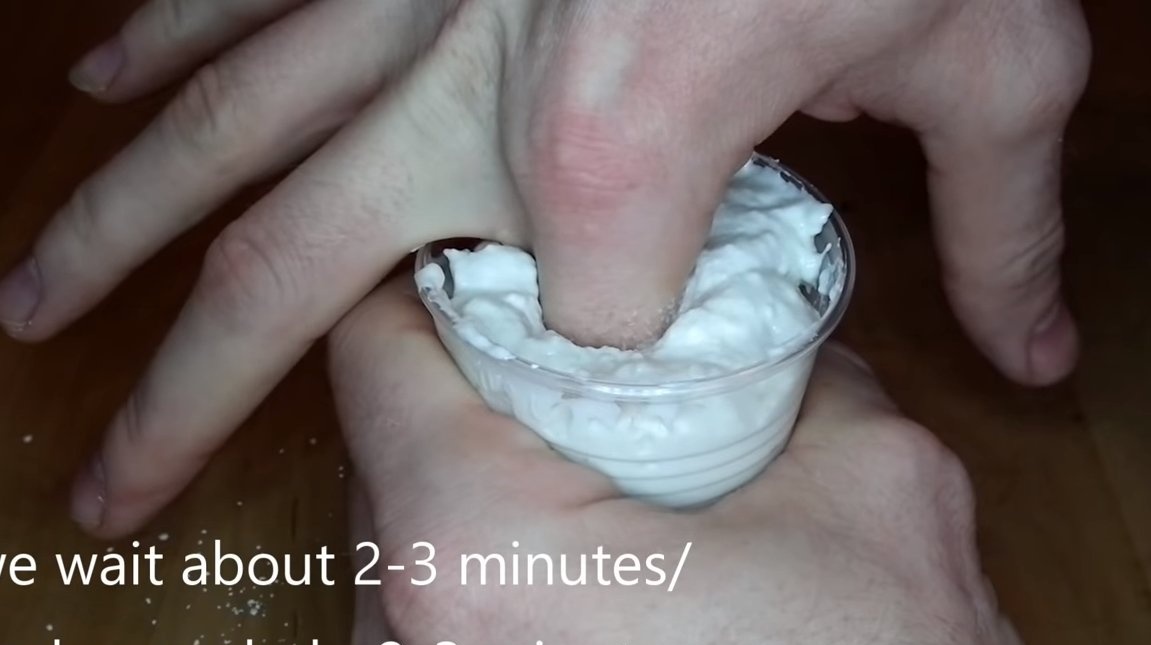
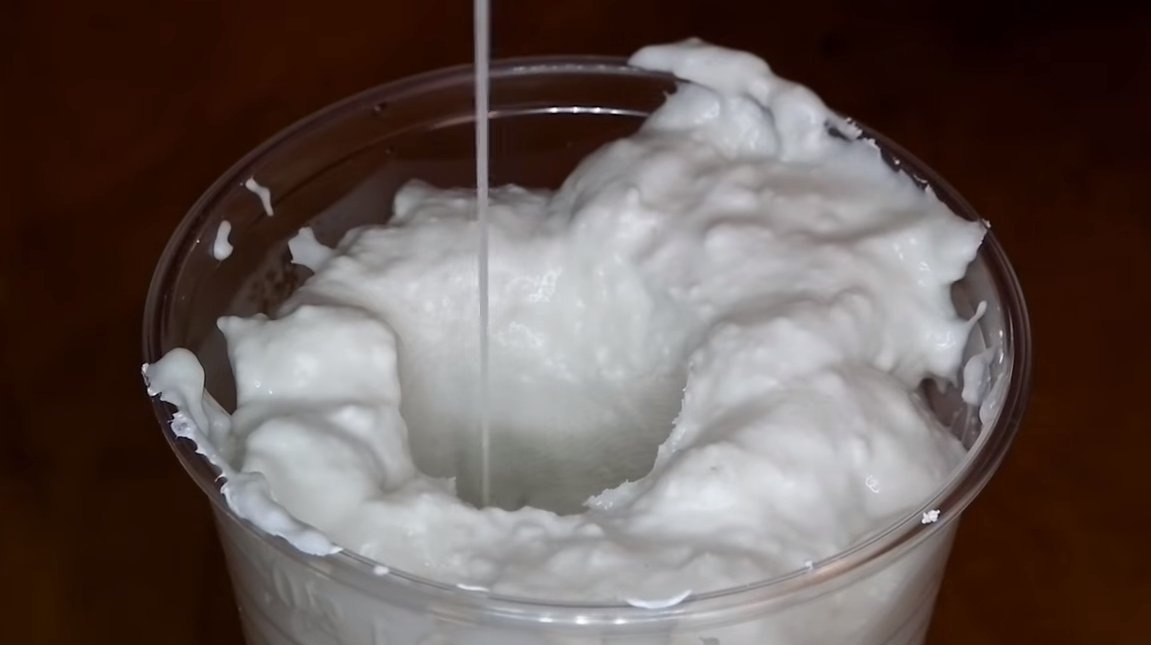
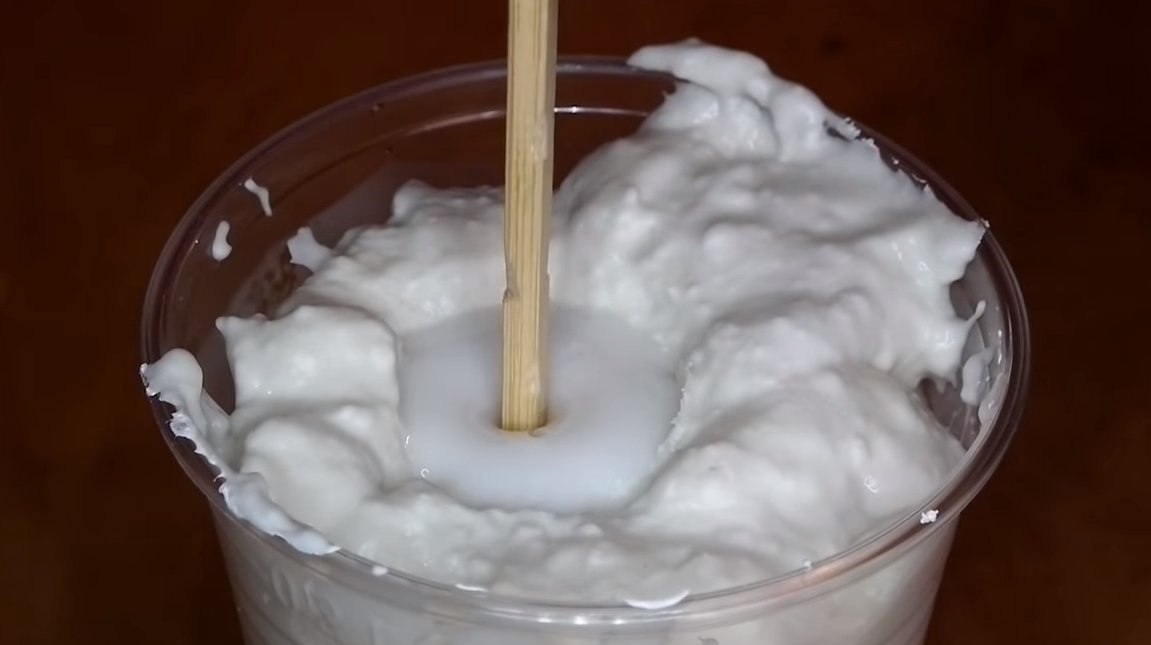
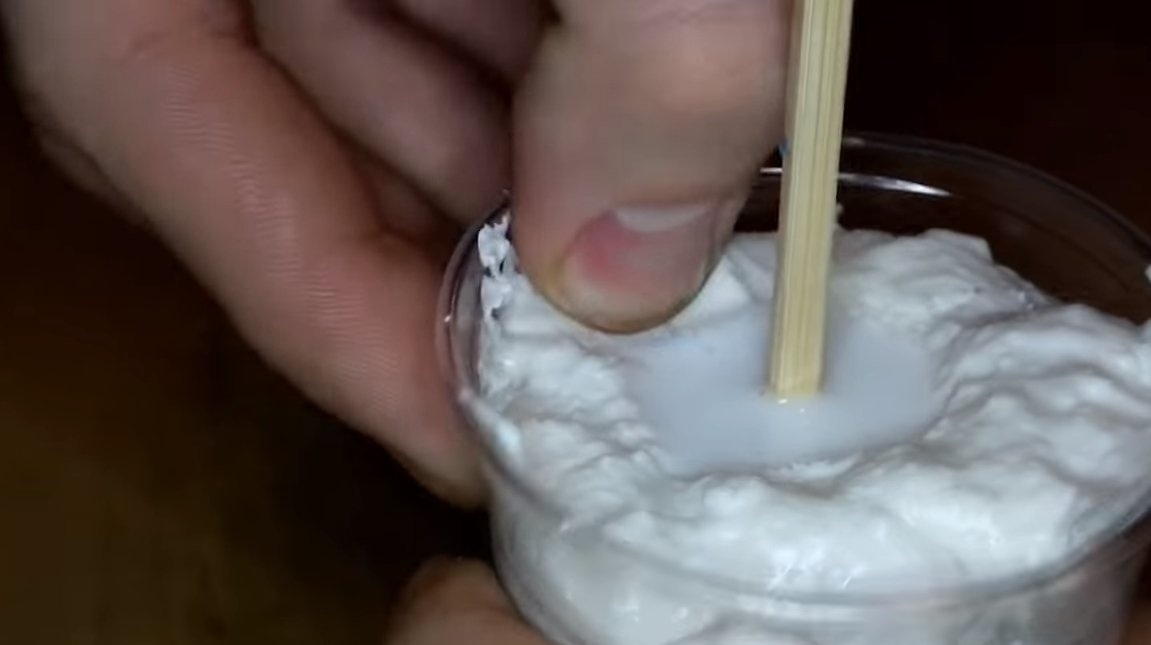
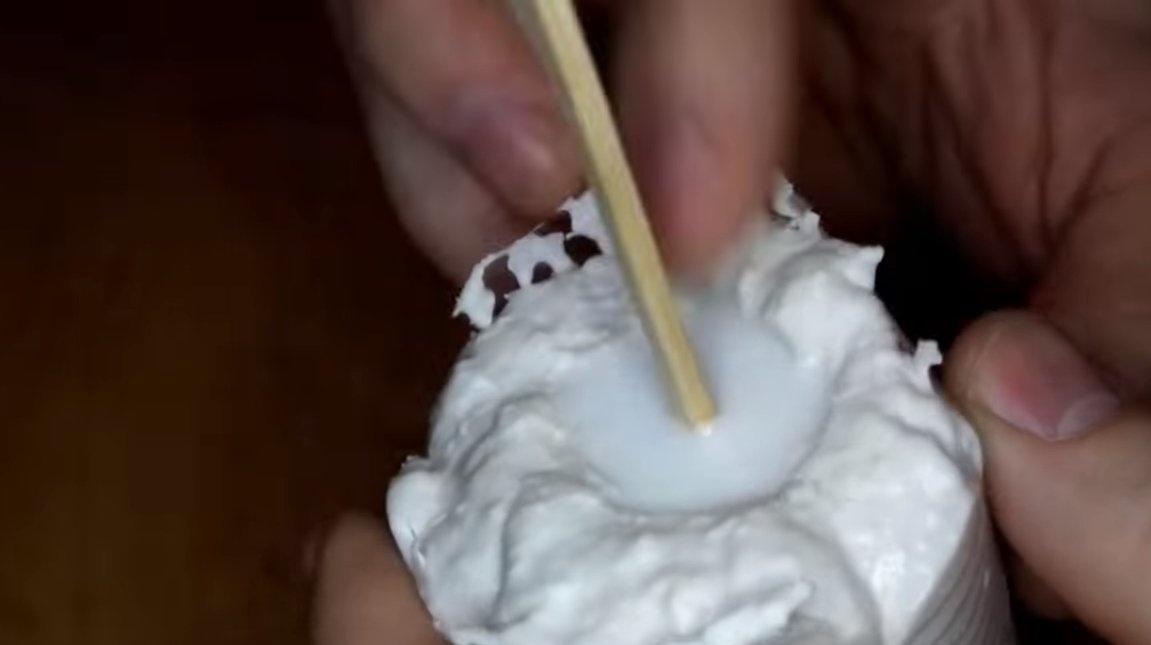
In the manufacturing process, we will need to make our finger out of silicone. To do this, first make a mold. In this matter, dental thermoplastics will help us, it hardens in a short time and accurately repeats all the contours of the object that is in it. Thermoplastics need to be diluted with water and mixed to a thick mass. Next, we level the mass and insert a finger into it, well, or another part of the body at your discretion. After 2-3 minutes, the substance will harden, and the finger can be pulled out. As a result, we get an excellent mold for casting.

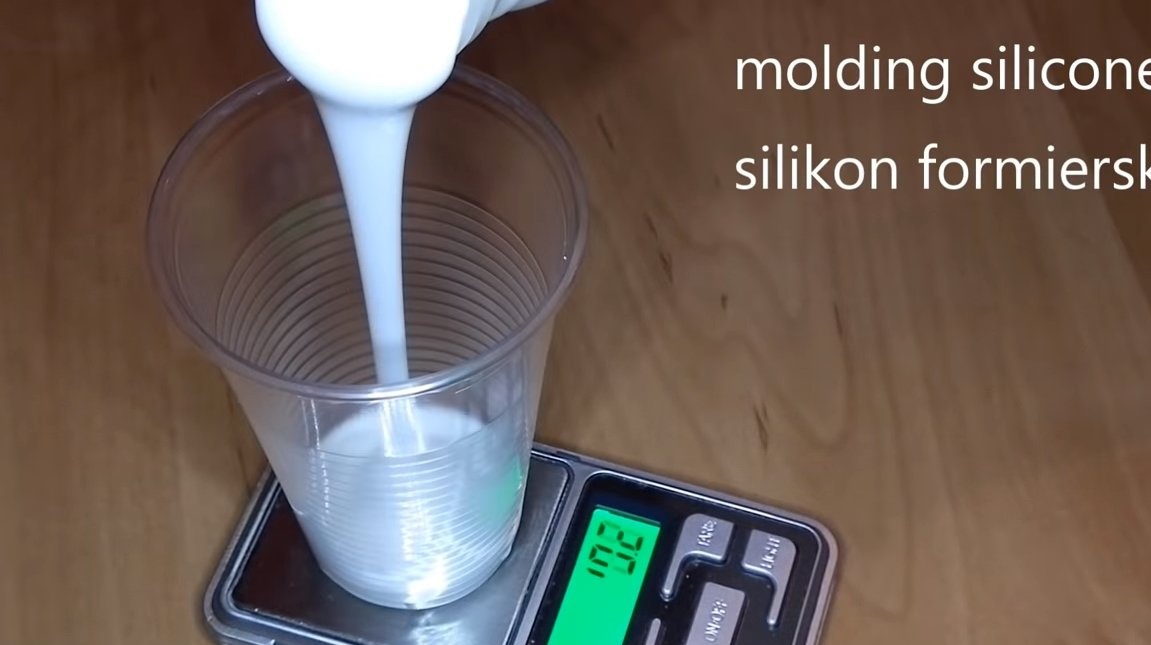
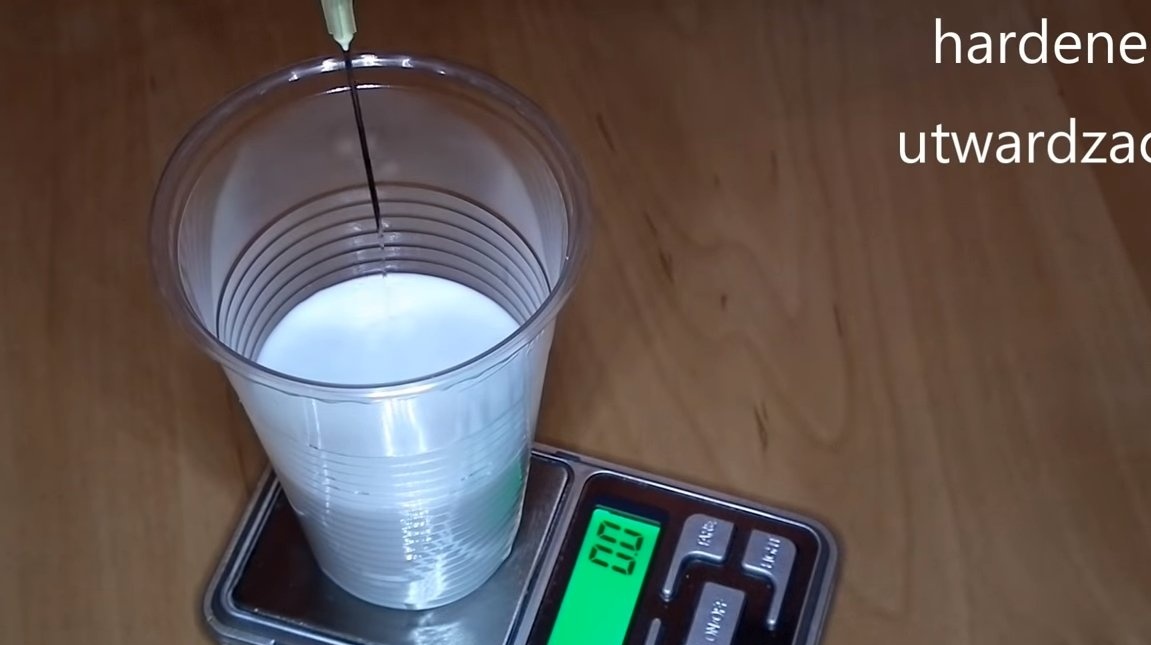
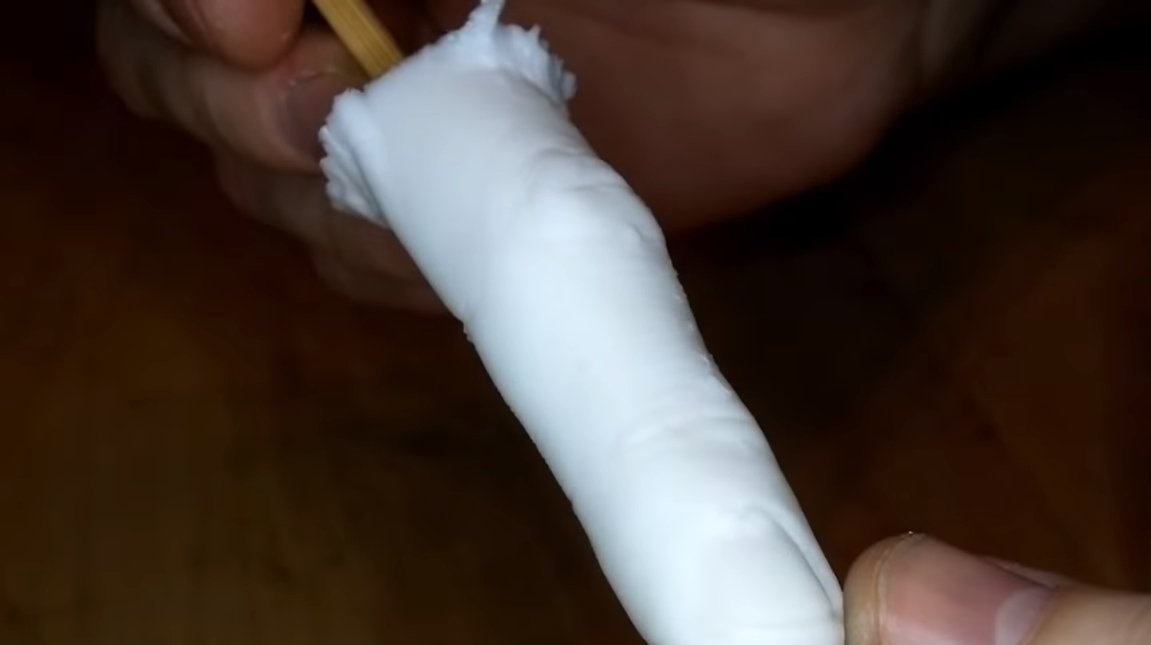
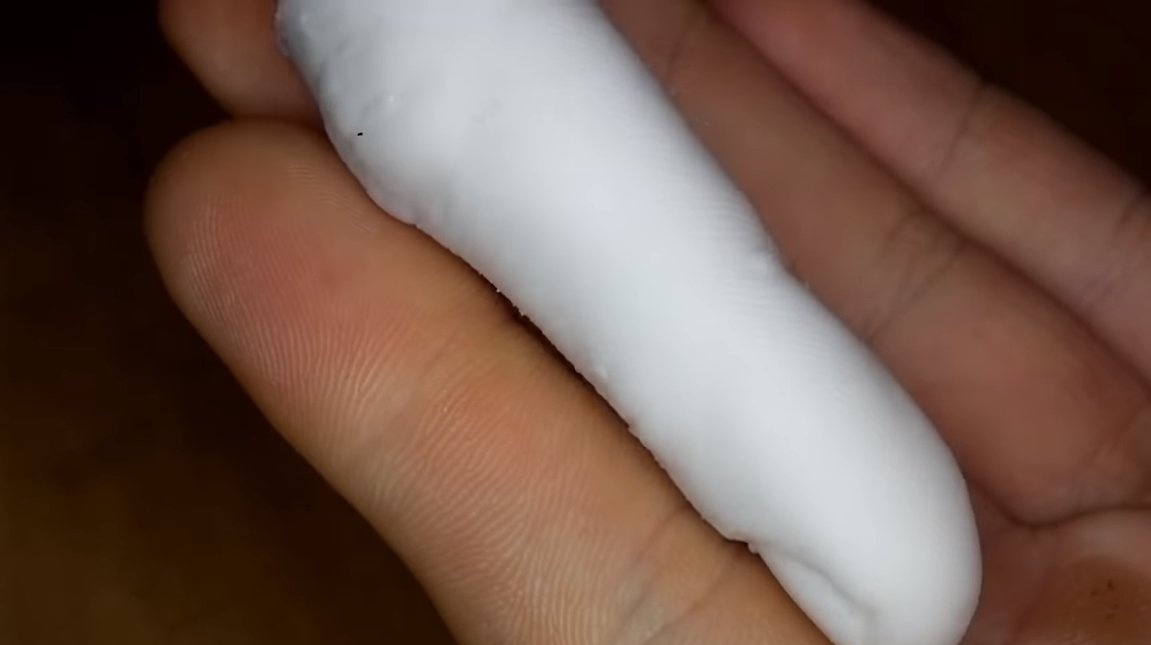
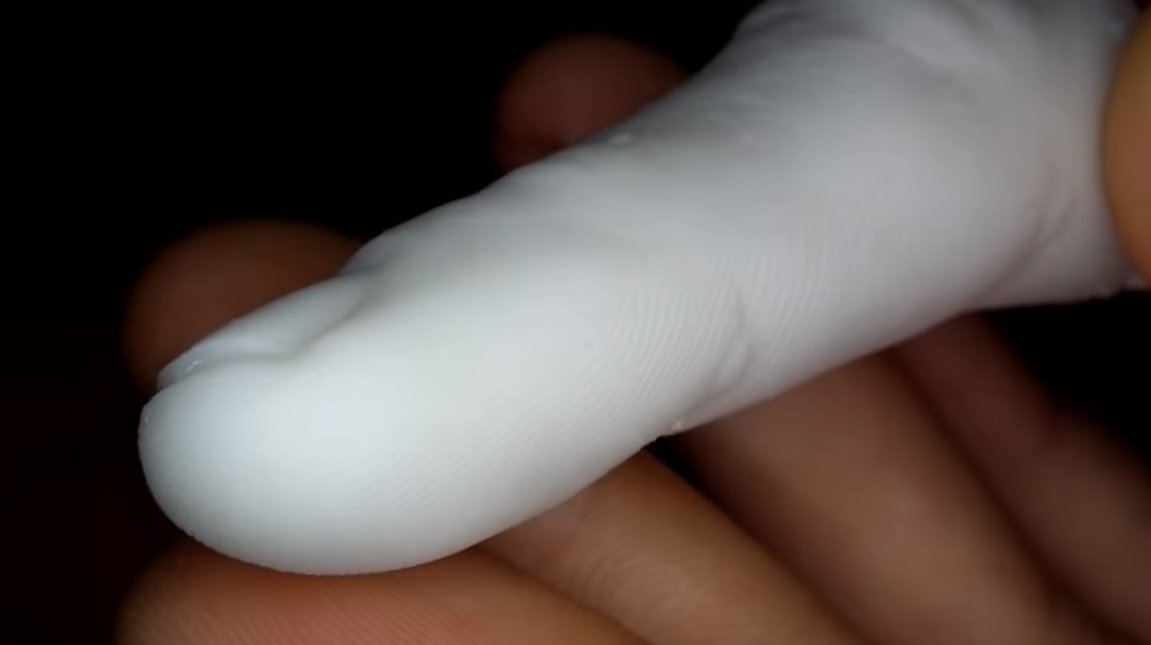
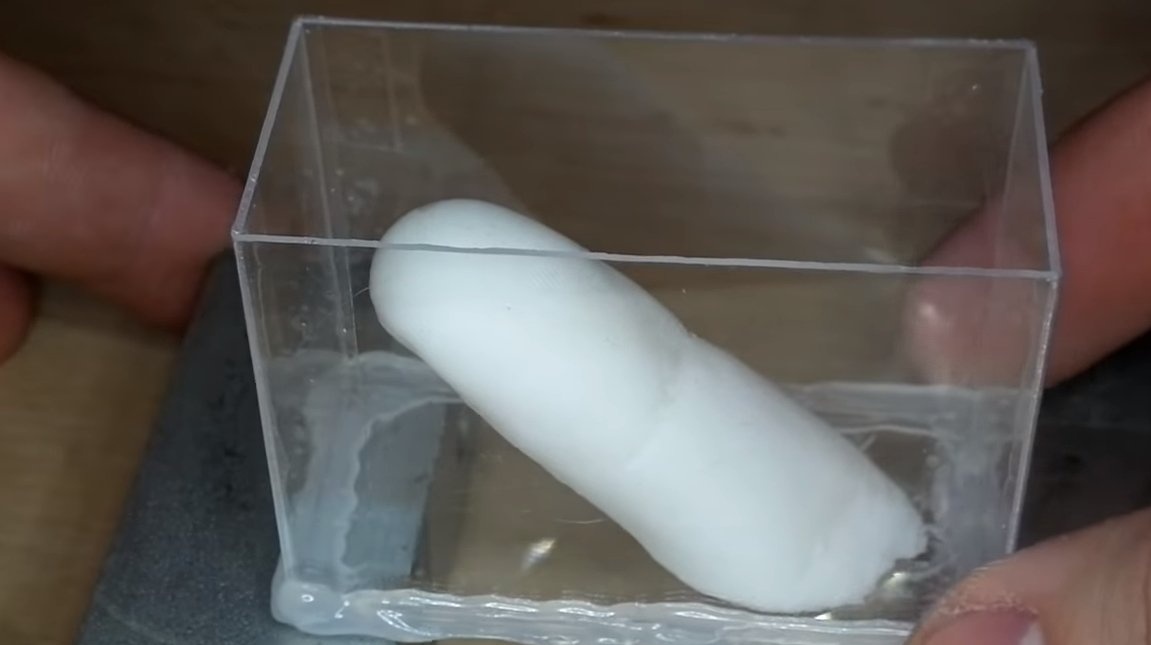
Step Two Cast finger
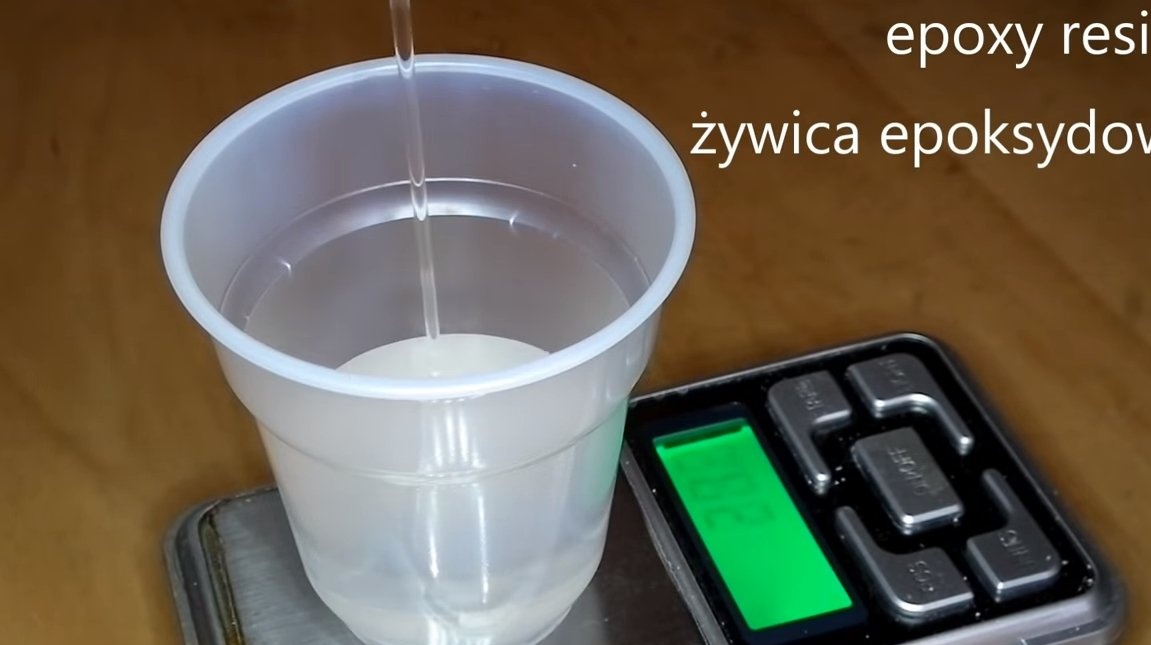
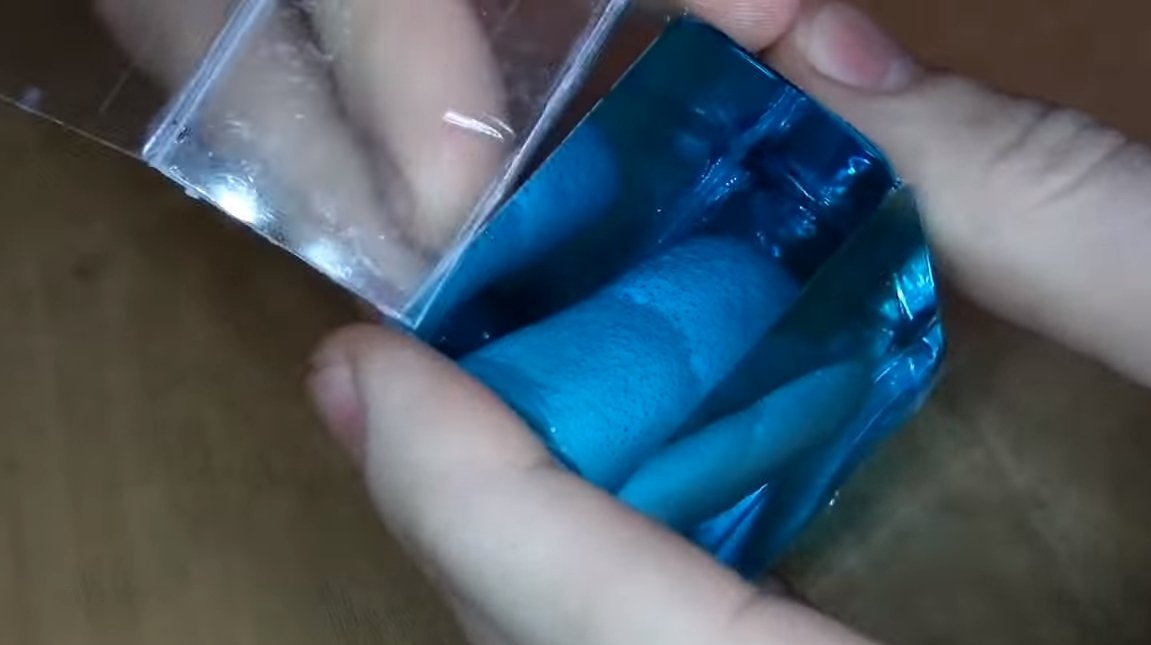
Next, we need silicone for pouring, it consists of two components that are mixed by weight. Mix the silicone with the hardener well and pour it into the mold. When the silicone hardens, it can be carefully removed from the mold. For some, it will be scary to hold your own finger in your hand, well, or another part of the body.
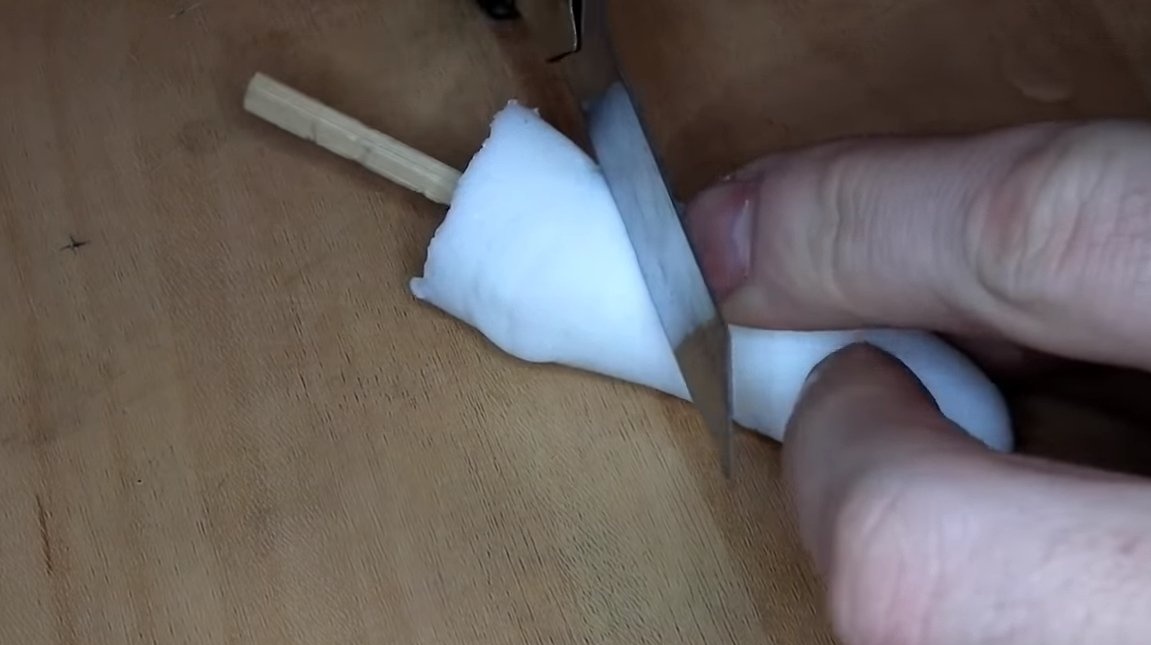
We cut the finger to the desired length, only the part that will be filled into the epoxy will remain.

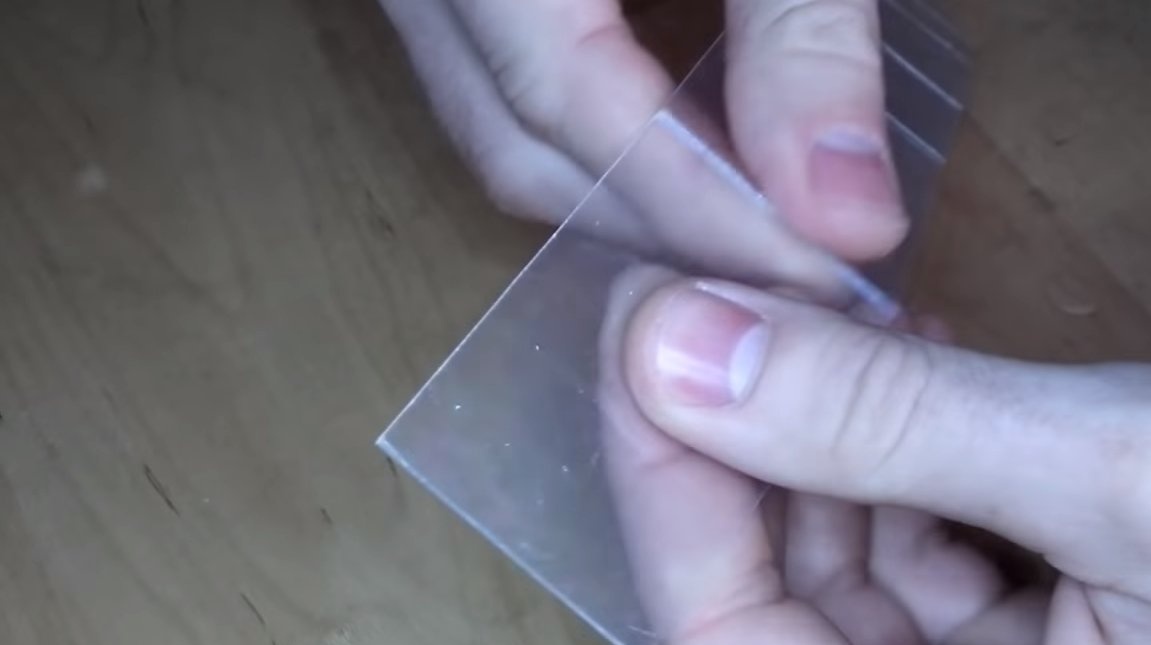
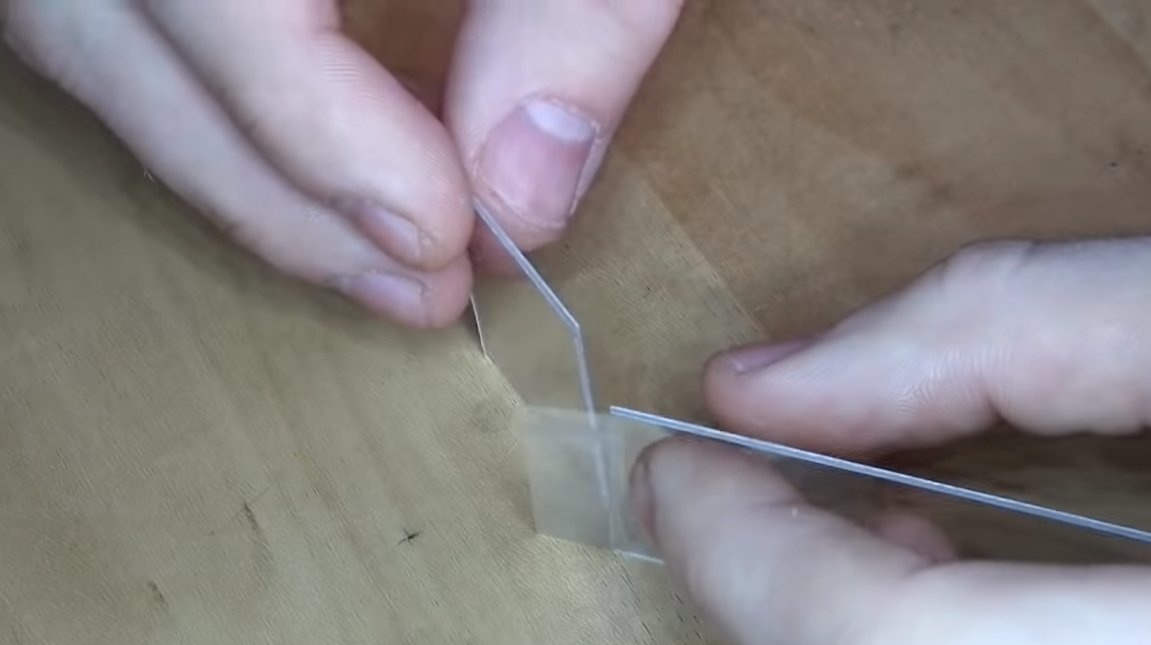
Step Three Formwork
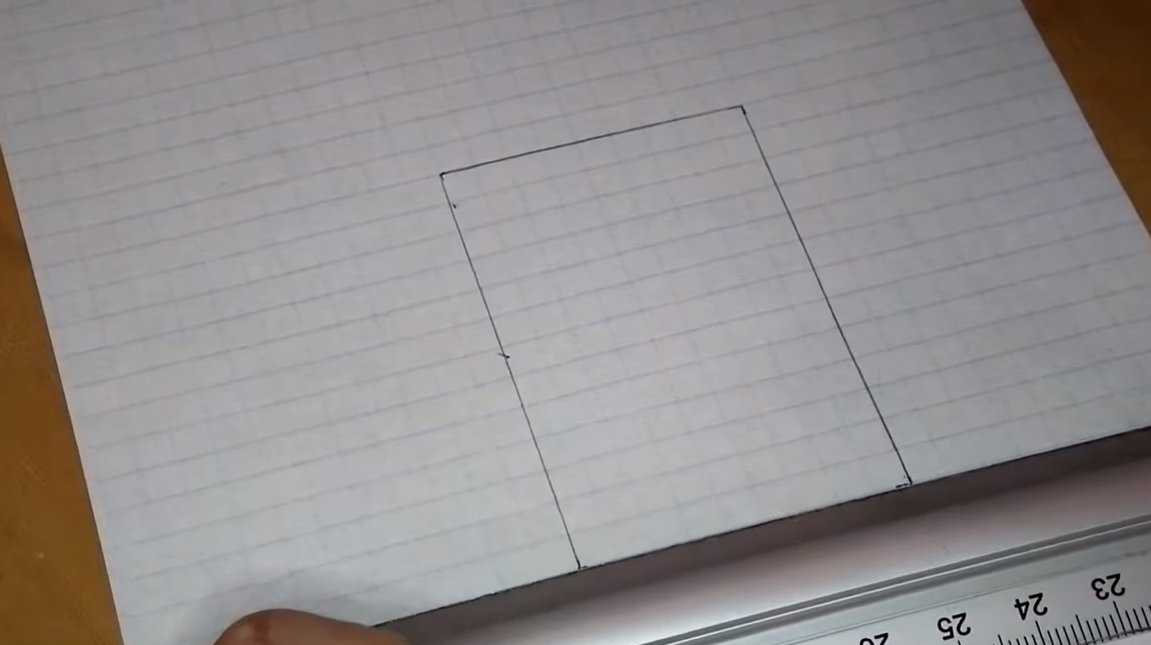
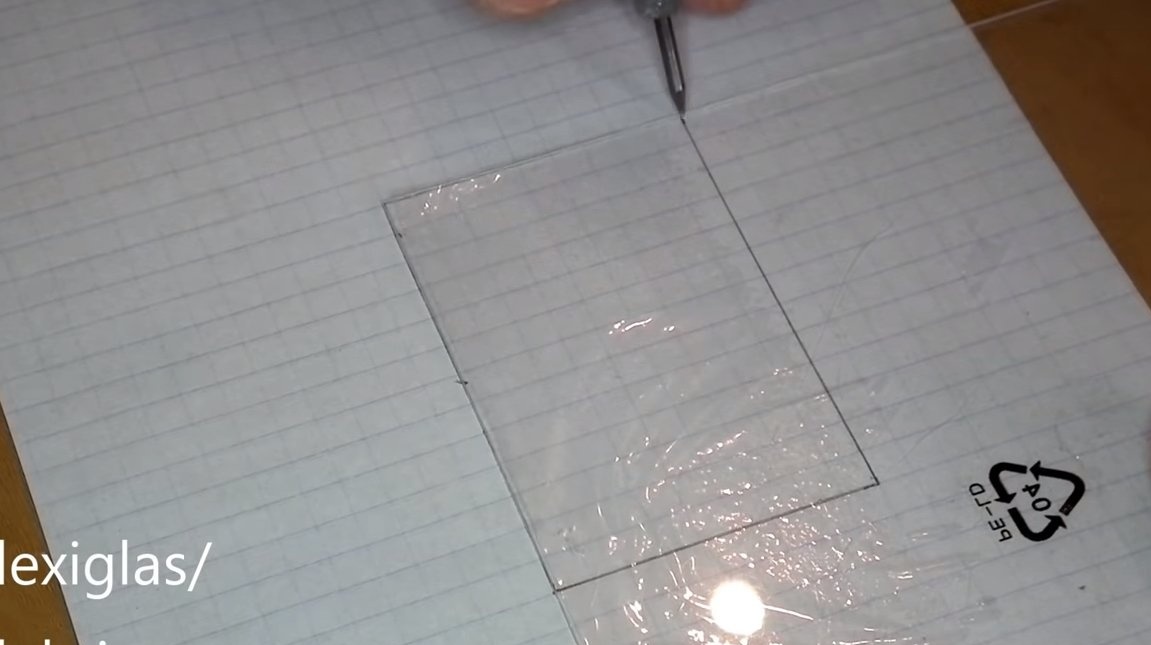
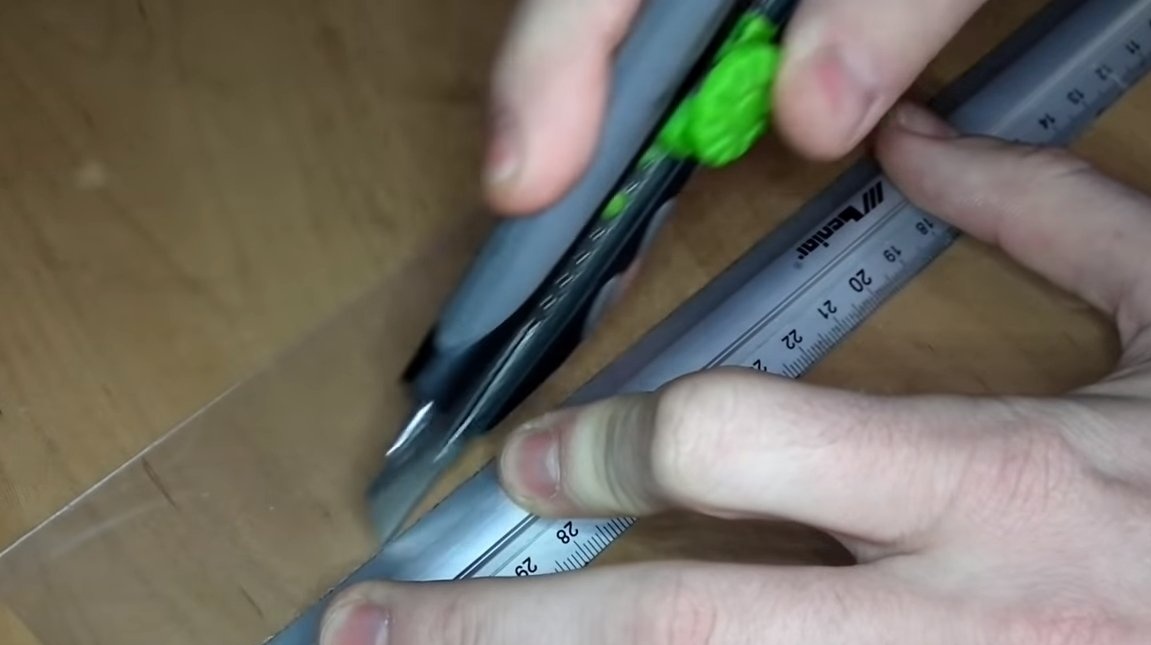
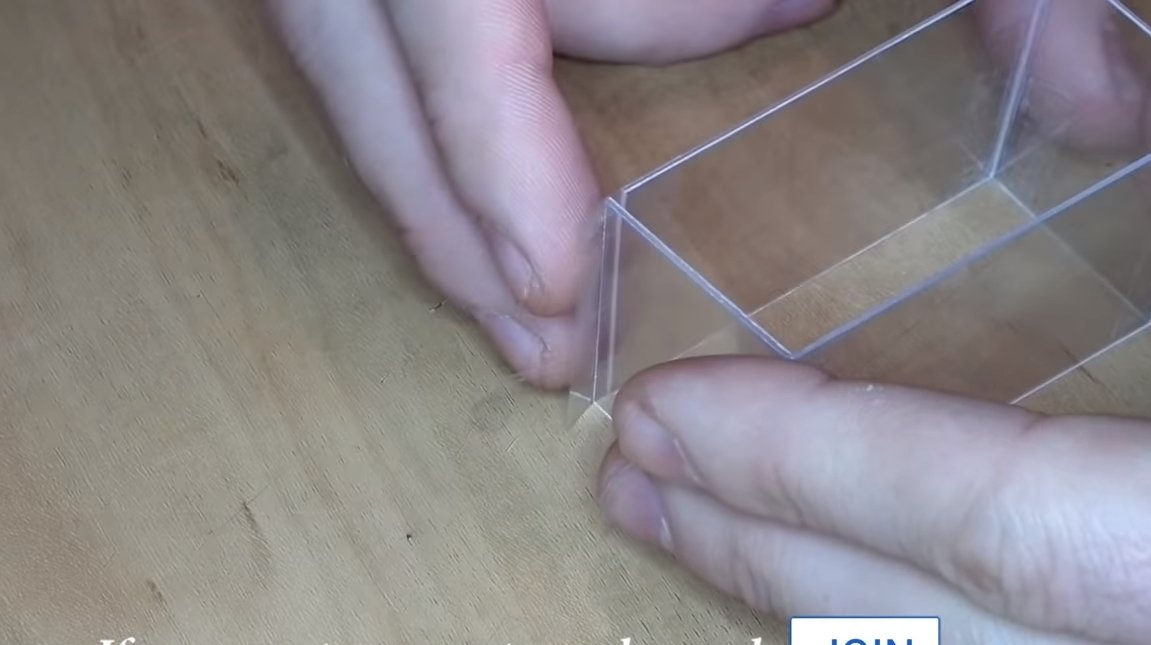
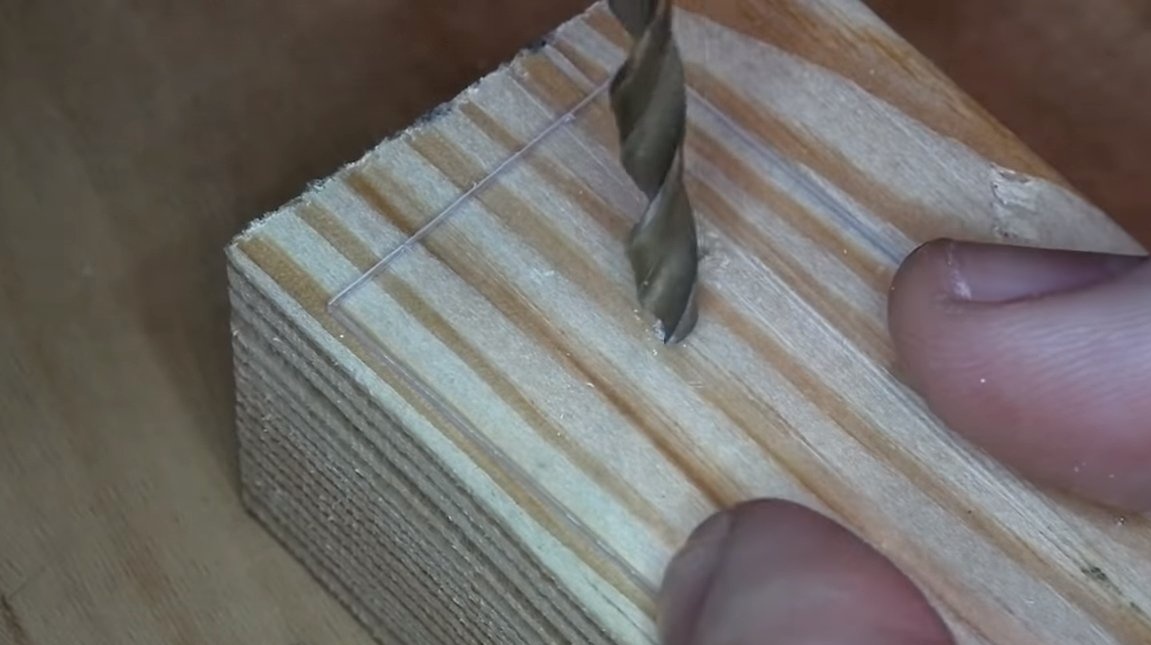
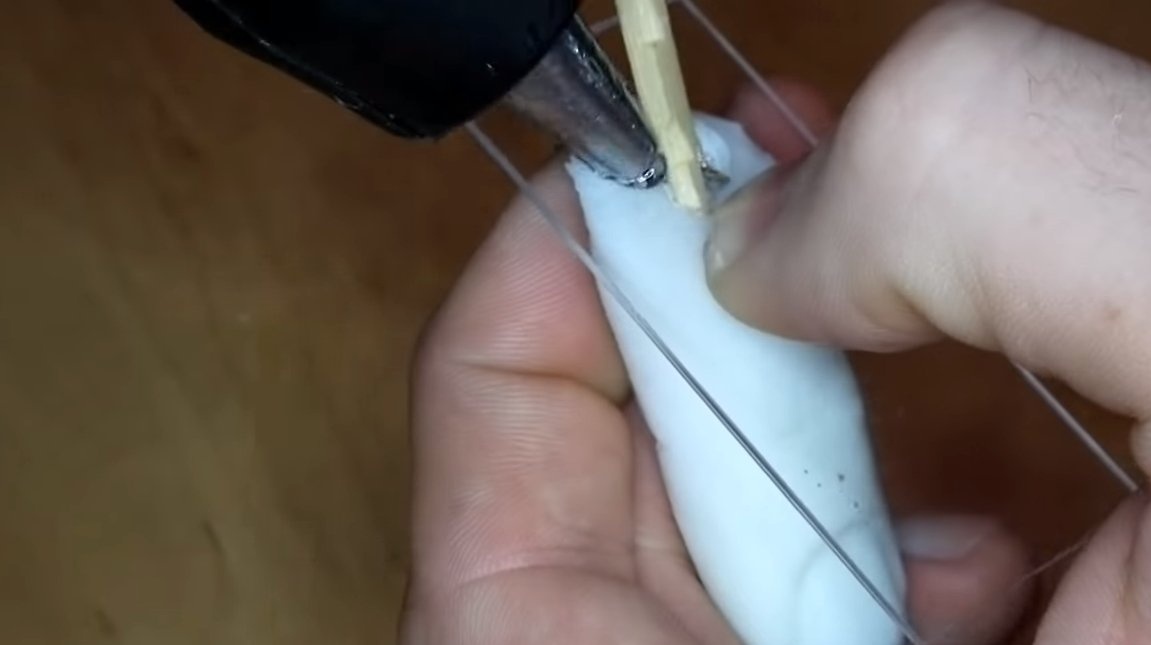
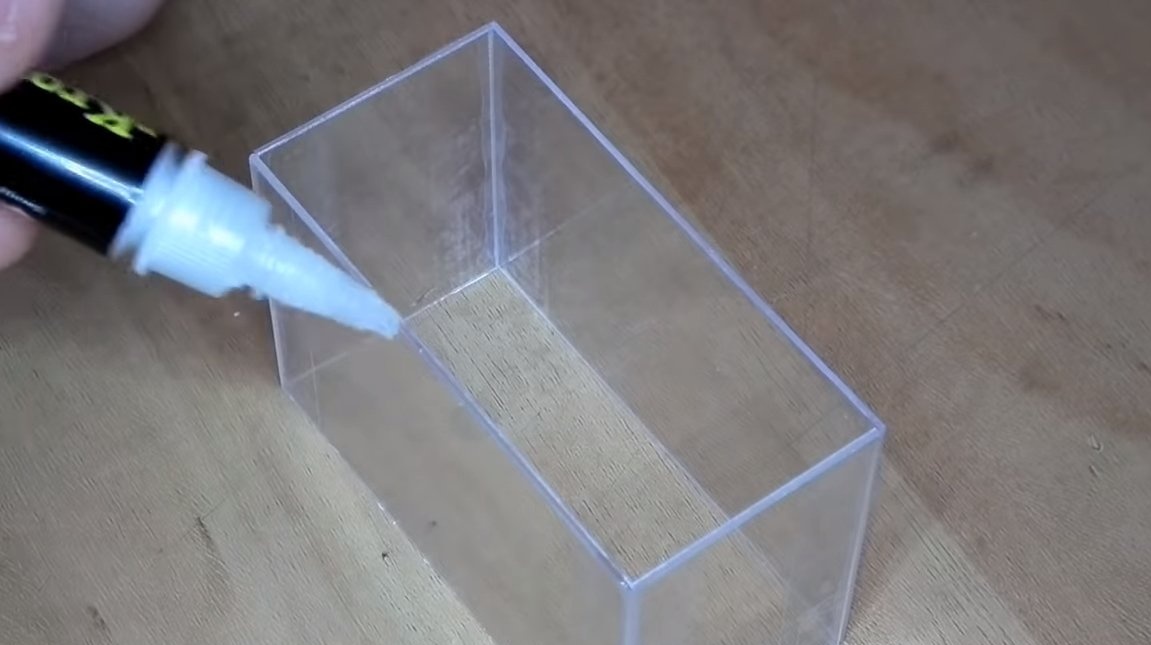
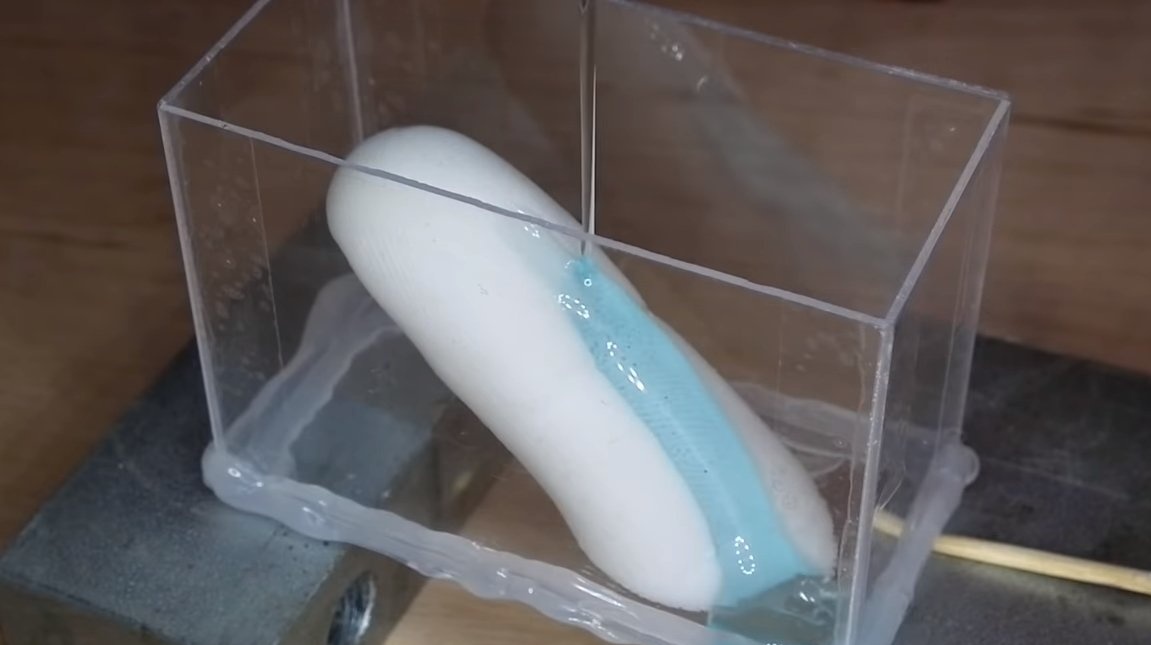
We begin to manufacture formwork for pouring epoxy resin. In this case, acrylic will help us, cut it into pieces and glue the formwork of the desired size. As a fixation and sealing we use adhesive tape and hot glue.Note that the pouring epoxy is very fluid, it easily seeps through cracks where water cannot pass.
We fix the finger to the bottom of the formwork with hot glue.
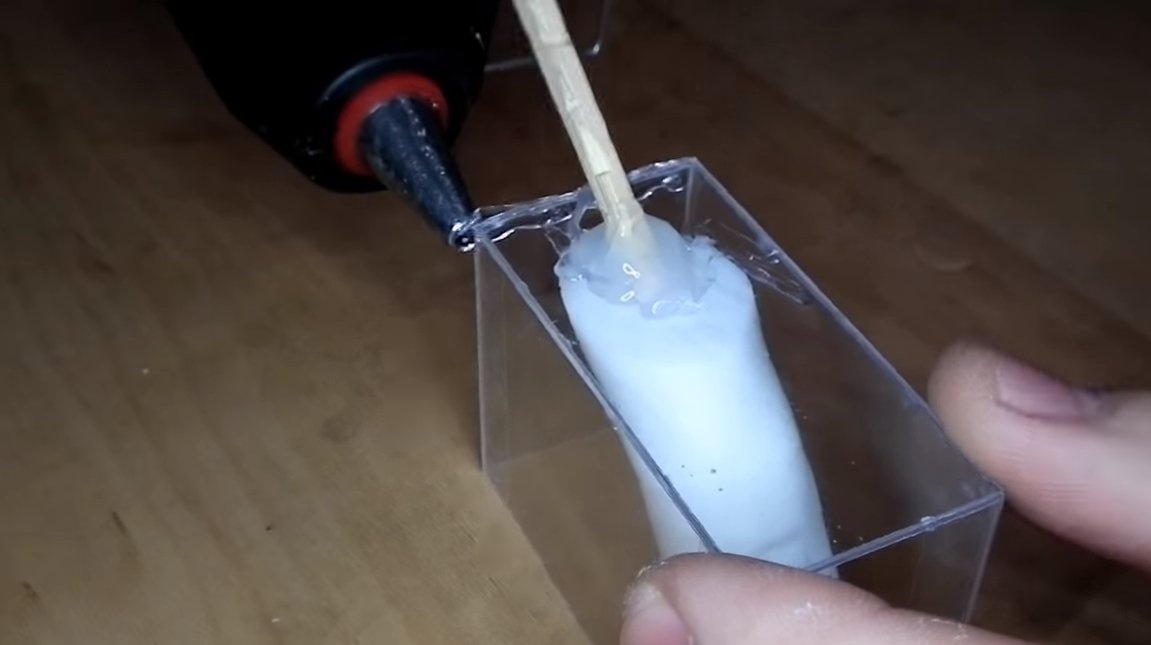
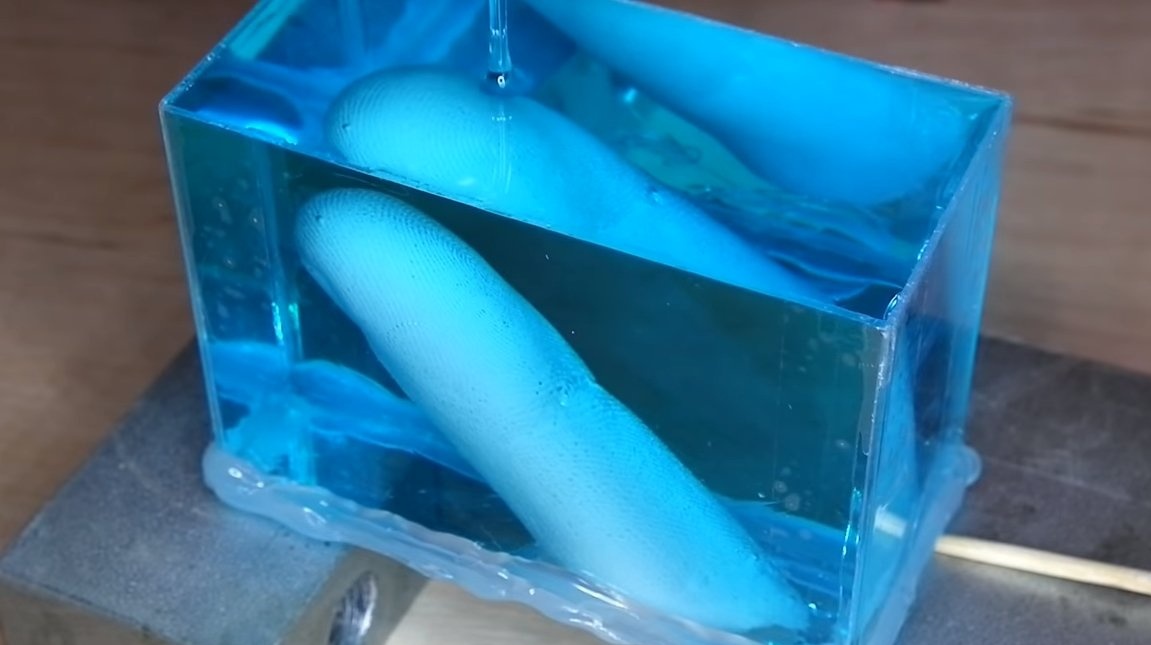
Step Four Pouring
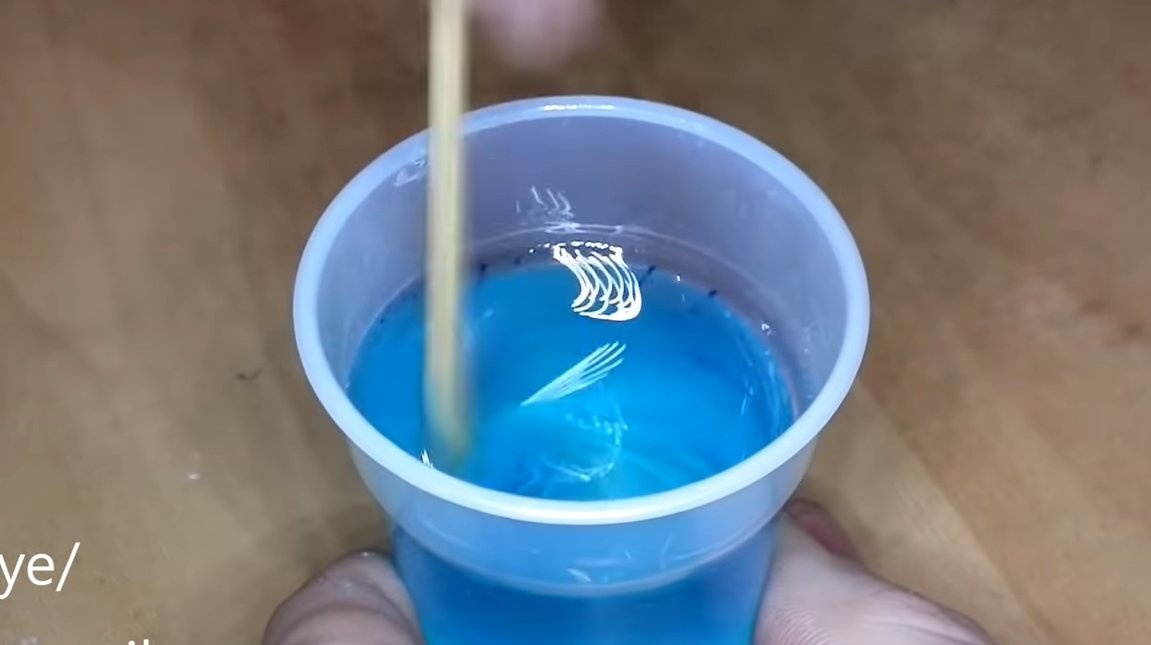
Next, we dilute the epoxy resin with a hardener, and to make everything look more interesting, add dye to the resin. If desired, you can pour resin in batches with different colors, in the end you can get an interesting pattern.
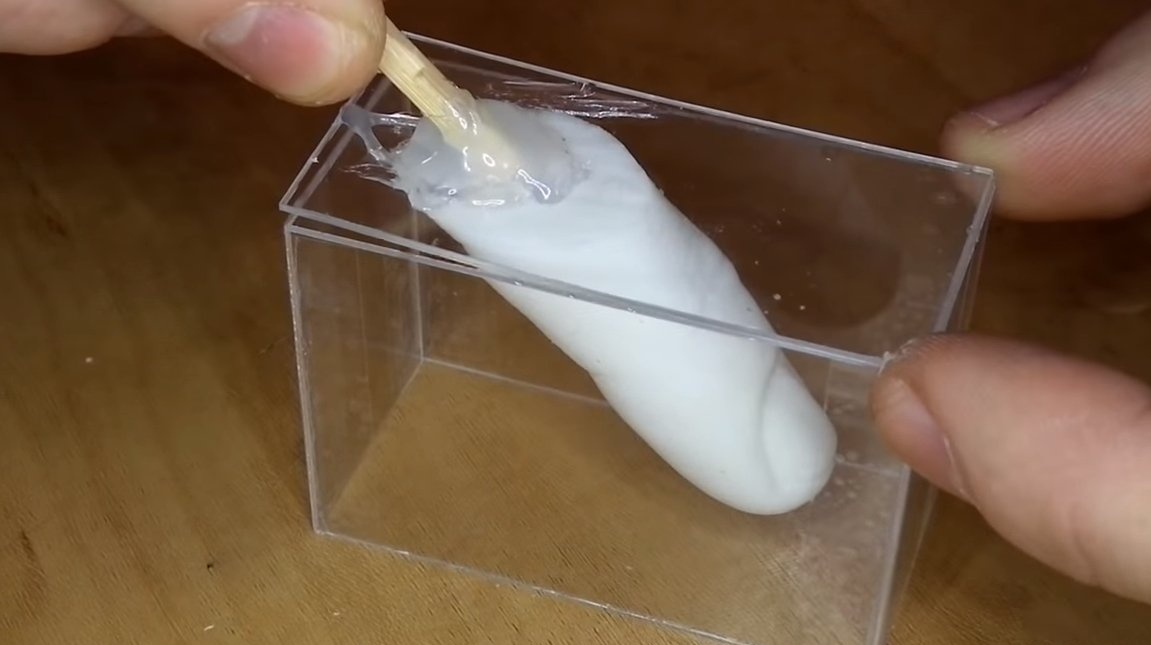
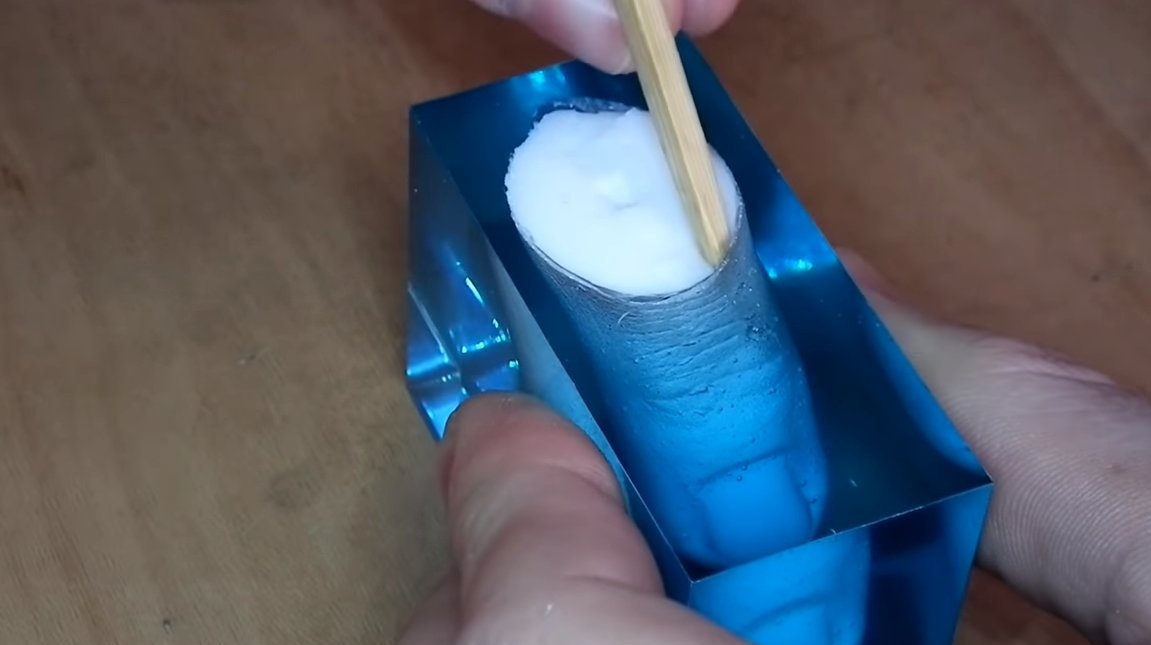
When pouring the resin, it turned out that a lot of bubbles formed on the finger so that this would not happen, you can try to heat the resin. Also, the bubbles can be removed mechanically, using a suitable clean stick, for example, using a toothpick.

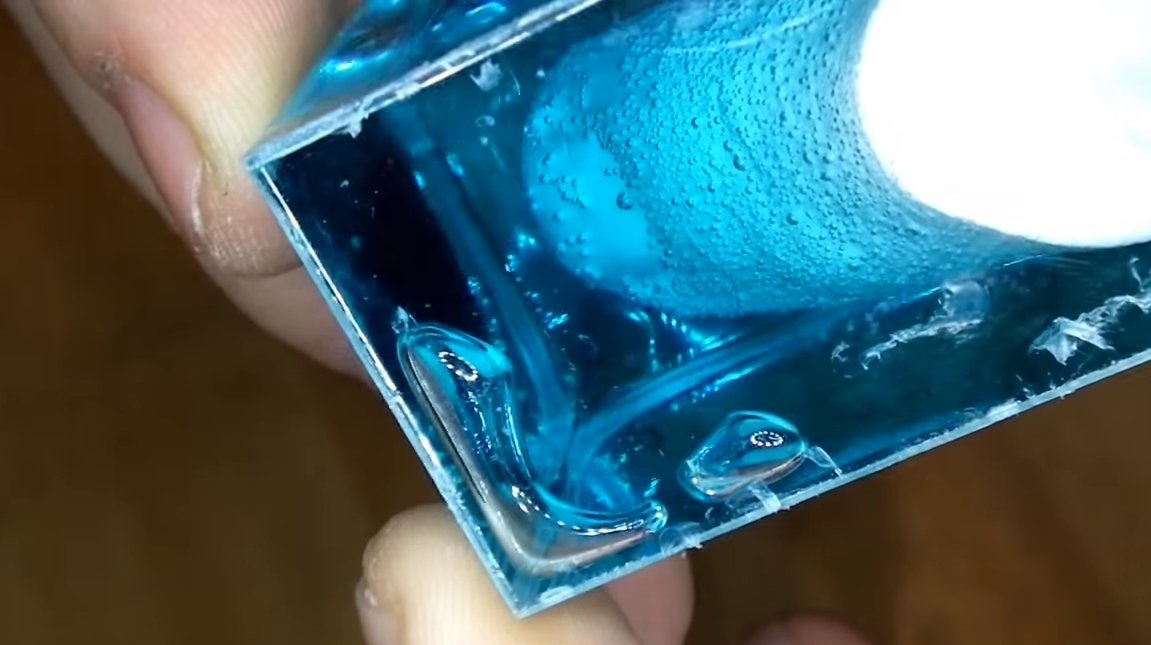
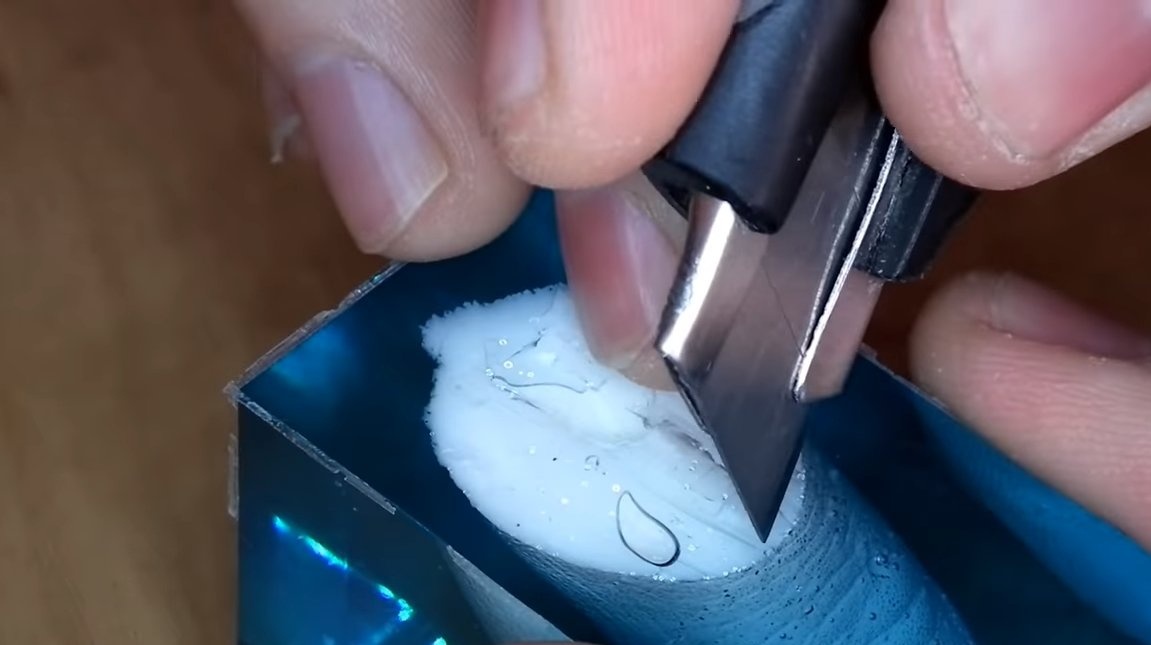
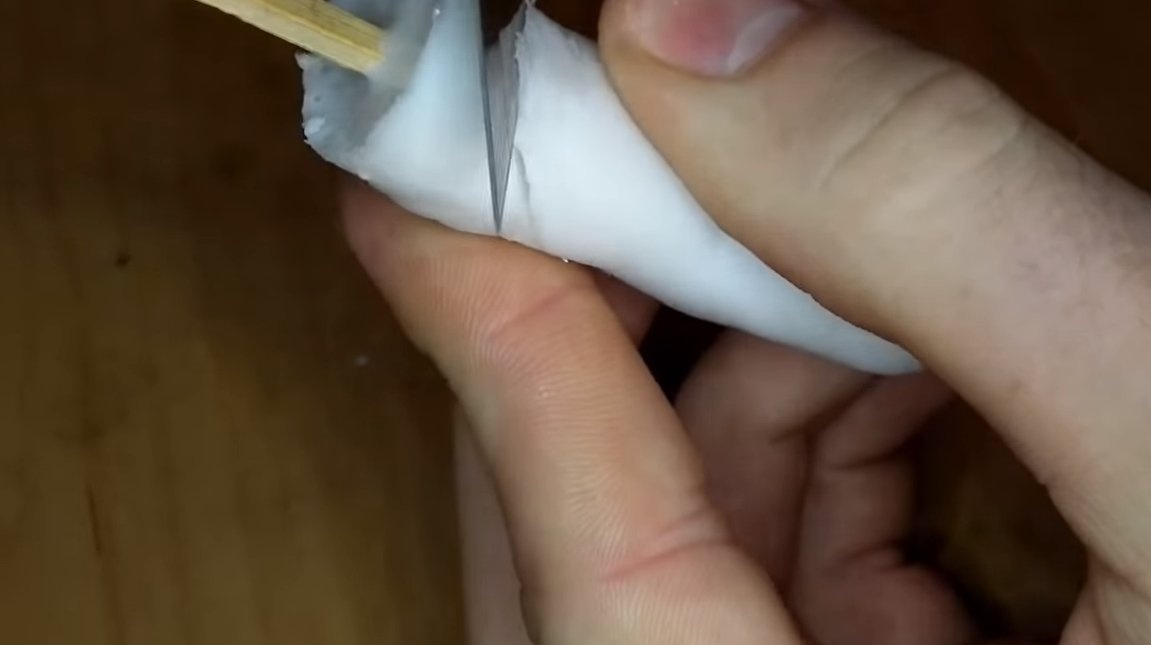
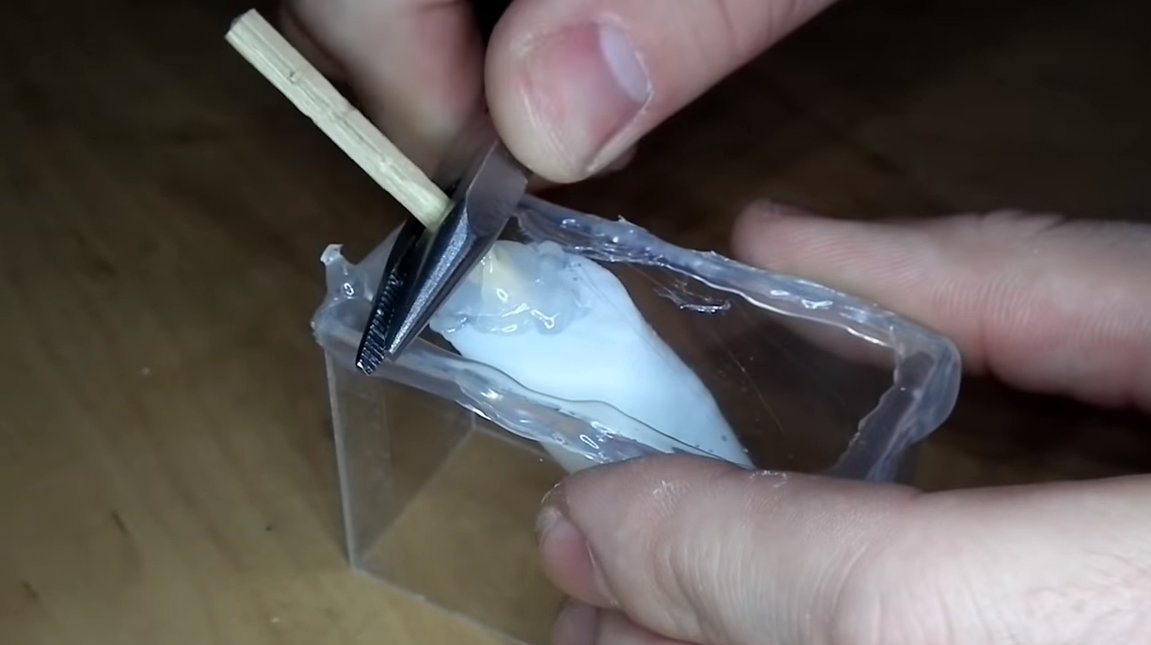
When the resin sets, you can disassemble the form, then we arm ourselves with a clerical knife and cut off part of the resin above the finger. In order for the finger to be pulled out, you need to pry it from all sides with a stick of ice cream or another object. That's all, after this homemade product is ready, your finger is now forever imprinted in resin. If you wish, you can drink drinks from such a container, but this is for gourmets.
The project is over, I hope you liked it, and you received useful information for yourself. Good luck and creative inspiration, if you decide to repeat this. Do not forget to share your ideas and homemade things with us!