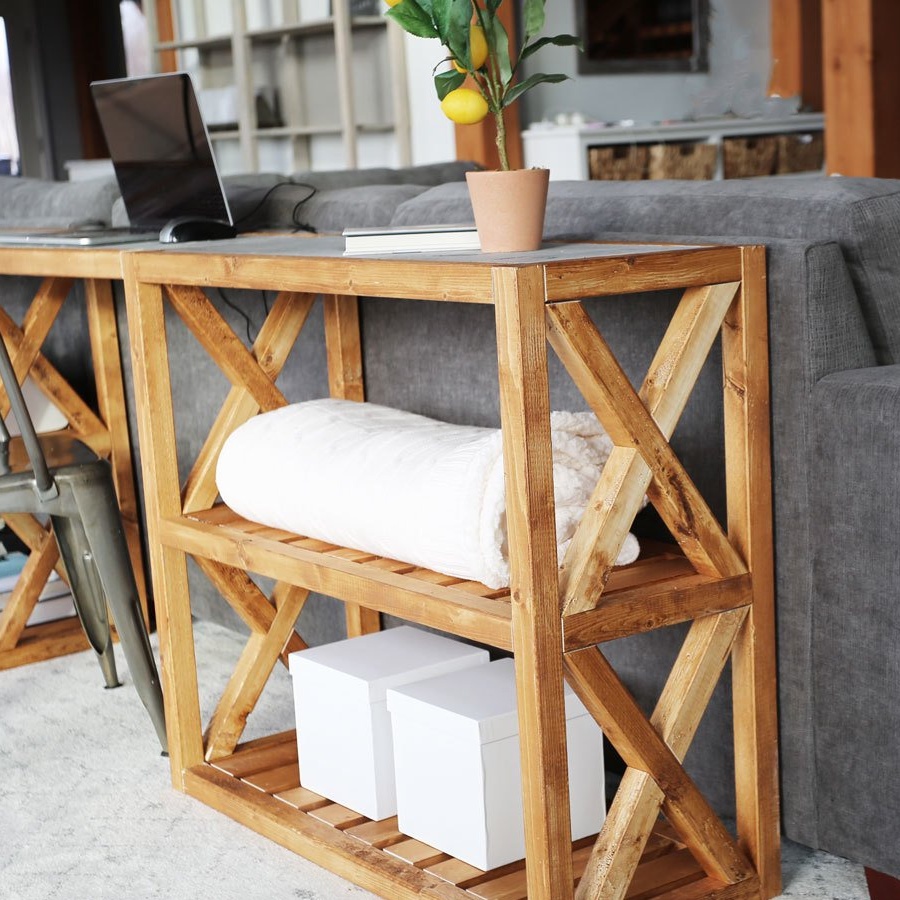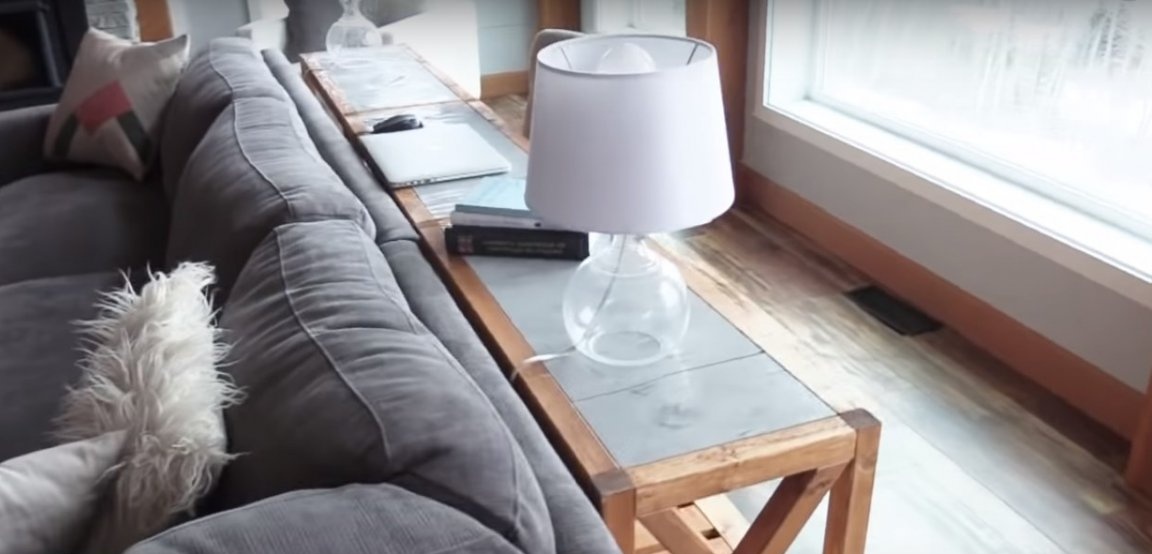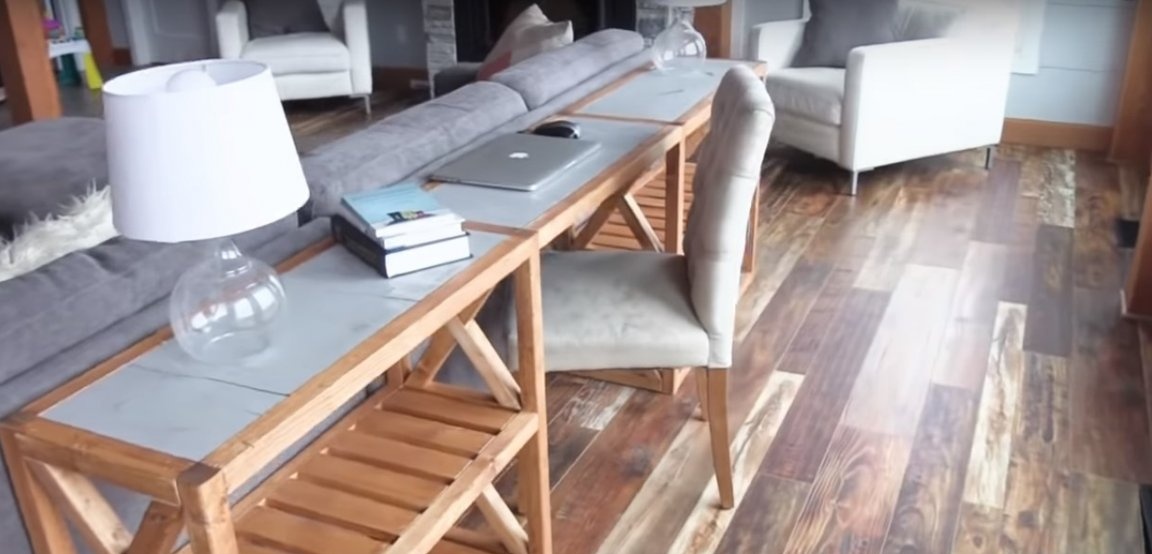
To organize a workplace in the living room is not an easy task. After all, it should be quite functional, but at the same time not to attract attention and not to get out of the ensemble. The area behind the sofa is a great place for a desktop if the living room is spacious enough.
This technique is actively used in houses with a traditional American layout. Behind the sofa there is a long and narrow table for working with a laptop.
To make a wooden table do it yourself, you will need:
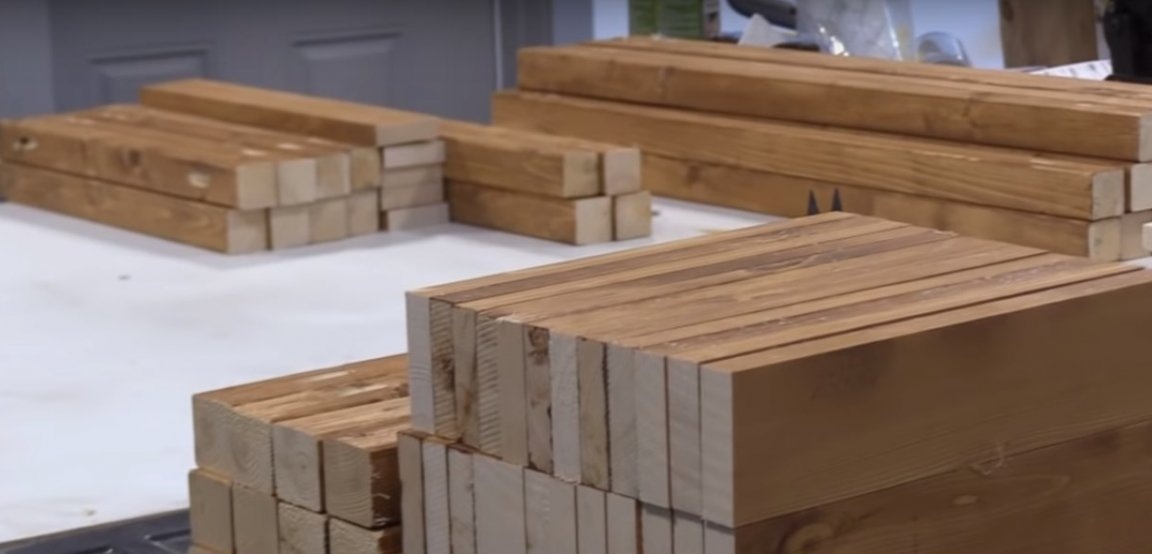
Materials:
- wooden blocks with a section of 30 x 30 mm or 40 x 40 mm for the frame;
- wooden boards with a thickness of 15-25 mm for the manufacture of trellised shelves;
- thin slats for the base under the shelves;
- plywood for the manufacture of countertops;
- a means for tinting wood (oil stain);
- wear-resistant gray paint for protective and decorative processing of countertops;
- wood screws;
- nails;
- flat legs on an adhesive basis.
Instruments:
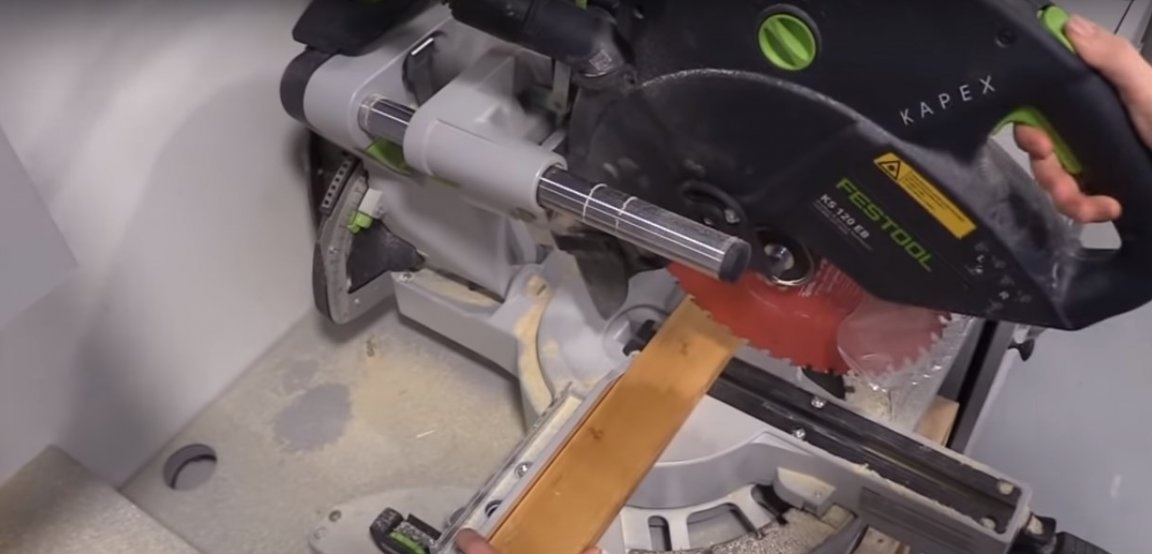
- miter saw or circular;
- drill;
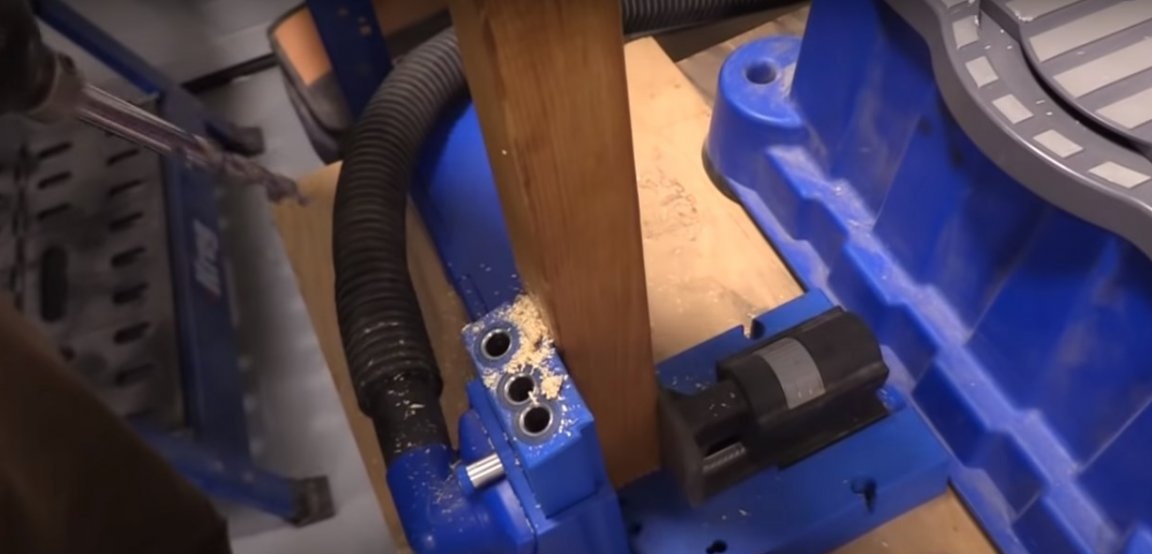
- a conductor for drilling corner holes;
- screwdriver;
- grinder;
- square and construction tape;
- a pencil.
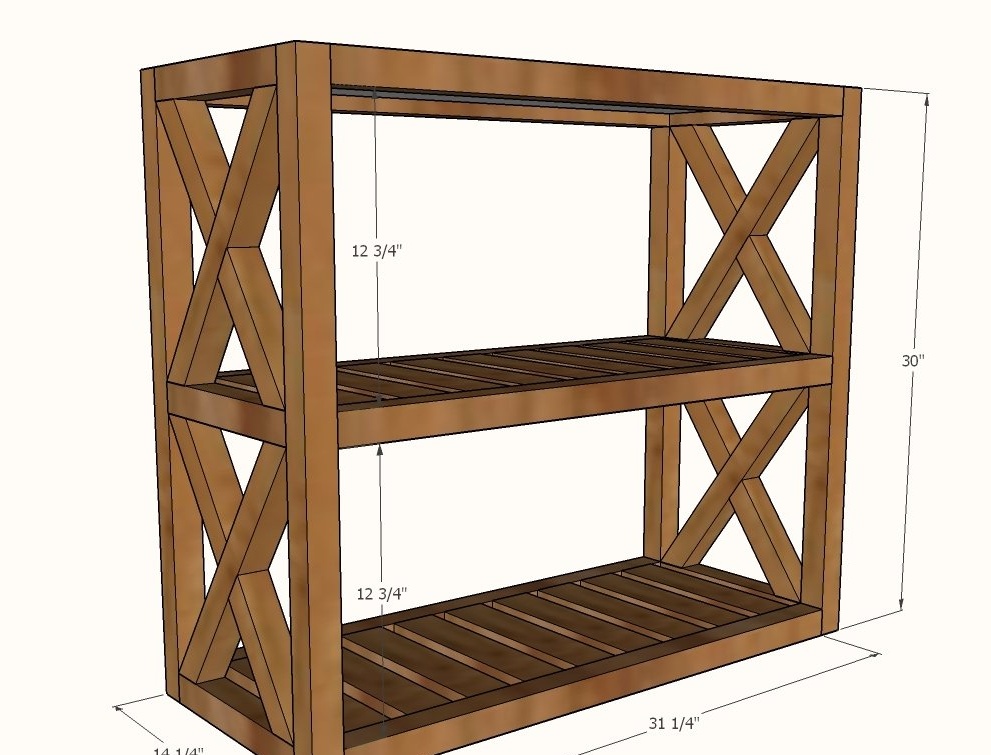
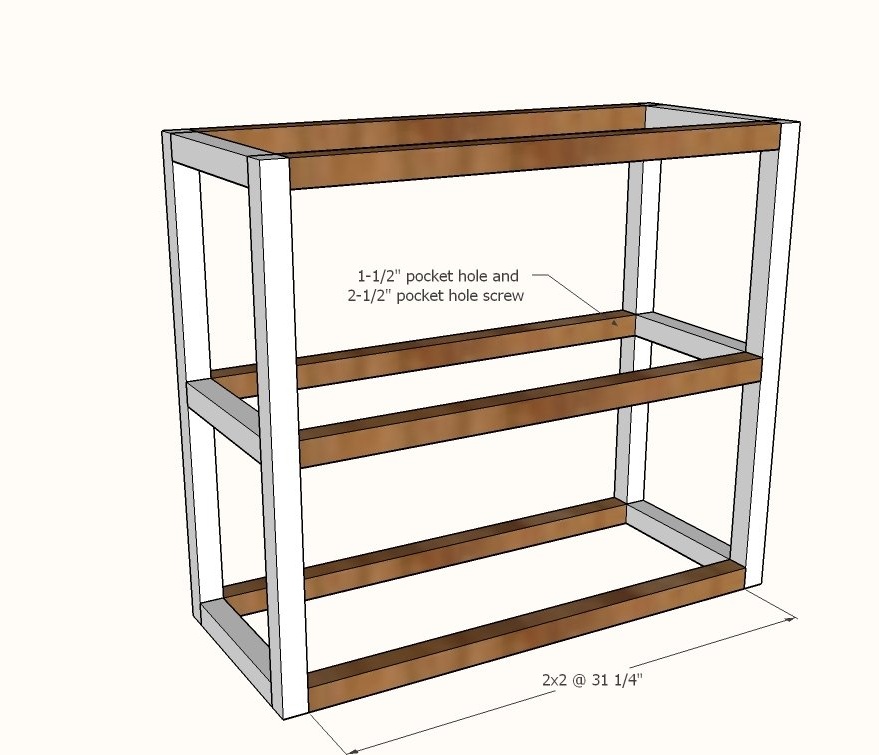
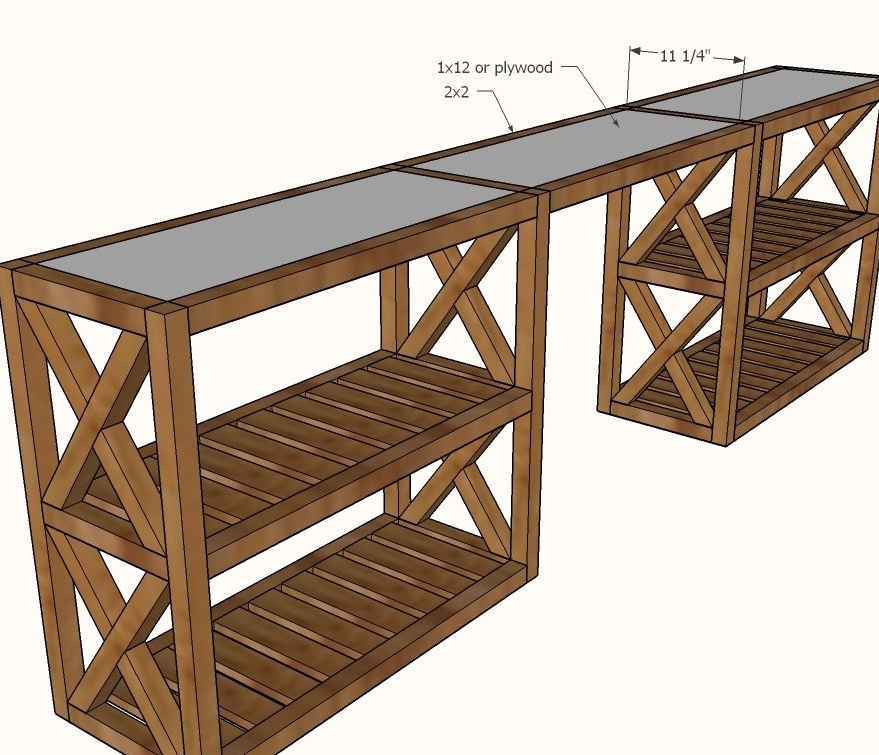
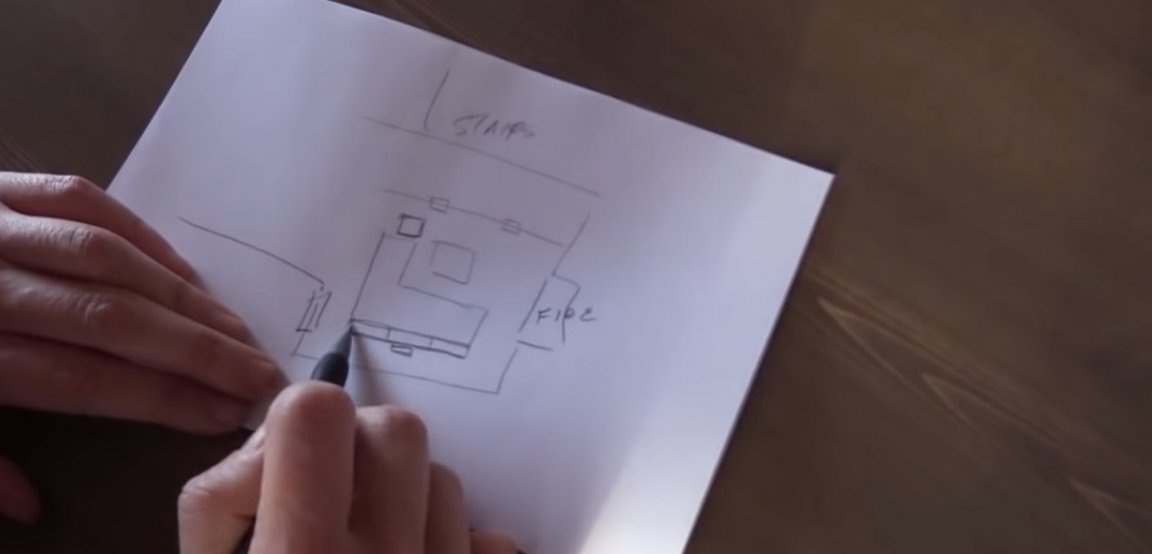
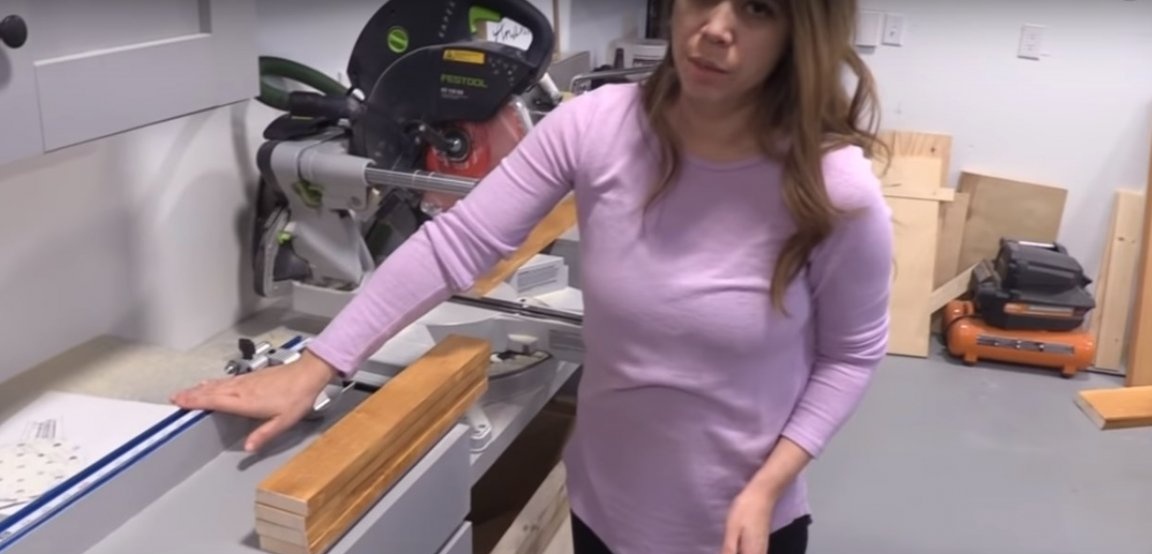
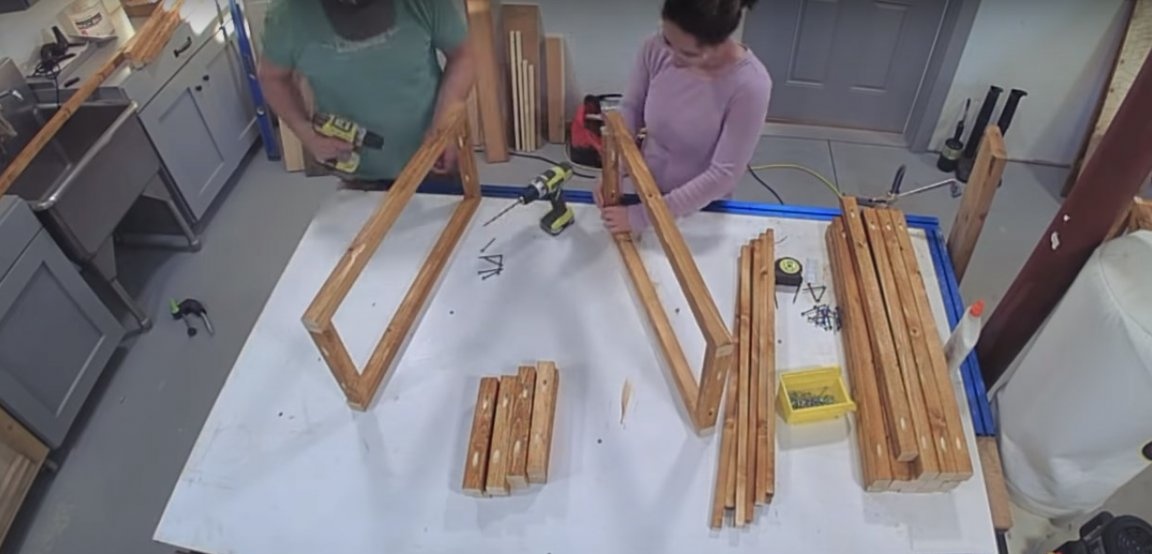
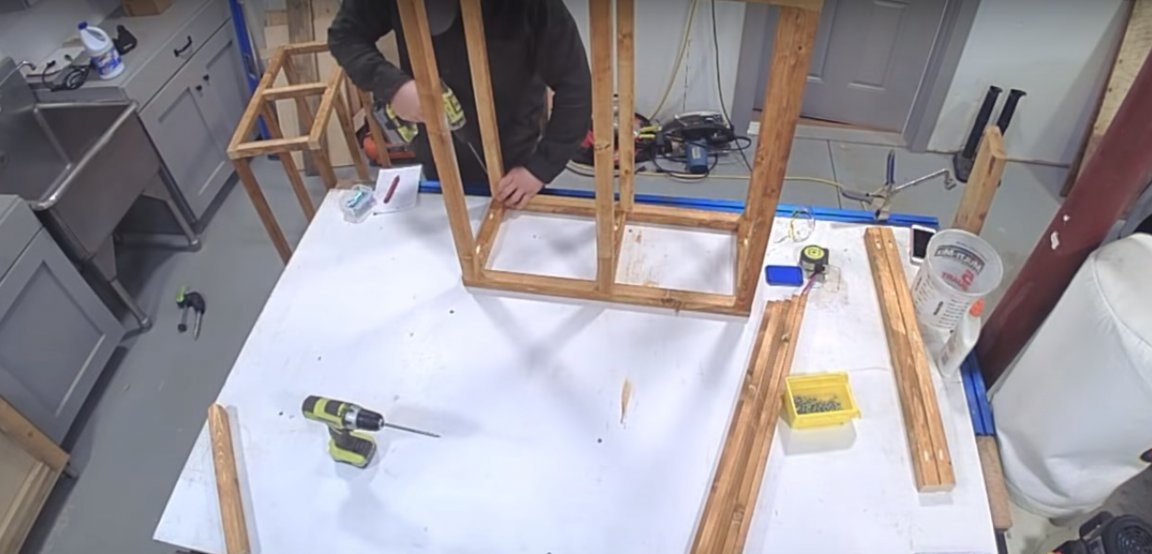
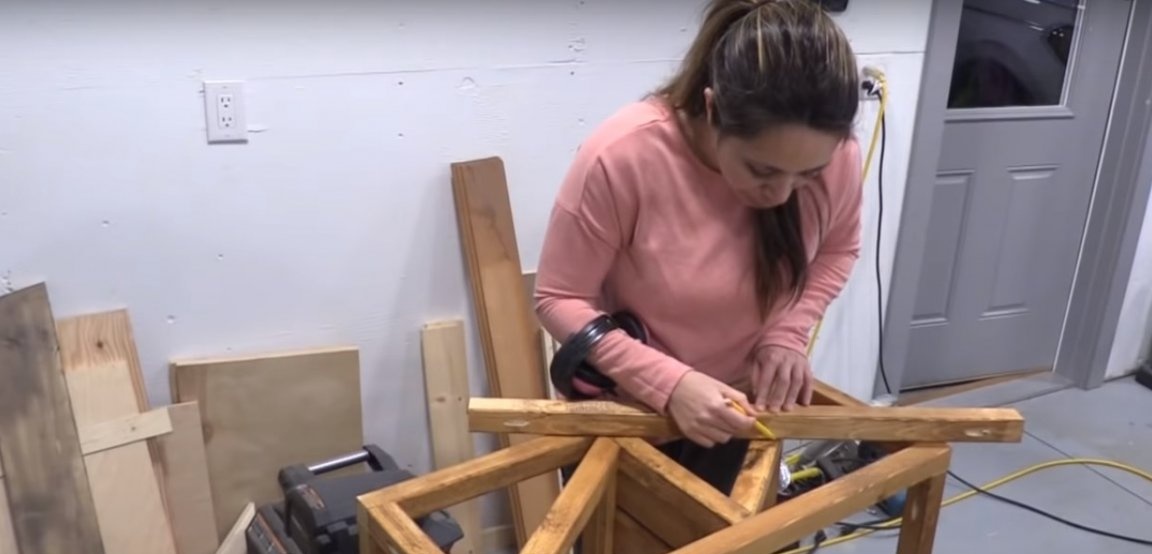
Step one: drawing, marking and preparing parts
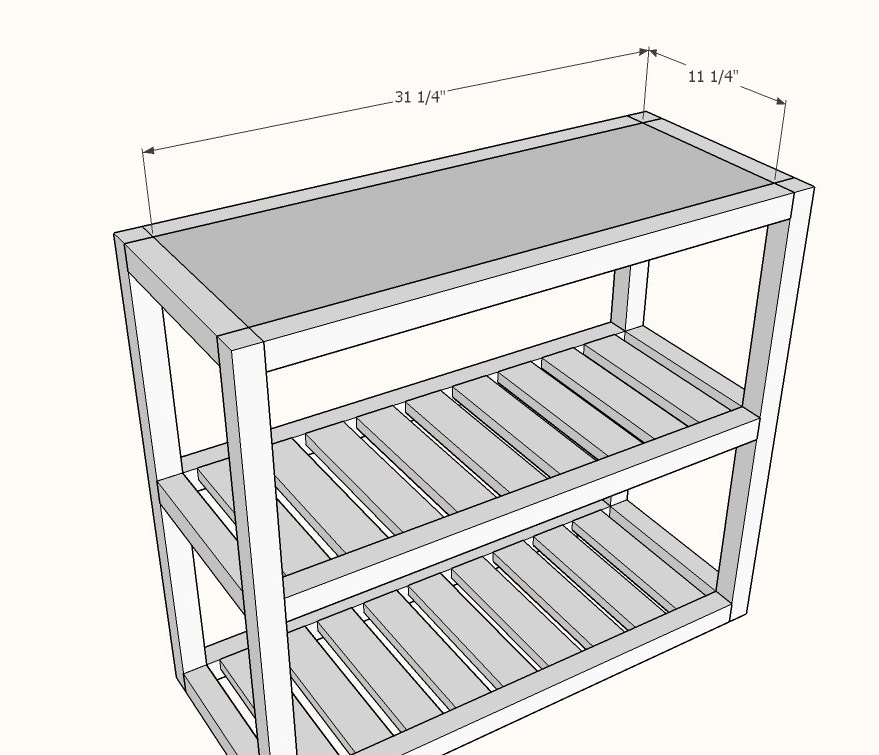
As a rule, the countertop is located along the entire back of the sofa. Decide on the size of the countertop and prepare your drawing using computer models from the master class.
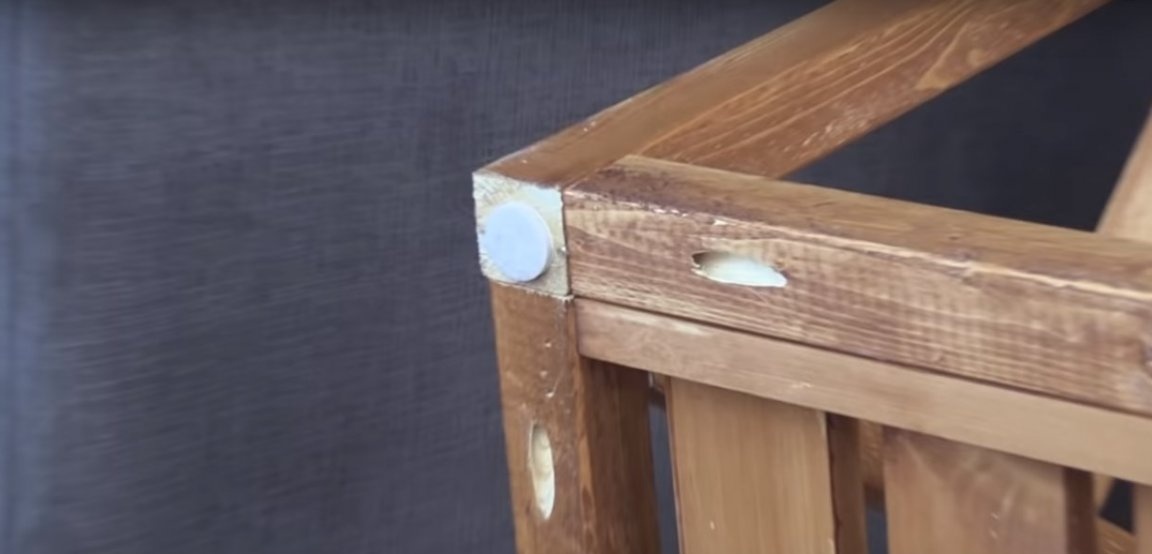
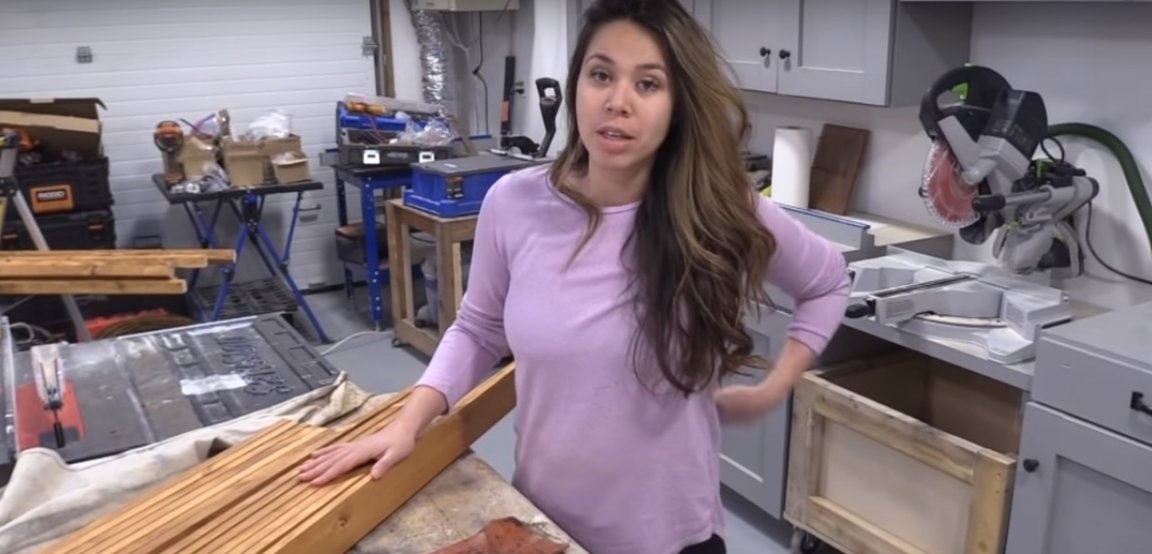
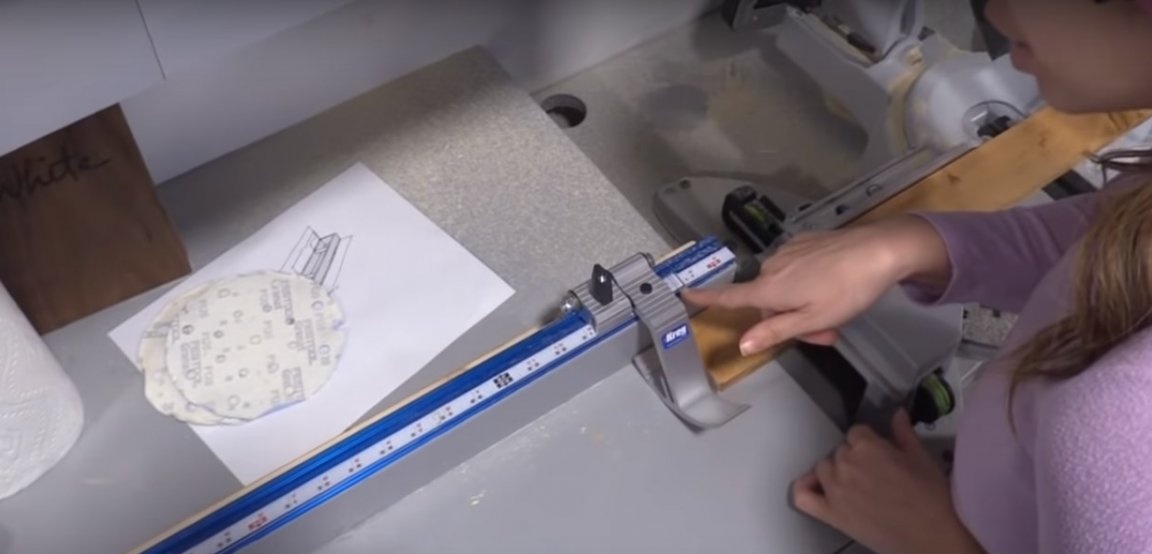
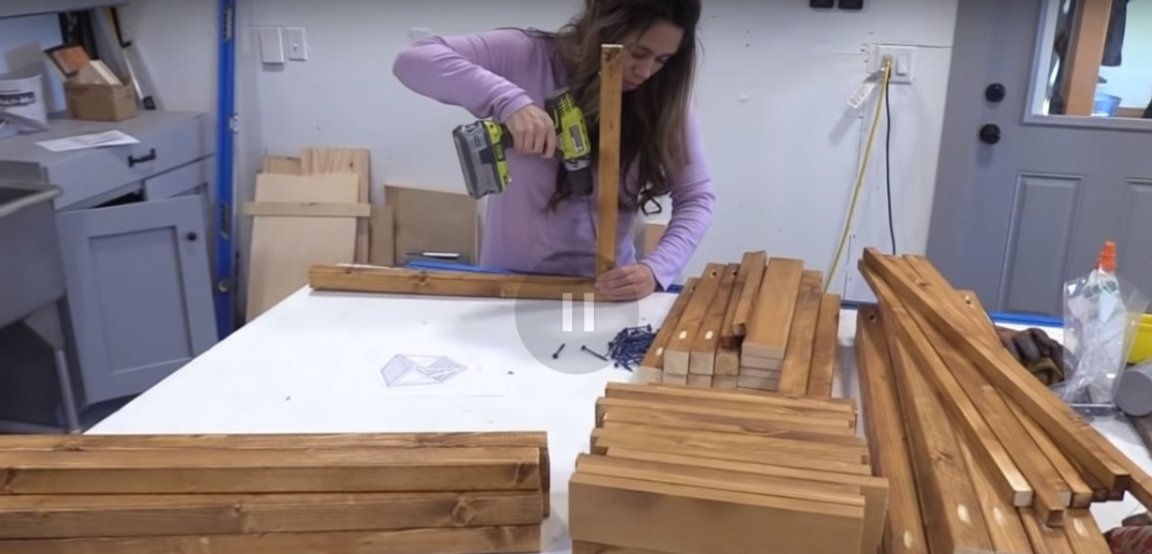
Mark and prepare the parts for painting. To do this, carefully grind the workpieces using a grinder and a fine-grained grinding nozzle with a grain of at least 180.
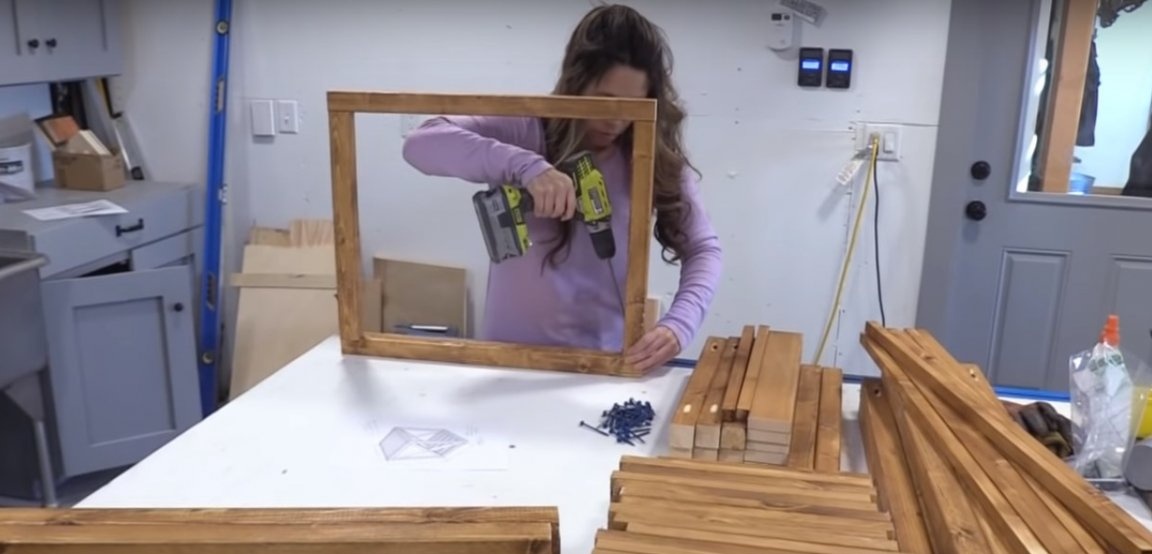
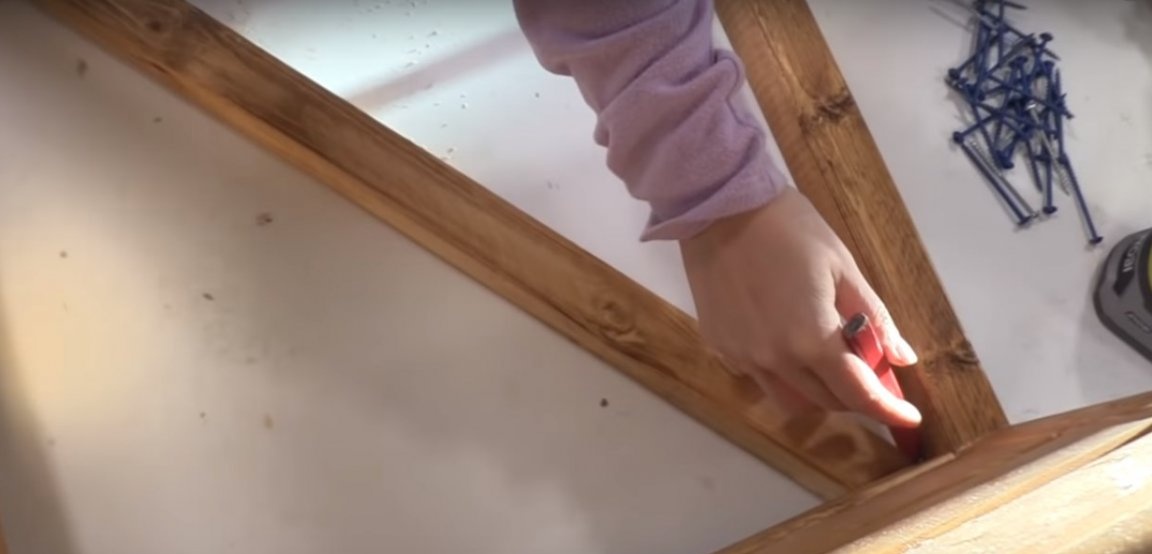
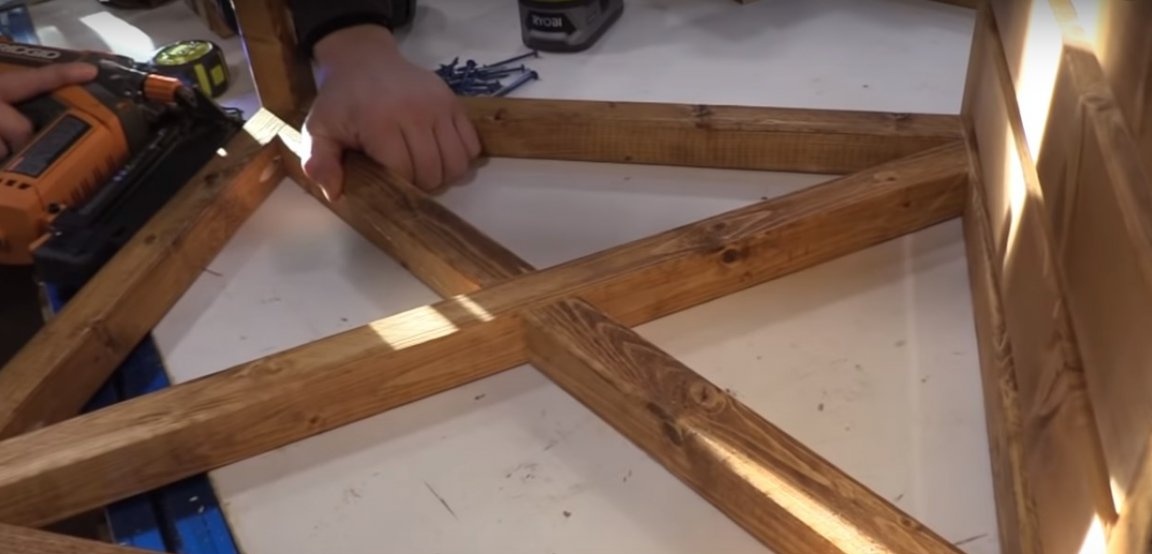
To connect parts, the author uses a method in which parts join butt to butt and flush. To do this, using a special conductor for a drill, drill holes for the screws as shown in the photo.
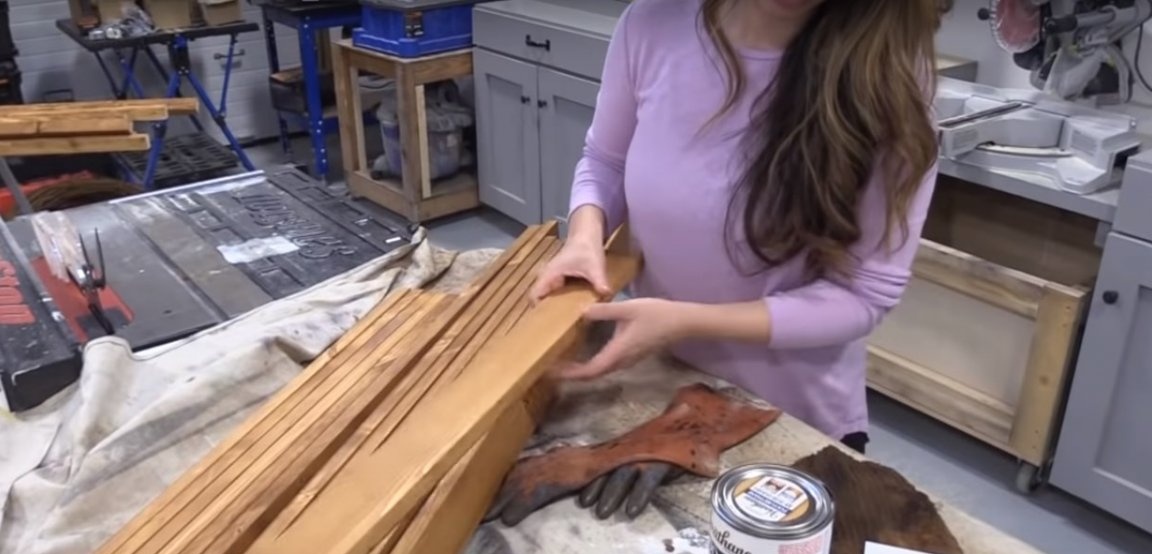
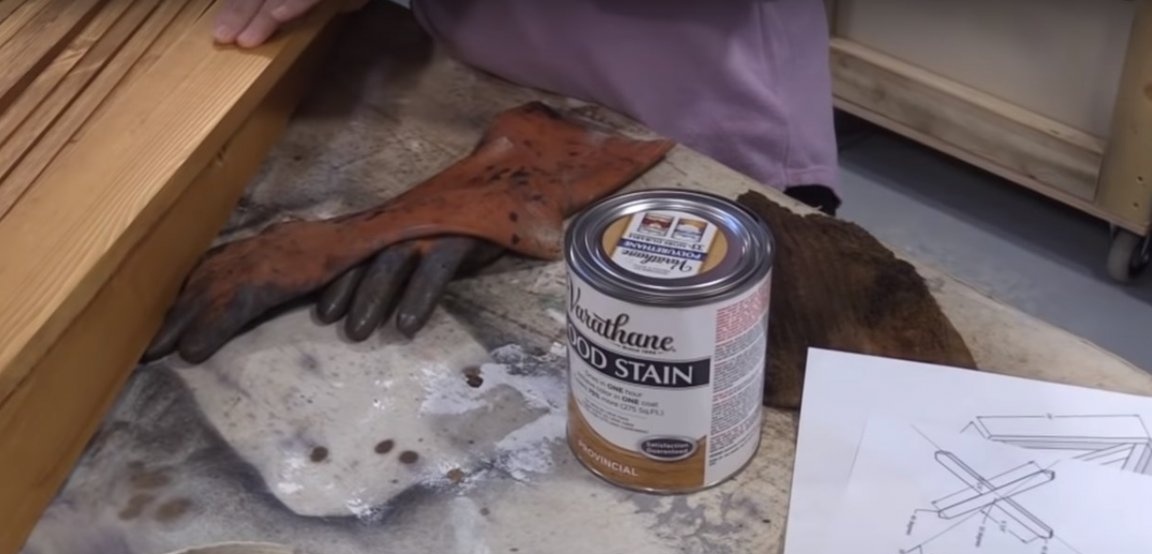
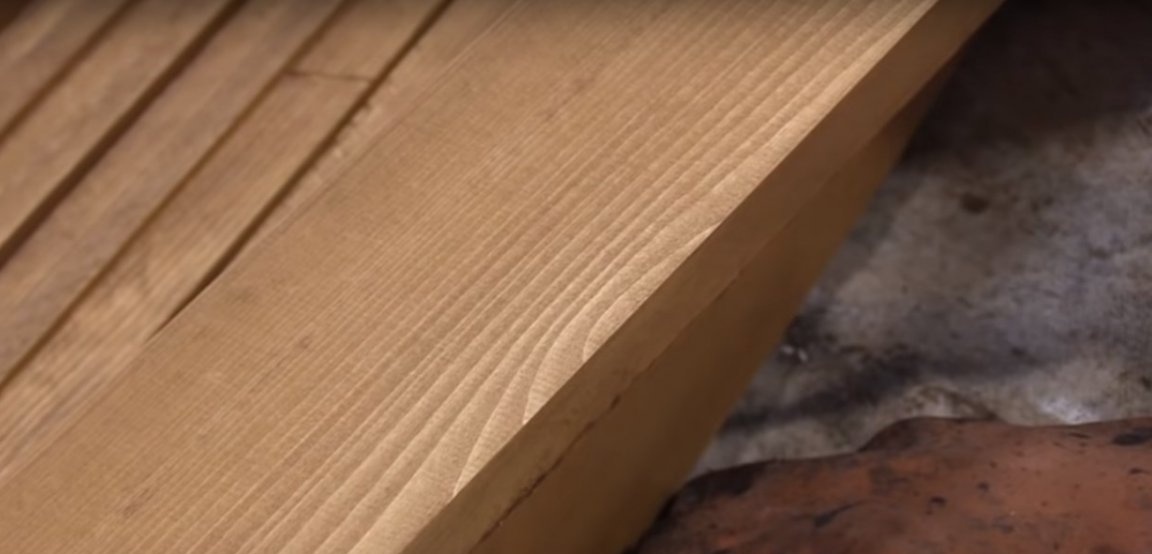
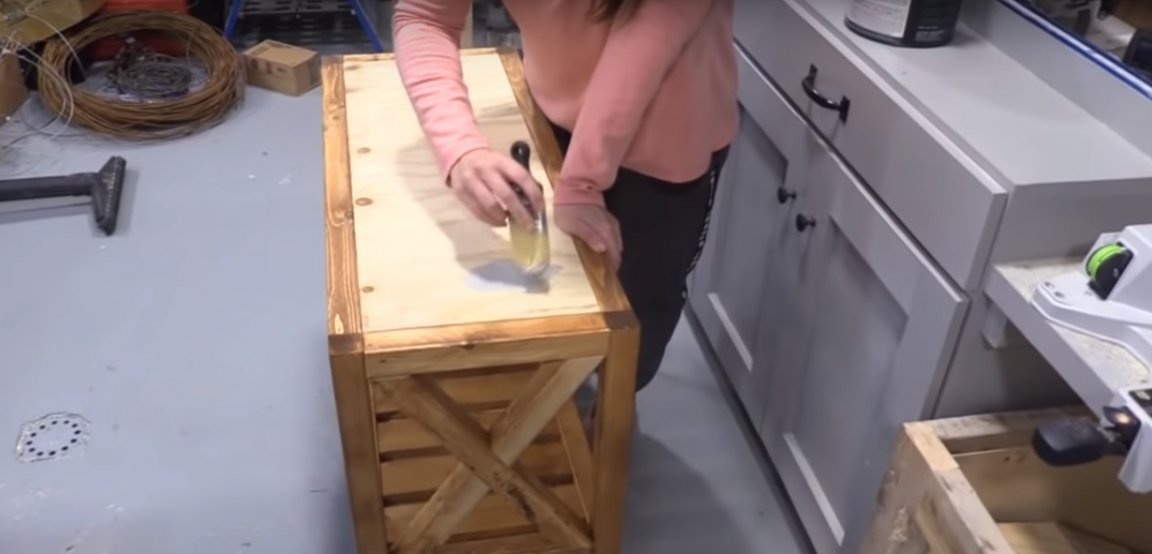
The author pre-tinted the details of the table with an oil stain. One layer of it is enough to reliably protect wood from adverse external influences. In this case, an additional varnish coating is not required. Moreover, a rare varnish lays on a quality oil stain, which is worth considering.

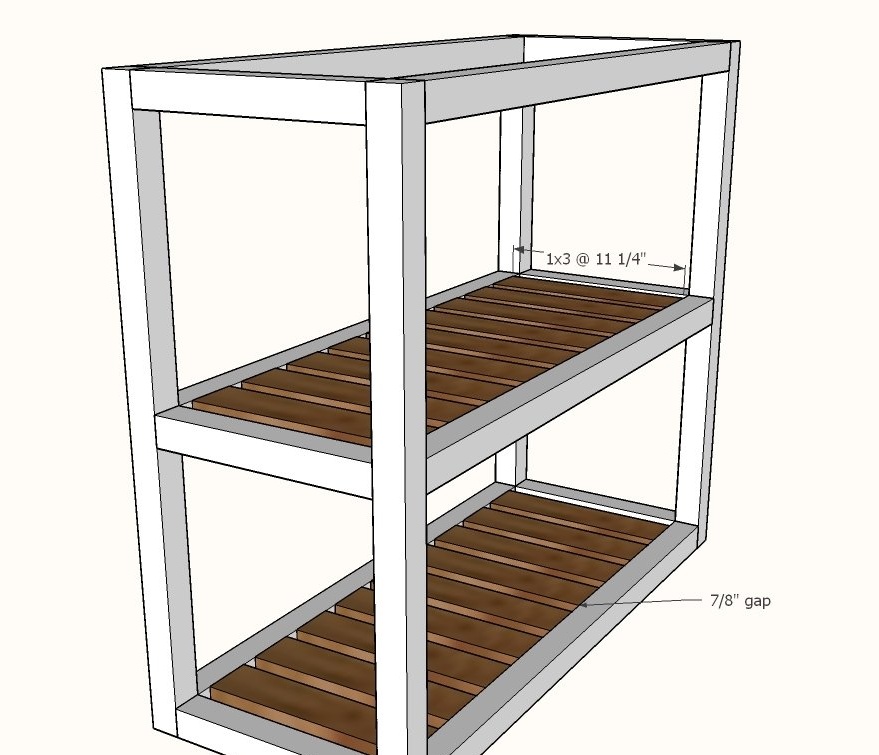
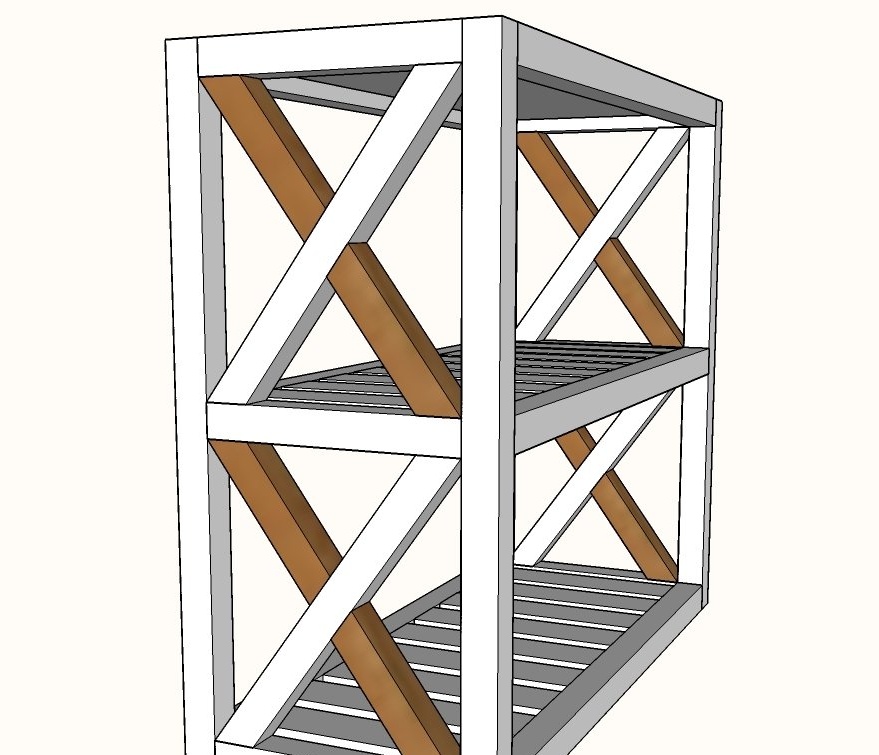
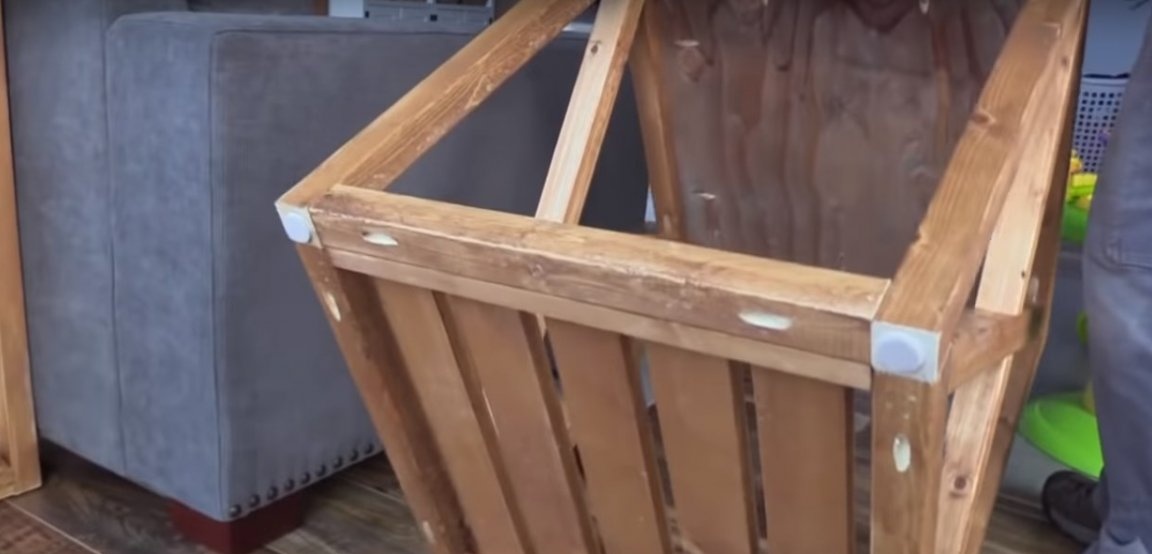
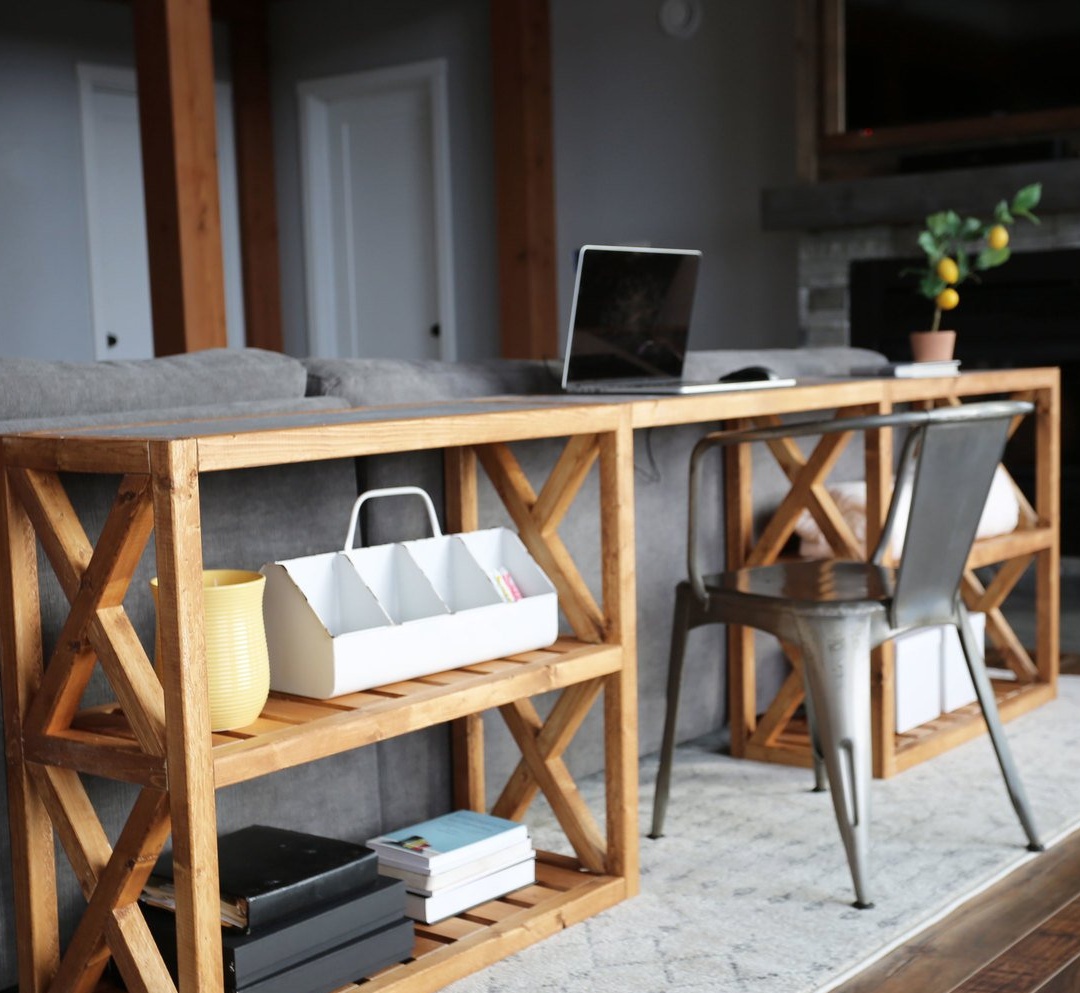
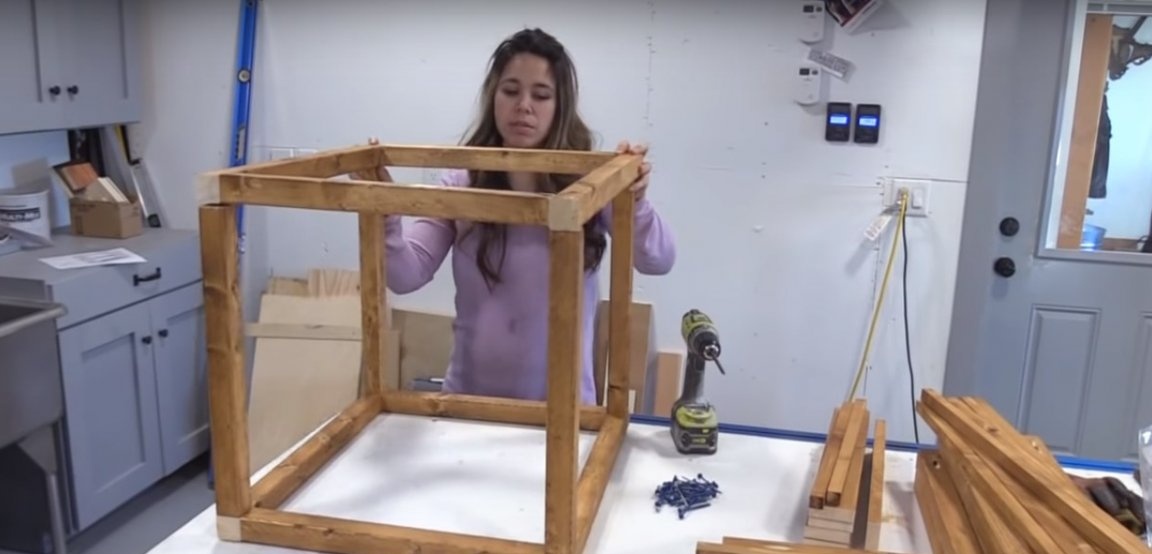
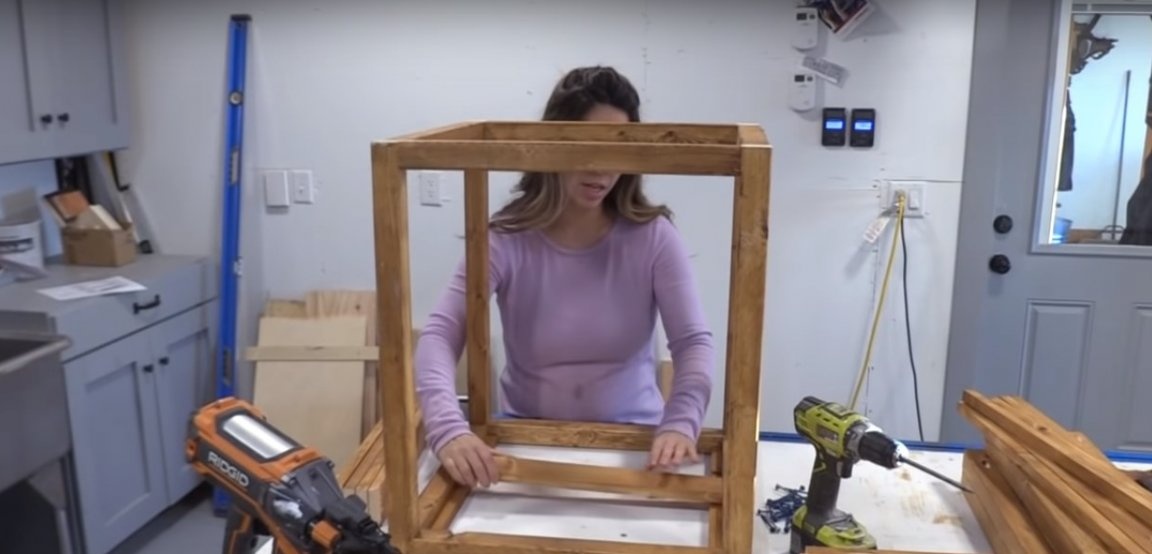
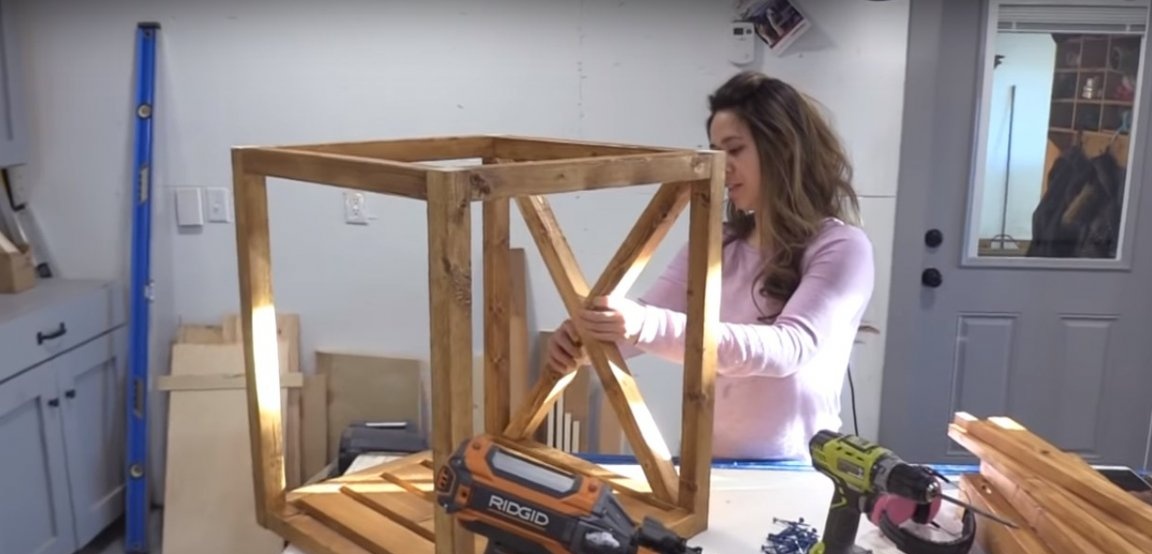
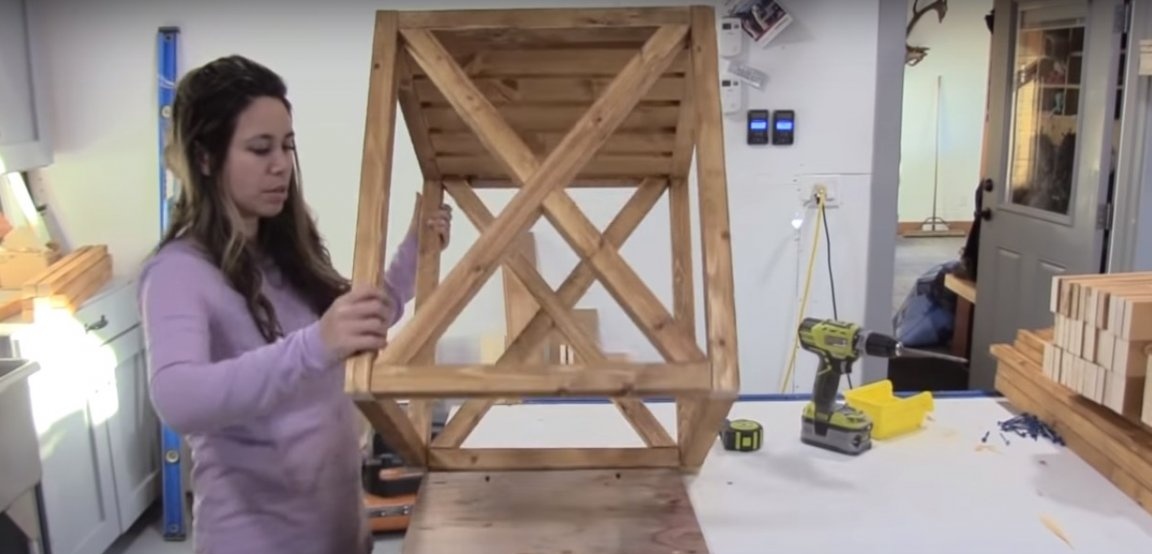
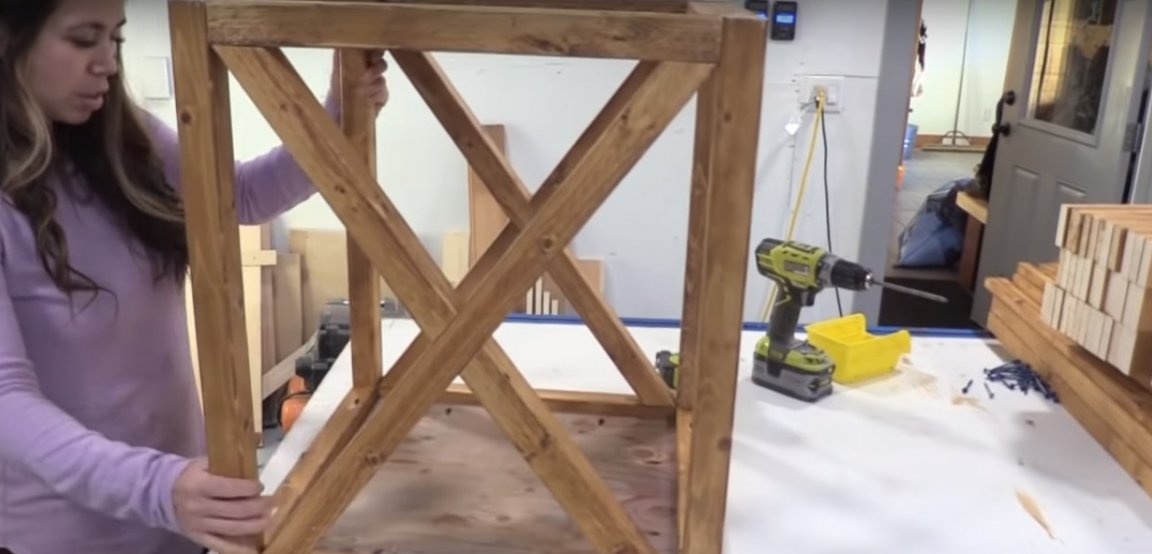
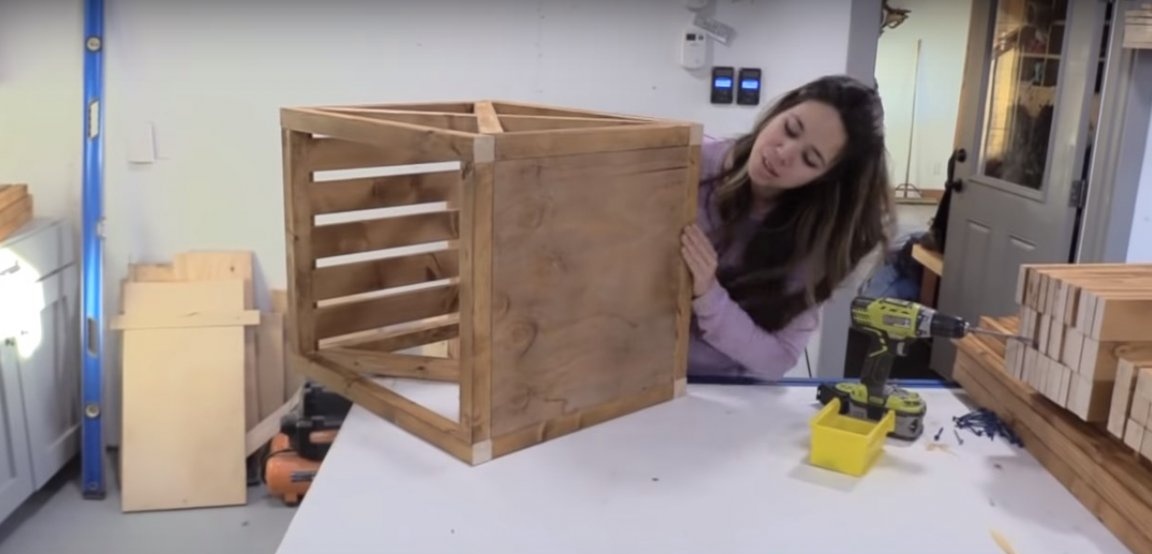
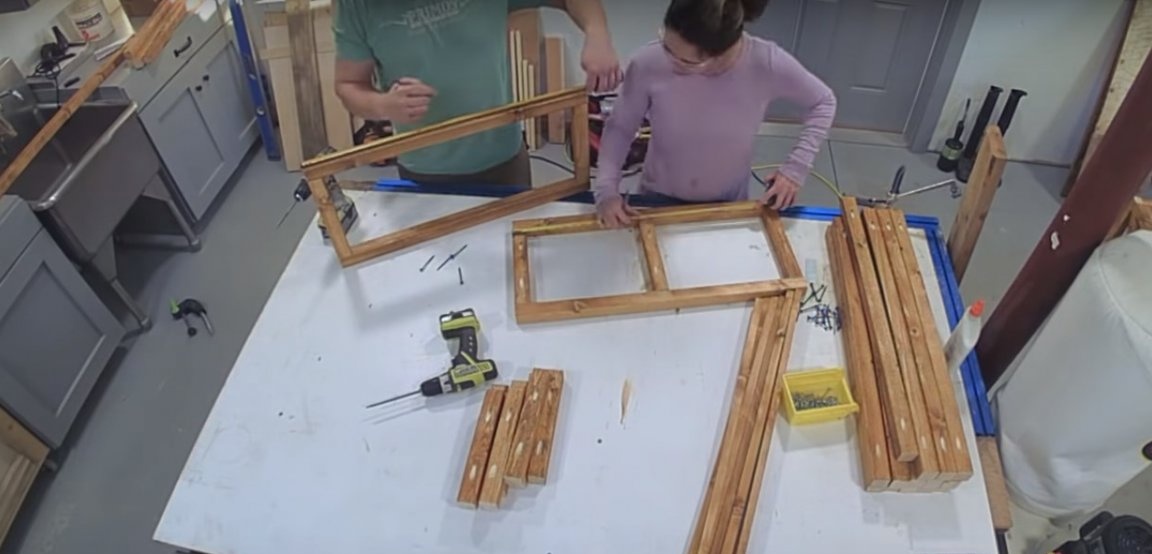
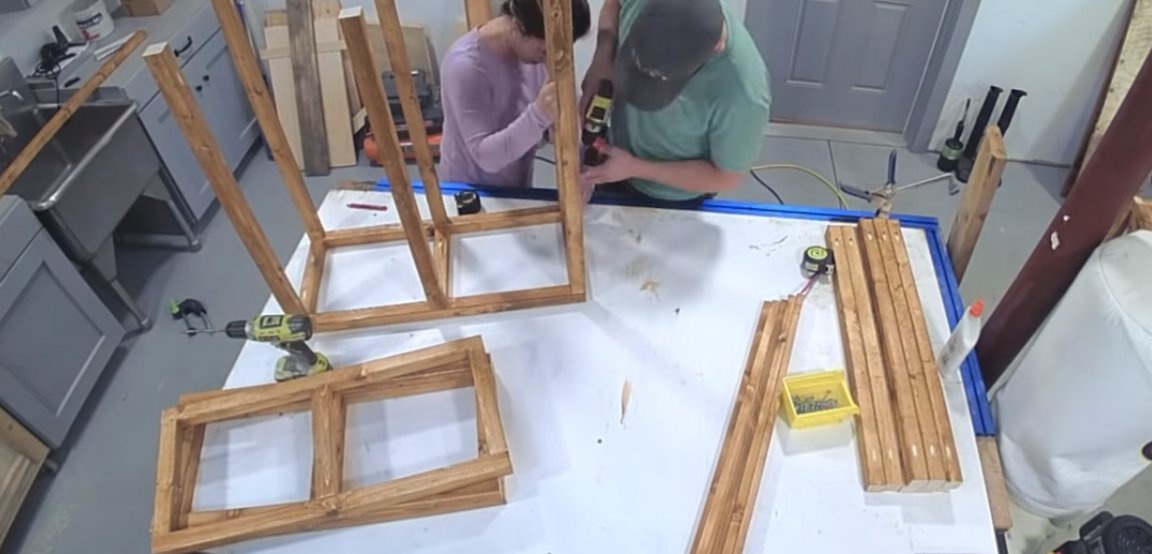
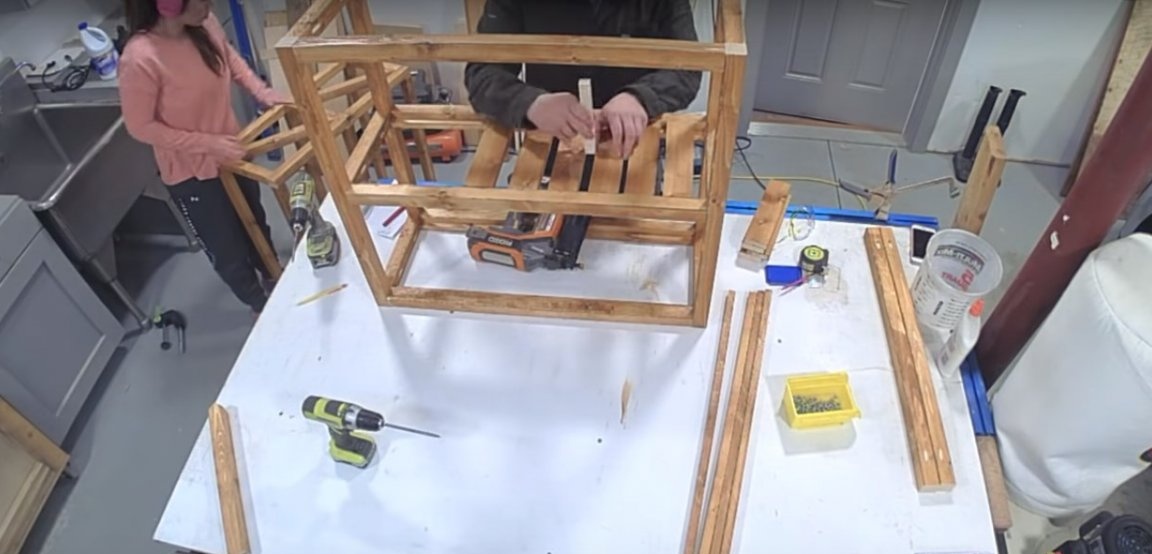
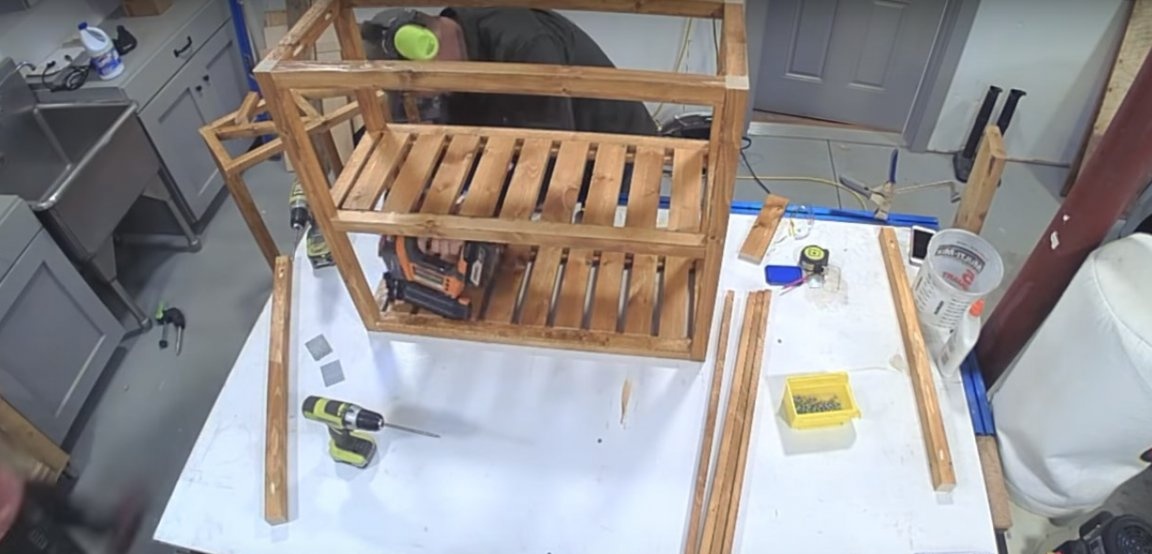
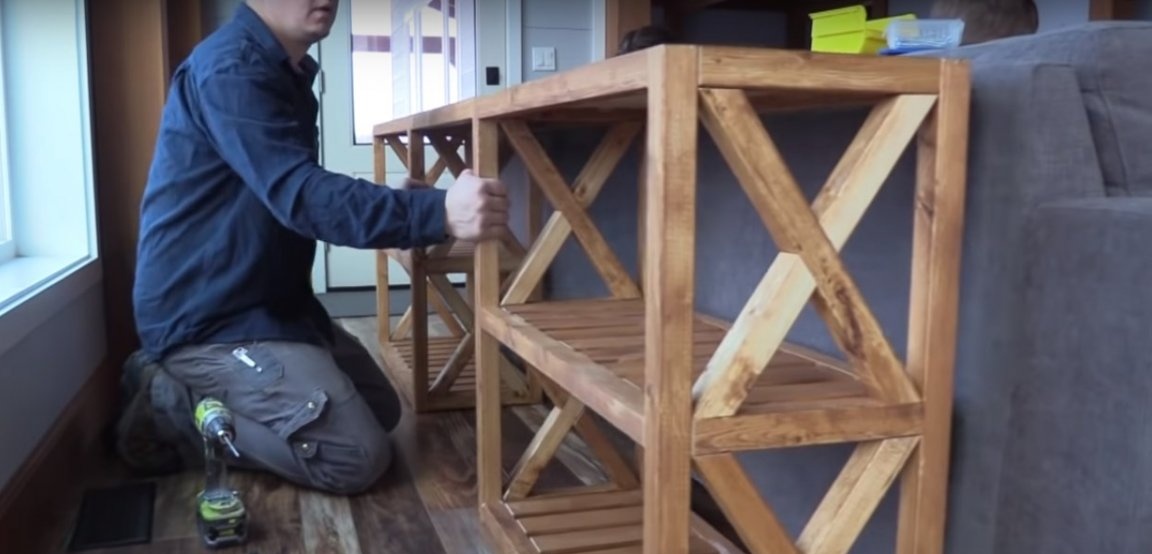
Step Two: Rack Assembly
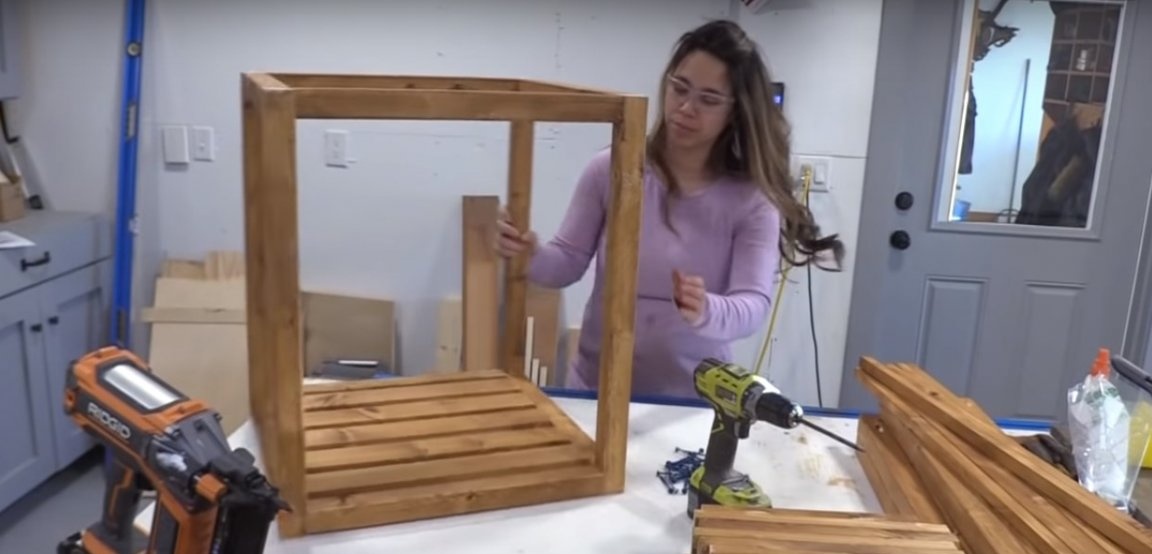
The author clearly demonstrated the assembly of racks using the example of a cabinet, which is also included in the headset. Start with a wireframe. On the proposed bottom of the rack, fix the support rails for the grating.
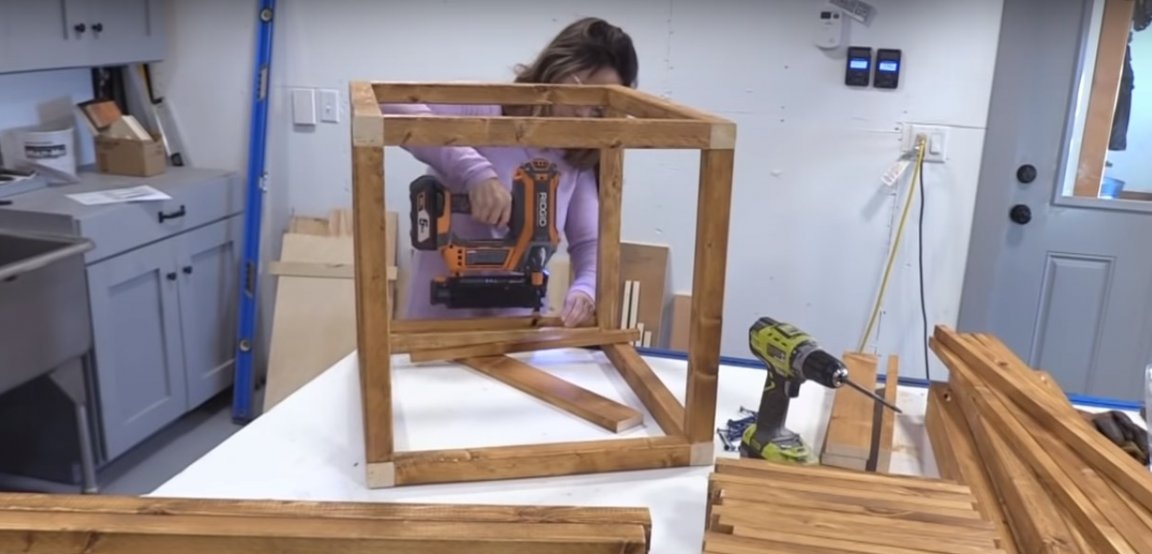
Arrange the flooring from pre-prepared rails. Use nails for fastening.
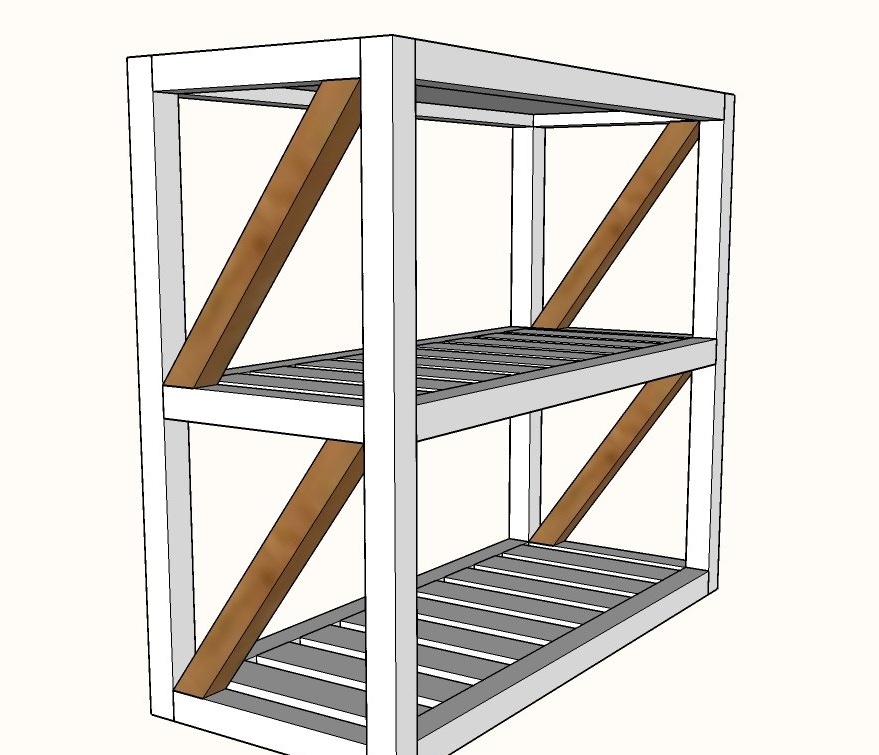
Fasten the cross to the cross on the side panels of the jumper as shown in the photo.
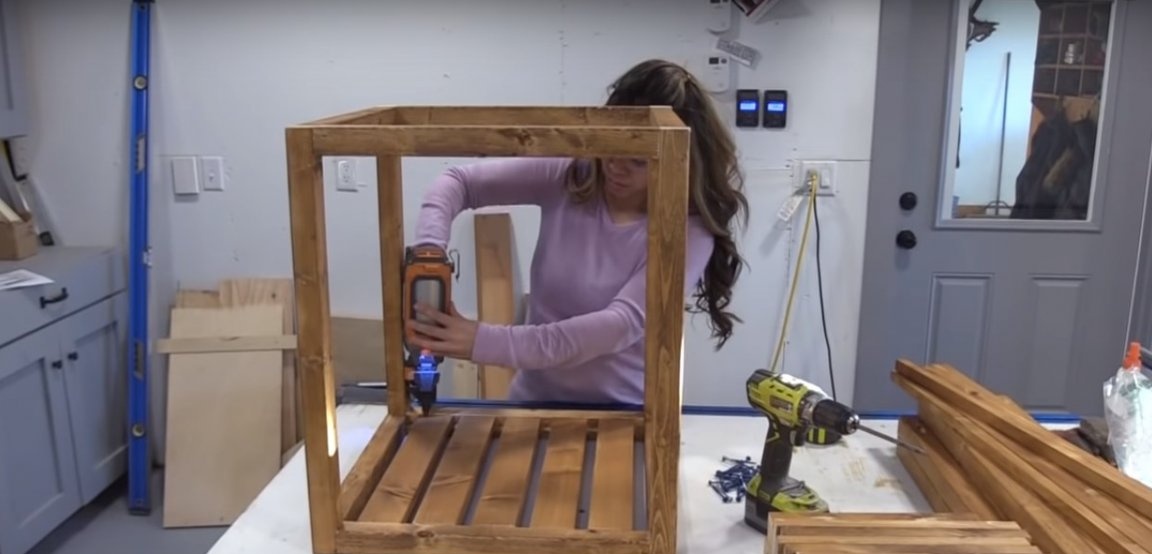
Set the top of the rack on a flat surface, placing it on a plywood blank - countertop. Fasten the countertop with nails.
Step Three: Painting Countertops
The author imitated a concrete countertop on the surface of plywood, using gray paint with a matte effect. Choose only wear-resistant types of paint, including acrylic for interior use. You can additionally cover the countertop with the appropriate type of varnish, for example acrylic.
To protect the wooden frame from paint, use masking tape or plain office paper fixed with tape.
Apply the paint in two steps, allowing each layer to dry properly. Use a paint brush or roller.

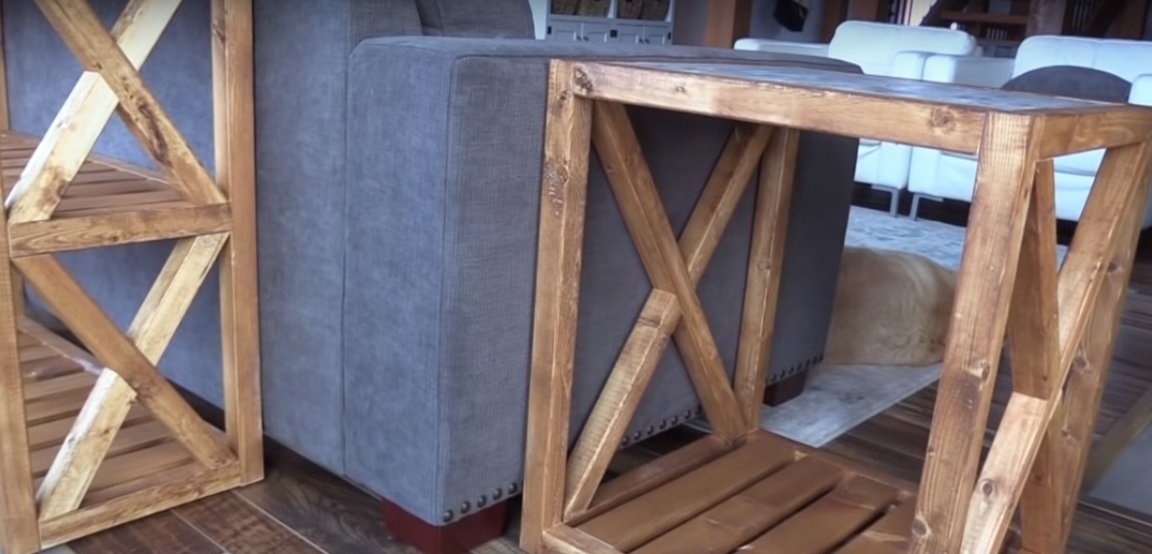
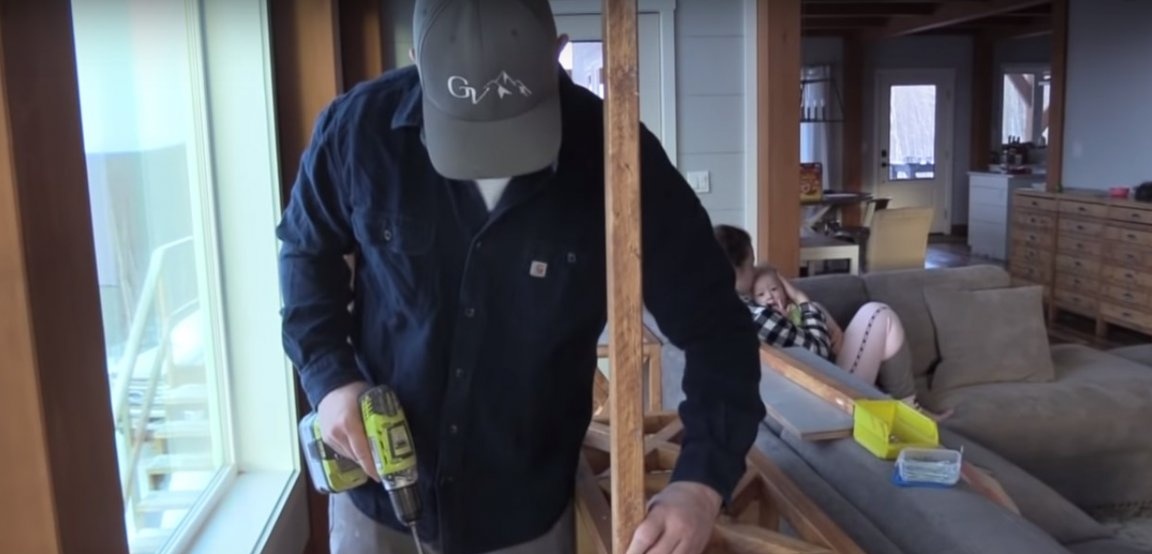
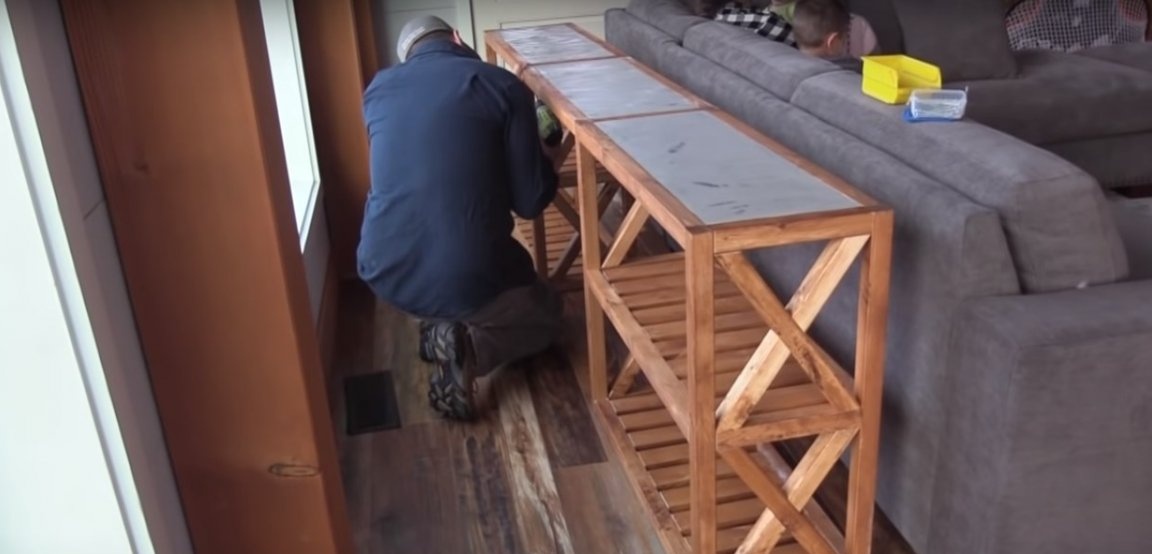
Step Four: final assembly in place
Install the racks in a permanent place. Fasten the bars between them - the base under the countertop. Set the plywood sheet as the countertop.
Paint the plywood insert with gray paint in two steps.
To ensure that the hard surface of the tree does not scratch the floor during operation, you can use soft felt or rubber elastic flat legs on an adhesive basis.
Desktop for the living room is ready!