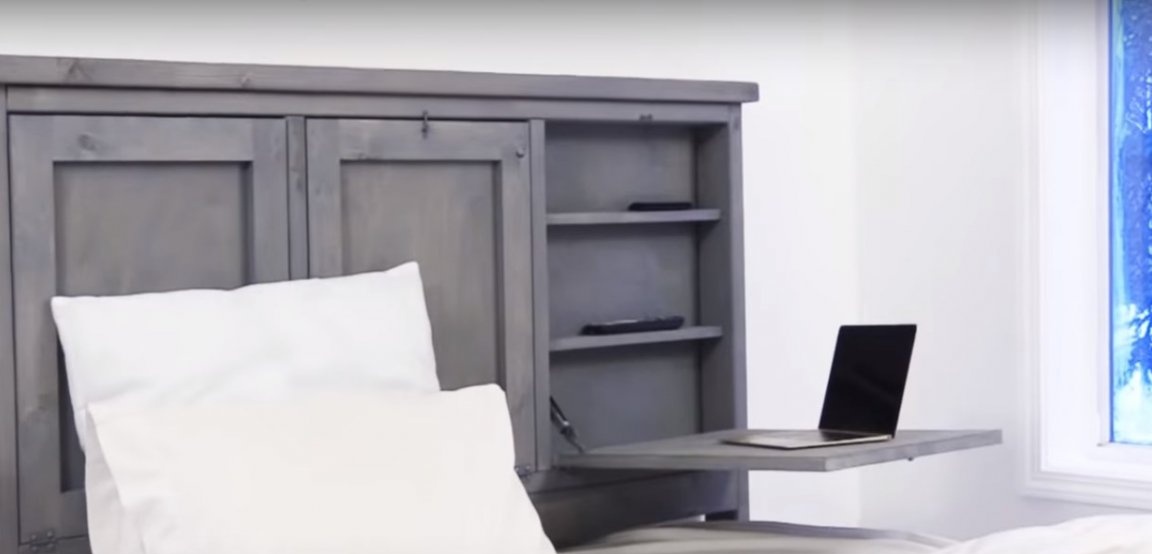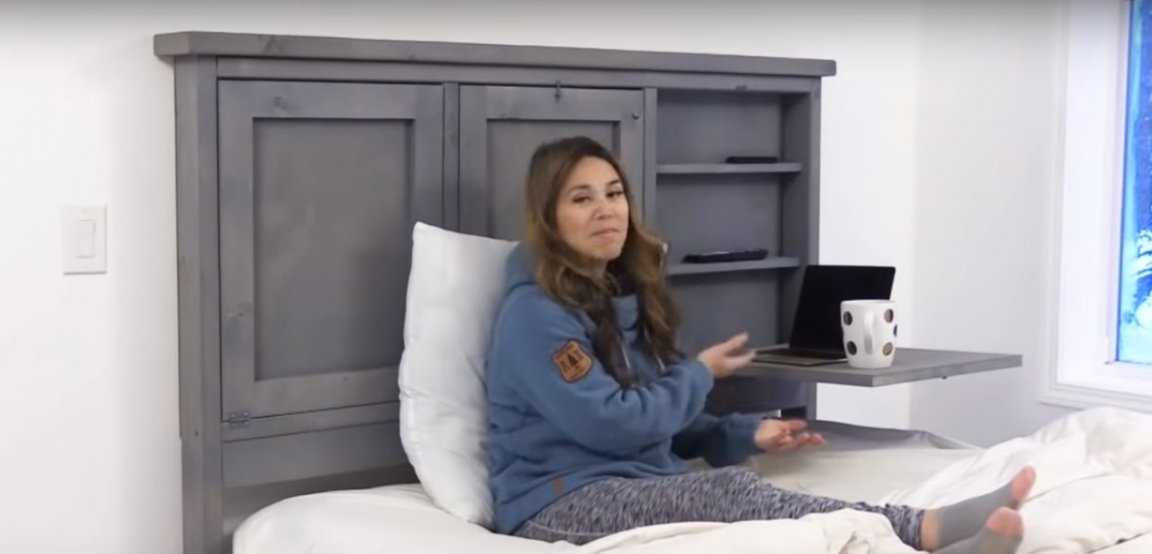
To date, it is customary to use every square meter of your home with benefit. The head of the bed is no exception. Some designers use it for decoration, and some design with a more practical design. In this case, the head of the bed serves as a locker and a small table for a laptop. It is unlikely that it will be possible to fully work here, but to “relax” behind the laptop screen is quite.
To implement the project, the author used natural wood and plywood. As a paint and varnish protective and decorative coating - an oil stain. The head itself can be for almost any pre-purchased bed.
In order to do it yourself make a functional headboard, you will need:
Materials:
- wooden bars with a section of 30x60 mm. or 40x80 mm .;
- not thick plywood for doors and the back of the headboard;
- wooden boards across the width of the cabinet for the manufacture of shelves;
- wooden slats for cabinet doors;
- glue on wood;
- an oil-based stain or any other suitable paintwork;
- screws and small nails;
- hinges for doors and locks.
Instruments:
- miter saw (jigsaw, circular);
- drill;
- screwdriver;
- pneumatic nail gun or conventional hammer;
- a conductor for drilling holes at the desired angle;
- painting supplies (brushes, roller, lint-free fabric);
- building level for headboard installation;
- square, construction tape, pencil.
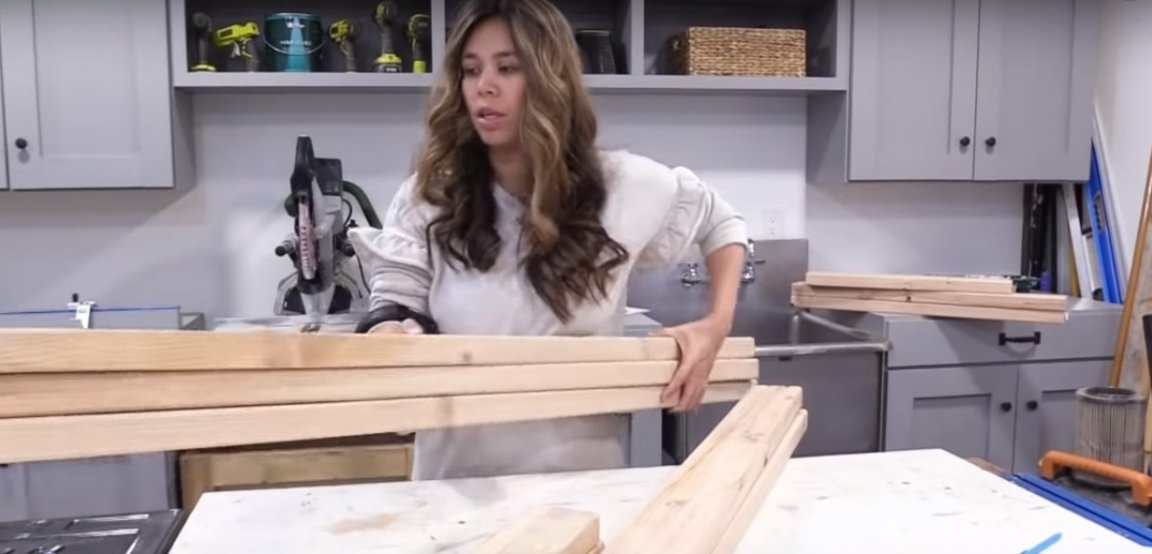
Step one: selection and preparation of materials
For the manufacture of the author used a solid bar made of natural wood. With the same success, you can take glued beams. You will also need plywood for the doors and the back of the head. The use of plywood will significantly speed up the process and facilitate the design. If necessary, plywood can be replaced with a fiberboard or chipboard sheet.
For this project, the timber is machined with a milling cutter; its edges have a neat rounded shape. In any case, all materials should be perfectly sanded, as the stain treatment will show all the bumps and roughness on the surface of the wood.
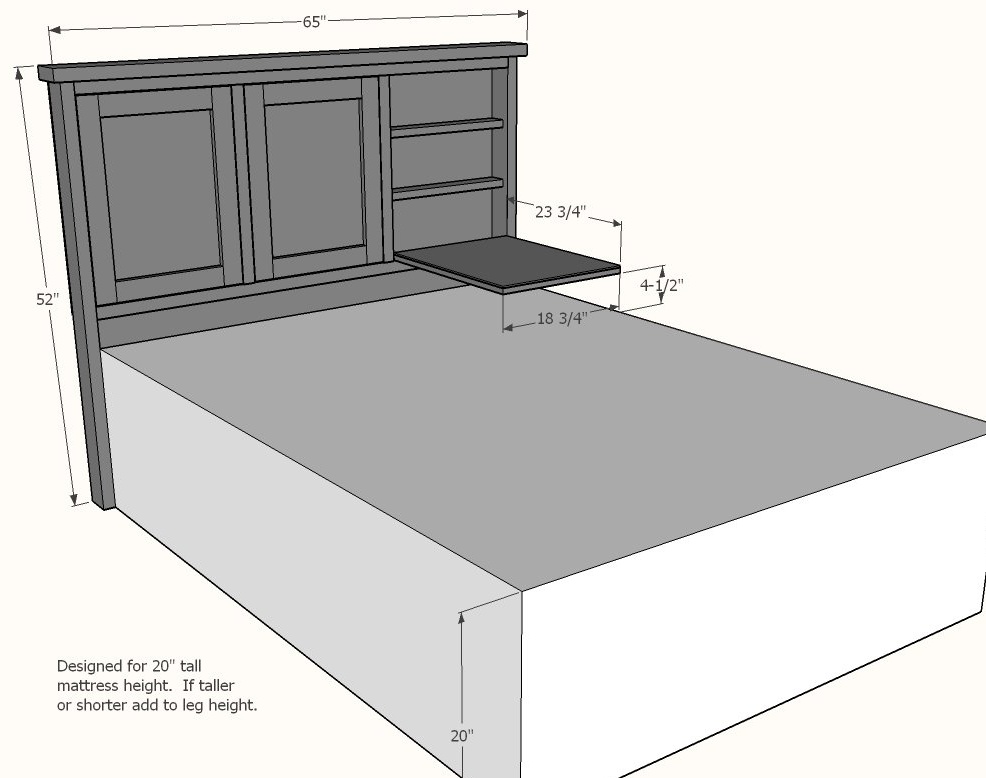
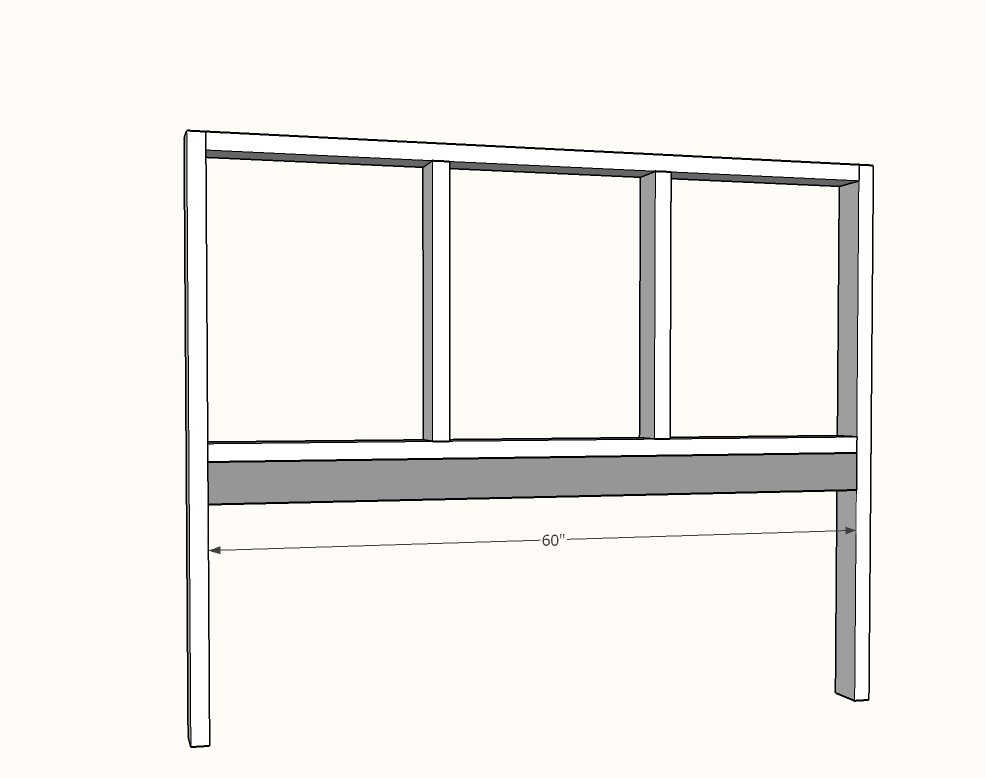
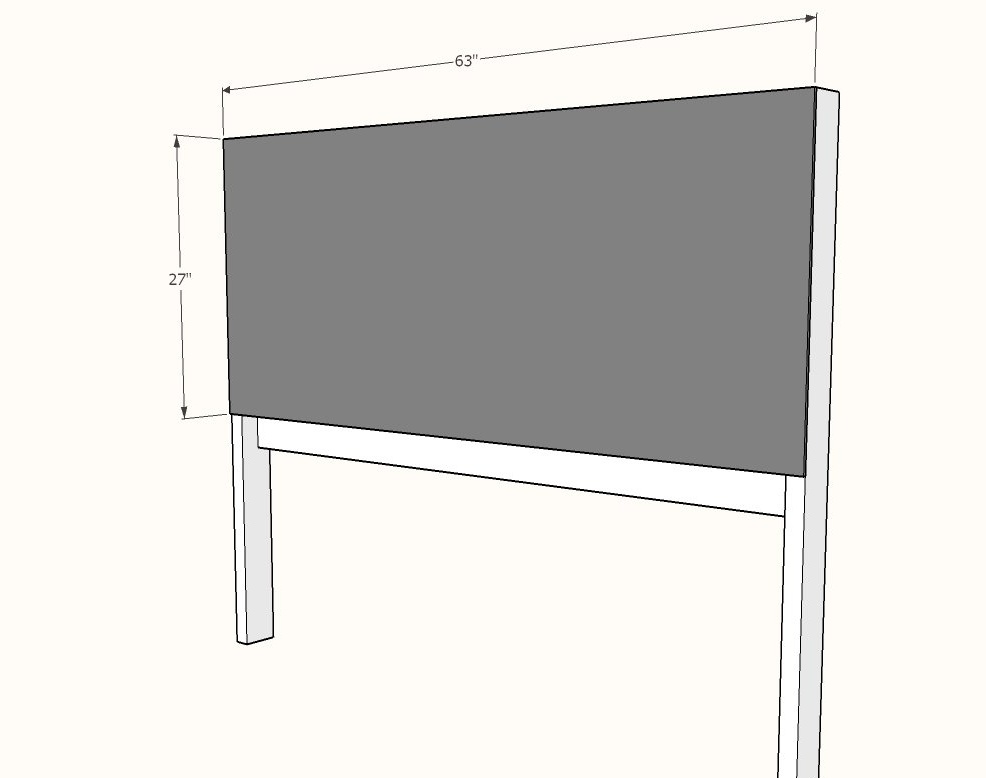
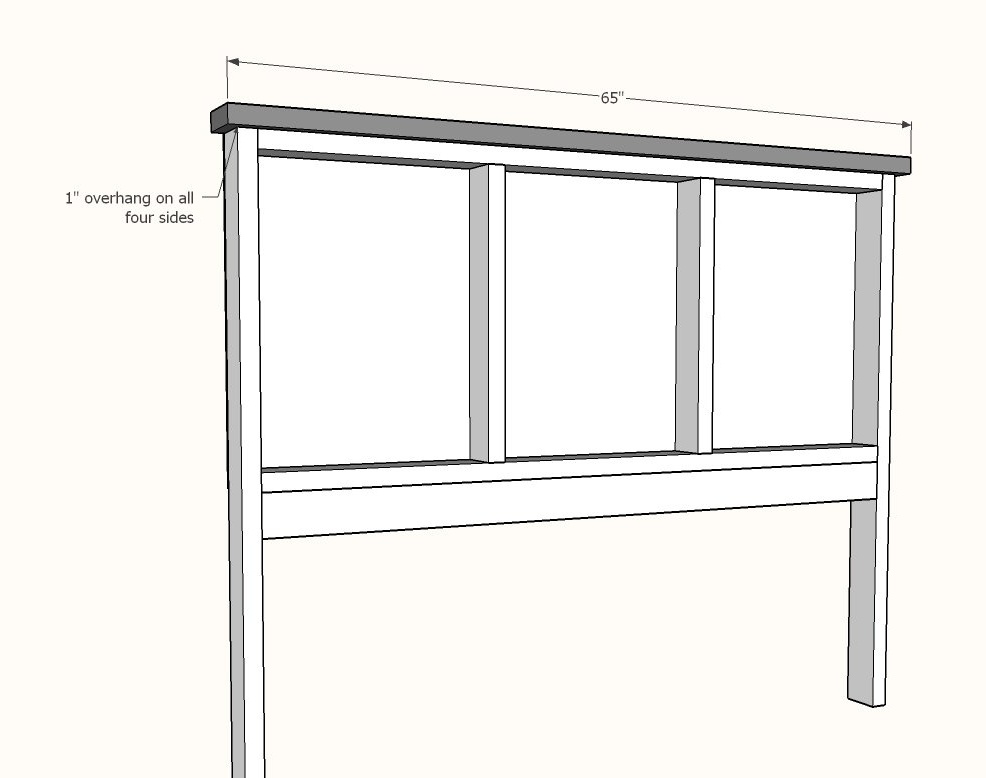
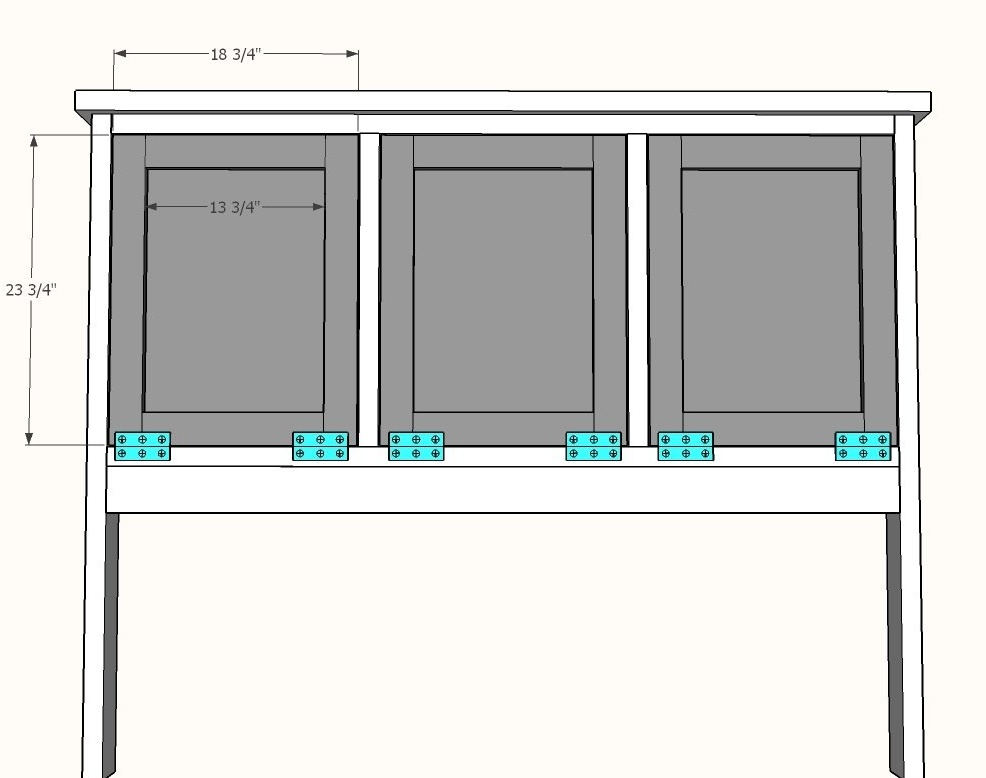
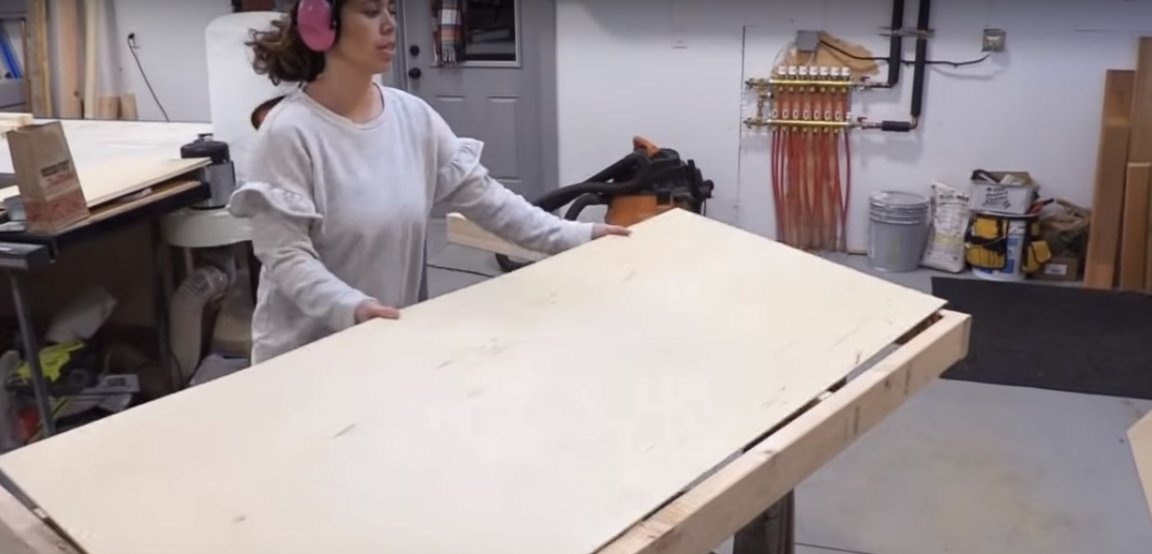
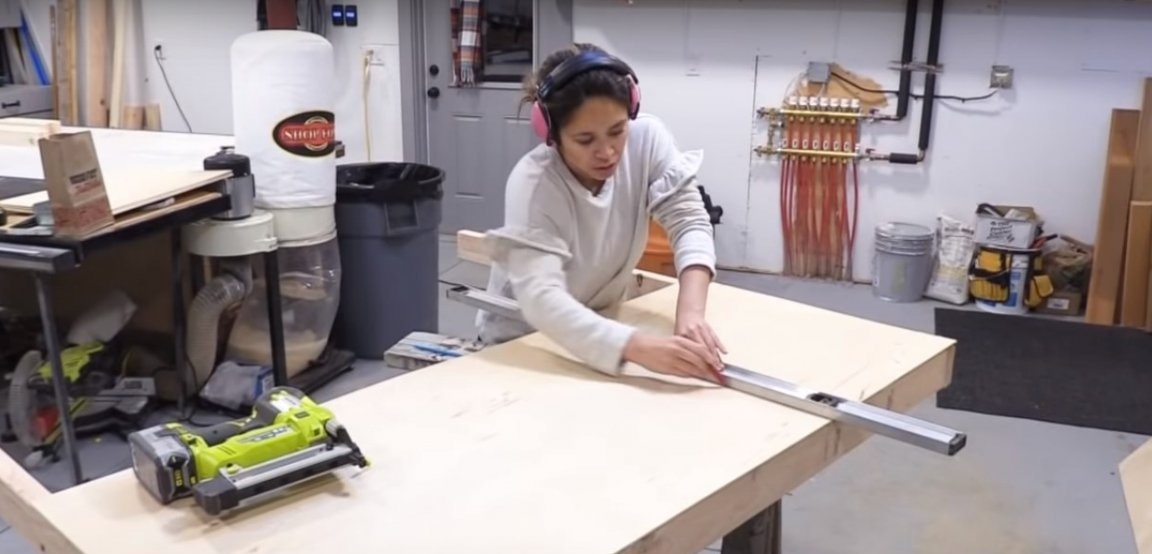
Using the drawings, determine the size of the head, make a markup and cut the bars and boards to the given dimensions. Cut the plywood sheet for the back of the head at the final stage of assembly to take into account any errors in the geometry of the product.Also prepare the plywood parts for the doors using a square.

Step Two: Preparing to Build
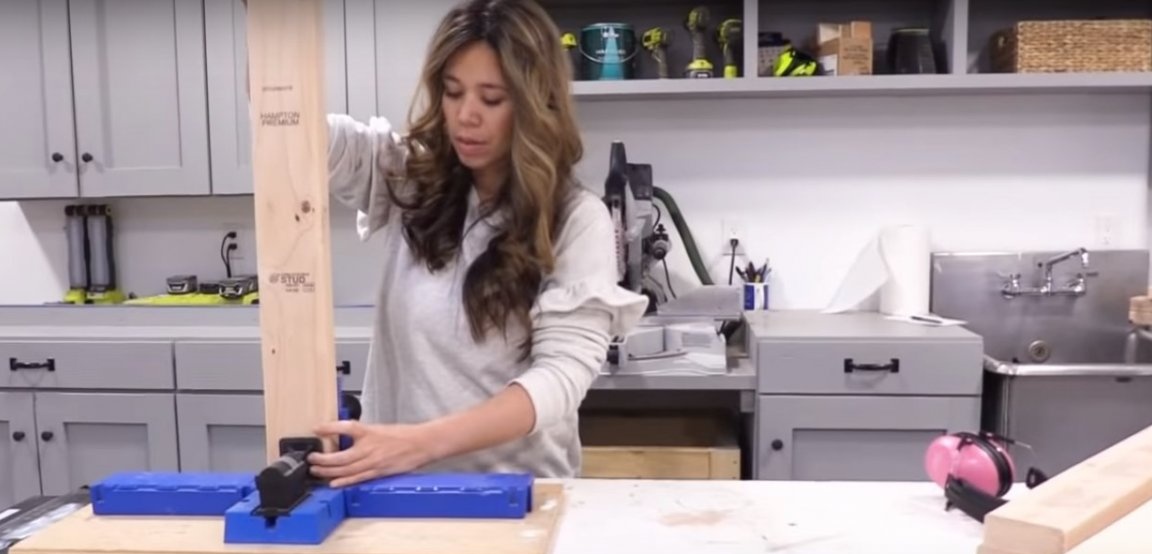
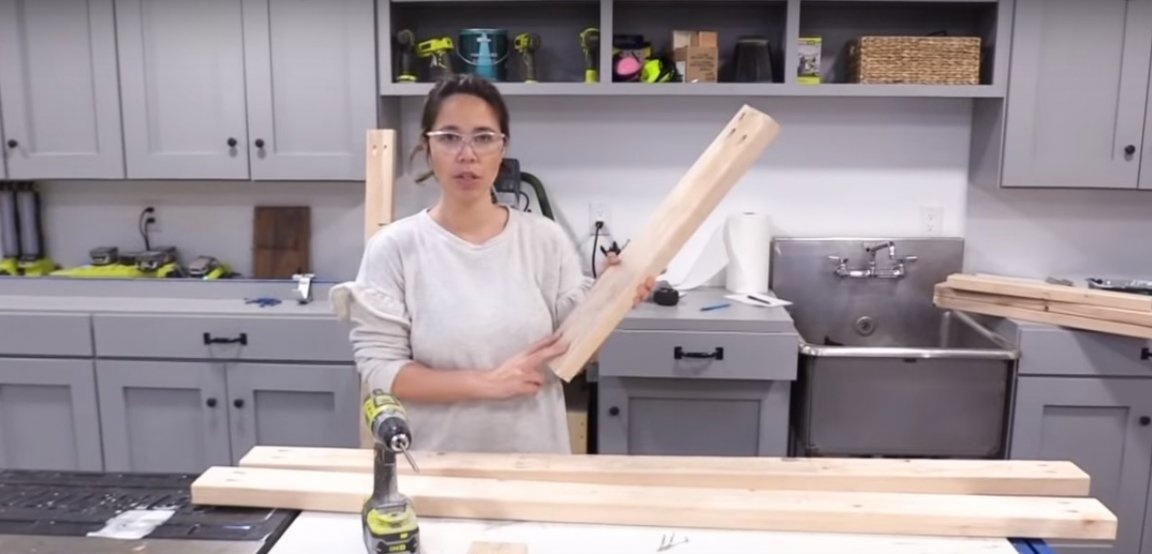
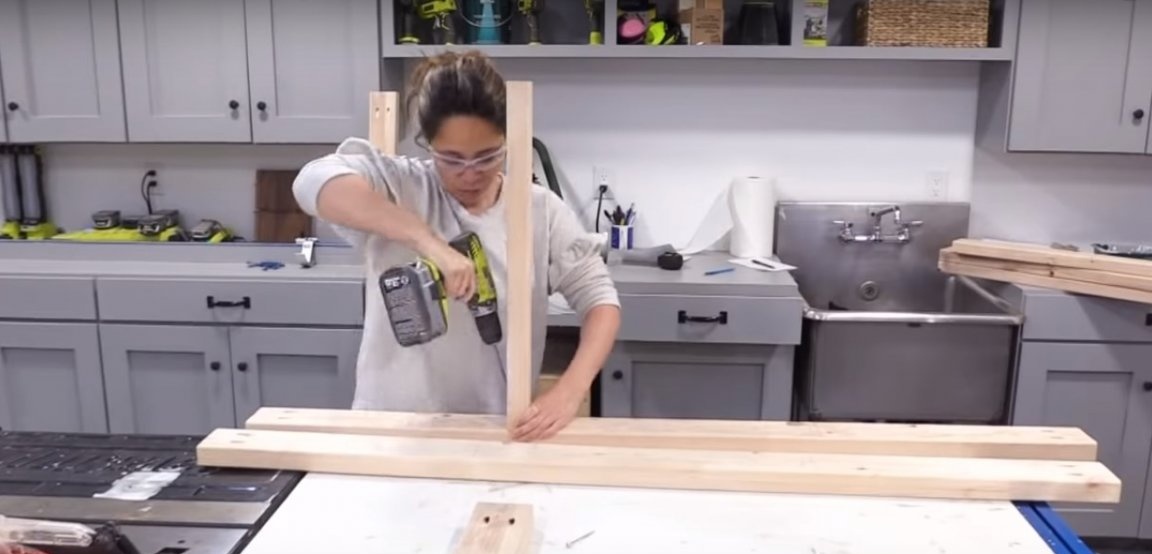
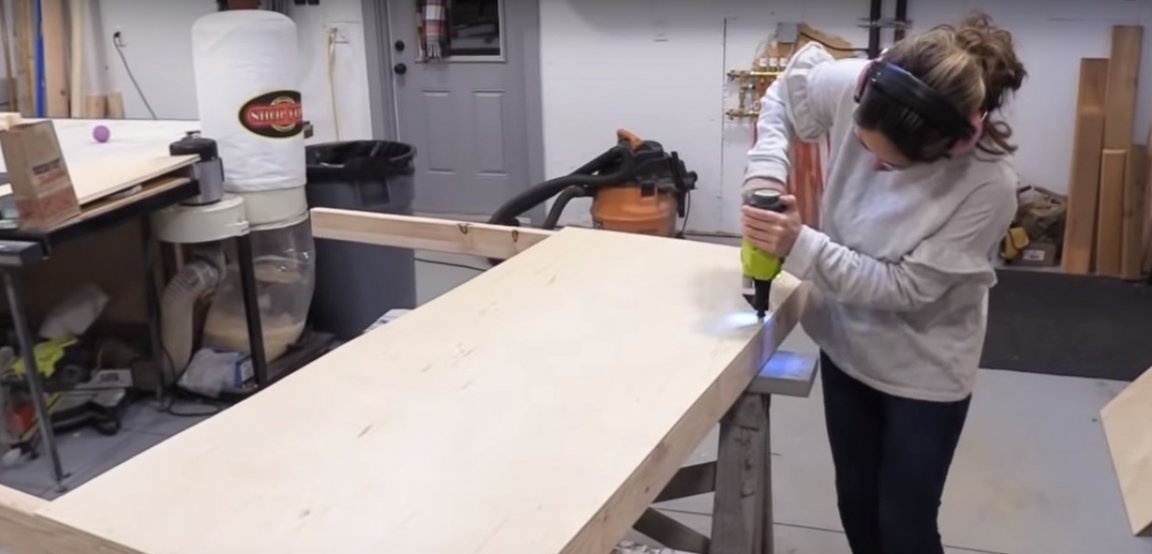
The author uses the fastening of parts flush butt joint. To do this, you need to drill holes for the screws at an angle. A special conductor for a drill will do a great job of such work. The author also uses more professional conductor models with an integrated drill.
Drill holes for the intended fixtures. This is especially true if you use pine for work, as it is very prone to splitting along the fibers.

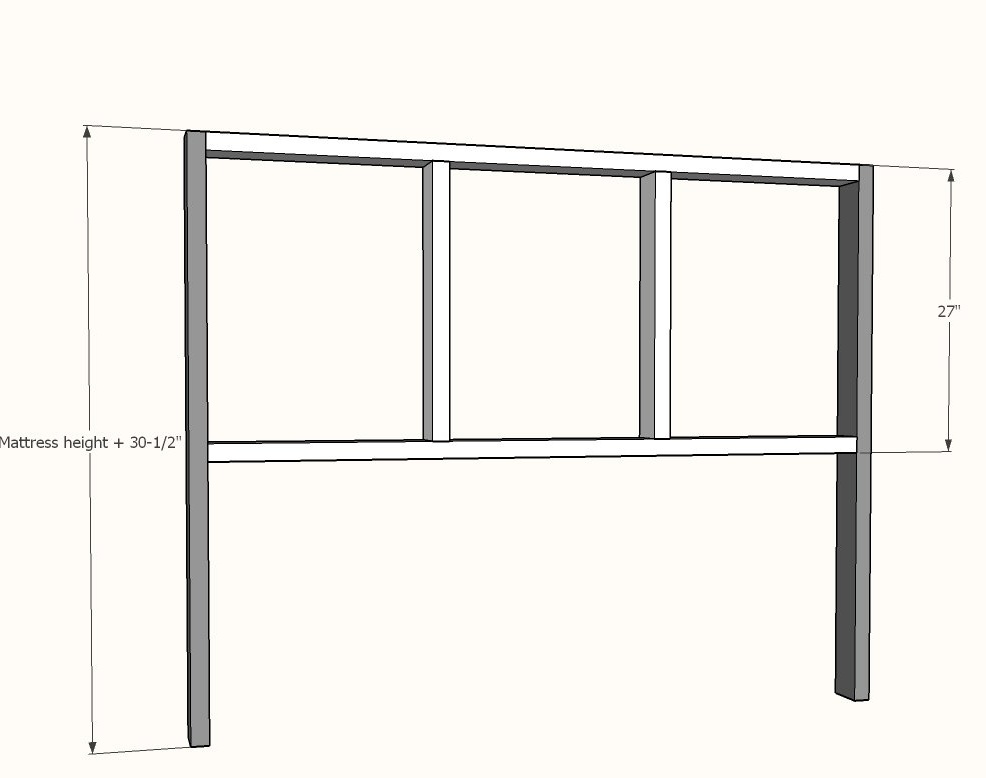
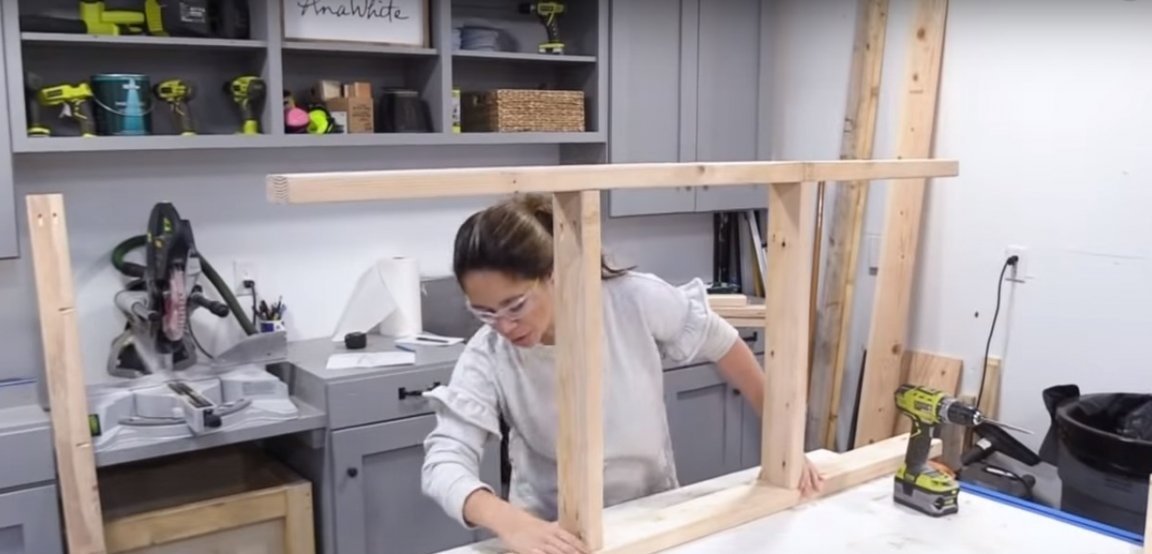
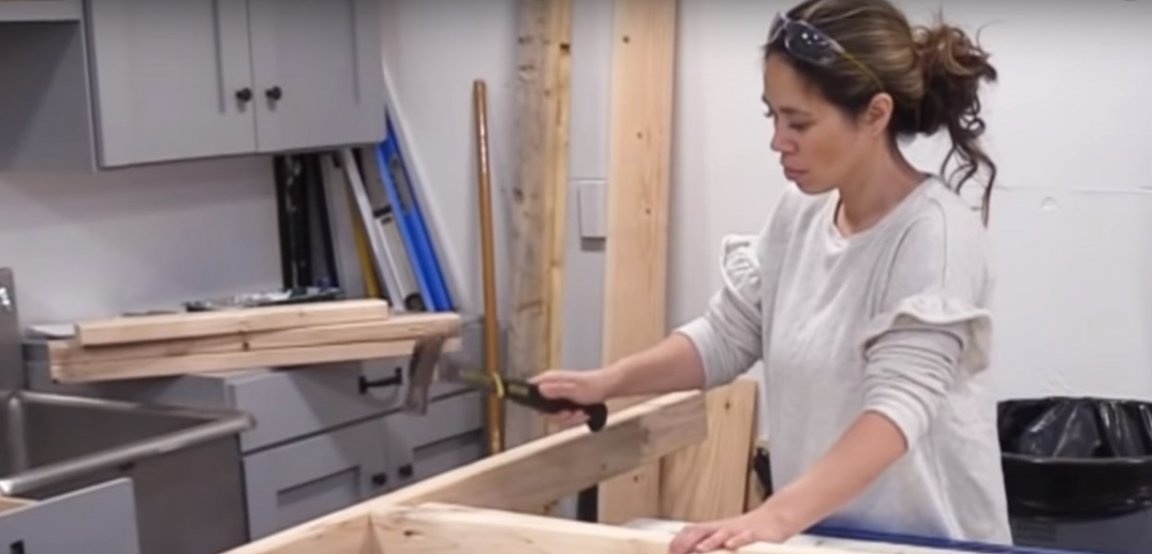
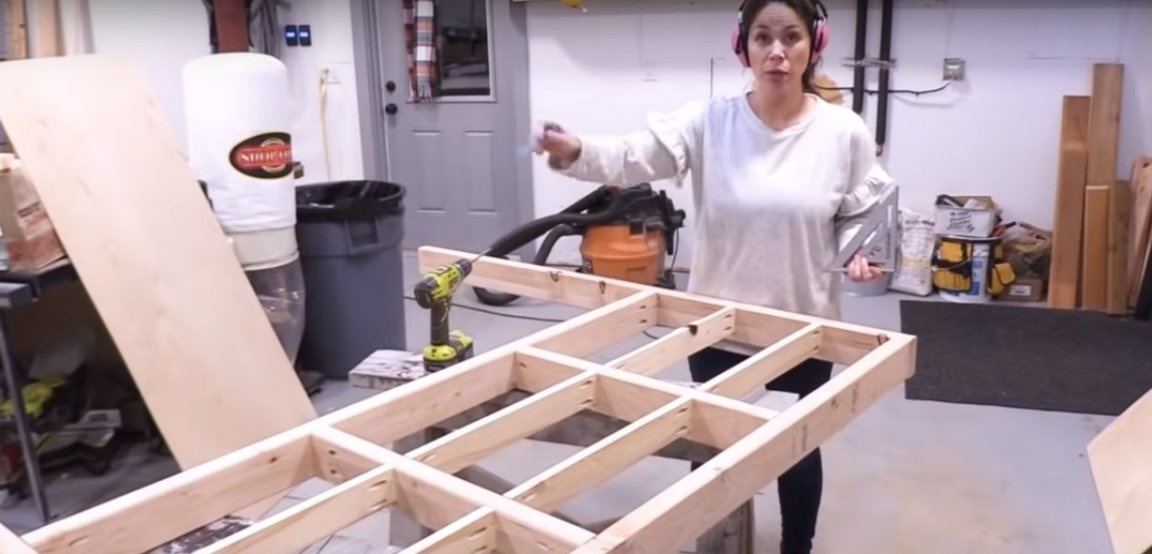
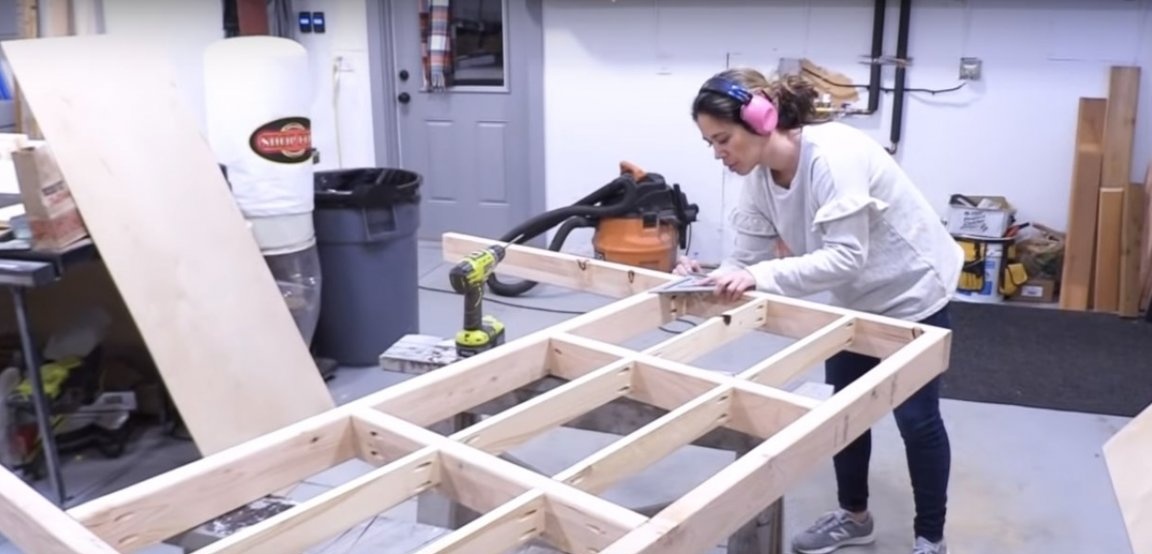
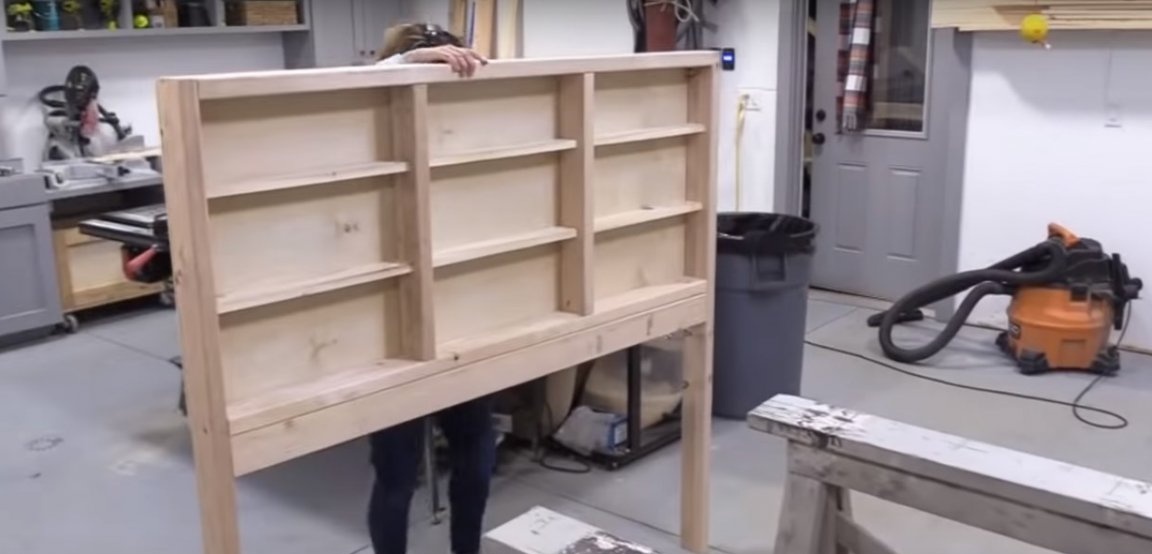
Step Three: Frame Assembly
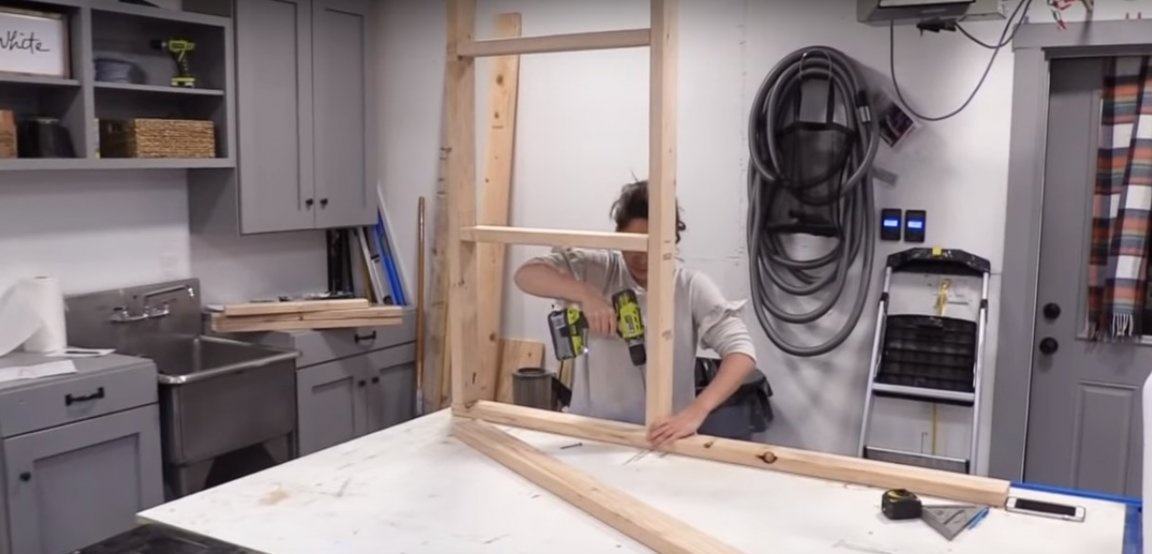
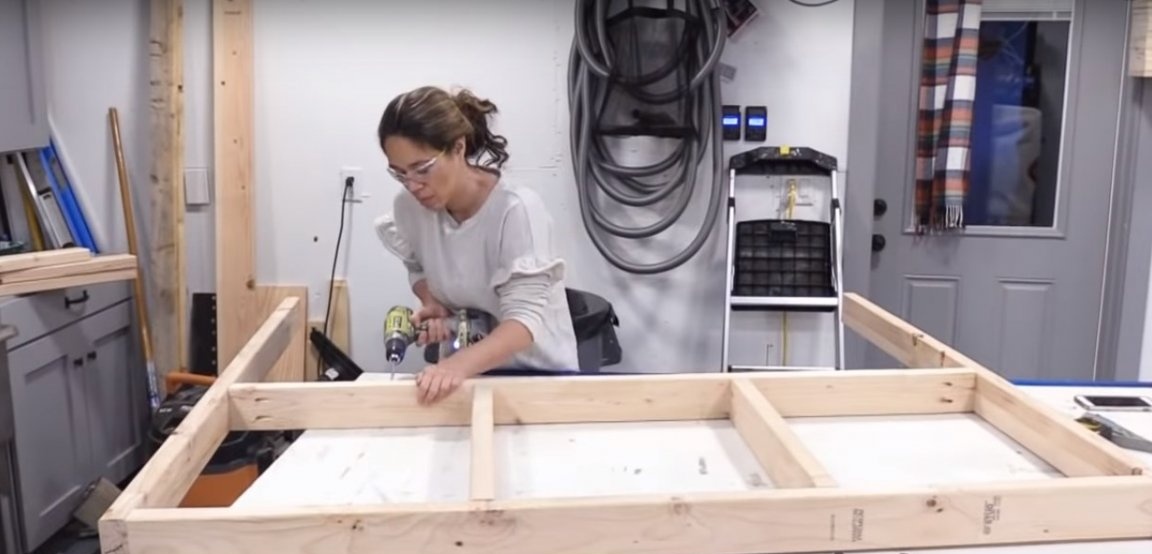
Assemble the frame, as shown in the photo. Start with the frame in which the cabinets are located. Then secure the legs. Under the frame between the legs, the author installed an additional jumper from the bar to provide rigidity.
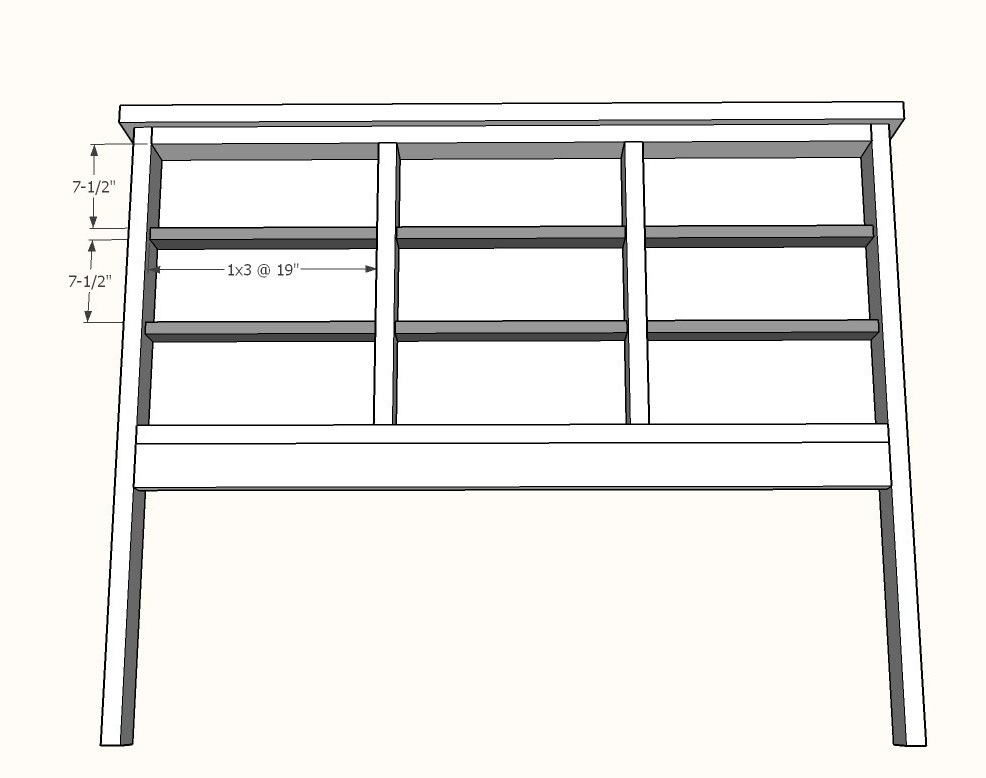
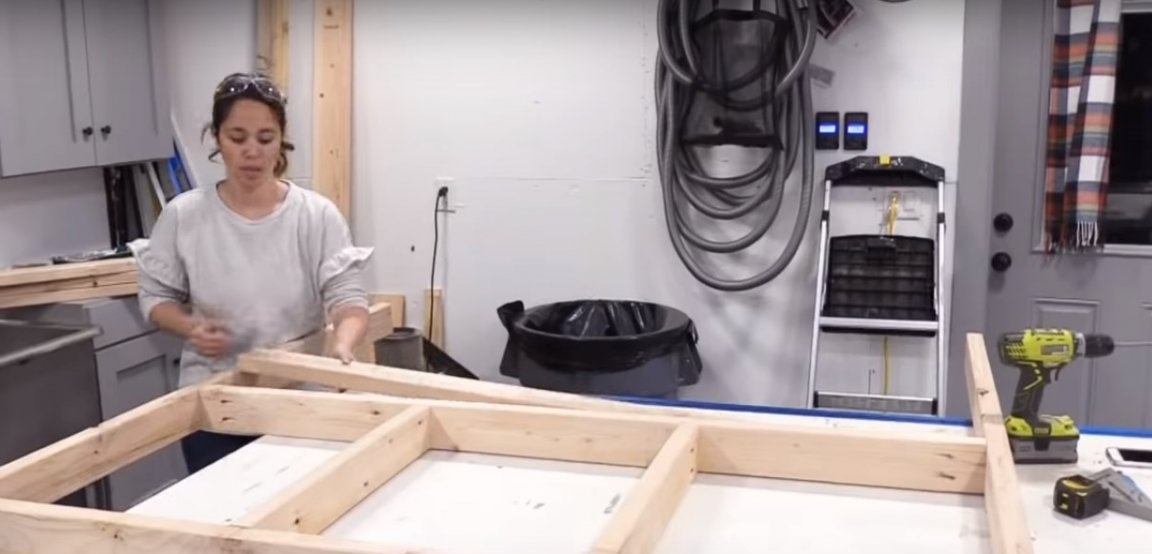
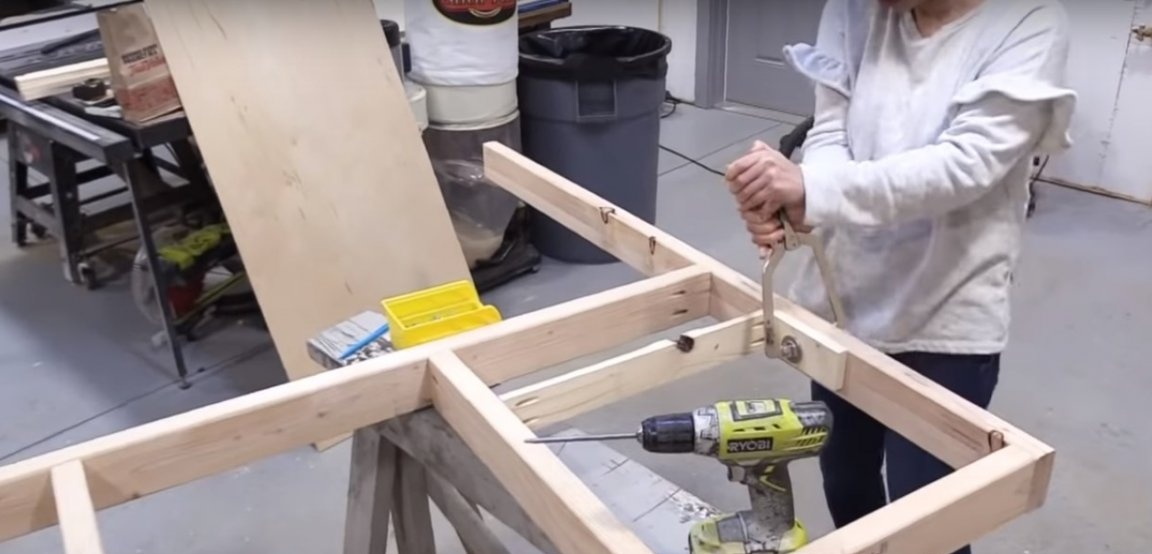
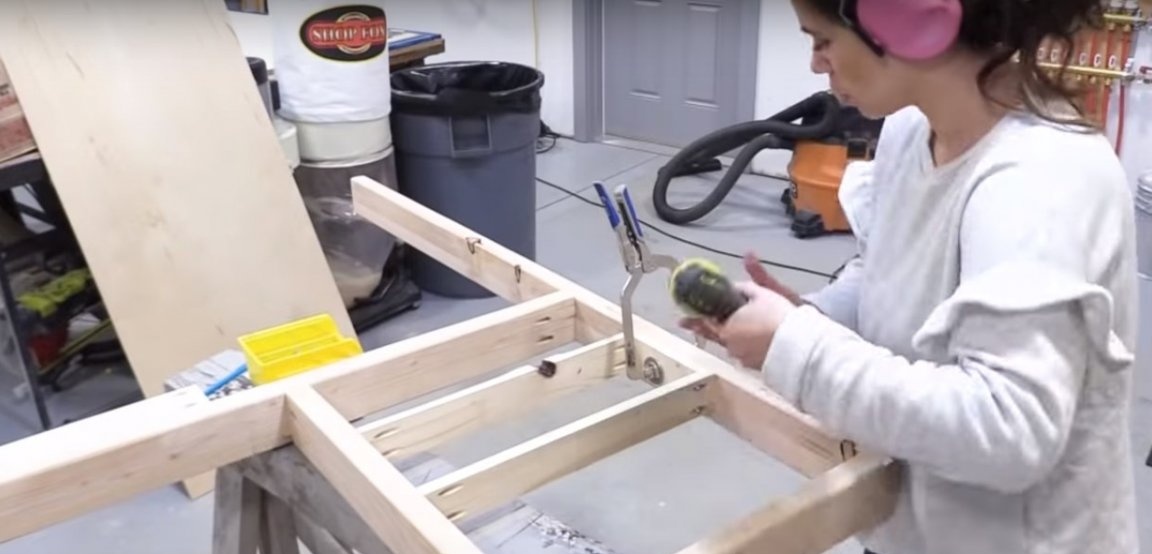
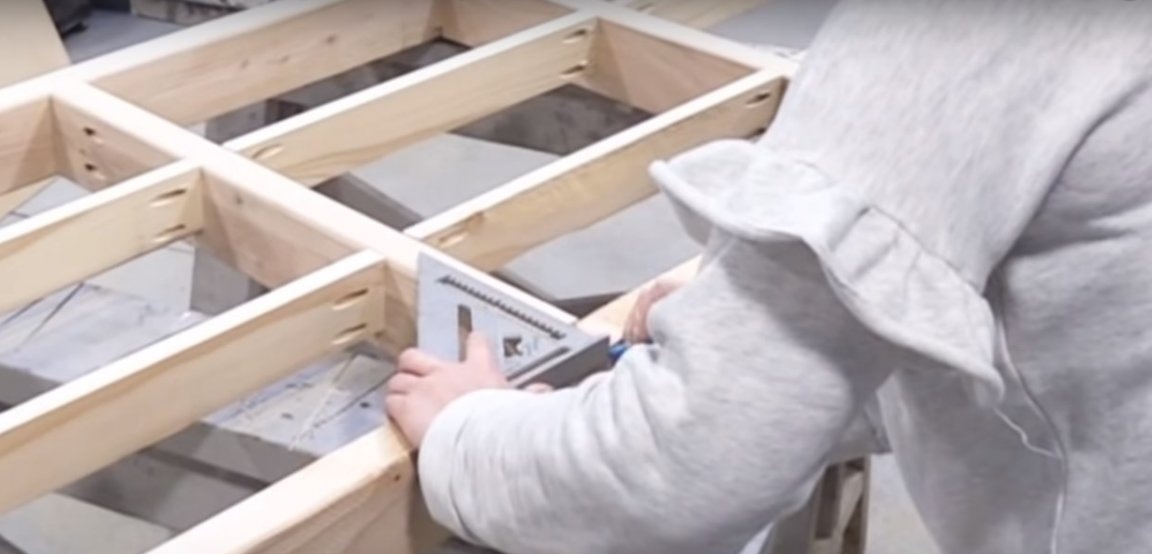
Proceed to fastening the shelves of the cabinets. To do this, the author uses a piece of board as a pattern. So it is easy to achieve the same distance between the shelves. The pattern is attached with a clamp, so that one person can assemble it. Check the evenness of the corners with a building square.

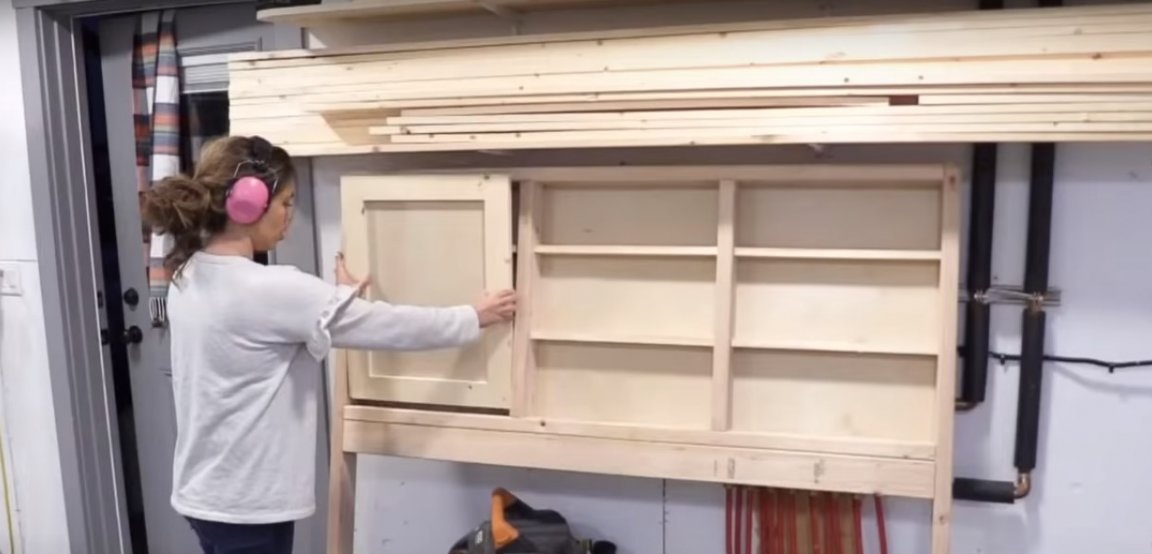
Step Four: Making Doors
The cabinet door is a wooden frame sewn with plywood on the back. In this way, an imitation of a paneled door can be obtained.
Make holes with the jig on the back of the wooden battens. Assemble the frame with screws or self-tapping screws. Apply glue to the back of the frame and fasten the plywood sheet with small studs. Let the workpieces dry thoroughly.
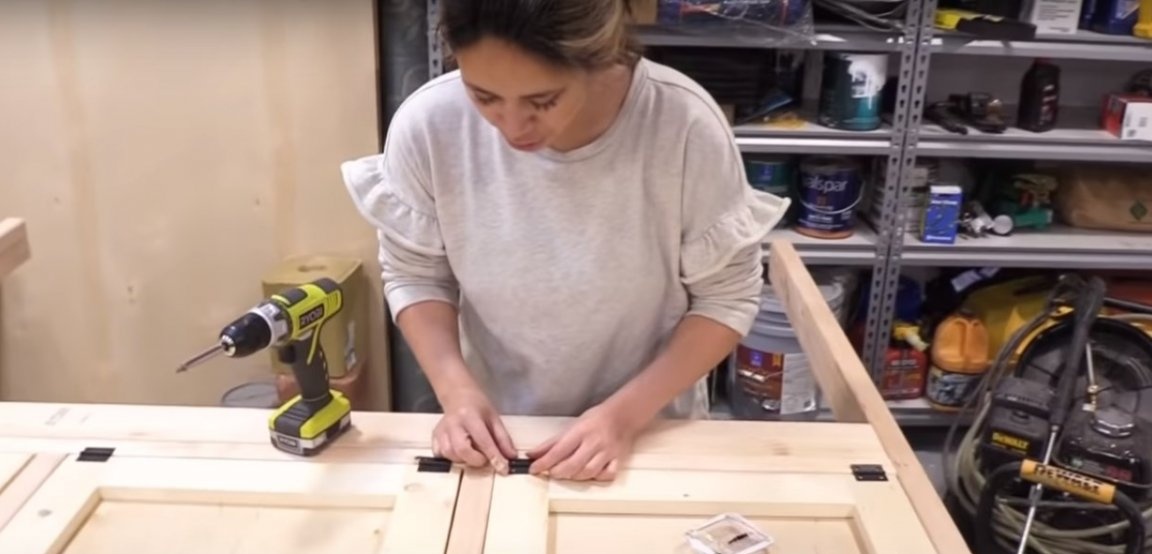
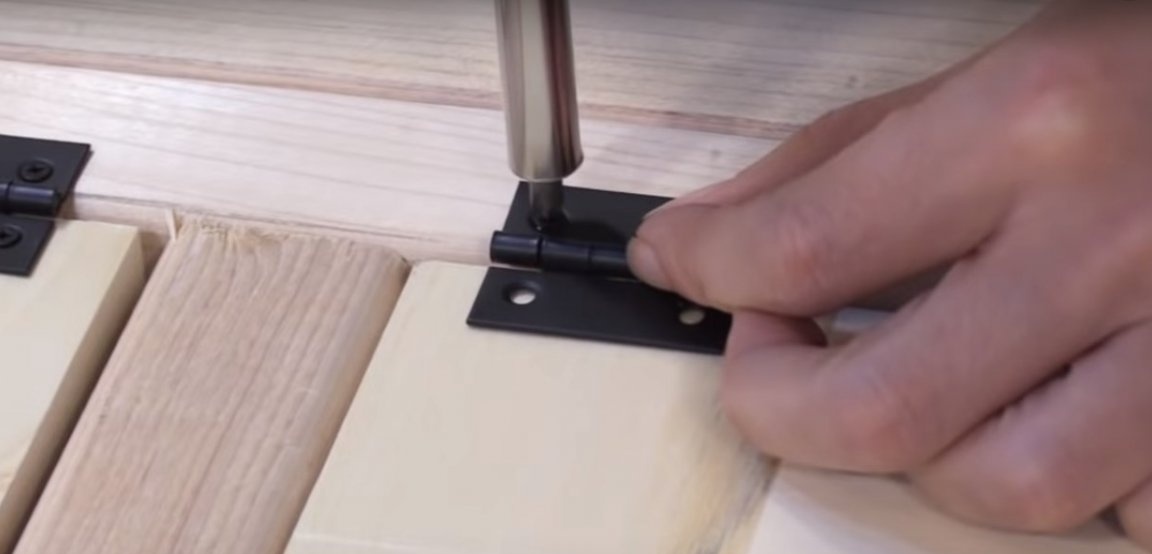
Hinge the doors using small self-tapping screws. Install also constipation. The author used ordinary hooks.
Step Five: Protective and decorative wood processing
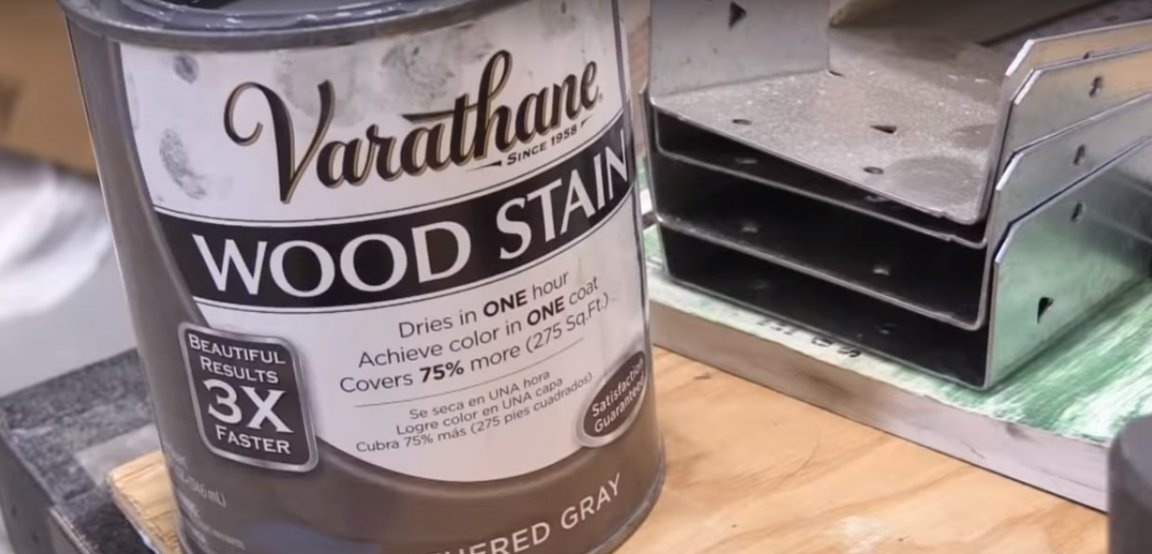
To protect the wood and decorate the headboard, the author chose an oil stain. It has a rather unpleasant odor, so take all necessary precautions during the painting process. It is best to carry out paint work outdoors.
This type of coating quickly sets, but it will take a day or two for the weathering of the solvent. The drying time, therefore, depends on air temperature and humidity.
Oil stain reliably protects the surface of the tree after applying the first layer. The application of the second layer is relevant only if the expected shade of the tree for the first time could not be achieved.
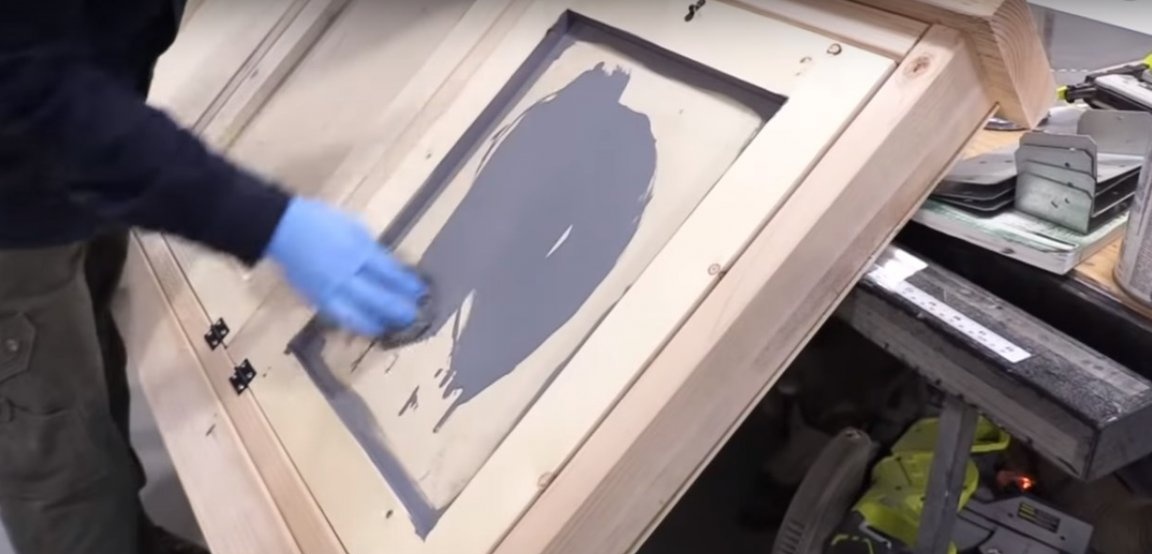
The stain is applied with a brush or soft cloth. Residues must be removed as a thick coating significantly increases the drying time. Varnishing with an oil stain is not required.
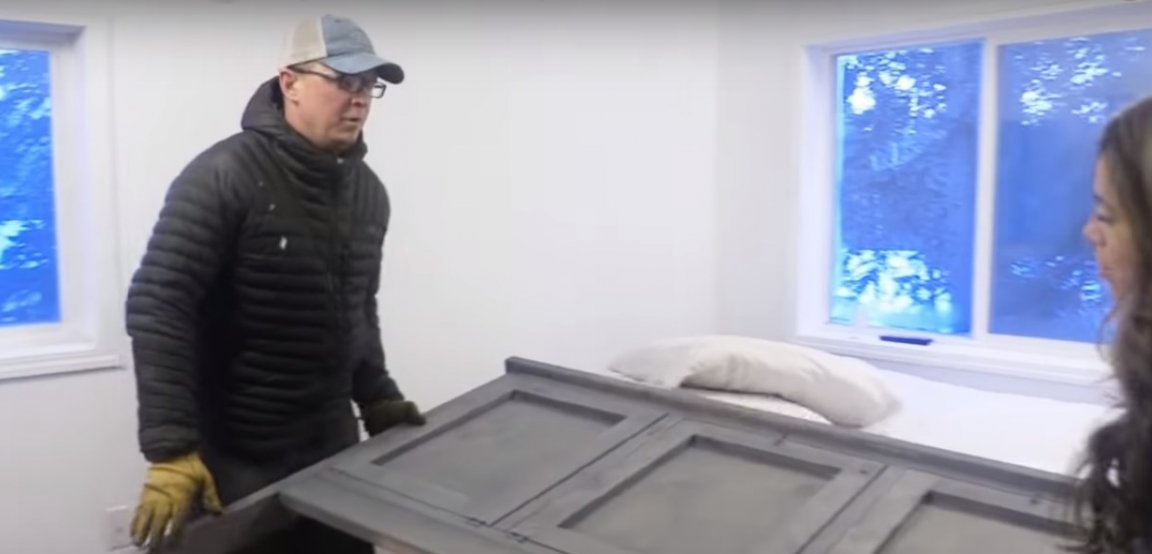
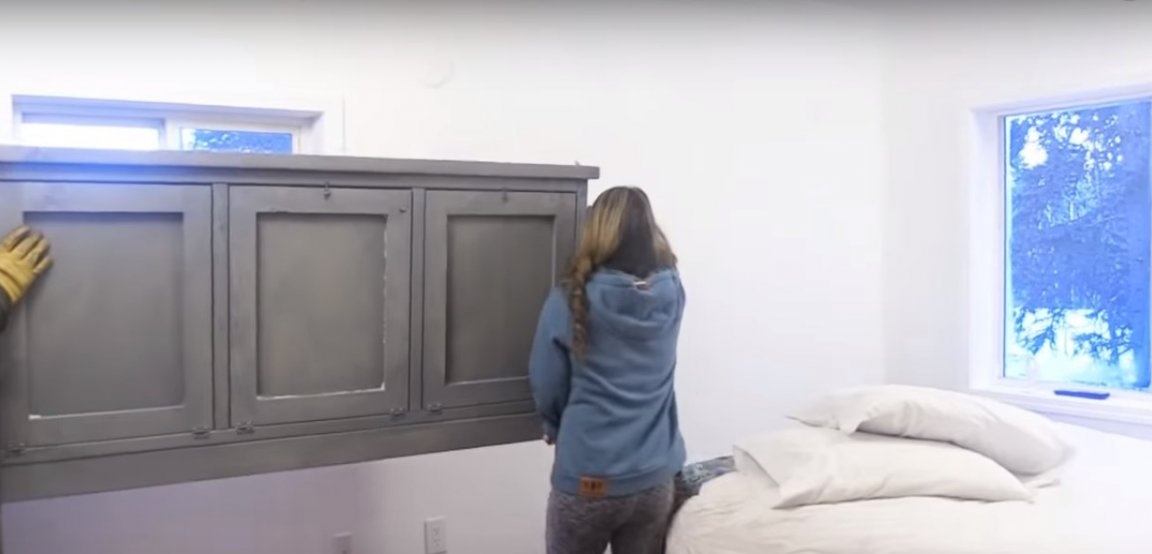
Step Six: Headboard Installation
The headboard can be set for most pre-purchased beds, if you have correctly taken into account all sizes when drawing up a drawing.
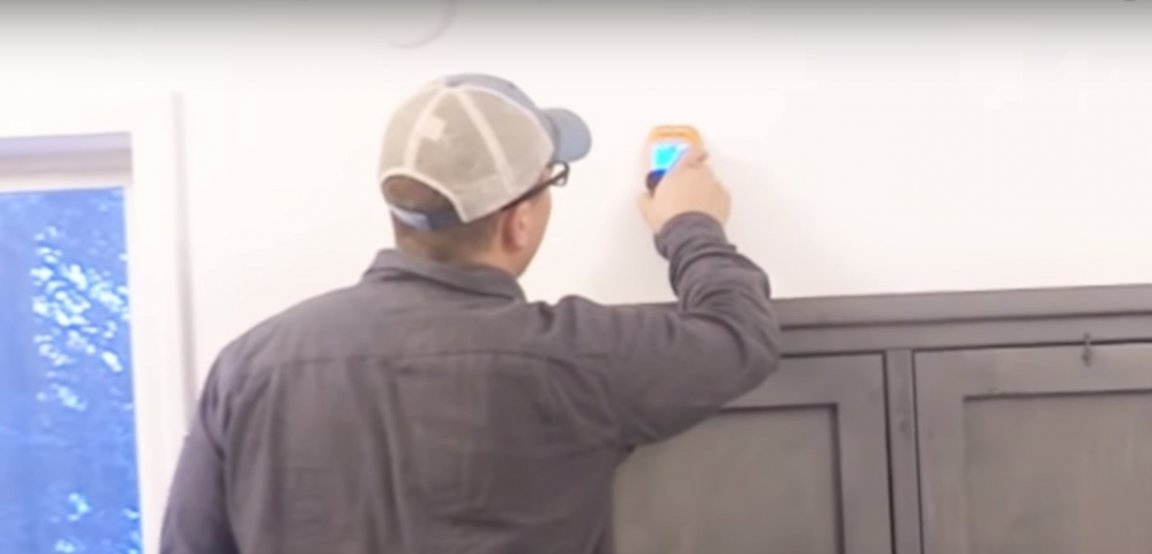
The author used a laser building level when installing the headboard. You can choose any suitable method of fastening: on the dowel-nail to the wall, on screws to the bed and others.


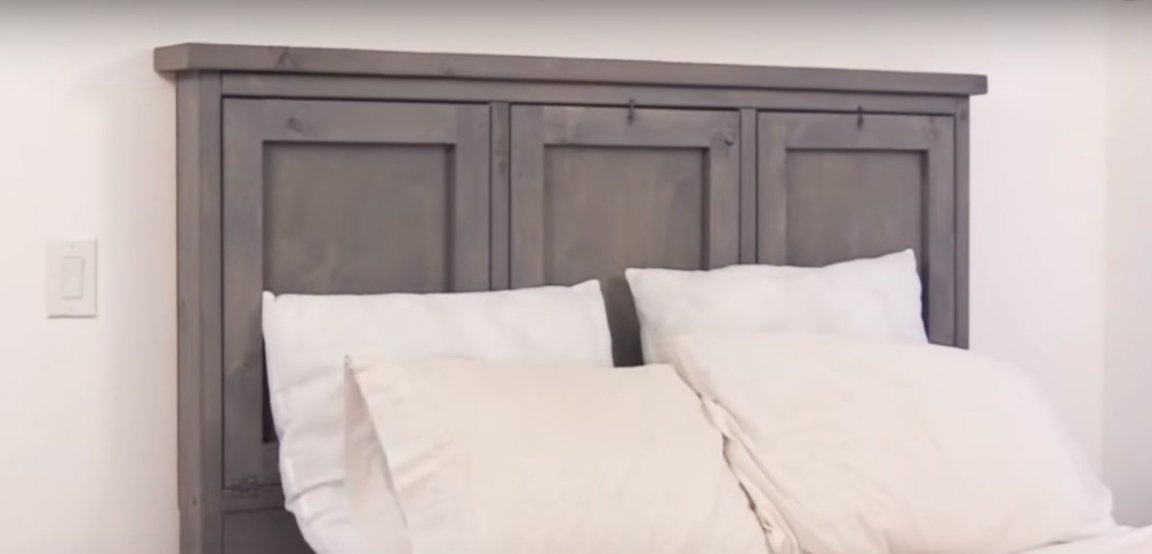
The headboard for the bed is ready!